Blog by Andrew Selking
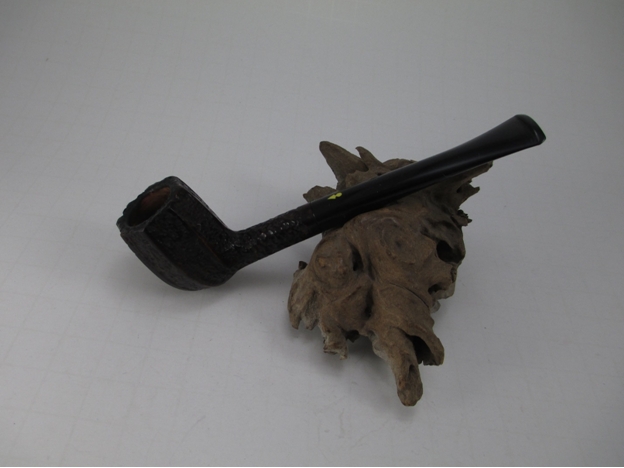
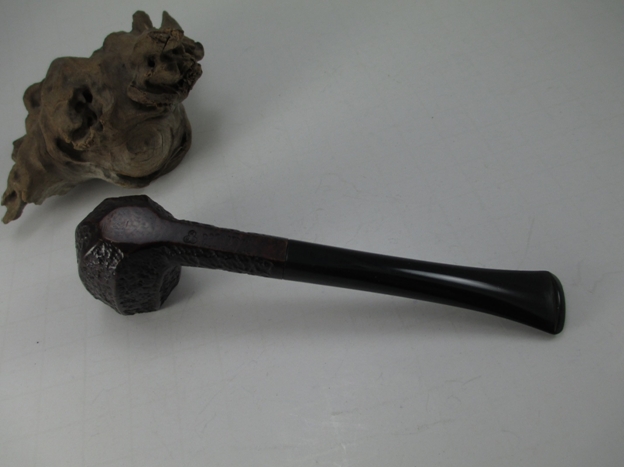
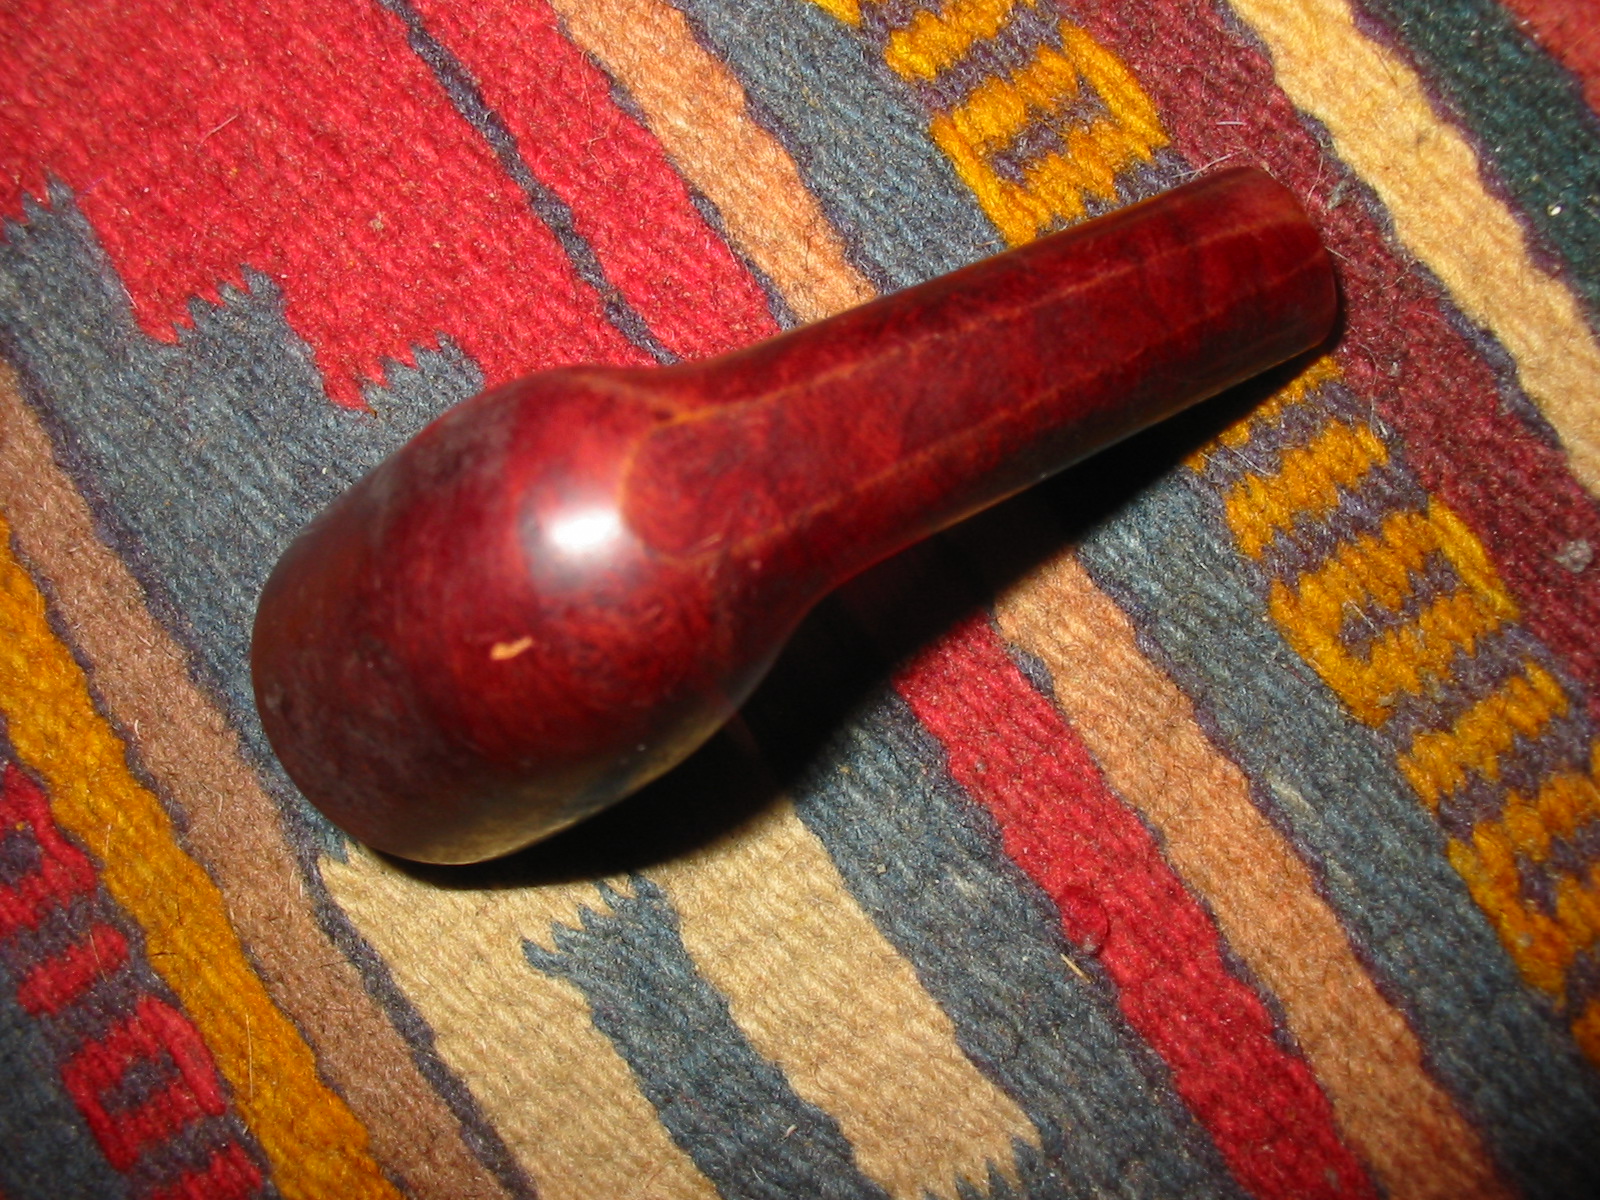
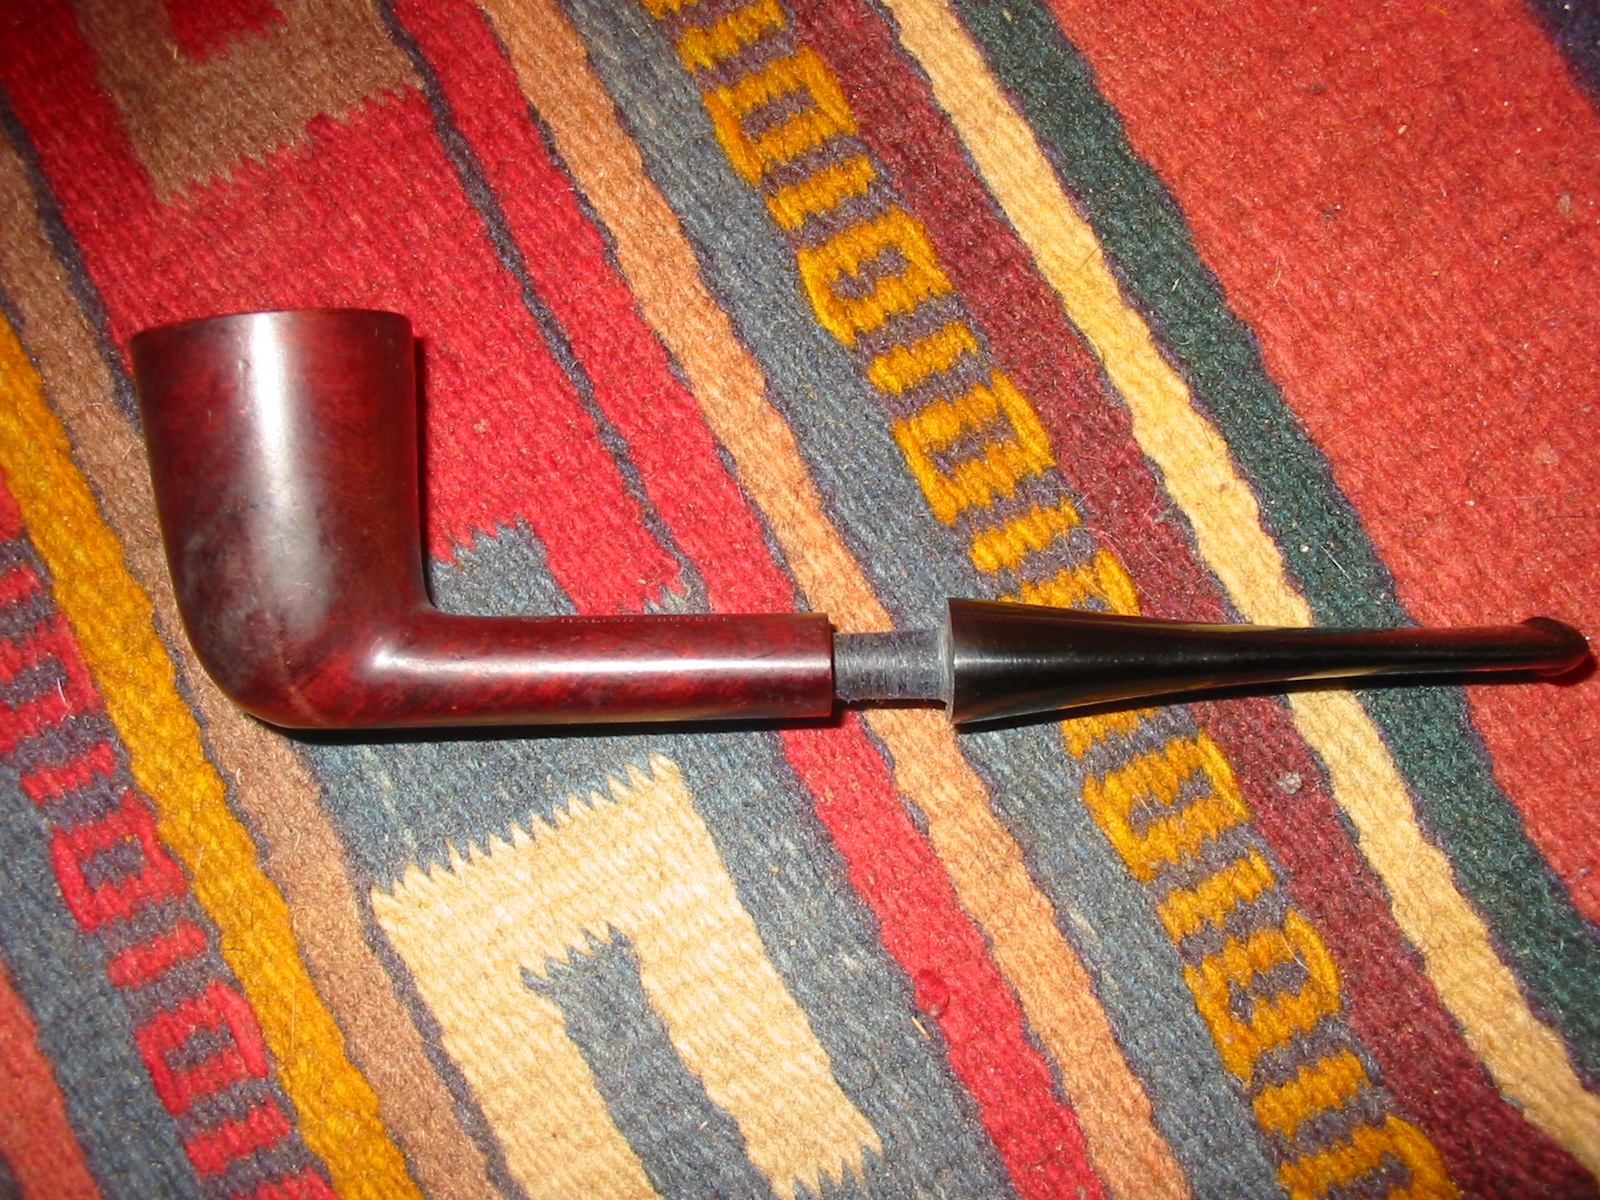
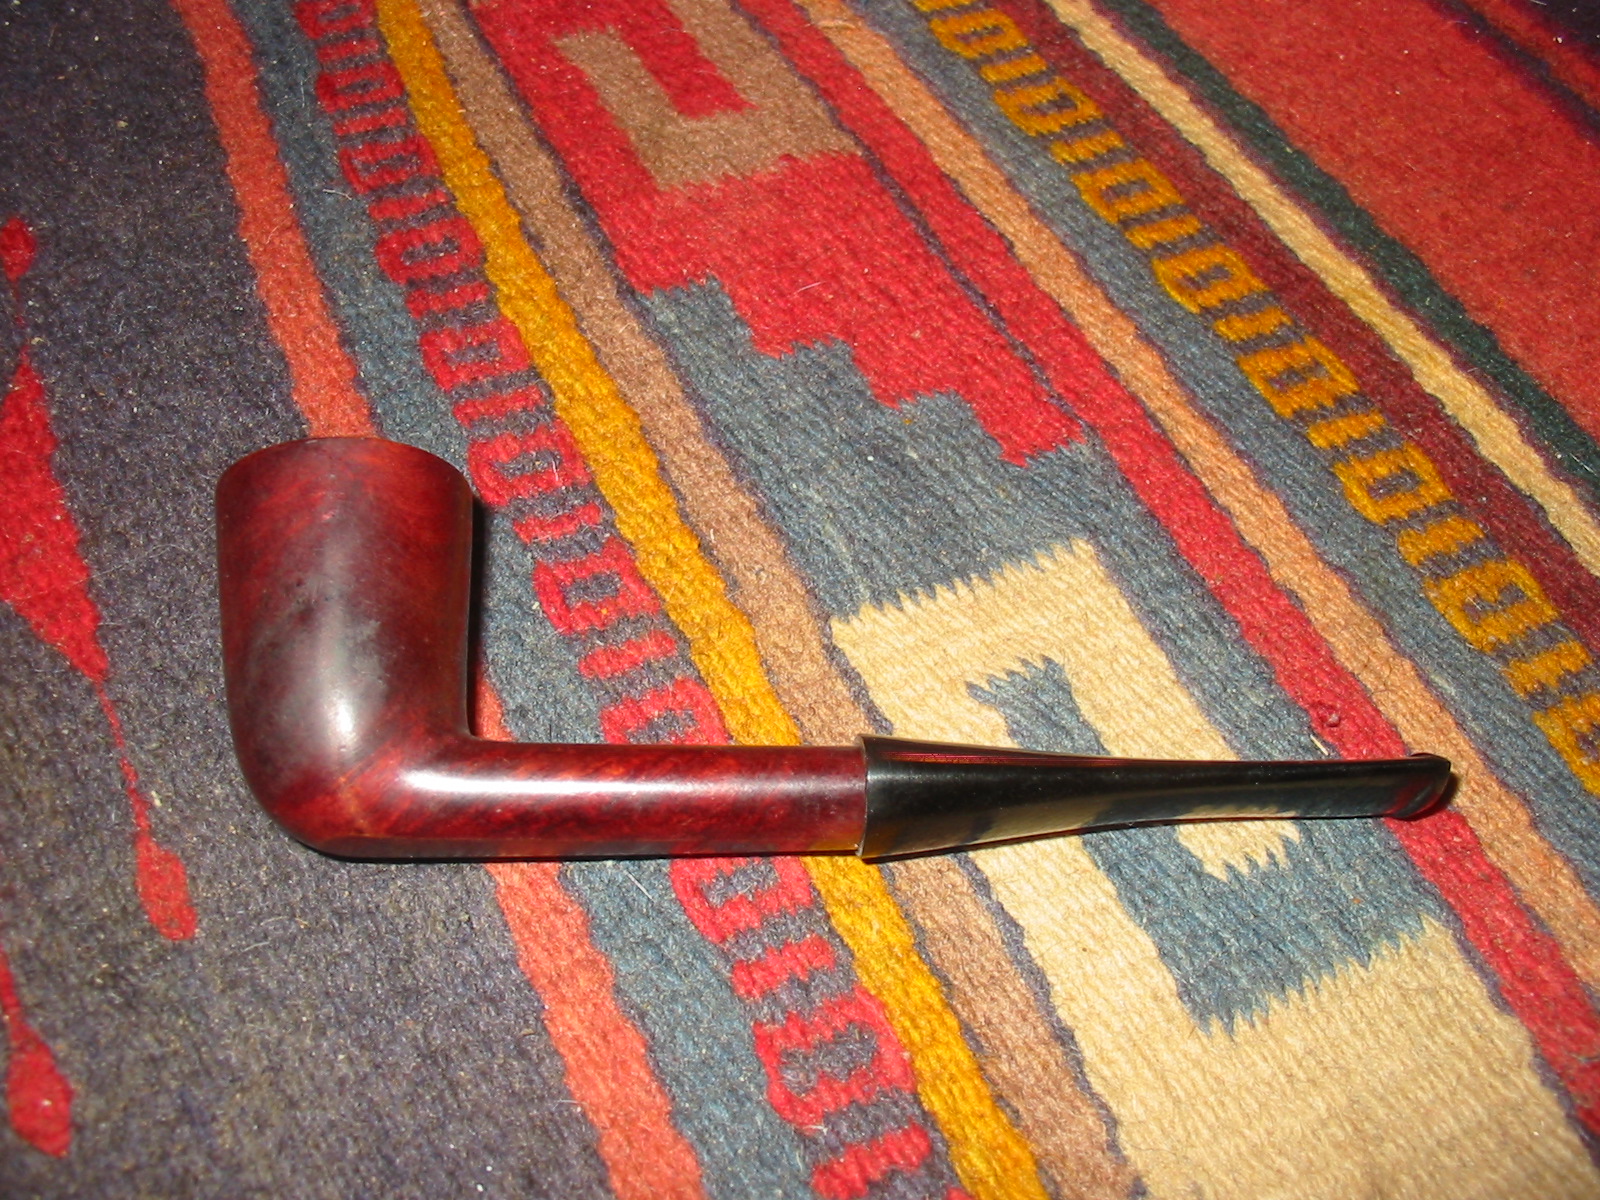
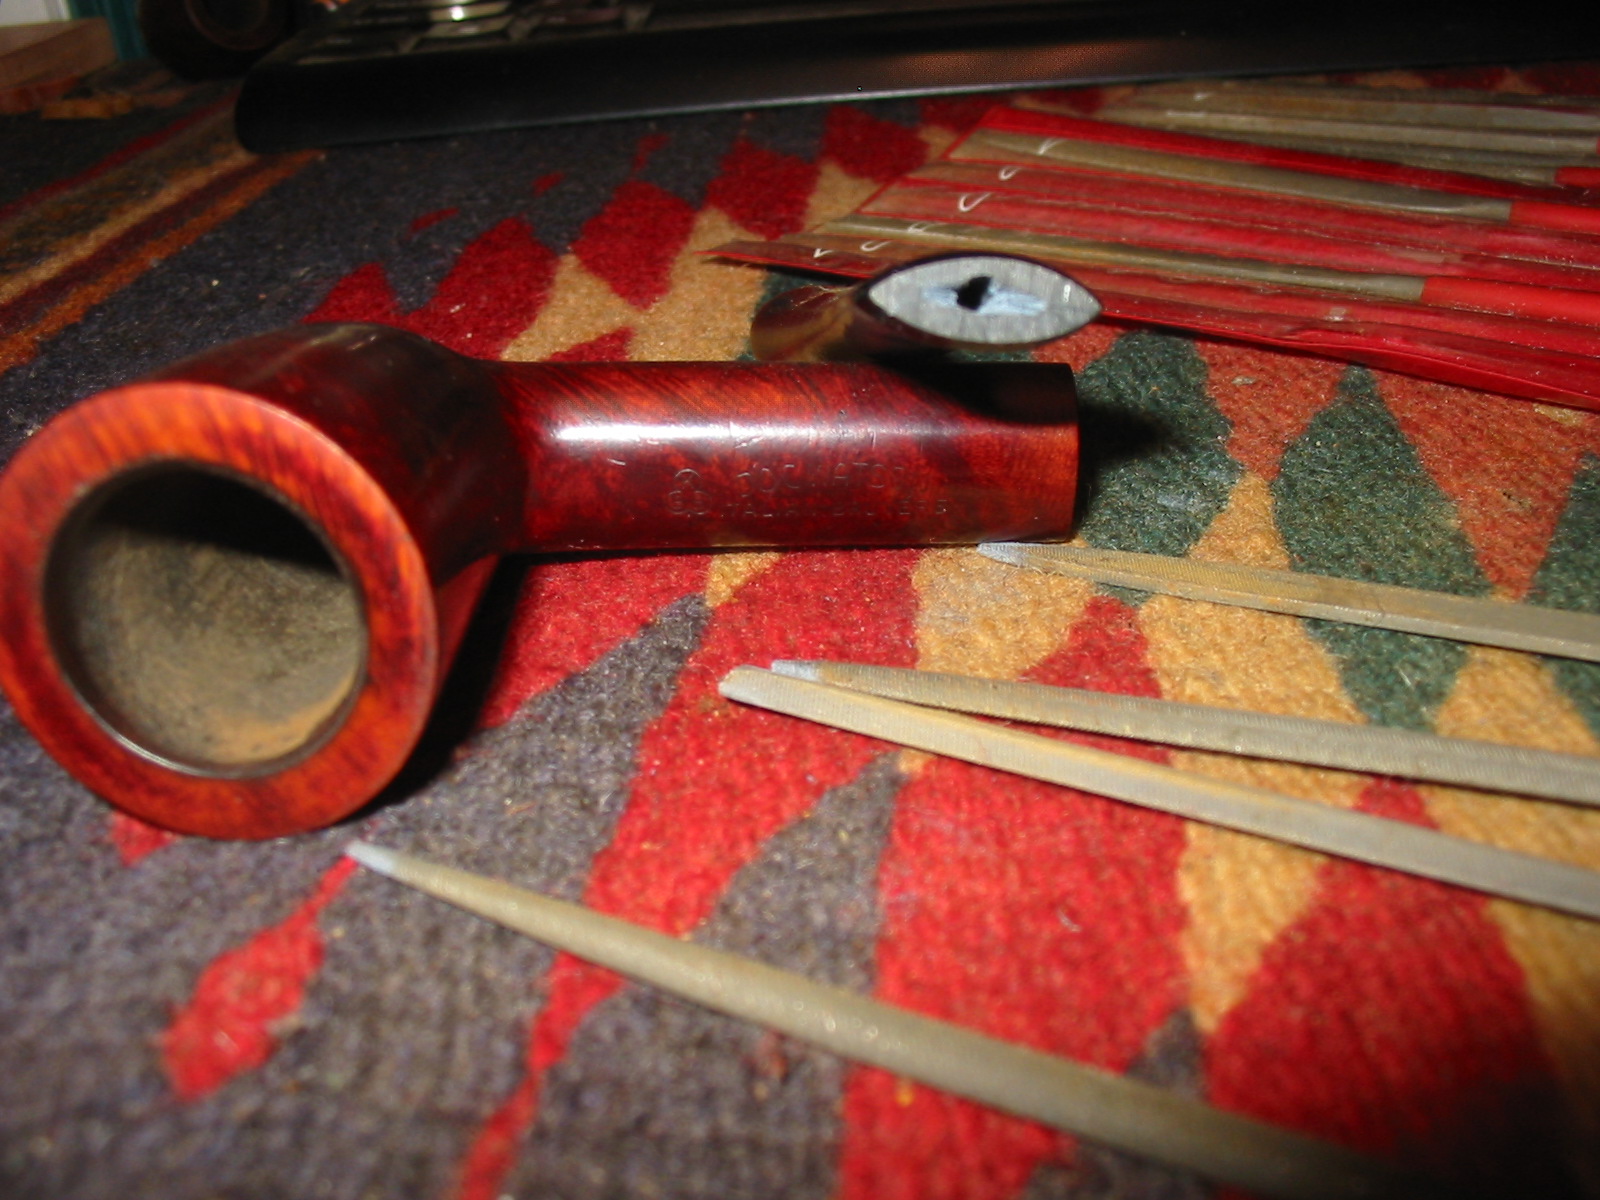
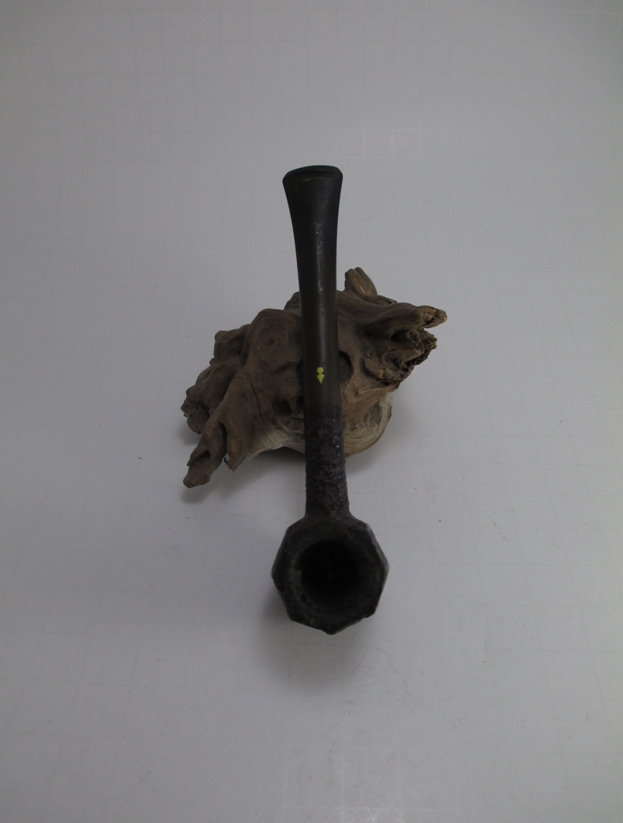
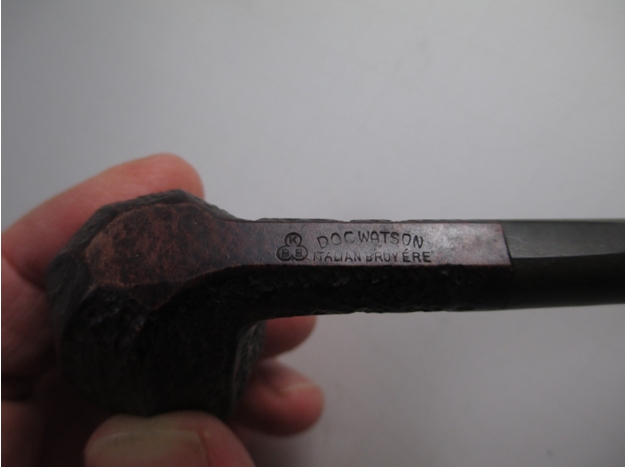
My wife and I enjoy browsing antique shops and last weekend checked out a new shop. They didn’t have many pipes, most were worn out drug store pipes, but this one little pipe stood out. The first thing I notices was the fantail stem and interesting inlay on the stem. I picked it up and discovered that it was a rusticated panel billiard shape, unlike anything I’ve ever seen. I pulled the stem from the shank and saw a very unusual stinger/tube apparatus. The stem looked like it was hand cut, very thin and the button had nice clean angles. From what I found out about KB&B pipes, the clover leaf without the ampersand was from the 1930s. The best part was the price, $4.95! Here is what the pipe looked like, thick cake, but otherwise not too bad.
 I missed some of the documentation process, but I cleaned the bowl with undiluted Murphy’s Oil Soap and a toothbrush. I decided to remove the stinger, which I accomplished with a heat gun, but still save it for the historical value. I then soaked the stem in Oxyclean. It had a lot of tar build up as you can see from this picture.
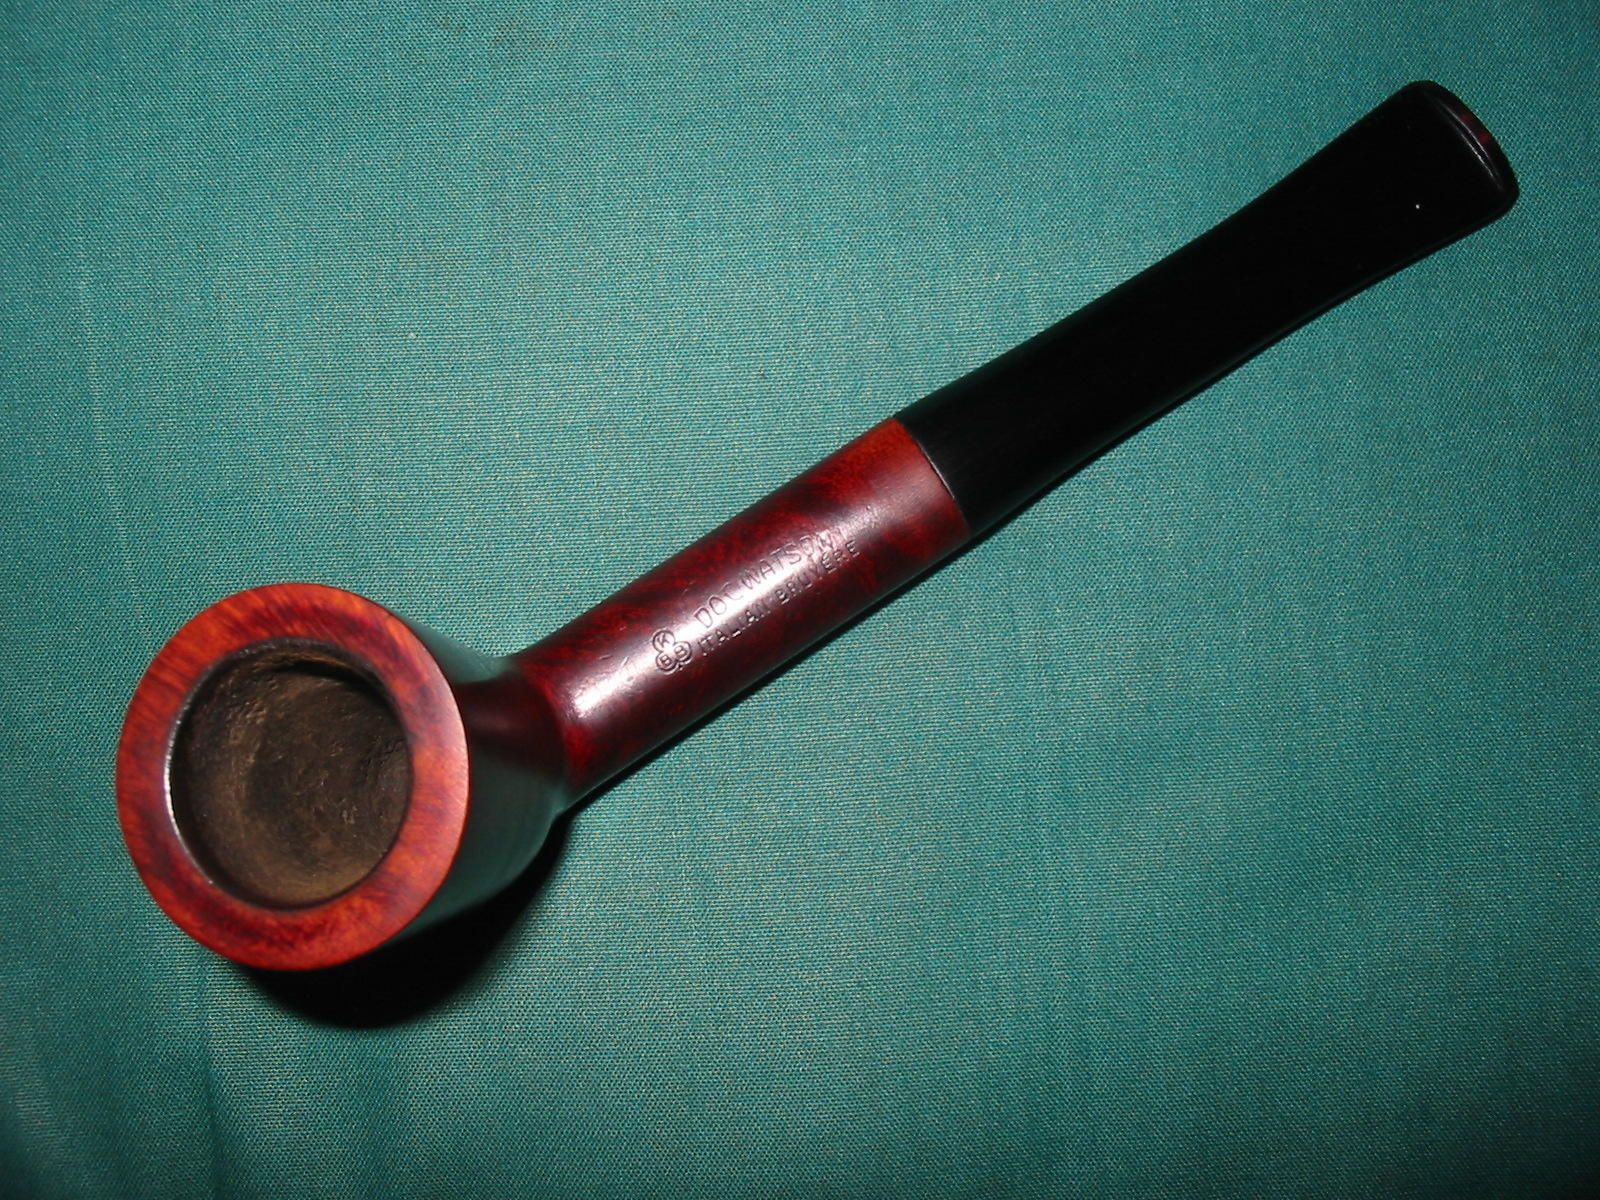
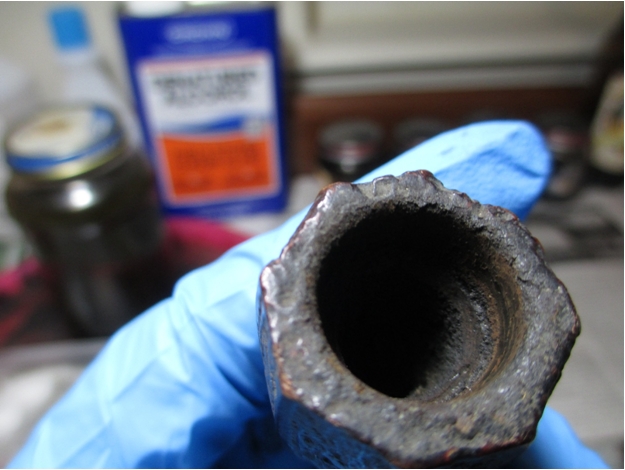
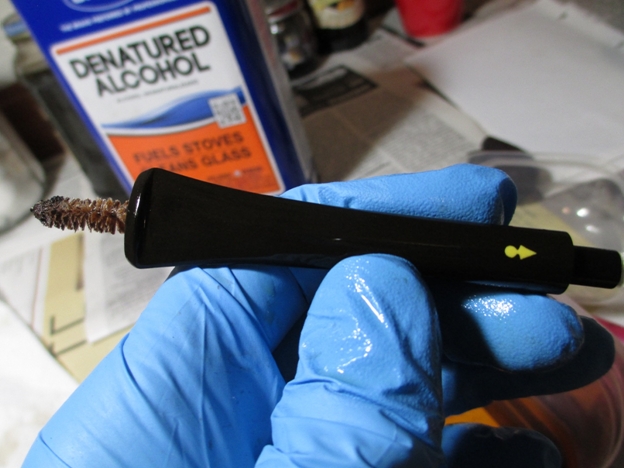 Next I turned my attention to the bowl. This is a very small bowl, my smallest reamer didn’t fit, so I ended up using a pen knife to carefully remove the cake.
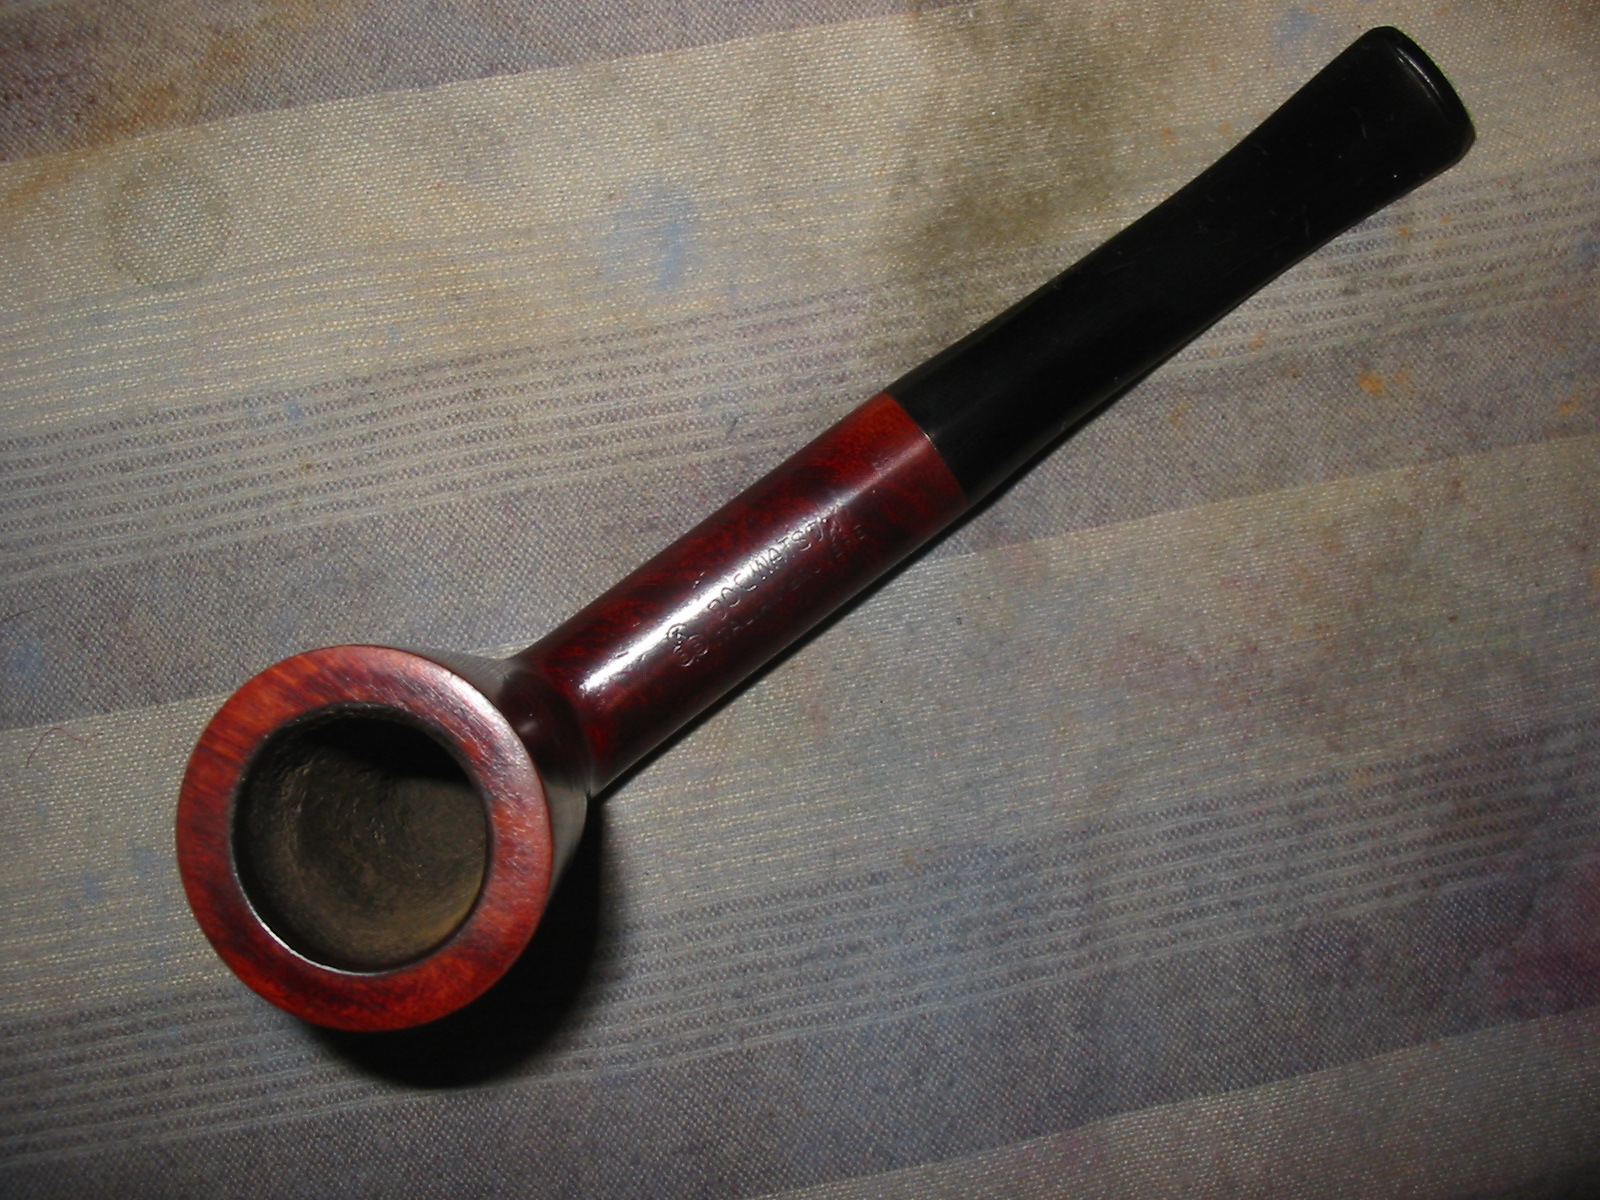
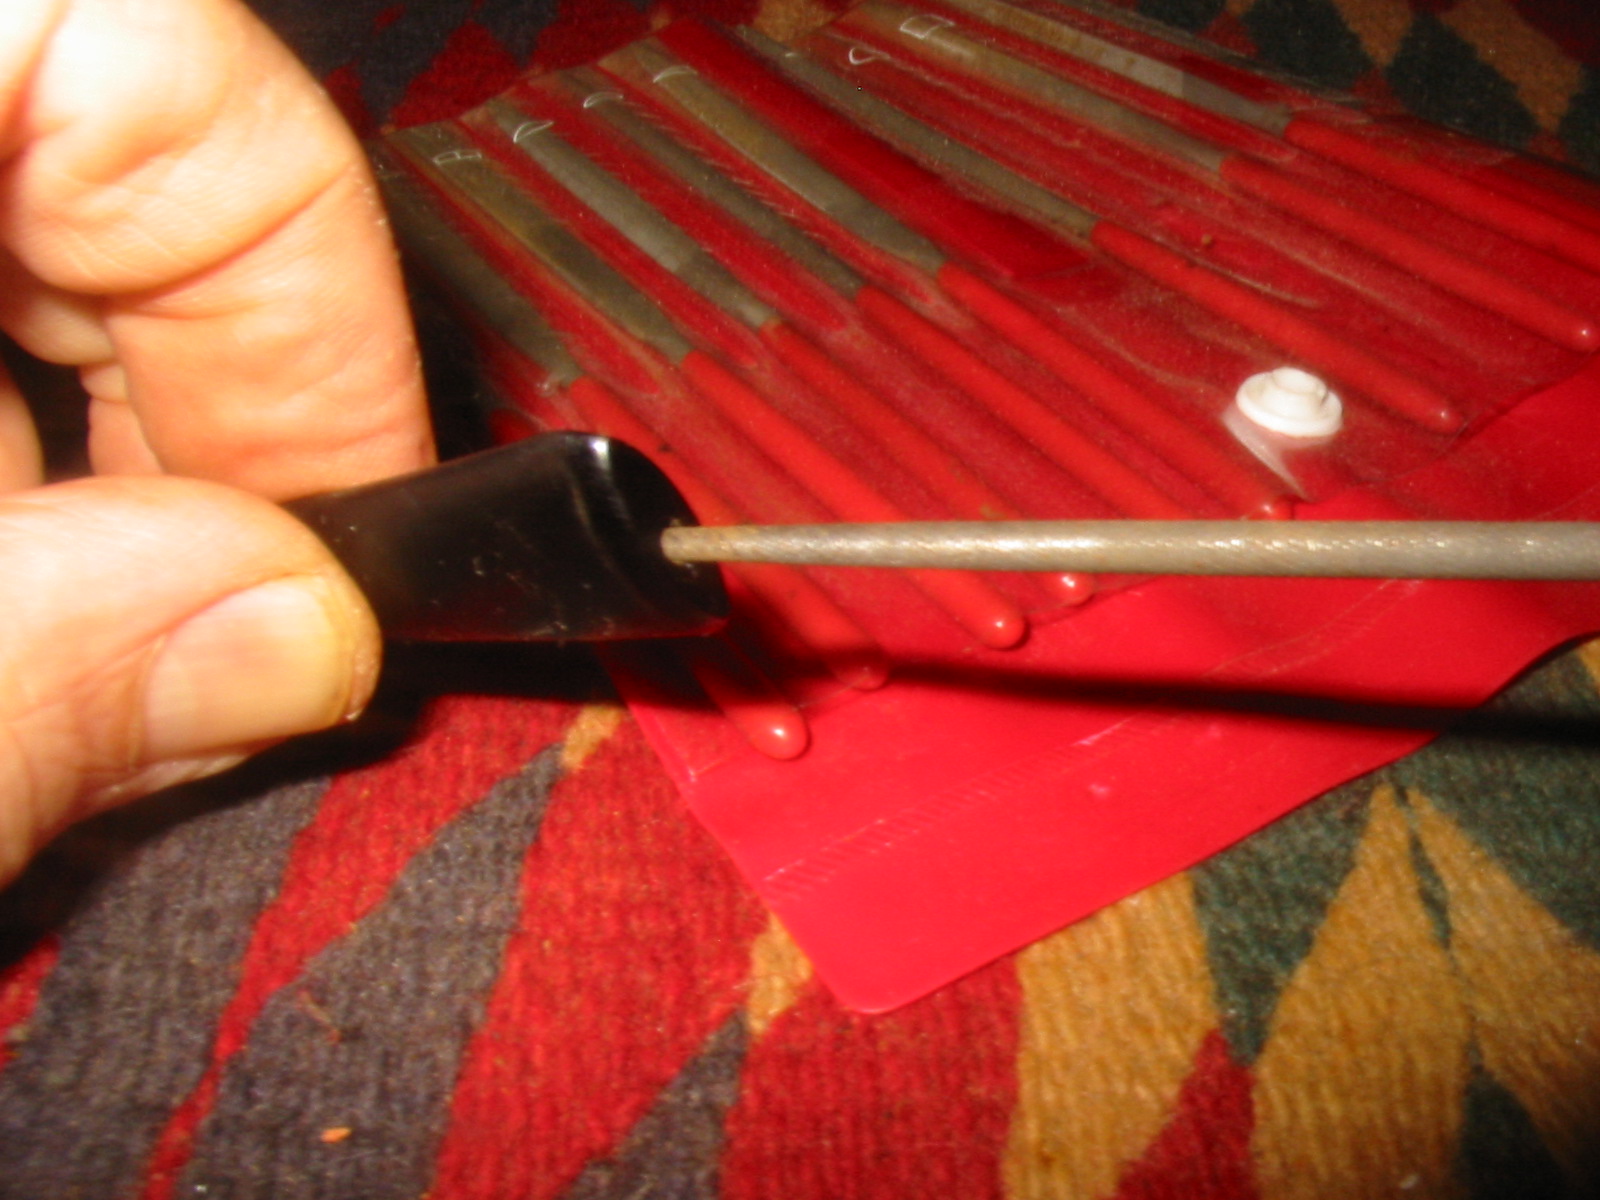
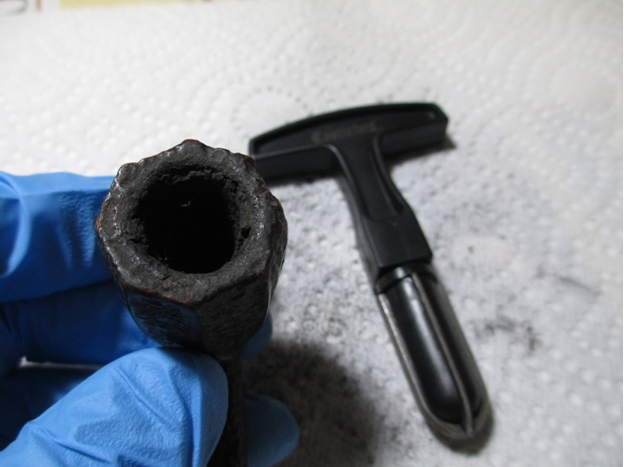
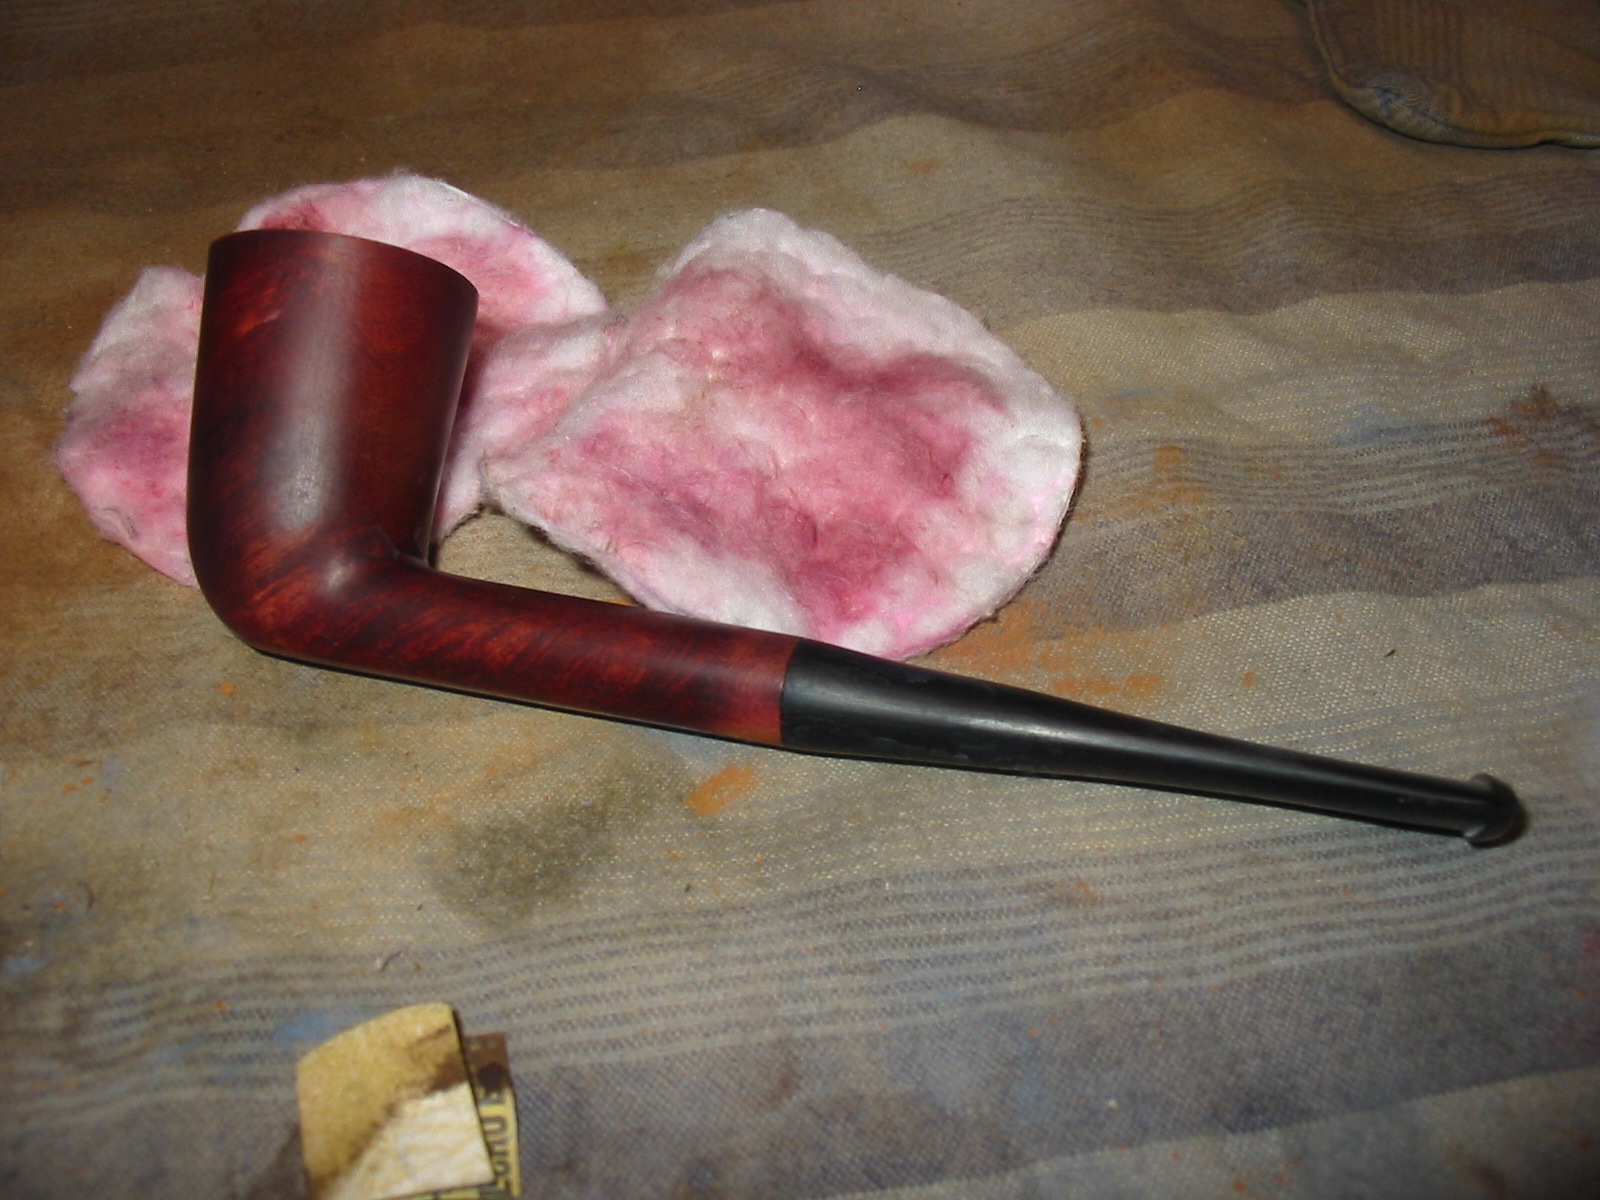
 With the bowl clean and the stem started, it was time for the retort. Normally when I put cotton balls in the bowl I can fit three or four, this bowl only fits one.
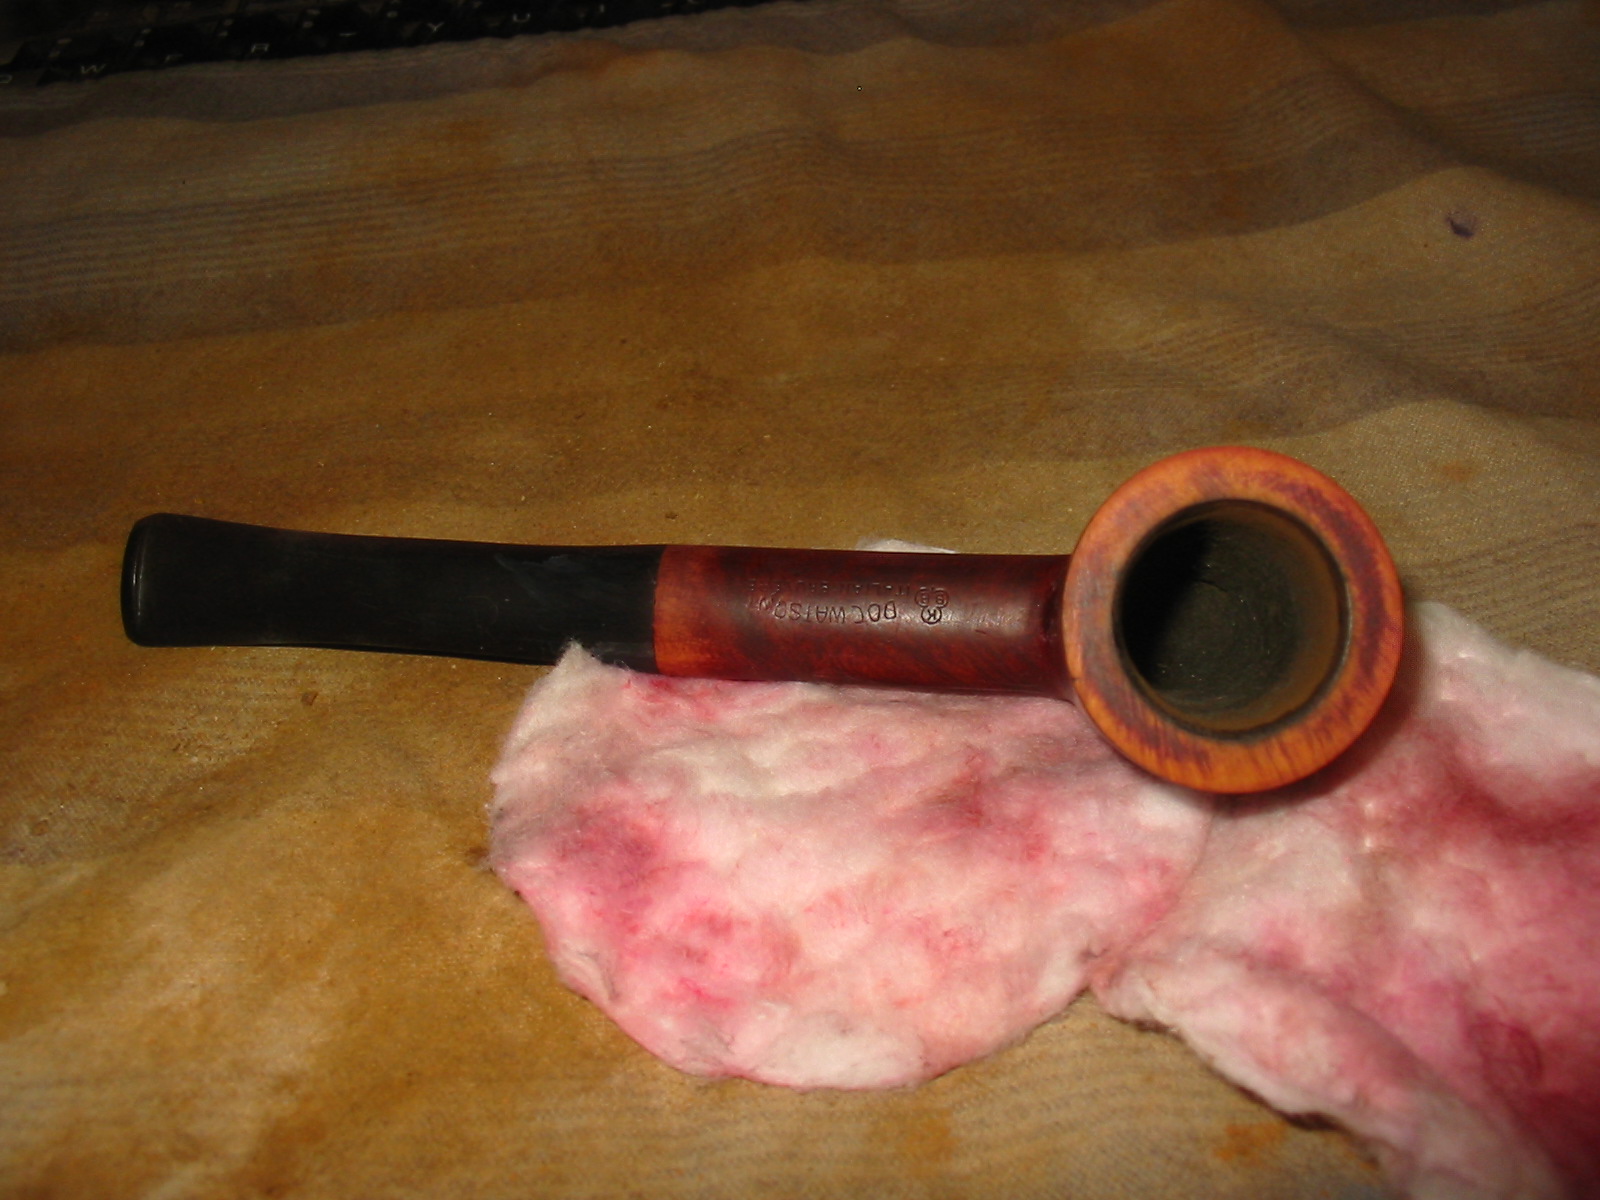
 Although the stinger allowed for a lot of tar build up, it kept the shank much cleaner than most. After a few q-tips it was clean.
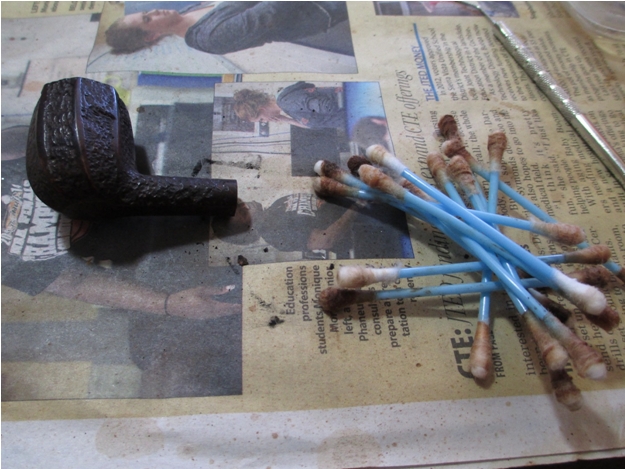 The stem was just as dirty as the shank, but the retort made the job of removing tar a breeze.
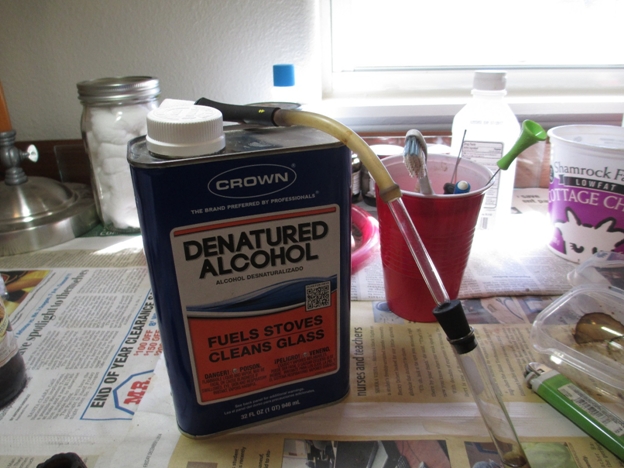 You can see from what boiled out just how much tar the stem had.
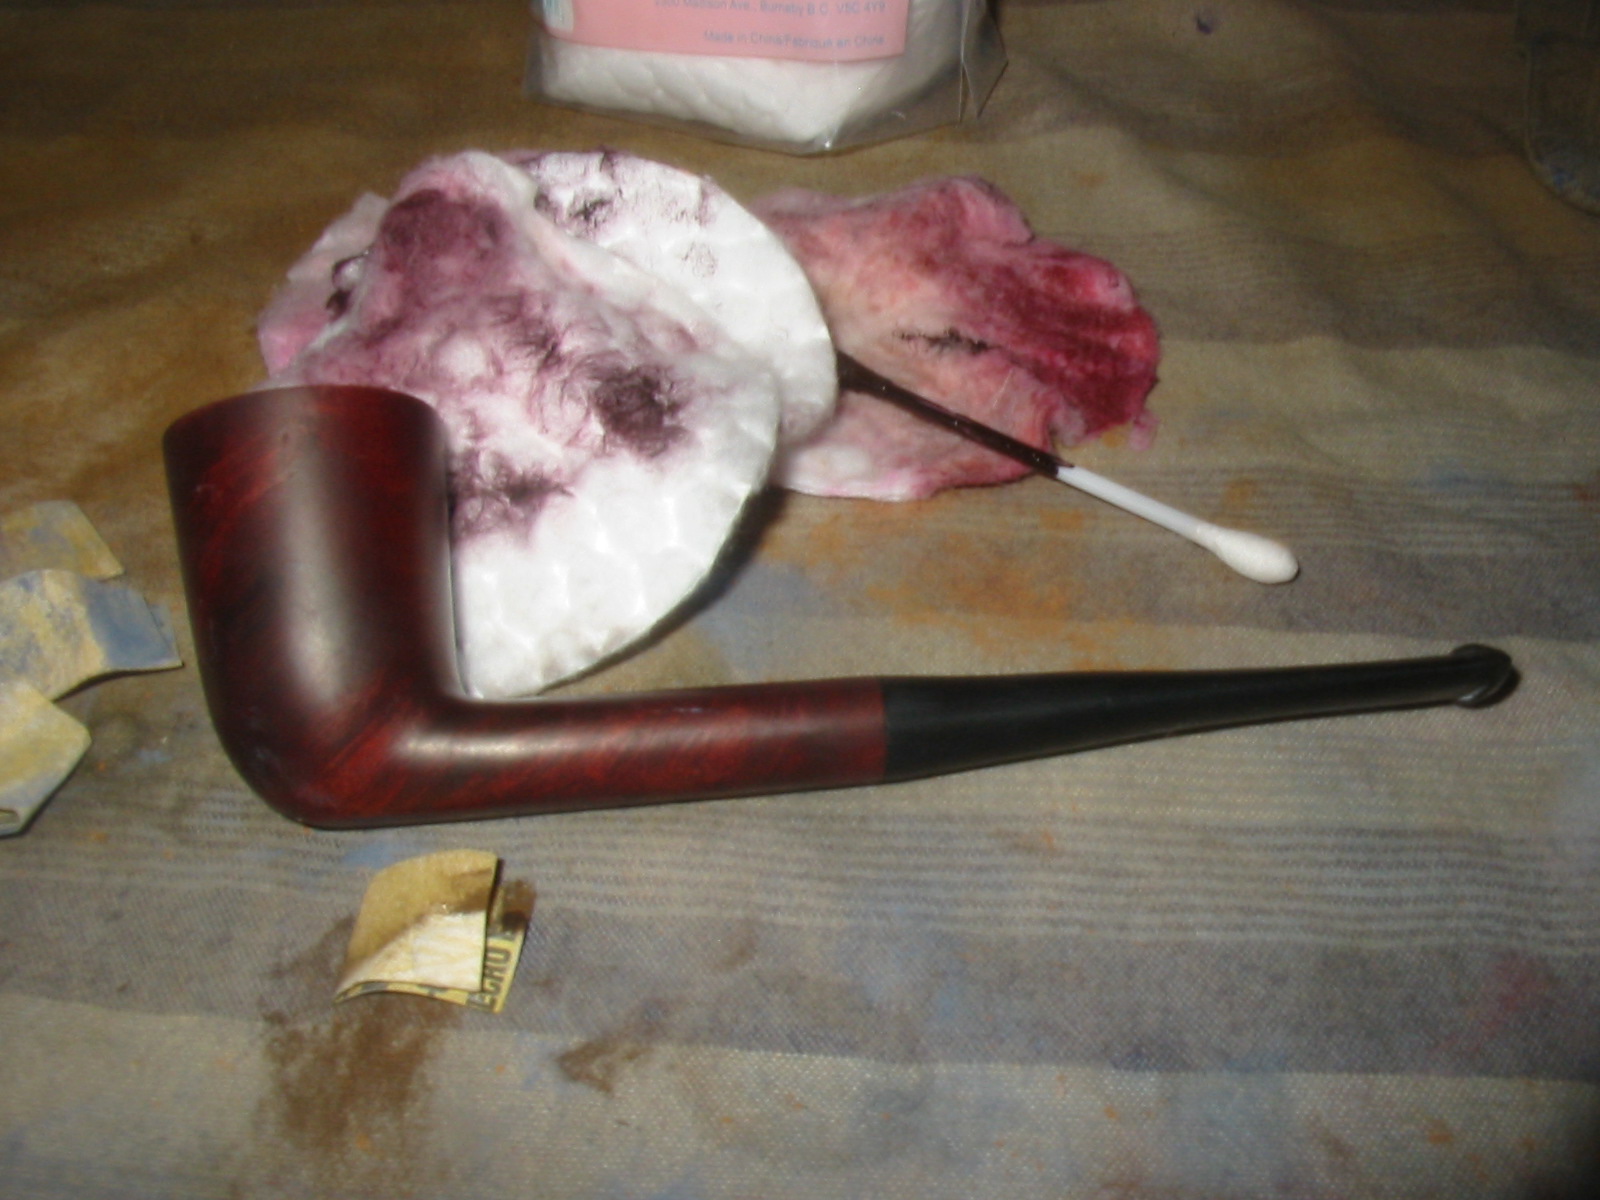
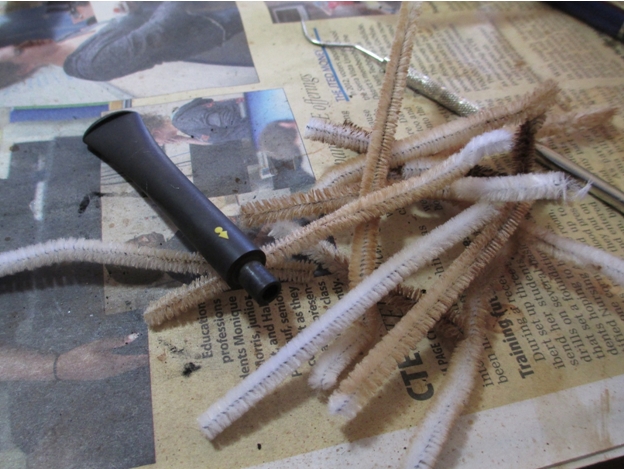
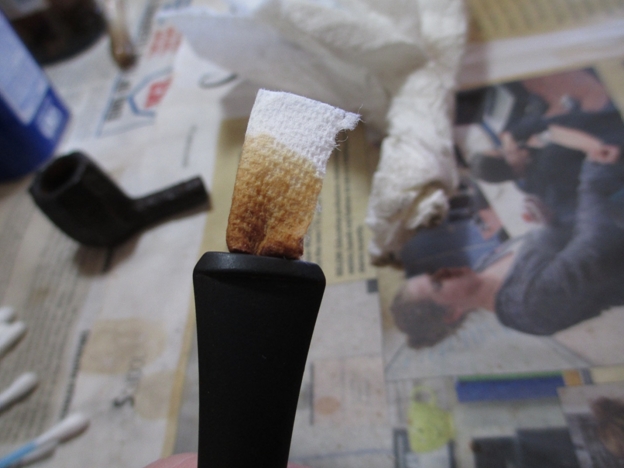 The first couple of fuzzy sticks dipped in rubbing alcohol came out very dirty, but it was mostly tar and it didn’t take long before they came out clean.
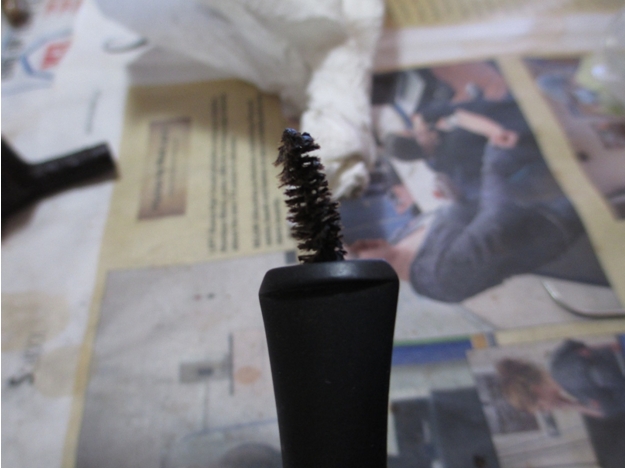
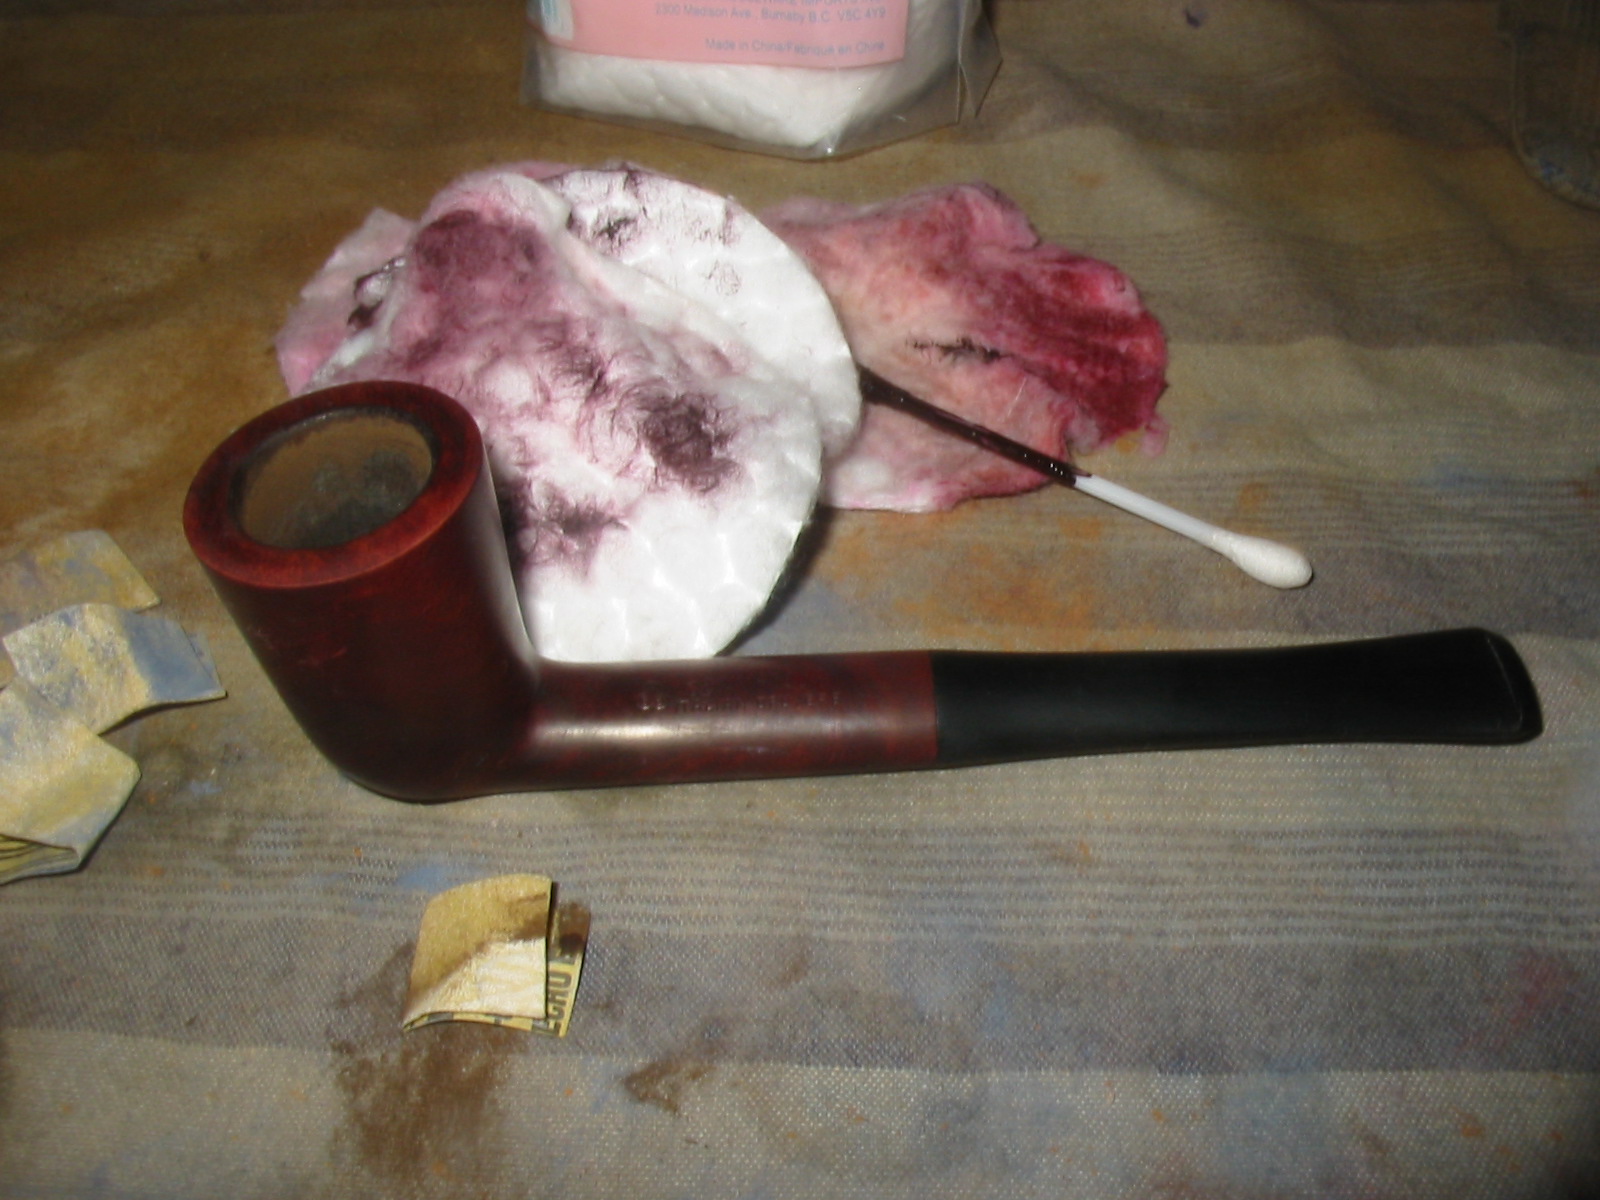
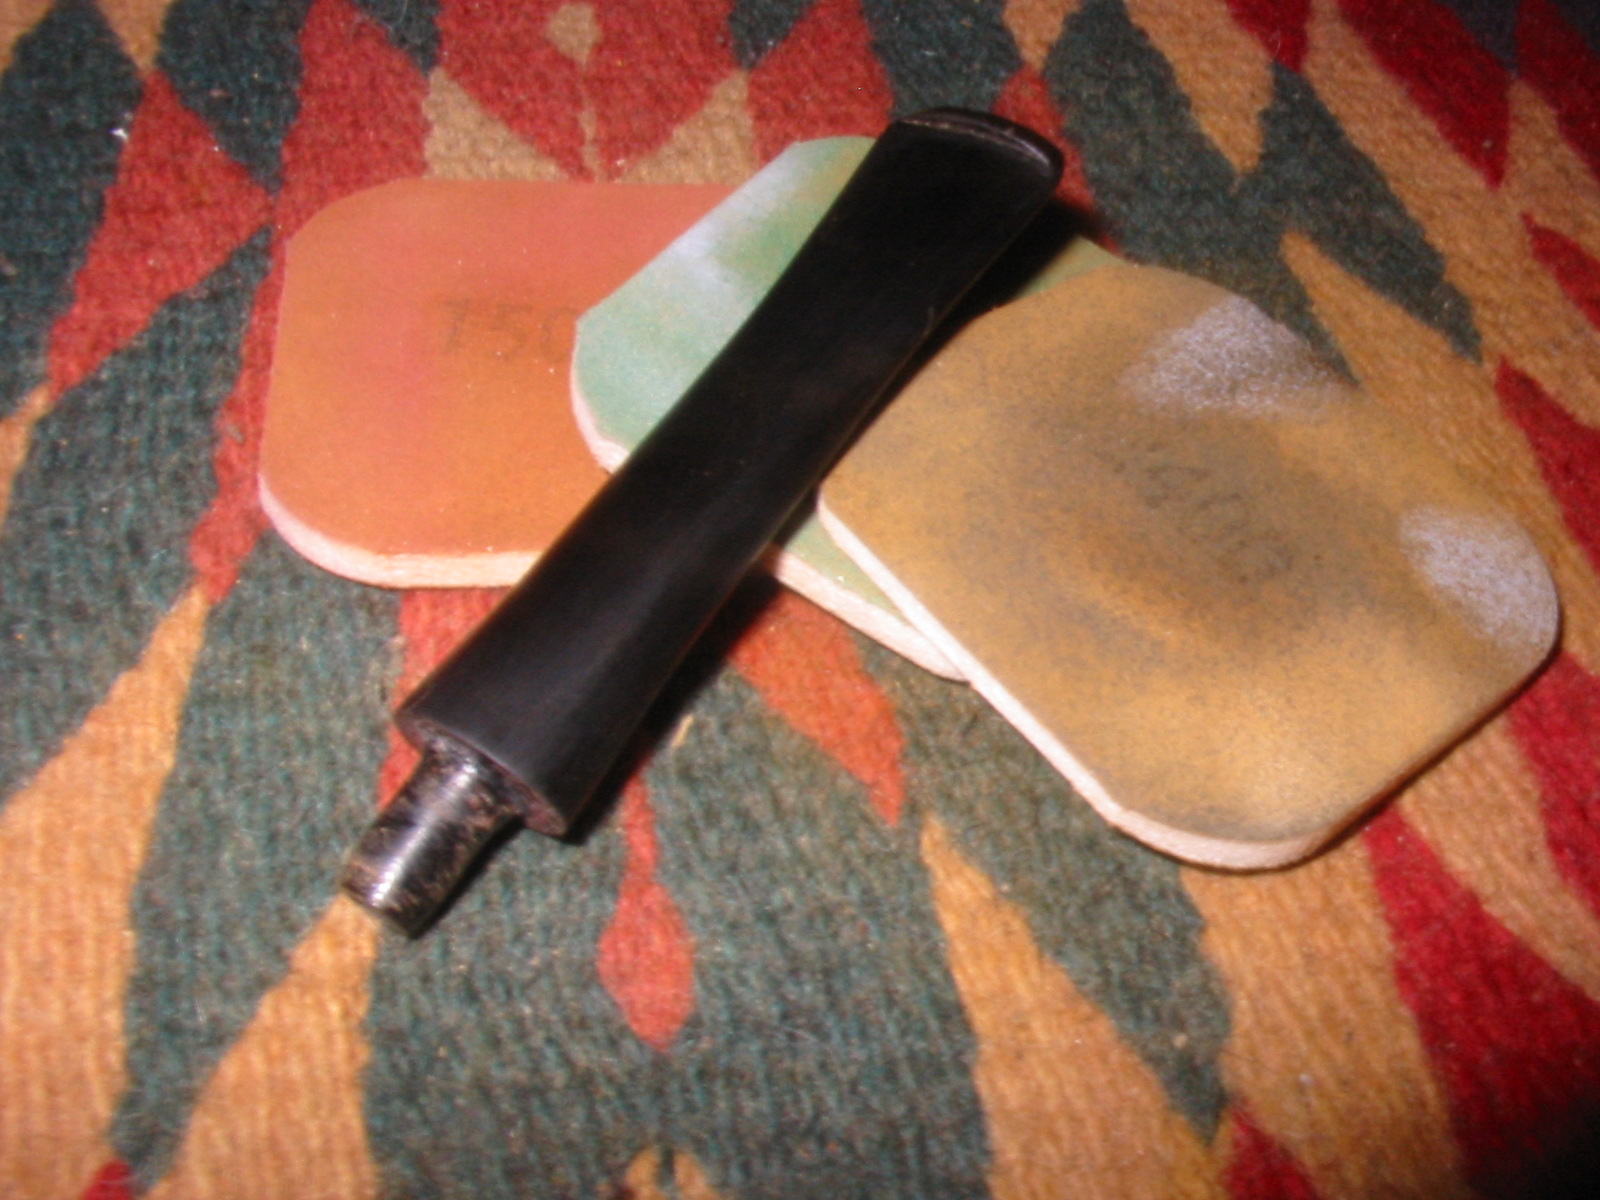
 Since the outside of the bowl was already clean, I used a progression of micro mesh pads, starting at 6000 and worked up to 12,000 to polish the bottom of the shank and the high spots on the bowl. I used 400 grit wet/dry with water to remove the oxidation from the stem then switched to micro mesh pads (1500-2200) with water.
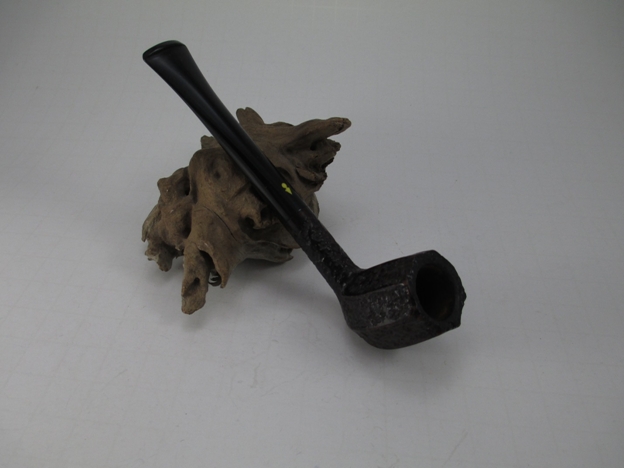
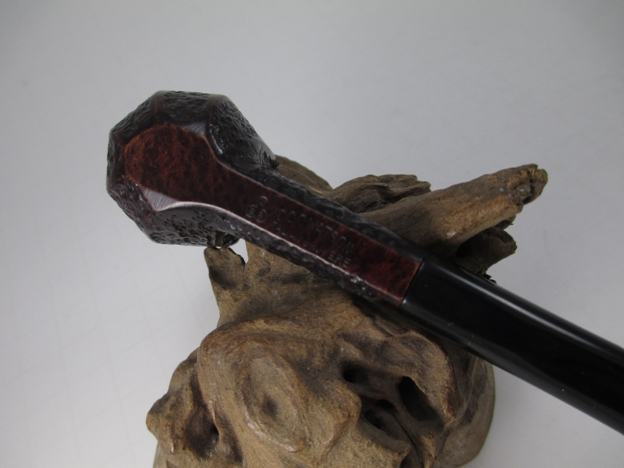
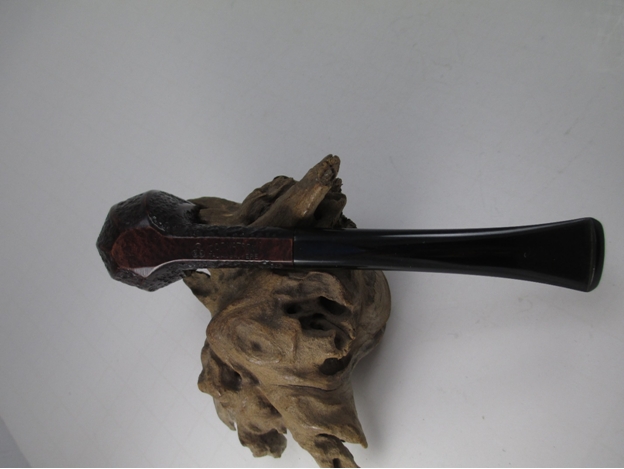
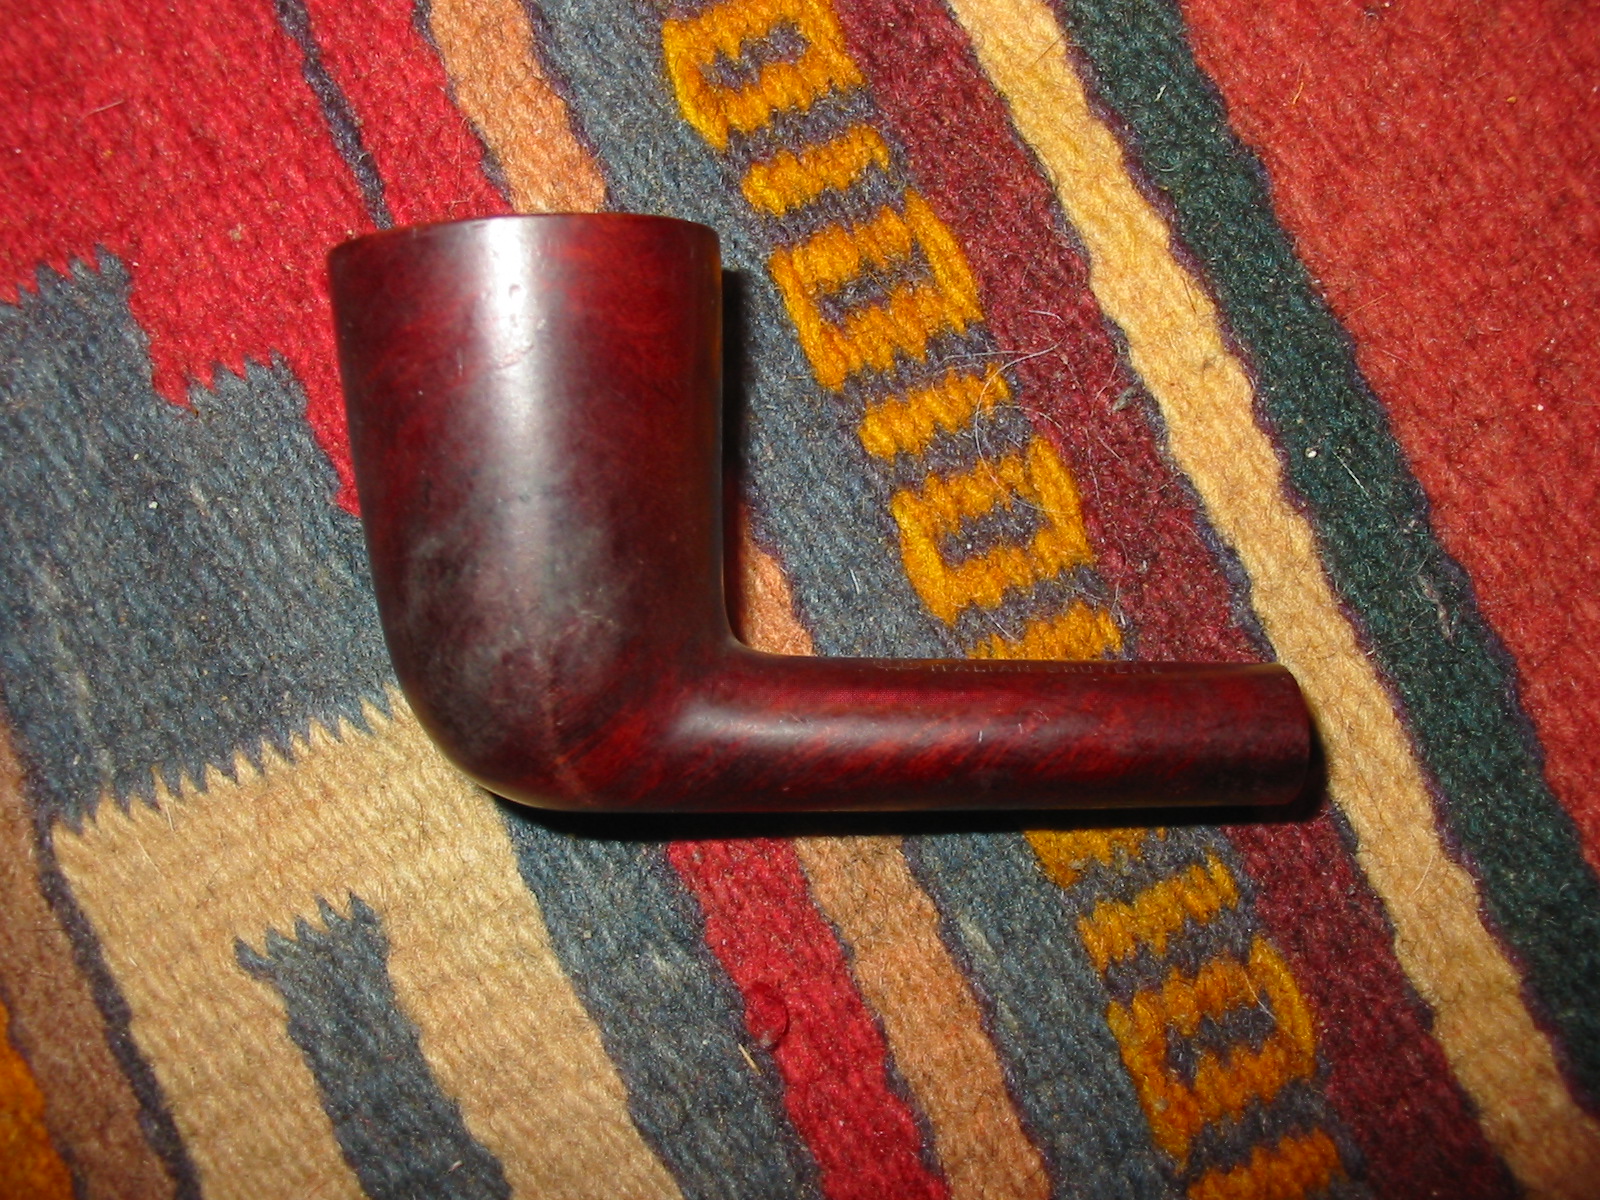
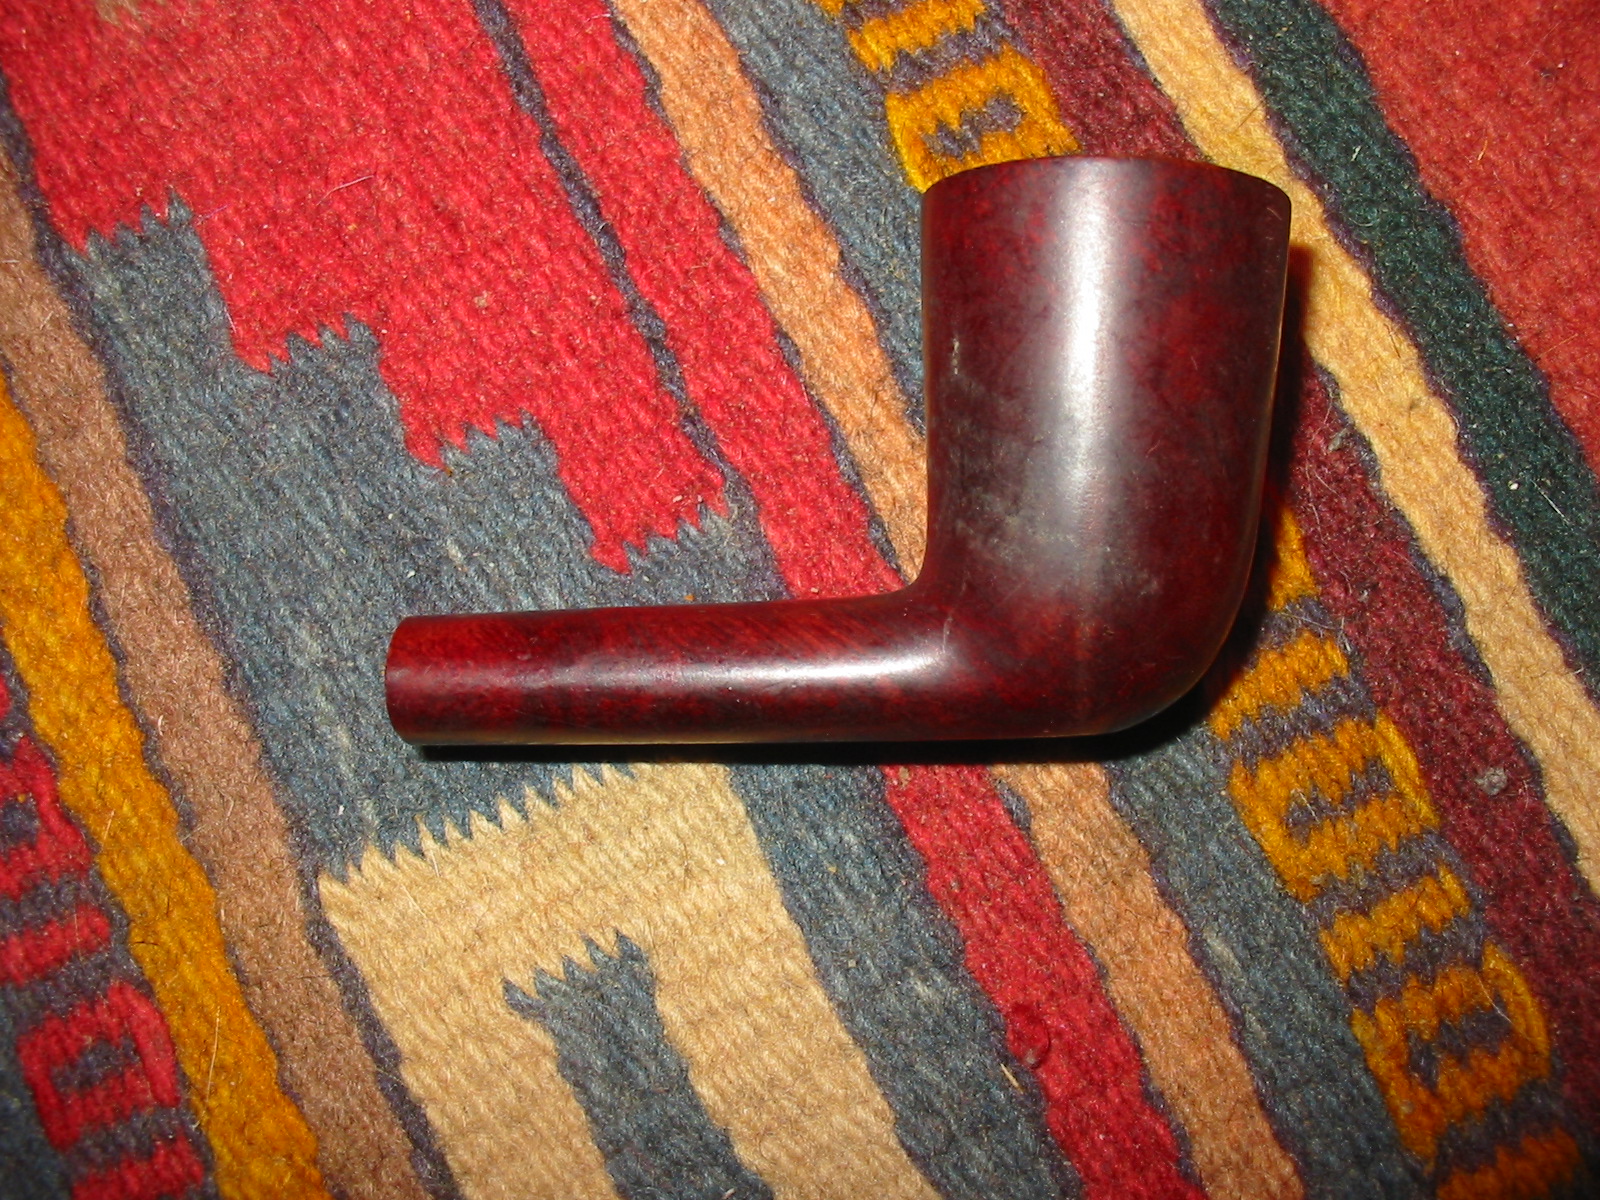
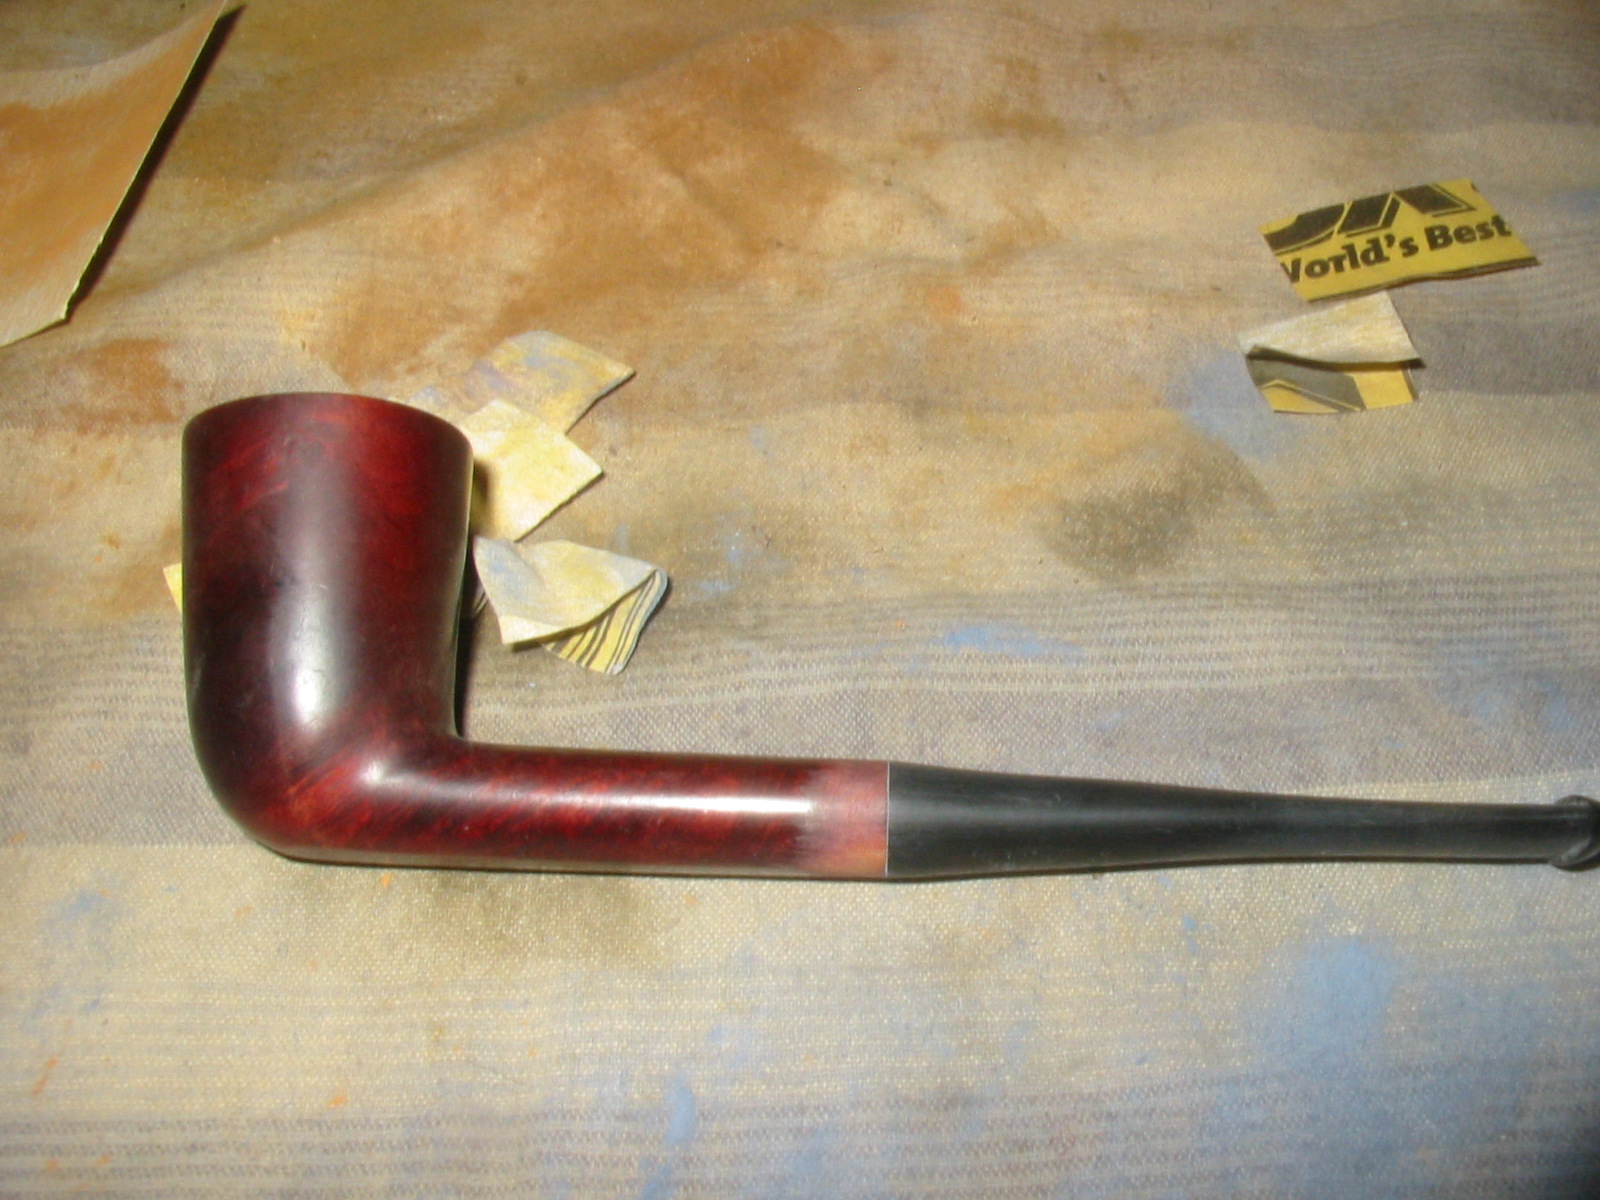
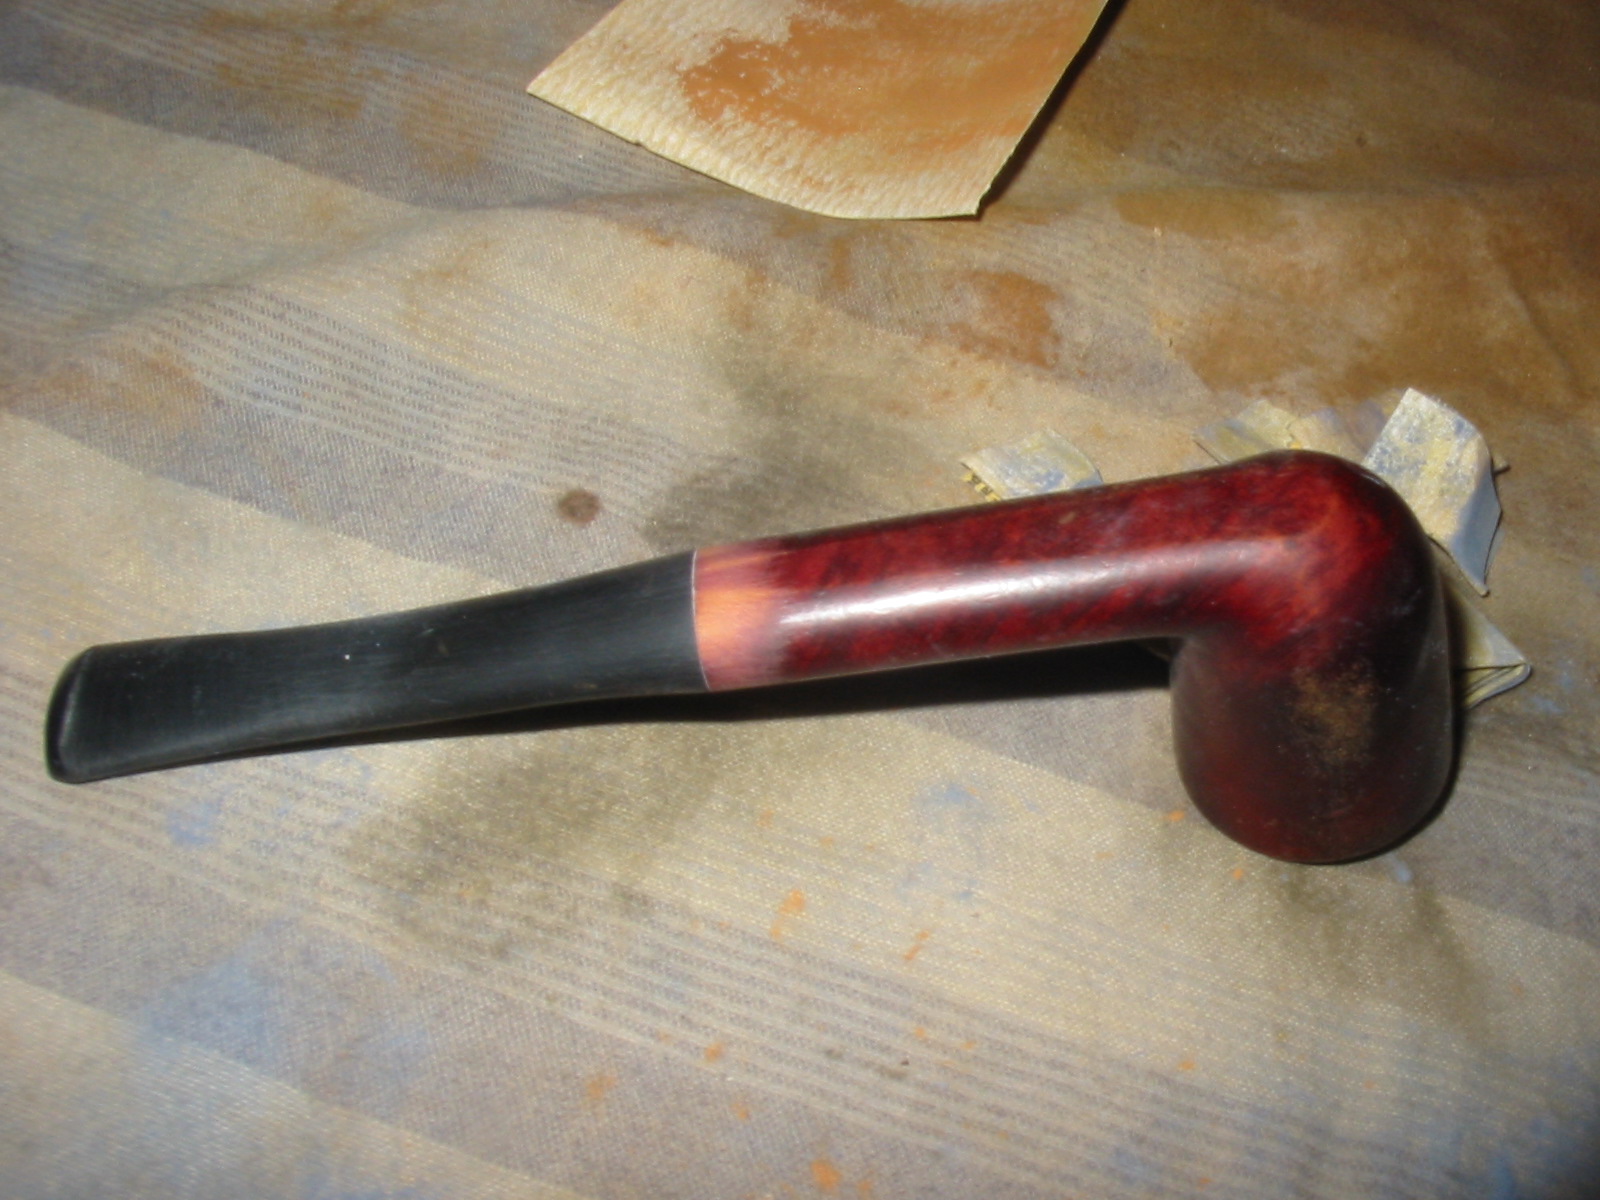
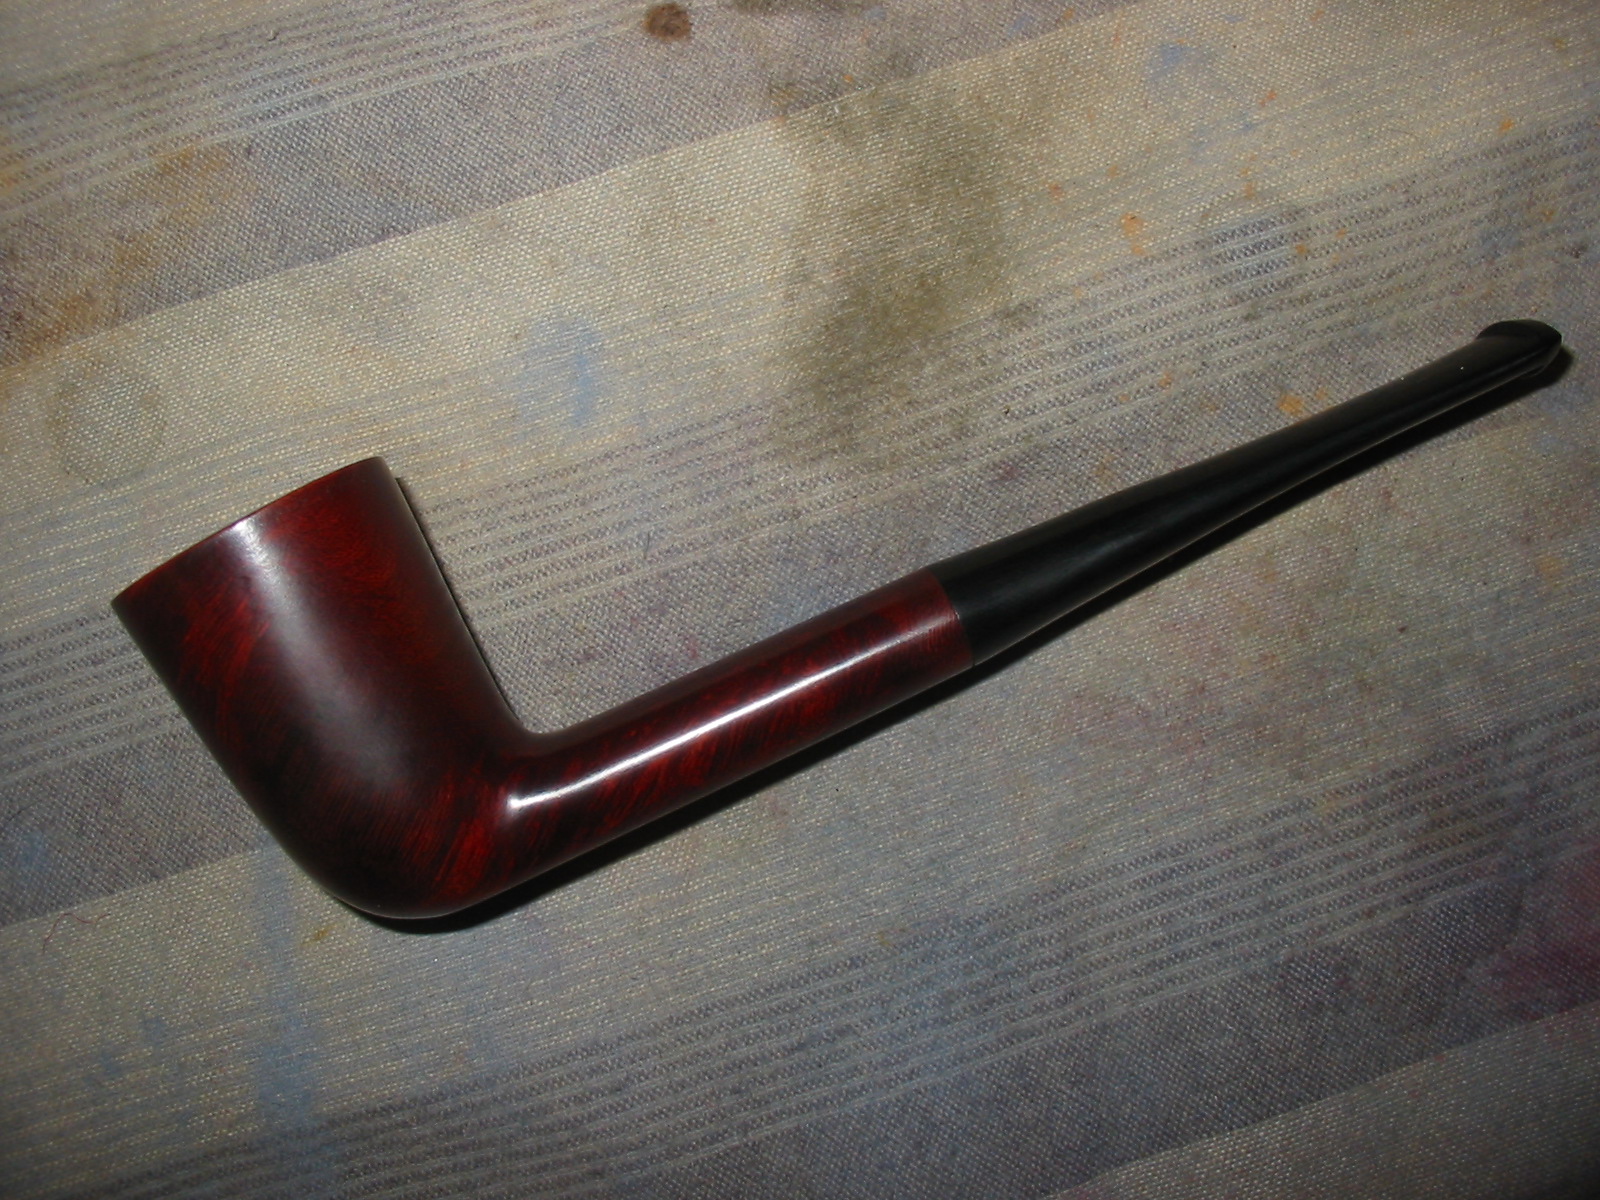
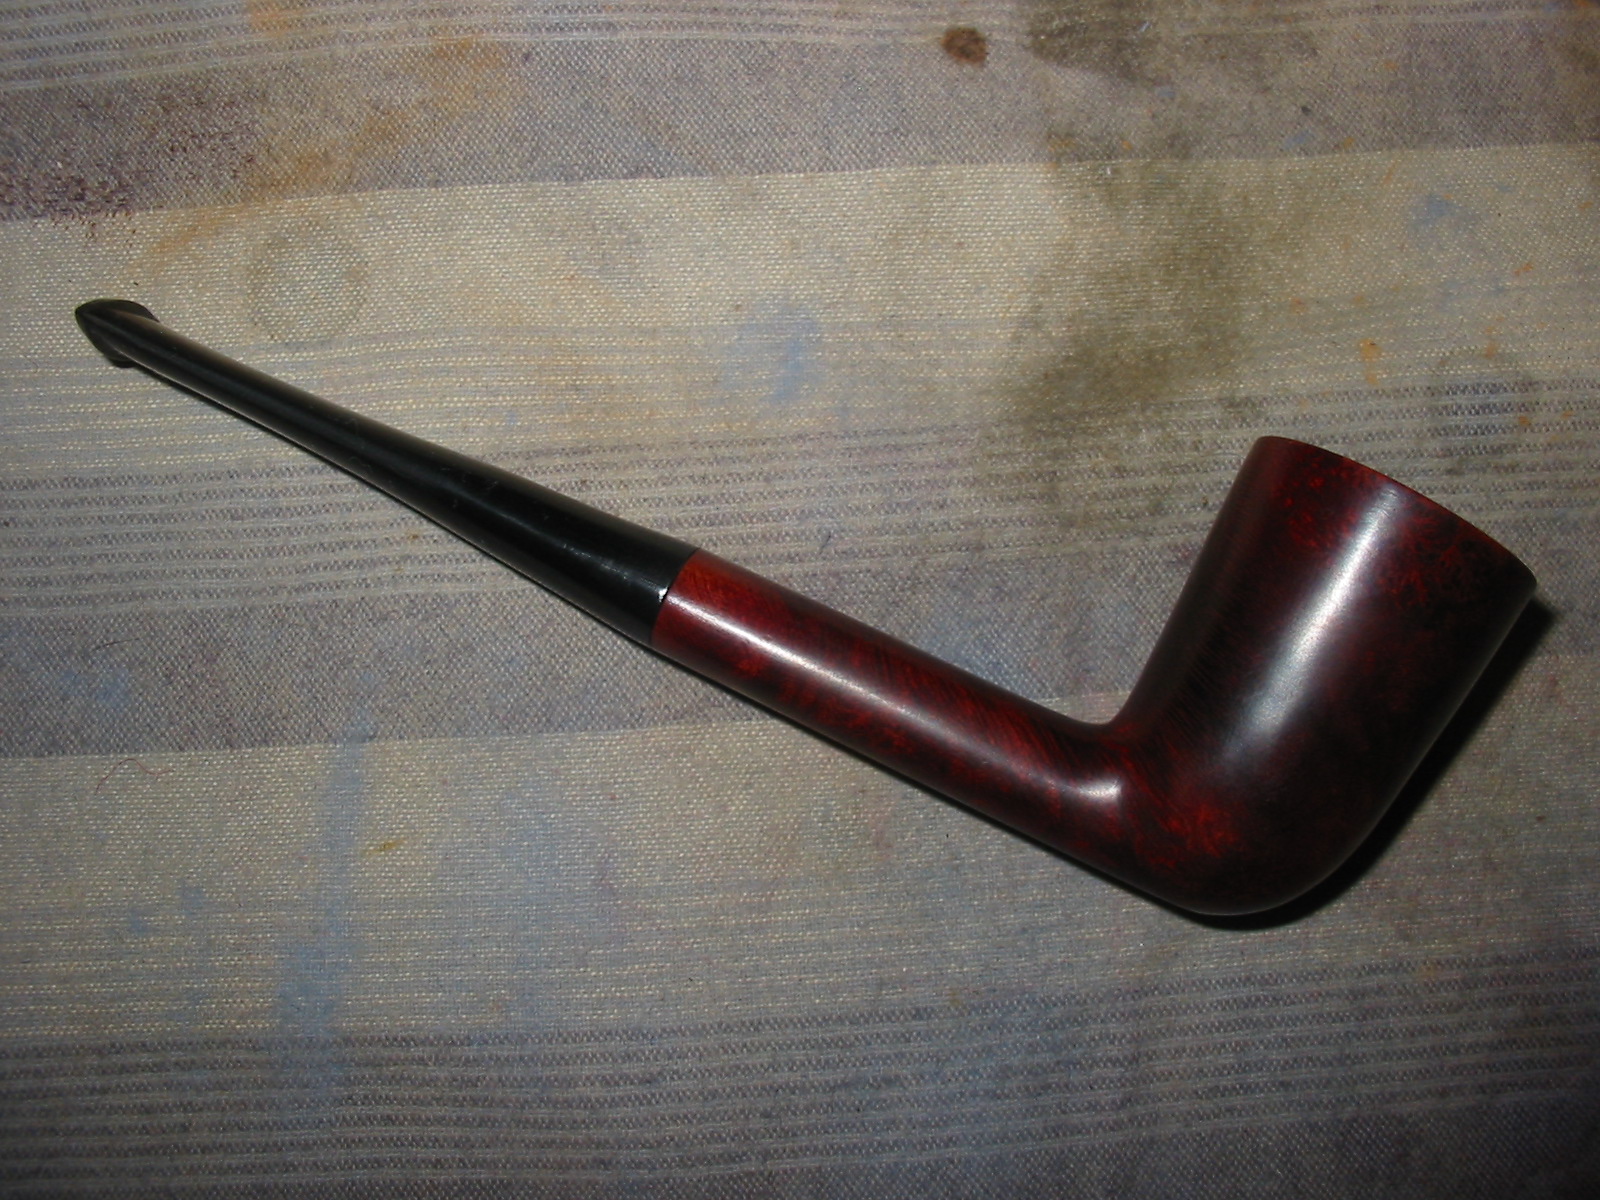
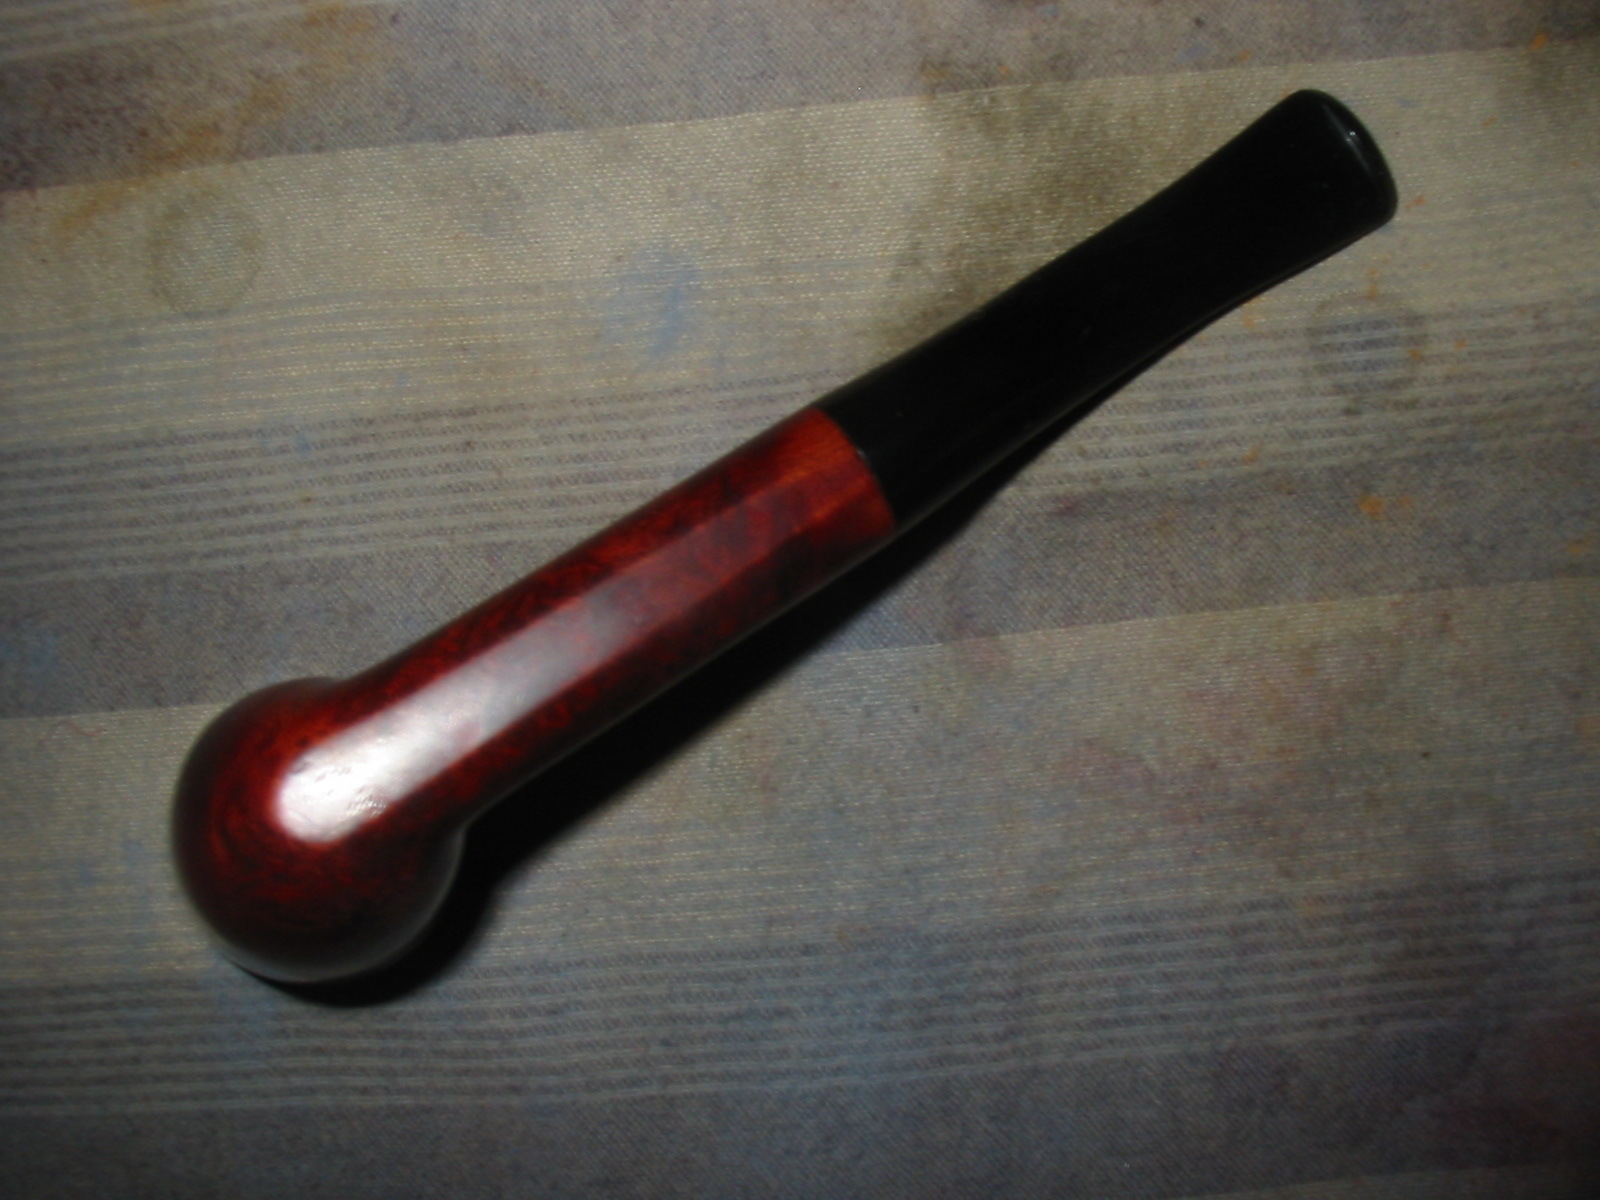
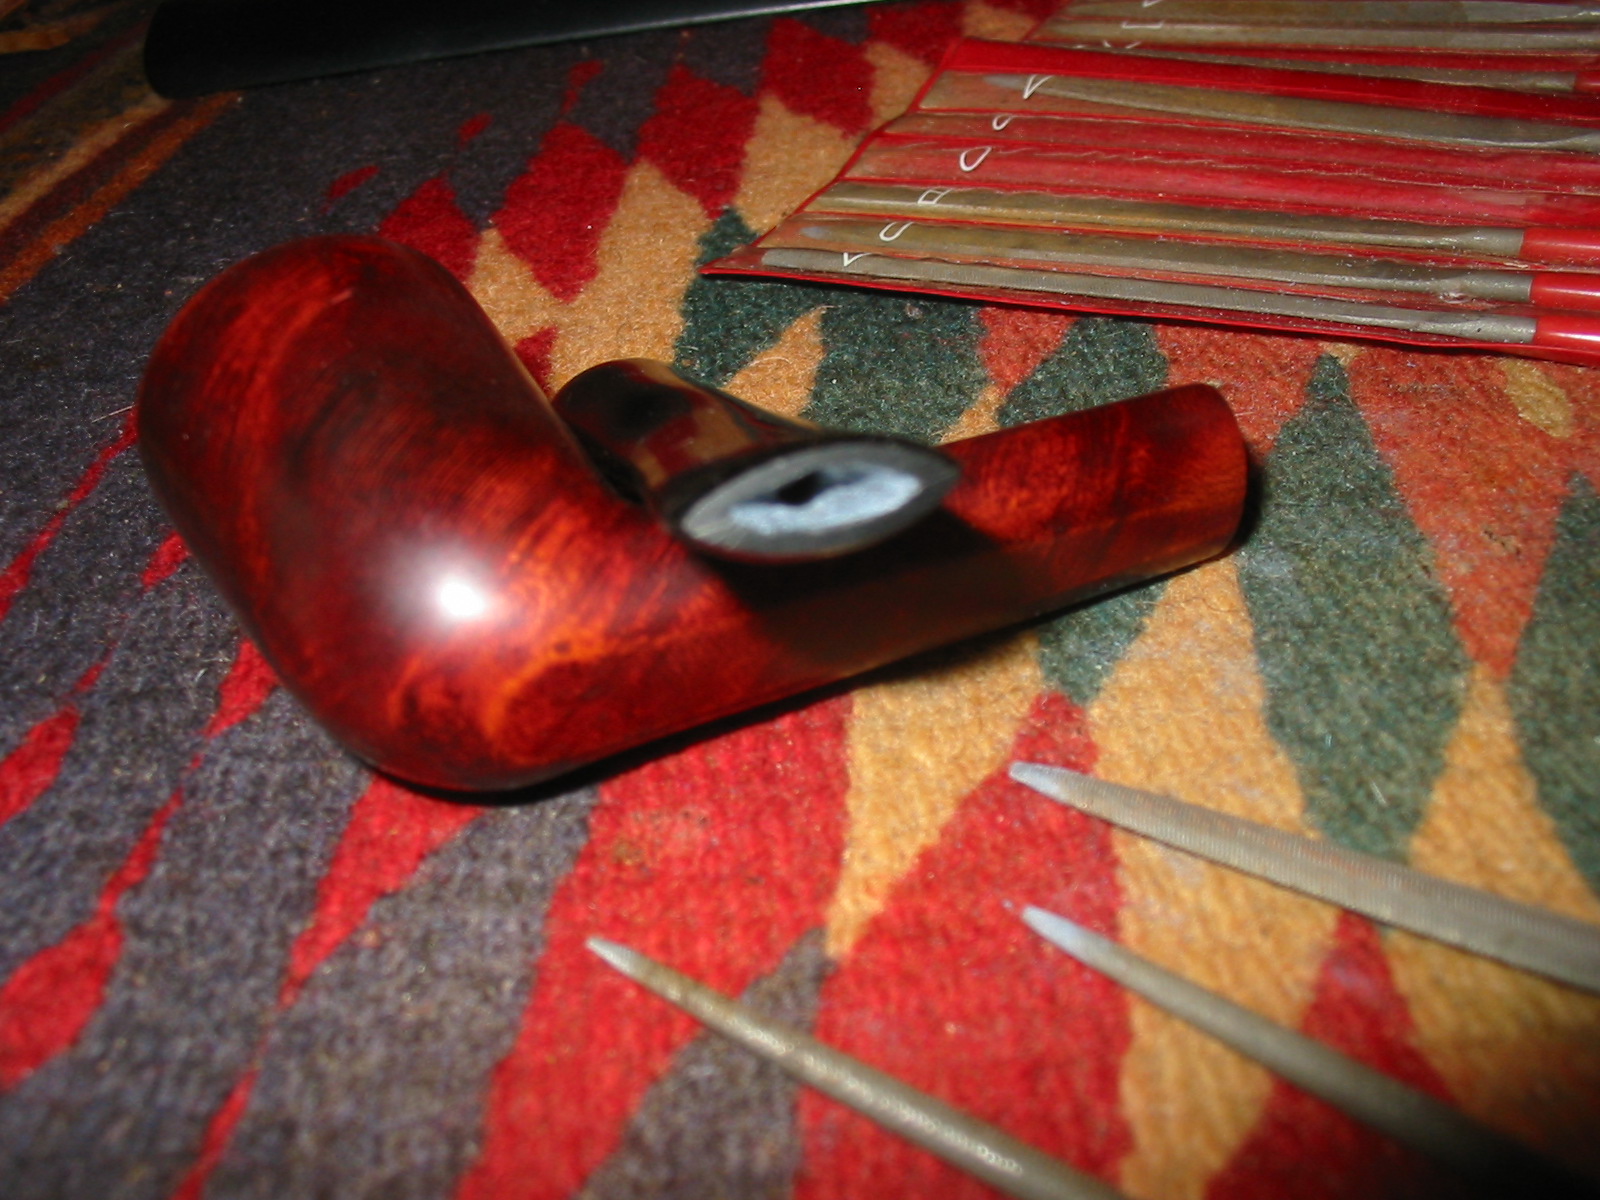
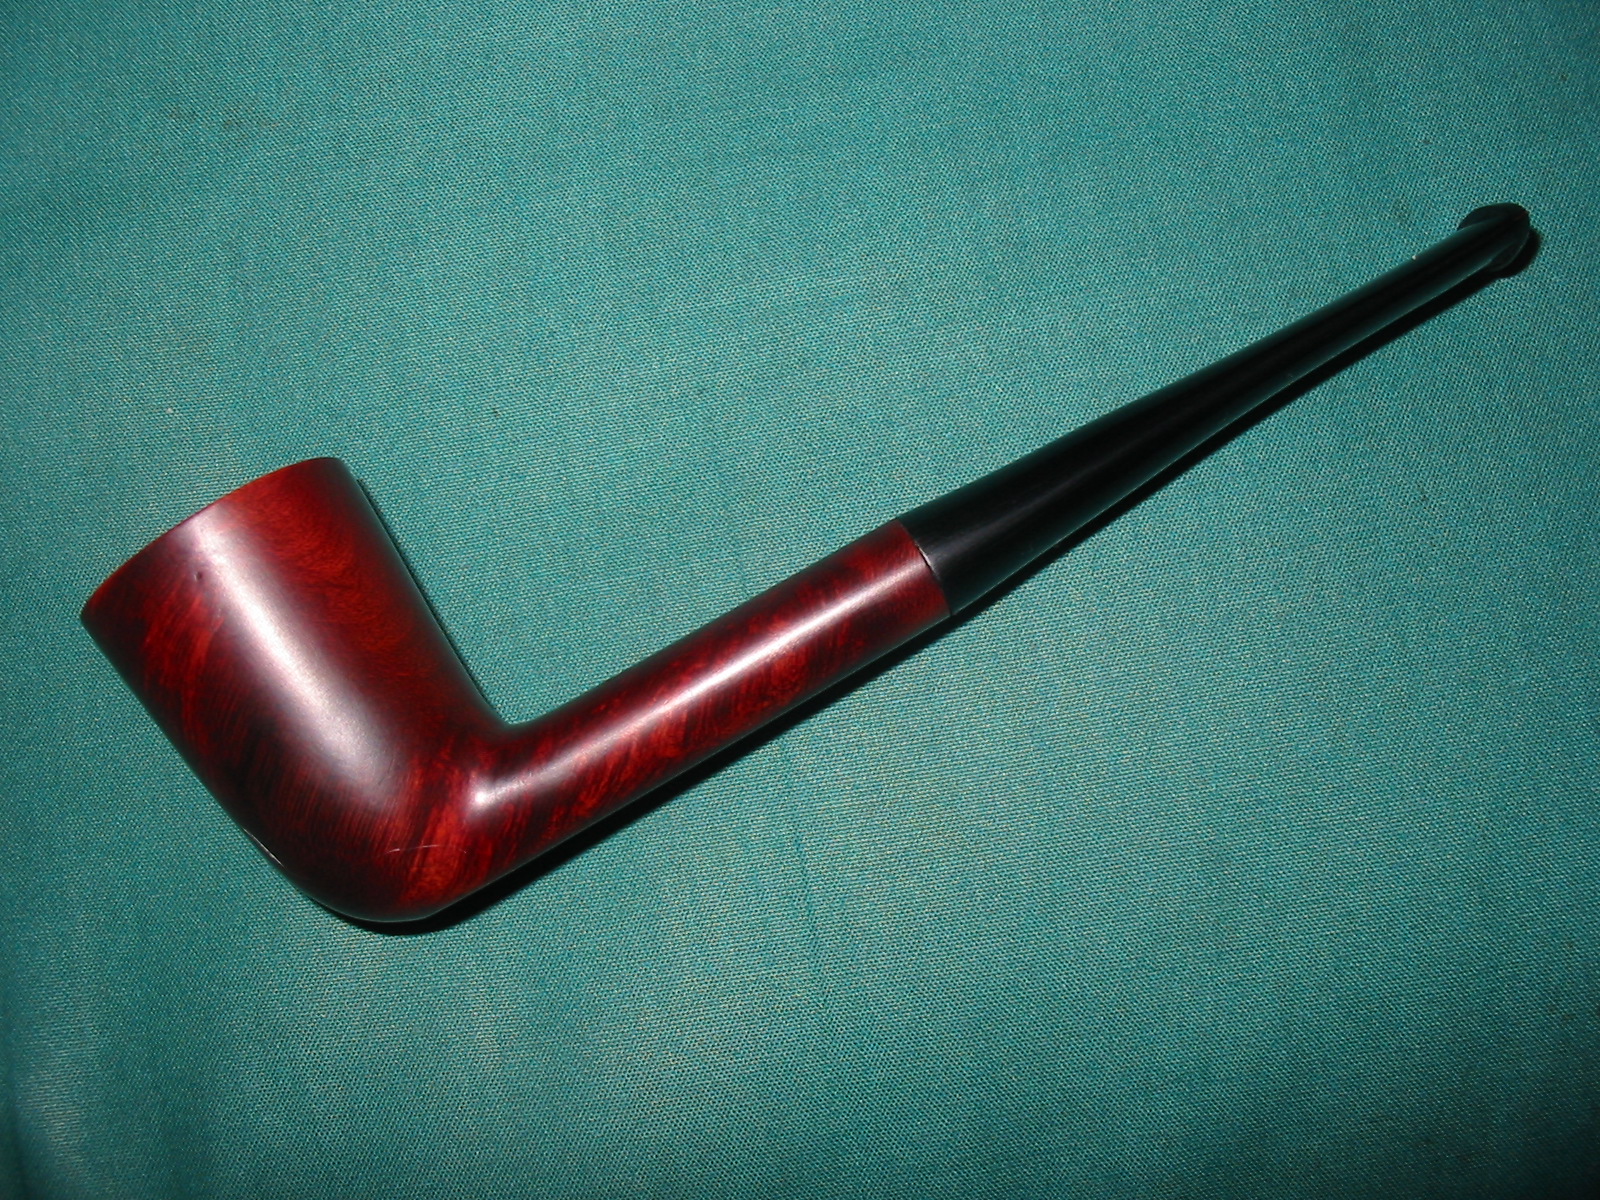
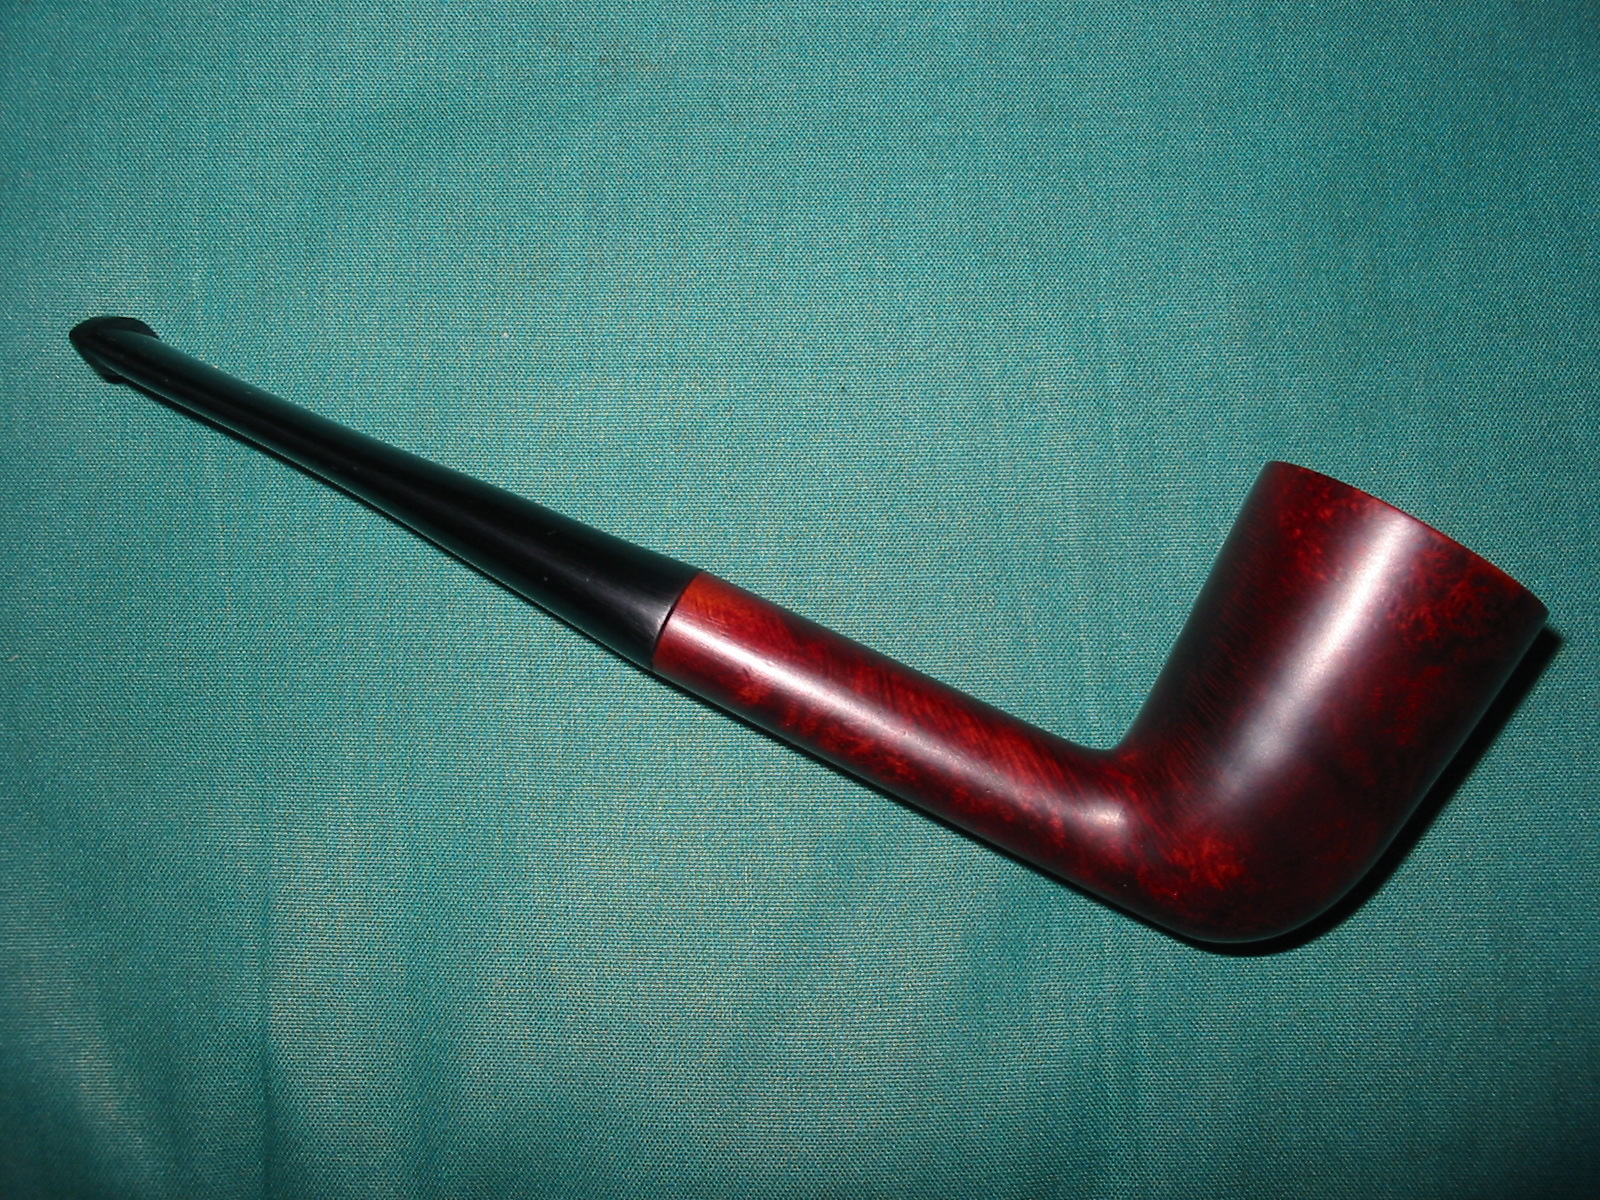
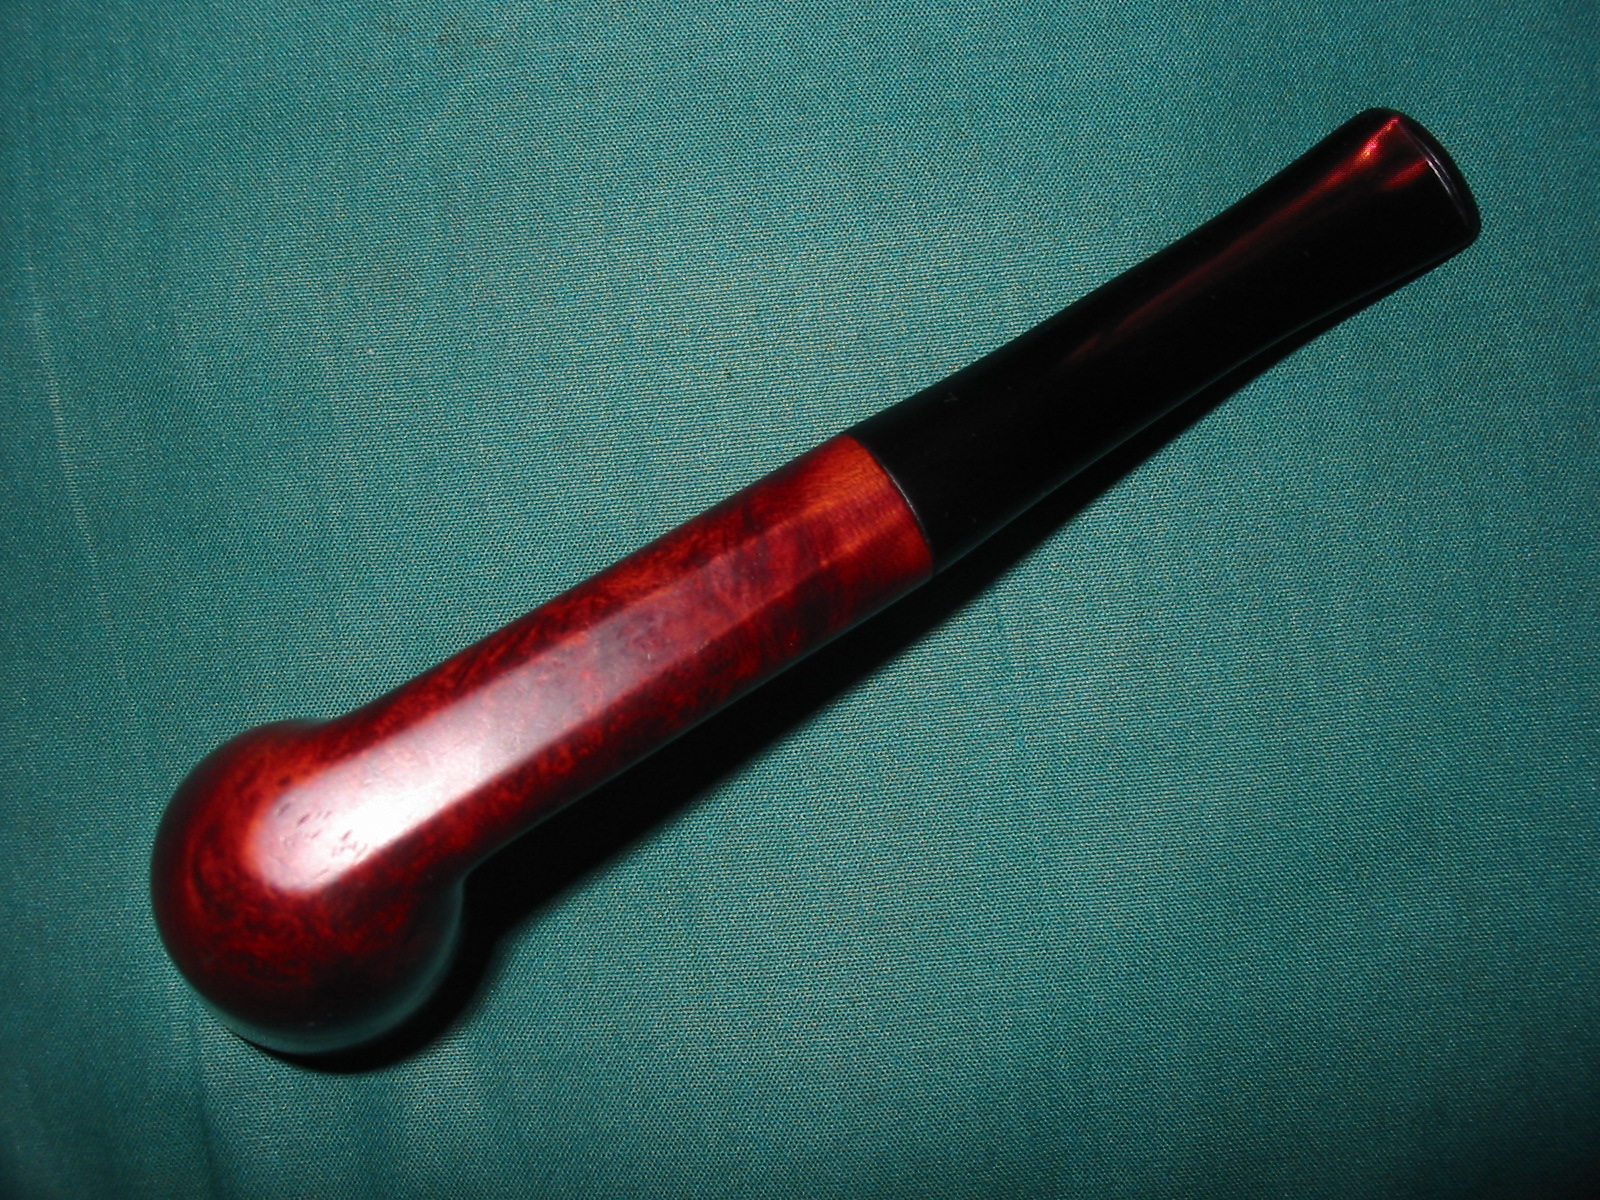
 I finished the stem with the full progression of micro mesh pads through 12,000 grit to get a nice polished finish to the stem. I tried something different this time. Rather than use the buffing wheel I just used the Halcyon II wax and a soft cloth. We’ll see how that holds up. Here’s what the finished pipe looks like.