Blog by Steve Laug
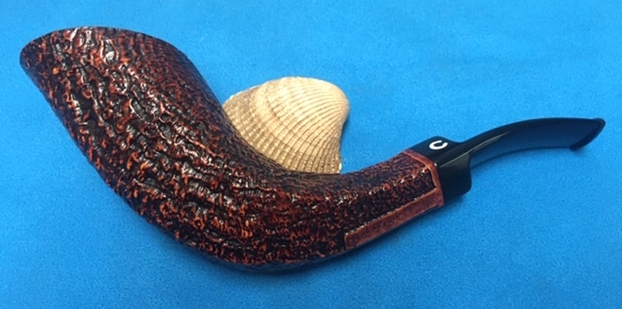
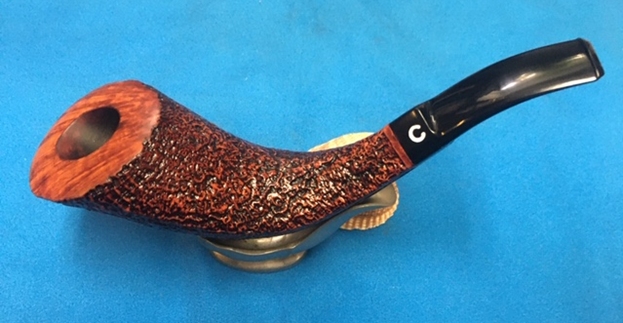
The next pipe on the worktable is another one that I have been looking forward to working on. It is a large Il Ceppo Paneled Horn. The pipe is in very good condition when he took it from the box. There were not a lot of issues to deal with in the cleanup and restoration. It is stamped on the underside of the diamond shank 1 in a circle followed by Il Ceppo followed by Hand Made Italy. The pipe is horn shaped. It has a round rim top flowing into 5 panels down the sides of the bowl merging into a diamond shaped shank. There was some darkening around the inner edge of the rim and top toward the back of the bowl. There was a moderate cake in the lower portion of the deep bowl. The upper portions had darkened and had a thin cake. The finish was dirty and there dust in the rustication around the bowl. The black acrylic diamond shaped saddle stem had a white inlaid C on the left side of the saddle. There were light tooth marks and chatter on the top and underside ahead of the button. Otherwise the stem looked very good. Jeff took some photos of the pipe before he started his cleanup work. 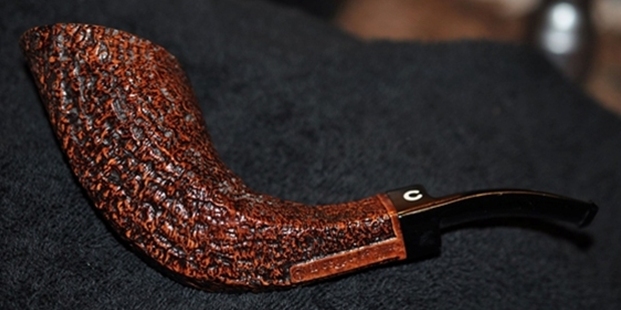
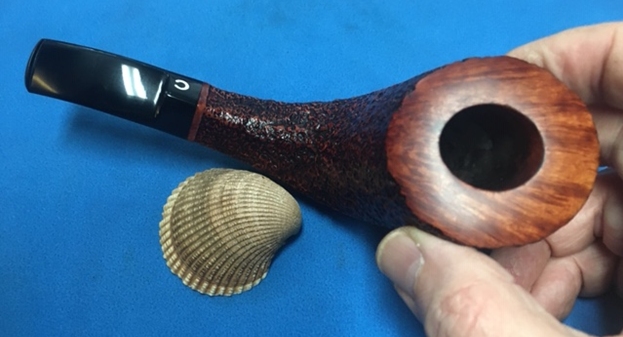
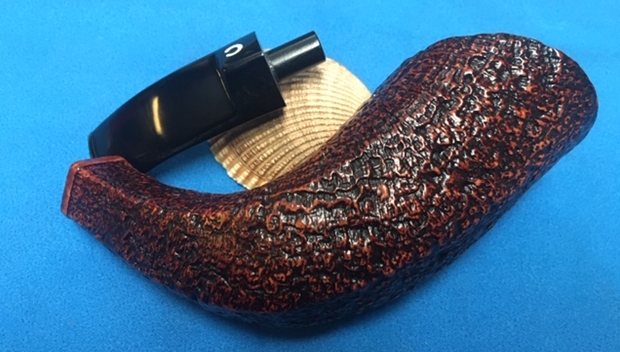
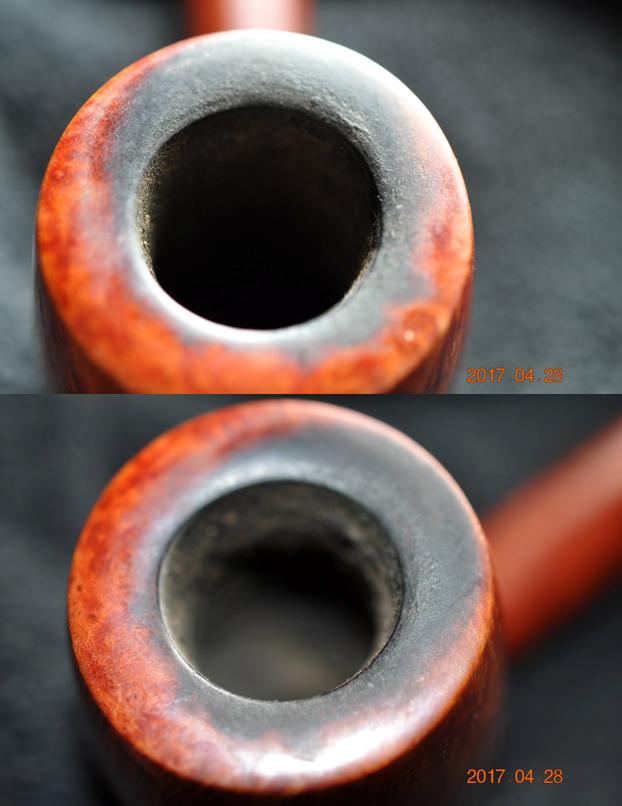
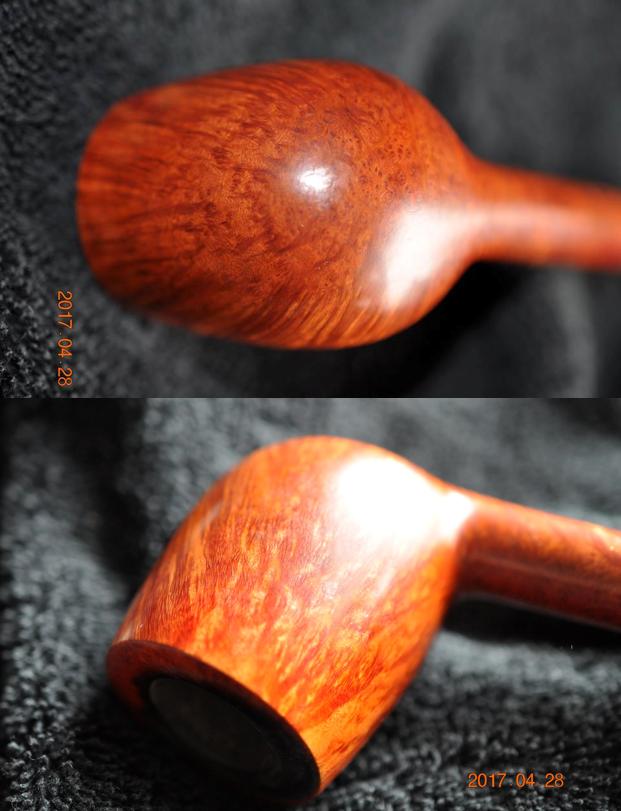
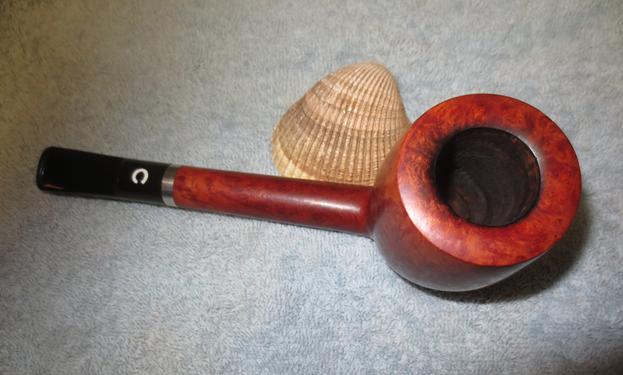
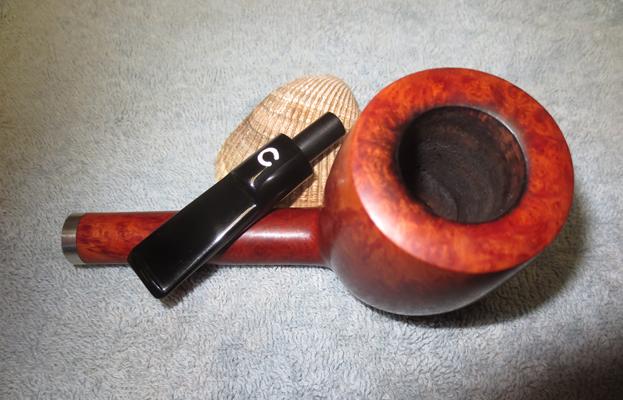
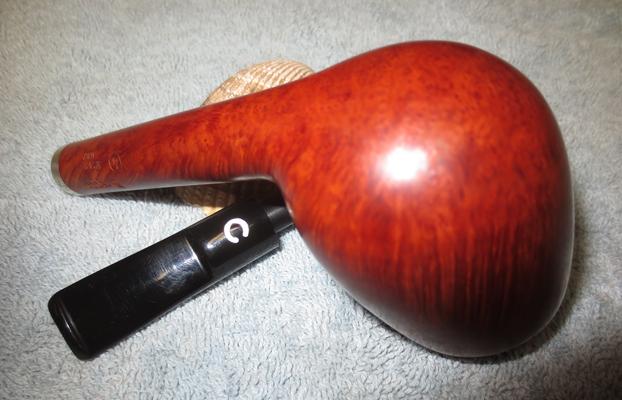
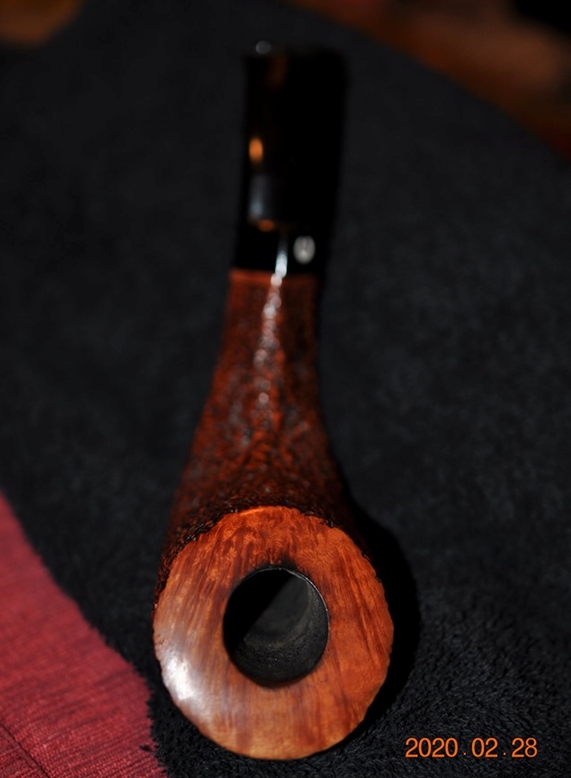 He took photos of the bowl and rim top to show their general condition. You can see the tars and darkening on the inner edge of the rim top. The cake in the bowl is moderate and thickening as you go further down the bowl. The rusticated finish on the bowl sides and the smooth rim top combine to make an interesting pipe.
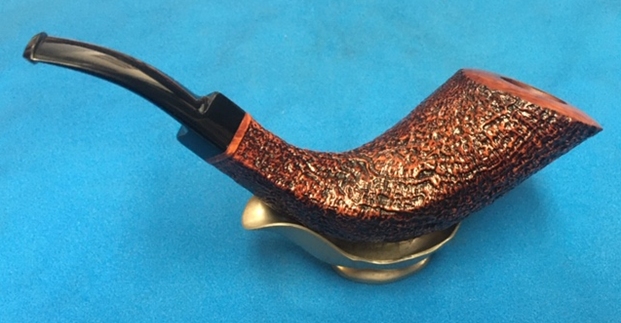
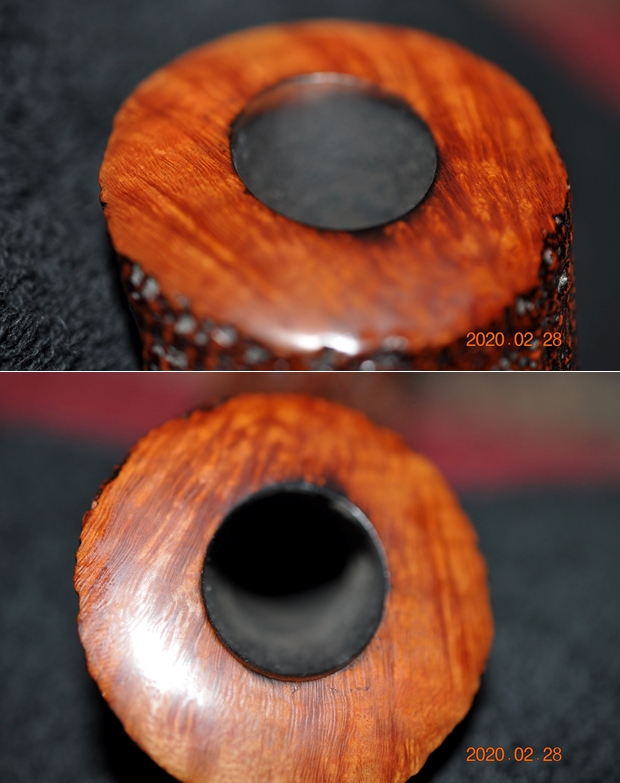 Jeff took some photos of the sides and heel of the bowl to give an idea of the unique rustication on this particular piece of briar. It is quite stunning with the smooth rim top and the diamond shaped shank end. I cannot wait to see what it looks like once it is cleaned and polished.
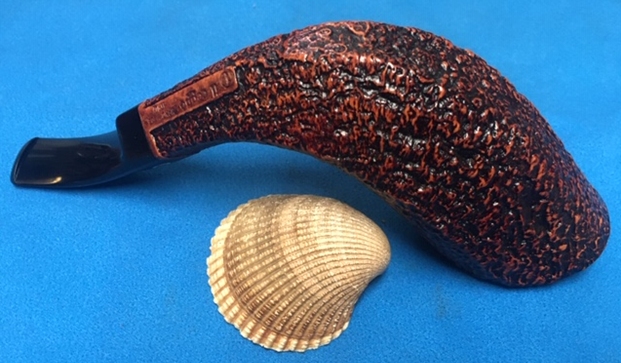
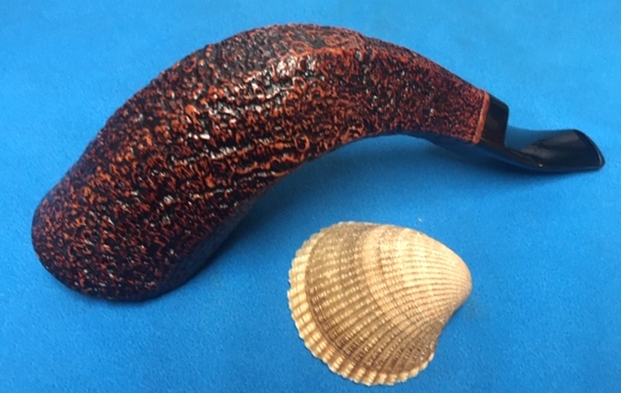
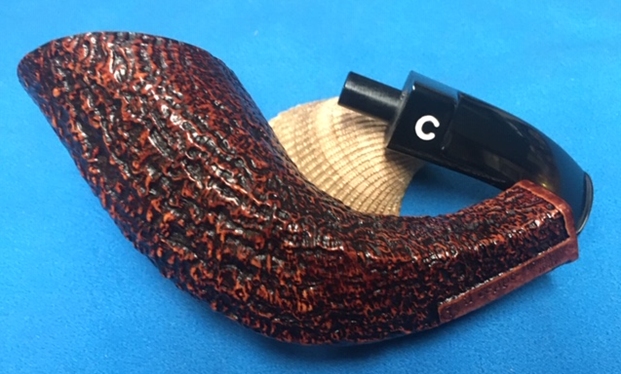
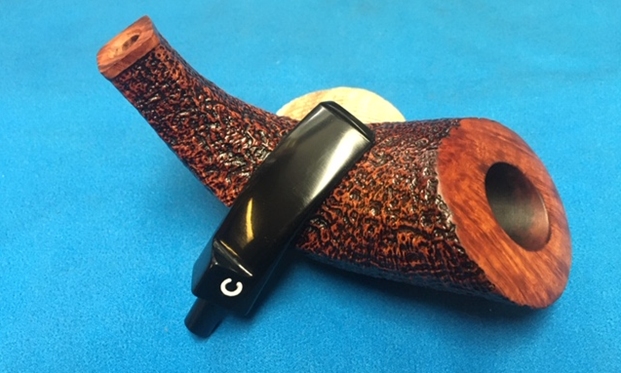
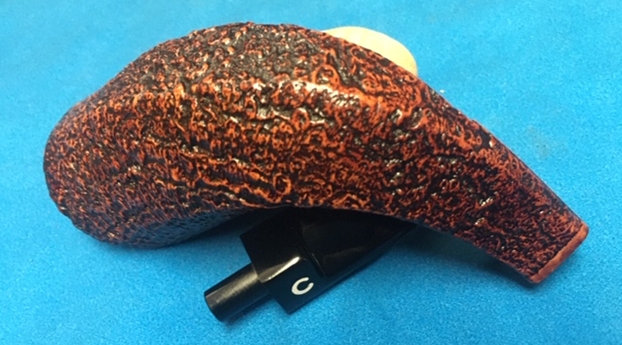
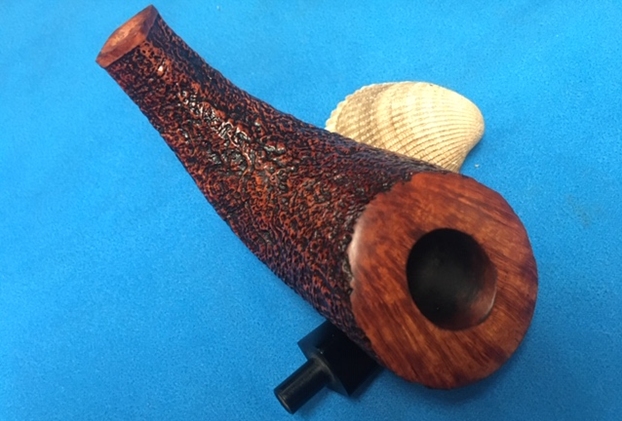
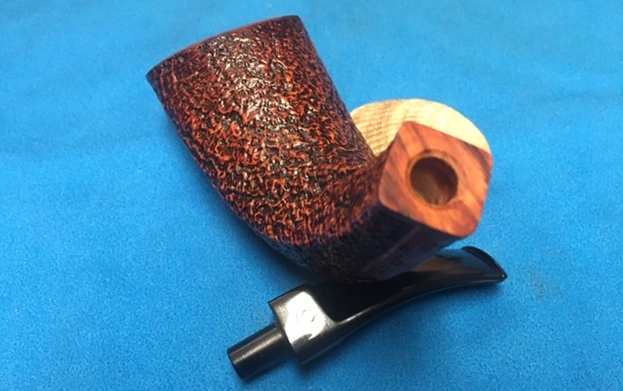
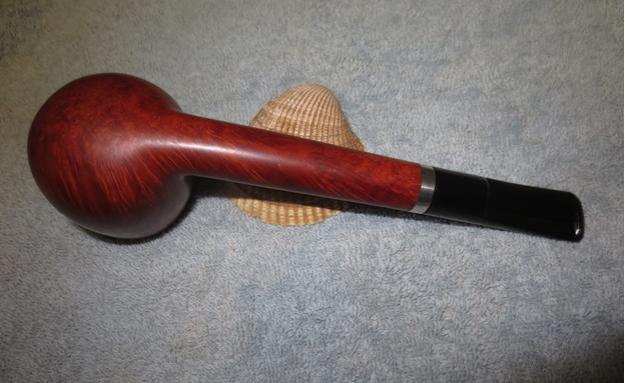
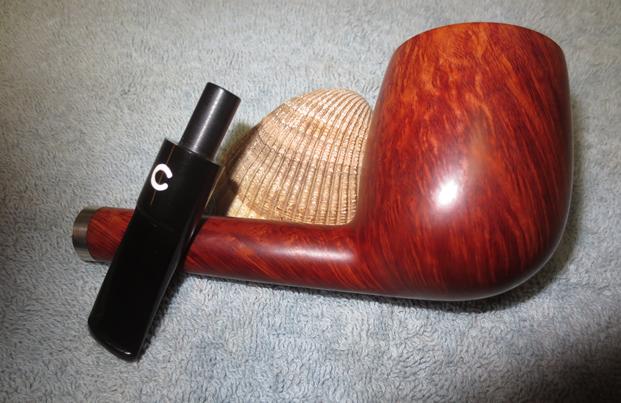
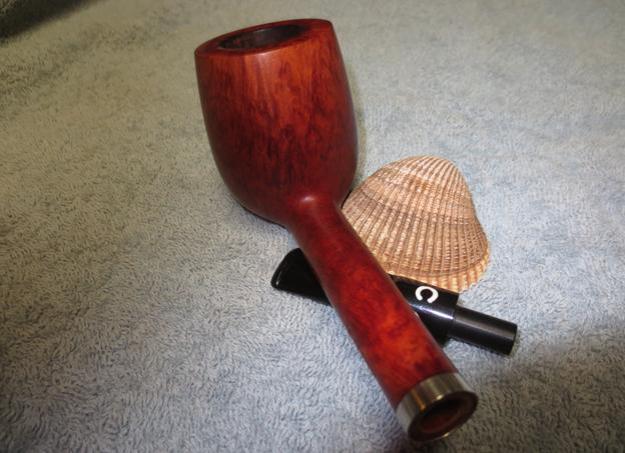
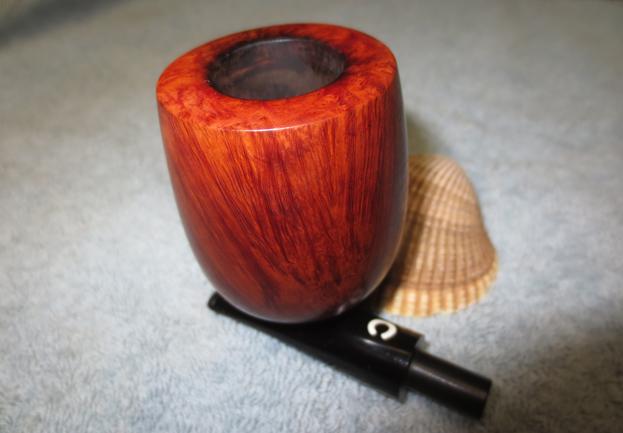
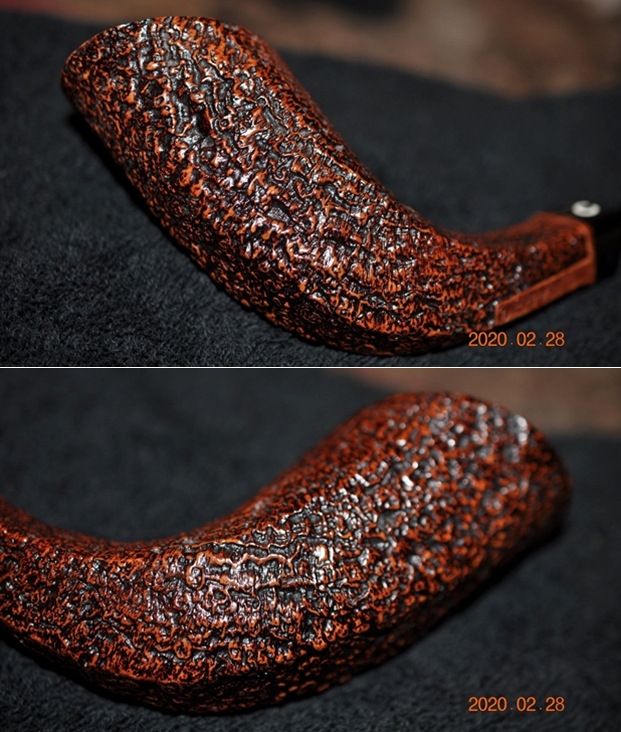
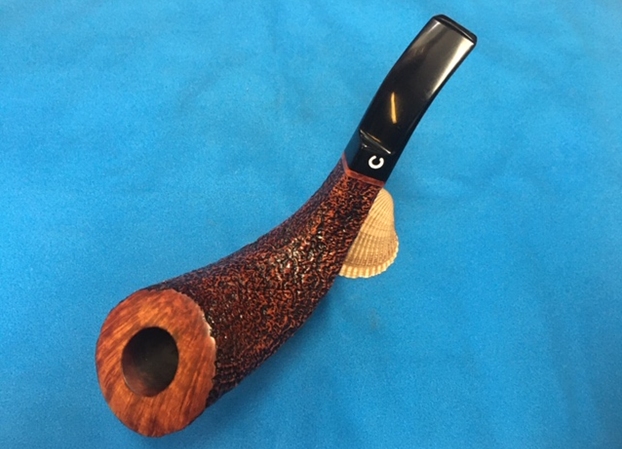
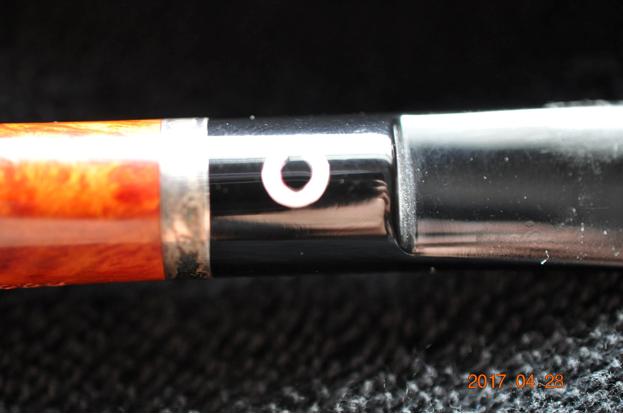
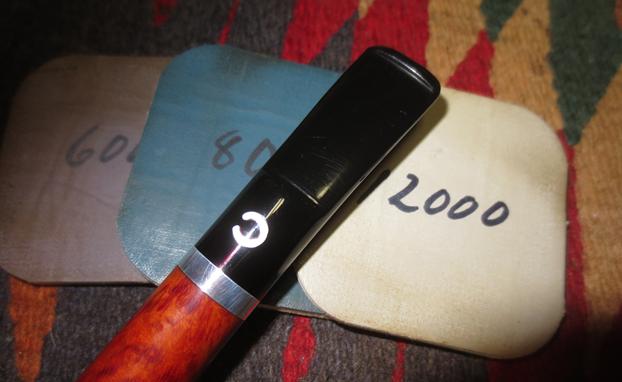
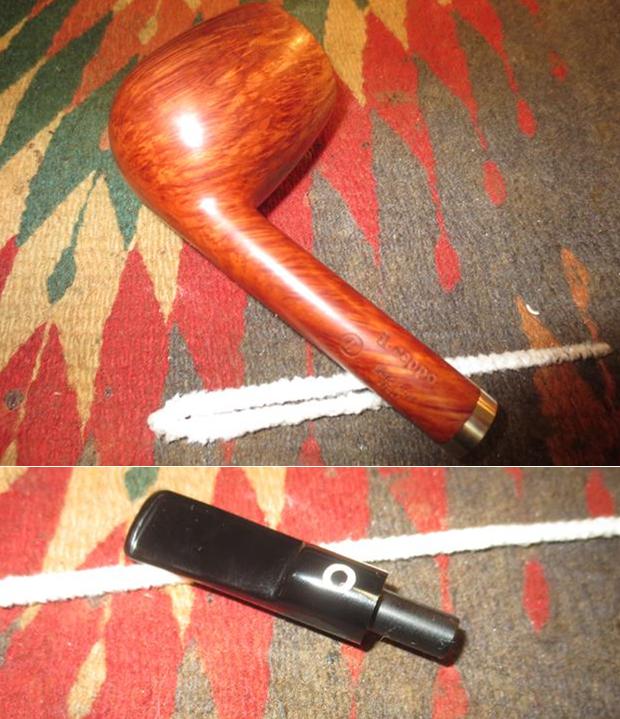
 He took a photo of the stamping on the left underside of the diamond shank to capture it for me. It is clear and readable. The encircle 1 followed by the il ceppo stamp and then Hand Made Italy. He included a photo of the inlaid C on the left side of the saddle stem.
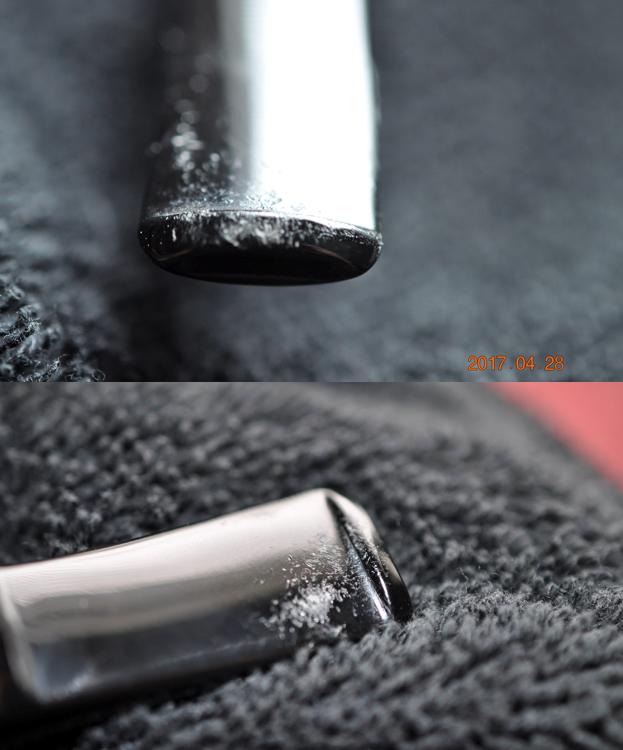
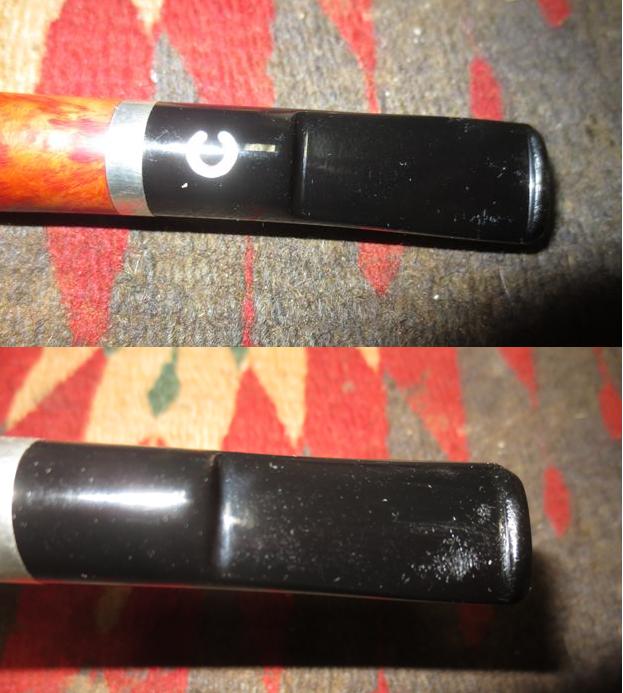
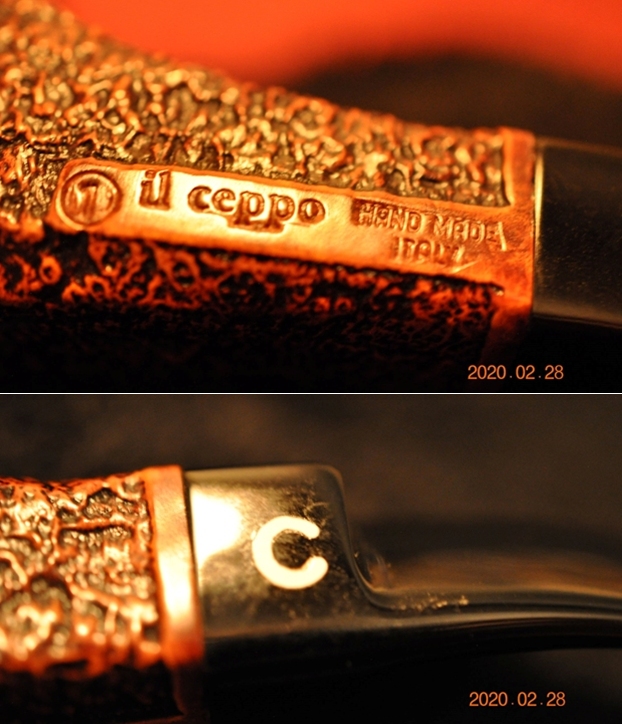 The black acrylic stem is in good condition other than being dirty and having light tooth marks and chatter on the both sides of the stem at the button. The photos below show the condition of the stem.
 Not too long ago I worked on an il ceppo large sandblast billiard and had done some research into the brand (https://rebornpipes.com/2020/01/25/life-for-a-beautiful-sandblast-il-ceppo-made-by-hand-triangle-1-billiard/). I turned to that blog and reread the information that I had included there. I took the liberty to include that below.
I turned then to Pipedia to see what I could find out about Il Ceppo pipes. I read through the Il Ceppo page written by the pipemaker and then the next section of the page written by RD Field. Here is the link to that page on Pipedia (https://pipedia.org/wiki/Il_Ceppo). I will quote from the section on the line below.
The il ceppo brand has been in production since the late 1970’s but, in spite of its overall good value, is not well known in all parts of the United States. Partly this is because of a limited supply of pipes and partly because the brand has not been put in front of the pipe smoking public through a national venue.
The il ceppo brand is made in Pesaro, Italy and is part of the famous Pesaro school of design that has also produced Mastro de Paja and Ser Jacopo. That all three brands have similar characteristics can be seen at a glance, but they all have significant differences as well.
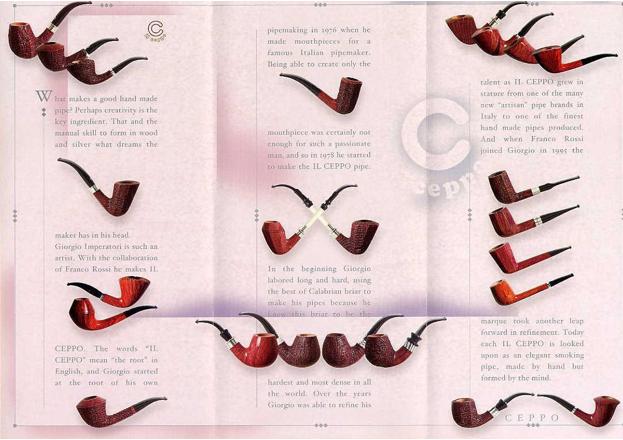
Giorgio Imperatori, an architect, had a passion for pipes, and in 1978 began to design and make Il Ceppo. Always considered a good value and very good for smoking, the brand did not make folks stop and take notice until 1995 when Franco Rossi joined the firm. He brought with him a true elegance of design and a unique flair that now helps Il Ceppo stand apart. Giorgio has retired to his farmhouse, and the pipes are now all made by Franco and his sister Nadia.
Individuals involved in the creation and continuation of the Il Ceppo brand are; Giorgio Imperatori (now retired from pipe making); Franco Rossi who, along with his sister Nadia, are the current Il Ceppo pipe makers; Mario Lubinski, the distributor of the Il Ceppo brand in Italy; Massimo Palazzi who worked with Il Ceppo until 1998 when he founded his own brand, L’Anatra.
I turned to Pipephil’s site (http://www.pipephil.eu/logos/en/logo-i.html) to gather additional information. I have included a screen capture below of the section on the brand.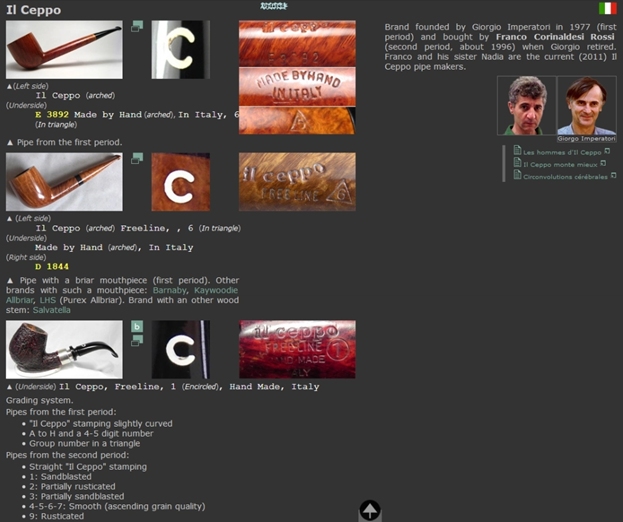 From the notes on that page it confirms RD Field’s information. Brand founded by Giorgio Imperatori in 1977 (first period) and bought by Franco Corinaldesi Rossi (second period, about 1996) when Giorgio retired. Franco and his sister Nadia are the current (2011) Il Ceppo pipe makers.
I also found that the section on the grading system on the Pipephil site was really helpful in identifying and reading the stamping on the pipe in my hands.
Grading system.
Pipes from the first period:
“Il Ceppo” stamping slightly curved, A to H and a 4-5 digit number, Group number in a triangle
Now the new information. Putting together all of the information on the pipe I can summarize what I have learned. I knew now that the pipe on my table war from the Second Period (1996-2010). The Il Ceppo stamping is a straight line on this one. The number 1 on the shank indicates a sandblasted pipe. The last point is interesting as I would not have called this a sand blasted pipe. Perhaps a good description would be “Blasticated”.
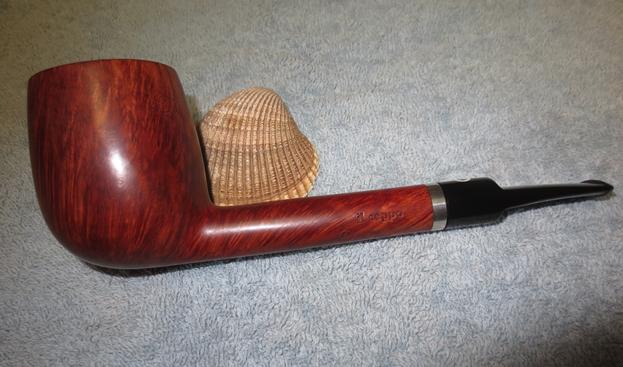
With that information I moved forward to work on the pipe itself and see what I had to do with it. The pipe looked amazing. Even the stem looked like new, with most of the tooth marks and chatter gone. There was some darkening on the edge of the rim but that too had almost disappeared. Jeff had done his normal thorough clean up – reaming, scrubbing, soaking and the result was evident in the pipe when I unpacked it. I took photos of the pipe before I started my work on it. The shape and finish on this pipe is quite beautiful! 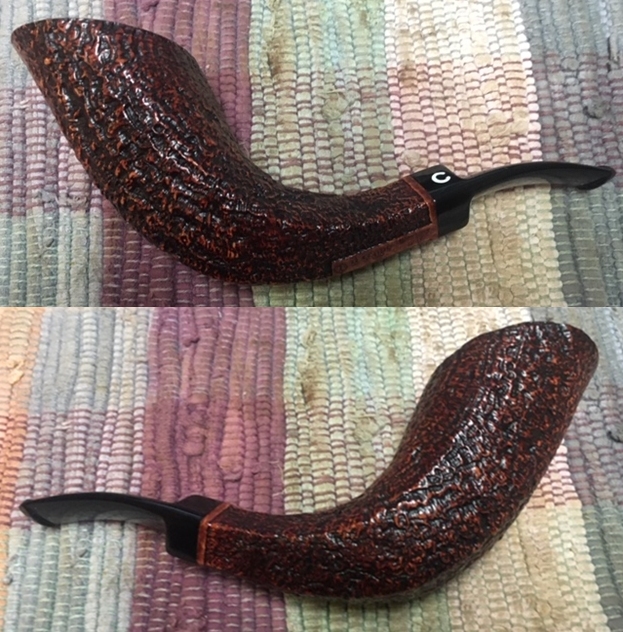
 I took some photos of the rim top and stem. The rim top and bowl looked very good. The cake and the darkening on the back side of the inner edge of the rim looked better. Jeff had been able to get rid of most of the darkening. There was some light scratching that I would be able to polish out. The close up photos of the stem shows that it is a much cleaner. There was still some light tooth chatter but it was really quite minimal.
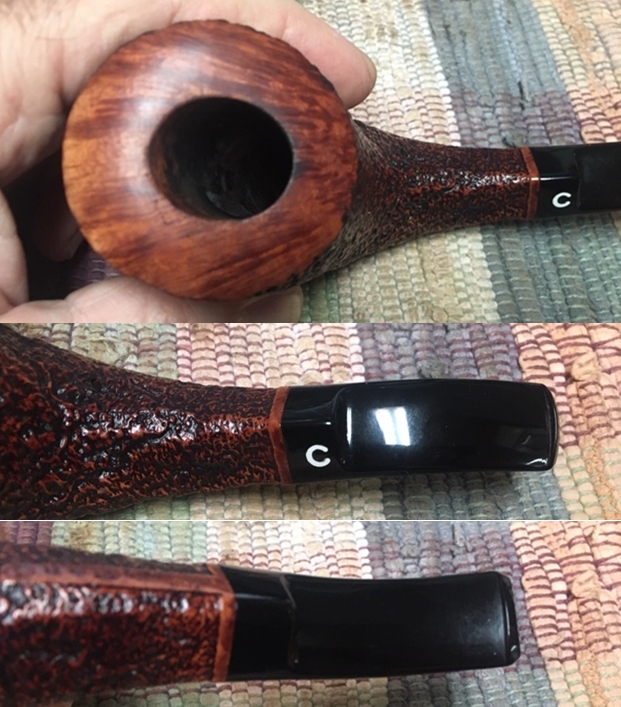 I took a photo of the stamping on the underside of the shank to show the condition after the cleanup. Often the stamping takes a hit with the cleaning and is lessened in it clarity. Jeff does a great job in leaving the stamping looking very good.
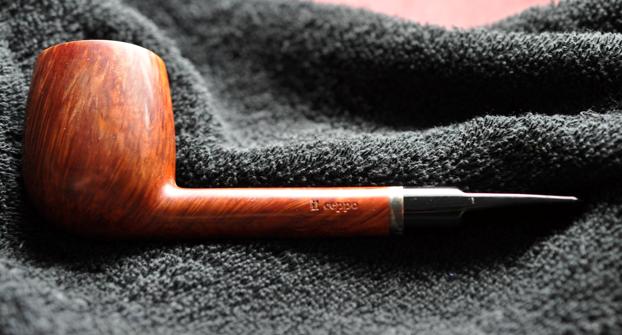
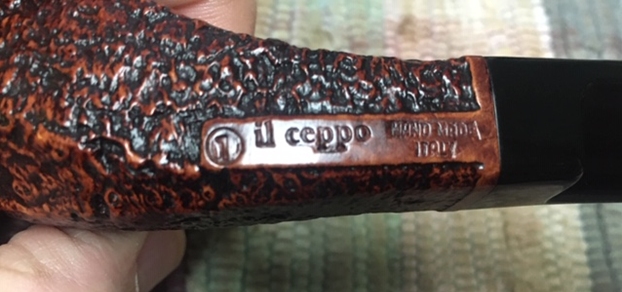 I removed the stem from the shank and took a photo of the pipe at this point. You can clearly see the condition, size and shape of the pipe.
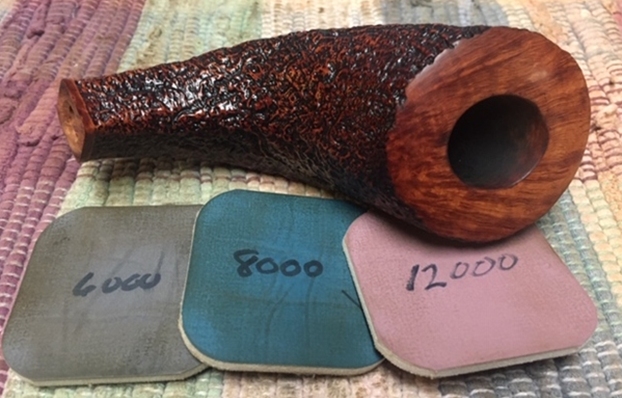
 I started my part of the restoration work on this pipe by polishing the rim top and inner edge of the bowl. I dry sanded with micromesh sanding pads -1500-12000 grit pads. I wiped the rim top down after each sanding pad with a damp cloth. The rim top and edges look very good at this point.
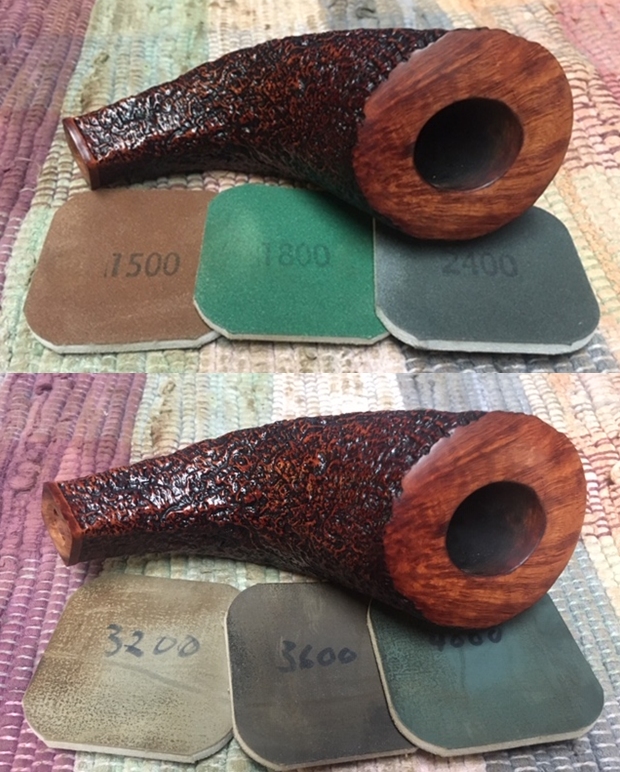
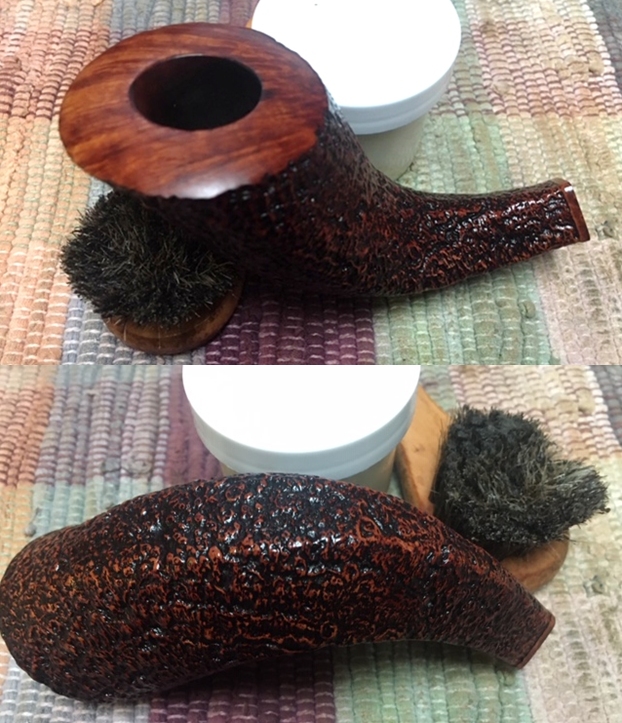
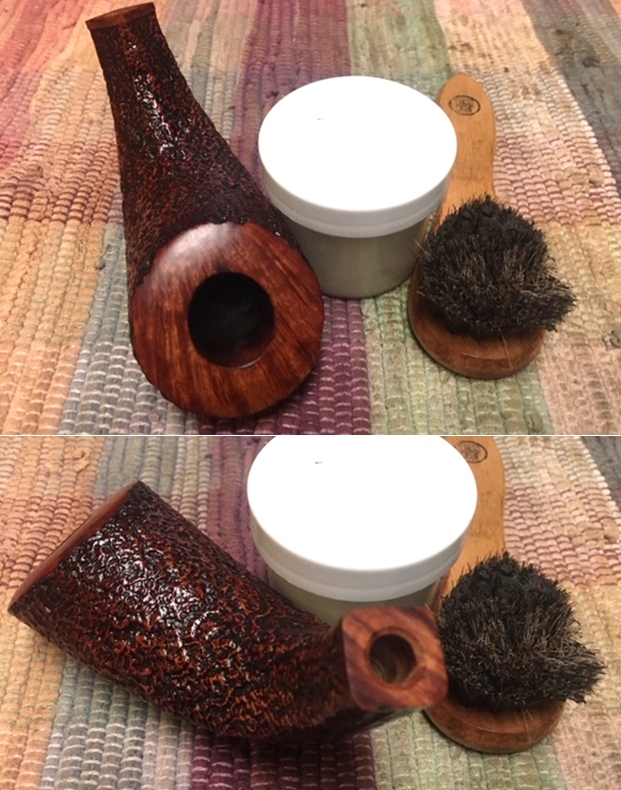
 I worked some Before & After Restoration Balm into the surface of the briar with my fingertips and a horsehair shoe brush to get in the nooks and crannies of the “Blastication’ on the sides of the bowl. The product works to clean, enliven and protect the briar. I let the balm sit for about ten minutes and then buffed with a cotton cloth to raise the shine. The photos show the bowl at this point in the restoration process.
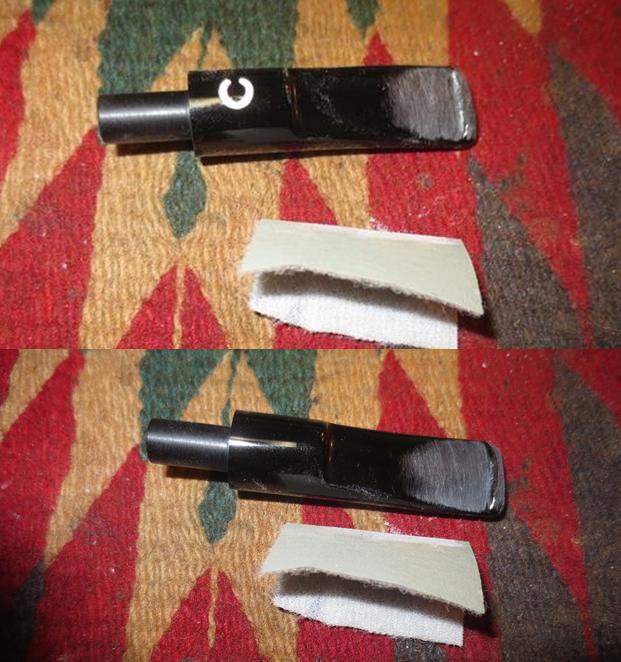
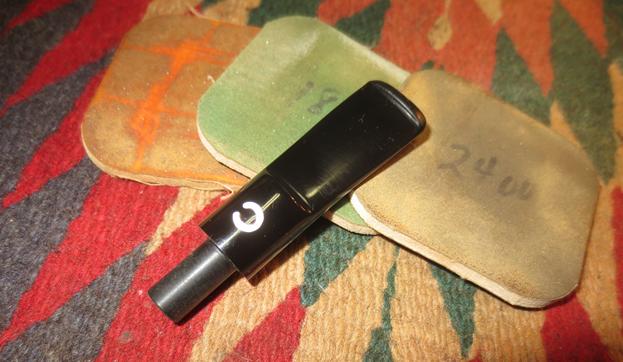
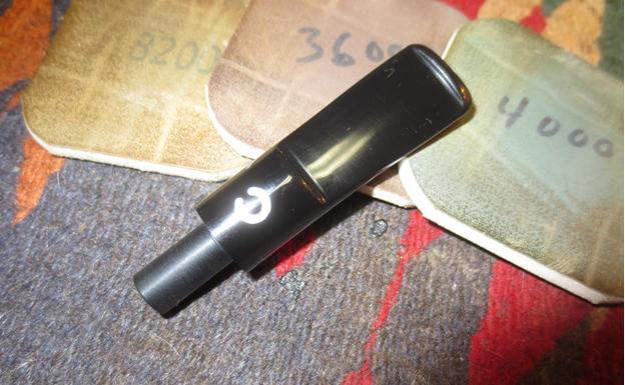
 I set the bowl aside and turned my attention to the stem. The remaining tooth chatter and marks were very minimal and I could remove them with polishing. I polished the stem with micromesh sanding pads – dry sanding with 1500-12000 grit sanding pads. I wiped it down after each sanding pad with a cloth containing some Obsidian Oil. I finished polishing it with Before & After Pipe Stem Polish – both Fine and Extra Fine and buffed it off with a cotton cloth.
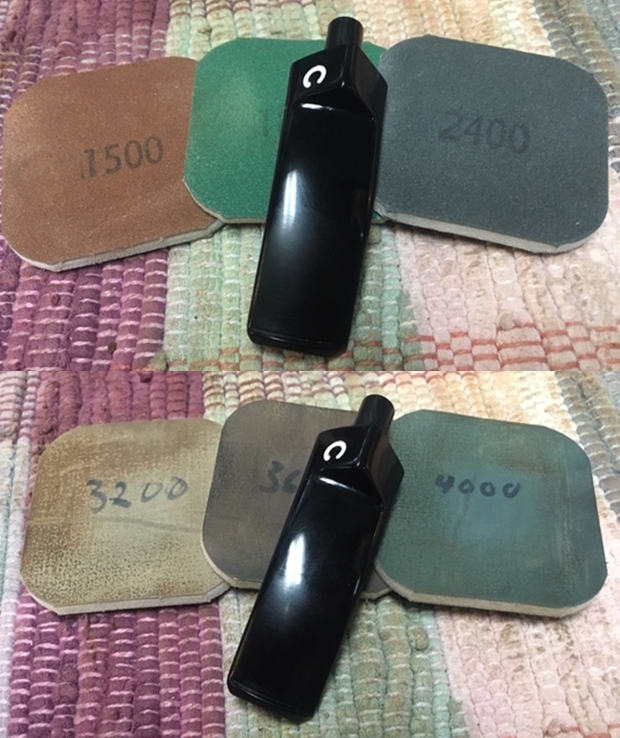
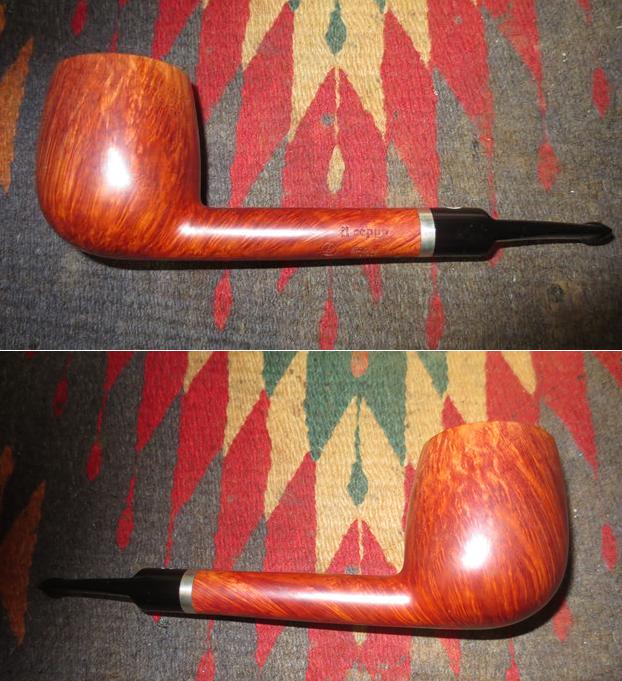
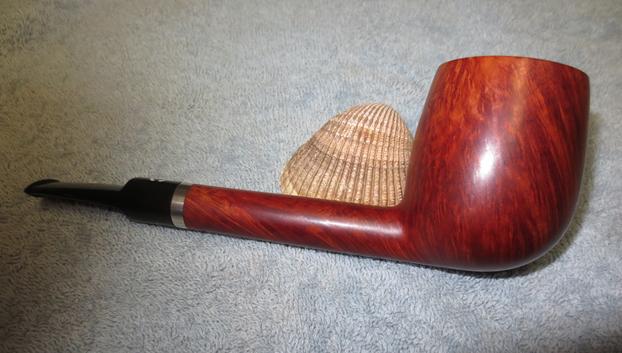
 Putting this pipe back together was not as dramatic as it usually is but still it is rewarding nonetheless. I put the stem back on the bowl and buffed the pipe lightly with Blue Diamond on the buffing wheel. I carefully avoided the stamping on the shank sides during the process. I gave the bowl multiple coats of Conservator’s Wax and the stem multiple coats of carnauba wax on the buffing wheel and followed that by buffing it with a clean buffing pad on the buffer. I hand buffed the pipe with a microfiber cloth to deepen the shine. The finished pipe is a real stunning example of a Horn shaped pipe. The “Blasticated” grain and the way the shape follows it is very well done. Give the finished pipe a look in the photos below. I can only tell you that it is much prettier in person than the photos capture. The dimensions of the pipe are Length: 7 inches, Height: 3 inches, Outside diameter of the bowl: 2 inches wide x 2 inches long, Chamber diameter: ¾ of an inch. This interesting il ceppo Italian Hand Made 1 Horn is a great looking pipe in excellent condition. Thanks for walking through the restoration with me as I worked over another beautiful pipe. I will be adding it to the rebornpipes store soon. If you want to add it to your collection send me an email or a message! Thanks for your time.