by Steve Laug
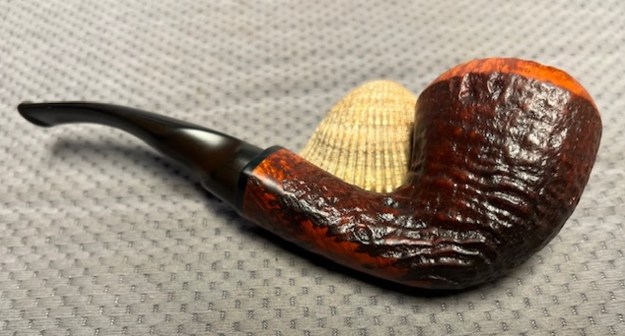
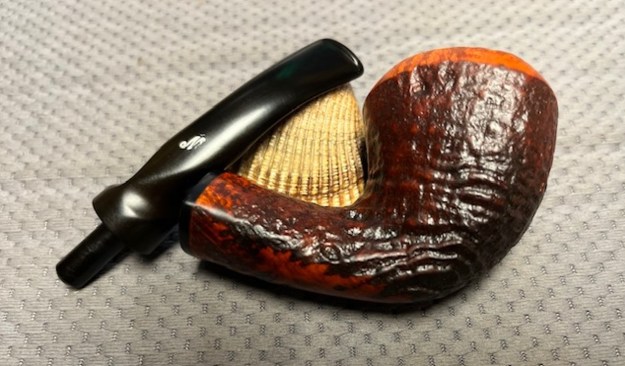
The next pipe is on the table is an interesting looking sandblast Freehand shaped pipe with a vulcanite saddle stem with a twist. Jeff and I purchased it on 09/12/2021 from a seller in Wilkes Barre, Pennsylvania, USA. The pipe is well shaped and has nice grain showing through the sandblast around the bowl. It has a crowned rim top with plateau on the top of the rim. The shank end has a black acrylic spacer. The pipe is stamped on the underside of the shank and reads Hand Made [over] By [over] Erik Nording [over] Made in Denmark. There was grime and dust ground into the sandblast finish of the bowl and shank as well as in the plateau on the flat portion of the rim. The bowl was heavily caked with lava on the rim top and edges. The inside edge looks like it may actually be undamaged under the lava coat. The twisted vulcanite saddle stem was oxidized, calcified and had tooth chatter and marks on the top and underside near the button and on the button edge. There was a Nording “N” logo stamped on the stem top after the twists. The pipe showed a lot of promise but it was very dirty. Jeff took some photos of the pipe before he started his cleanup work.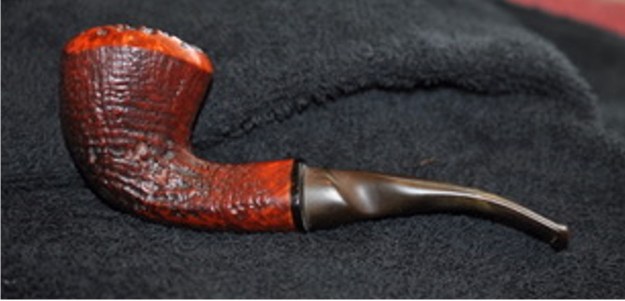
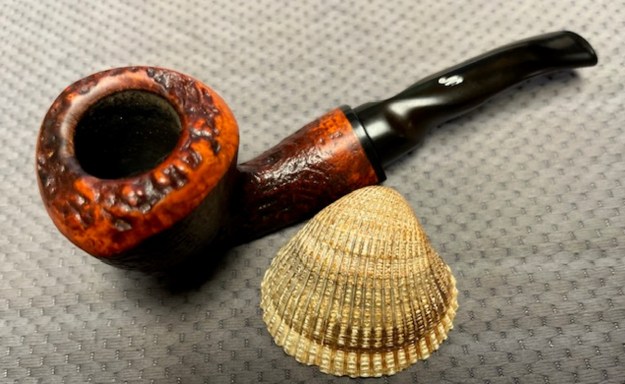
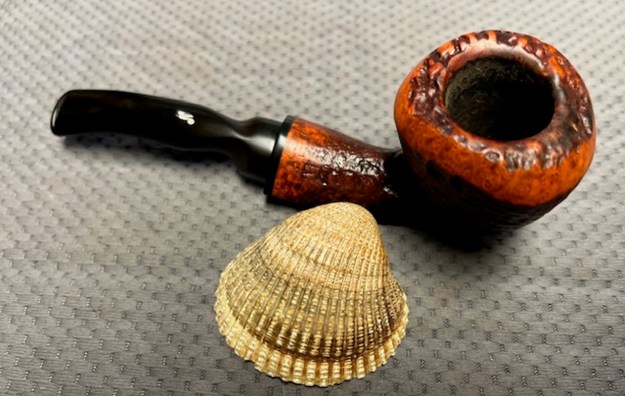
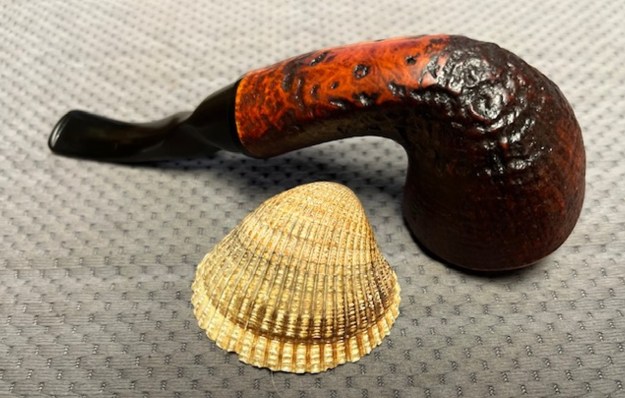
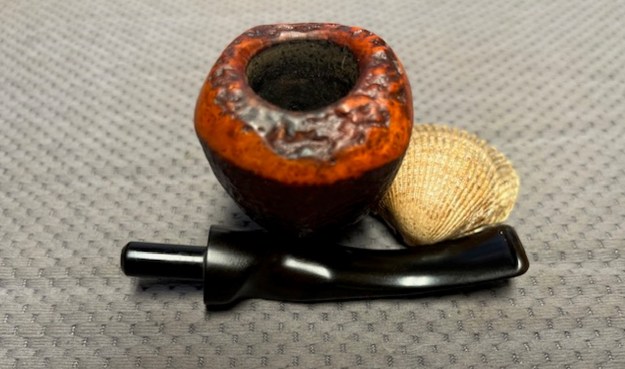
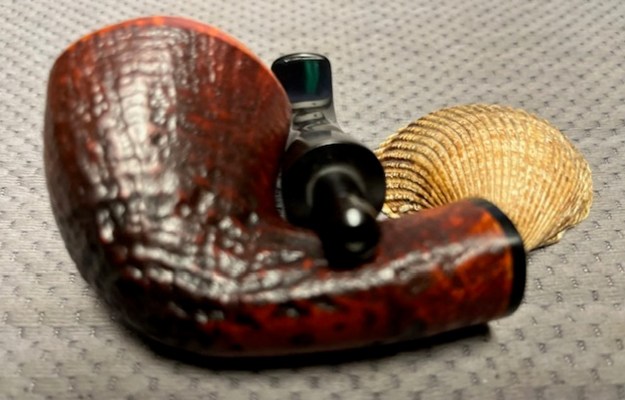
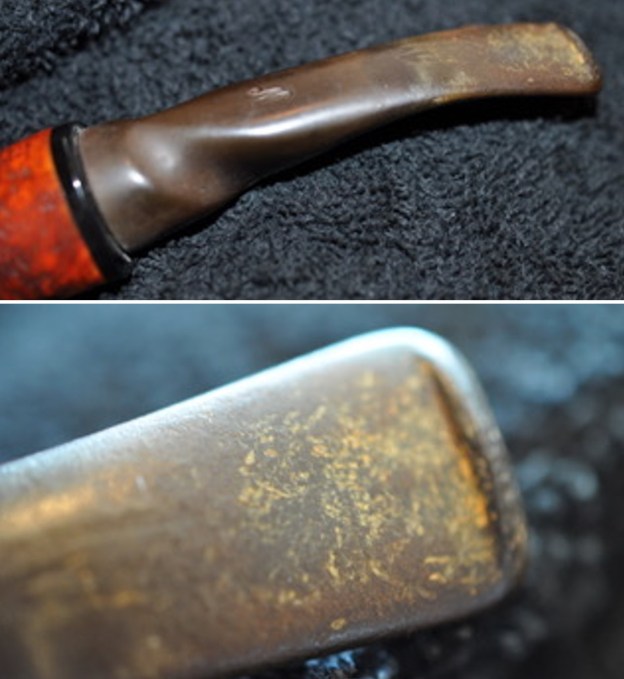
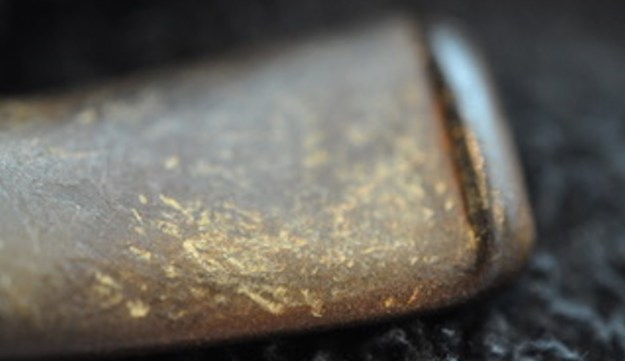
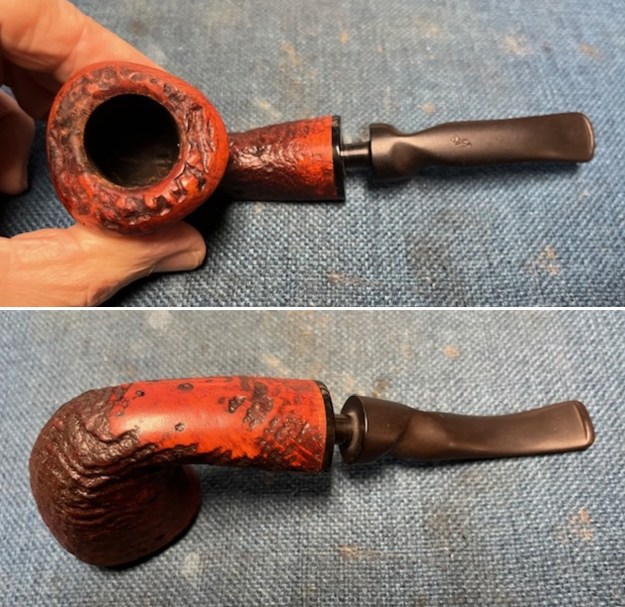
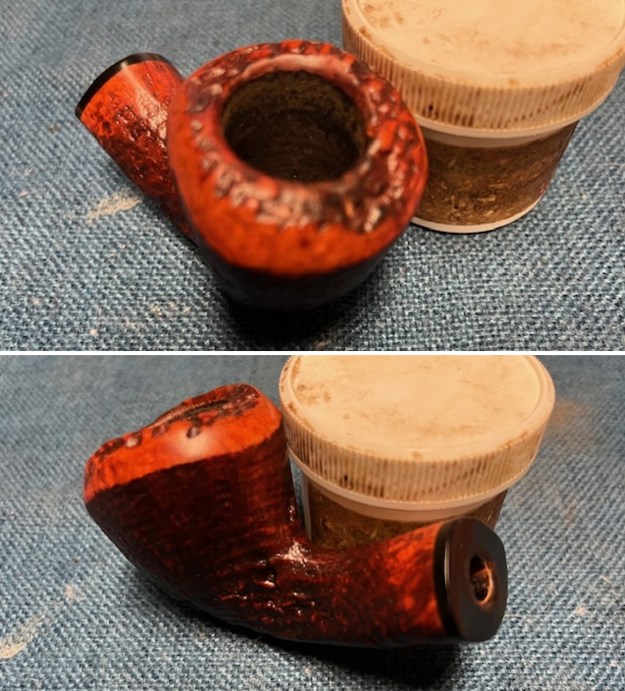
 He took photos of the rim top and bowl to give a clear picture of the thickness of the cake and tobacco debris as well as the lava in the plateau on the rim top. He also took photos of the top and underside of the stem. The photos show the overall condition of the stem.
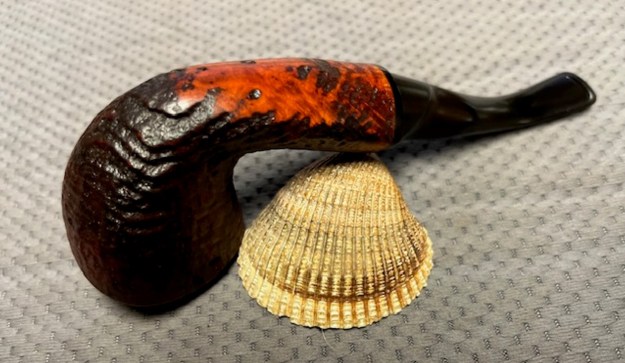
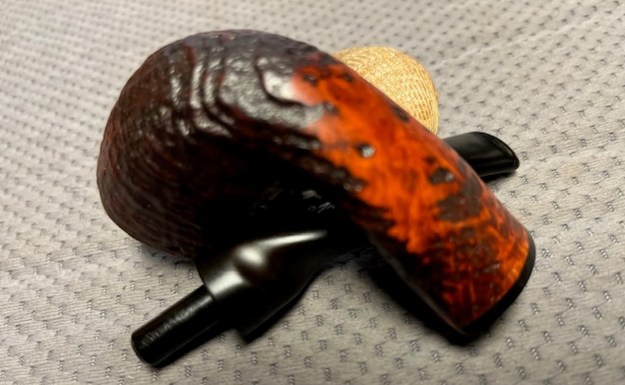
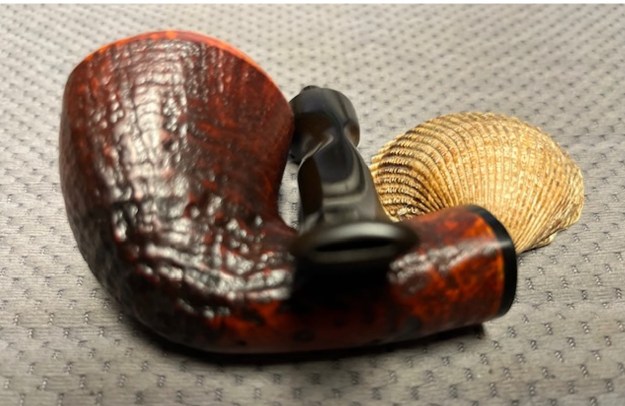
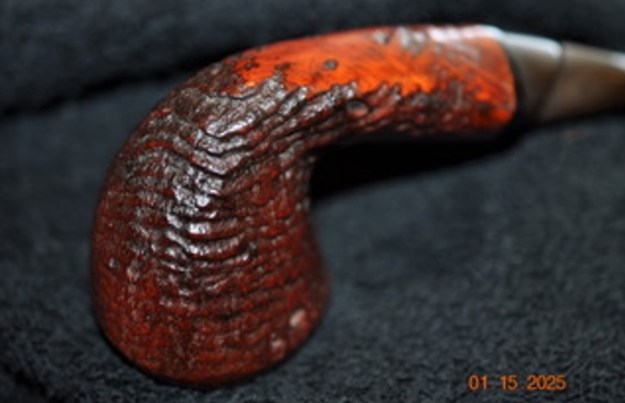
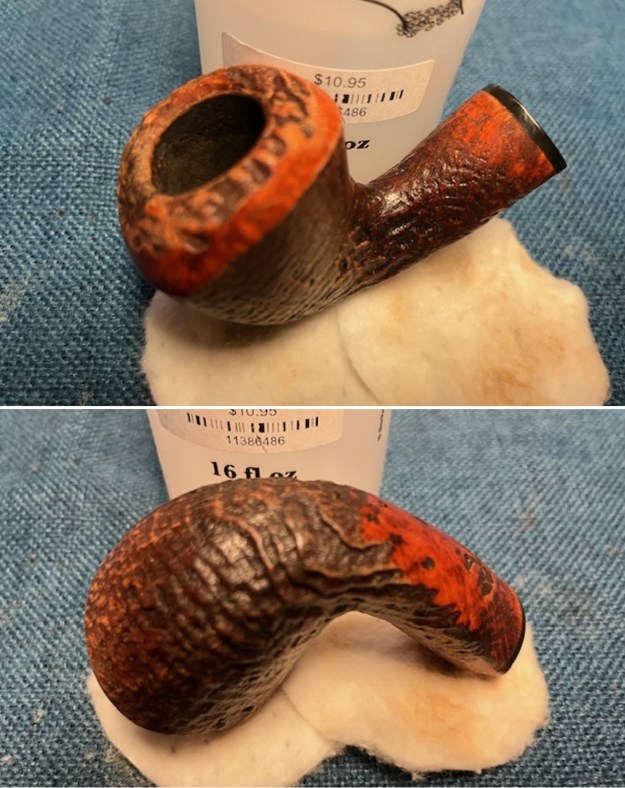
 Jeff took photos of the sides and heel of the bowl to give a picture of what the sandblast on the briar looked like. It truly has some nice grain highlighted with the blast around the bowl and shank.
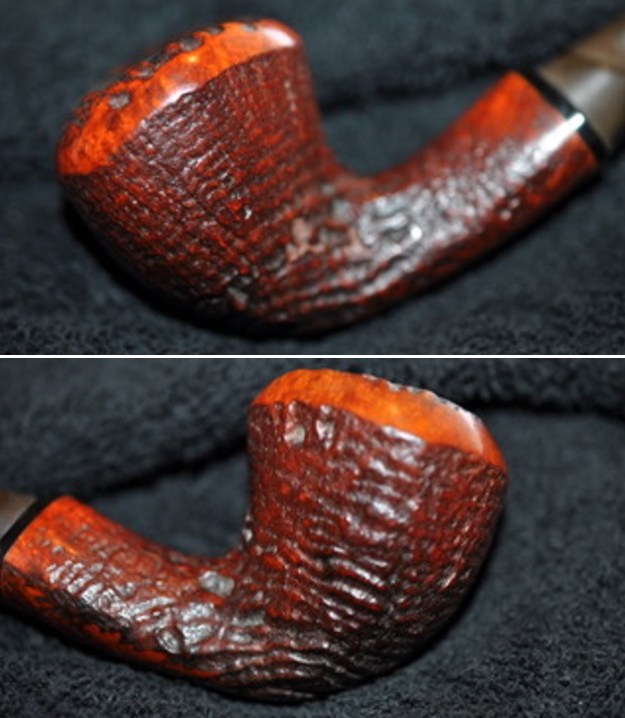
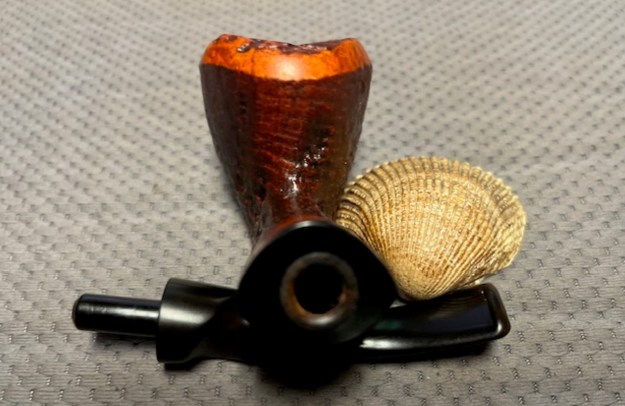
 The stamping on the underside of the shank is clear and readable and read as noted above. Jeff took a photo to capture the stamping on the underside of the shank and the “N” logo on the top of the stem.
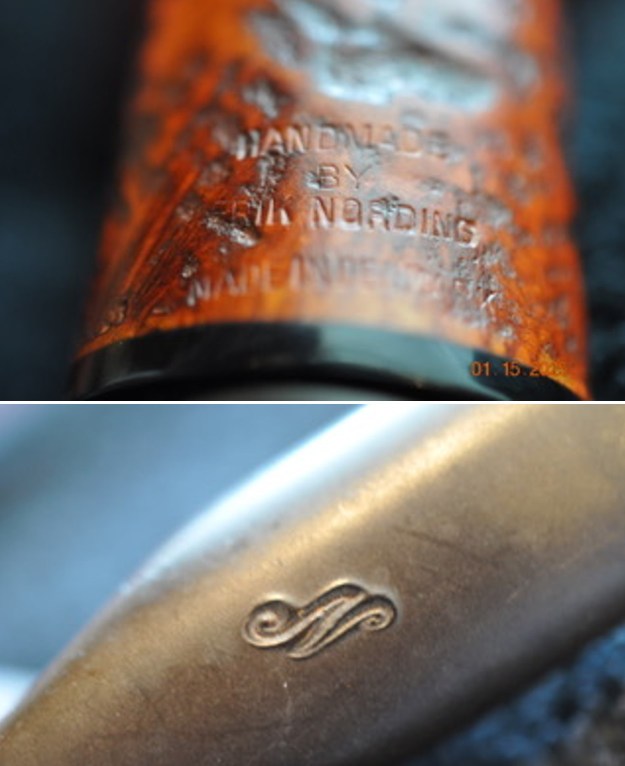 I turned first to Pipephil to get a quick review of the brand (http://pipephil.eu/logos/en/logo-n2.html). The pipe was carved by Erik Nording. Nording is a prolific carver who continues to make pipes and sell them globally. The screen capture below shows a Nording with stamping like the one I am working on. The one here is lacking the shape number in the middle of the circle but otherwise it is the same.
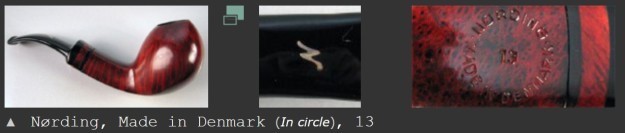 I then turned to Pipedia to have a look at the history of the Nording brand and see if there were any pipes like the one in hand (https://pipedia.org/wiki/N%C3%B8rding). The history was worth a read, though there were no photos of the pipe that I had.
With the information I learned in the above articles I had the background on the pipe. Now it was time to work on it.
I am really happy to have Jeff’s help on cleaning up the pipes that we pick up along the way. He reamed the bowl with a PipNet pipe reamer and cleaned up the reaming with a Savinelli Fitsall Pipe Knife. He scrubbed out the internals with alcohol, pipe cleaners and cotton swabs until the pipe was clean. He scrubbed the exterior of the bowl with Murphy’s Oil Soap and a tooth brush to remove the grime and grit on the briar and the lava on the rim top. The finish on the shank and bowl sides was quite coated with varnish and was shiny. The rim top was heavily burned and the inner edge was badly burned. The lightly rusticated portion on the right side was almost smooth from the burn damage. It was a huge mess. Jeff scrubbed the stem with Soft Scrub All Purpose Cleaner to remove the majority of the grime. When the pipe arrived here in Vancouver it looked very good.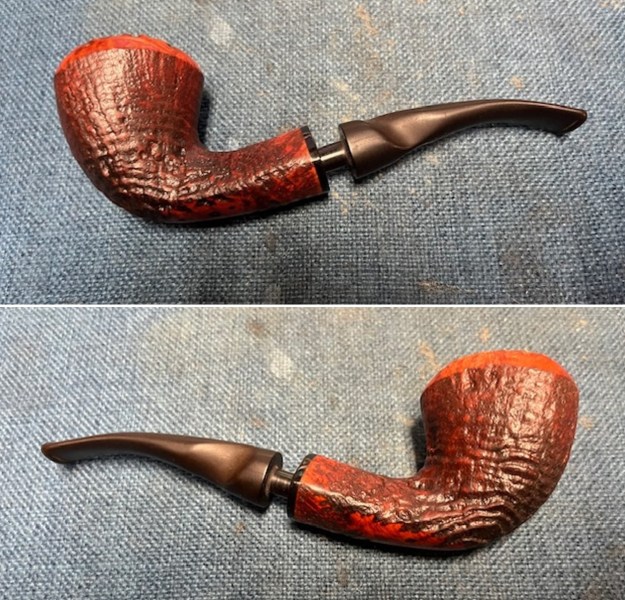
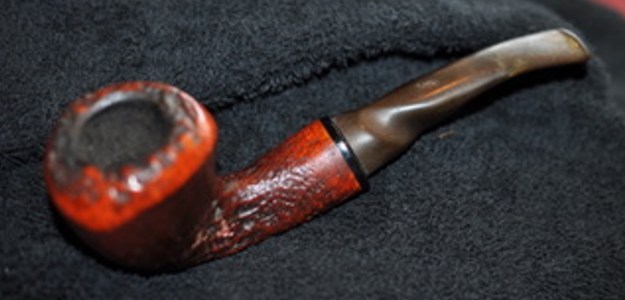
 I took some close up photos of the rim top and the stem surface. The rim top looked quite good. You can see the plateau on the rim surface and the contrast with the smooth crown of the rim. I took close up photos of the stem to show the condition of the surface and button. The stem was very clean on both sides with some light oxidation.
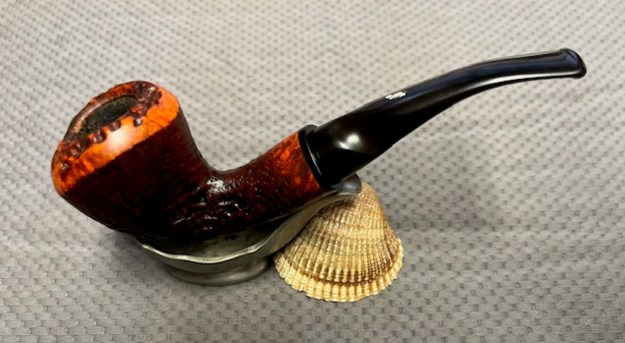
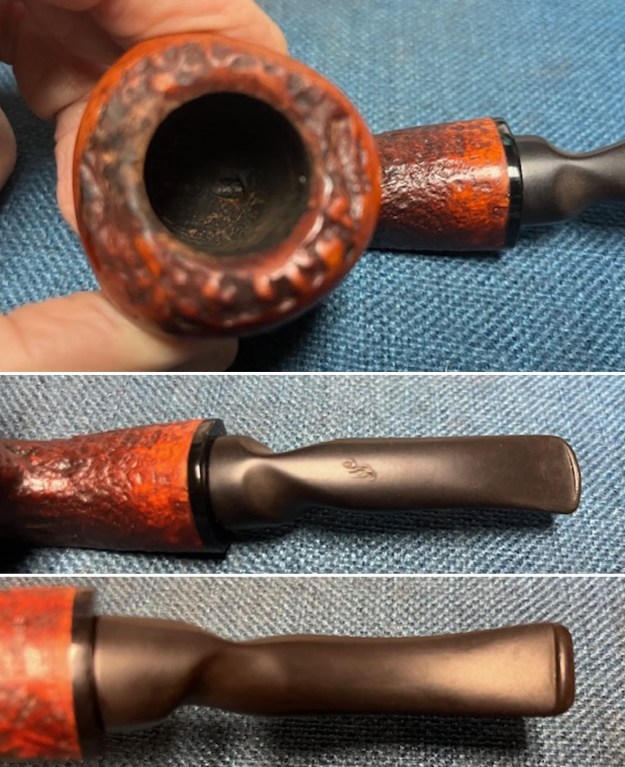 I took the pipe apart and took a photo of the pipe. It is a good looking pipe and has an interesting finish on the bowl and shank.
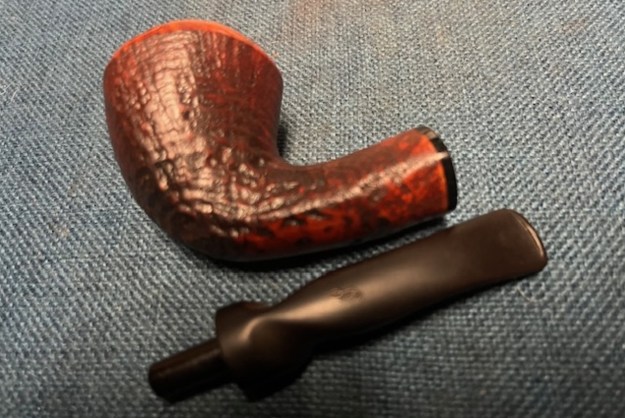 I stripped the varnish coat on the bowl and shank with acetone on cotton pads. I was able to remove the full shiny coat and it looked significantly better.
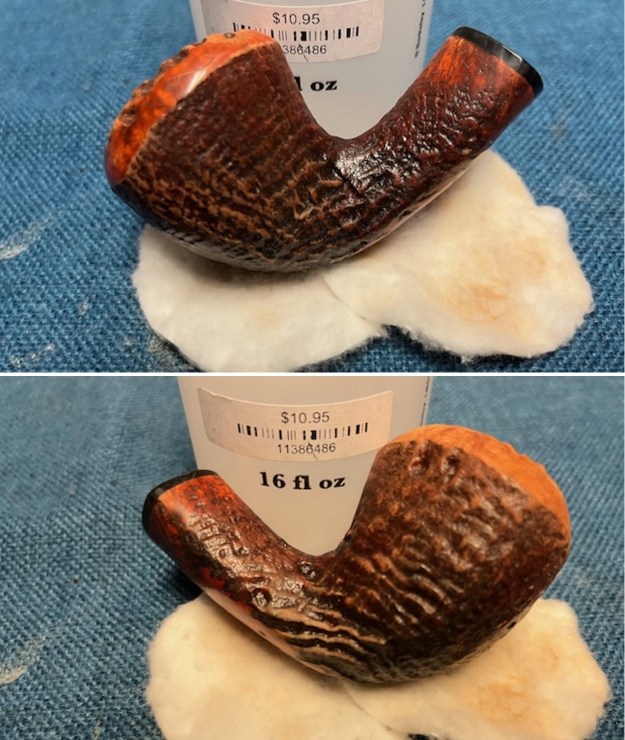
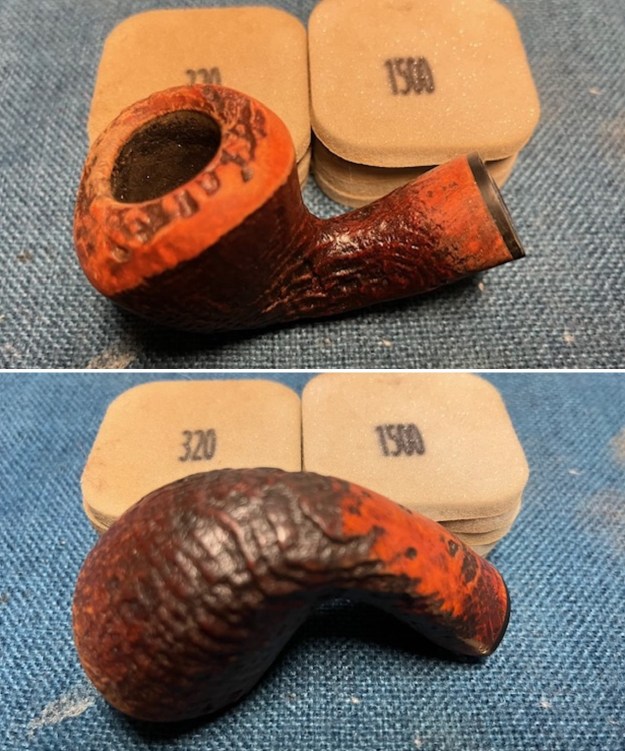
 I sanded the rim top and smooth portions of the shank with 320-3500 grit 2×2 inch sanding pads. It really started to be smooth and looked amazing.
 I polished the smooth briar with micromesh sanding pads – dry sanding with 1500-12000 grit pads. I wiped the bowl down after each pad with a damp cloth to remove the sanding dust. By the end of the process the pipe bowl looked very good.
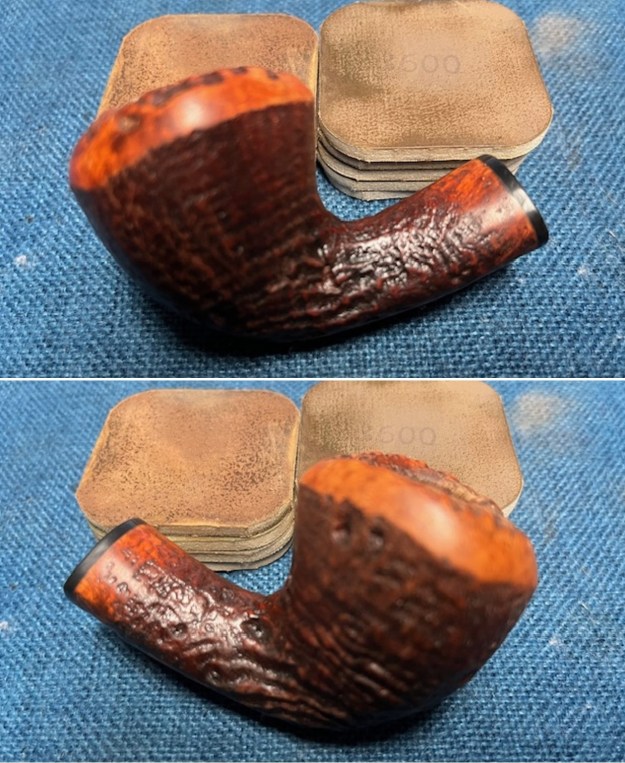
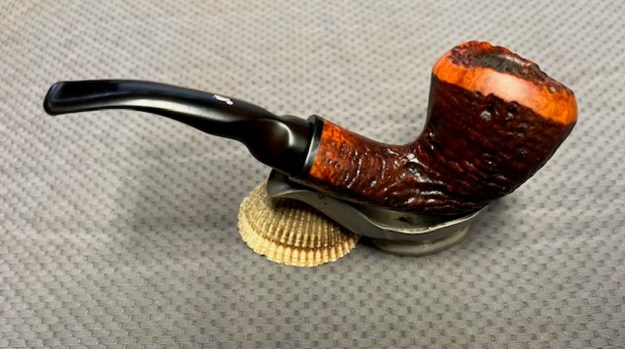
 I worked some Before & After Restoration Balm into the surface of the briar with a shoe brush to get into the carving on the rim top and shank end and my fingertips on the smooth. The product works to clean, enliven and protect the briar. I let the balm sit for 15 minutes and then buffed with a cotton cloth to raise the shine. The photos show the bowl at this point in the restoration process.
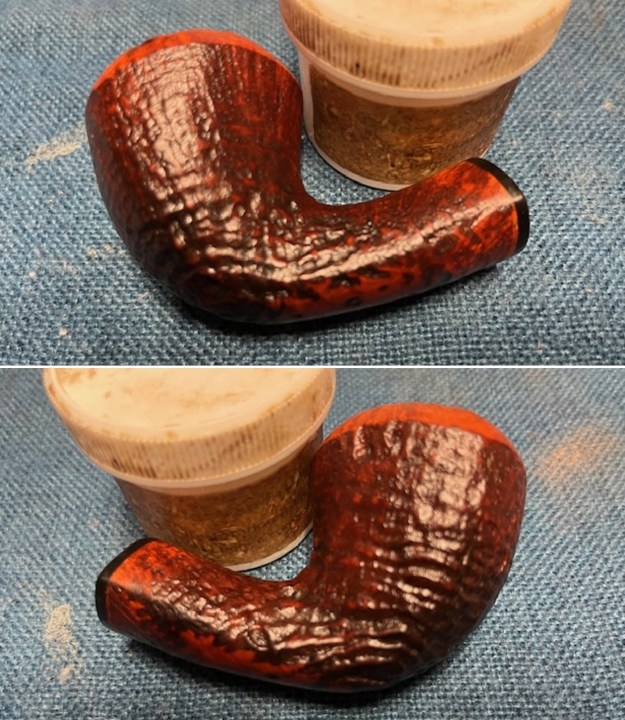
 I set the bowl aside and turned my attention to the vulcanite stem. I sanded the stem with 320-3500 grit sanding pads to remove the tooth marks and chatter against the button edge. I wiped the stem down between pads with an Obsidian Oil cloth to remove the sanding debris from the stem.
 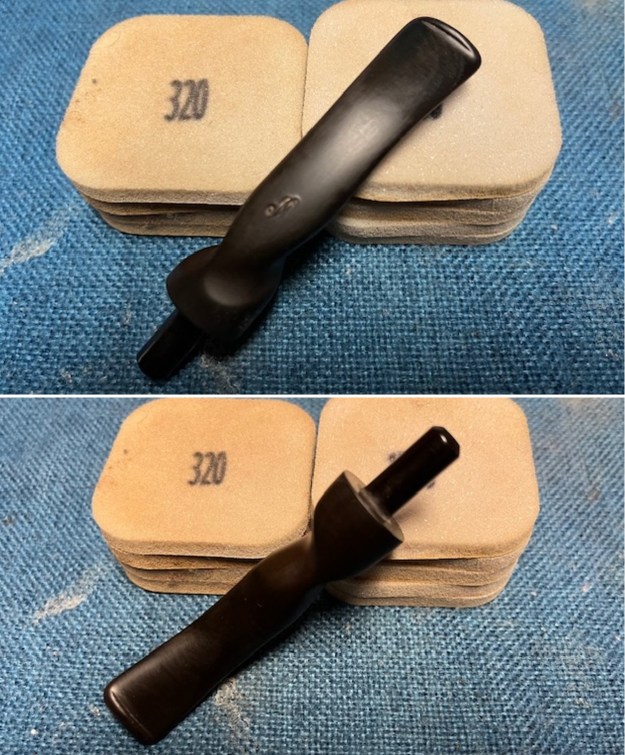 I touched up the “N” logo stamp on the top of the stem surface with white acrylic fingernail polish. Once it cured I scraped off the excess and sanded over the surface with a worn 1500 grit micromesh sanding pad to remove the excess.
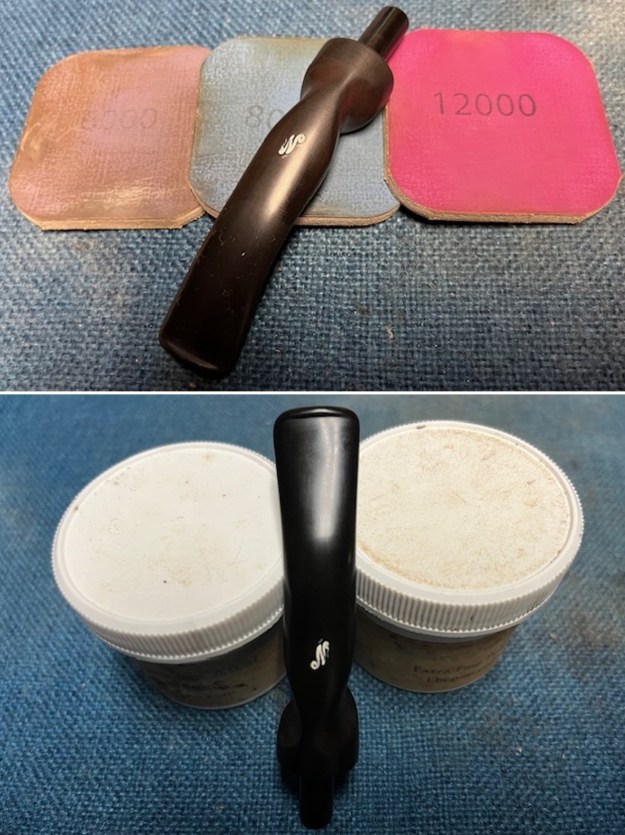
 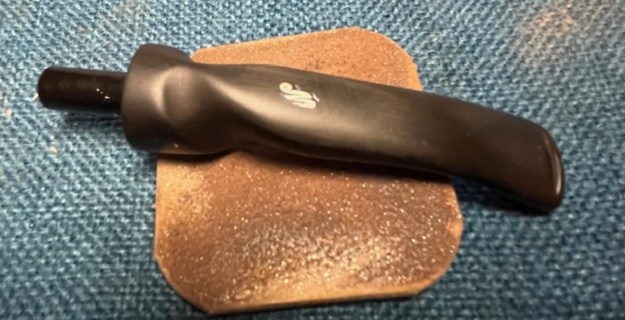 I polished the stem with micromesh sanding pads – dry sanding with 1500-12000 grit sanding pads. I wiped it down after each sanding pad with Obsidian Oil. I polished it with Before & After Pipe Stem Polish – both Fine and Extra Fine. I gave it another wipe down with Obsidian Oil.
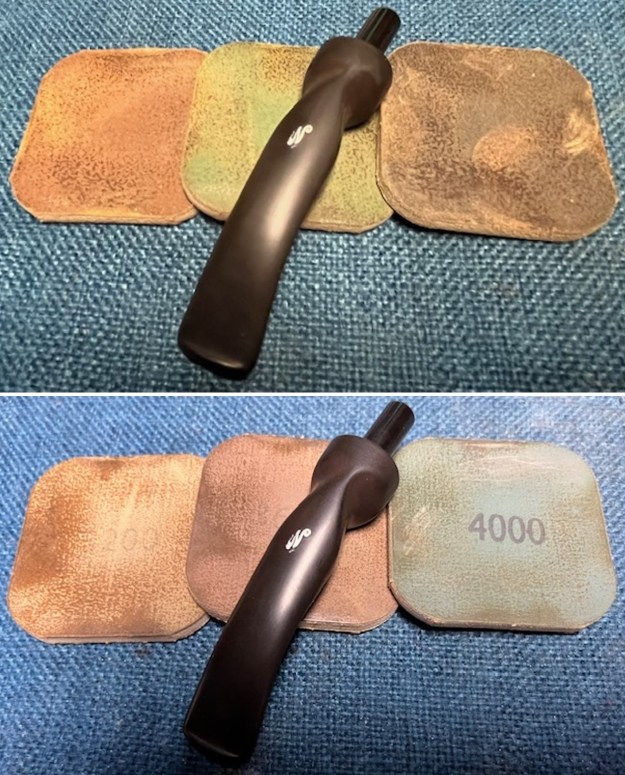
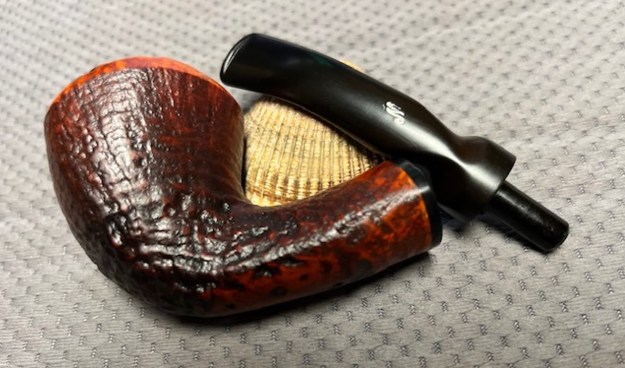
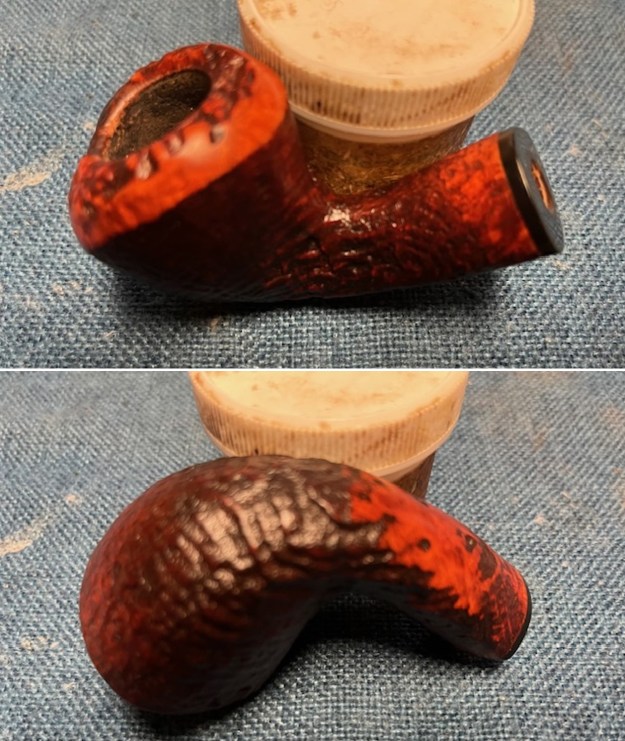
 This Sandblast Erik Nording Handmade Freehand with a plateau rim top is a great looking pipe now that it has been restored. The rich finish gives the shape an elegant look. The flow of the bowl and stem are well done make for a great hand feel. I put the stem back on the bowl and carefully buffed the pipe with Blue Diamond on the buffing wheel using a light touch on the briar. I gave the bowl and the stem multiple coats of carnauba wax on the buffing wheel. I buffed the entire pipe with a clean buffing pad. I hand buffed the pipe with a microfiber cloth to deepen the shine. The finished Erik Nording Freehand fits nicely in the hand and feels great. Give the finished pipe a look in the photos below. The dimensions of the pipe are Length: 6 inches, Height: 2 inches, Outside diameter of the bowl: 1 ¾ inches, Chamber diameter: 7/8 of an inch. The weight of the pipe is 50 grams/1.69 ounces. It is a great looking and light weight pipe. I will be putting it on the rebornpipes store in the Danish Pipemaking Companies Section shortly. If you are interested in adding this pipe to your collection send me a message or an email. Thanks for reading this blog and my reflections on the pipe while I worked on it.