by Steve Laug
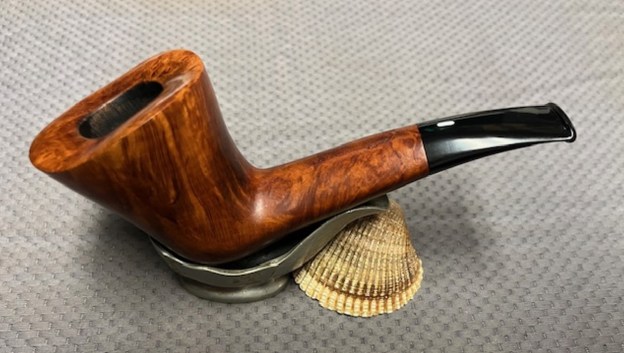
It is a beautiful chilly day in Vancouver without rain so I decided to go to the basement and work on another pipe that was purchased on 12/27/2025 in a lot of pipes that came to us from an estate of a pipeman in Durham, North Carolina, USA. The grain around the bowl and shank of this large Dubin has a mix of birdseye, straight and flame grain. The pipe is stamped on the topside of the shank and reads Castello [over] Collection [to the right] it has KK in an oval [over] the signature of Carlo Scotti. On the underside it is stamped with a Castello castle with the date stamp inside – 42 [followed by] Made in Catnu [over] Italy. To the right of it is stamped with an 11 [followed by] an oval with Carlo [over] Scotti on the inside of the oval. The pipe was dirty when Jeff received it. There was dust and grime ground into the finish. It is finished in the warm stain that highlights some nice grain around the bowl and shank. The bowl was heavily caked and there was some darkening and thick lava on the rim top. The inner edge is not visible under the lava so it may well be protected and undamaged. The acrylic taper stem was dirty with deep tooth marks and chatter on both sides ahead of the button and on the button itself. There was a white bar logo on the top of the stem. On the underside it is stamped Hand Made [over] Castello [over] 5. Jeff took photos of the pipe before he started his clean up work on it.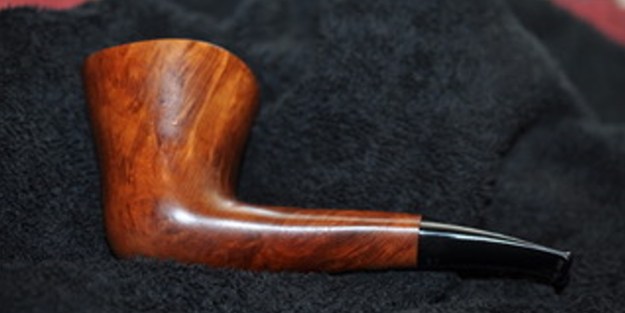
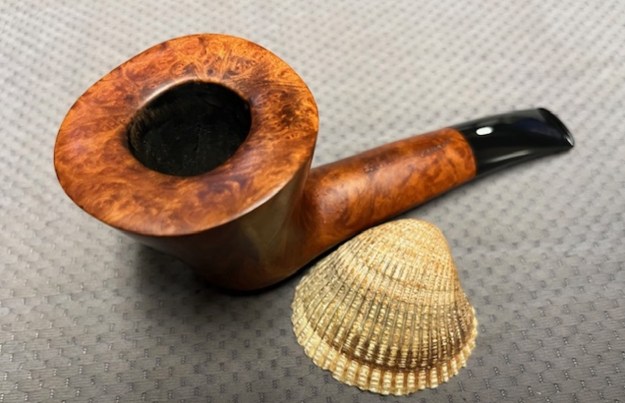
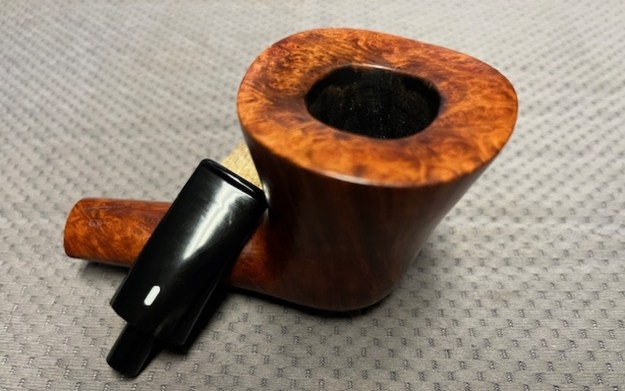
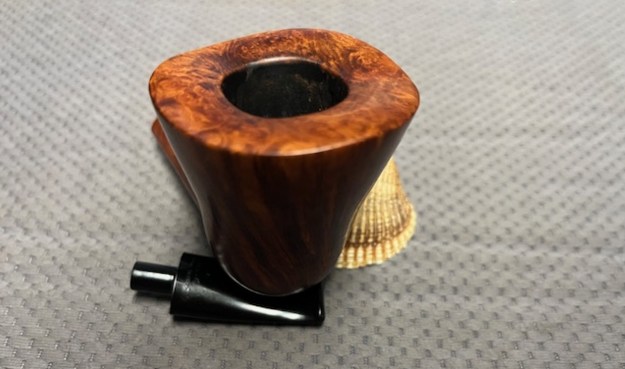
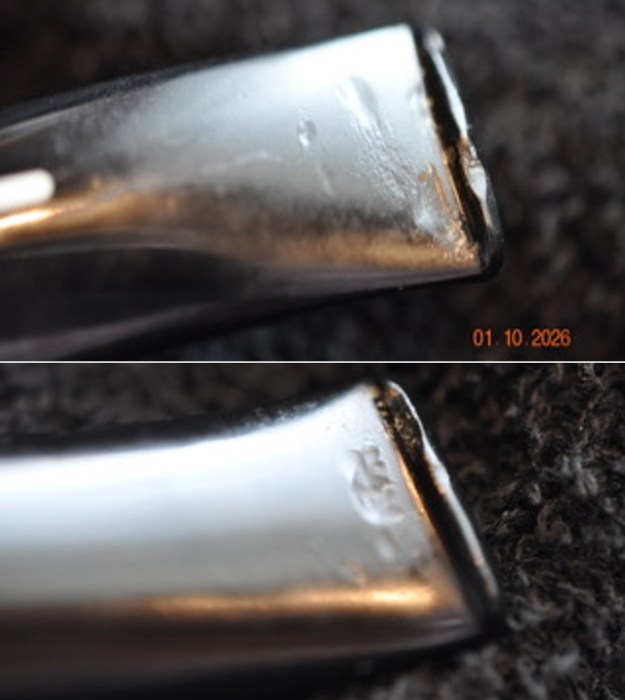
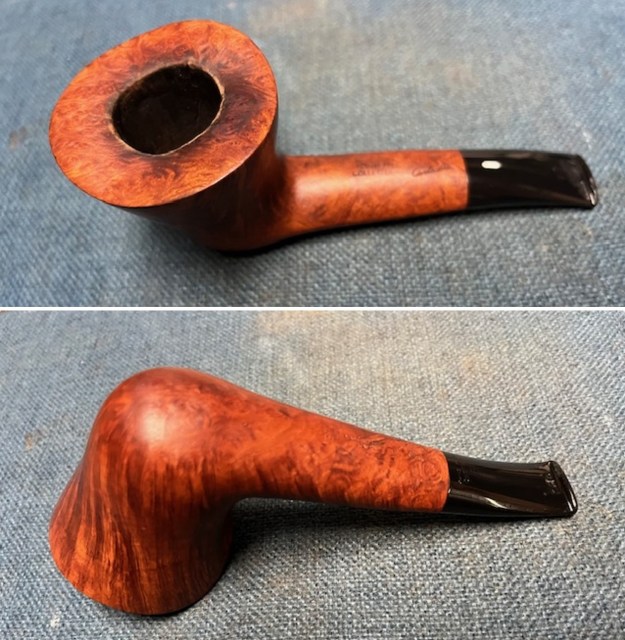
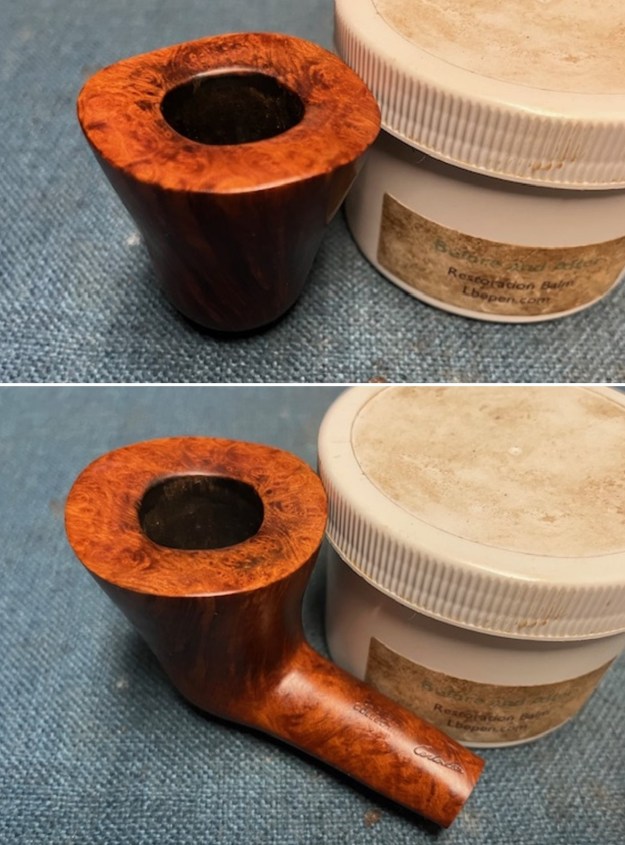
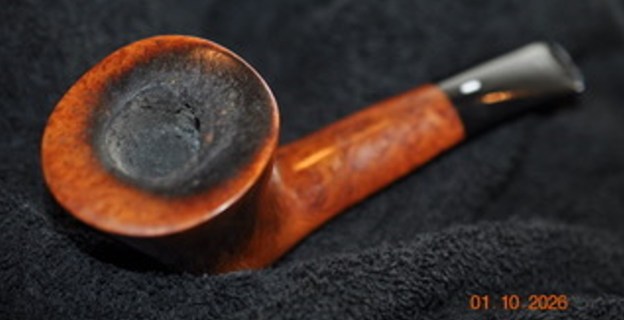 Jeff took photos of the bowl and rim top to show what they looked like before the clean up. You can see the thick cake in the bowl and the darkening and lava on the inner edge and top of the rim.
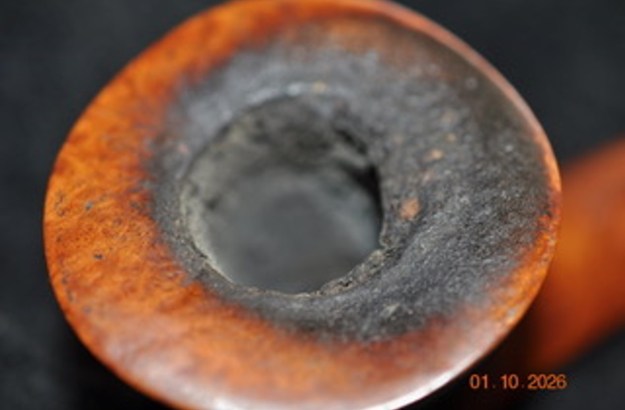

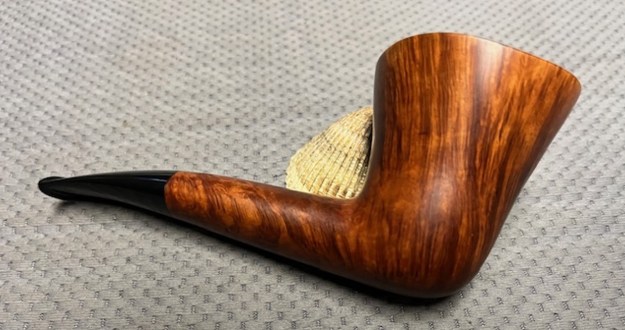
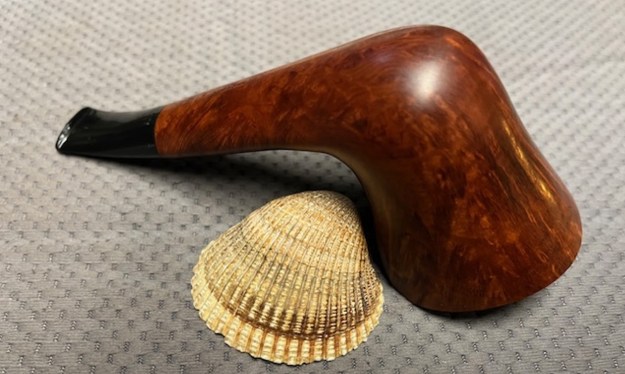
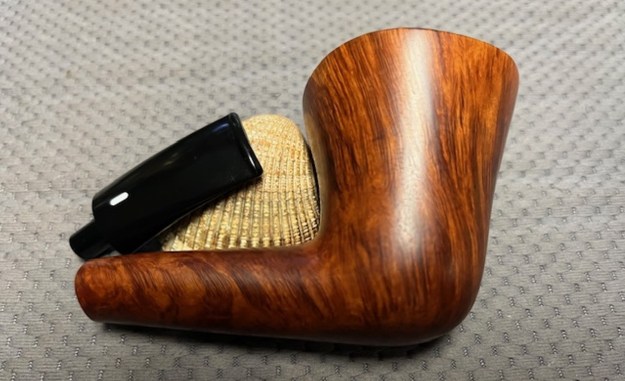
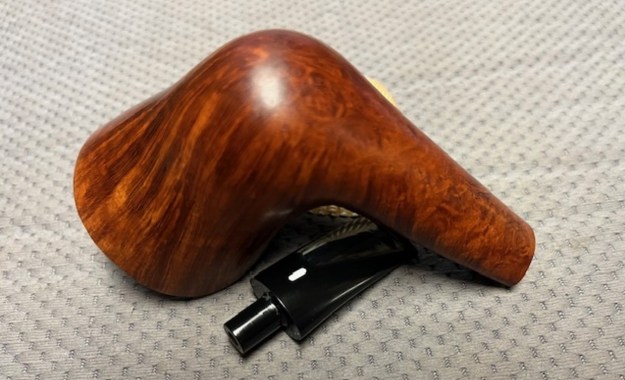
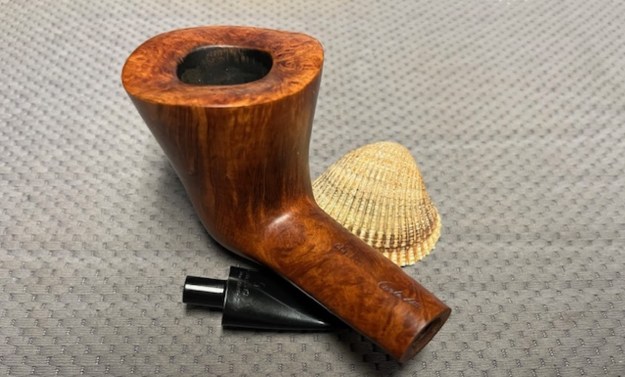
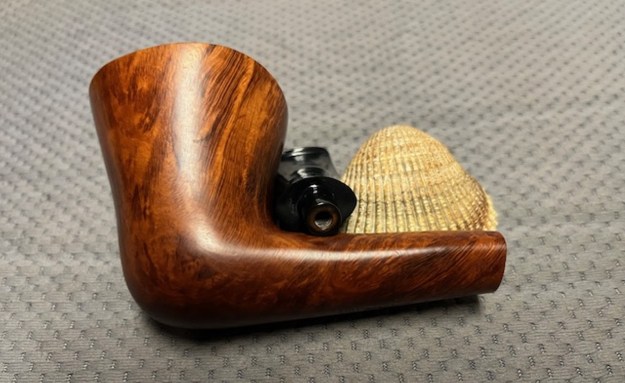
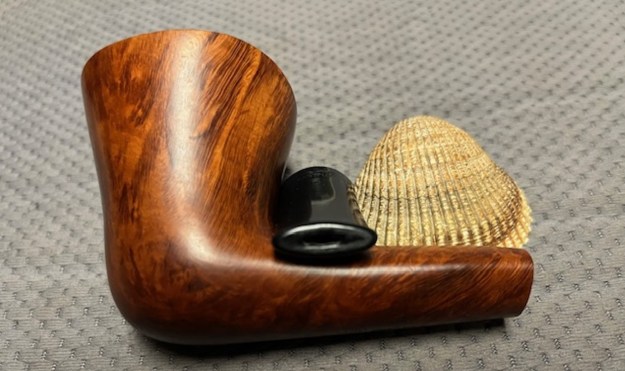
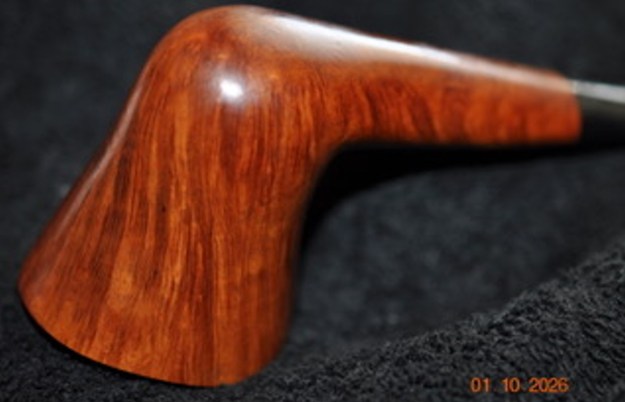
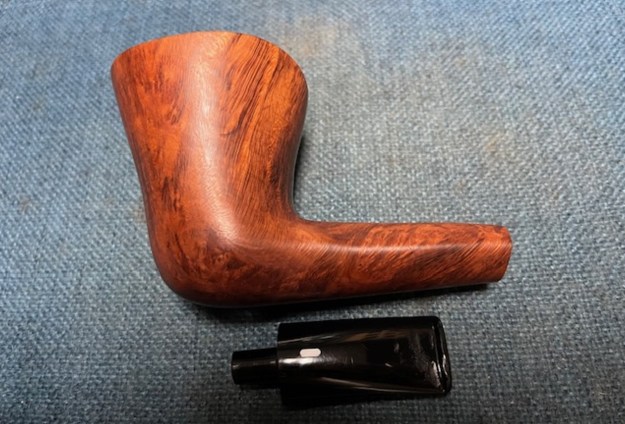
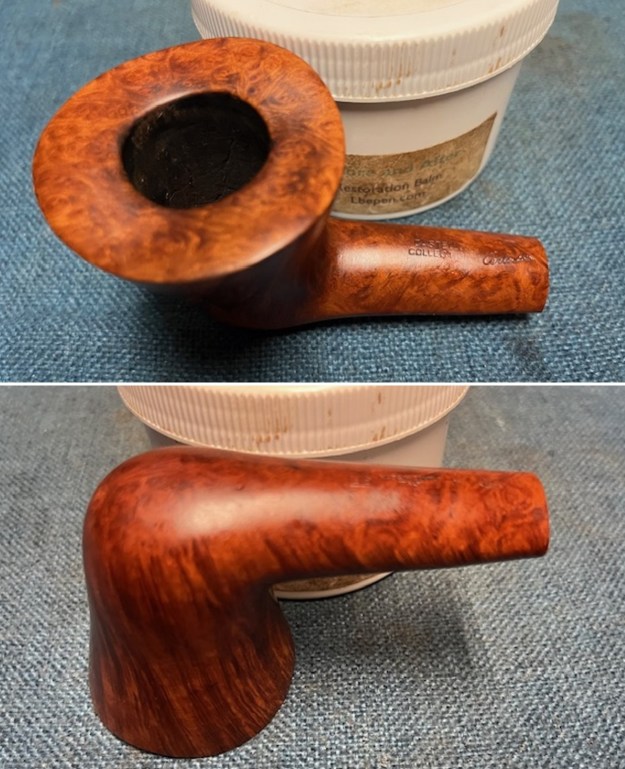
 The photos of the sides and heel of the bowl show the grain around the bowl and shank. The stain adds depth finish on the pipe. Even under the grime it is a real beauty.
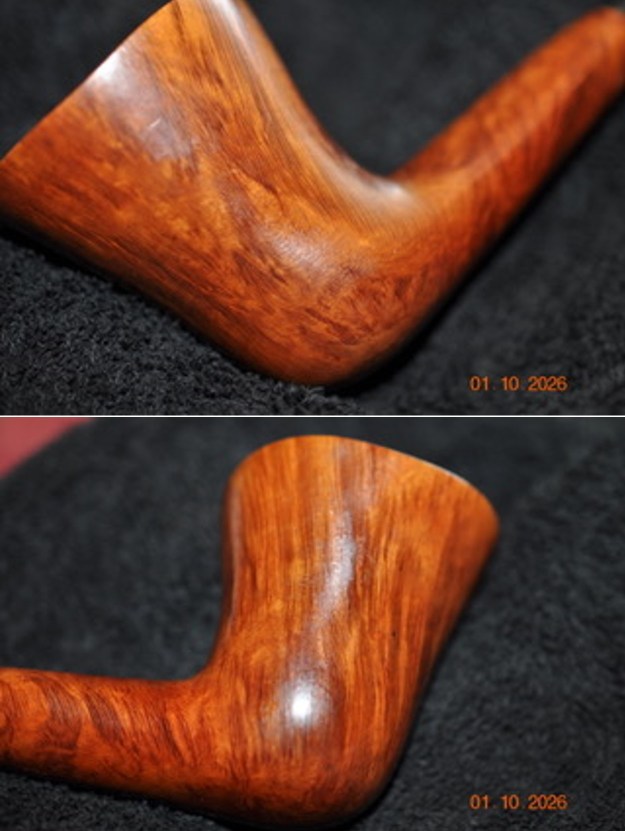
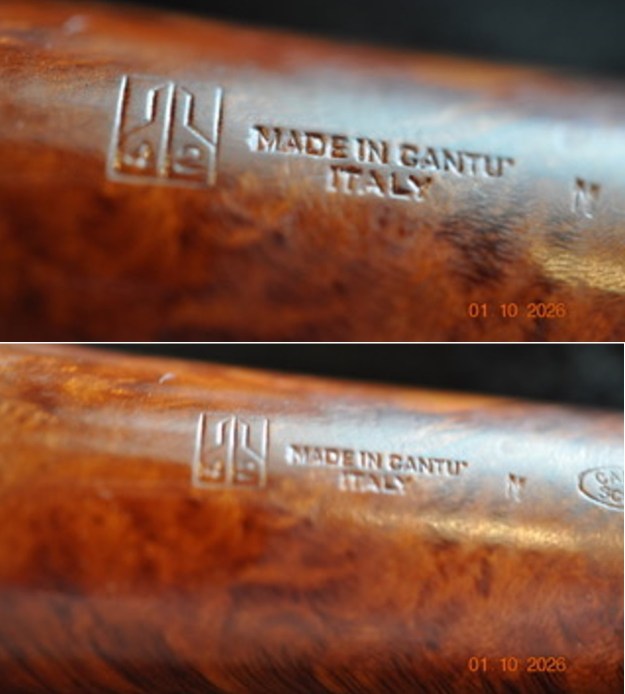
 The stamping on the sides of the shank are shown in the photos below. It is clear and readable as noted above.
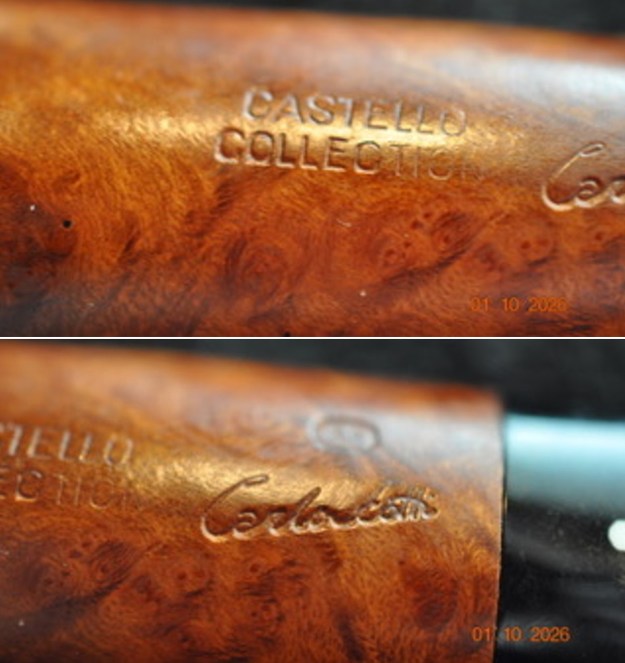
 I wanted to get to the details of the Castello Collection so I turned to Pipephil’s site to see what I could learn about the line (http://www.pipephil.eu/logos/en/logo-castello.html). I did a screen capture of the pertinent information on the Collection line. There were several Collection pipe shown – a KKKK and Le Catene but no KK. The rest of the stamping shown in the photo below is identical to those.
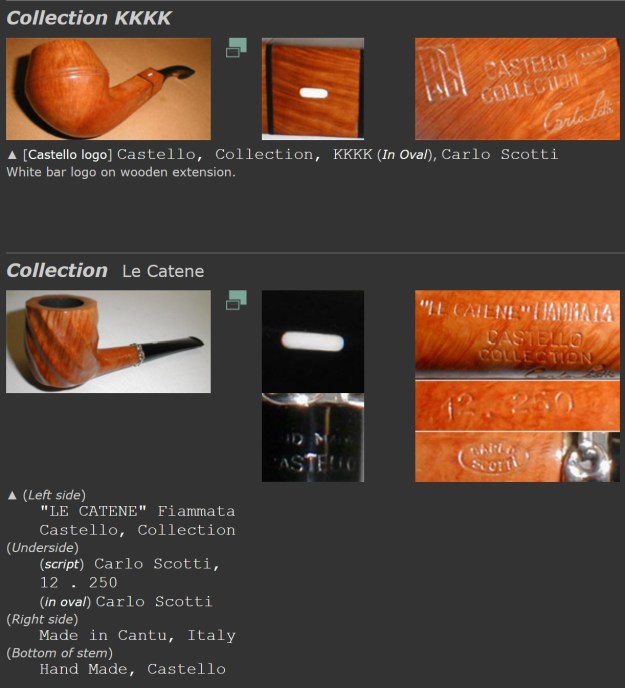
I turned to Pipedia (https://pipedia.org/wiki/Castello) to see what I could find out there. I have included some of the pertinent information below. The information helped me understand the dating on the pipe.
Dating: 41 inside the castle emblem = 1988
Only the higher quality pipes are stamped with that date reference (starting from the smooth “Castello” grade). Lower grades as Sea Rock, Old Antiquari or Trade Mark pipes are near impossible to date.
The castle stamping with a number inside the castle was introduced in 1987 (the 40th anniversary of Castello).
Sizes (ascending):
1K to 4K, G (Giant) and GG (Extra large)
Rusticated grading: SEA ROCK, OLD SEA ROCK, NATURAL VIRGIN,
Sandblasted grading: ANTIQUARI, OLD ANTIQUARI
Smooth grading (ascending): TRADEMARK, CASTELLO, COLLECTION
Other stampings: Great Line (Non-standard or freestyle) Fiammata (Straight grain)
Production (2012): ~4000 pipes / year
That helped me date the pipe I was working on that was stamped with a 42 in a Castle. The 41 stamp above meant that the above pipe was made in 1988 and the one I was working on was made a year later in 1989.
I did a bit more work on Google to understand the dating and the meaning of the Collection series. I turned to this blog (https://davismh76.wordpress.com/about/the-castello-pipe/). From there I found the following information. First I have included a section on Dating Today. Secondly a section on Collection. The Dating section confirms the 42=198 Date.
Dating Today. Small k in an oval with castle marking on some lines. In 1987, the 40th anniversary of Castello, a new stamp was introduced on some lines of Castello pipes. This consists of a castle stamping with a number inside the castle. The number signifies a year 40= 1987, 41=1988, 42=1989, and so forth. Lastly, in 2007 (the 60th anniversary), Franco has added “kino” in an oval to place his name on the pipes for the first time. Note. One person (Franco Coppo) grades all Castello pipes. He has viewed and graded the total factory’s production for many years. It is said that the ‘k’ stands for Kino, which is Franco’s nickname.
Collection. [The highest grade all smooth ‘standard’ series]: The Collection series is graded on grain with a 4k piece being the highest graded ‘standard’ Castello available. The collection series is usually used on straight grained briar with a few 2k and 3k pieces available with cross cut/birds eye graining.
From that information I knew that the pipe that I was working on was made in 1989. When I look at the grain and also the way the pipe maker cut the pipe to maximize the lay of the grain on the bowl confirms that it is definitely high on the grade list. It is a 2k pipe which the above says is available with cross cut/birds eye grain. Now it was time to work on the pipe on my end.
When I received it from Jeff this past week it did not look like the same pipe. It was clean and the finish had life. He reamed it with a PipNet pipe reamer and got rid of the cake. He cleaned up the reaming with a Savinelli Fitsall Pipe Knife so that we could see the walls of the bowl and assess for damage. It was in good condition. He cleaned the internals of the shank and stem with cotton swabs, pipe cleaners and alcohol. He scrubbed the exterior with undiluted Murphy’s Oil Soap and a tooth brush. He rinsed the pipe under warm water. He dried it off with a cloth and then let it air dry. The stem was scrubbed with Soft Scrub and soaked in Briarville’s Stem Deoxidizer. It came out looking very good. The finish on the bowl and the rim top cleaned up nicely. I took pictures of the pipe to show how it looked when I brought it to the table. 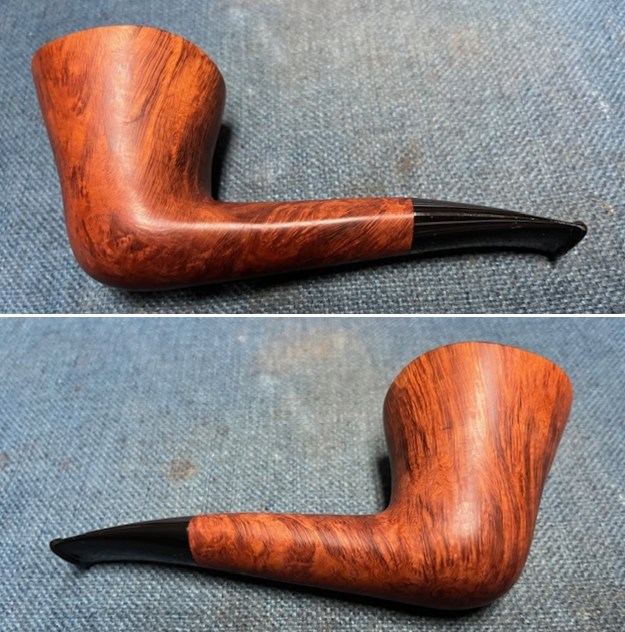
 I took some photos of the rim top and stem to show the condition of them both when the pipe arrived. Overall the briar looked good. The stem had some light tooth chatter and marks ahead of the button and on the button surface on both sides.
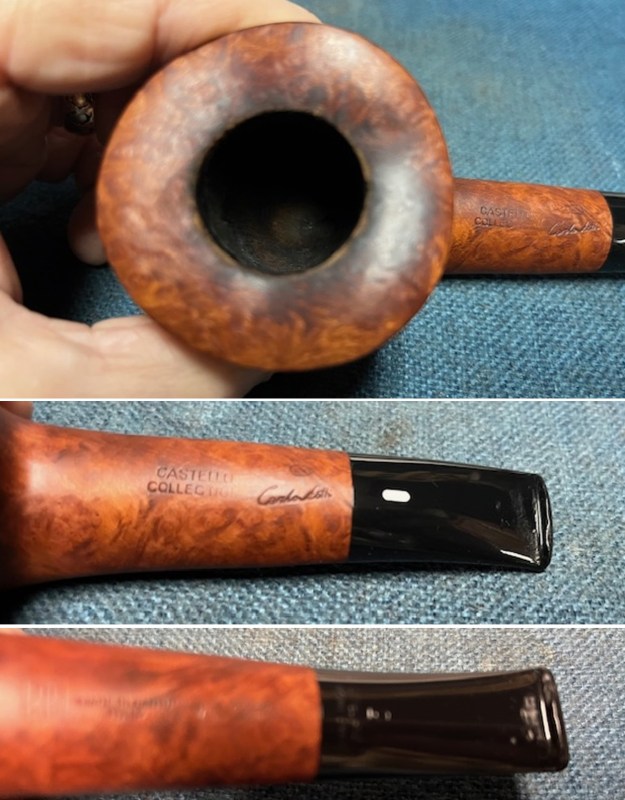 I took a photo of the stamping on the top and underside of the shank and the underside of the stem. It is readable and in great condition. I removed the stem from the shank and took a photo of the pipe to show the look of the pipe.
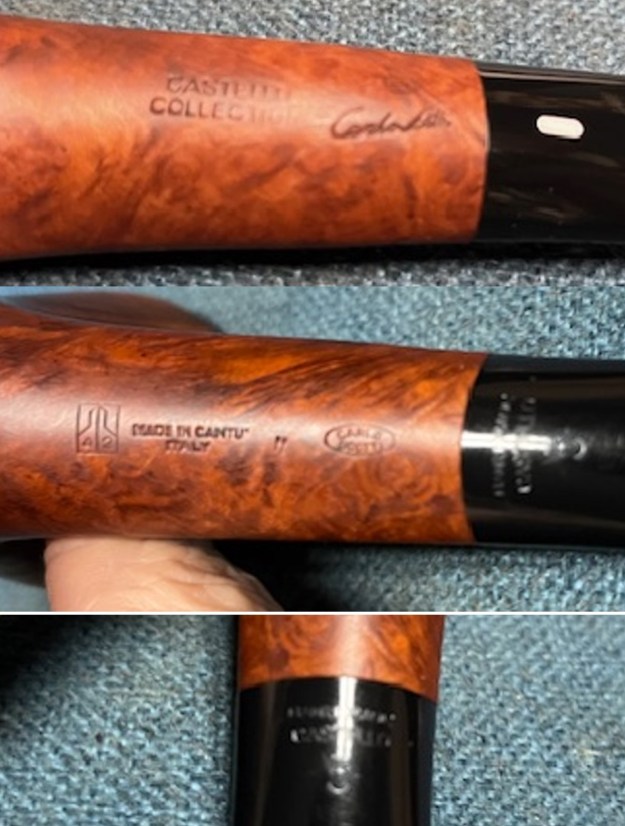
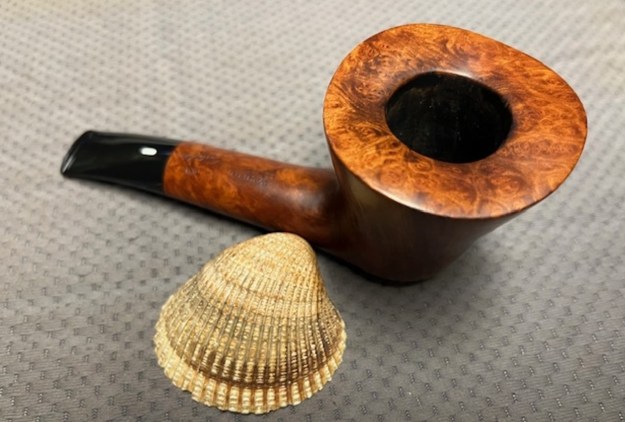
 I worked on the inner edge and the rim top of the bowl with a folded piece 220 grit sandpaper. Once I finished cleaning up the edge and top it looked very good.
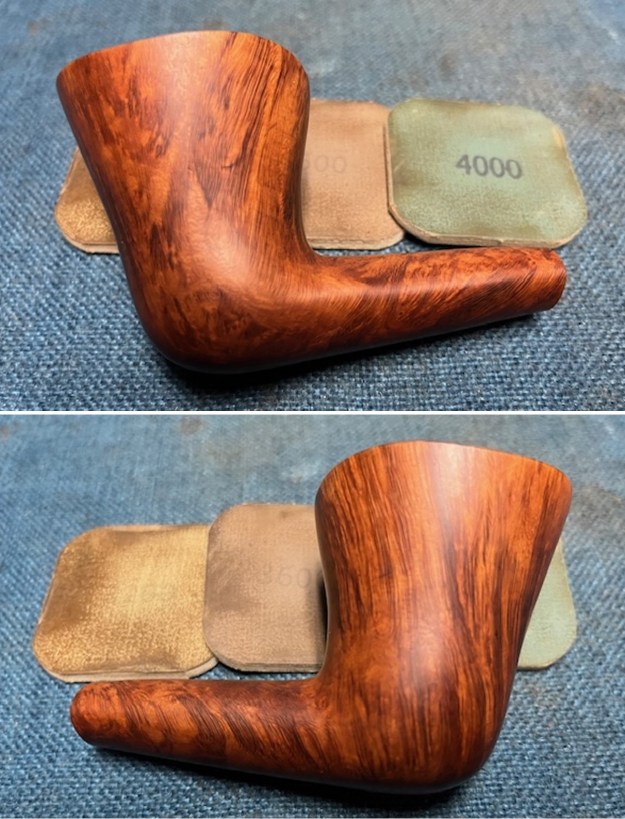
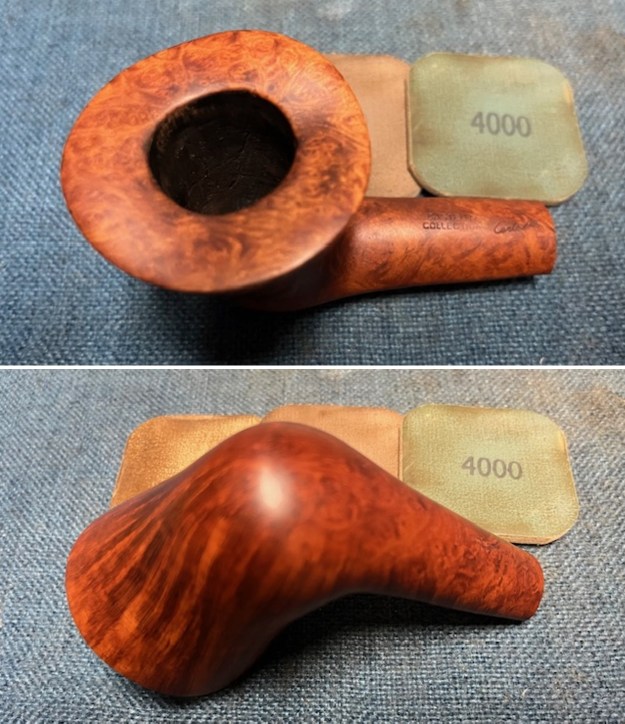
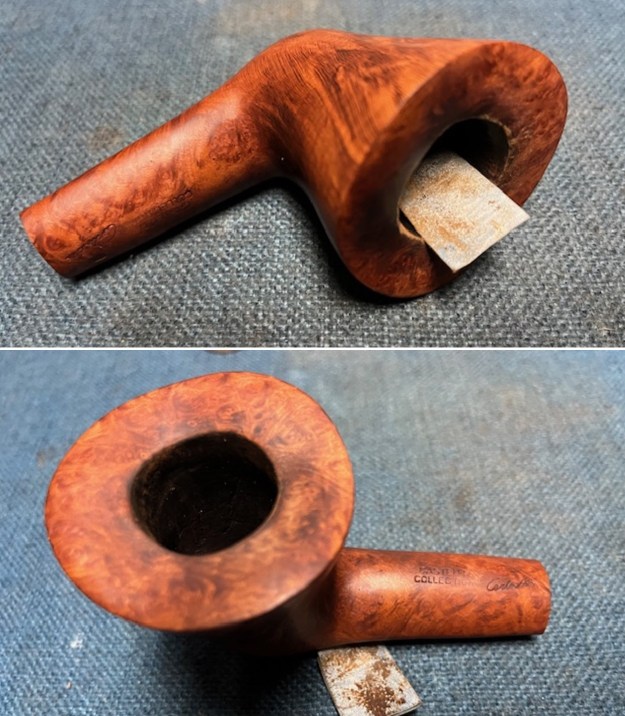 I sanded the sides of the bowl and the rim top with 320-3500 grit 2×2 inch sanding pads to remove the scratching in the briar and smooth it out. It is a really beautiful piece of briar with some amazing grain around the sides, heel and rim top.
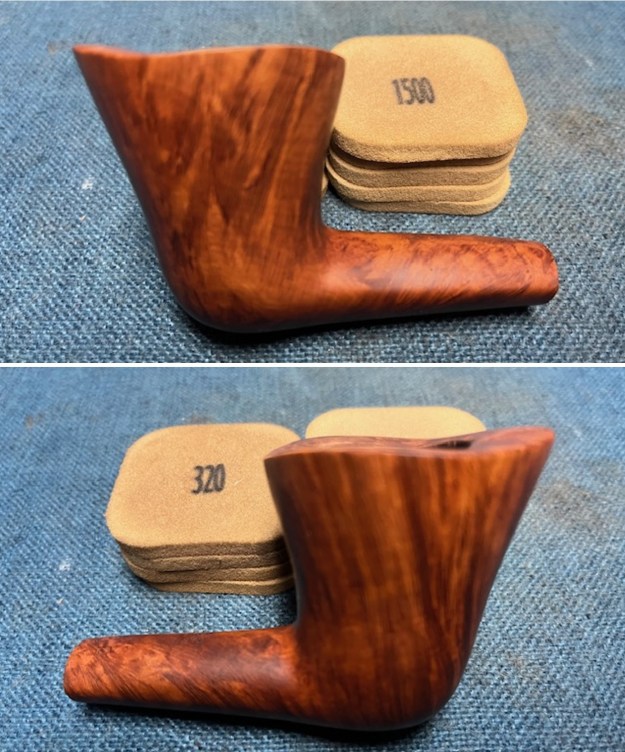
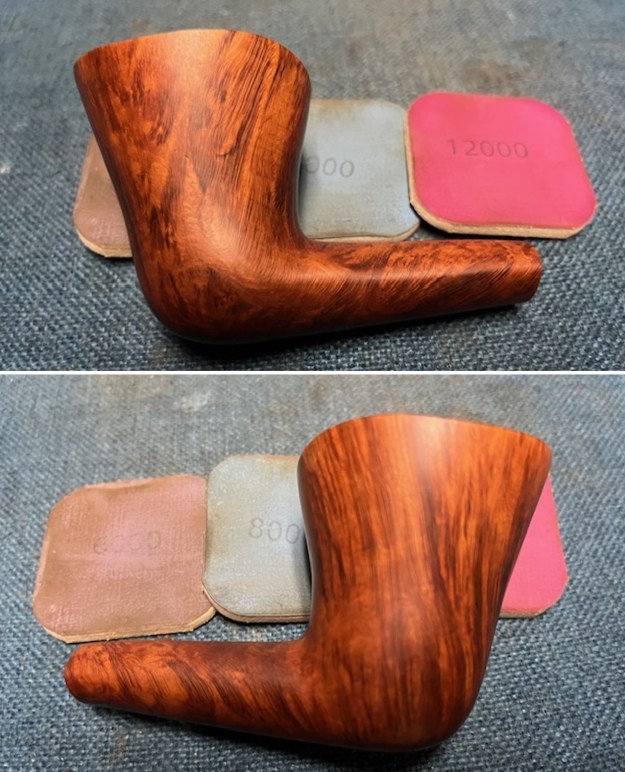
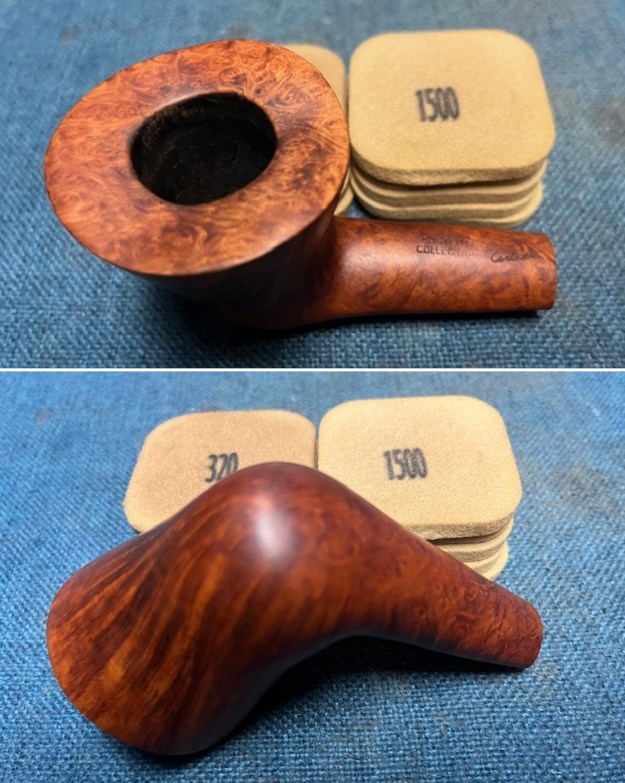 I polished the bowl with micromesh sanding pads – dry sanding with 1500-12000 grit pads. I wiped the briar down after each pad with a damp cloth. The bowl is starting to look very good.
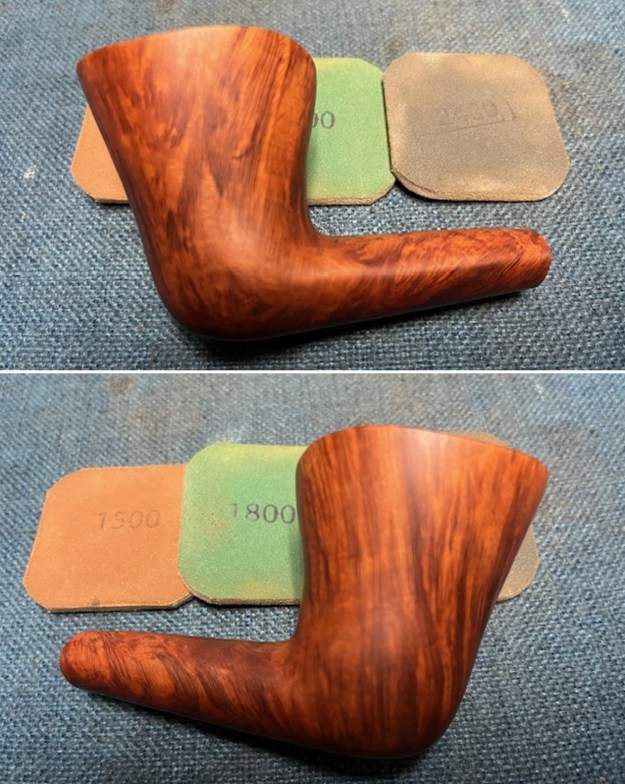
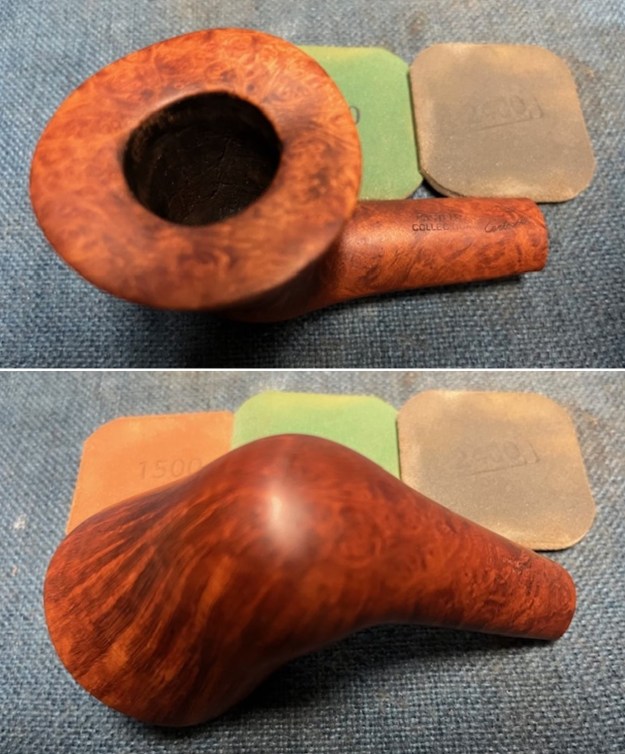
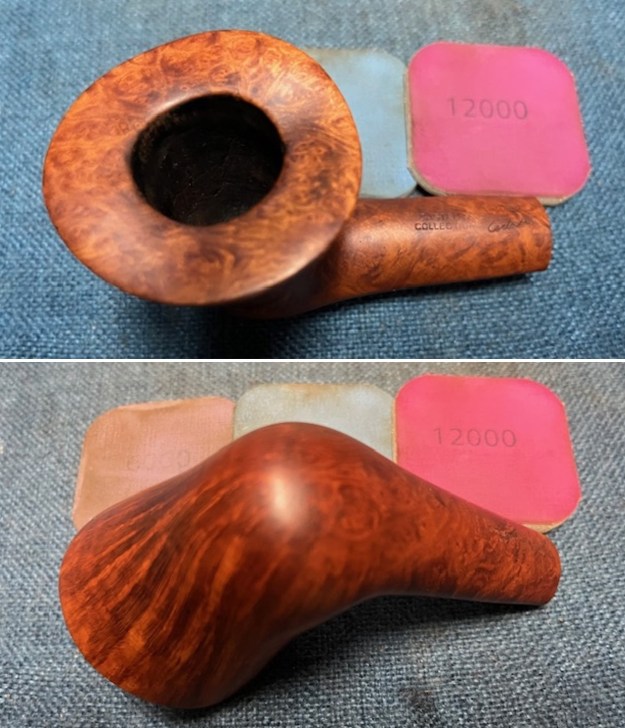 I worked some Before & After Restoration Balm into the surface of the briar with my fingertips to clean, enliven and protect it. I let the balm sit for a little while and then buffed with a cotton cloth to raise the shine. The photos show the bowl at this point in the restoration process.
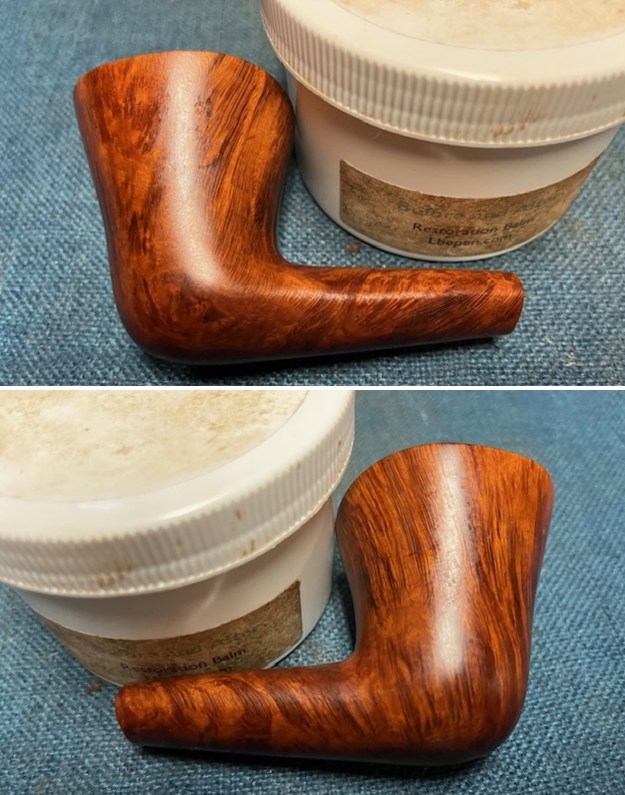
 I set the bowl aside and turned my attention to the stem. I wiped the tooth marks down with isopropyl alcohol and a cotton swab and then filled in the tooth marks with black CA glue. Once the repairs cured I used a small flat needle file to smooth out the repaired areas on both sides of the stem. I sanded them with a folded piece of 220 grit sandpaper to blend them into the surface of the vulcanite.
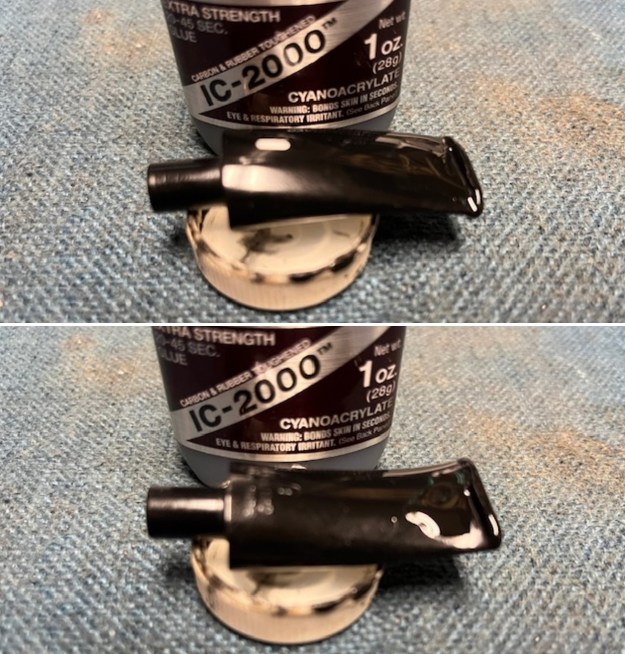
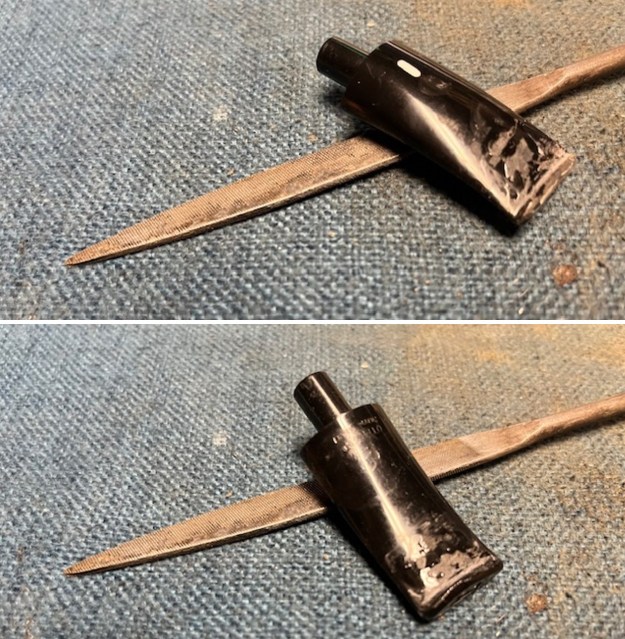
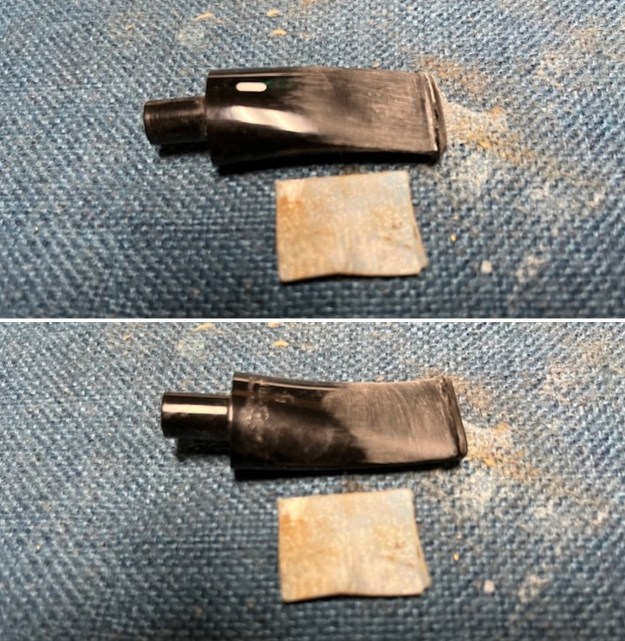 I sanded the stem with 320-3500 grit sanding pads. I wiped it down after each sanding pad with a damp cloth. By the final 3500 grit sanding pad the rim top had a shine.
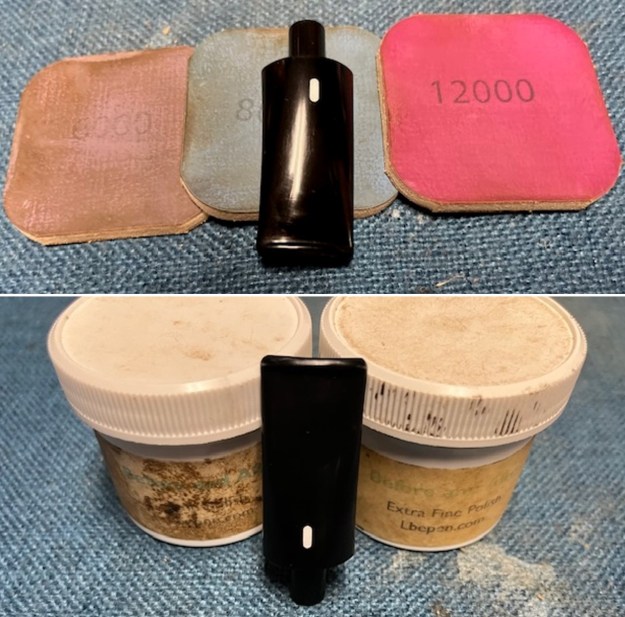
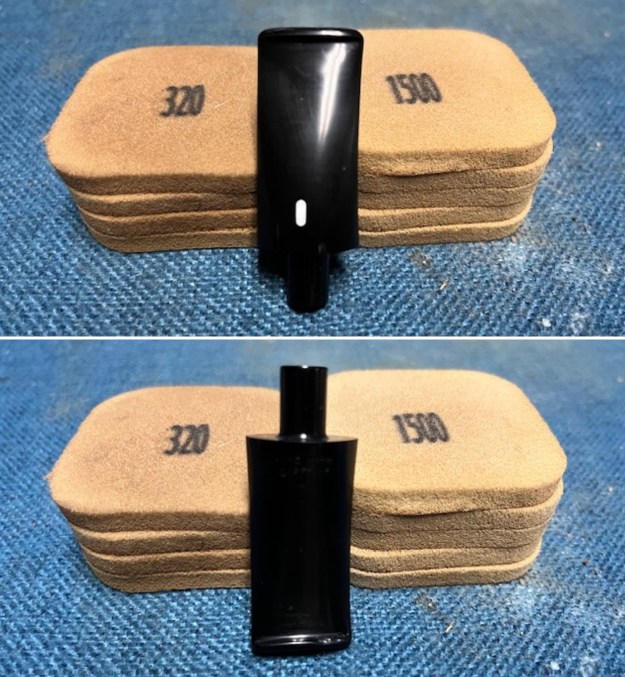 I polished the stem with micromesh sanding pads – wet sanding with 1500-12000 grit sanding pads. I wiped it down after each sanding pad with some Obsidian Oil. I finished polishing it with Before & After Pipe Stem Polish – both Fine and Extra Fine and buffed it off with a cotton cloth.
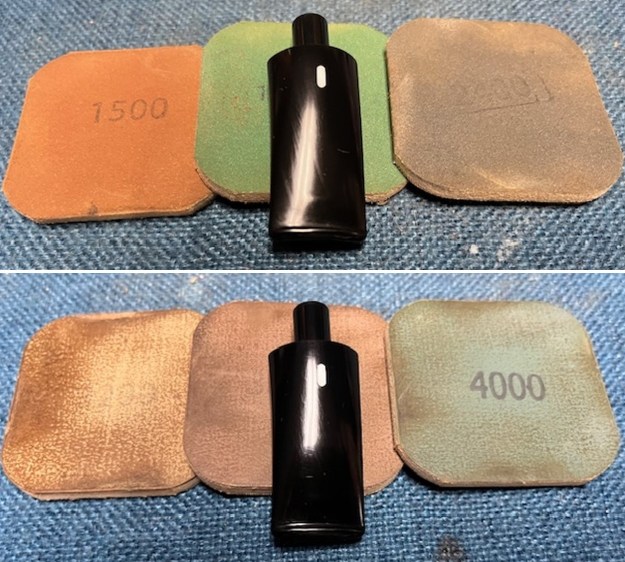
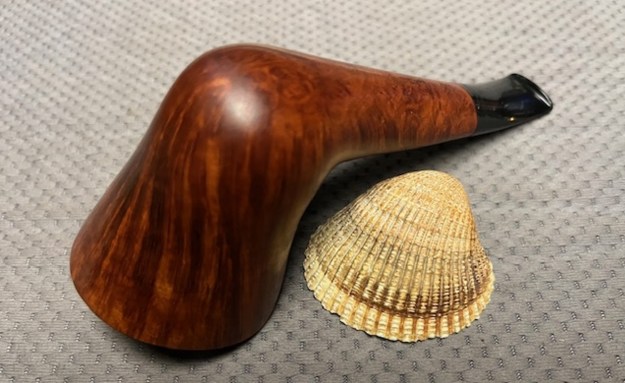
 This beautiful Castello Collection KK Carlo Scotti 42 (1989) Oval Shank Dublin with a taper acrylic stem looks amazing after the work on it. The briar is clean and the grain really came alive. The rich brown stains gave the finish a sense of depth with the polishing and waxing. The birds eye almost winked at me. I put the stem back on the bowl and buffed the pipe with Blue Diamond on the buffing wheel using a light touch on the briar. I gave the bowl and the stem multiple coats of carnauba wax on the buffing wheel. I buffed the pipe with a clean buffing pad to raise the shine. I hand buffed the pipe with a microfiber cloth to deepen the shine. The finished Castello Collection KK Carlo Scotti Dublin really is a beauty and feels great in the hand and looks very good. Give the finished pipe a look in the photos below. The dimensions of the pipe are Length: 6 inches, Height: 2 ½ inches, Outside diameter of the bowl: 2 inches, Chamber diameter: 1 inch. The weight of the pipe is 67 grams/2.36 ounces. I will soon be putting this pipe on the rebornpipes store in the Italian Pipemakers Section. It should make a great smoker so if you are interested in it please let me know..
As always, I encourage your questions and comments as you read the blog. Thanks to each of you who are reading this blog. Remember we are not pipe owners; we are pipe men and women who hold our pipes in trust until they pass on into the trust of those who follow us.