Blog by Paresh
About two months ago, I had worked on a battered and abused, but well loved meerschaum line Orlik Bent Brandy pipe from an estate lot of 40 pipes that I had acquired about eight/ nine months ago. That was the third pipe from the lot that I had refurbished, the first being a huge Real Cherry wood pipe and the second was a Corn Cob with a long Albatross wing bone. Here is the link to the three write ups which will provide background information as to how I came to acquire this lot and the condition of the pipes that I had received;
https://rebornpipes.com/2020/03/08/refurbishing-a-real-cherry-foreign-pipe-from-estate-lot-of-40/
https://rebornpipes.com/2020/05/10/refurbishing-a-vintage-corn-cob-pipe-with-an-albatross-wing-bone/
https://rebornpipes.com/2020/06/11/a-second-inning-for-a-meerschaum-lined-orlik-bent-brandy/
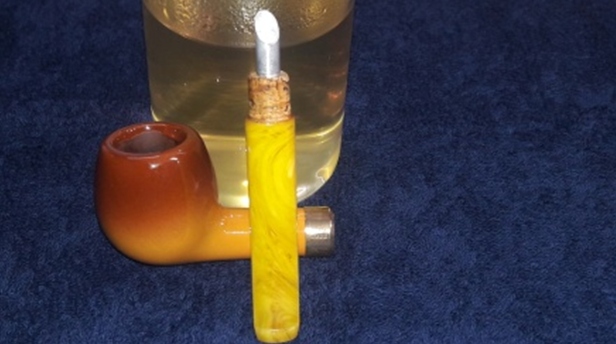
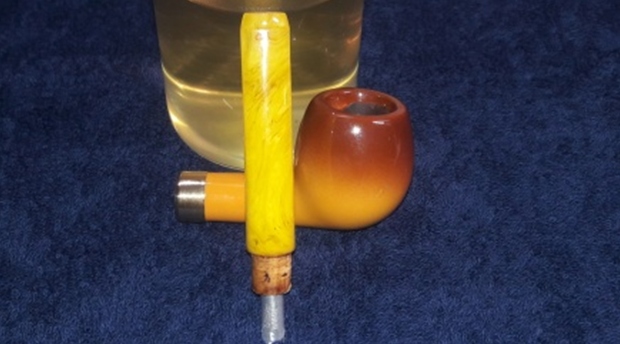
The fourth pipe from this lot and currently on my work table is beautiful brightly colored straight Apple with a tapered yellow variegated stem with swirls of black. The first three pipes that I had worked on are marked with yellow, green and indigo arrows while the fourth pipe that is currently on my work table is shown in the third picture marked in pastel blue colored arrow.
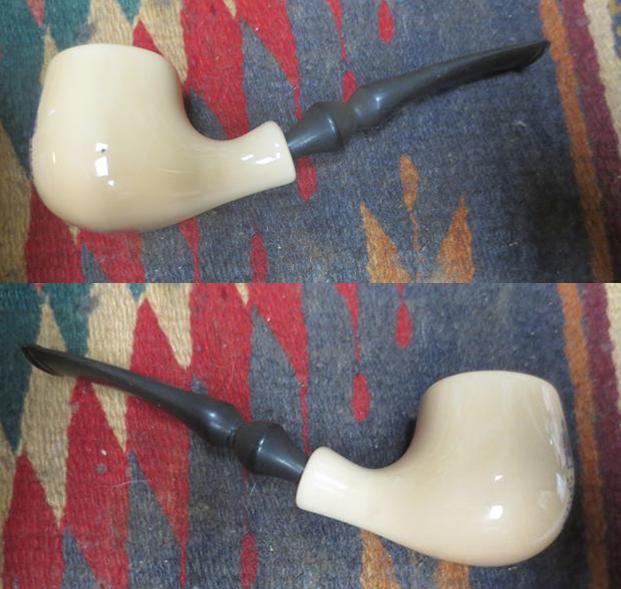
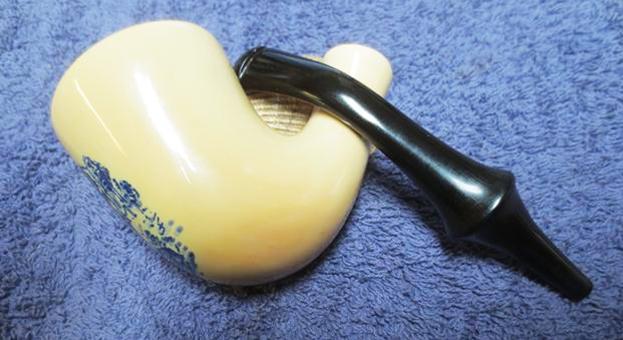
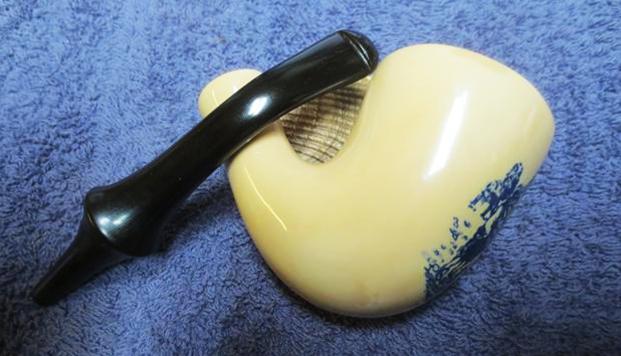
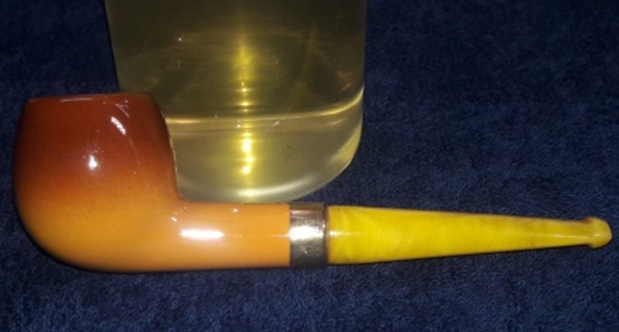
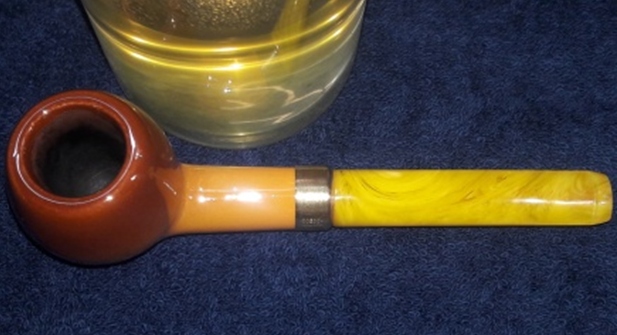
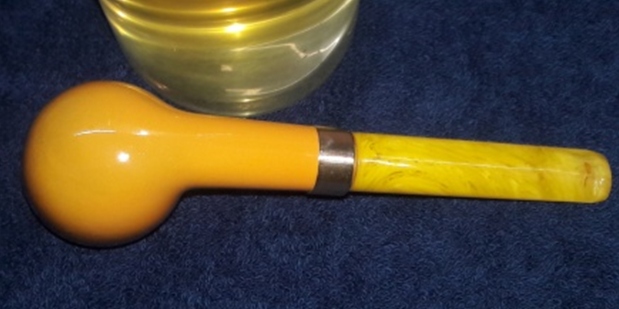
 The eye catching candy colored attractively Apple shaped pipe screams “PARTY” and feels ultra light in hand. The shank end is adorned with a brass band. It is stamped on the brass band as “GOEDEWAAGEN” over “MADE IN HOLLAND”. There is no shape code or stamping on either the stummel or the acrylic stem.
  The stamping on the brass band gave me a definitive direction to my quest to know about this brand. I turned to my favorite site, rebornpipes.com, to know more about the brand and sure enough, Steve had worked on a couple of GoedeWaagen pipes and researched it in detail. Given below is the link for the readers who are interested in knowing about this pipe from Holland.
https://rebornpipes.com/2017/10/21/cleaning-up-a-pair-of-goedewaagen-delft-ceramic-pipes/
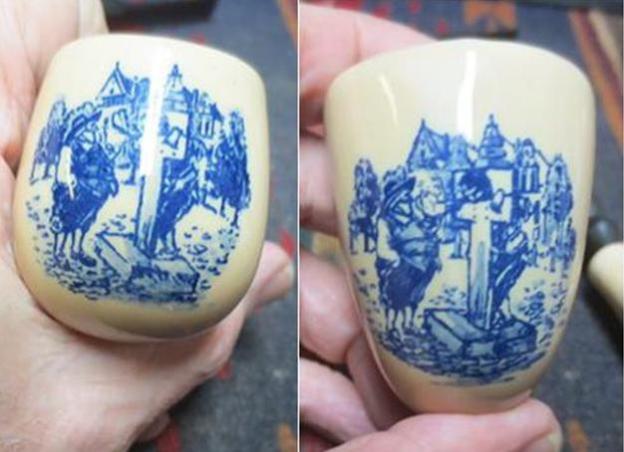
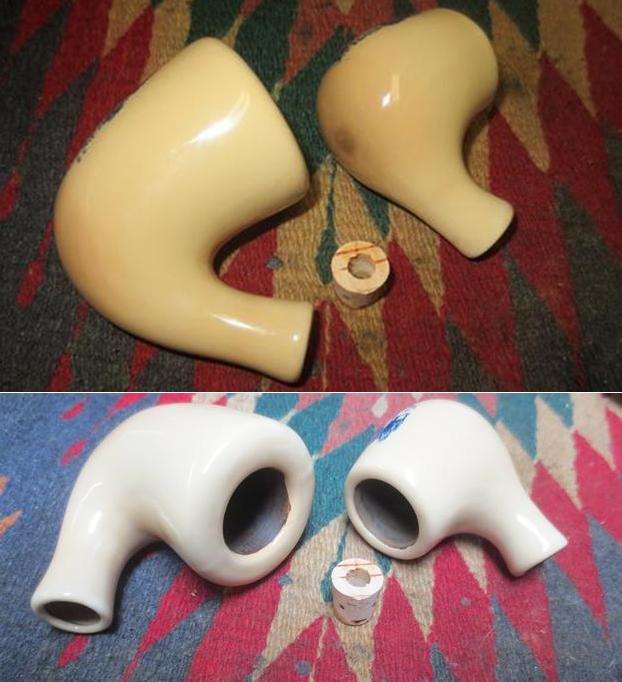
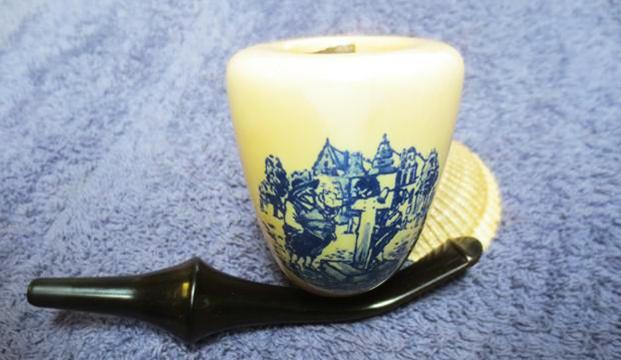
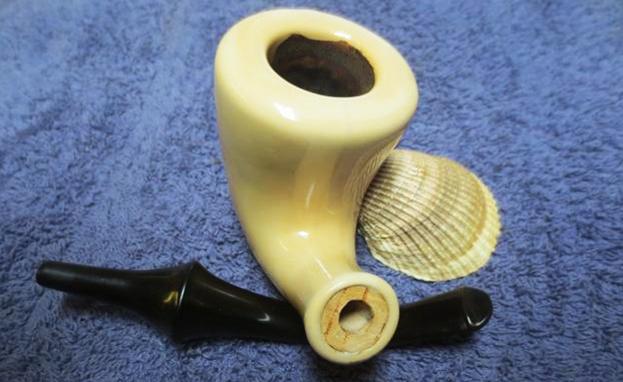
Steve has included a picture of these pipes that gives out the construction and functioning of the pipe which I have reproduced below. I searched pipedia.org for more information on the Maker and brand of GoedeWaagen. I have reproduced the information contained on the site and also the link to the webpage. https://pipedia.org/wiki/GoedeWaagen
Dirck GoedeWaagen became a master pipemaker on January 1, 1779 and took on his first assistant the following month. Soon after Dirck’s grandson fell in love with and married a girl from the illustrious De Jong family, legendary in the ceramic pipemakers guild in Gouda. He built a workshop in the Keizerstraat in Gouda, which continued for two generations until his grandson Abraham GoedeWaagen moved the company to a new location.
In 1853, Pieter Goedewaagen purchased his father-in-law’s factory “De Star”, which becomes the basis of the modern GoedeWaagen Company. In approximately 1880, Abraham’s grandson Aart GoedeWaagen persuaded his father Pieter to expand the business with an eye towards more models of pipes, and P. GoedeWaagen & Sons was founded in response. Within ten years the firm had hundreds of models and P. GoedeWaagen & Son was exporting pipes around the globe.
GoedeWaagen continued to make pipes, but also began acquiring other ceramics firms, including ‘De Distel’ in 1923, and in so doing acquiring the expertise to make decorated ceramics other than clay pipes. It is at this time that the company is granted a Royal charter and by the 1930’s Royal Goedewaagen is one of the top names in Dutch ceramics.
While Goedewaagen pipes were originally traditional and figural clays, after the invention of the double walled clay pipe by Zenith, also a Gouda company, Goedewaagen began producing pipes in that commonly seen style, which they marketed as The Baronite Pipe, advertised for its clean smoking and health benefits. Since the company’s bankruptcy in 1982, however, they have made only the occasional souvenir pipe, including a line commemorating Holland’s monarchs.
There is a mention of “Zenith” pipes and visited the page that contained information on this brand related to GoedeWaagen pipes. The article makes for an interesting read. https://pipedia.org/wiki/Zenith
Correlating the above two, it can be safely established that the pipe is from in between the period 1920s when the double walled ceramic pipes were invented by Zenith to 1982 when GoedeWagen filed bankruptcy.
With the provenance of the pipe established and firm in my knowledge and understanding of the GoedeWaagen Brand, I move ahead with my initial visual inspection.
Initial Visual Inspection
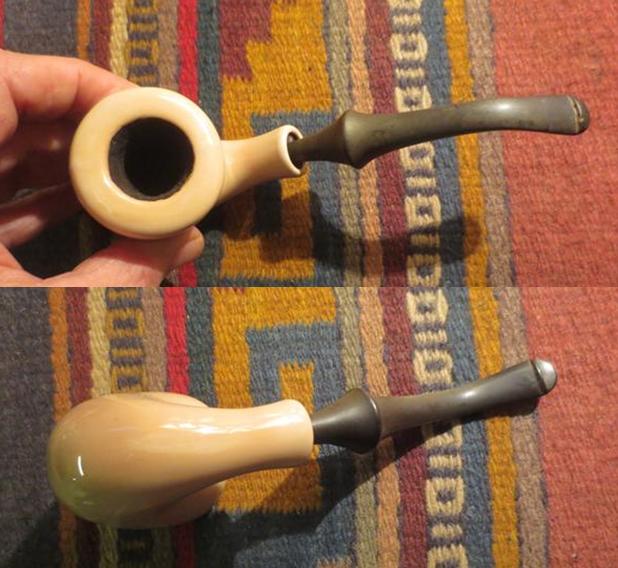
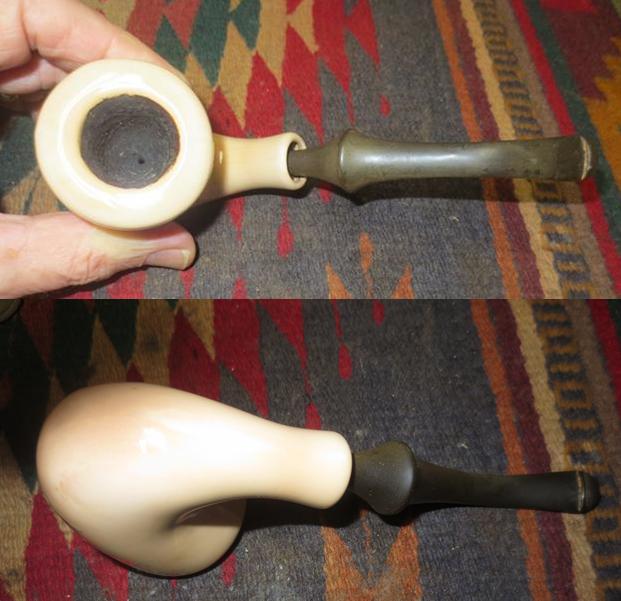
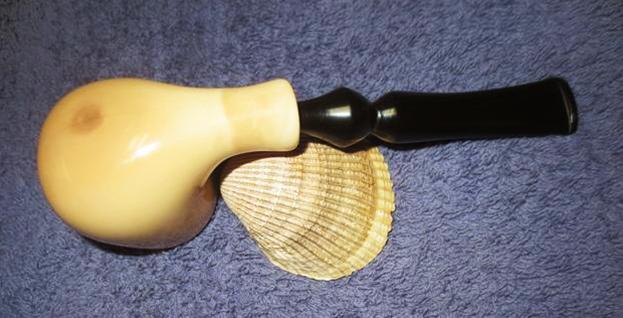
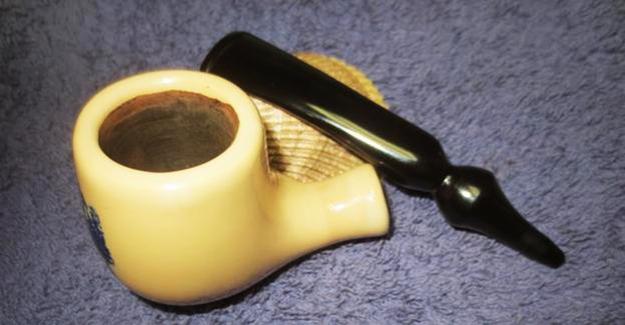
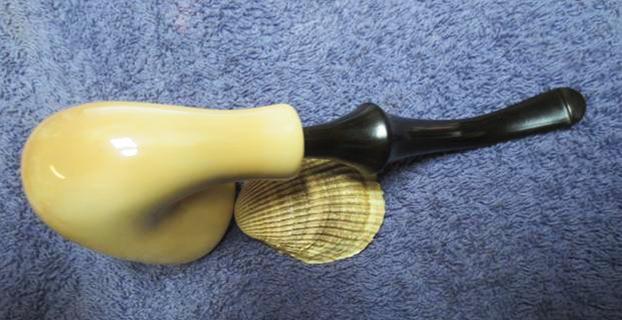
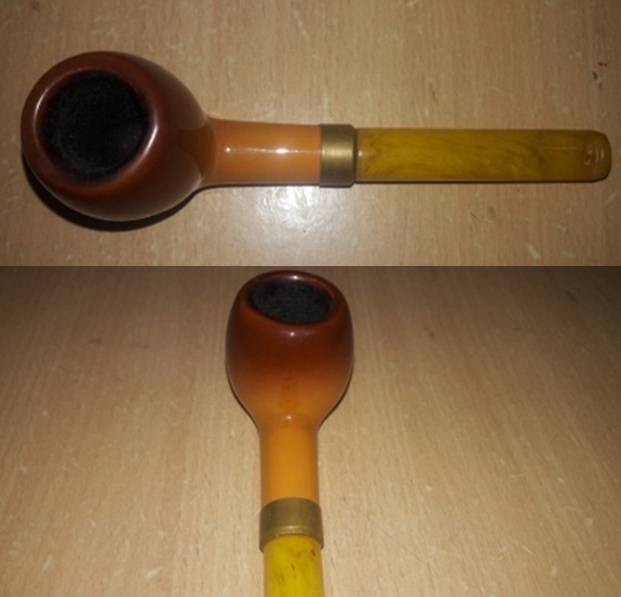
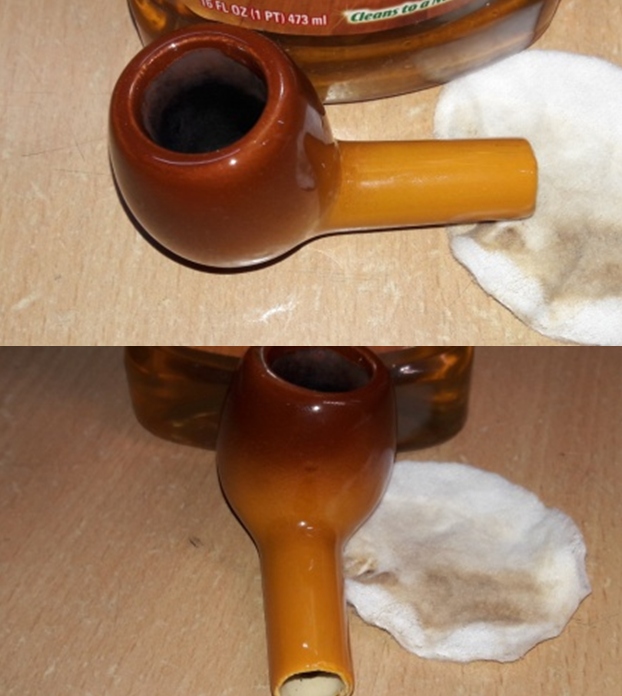
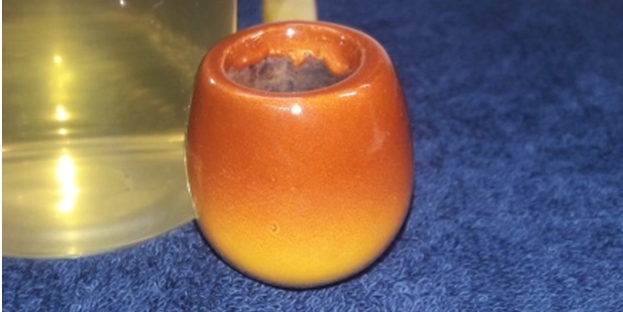
The pipe, as it appears, is shown in the pictures below. The pipe must have hardly been smoked as the layer of cake in the chamber is very thin with very minor traces of overflow of lava over the rim top surface. The stummel is covered in clear glaze and is covered in dust and fingerprints. The stem airway is dark with dried oils and tars. Heavy tooth chatter and deep bite marks in the bite zone and button edges on either surface can be seen on the stem surface. All in all, this is a lovely pipe and should stand out in any gathering once cleaned and polished.
 Detailed Inspection
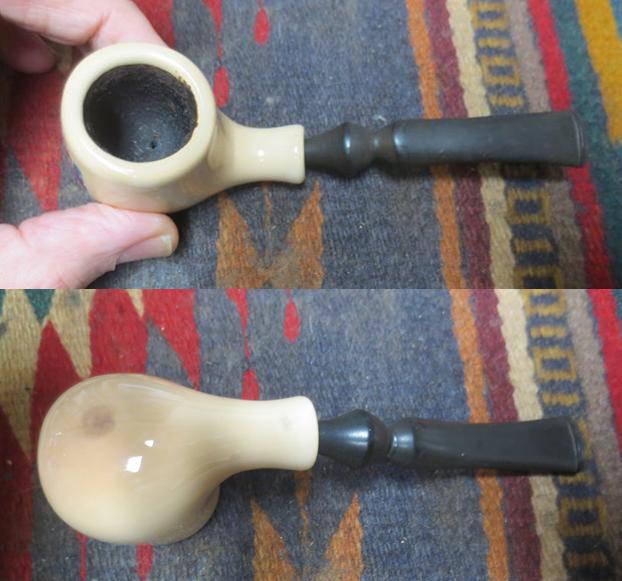
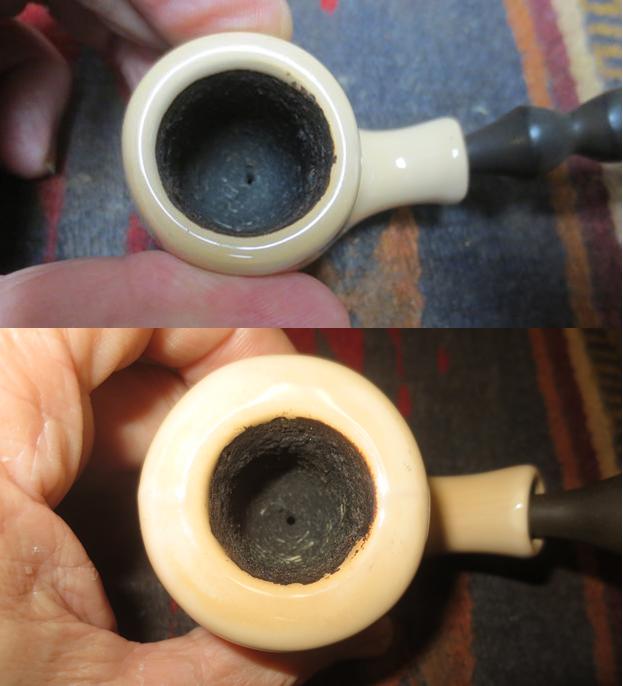
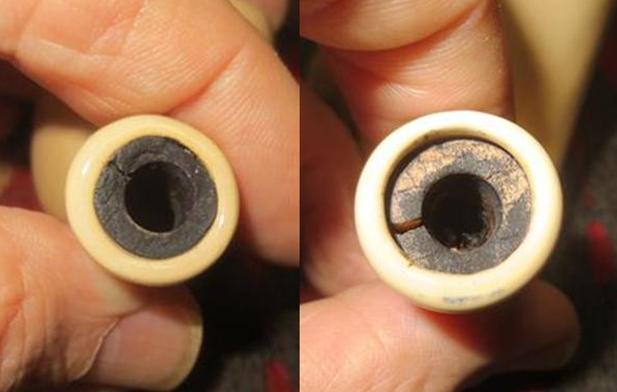
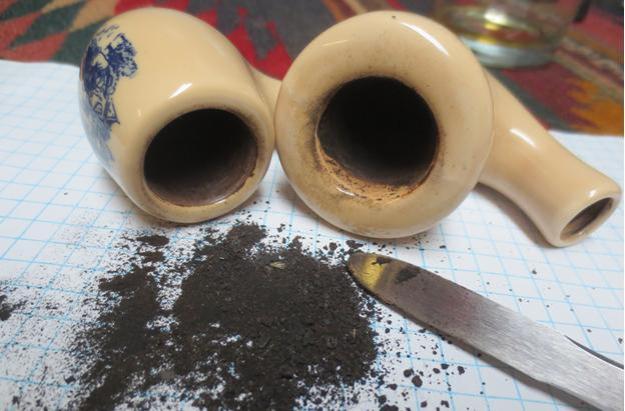
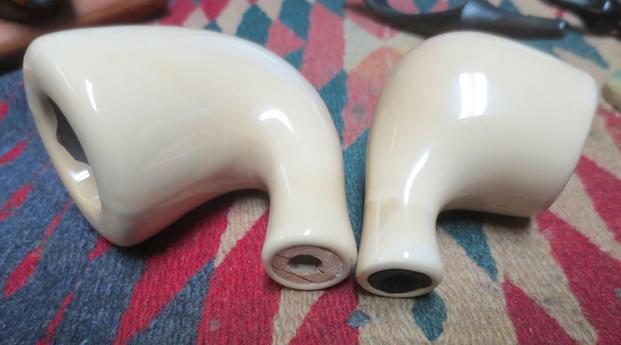
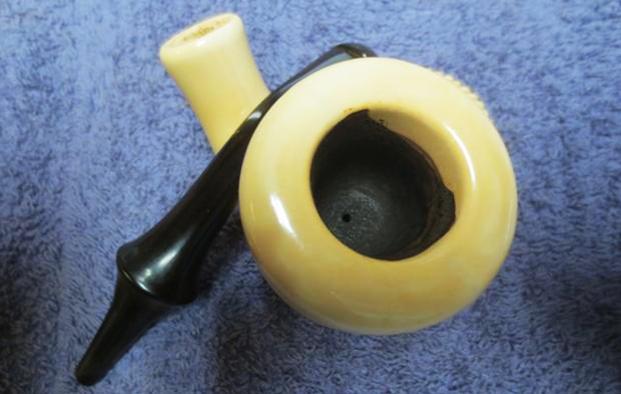
The chamber has an even layer of hard cake. There are traces of old oils, tars and grime that can be seen over the inner rim edge. The cake masks the condition of the chamber walls and condition of chamber walls will be determined only once the cake and lava overflow has been cleaned up. The rim top surface is in pristine condition with no dents or dings or chipped areas. The smells from the chamber are very strong. This issue of old smells will have to be addressed. A simple reaming and cleaning should make this chamber as good as new, unless we have a cracked wall or any such surprise underneath the cake.  The clear glazed double walled ceramic stummel is covered in dust and oily fingerprints and appears dull. There are no cracks, dents/ dings on the stummel surface… Not even a scratch!! The mortise is nice and clean with no traces of accumulated gunk. A simple wash and polish should get the stummel nice and shining like new.
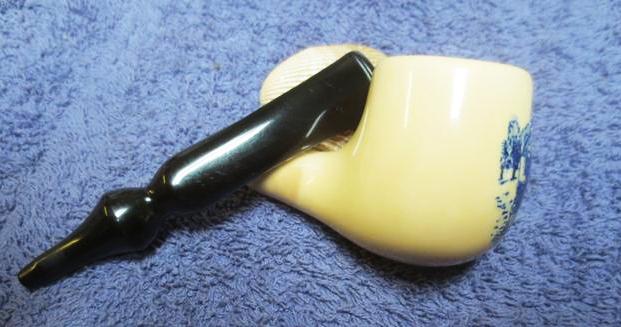
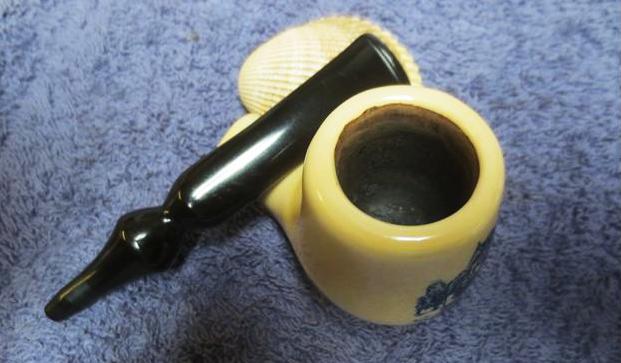
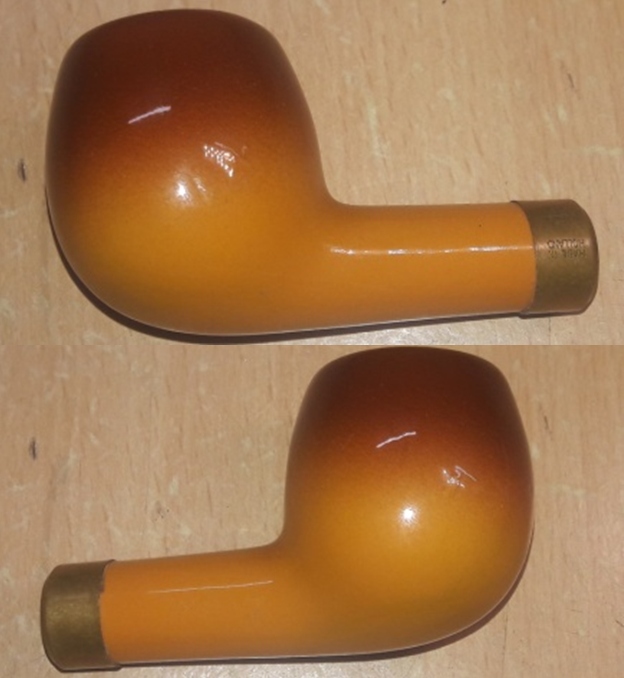

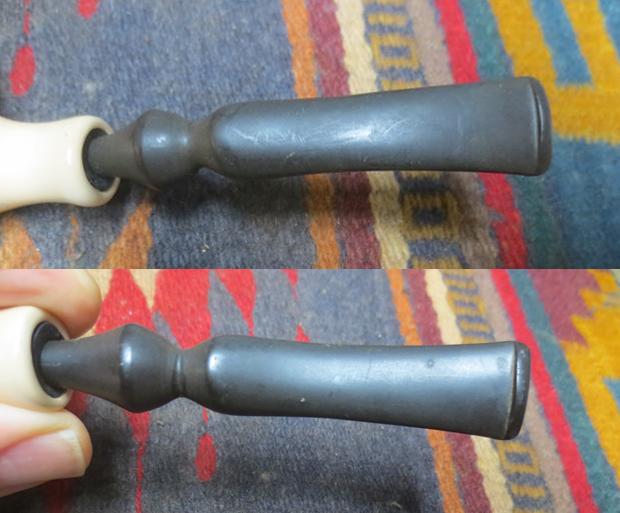
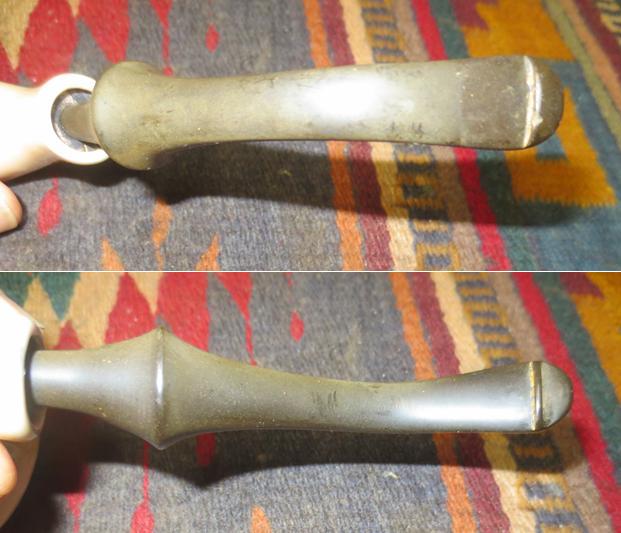
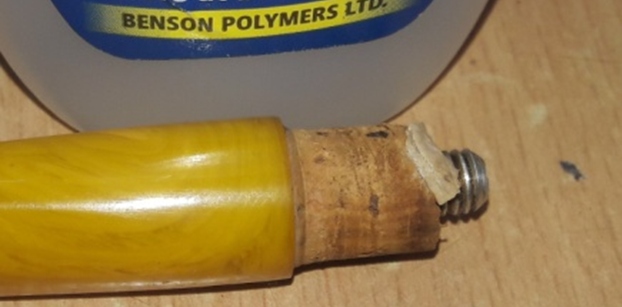
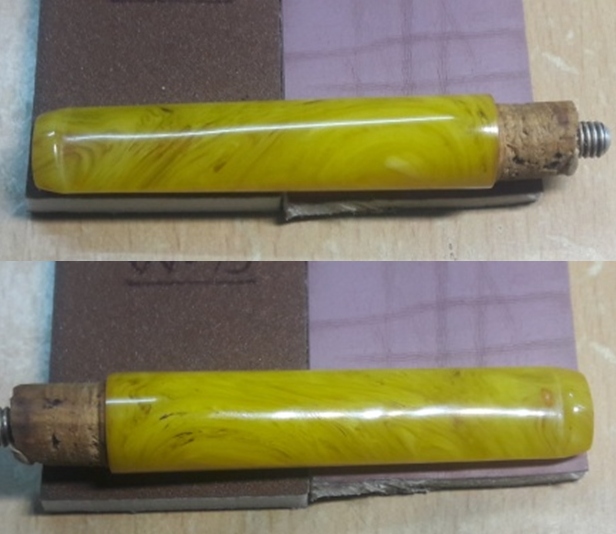
 The yellow acrylic variegated stem with dark swirls perfectly matches the candy color of the stummel and rather elevates it further. The tenon end has a cork stopper that helps in snug fit of the tenon in to the mortise. The cork stopper has a small piece that has broken off and the cork itself appears dry. The bite zone is peppered with deep tooth chatter and heavy tooth indentations over the button edges on either surface. The tenon and the air way is covered and clogged with gunk. Air way over the surface appears darkened and flow through the stem is not full and clear. The stem surface and internal first needs to be cleaned. The tooth chatter will be sanded out with 220 grit sandpaper and filled with glue. The button edges on either surface needs re-building using clear CA superglue.
  The Process
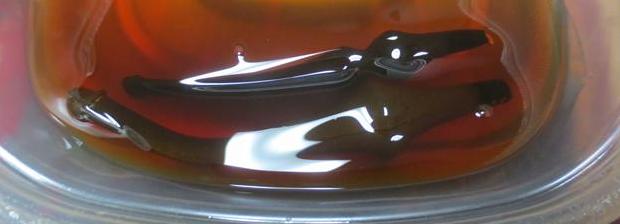
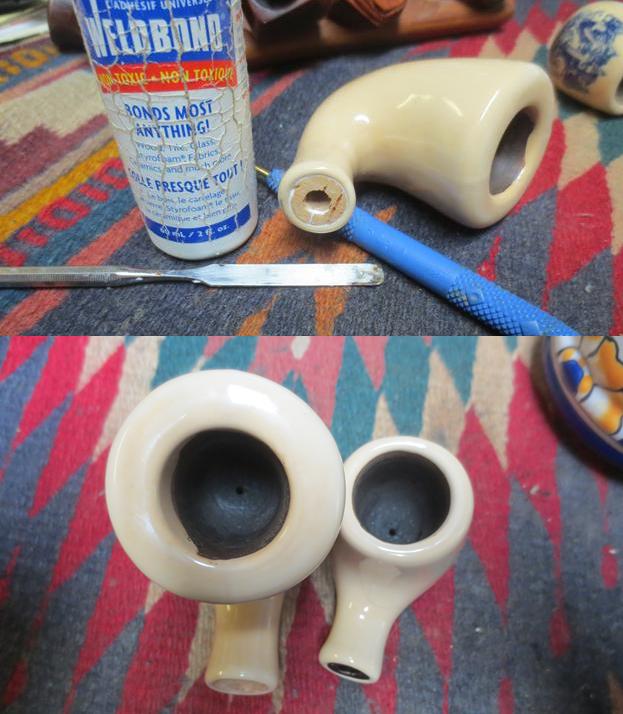
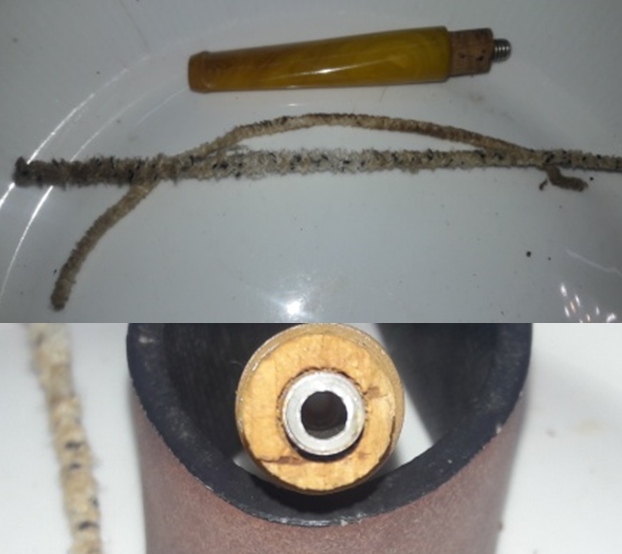
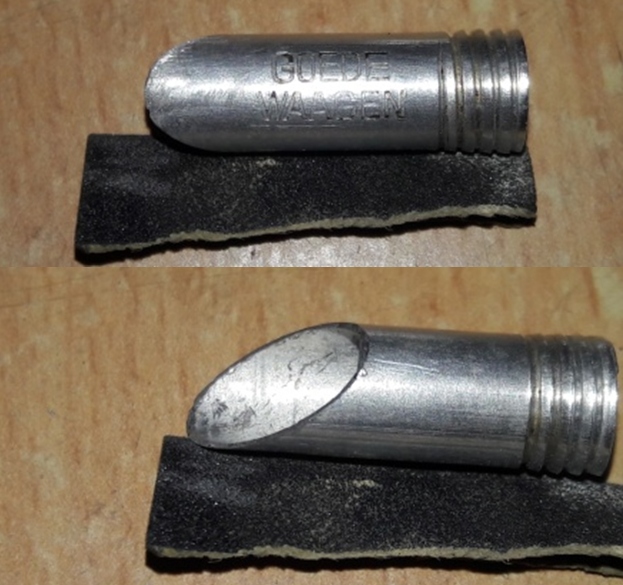
I began the process of refurbishing this pipe first by working on the stem. As I was handling the stem, I realized that the tenon turned in my hand. I completely unscrewed and realized that what I thought to be a tenon was in fact a tenon extension that was screwed on to the threaded tenon. The threaded tenon and the tenon extension were covered in dried gunk and grime. The front edges of the tenon extension are up turned and sharp and I shall address them subsequently. The threaded tenon and the tenon extension were cleaned with soft brass wired brush and cotton swabs wetted with alcohol. I cleaned the stem internals with a small shank brush and liquid dish soap. I have realized that using small shank brush and liquid soap reduces consumption of pipe cleaners by about 75%. This is considerable savings considering that I pay thrice the cost of pipe cleaners on cost of shipping!! Next, I ran a couple of dry pipe cleaners through the stem to clean and dry it out. I avoid using isopropyl alcohol in cleaning stem air way just to guard it against crazing (call it my paranoia to use alcohol on an acrylic or Perspex stem!!). The tenon end, slot and the air way is now clean. I cleaned the external surface of the stem with a Scotch Brite gauze and liquid dish washing soap.
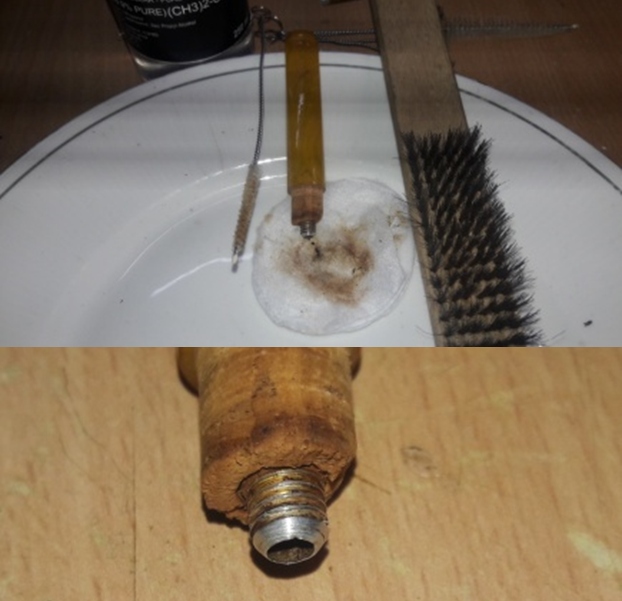
 Next I addressed the issue of broken cork piece. I cut a piece of wine cork and roughly shaped it to match the missing cork piece. I stuck the new piece in place with clear CA superglue taking care that I did not foul up the threads on the tenon. I set the repairs aside for the glue to harden.
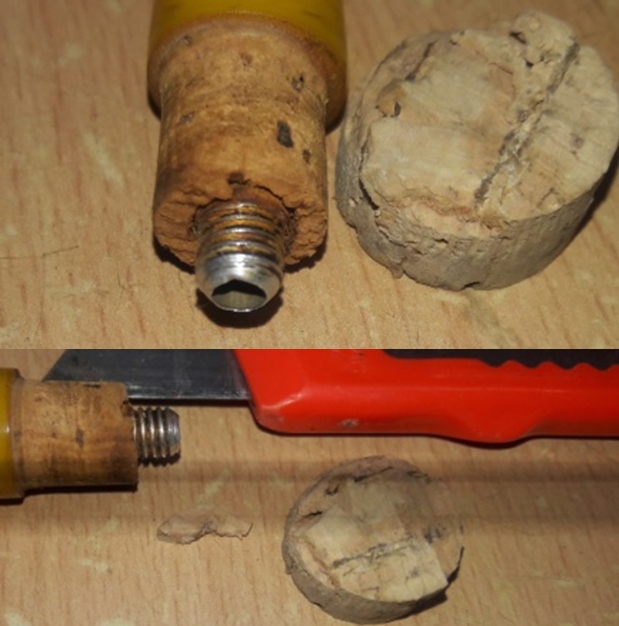
 I wiped the stem with a cotton pad and alcohol. Thereafter, I applied clear CA superglue over the button edges and filled the deep tooth indentations and the minor tooth chatter in the bite zone. I set the stem aside for the fill to cure.
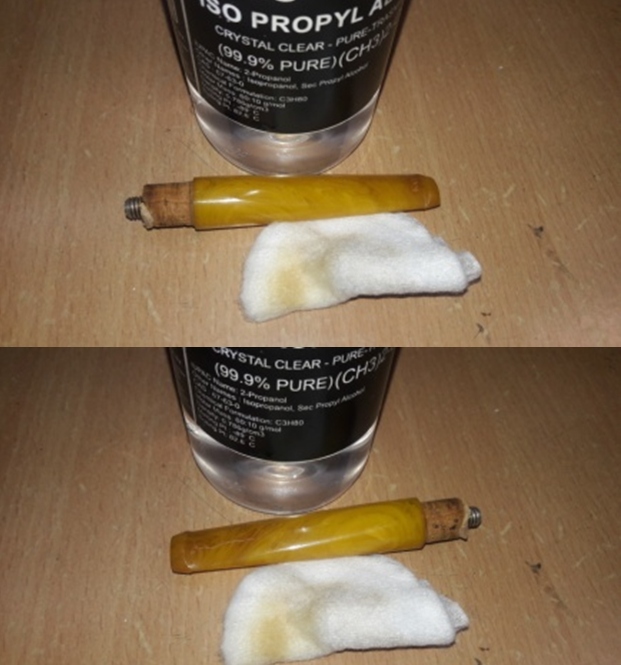
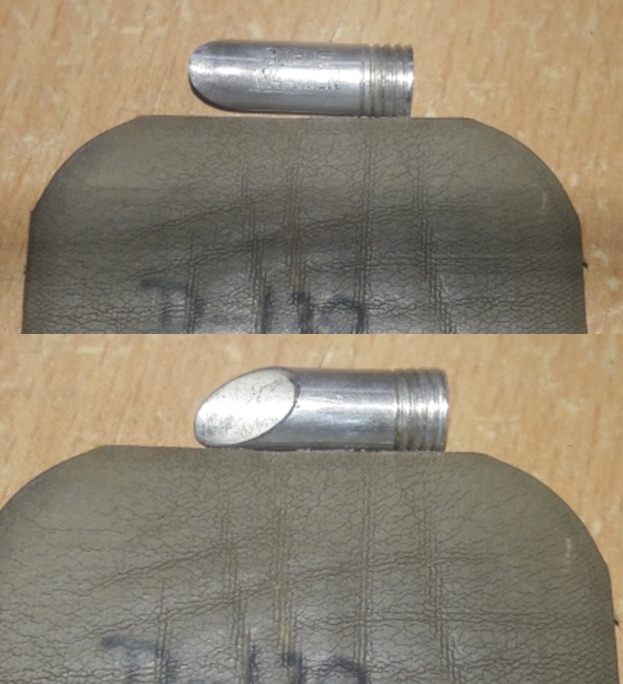
 I had completely forgotten about the tenon extension amidst the other processes. The tenon extension was covered in oils and tars that had dried out and set hard over the surface. I cleaned it with shank brush, hard bristled toothbrush and dish washing soap. Once the tenon extension was cleaned, I observed that the tenon extension also bears the stamp “GoedeWaagen”. I still have to address the up turned and sharp front edges in the tenon extension.
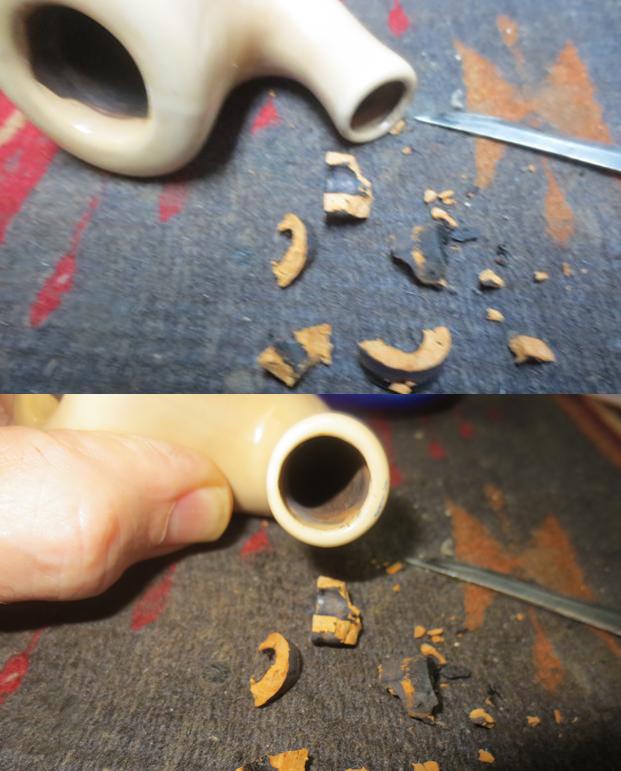
 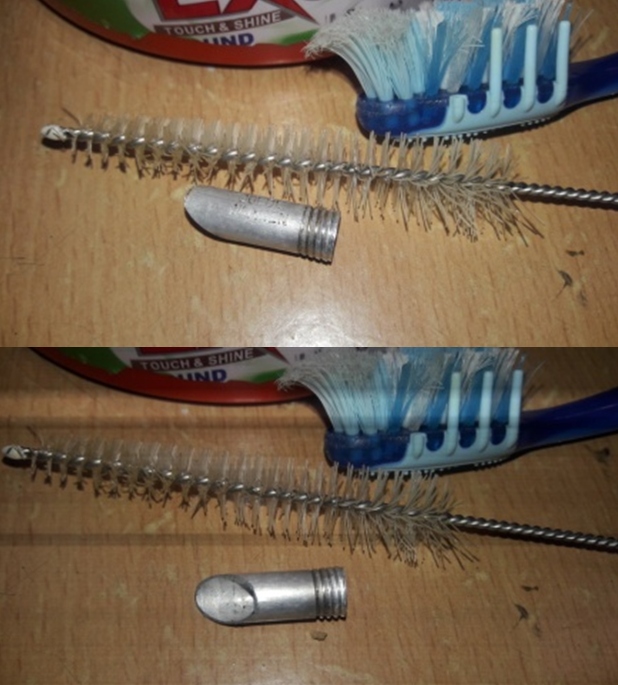 Next, I reamed the chamber with my fabricated knife to take the cake down to the ceramic walls. Truth be told, the use of the knife was restricted only to scraping the surface in an attempt to dislodge the cake as I did not want to subject the ceramic to excessive force of a reamer head. With a 150 grit sand paper, the walls of the chamber were rid of all the remnants of the cake. I further wiped the chamber with a cotton swab wetted with alcohol to remove the carbon dust that remained. I wiped the traces of lava overflow from the rim edges with cotton swab and alcohol. The chamber walls are pristine with no damage and the rim top also cleaned up nicely.
 I cleaned the shank internals first with hard and regular pipe cleaners dipped in alcohol. Thereafter, I rinsed the areas between the double walled chamber and the shank with warm water. The shank internals are now clean and fresh.
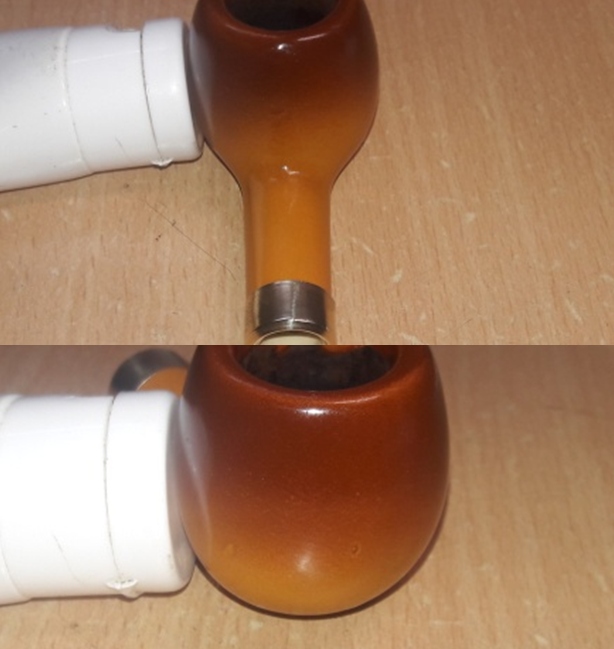
 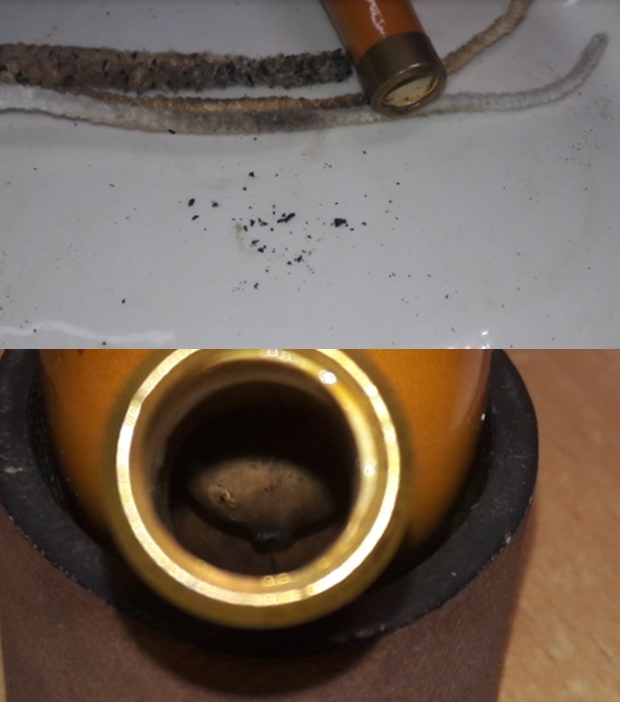 As I was wiping the stummel after the internal wash of the shank, the brass band came loose. The thick white ceramic paste that held the brass band over the shank end had dried up completely. I scraped the dried ceramic paste from the shank end surface and also from the insides of the brass band.
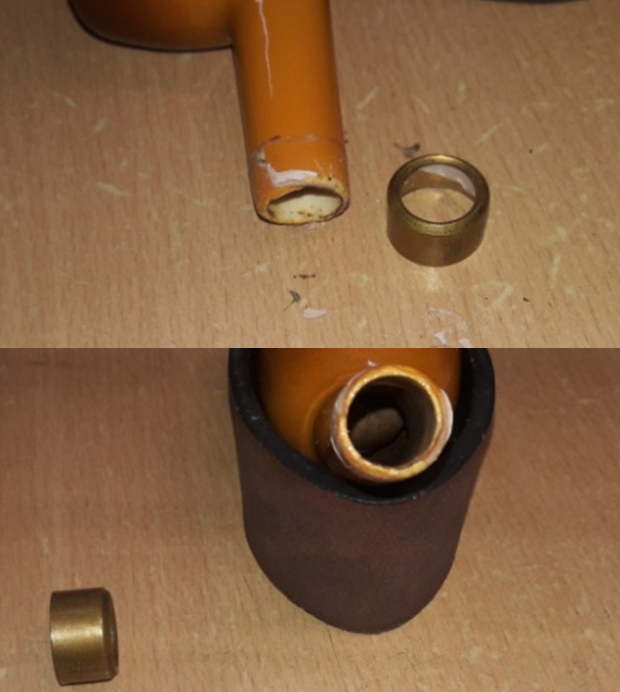
 With the stummel internals clean and fresh, I moved ahead with cleaning the external surface of the stummel. I wiped the stummel surface with Murphy’s Oils soap on a cotton swab. I rinsed the stummel under warm running water and wiped it dry with a soft cotton cloth.
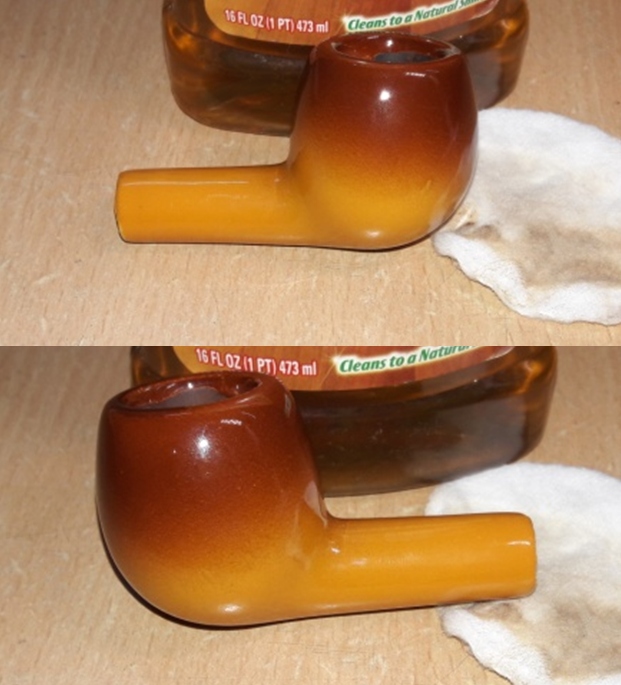
 I cleaned the brass band with an all purpose liquid polish and worked up a nice shine to the brass band.
  The cork repair had cured completely. With a flat head needle file, I sand the excess cork to match the rest of the cork surface. I further sand the cork to achieve a perfect match.
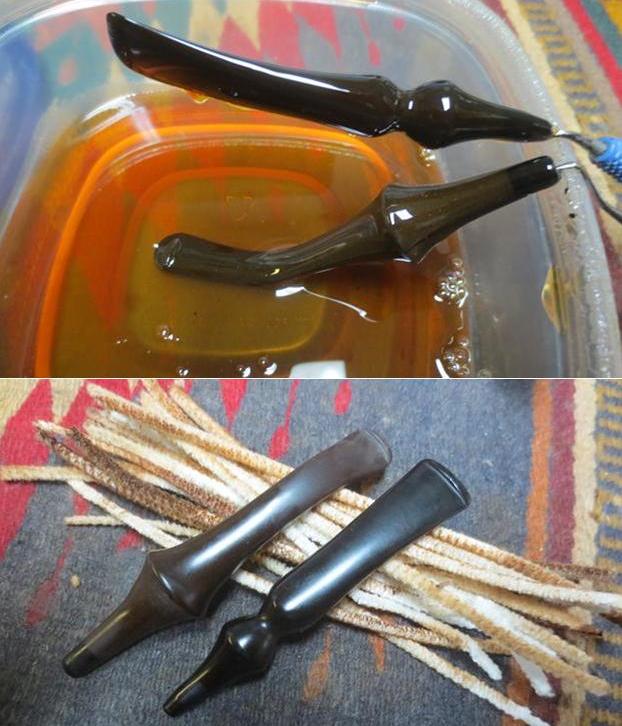
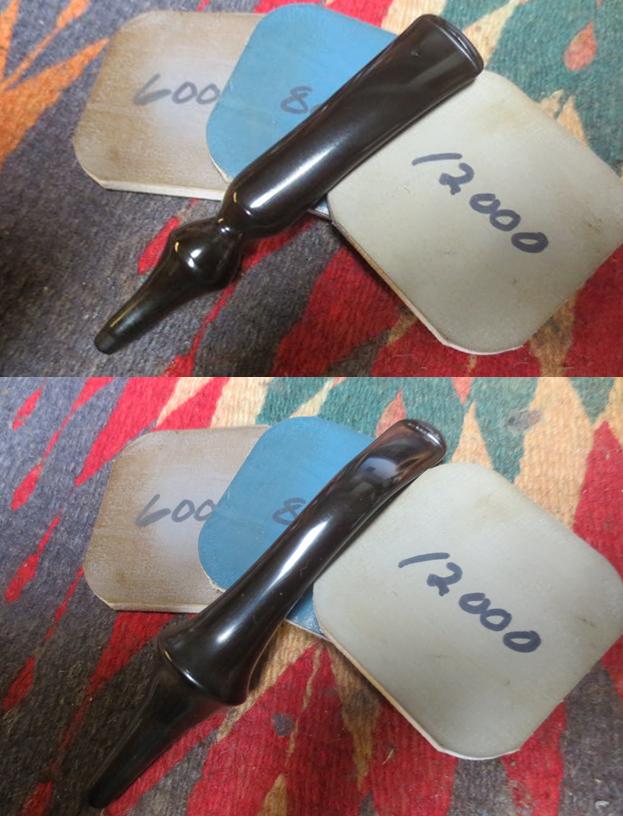
 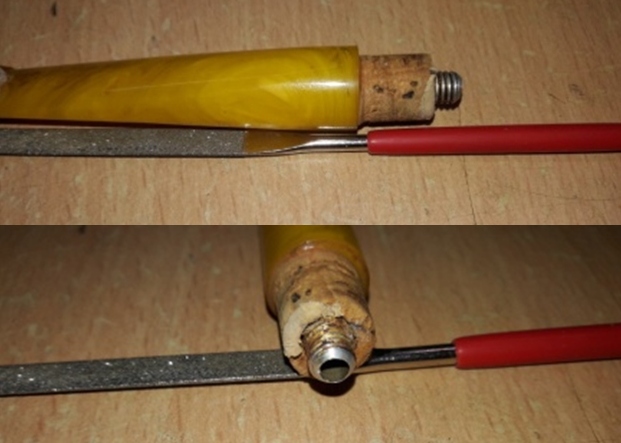 Next I worked the stem. The stem fills had cured nicely. Using a flat head needle file, I sand the fills to achieve a rough match with the rest of the stem surface and also reshaped the buttons on both the surfaces. I further fine tuned the match and sand the entire stem with 400, 600 and 800 grit sandpapers. I polished the stem surface with micromesh pads, wet sanding with 1500 to 12000 pads. I wiped the surface with a soft cloth at the end of the micromesh cycle. I applied a little Extra Virgin Olive oil to the stem, though it does not help much, and set it aside. Though I am not a big fan of acrylic stems, I am happy with the way the stem appears at this stage.
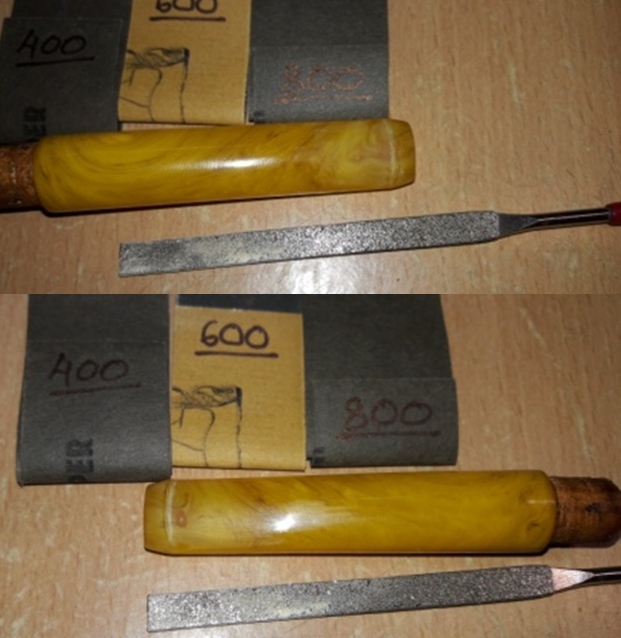
 With the stem repairs and polishing completed, I turn my attention back to the stummel. I stuck the brass band to the shank end with all purpose glue and set it aside for the glue to set completely.
 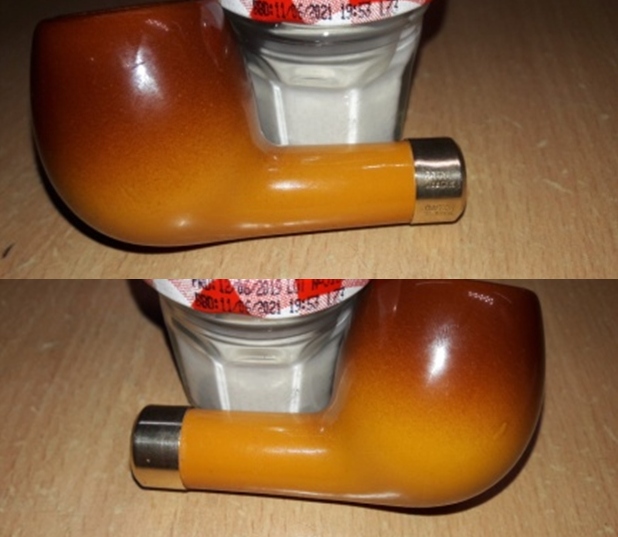 I evened out the sharp and up turned edges of the tenon extension by rolling them out with the middle round potion of a screw driver. I further smooth out the edges by sanding it down with a piece of 180 grit sandpaper. To bring a nice shine to the tenon extension, I polish it further by dry sanding it with 12000 grit micromesh pad. All through the process, I was careful to preserve the stamping on the surface of the tenon extension.
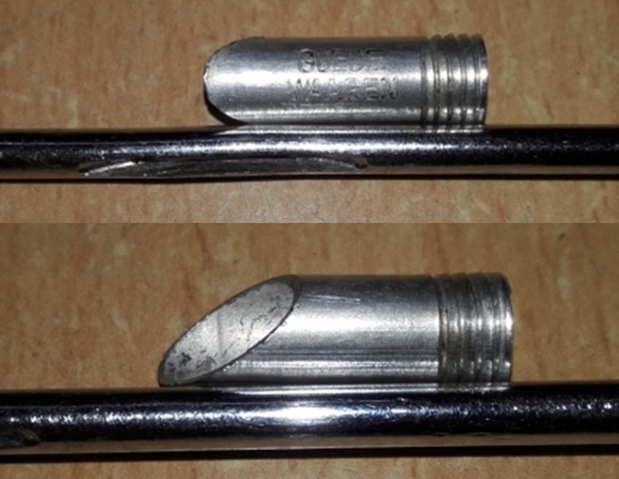
 I rubbed a small quantity of “Before and After Restoration Balm” in to the stummel and let it rest for a few minutes. The balm almost immediately works its magic and the stummel now has a nice vibrant appearance. I further buff it with a horse hair shoe brush. Though the balm works best over the briar wood, it has been my experience that it works nicely on other stummel surfaces like Meerschaums and now ceramic. The balm imparts a nice sheen over this alternative stummel material which is as good as that over briar wood.
 I applied a generous quantity of petroleum jelly over the cork stopper to rejuvenate and moisten the cork.
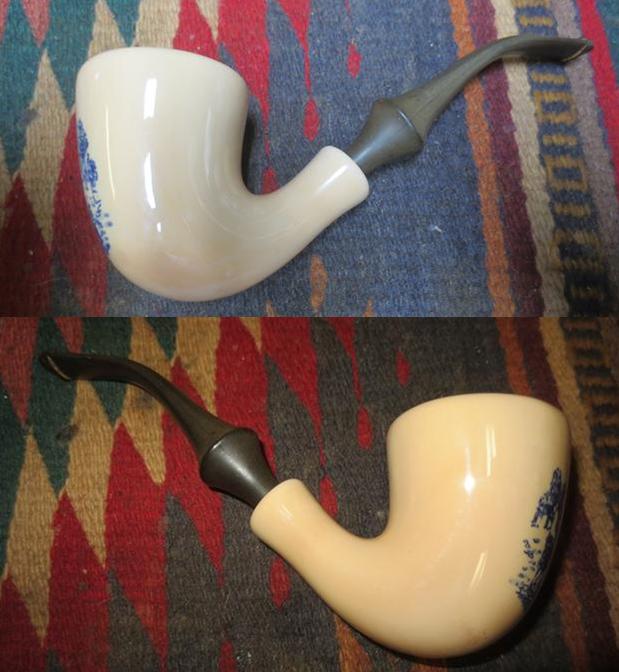
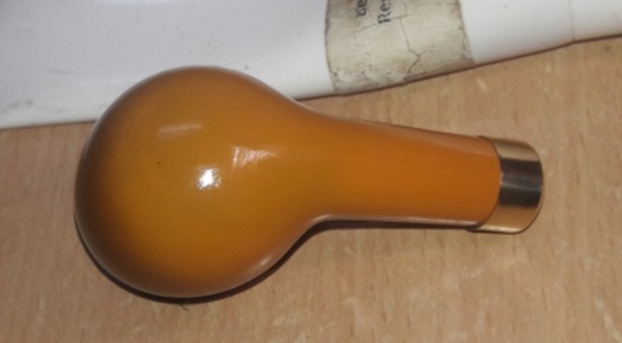
 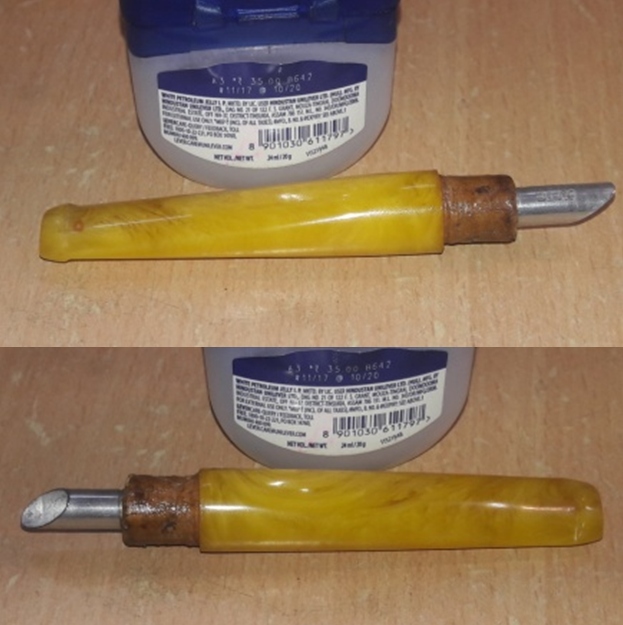 To apply the finishing touches, I mount a cotton cloth buffing wheel on to my hand held rotary tool and apply a coat of Blue Diamond to the stummel and the stem to polish out the minor scratches. With a cotton buffing wheel that I use for carnauba wax, I apply a coat of carnauba wax to the stummel and stem and continued to work on it till the complete coat of wax had been polished out. I mount a clean cotton cloth buffing wheel and gave the entire pipe a once over buff. I finished the restoration by giving the entire pipe a rigorous hand buffing using a microfiber cloth to deepen the shine further. The finished pipe is shown below. The yellow variegated stem with dark swirls elevates the fun quotient of the pipe and is very appealing to the eye.
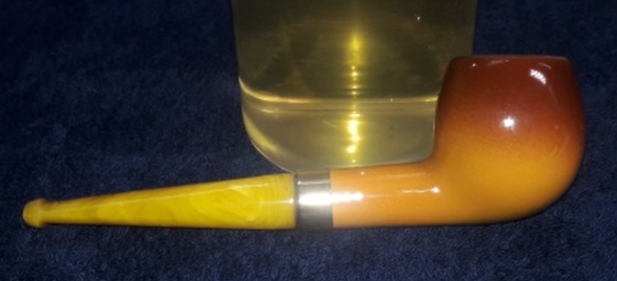

 P.S. The next time once this pandemic is over and things return to normal, I shall take this attractive pipe to one of the gatherings, just to check out the reactions of the gathered people.
Appreciate all the efforts of readers who have had the patience to read this write up thus far!
Praying for the safety and well being of all the readers and their loved ones in these troubled times…