Blog by Steve Laug
When I opened the box of pipes from my brother there was a long shanked clear stem pipe that stood out to me. The stem was in perfect condition, with no tooth chatter or marks and was very clean. In fact, the stem was probably a replacement made of Lucite. Looking at the classic shape and the grain on it I was pretty sure it was a GBD but had not even looked at it. When I got around to examining the pipe I saw that it was stamped on the top of the shank with GBD in the oval logo over Seventy Six in script. On the underside of the shank it is stamped Made in England over the shape number 255 which when I looked it up was a GBD number for a Canadian with an oval taper stem. Finding out that pretty well sealed the fact that the stem is a replacement. It is an oval shaped saddle stem. I remembered reading about the Seventy Six line before but had to look it up again. From what I found with a simple search I could see that the pipe was introduced by GBD in1976 in honor of the American Bi-Centennial. According to what I read the pipe was released as a polished dark brown “take off” finish. The best I can understand is that the dark brown was removed leaving it in the dark grain and birdseye of the pipe.
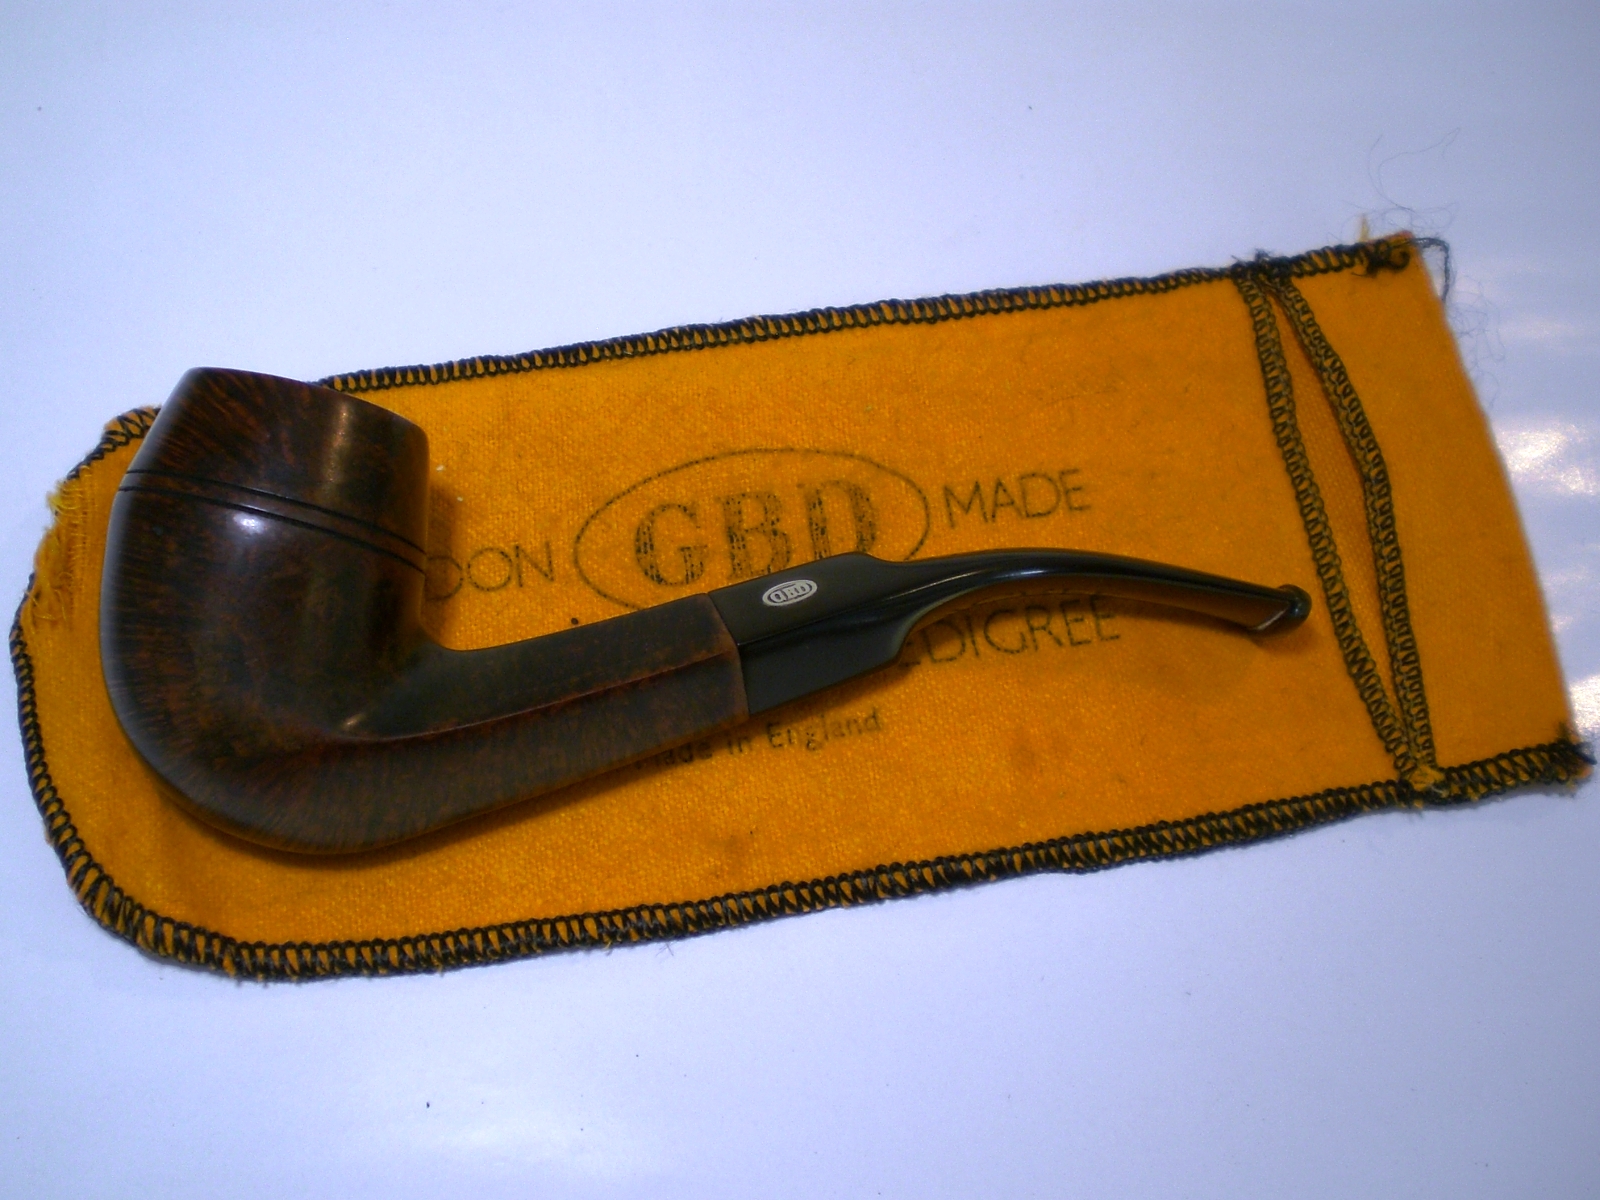
So my memory was nudged and I remembered that Al Jones (Upshallfan) had written about his repair of a classic GBD Seventy Six and given information on the brand in this link: https://rebornpipes.com/2013/06/17/gbd-oval-shank-pot-seventy-six-restoration/ I quote: “In 1976 GBD introduced a series called the “Seventy-Six” to commemorate the United States Bicentennial. I was a Sophomore in high school during 1976 and the year-long celebration had a big impact on me. The Seventy-Six model remained in the GBD catalog until 1981.”
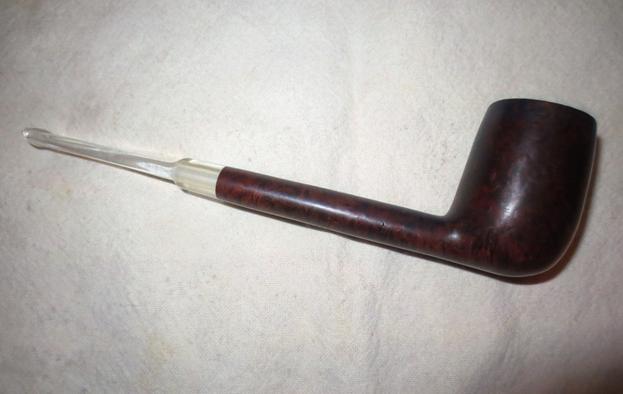
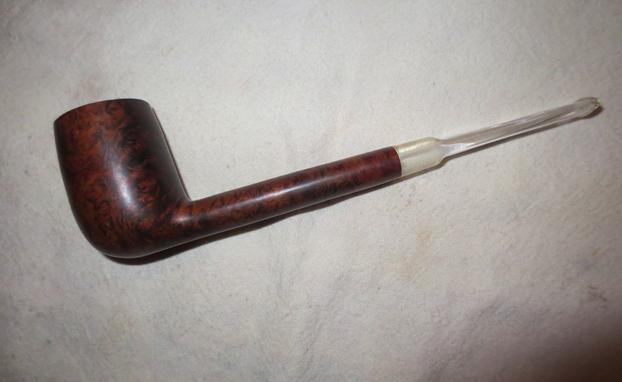
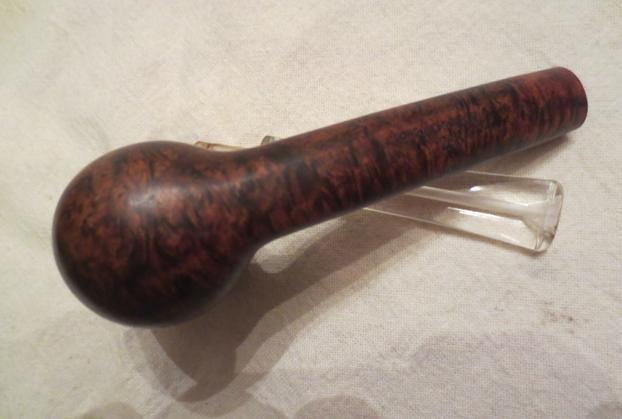
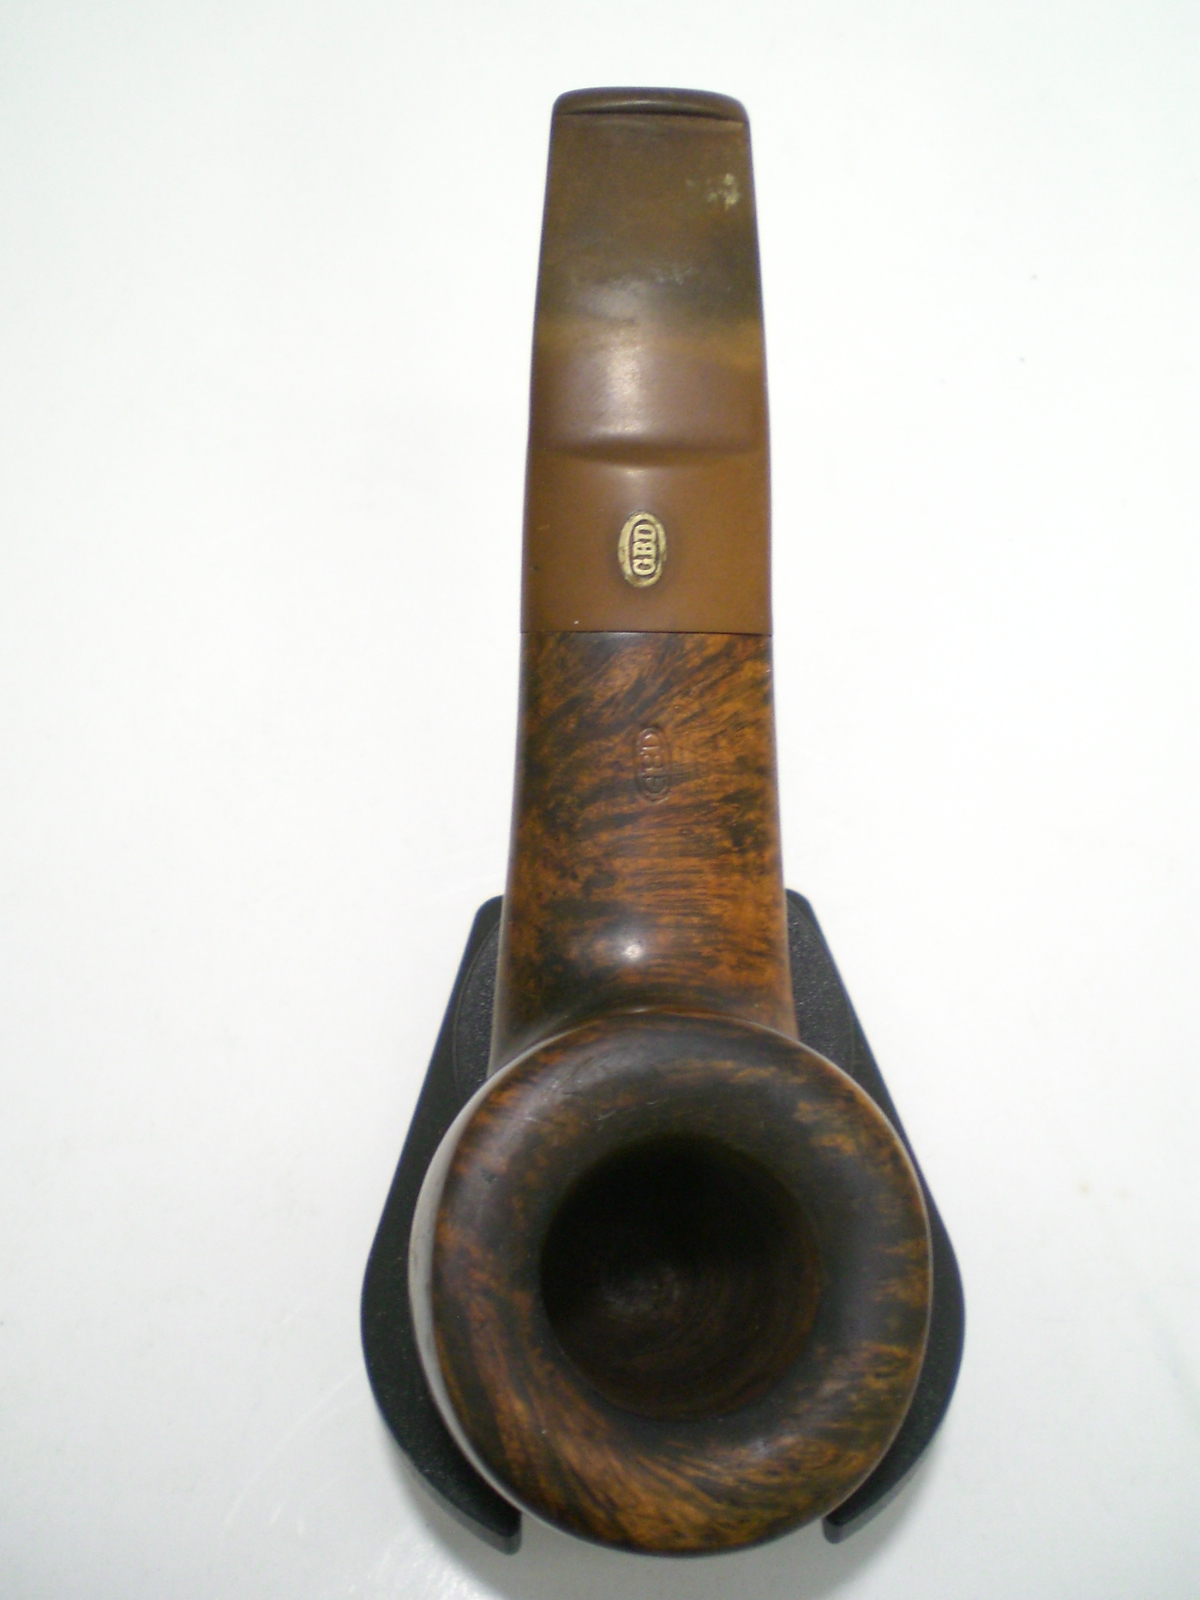
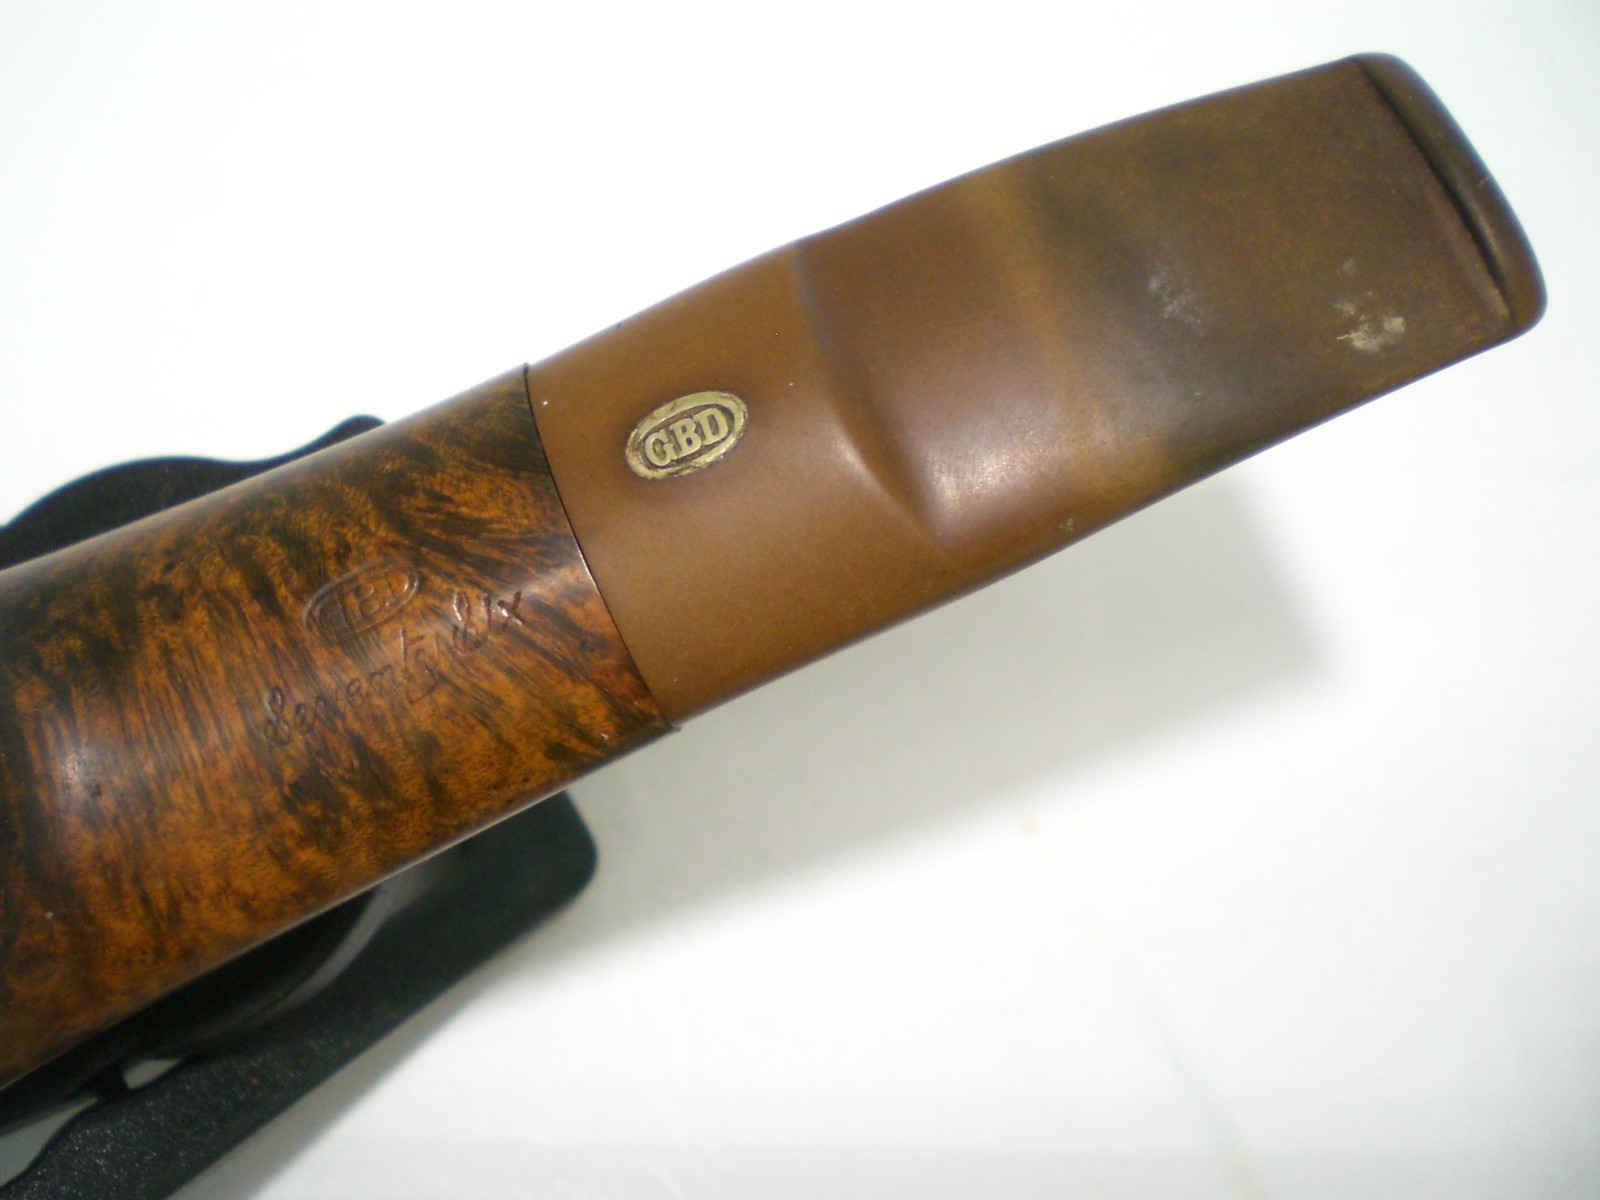
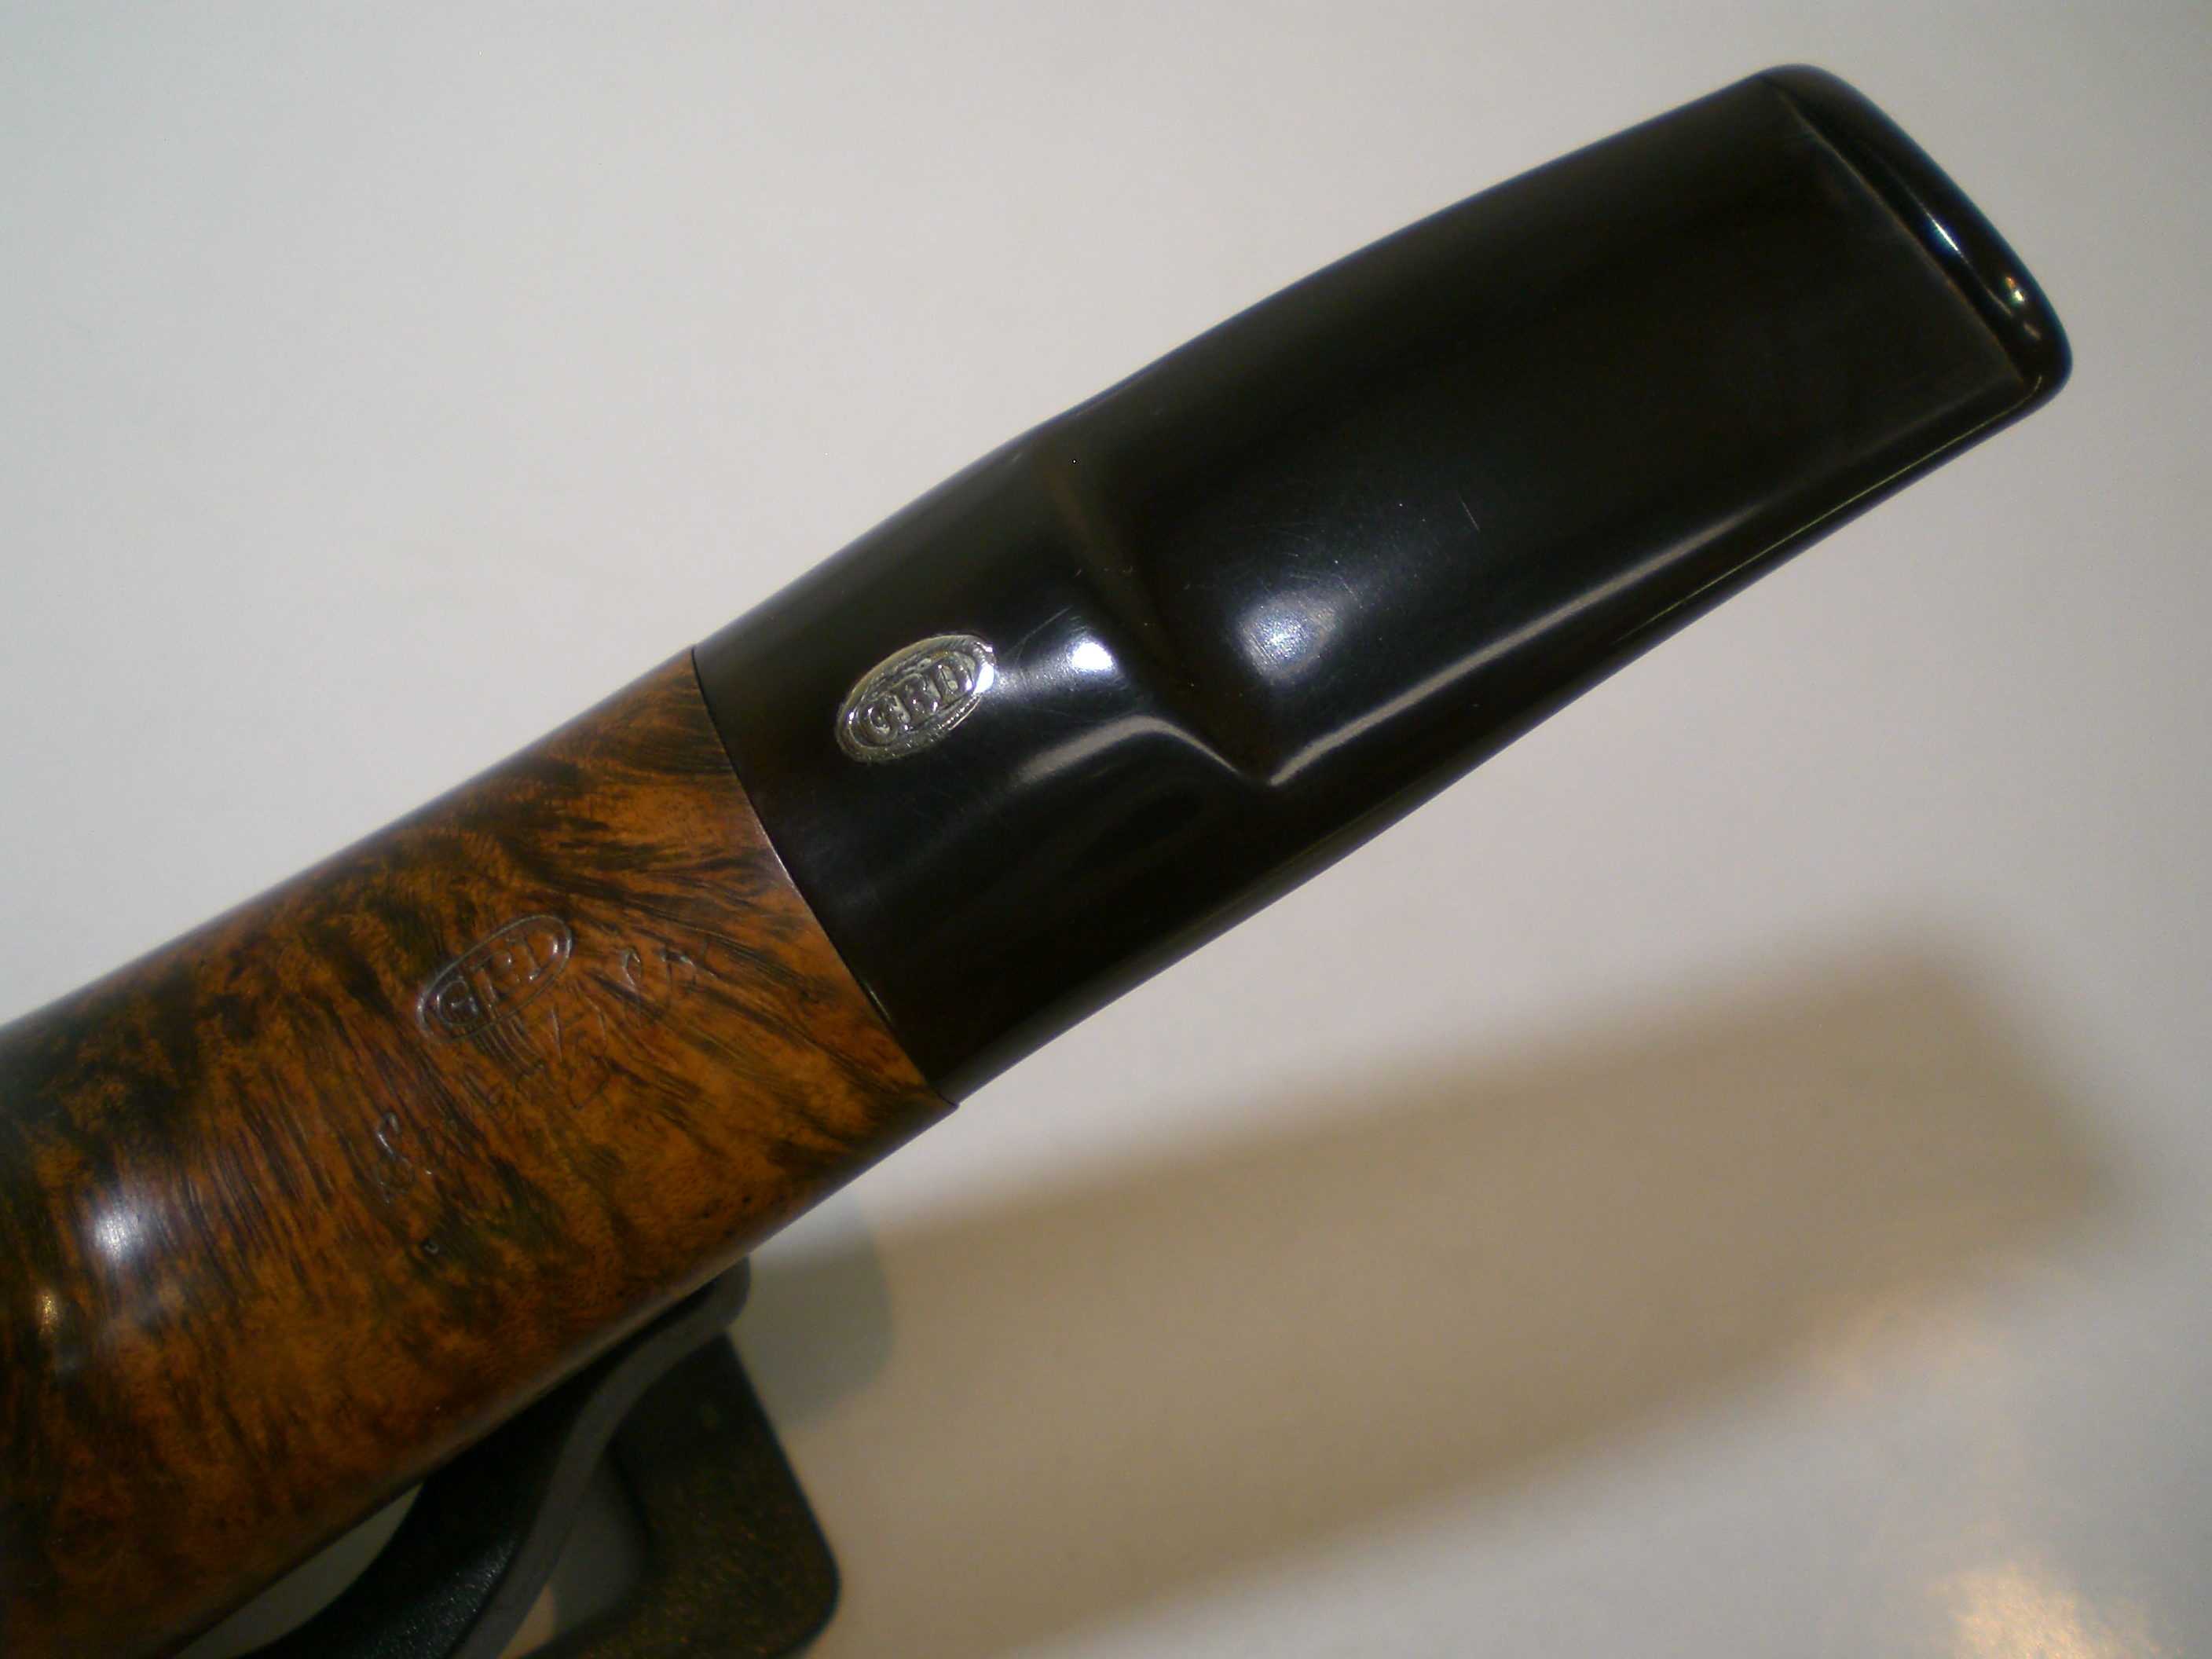
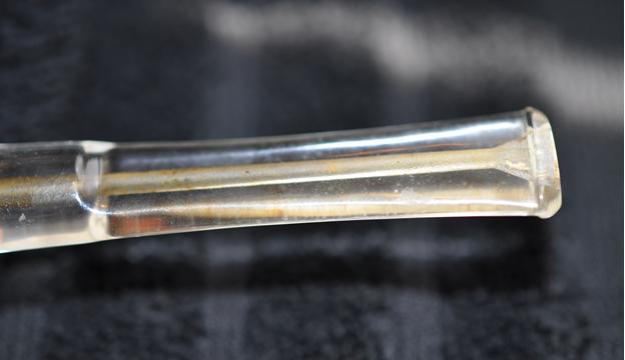
He also quotes from the 1976 Catalogue: “The GBD “Seventy-Six” is our contribution to the Bicentennial celebrations. We have really pushed out the boats for “the colonies” in launching this new series that will be remembered by its proud owner long after the celebrations are forgotten.” My brother took the above photos and the close up photos that follow before he did any clean up on the pipe. The first photos shows the condition of the bowl and the rim. There was a cake in the bowl and an overflow of lava on the rim. I did not know until the pipe arrived that the rim was beveled inward to the bowl. There appeared to be a lot of damage on the rim. The second and third photo show the stamping on the top and underside of the stem. It is clear and readable. The last photo shows the condition of the stem. There were no bite marks on the top and underside near the button. There was some light tars in the airway in the stem.

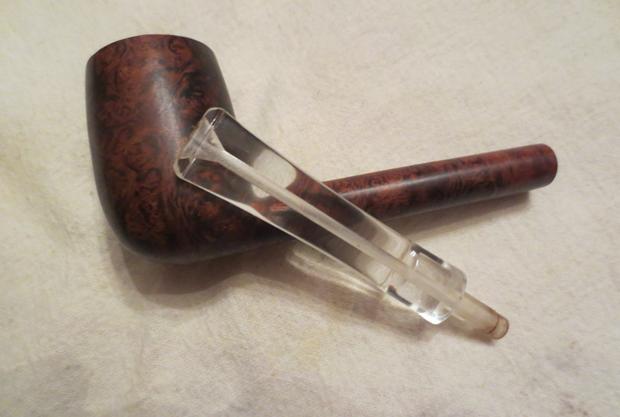
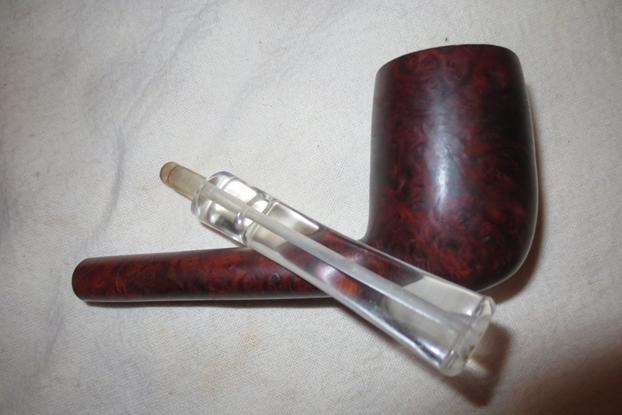
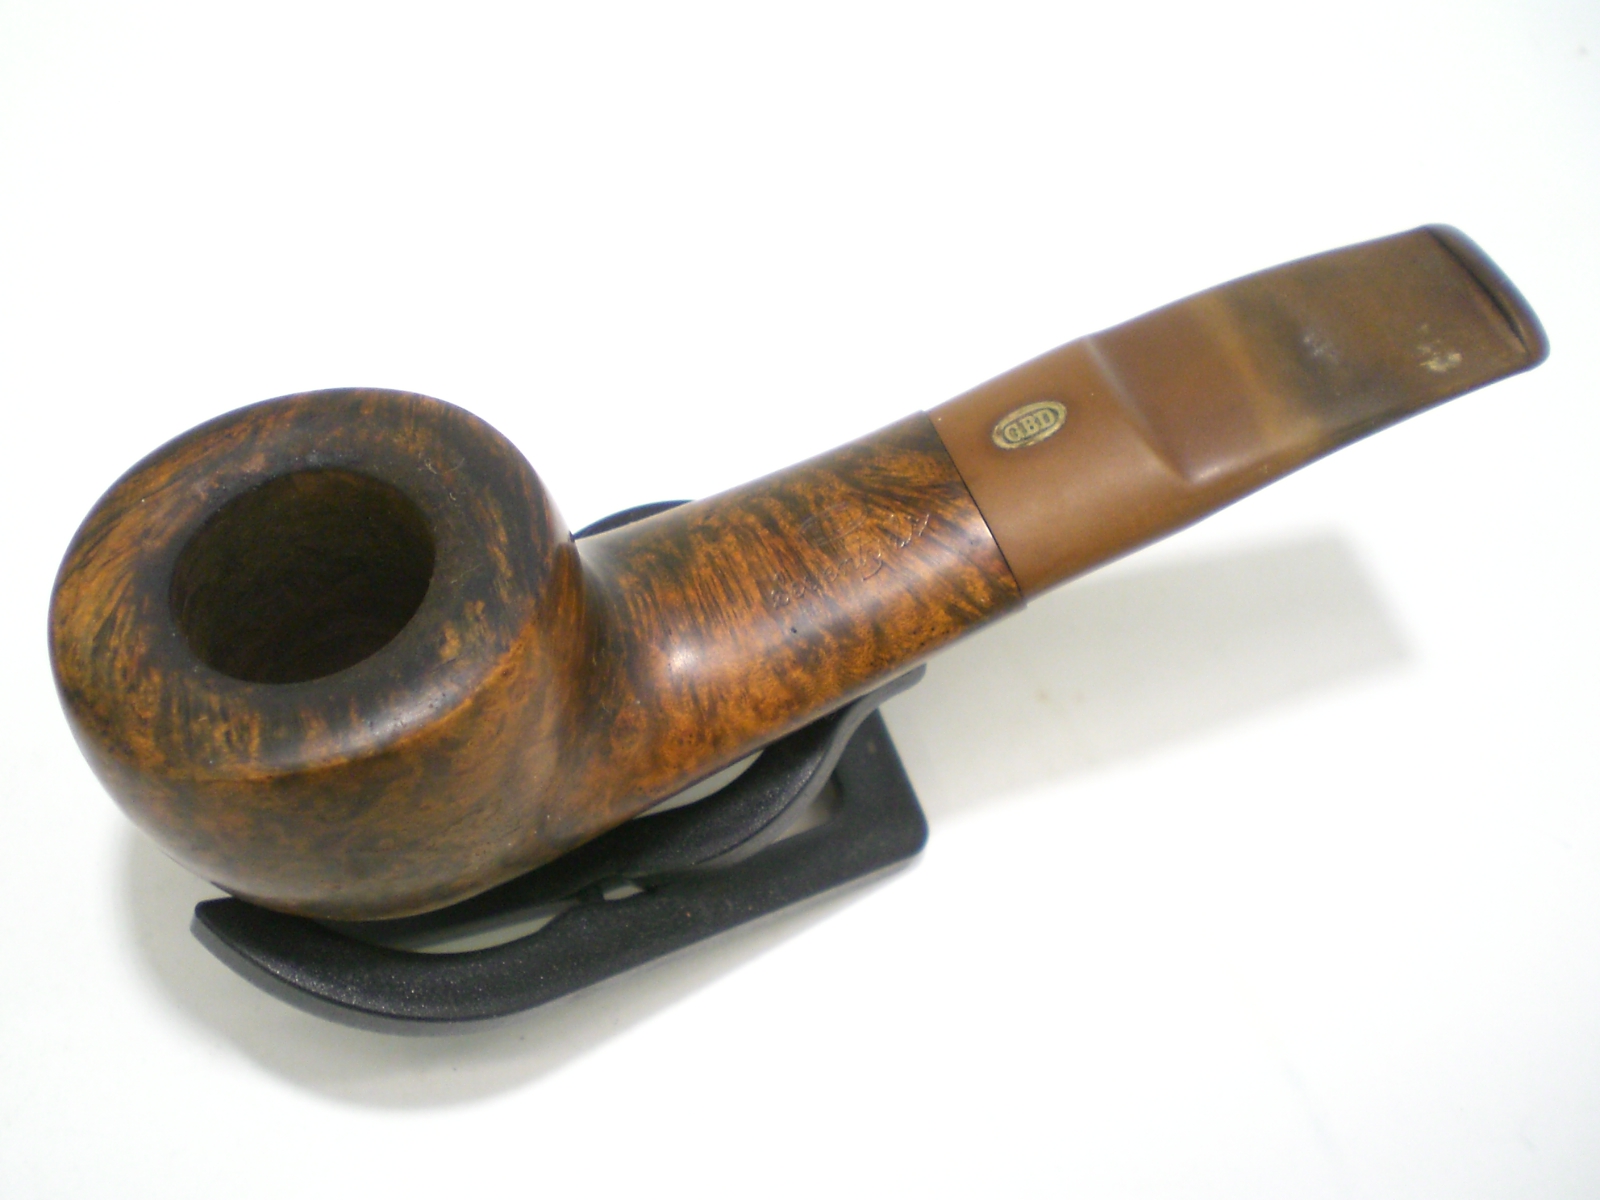
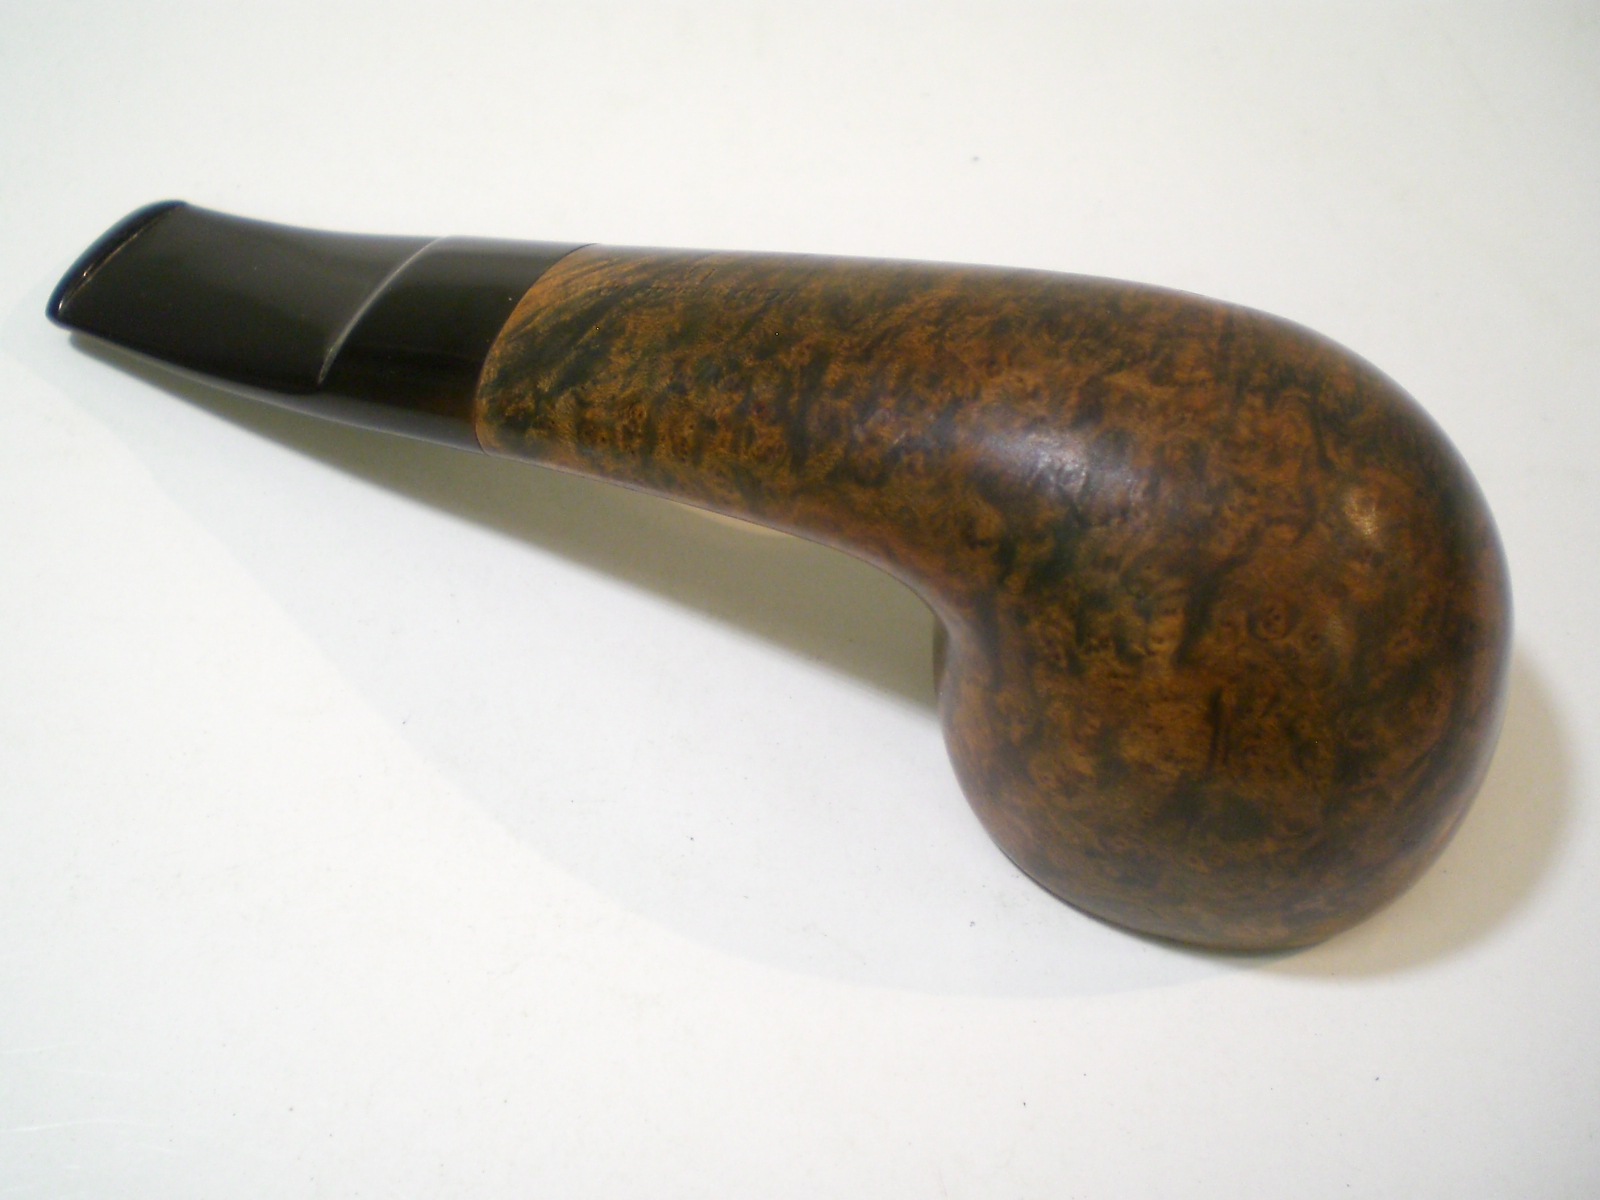
 My brother scrubbed the exterior of the pipe with Murphy’s Oil Soap to remove the wax and the buildup on the rim. It removed the oils and wax and left the pipe clean and natural briar. He cleaned out the airway in the shank and stem. He also cleaned out the mortise with alcohol, cotton swabs, pipe cleaners and alcohol. The photos below show the pipe when I received it. When I saw the rim it was then that I knew that it was beveled inward. The briar on this pipe was truly stunning. There were no sandpits or flaws in the briar.
 He was able to remove most of the lava on the rim and what had appeared to be burned areas was merely dirty. It would not take much to clean it up and make it shine.
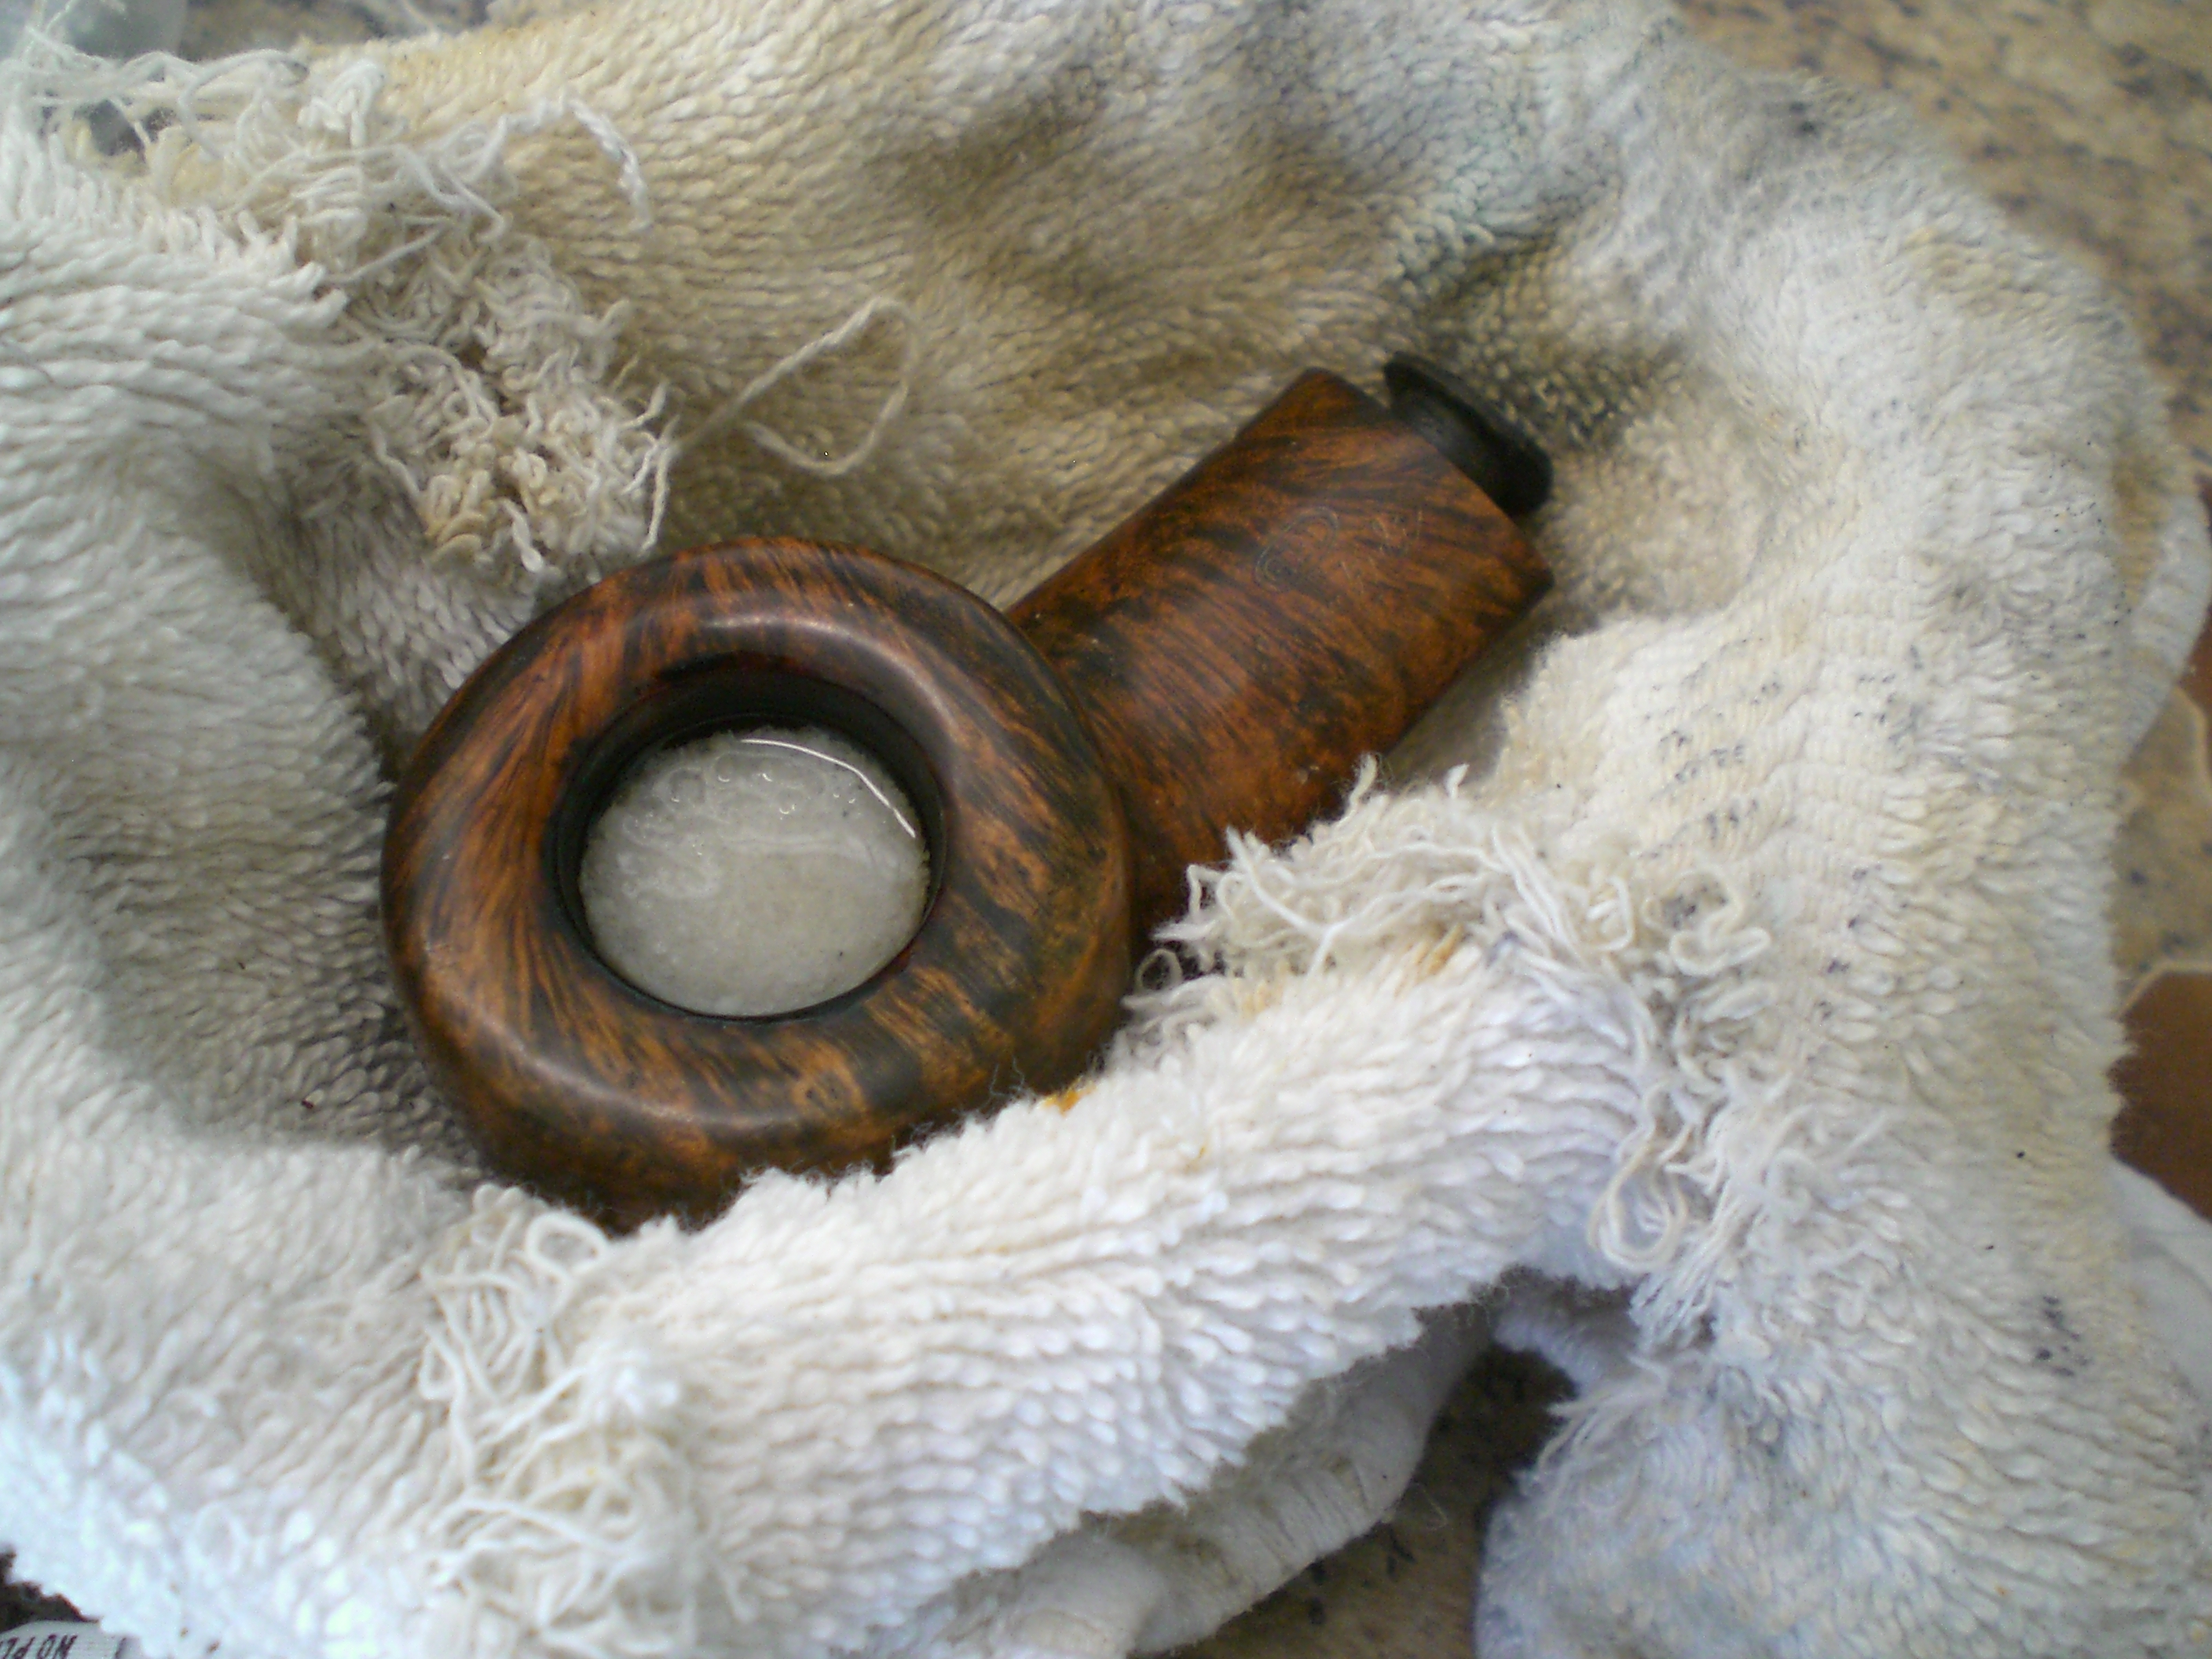
 There was still some inner edge darkening and some damage on the inner edge. I used a folded piece of 220 grit sandpaper to clean up the darkening and the damage. The third photo shows the process of sanding the inside of the bowl with a piece of 220 grit sandpaper wrapped around the end of a Sharpie pen to smooth out the inside of the bowl. The fourth and final photo shows the interior of the bowl after it was sanded.
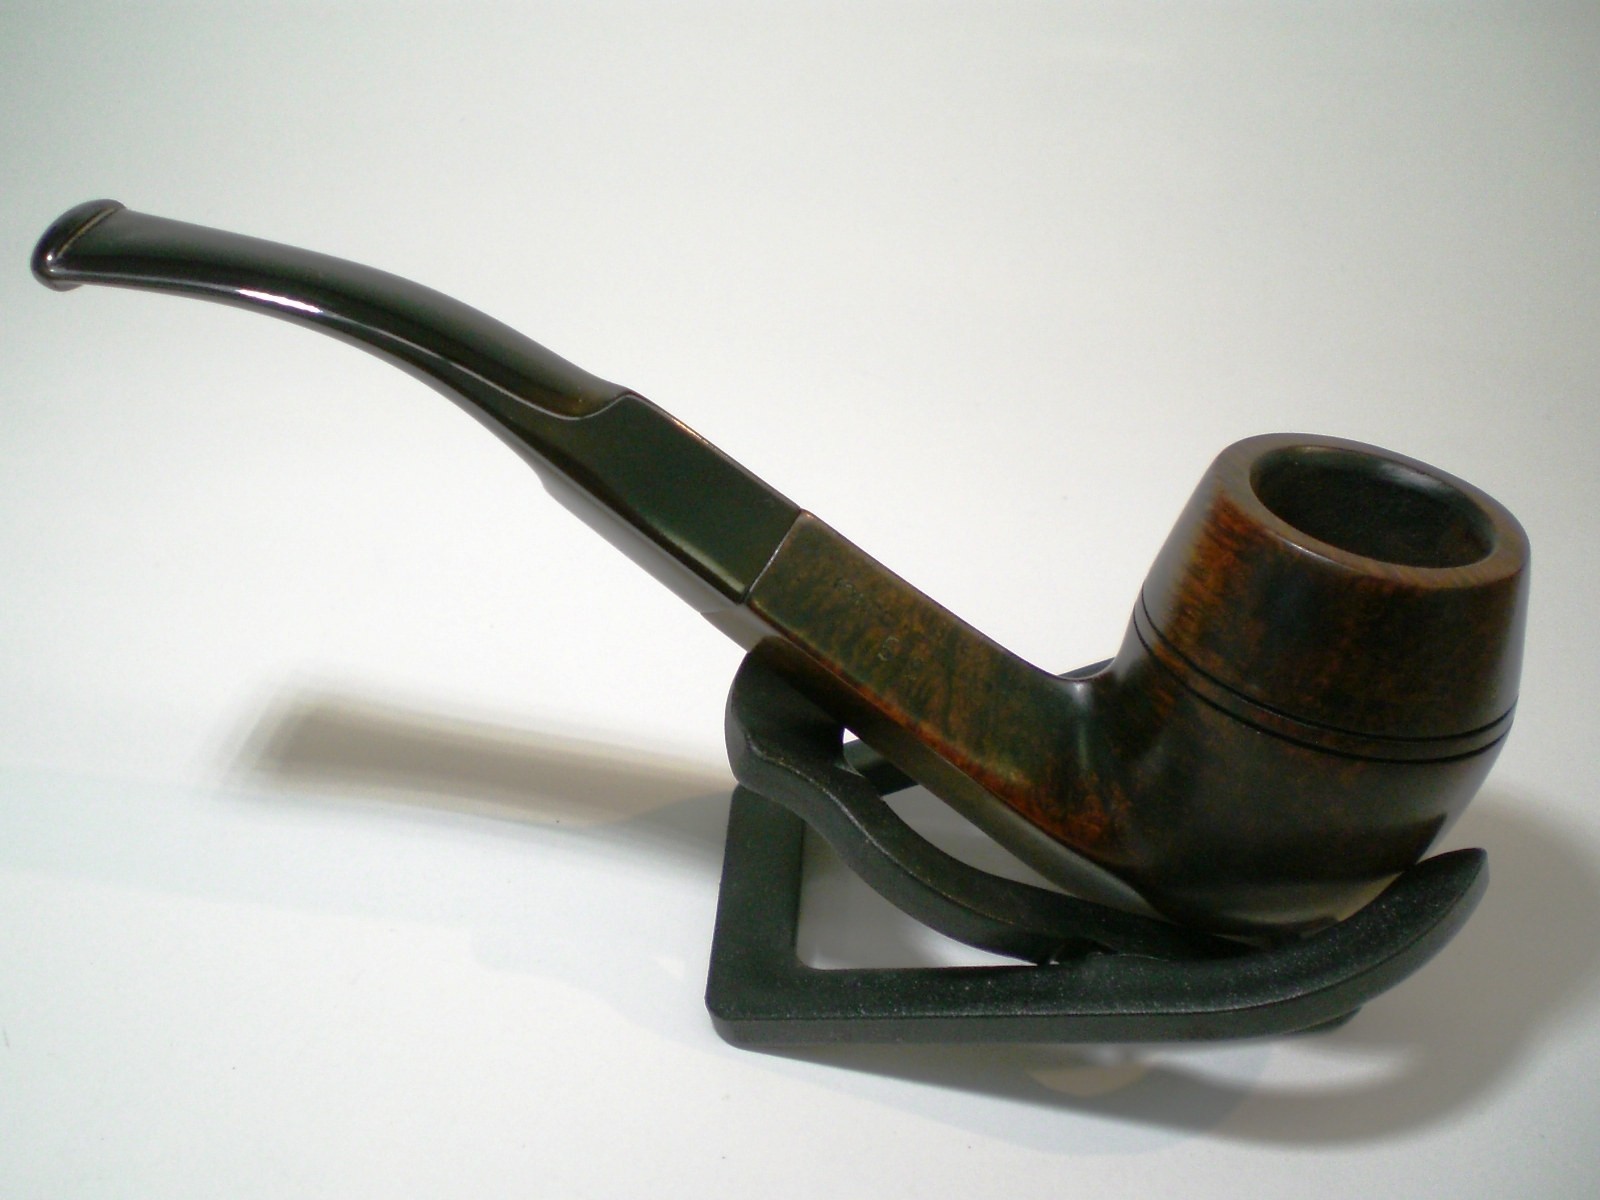
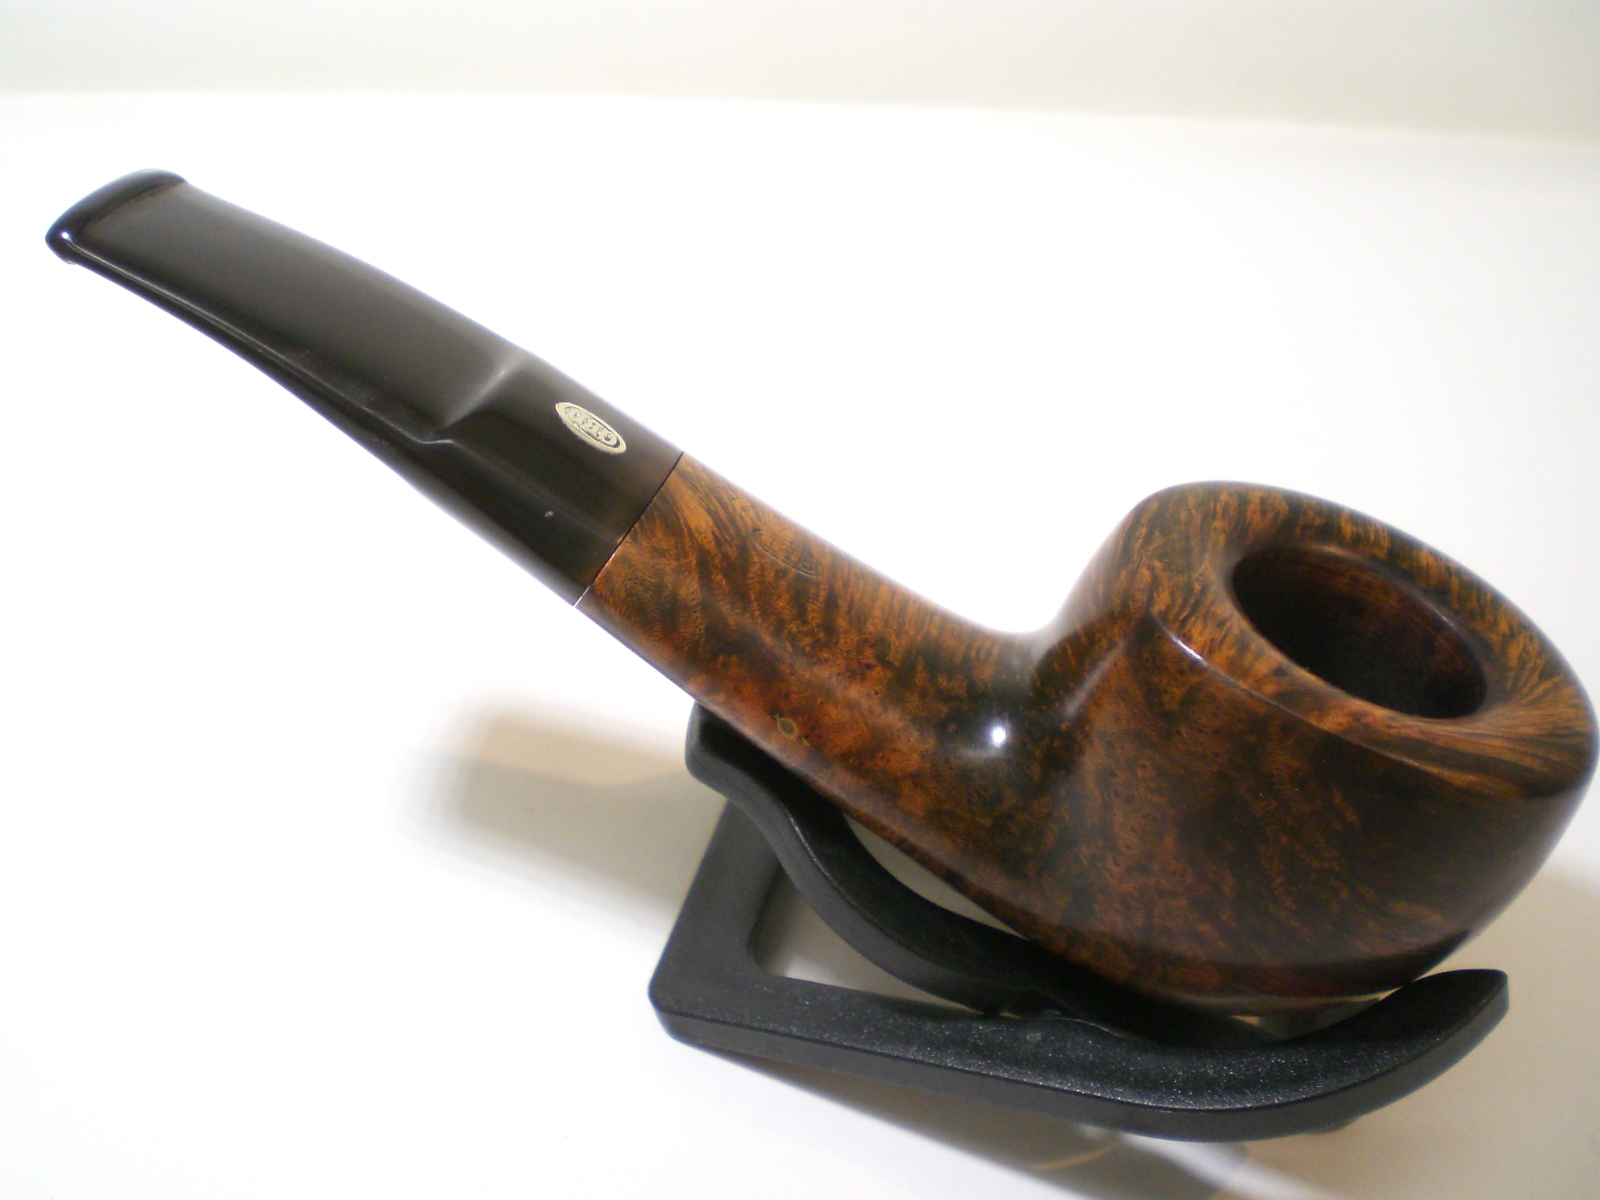
 I decided not to stain the pipe but to leave it natural. I rubbed it down with a light coat of olive oil to bring life back to the briar. I liked the look of the pipe with the natural oil finish. I buffed the bowl with Blue Diamond on the buffing wheel to raise the shine. I gave the bowl and the stem several coats of carnauba wax and buffed it with a clean buffing pad to raise a shine. I hand buffed the pipe with a microfiber cloth to deepen the shine. The finished pipe is shown in the photos below.