Blog by Steve Laug
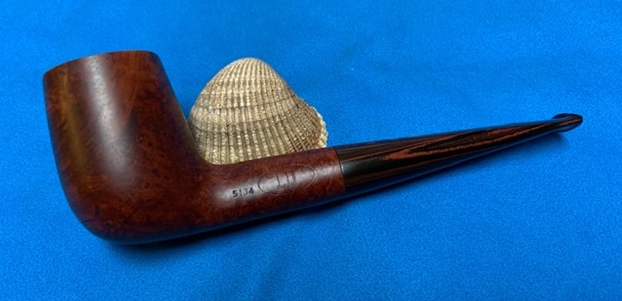
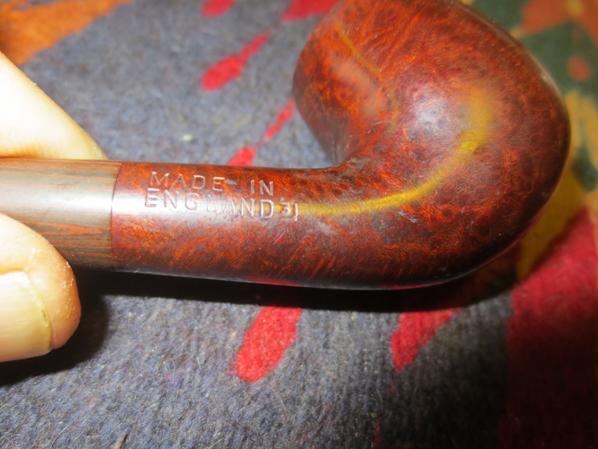
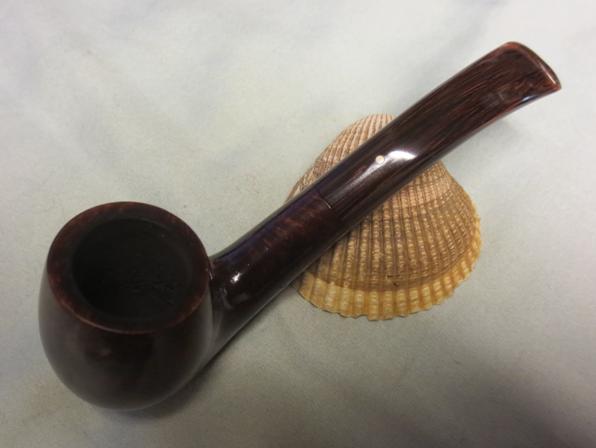
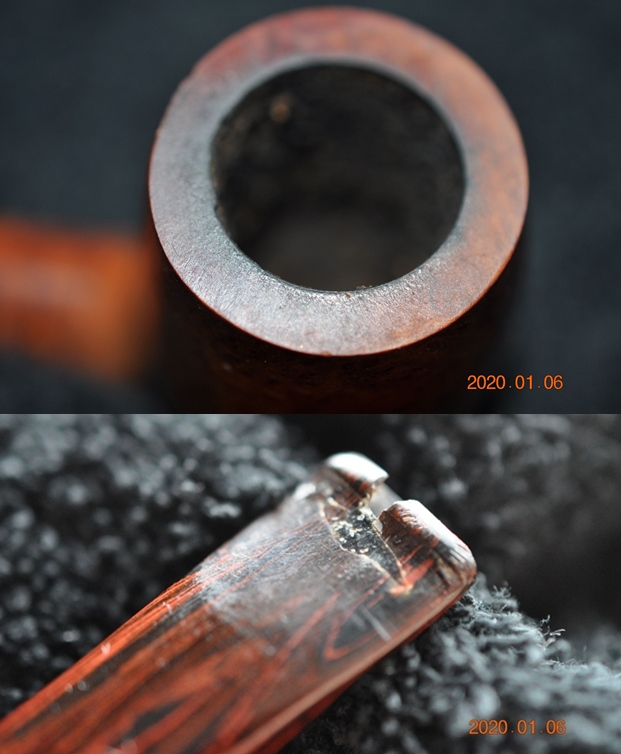
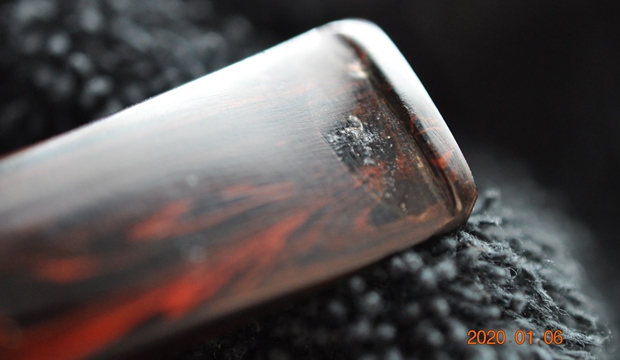
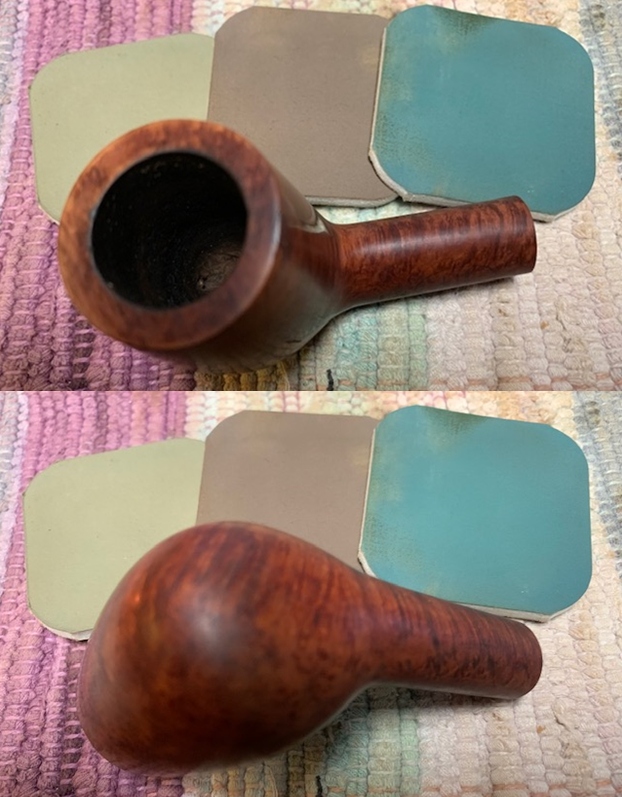
The next pipe on the table came to us in a group of pipes that we purchased from a fellow in Los Angeles, California, USA. It is a Dunhill Chestnut Straight Brandy that was very dirty. It is stamped both sides of the shank. On the left side it is stamped with the shape number 5134 followed by Dunhill in an oval. On the right side it is stamped Chestnut [over] Made in England followed by the number 39. Interpreting that stamp it is as follows: The 5134 is the shape for a straight Brandy with a triangular shaped shank. The Dunhill Chestnut is the finish noted on the shank. The 39 following the D of England gives the date the pipe was made and identifies it as 1999. The stamping is clear and readable. The age of the pipe and the oils in the finish has given the pipe a rich reddish brown finish. There is also some amazing grain that the shape follows well. The finish was dirty with dust ground into the surface of the bowl and shank. There also appeared to a repair on top outer edge at the back of the bowl. There was a thick cake in the bowl and tobacco debris stuck to the walls of the bowl. The rim top showed darkening and some lava in on the surface and inner edge of the bowl. The Cumberland taper stem was oxidized and calcified. It had damage to the button surface on the top side where it was missing a chunk. There were also some repair marks ahead of the button on both sides where the repair person had used black CA to patch the tooth marks. Jeff took photos of the pipe to show what it looked like before he started working on it.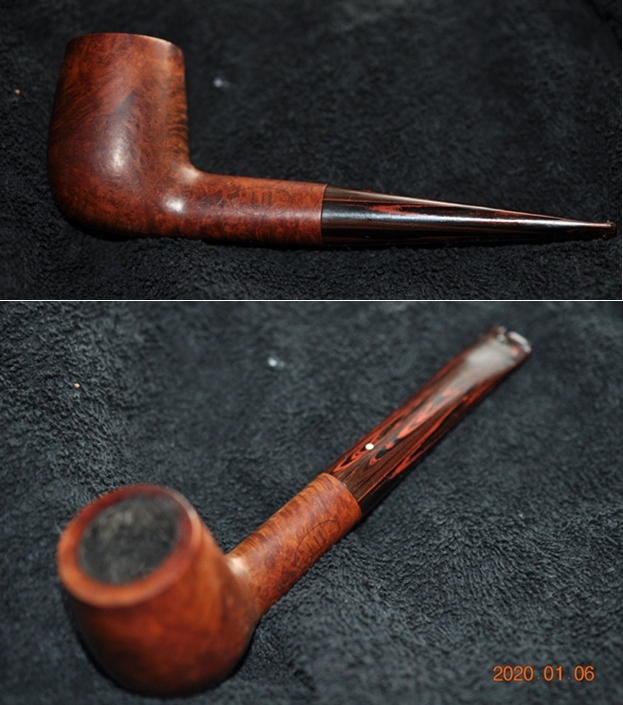 He took photos of the bowl and rim top to show the thickness of the cake and the darkening and lava overflow on the rim top. The photos of the stem show the oxidation, calcification and the repairs to both sides of the stem. You can also see the large chunk missing from the topside of the button edge. The stem had been previously repaired rather poorly using large rough black super glue patches.
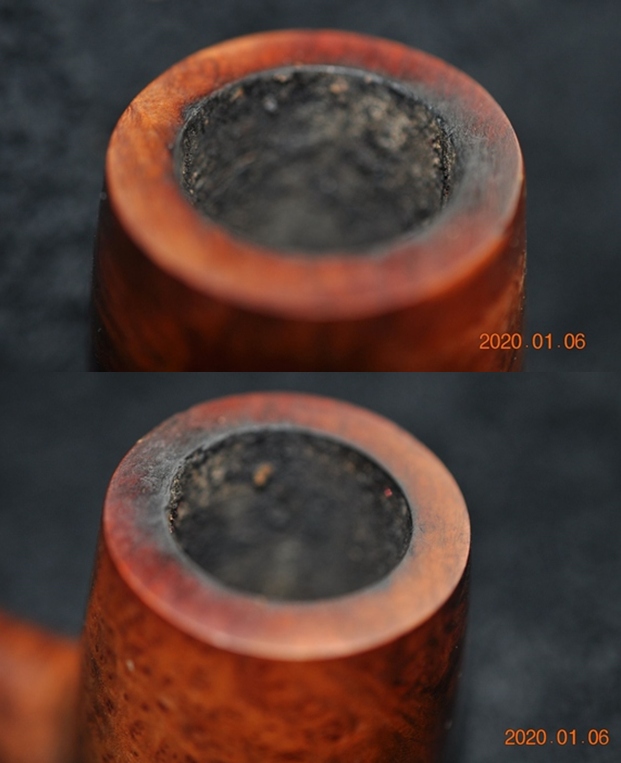
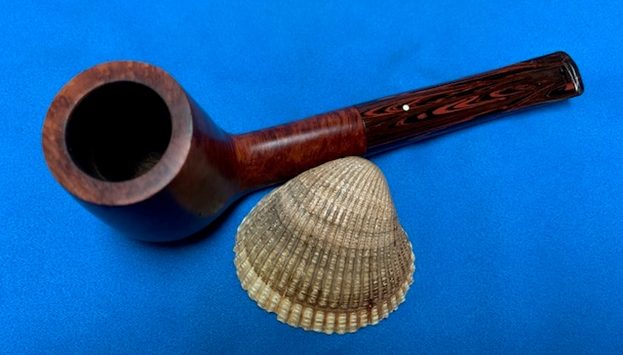
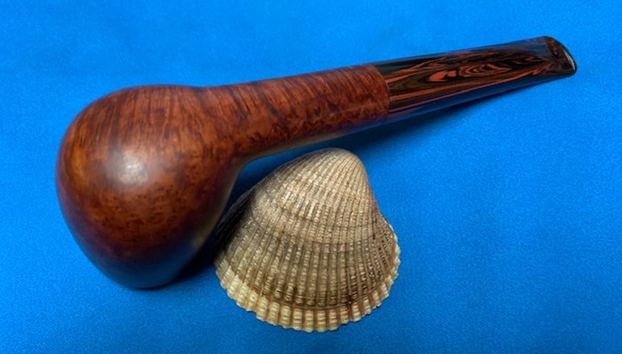
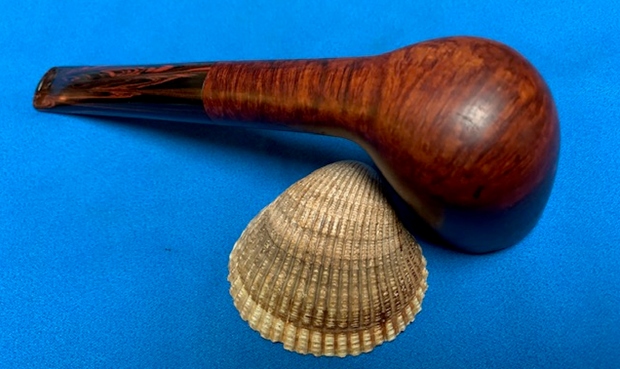
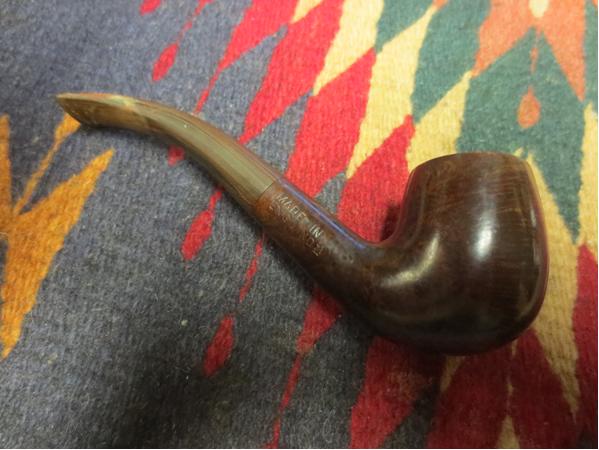
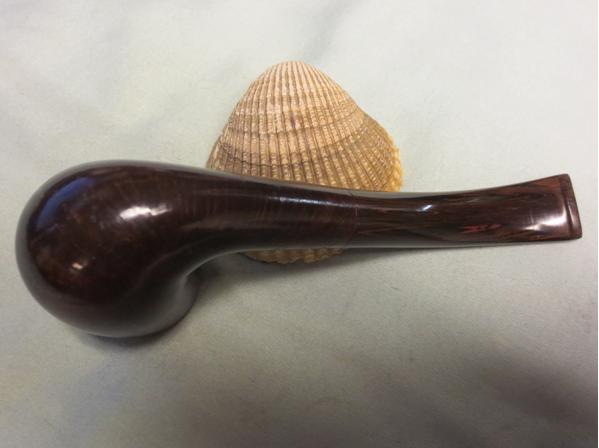
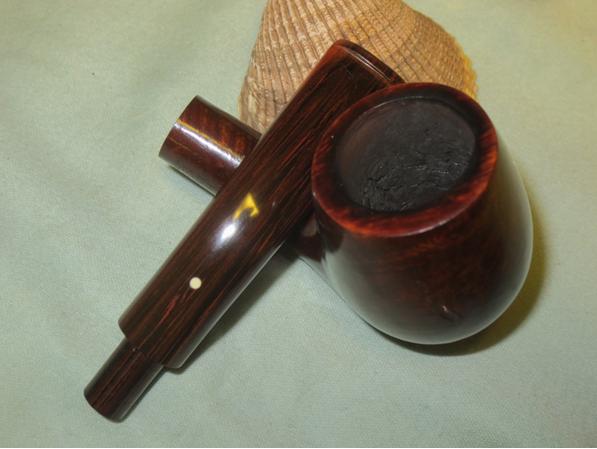
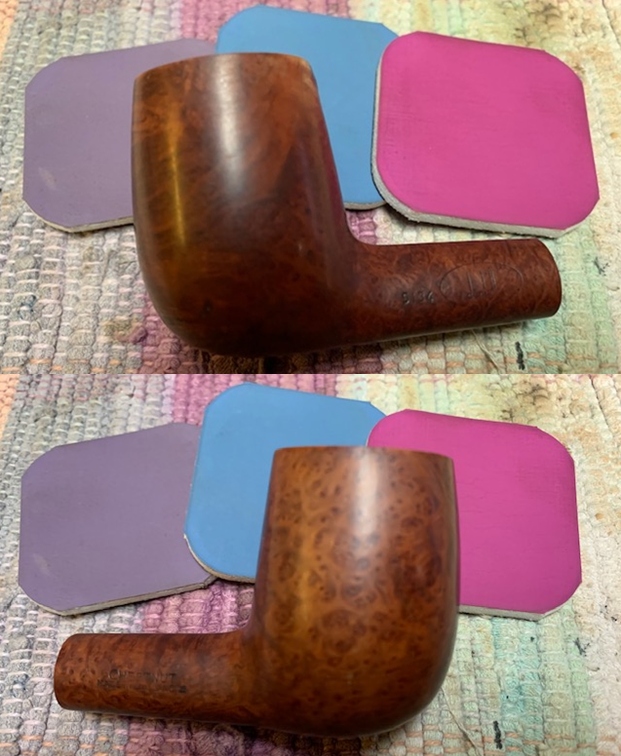
 The photos of the sides and heel of the bowl show the great grain on the pipe. It is a beauty under the grime and dust.
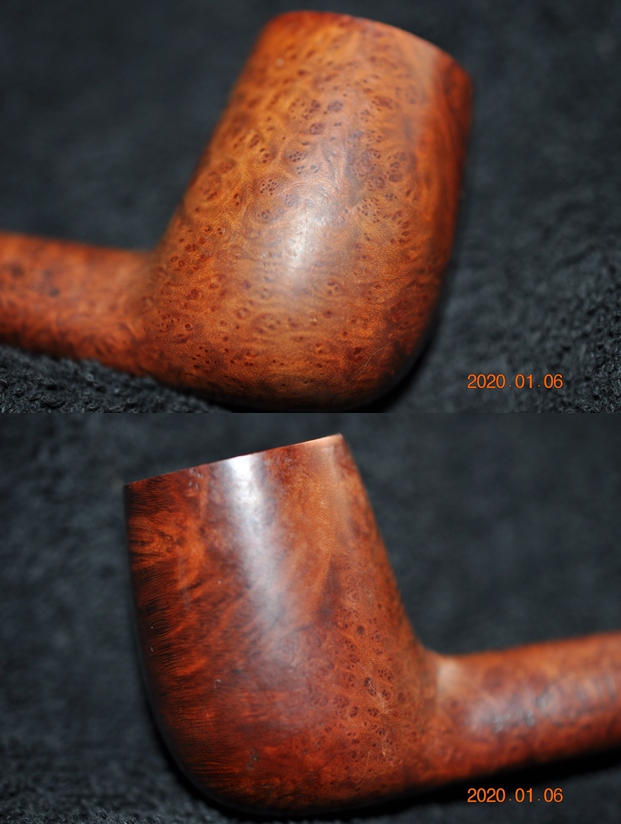
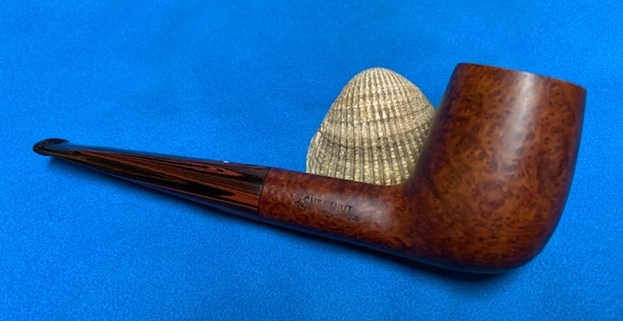
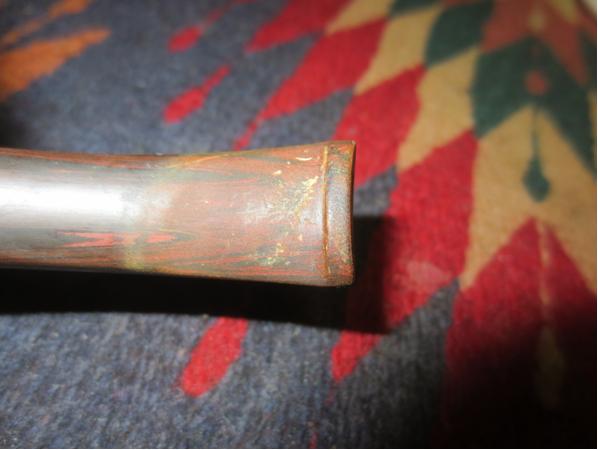
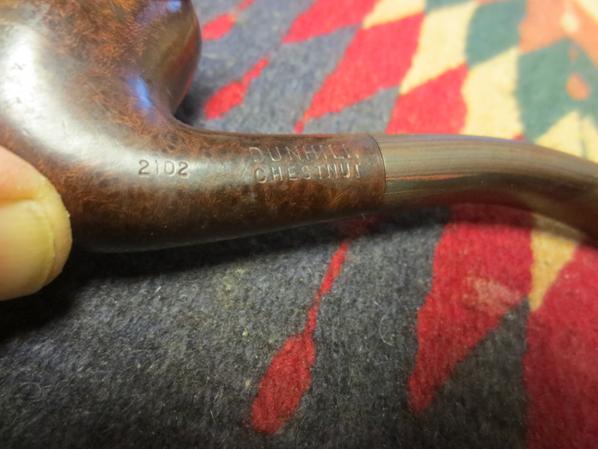
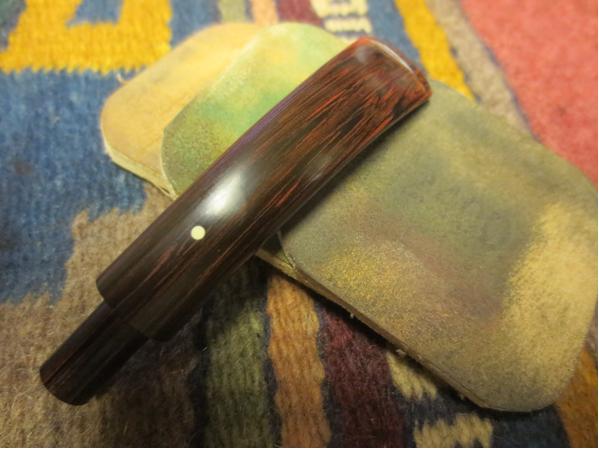
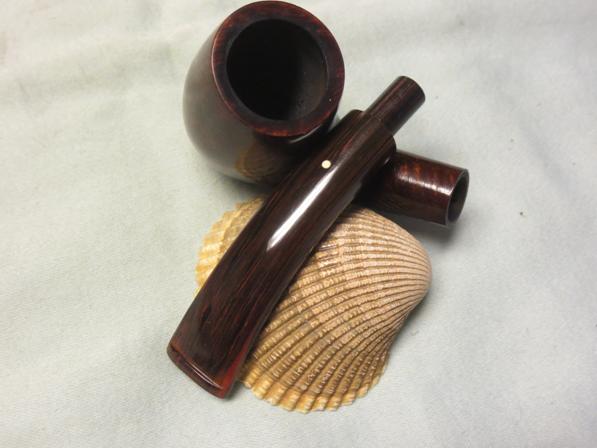
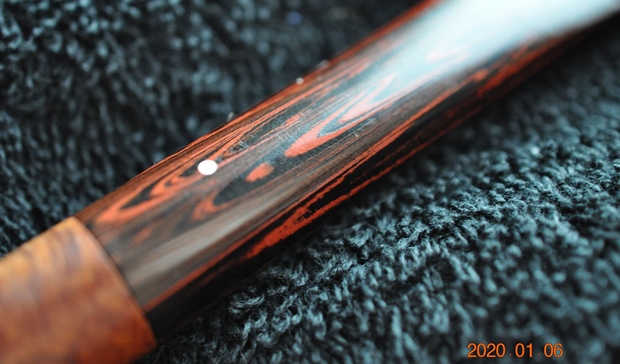
 The stamping on the sides of the shank is shown in the photos below. It looks very good and readable. It reads as noted and explained above. The third photo shows the white spot on the stem.
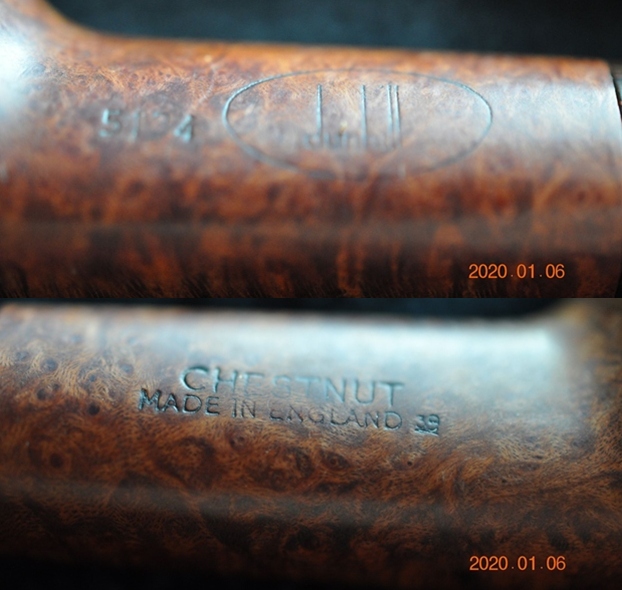
 I turned to Pipedia’s section on Dunhill Root Briar Pipes to get a bit of background on the Dunhill finishes (https://pipedia.org/wiki/Dunhill#Root_Briar). I quote:
Chestnut – A rich, deep walnut colour complemented by the Cumberland mouthpiece – it was introduced in 1983 to commemorate the closing of the Cumberland Road warehouse. The same stain and stem material as used on the Cumberland, but on a smooth bowl. Like the Bruyere, the finish is smooth to the feel and will lighten in time to show off the grain, which is usually cross-grain top and bottom with birds-eye on the sides of the bowl. Irrespective of shape, size or finish, all Dunhill pipes are of one quality only – the finest.
Note: Always had the Cumberland mouthpieces fitted. Sometimes, a black mouthpiece it is possible, however, that this was a special request or that it was a replacement mouthpiece…
The shape chart below delineates the finish and the date that it was introduced on the market and how long it was made. The Chestnut came out in 1982 and continues to be made until the present.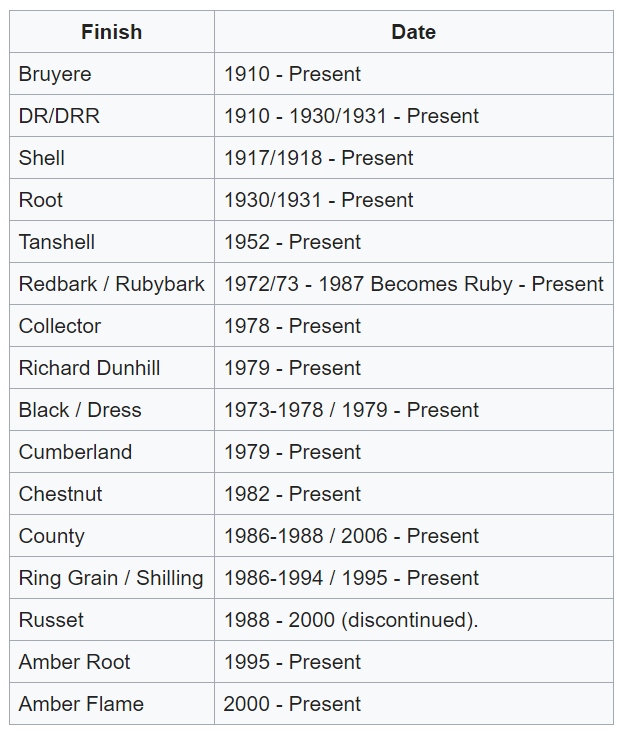 I turned to Pipephil’s dating guide to show how I arrived at the date of manufacture for this pipe (http://www.pipephil.eu/logos/en/dunhill/cledat-en1a.html). I am including the chart that is provided there for the dating a pipe. I have drawn a red box around the section. Since the pipe I am working on has a 2 it points to the 1960+ suffix line on the chart below.
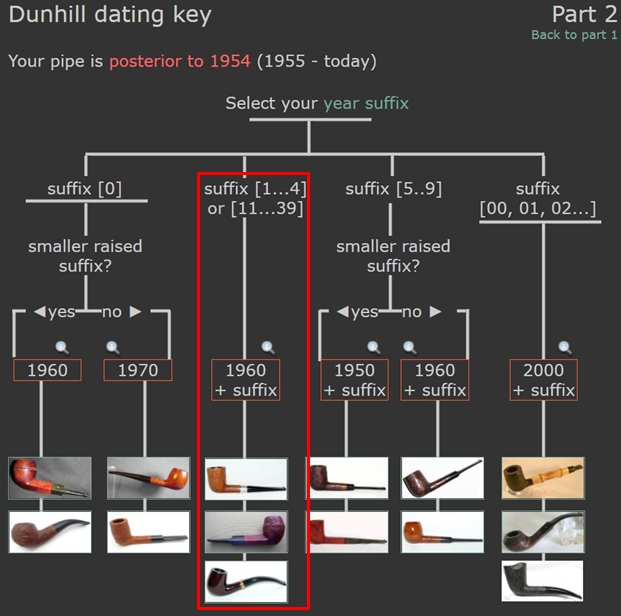 I turned to Pipedia where there was a shape chart that could be used to interpret the 4 digit shape numbers like the one on this particular pipe. https://pipedia.org/wiki/Dunhill_Shape_Chart#:~:text=The%20White%20Spot%20Chart%20%20%20Digit%201%3A,%2012%3A%20Chimney%20%208%20more%20rows%20). I have included the chart below.
 I now knew that I was working on a Chestnut that came out in 1999. The shape number is 5134. The first number (5) was the size of the pipe which in this case is a Group 5. The second digit (1) is the mouthpiece shape which in this case was a Standard or taper shaped stem. The third (3) and fourth (4) number identify the shape of the pipe. This is 34 which is the number for a Brandy shaped pipe.
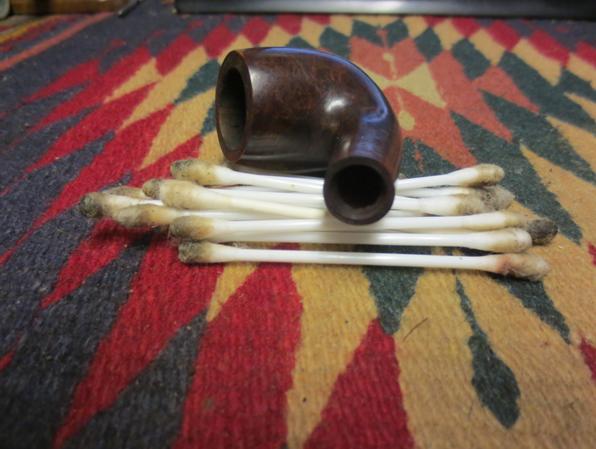
I turned to work on the pipe itself. Jeff had carried out his usual thorough cleanup of the pipe. He had reamed it with a PipNet reamer to remove the cake and cleaned the reaming up with a Savinelli Fitsall Pipe Knife. He scrubbed the internals of the bowl and stem with alcohol, cotton swabs and pipe cleaners. He scrubbed the externals with undiluted Murphy’s Oil Soap and rinsed the bowl off with running water. He soaked the stem in Before & After Deoxidizer and once it had soaked rinsed it off with warm water to remove the residual solution. He dried it off and rubbed it down to remove any oxidation that was still on the stem. The pipe looked very clean when I received it. 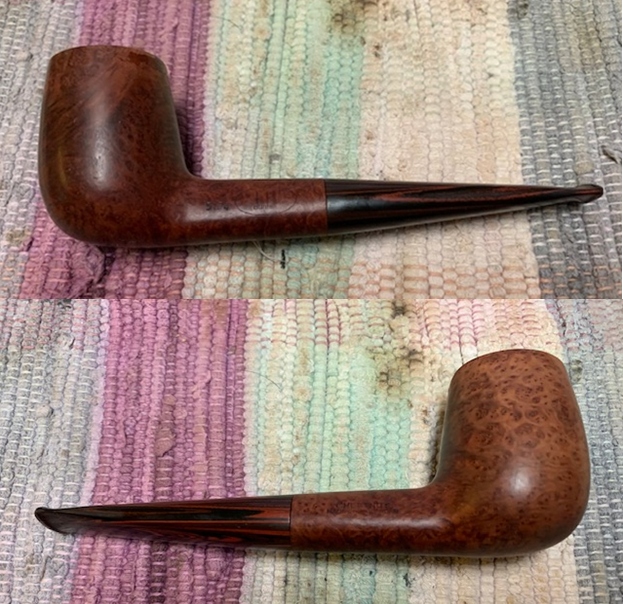
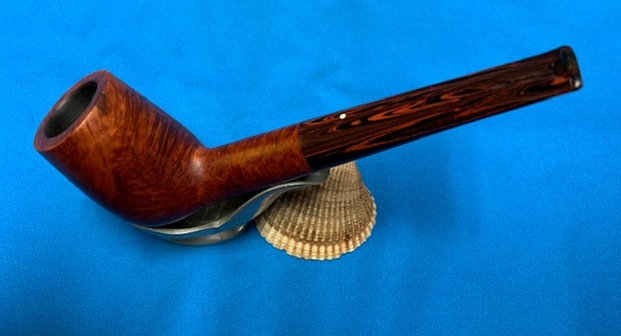
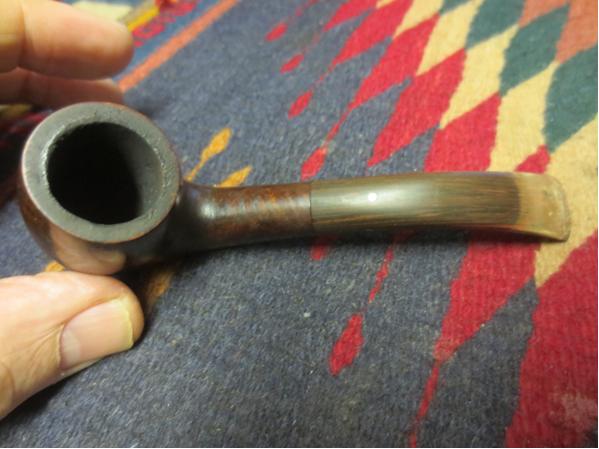
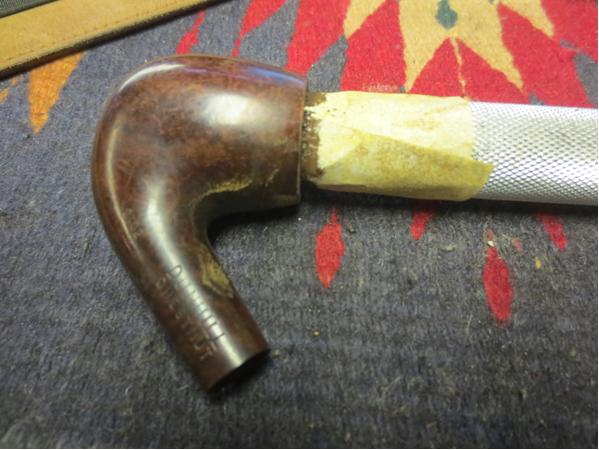
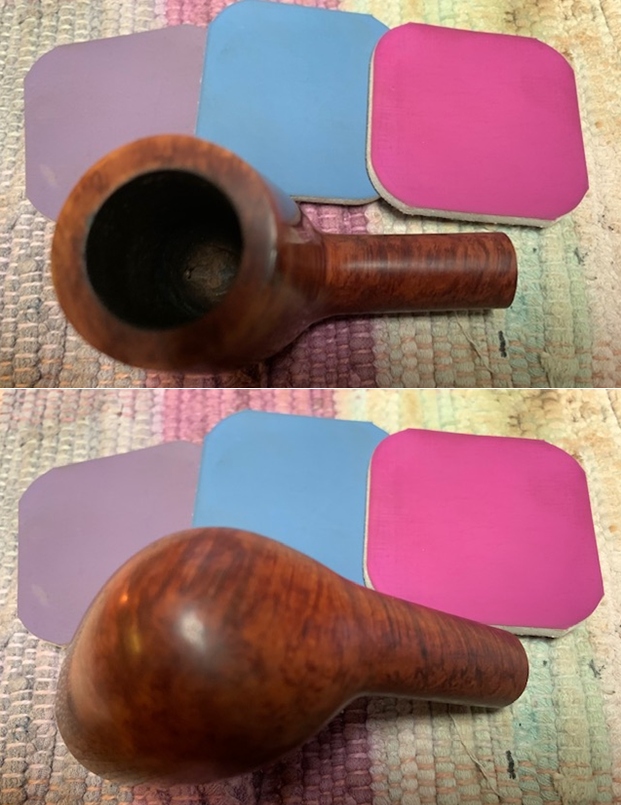
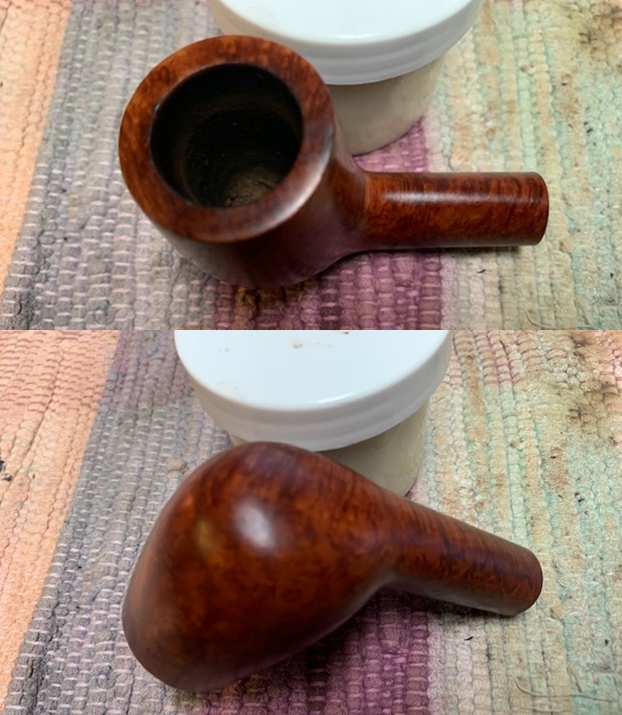
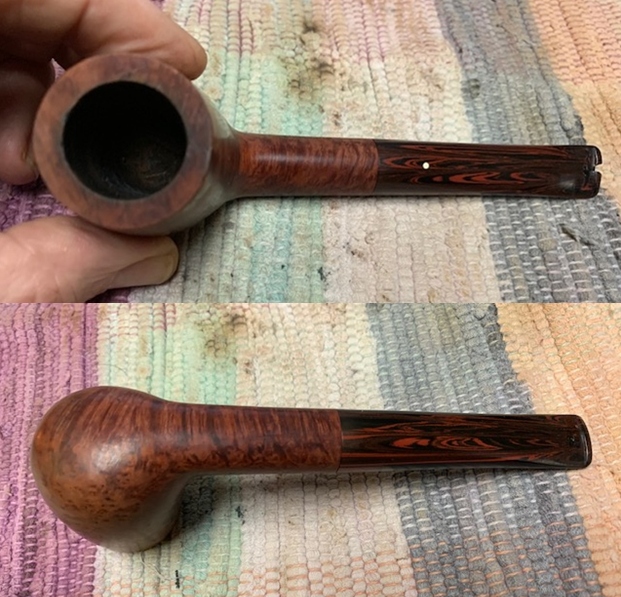 I took a photo of the rim top to show the condition. You can see the darkening on the rim top on the back of the bowl. It is roughened and chipped on the front and back side of the rim. The taper stem came out looking quite good other than the damage on the button and the black CA repairs on the top and underside of the stem.
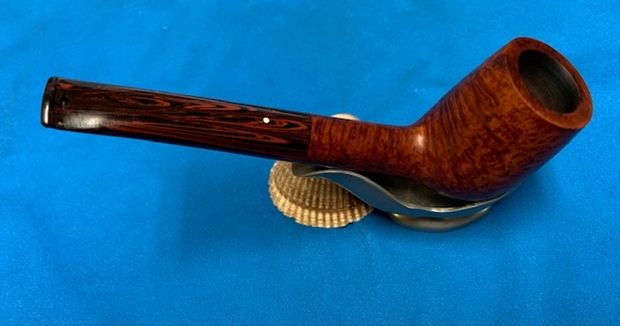
 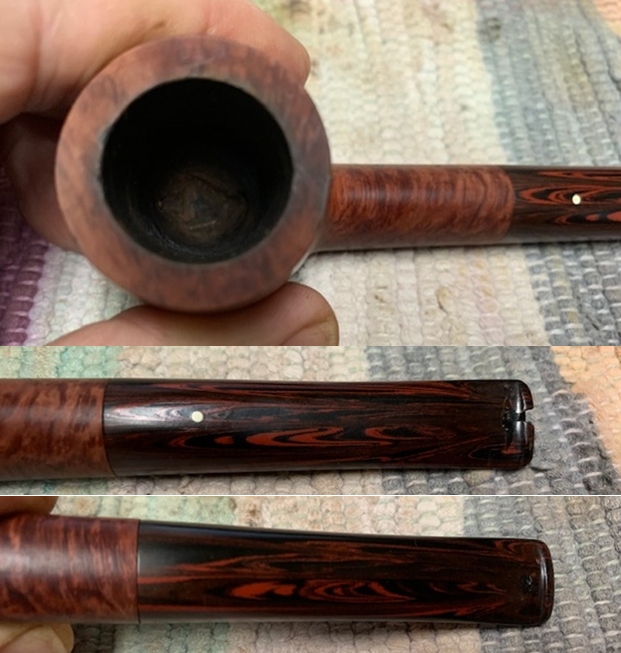 I took photos of the sides of the shank to show the stamping. It is clear and readable as noted above.
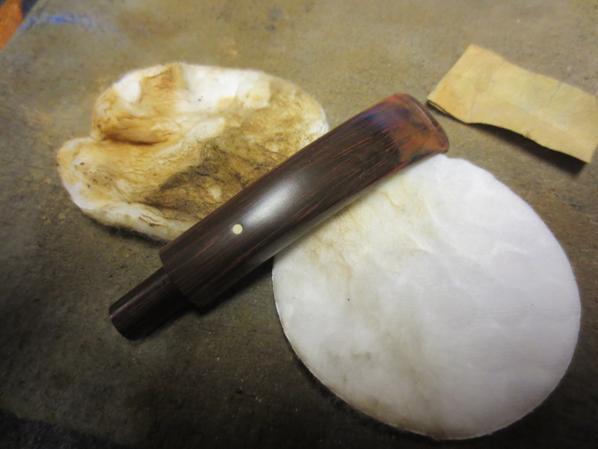
 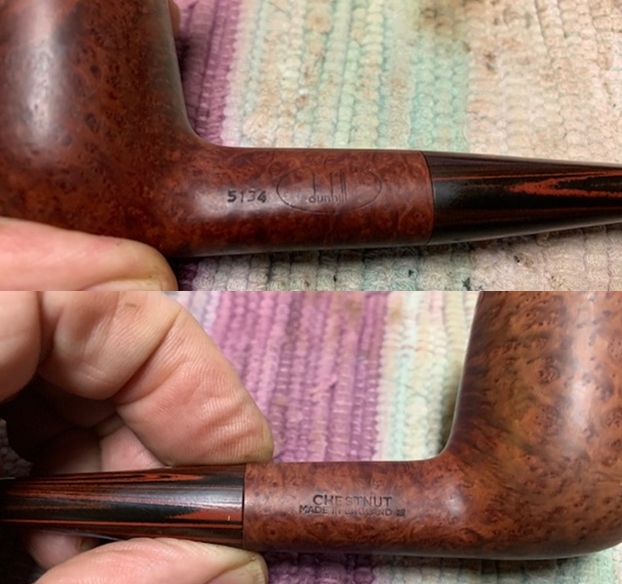 I removed the stem from the shank and took a photo of the pipe parts to show what I was working with. It is a nice looking pipe.
 I decided to start the restoration on this one by working on the damage on the inner edge of the bowl. It had darkening and some damage to the edge. There were burn and knife marks on the edge from a previous pipeman. I worked it over with a folded piece of 220 grit sandpaper to give the edge a light bevel and remove and minimize the damage on the edge. When I finished with it, the bowl and the rim top looked much better.
 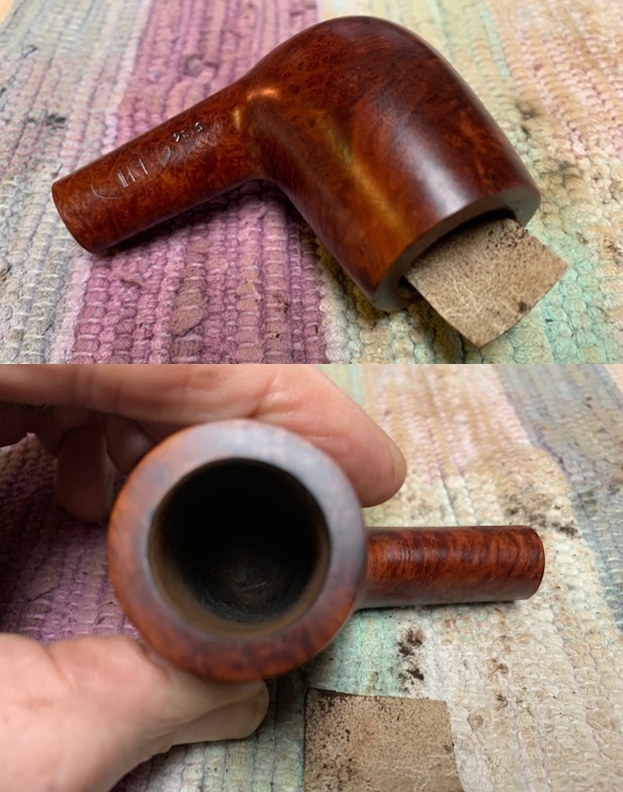 I polished the rim top and bowl with micromesh sanding pads – dry sanding with 1500-12000 grit sanding pads. I sanded and smoothed out the repair that had been done to the top outer edge of the rim on the back of the bowl at the same time. I wiped the bowl down with a damp cloth after each sanding pad. The briar began to take on a shine.
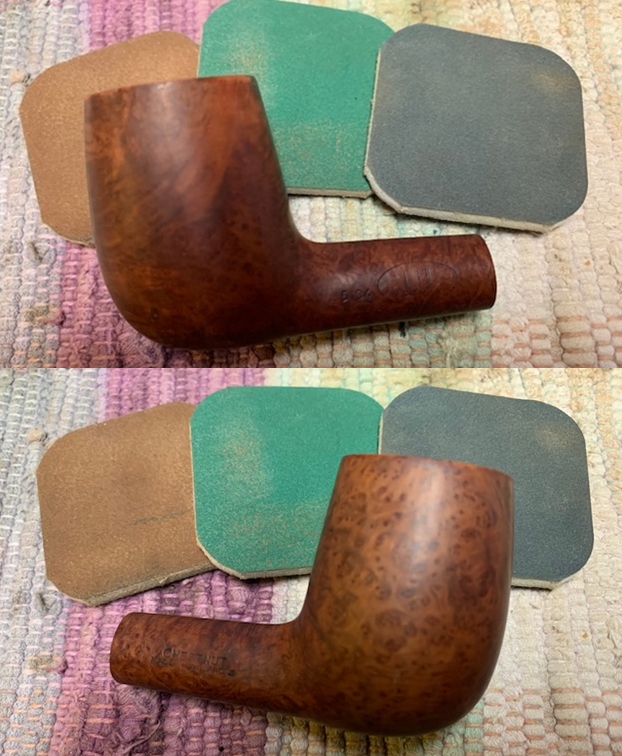
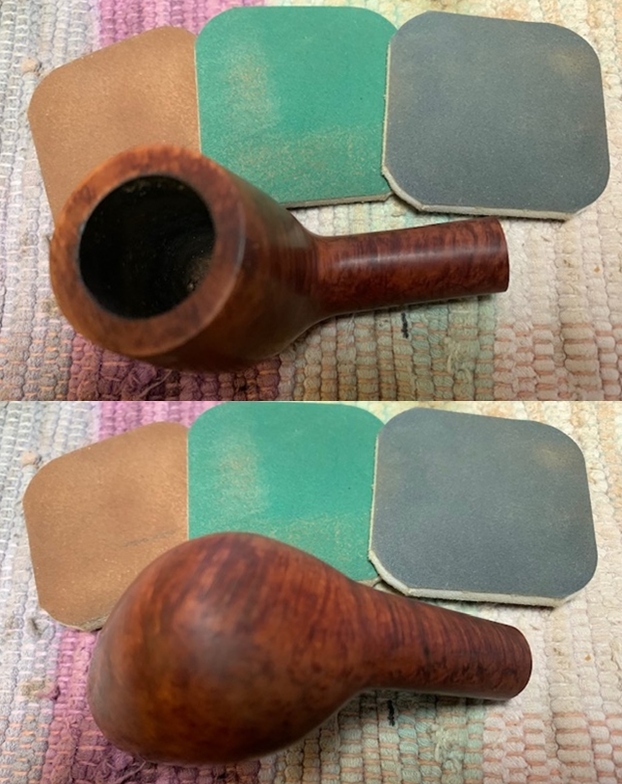
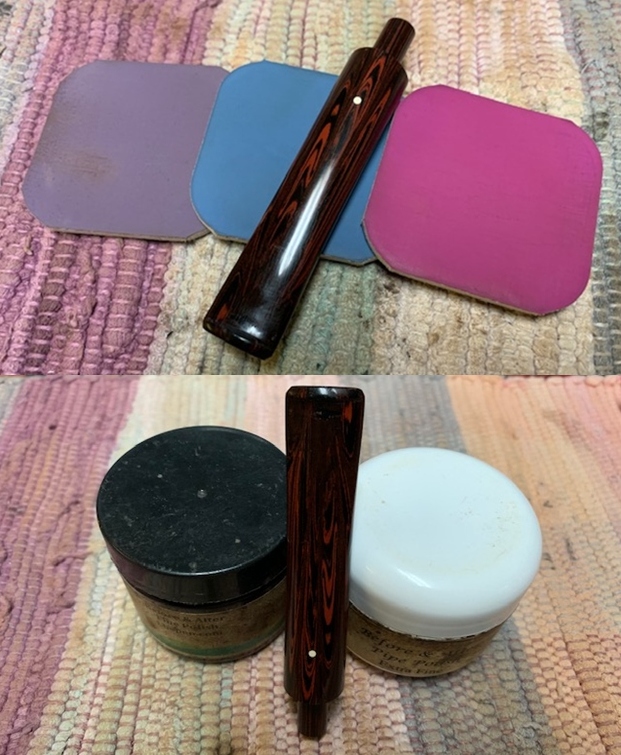
 I rubbed the briar down with Before & After Restoration Balm. I worked it into the briar with my fingertips. The product works to clean, enliven and preserve the briar. I let it sit for 15 minutes while I worked on the stem. After the time passed I buffed it with a cotton cloth to deepen the shine. The briar really comes alive with the balm.
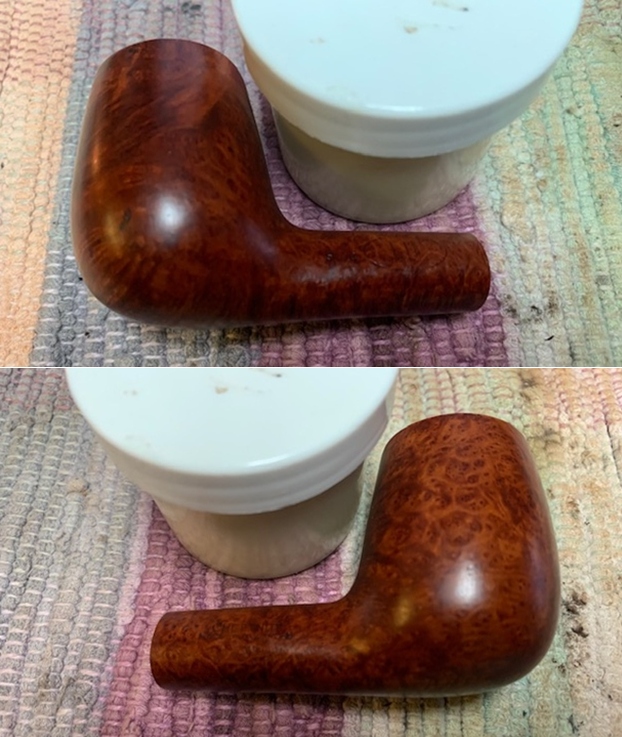
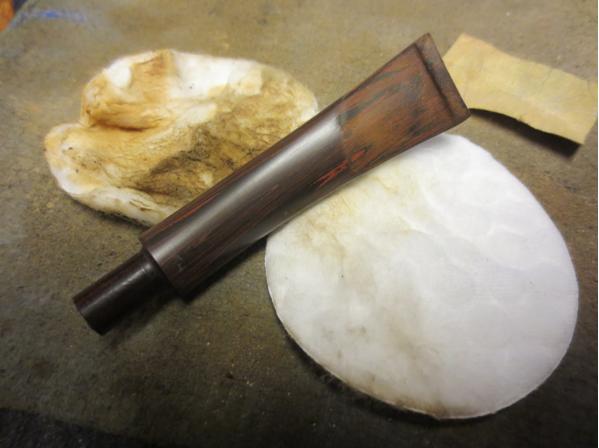
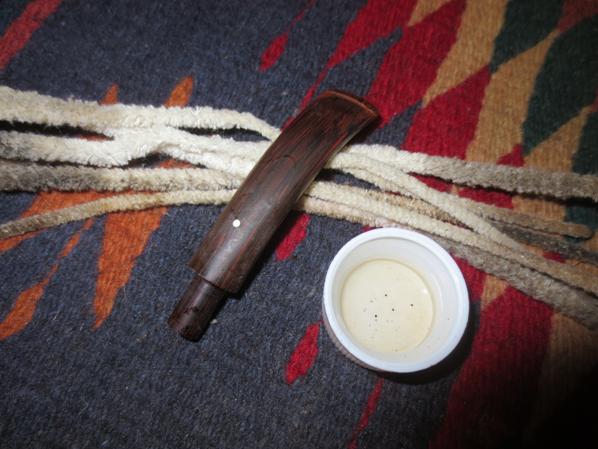
 With the bowl finished and cleaned up it was time to tackle the stem mess. I want to see if I could minimize the repair marks from the previous repair and also rebuild the button. Since it was Cumberland this was going to be a bit tricky. I took photos of the stem before I started and marked the issues on it with blue arrows. The #1 is the chip out of the top edge of the button. The #2 and #3 are the tooth marks fills that were done with a large amount of black super glue. I would have used a clear CA glue to repair these and let the underlying Cumberland colours show through. However now I had to figure out a way to minimize them.
 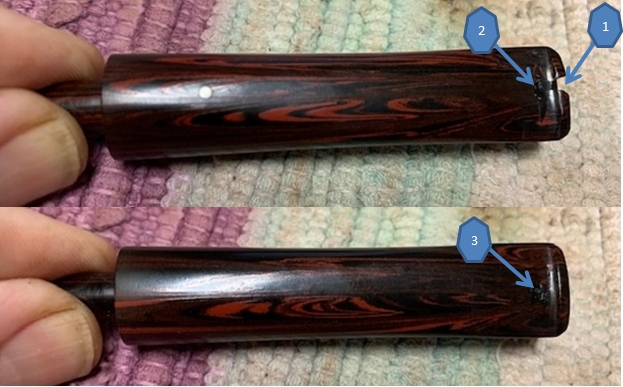 I greased a pipe cleaner with Vaseline and inserted it in the airway. I rebuilt the button area with black Loctite 380. It is black but it is a small spot so I am hoping to be able to blend it in well with the rest of the Cumberland.
 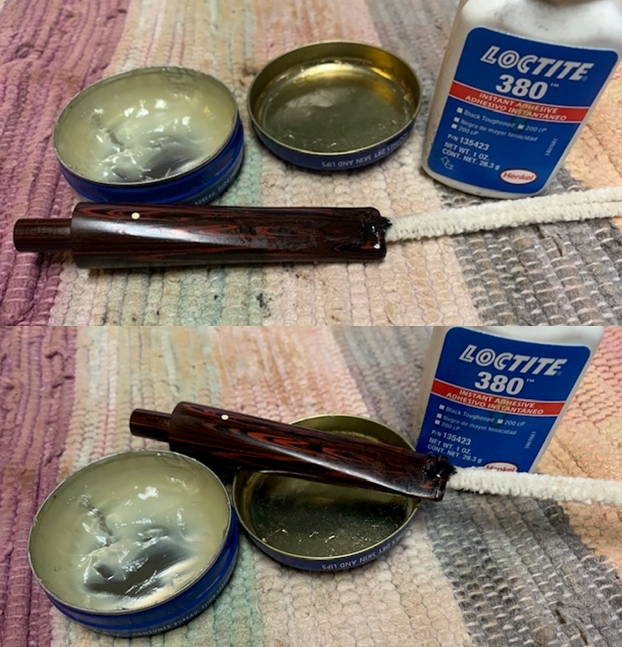 I removed the pipe cleaner once the repair had set and took a photo of the stem at this point. I used a rasp and small file to shape the button and cut the inner edge. I also flattened out the area of the previous repair to reduce it. There was also a dip in the mouthpiece on that side near that button that was a shallow trough so I cleaned up the taper to smooth out the transition with the files.
 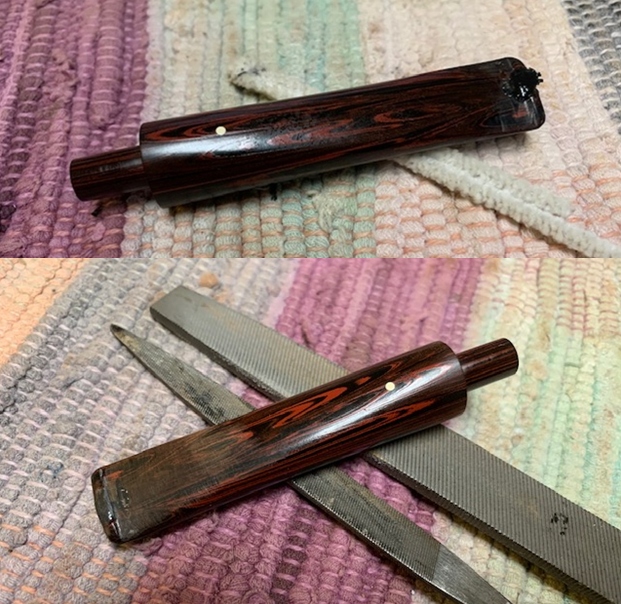 I smoothed out the file marks and repairs and reshaped the button edge with 220 grit sandpaper. I started the polishing with 400 grit wet dry sandpaper. Still lots of work to do but the shape is correct and the repair is not too bad. I still need to rework the tooth mark repairs on the top and underside some more.
 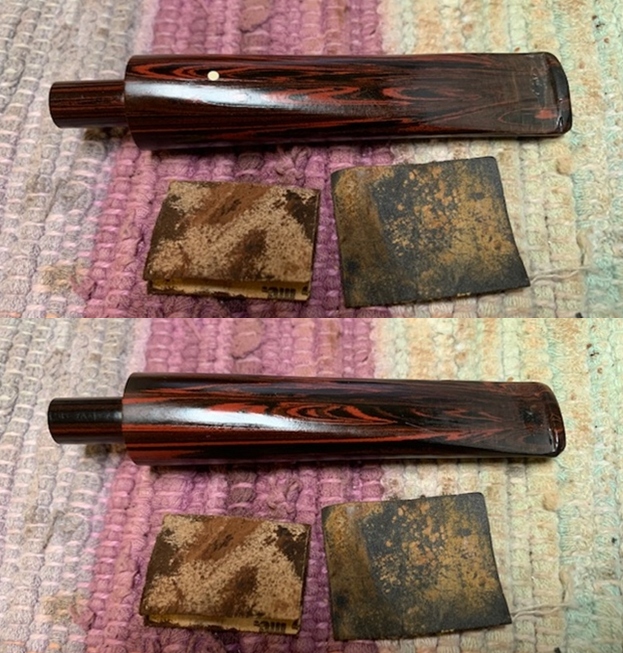 I cleaned up the repair areas and used a black and a red Sharpie Pen to match the striations of the Cumberland. I let that cure and then put a light coat of clean CA glue on top of the areas to keep the blend in place. Once that cured I lightly sanded it with a 1500 grit micromesh pad. The result can be seen in the photos below.
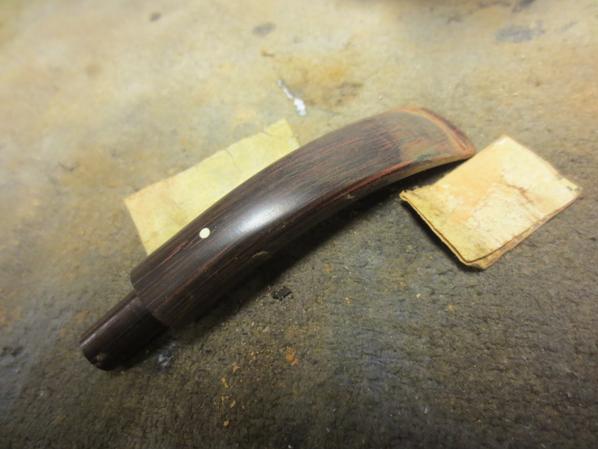
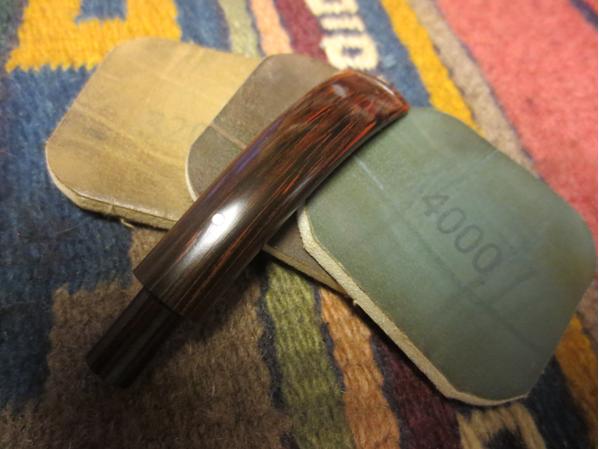
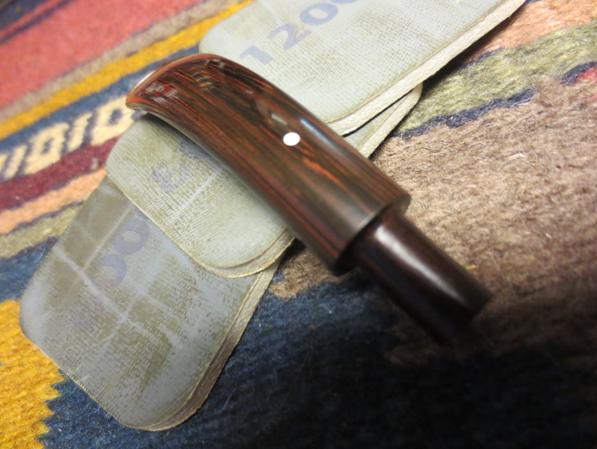
 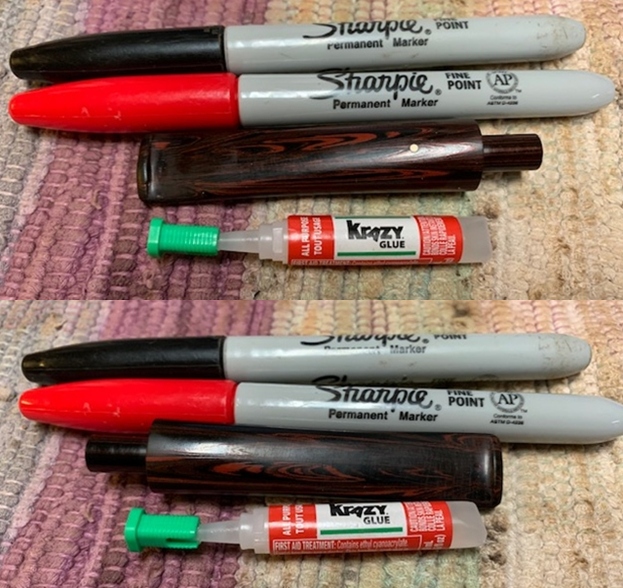 Now it was time to polish the repairs. I polished the Cumberland with micromesh sanding pads – 1500-12000 grit pads. I wiped it down with Obsidian Oil after each sanding pad. I used Before & After Pipe Polish – both Fine and Extra Fine to further polish the stem.
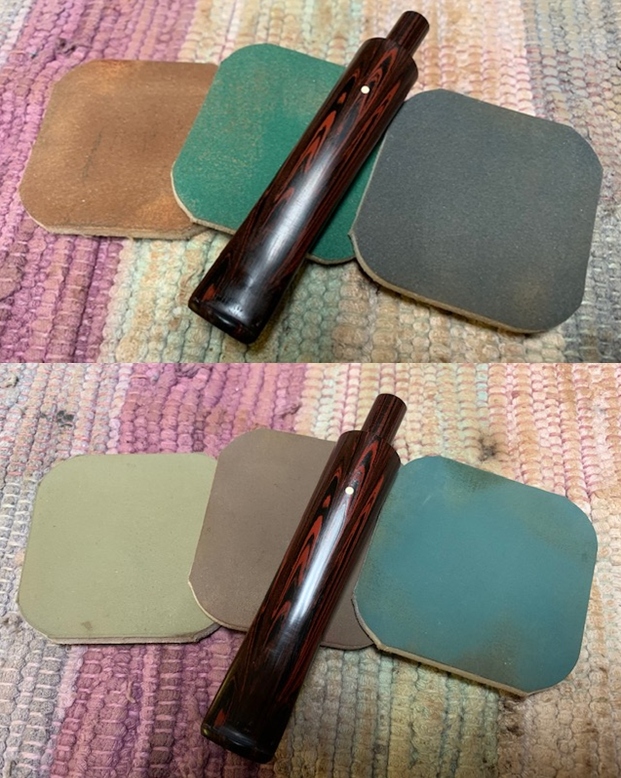
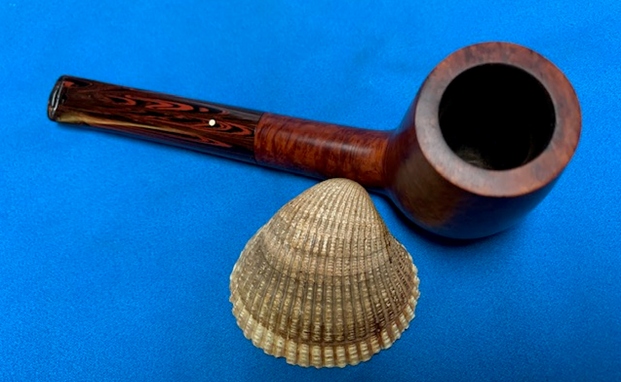
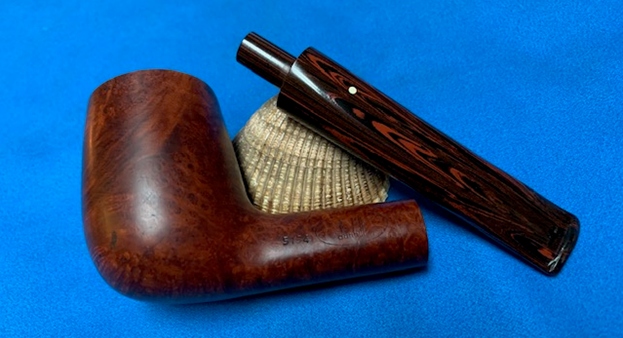
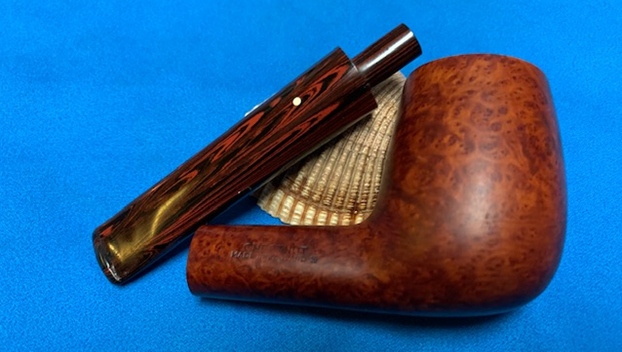
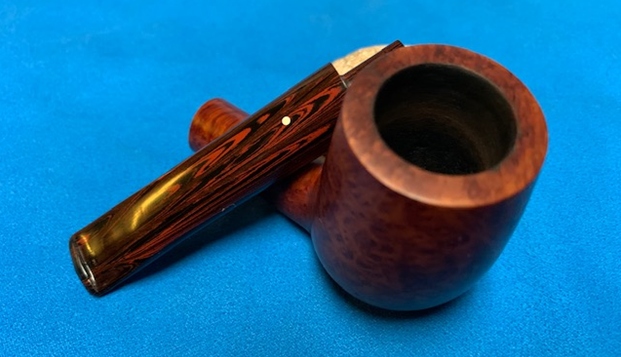
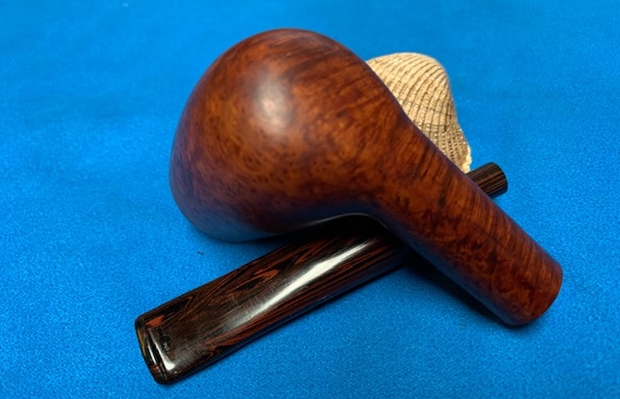
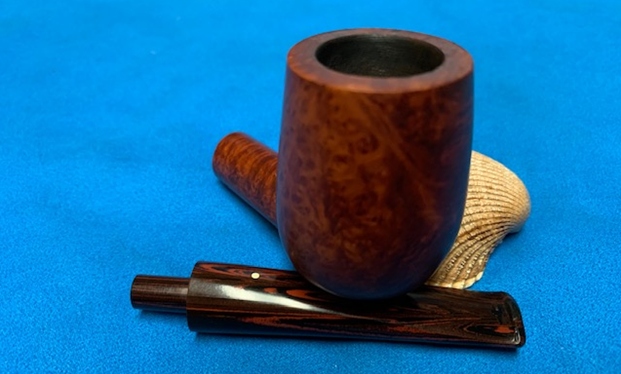
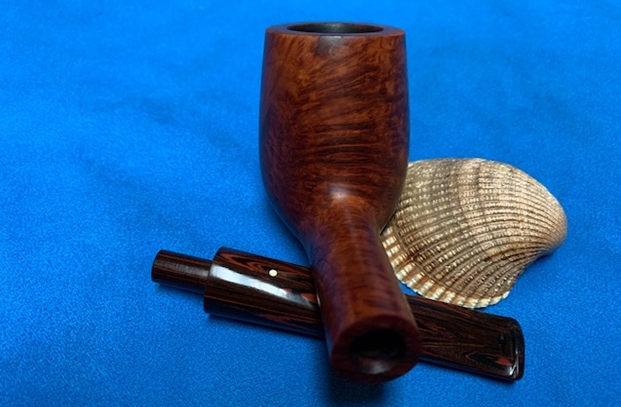
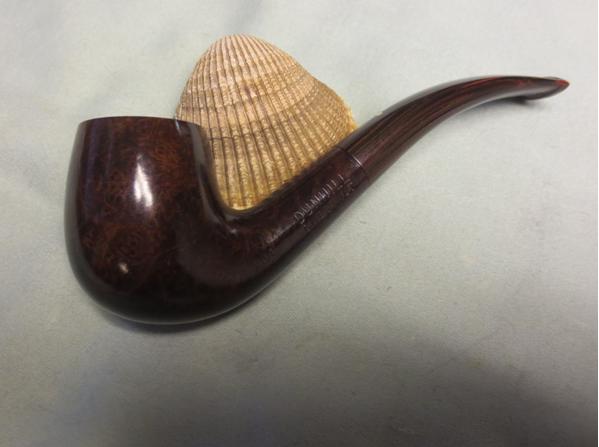
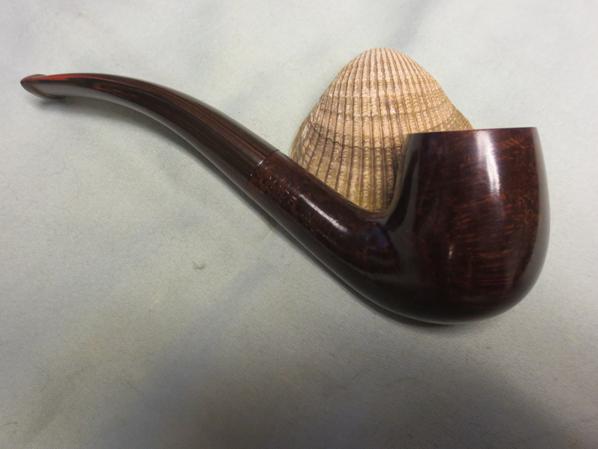
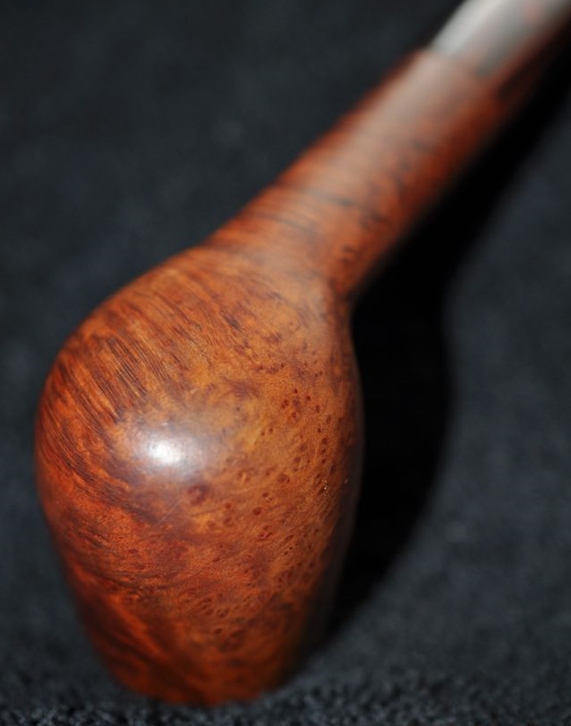
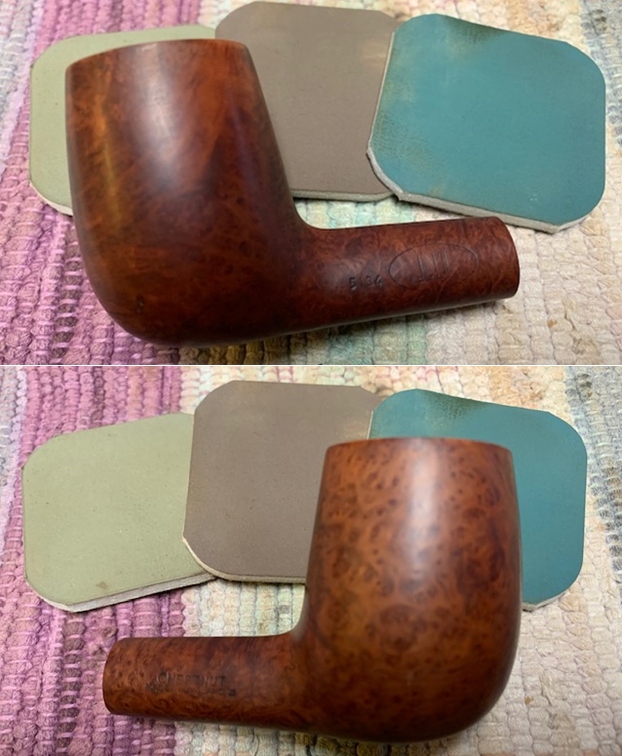
 This Dunhill Chestnut 5134 Brandy from 1999 is a beautiful looking piece of briar that has a shape that follows grain. It is a great looking pipe that came out looking even better after the cleanup. The Chestnut is a Dunhill that utilized a Walnut stain and a Cumberland taper stem. The finish on the pipe is in excellent condition following the restoration. The brown stain on the bowl works well to highlight the grain. The polished Cumberland taper stem adds to the mix. With the dust gone from the finish and the bowl it was a beauty and is eye-catching. I put the repaired stem back on the bowl and buffed the pipe with Blue Diamond on the buffing wheel being careful to not buff the stamping. I gave the bowl and the stem multiple coats of carnauba wax on the buffing wheel and followed that by buffing it with a clean buffing pad. I hand buffed the pipe with a microfiber cloth to deepen the shine. The finished Chestnut 5134 Brandy is quite nice and feels great in the hand. Give the finished pipe a look in the photos below. I can only tell you that like the other pipes I am working that it is much prettier in person than the photos capture. The dimensions of the pipe are Length: 5 ¾ inches, Height: 2 inches, Outside diameter of the bowl: 1 ¼ inches, Chamber diameter: ¾ of an inch. The weight of the pipe is 47grams/1.66oz. Thanks for walking through the restoration with me as I worked over another beautiful pipe. Remember we are not pipe owners; we are pipemen and women who hold our pipes in trust until they pass on into the trust of the next generation.