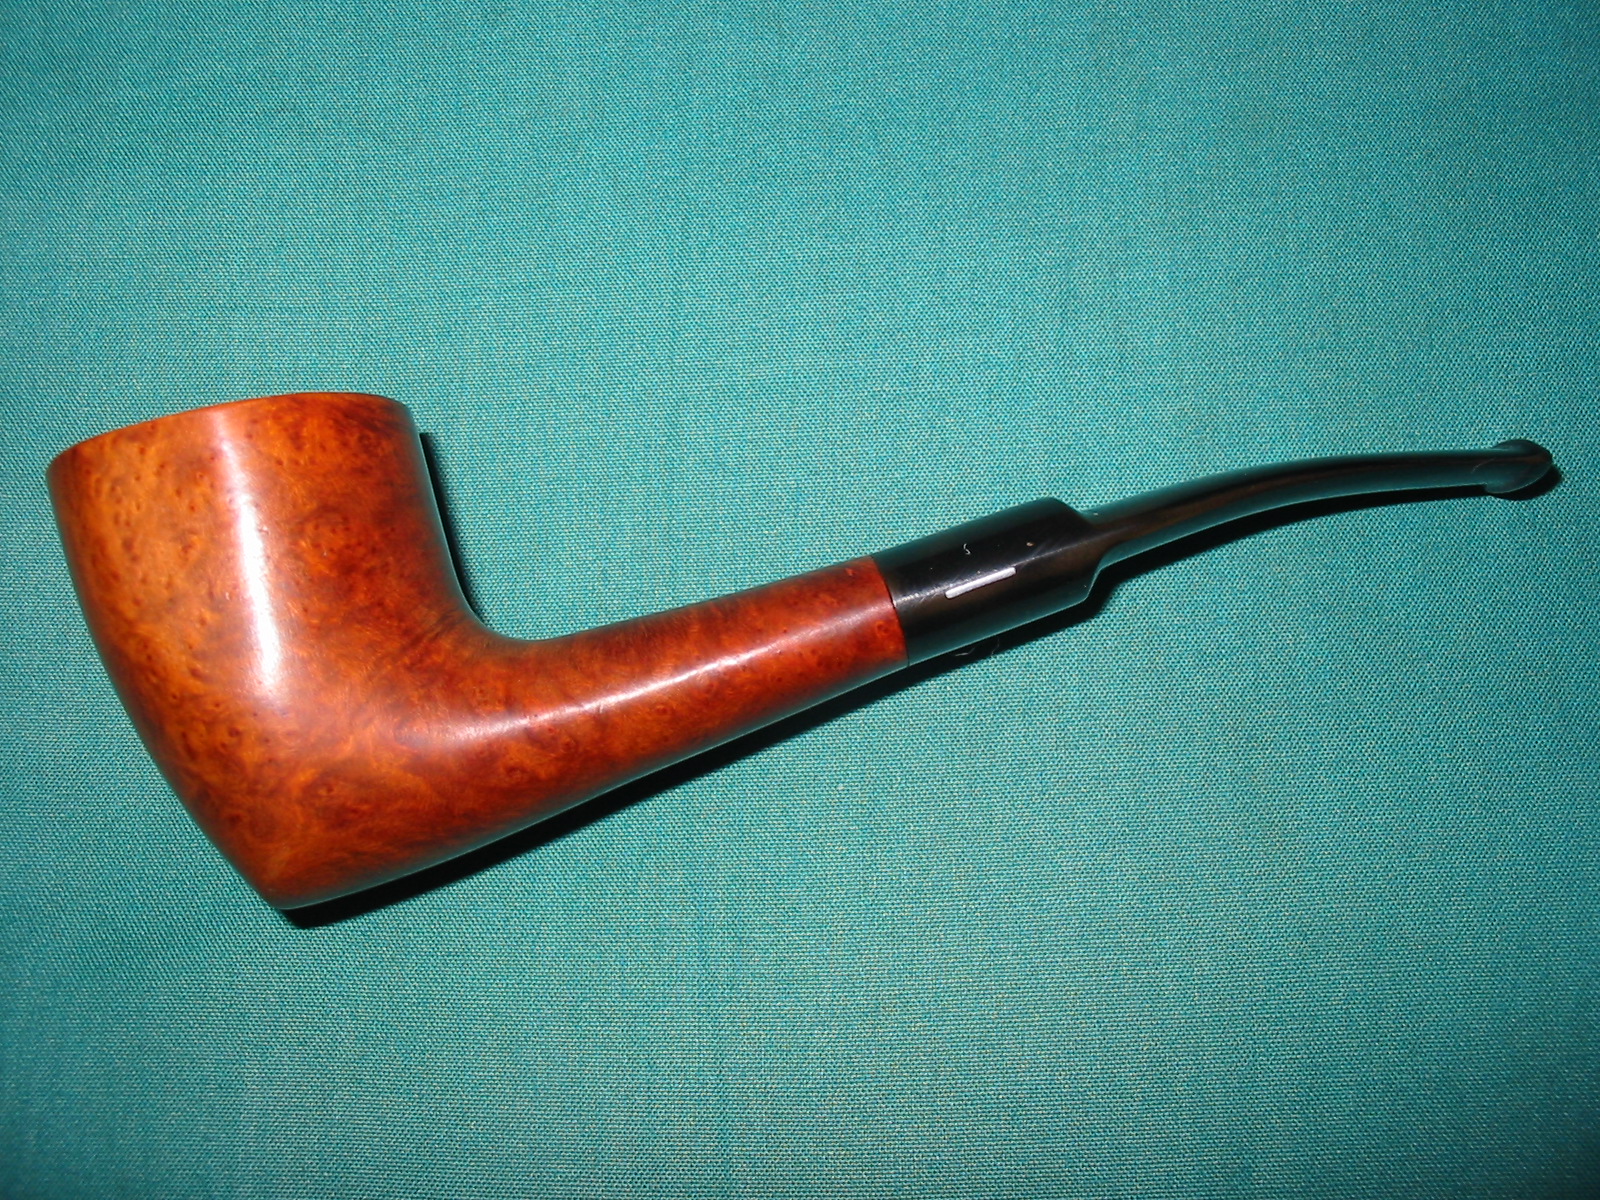
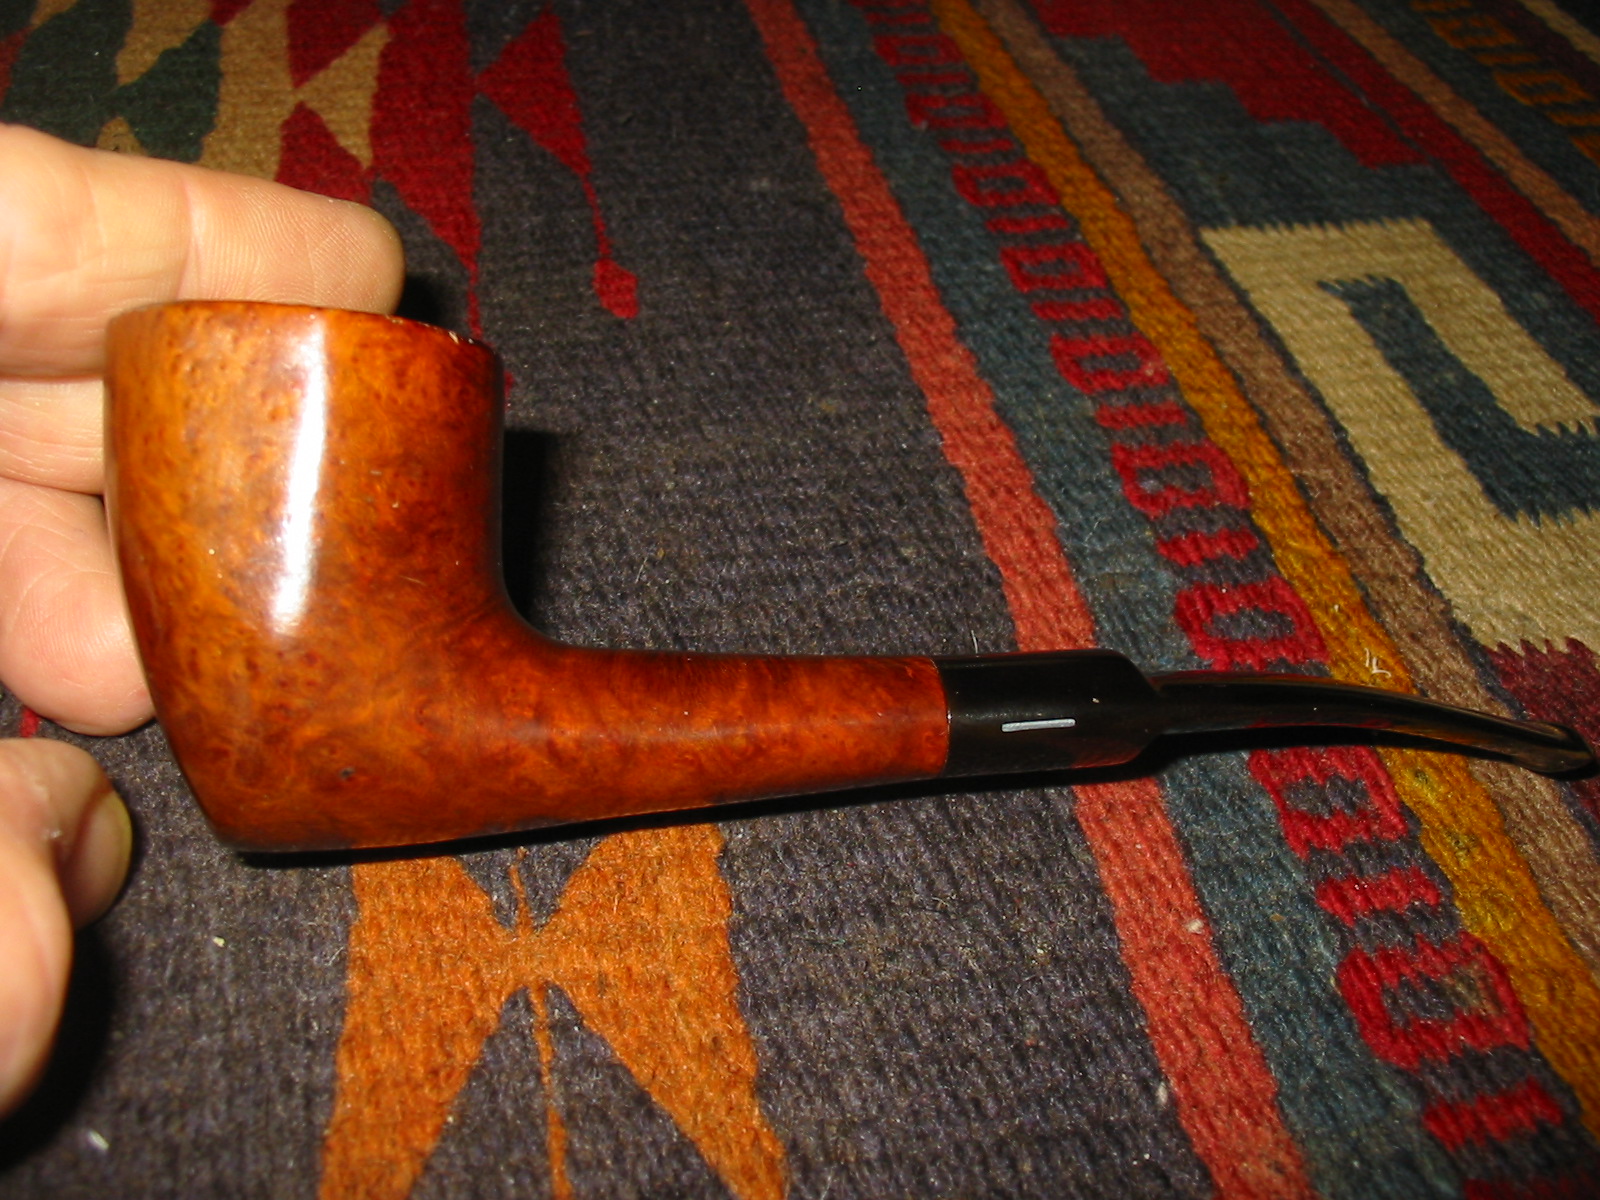
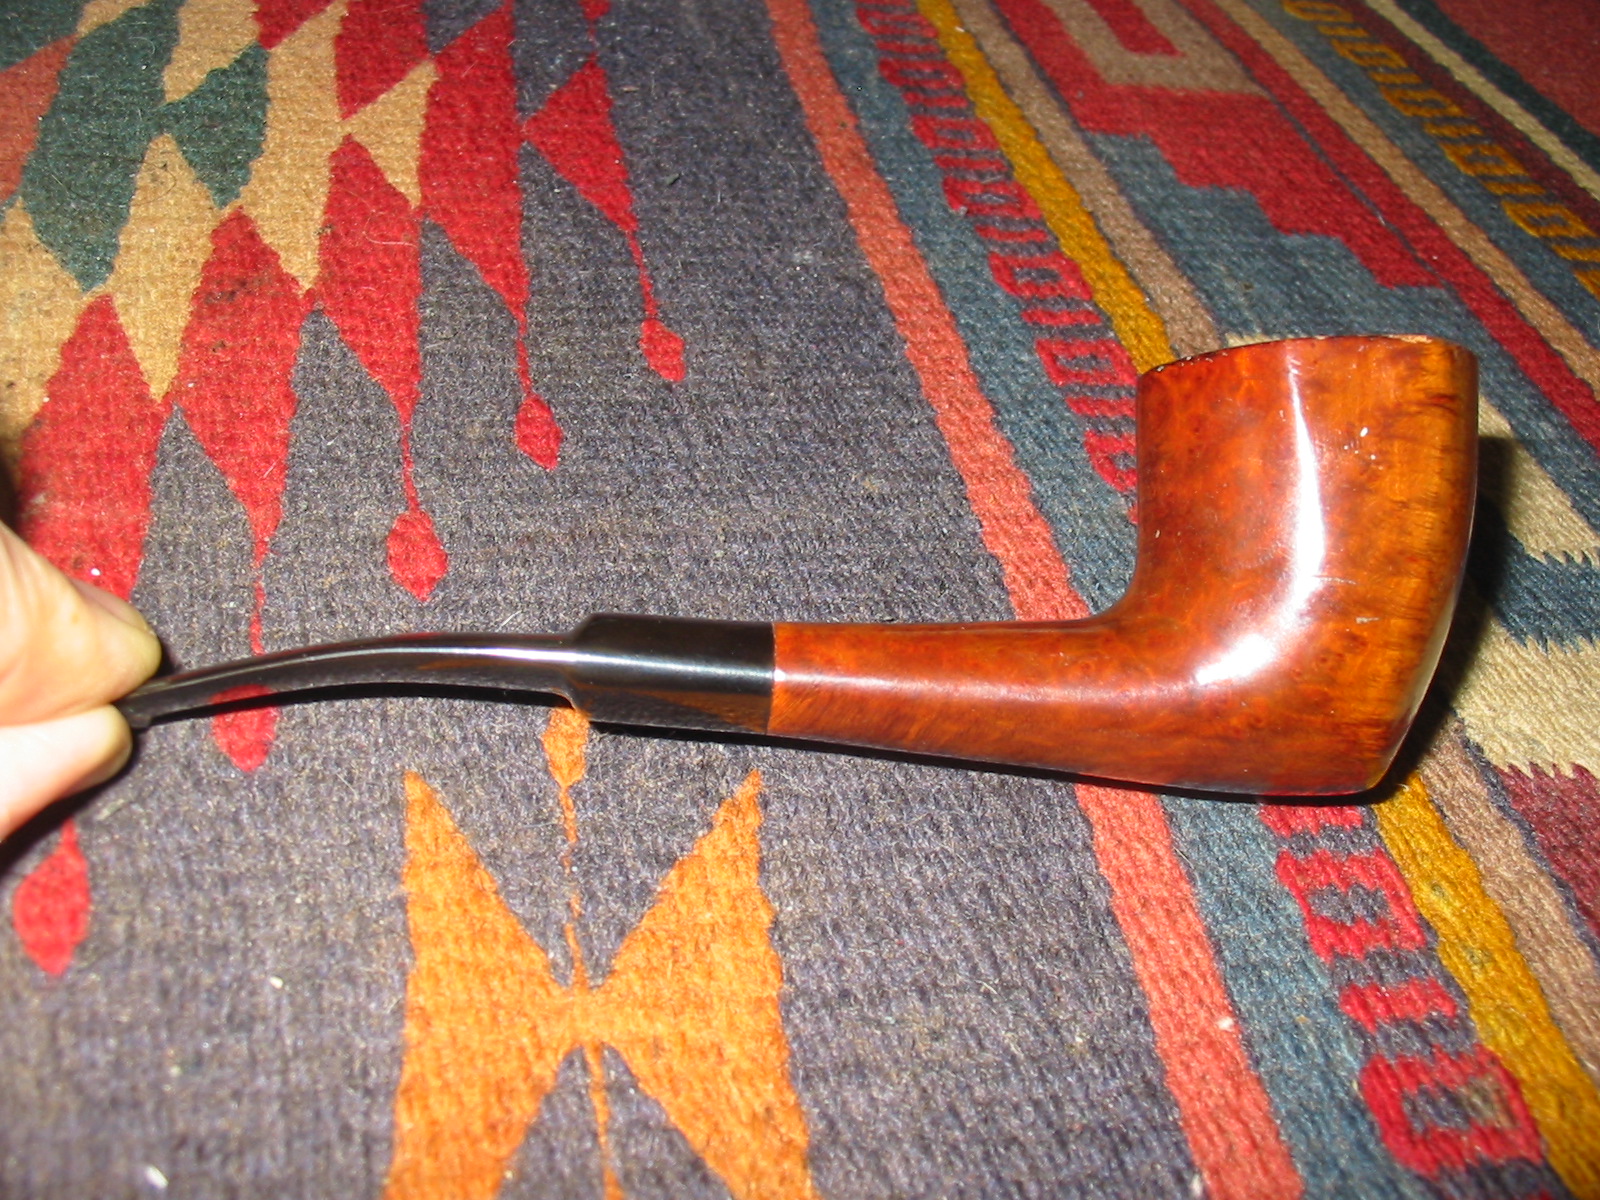
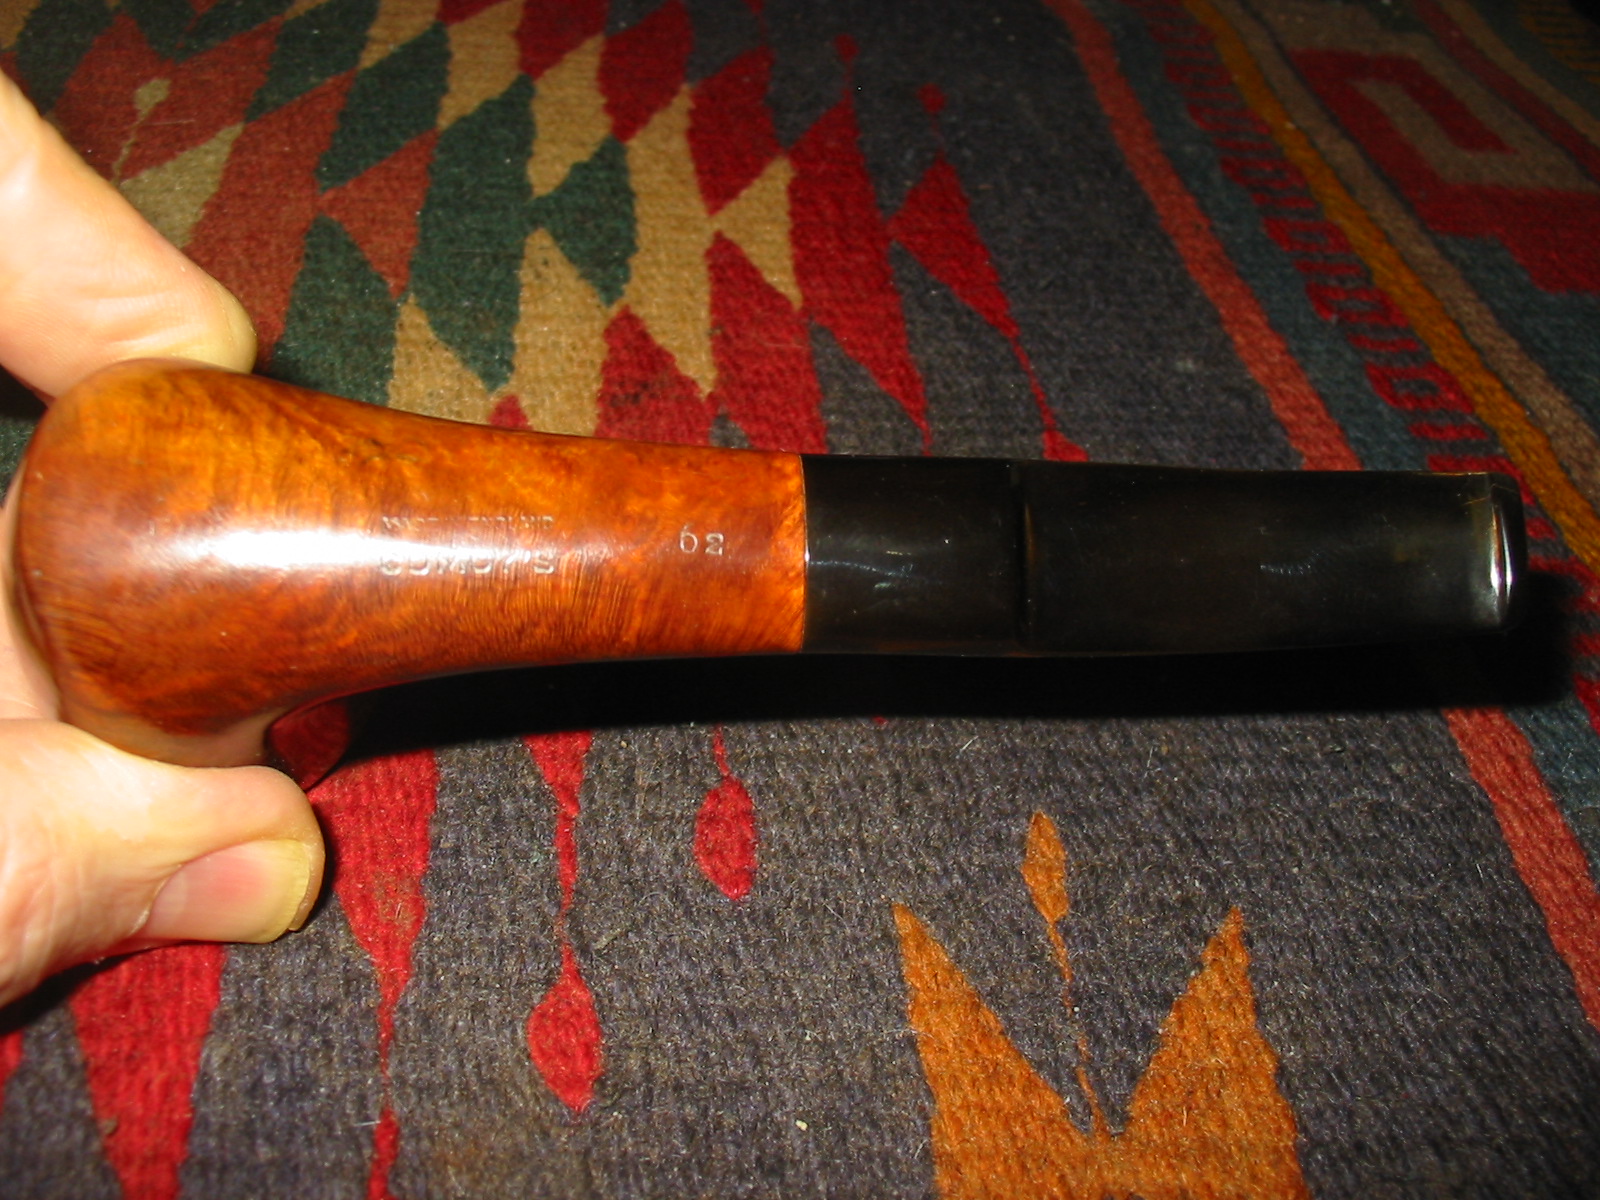
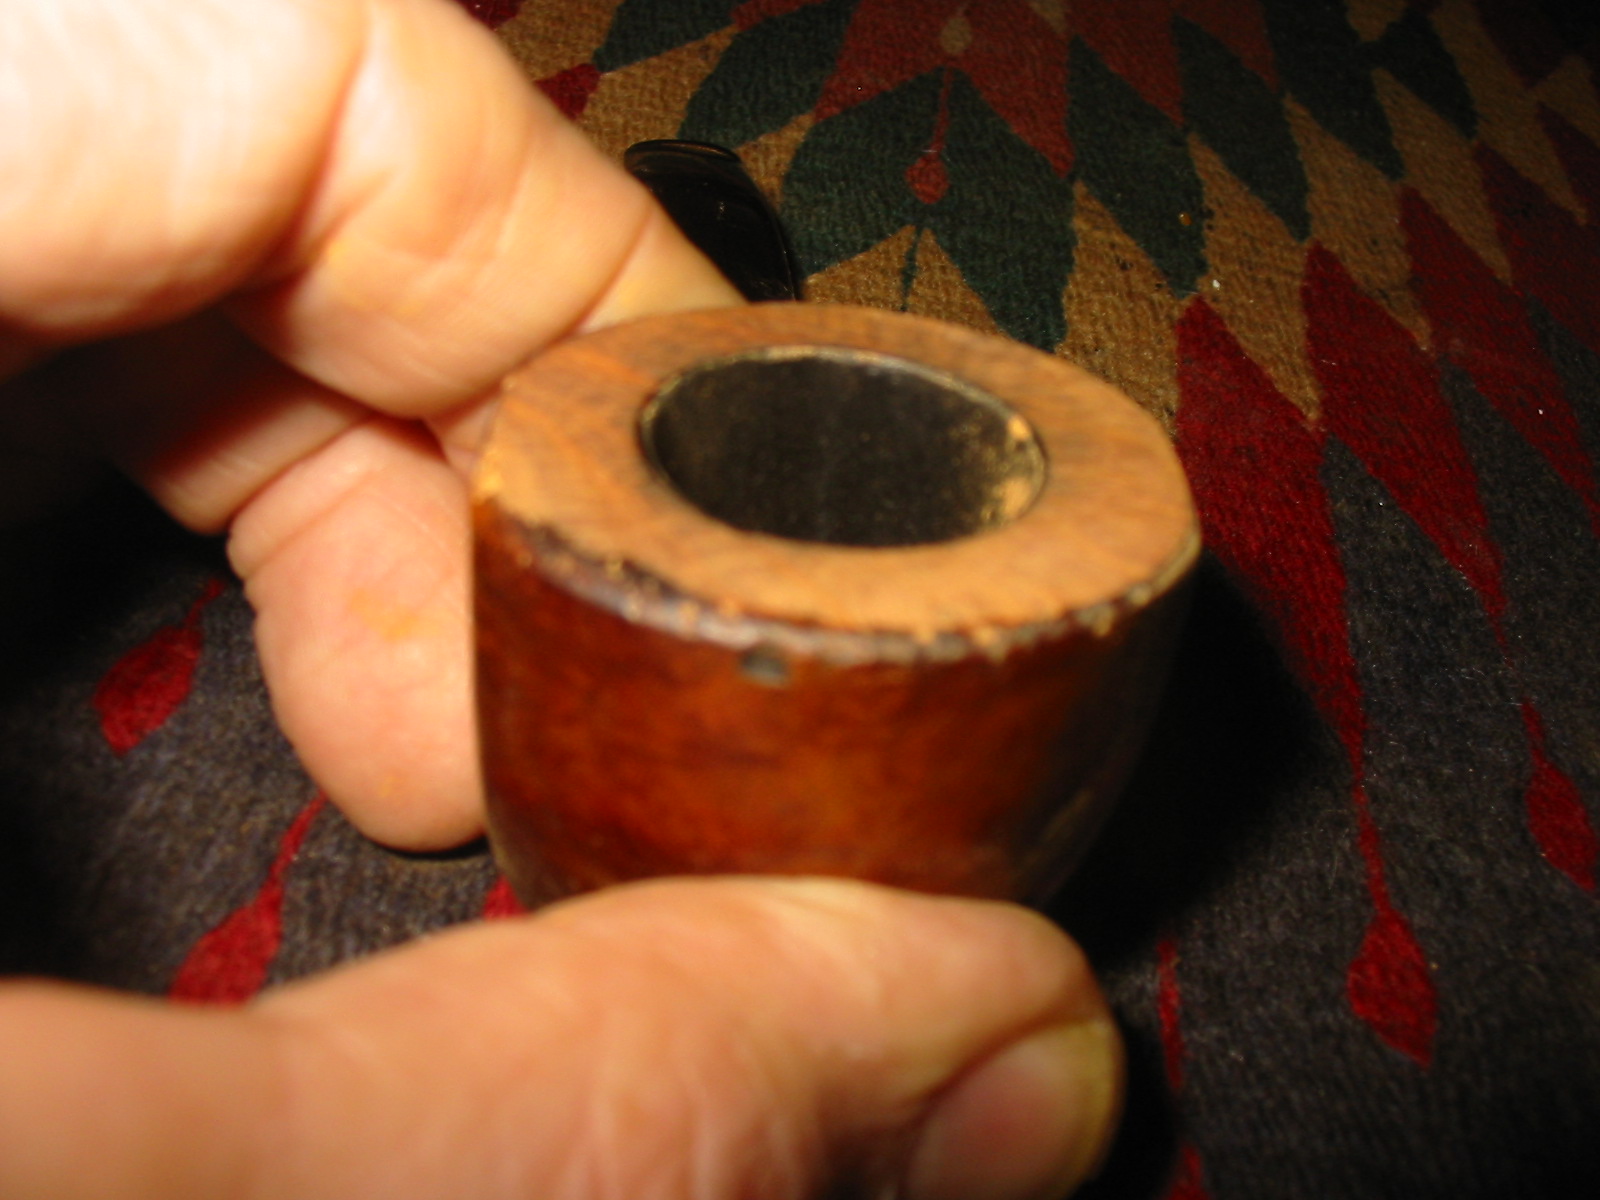
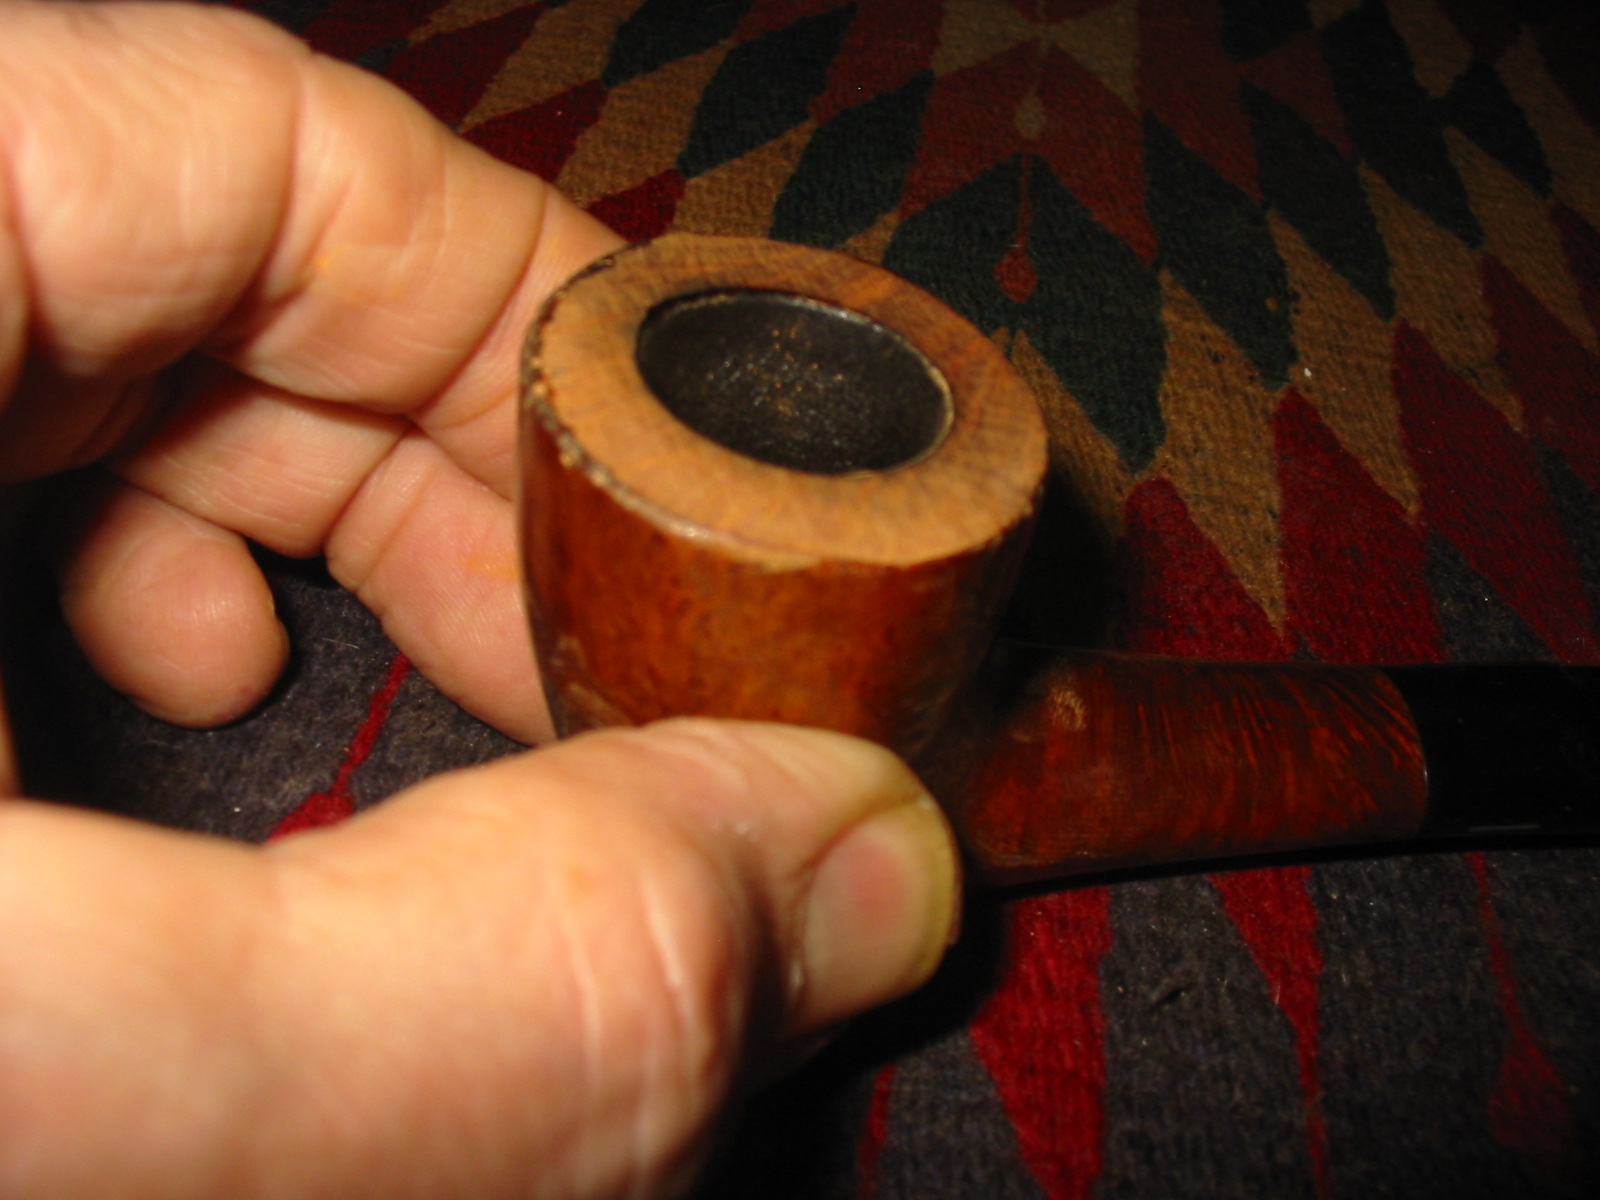
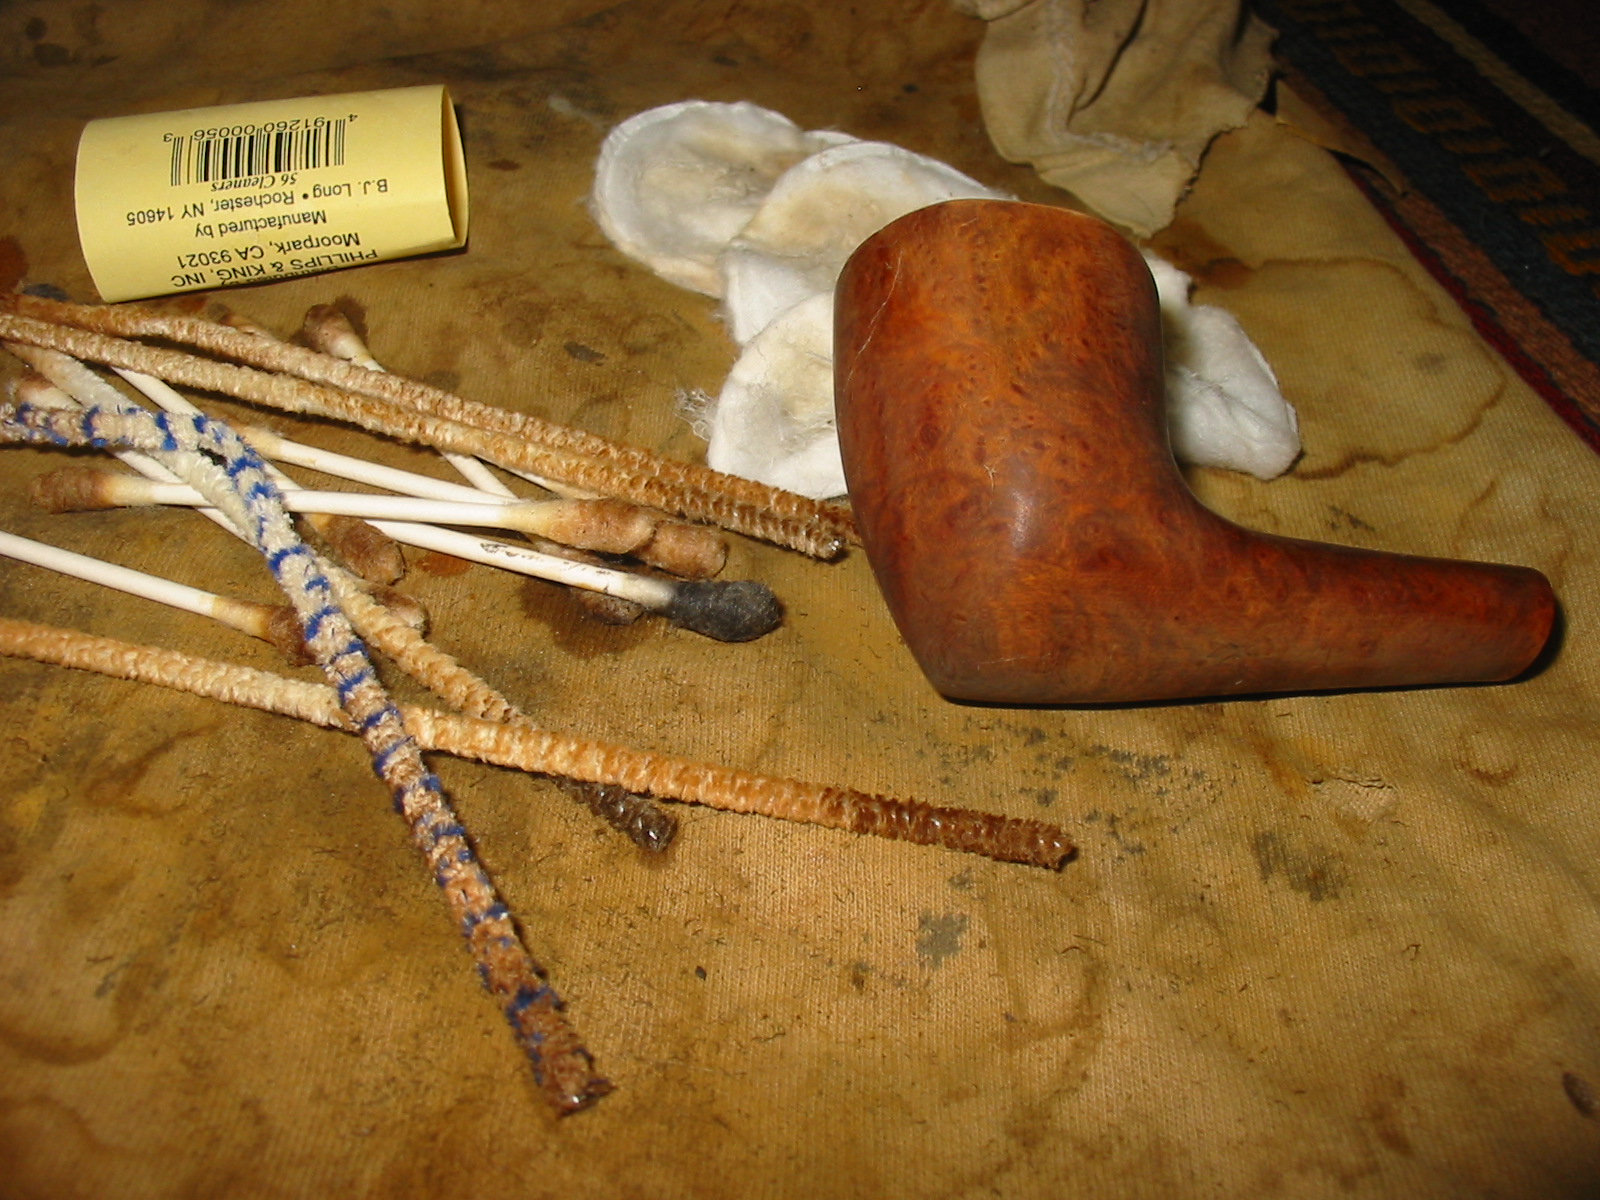
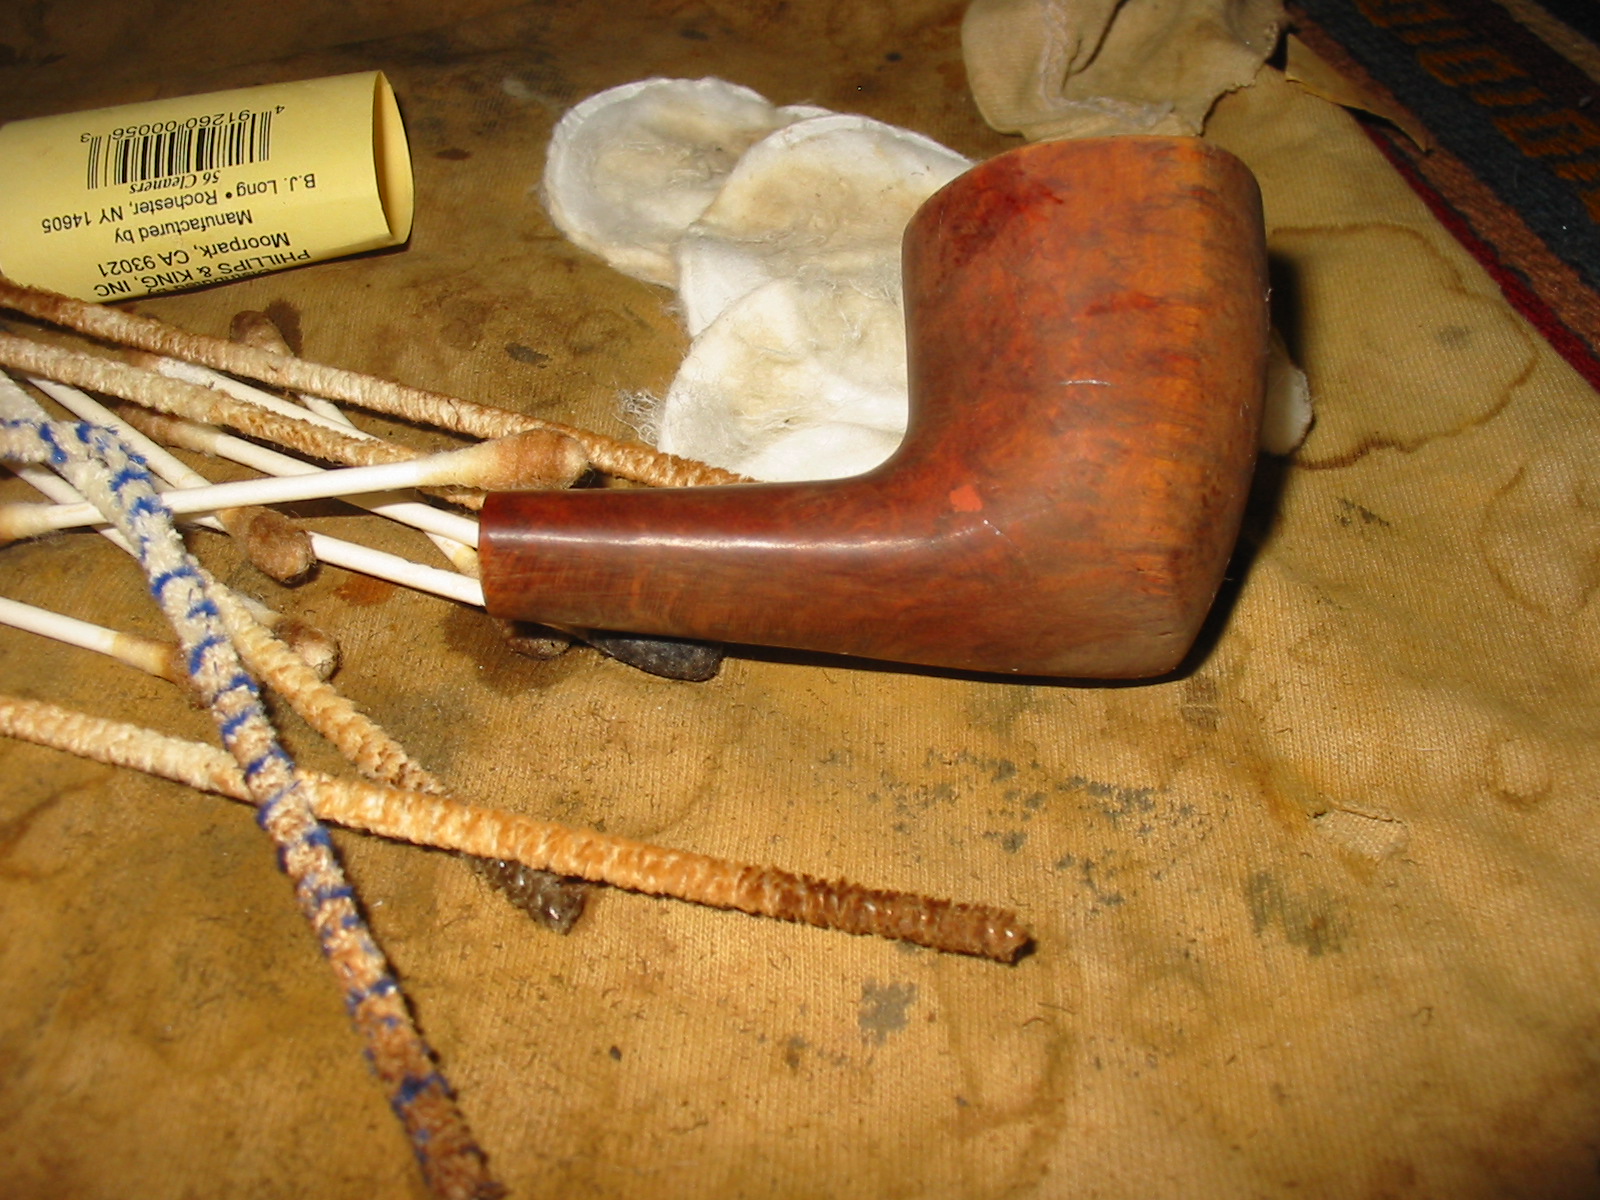
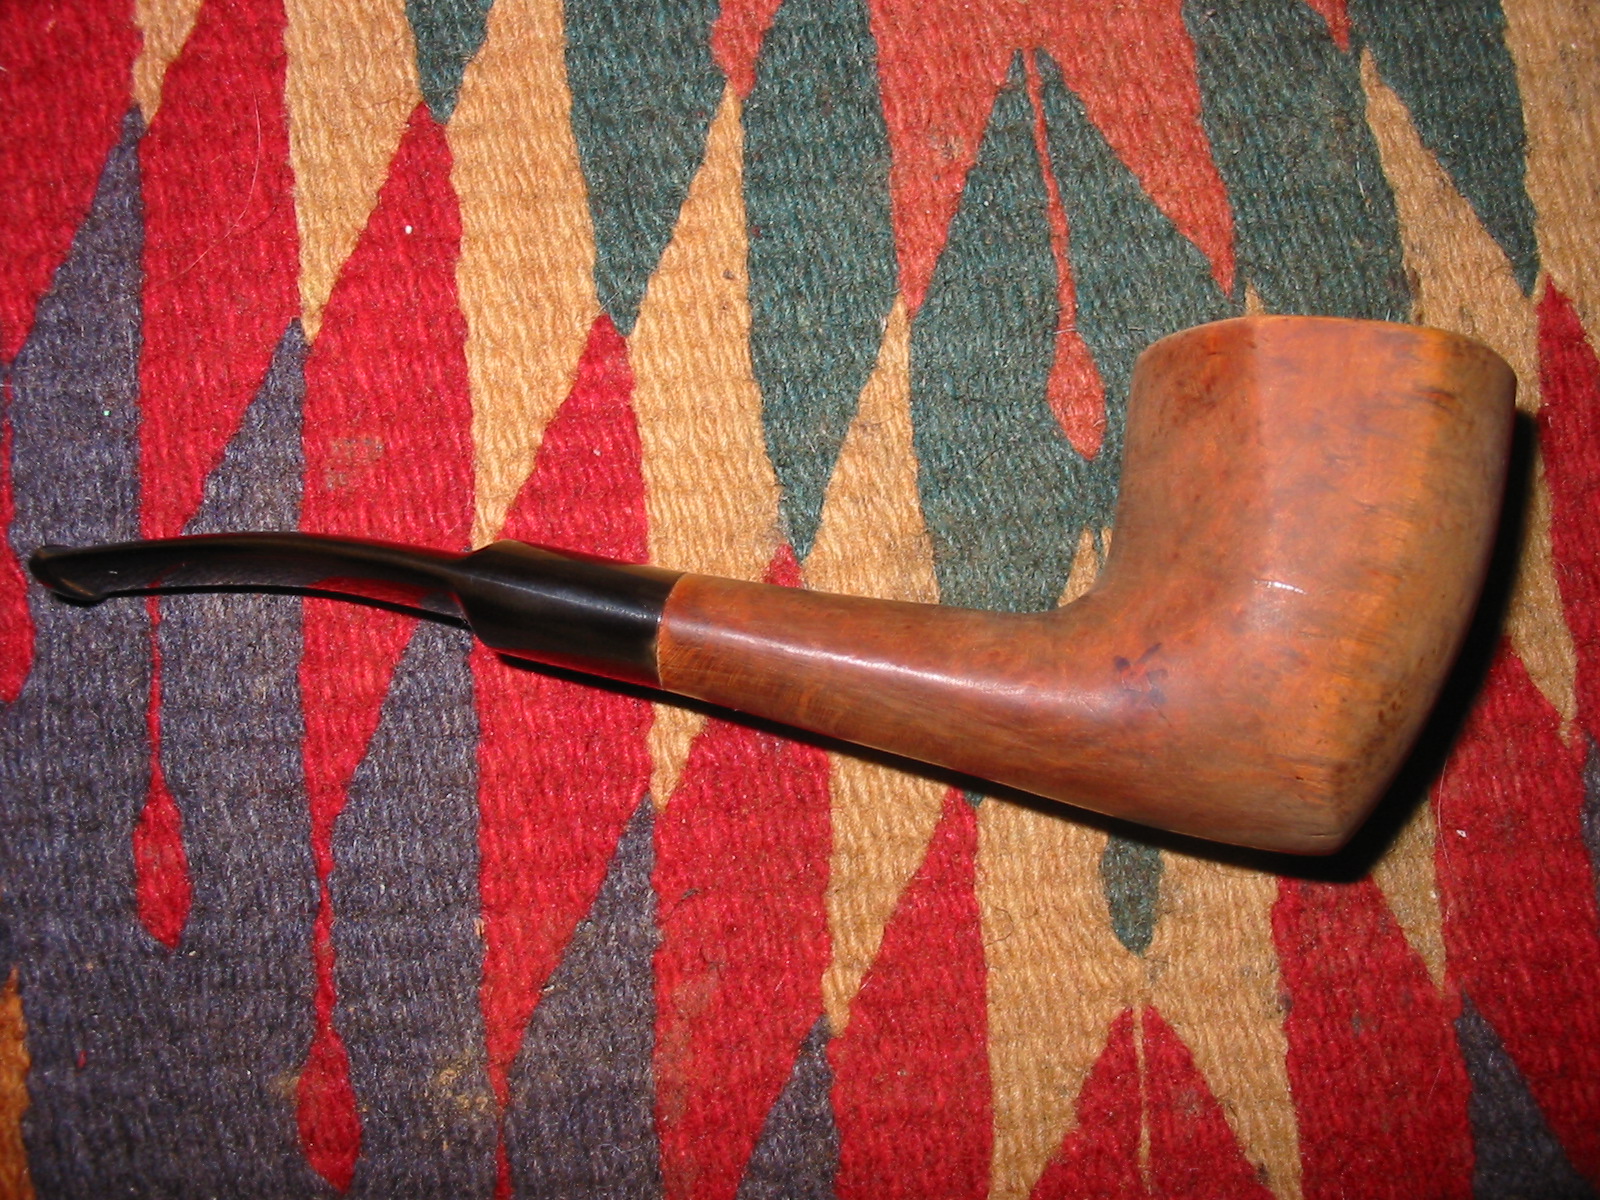
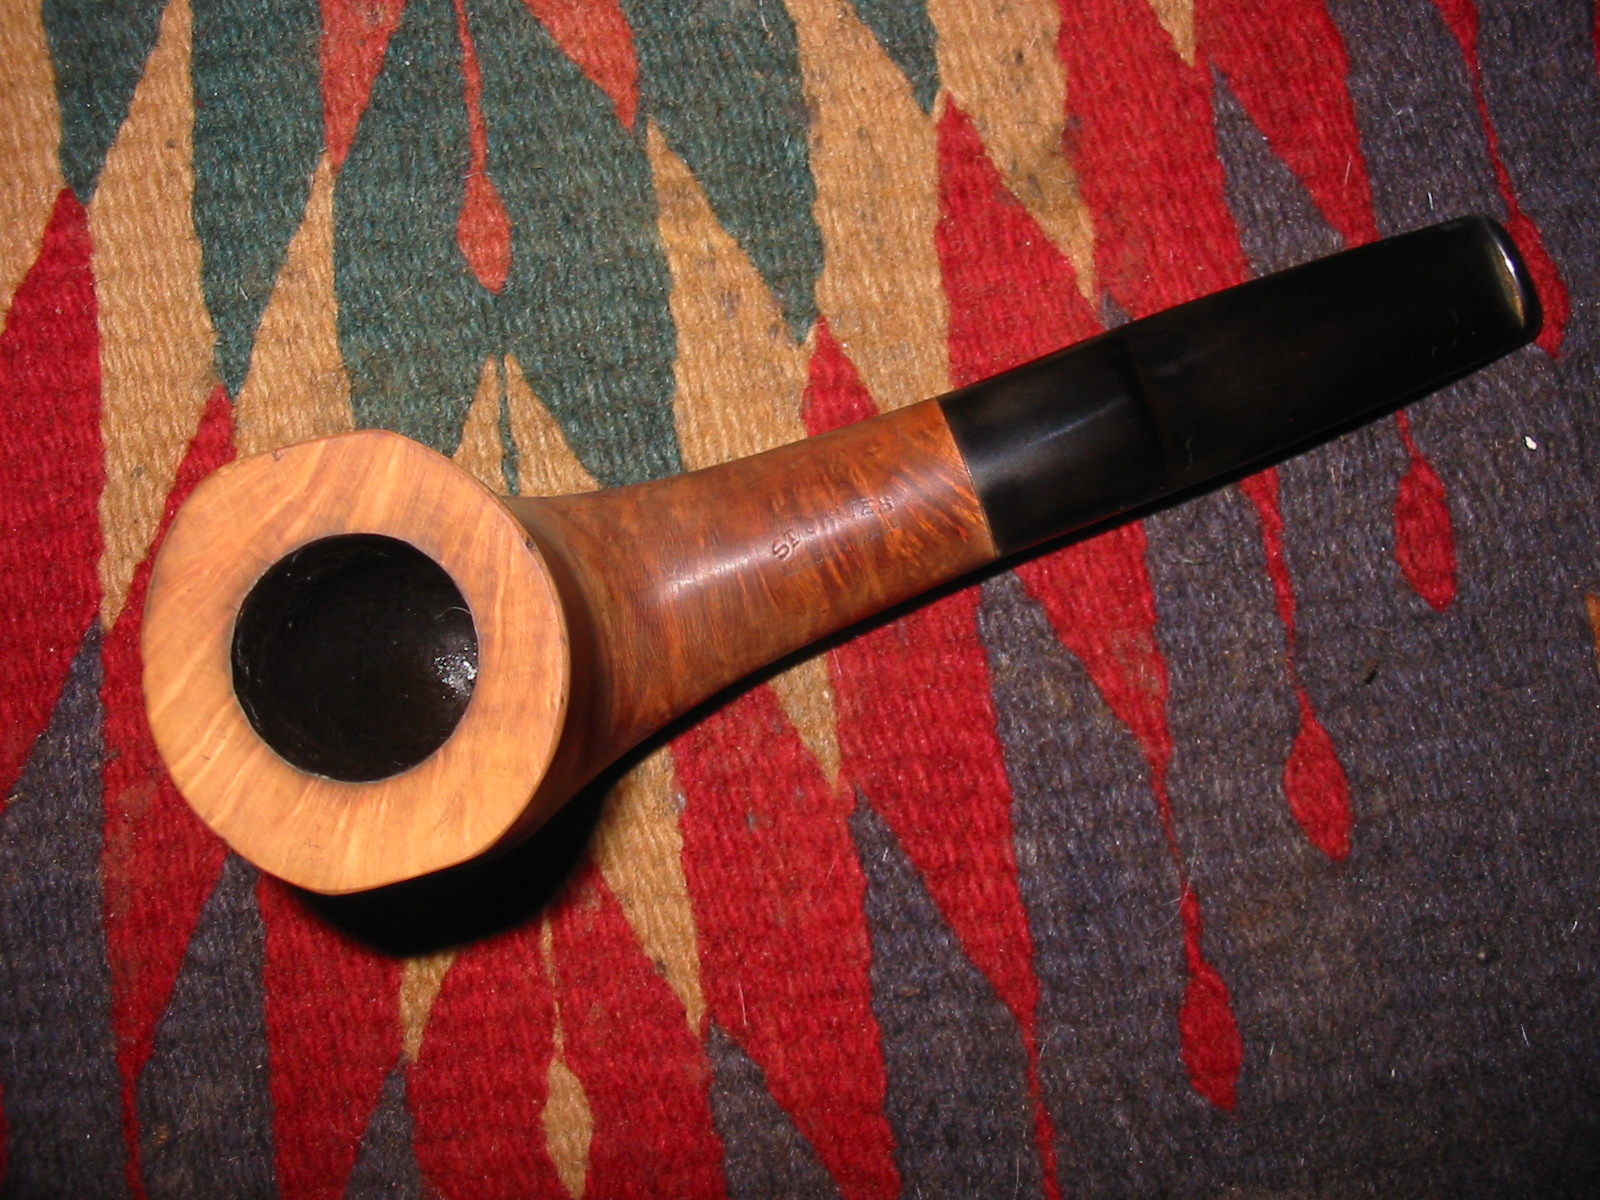
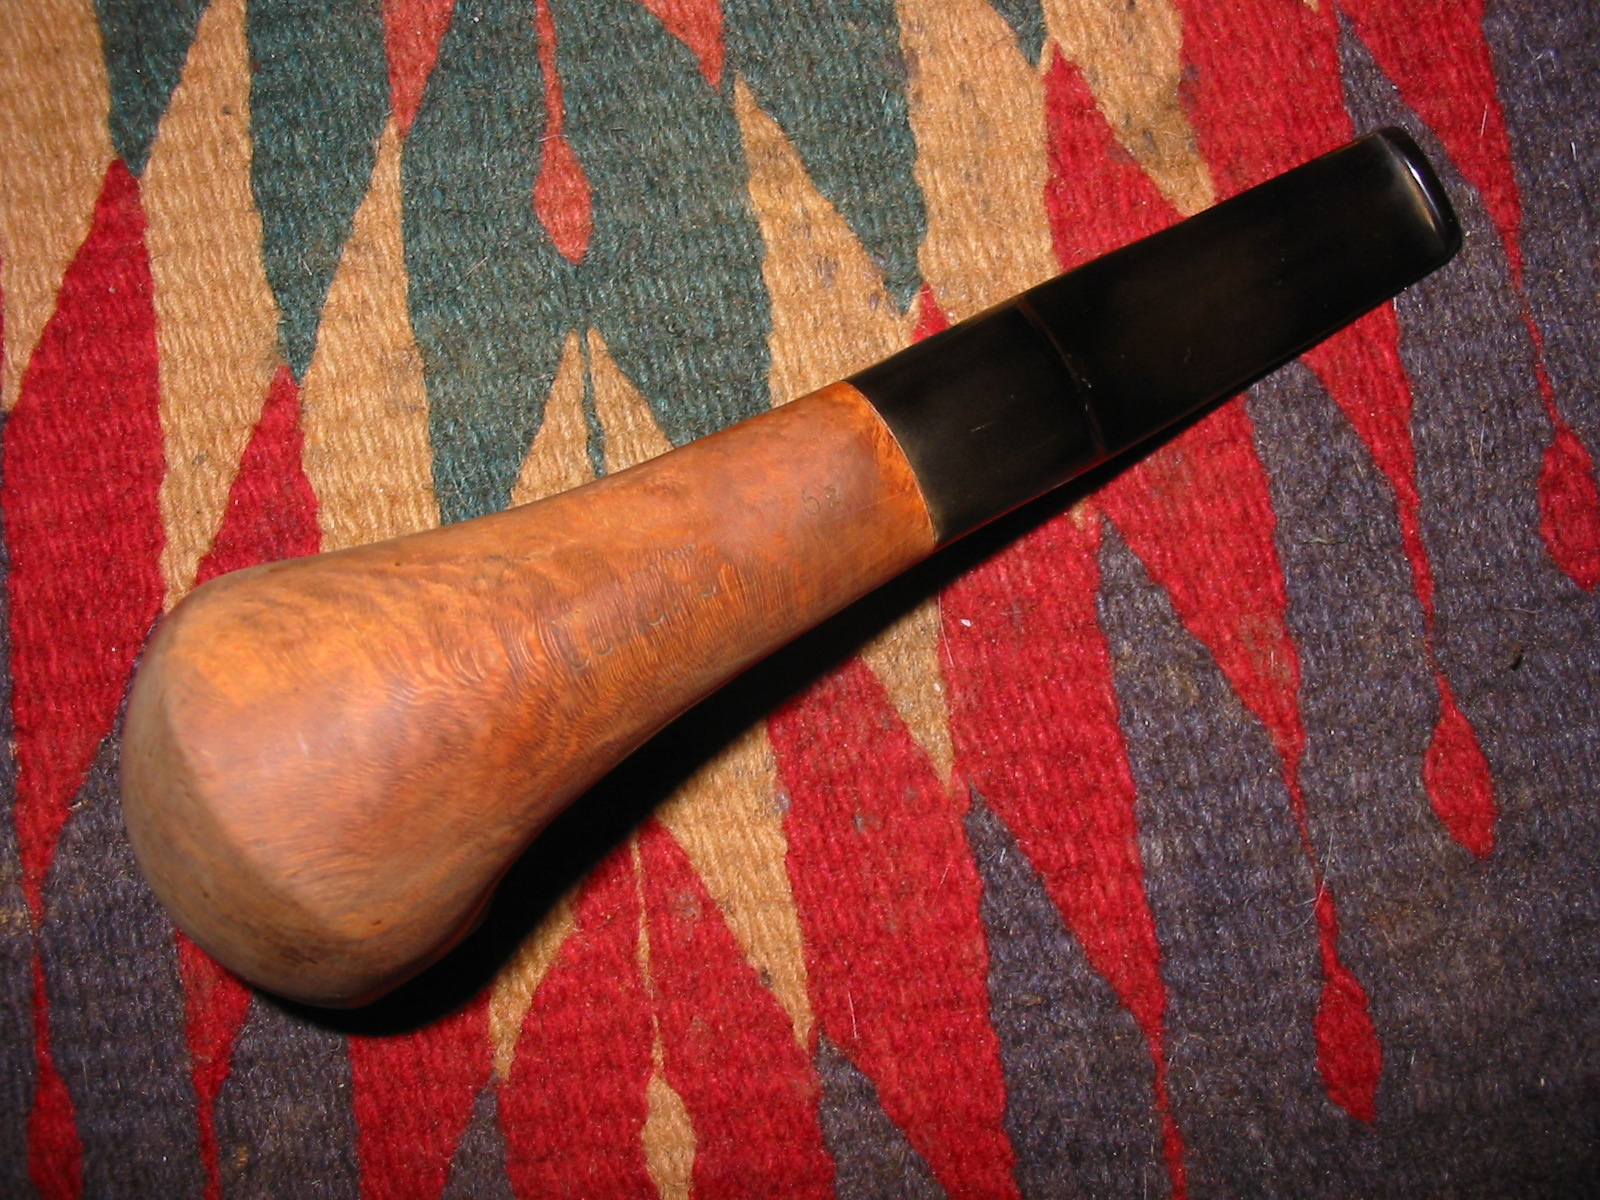
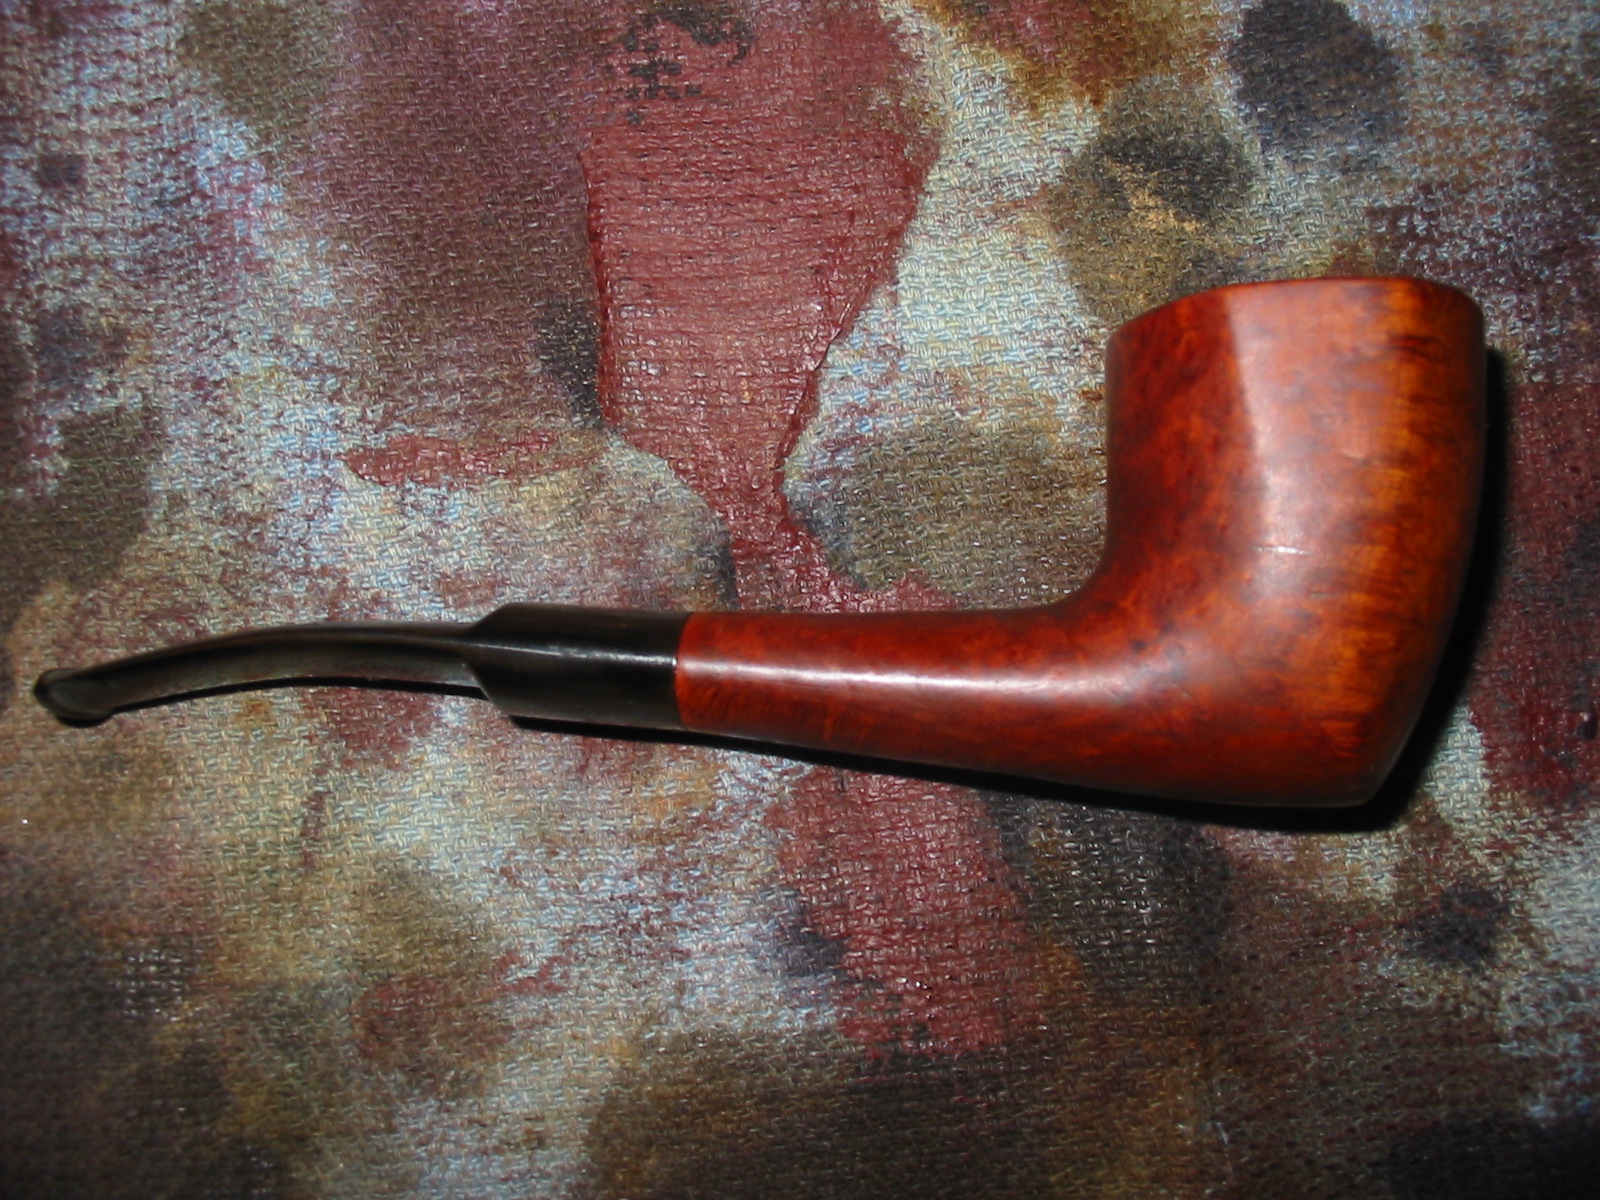
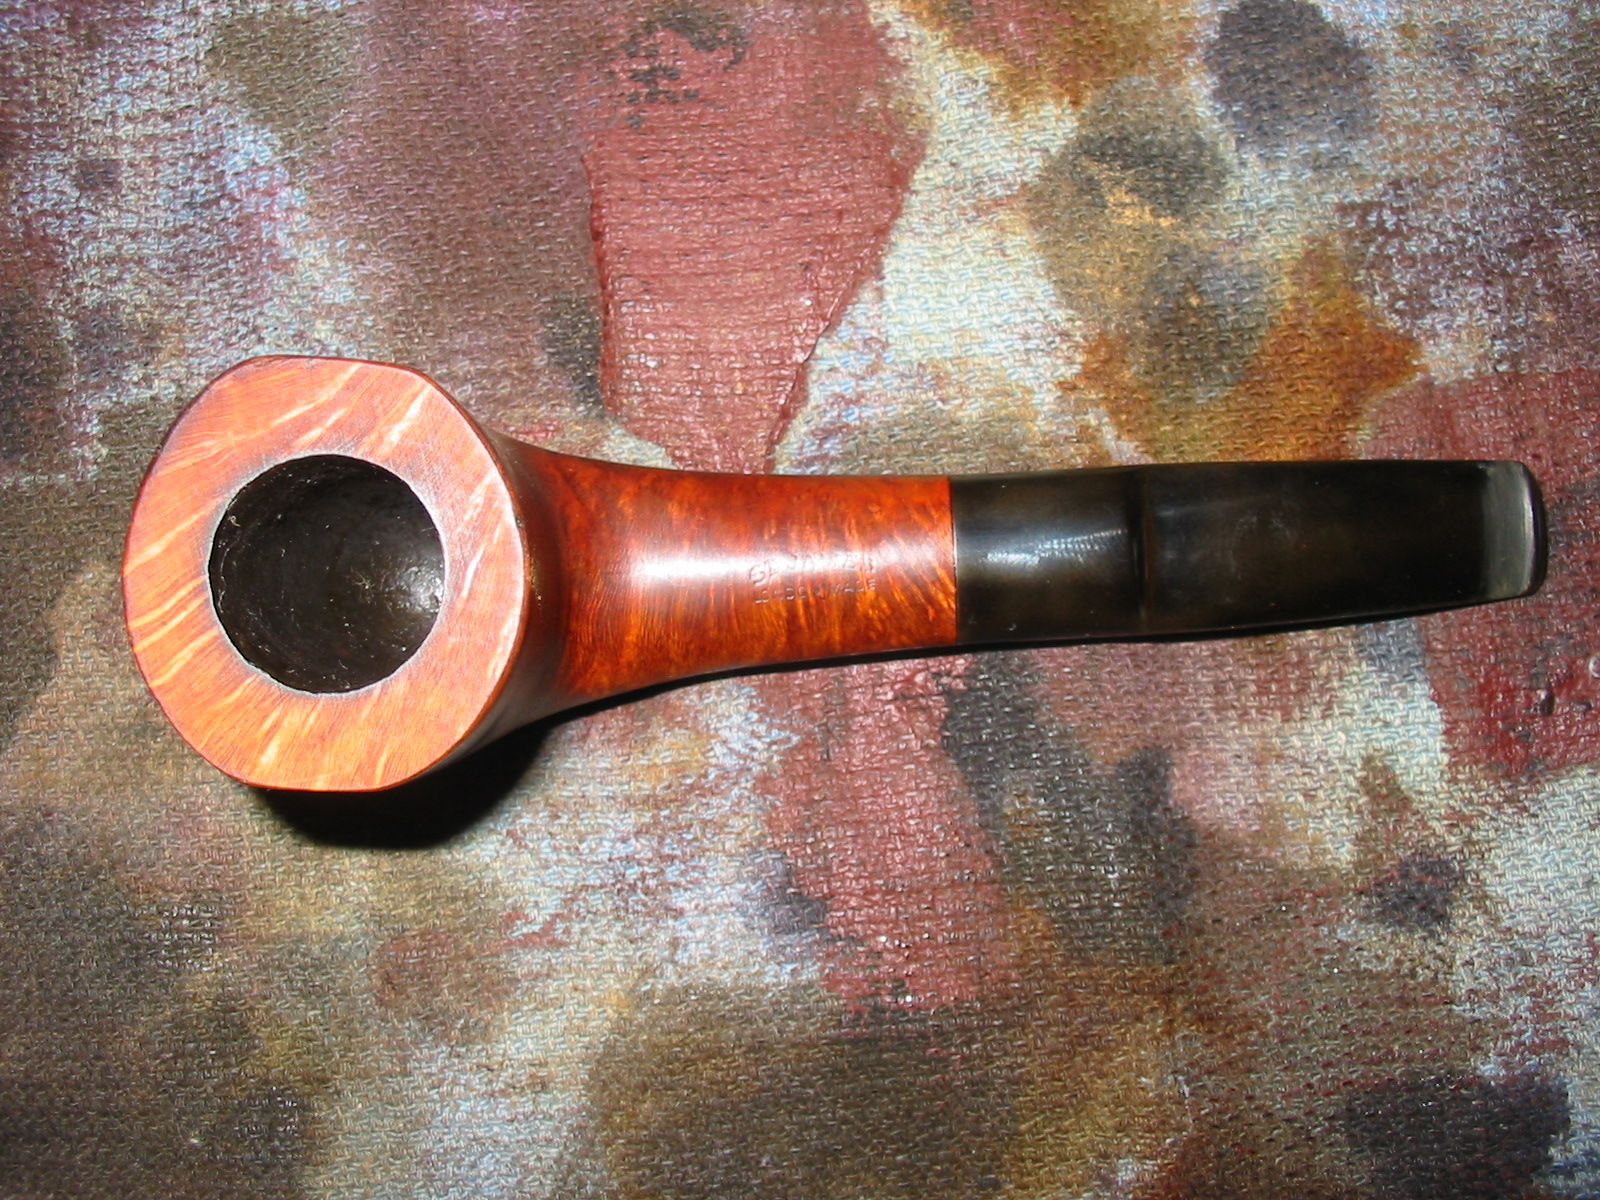
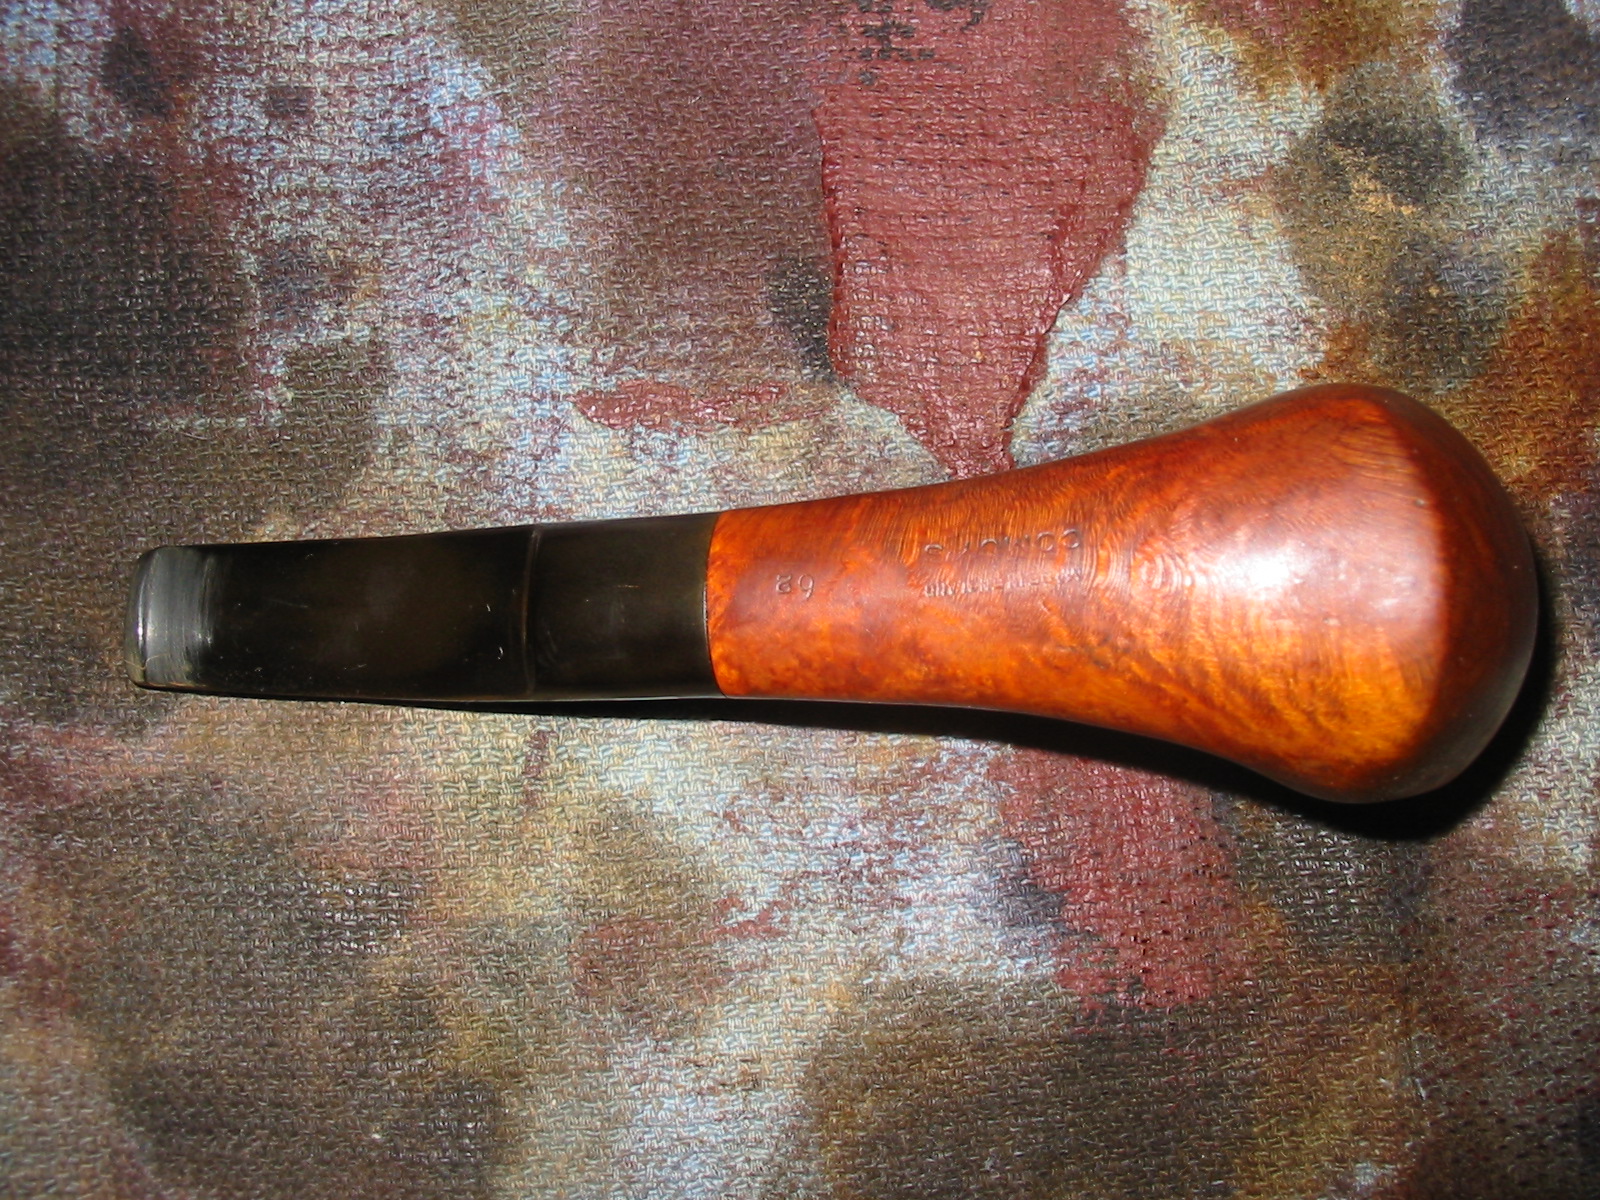
This oddly shaped Comoy’s came to me in a lot that was donated years ago to the Vancouver Pipe Club. It has been sitting for a long time needing a bit of care to bring it back to life before going to the Club to be sold or given away. It is stamped on the top of the shank, St. James in an arc over London Made in a straight line. On the underside of the shank it is stamped Made in England by Comoy’s followed by 62. The finish was rough on this one; the top of the rim had been beaten against something hard and had damaged the outer edge to the point that it was no longer sharp. The inner edge of the rim was not too bad but the bowl had been coated with a black rubbery bowl coating that was grim. There was one rather large fill on the right side of the bowl near the shank/bowl junction. The stem had some oxidation next to the button and some small tooth chatter there as well. The stem also had one silver bar inset in the vulcanite on the left side. It is not a logo that I have come to associate with Comoy’s but rather with Savinelli. I am not certain the stem is original. Perhaps someone here can shed some light on the stem logo and this particular line of Made in England by Comoy’s Pipes.
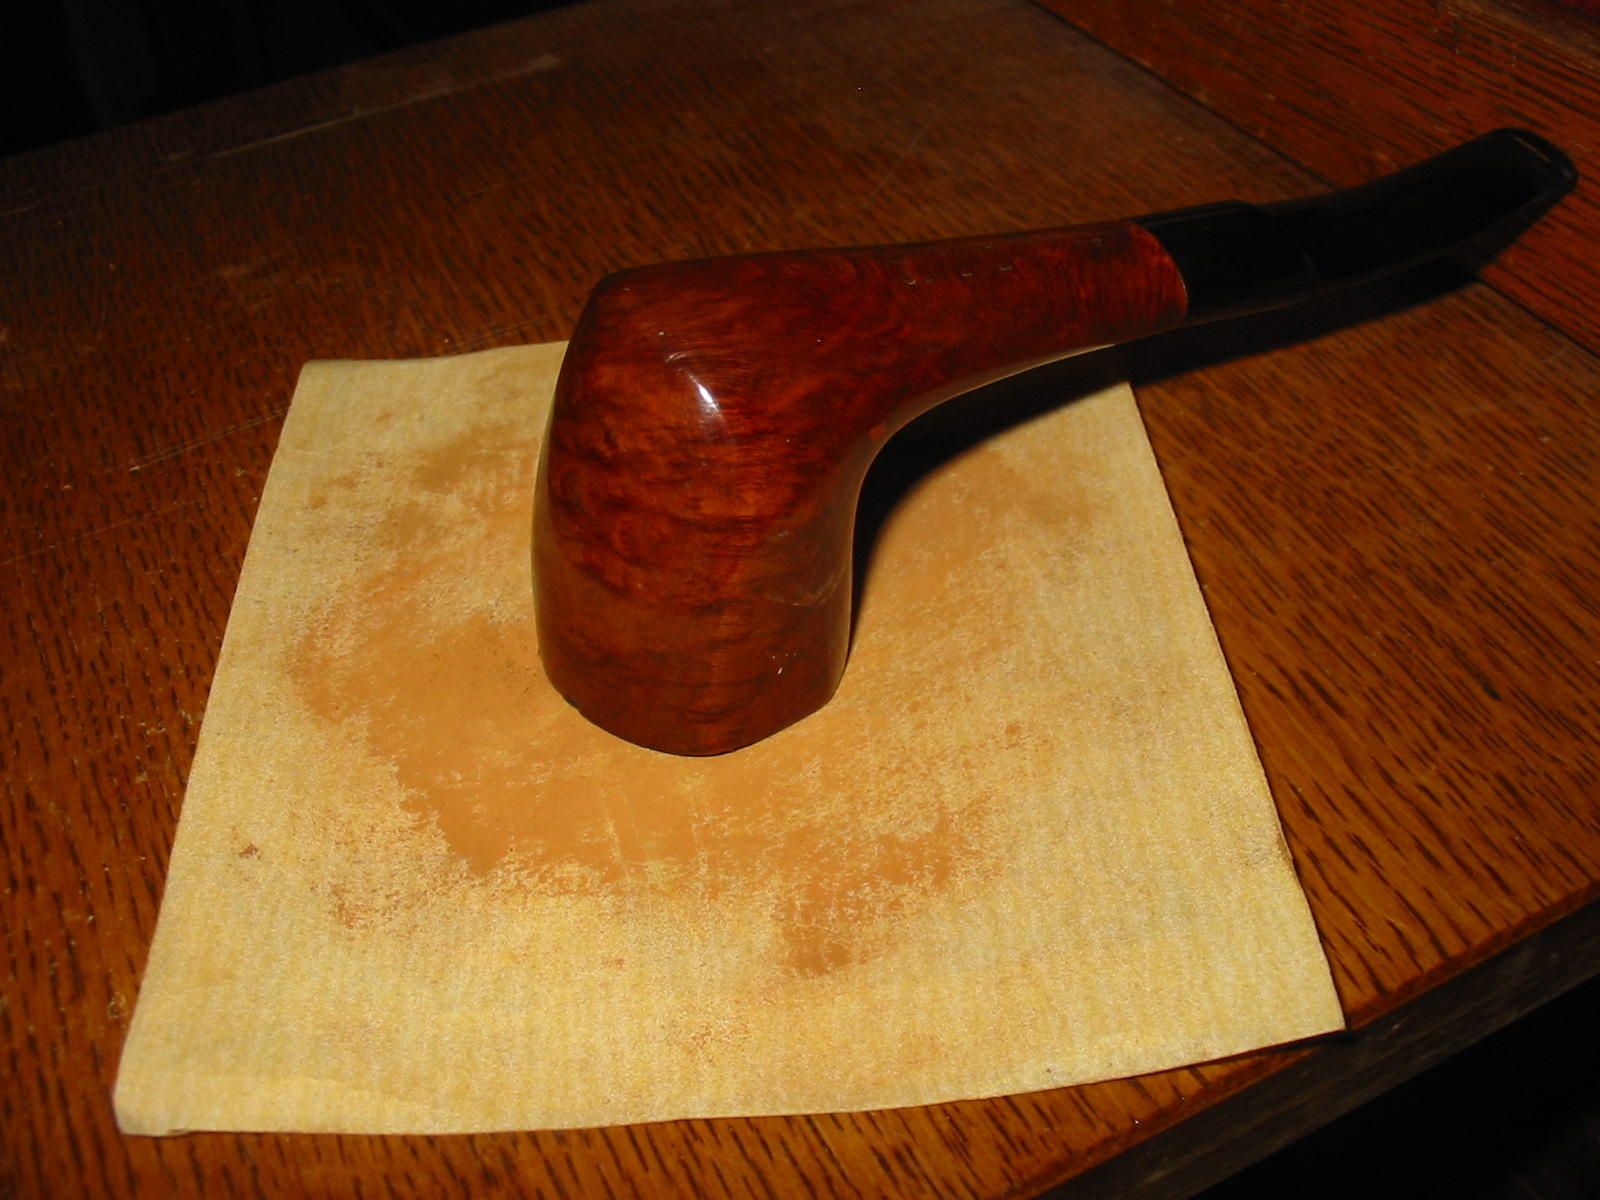
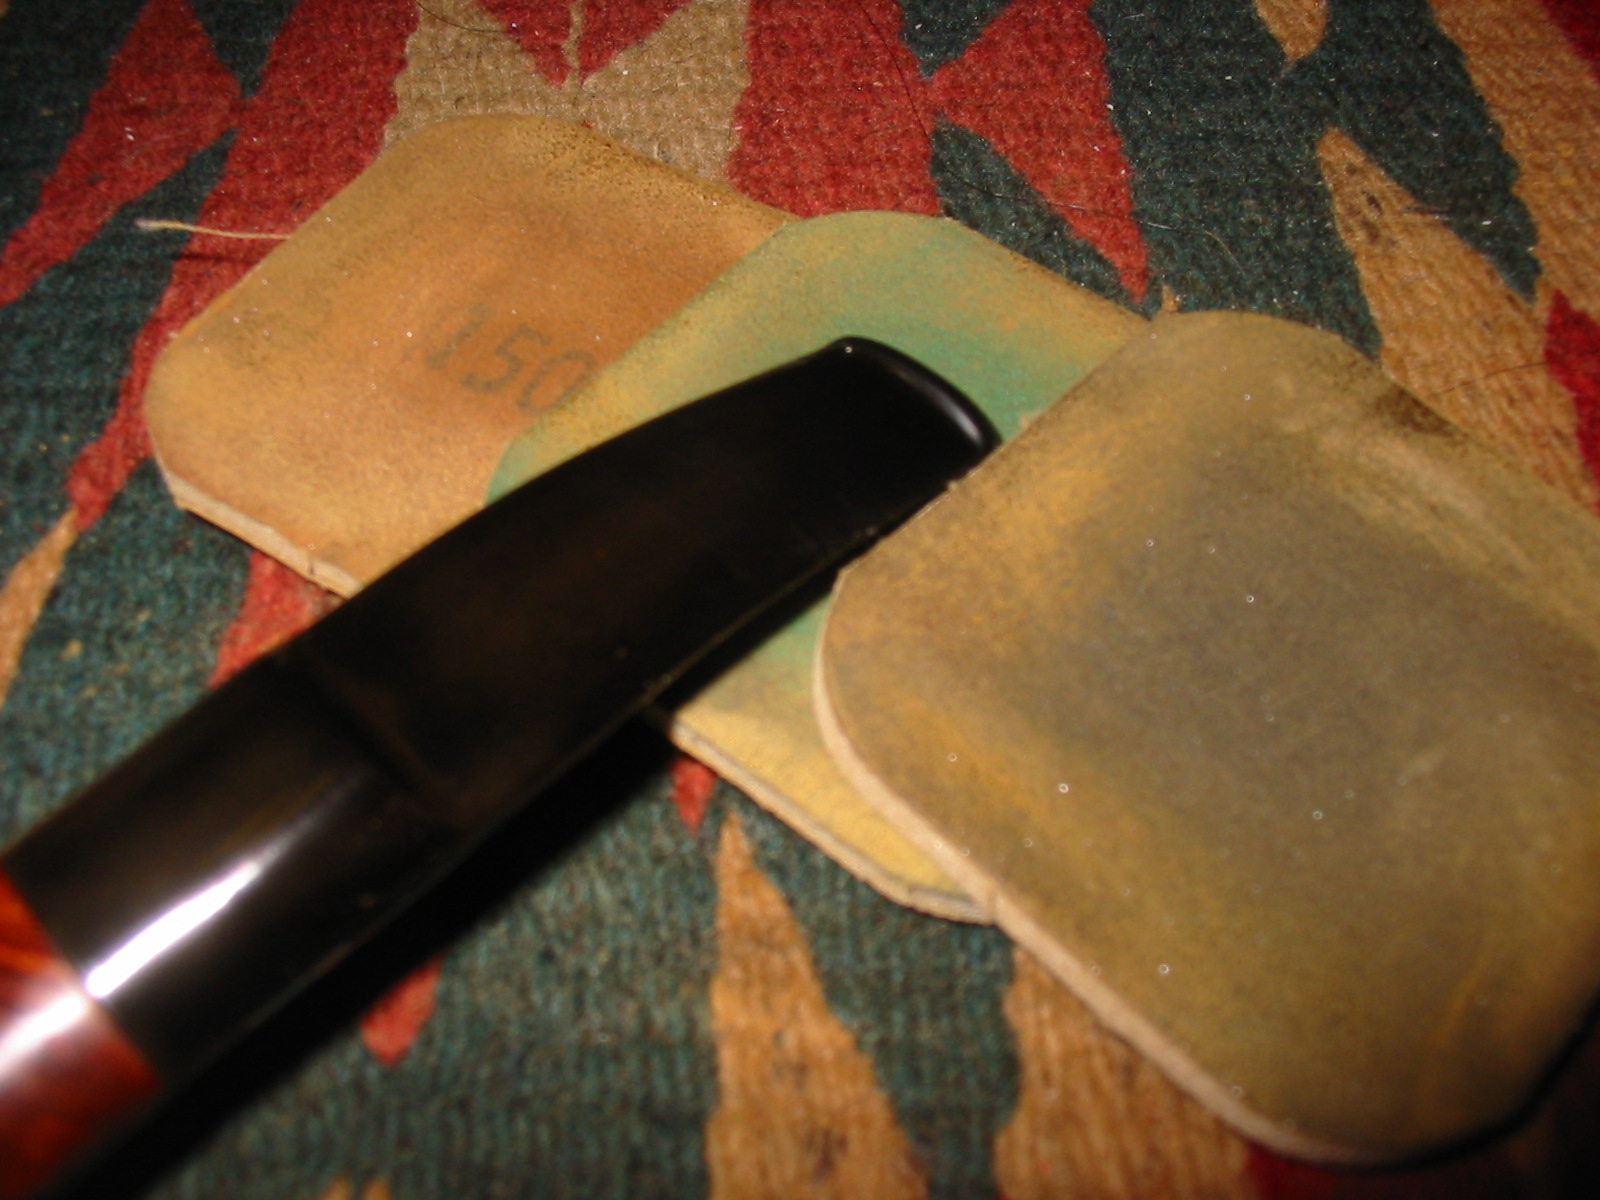
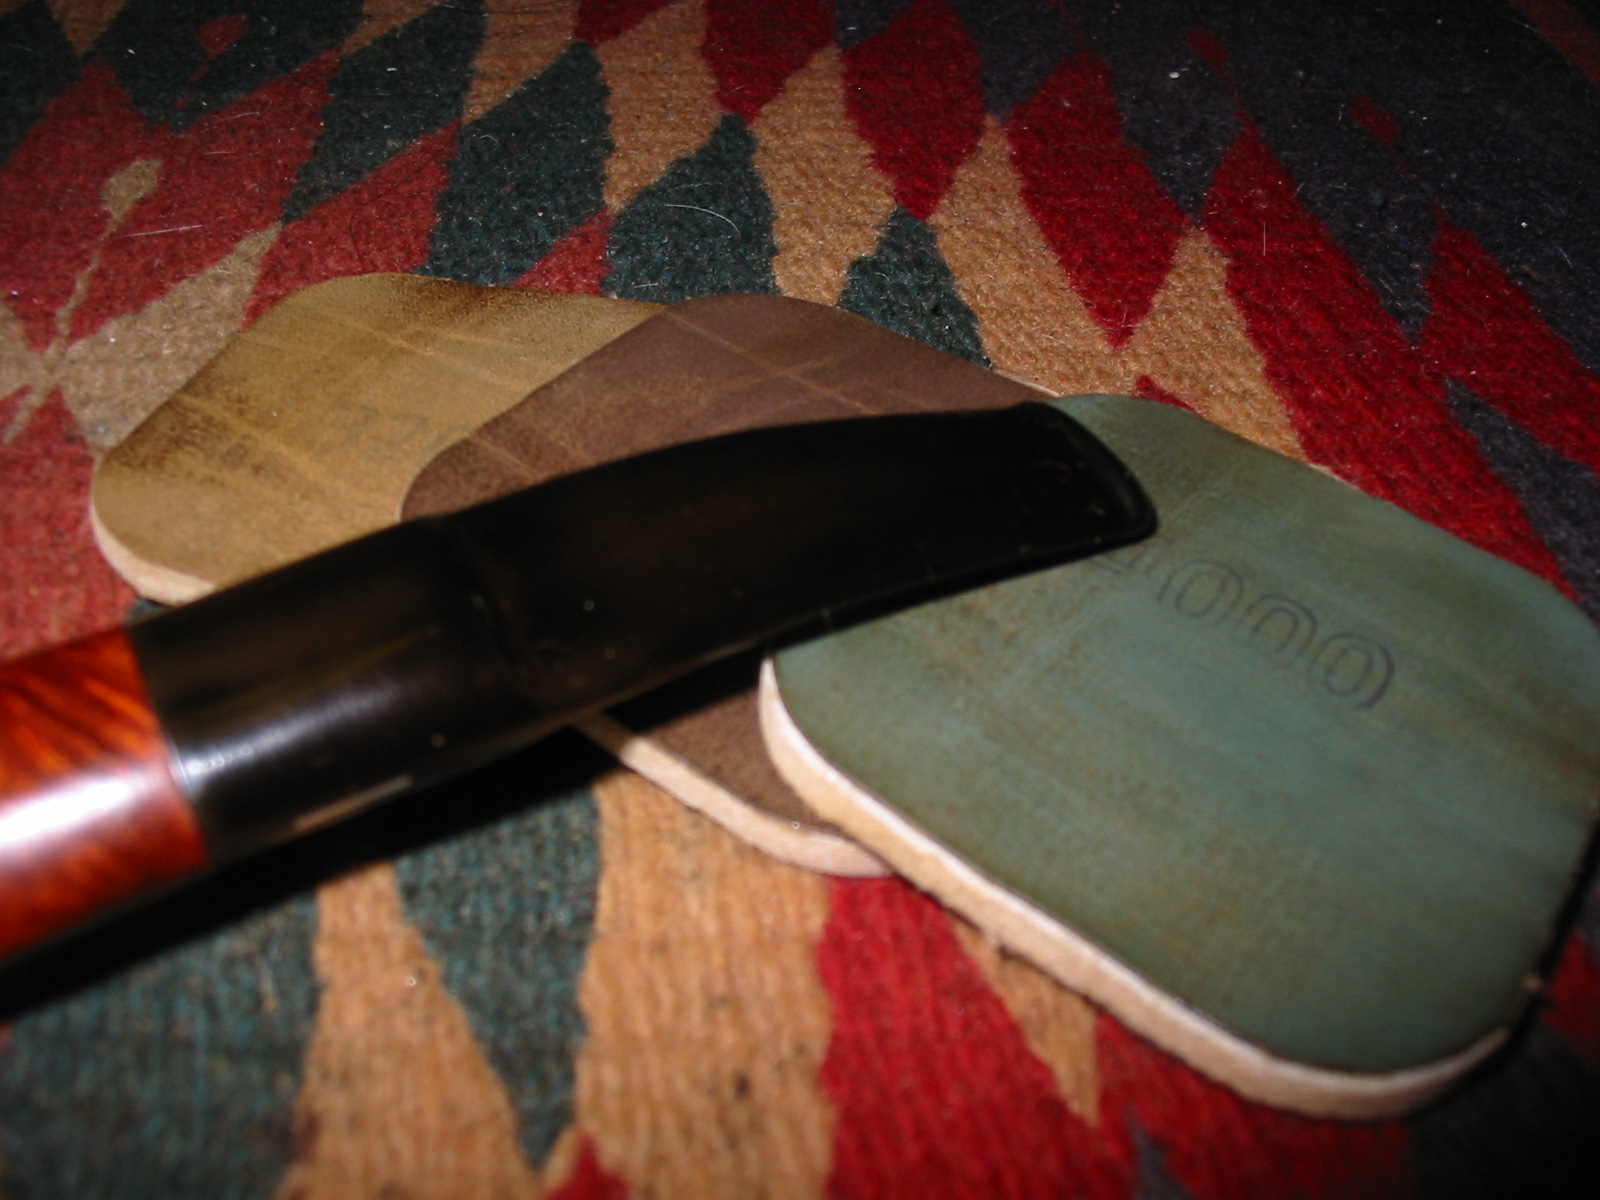
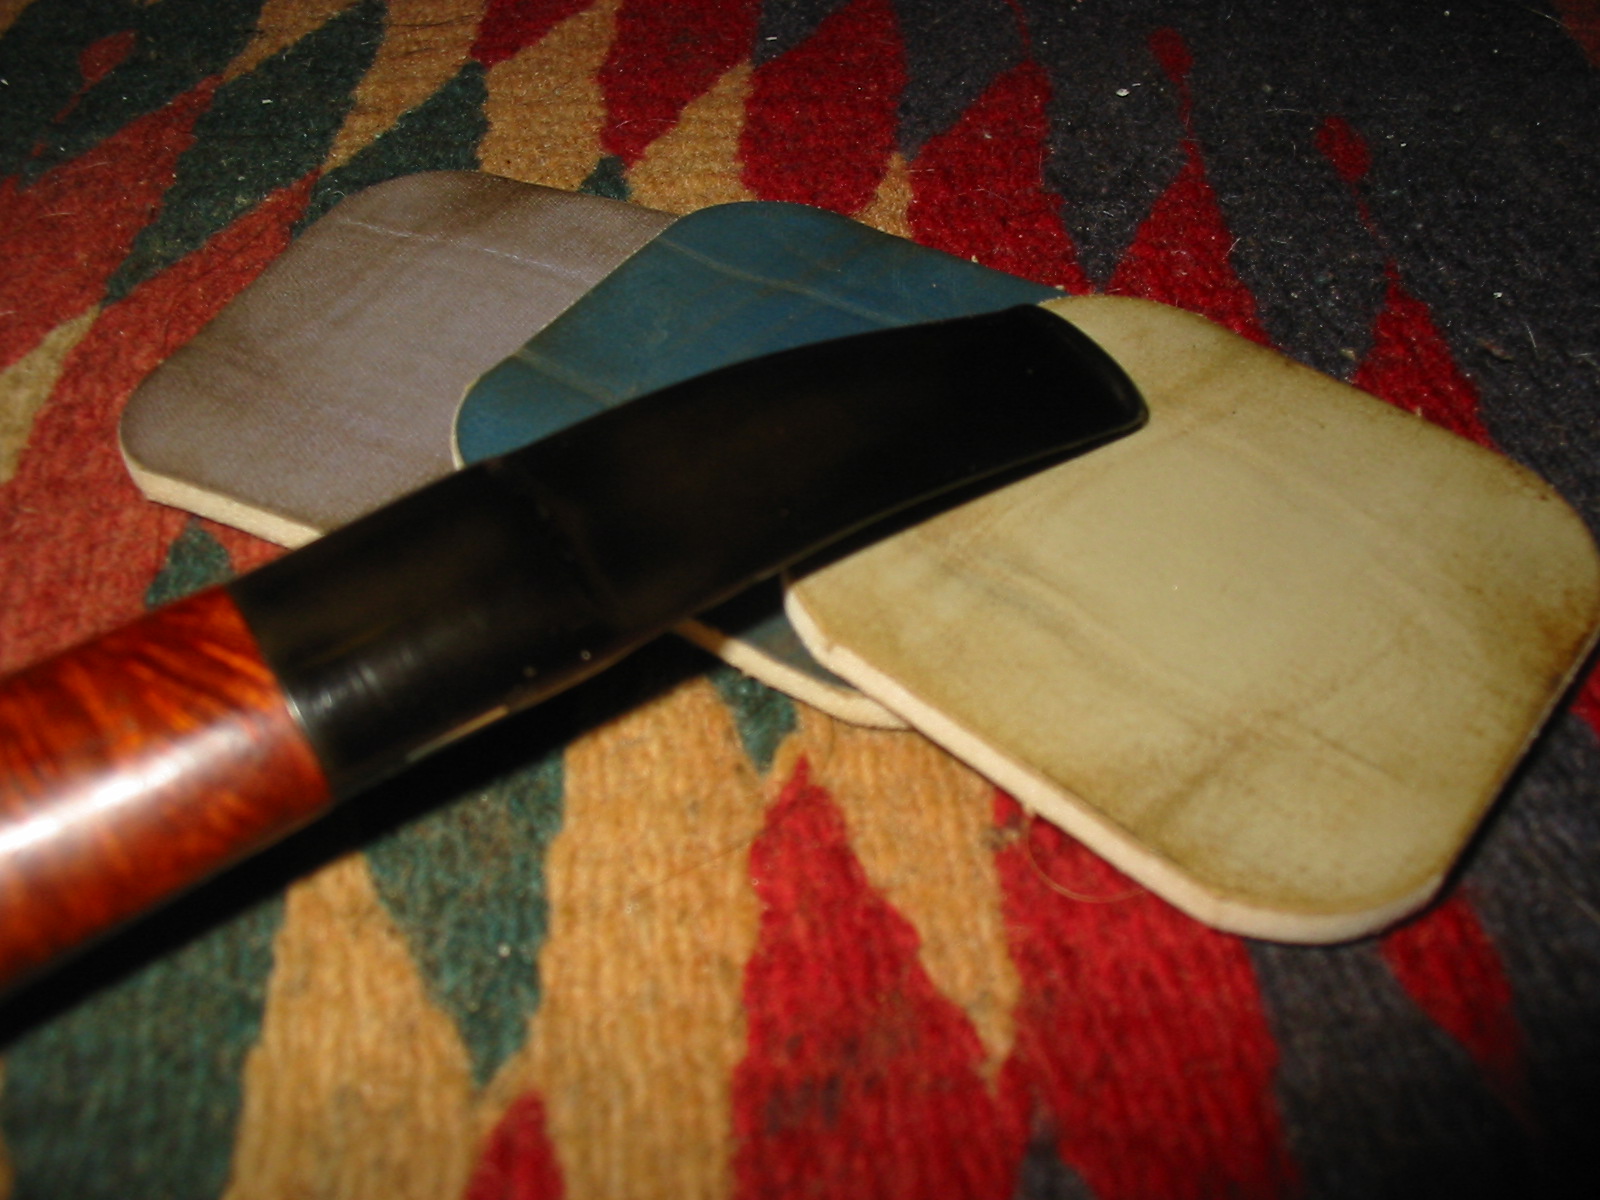
I decided to top the bowl and try to repair the outer rim damage. It was truly a mess. In the next photos you will see the set up for topping and also several photos of the bowl rim as I began to sand it out. The sanding dust stuck to the bowl coating.
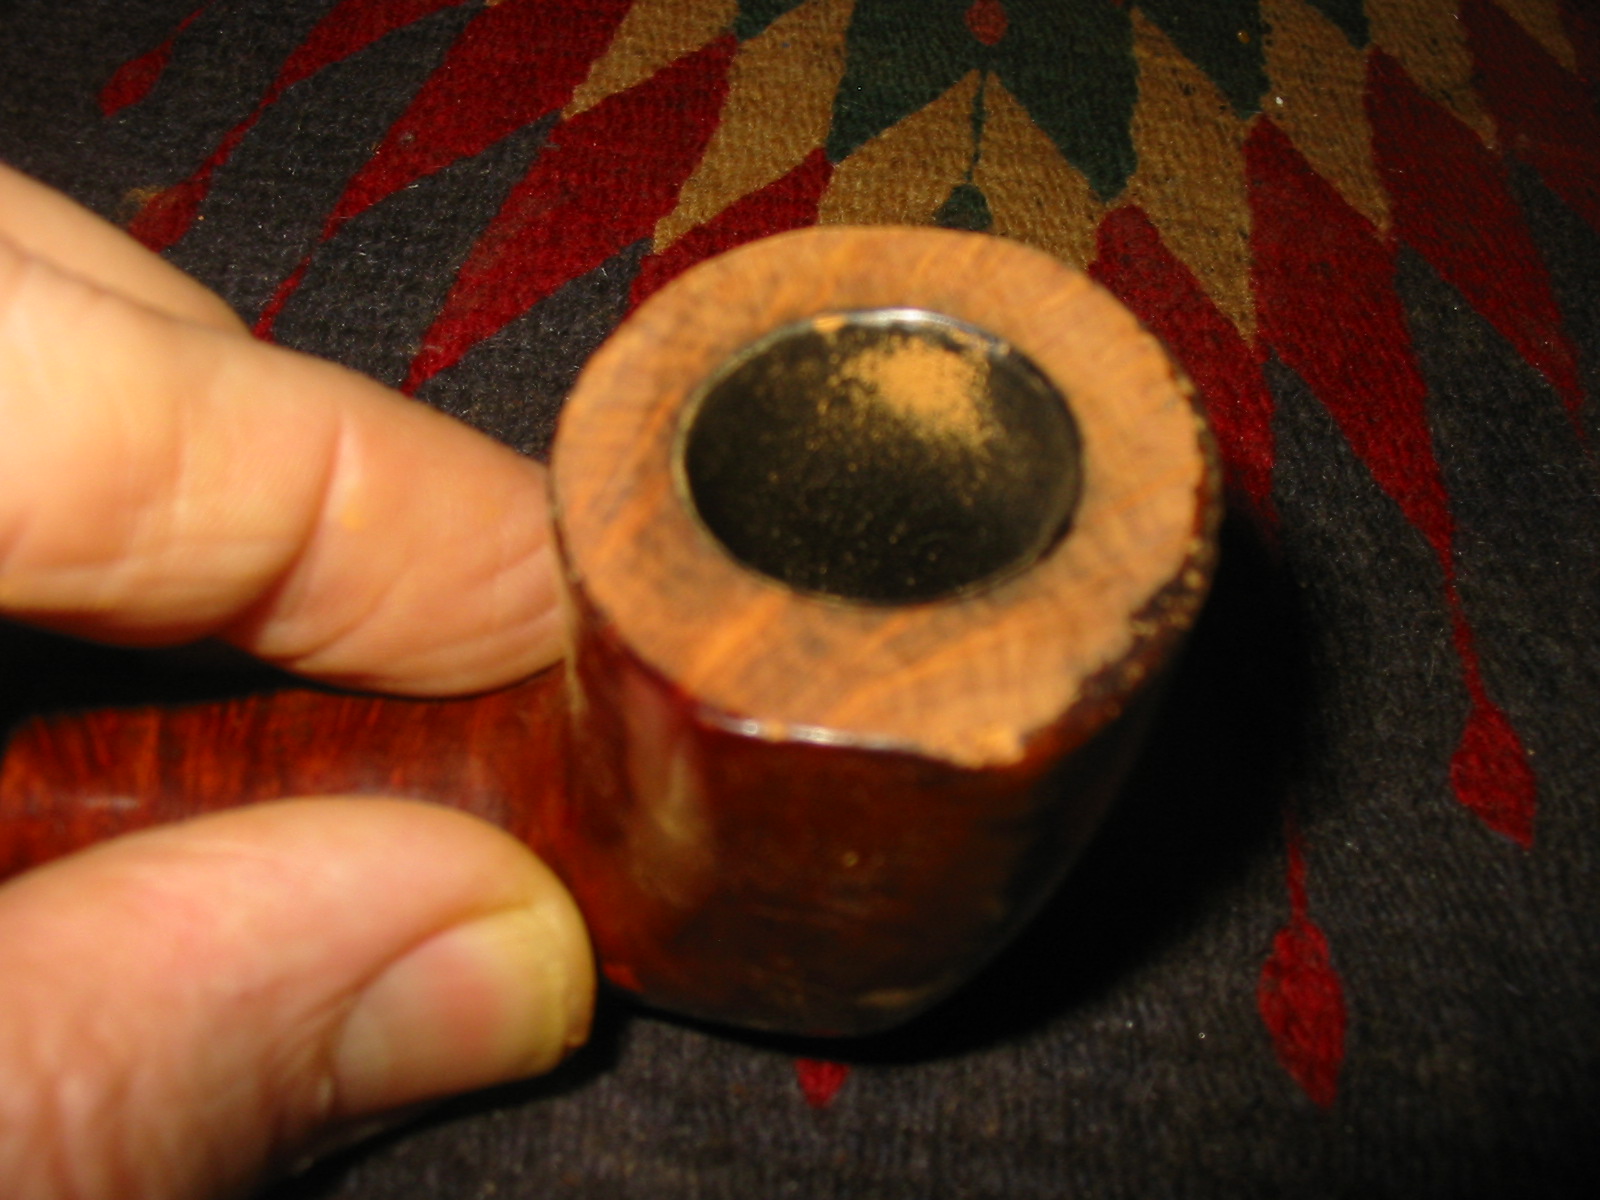
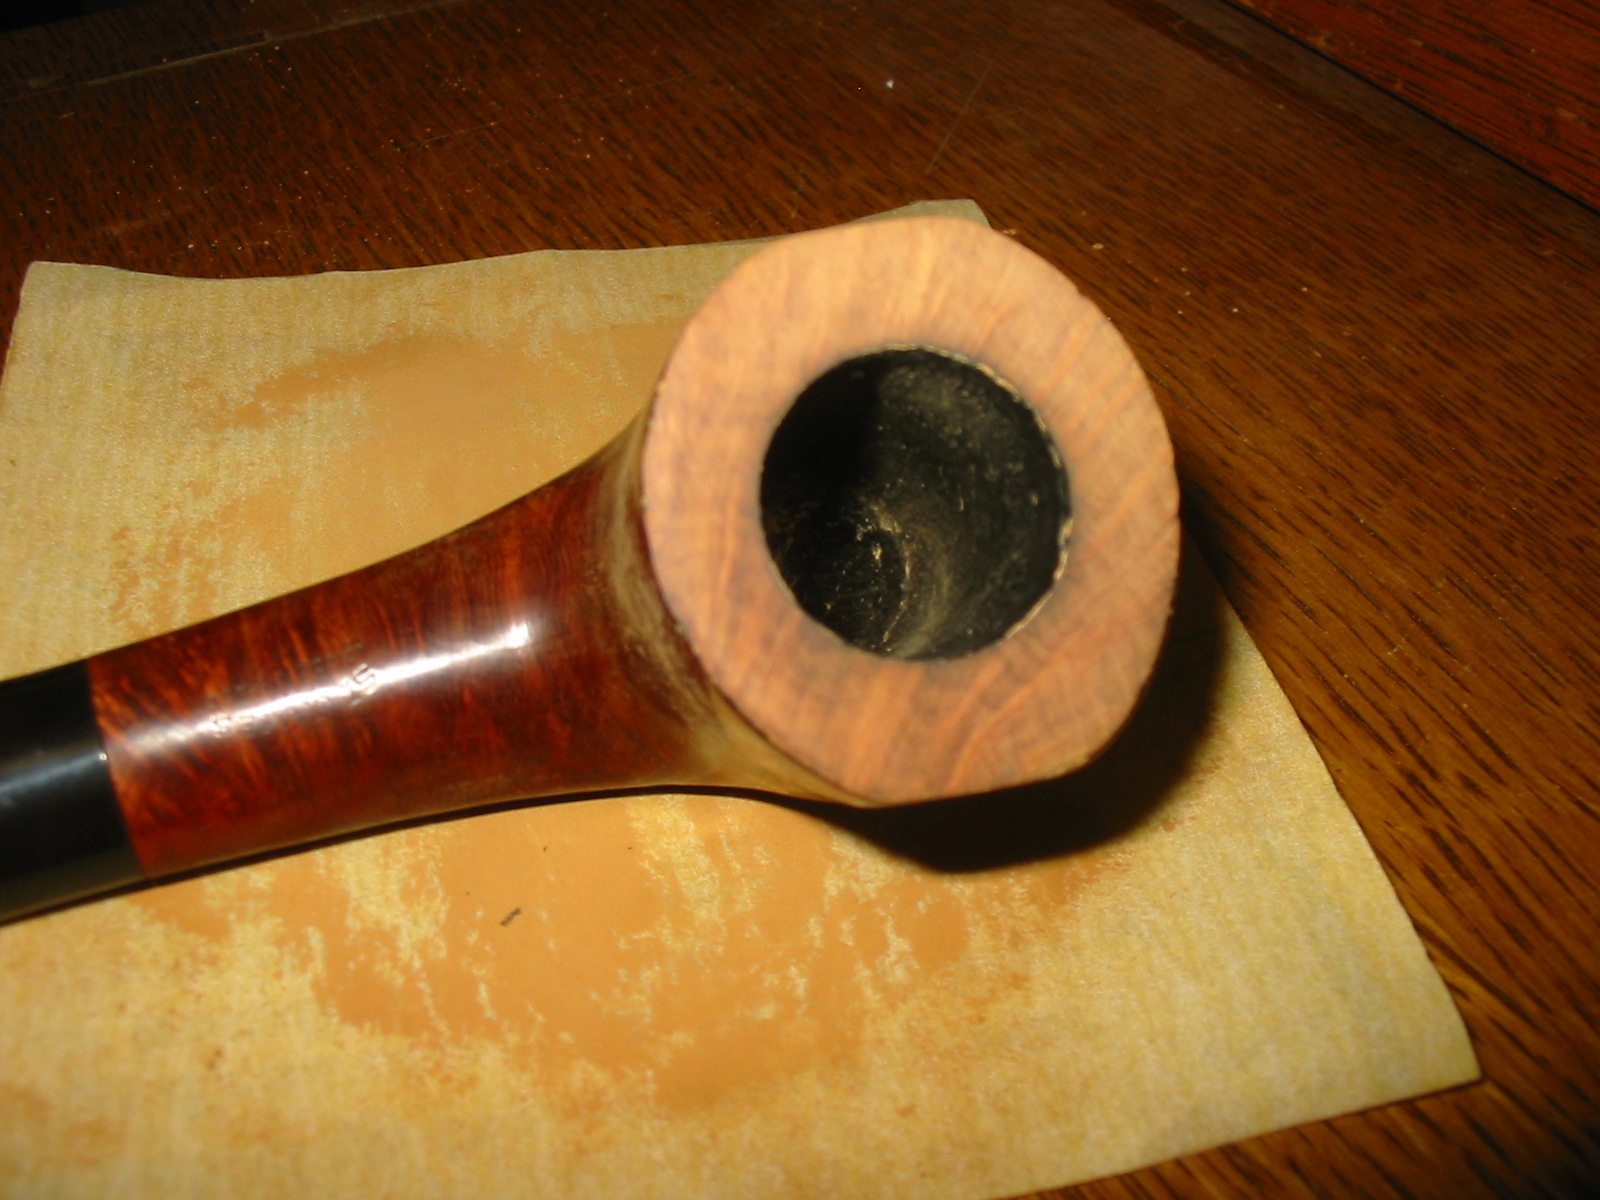

When I finally got the topping done to the point where the rim was more smooth and crisp I also sanded the outer edge to minimize some of the deeper chips and rough areas that I left because I did not want to top too much of the bowl. I then cleaned out the bowl and the shank and wiped the bowl down with acetone on cotton pads to remove the varnish coat that had been put on the bowl. I reamed out the bowl coating with a PipNet reamer as I wanted to remove the sticky black substance and wanted to see what the walls of the bowl looked like underneath the ooze.
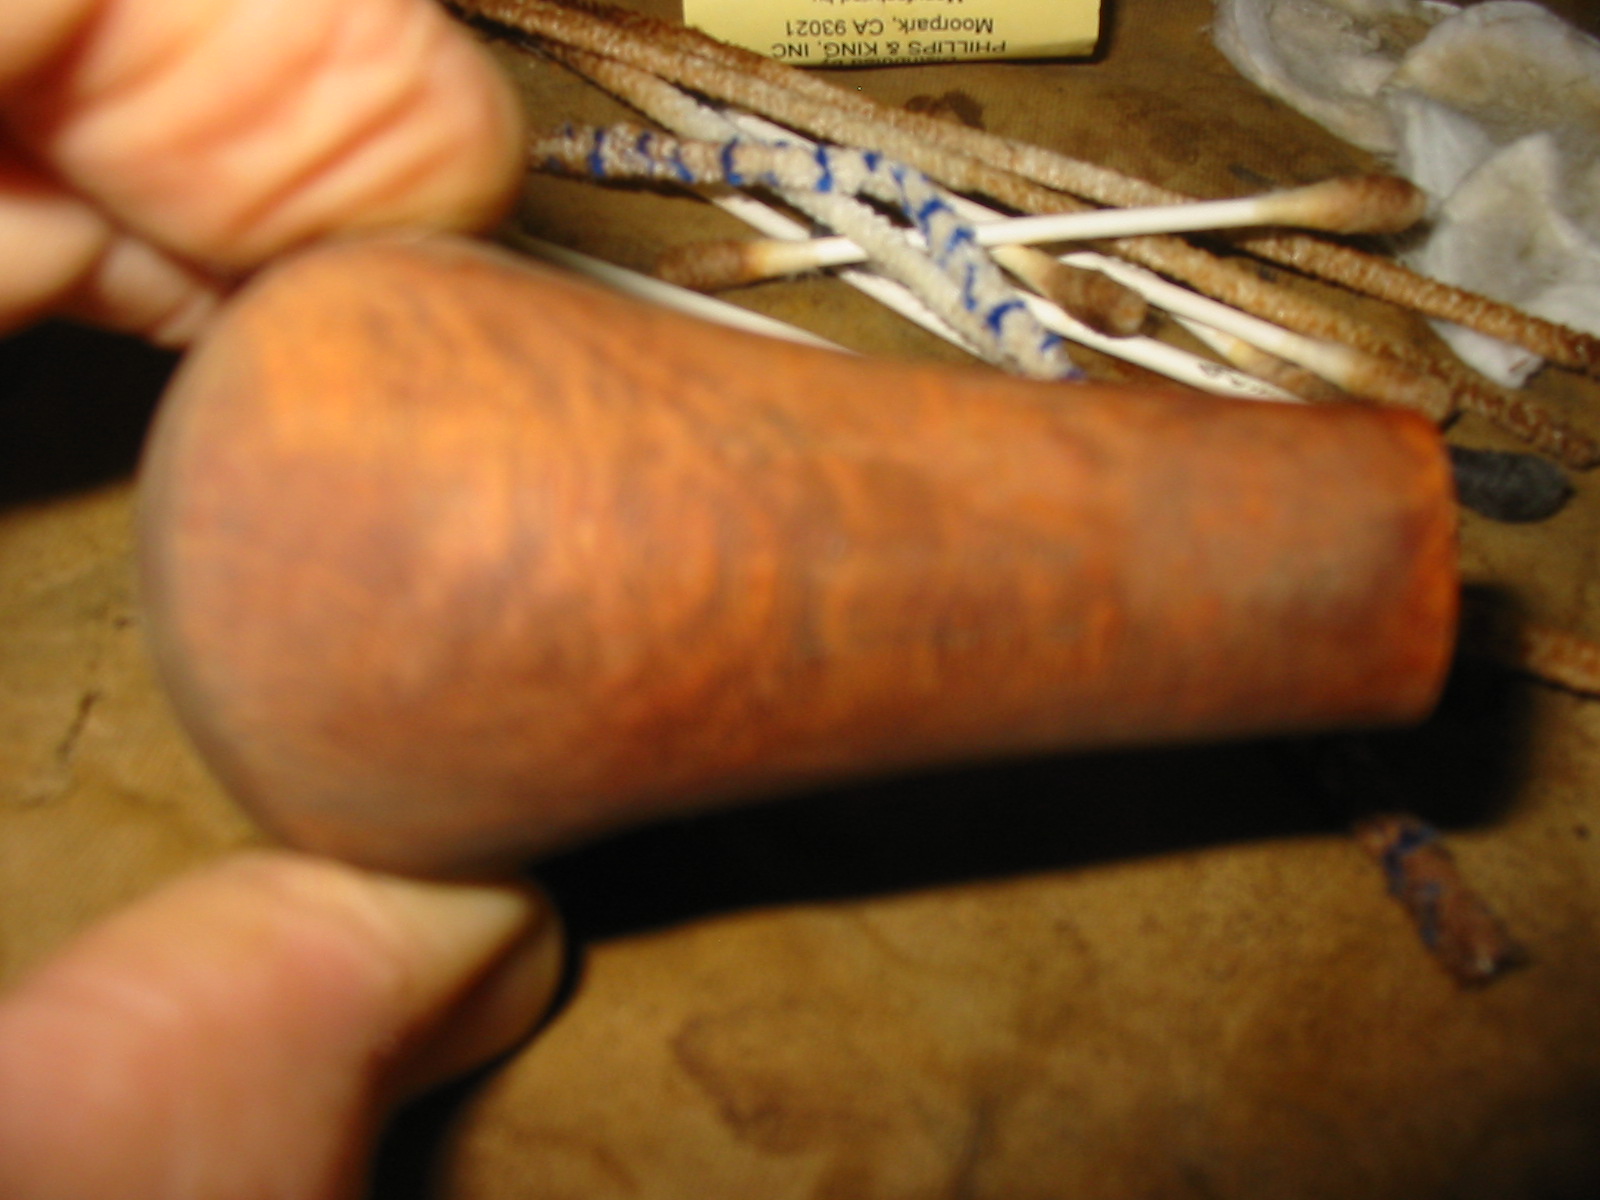
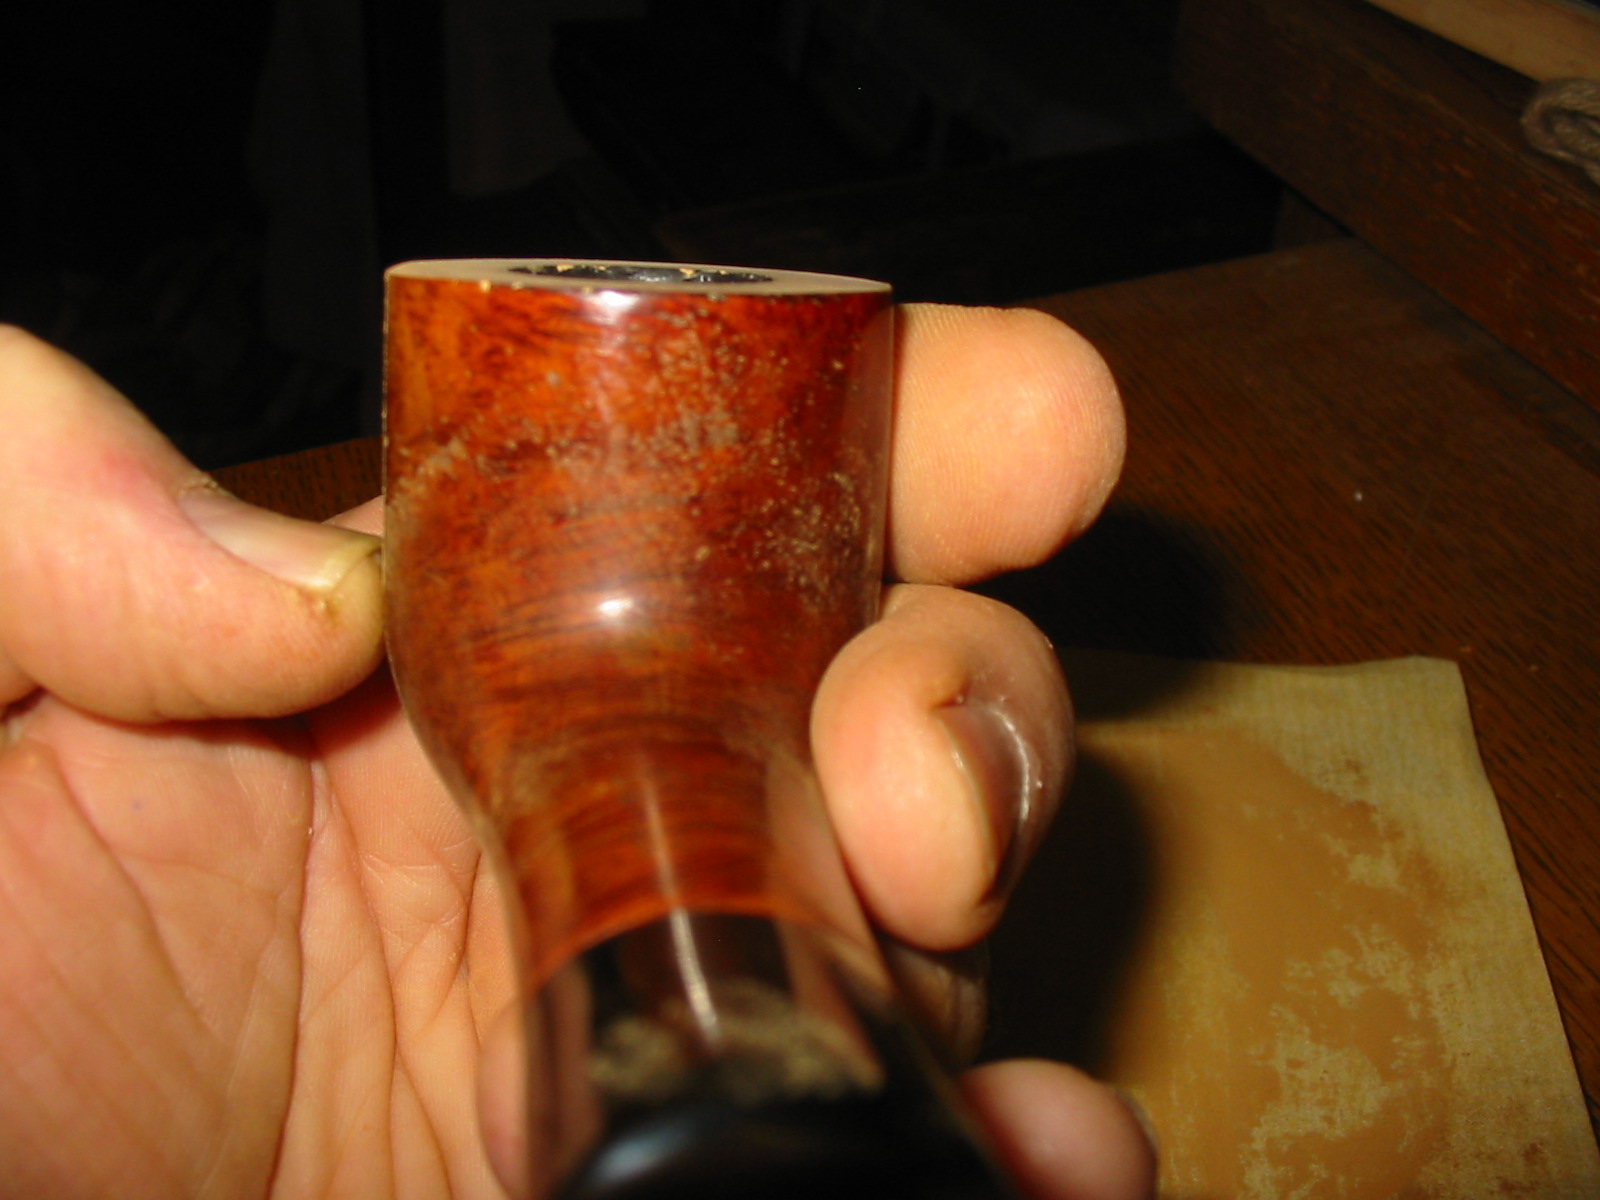
I sanded the bowl and rim with a medium grit sanding sponge and then with a 1500 grit micromesh sanding pad to remove the scratching that was present under the finish and that left behind by the sanding sponge. I wiped it down a final time with acetone on a cotton pad to clean and prepare it for restaining.

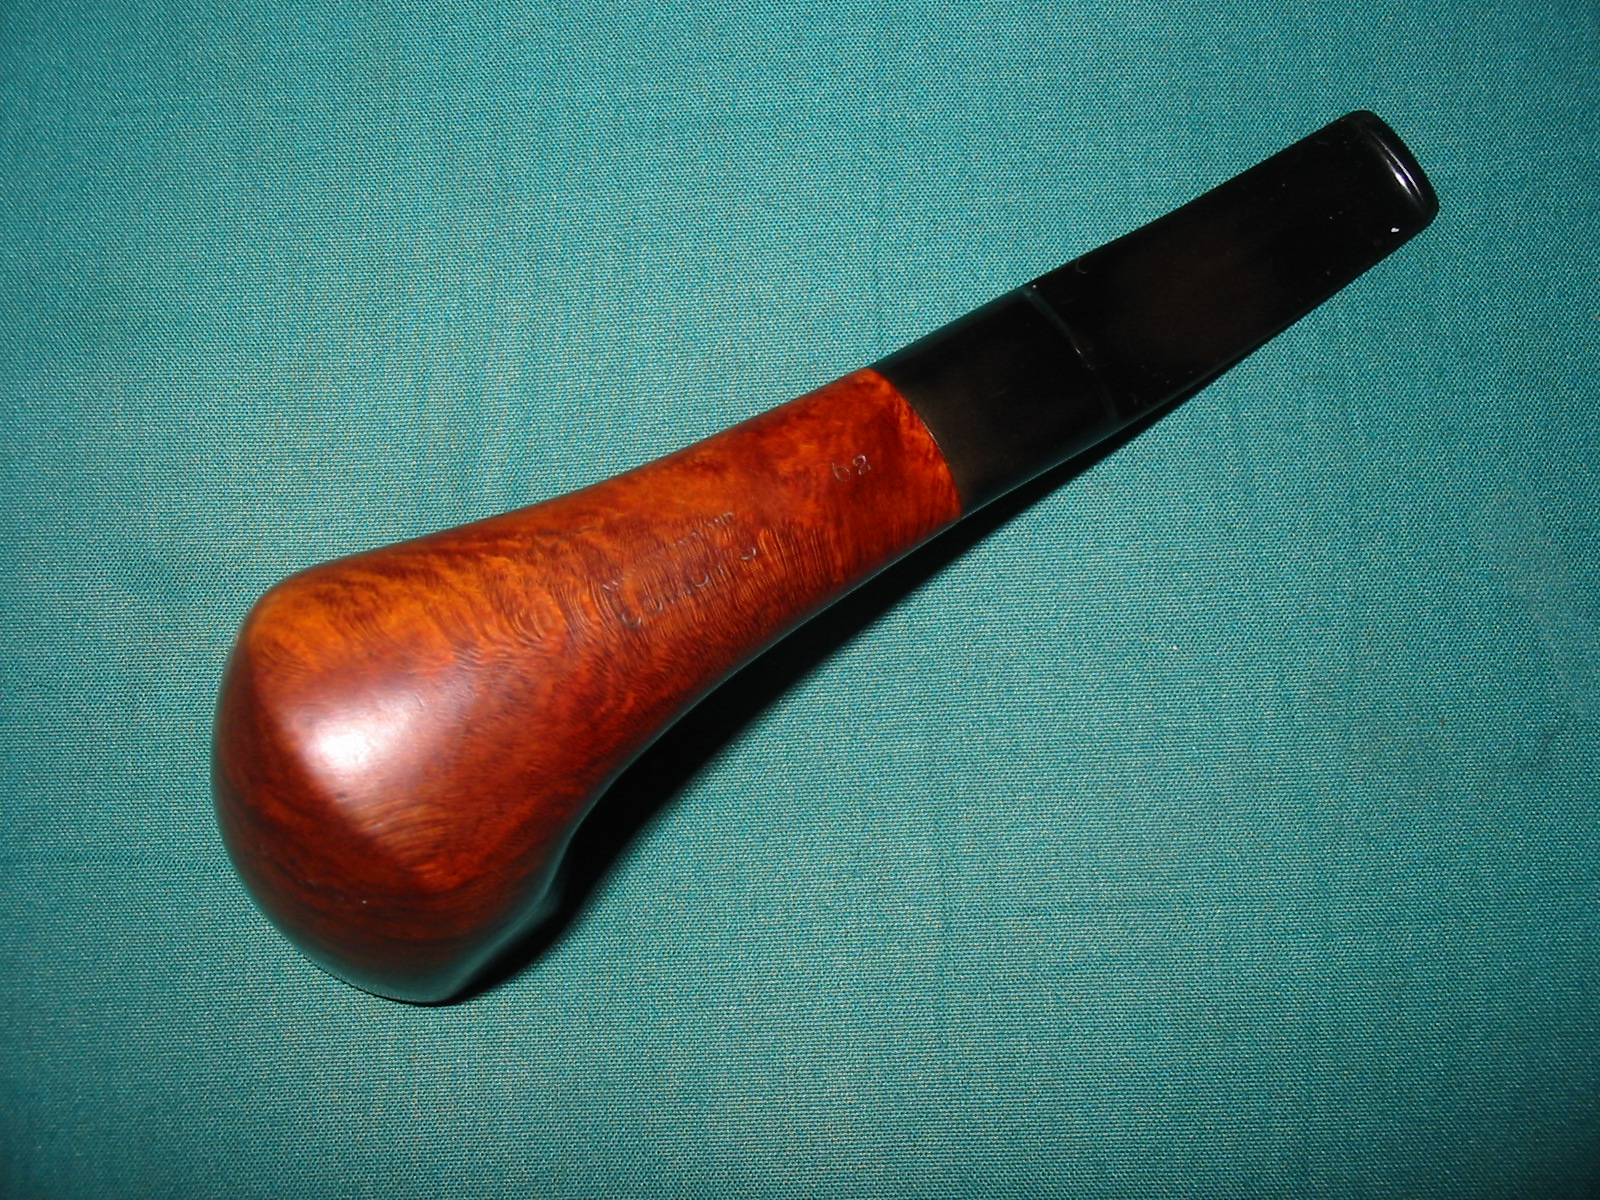
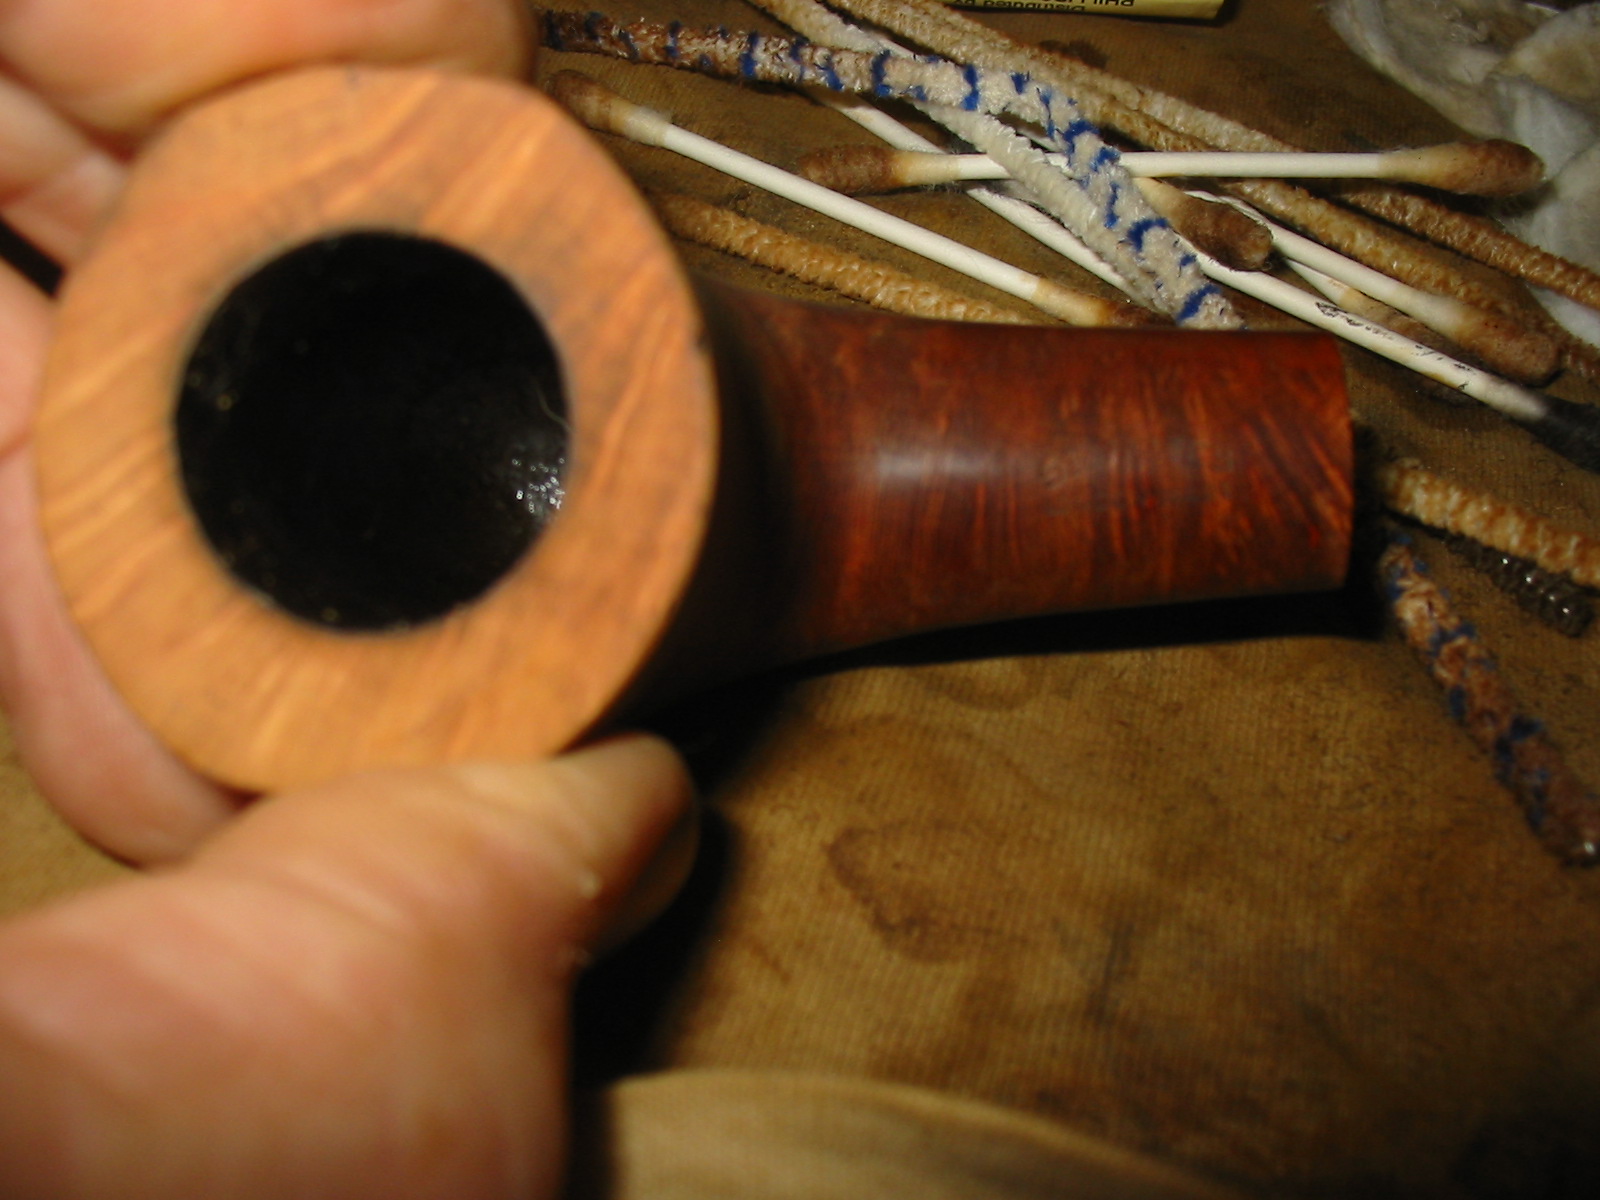
I used a black permanent marker to bring grain lines into the fill area and minimize the way it stood out. In the second photo you can see the effect of the marker and stain on the fill near the bowl/shank junction. Previously it had stood out and now it was muted. I restained the bowl with MinWax Medium Walnut stain. I rubbed it on with a cotton pad and wiped it off with a cloth and repeated the process until the stain had given the bowl a good coverage. I sanded the oxidation and tooth marks near the button on the top and the bottom of the stem with the medium grit sanding sponge.
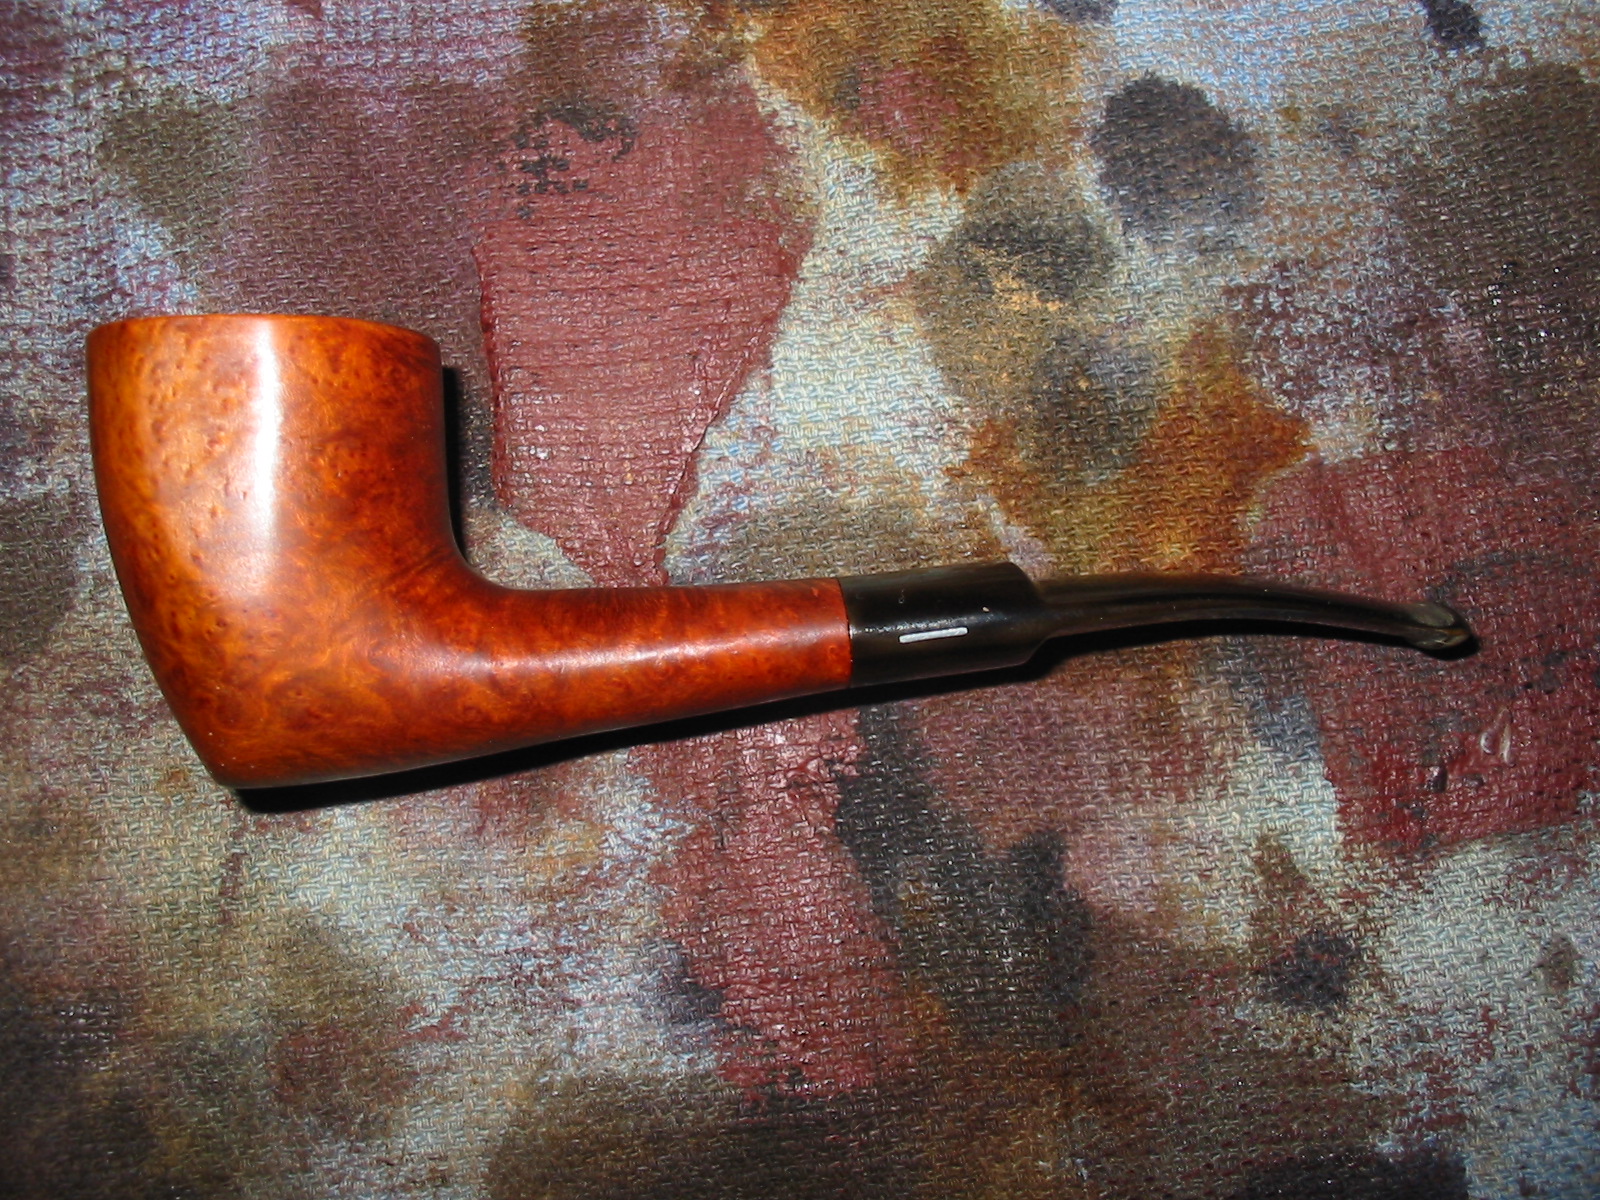
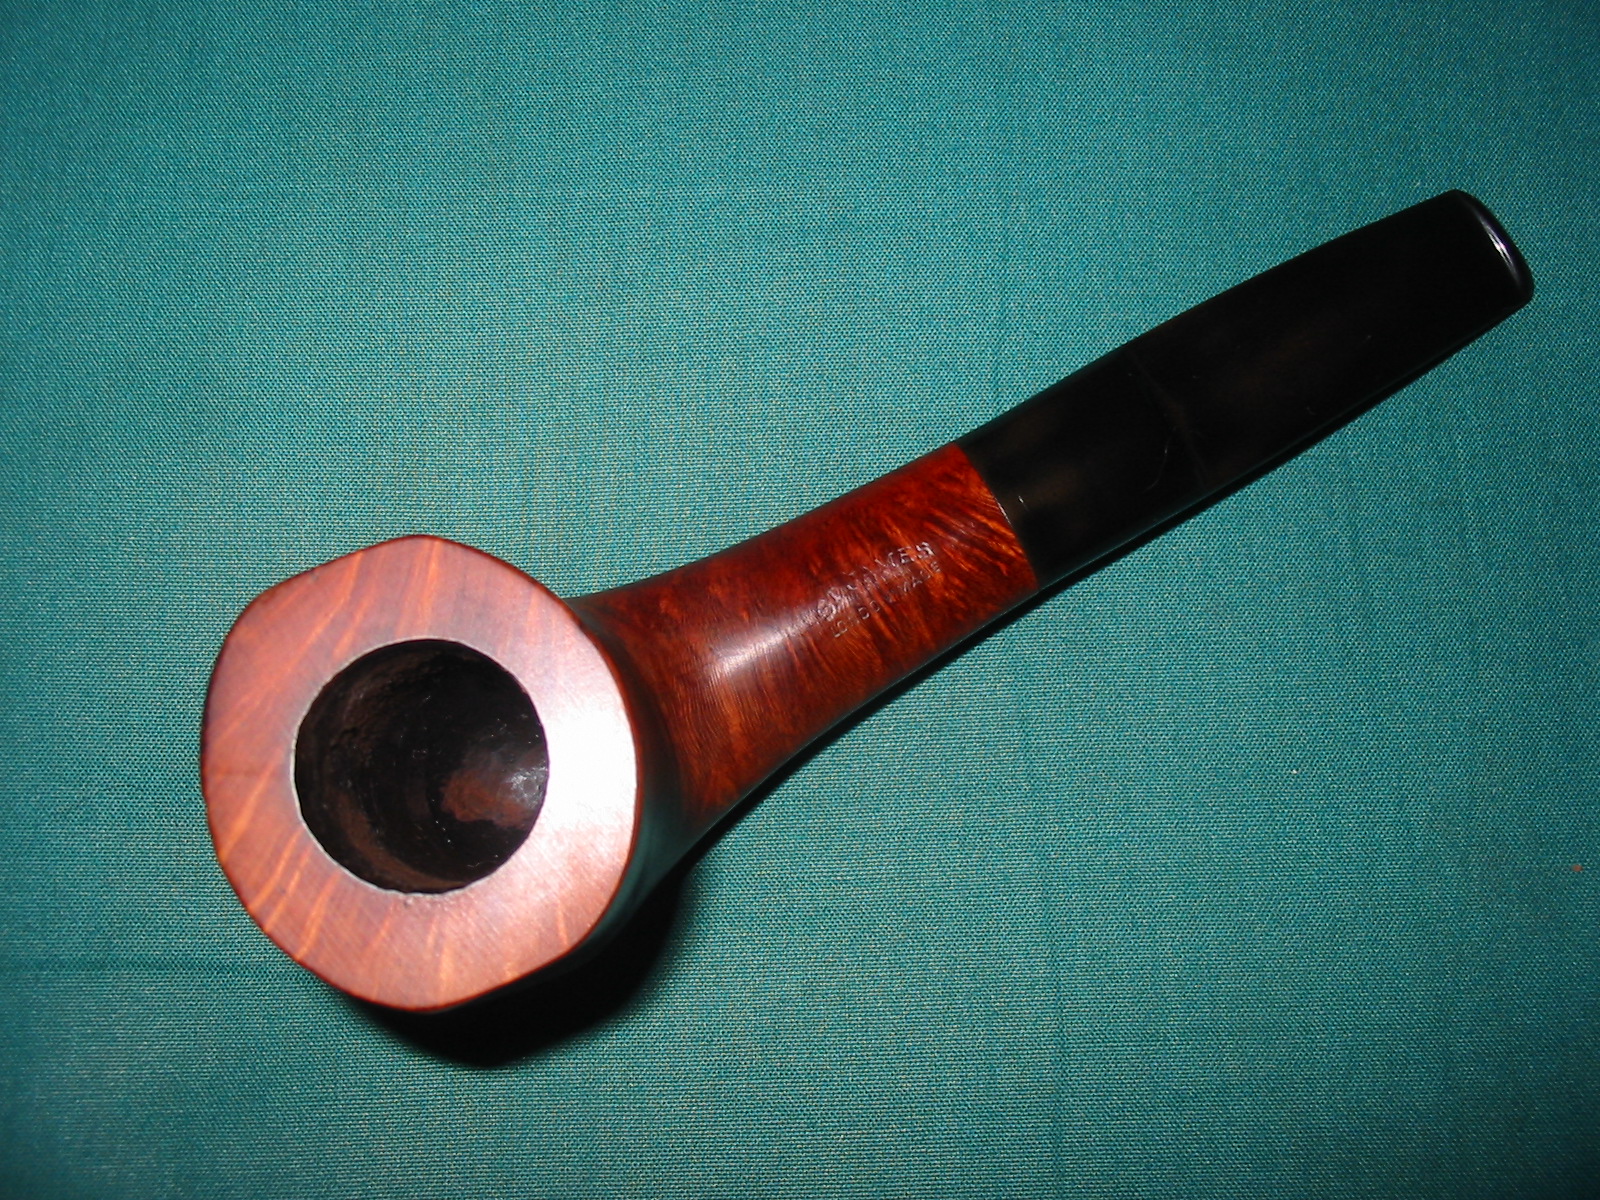
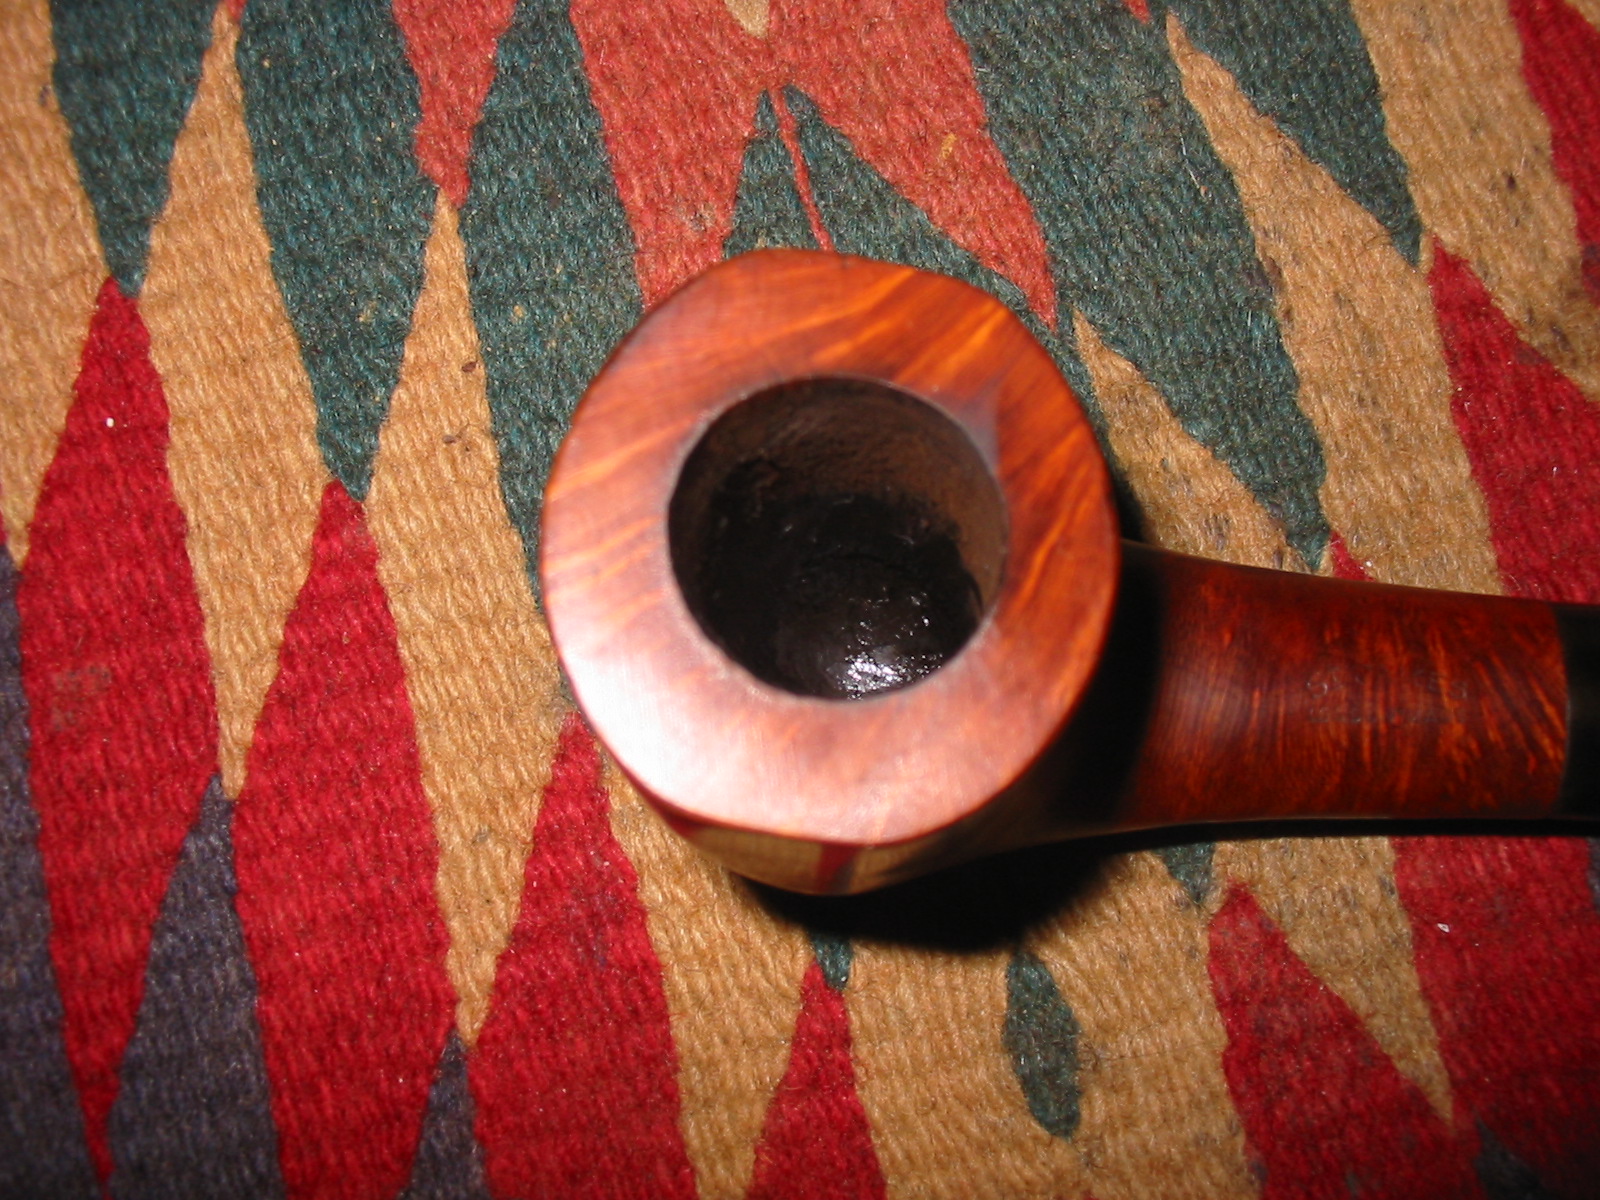
I took the next photo to show the improvement to the damaged rim and the clean edges that were now present. The stain did a great job in bringing out the grain on the rim. It follows the pattern of the grain on the shank.
I buffed the stem with red Tripoli and then sanded it with my usual array of micromesh sanding pads – wet sanding with 1200-2400 grit pads and dry sanding with 3200-12,000 grit pads. I buffed the stem with White Diamond and rubbed in a coating of Obsidian Oil to protect against further oxidation.
I buffed the pipe with White Diamond and then gave it multiple coats of carnauba wax. I finished by buffing it with a soft flannel buff. The finished pipe is shown below. Soon it will go the Pipe Club for their benefit.