Blog by Paresh Deshpande
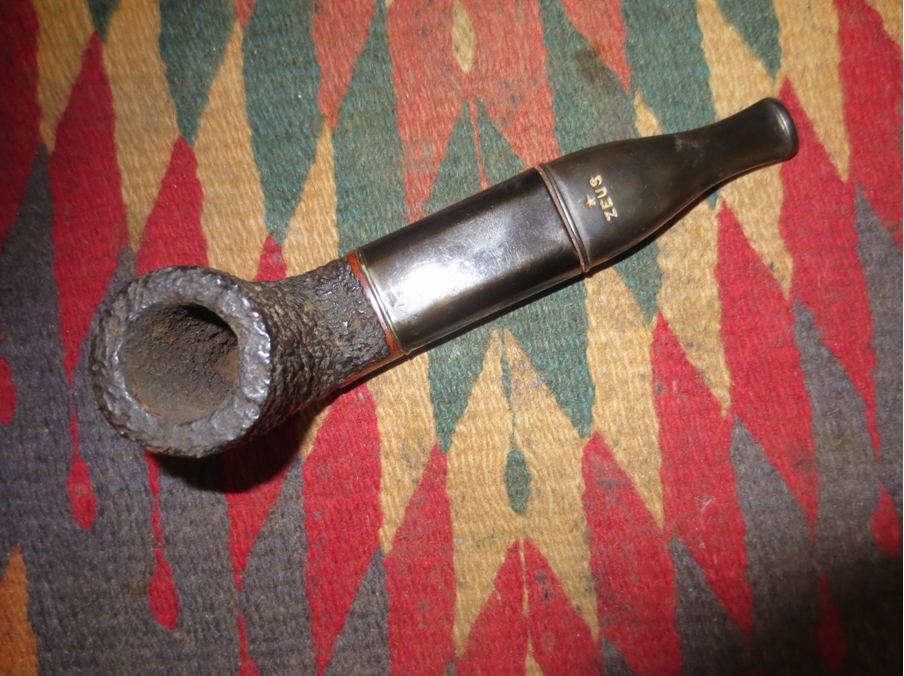
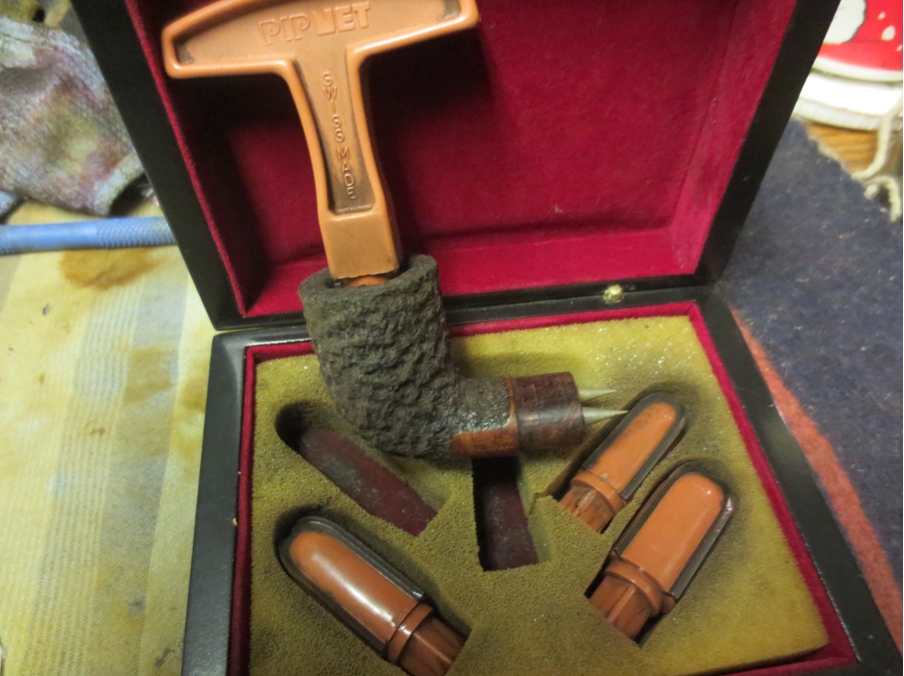
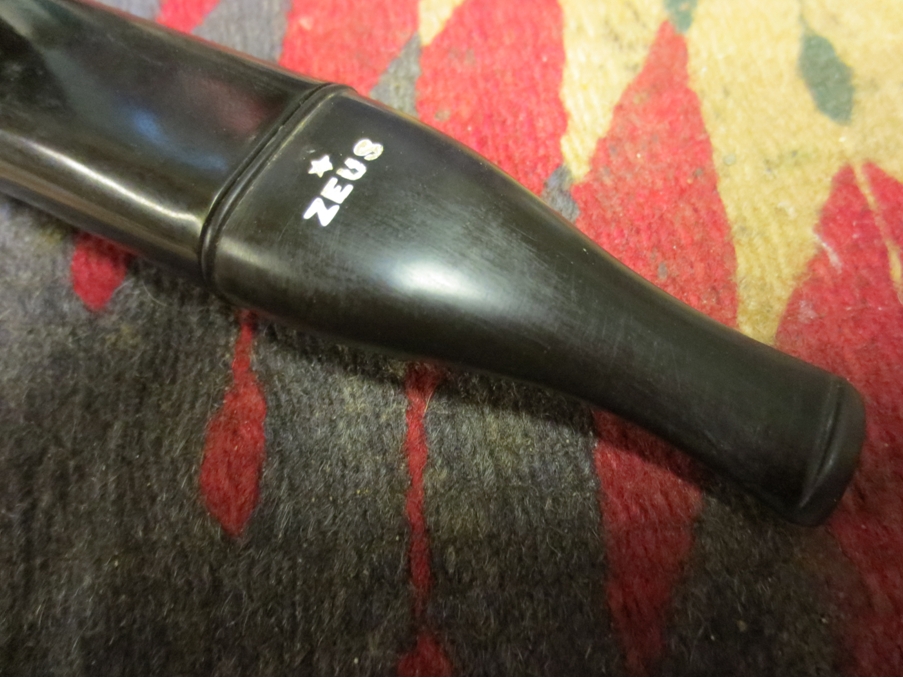
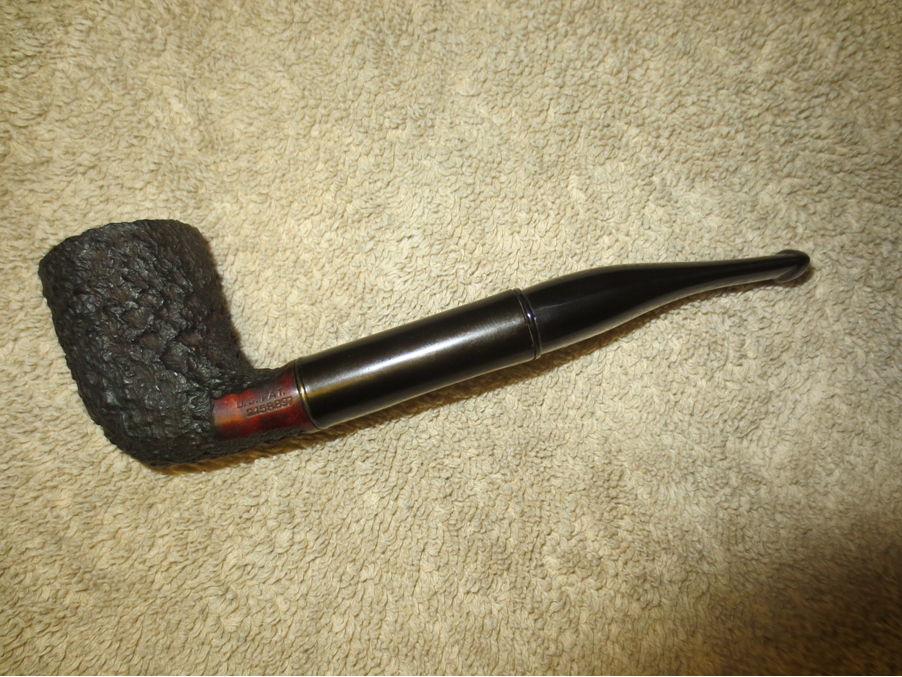
I am really privileged to have inherited a large collection of pipes that once were actively smoked by my grandfather for nearly 40 years, from 1930s to mid of 1970s!! This eclectic collection has a large variety of pipes of various origins; British, Denmark and US makers being in larger numbers. As I am researching and restoring each pipe, I have come to realize that there are actually quite a few that are a part of pipe history!! The one that is now on my work table is one such. It’s a “ZEUS”!!
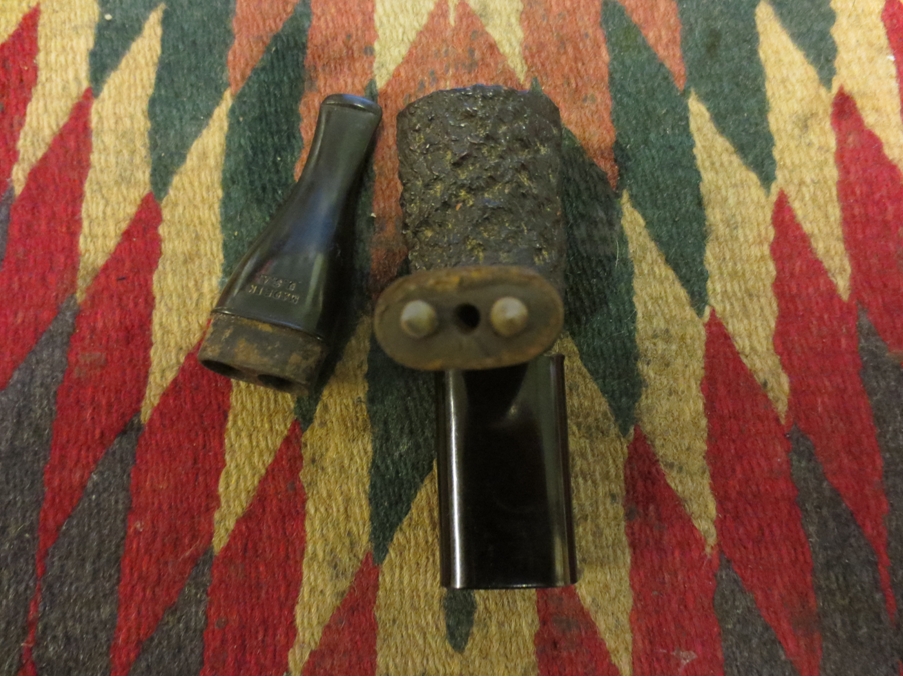
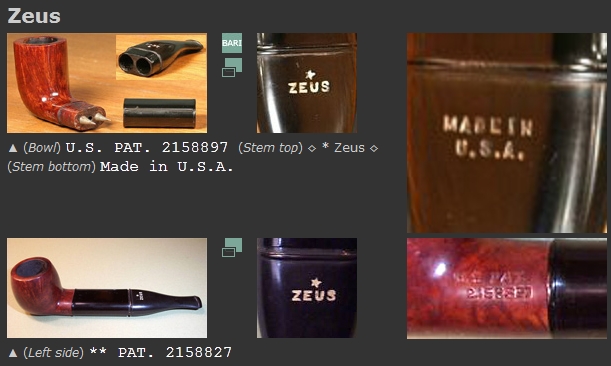
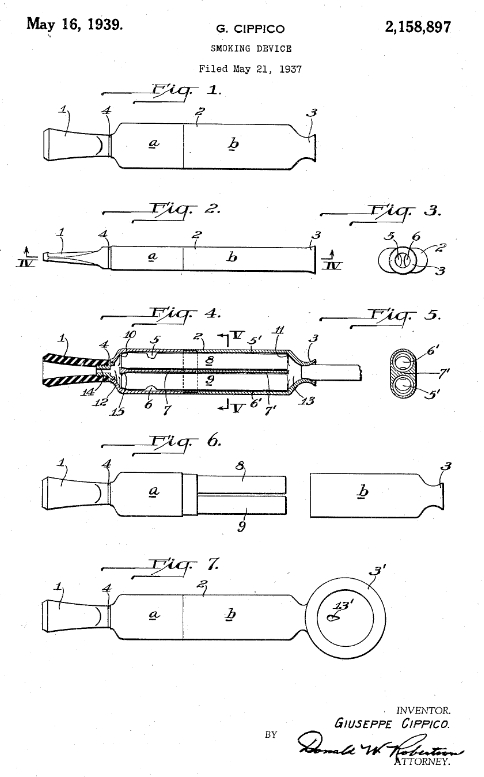
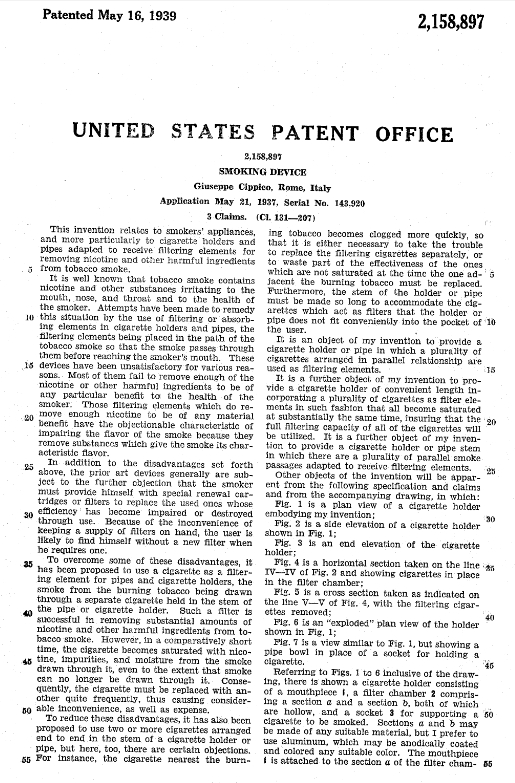
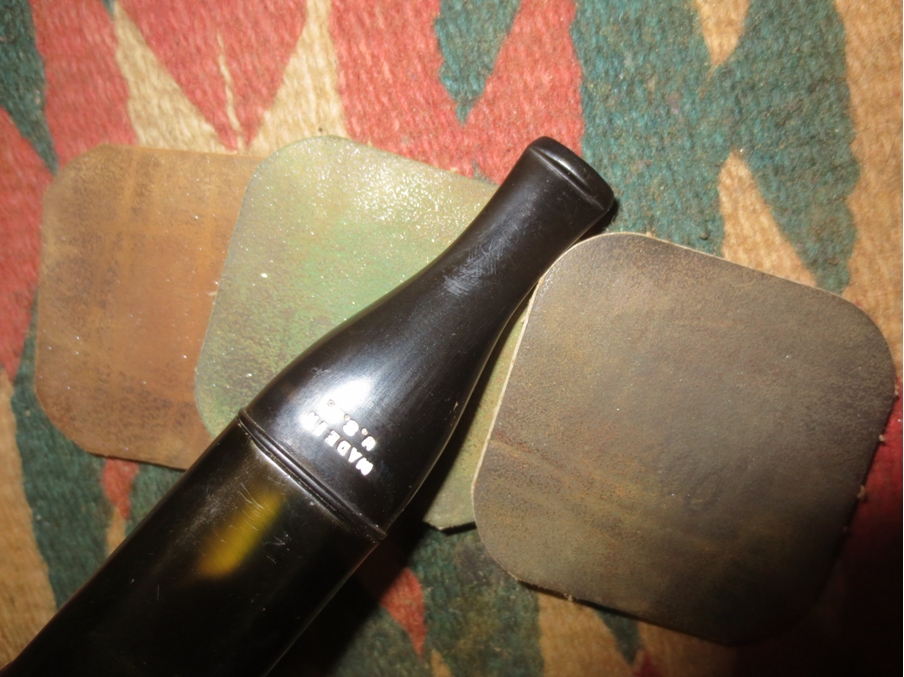
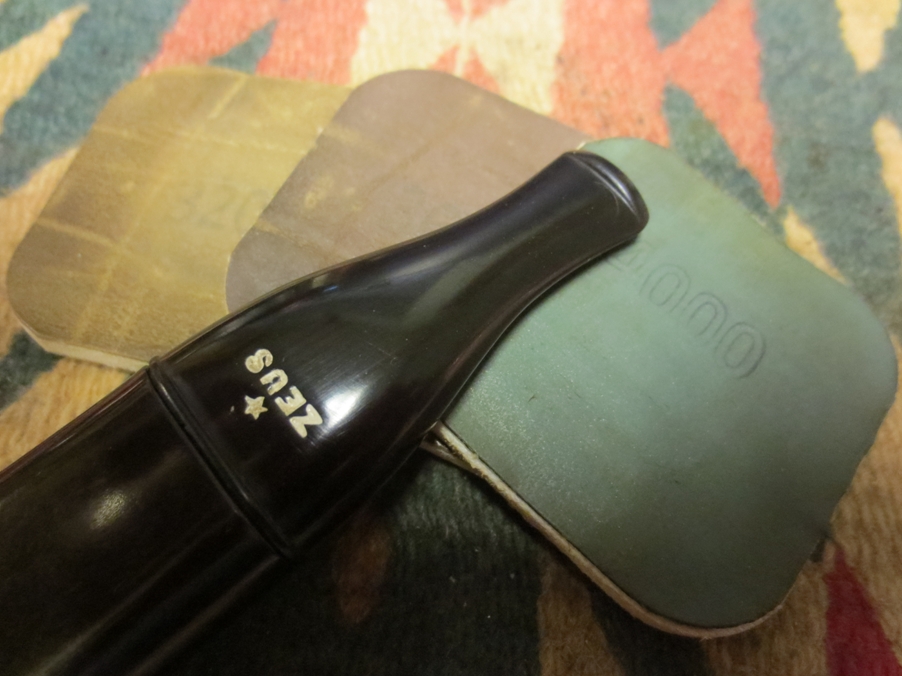
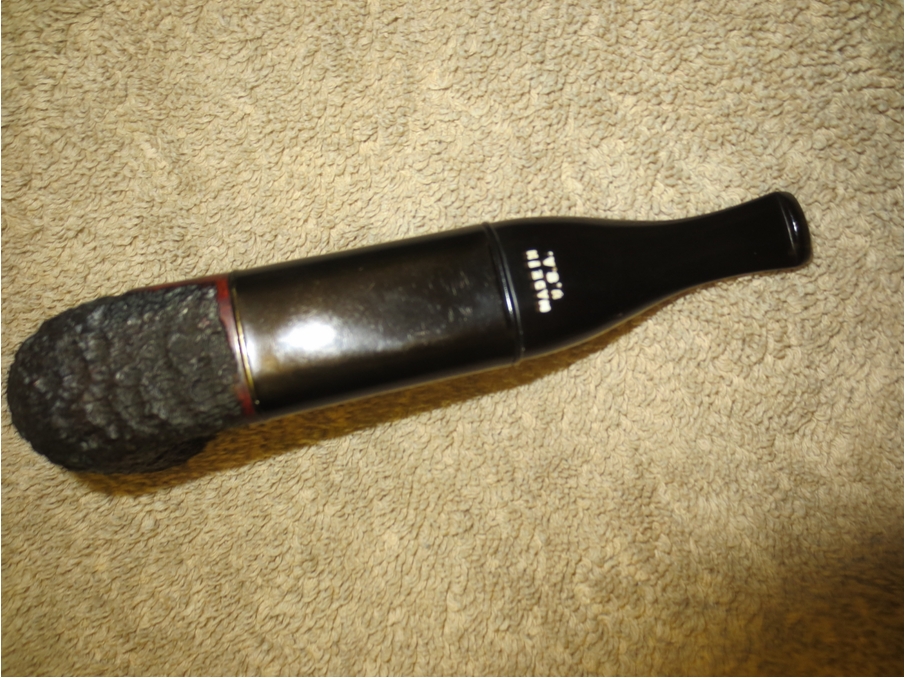
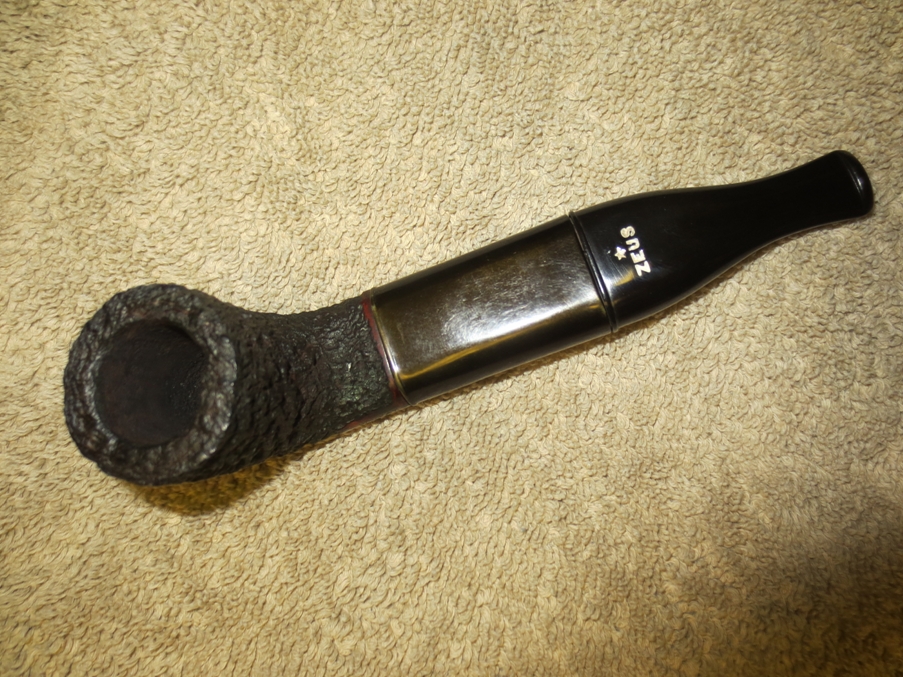
This an oddly shaped Apple with a very wide shank which extends for about an inch before it is joined by an aluminum oval tube. An oddly shaped stem, something similar to a mermaid’s tail, fits into the end of the metal tube. The stummel surface boasts of beautiful flame grains along the sides of the stummel, while cross grains adorn the top and bottom of the shank. The left hand of the shank is stamped with “U.S. PAT.” in block capital, over the patent number “2.158.897”. The uniquely shaped twin bore Cumberland stem bears three stars on top surface of the stem, one at the top over “ZEUS” and two stars below. The lower surface of the stem bears the stamp “MADE IN” over “U.S.A.”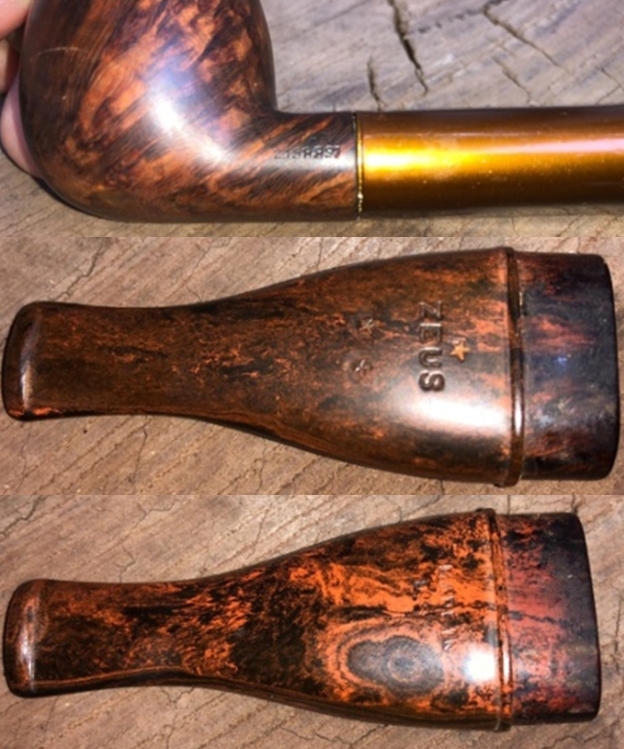 In order to research any pipe that I am working on, the first place I visit is rebornpipes.com!! There is a wealth of information that Mr. Steve has collated in one place. There is a write up on a “ZEUS” which has been restored by Mr. Steve and he has painstakingly collated all the relevant information on this model of pipe which was made by LH Stern Inc. Instead of reinventing the wheel, here is the link to the write up which all pipe enthusiasts and collector may like to read to know more on this ultra rare pipe (https://rebornpipes.com/2015/05/10/a-unique-piece-of-pipe-history-a-zeus-system-filter-pipe/).
INITIAL VISUAL INSPECTION
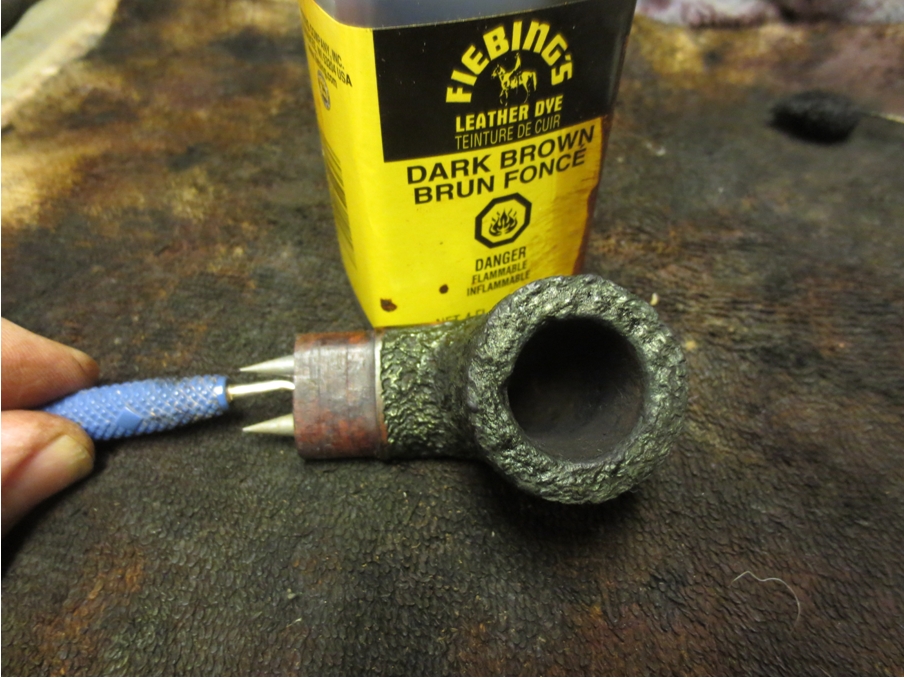
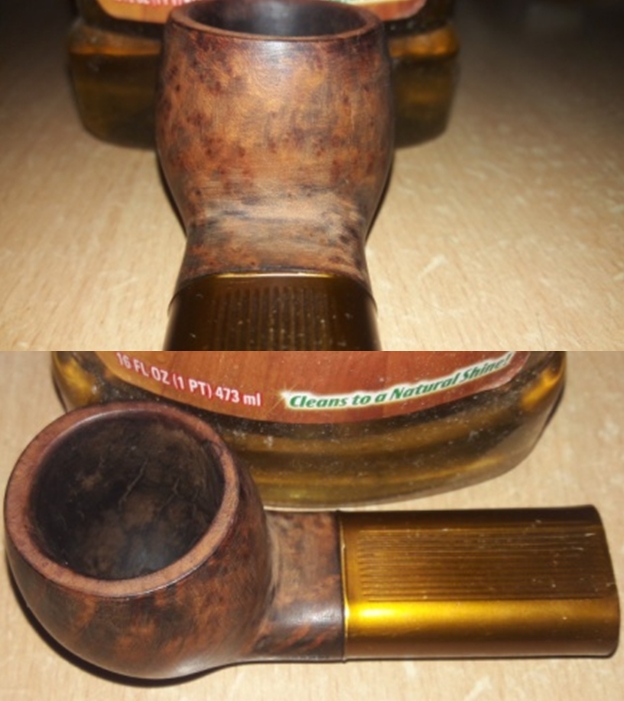
Overflow of lava is seen on the rim top and also on the stummel surface, more so at the joint where the shank and the stummel meet. Through all this dust, dirt and grime, beautiful flame grains can be seen all around on the stummel. There is not a single fill that can be seen through the grime on the stummel. Maybe after a clean, a few gremlins will show up. The aluminum shank extension is without any dents and dings, which is a surprise of course, and is securely fixed over the shank. I do not intend to disturb the geometry of the pipe by attempting to separate it from the shank. The briar is dull and lifeless and has taken on a layer of aged patina, through which one can make out the beautiful grains all round. This one should clean up nicely.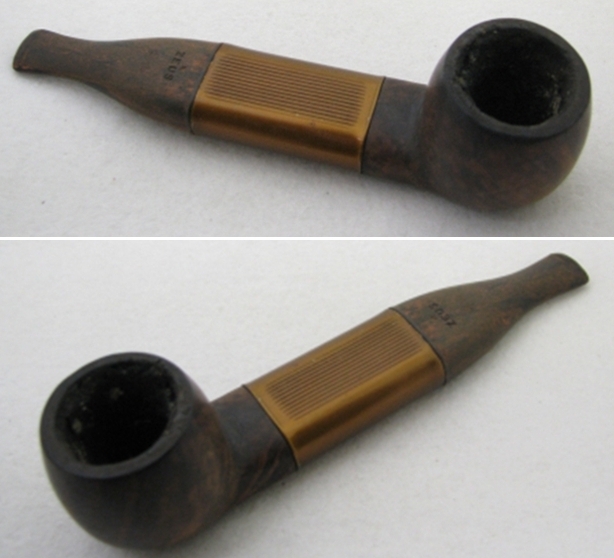
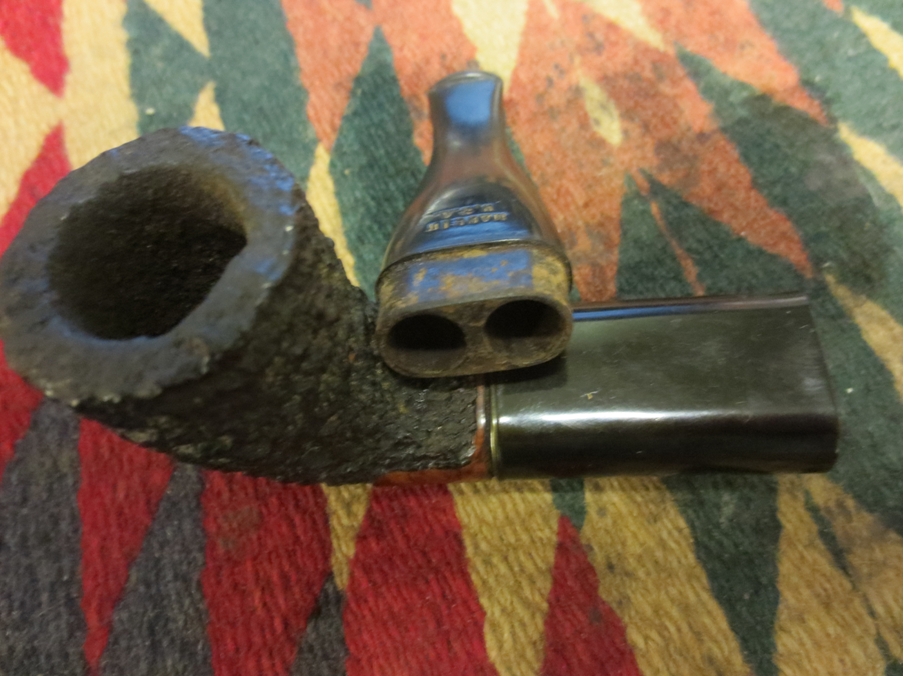
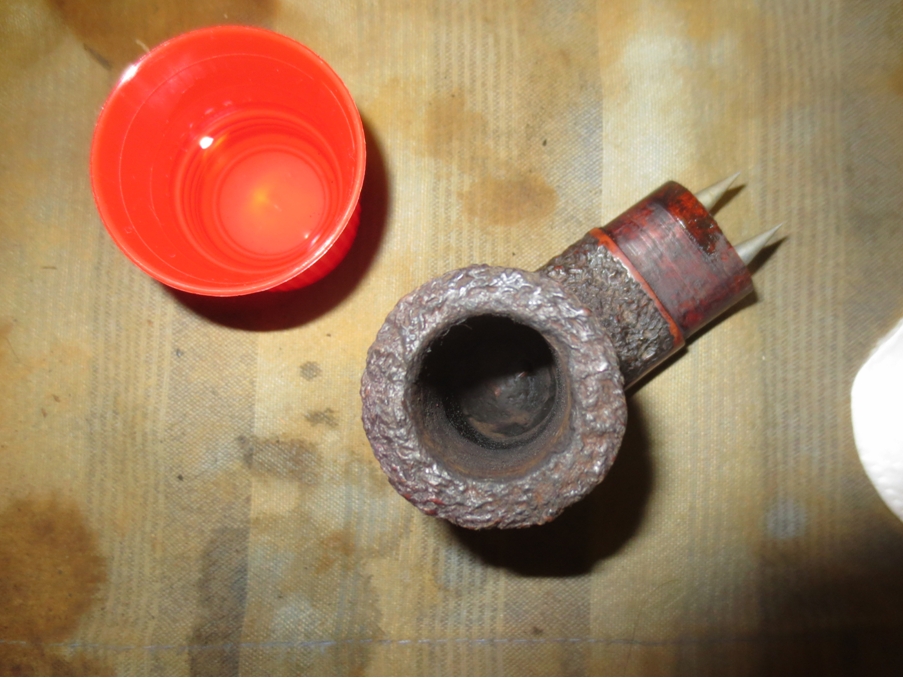
 There is a thick and uneven layer of cake in the chamber which makes it difficult to ascertain the condition of the walls of the chamber. From the thin rim surface, it appears that the walls on upper portion of the bowl are thin and thickens down towards the heel as the bowl flares outwards, giving it the classic Apple shape. I really pray that I do not encounter the chamber condition akin to what I had encountered while working on the “SON”!!! The thin rim top is covered with overflow of lava. The inner edge appears uneven and so does the rim top. The outer edge is covered in overflow of lava and its condition will be ascertained after the rim has been cleaned.
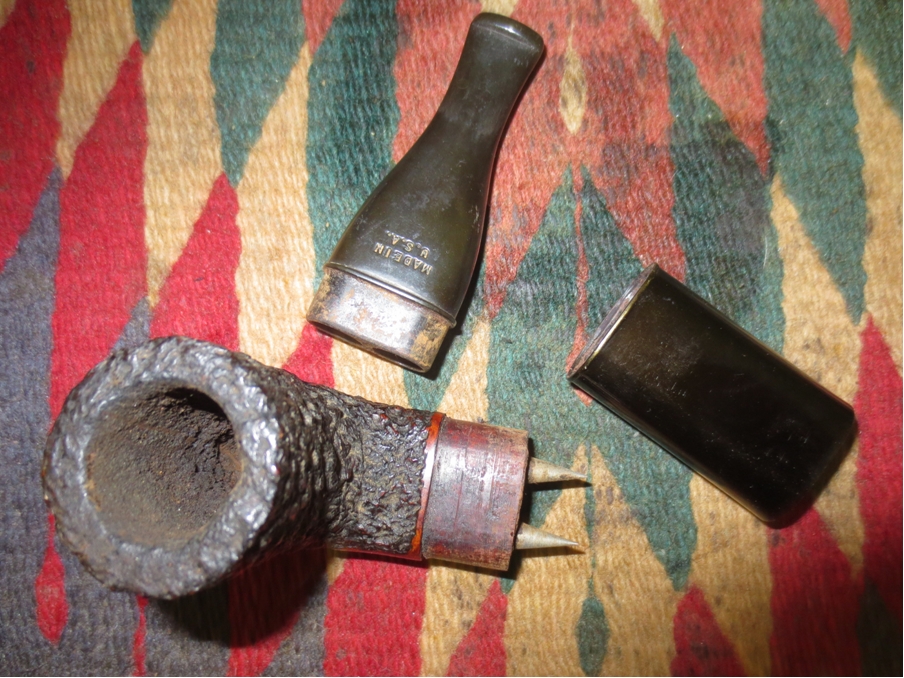
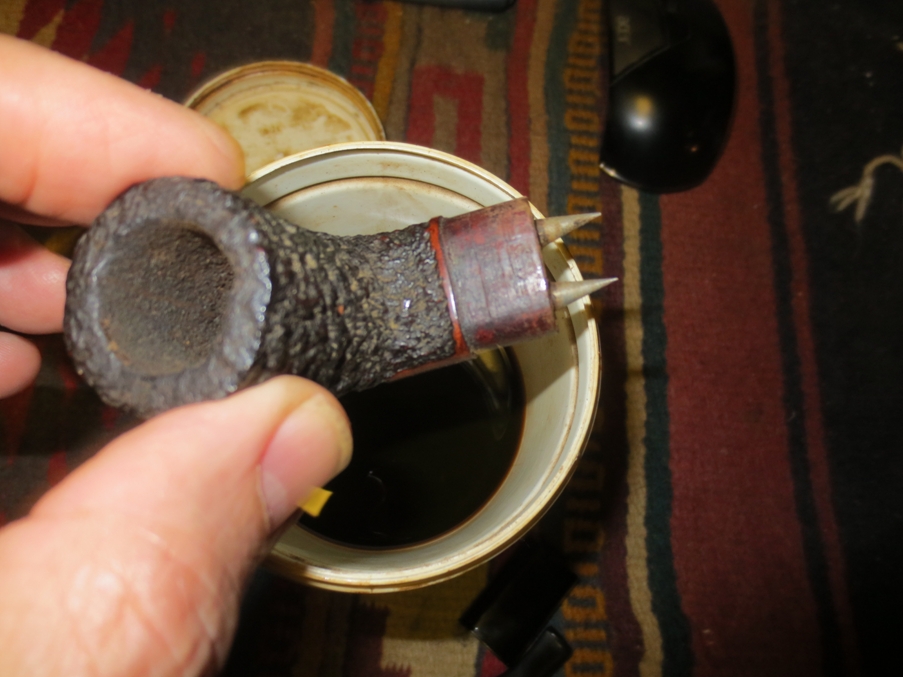
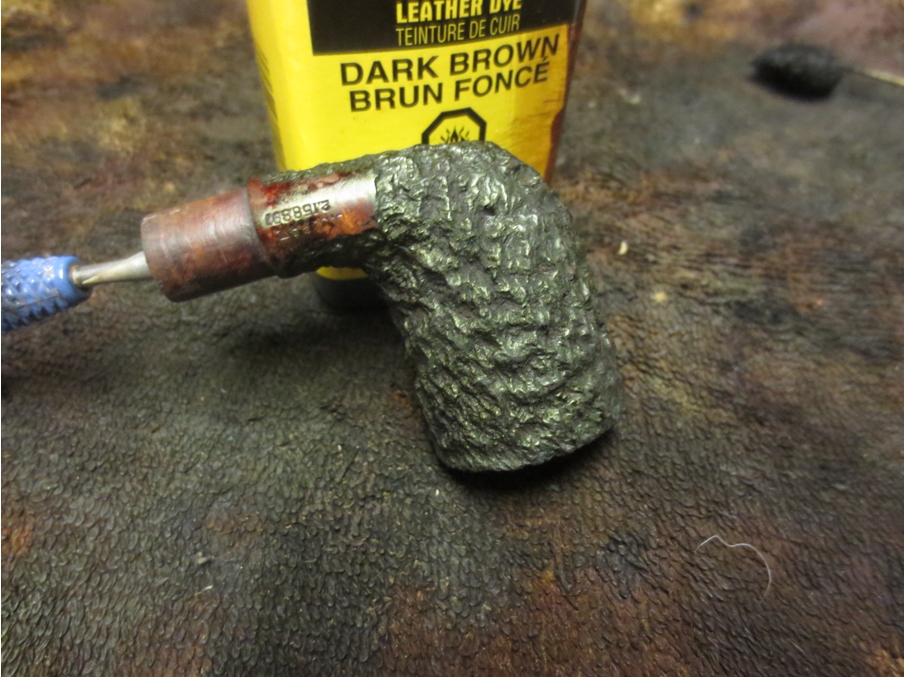
 There are two spikes on the shank end which extend in to the aluminum shank extension. These spikes and the insides of the shank extension are filled with oils, tars and grime. The mortise is clogged and restricts the flow of air. These issues will need to be addressed.
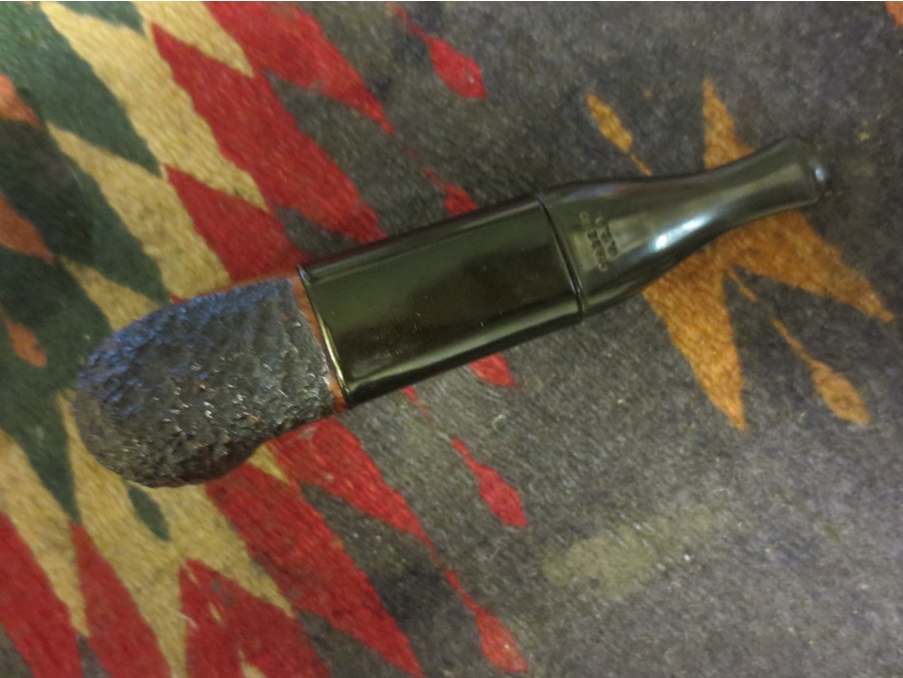
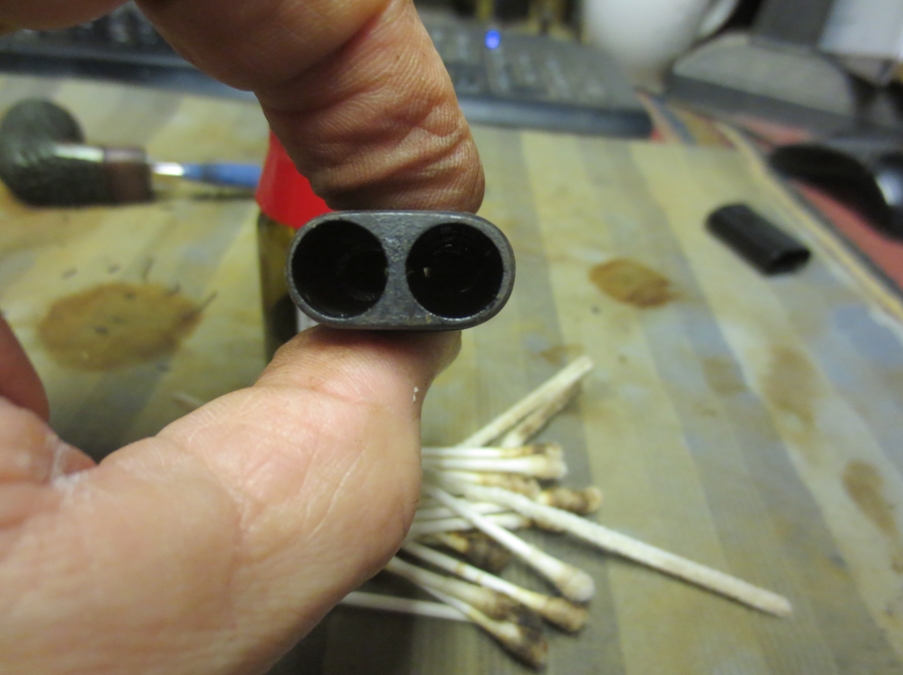
 The twin bore Cumberland stem is the first that I shall be working on. The twin bore stem moved toward a single airway in the thinner portion towards the end of the stem. It formed a Y. The twin bores were quite large as can be seen in the photo. The airway appeared clean and would require a routine cleaning with pipe cleaners and alcohol. There a few very light bite marks near the end of the stem. There are small bite marks on the lower and upper lip edges. It is nice, dark, and smooth. These issues should not be a major headache to address. The tenon is clean and flow of air through the airway is full and smooth.
 THE PROCESS
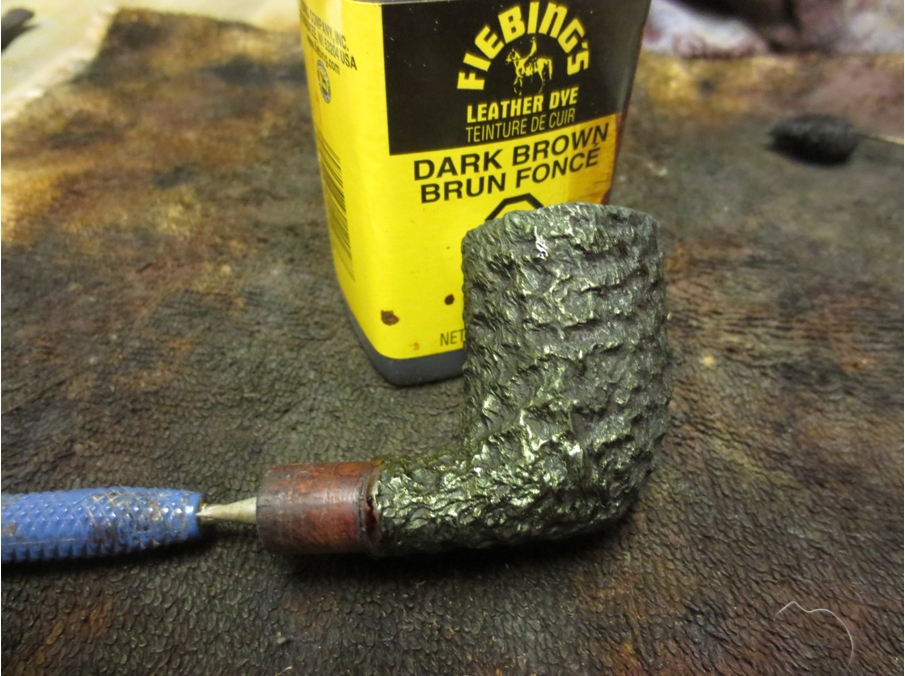
I started this project by cleaning the chamber using size 4 head of the PipNet pipe reamer as the chamber is very wide. I used a 220 grit sand paper, pinched between my thumb and forefinger, to sand the inner walls of the chamber. Once I had reached the bare briar, I wiped the chamber with a cotton pad dipped in isopropyl alcohol. This removed all the residual carbon dust and also rid the chamber of all ghost smells. I gently scrapped the rim top with a sharp knife to remove the entire lava overflow. The process had revealed a web of very thin superficial lines which looked like the beginning of heat fissures. To make sure, I ran a toothpick along the lines. If these were the beginning of heat fissures, there would be some give in the lines as the charred briar would fall out. Luckily, this was not the case here. However, to be on the safer side I shall give the inner walls of the chamber a coating of activated charcoal and yogurt. Once the chamber and the rim top were cleaned, I realized that the inner edge of the rim was uneven and the bowl was badly out of round. However, the outer edge of the rim was in pristine condition. I worked on the inner edge of the rim with a 220 grit sand paper. I realized that nicks to the inner edge were larger than anticipated and also the thin rim surface had some blackened surfaces. The uneven thickness of the rim was also an eye sore!! I addressed these issues by topping the rim on a 220 grit sand paper. This completely addressed the issues of nicks and blackened surface on the rim. Though the issue of uneven rim thickness was addressed to a great extent, the rim is slightly thinner on the right side in 4 o’clock direction. To maintain the profile of the stummel and not lose too much briar, I let it be.
 Now, it was the turn of the stummel to get cleaned up. I sand the stummel surface with a used piece of 220 grit sand paper and got rid of all the overflow of lava. I was careful around the stamping on the shank, lest I sand it off completely!
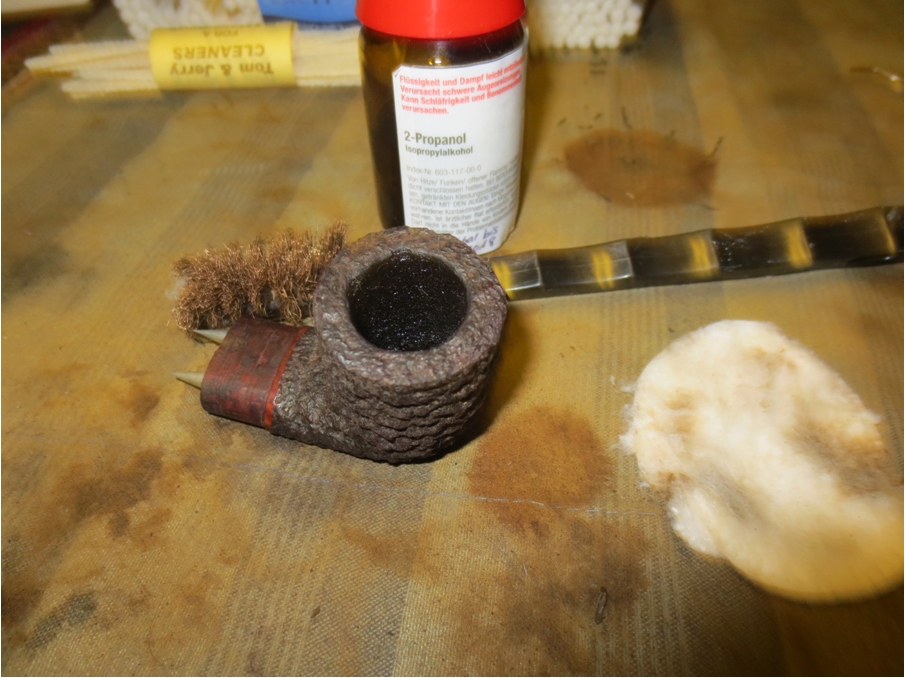
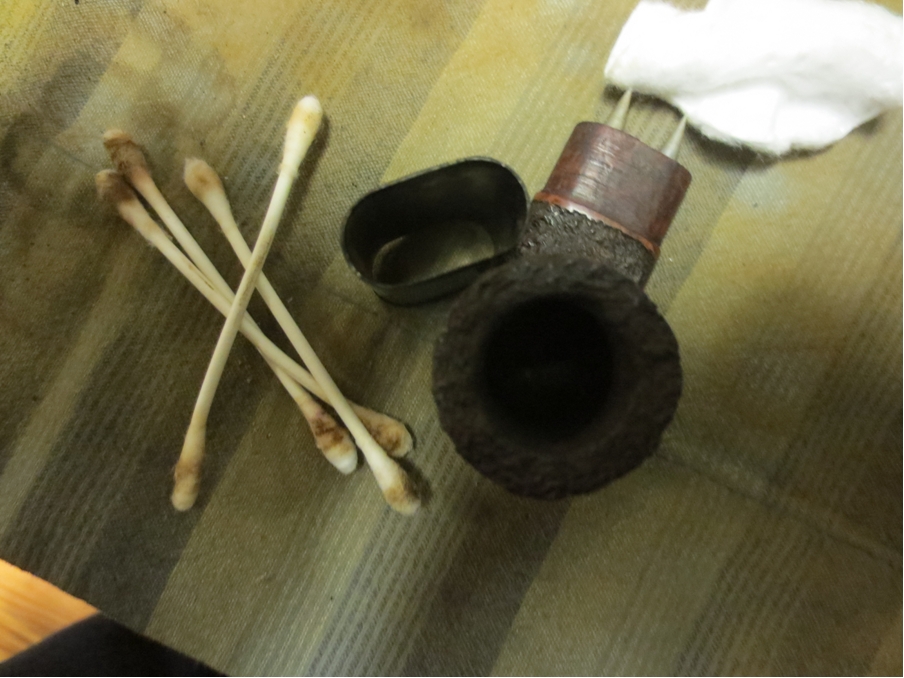
 I cleaned the internals of the mortise, shank extension, tenon chamber and the stem air way using hard bristled/ normal pipe cleaners and q-tips dipped in alcohol. I followed up the cleaning of the internals of the pipe by external cleaning of the stummel with a hard bristled toothbrush and undiluted Murphy’s oil soap.


 I wanted to highlight the grains seen on the stummel. To achieve this aim, I sand down the stummel and rim top using micromesh pads, wet sanding with 1500 to 2400 grit pads and dry sanding with 3200 to 12000 grit pads. The stummel now has a deep shine with grains popping out with magnificent contrast. I also sand the caramel colored aluminum extension with the micromesh pads to bring out the luster of the dark golden brown.

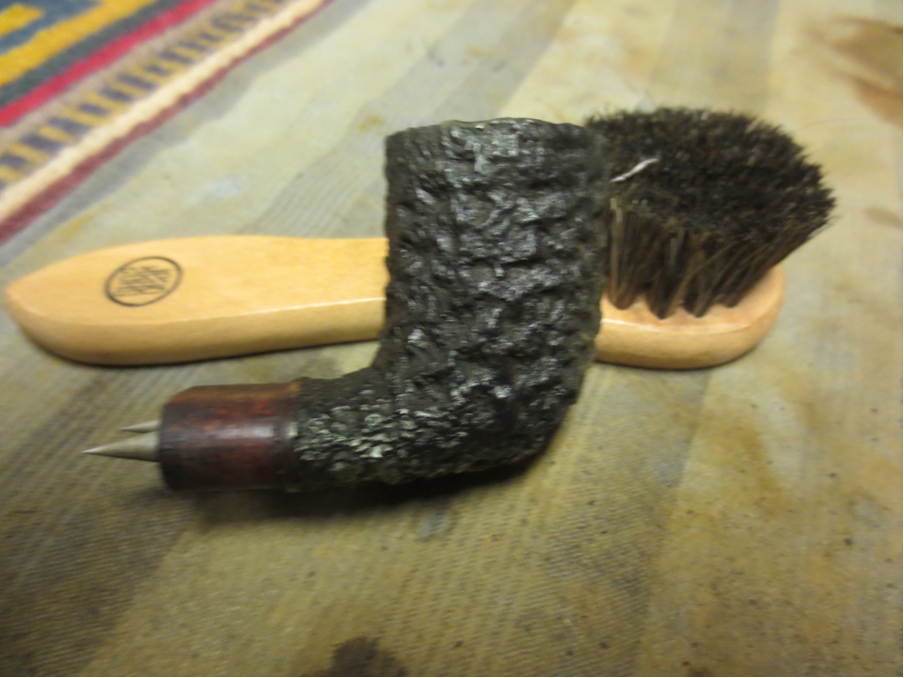
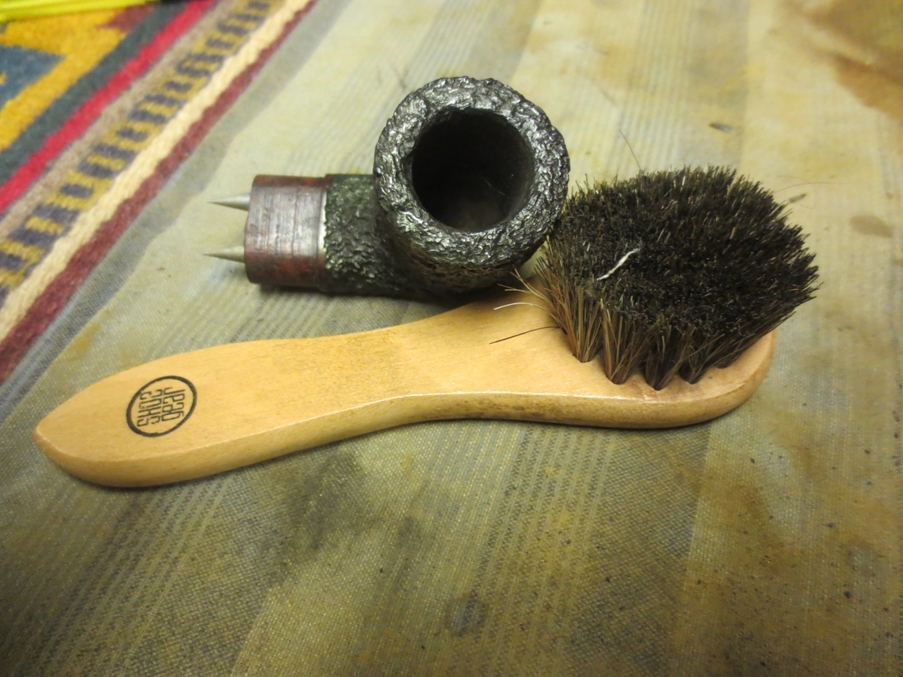
 I rub a small quantity of “Before and After Restoration Balm” in to briar and let it rest for a few minutes. The balm almost immediately works its magic and the briar now has a nice vibrant appearance. I further buff it with a horse hair shoe brush.

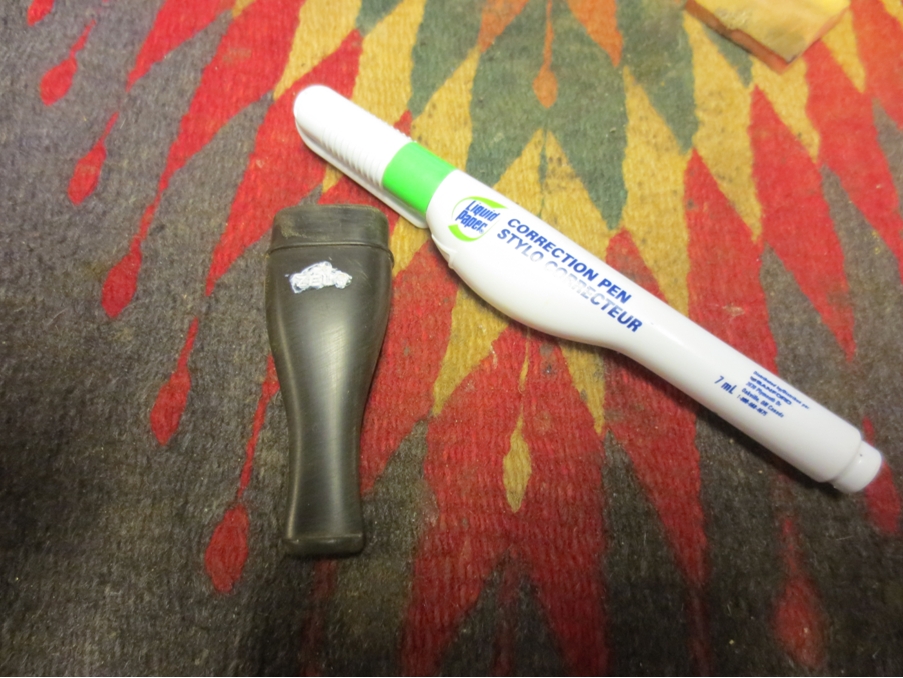
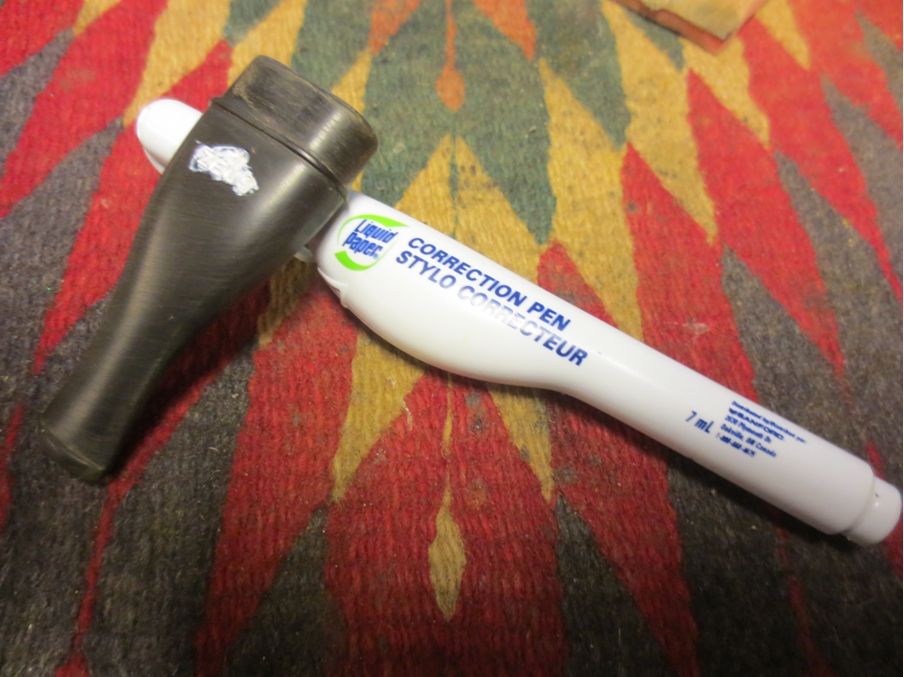
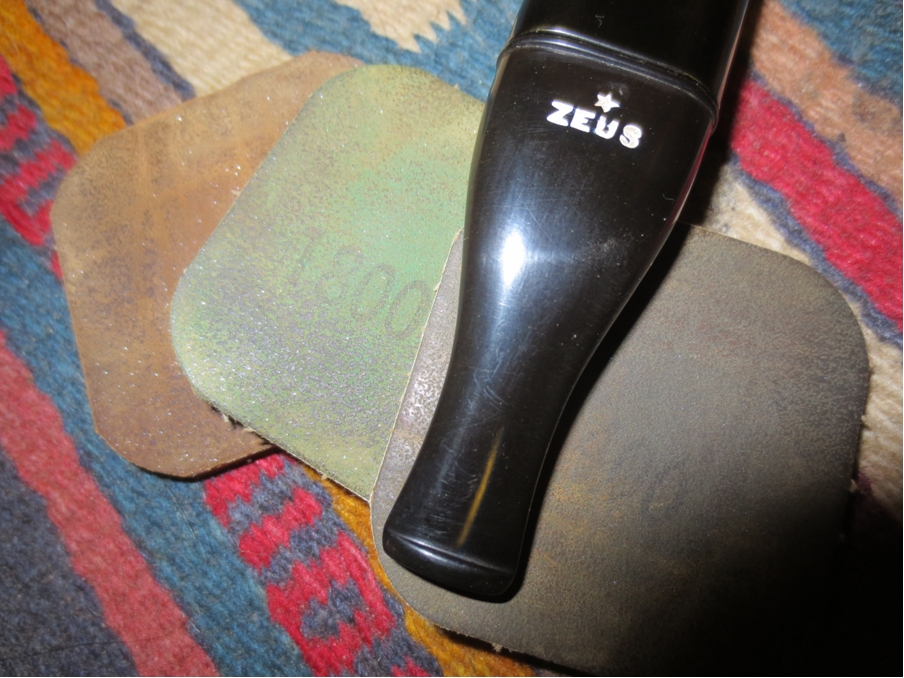
 Next, I worked on the stem. I sharpened the lip edges using a needle file. I sand the entire stem with 220 followed by 400 and 800 grit sand paper. This helps to reduce the sanding marks left behind by the more abrasive 220 grit paper. To bring a deep shine to the vulcanite stem, I went through the complete set of micromesh pads, wet sanding with 1500 to 2400 grit pads and dry sanding with 3200 to 12000 grit pads. I wiped the stem with alcohol after each pad and rubbed it down with Extra Virgin Olive oil. The pictures of the process and final results are shown below.
 To finish, I re-attach the stem with the stummel. I mount a cotton cloth buffing wheel on to my locally procured machine which is similar to a Dremel. I set the speed at about half of the full power and applied White Diamond compound to the entire pipe. I wiped/ buffed the pipe with a soft cotton cloth to clear it of any leftover compound dust. I then mounted another cotton cloth wheel on to the polishing machine and applied several coats of carnauba wax. I finished the restoration by giving the entire pipe a rigorous hand buffing using a microfiber cloth to raise the shine further.
 The last functional aspect which I addressed at this stage was the protection of the walls of the chamber against the possibility of a developing serious heat fissures. I mix activated charcoal and yogurt to a consistency which allows for an easy and even spread and evenly apply it on the inner walls and set it aside to dry out naturally. This coating helps in protecting the wall surface and assists in quicker formation of a cake.
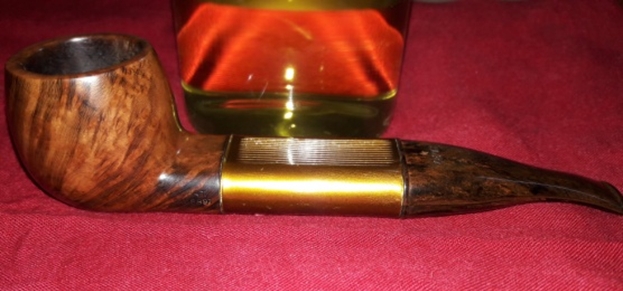
 The completed pipe, with the dark brown hues of the stummel complemented by golden caramel colored aluminum extension and the Cumberland stem, looks lovely, fresh and vibrant. In fact, the finished pipe looks more beautiful and unique in person than in photographs!! The rarity, beauty and shape of this pipe make me feel fortunate to have inherited such unique pieces of pipe history…………… Cheers!!


 PS: While discussing this pipe with my guru and mentor, Mr. Steve, he remarked that this is only the second “ZEUS” that he has come across to this day, the first being in his personal collection!! And this comes from a gentleman who is working and collecting pipes for decades!!
This pipe was worked on at different place, both by Abha and self at different points in time and pictures were clicked on different backgrounds as available to us using different phone cameras! Hence there is a variation in the background and difference in picture quality. And I am still struggling and experimenting with best background and angles for taking photographs which will accentuate the beauty of the completed pipe!