Blog by Steve Laug
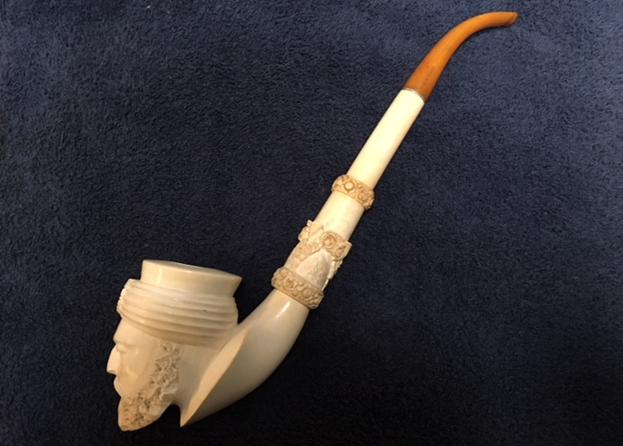
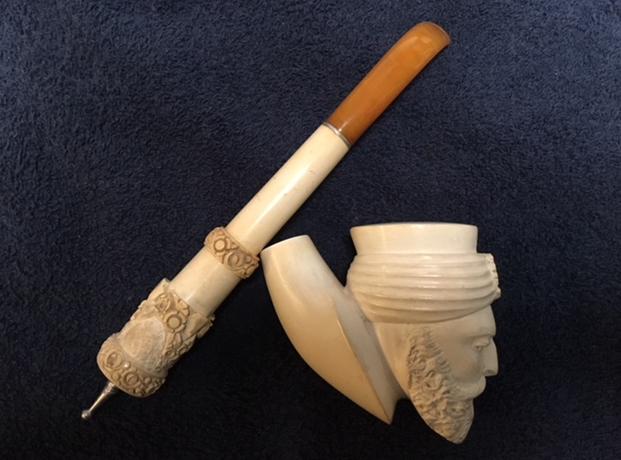
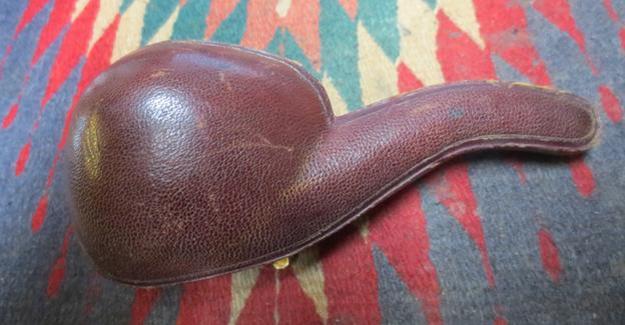
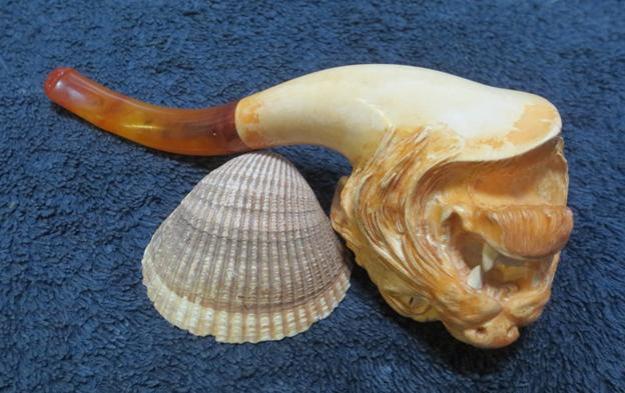
My brother Jeff was contacted by a fellow in Scotland who had a couple of meerschaum pipes that he wished to sell. This was one of them – a large, long shank, full bent, carved Sultan head with roses carved at intervals along the shank. It was in unsmoked, new old stock condition. The bowl is pristine and other than a few scratches so was the exterior. The shank and bowl have some colouration to it that I think must be due to the original waxing the bowl received when it left Turkey. The stem was an amber acrylic that had dulled over time but did not have any tooth marks or scratches. It had an orific opening in the button. On the right side of the stem near the shank/stem junction it is stamped Made in Turkey. The tenon is a threaded metal with a stinger apparatus integrated into the unit. There is also another metal stinger apparatus attaching the shank extension to the shank coming out of the bowl. I have never seen this type of connection in a meerschaum but I am sure others of you might have. The airflow seems unrestricted when either sucked on or blown through. It is a well carved pipe that needs polishing and simple cleaning.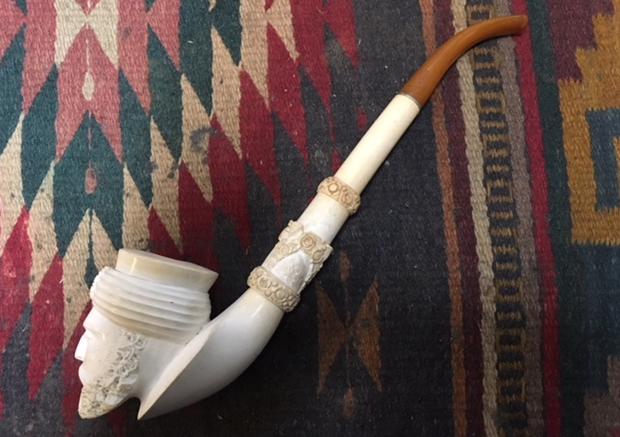
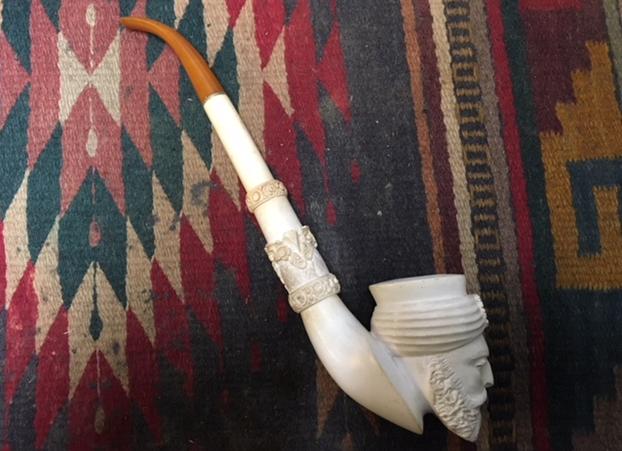
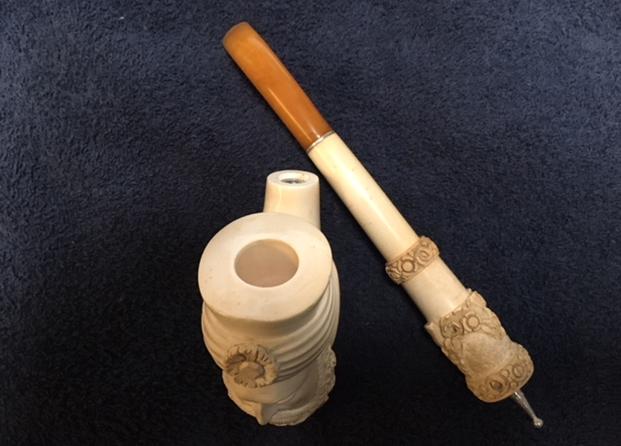
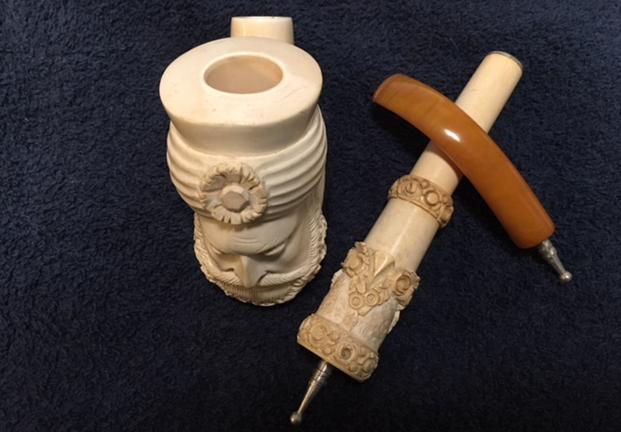
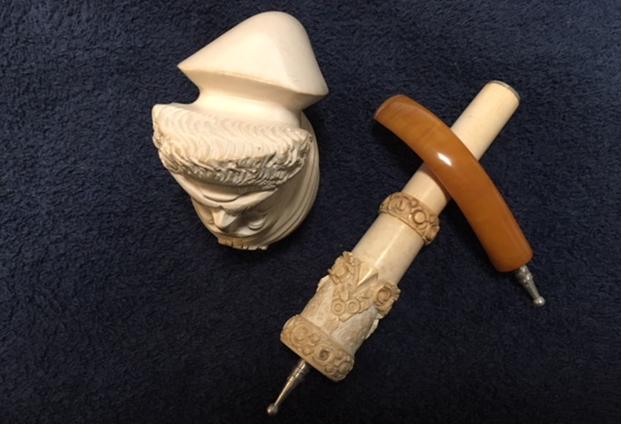
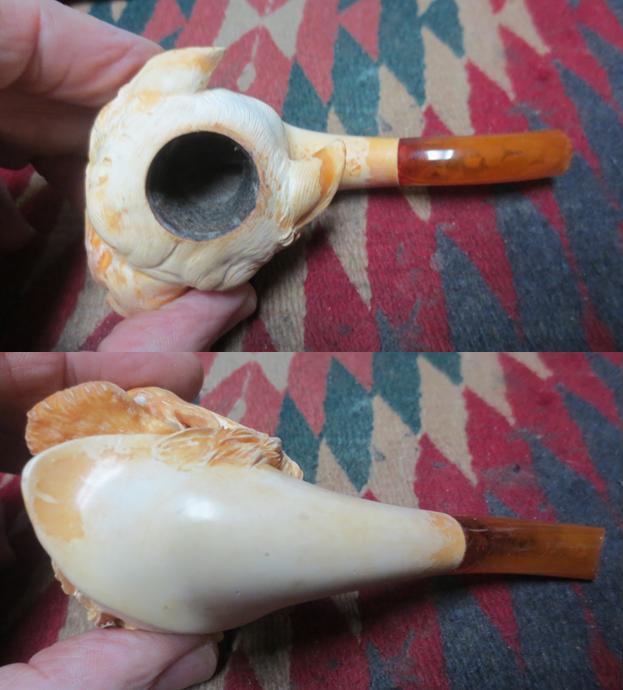
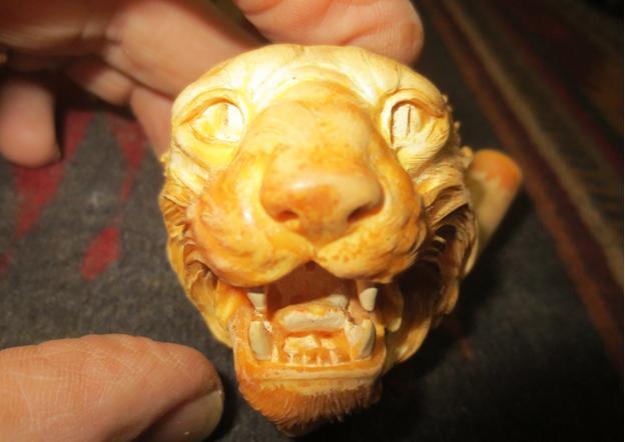
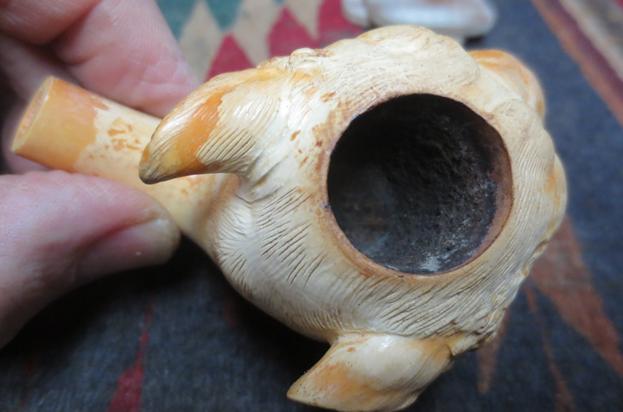
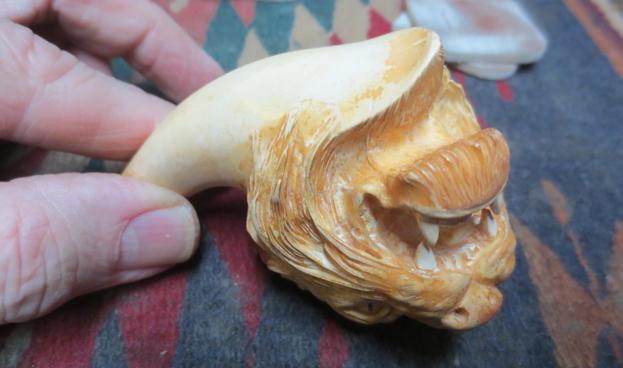
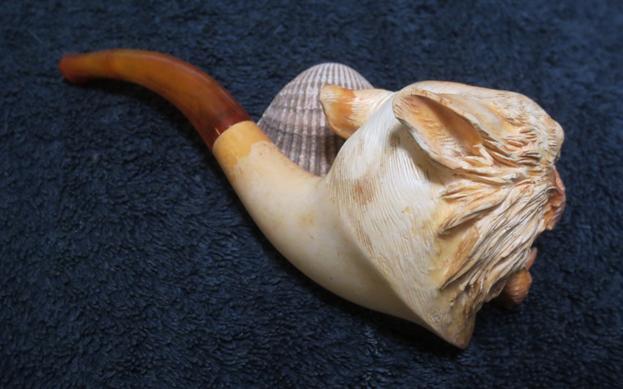
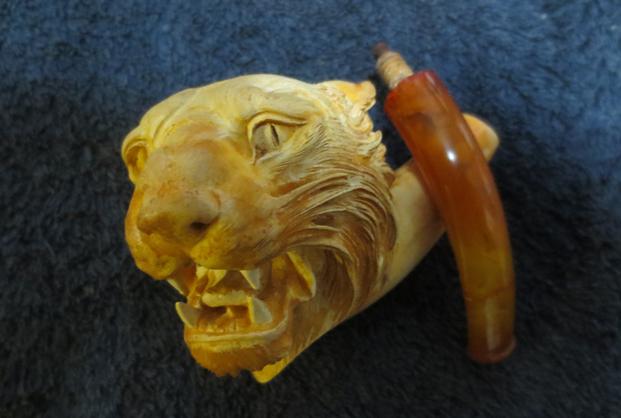
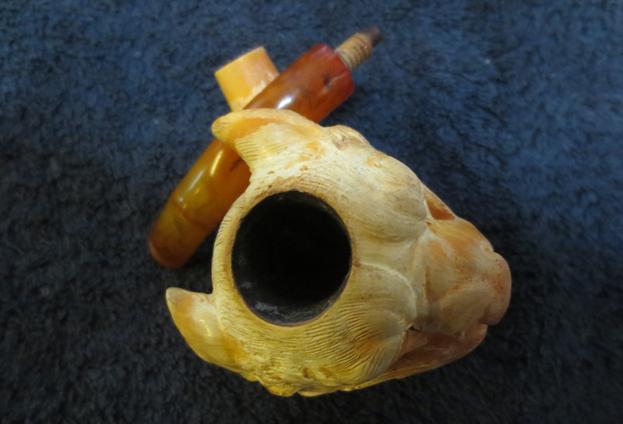
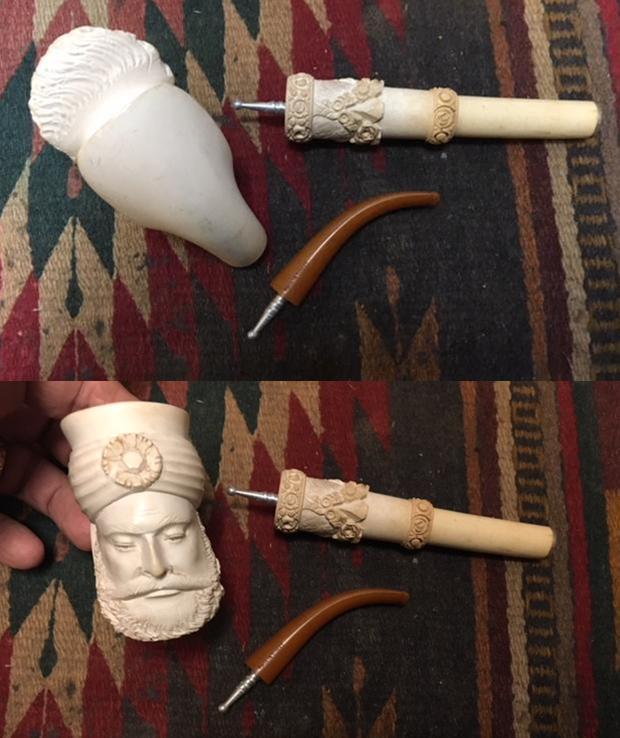
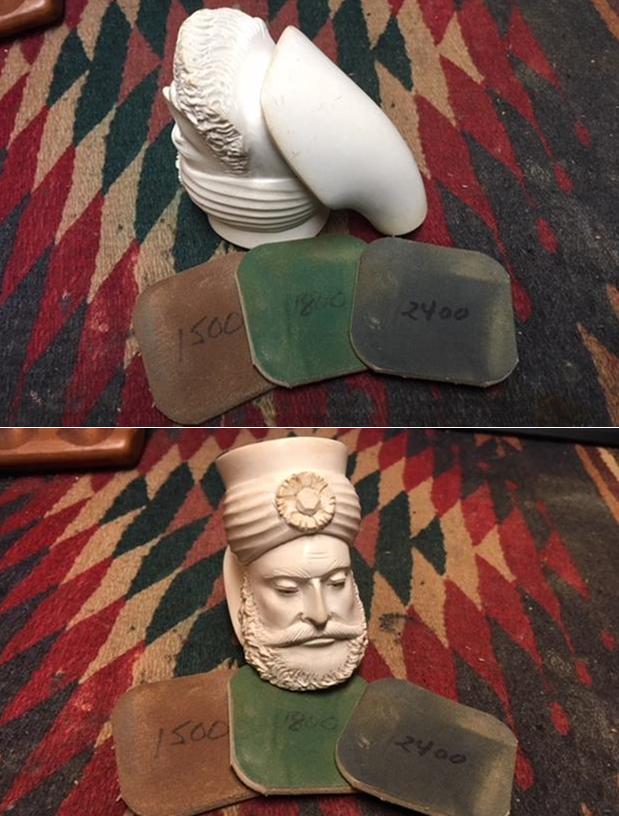
 I took some close up photos of the carving and the bowl. The airway enters the bowl at the bottom in the middle. The rim top shows a scratch near my thumb. It is unsmoked as can be seen by the first photo. The second photo shows the carved Sultan head from the front. It is well executed and carved.
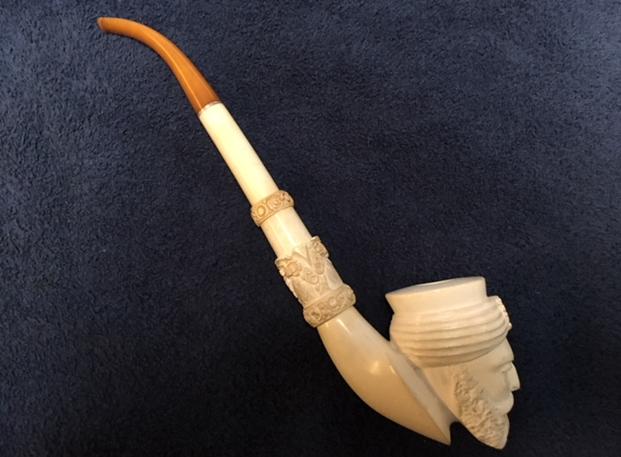
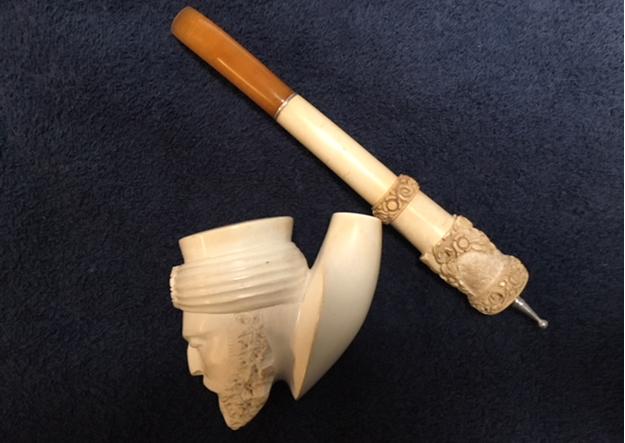
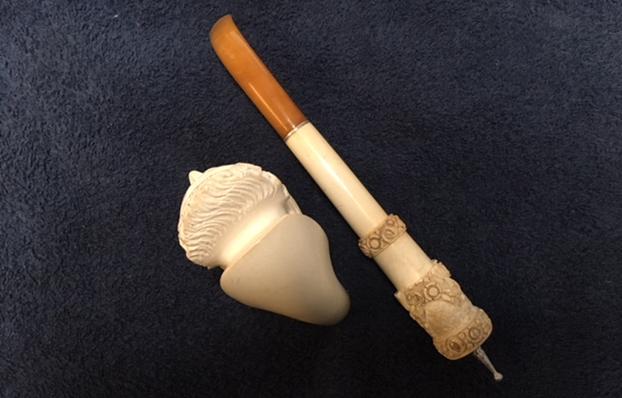
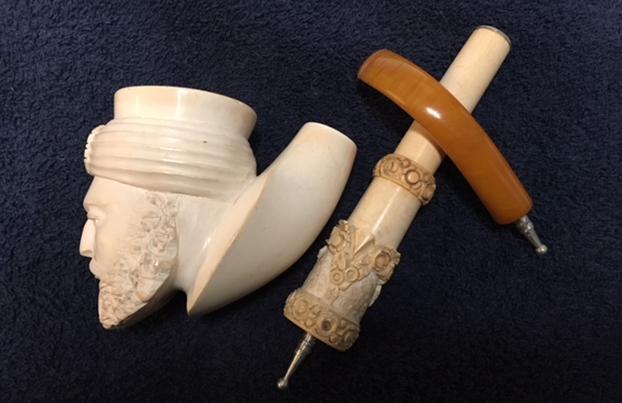
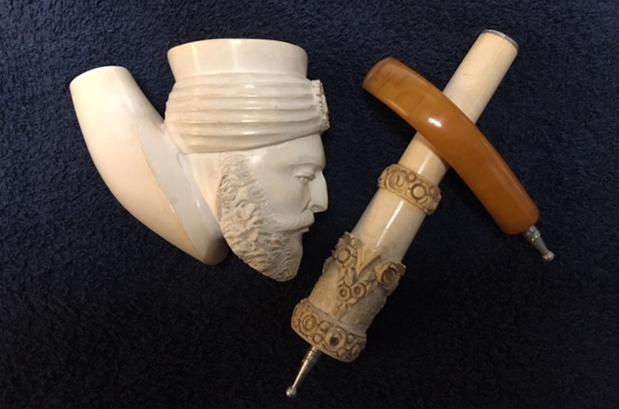
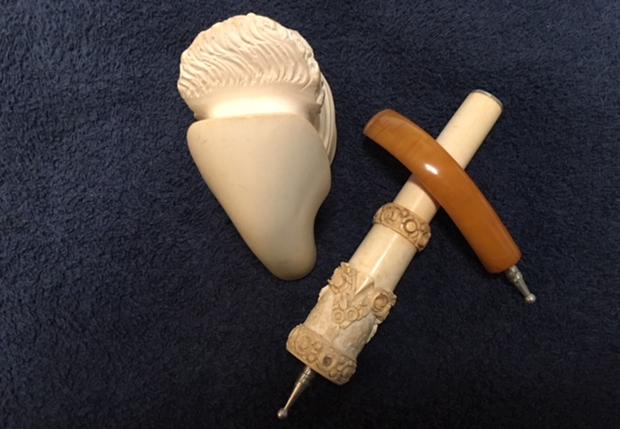
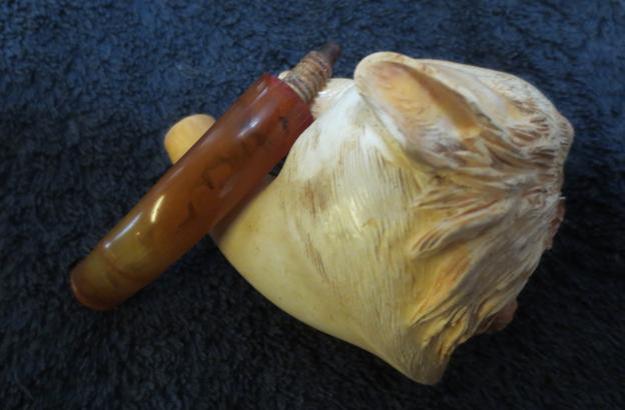
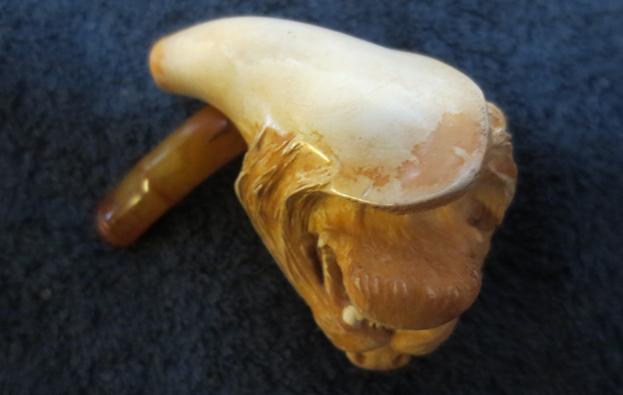
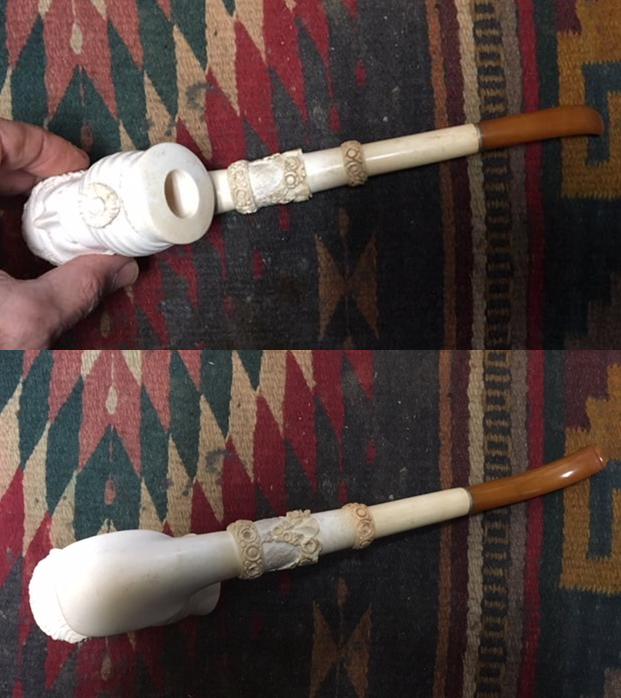
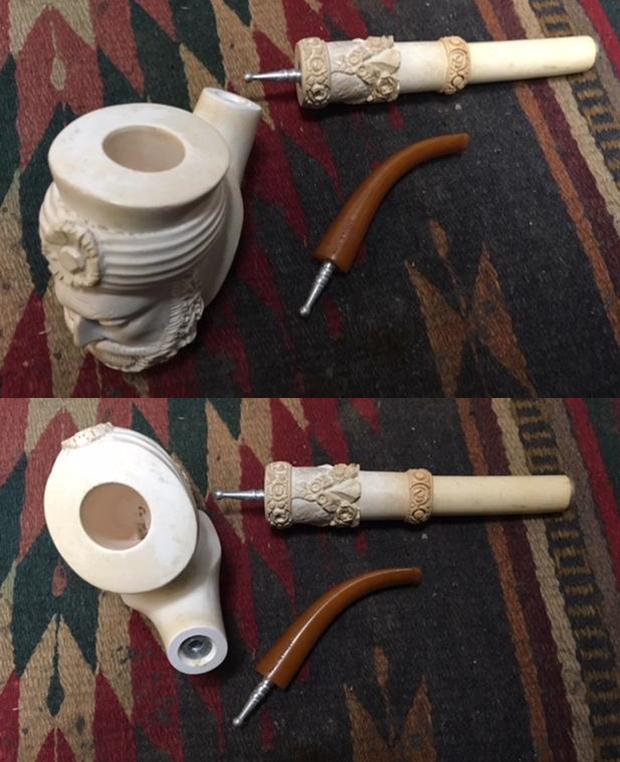
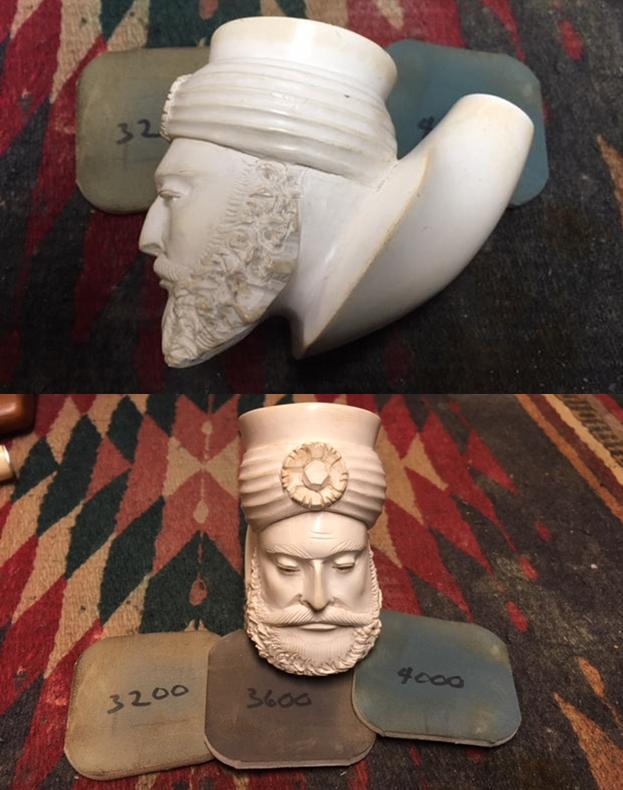
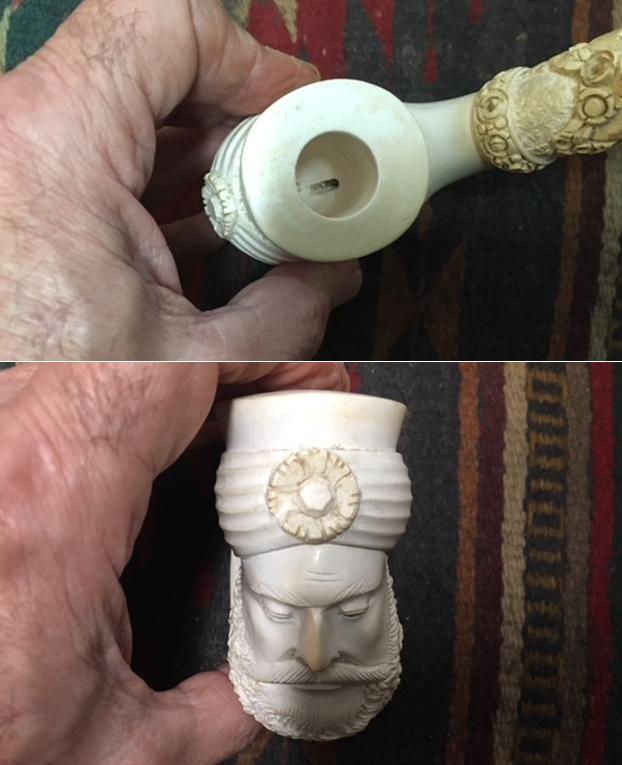 I took the pipe apart and took photos of the various parts from different angles to show the carving on the shank and the bowl. The rose pattern on the shank extension and the details of the beard are well carved. The metal stinger connector on the stem and the shank extension are visible as well. The diameter of the stem does not match the diameter of the shank so that the pipe cannot be used in a shorter configuration. Scrolling through the photos below gives you a good idea of the condition of the pipe and the details of the carving.
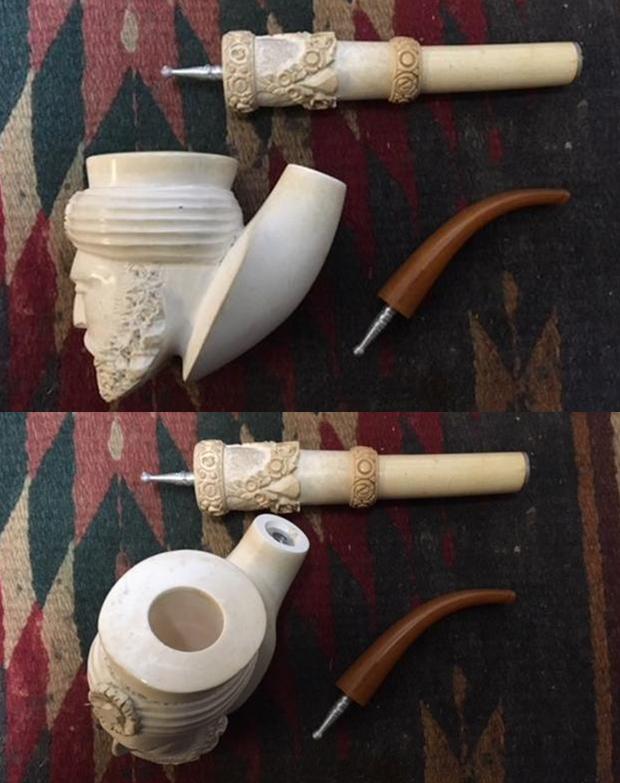
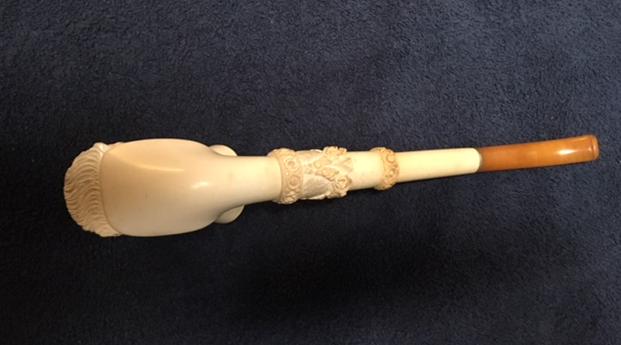
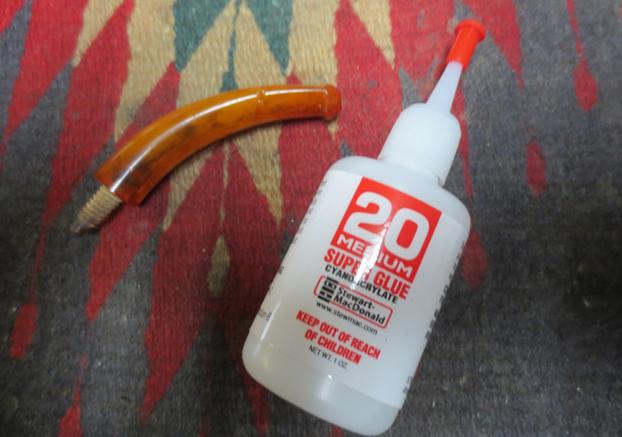
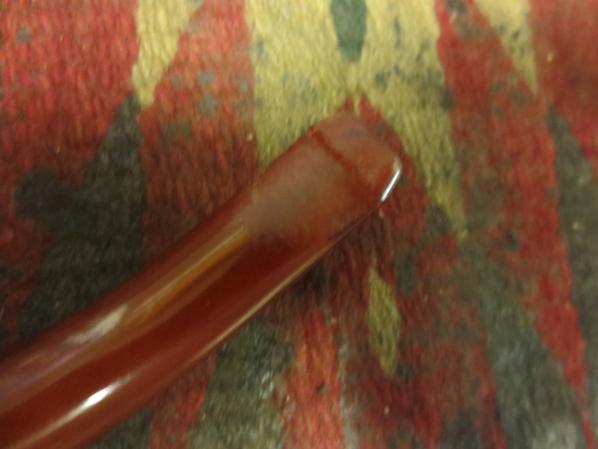
 I took some photos of the acrylic stem to show its condition before I started to polish and restore the pipe. It is amber, almost butterscotch coloured acrylic with some interesting patterns in the swirls. The threaded metal tenon is a single unit so to remove the stinger would entail clipping the ball off the end of the threaded tenon. I am not willing to do that and will leave it intact.
 I ran some pipe cleaners through the stem to remove the debris of time in the airway and button. What came out was some dust from the original drilling that was the same colour as the stem material. Otherwise the stem was very clean and unsmoked.
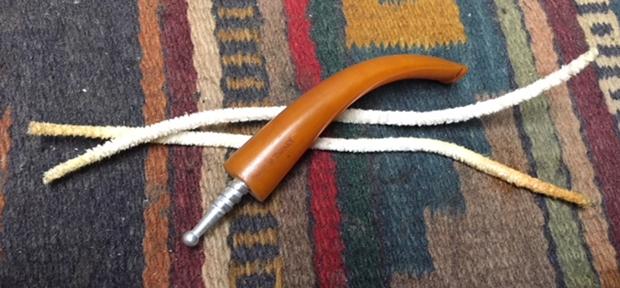 The tenon was slightly overclocked so I gave it a coat of clear fingernail polish to build up the threads so that when it was in place in the shank it aligned properly.
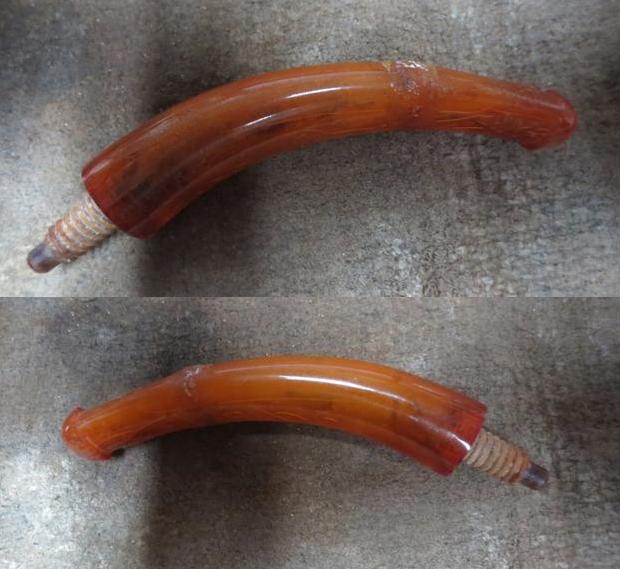
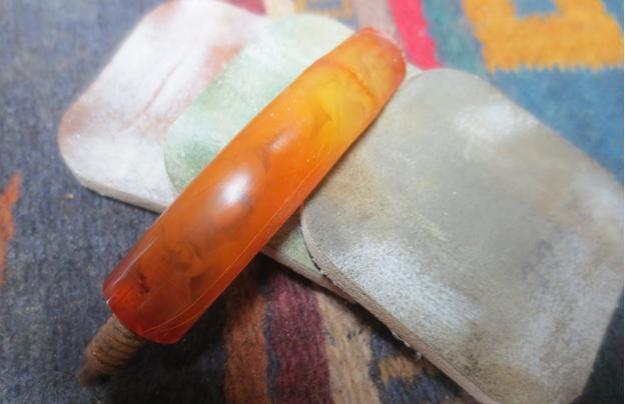
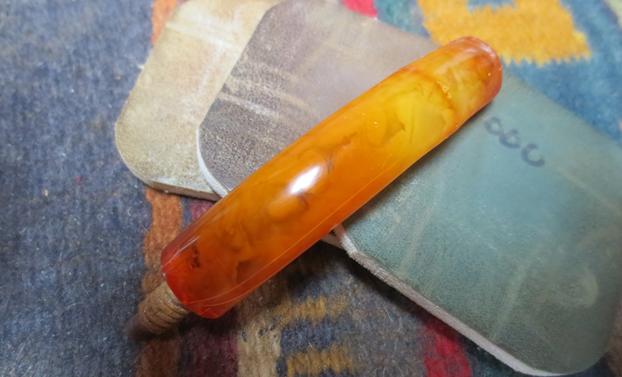
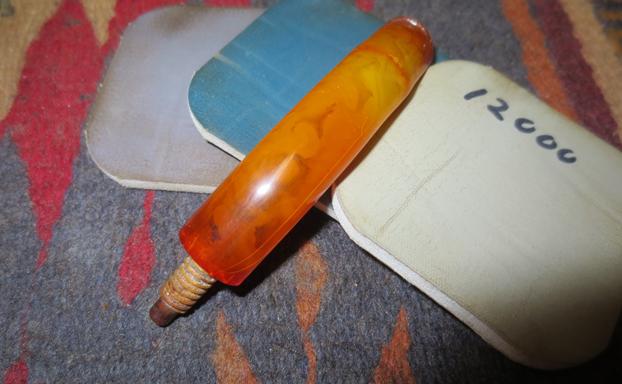
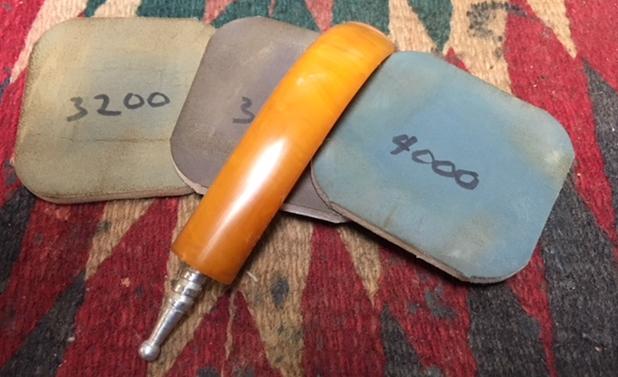
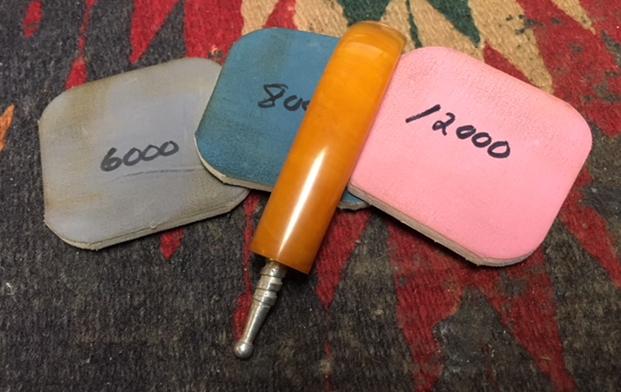
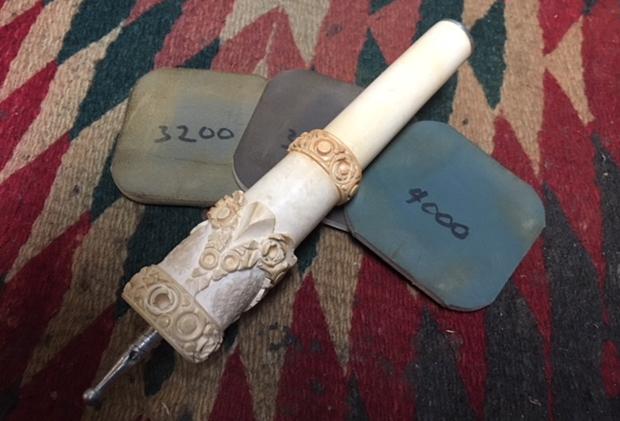
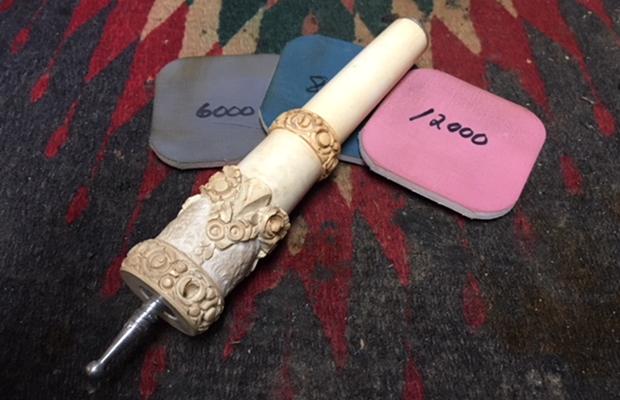
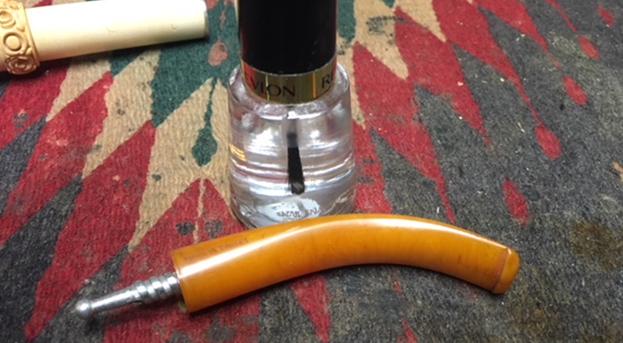 I polished the stem with micromesh sanding pads – wet sanding with 1500-2400 grit pads and dry sanding with 3200-12000 grit pads. Some wet sand with all the pads but I have found that generally just wet sanding with the initial three grits is sufficient to remove the deeper scratches. The rest of the pads further polish the stem material.
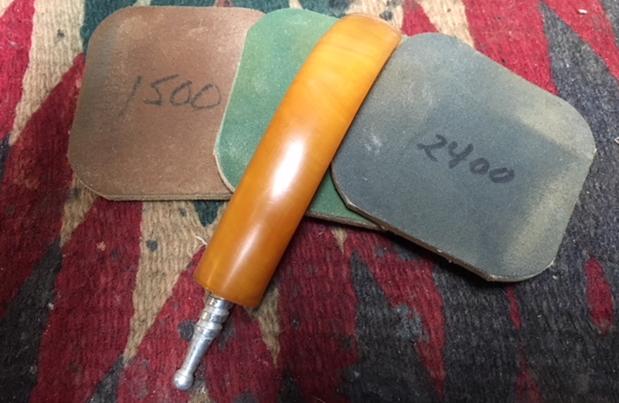
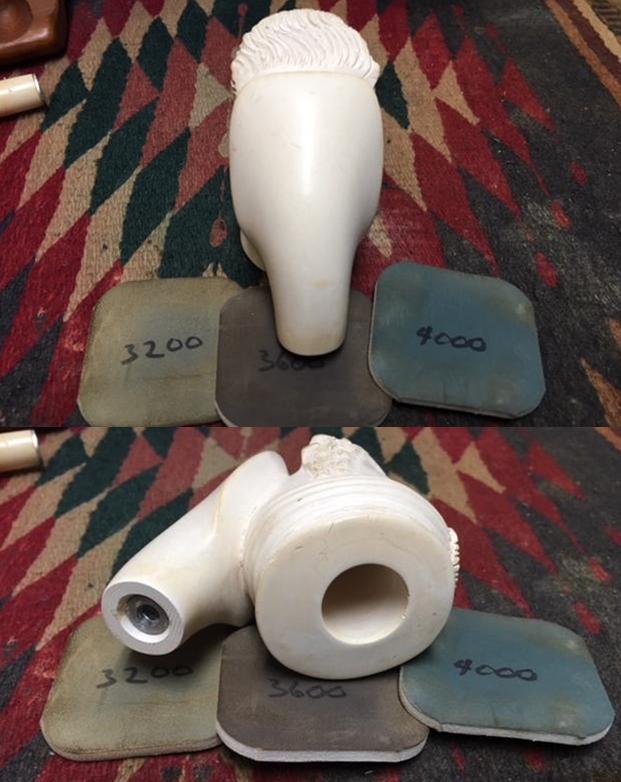
 I polished the shank extension with micromesh as well. I sanded the smooth portions with 1500-12000 grit pads to raise a shine. I lightly went over the smooth surfaces of the roses to polish them. You can see the shine develop through the photos below.
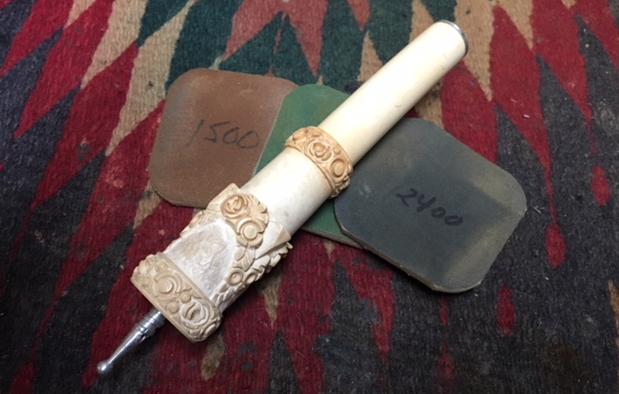
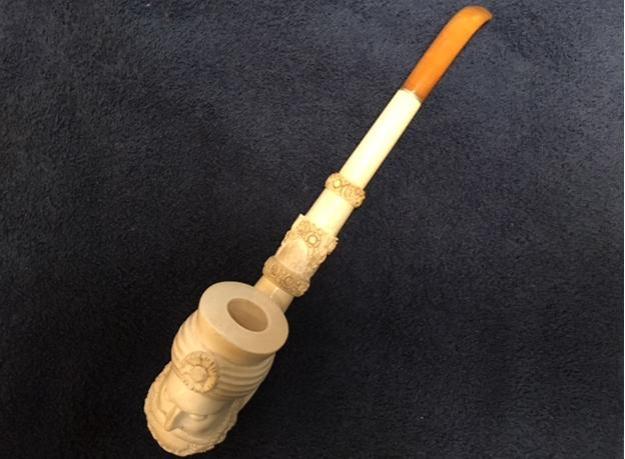
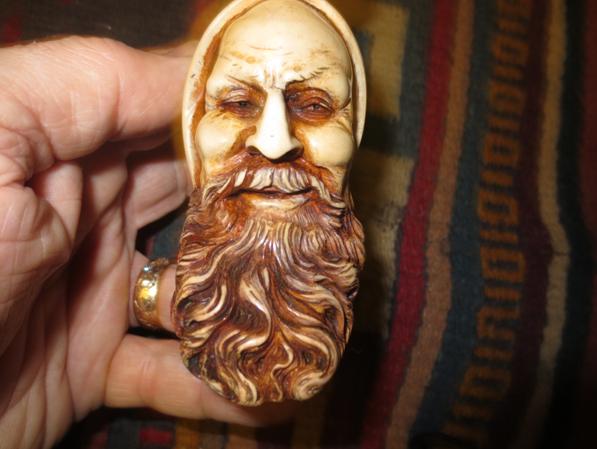
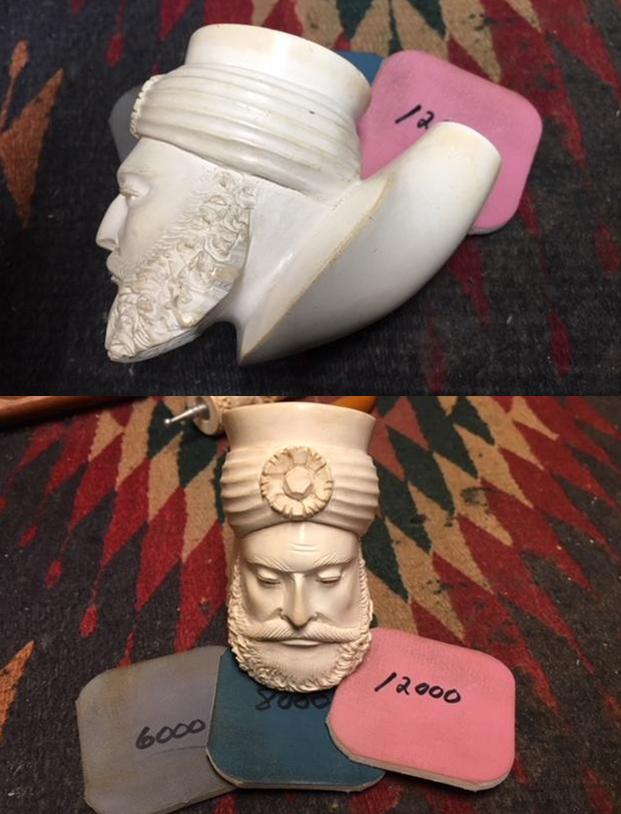
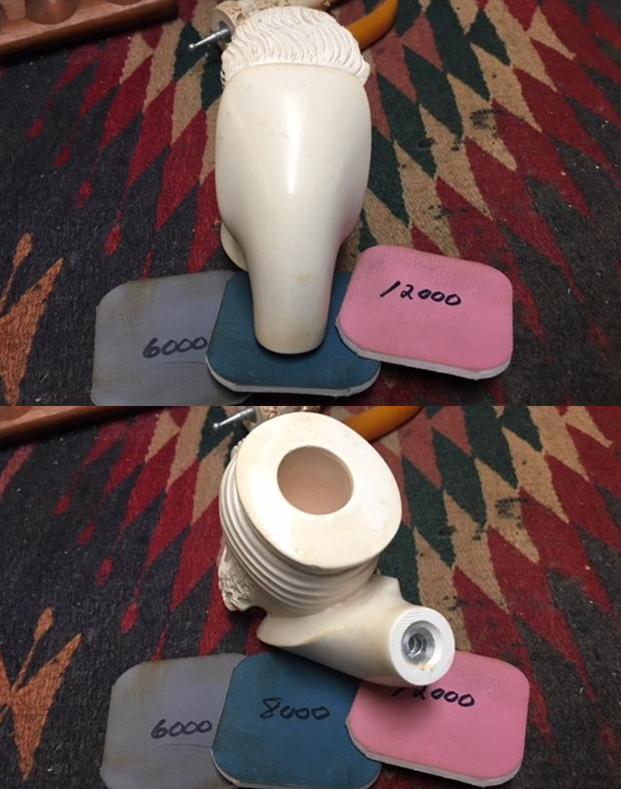
 With the rest of the pipe polished it was time to turn my attention to the bowl. I wet sanded all of the smooth portions of the rim, the Sultan’s turban around the top portion of the bowl and the shank and collar of the pipe. I carefully worked on the cheeks and forehead of the carved face with the micromesh to shine it as well. I gently polished the smooth surfaces of the rosette on the turban and the beard of the figure with micromesh pads. The photos below show the developing shine on the bowl.
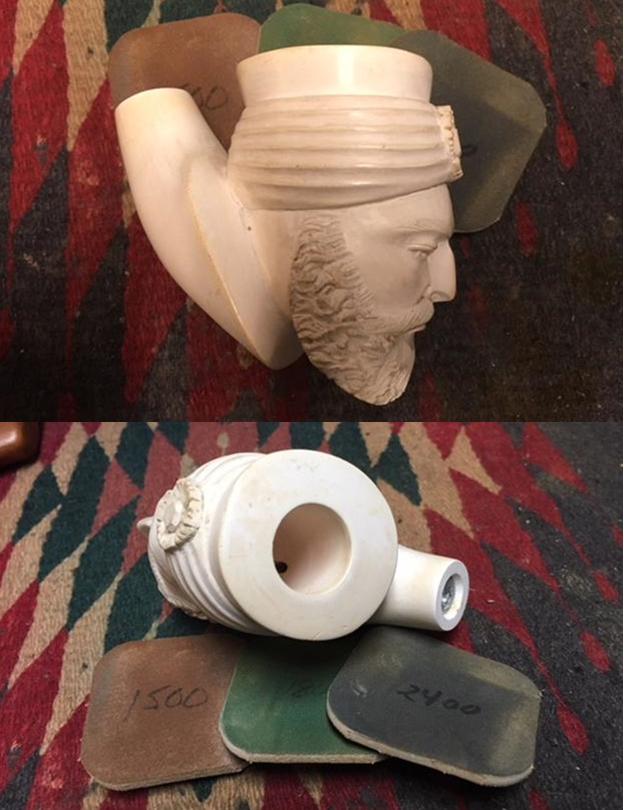
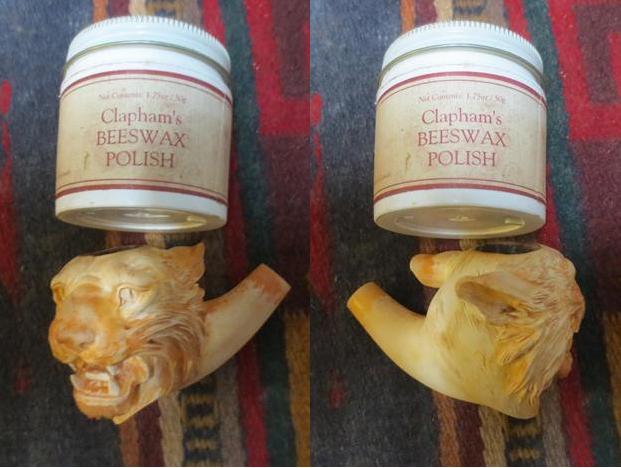
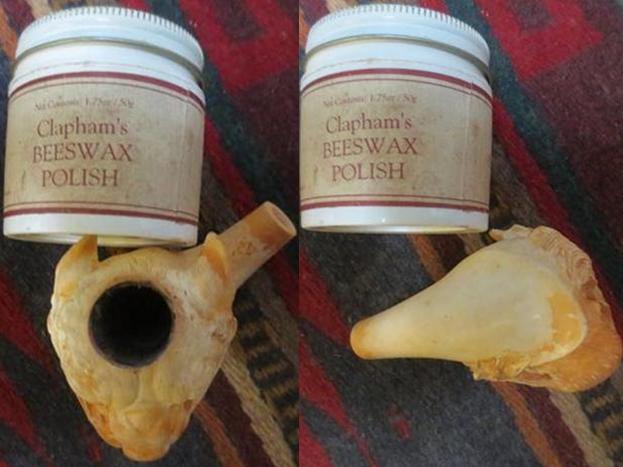
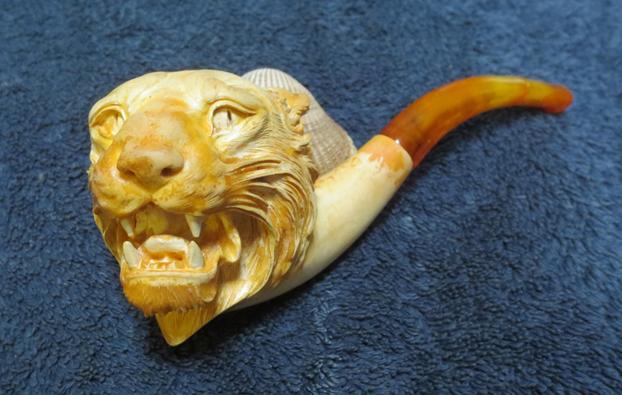
 This large, carved figural meerschaum is a real beauty with well carved features of a sultan head on the bowl flowing into the shoulders on the shank. There is a shank extension with roses carved around the round tube and diagonally up the sides. There are rustic portions in between the first two rings of roses. The shank then transitions to a smooth portion for about an inch, another ring of roses and then a smooth shank up to the end where there is a metal insert in the tenon to separate the stem from the shank. The stem is a screw in type with a metal stinger. The material is an amber acrylic that is in great condition. The unsmoked bowl and smooth rim top is in perfect condition. The acrylic stem is high quality and shined up well. I carefully buffed the bowl by hand using a shoe brush and waxed it with Conservator’s Wax. I buffed it again with the shoe brush to raise the shine on the meerschaum and acrylic. I hand buffed the entire pipe with a microfiber cloth to deepen the shine. The finished pipe is shown in the photos below. The new old stock meerschaum is slightly coloured from the wax and sitting but it is unsmoked and ready to break in. The dimensions of the pipe are: Length: 11 1/2 inches, Height: 3 inches, Outside Diameter: 1 3/4 inches, Diameter of the chamber: 3/4 inches, Chamber Depth: 1 ¾ inches. This large meerschaum will fit really nicely into the collection of any meerschaum collector. I am still deciding whether to smoke it or sell it on the rebornpipes store. If you are interested in acquiring it let me know by email to slaug@uniserve.com or send me a Facebook message. Thanks for walking through the restoration with me.