Blog by Steve Laug
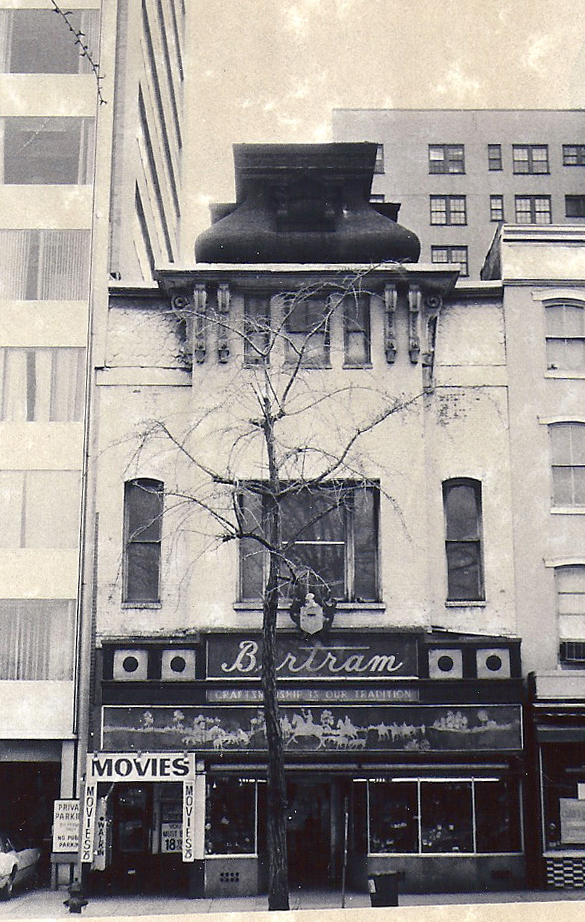
The second pipe from the foursome I bought on Ebay was a shapely apple and of all the foursome it was in the best shape. It was dirty and lightly caked but the stem was lightly oxidized and very clean. The shank was quite clean and fresh and took very little to clean out. It is stamped Bertram in script on the shank over Washington DC. It appears to also have a number on the shank to the left of the script. The first number is unreadable but the second is a 0. These numbers on the Bertrams told the price of the pipe and where it fit in the hierarchy of the line.
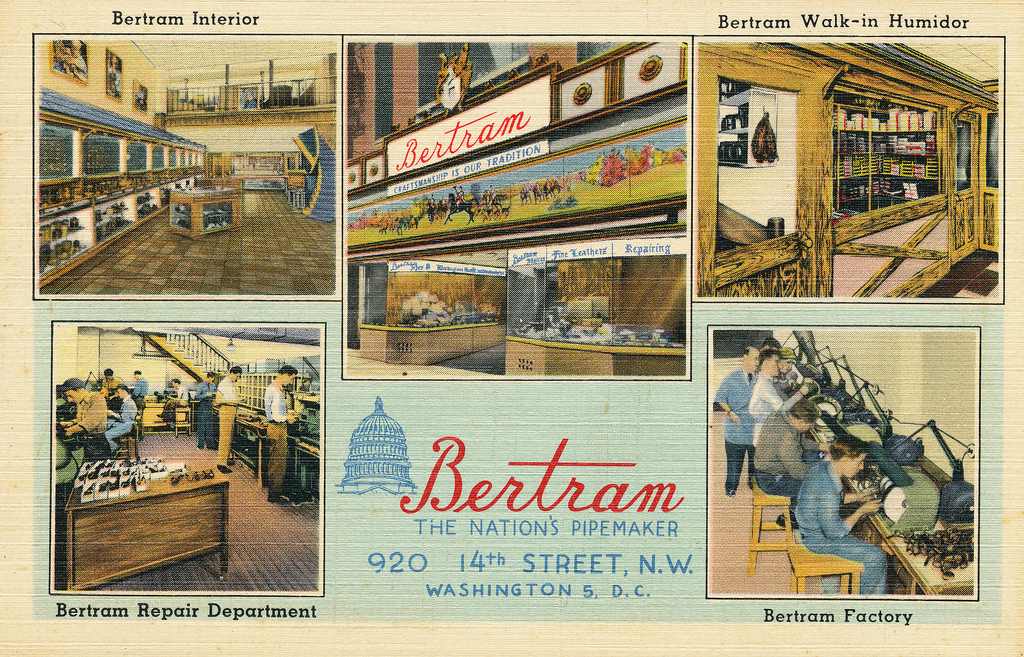
I have included the following link to give a bit of historical information on the pipe company. It is a well written article that gives a glimpse of the heart of the company. http://www.streetsofwashington.com/2012/01/bertrams-pipe-shop-on-14th-street.html#!
 In the photo below the Bertram is the pipe at the top of the picture. And in the second photo provided by the seller it is out of focus but the shape is clear.
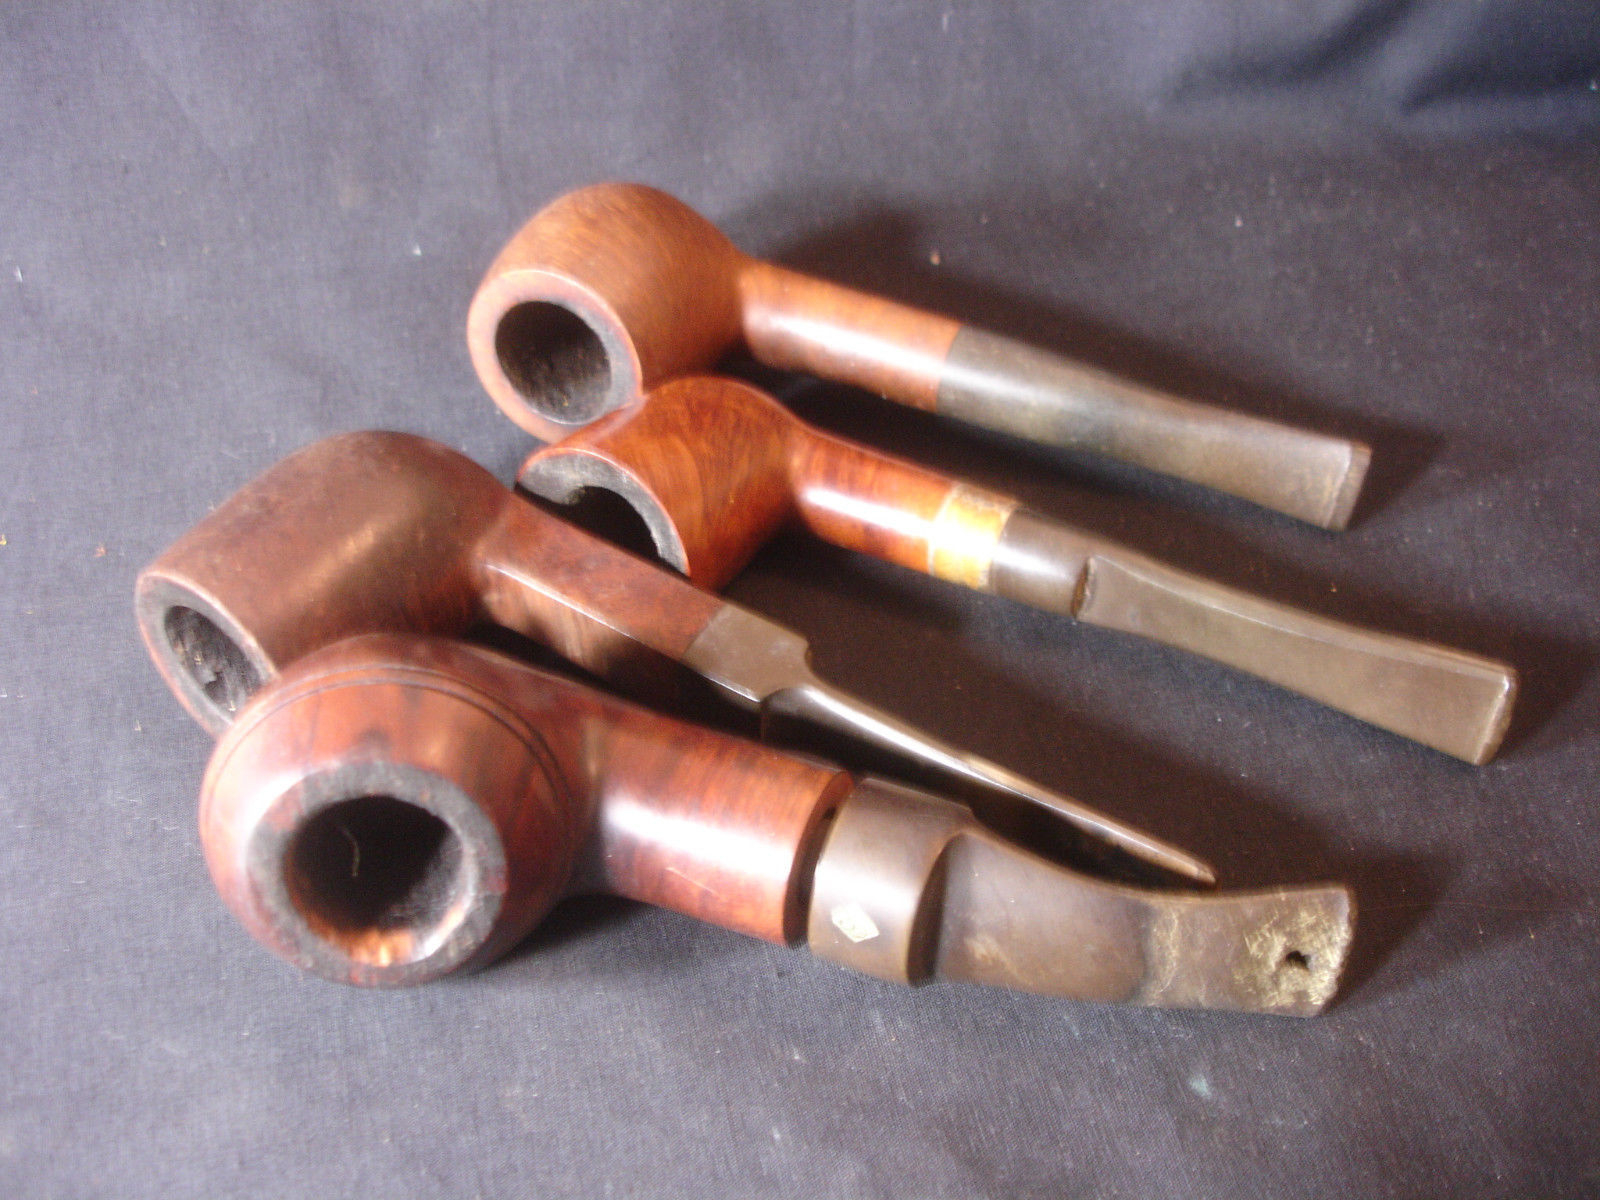
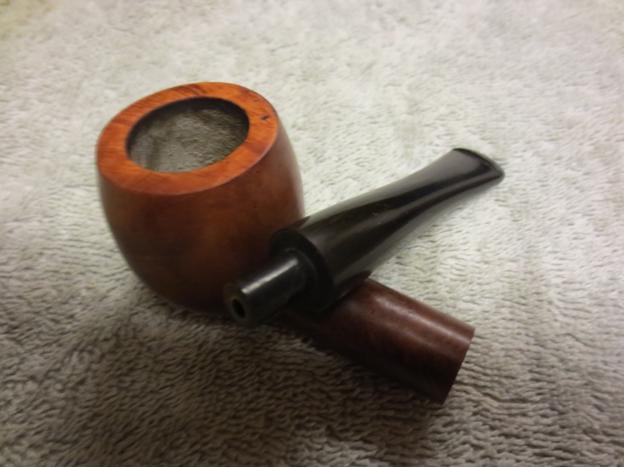
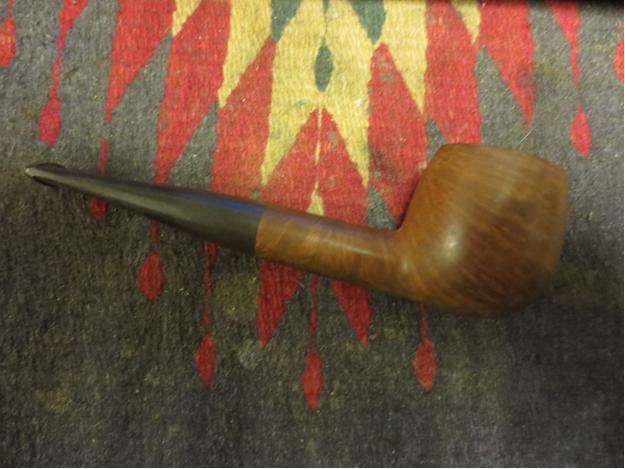
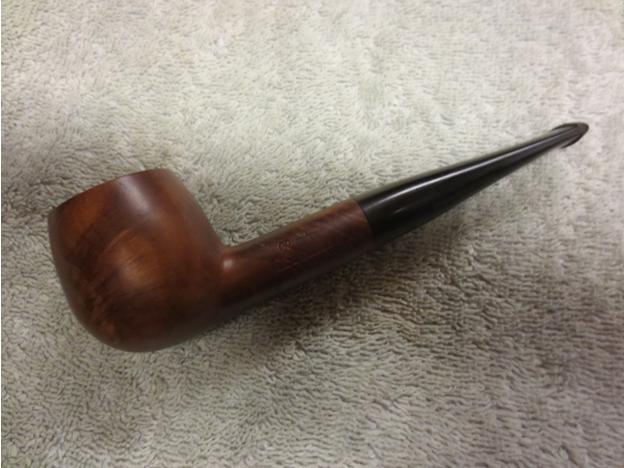
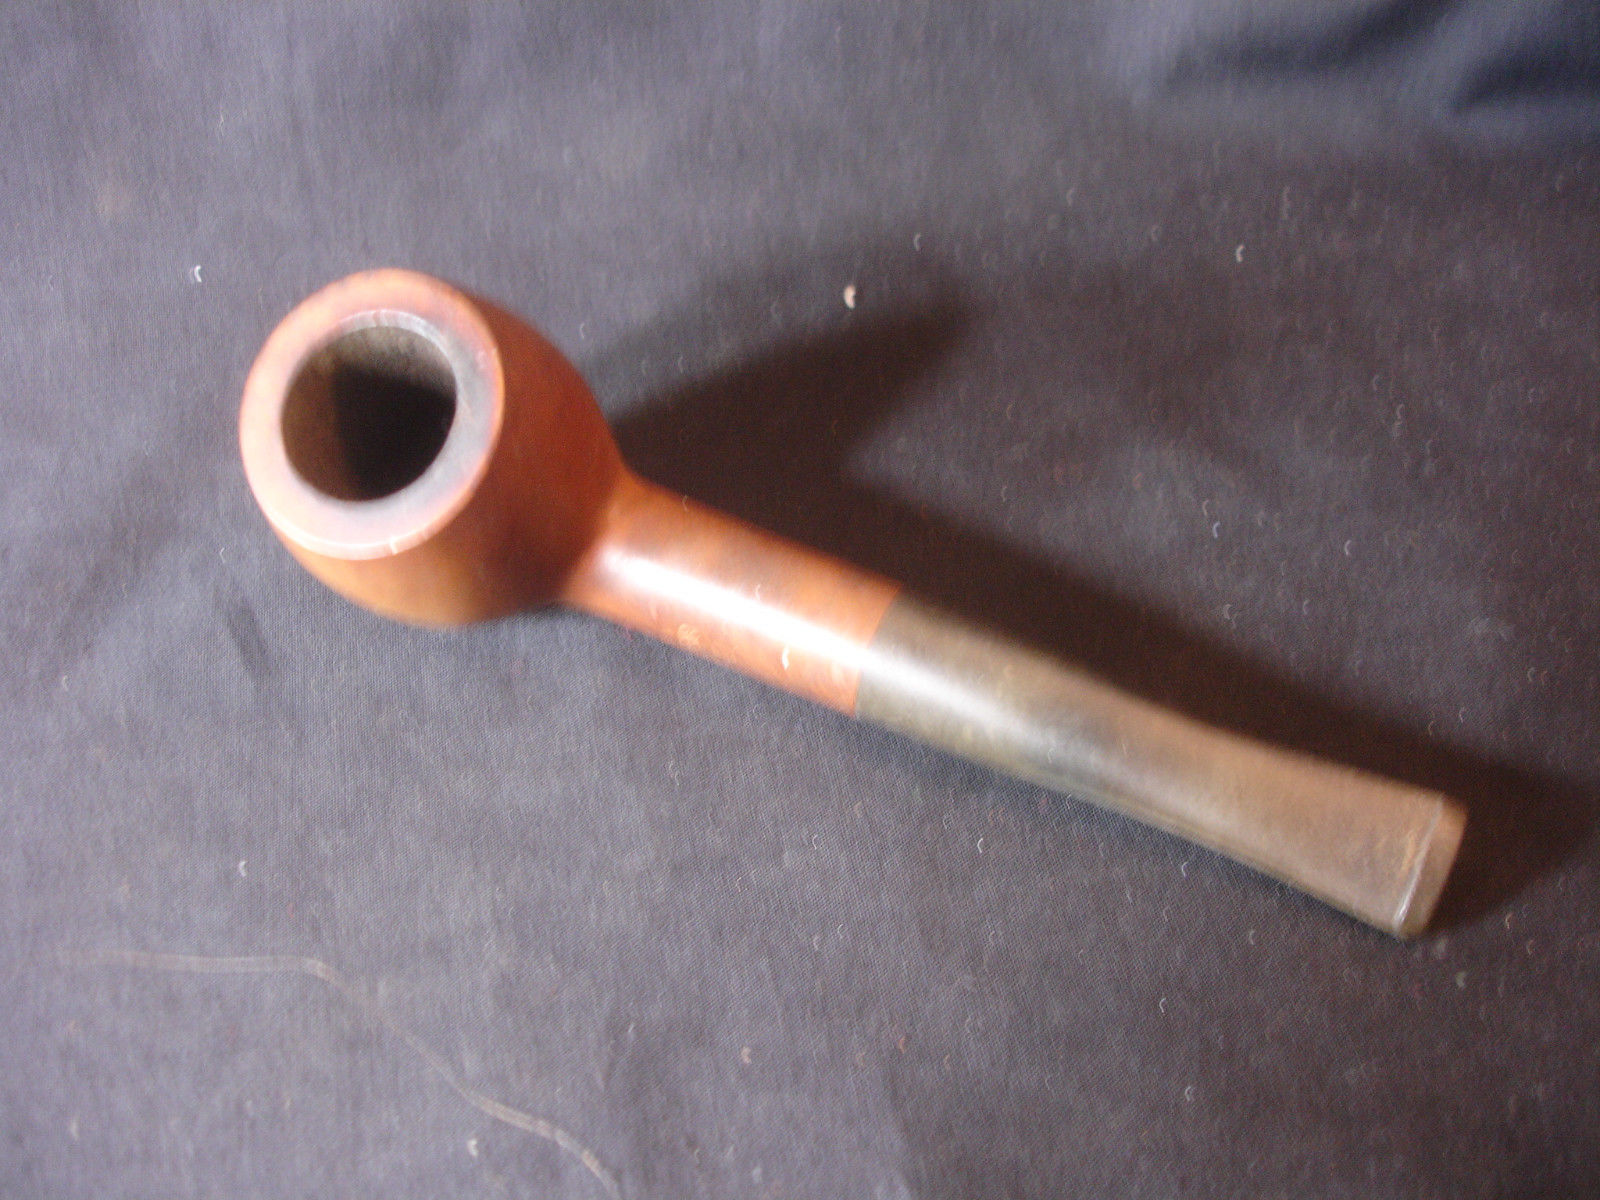 The next four photos show the overall state of the pipe when I brought it to the worktable last evening. The stem is lightly oxidized and appears to be high quality vulcanite. Unlike many of the Bertram stem I have had in the past this one does not have clunky sharp edges of a vulcanite blank. They had been sanded down (at the factory) to make the stem more tapered and finished looking. Bertrams did not typically have a stain or finish. They were polished briar in a natural finish. This one was dirty and had some ground in oils on the shank and sides of the bowl. The grain was a nice cross grain on the right side and mixed on the left. The bowl had a cake in the first 1/3 from the top. The rim was dirty with oils and tar and had a few dents and dings from being knocked about. The slot in the button was very tight – as I have found true of my other Bertram pipes and would need to be opened up to facilitate cleaning with a pipe cleaner. In examining the bowl there were several fills but they had been done well – the putty that was used was not the pink or white putty and had coloured along with the briar as the pipe was smoked.
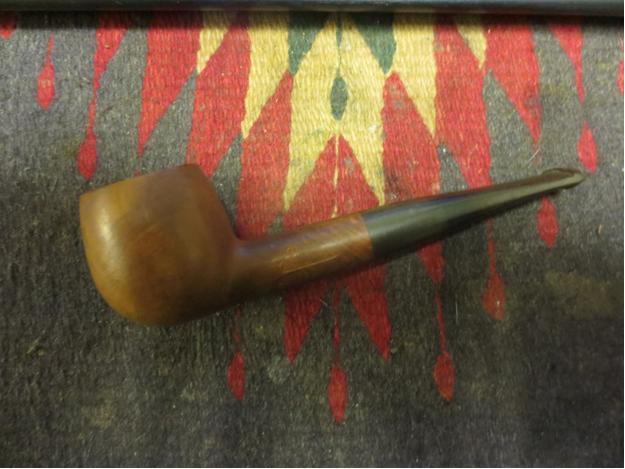
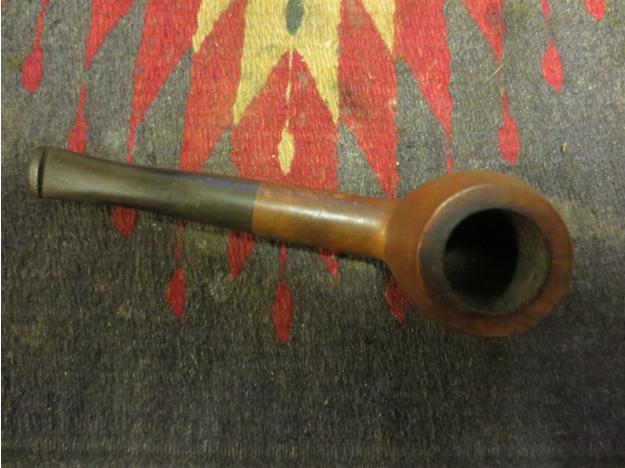
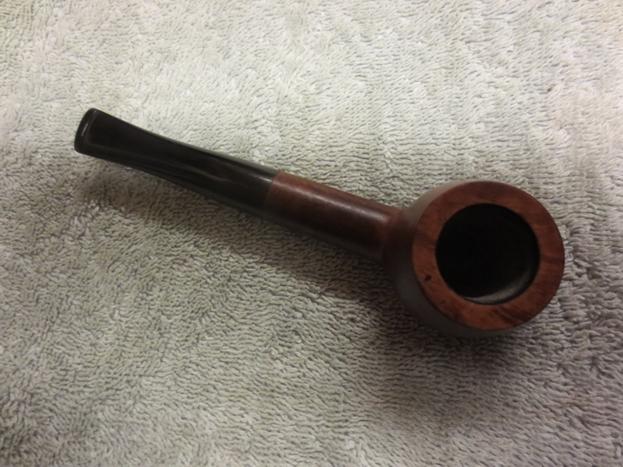
 The close up photo of the bowl shows the rim and the buildup of cake at the top of the bowl.
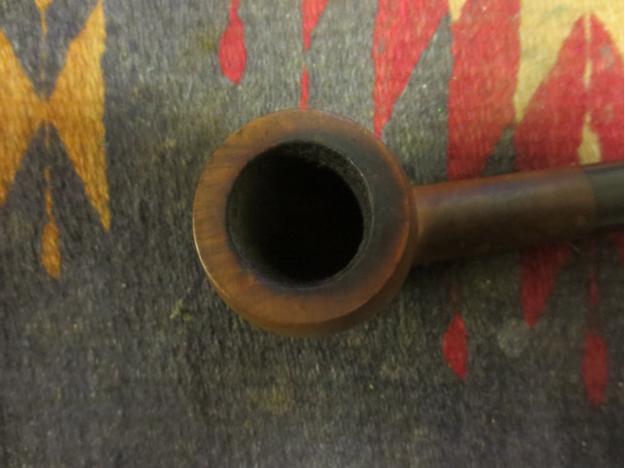 I reamed the bowl with a PipNet reamer, matching the cutting head to the diameter of the bowl.
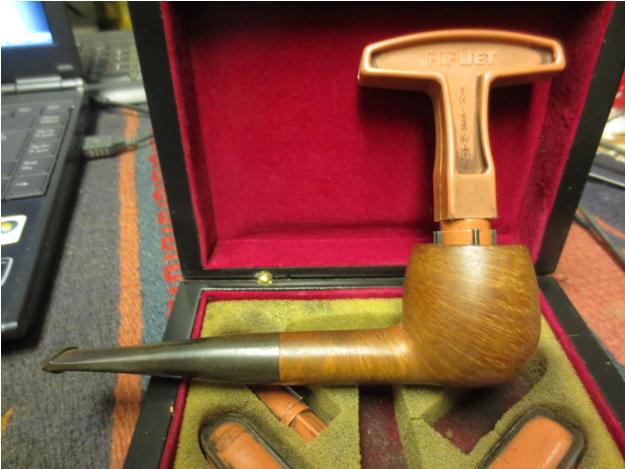 I wiped down the briar with acetone on a cotton pad to remove the ground in oils and dirt. I scrubbed with the pad and was able to remove most of the dirt and grime.
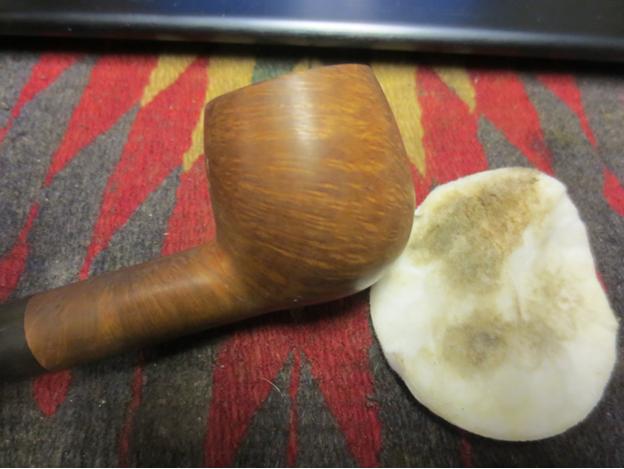 To address the dents and dings on the rim I decided to lightly top the bowl. I would not be staining the pipe so I would not need to try to match the stain from the bowl and rim. I topped it with 220 grit sandpaper on a topping board.
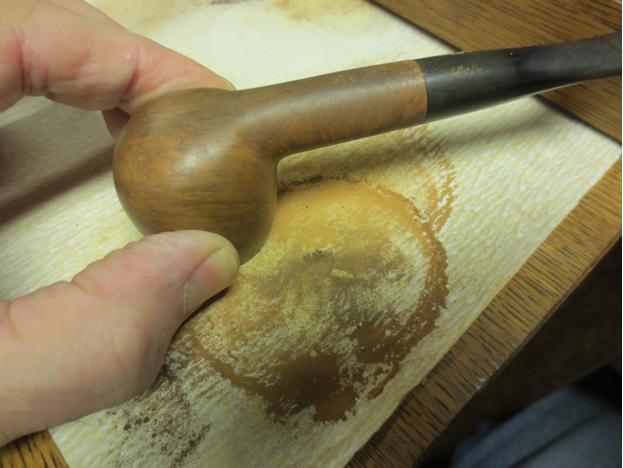 I wiped it down a second time using isopropyl alcohol on cotton pads.
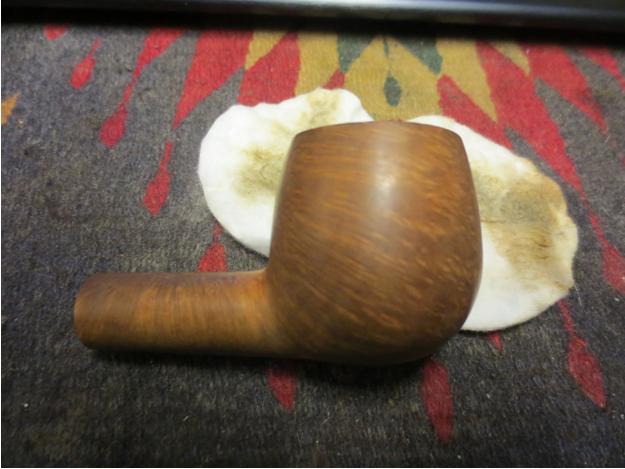 I cleaned out the shank and stem with pipe cleaners, cotton swabs and isopropyl alcohol. It was not too dirty and cleaned up quickly.
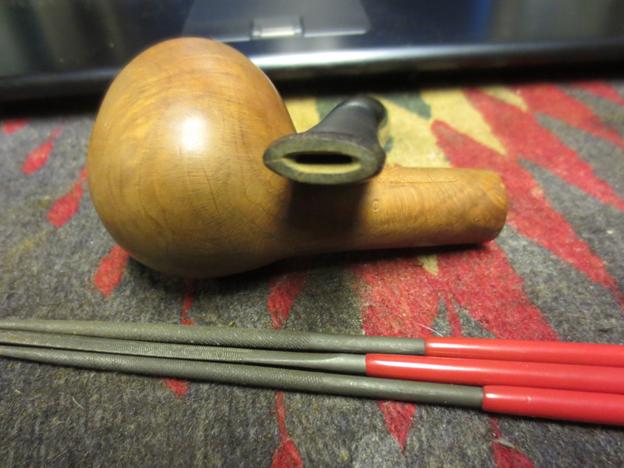
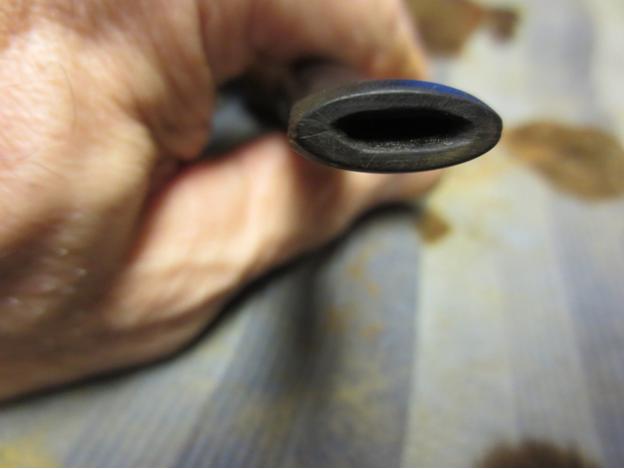
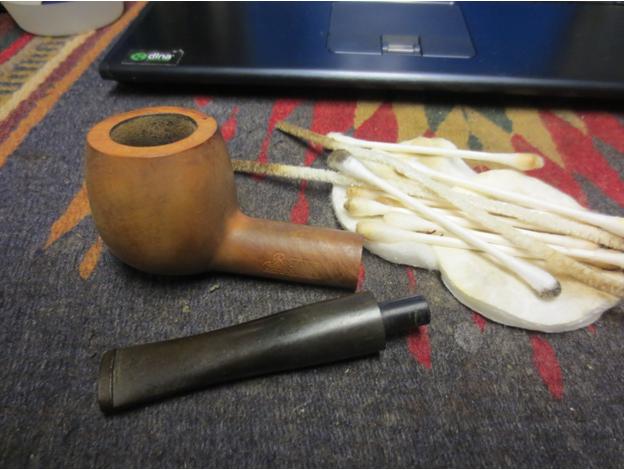 I decided to work on the slot so that I could more easily clean out the inside. I used needle files to open the slot. I used three different files – a flat oval, a rounded oval and a round to reshape the slot into an oval.
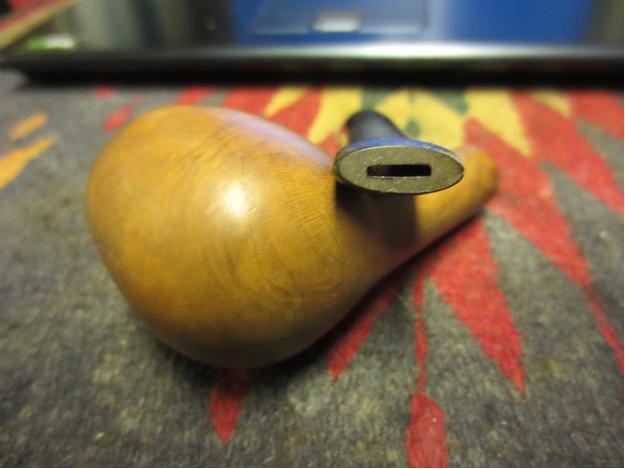

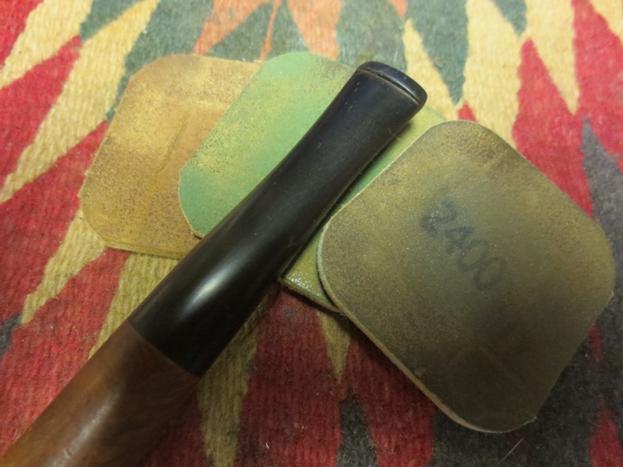
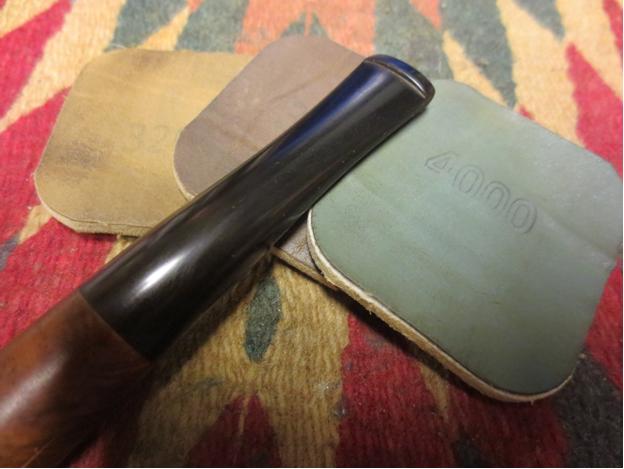
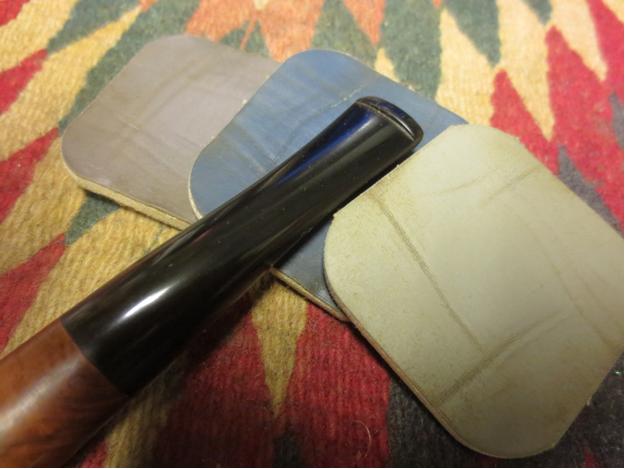
 I sanded the stem with 220 grit sandpaper to remove some of the buildup and roughness on surface of the stem. I also sanded the end of the stem and the inside of the newly shaped slot. I followed that up with a medium and a fine grit sanding sponge. I followed that with my usual micromesh sanding pads – wet sanding with 1500-2400 grit pads and dry sanding with 3200-12,000 grit pads. I rubbed it down with Obsidian Oil and let it dry.
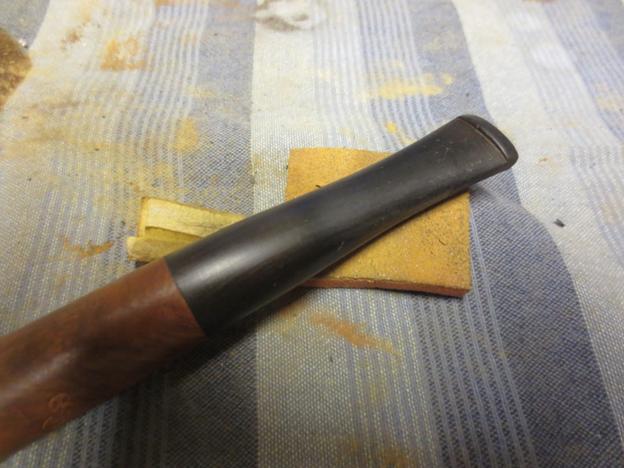
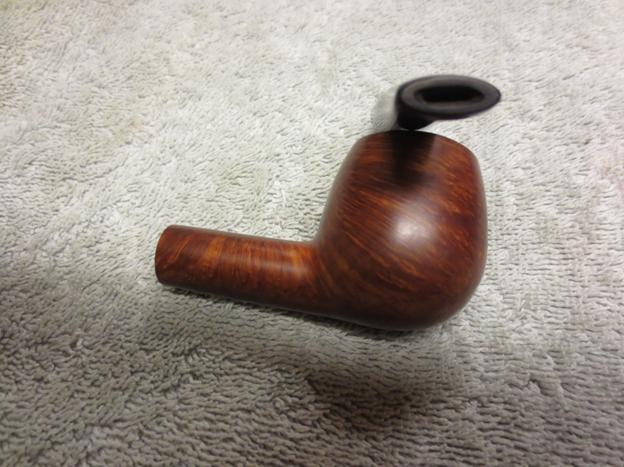
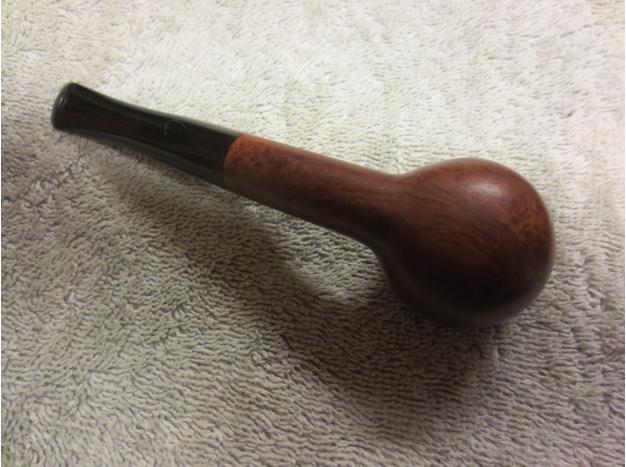
 I rubbed the bowl down with a light coat of olive oil and then buffed the pipe with White Diamond and gave it multiple coats of carnauba wax. The finished pipe is shown in the photos below.
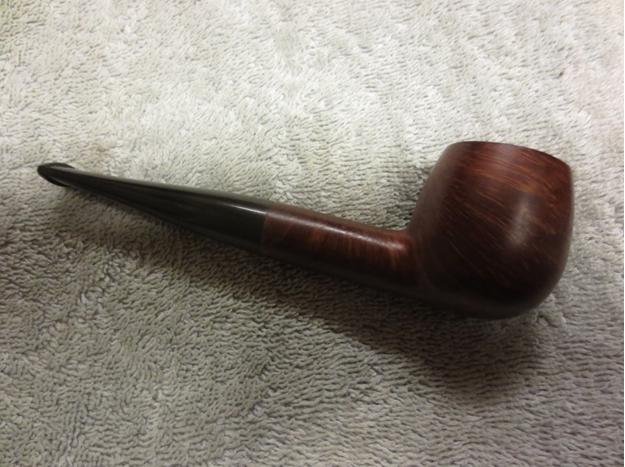
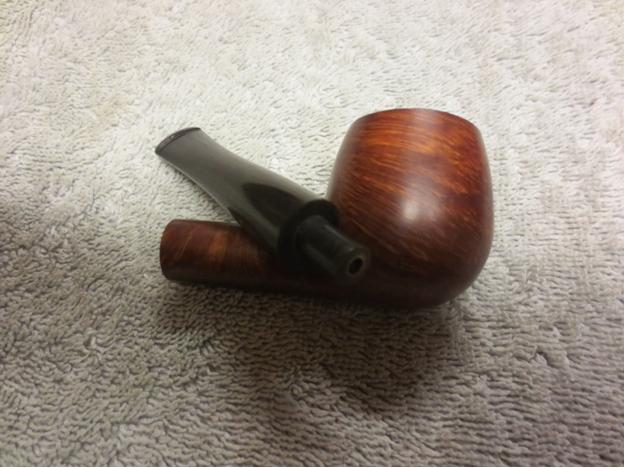
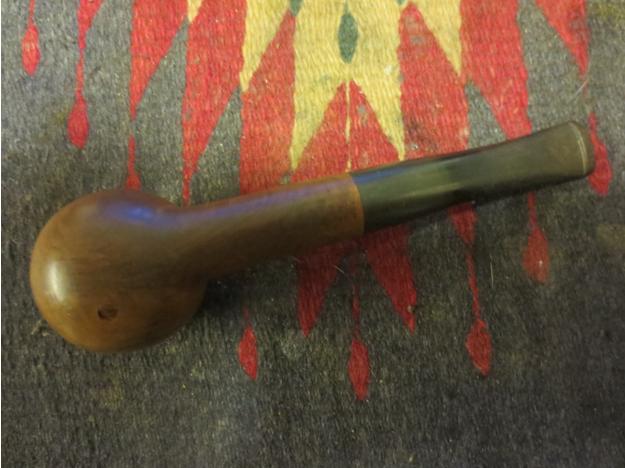
 The inside of the bowl had some cracking so I mixed up some pipe mud – cigar ash and water – and coated the inside of the bowl with it. I painted it on with a pipe cleaner and covered the cracks. I also used a folded piece of sandpaper to clean up the inner edge of the rim and make it crisper. The last three photos show the stem and the bowl after the complete reworking.