Blog by Steve Laug
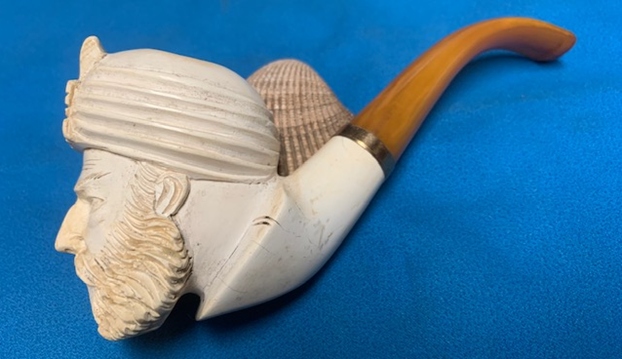
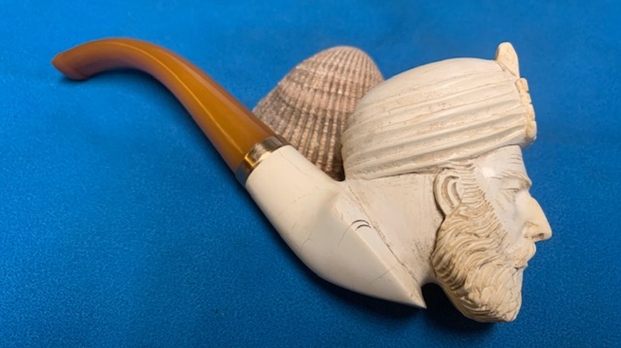
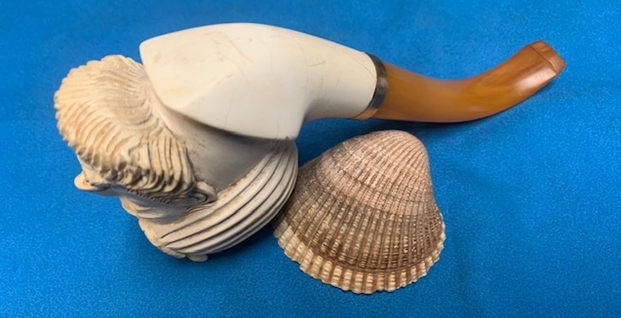
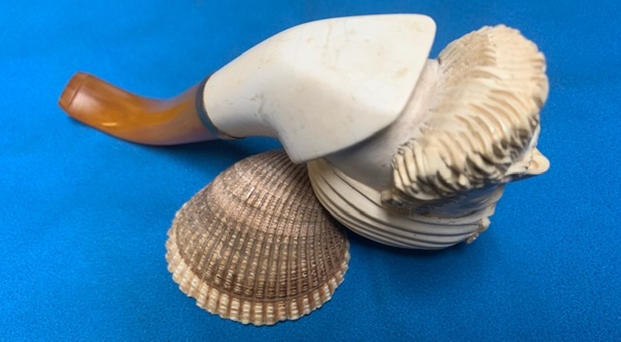
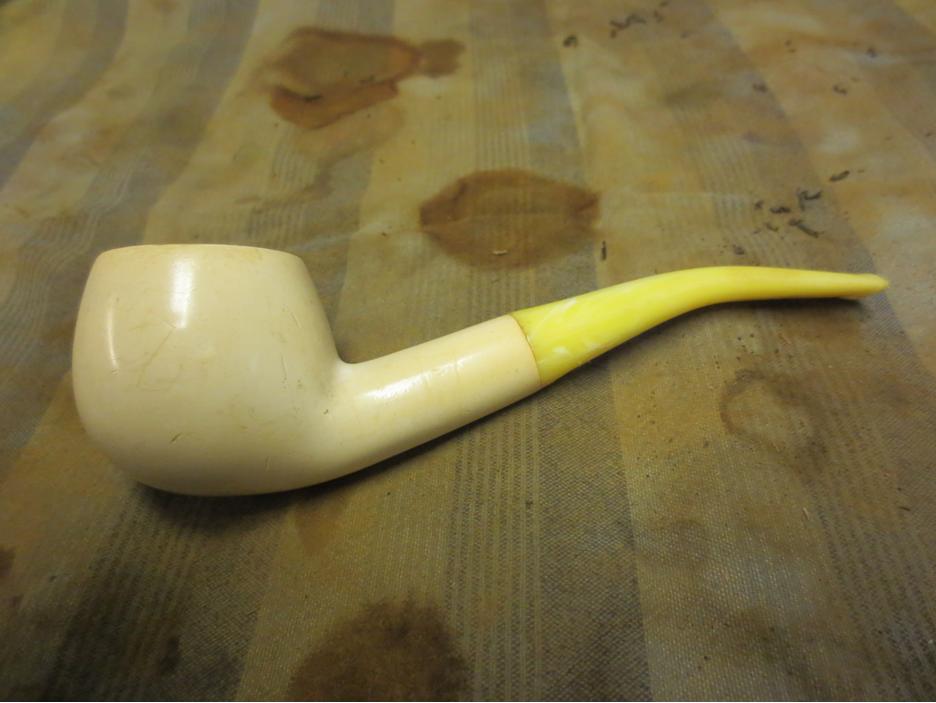
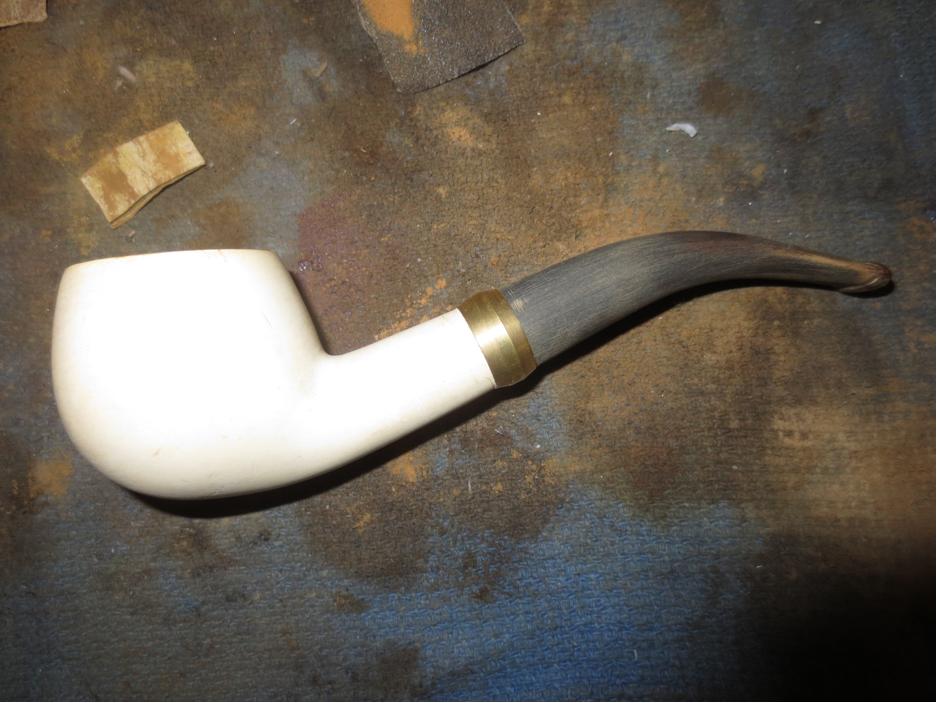
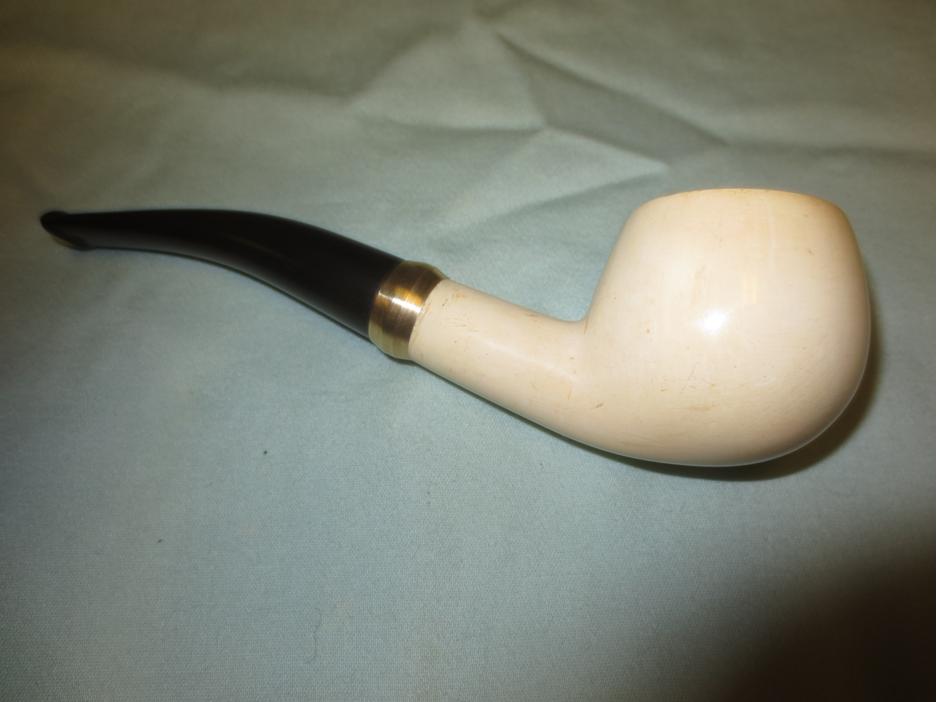
This is another of those pipes that I have no idea when or where it came from. With Jeff and my penchant for picking up pipes where ever we go it could honestly be from anywhere. As for the when, that is and will remain a mystery. This is a carved figural meerschaum Sultan Head Bent pipe with an acrylic (Bakelite) stem. The pipe has no identifying stamping on the shank or stem and even on the shank end when the stem is removed. It is a dirty pipe but the bowl was surprisingly clean. The rim top had some lava and darkening around the inner edge but otherwise looked very good. There was a lot of dust and debris in the carving around the turban and the beard. The creases around the neck and eyes were also filled with dust and debris. The shank showed three hairline cracks on the top and right and left sides. None were big or deep but they were present. My guess is that they came from over tightening the stem on the shank. There were also scratches on the shoulders and collar forming the shank. The taper stem was in very good shape with a minimum or tooth chatter and marks on the top side near the button. The button edges were in excellent condition. It was overclocked slightly and that would need to be dealt with. Here are some photos of the pipe when I brought it to the work table. 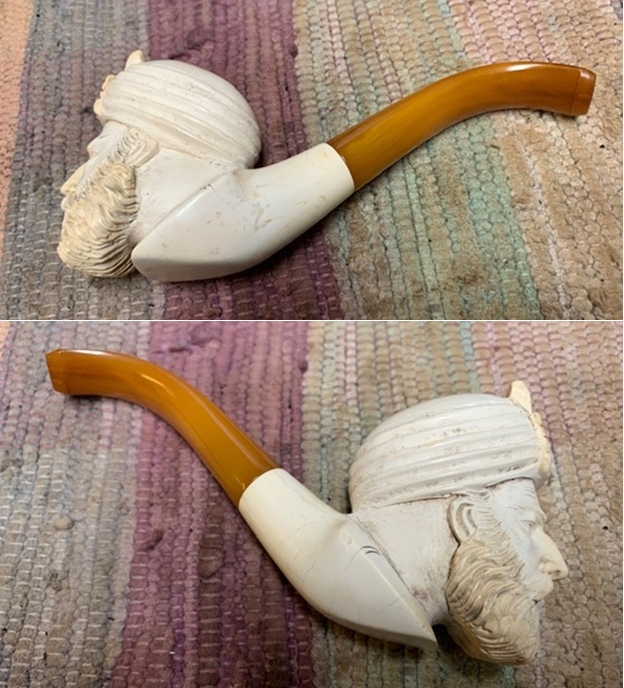
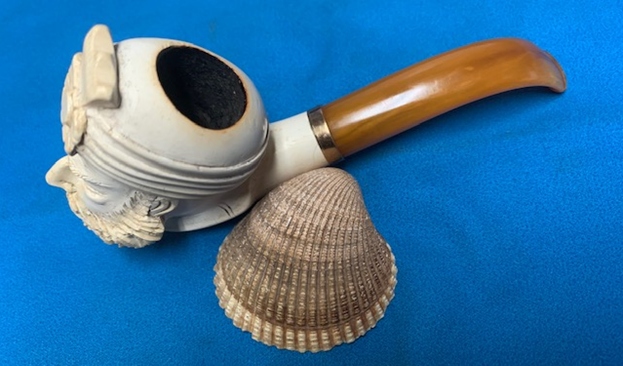
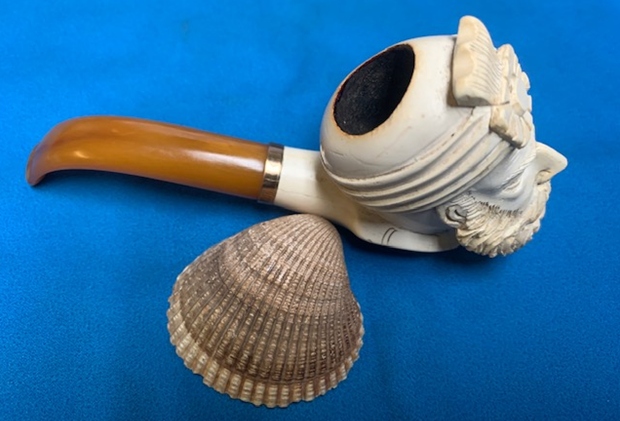
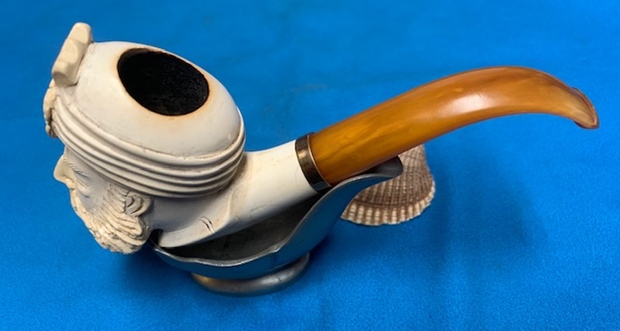
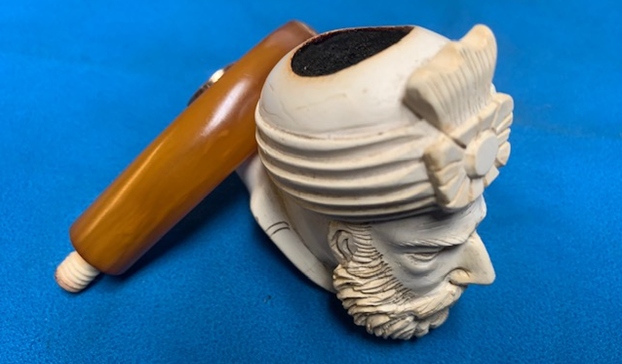
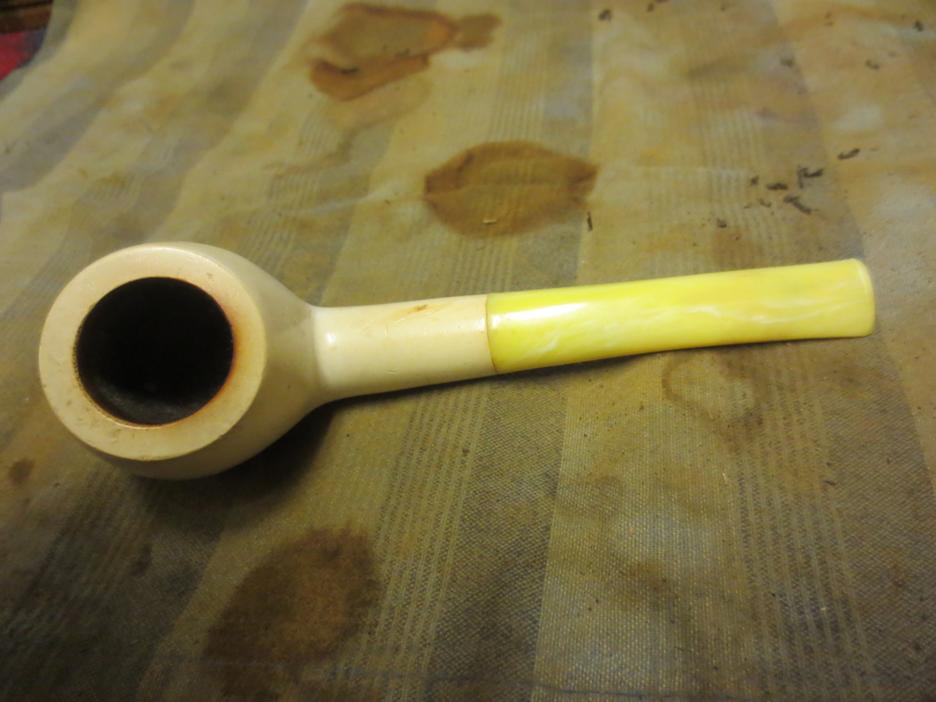
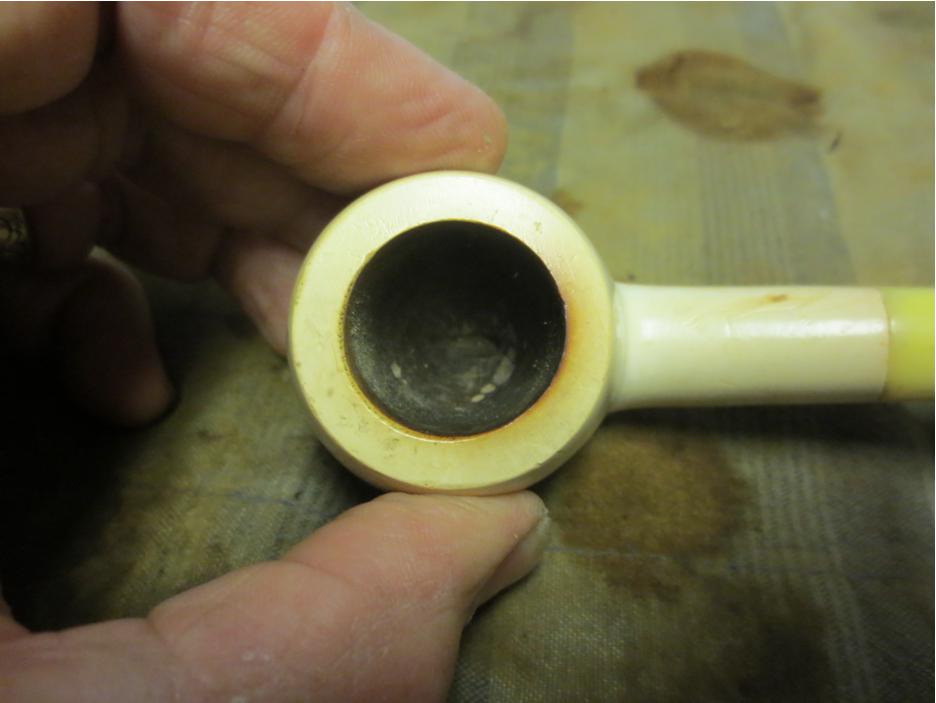
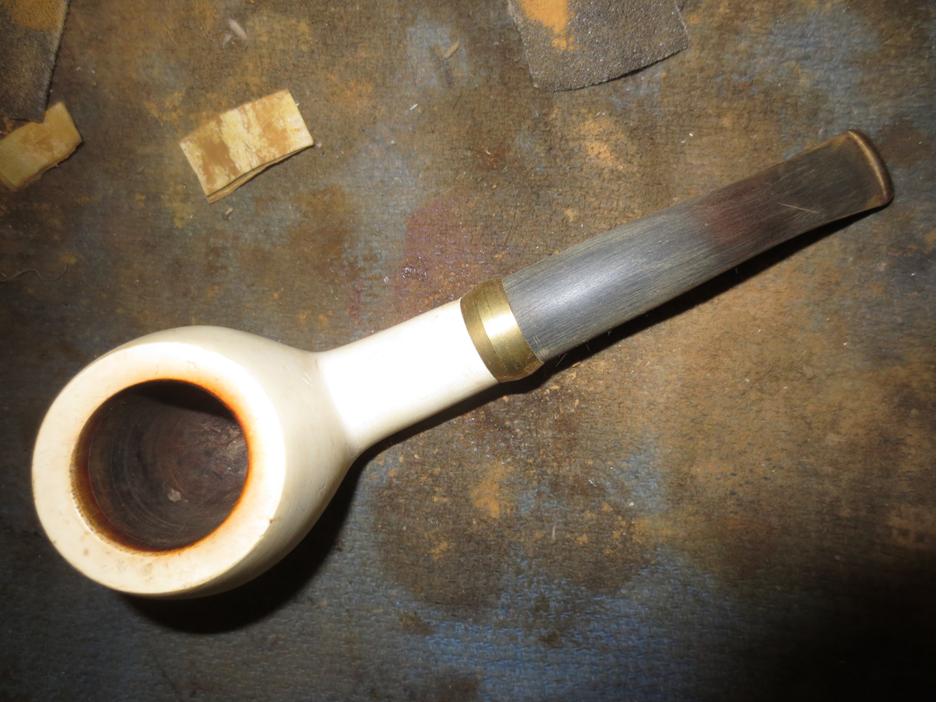
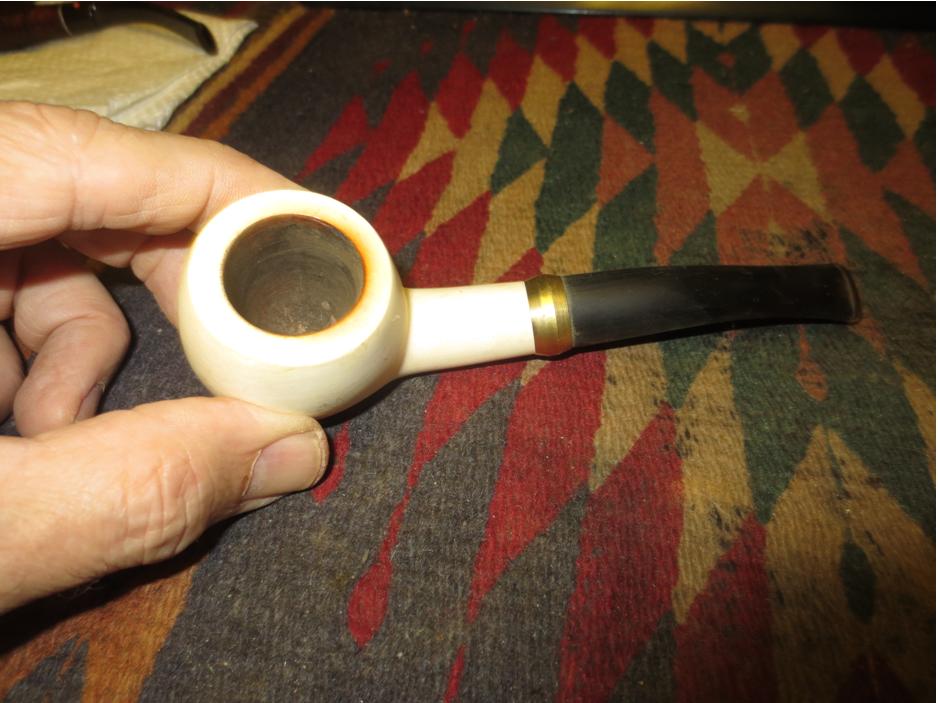
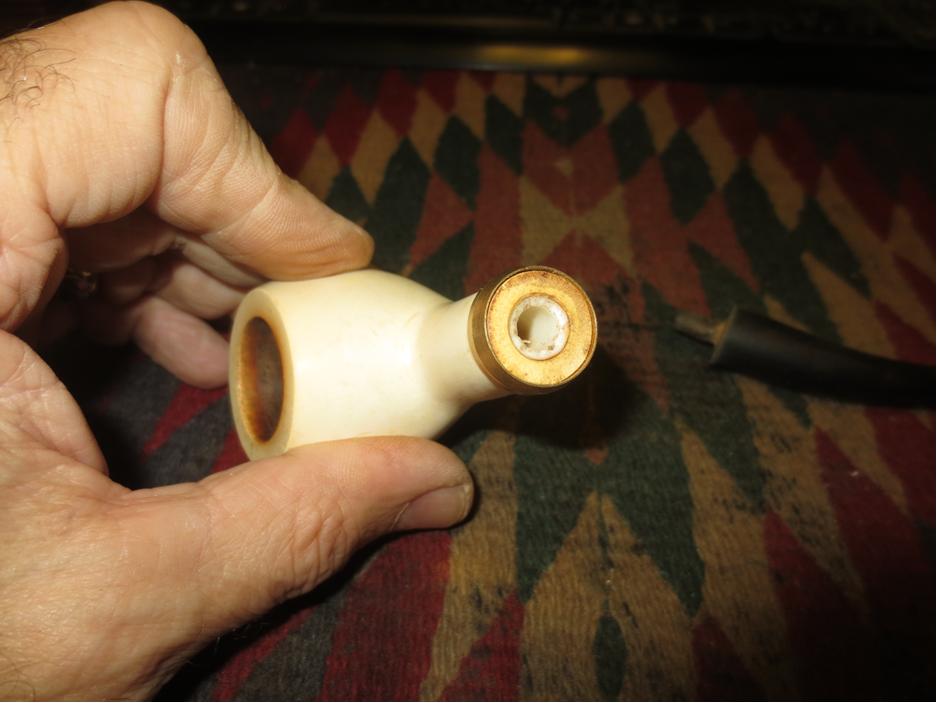
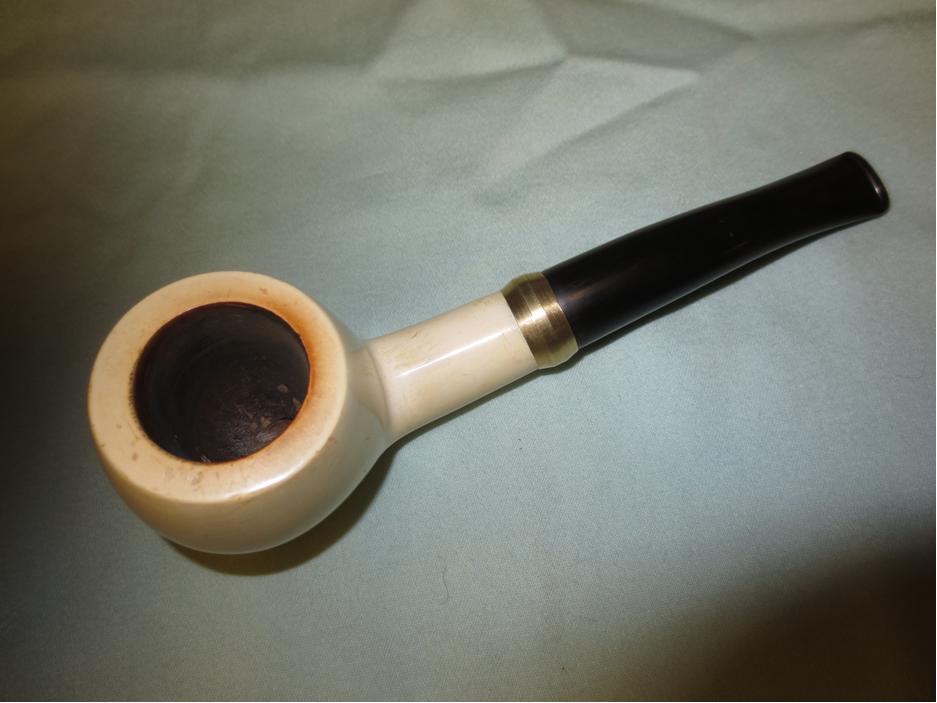
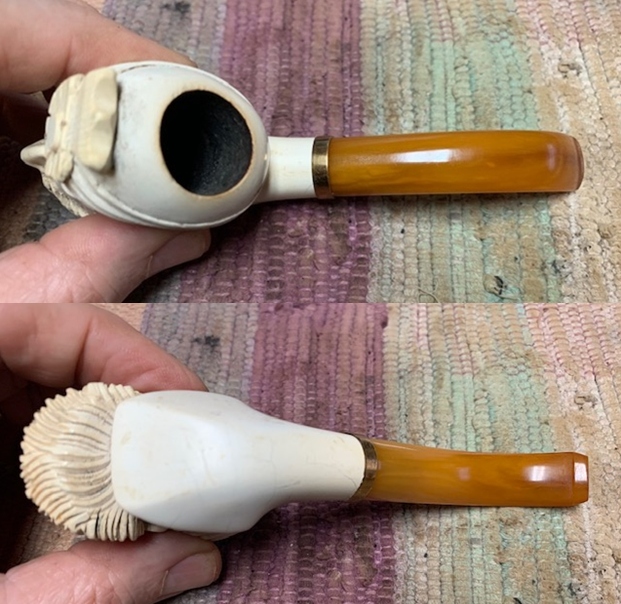
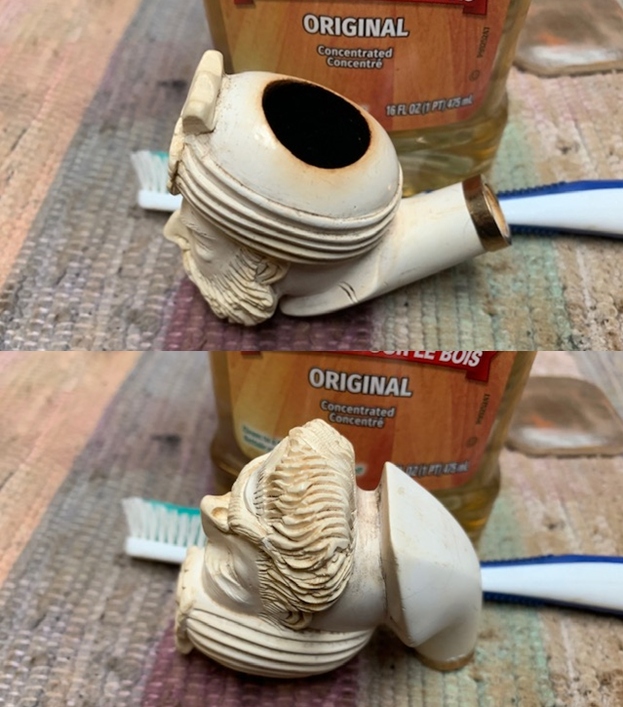
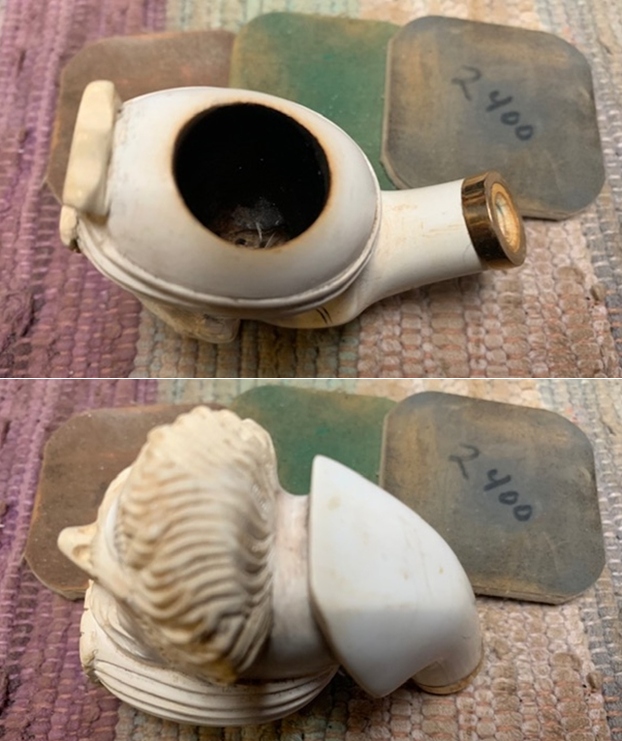
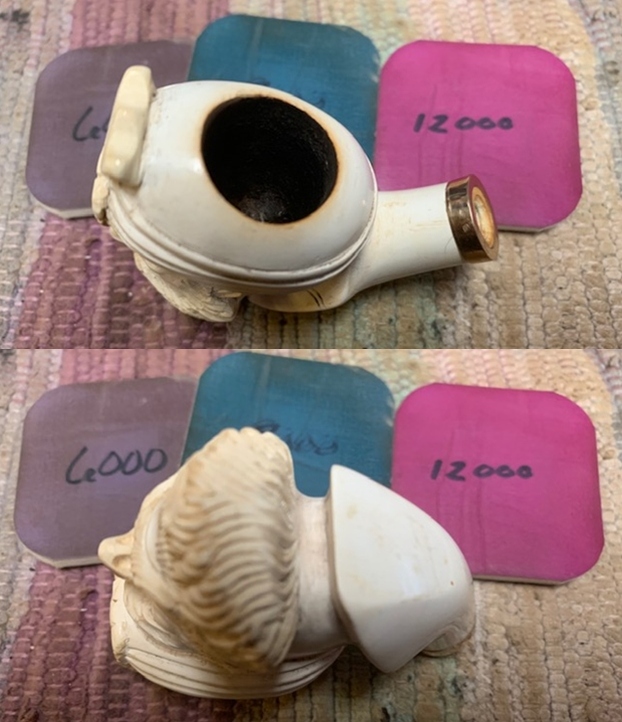
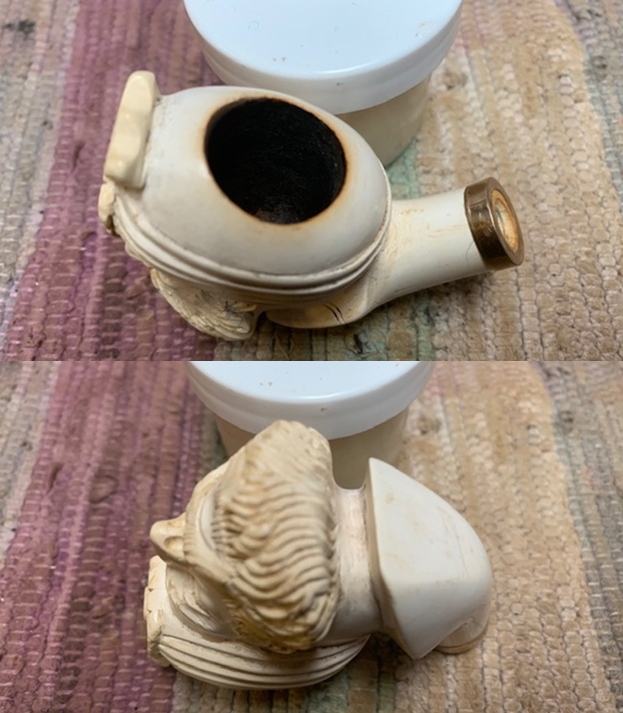
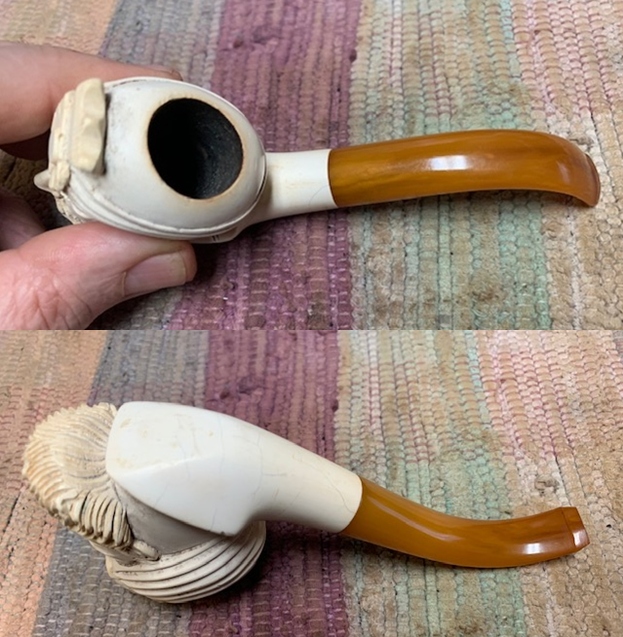 I took a close-up photo of the rim to show the condition of the rim top, bowl and the inner edge of the bowl. You can see the inside of the bowl and note that it was quite clean. The rim top looked good with some darkening and developing patina on the inner edges. The stem was in decent condition.
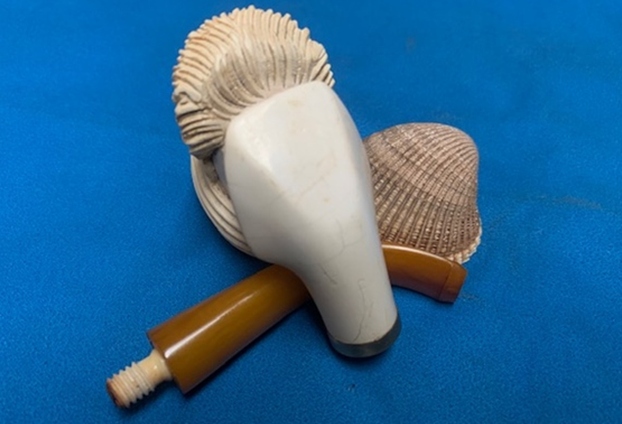
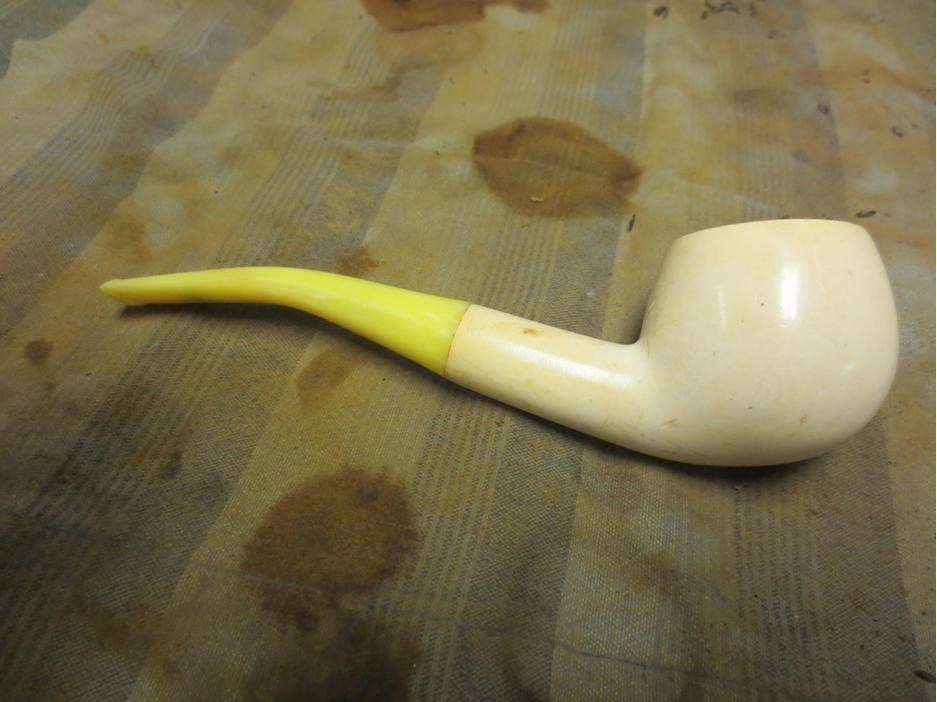
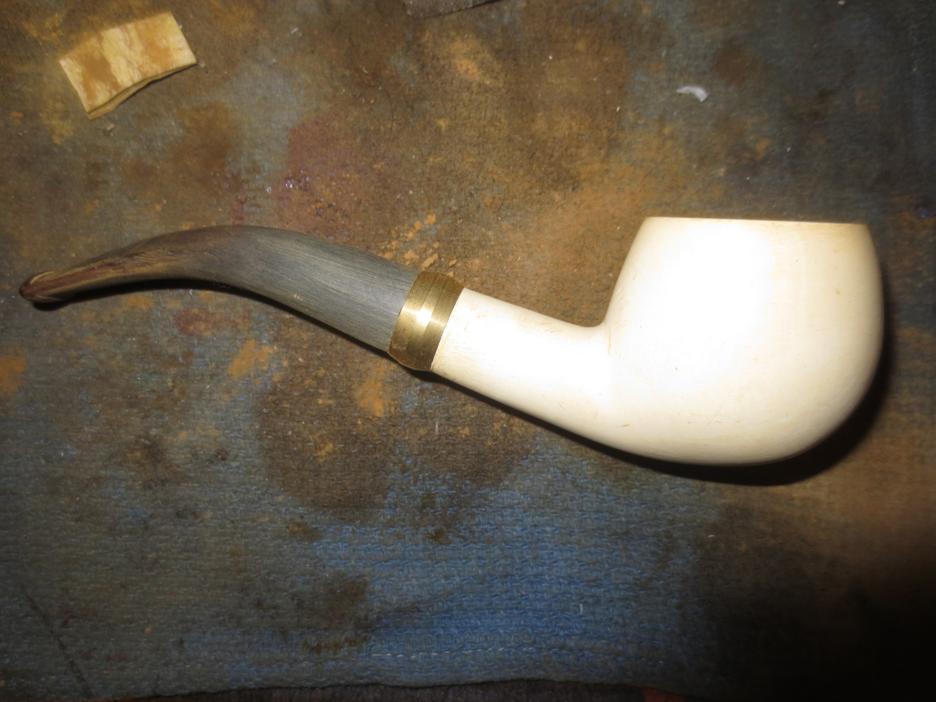
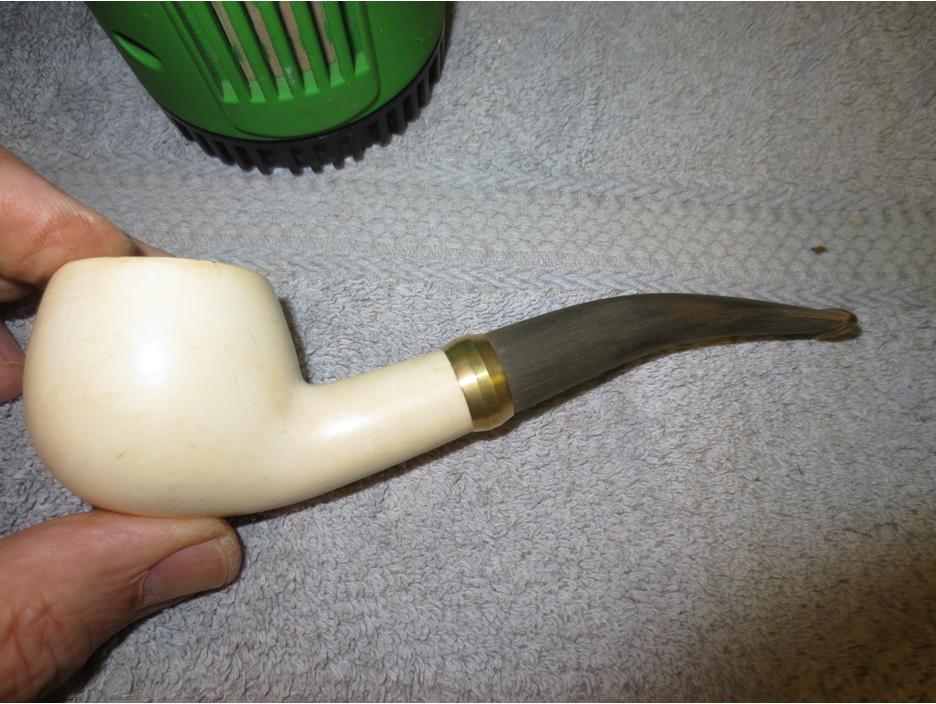
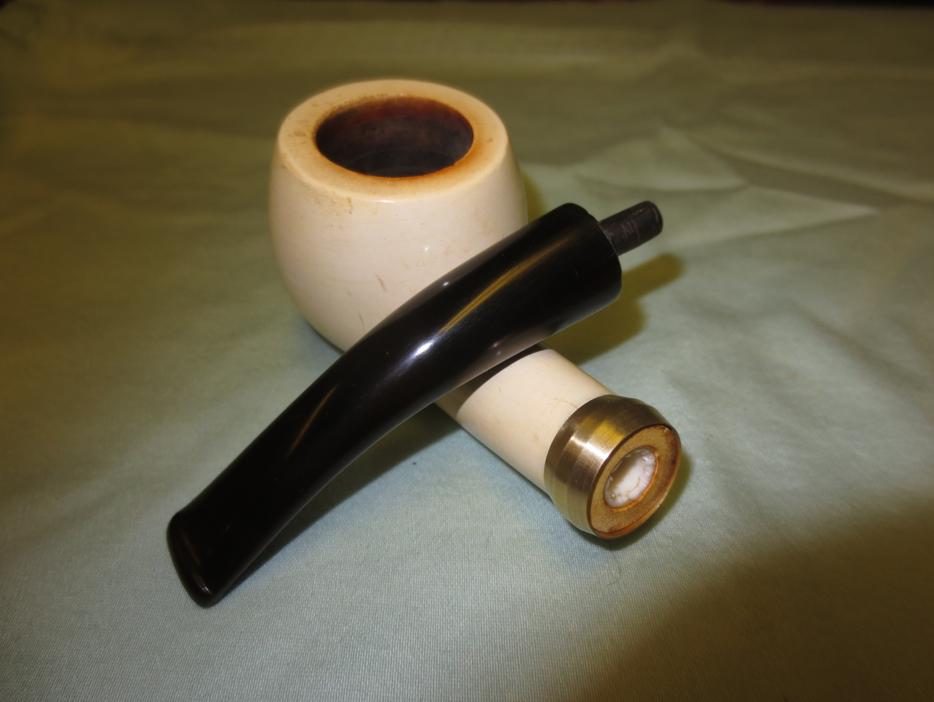
 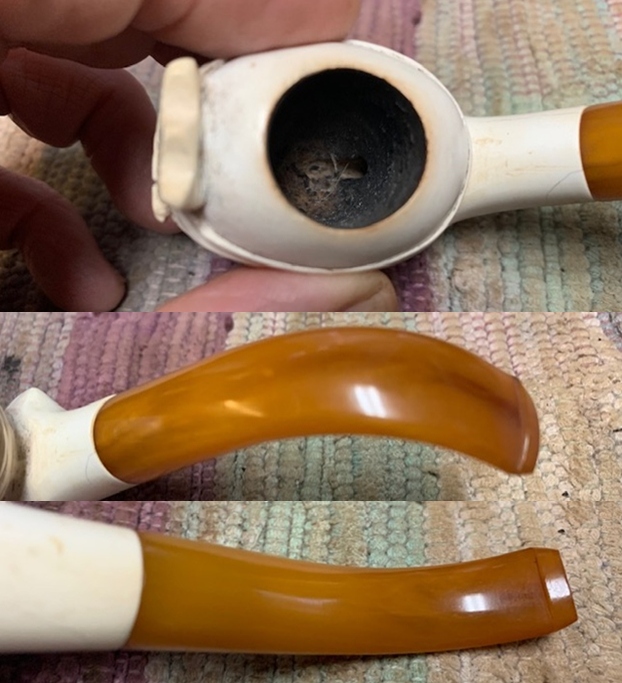 I removed the stem from the shank and took a photo of the flow of the pipe. The pipe was going to look good once it was cleaned and polished.
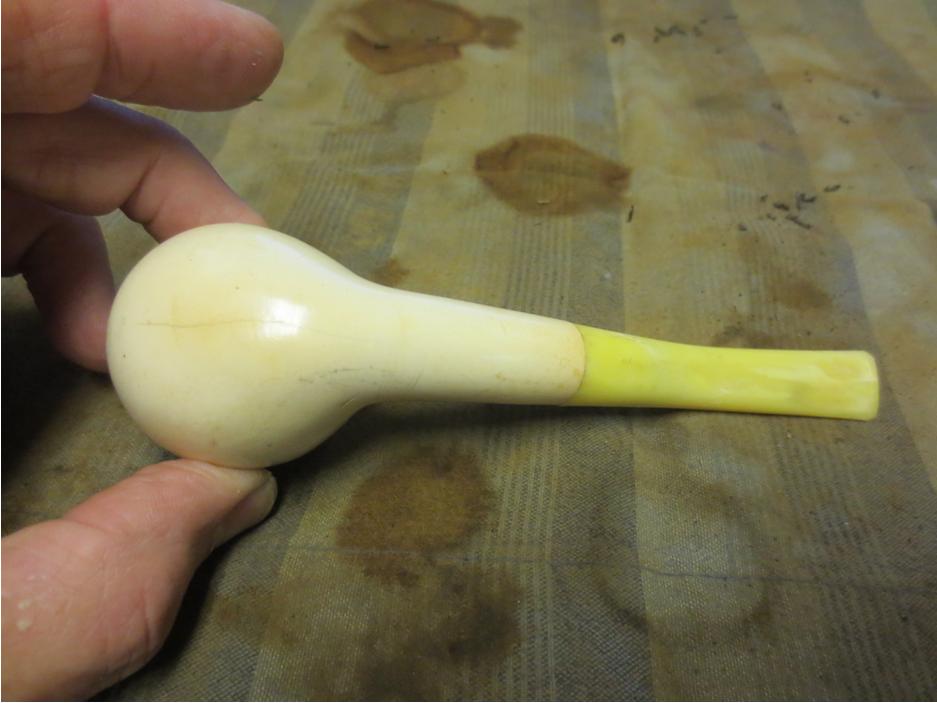
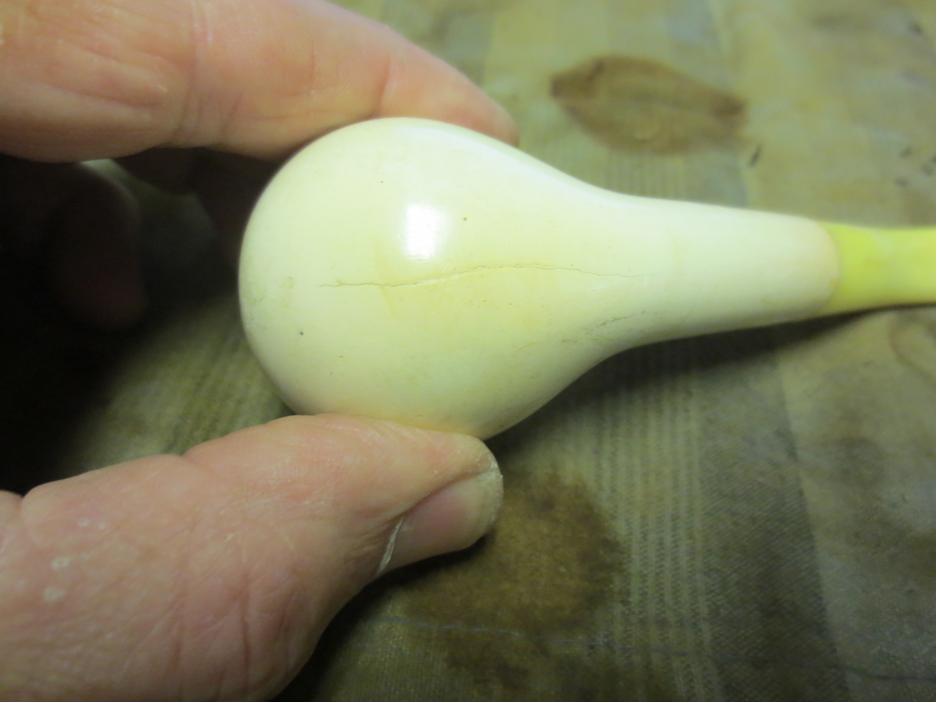
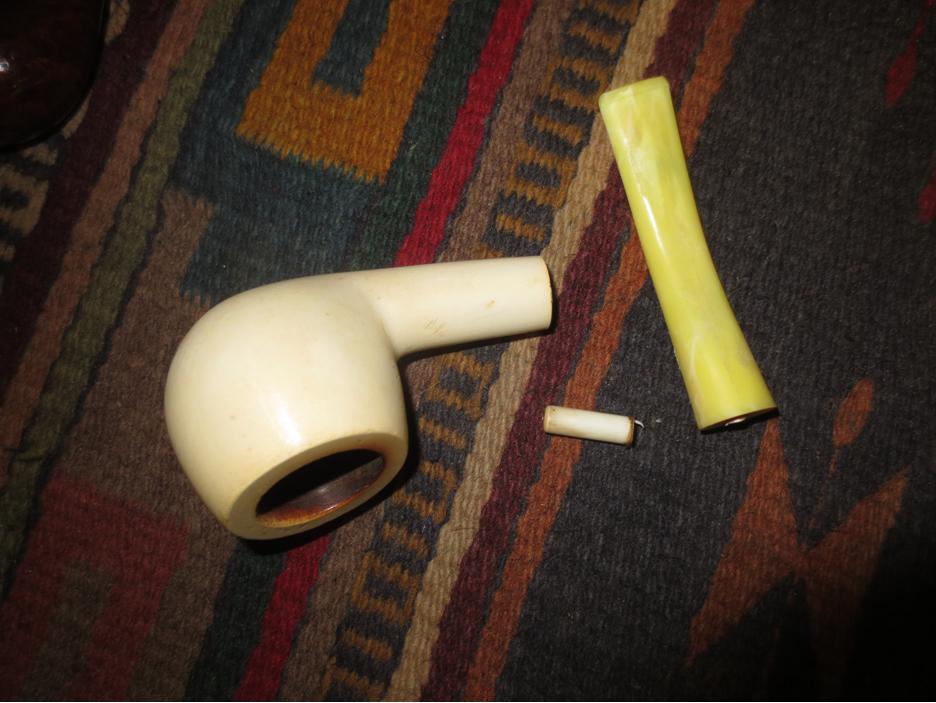
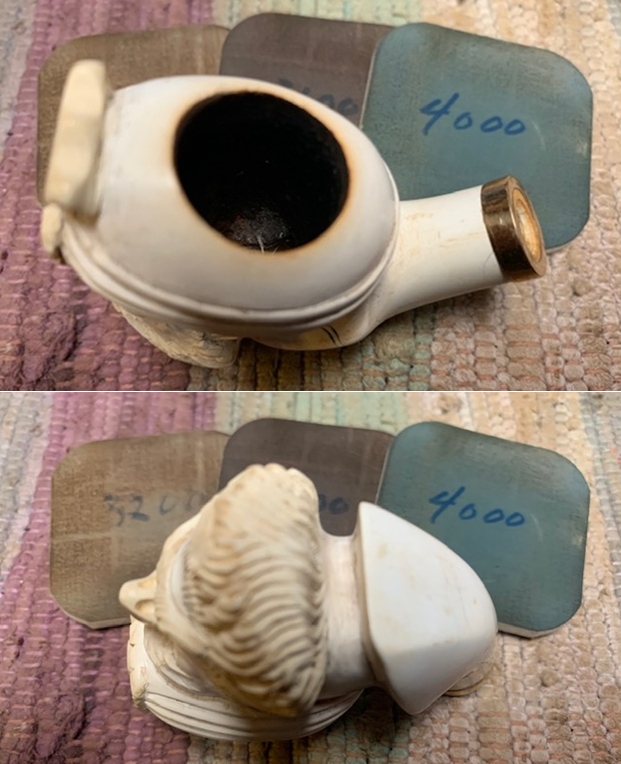
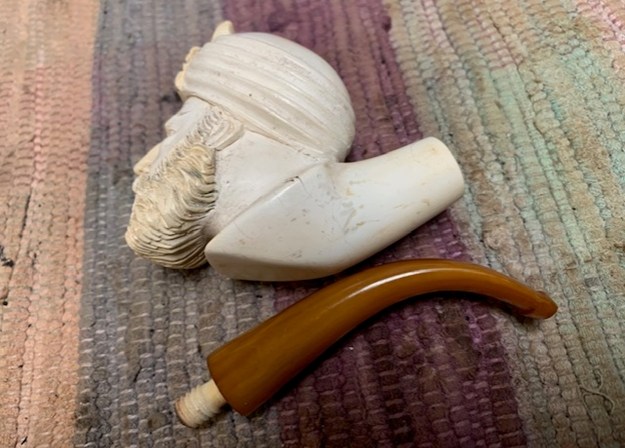 I have circled the hairline cracks in the photos below. They are quite light but in reality they are visible, I can also see the on the shank end with the stem removed.
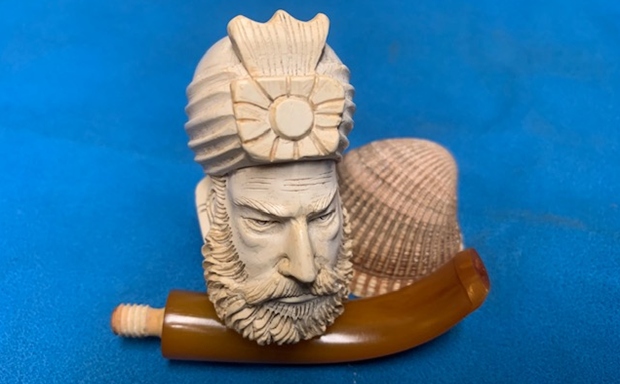
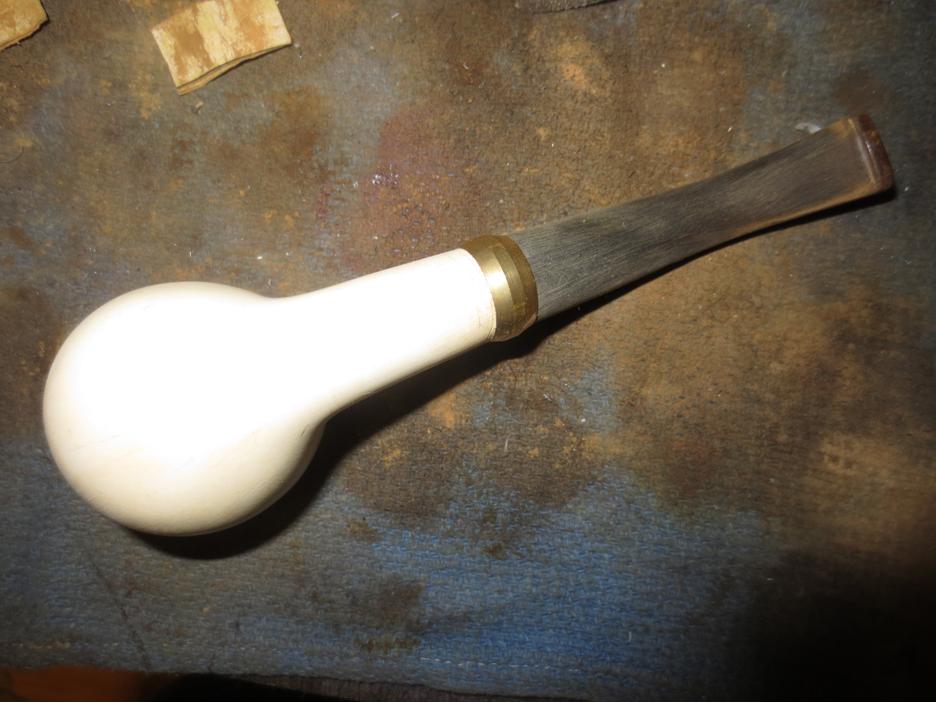
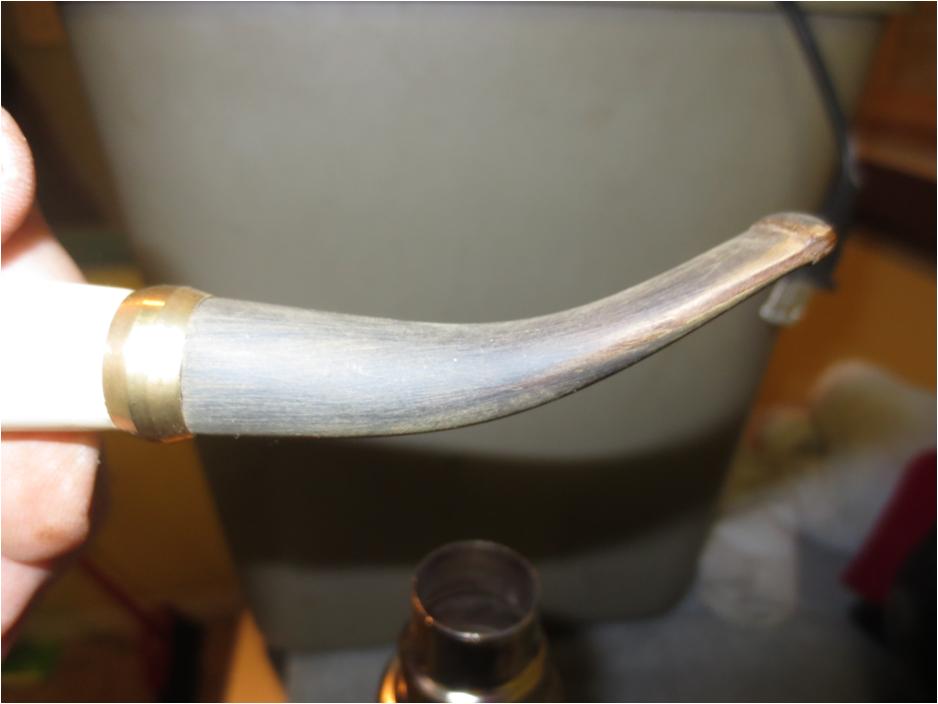
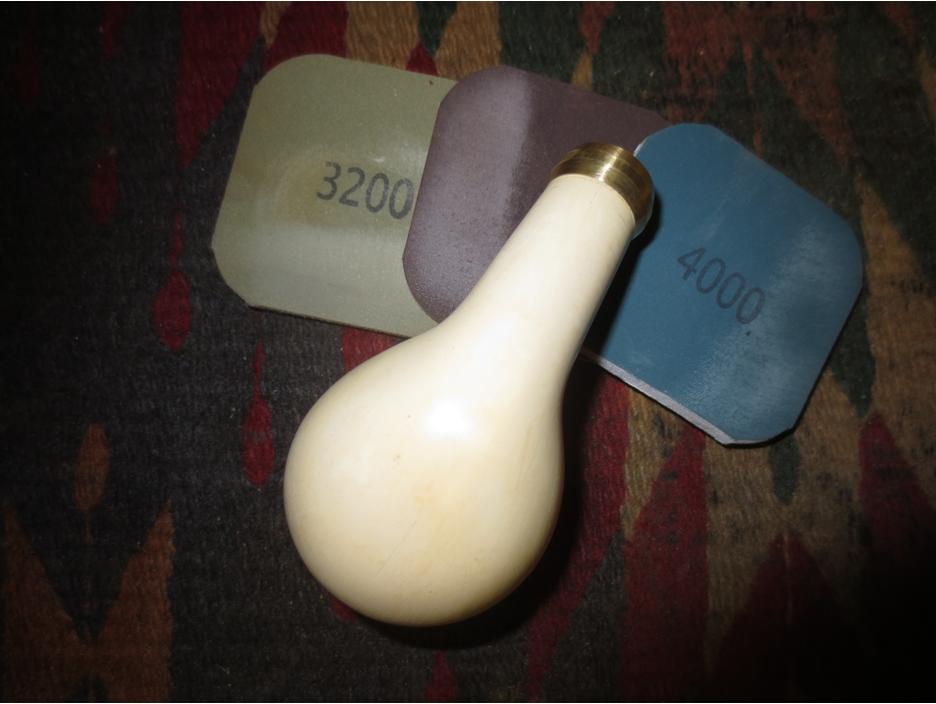
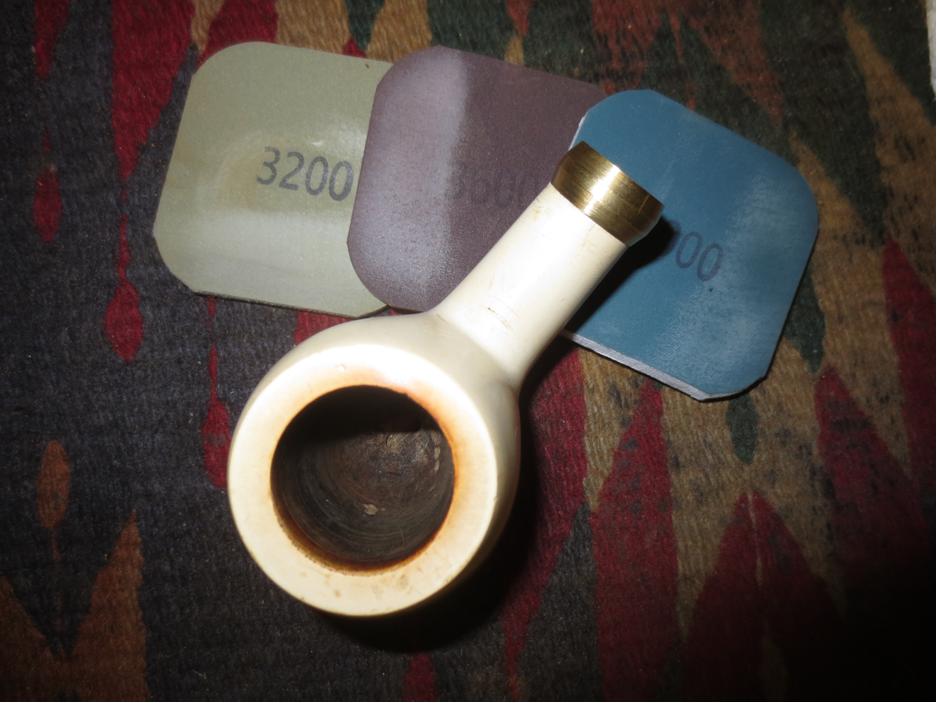
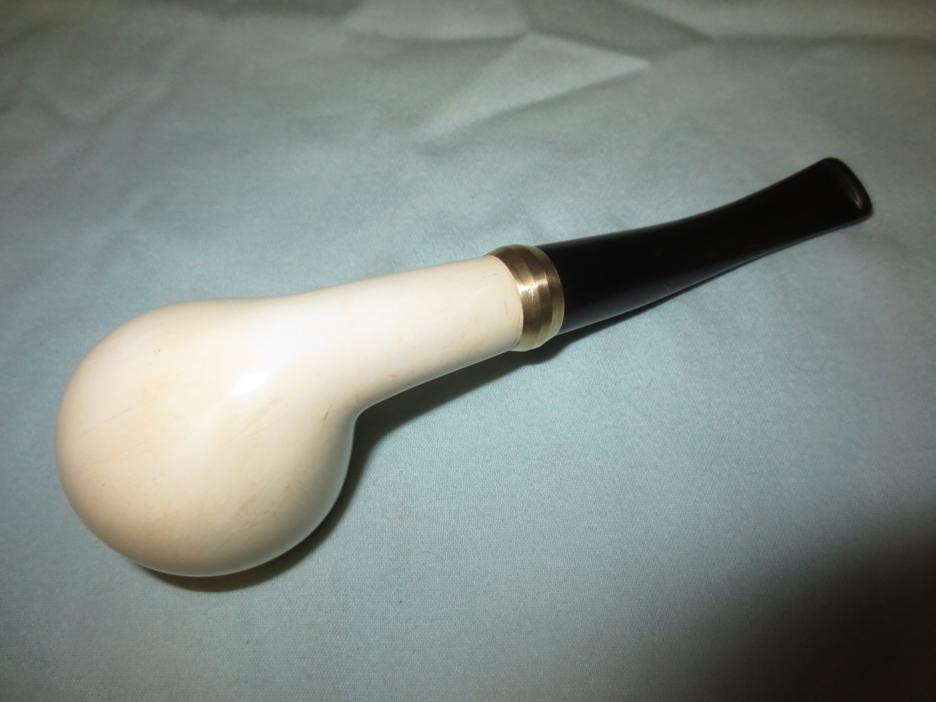
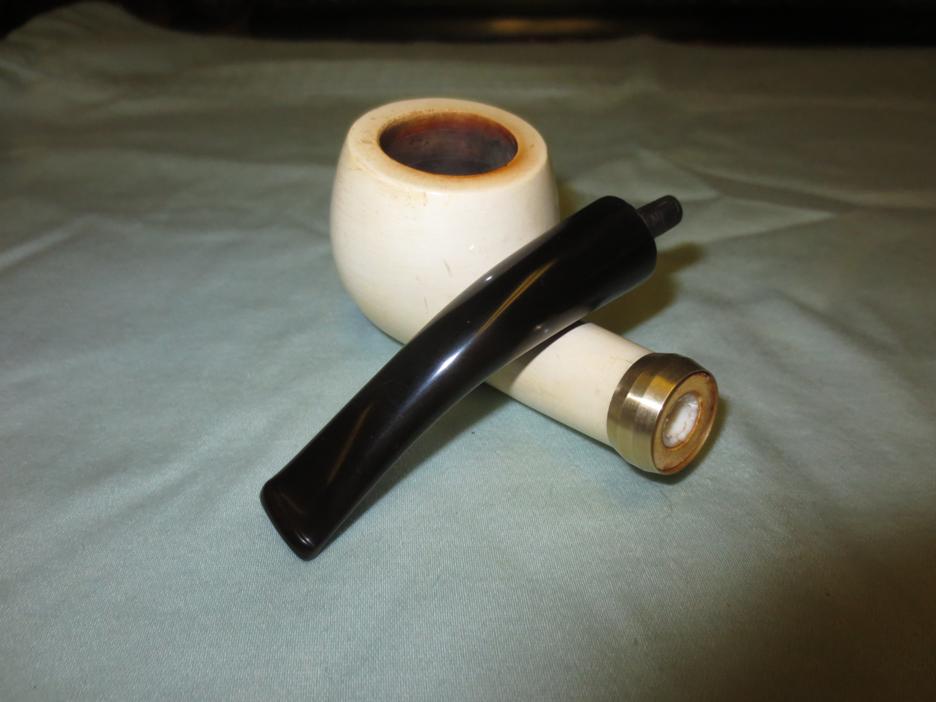
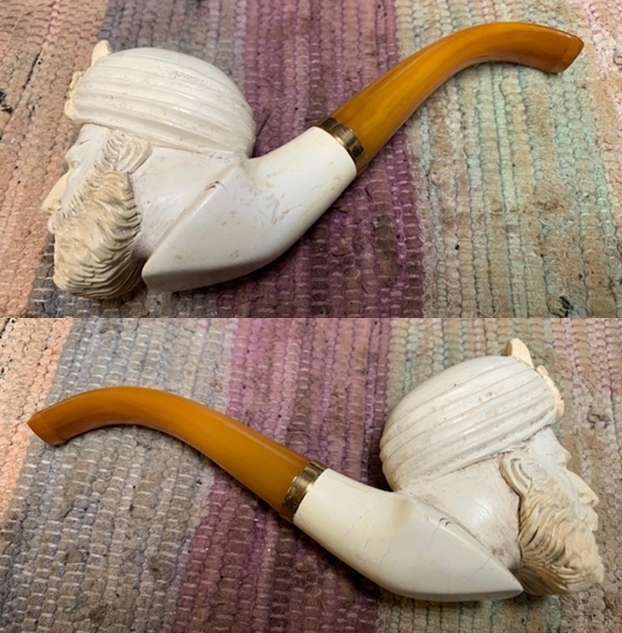
  I went through my bands and found a thin profile brass band that had a slight cap that would go over the shank end. I used some clear super glue on the band and on the shank end and pressed the band in place on the shank. The fit was good and it should provide a cushion for the stem and tenon protecting the stem from being overturned. A side benefit was that the slight thickness of the band corrected the overclocked stem. I took photos of the pipe with the stem in place to give you a sense of what the pipe looked like.
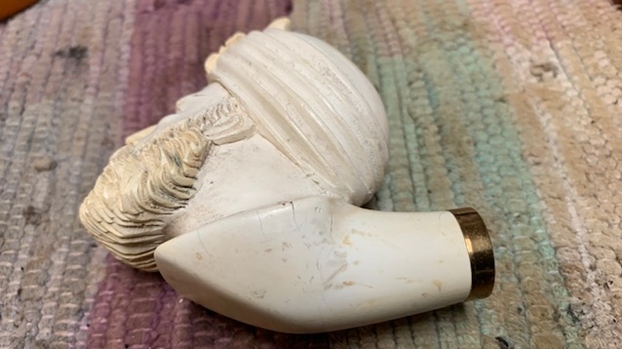
 I scrubbed the exterior of the bowl with a tooth brush and undiluted Murphy’s Oil Soap to get the grime and debris out of the grooves and carving. I rinsed it with running water (keeping the water out of the bowl and shank) and dried it off with a towel. With that the outside was clean and definitely looking better… progress!
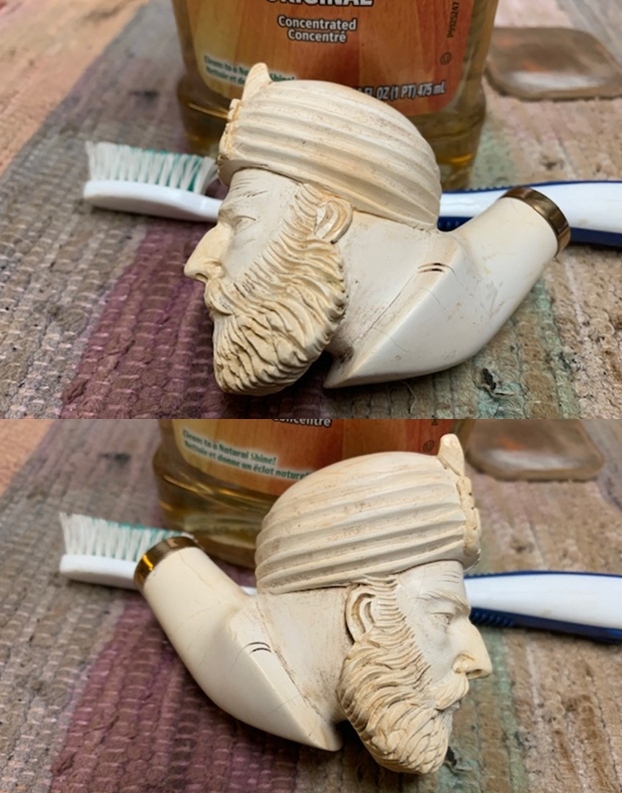
 I cleaned out the mortise, shank in the briar and airway in the stem with pipe cleaners, cotton swabs and 99% isopropyl alcohol. The pipe was dirty with lots of tars and oils.
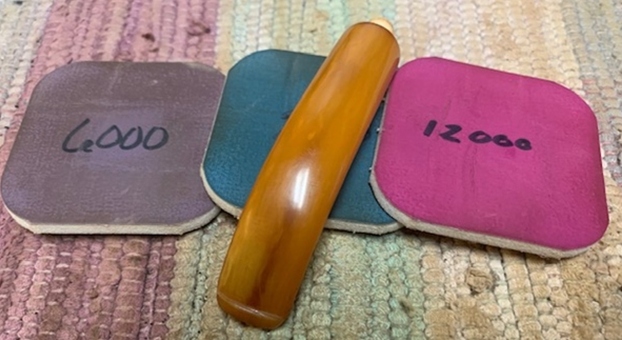
 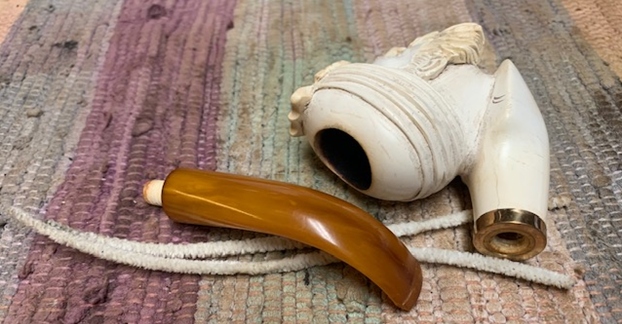 I polished the meerschaum with micromesh sanding pads – wet sanding with 1500-12000 grit pads. I wiped the bowl down after each pad to remove the sanding debris.
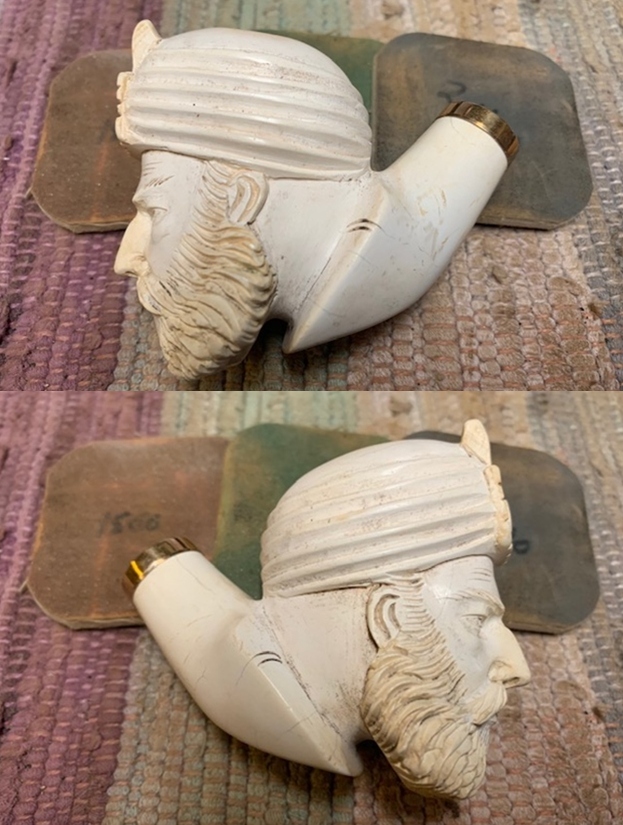

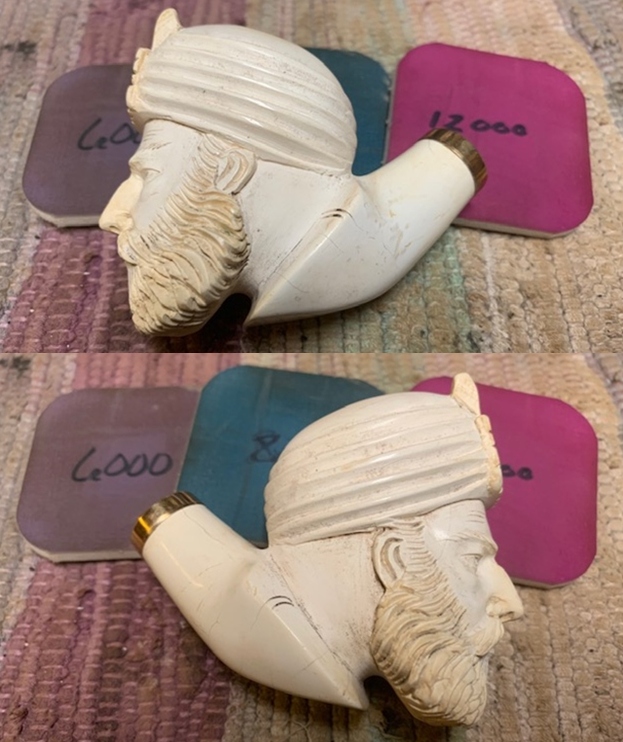
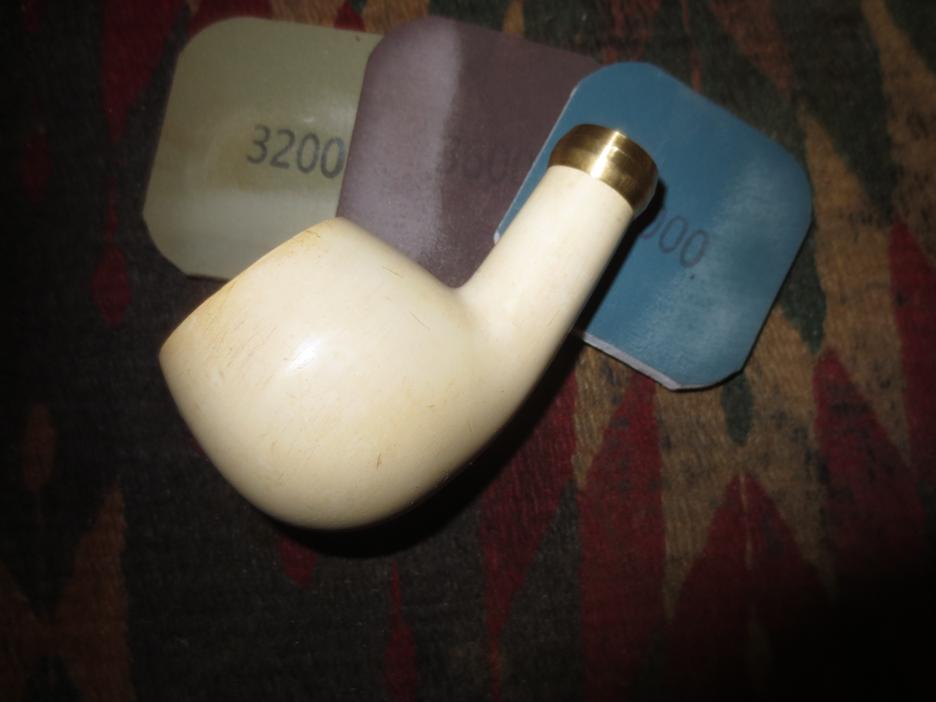
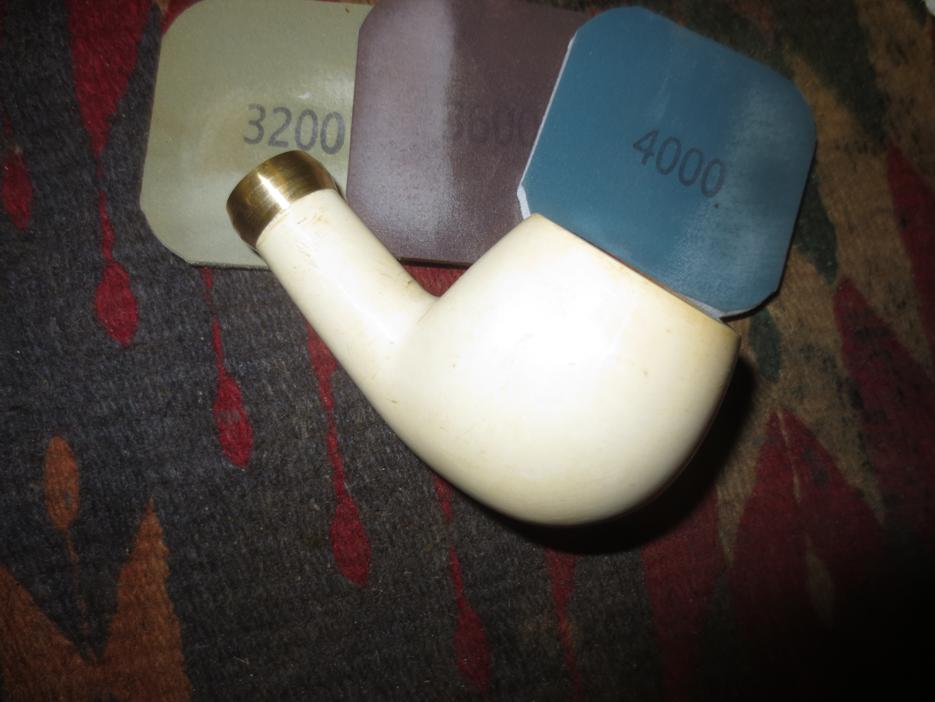
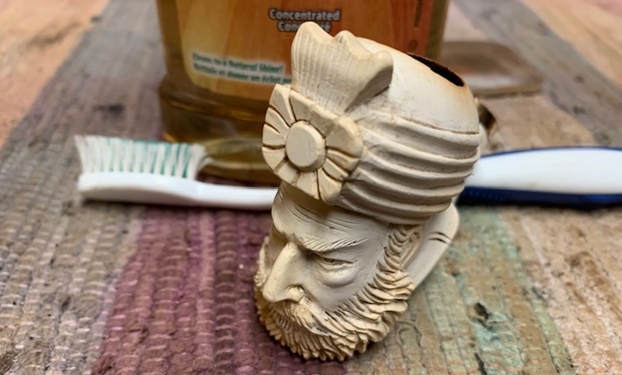
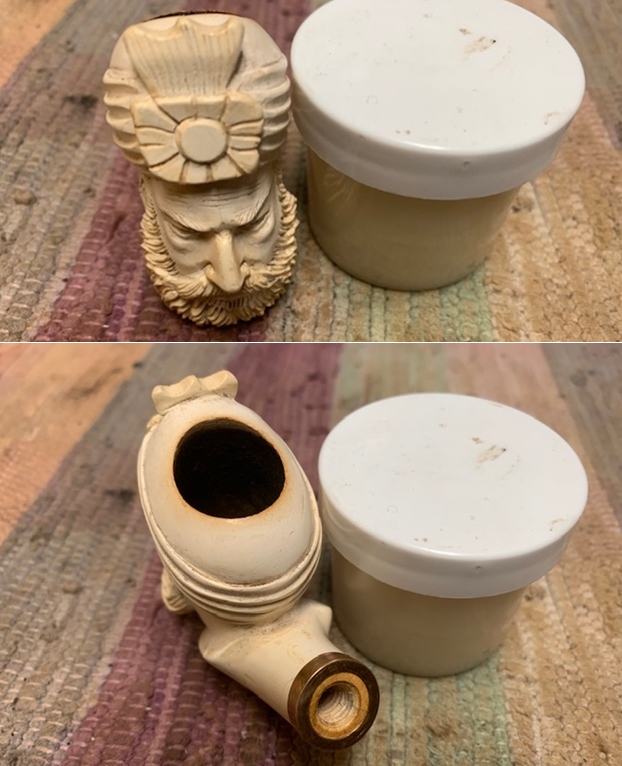
 I worked some Before & After Restoration Balm into the surface of the meerschaum with my fingertips and a horsehair shoe brush to clean, enliven and protect it. I let the balm sit for a little while and then buffed with a cotton cloth and shoe brush to raise the shine. The following photos show the bowl at this point in the restoration process. It is definitely looking better and I am very happy with the results.
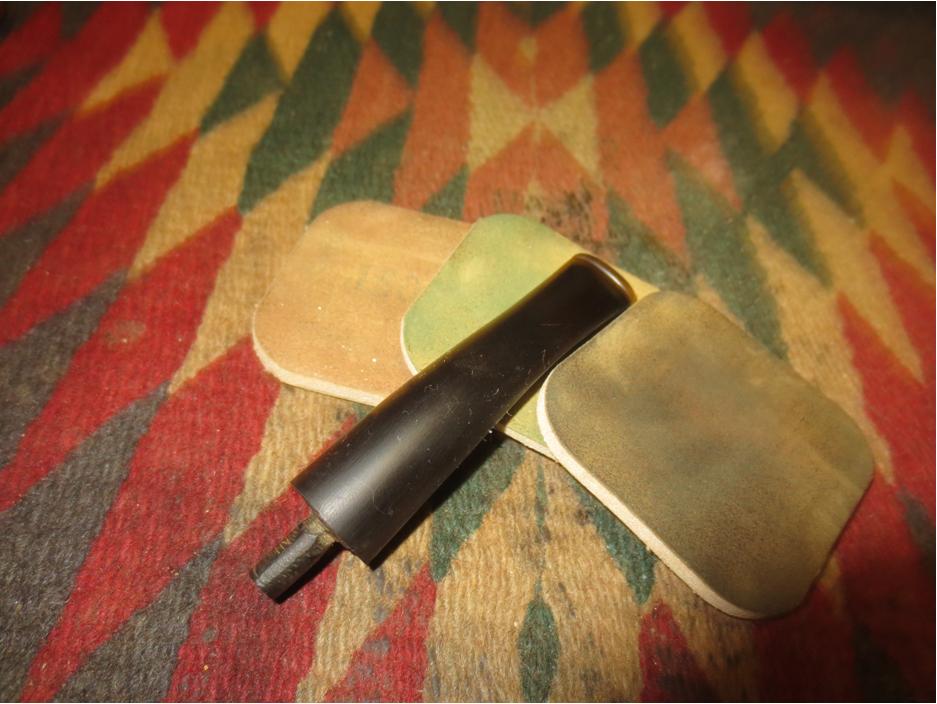
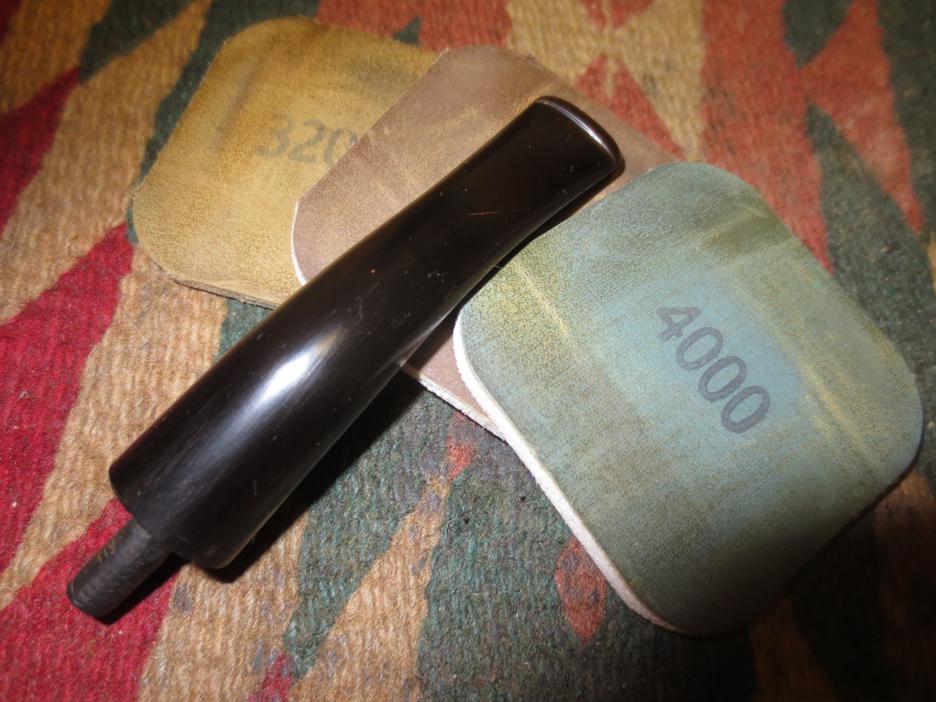
 I set the bowl aside and turned my attention to the stem. I polished the stem with micromesh sanding pads – wet sanding with 1500-12000 grit sanding pads and wiping it down after each pad with Obsidian Oil. I wiped it down a final time with Obsidian Oil when I finished.
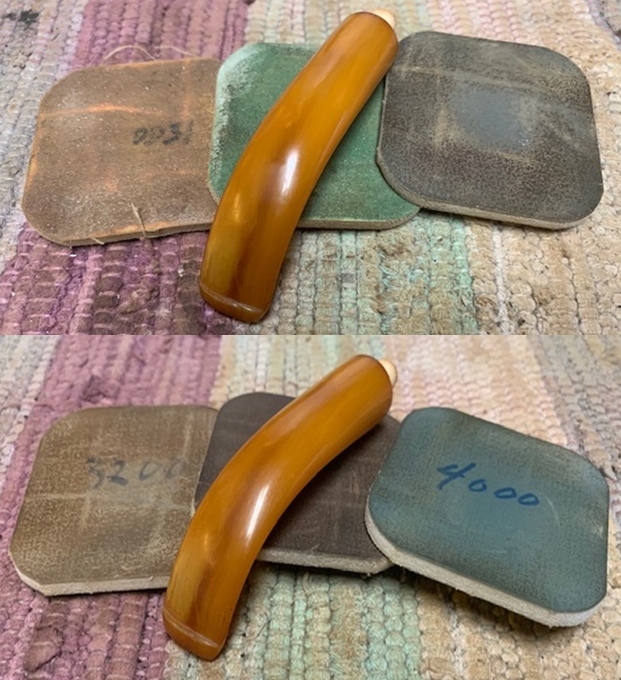
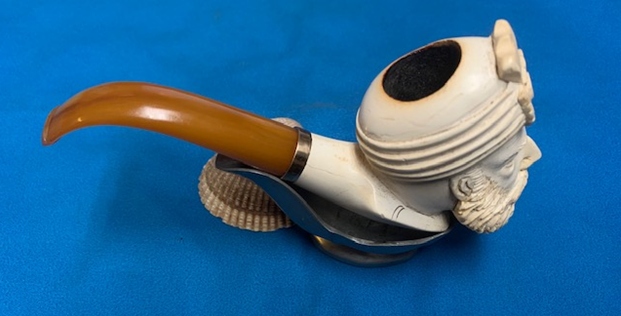
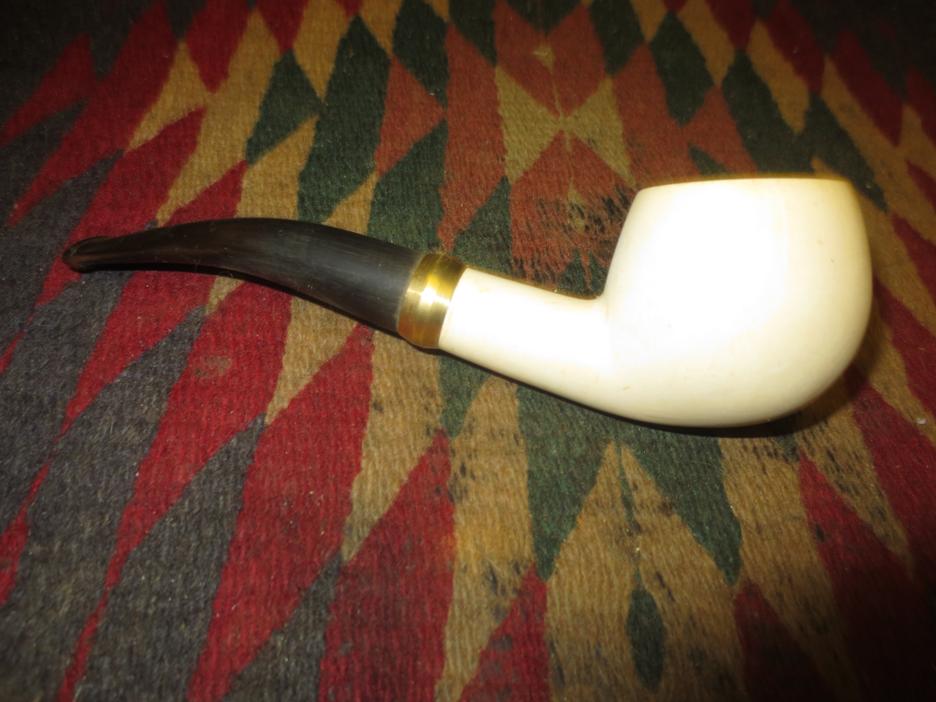
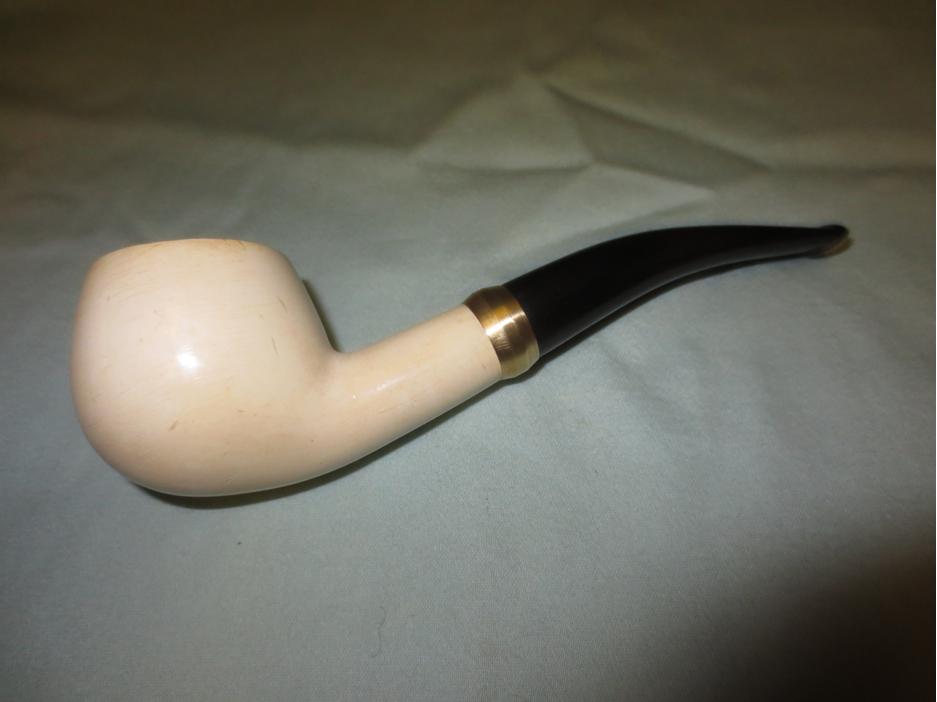
 This Carved Sultan Head Meerschaum Figural with a Bakelite taper stem turned out to be a great looking pipe. The features of the face and the beard as well as the wraps of the turban look really good. The amber coloured Bakelite stem also turned out very well. The thin brass band adds a nice touch to the classy look of the pipe. I polished stem and the bowl lightly with Blue Diamond polish on the buffing wheel and the finish just popped and came alive. I gave the bowl multiple coats of Clapham’s Beeswax Polish and the stem multiple coats of carnauba wax. I buffed the pipe with a clean buffing pad to raise the shine. I hand buffed it with a microfiber cloth to deepen the shine. The pipe polished up pretty nicely. The pipe took on life with the buffing. The developing patina on the beard, turban and shank work well with the polished amber coloured stem. The finished pipe has a rich look that is quite catching. Have a look at it with the photos below. The shape, finish and flow of the pipe and stem are very well done. The dimensions are Length: 5 ½ inches, Height: 2 ½ inches, Outside diameter of the bowl: 1 ¼ inches wide x 1 ¾ inches long, Chamber diameter: ¾ of an inch. The interesting old Meerschaum Sultan will be going on the rebornpipes store shortly. If you are interested in adding it to your collection let me know. Thanks for walking through the restoration with me as I worked over another estate pipe.