by Steve Laug
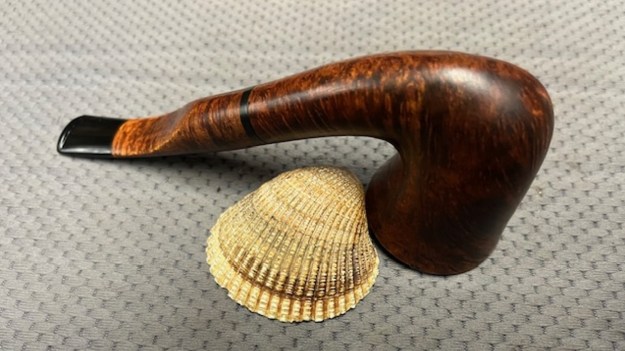
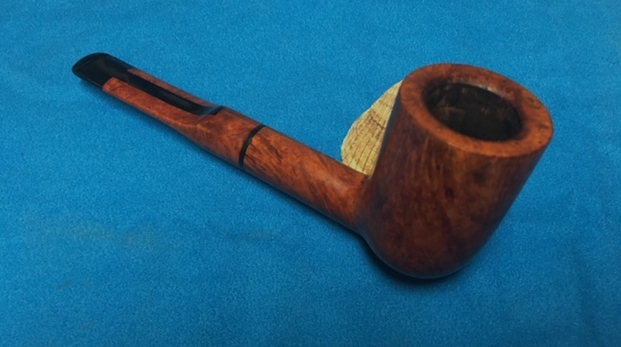
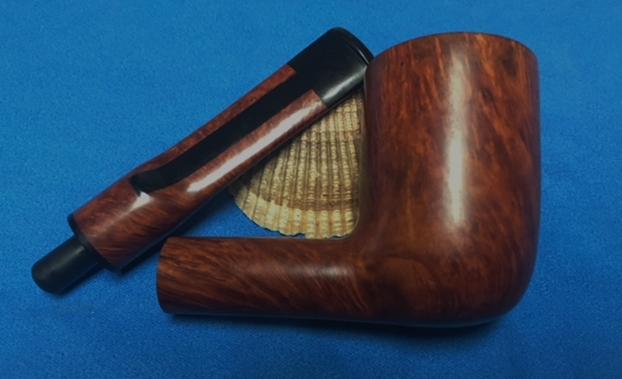
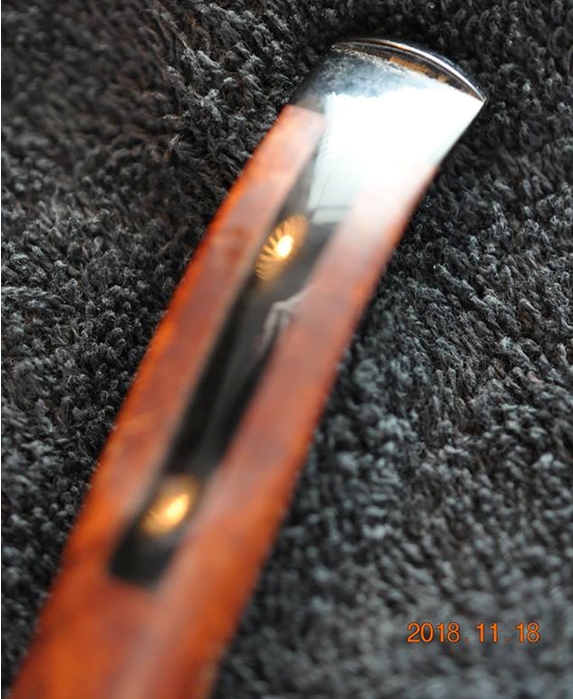
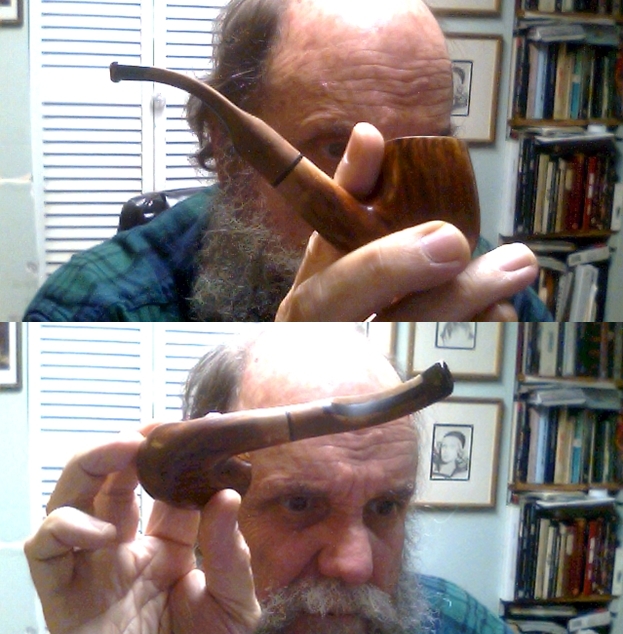
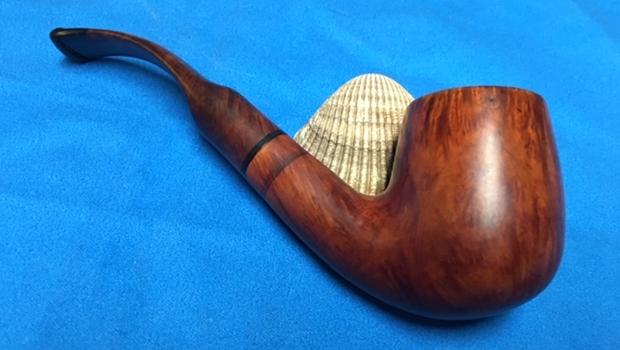
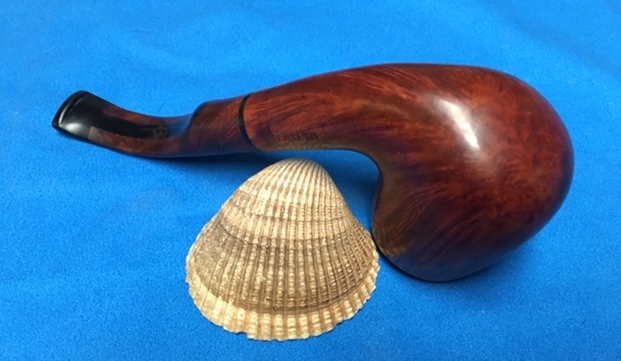
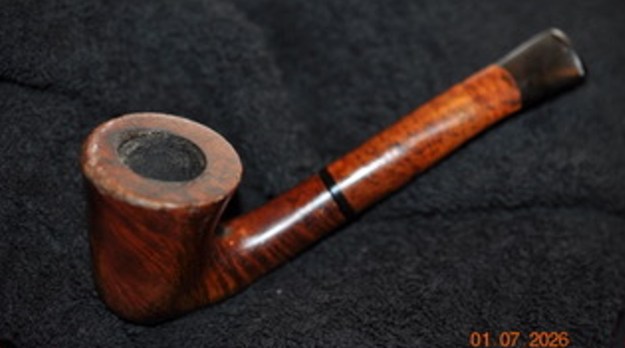
My brother Jeff picked up an Aldo Velani Ultima pipe from a seller in Puyallup, Washington, USA on 03/17/2025. The Ultima has a composite stem with briar inserts on the saddle and along the sides of the stem with Lucite forming the base of the stem. There is band of Lucite on the shank end and on the top and underside of the bite area around the button. It really is a beautiful looking pipe with a lot of class and distinction. Most Aldo Velani pipes are made in Livorno, Italy, for the USA market by Cesare Barontini. They were previously imported by Lane Limited. The name “Aldo Velani” is actually fictional one and the brand was made for export (https://pipedia.org/wiki/Aldo_Velani http://www.pipephil.eu/logos/en/logo-a3.html). The pipe was probably made in the 1990s. The pipe was dirty with grit and grime on the exterior of the bowl and shank. There was a thick cake in the bowl and there was a lava overflow on the rim top. There was also some burn damage on the inner edge. The stem was dirty and had light tooth marks on the Lucite around the button. Jeff took photos of the pipe before he started his clean up. 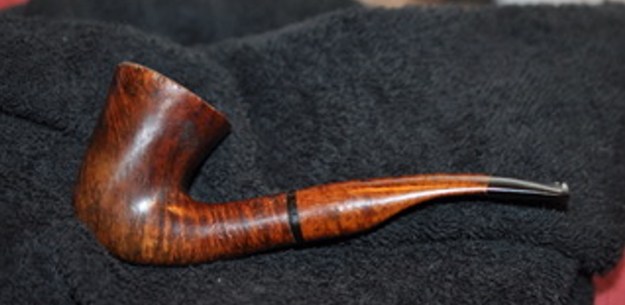
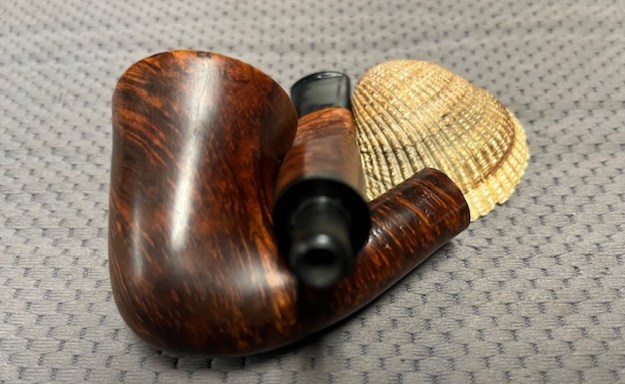
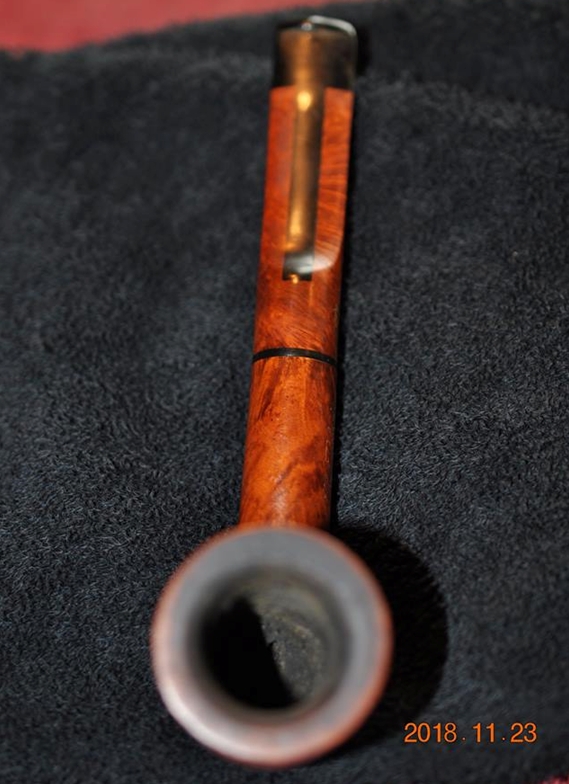
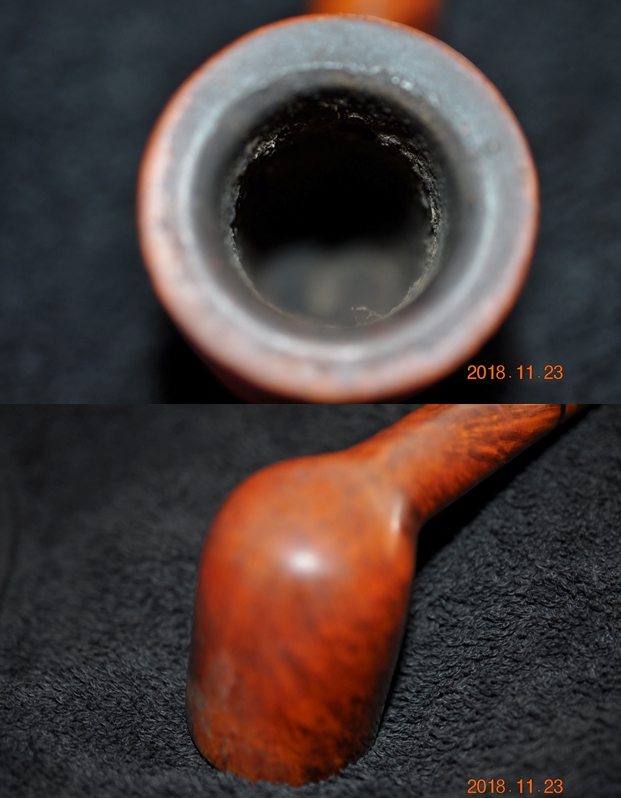
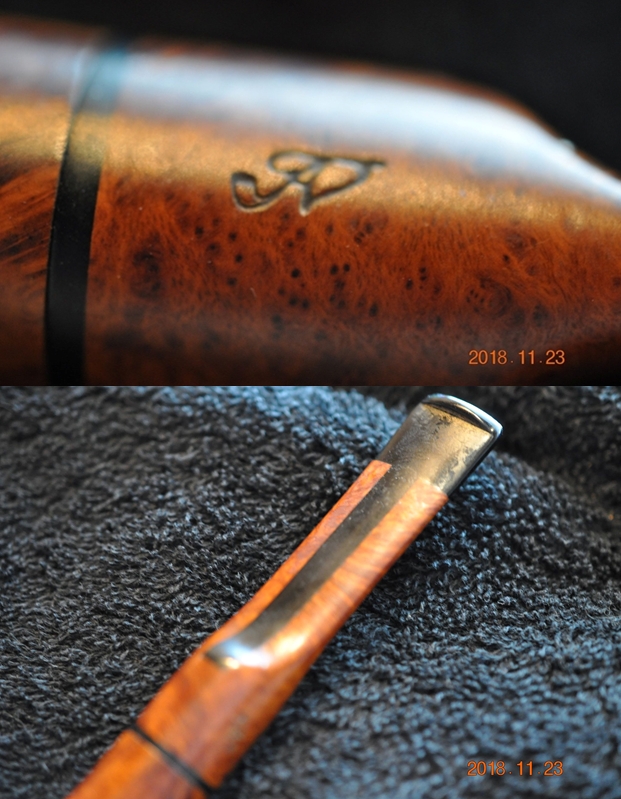
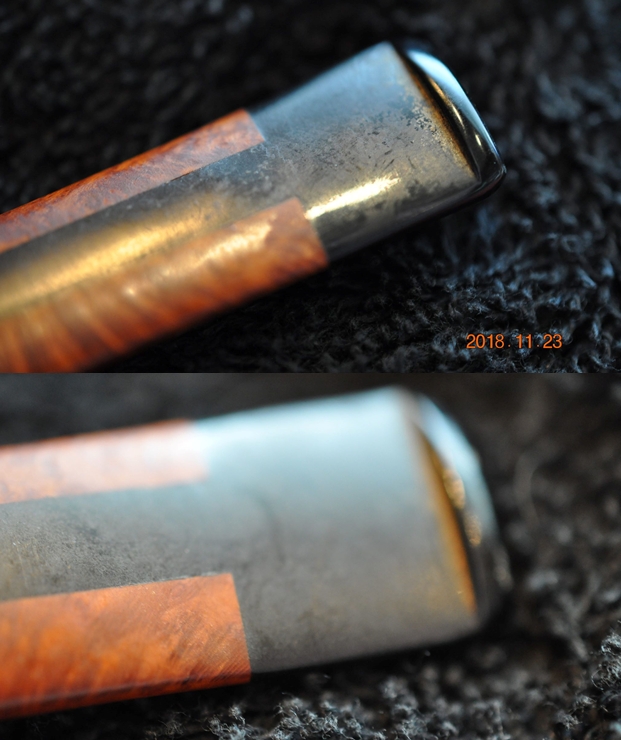
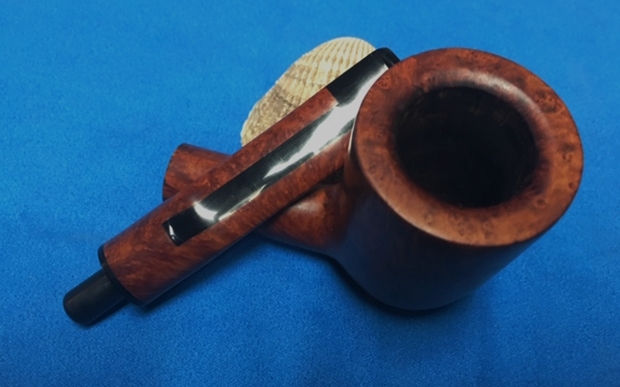
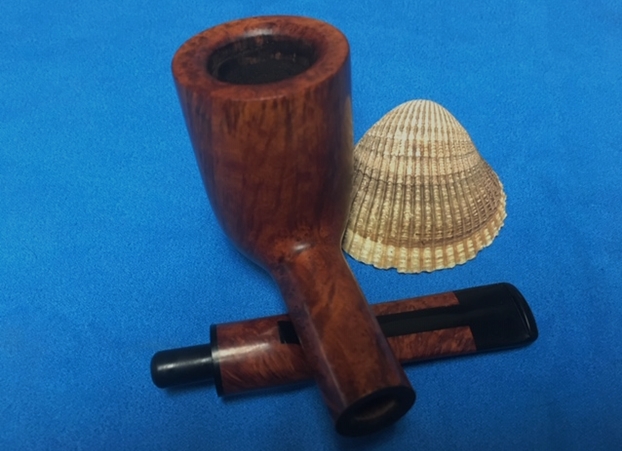
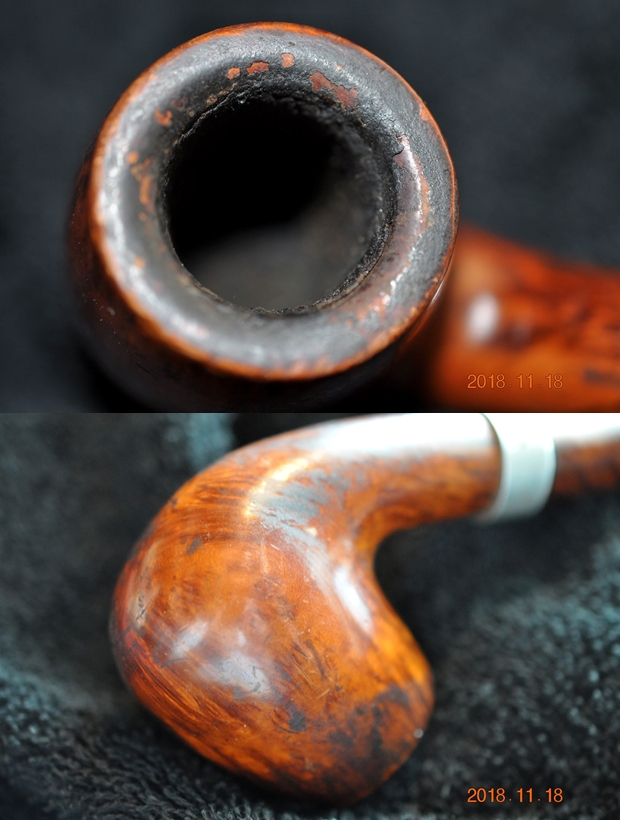
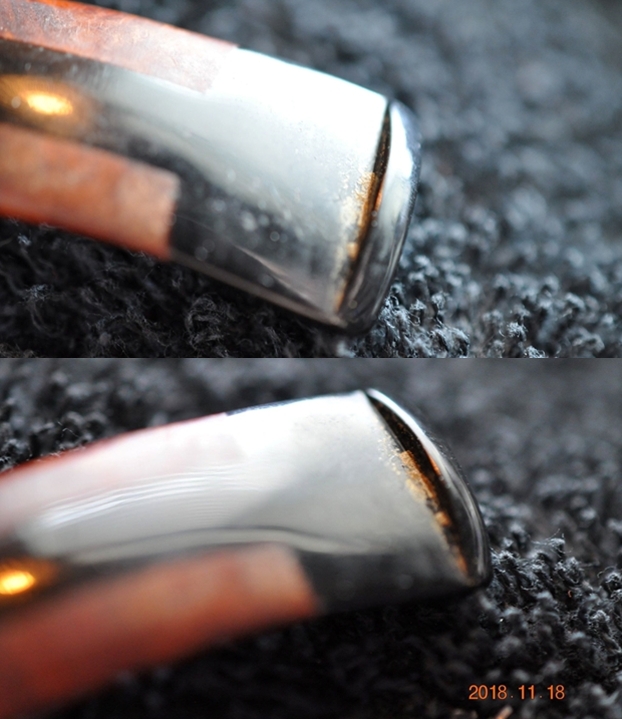
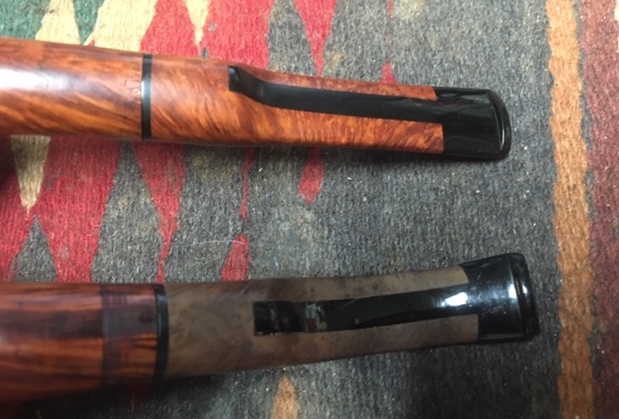
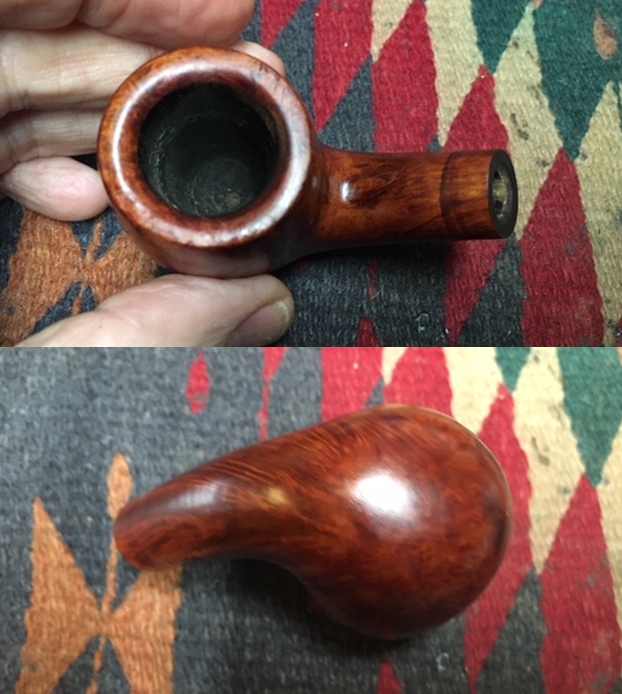
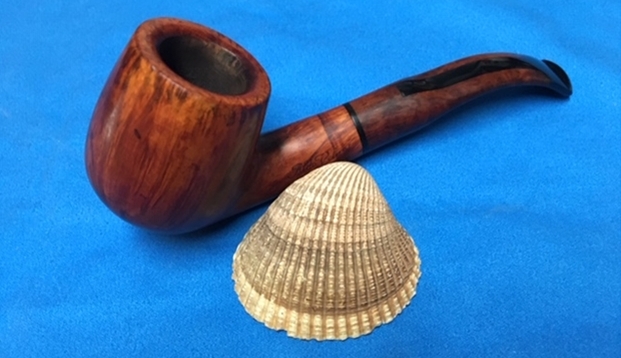
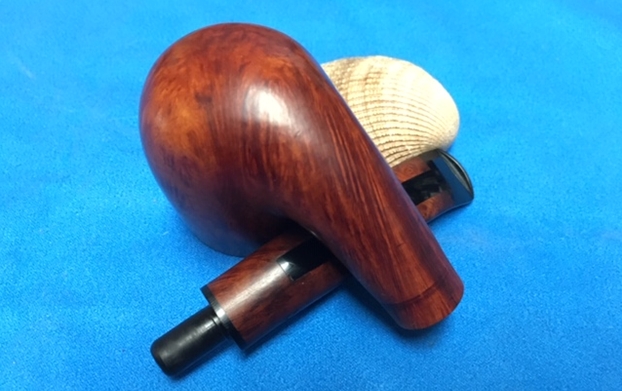
 He took some photos of the rim top and the stem to show the condition of the pipe. You can see the damage on the inner edge, the lava and damage on the rim and outer edge. There was a thick cake in the bowl. The photos of the stem show the tooth marks, chatter and debris on the stem surface.
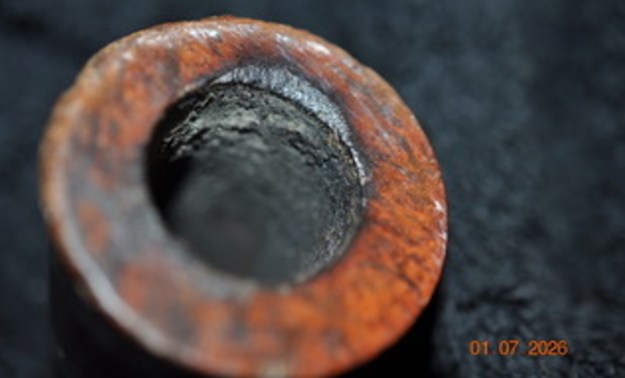
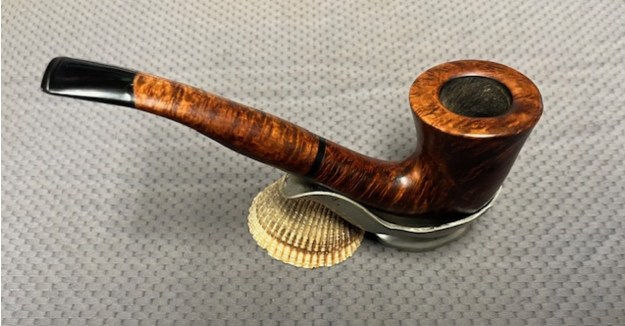
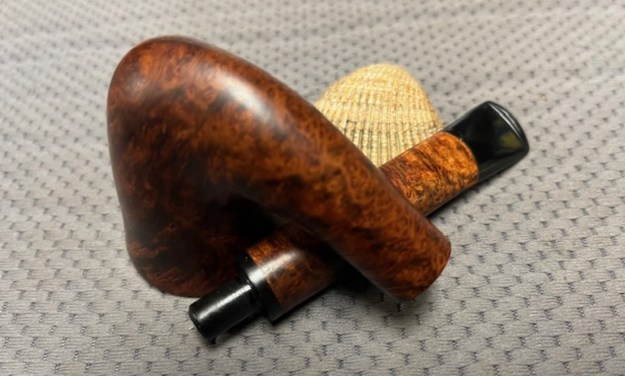
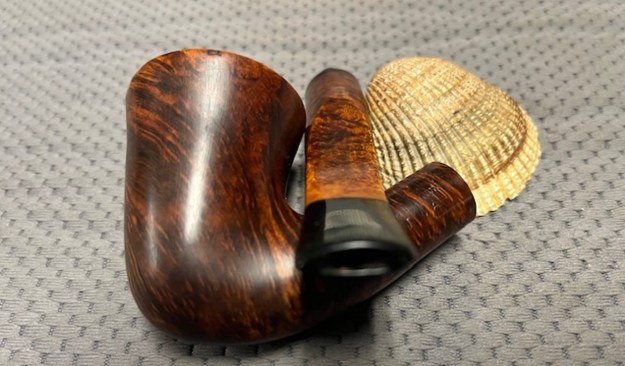
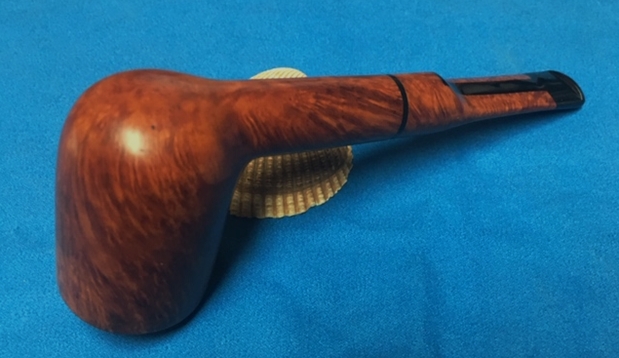
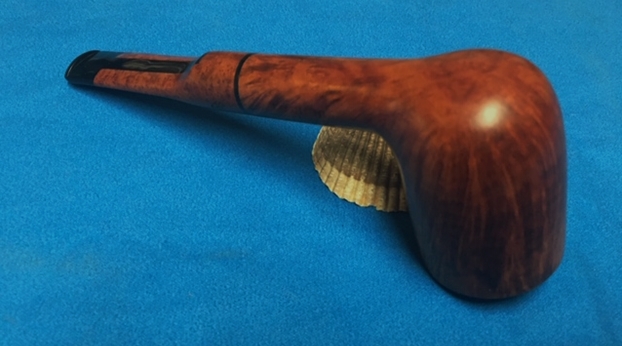
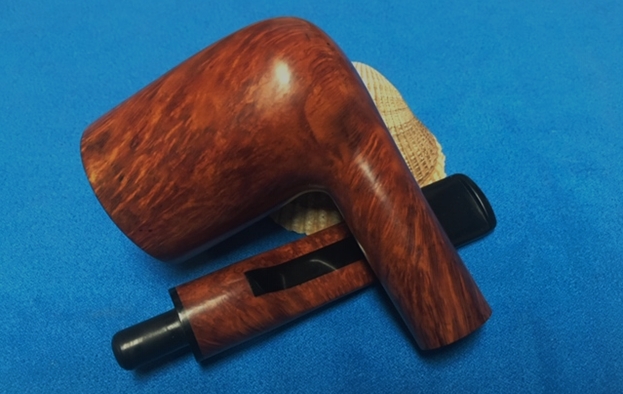
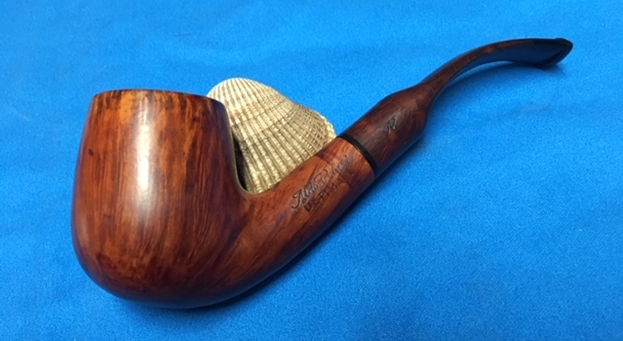
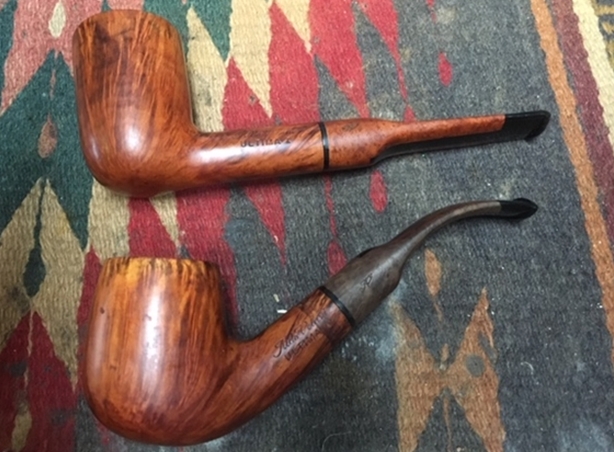
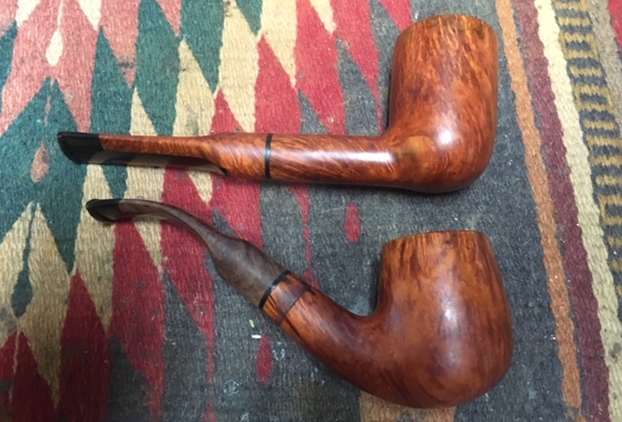
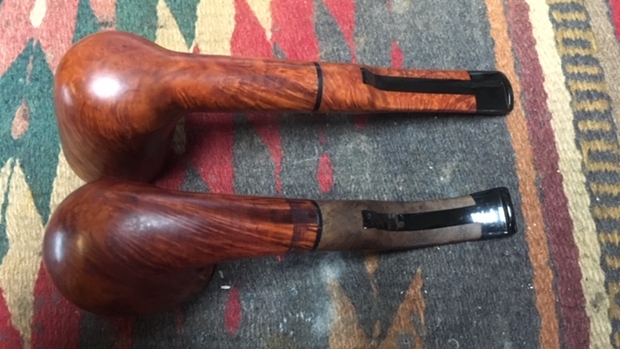
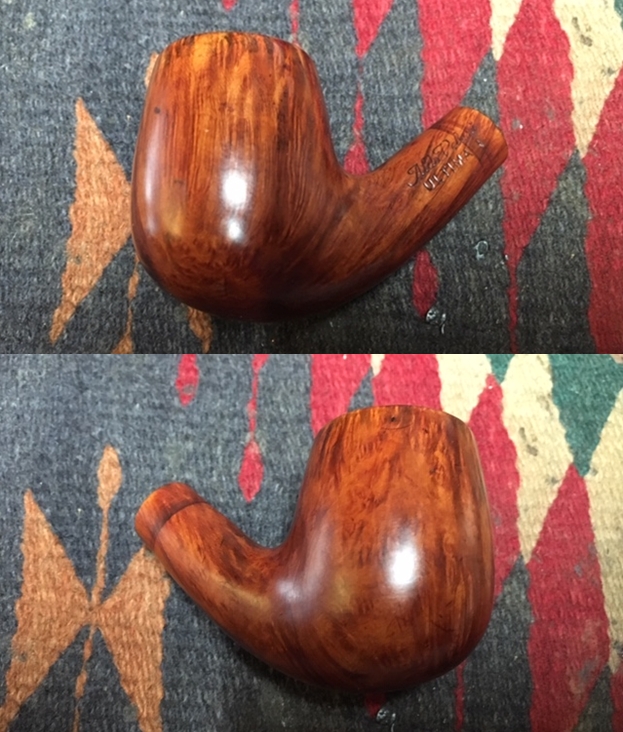
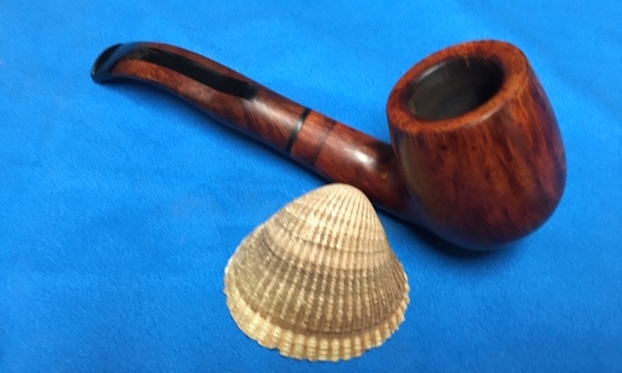
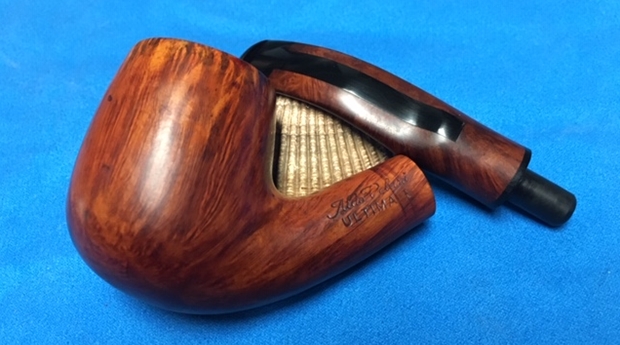
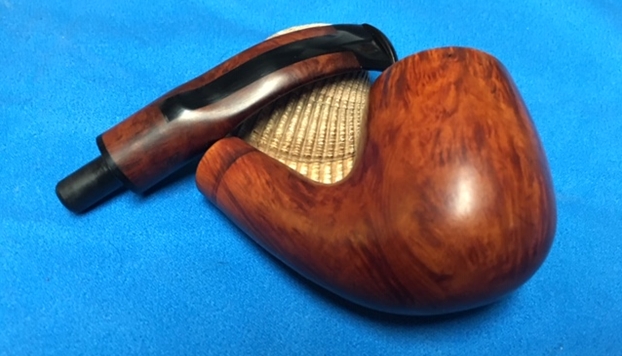
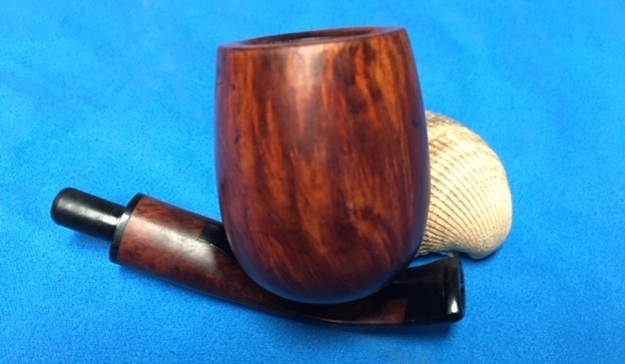
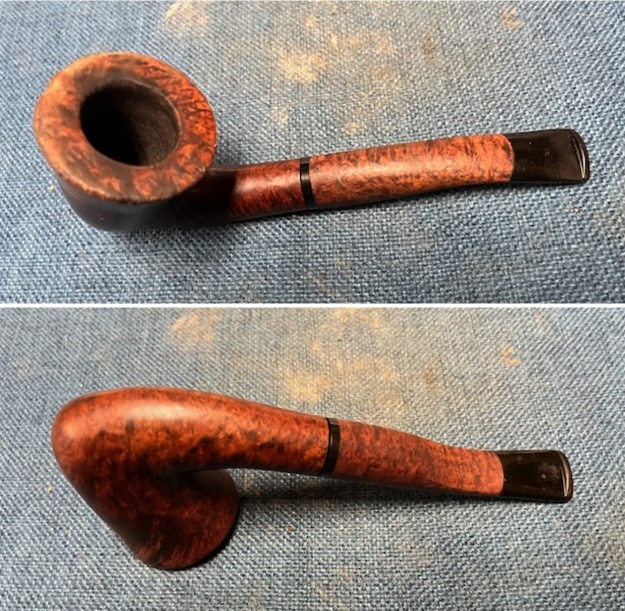
 Jeff took photos of the sides and heel of the bowl to show the condition of the finish. Even under the dirt and debris of the years the grain on the smooth briar looked very good. You can see the damage on the outer edge of the bowl in the photos.
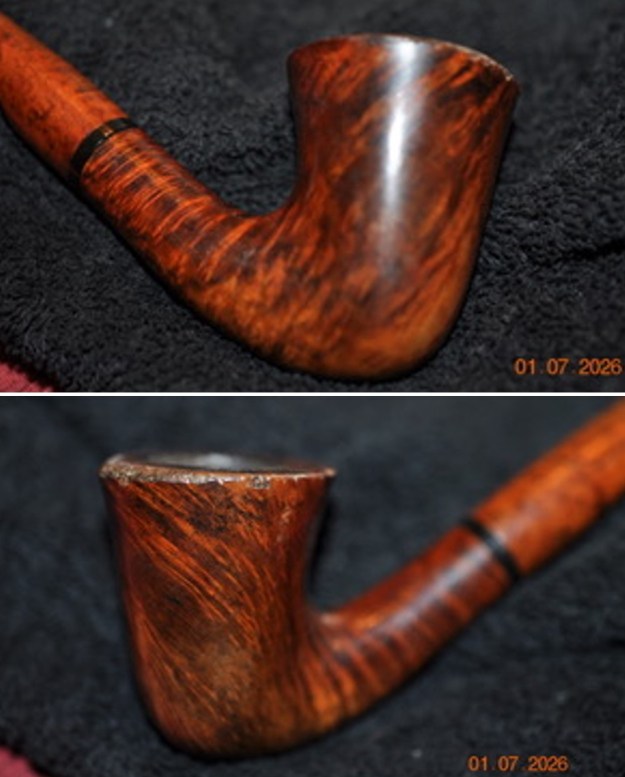
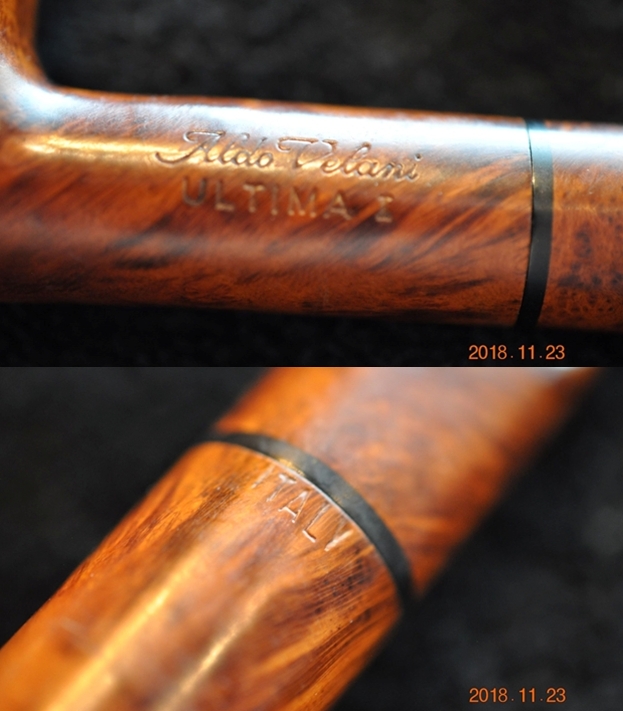
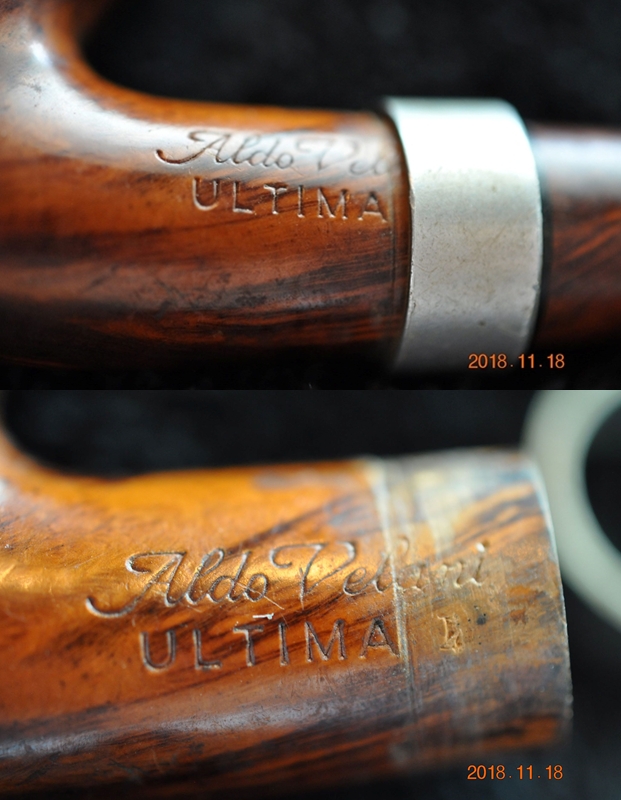
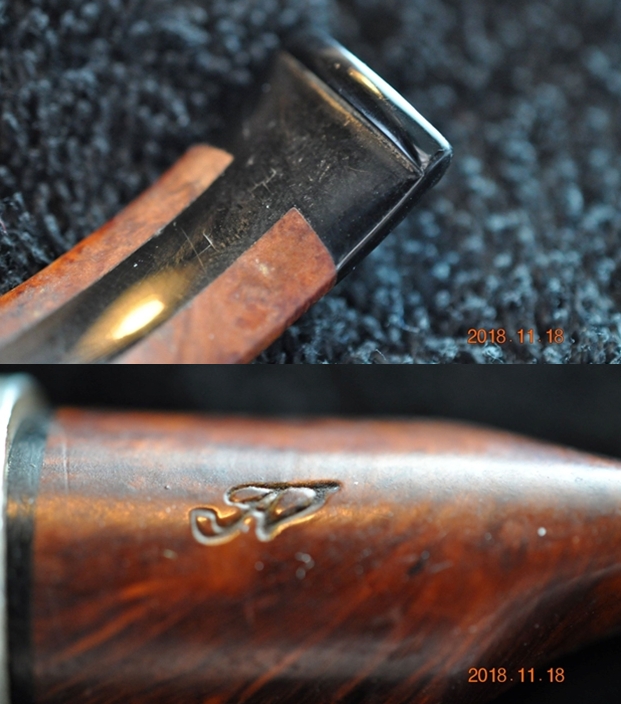
 The stamping is faint in spots but still is readable as noted above.
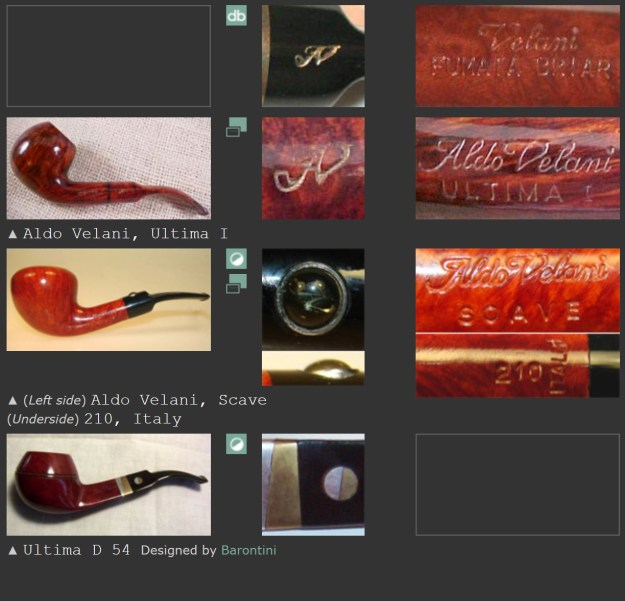
 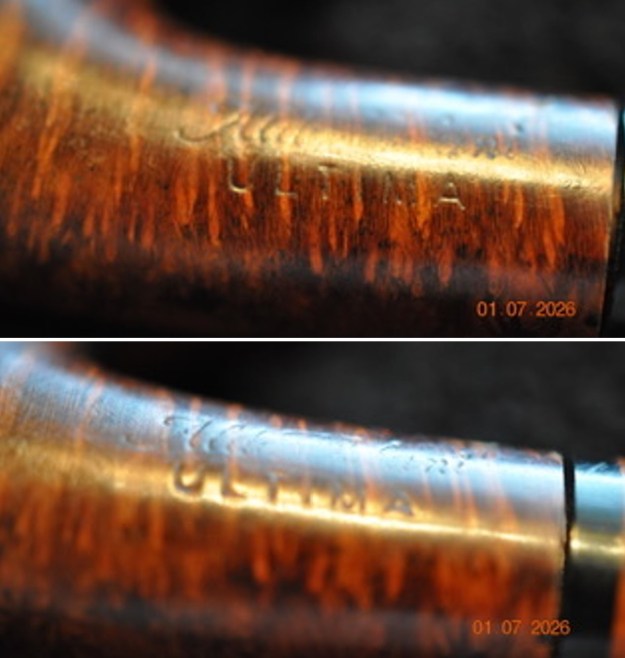 I turned to Pipephil’s site to learn about the Velani brand (http://www.pipephil.eu/logos/en/logo-a3.html). I did a screen capture of the section on the site regarding the Aldo Velani pipes. There is a connection to Barontini pipes. The eighth photo down in the screen capture is the Ultima. I also included the information from the side bar.
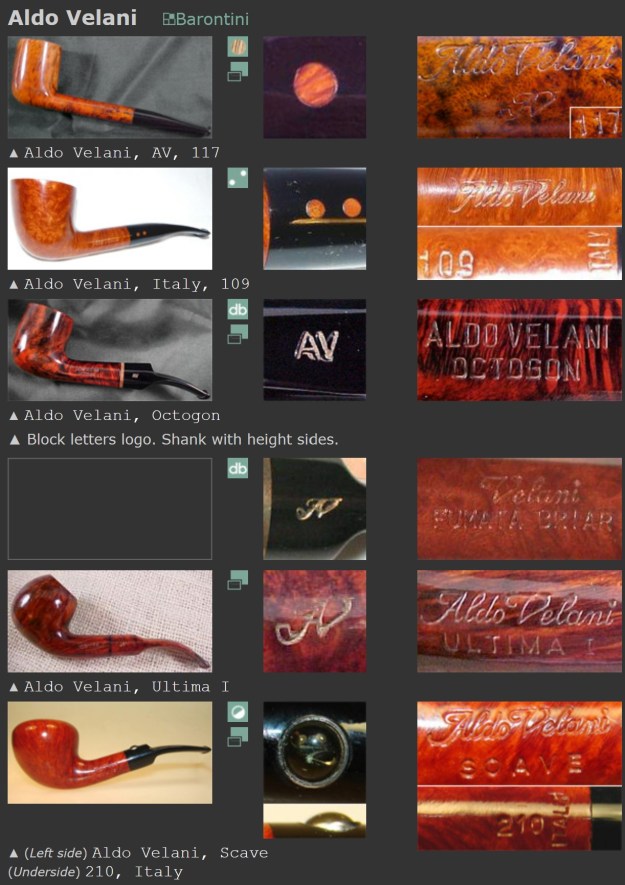
 Aldo Velani is the fictional name for a sub-brand mainly intended for export.
Now I knew what I was working with. I learned that most of the Aldo Velani pipes are made in Livorno, Italy, for the USA market by Cesare Barontini.
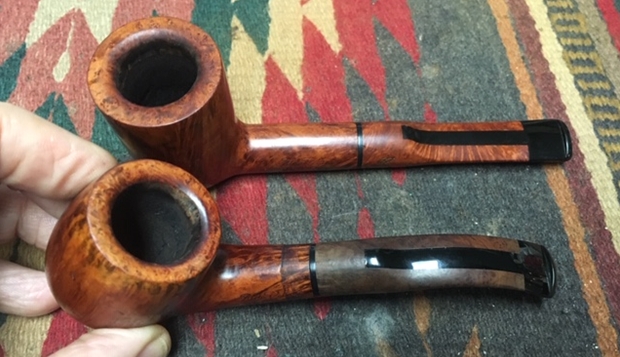
Jeff cleaned the pipe with his usual thoroughness – reaming the bowl with a PipNet pipe reamer, cleaning up the reaming with a Savinelli Fitsall Pipe Knife. He scrubbed the internals of the shank and the stem with alcohol, cotton swabs and pipe cleaners. He scrubbed the exterior with Murphy’s Oil Soap to clean off the dust and grime on the finish. The rim top looked better but the burn damage was very evident on the inner edge and the top. The inside of the bowl itself looked great. The stem was in great shape other than a bit of tooth chatter. He did not put this one in the Briarville’s Pipe Stem Deoxidizer Bath having seen the effects on the other part briar stems. I took photos of the pipe when I started working on it.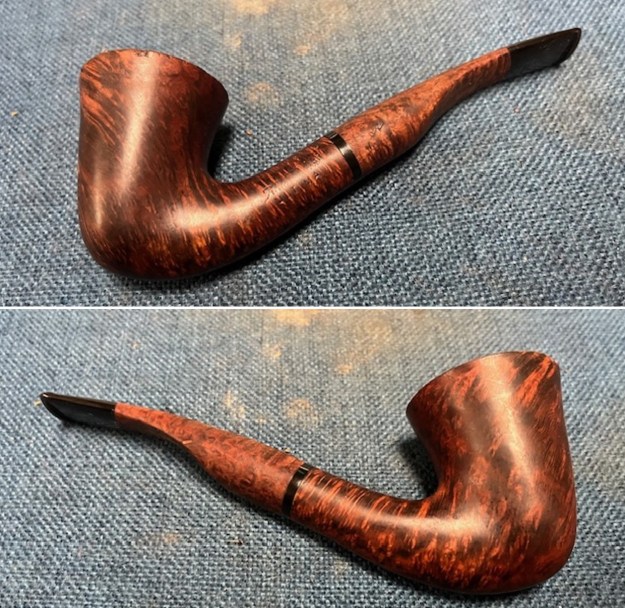
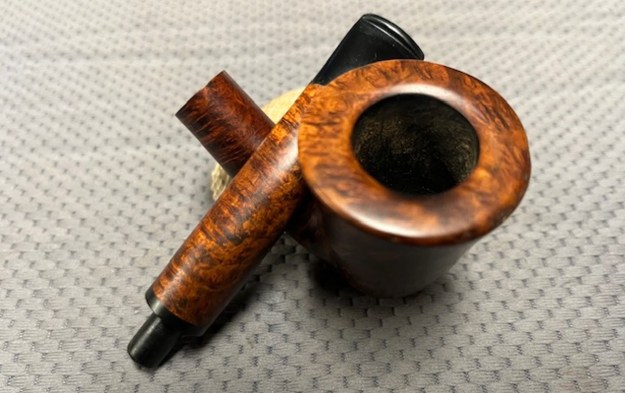
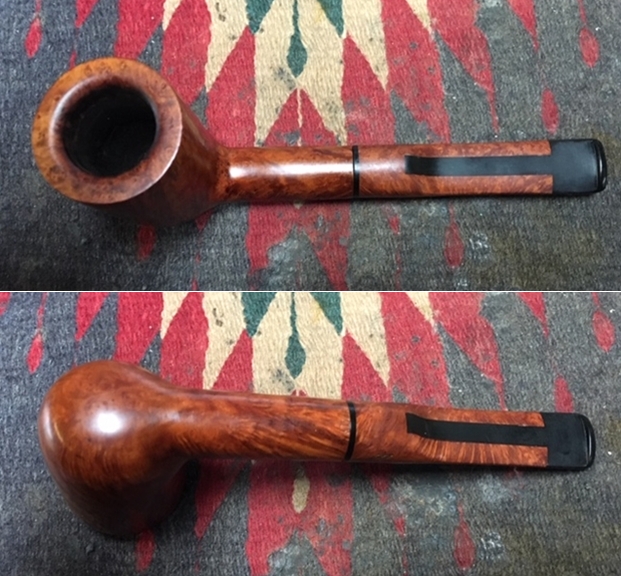
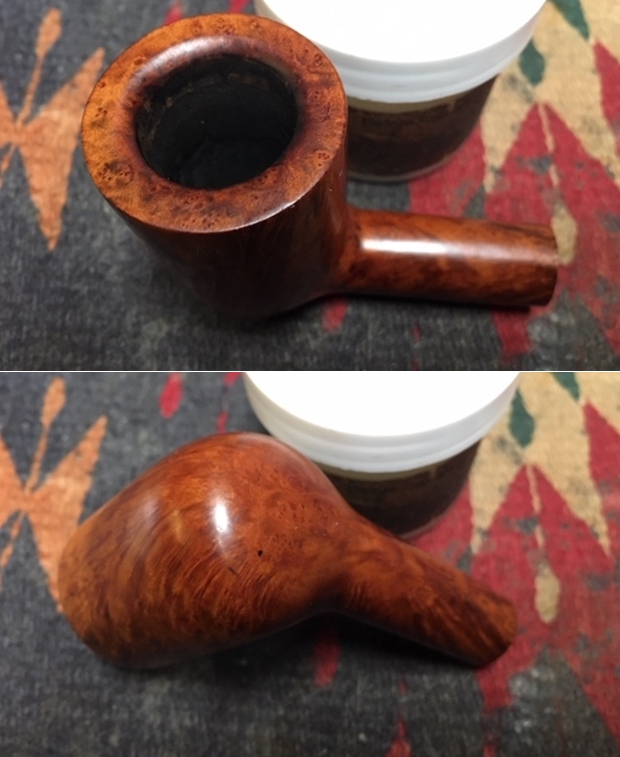
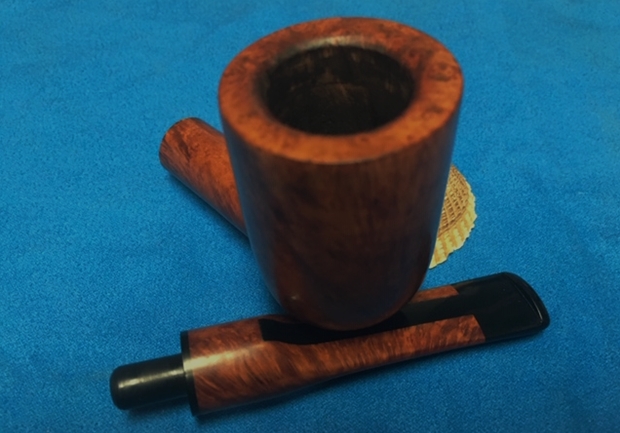
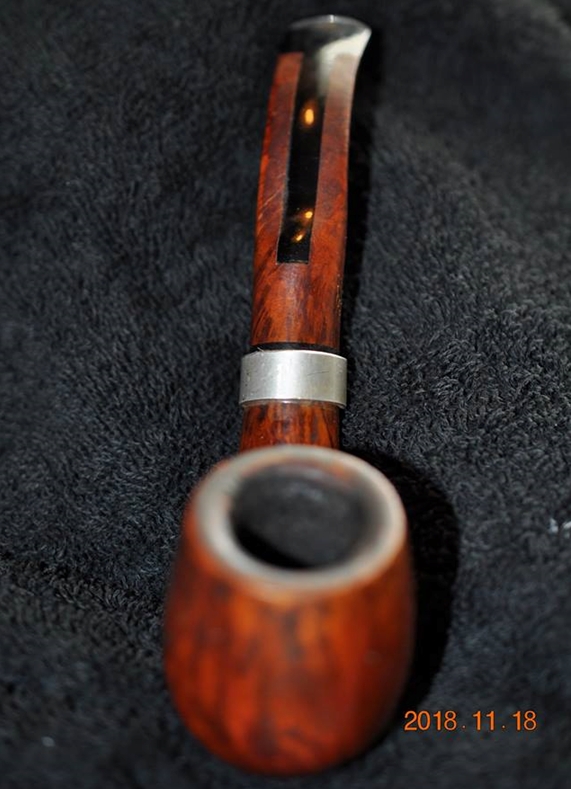
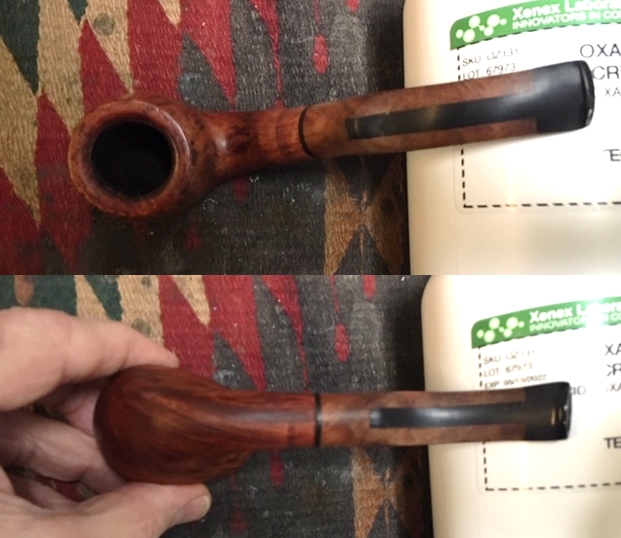
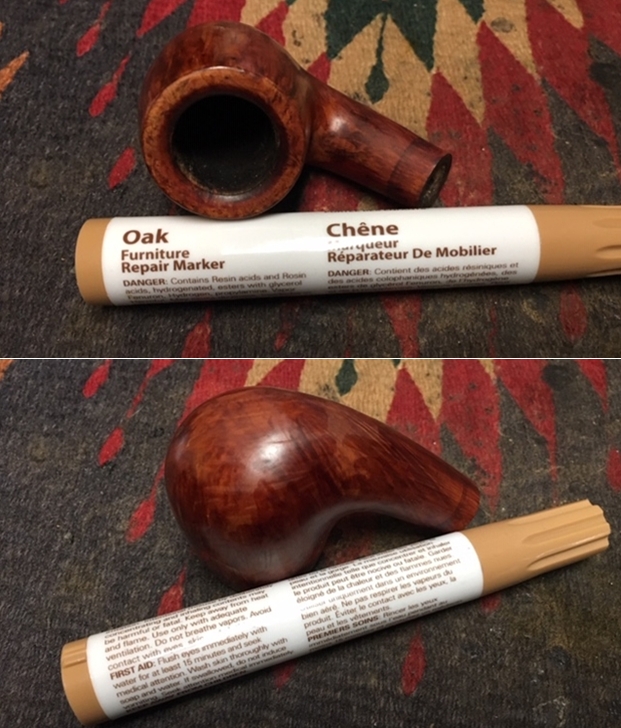
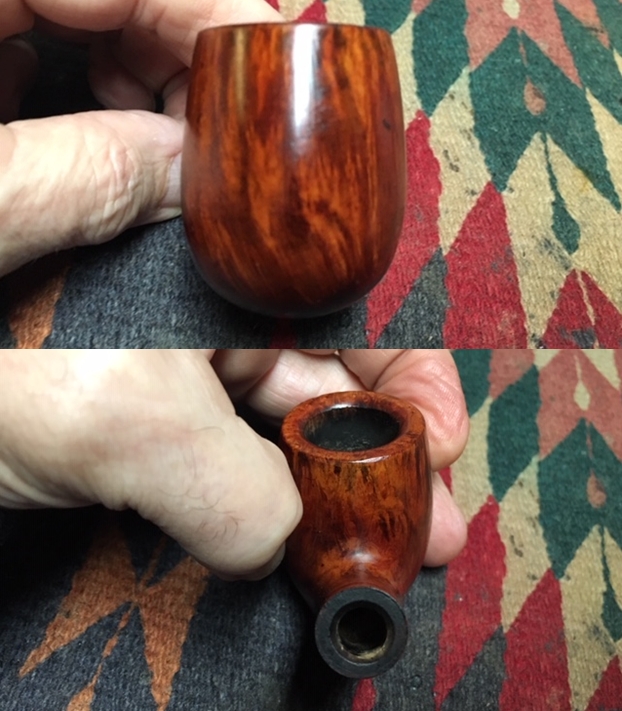
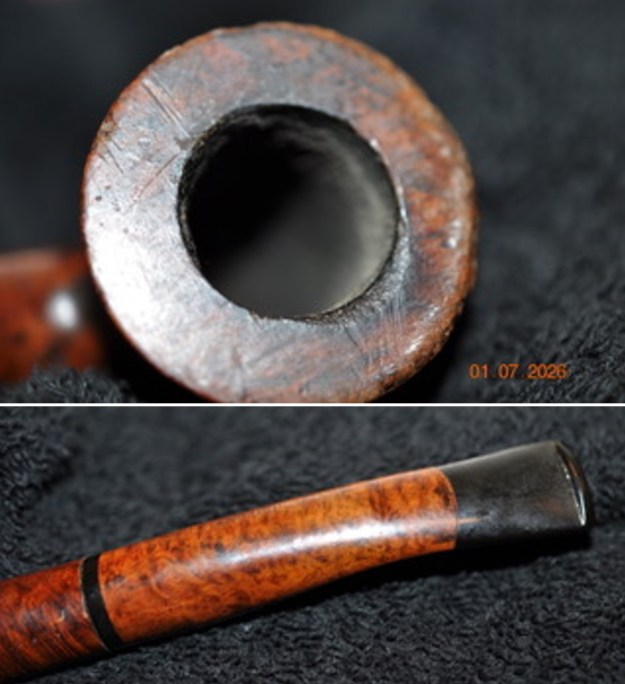
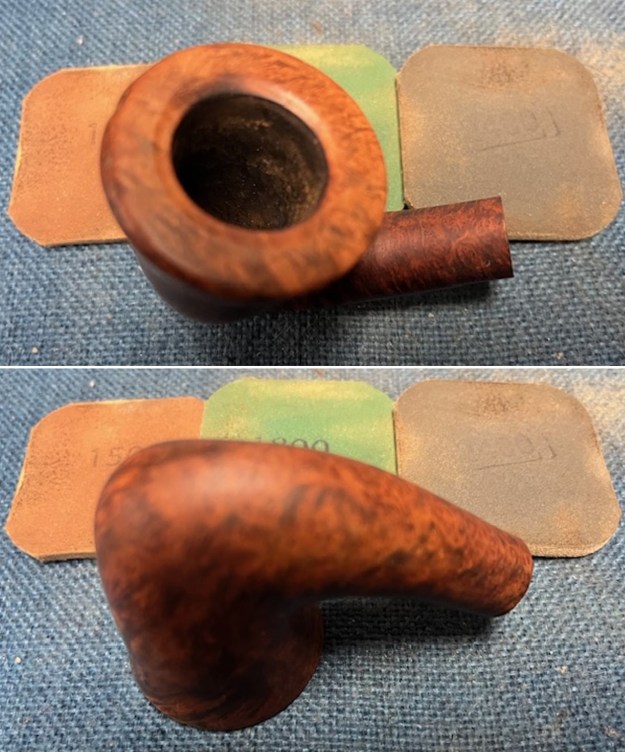
 I took photos of the bowl and rim top as well as both sides of the stem to show its condition. The rim top and edges show darkening on the rim top and burn damage on the inner edge is clearly visible. I took close up photos of the stem to show the tooth marks and chatter on the top and underside of the stem and on the button itself.
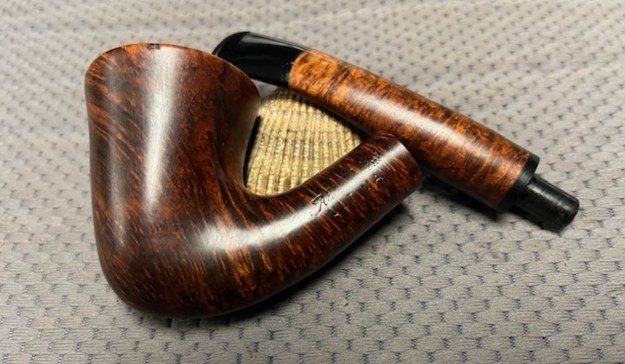
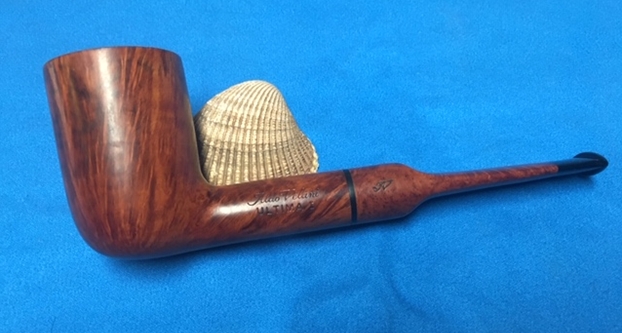
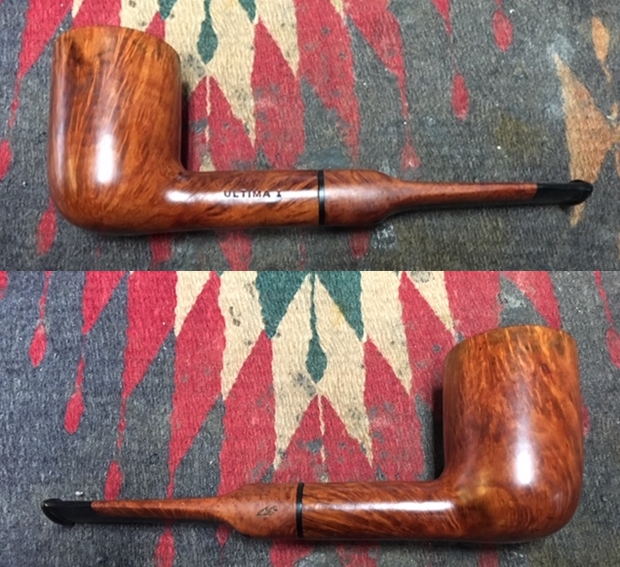
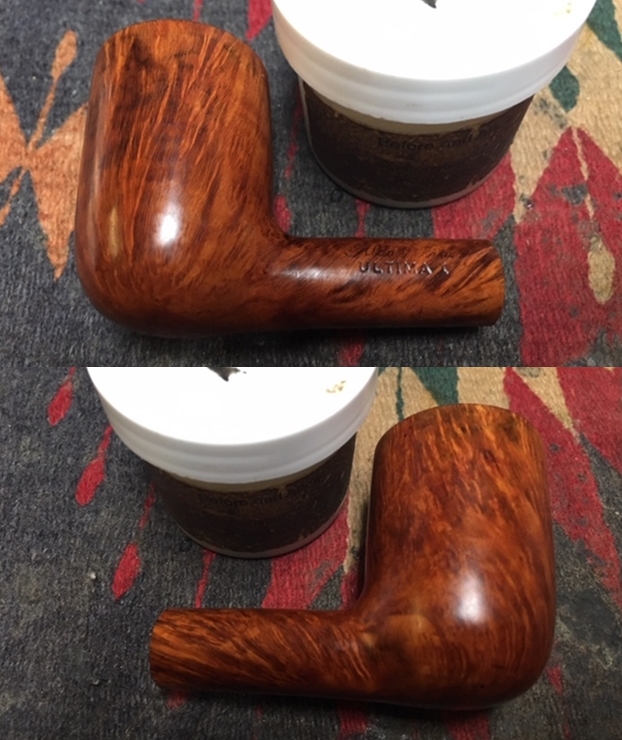
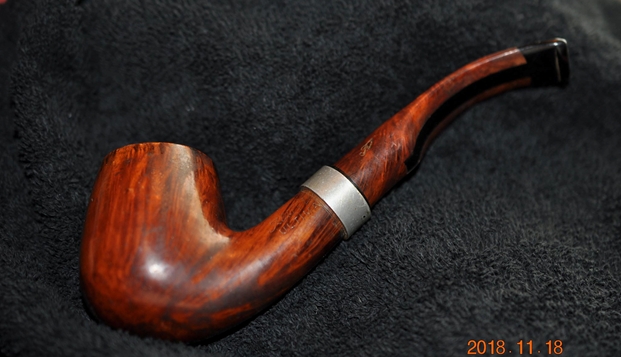
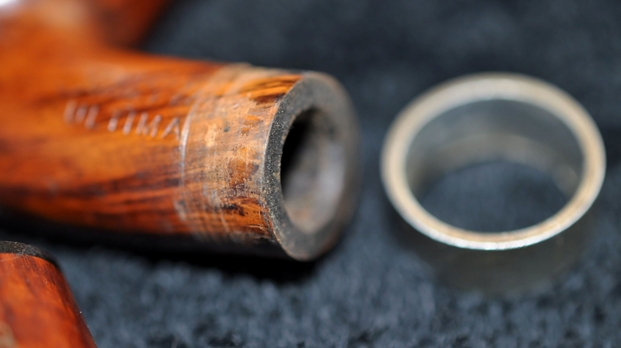
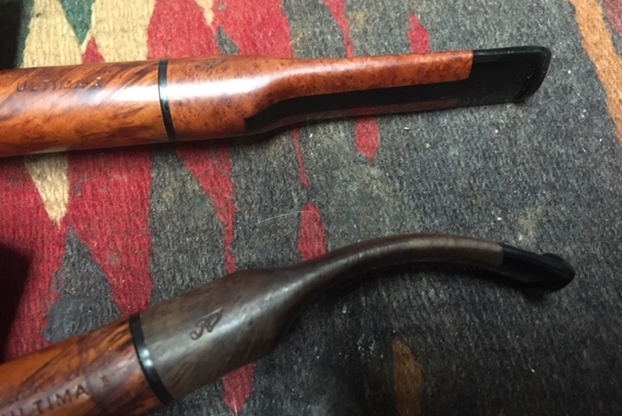
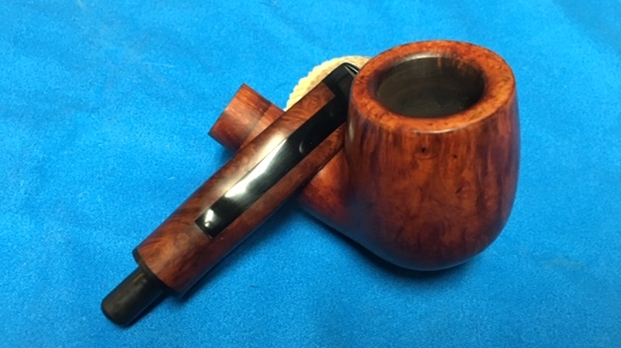
 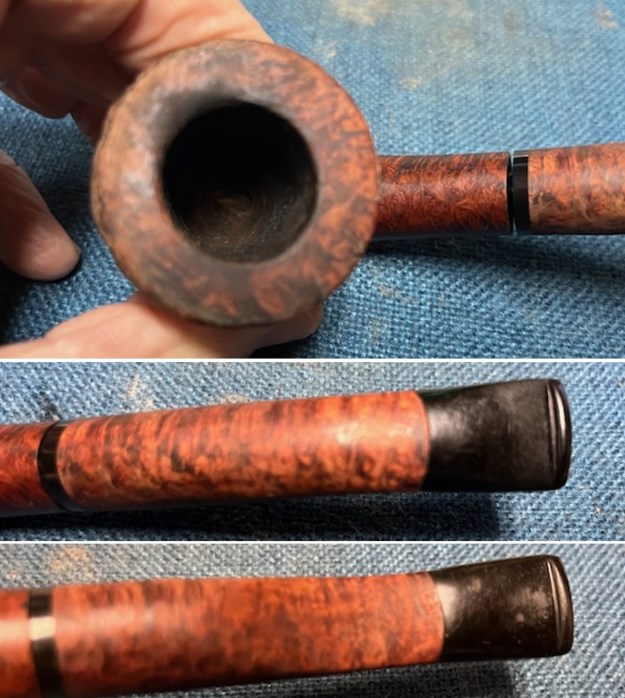 I took a photo of the stamping on the left side of the shank. It is stamped as noted above and is clear and readable even though faint in spots. I took the pipe apart and took a photo of the pipe. It is an interesting pipe that you can see the rustic finish on in the photo below.
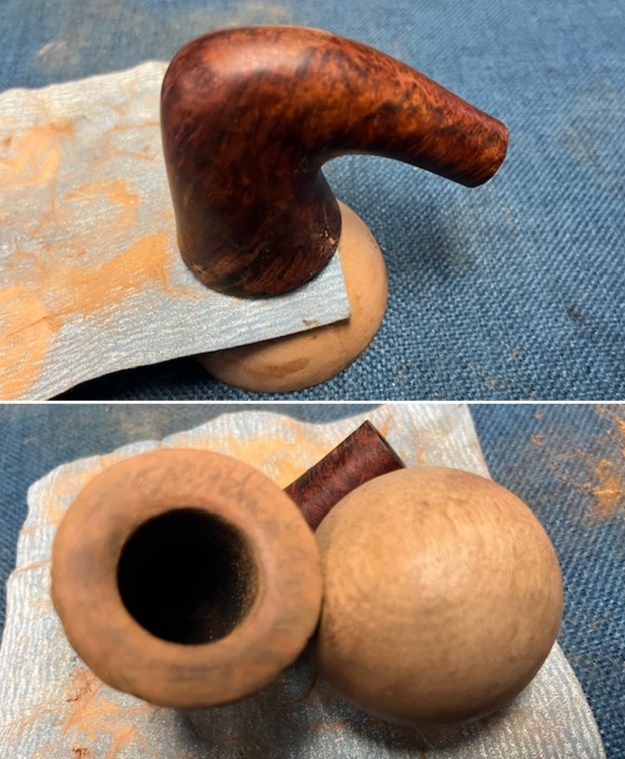
 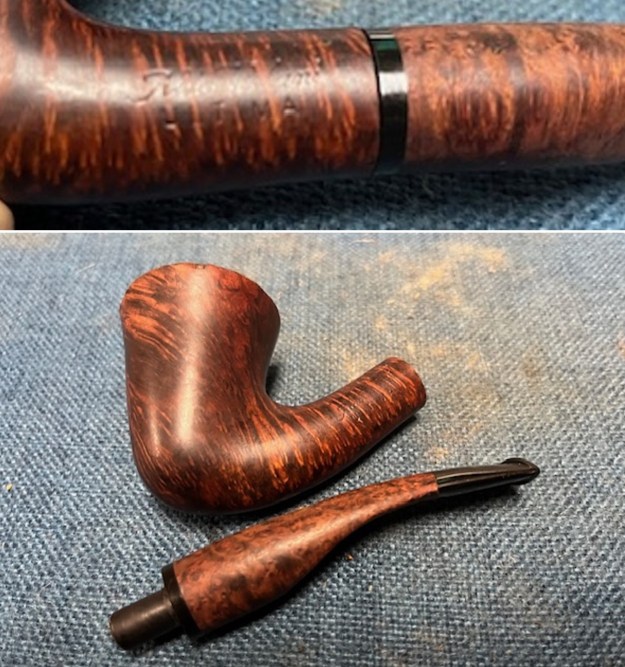 I decided to start my restoration work on this one by dealing with the darkening on the inner edge and the burn damage on the front inner edge. I also wanted to deal with the damage on the outer edge of the bowl on the front and sides of the bowl. I started with a folded piece of 220 grit sandpaper. It took care of some of the damage. It also revealed that there was damage on the rim top. I decided to use a wooden sphere and some 220 grit sandpaper to clean up the inner edge bevel and the rim top. When I had finished it looked much better.
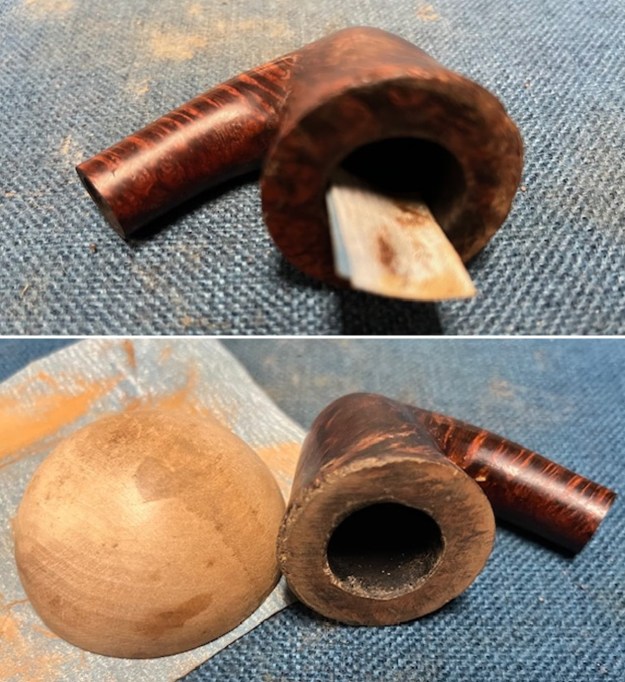
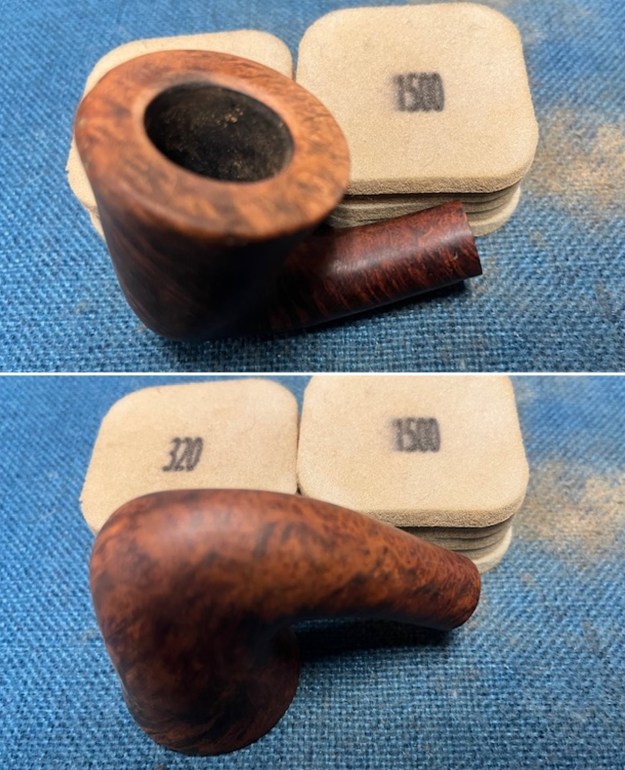
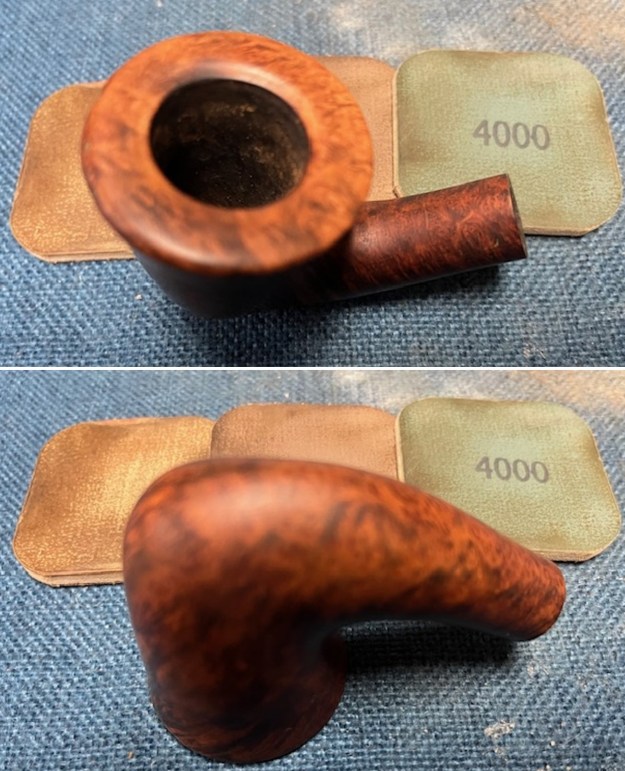
 I sanded the scratches and marks on bowl sides and shank with 320-3500 grit 2×2 inch sanding pads. I wiped it down after each pad with a damp cloth. It really began to shine.
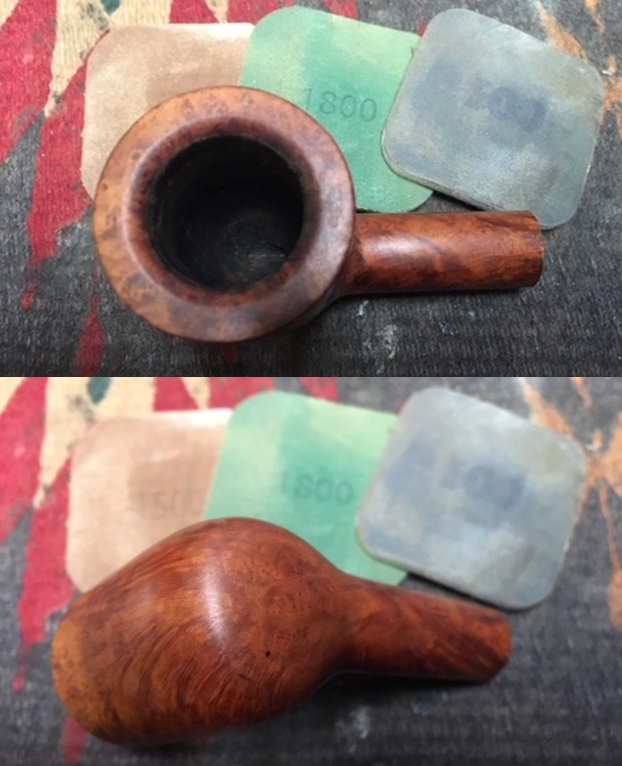
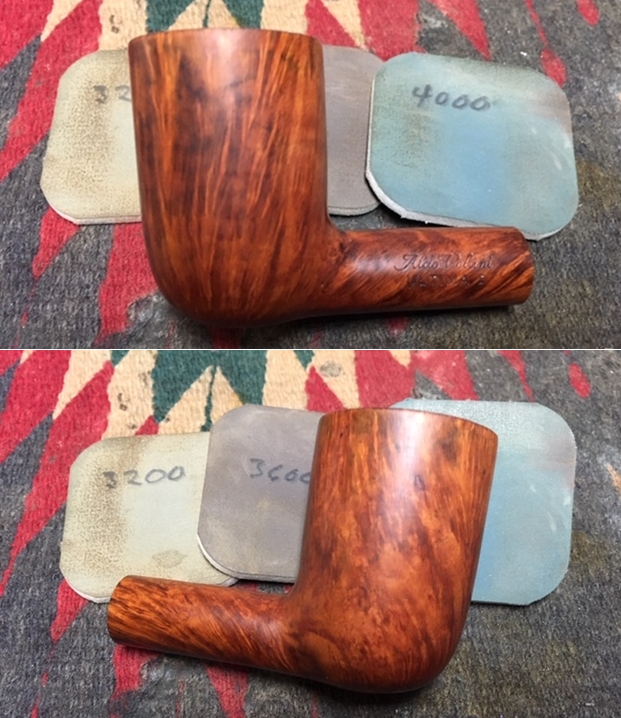
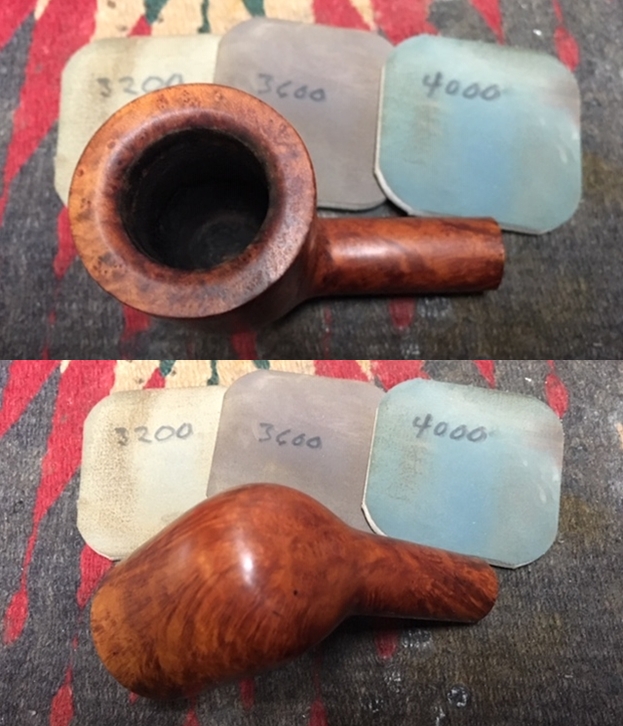
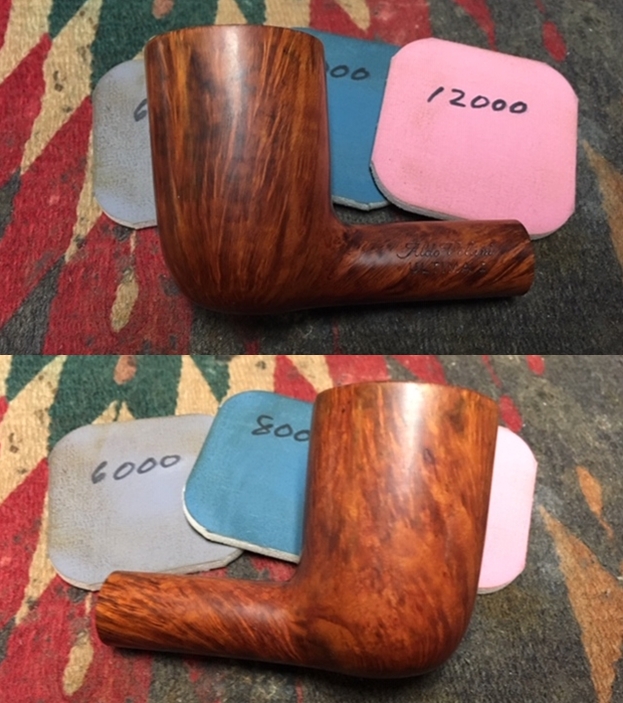
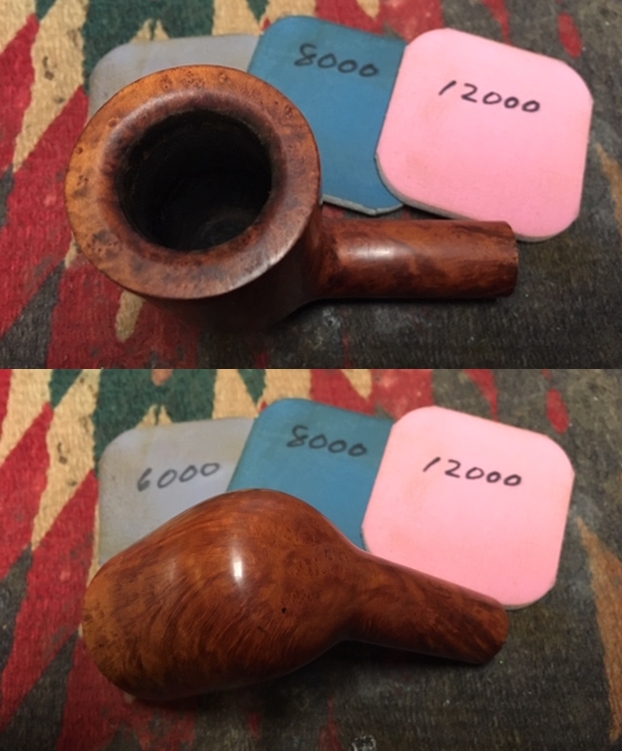
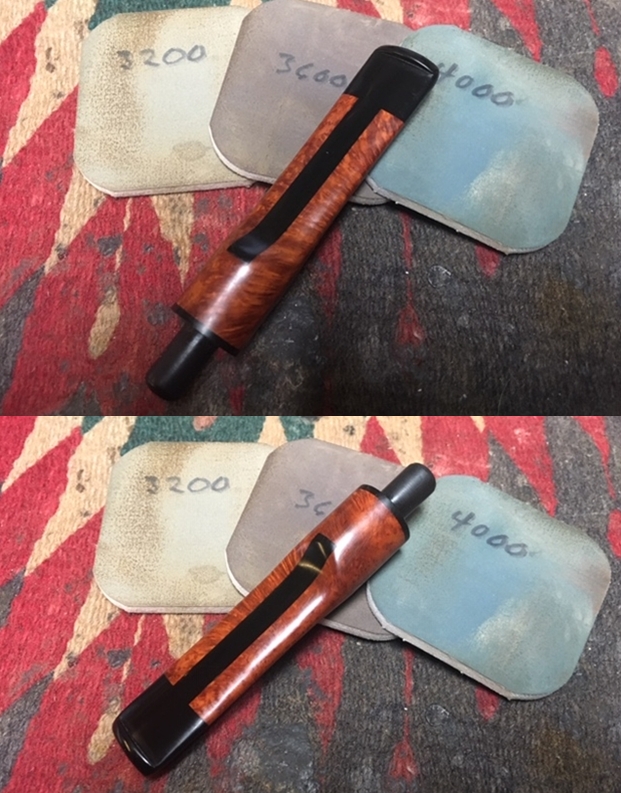
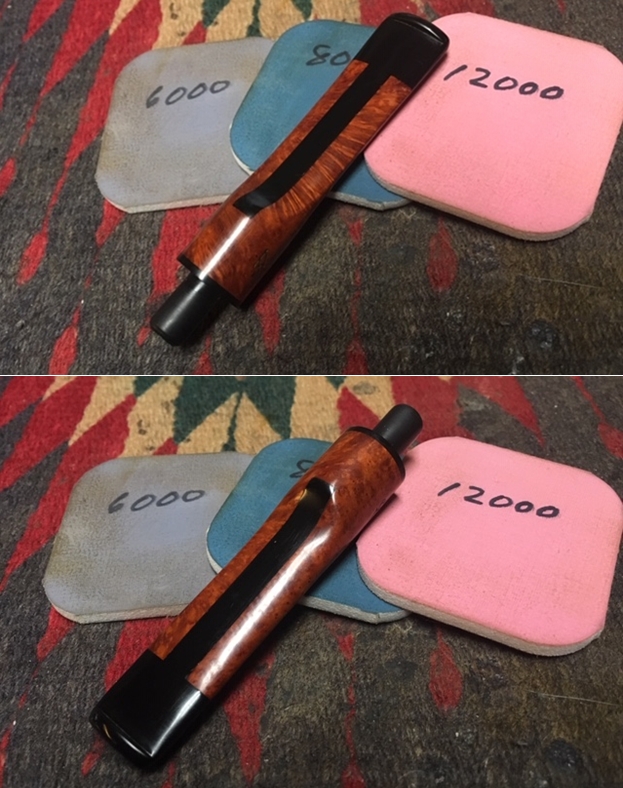
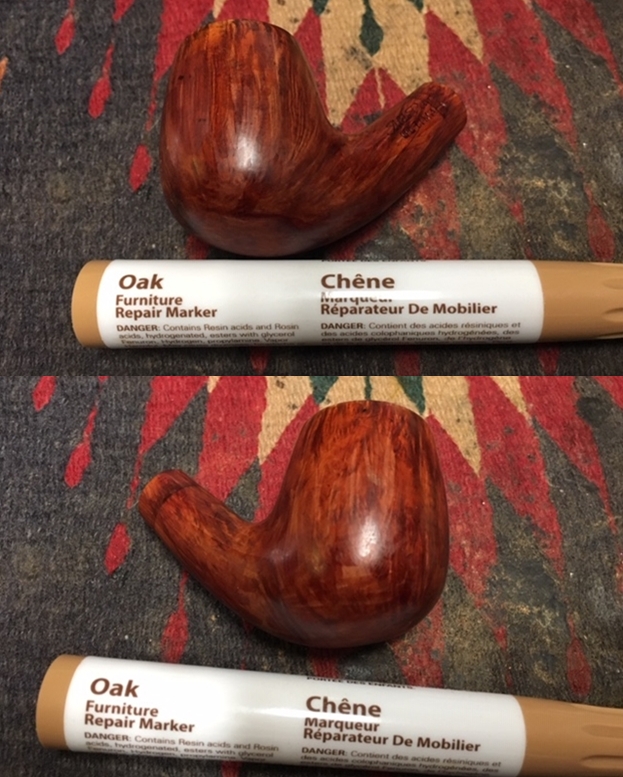
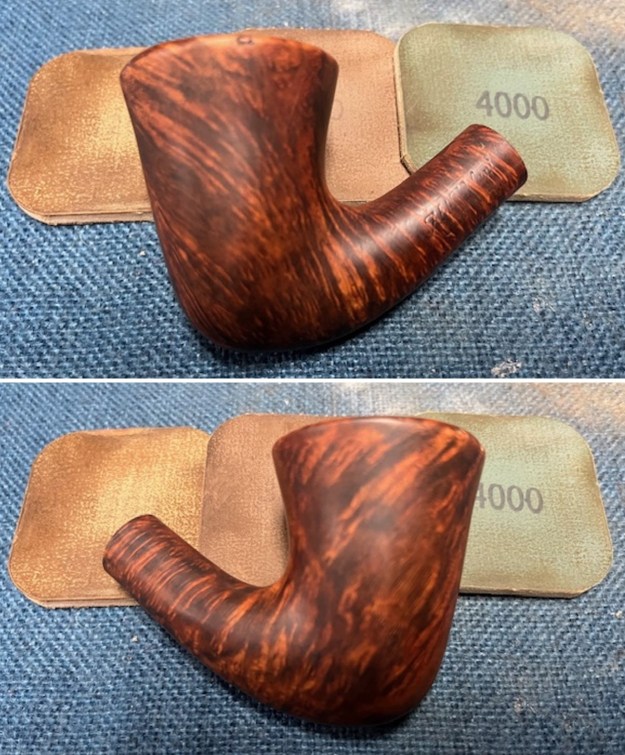
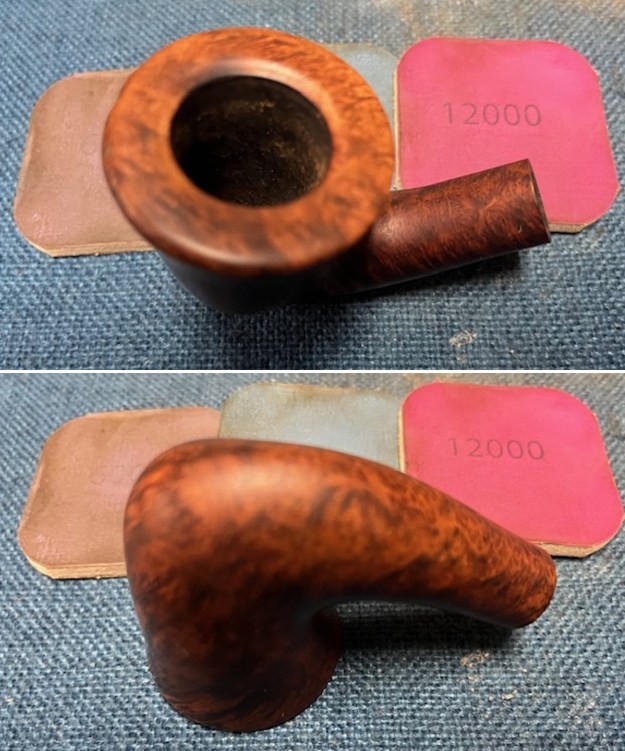
 I polished the bowl and shank with 1500-12000 grit micromesh sanding pads. I wet sanded it with 1500-2400 and dry sanded it with 3200-12000 grit pads. I wiped it down after each pad with a damp cloth to remove the sanding dust. The photos below show the progress in the polishing.
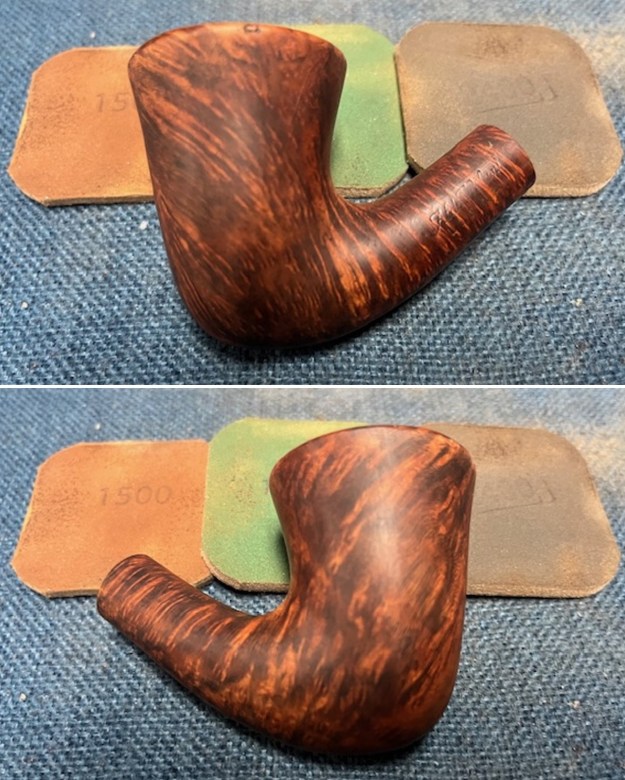
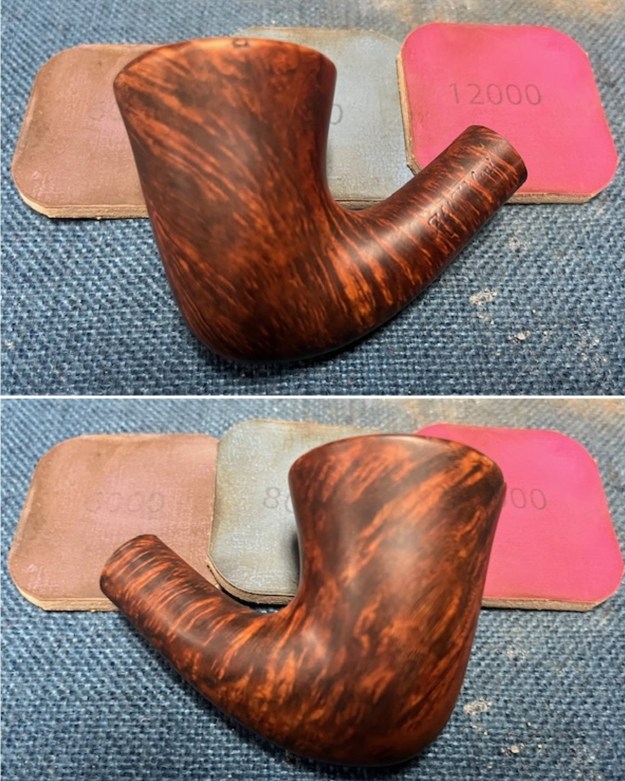
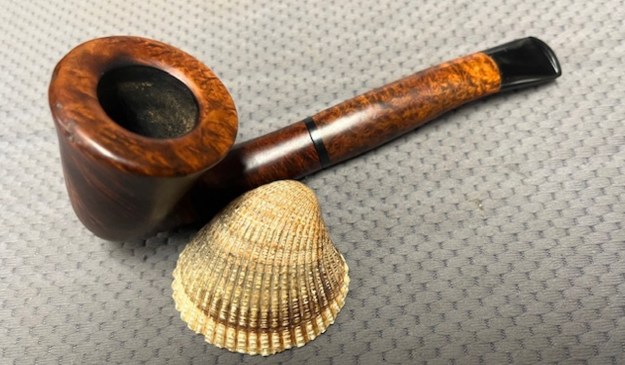
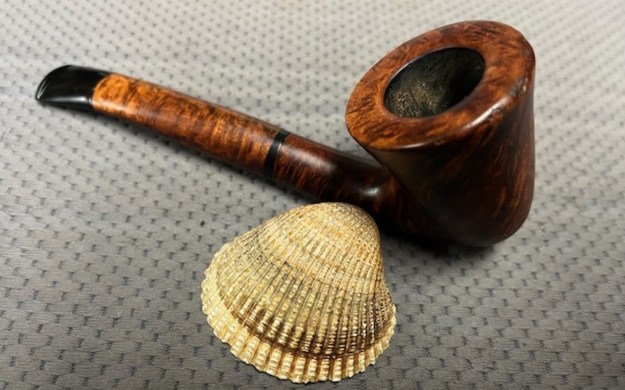
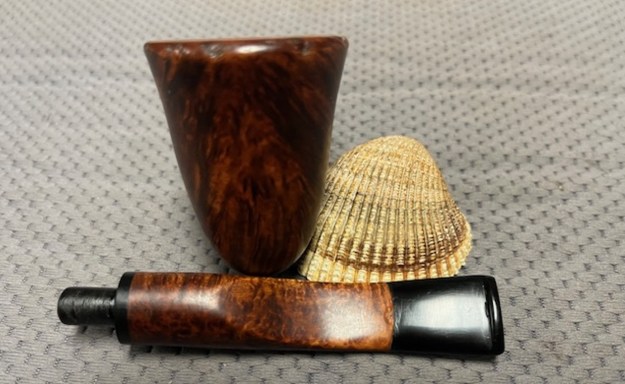
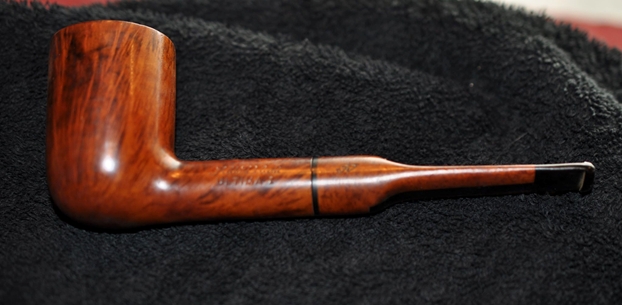
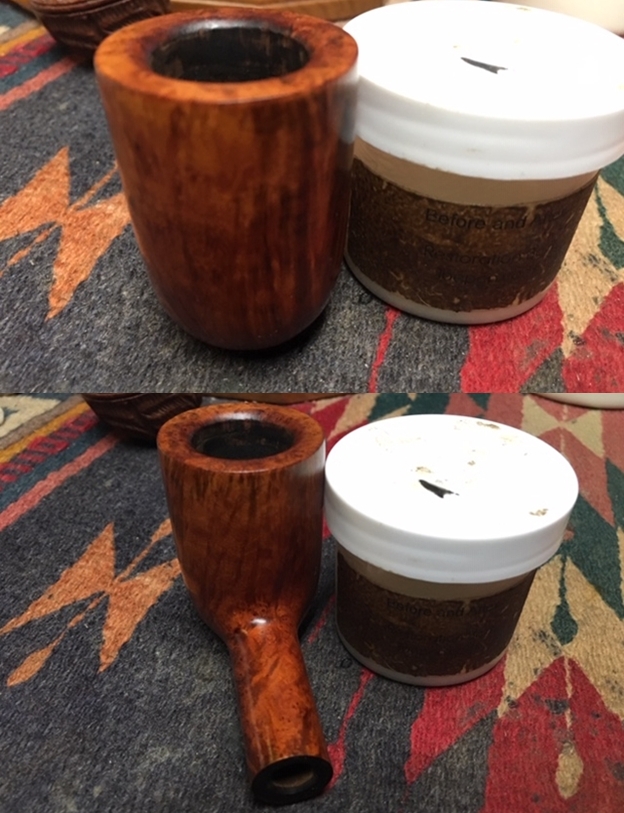
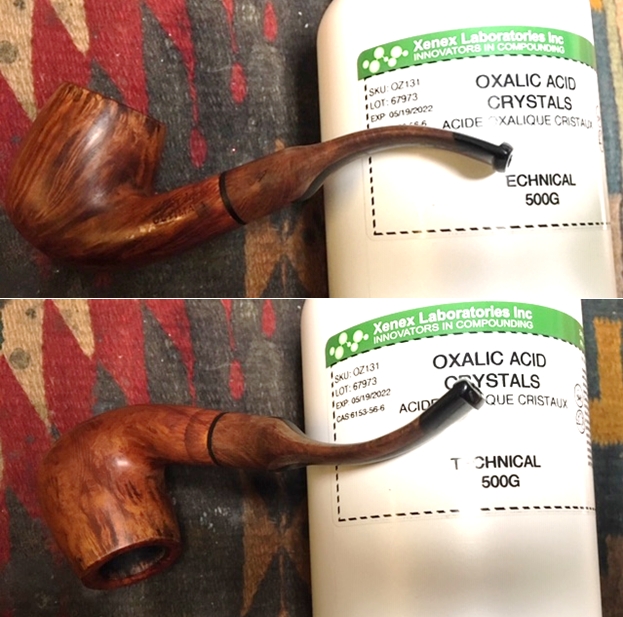
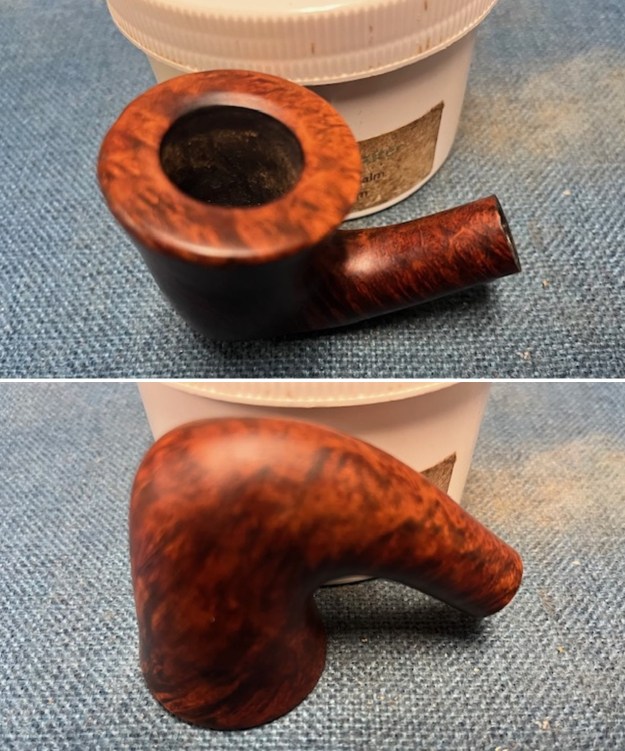
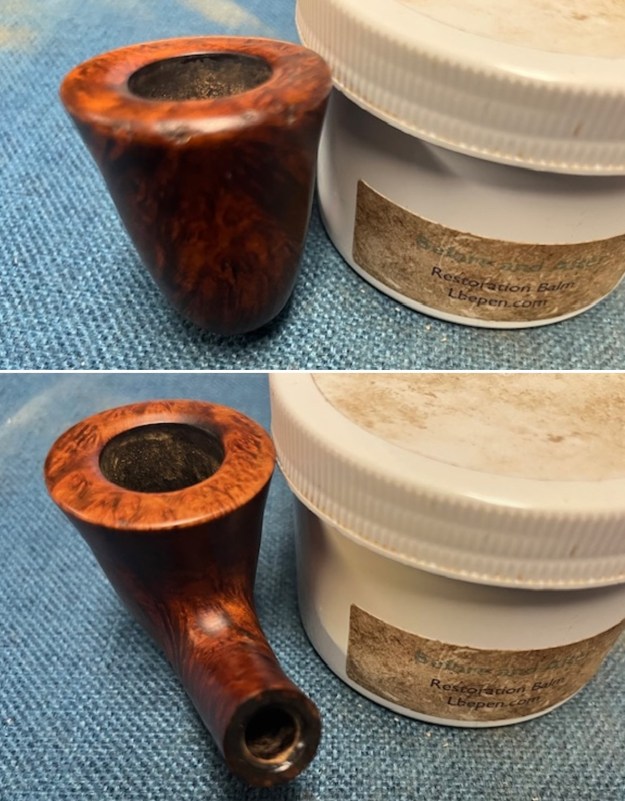
 The pipe was beginning to look really good and the grain was beginning to really pop. It was time to work some Before & After Restoration Balm into the briar on the bowl and the rim top. I worked it into the surface with my fingertips to clean, enliven and protect the wood. I let the balm sit for about 20 minutes and buffed it off with a soft cotton cloth. I took photos of the pipe at this point in the process to show what the bowl looked like at this point.
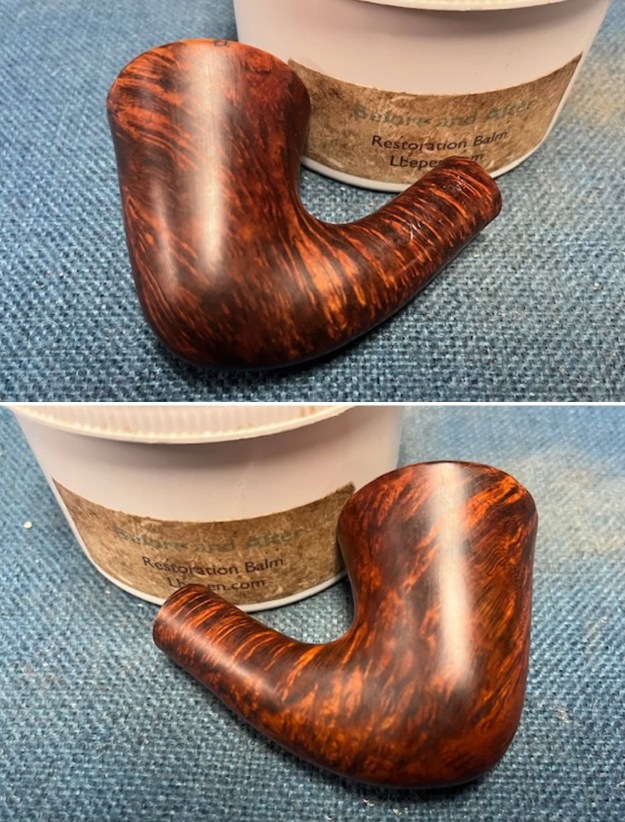
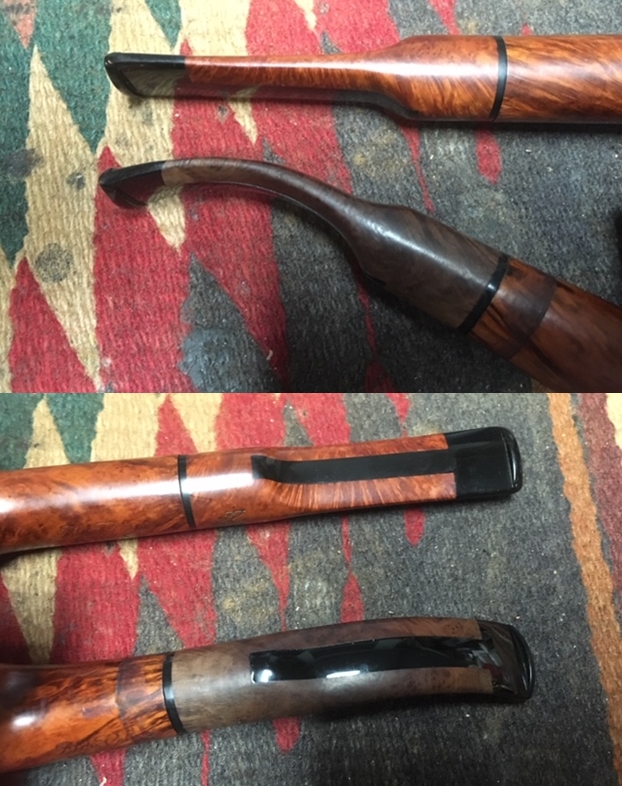
 I set the bowl aside at this point and turned my attention to the stem. I was really glad to see that this composite briar and Lucite stem was in decent condition. There was tooth chatter and marks on the stem surface. I filled in the deeper marks in the stem with black rubberized CA glue. The stem was also loose so I used a tooth pick to put glue in the gap between the briar and the acrylic stem. Once the repairs cured I sanded them with 220 grit sandpaper to blend them into the surface of the acrylic.
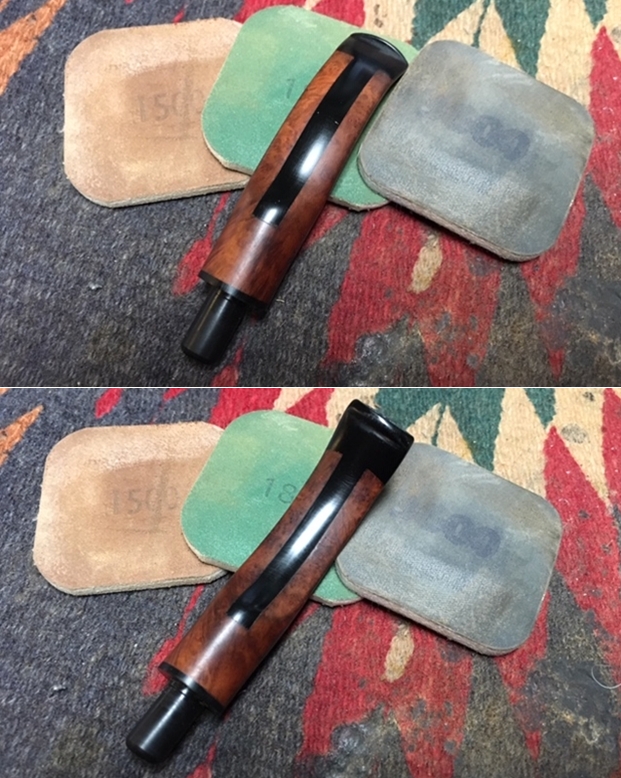
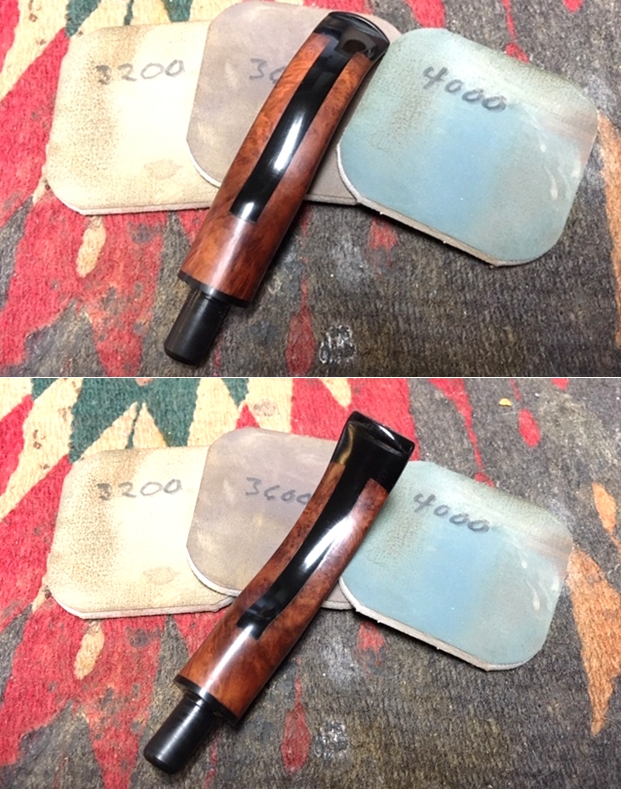
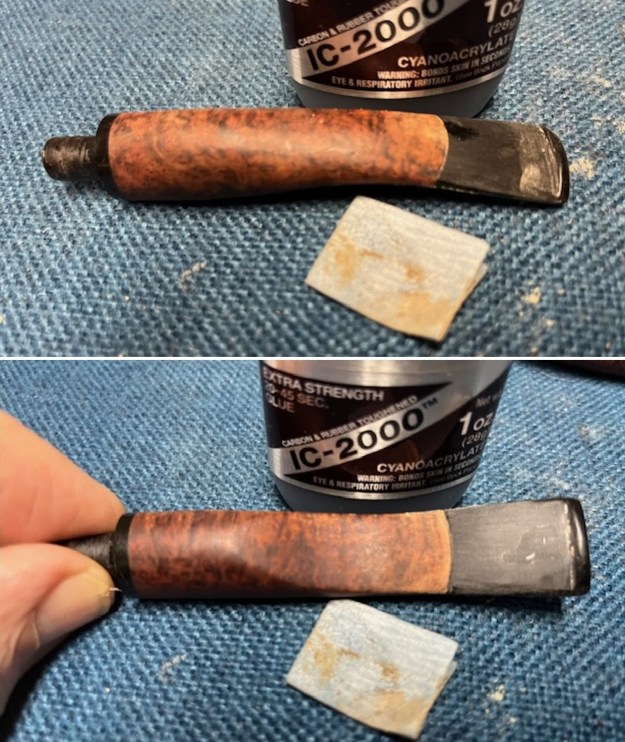 I sanded the shank and stem piece with 320-3500 grit 2×2 inch sanding pads. I wiped the stem and briar shank down after each sanding pad with a damp cloth. It began to look very good.
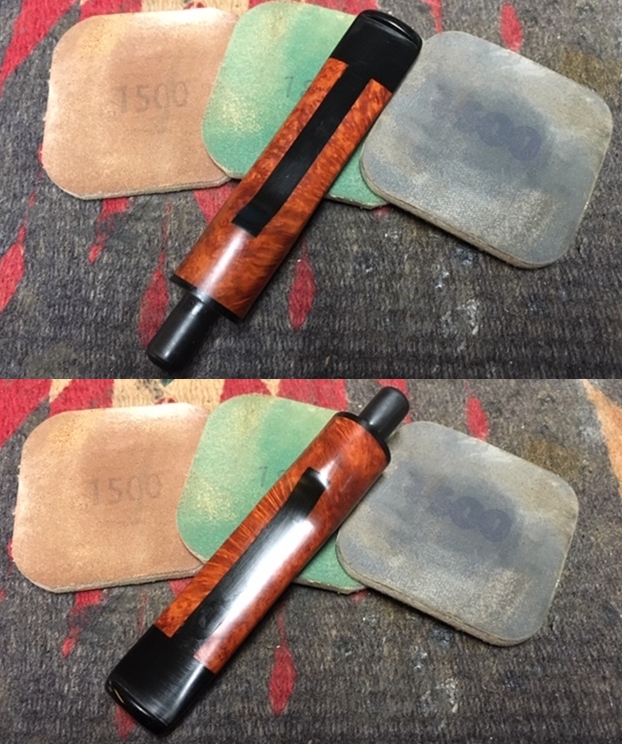
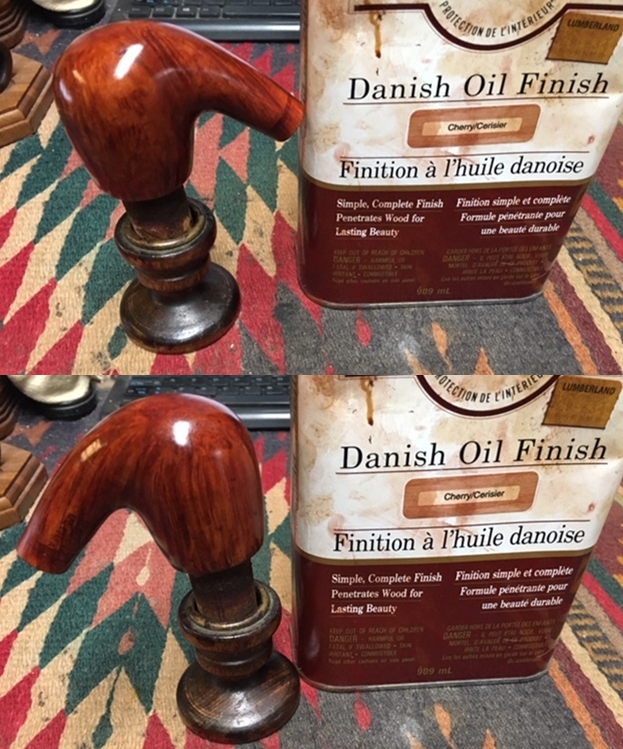
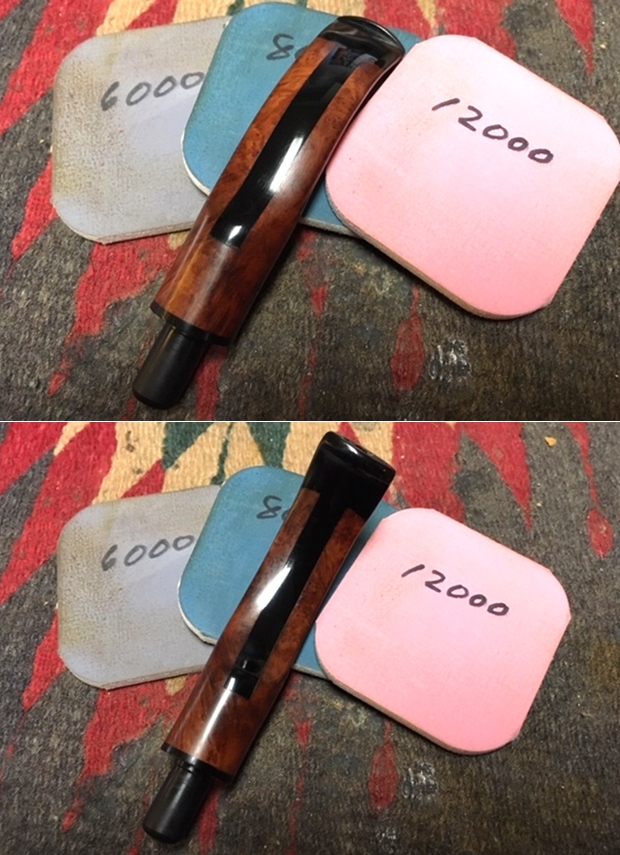
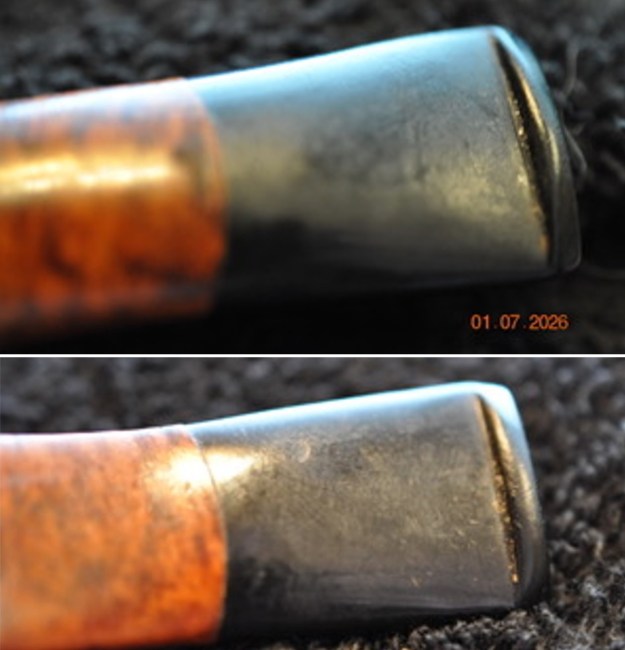
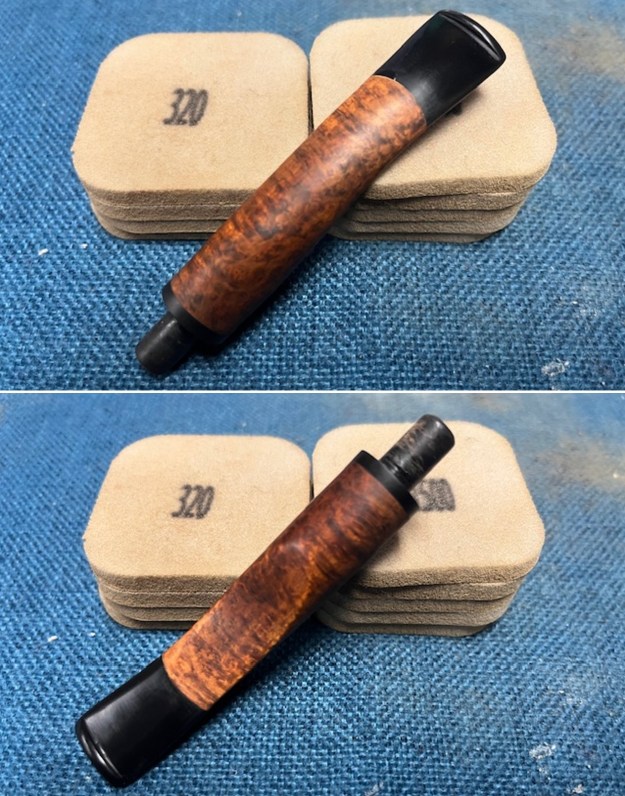 I dry sanded the stem and briar extension with 1500-12000 grit pads. I wiped the stem down with an Obsidian Oil soaked cloth after each pad. When I was finished the stem looked great. The photos tell the story.
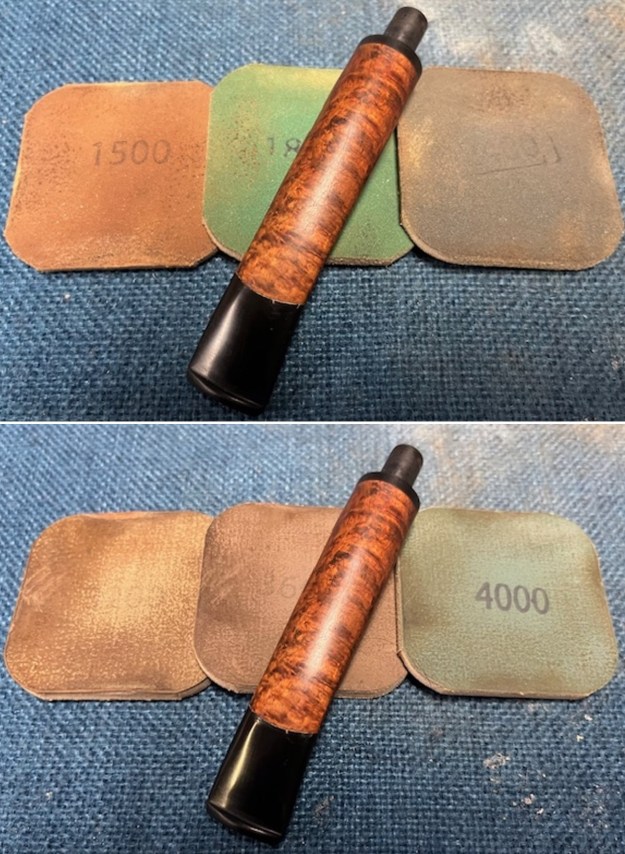
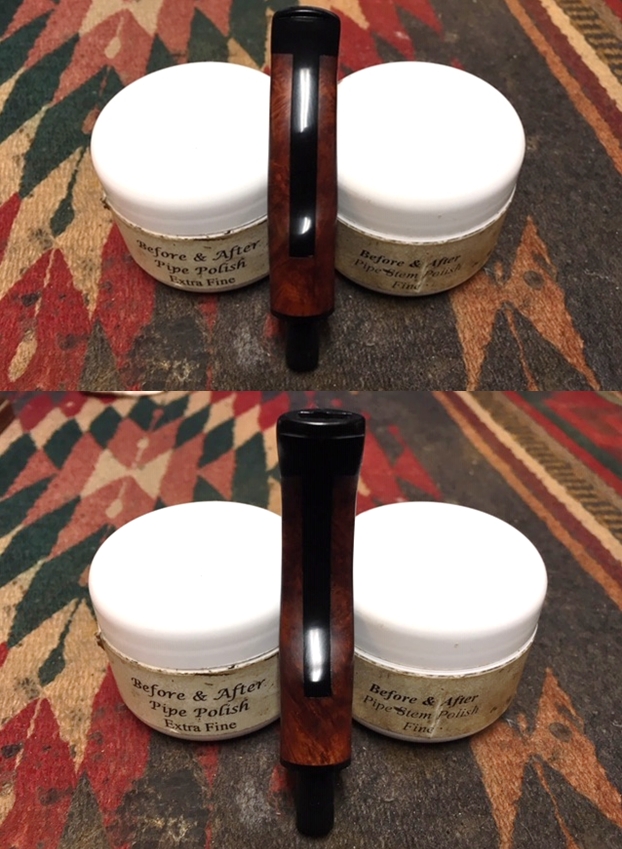
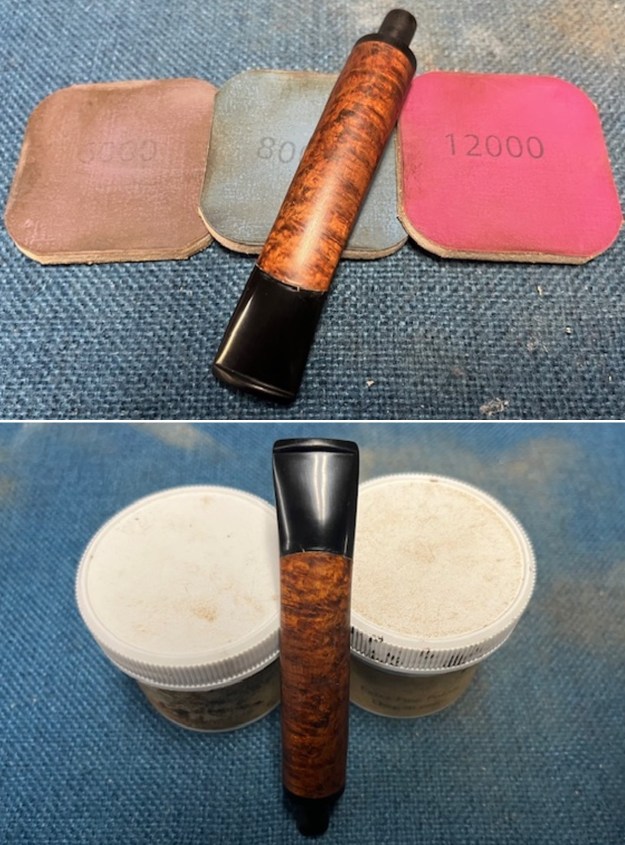 I rubbed the briar part of the stem down with Before and After Resoration Balm. I worked it into the briar with my finger tips. I let it sit for 10 minutes then buffed it off with soft cloth.
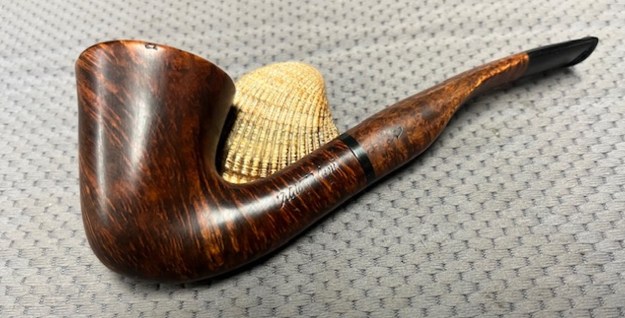
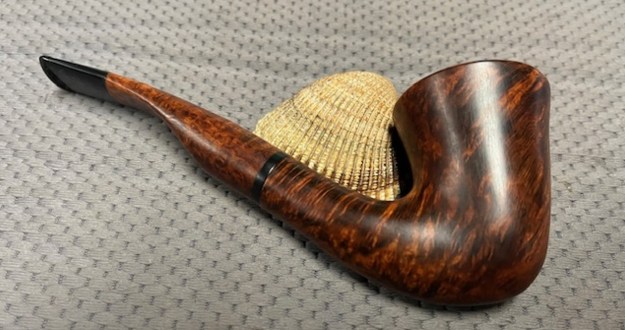
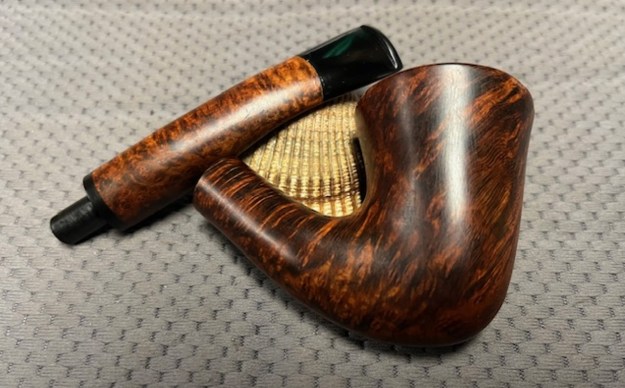
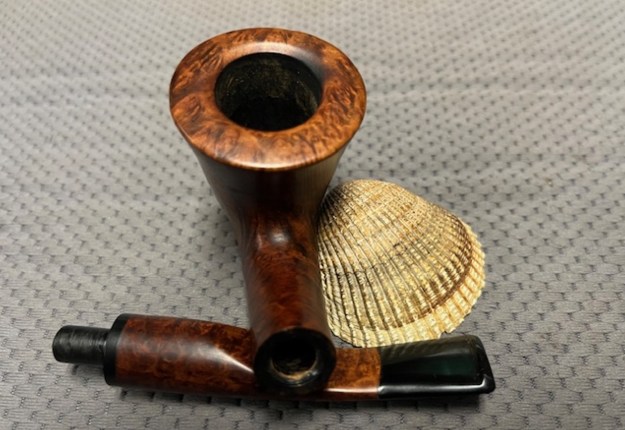
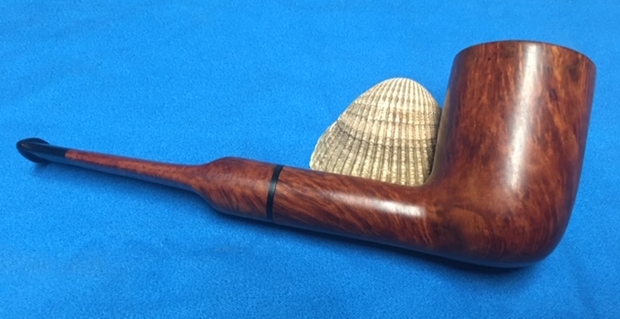
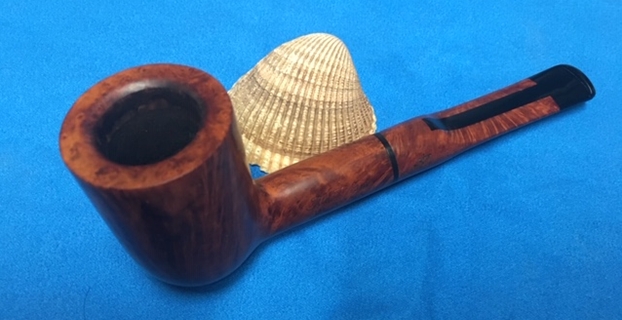
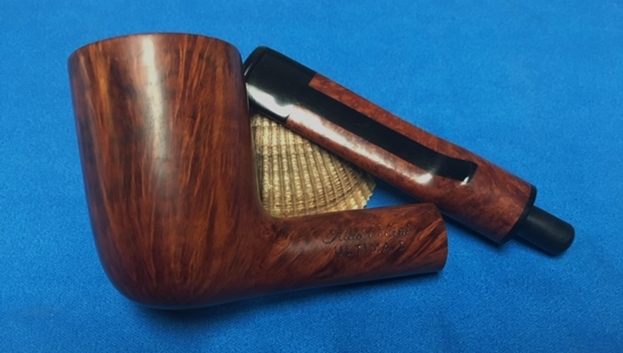
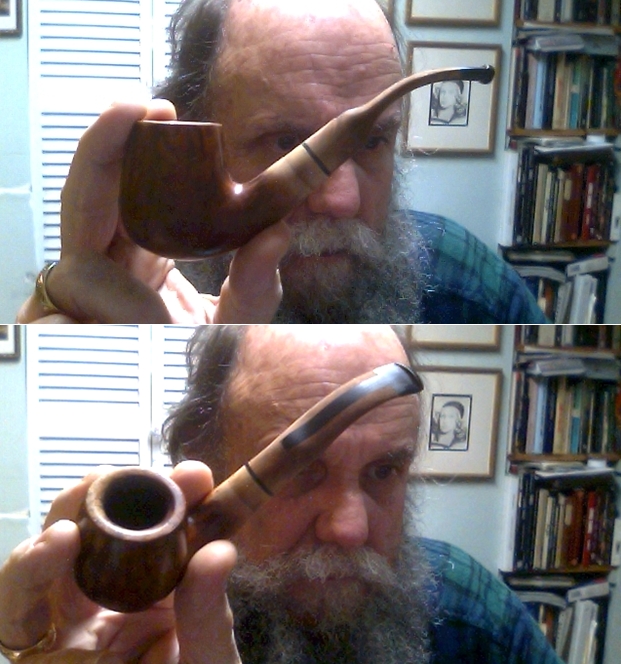
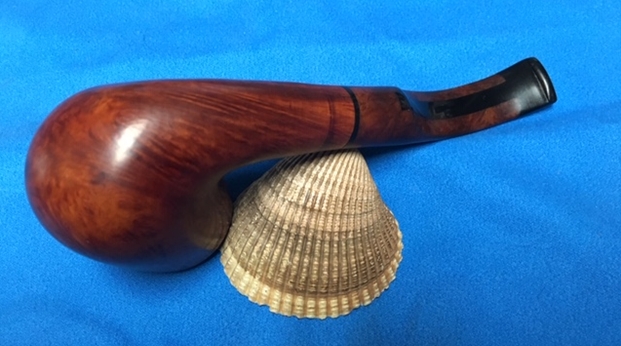
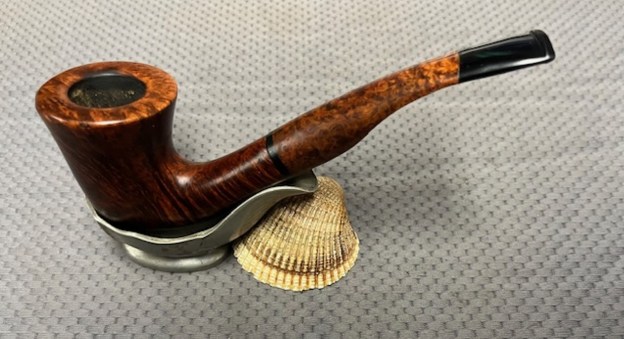
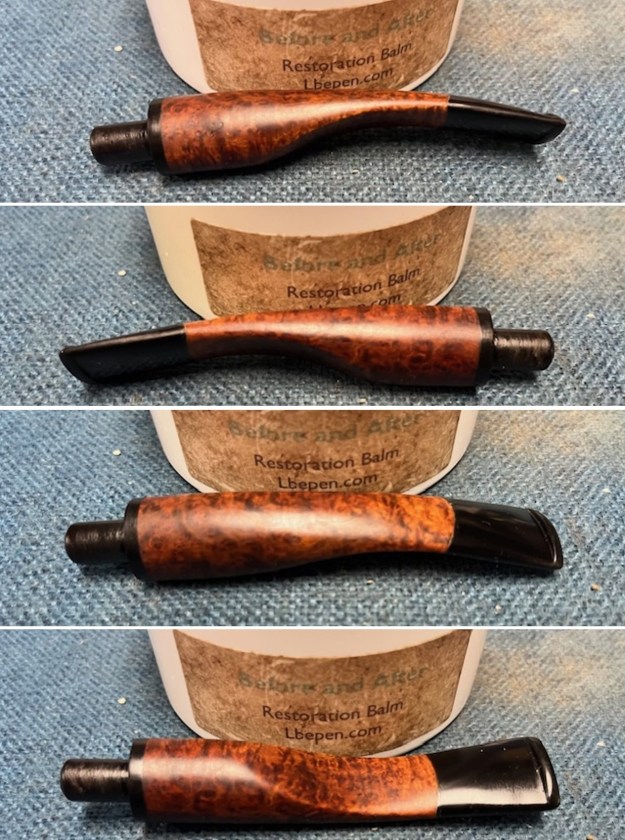 I put the bowl and stem back together. I polished the bowl and stem with Blue Diamond to polish out the scratches in the briar and acrylic. I gave the bowl and the stem multiple coats of carnauba wax. I buffed the pipe with a clean buffing pad to raise the shine. I hand buffed it with a microfiber cloth to deepen the shine. The pipe polished up pretty nicely. The contrast of colours between the briar bowl and the briar inserts on the stem really looked good with the polished black Lucite. The Aldo Velani Ultima Dublin looked really good even with some of the scars of its journey. The pipe has a unique look that catches the eye. The finished pipe is shown in the photos below. The dimensions of the pipe are Length: 6 inches, Height: 2 ¼ inches, Outside diameter of the bowl: 1 ½ inches, Chamber diameter: 7/8 of an inch. The weight is 1.83 ounces/52 grams. This one will soon be on the rebornpipes store in the Italian Pipe Makers Section if you are interested in adding it to your collection. Thanks for reading this while I worked on it. It was interesting and unusual piece to restore and I really enjoyed the work.