by Steve Laug
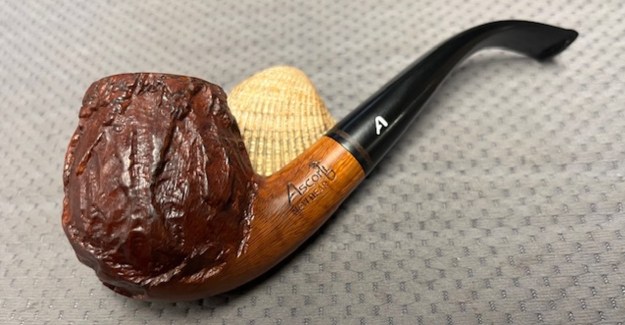
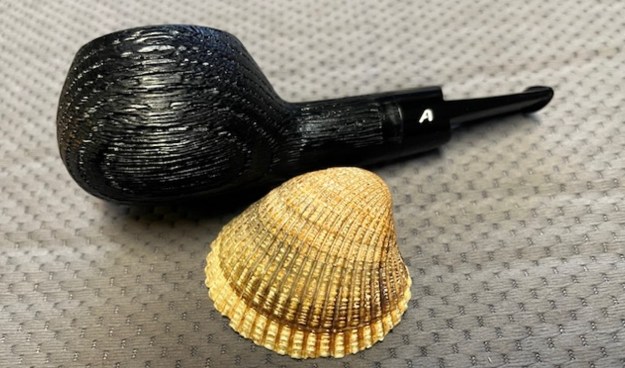
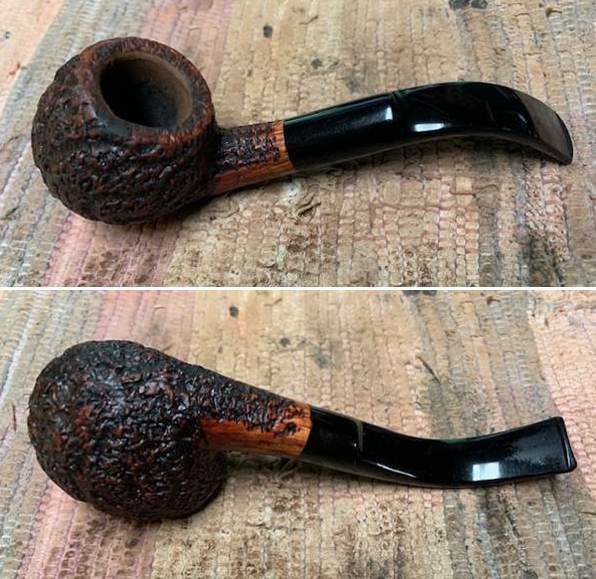
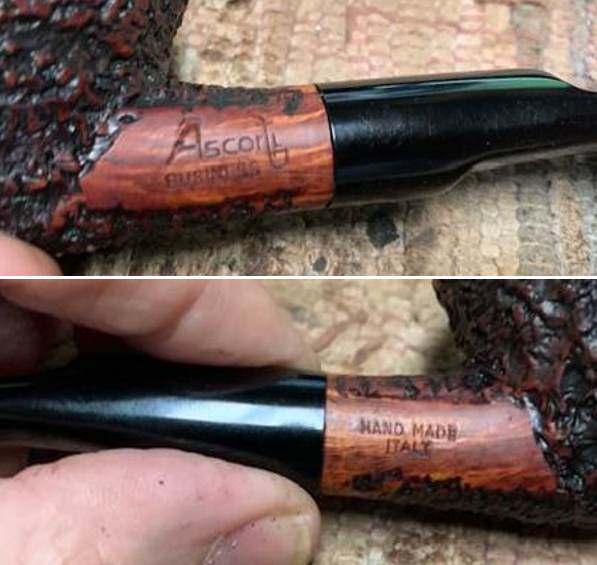
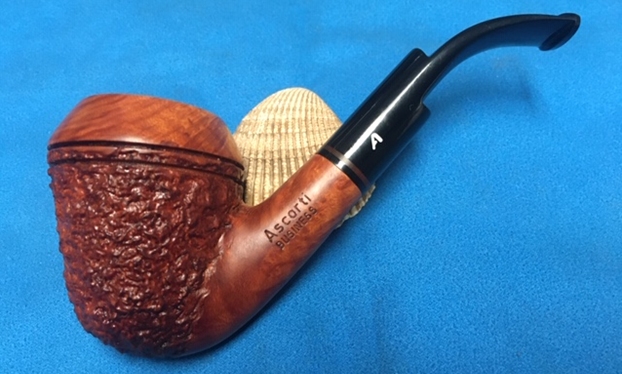
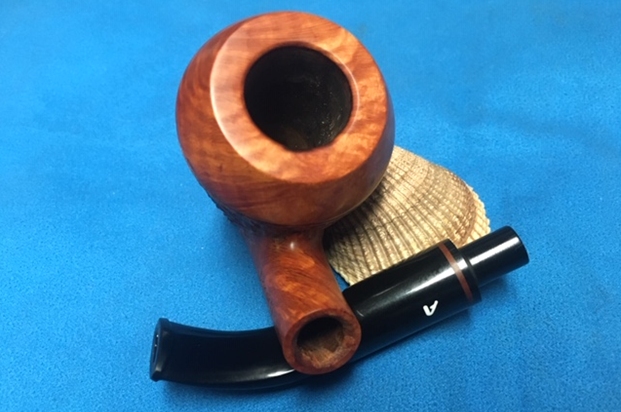
The next pipe on the work table is an interesting Ascorti New Dear Bent Billiard that we picked up from a seller in Macon, Georgia, USA on 03/08/25. I had passed over this one a few times in the past weeks but this morning I decided it would join the days queue. It is a great looking and obviously well-loved pipe from the previous pipeman. It was filthy with oils and grime ground into the bowl sides. It is stamped on the left side and reads Ascorti [over] New Dear. On the right side it is stamped Hand Made [over] Italy. On the underside it is stamped 0.1. The bowl was rusticated in the typical Ascorti New Dear style rustication. The unique almost melting looking finish was filled in with debris and dust. The smooth portions on the rim top, heel and shank had some nice grain on them under the grime and the finish appeared to be in good condition. The bowl had a thick cake and the lava overflow on the rim made it impossible to see in the inner edge of the bowl. A lot would be revealed once Jeff had worked his magic on it. The stem had the classic Ascorti A logo on the left side of the taper. It was dirty and had light tooth chatter and marks on both sides ahead of the button. The button surface appeared to be unharmed. Jeff took photos of the pipe before he started his cleanup work.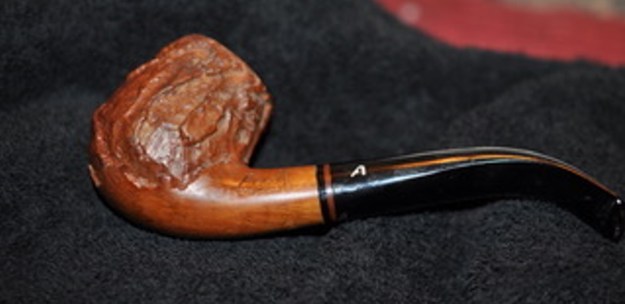
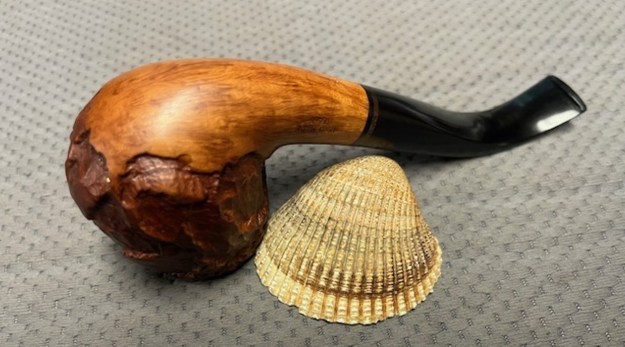
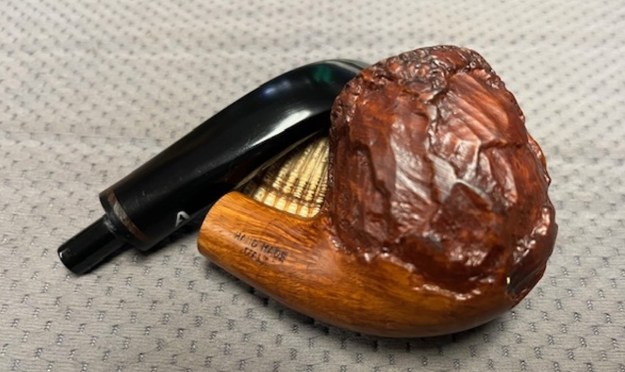
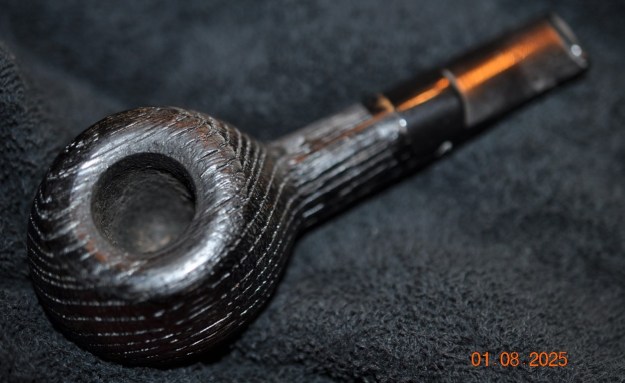
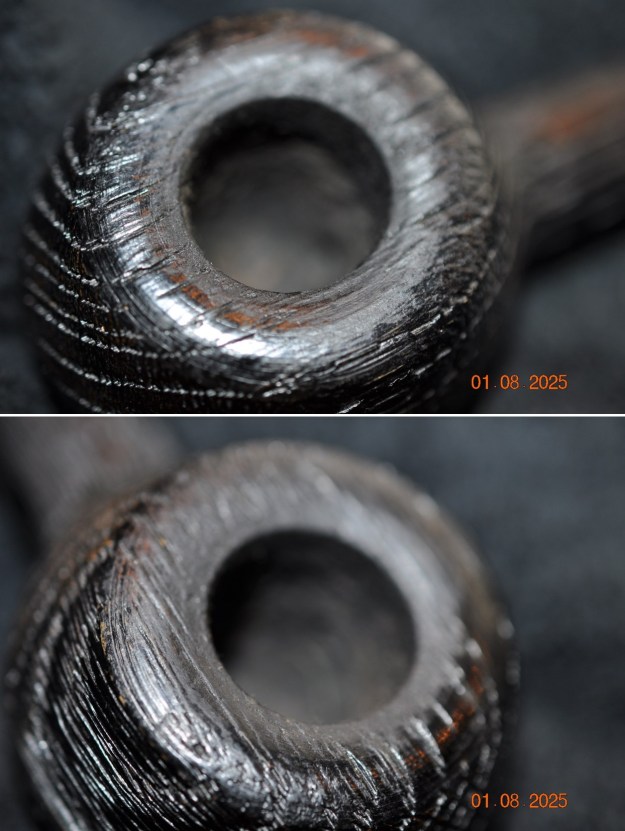
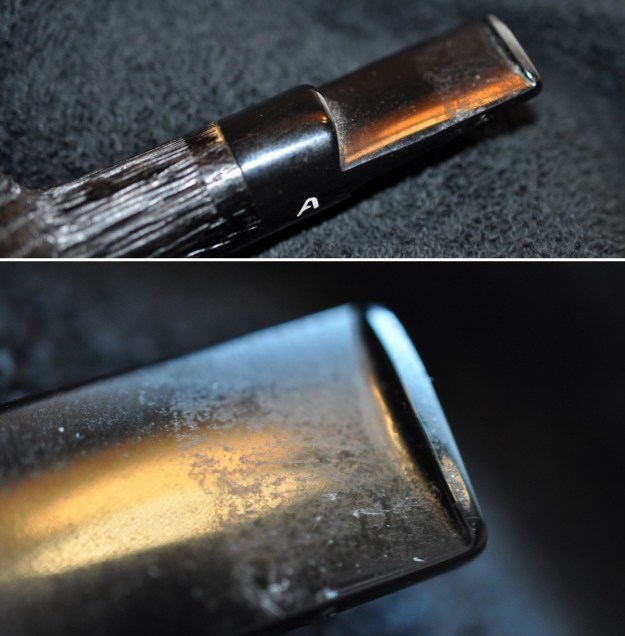
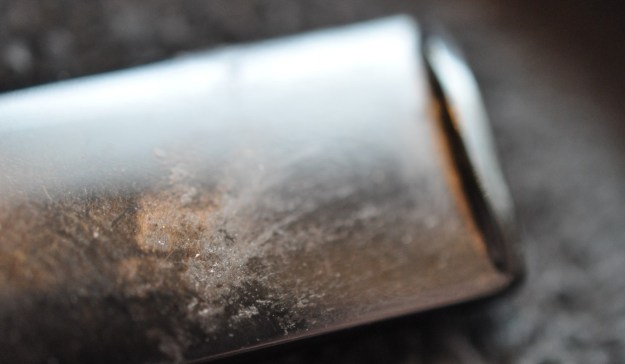
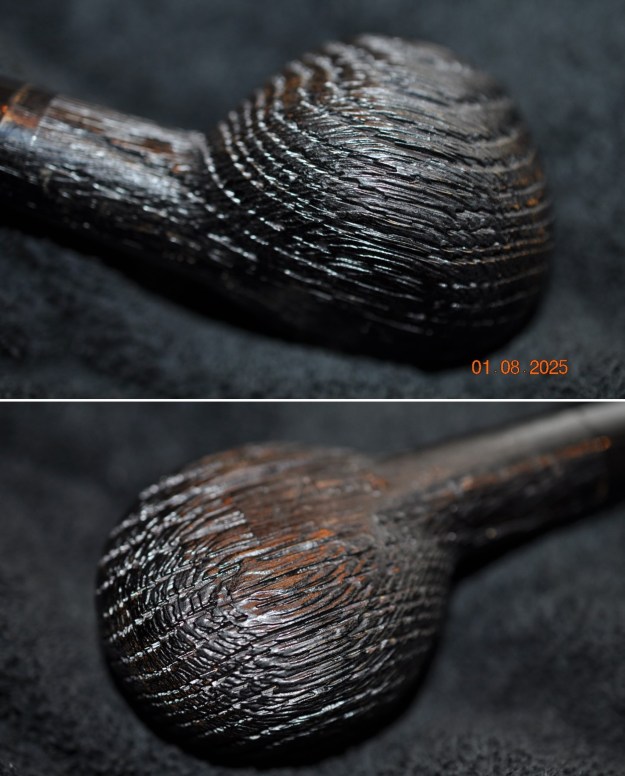
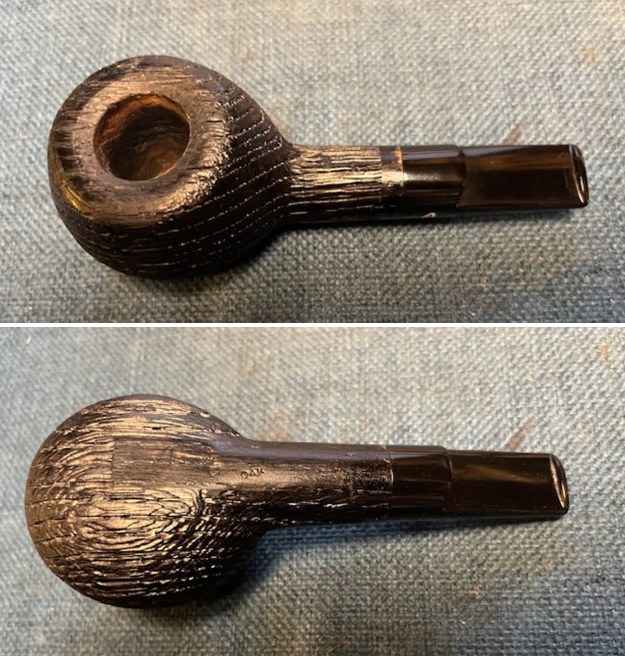
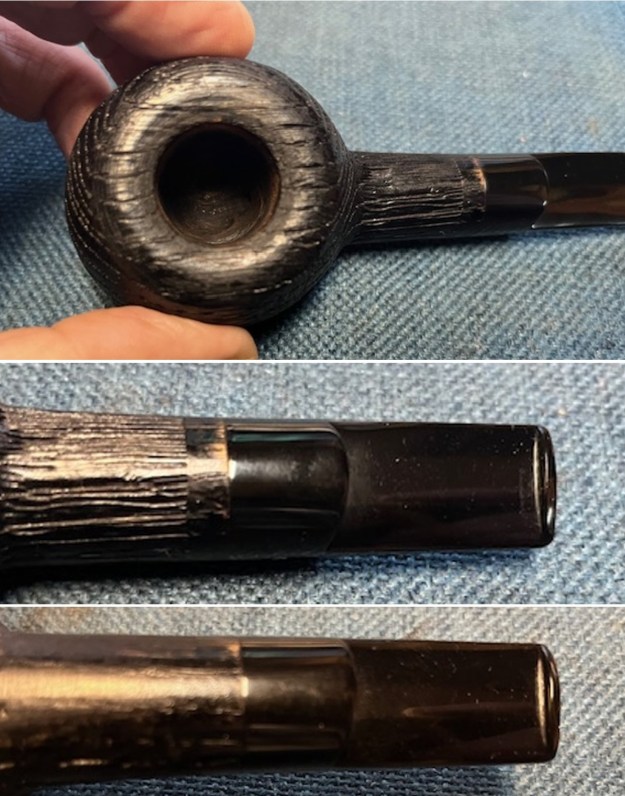
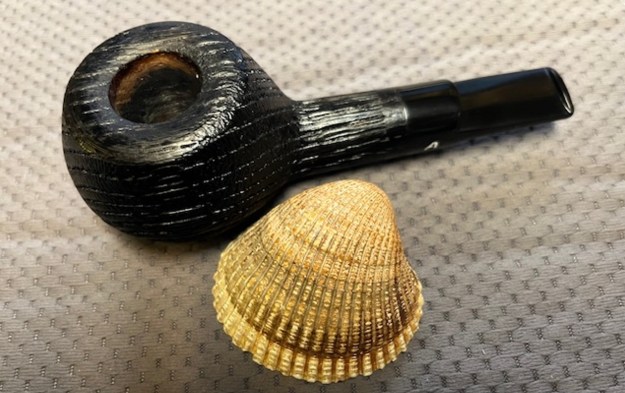
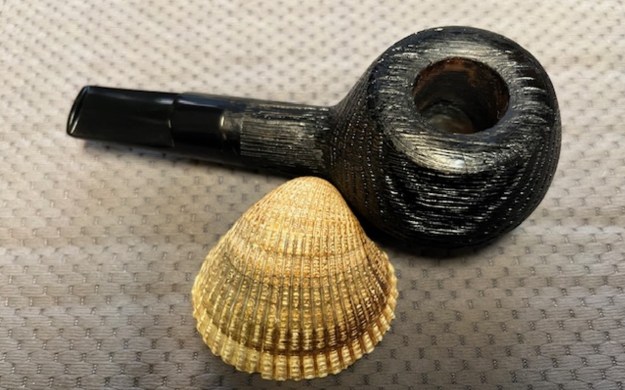
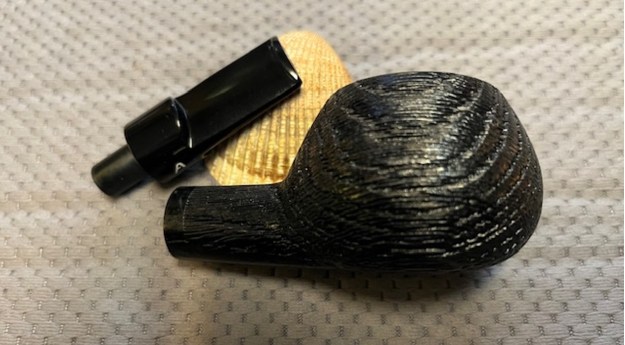
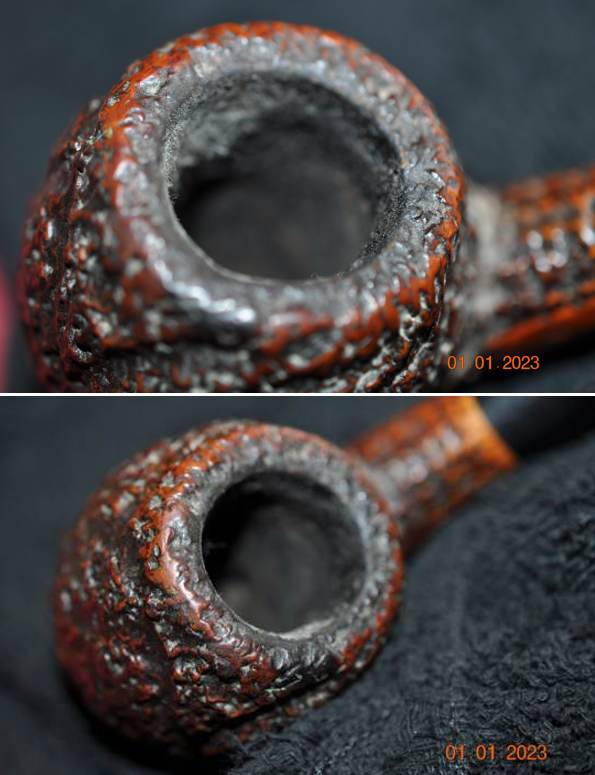
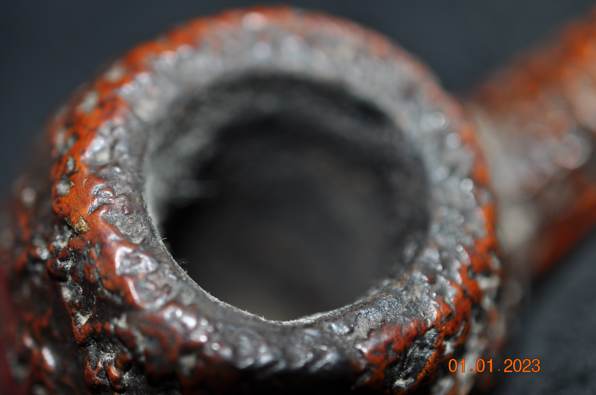
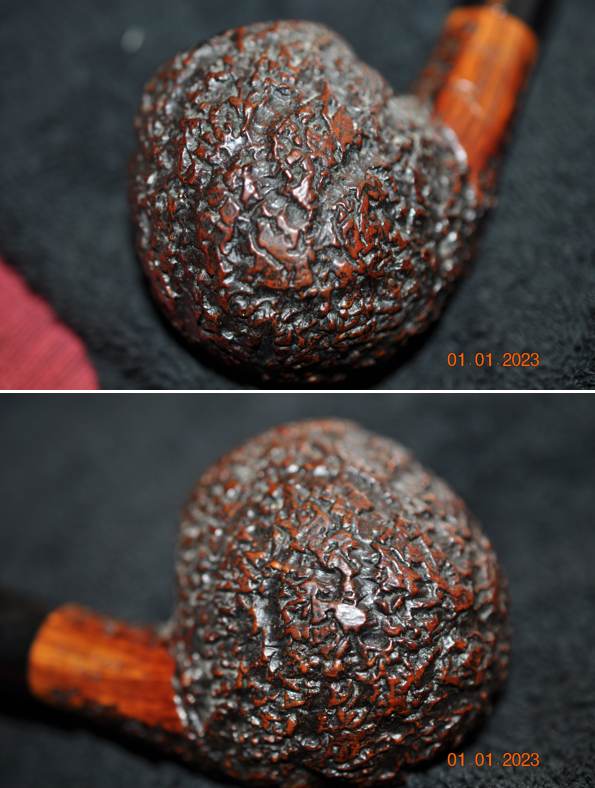
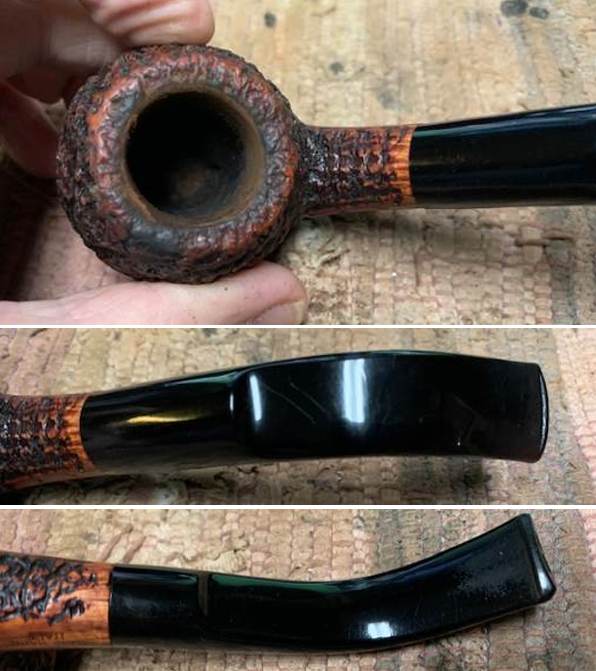
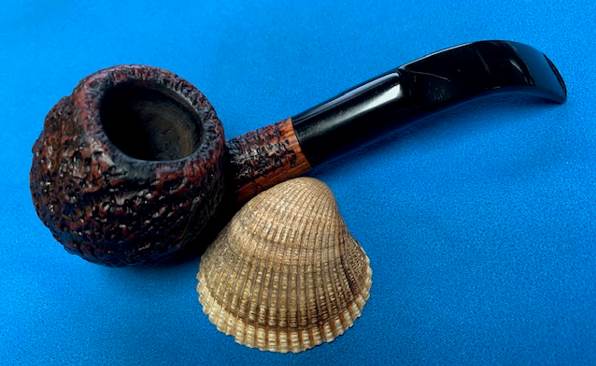
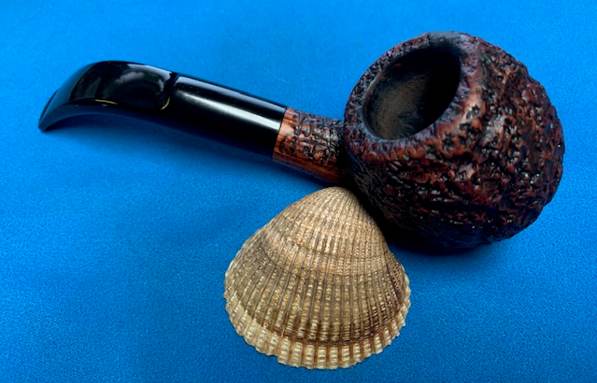
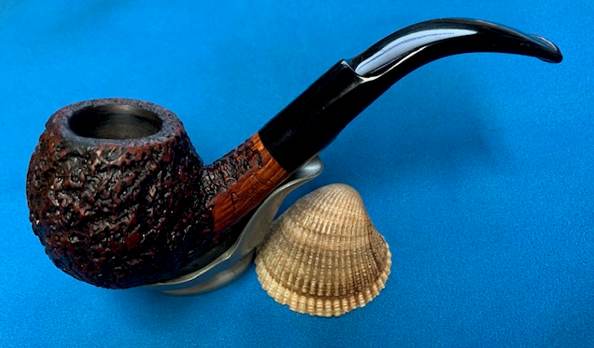
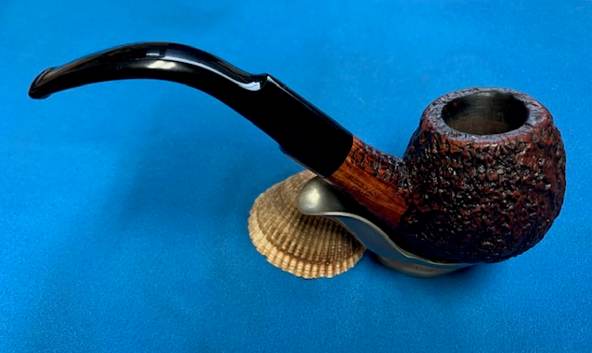
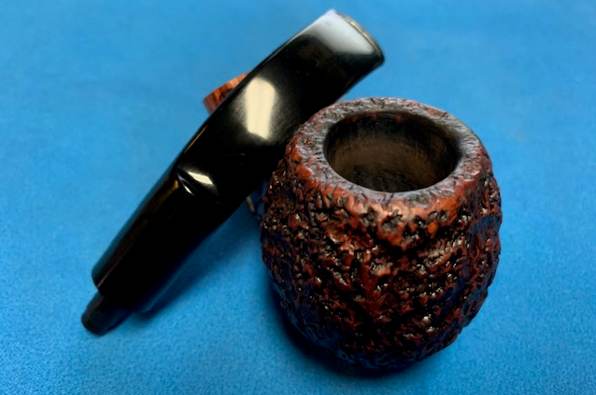
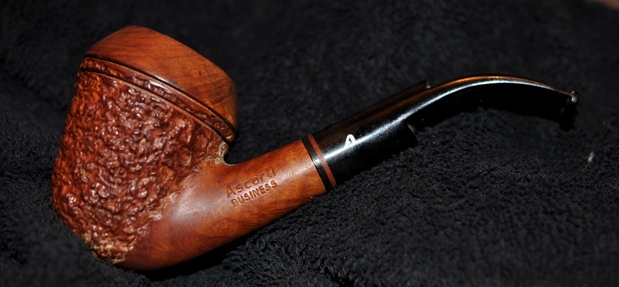
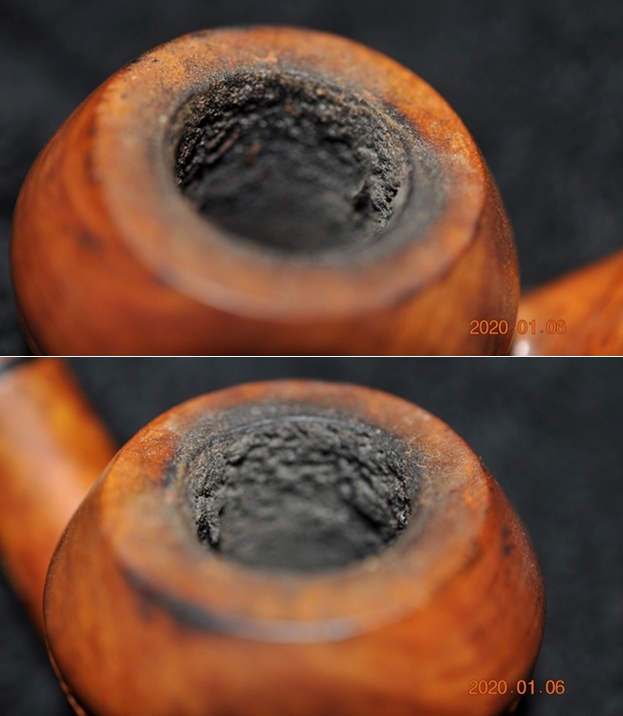
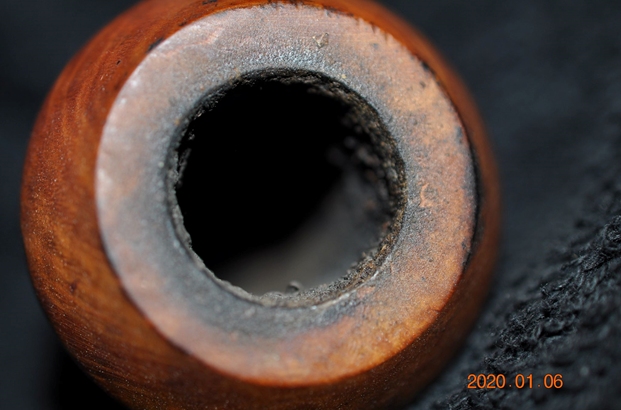
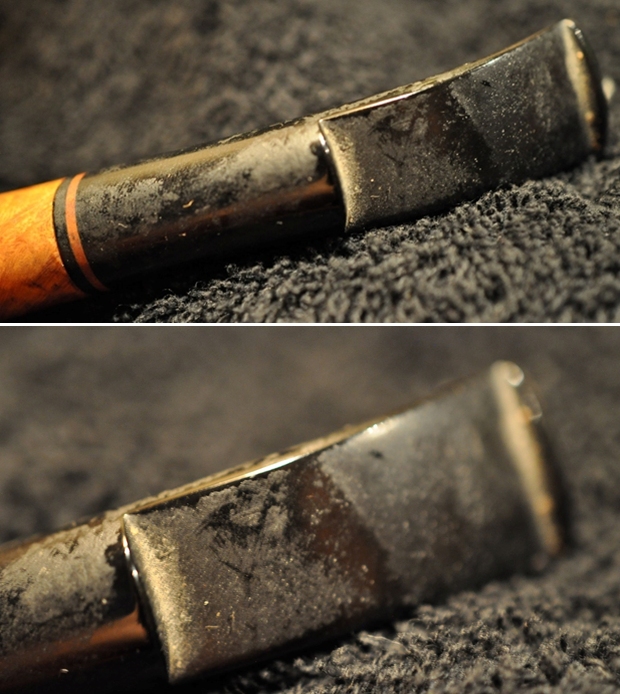
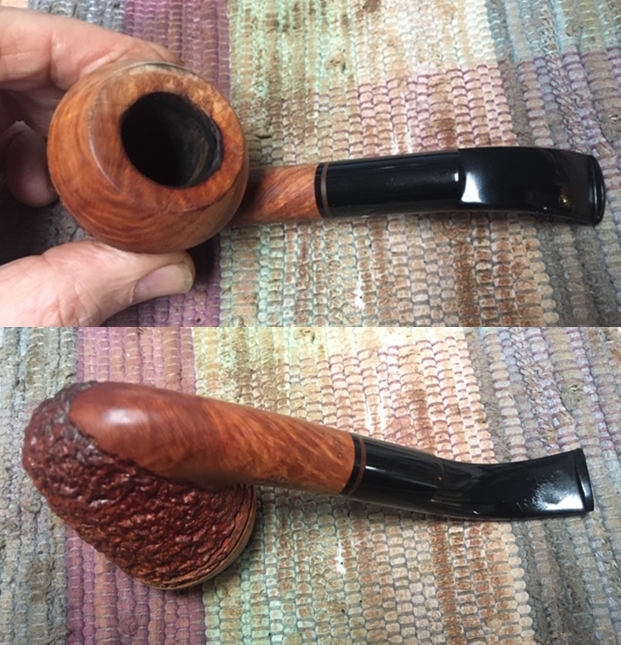
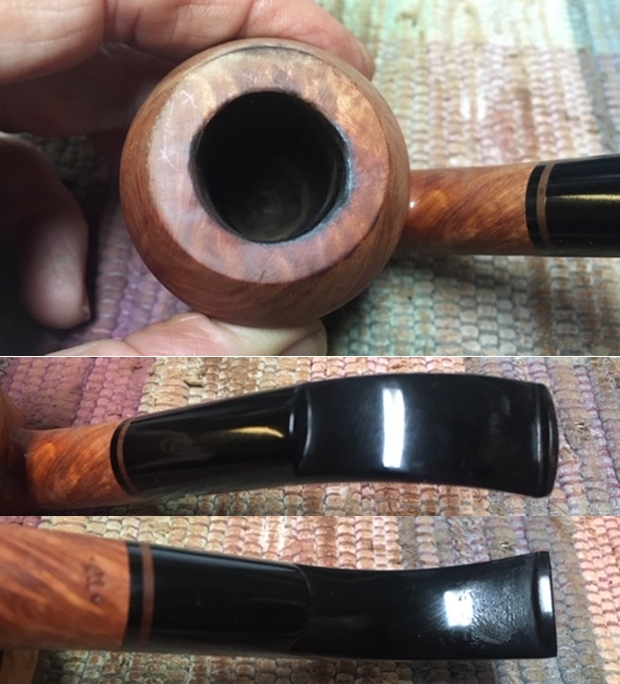
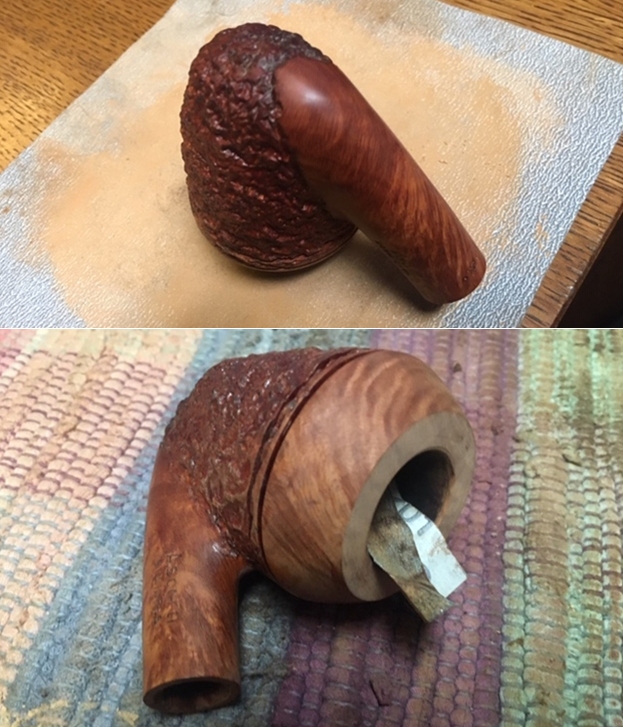
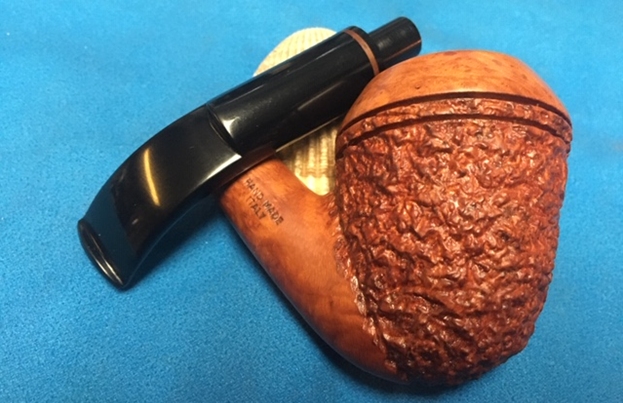
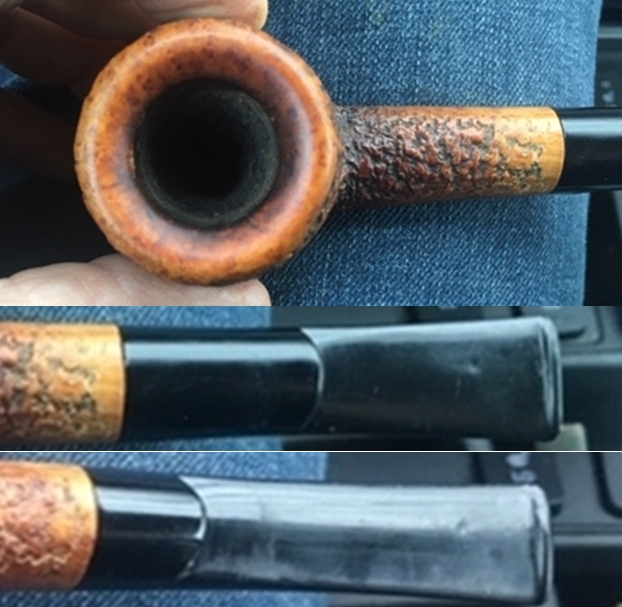
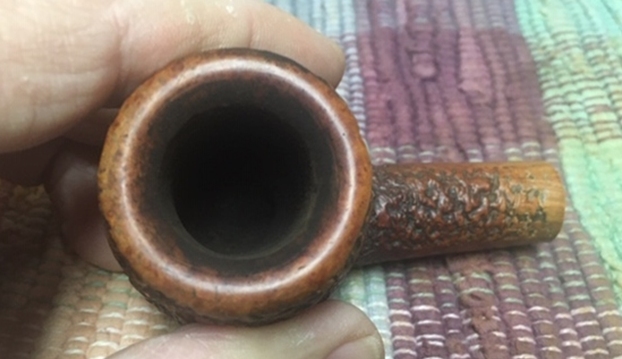
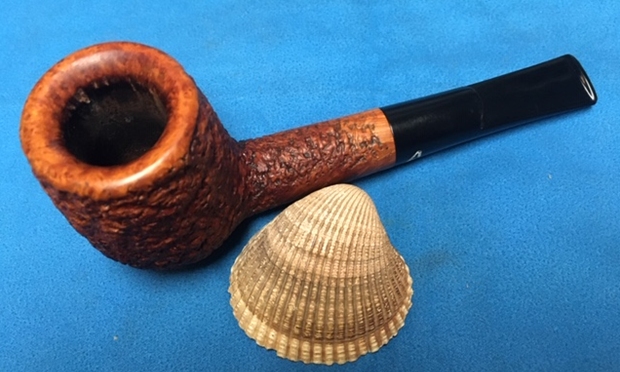
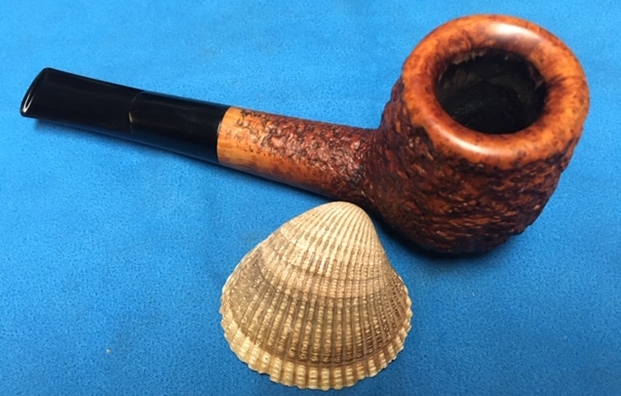
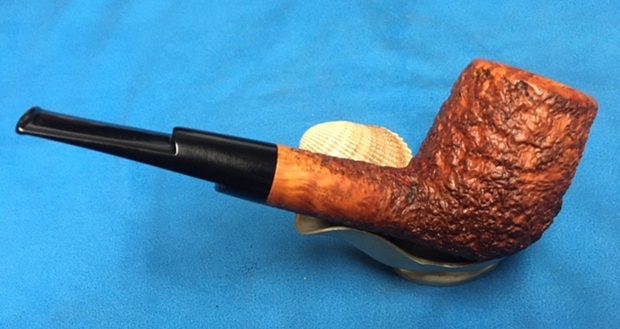
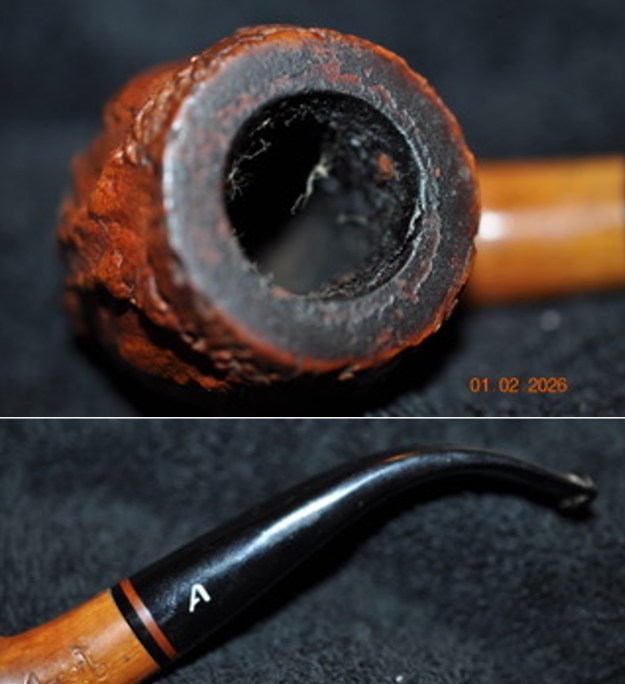
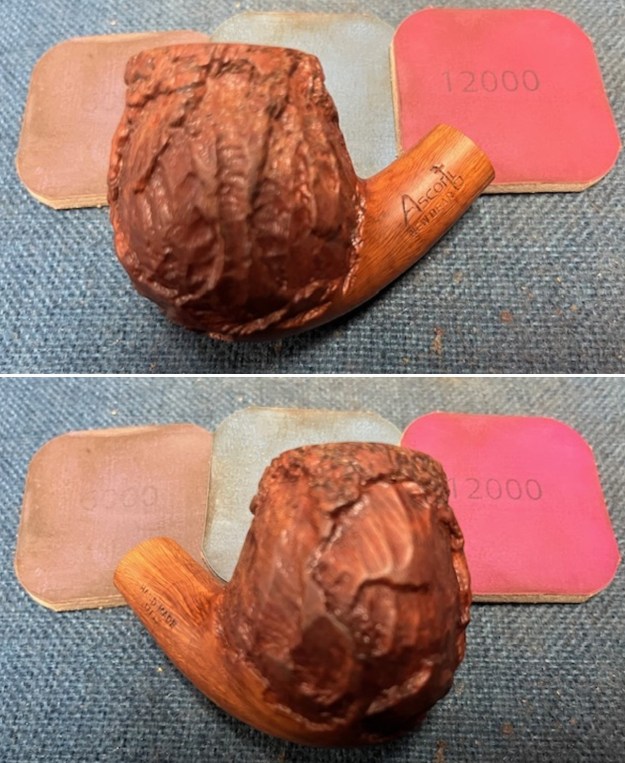
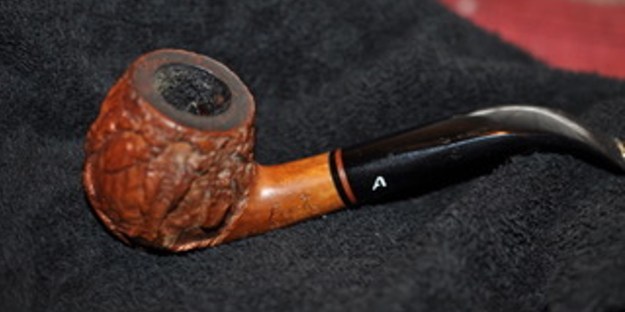 Jeff tried to capture the condition of the bowl, rim top and stem with the next series of photos. You can see the work that is ahead of us in the photos. It was obviously a well-loved and oft enjoyed pipe!
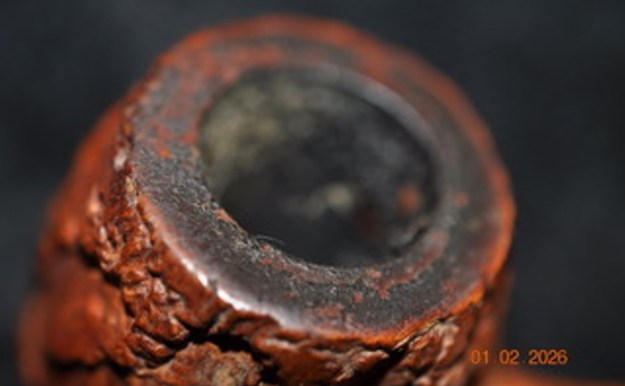
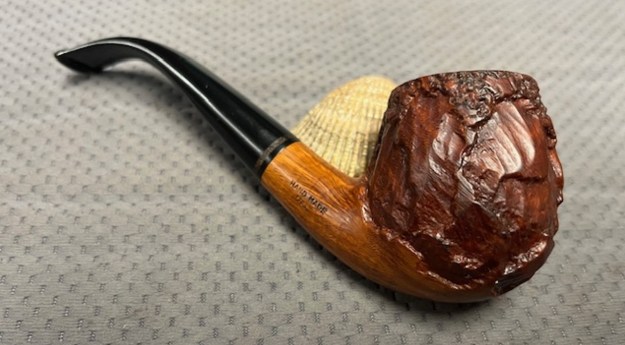
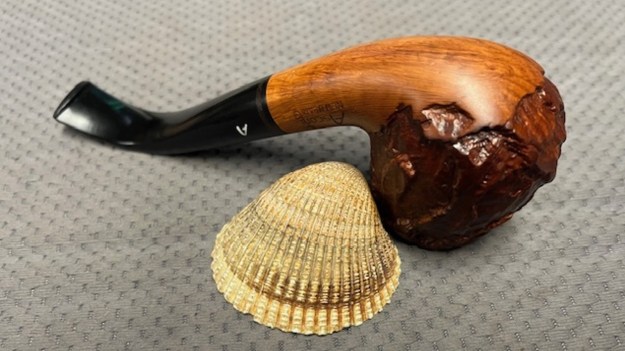
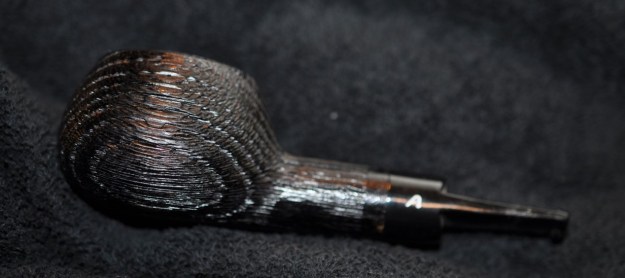
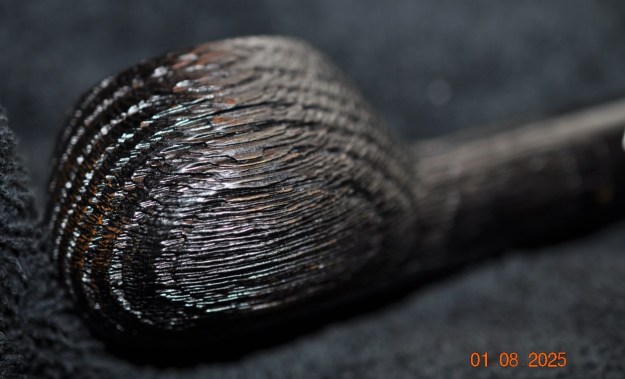
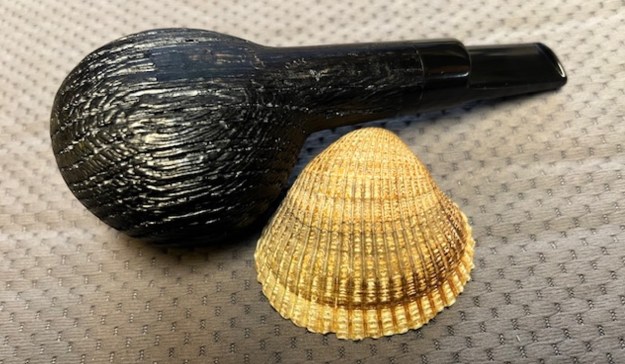
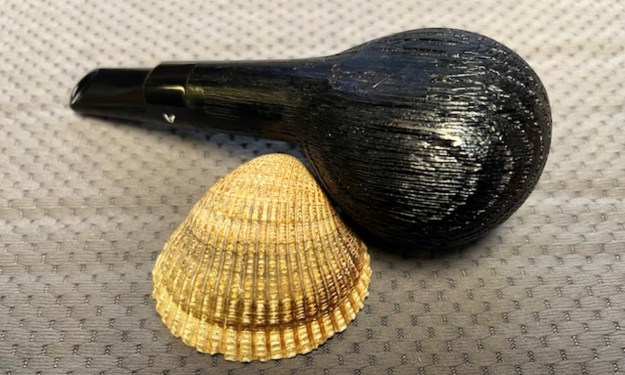
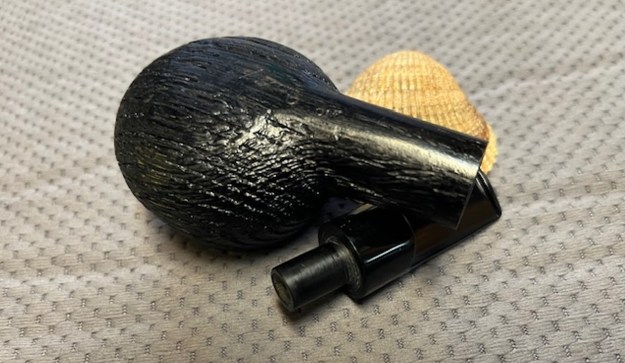
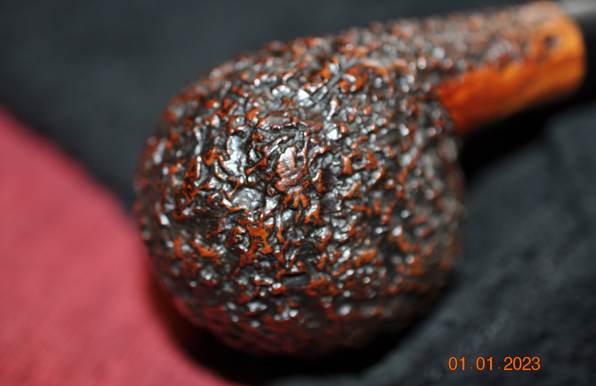
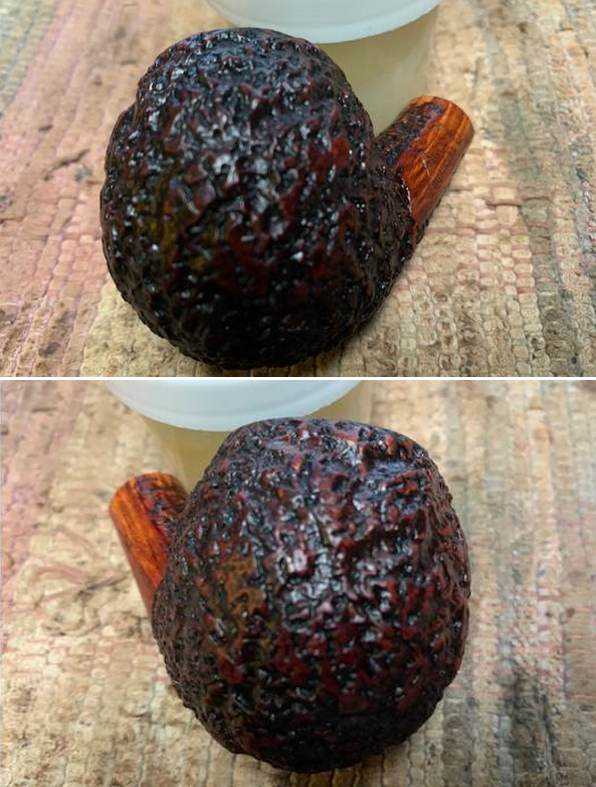
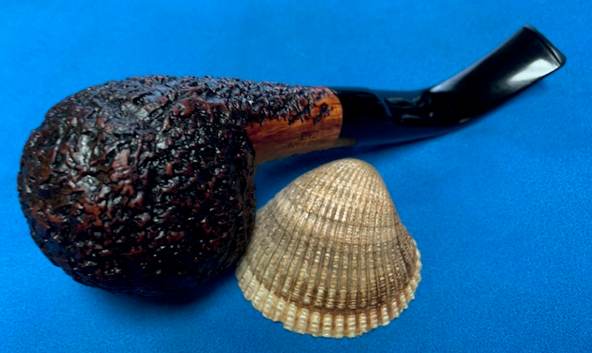
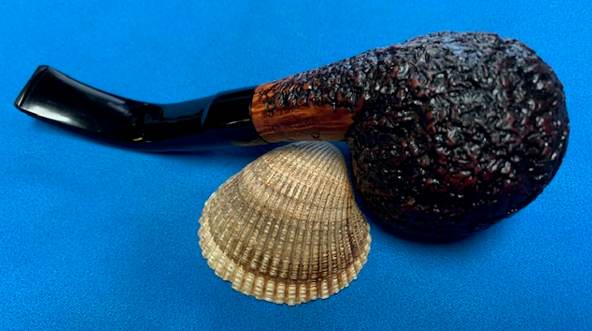
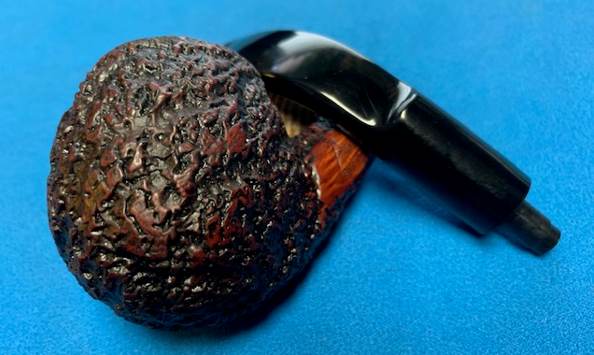
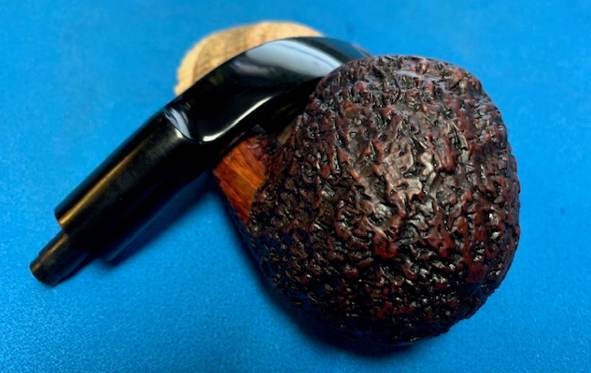
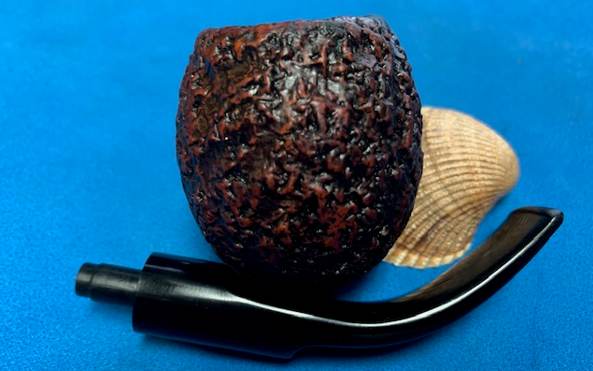
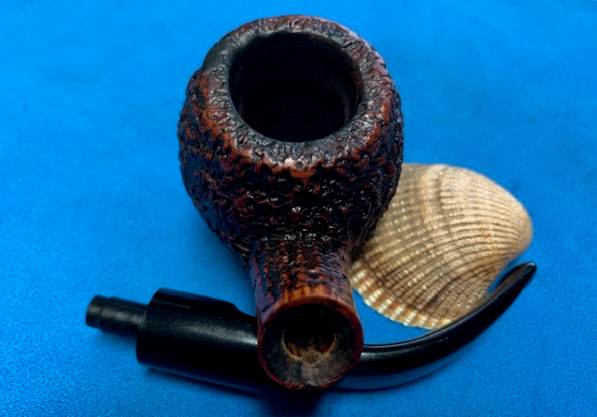
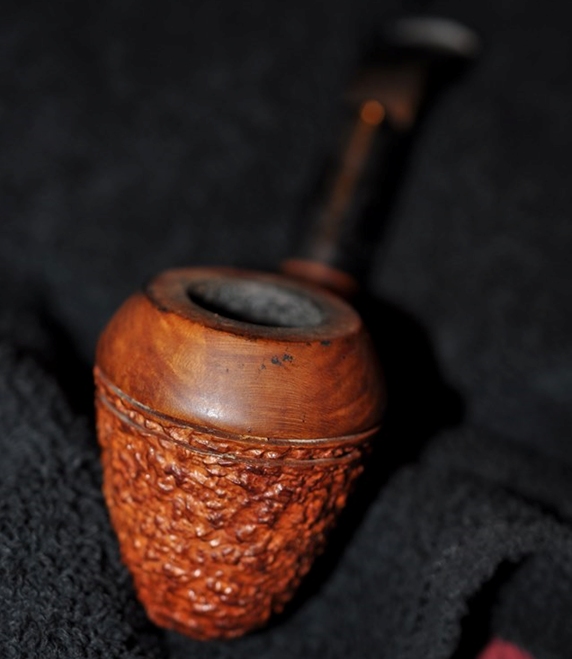
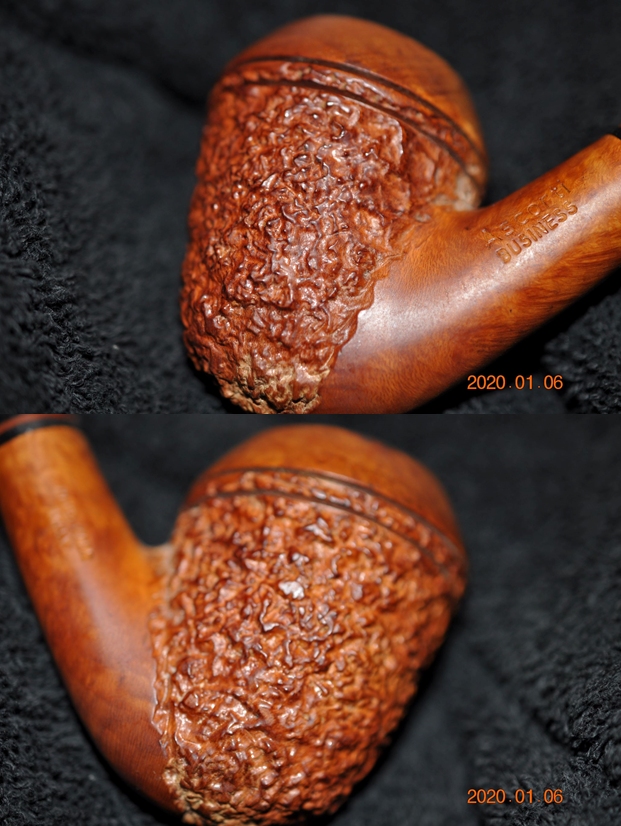
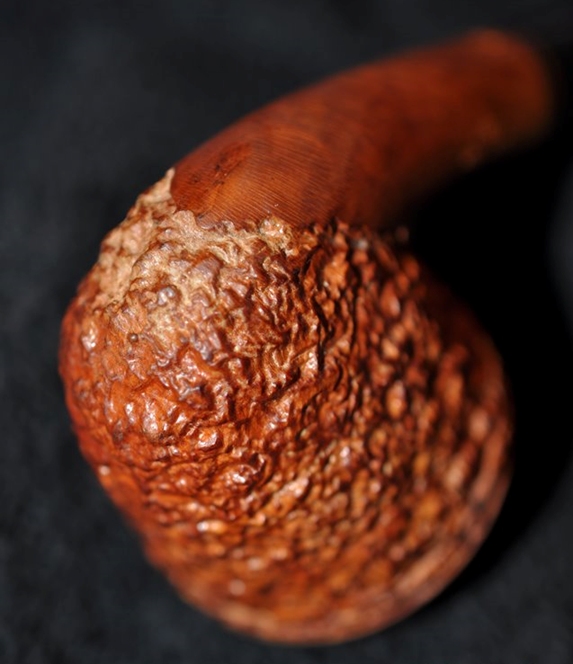
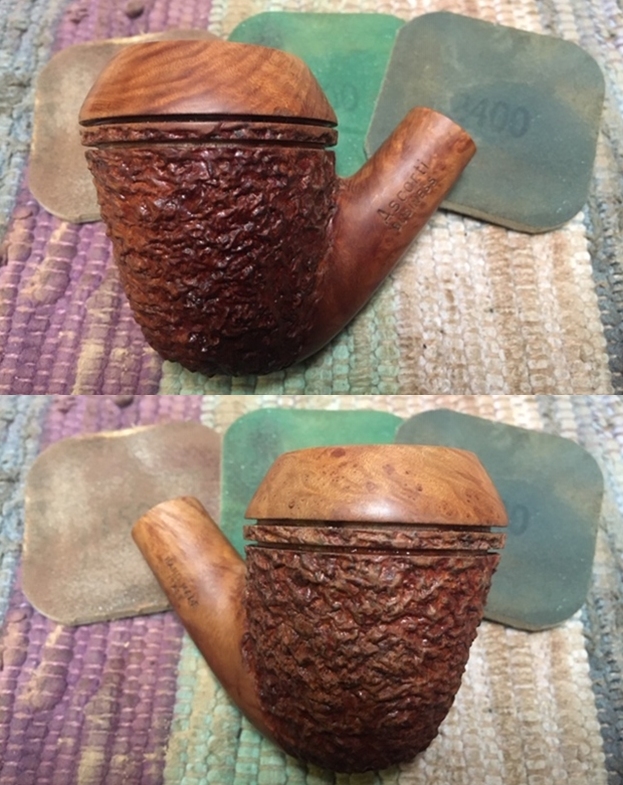
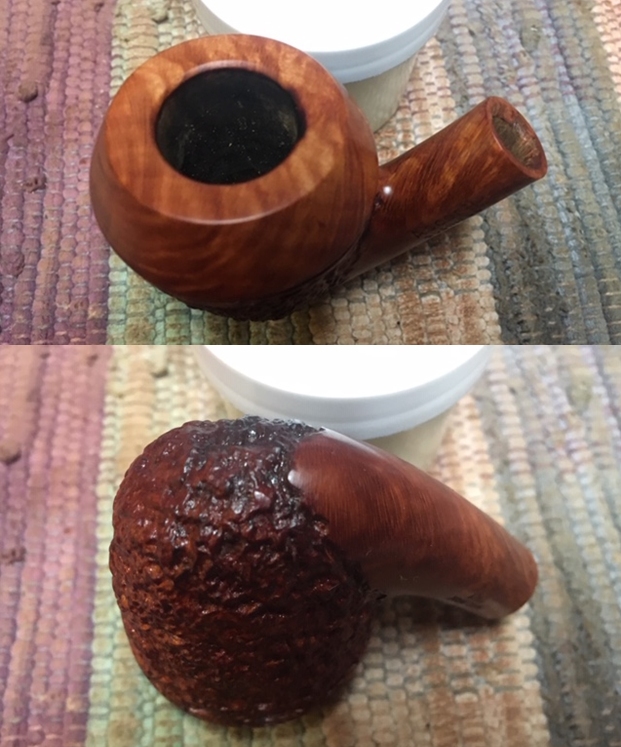
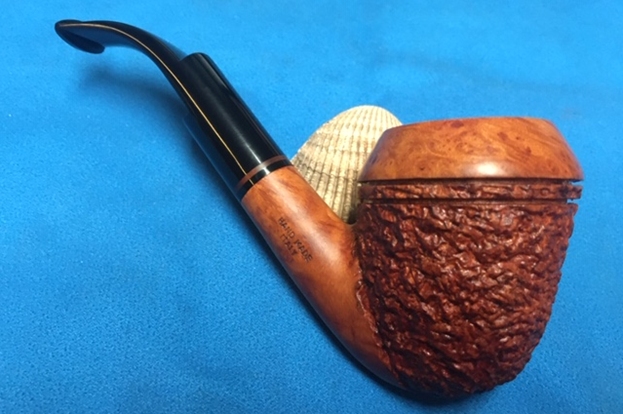
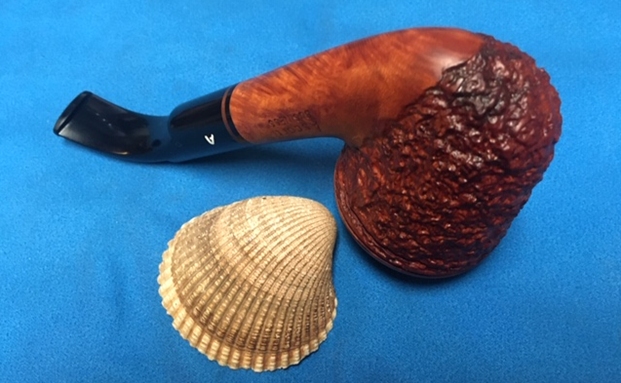
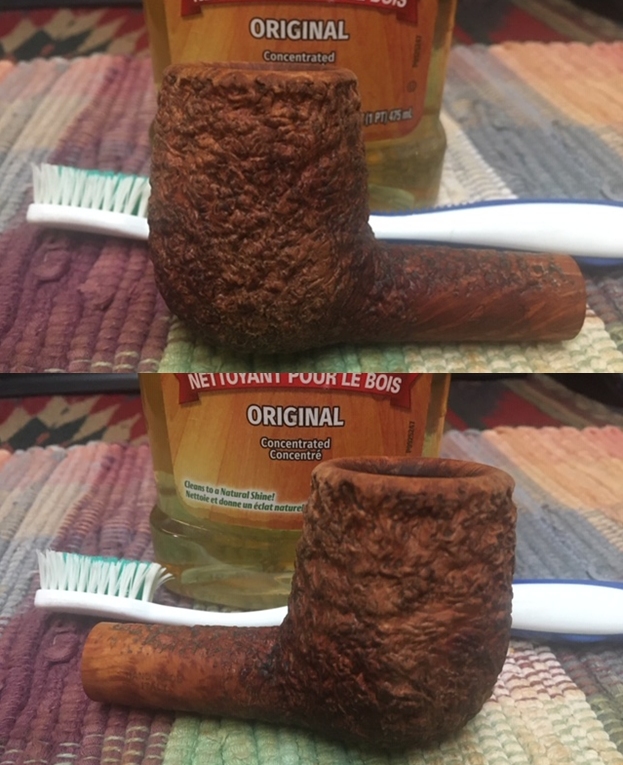
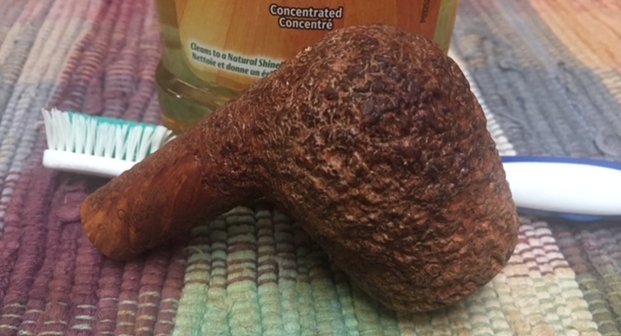
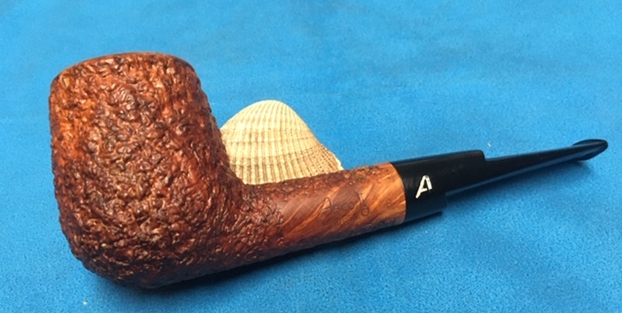
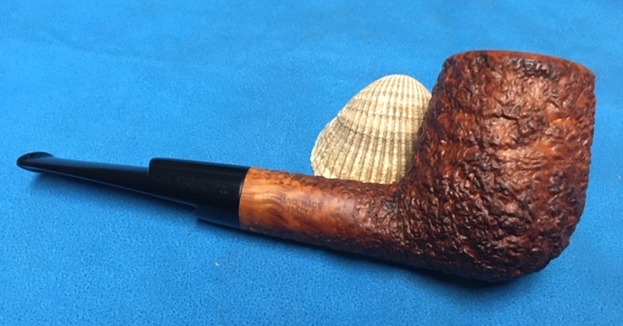
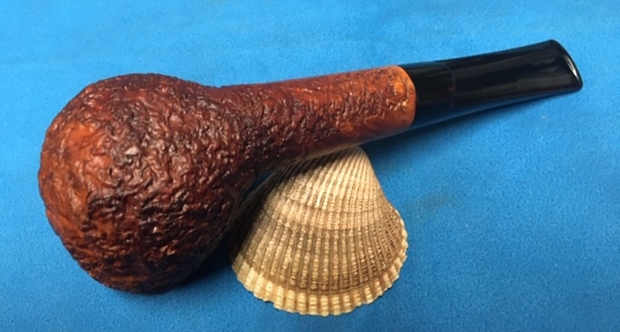
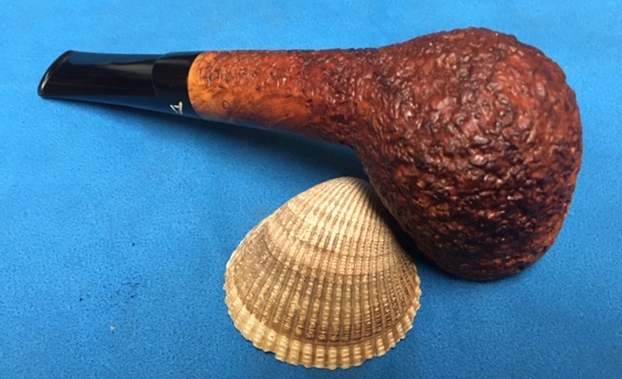
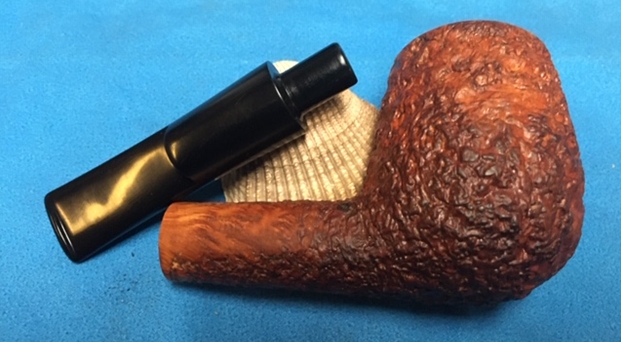
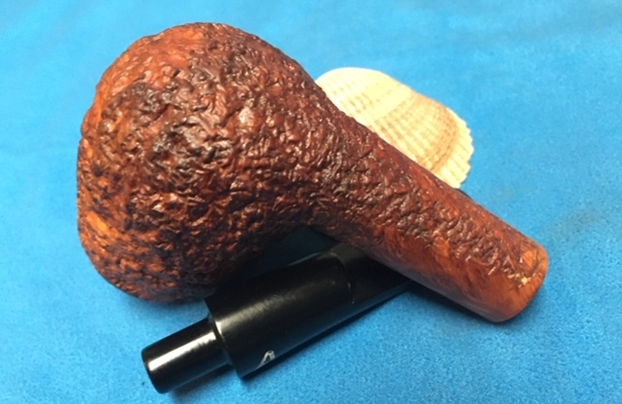
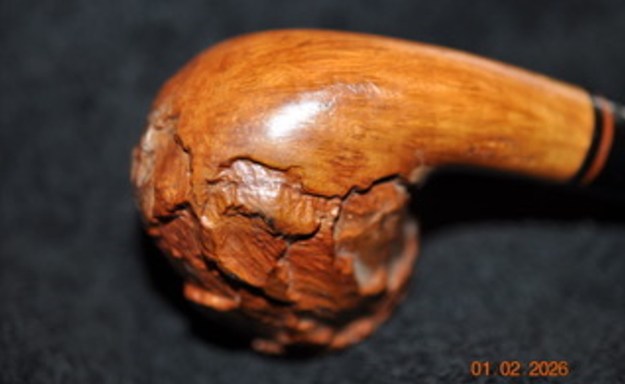
 Jeff took some great photos of the sides of the bowl and heel showing the unique New Dear finish and what is underneath the grime and debris of time and use.
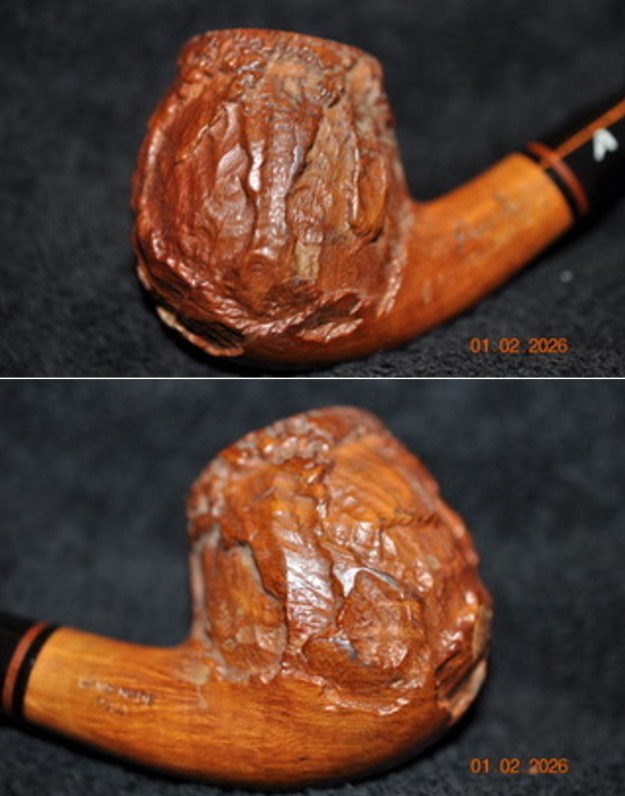
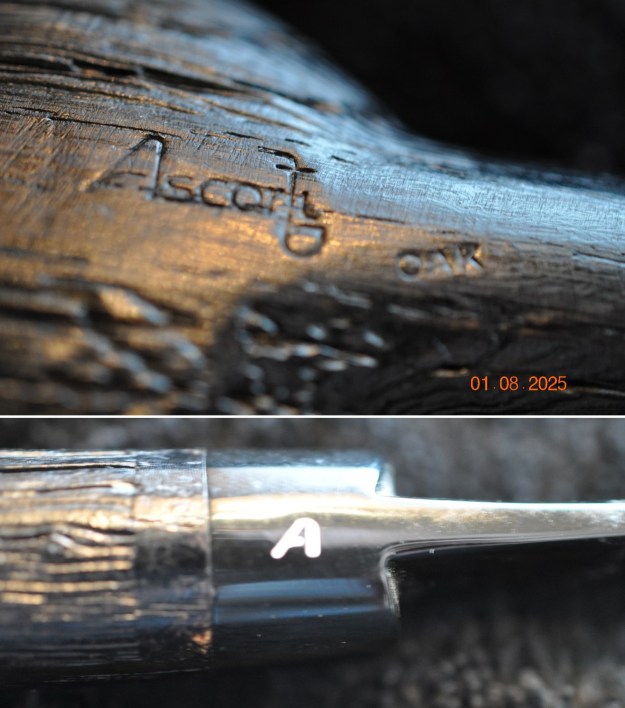
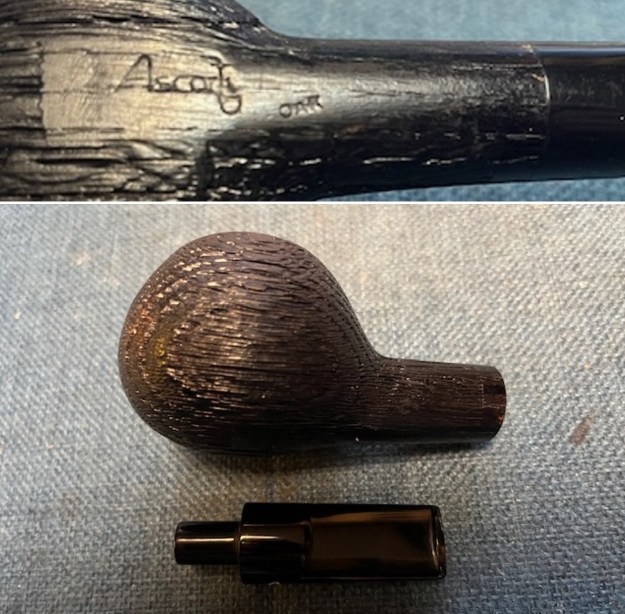
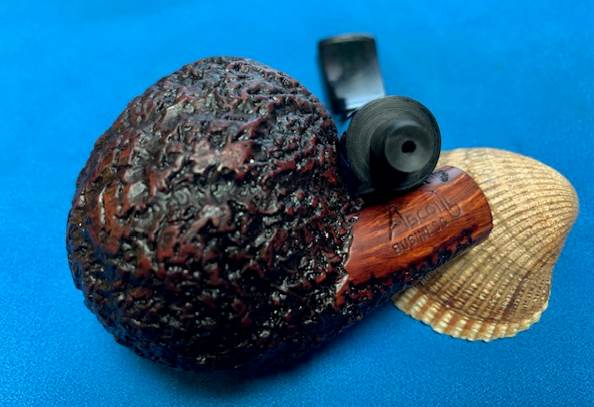
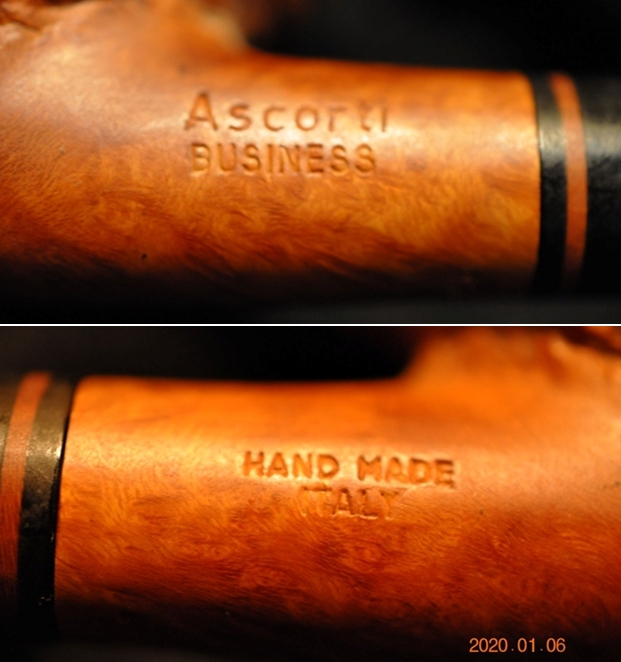
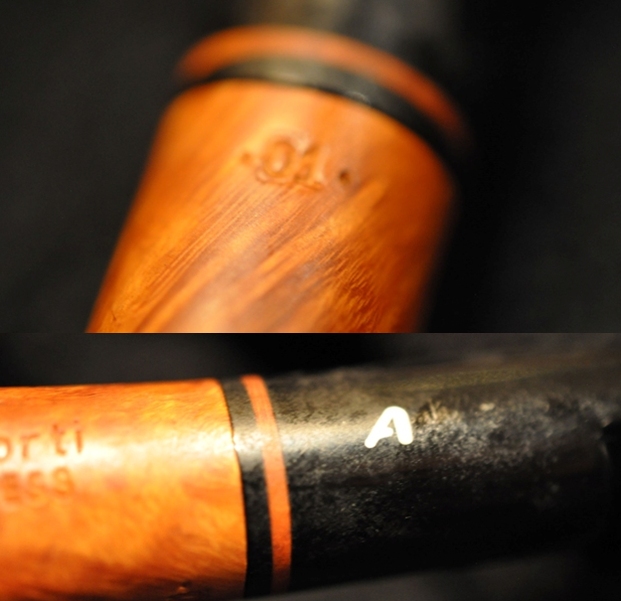
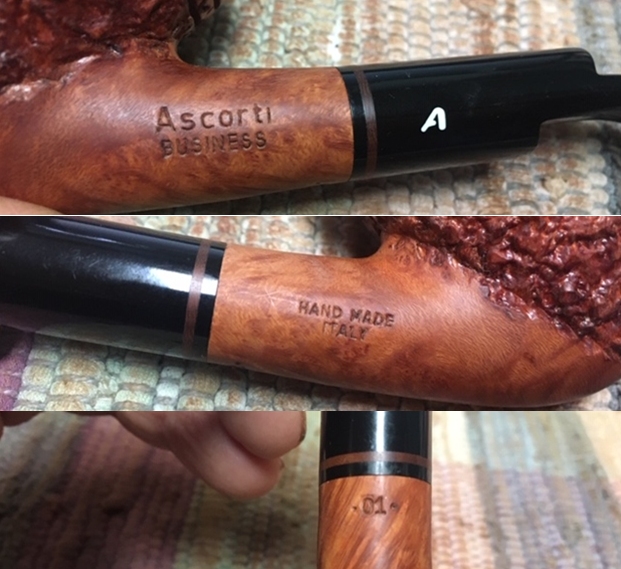
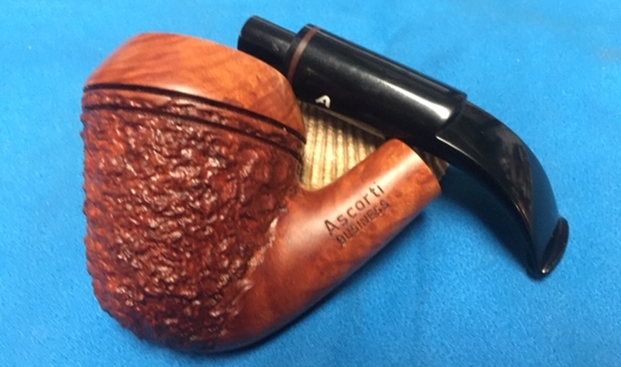
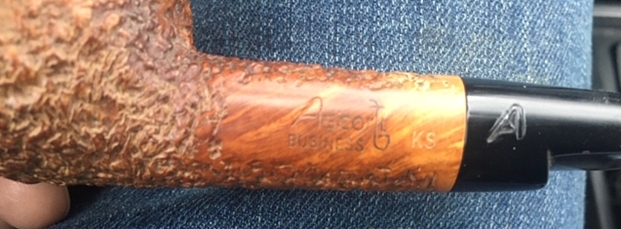
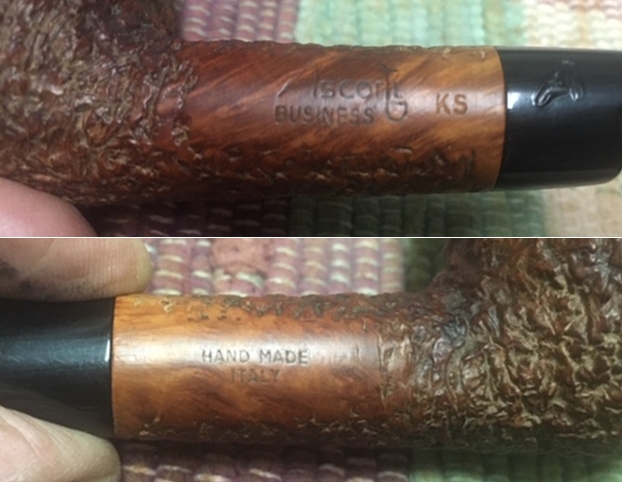
 He captured the stamping on the sides of the shank and the left side of the tapered stem. They are clear and readable. It reads as noted above and is clear and undamaged.
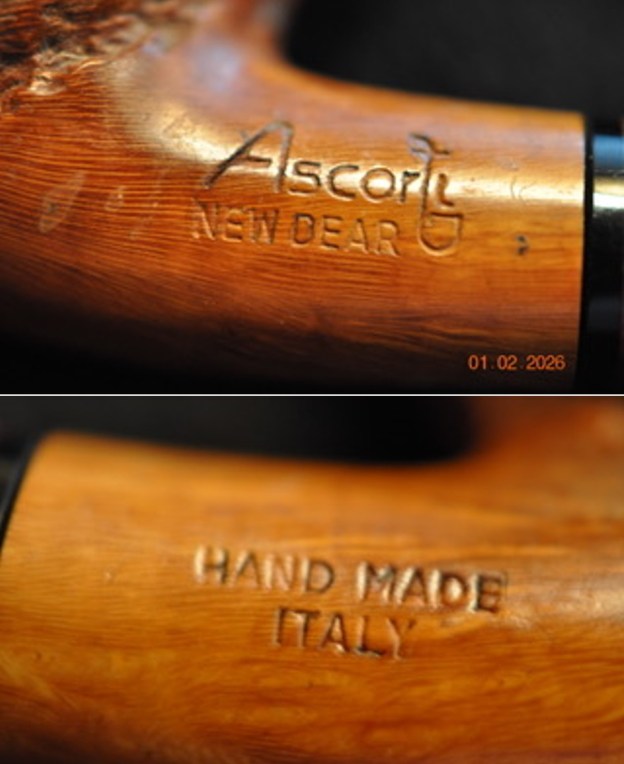
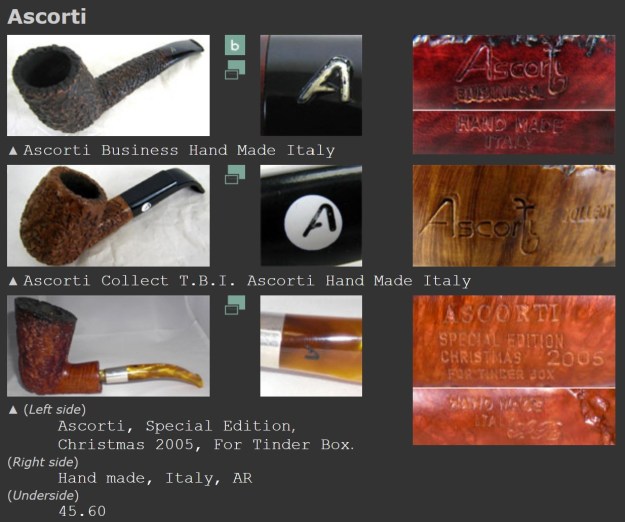
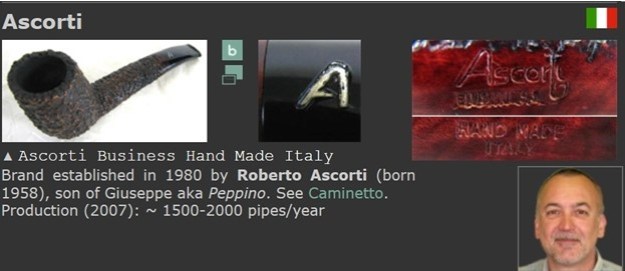
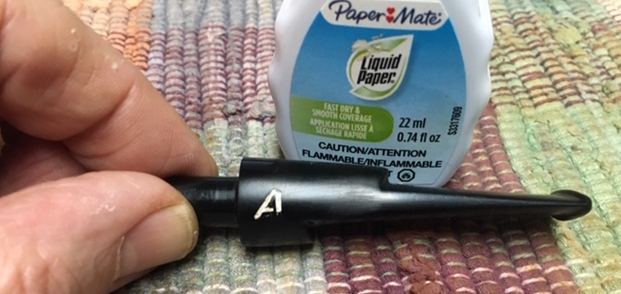
 I have worked on a few Ascorti pipes over the past few months and I have always enjoyed the craftmanship of the brand. Before I started my part of the repair and restoration I wanted to have a clear picture of what the stem logo looked like on the Ascorti Business pipe. I turned to Pipephil as he often has some photos that give me the information that I am looking for (http://www.pipephil.eu/logos/en/logo-a8.html). There was plenty of information on the brand but nothing on the New Dear finish or line. I found that a bit surprising but still recommend that you have a look at the site for the history.
With that information in hand I knew what I was dealing with in terms of the stamping and the age of this pipe. I knew from the information from the section above that the pipe came out after 1980 when the company started. I could not get the date more focused so it was time to work on the pipe.
I turned to Pipedia (https://pipedia.org/wiki/Ascorti) to see what I could learn there as general it gives more detail. I found the description of the work really interesting so I quote that next.
Briar is personally selected by Roberto who controls the quality, dimensions, weight and the first seasoning, which is very important and done in the area where it is collected and cut. After the first scrupulous control, the briar is then aged for two years, to reach the seasoning that he thinks is perfect to create a pipe. Each pipe is designed by Roberto and it is initially crafted with small machines, made by hand by his father Peppino, with the help of his son, back in the 70’s. They are perfect to allow different processes as the artisanal tradition requires.
After the drilling of the bowl and shank, the pipe passes through an interminable series of handmade steps done only by Roberto and the irreplaceable Cesare (already aside of Peppino in 1968).
The mouthpiece, made in methacrylate (acrylic) is also completely handmade, obtained in sheets which are cut into bars, then drilled and shaped with files and sandpaper. There are 90 steps to the procedure, small or large, but everyone important, that Roberto requires before he considers his creations finished and ready to be shown to the customer.
I think that the love that Roberto flows into his pipes, absorbed by the workers and relatives, is perfectly understood by smokers all around the world, who never fail to give us satisfaction with praise and public or private lauds. Our philosophy? The love and the passion in what you do, with the help of who is around you.
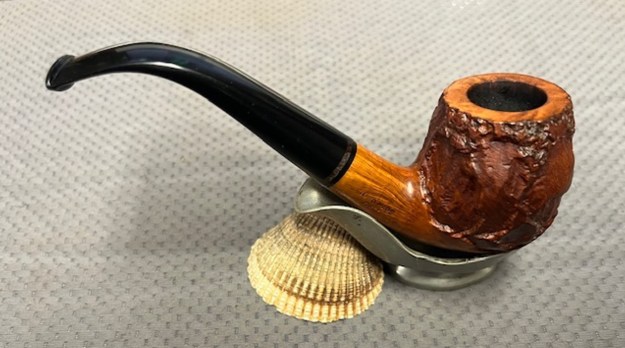
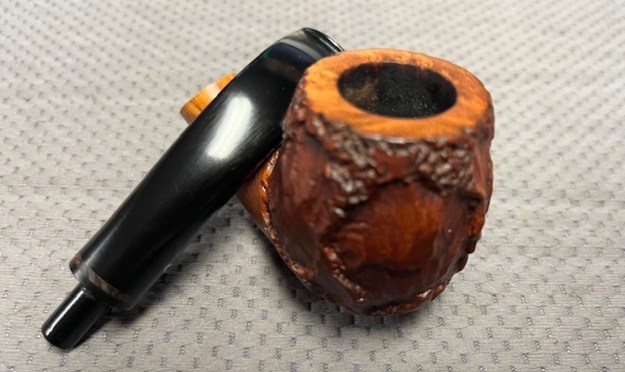
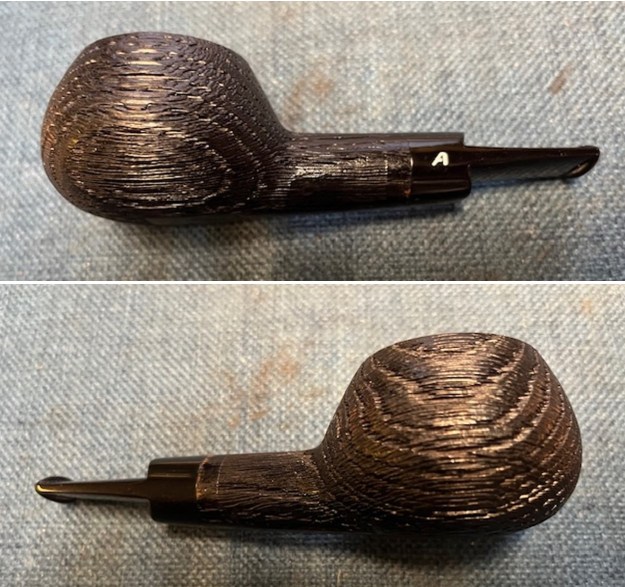
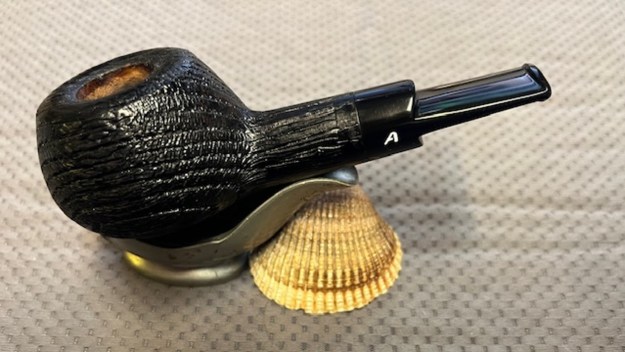
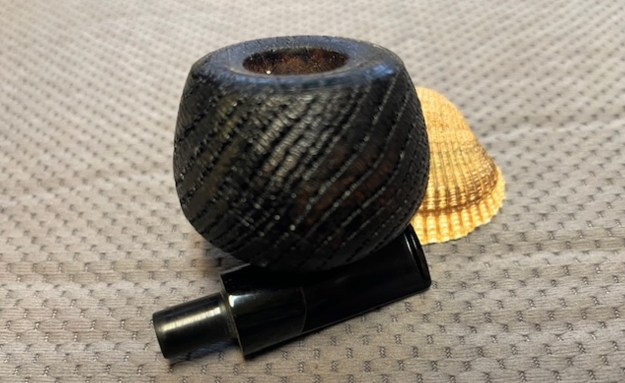
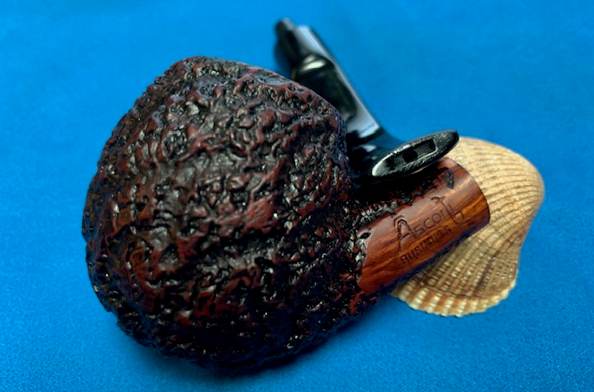
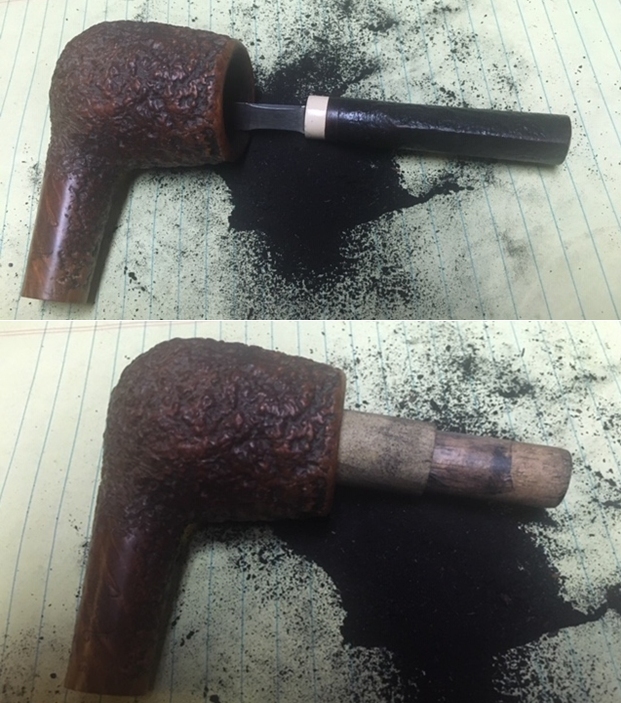
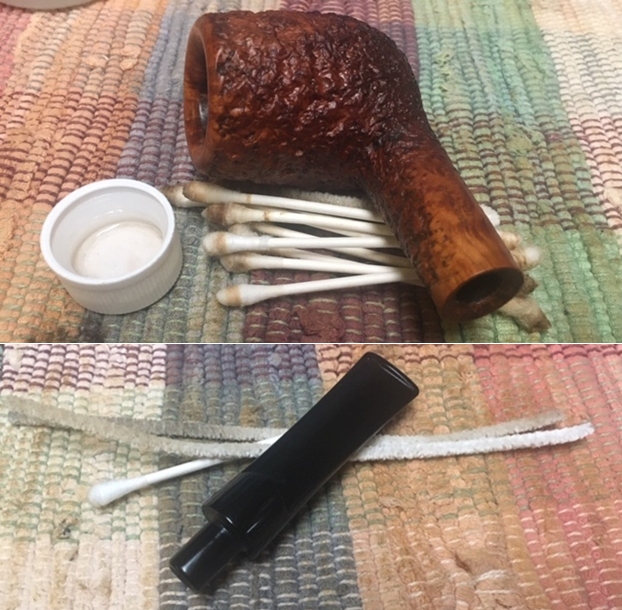
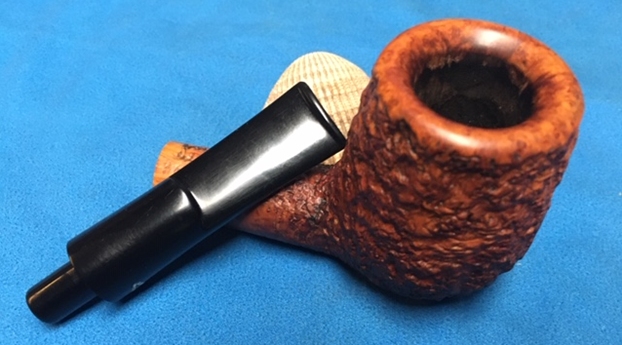
There was no specific information on the New Dear finish but there were several close up photos of the style of rustication. I have included one of them below.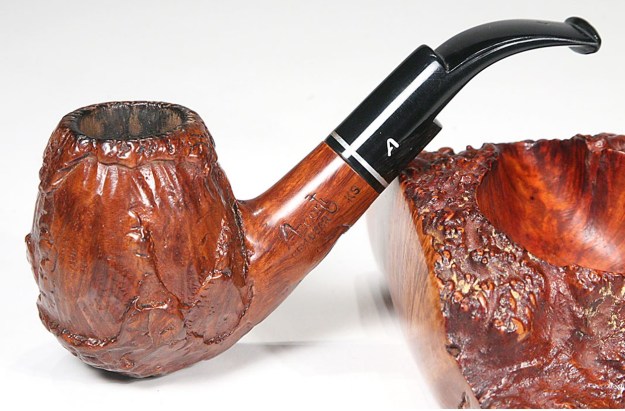 Now it was time to work on the pipe itself. Jeff cleaned the pipe with his usual process and when I took it out of the box I was amazed at how good it looked it. He reamed it with a PipNet pipe reamer and cleaned up the reaming with a Savinelli Fitsall Pipe Knife. He scrubbed out the internals with alcohol, pipe cleaners and cotton swabs until the pipe was clean. He scrubbed the exterior of the bowl with Murphy’s Oil Soap and a tooth brush to remove the grime and grit on the briar and the lava on the rim top. The finish looks very good. Jeff scrubbed the stem with Soft Scrub to remove the grime and it came out looking far better. I took photos before I started my part of the work.
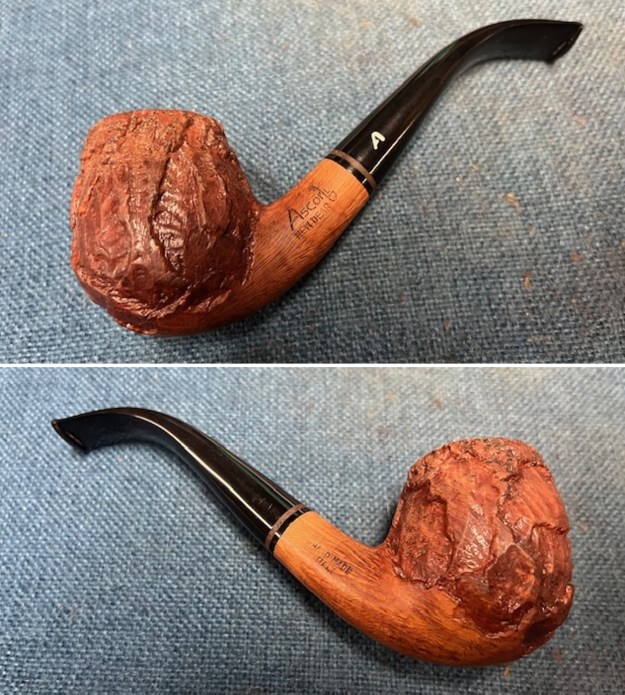
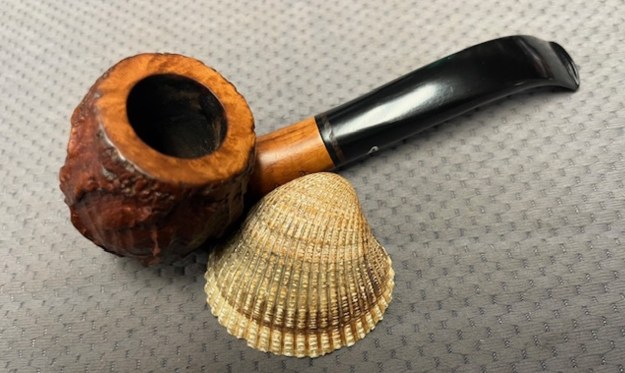
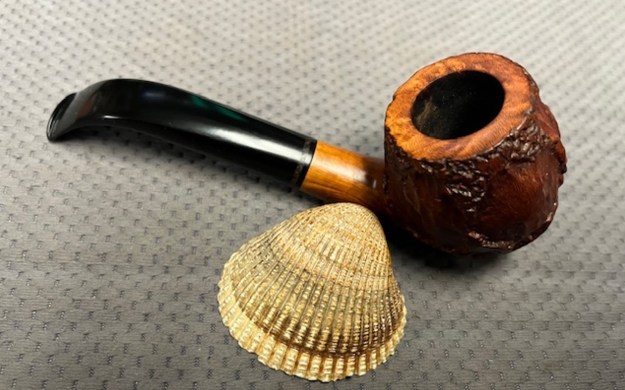
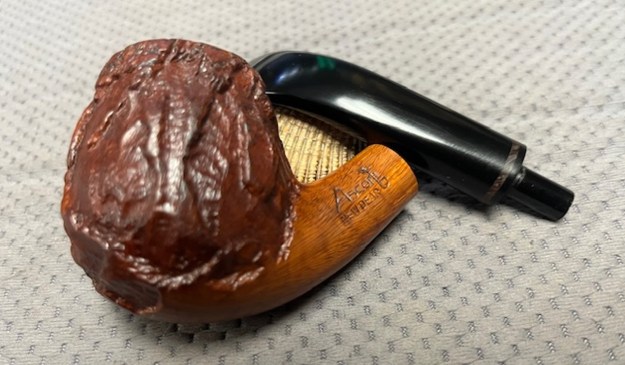
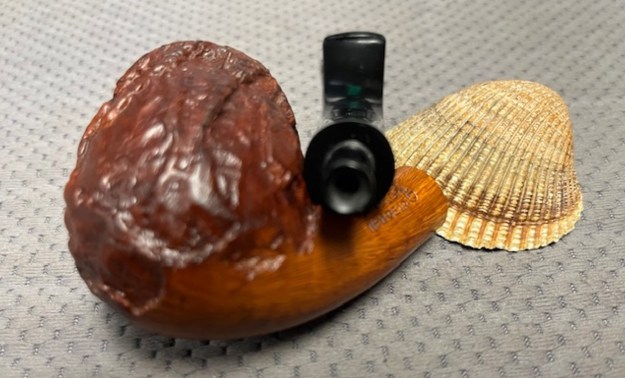
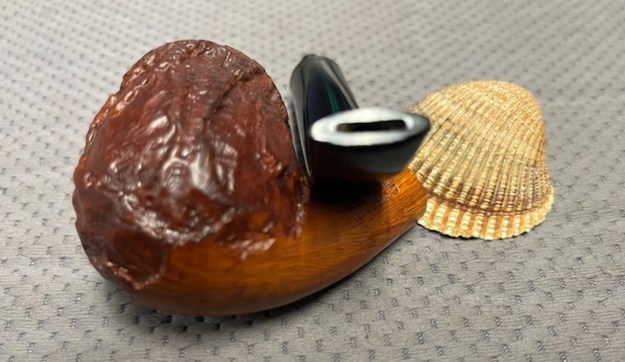
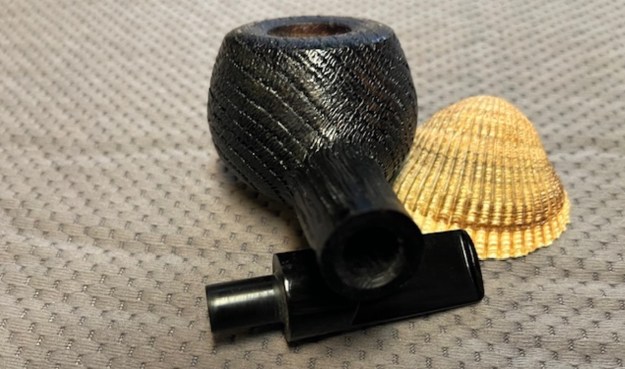
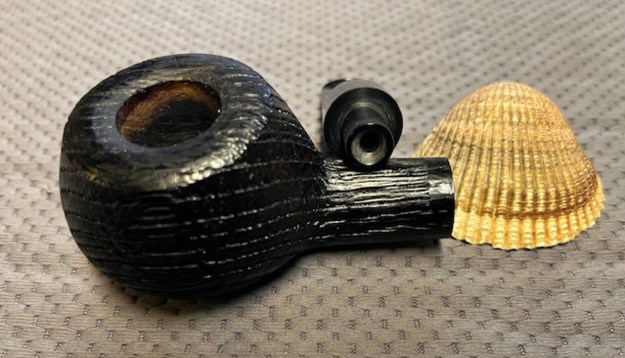
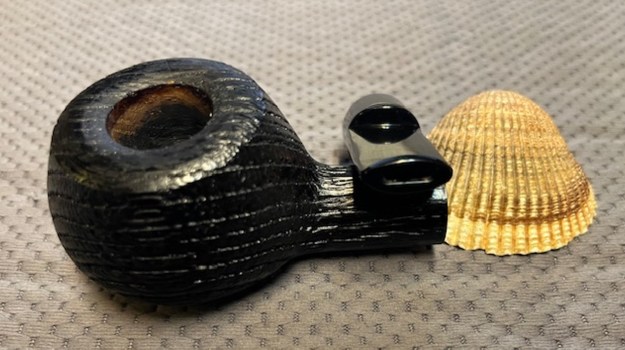
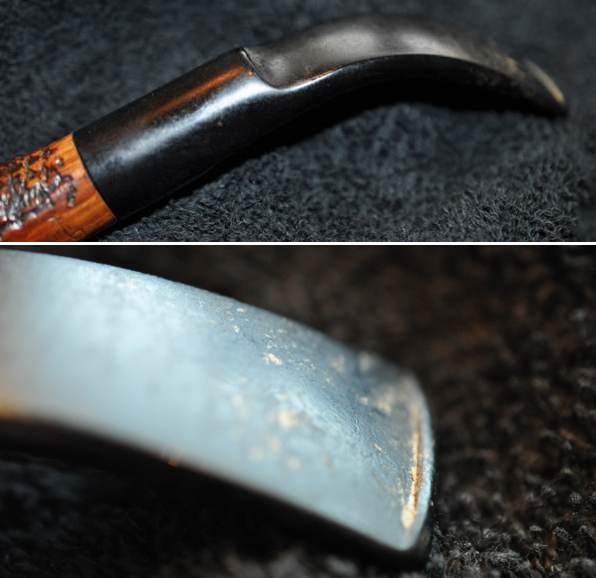
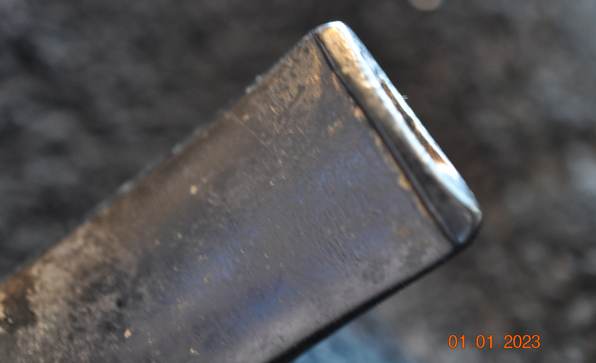
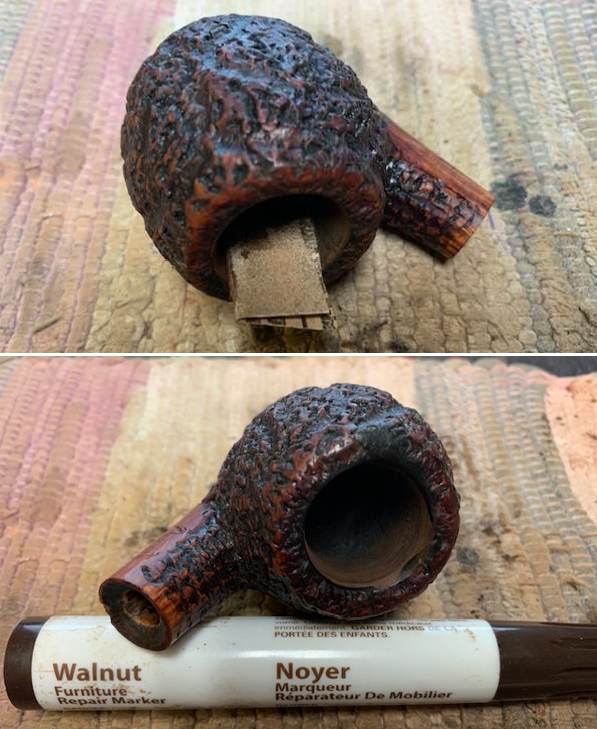
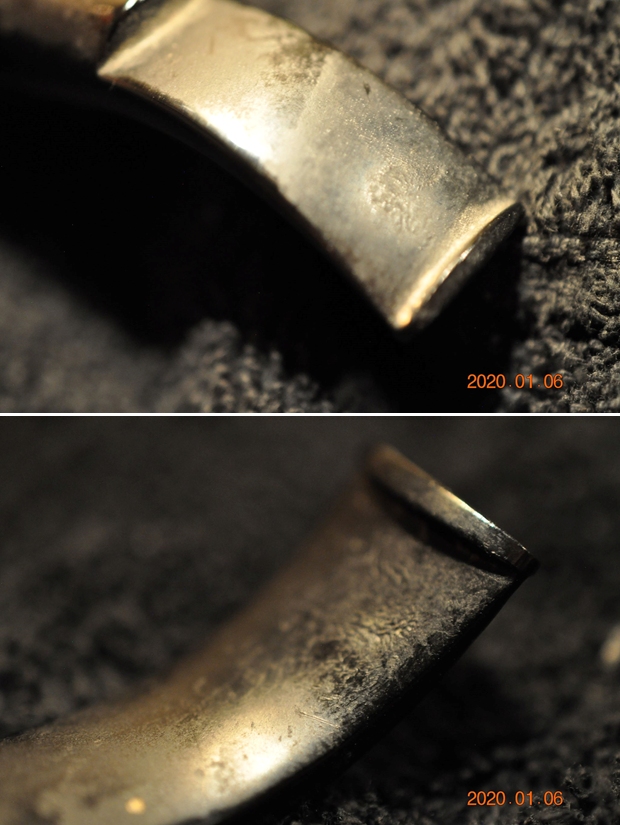
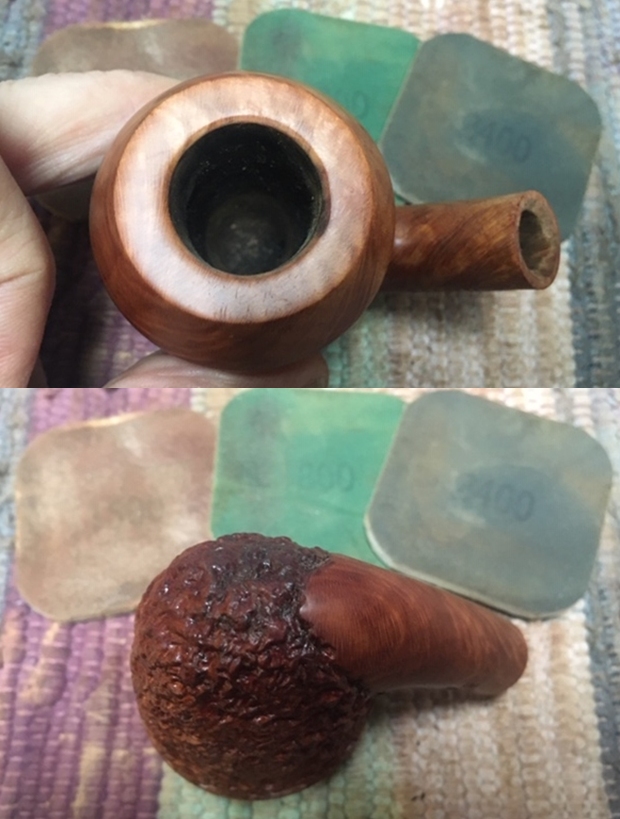
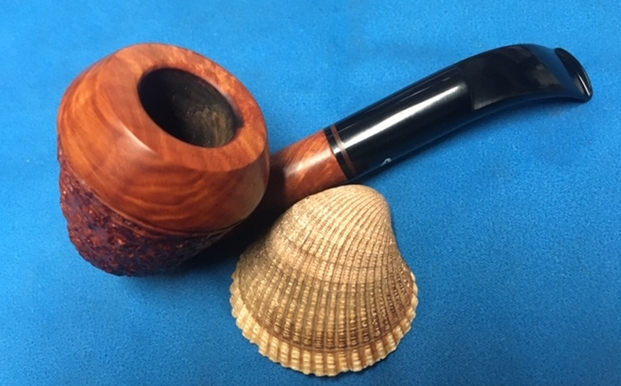
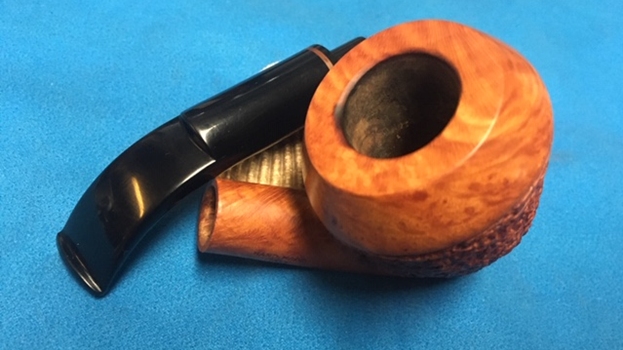
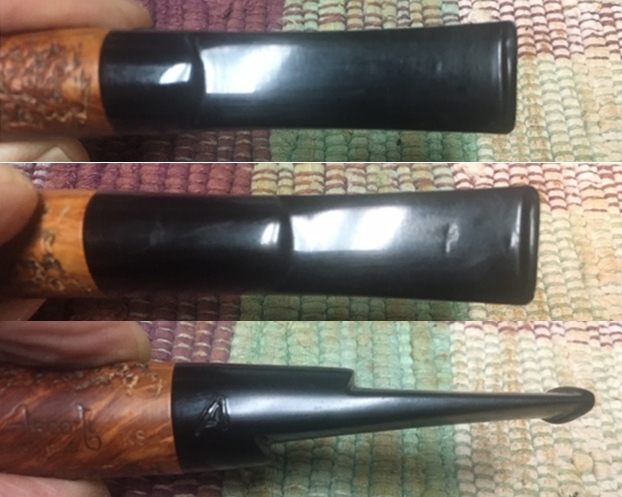
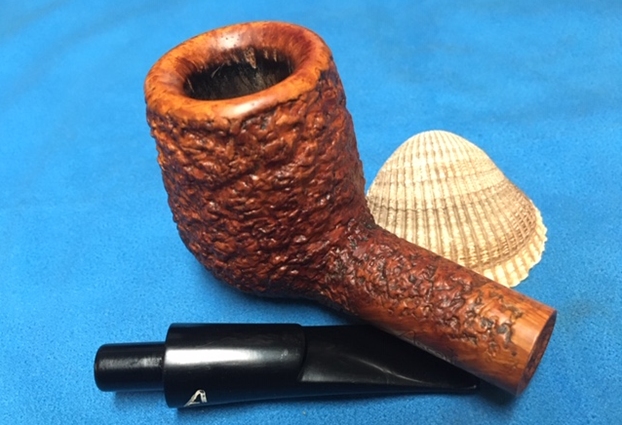
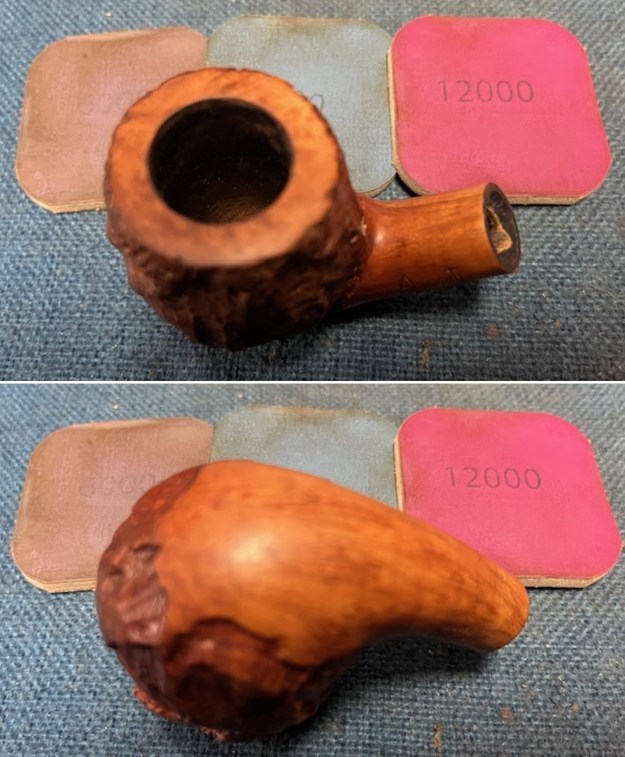
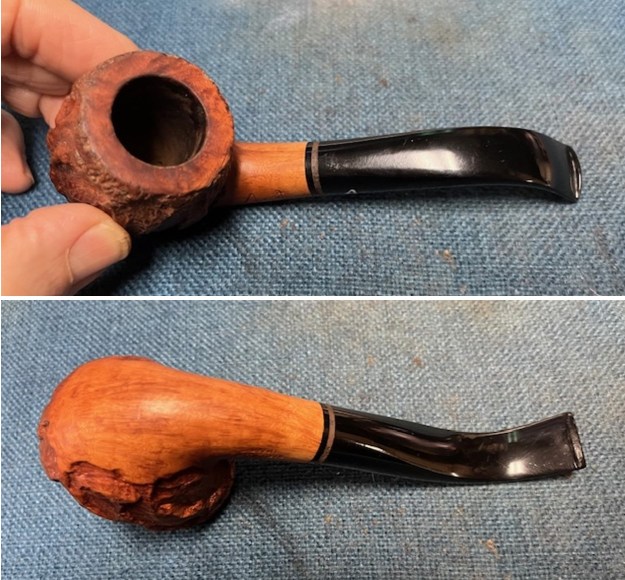 I took some photos of the rim top, shank end and stem to show the condition of them both when it arrived. It looked good. The stem had some light tooth marks and chatter ahead of the button on both sides.
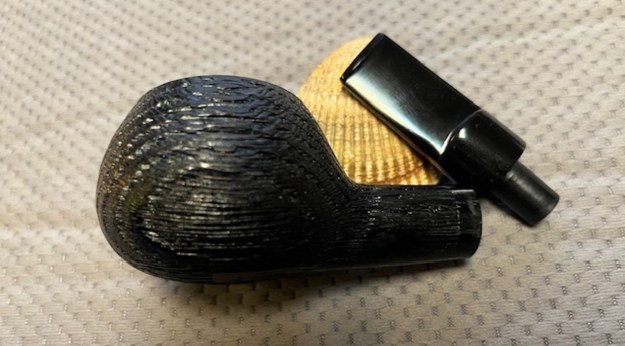
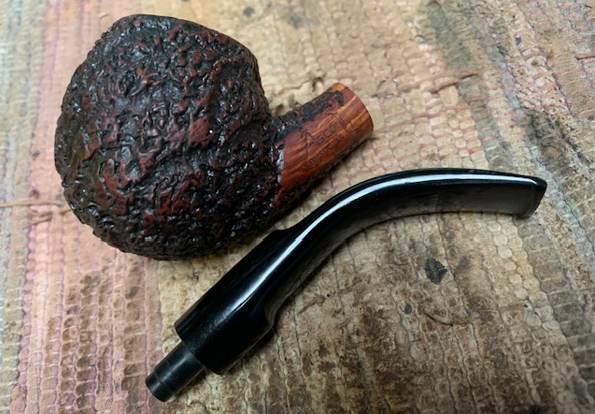
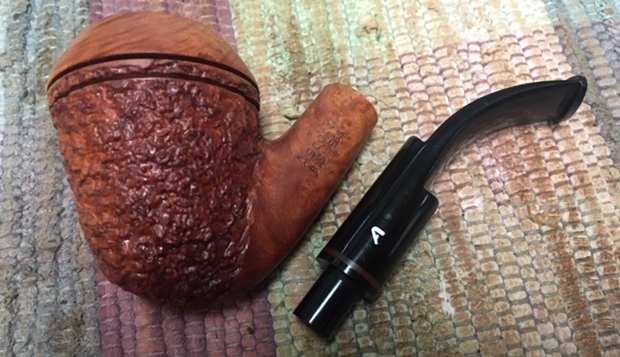
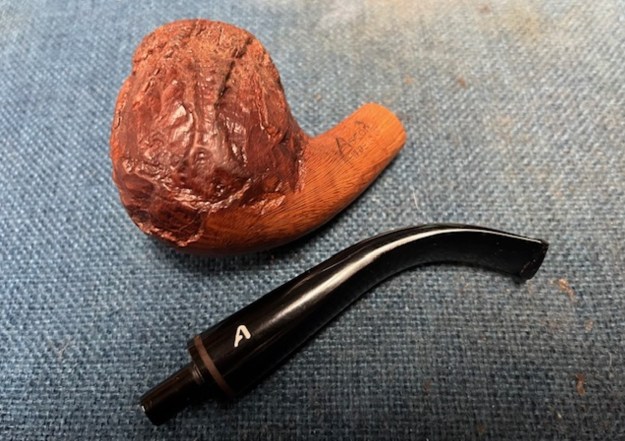
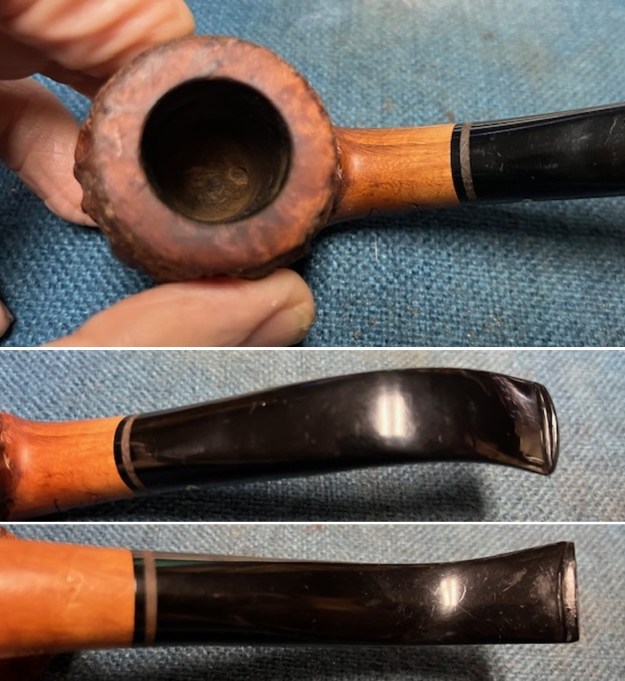 I took photos of the stamping on the sides of the shank. It was clear and readable. It read as noted above. I took the stem off the shank and took a photo of the pipe parts in perspective.
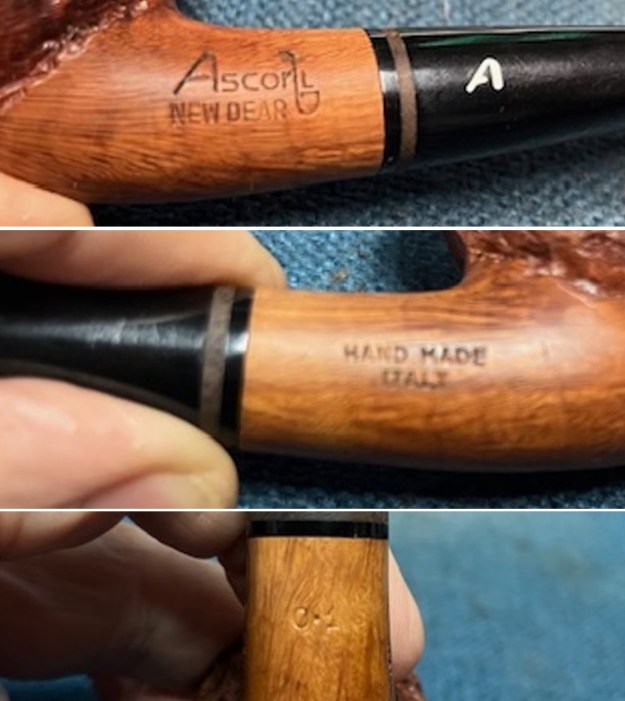
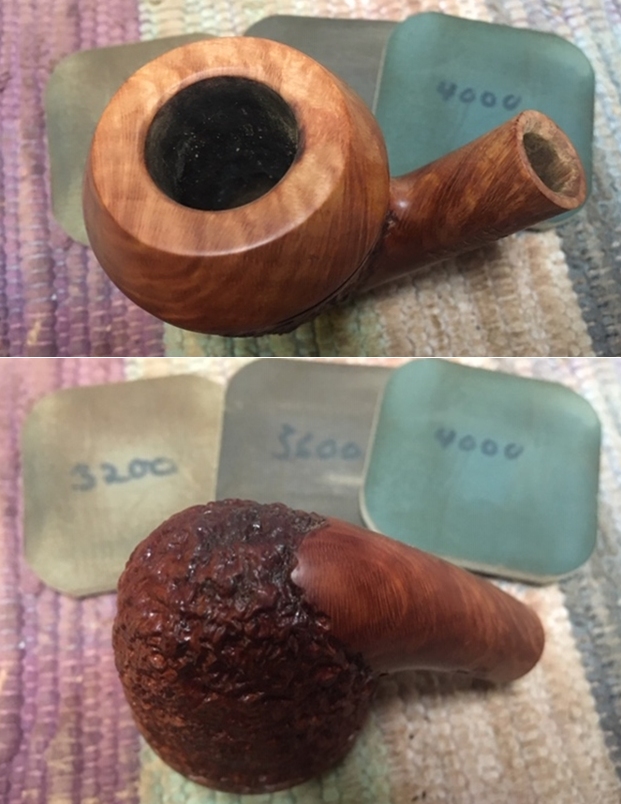
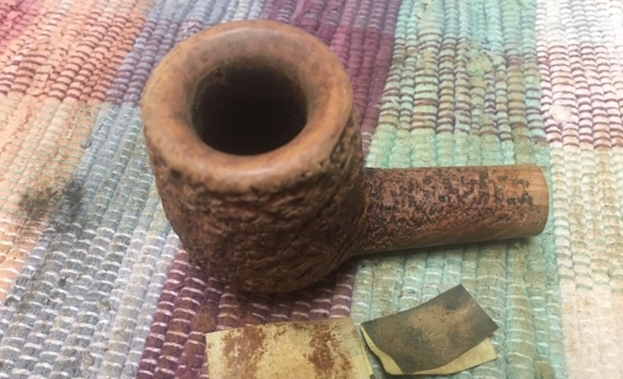
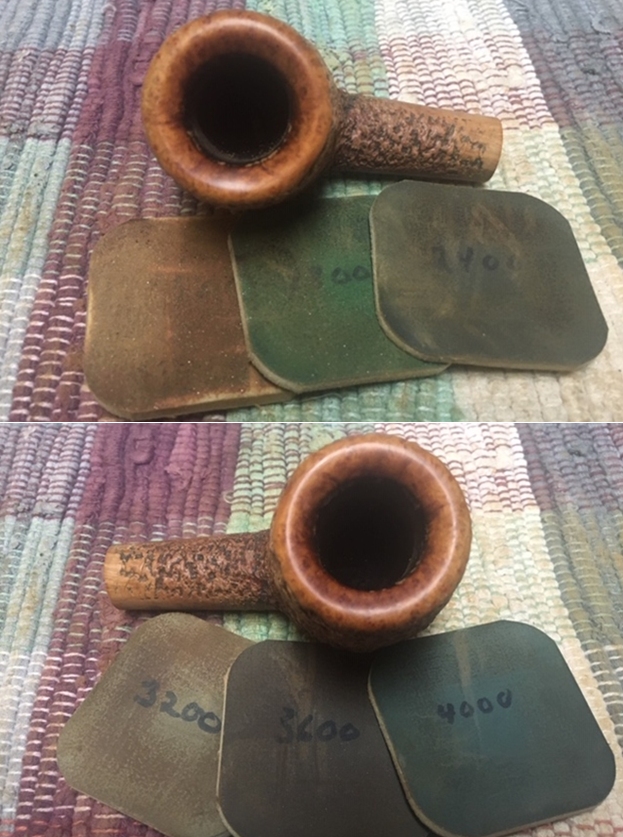
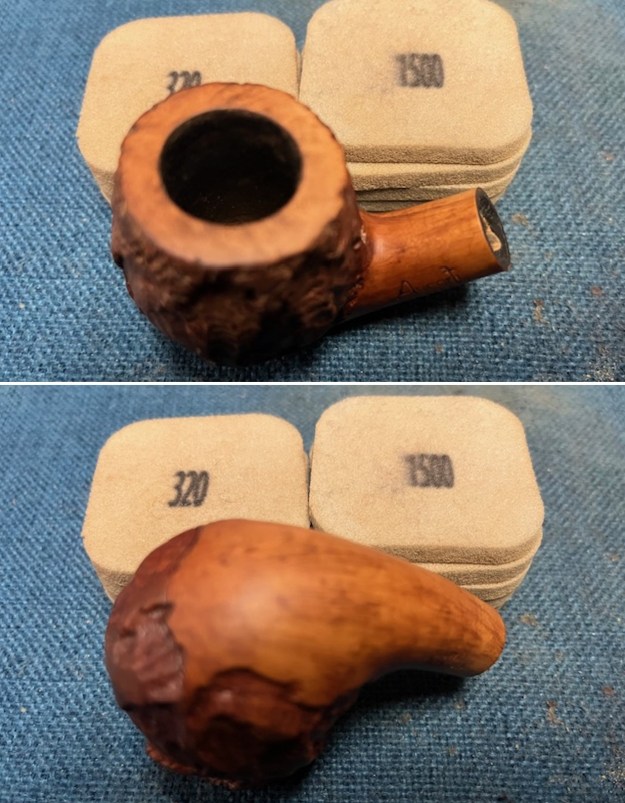
 I started my work on the pipe by sanding the smooth rim top and shank with 320-3500 grit sanding pads. I wiped it down after each sanding pad to remove the debris from sanding. I carefully avoided the stamping on the shank. It began to look very good as I finished.
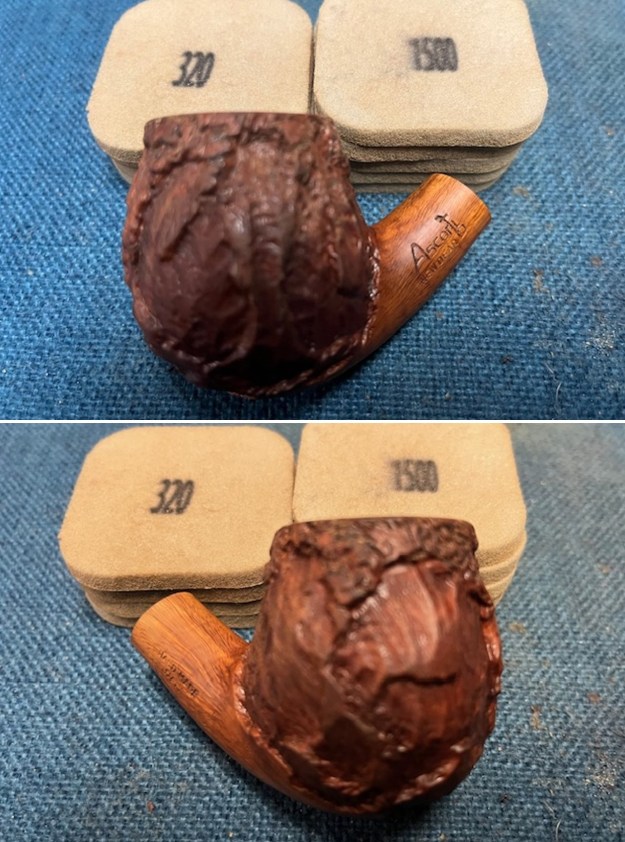
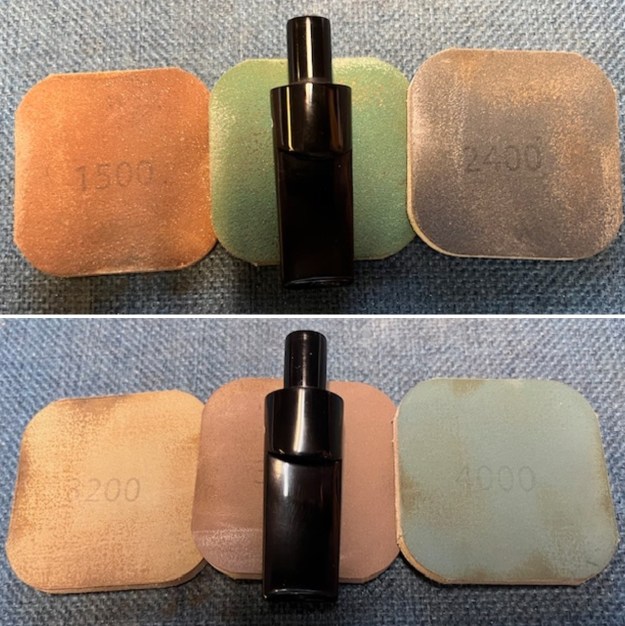
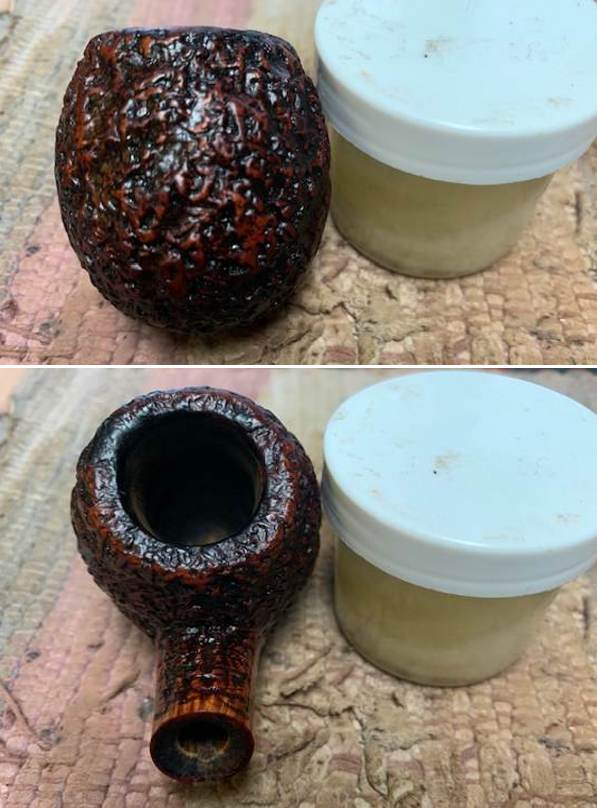
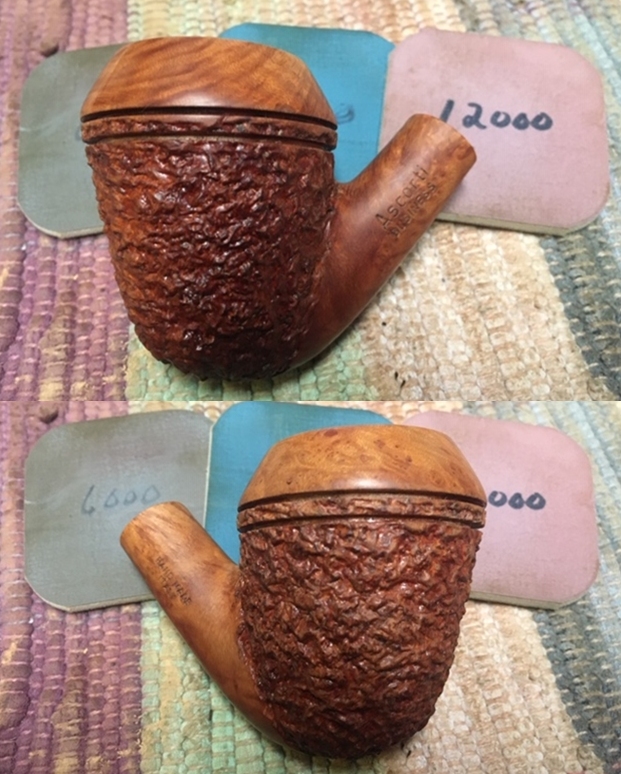
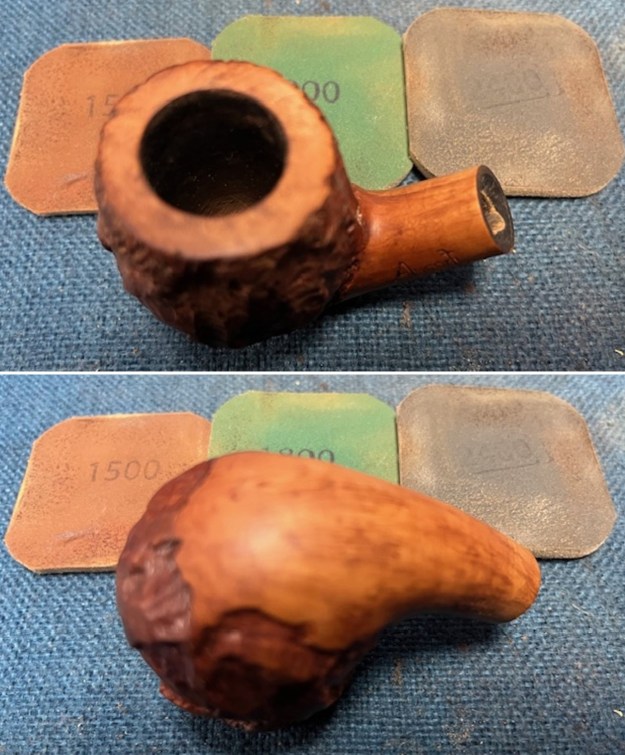
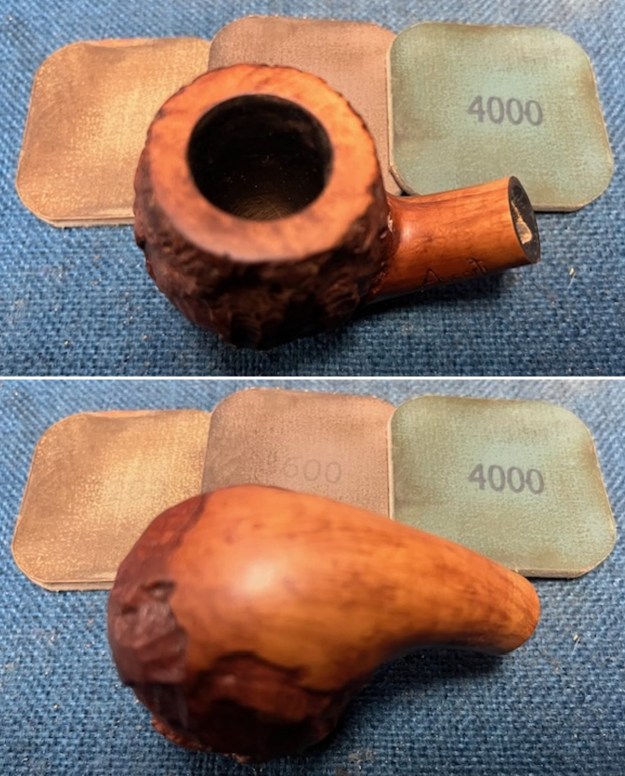
 I polished the bowl with and shank with micromesh sanding pads – wet sanding with 1500-12000 grit pads. I wiped the briar down after each pad with a damp cloth. The bowl is starting to look very good.
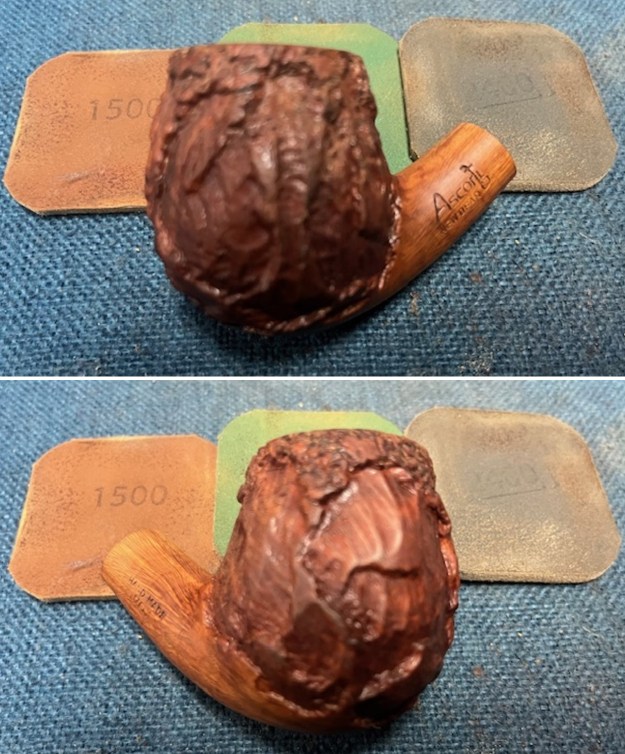

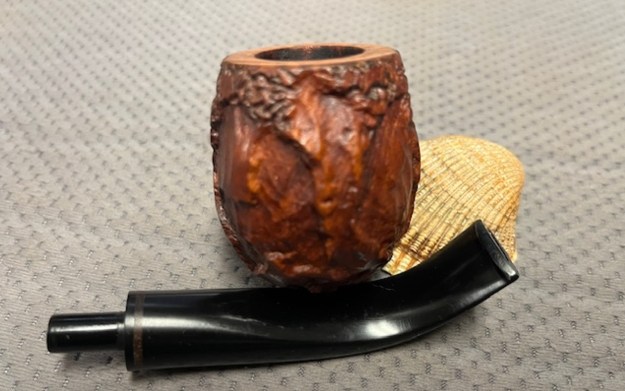
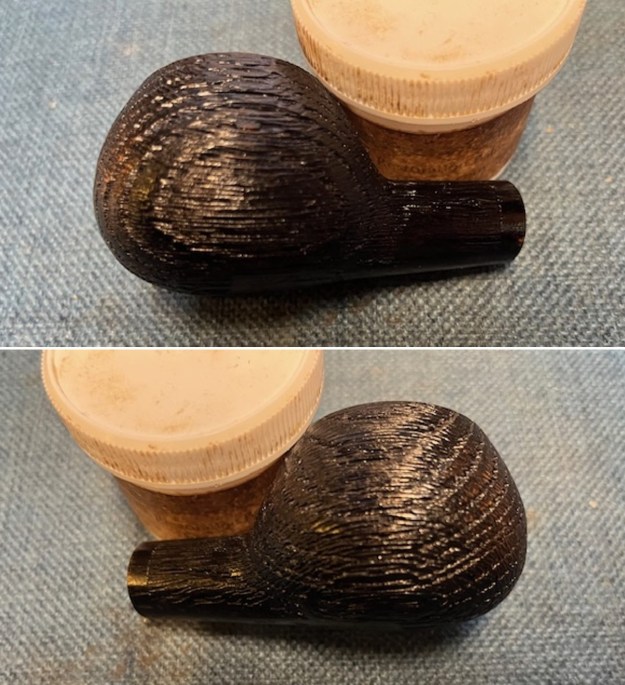
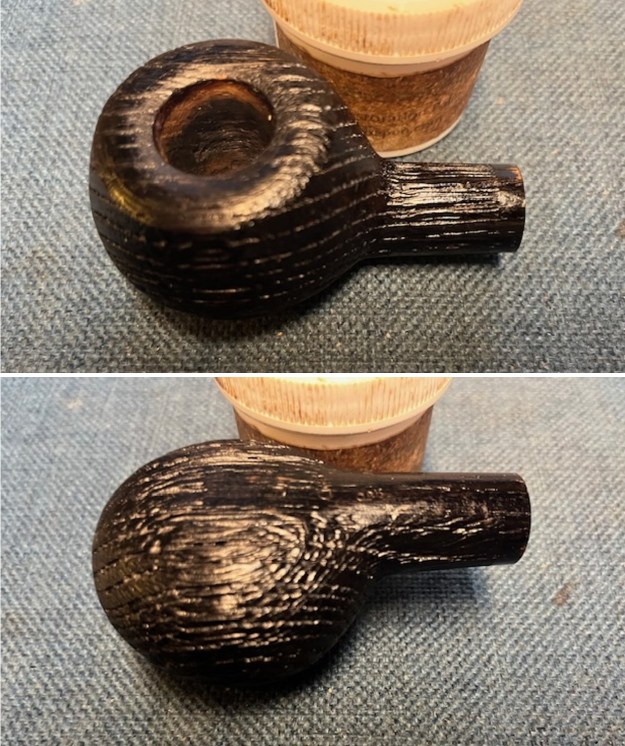
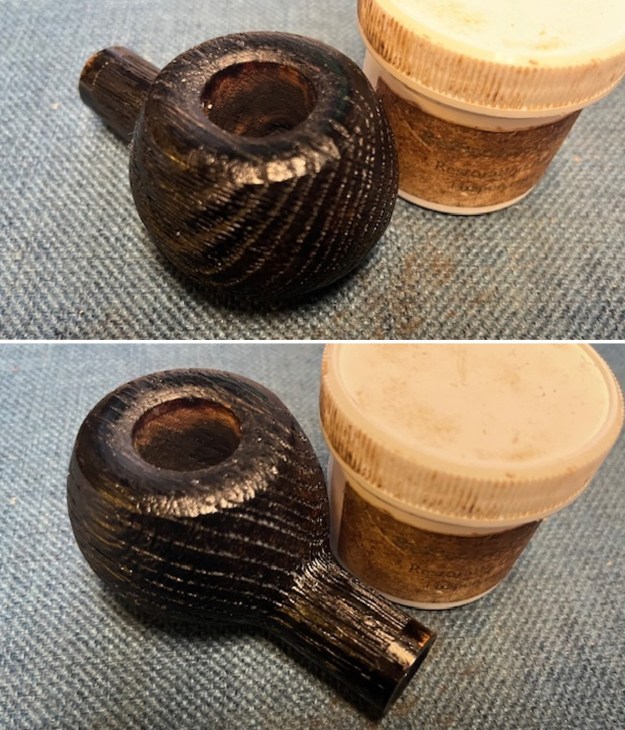
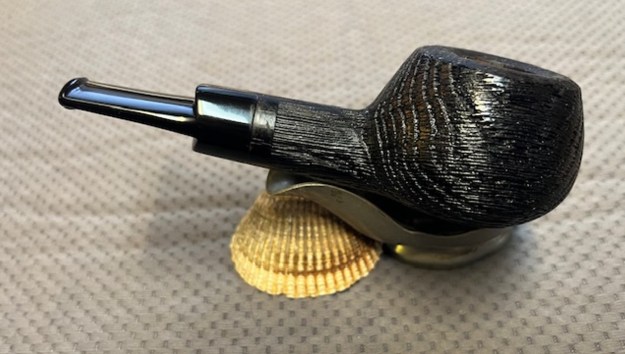
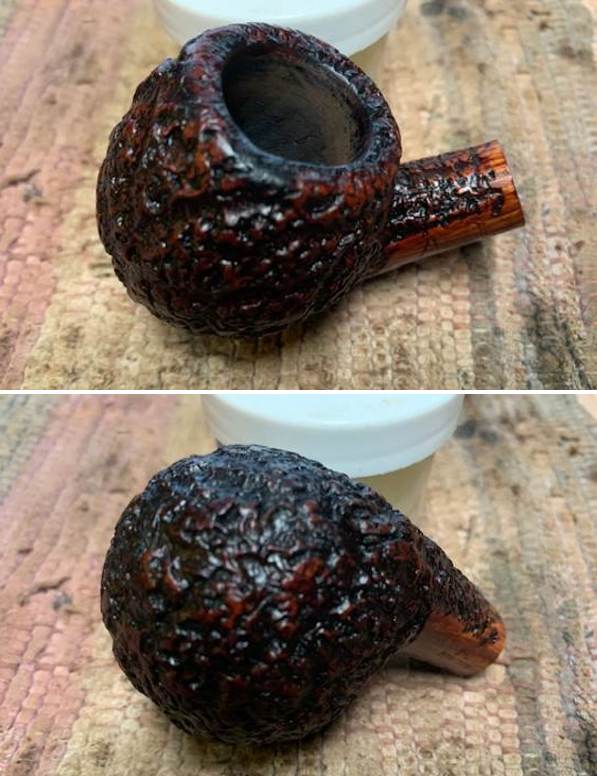
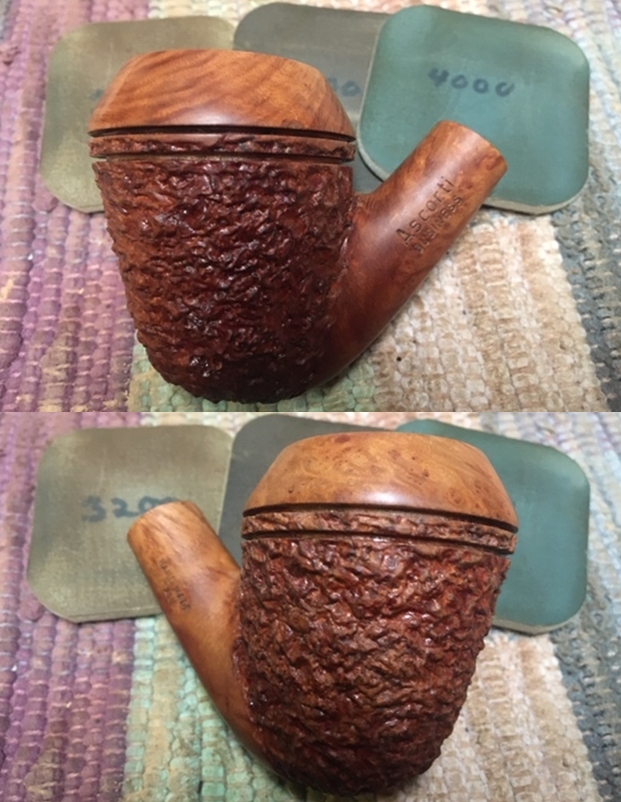
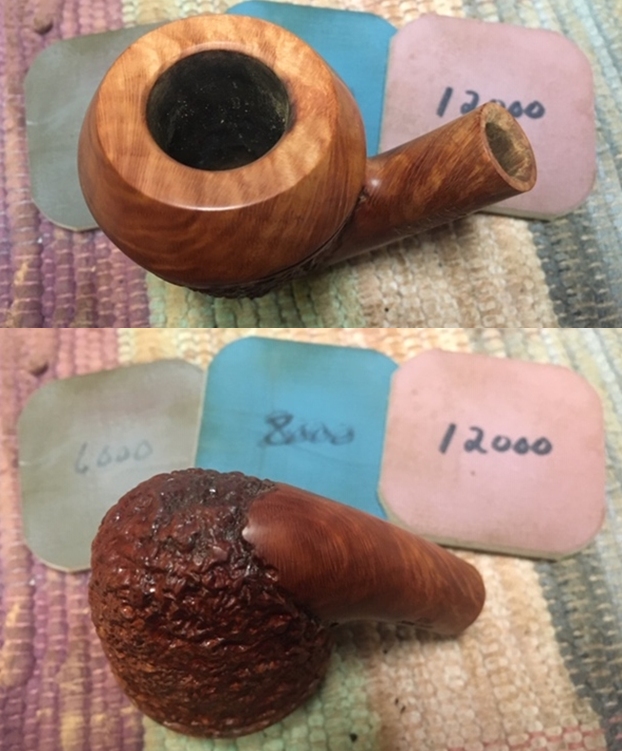
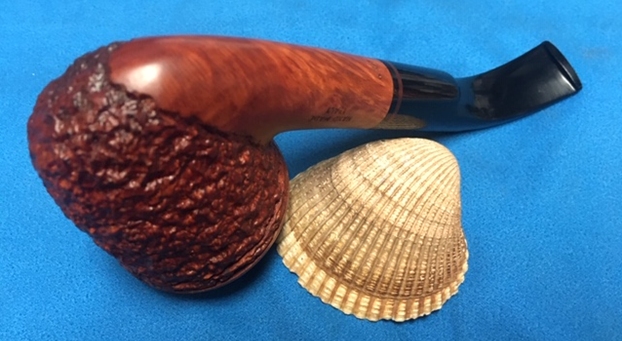
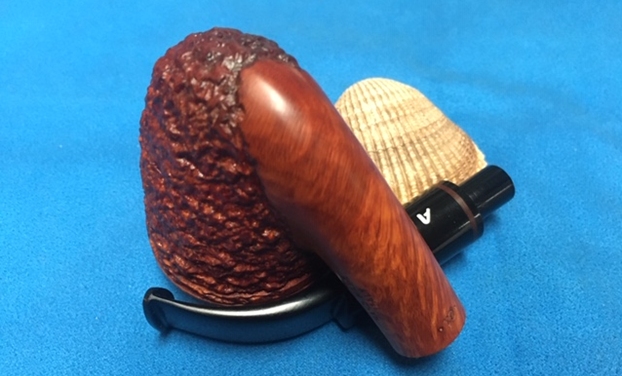
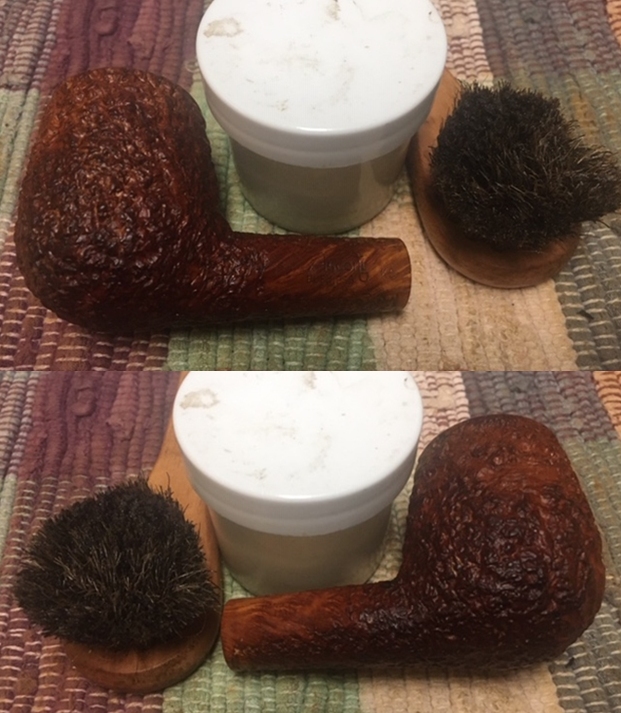
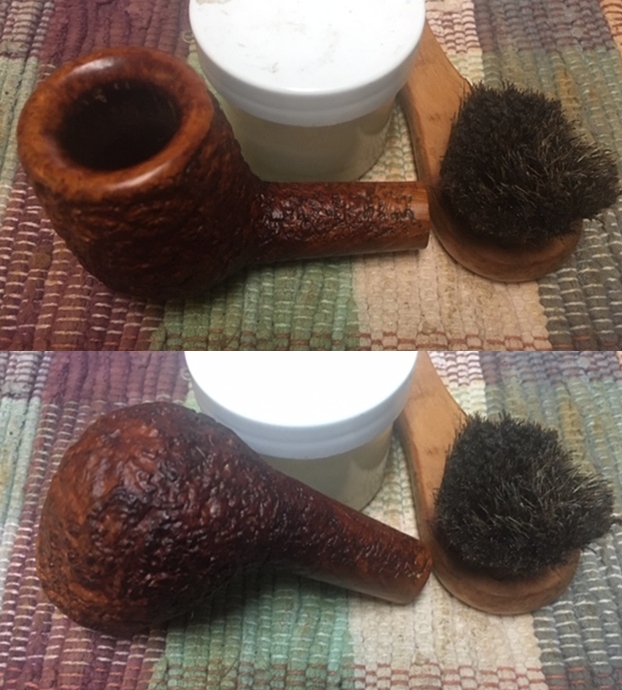
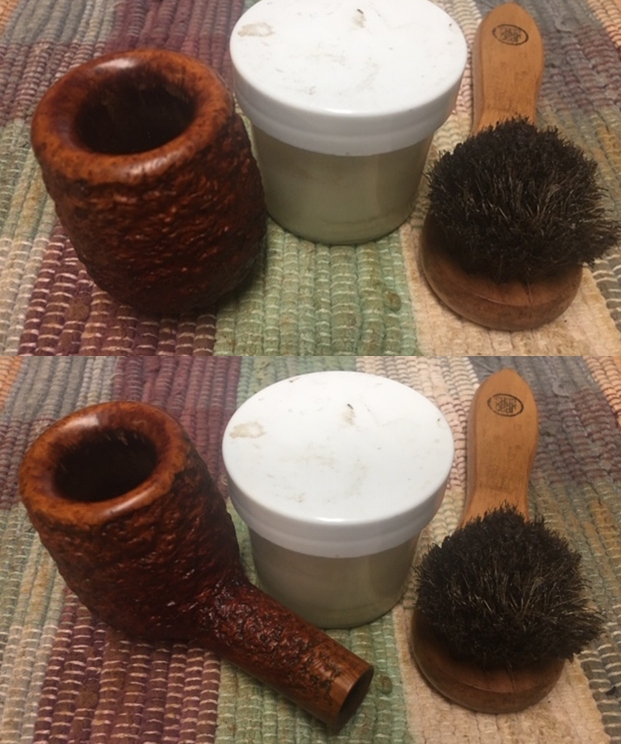
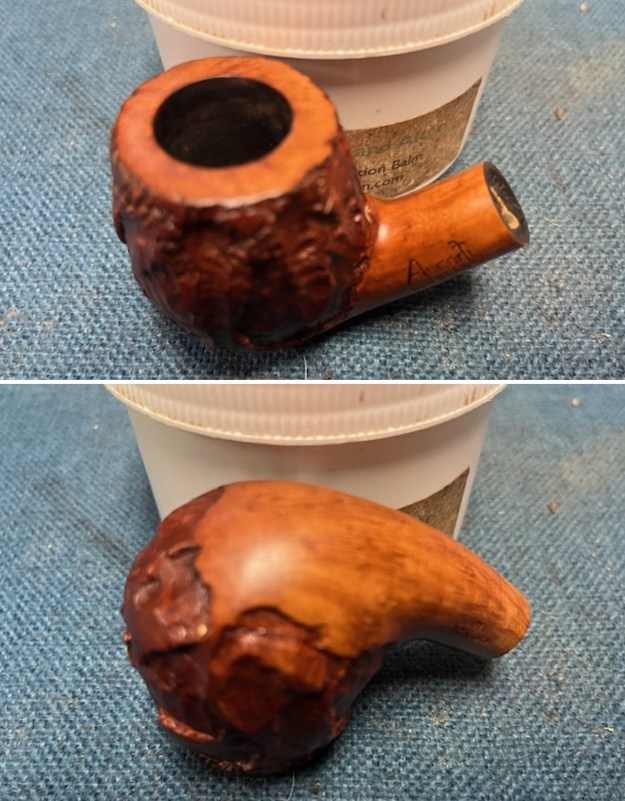
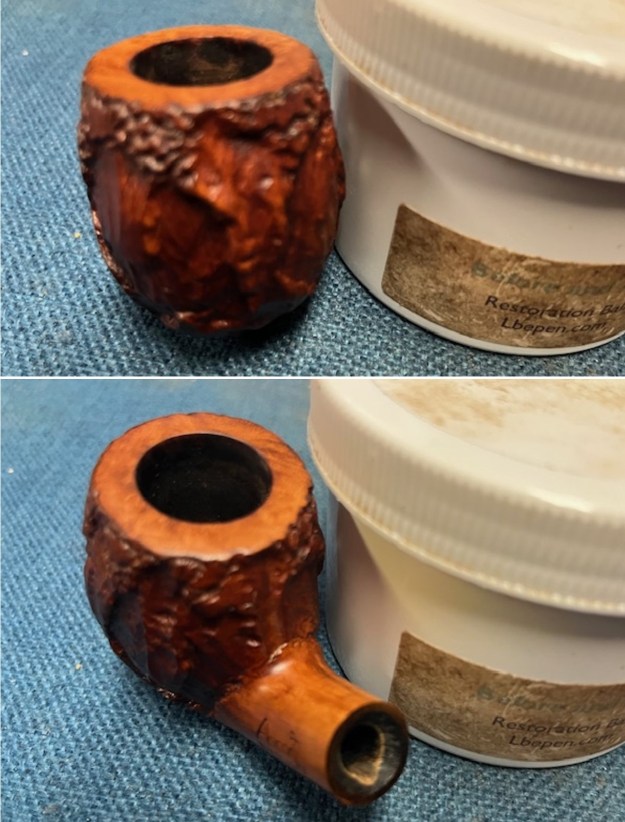
 I worked some Before & After Restoration Balm into the surface of the briar with my fingertips and a horsehair shoe brush to clean, enliven and protect it. I let the balm sit for a little while and then buffed with a cotton cloth to raise the shine. The photos show the bowl at this point in the restoration process.
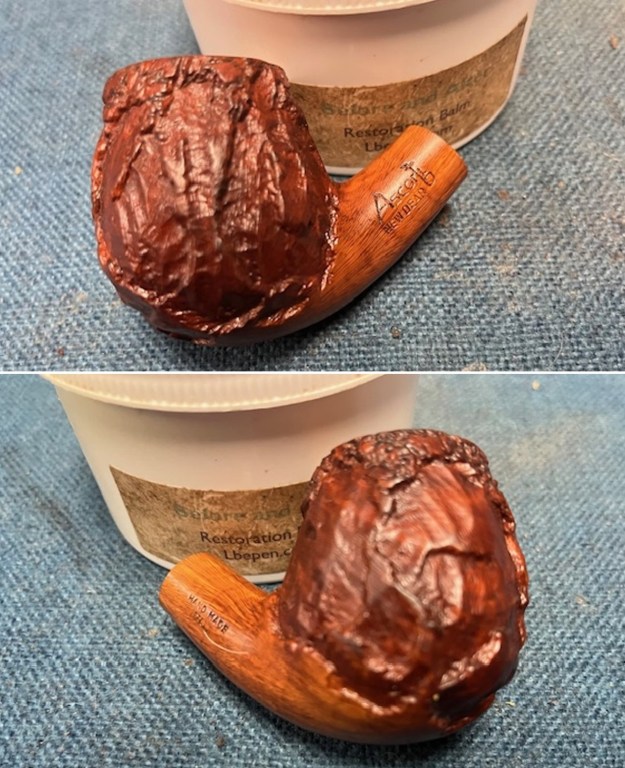
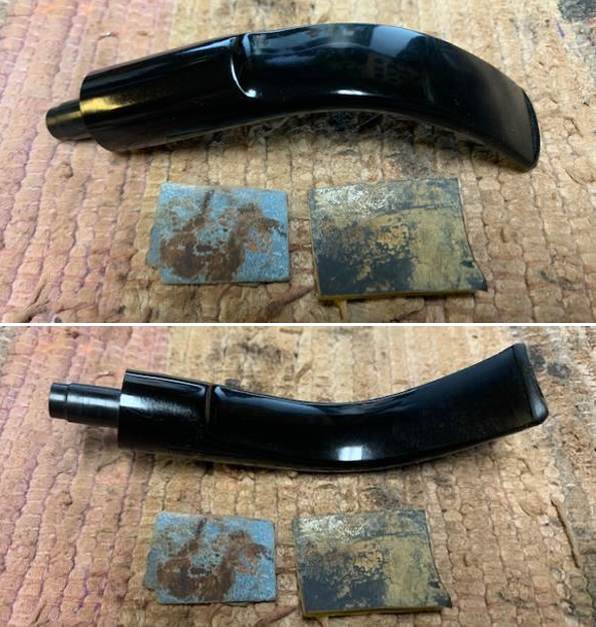
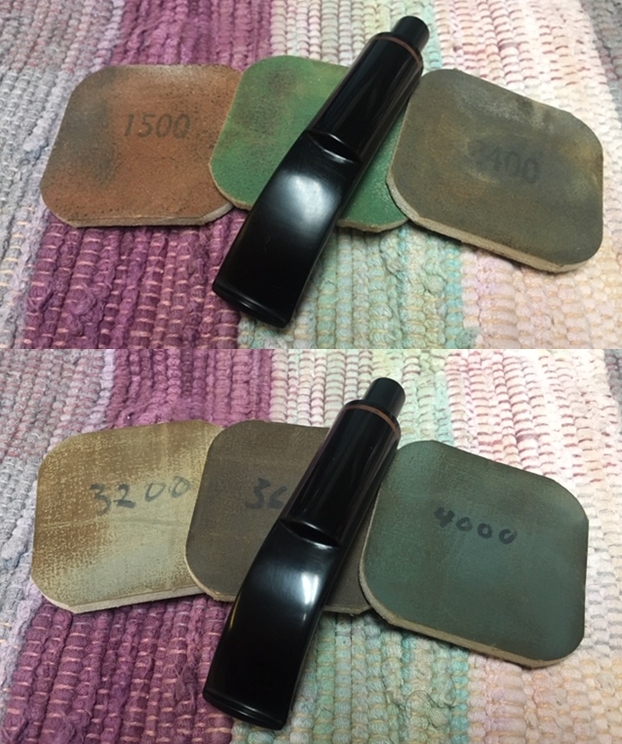
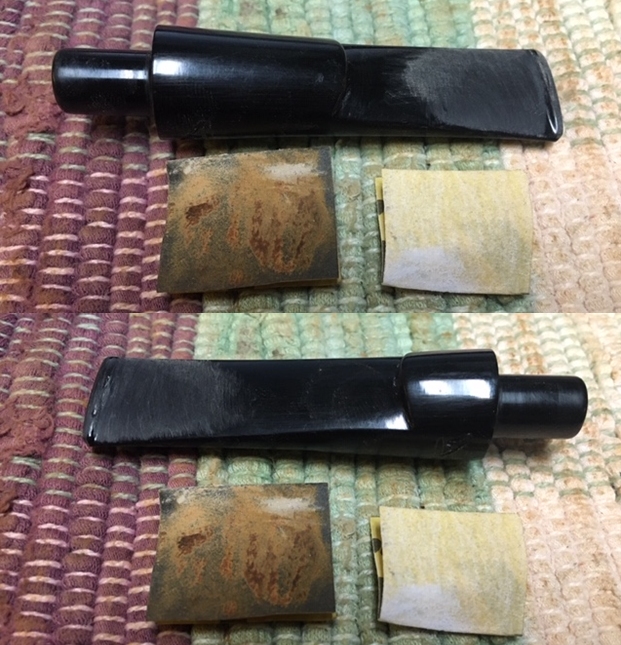
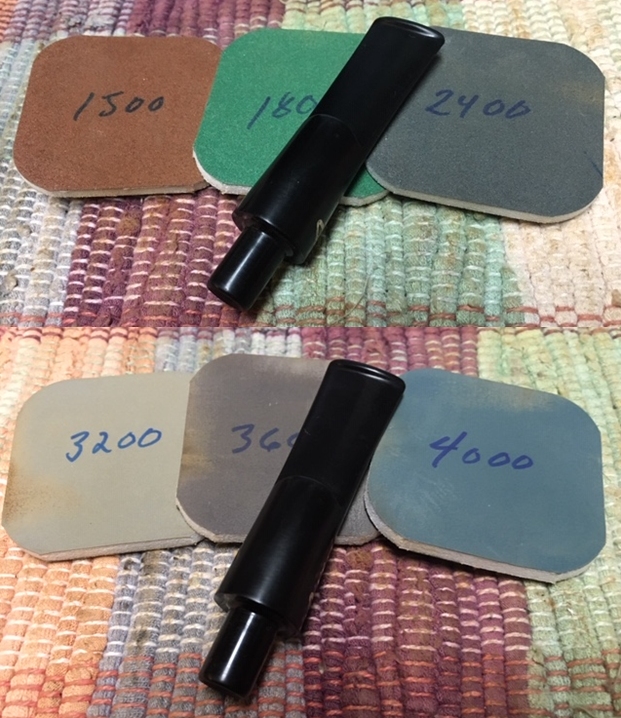
 I set the bowl aside and sanded the stem with sanding pads – dry sanding with 320-3500 grit sanding pads. After each pad I wiped the stem down with Obsidian Oil on a cloth. It is looking much better.
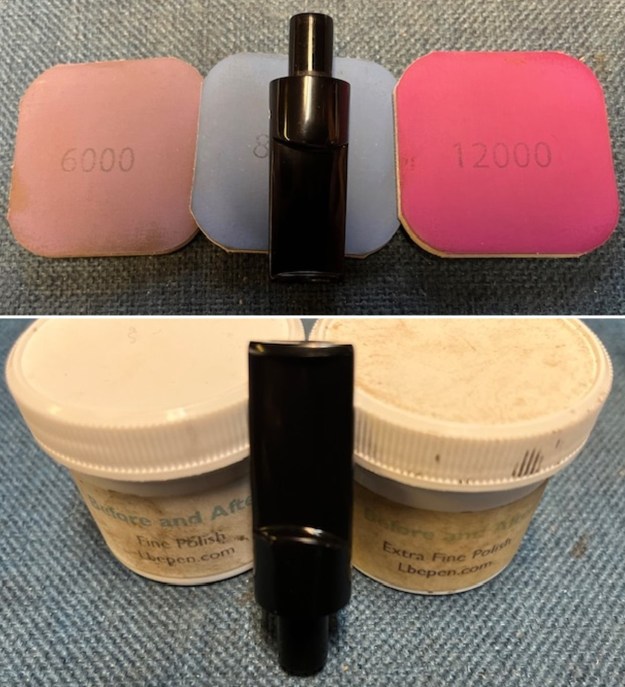
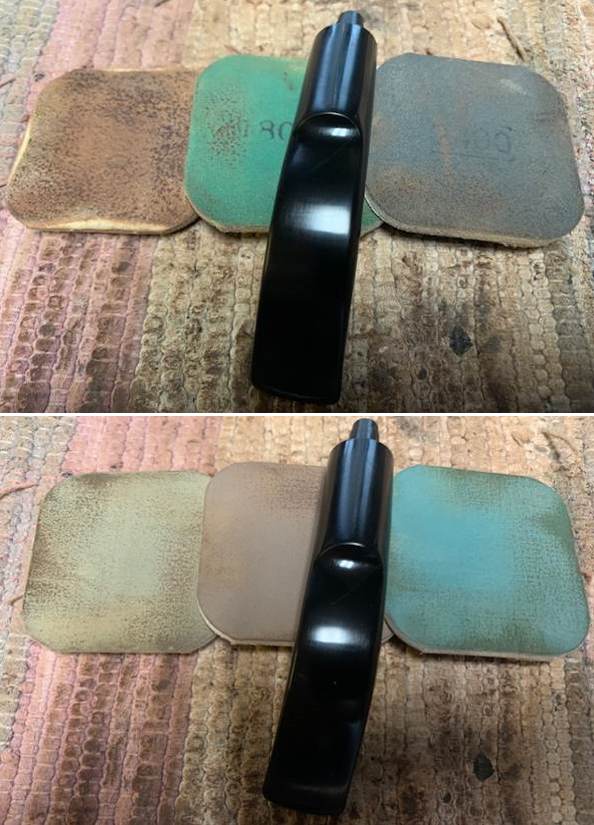
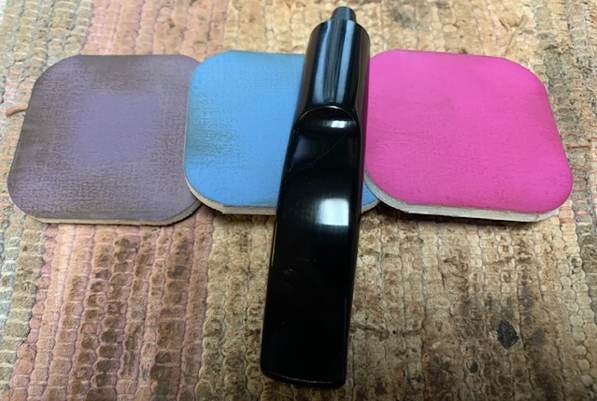
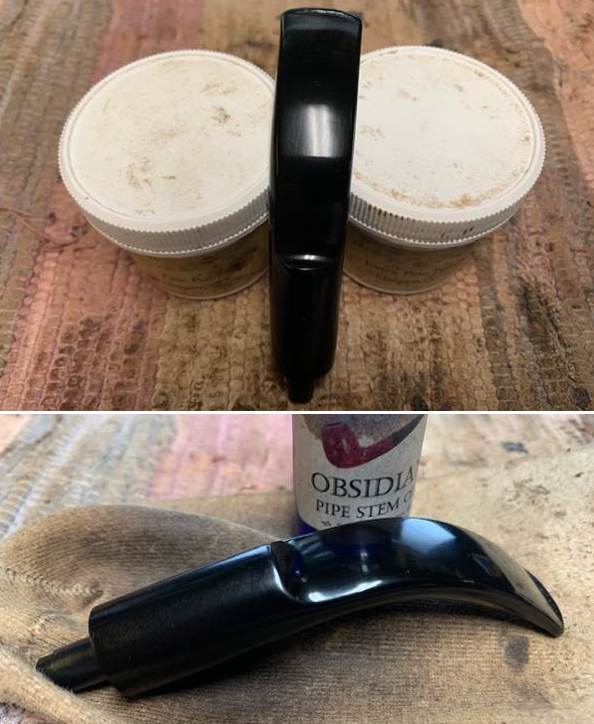
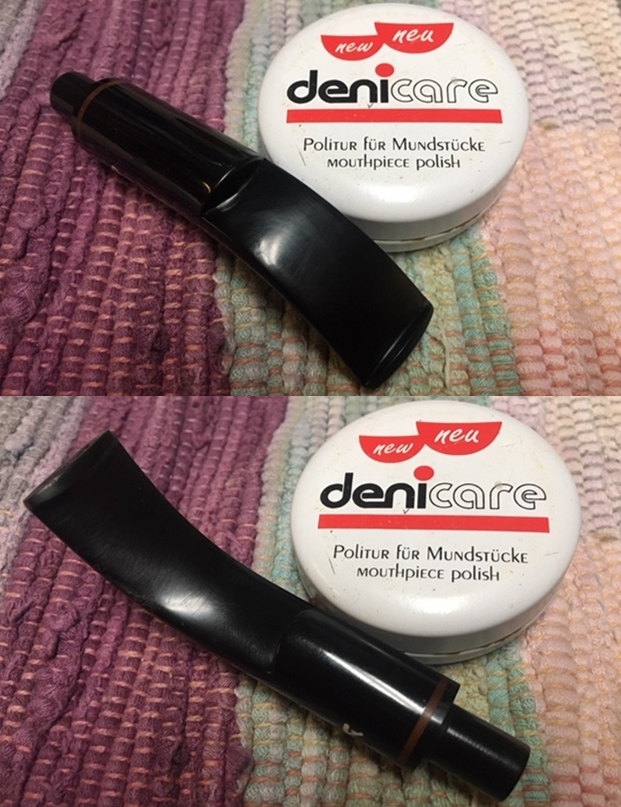
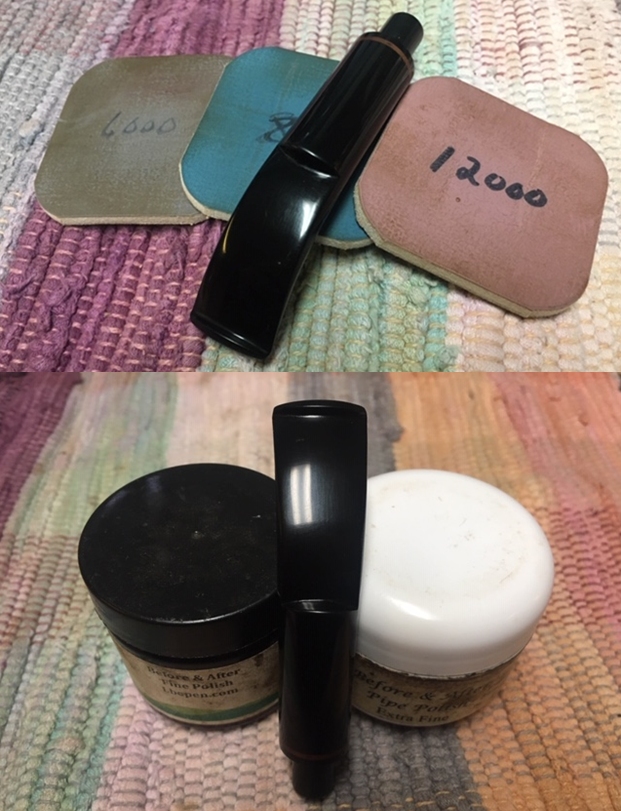
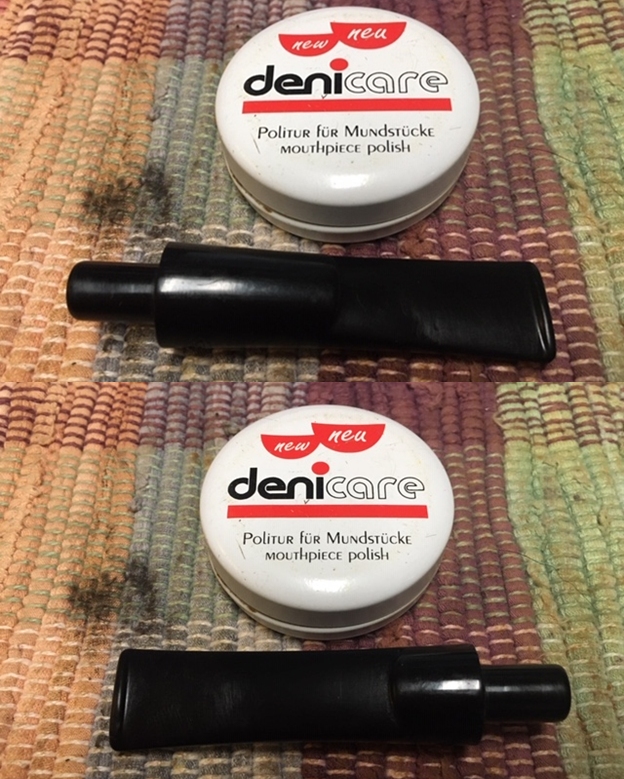
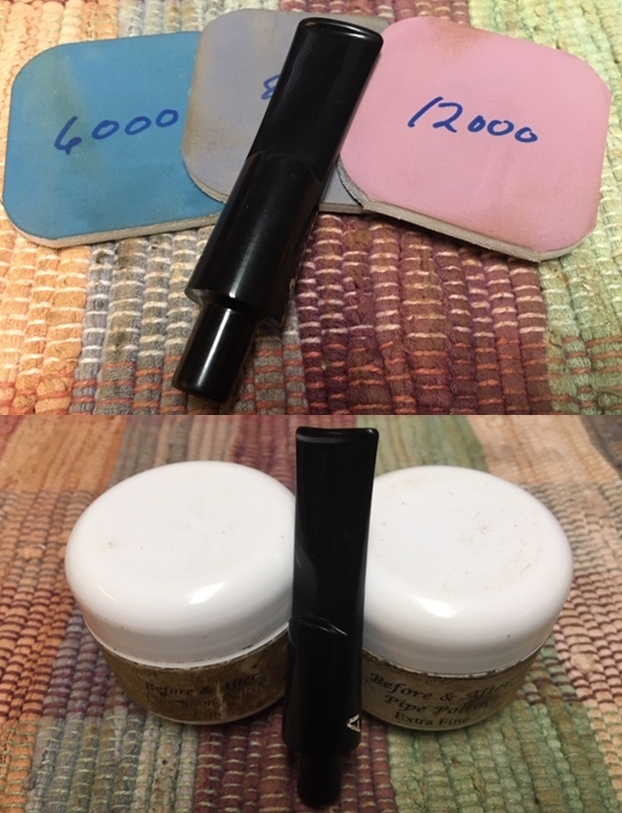
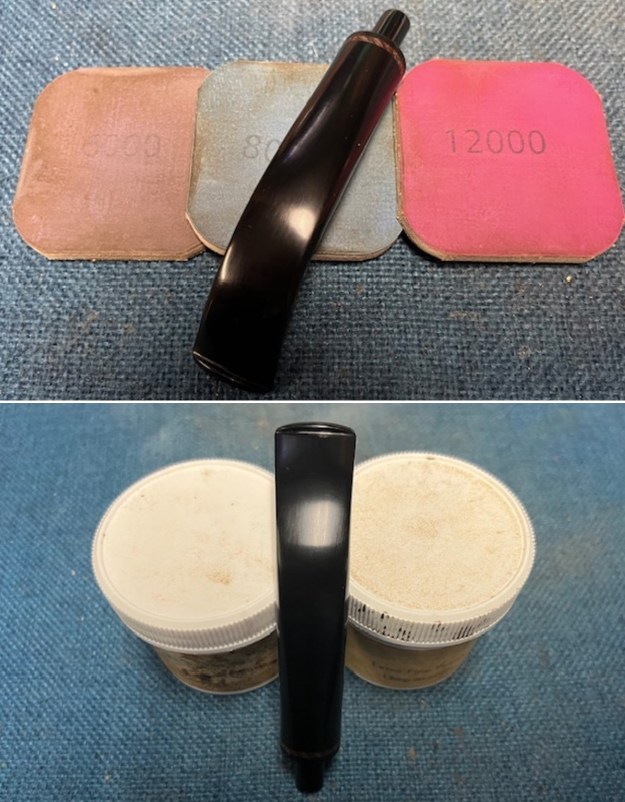
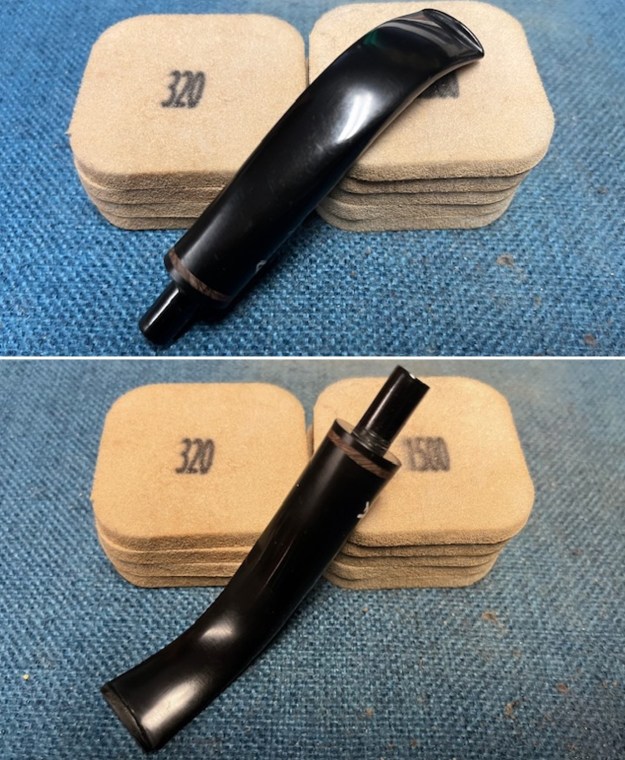 I polished the stem with micromesh sanding pads – wet sanding with 1500-12000 grit sanding pads. I wiped it down after each sanding pad with some Obsidian Oil. I finished polishing it with Before & After Pipe Stem Polish – both Fine and Extra Fine and buffed it off with a cotton cloth. I wiped it down with Obsidian Oil to protect the stem and slow down the oxidation.
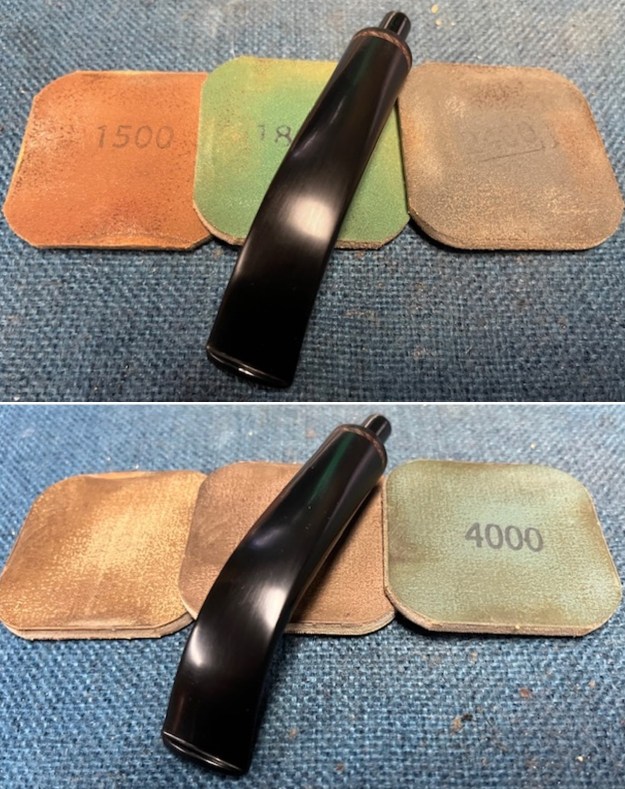
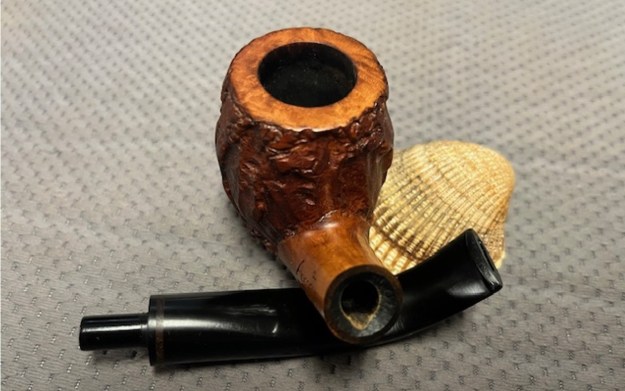
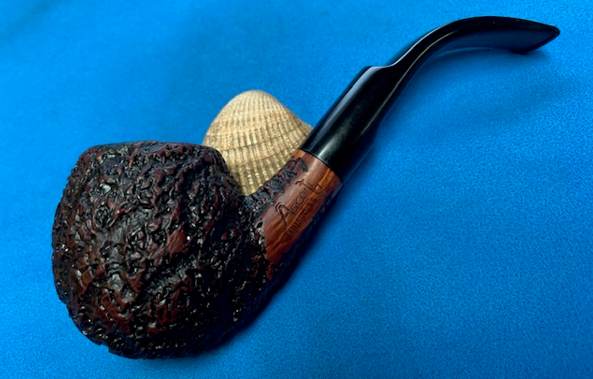
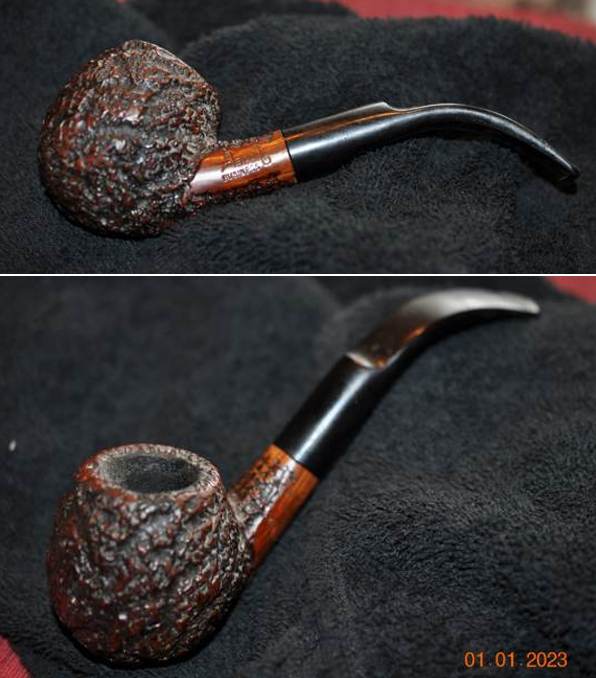
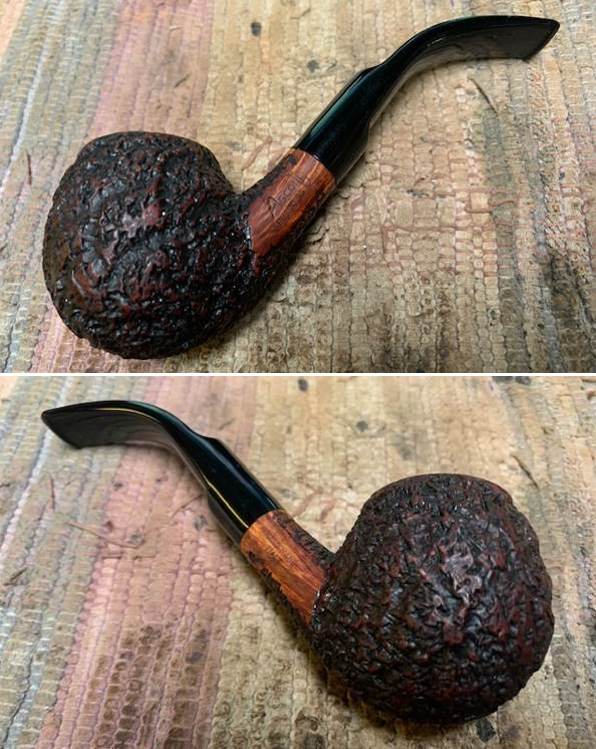
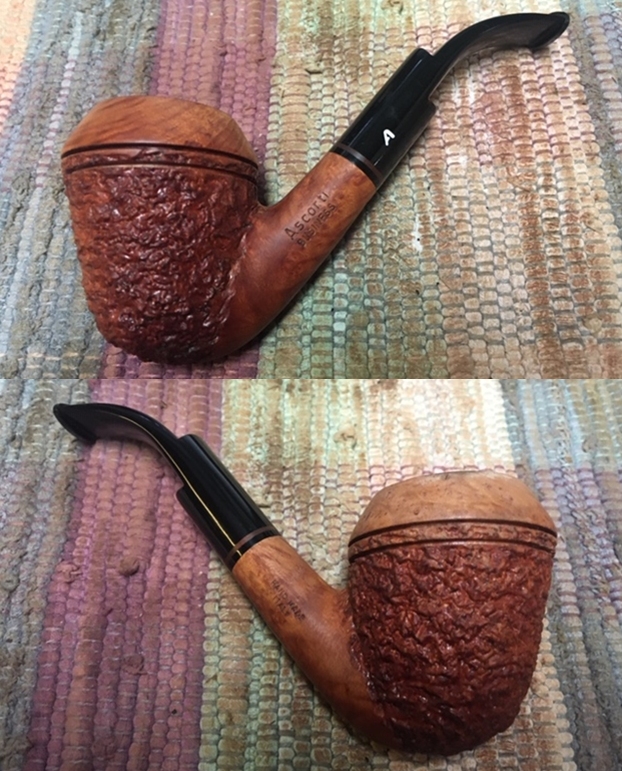
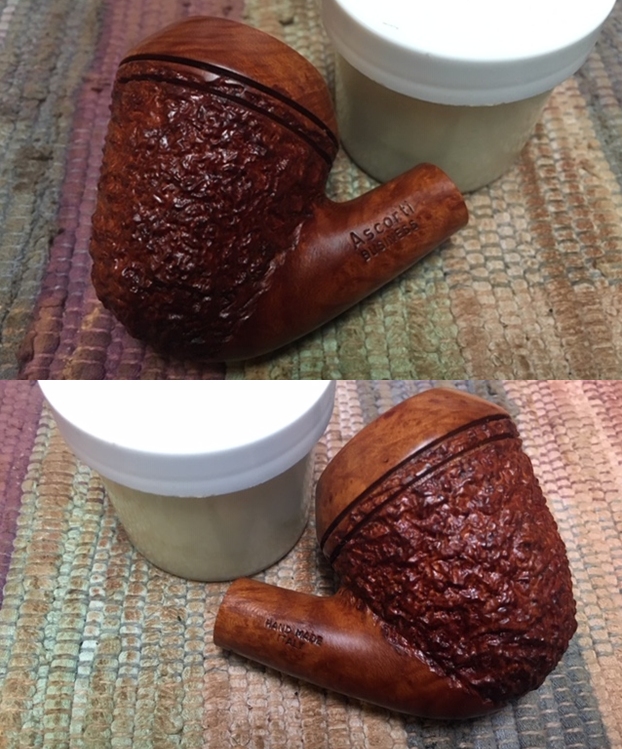
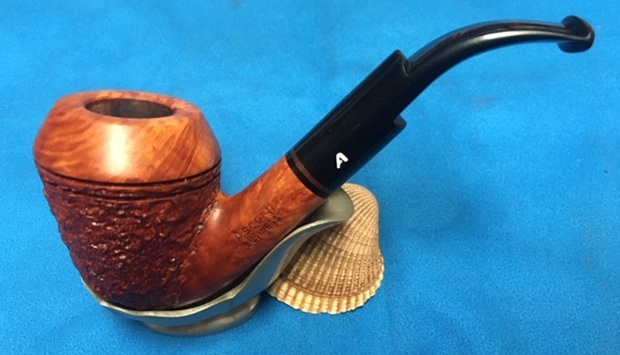
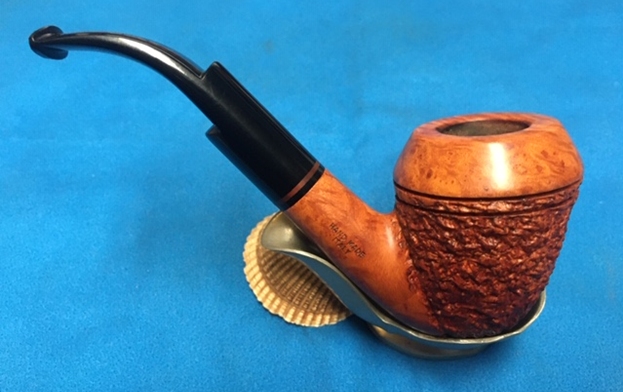
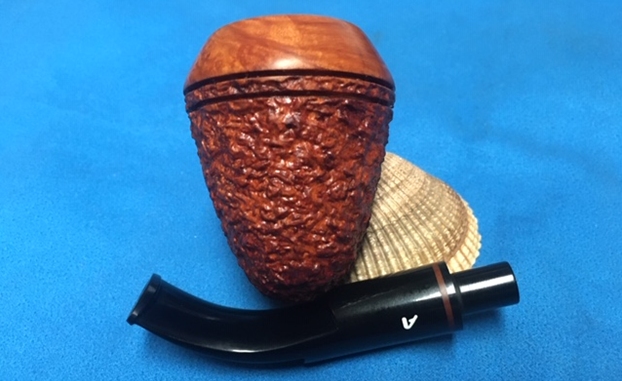
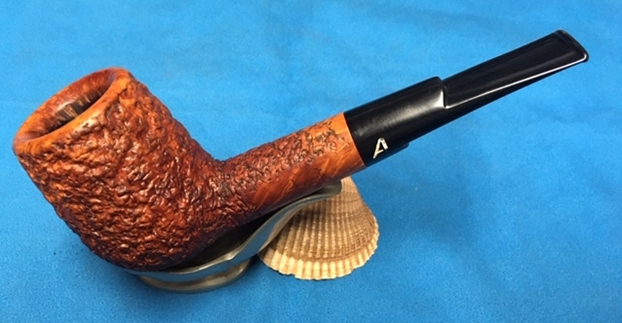
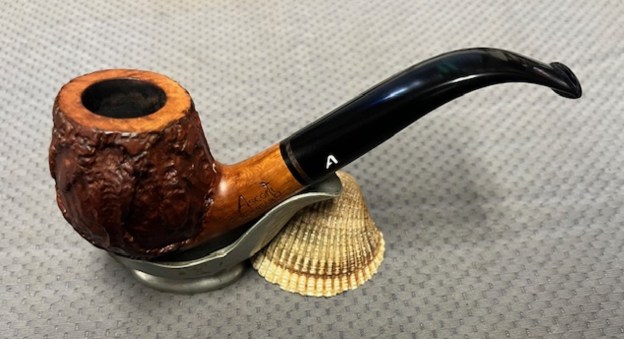
 This Ascorti New Dear Bent Billiard was a pipe I was looking forward to seeing what it looked like when I put it back together. I put the stem back on the bowl and buffed the pipe with Blue Diamond on the buffing wheel. I carefully avoided the stamping on the shank and stem during the process. I gave the bowl multiple coats of Conservator’s Wax and the stem multiple coats of carnauba wax on the buffing wheel and followed that by buffing it with a clean buffing pad on the buffer. I hand buffed the pipe with a microfiber cloth to deepen the shine. The finished pipe is quite beautiful and is a lovely Ascorti New Dear Bent Billiard. The variegated finish on the bowl combines various stains to give it depth. It is very well done. Give the finished pipe a look in the photos below. I can only tell you that it is much prettier in person than the photos capture. The dimensions of the pipe are Length: 5 ½ inches, Height: 2 inches, Outside diameter of the bowl: 1 ¼ inches, Chamber diameter: ¾ of an inch. The weight of the pipe is 2.01 ounces/57 grams. Thanks for walking through the restoration with me as I worked over another beautiful pipe. I will be adding it to the Italian Pipe Makers Section of the rebornpipes store soon. If you want to add it to your collection send me an email or a message! Thanks for your time.