by Steve Laug
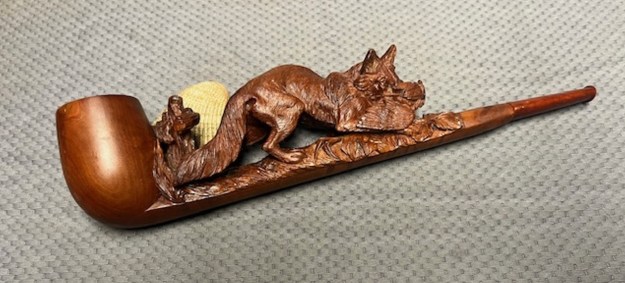
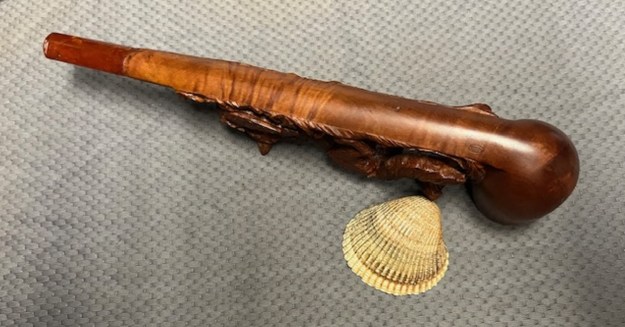
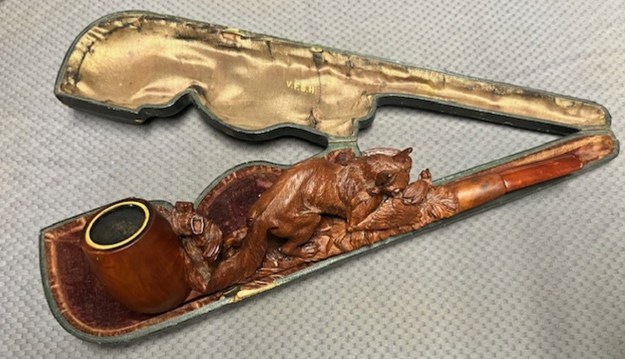
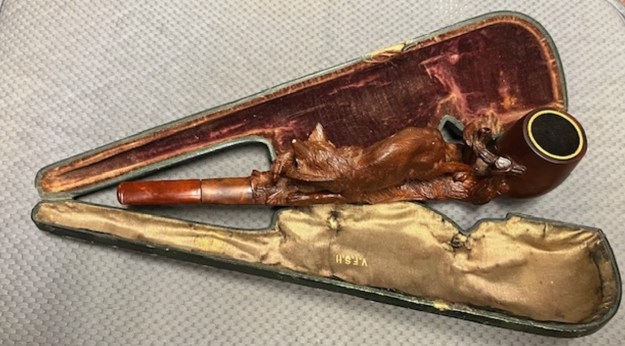
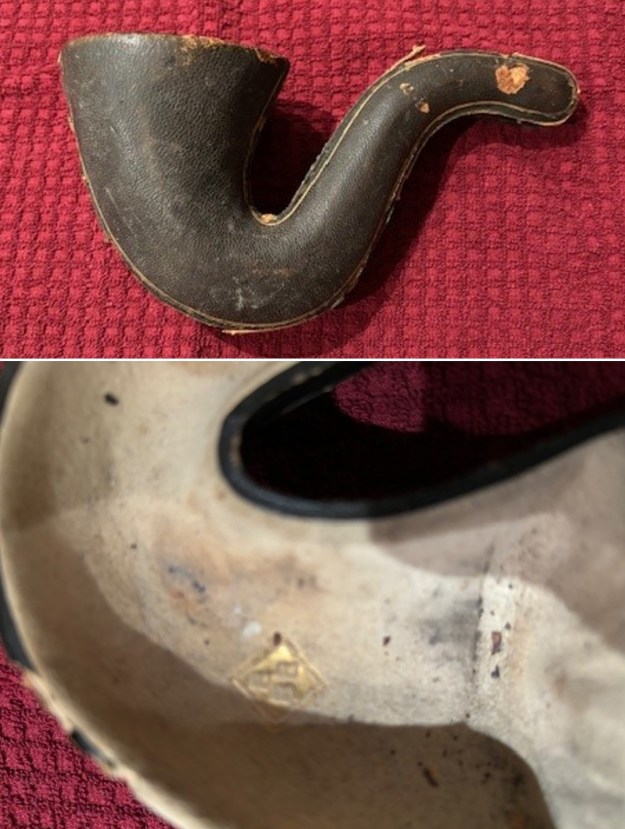
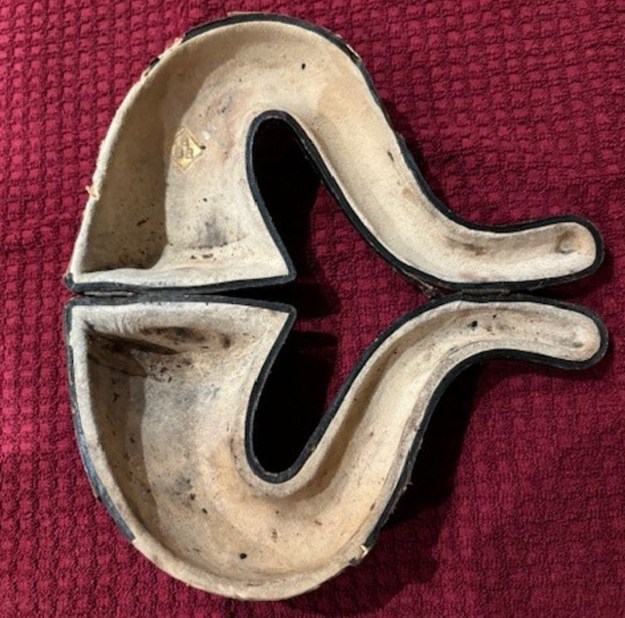
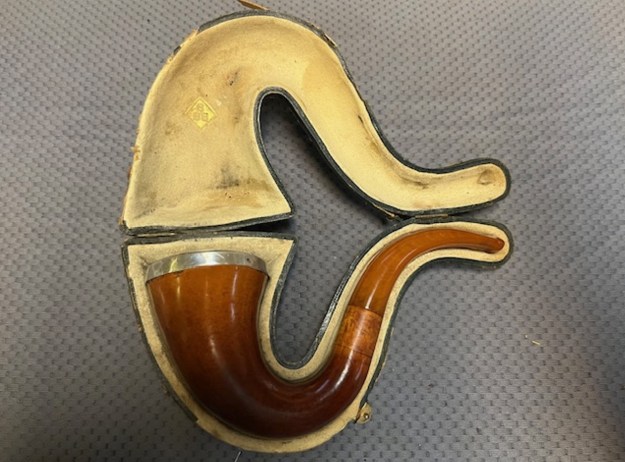
On to the next pipe on the table. This one is carved Briar with a meerschaum lined bowl. It came to us from a Facebook auction from a seller in Old Lyme, Connecticut, USA on 04/29/2020. It is long and Canadian shaped with a carved fox capturing a chicken in the grass and branches on the top of the shank. The briar bowl is lined with meerschaum that is in good condition though sporting a thin cake in the bowl. The briar outside bowl has a crack on the left outside running from the rim top to the bottom of the bowl, ending just short of the heel. The exterior of the bowl is dirty and dusty but otherwise the carving is very detailed. The fur on the fox and the feathers on the chicken are well done. The grass, plants and branches with vines are well executed. The last inch of the shank is smooth. The stem is a short tapered Canadian style made of amber. It has some small nicks and chips at the shank/stem junction but otherwise is quite smooth. The black leather case is made to fit the carved pipe. The case is worn in spots but is solid. The inside of the base is lined with a velour that is brown and padded. The top of the case is more satin and is stamped V.F.S.H. The same four initials are stamped on the left and right side of the shank below the carving. I took photos of the case and the pipe it held before I started my work on it.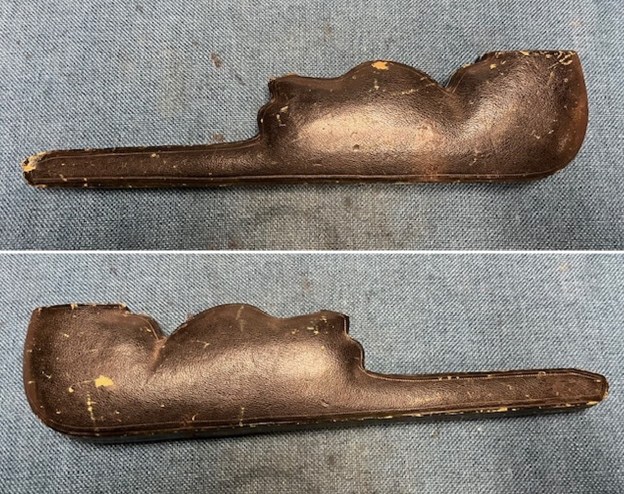
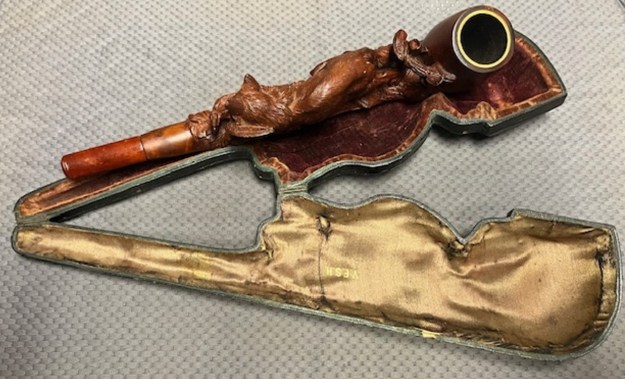
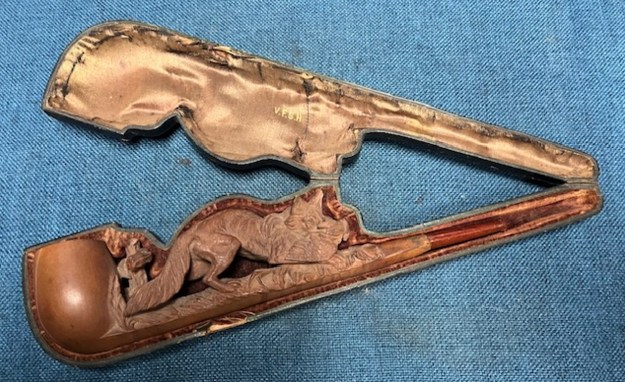 . I took a photo of the V.F.S.H. embossed stamp on the inside of the inside of the case.
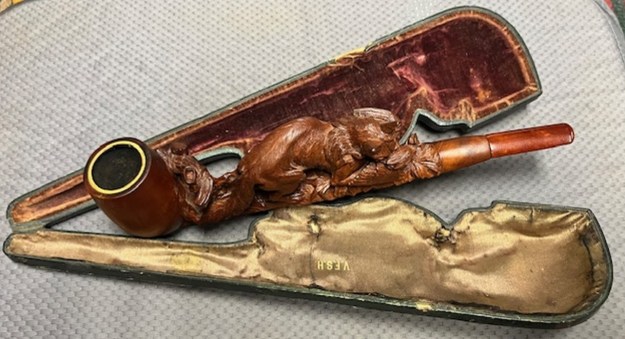
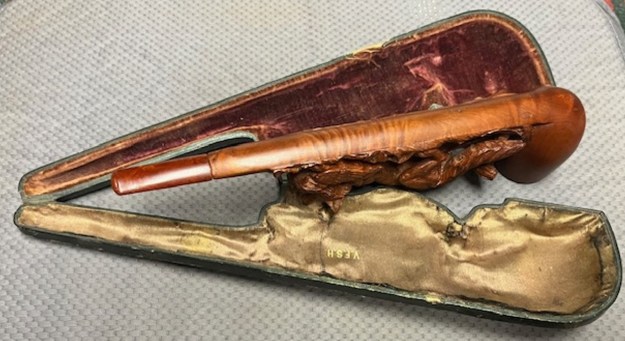
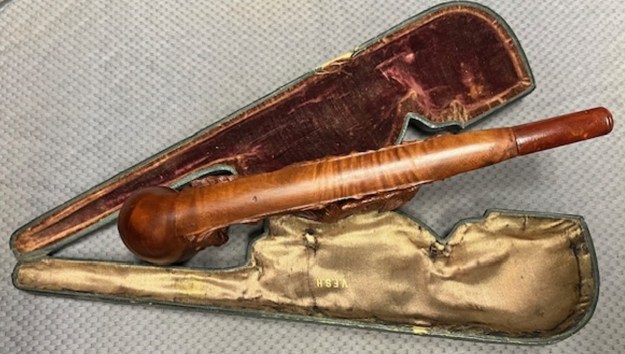
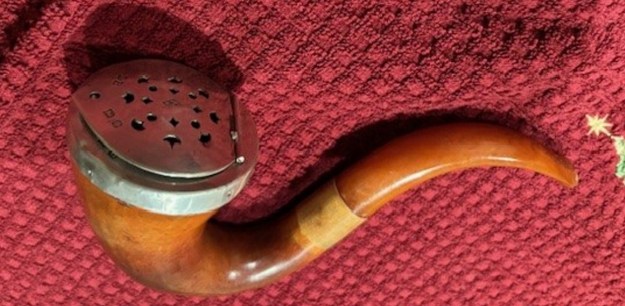
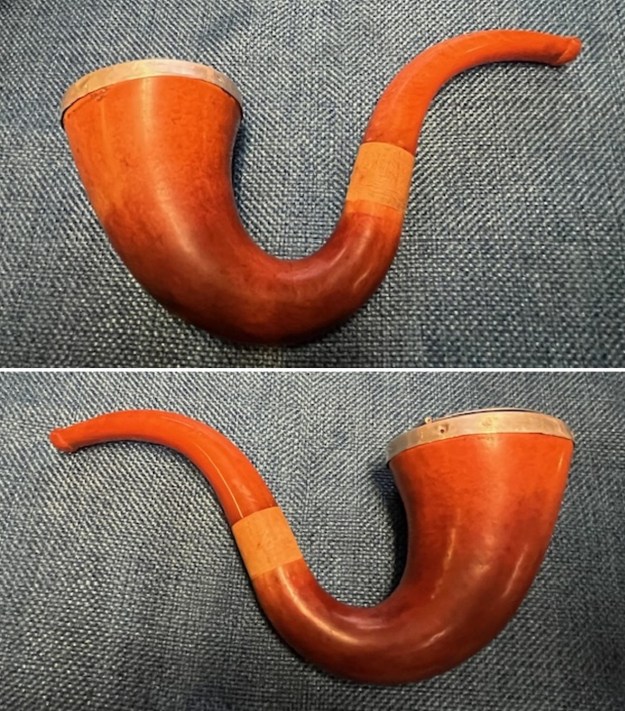
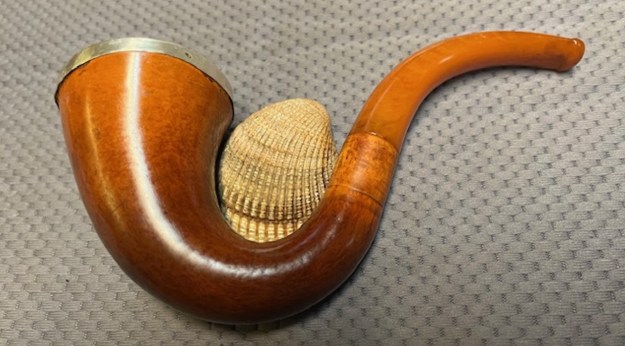
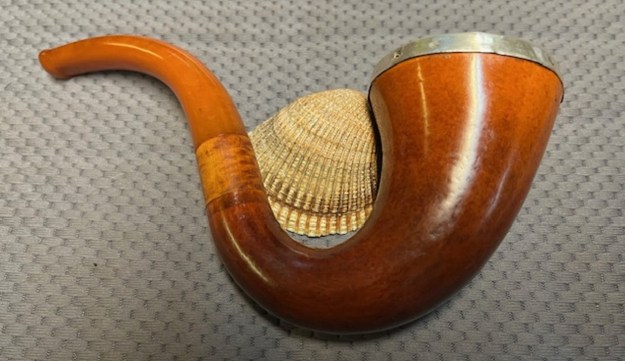
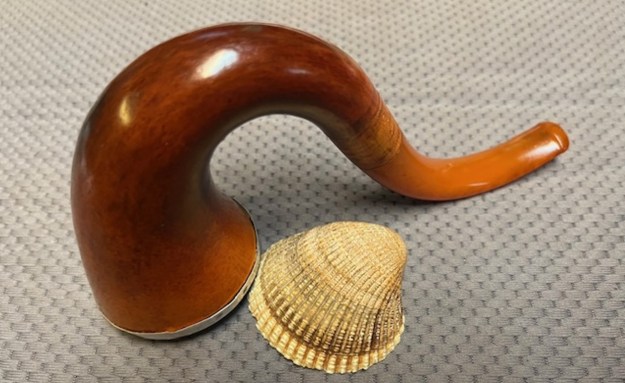
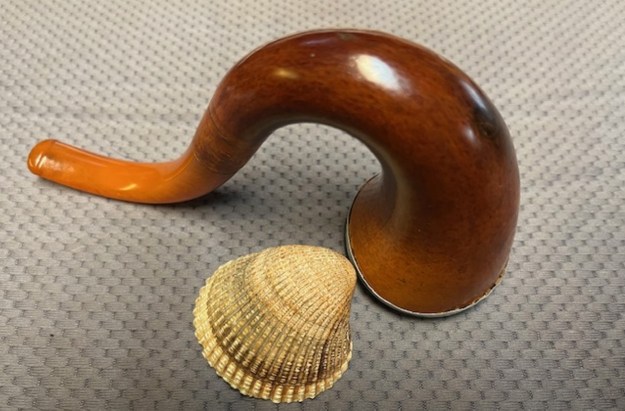
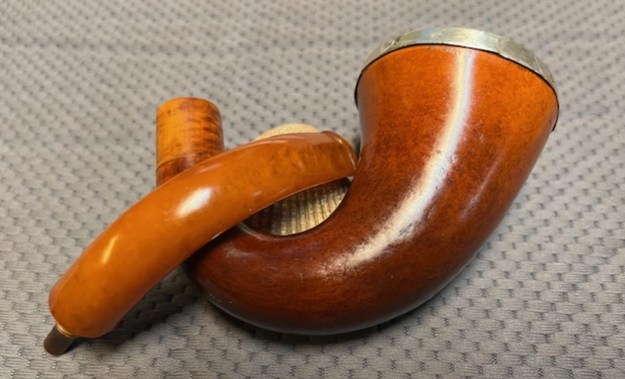
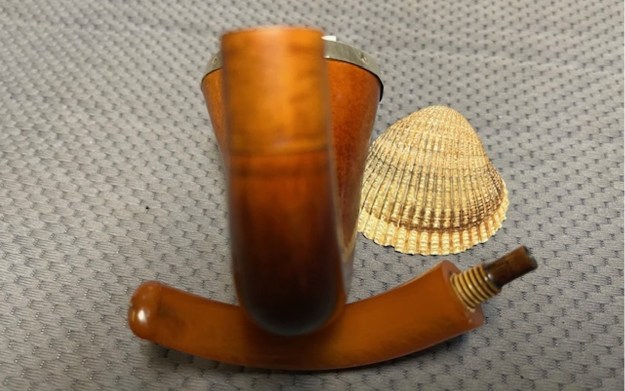
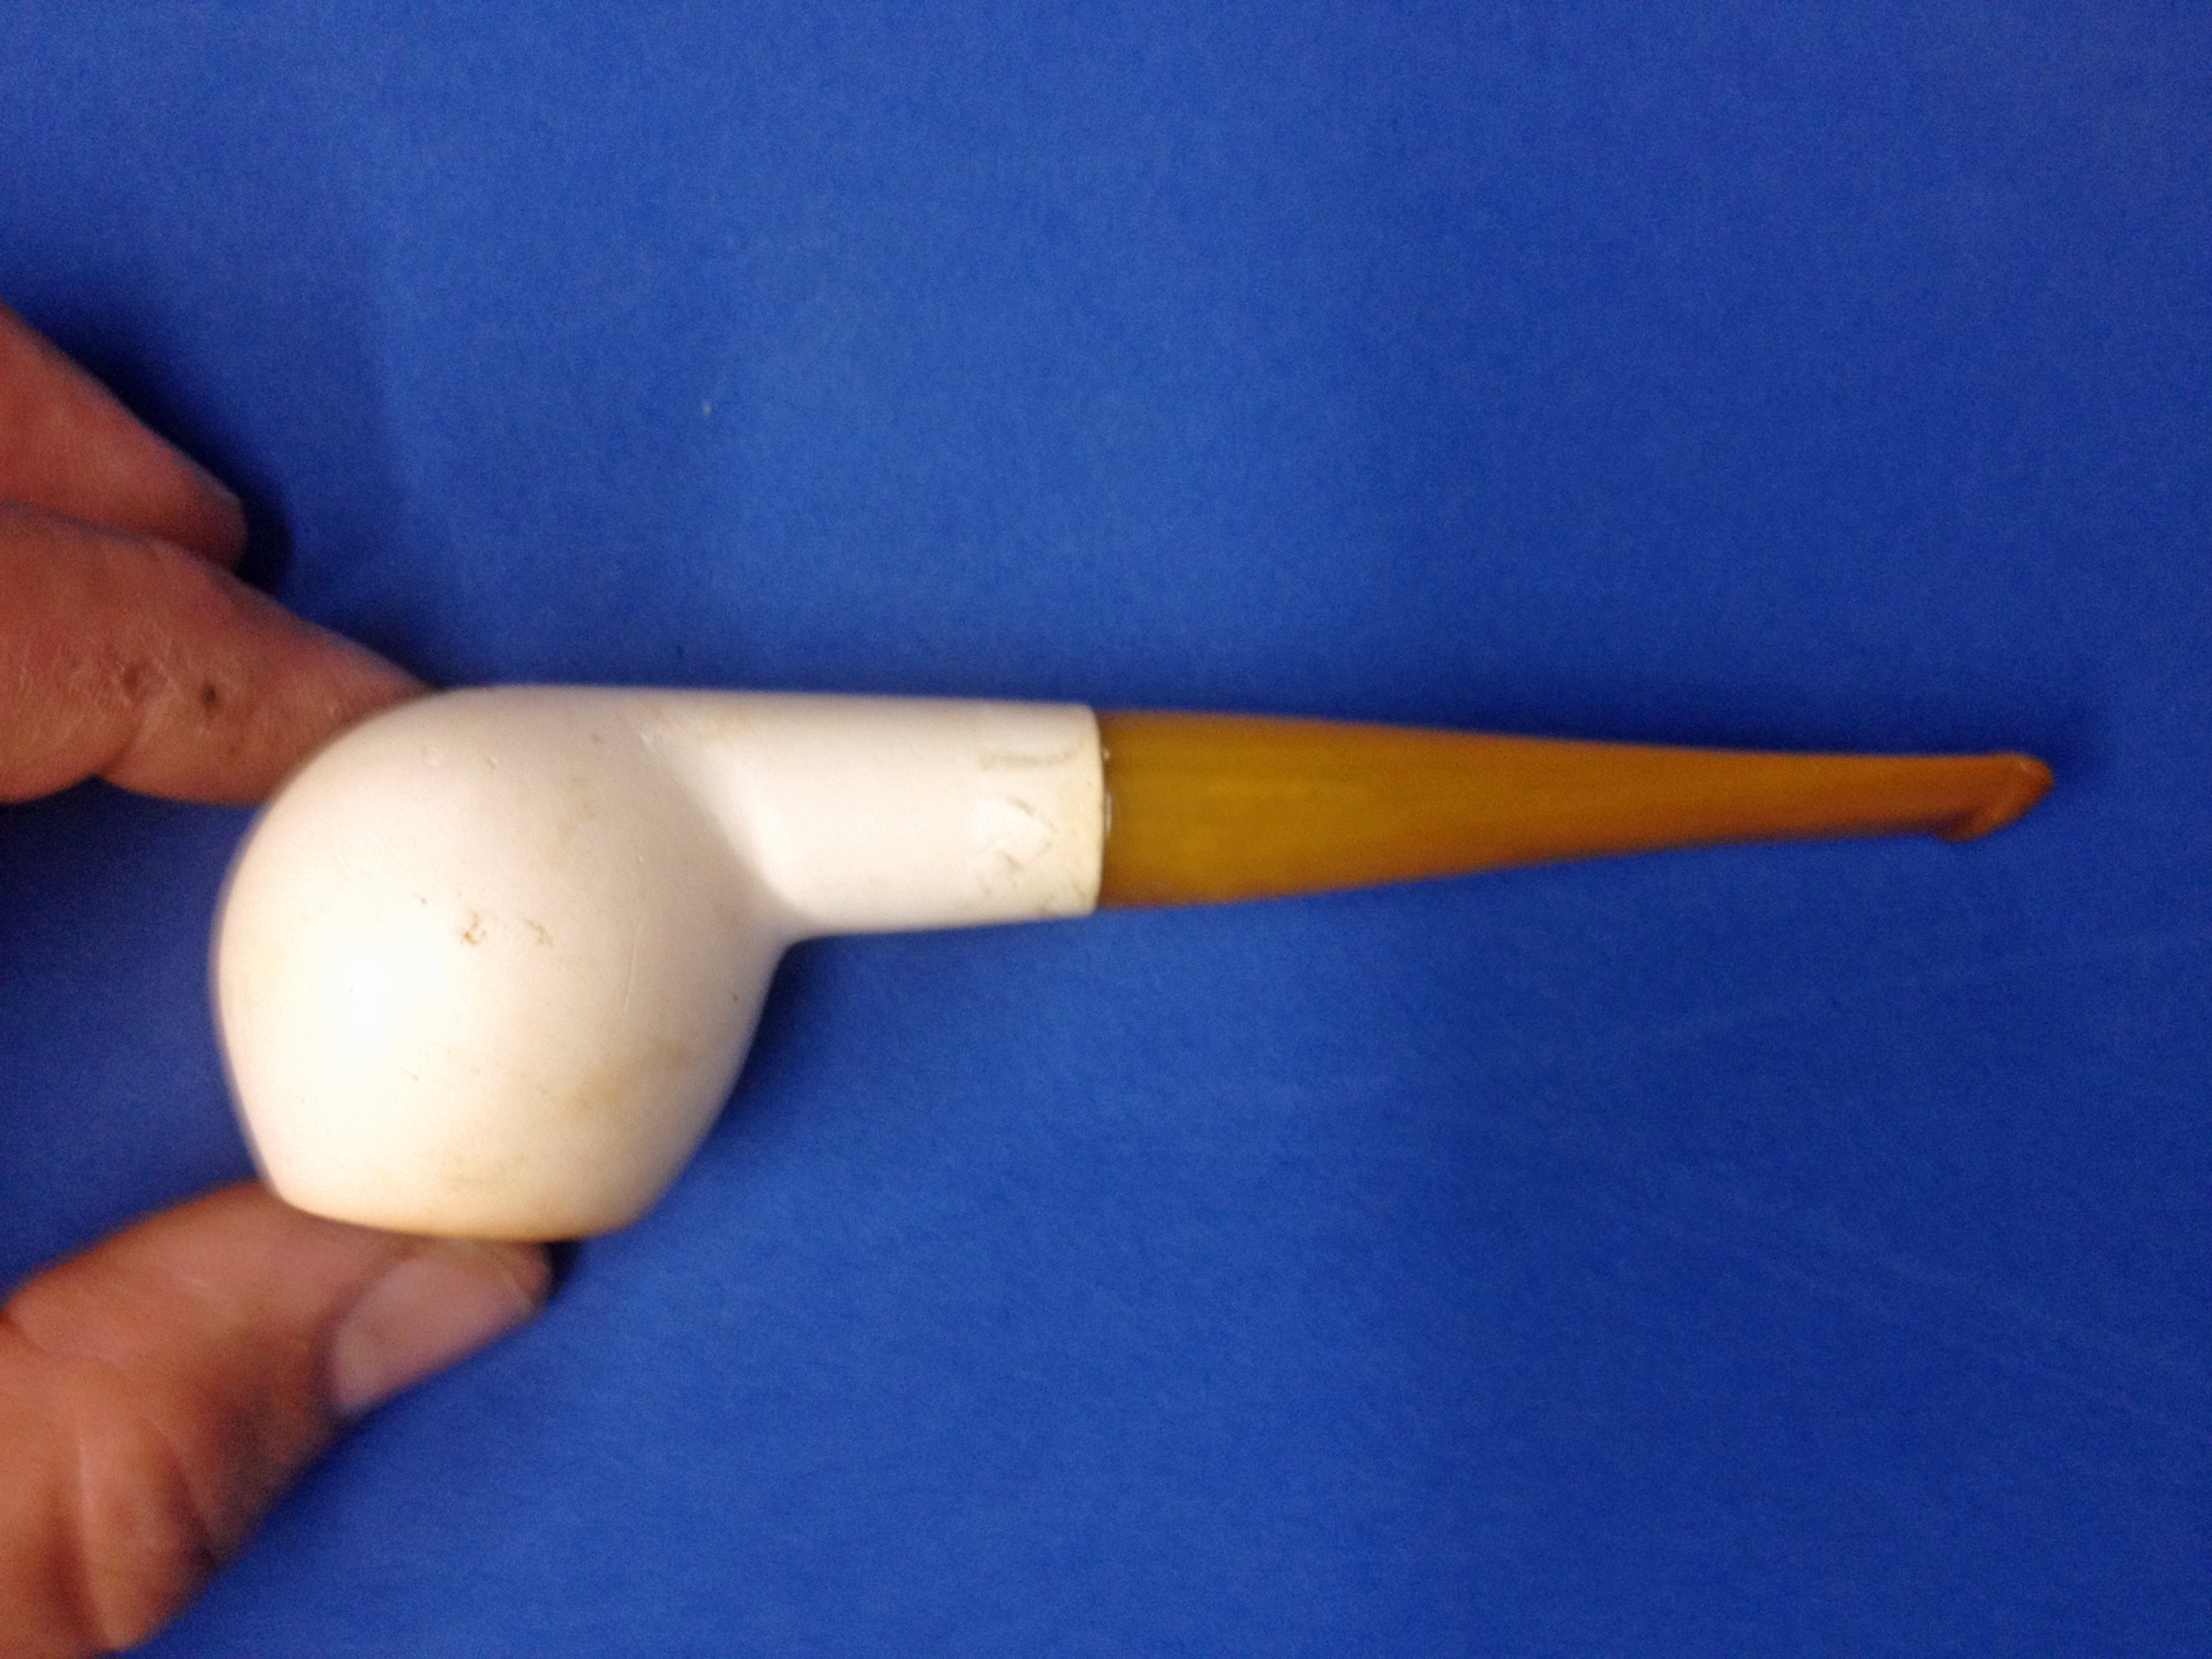
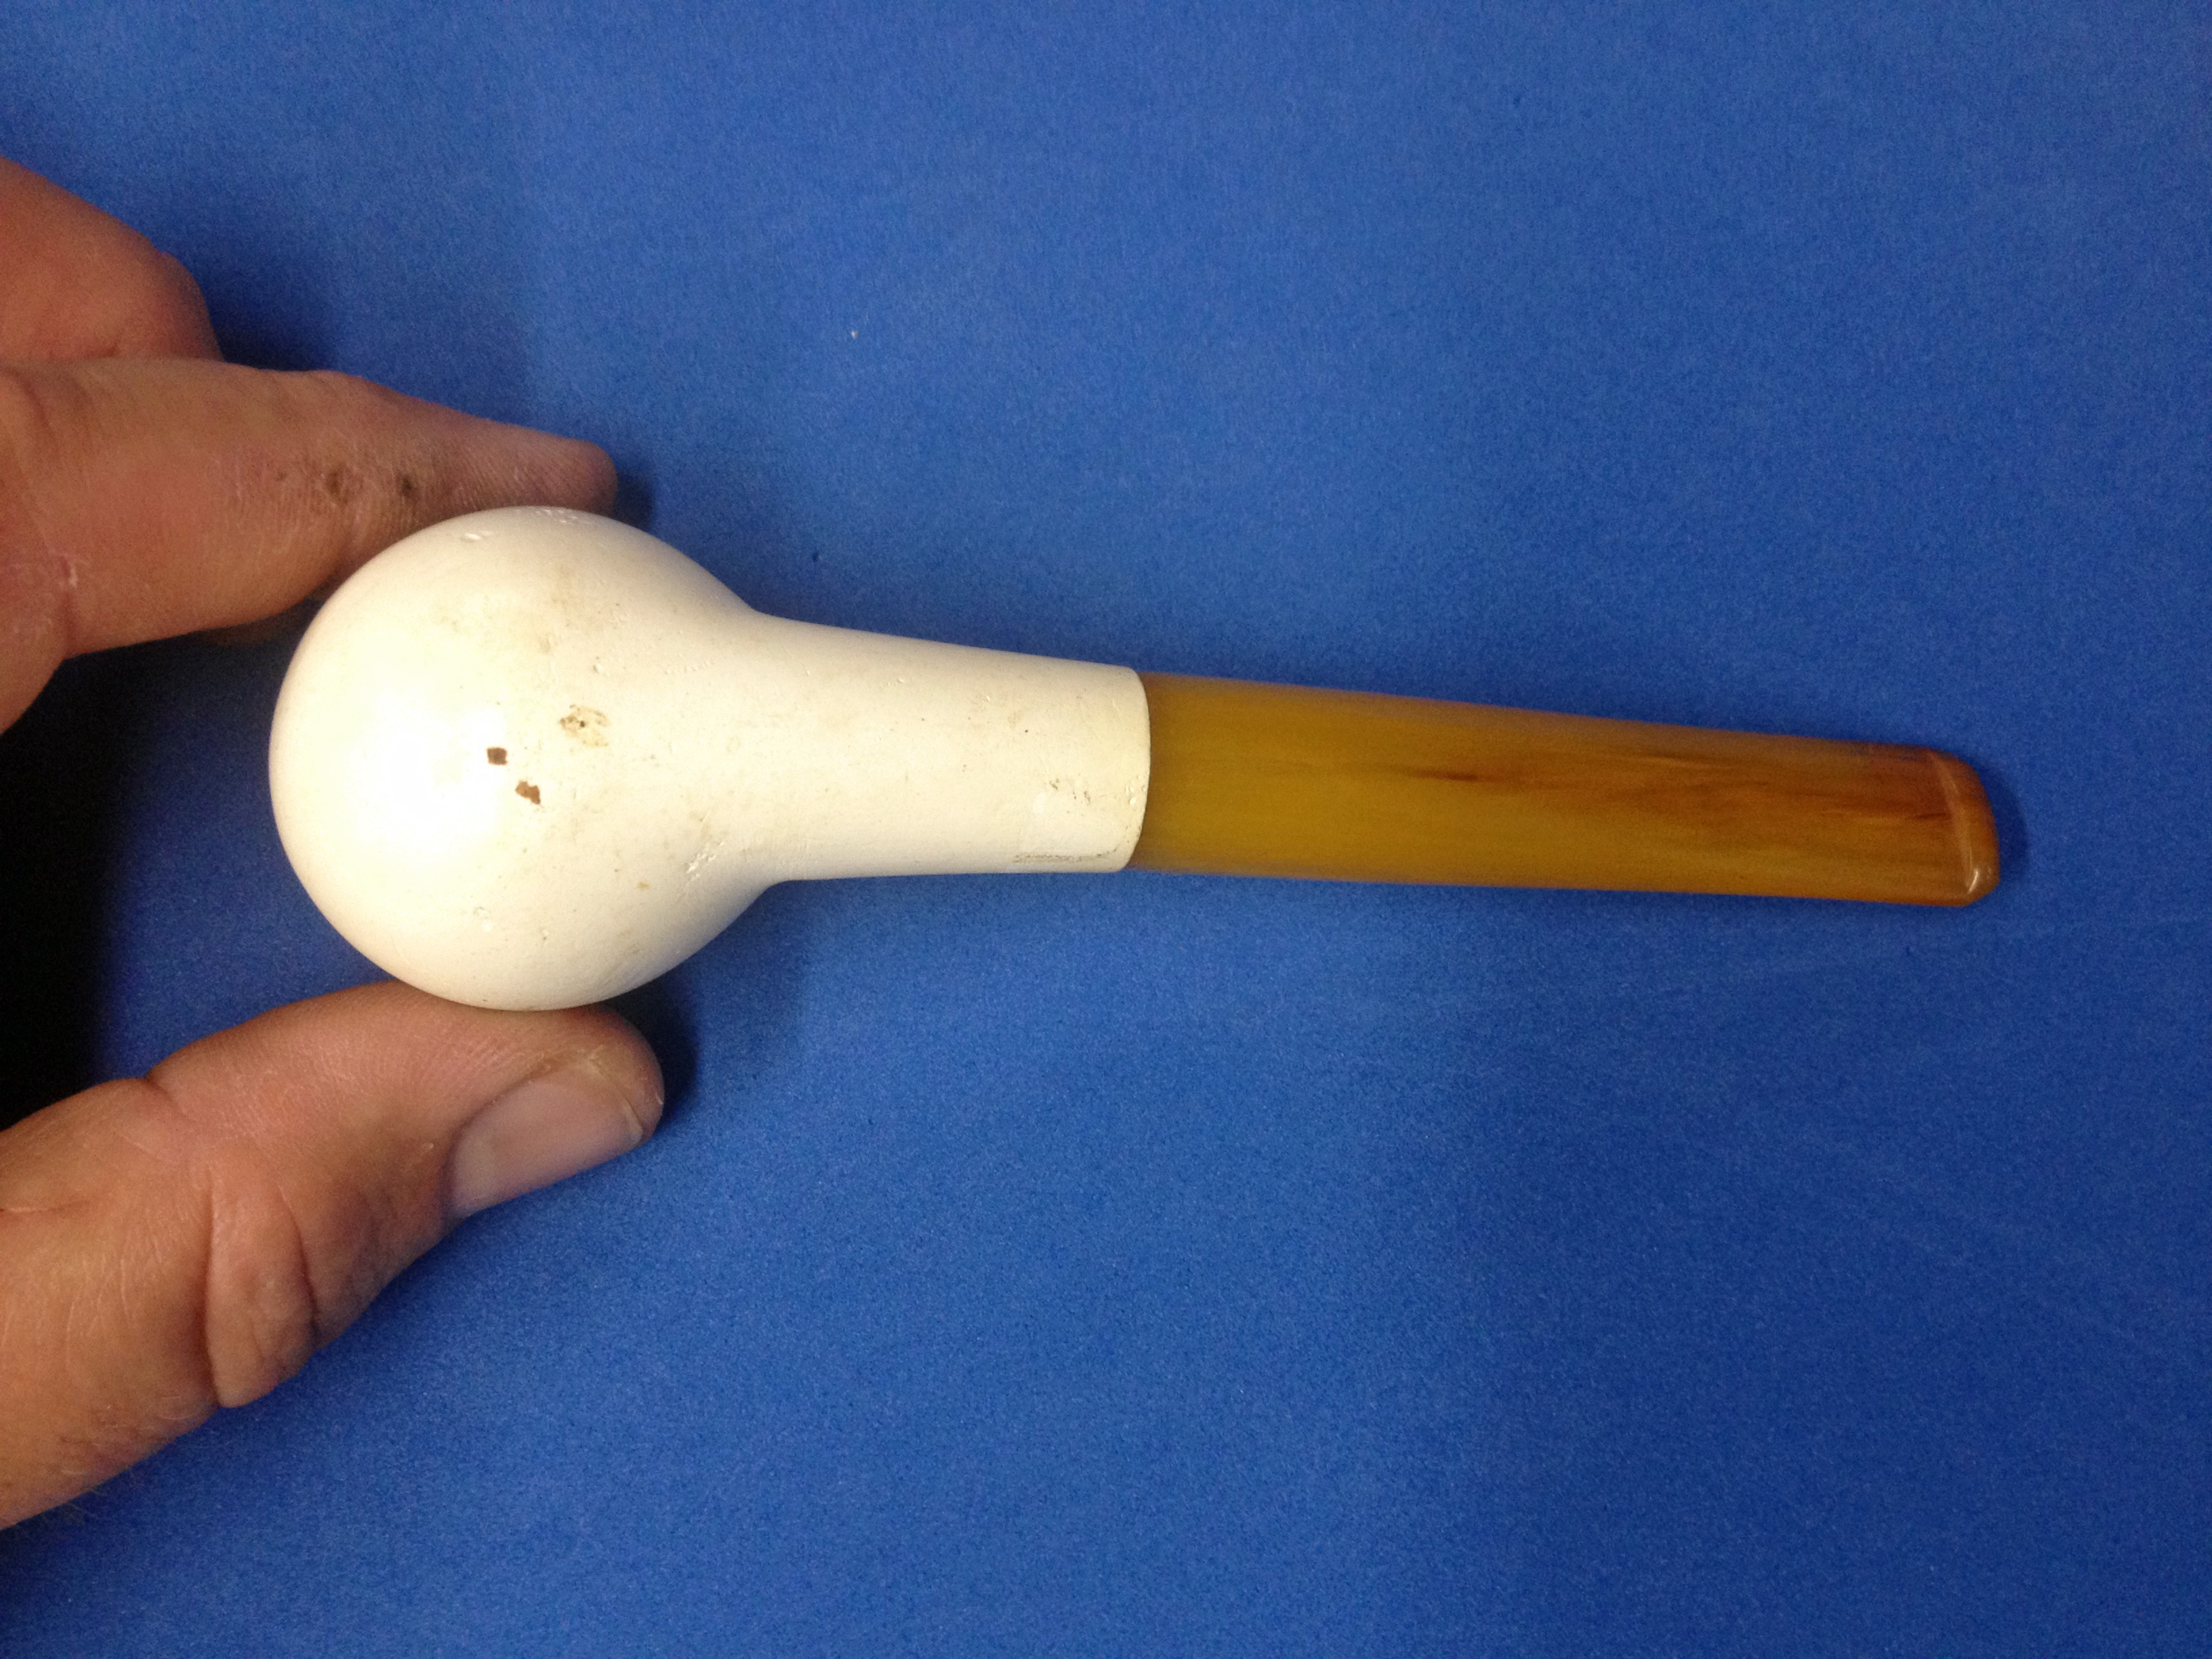
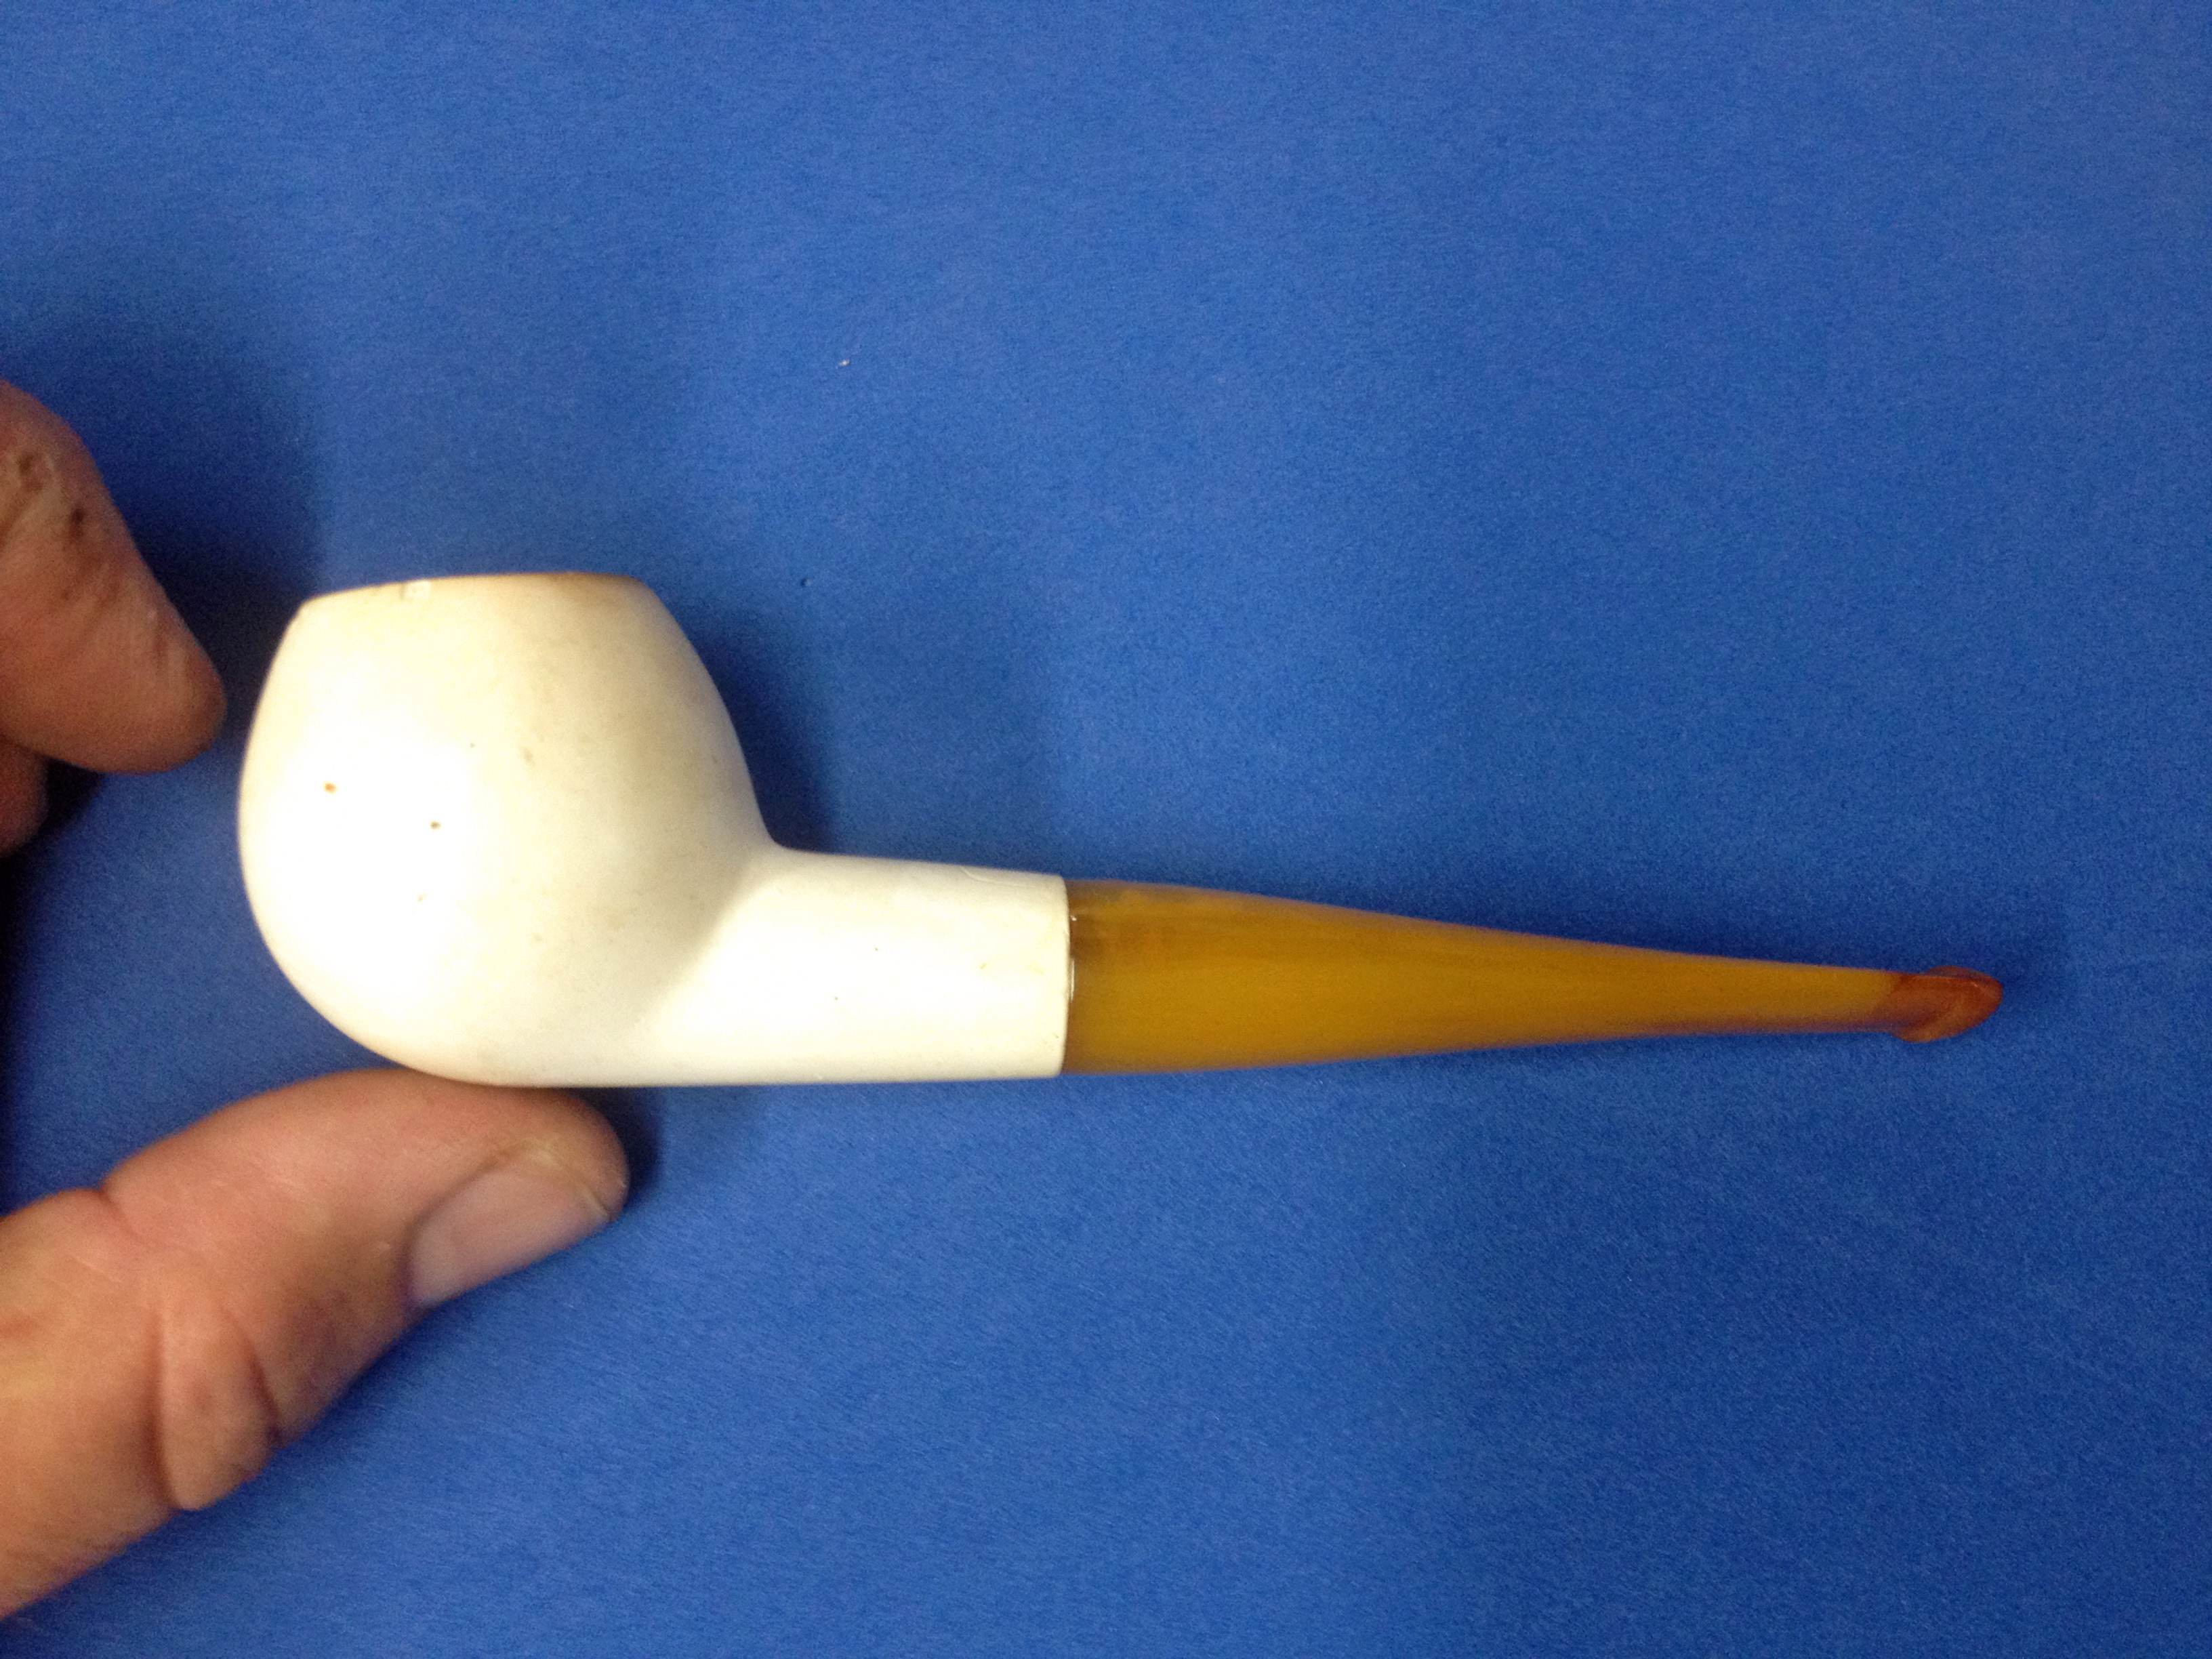
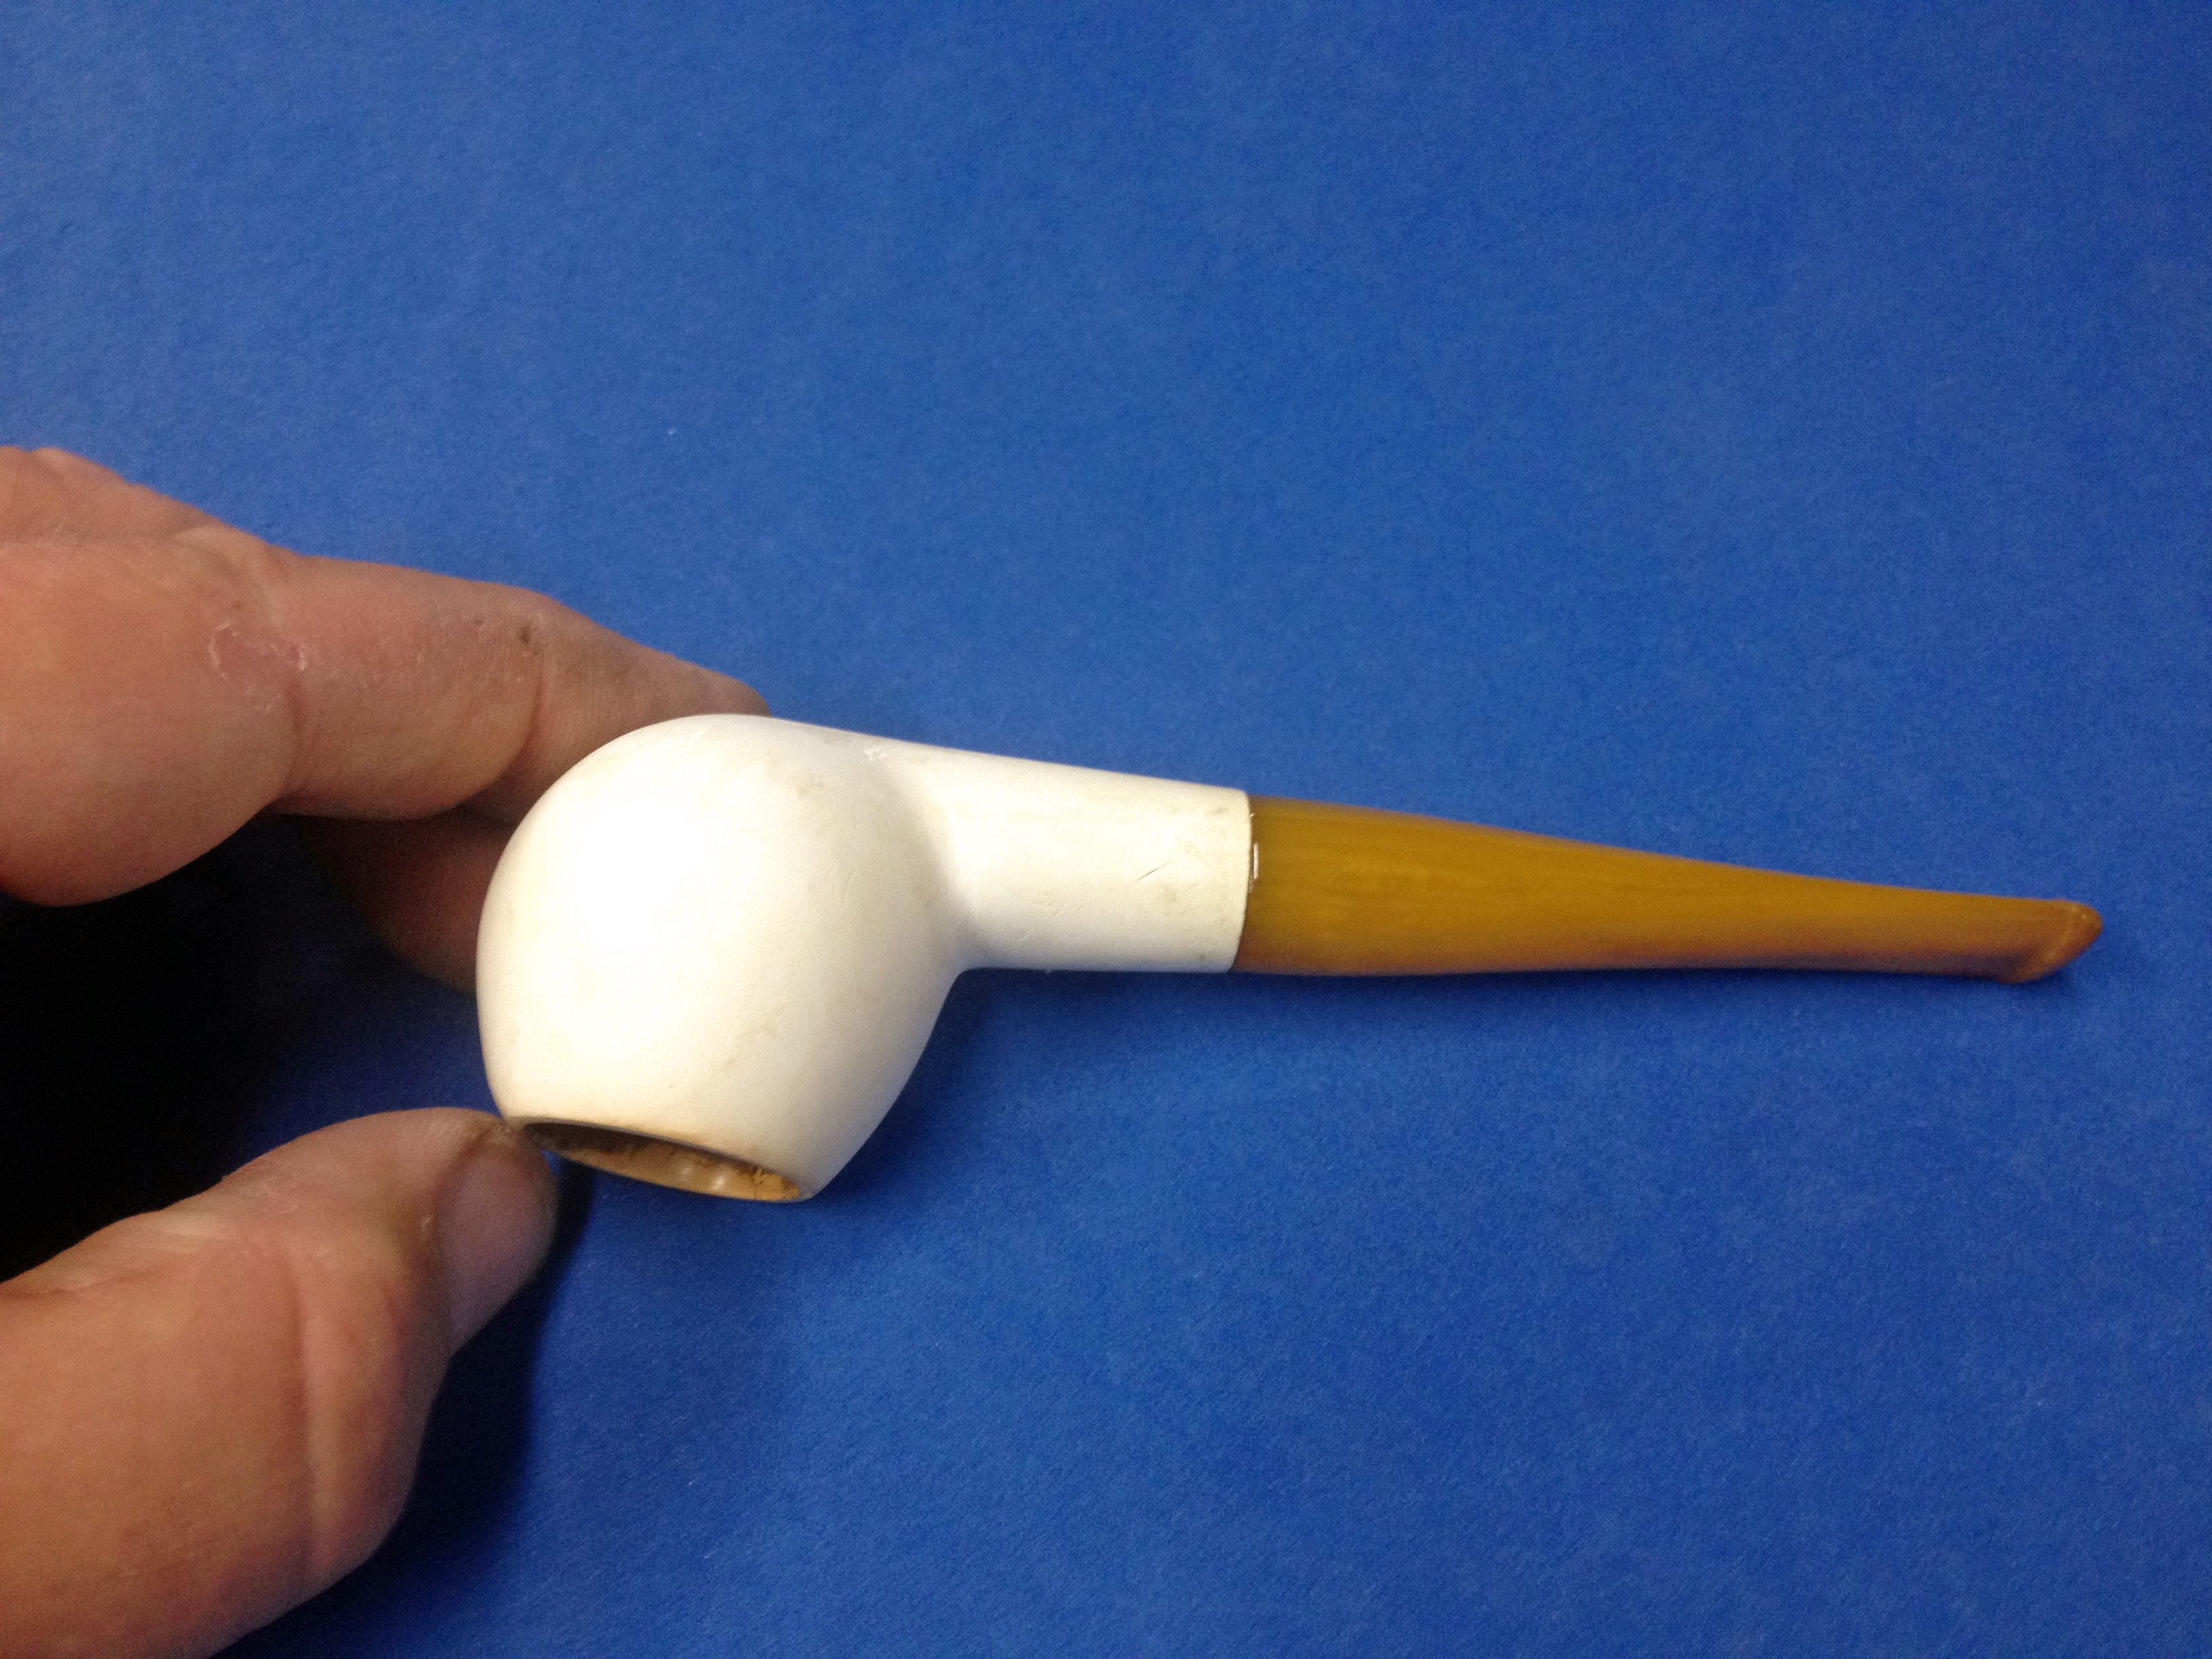
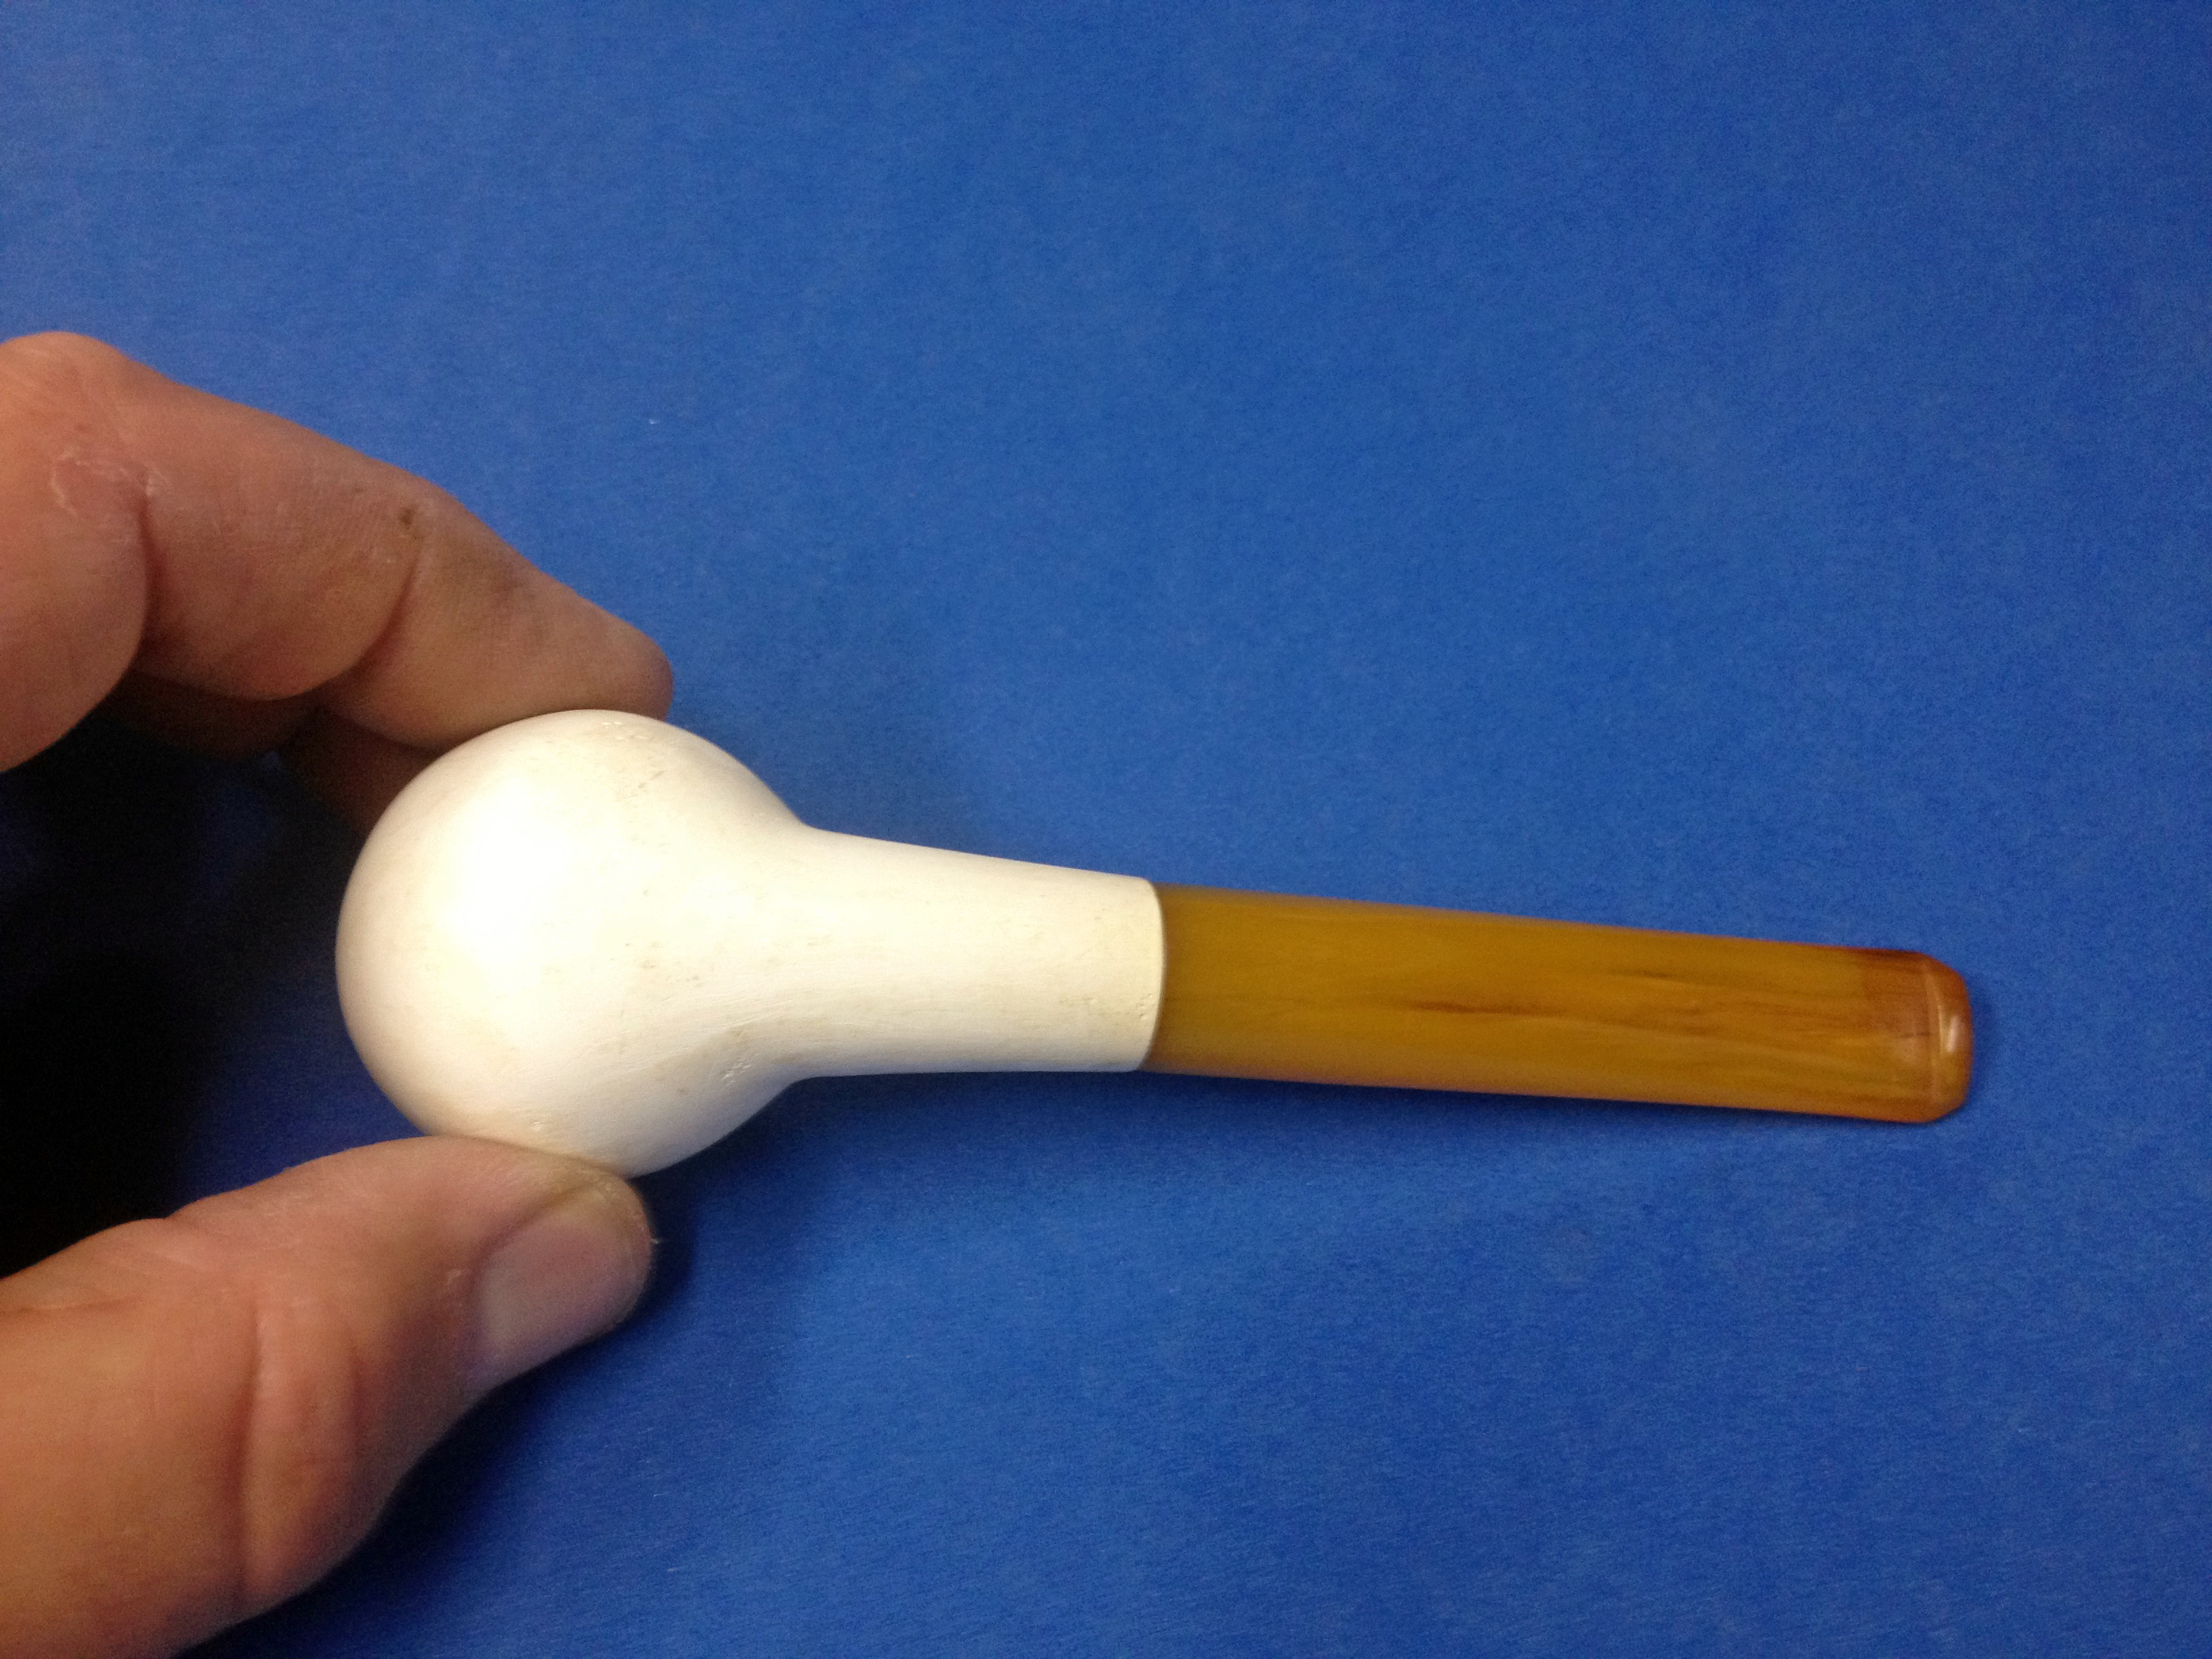
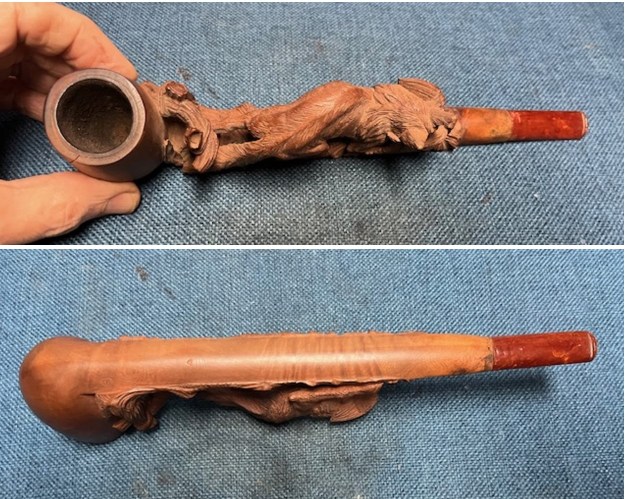
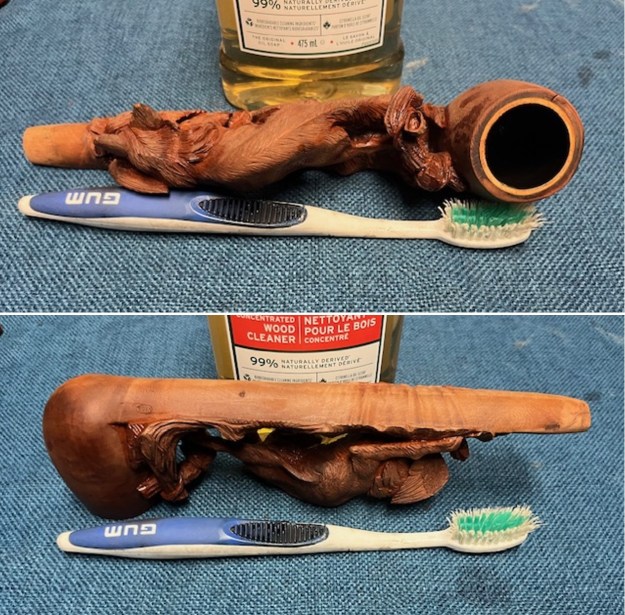
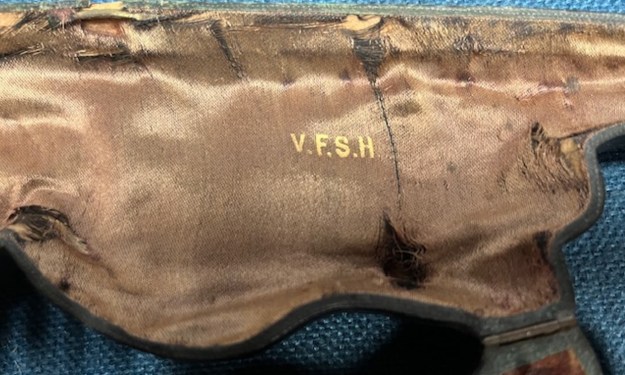 I removed it from the case and took photos of the pipe to show the carving from the sides and the top and underside of the stem. I also captured the condition of the rim top and crack in the side of the bowl. The amber stem is also shown in the photos below.
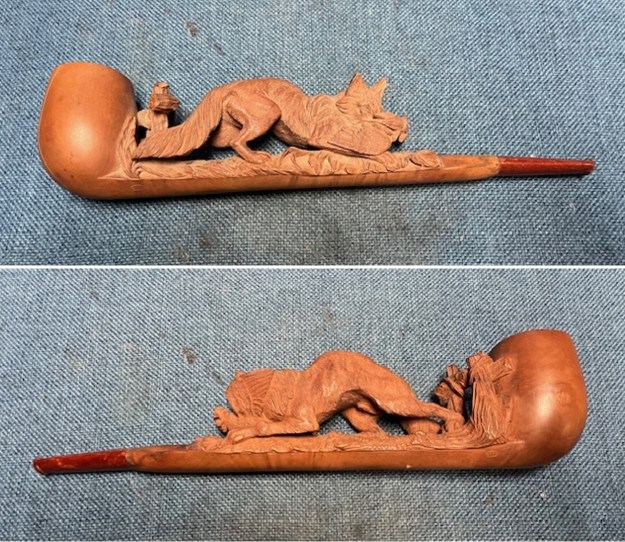
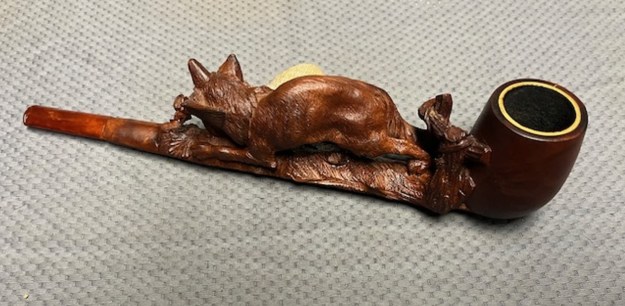
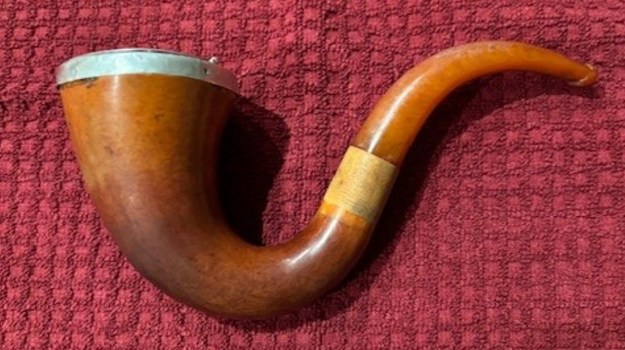
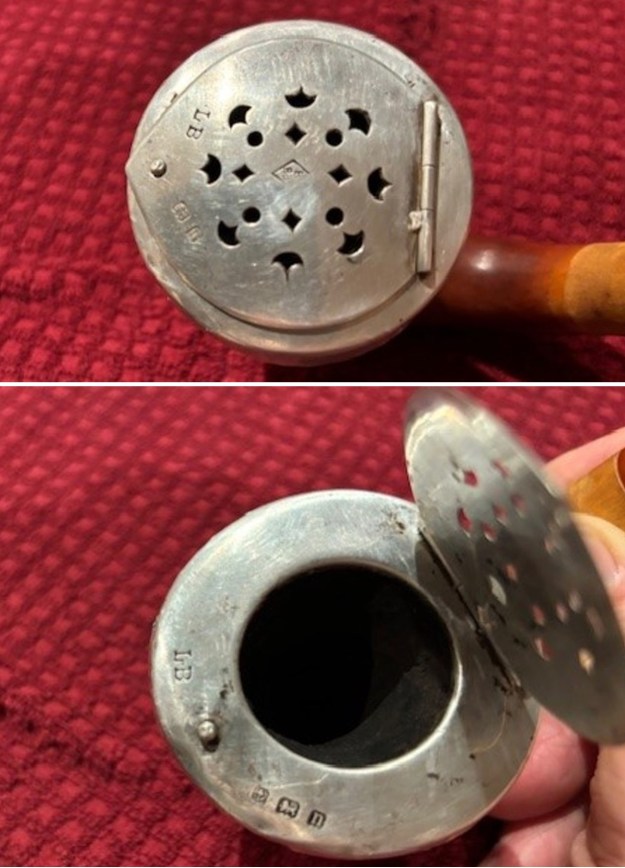
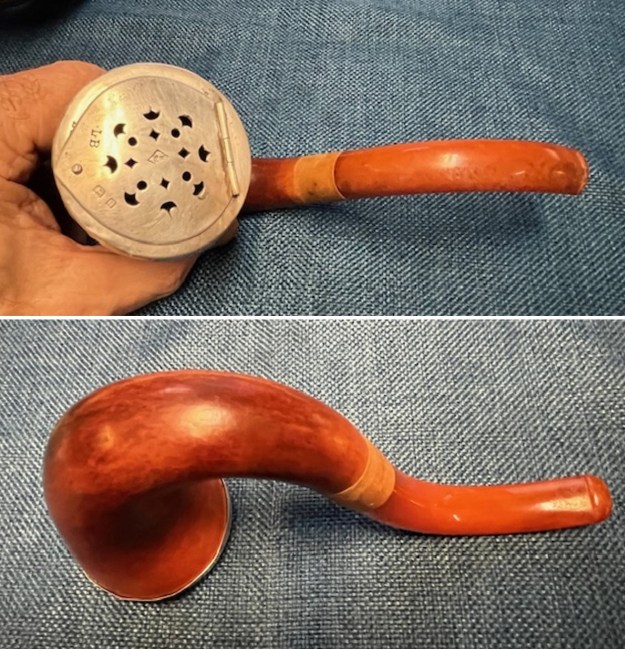
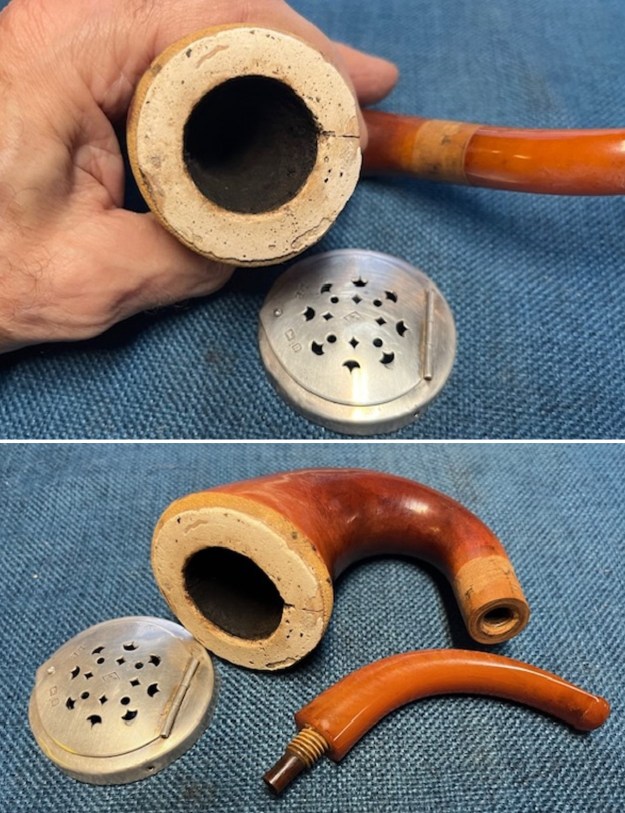
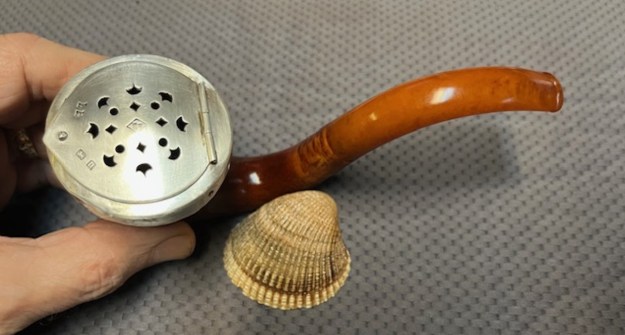
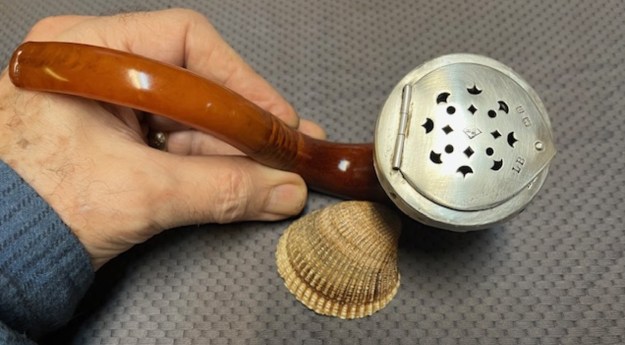
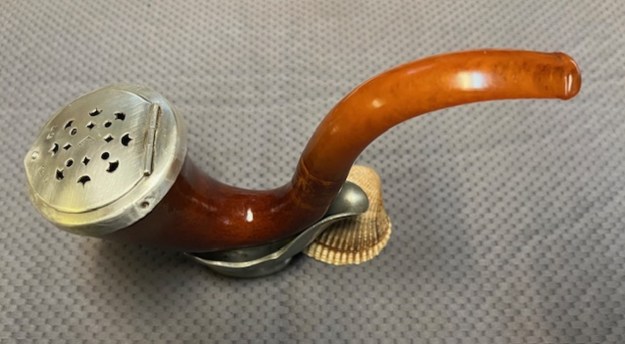
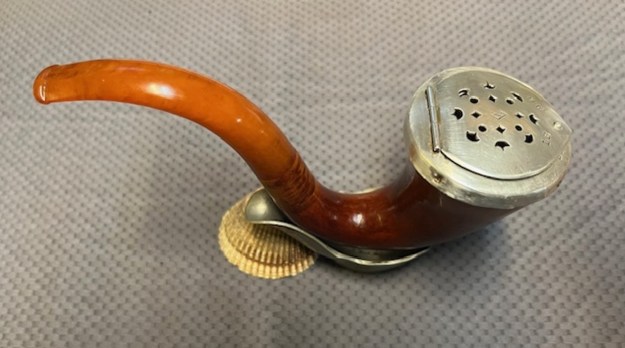
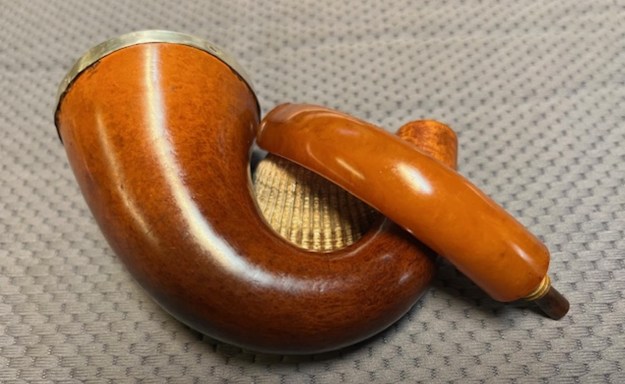
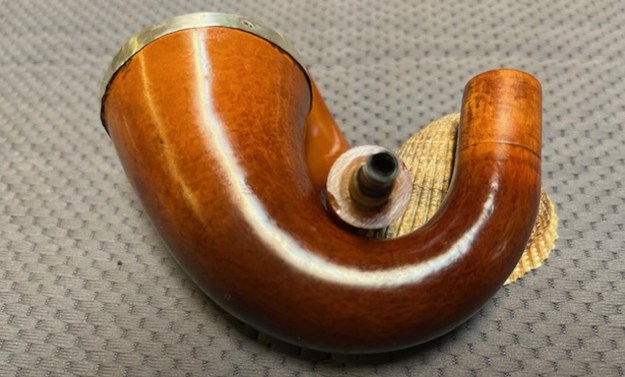
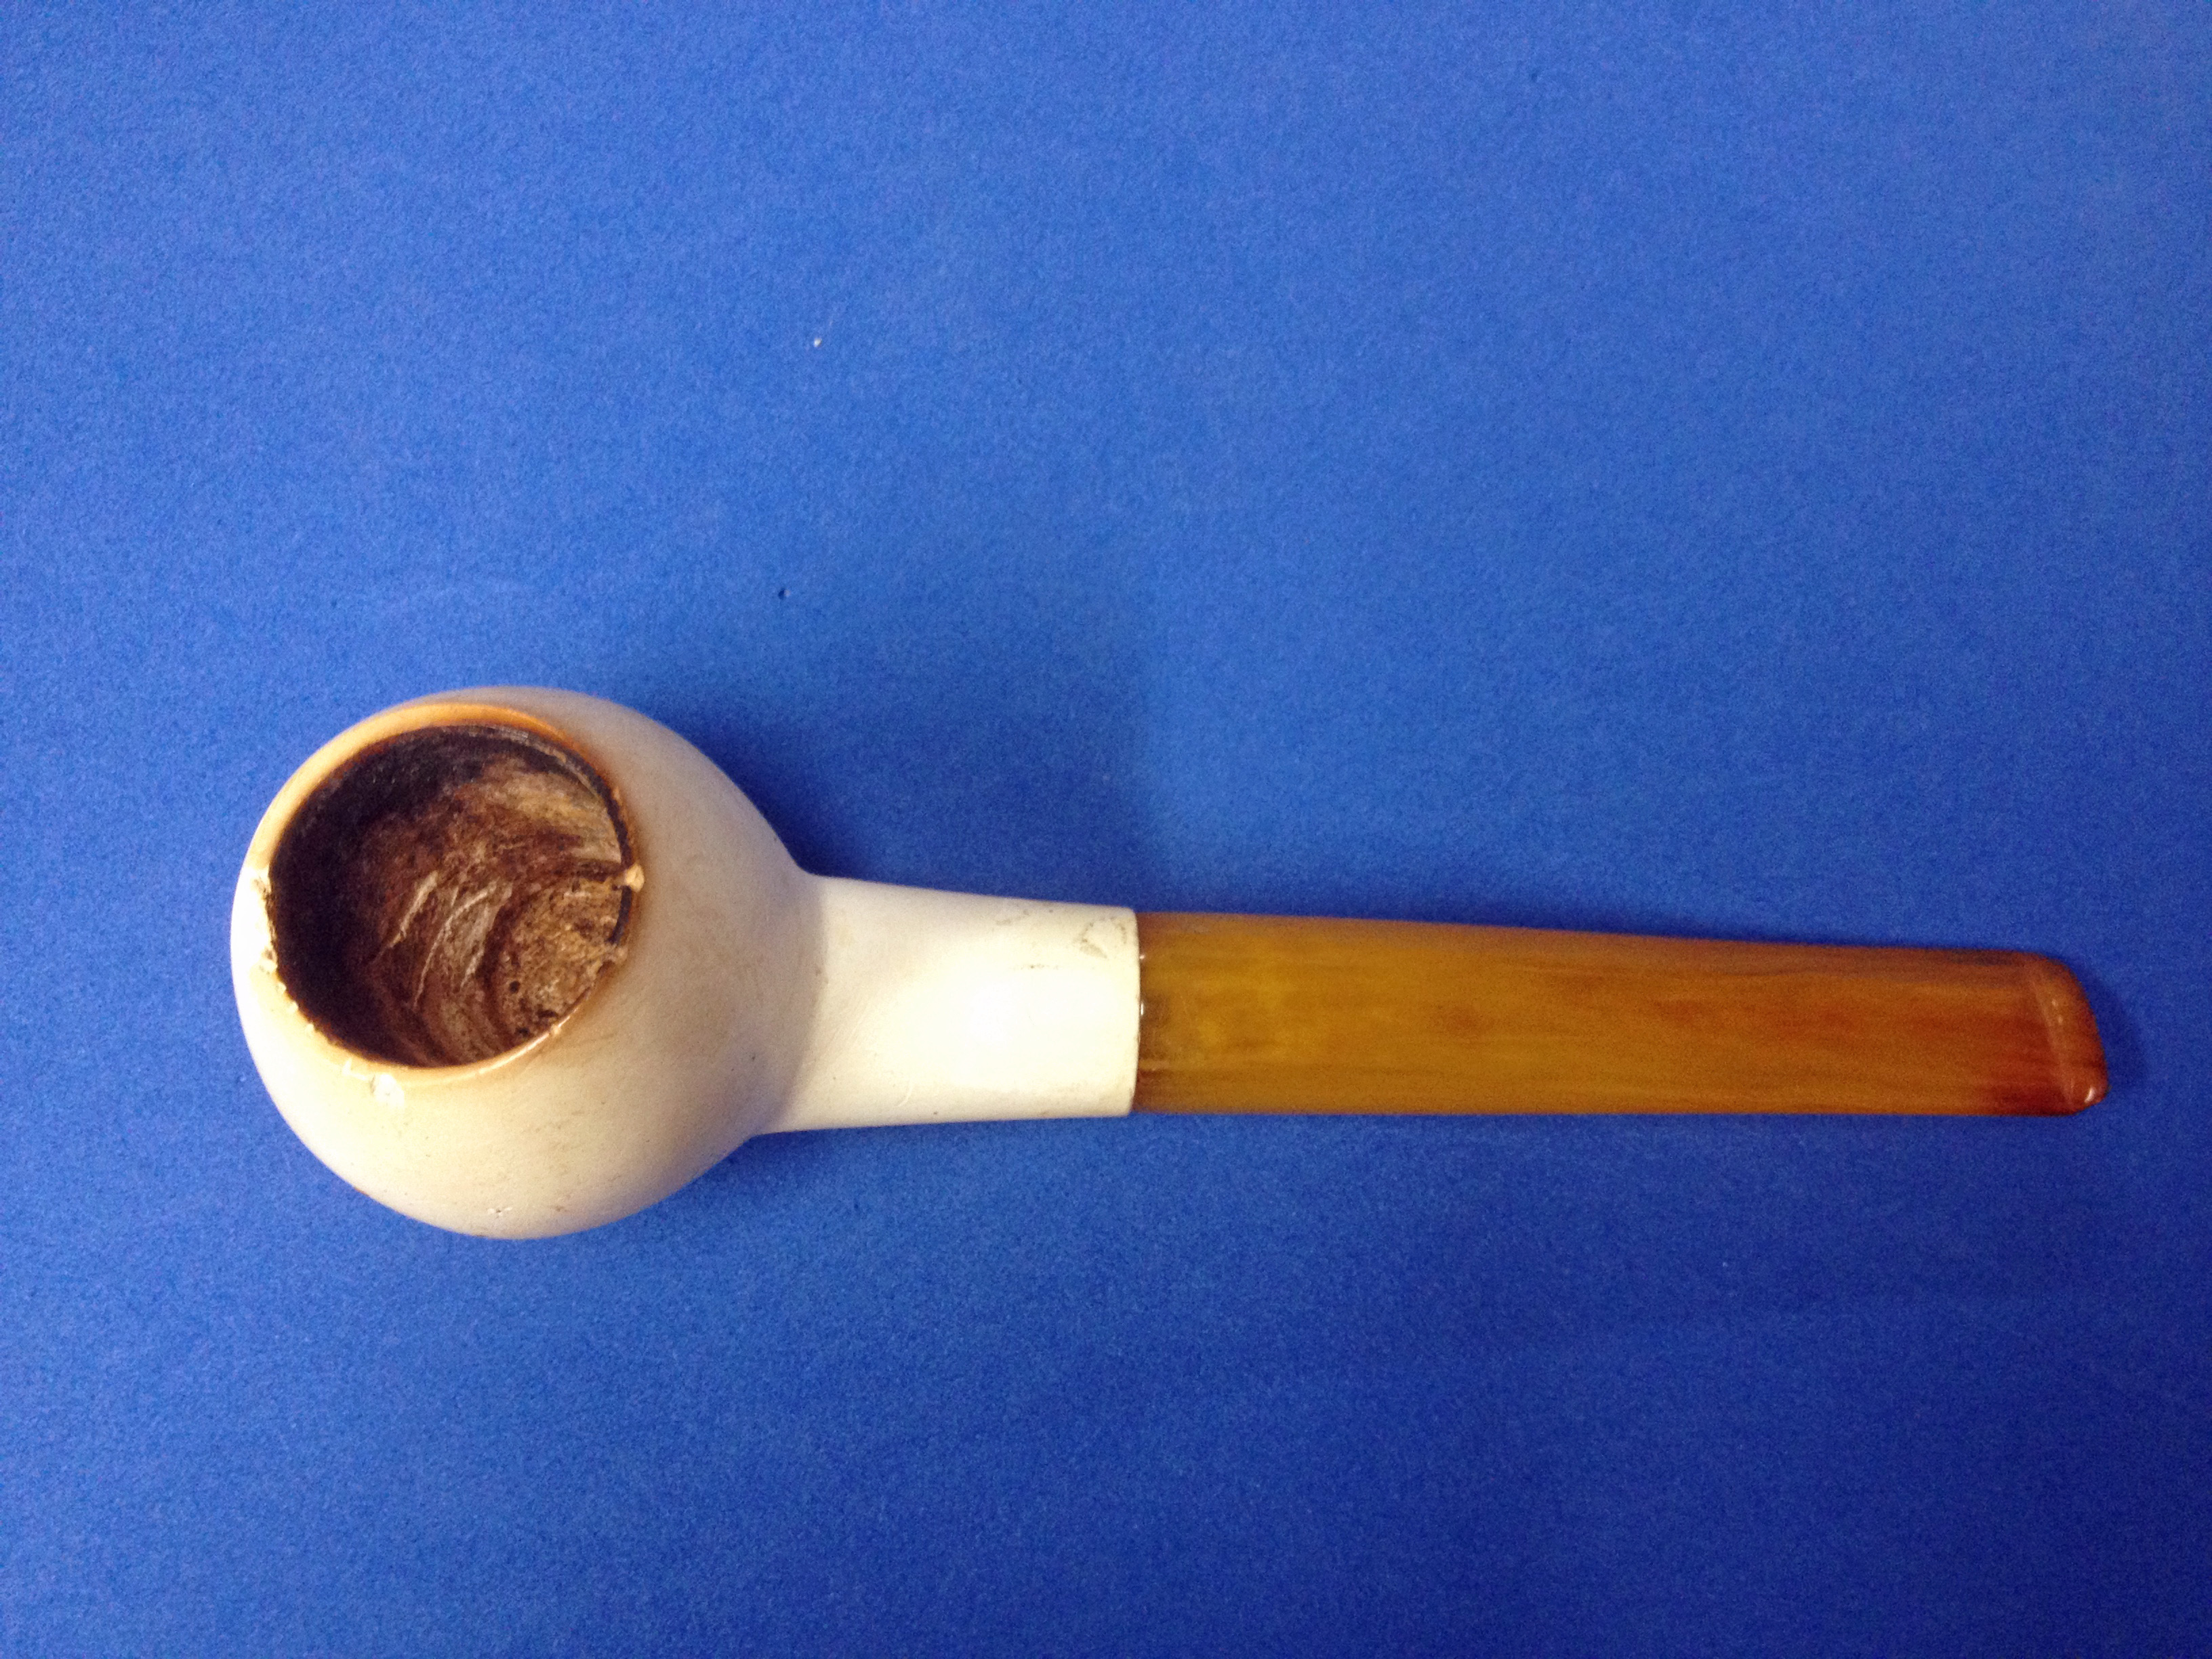
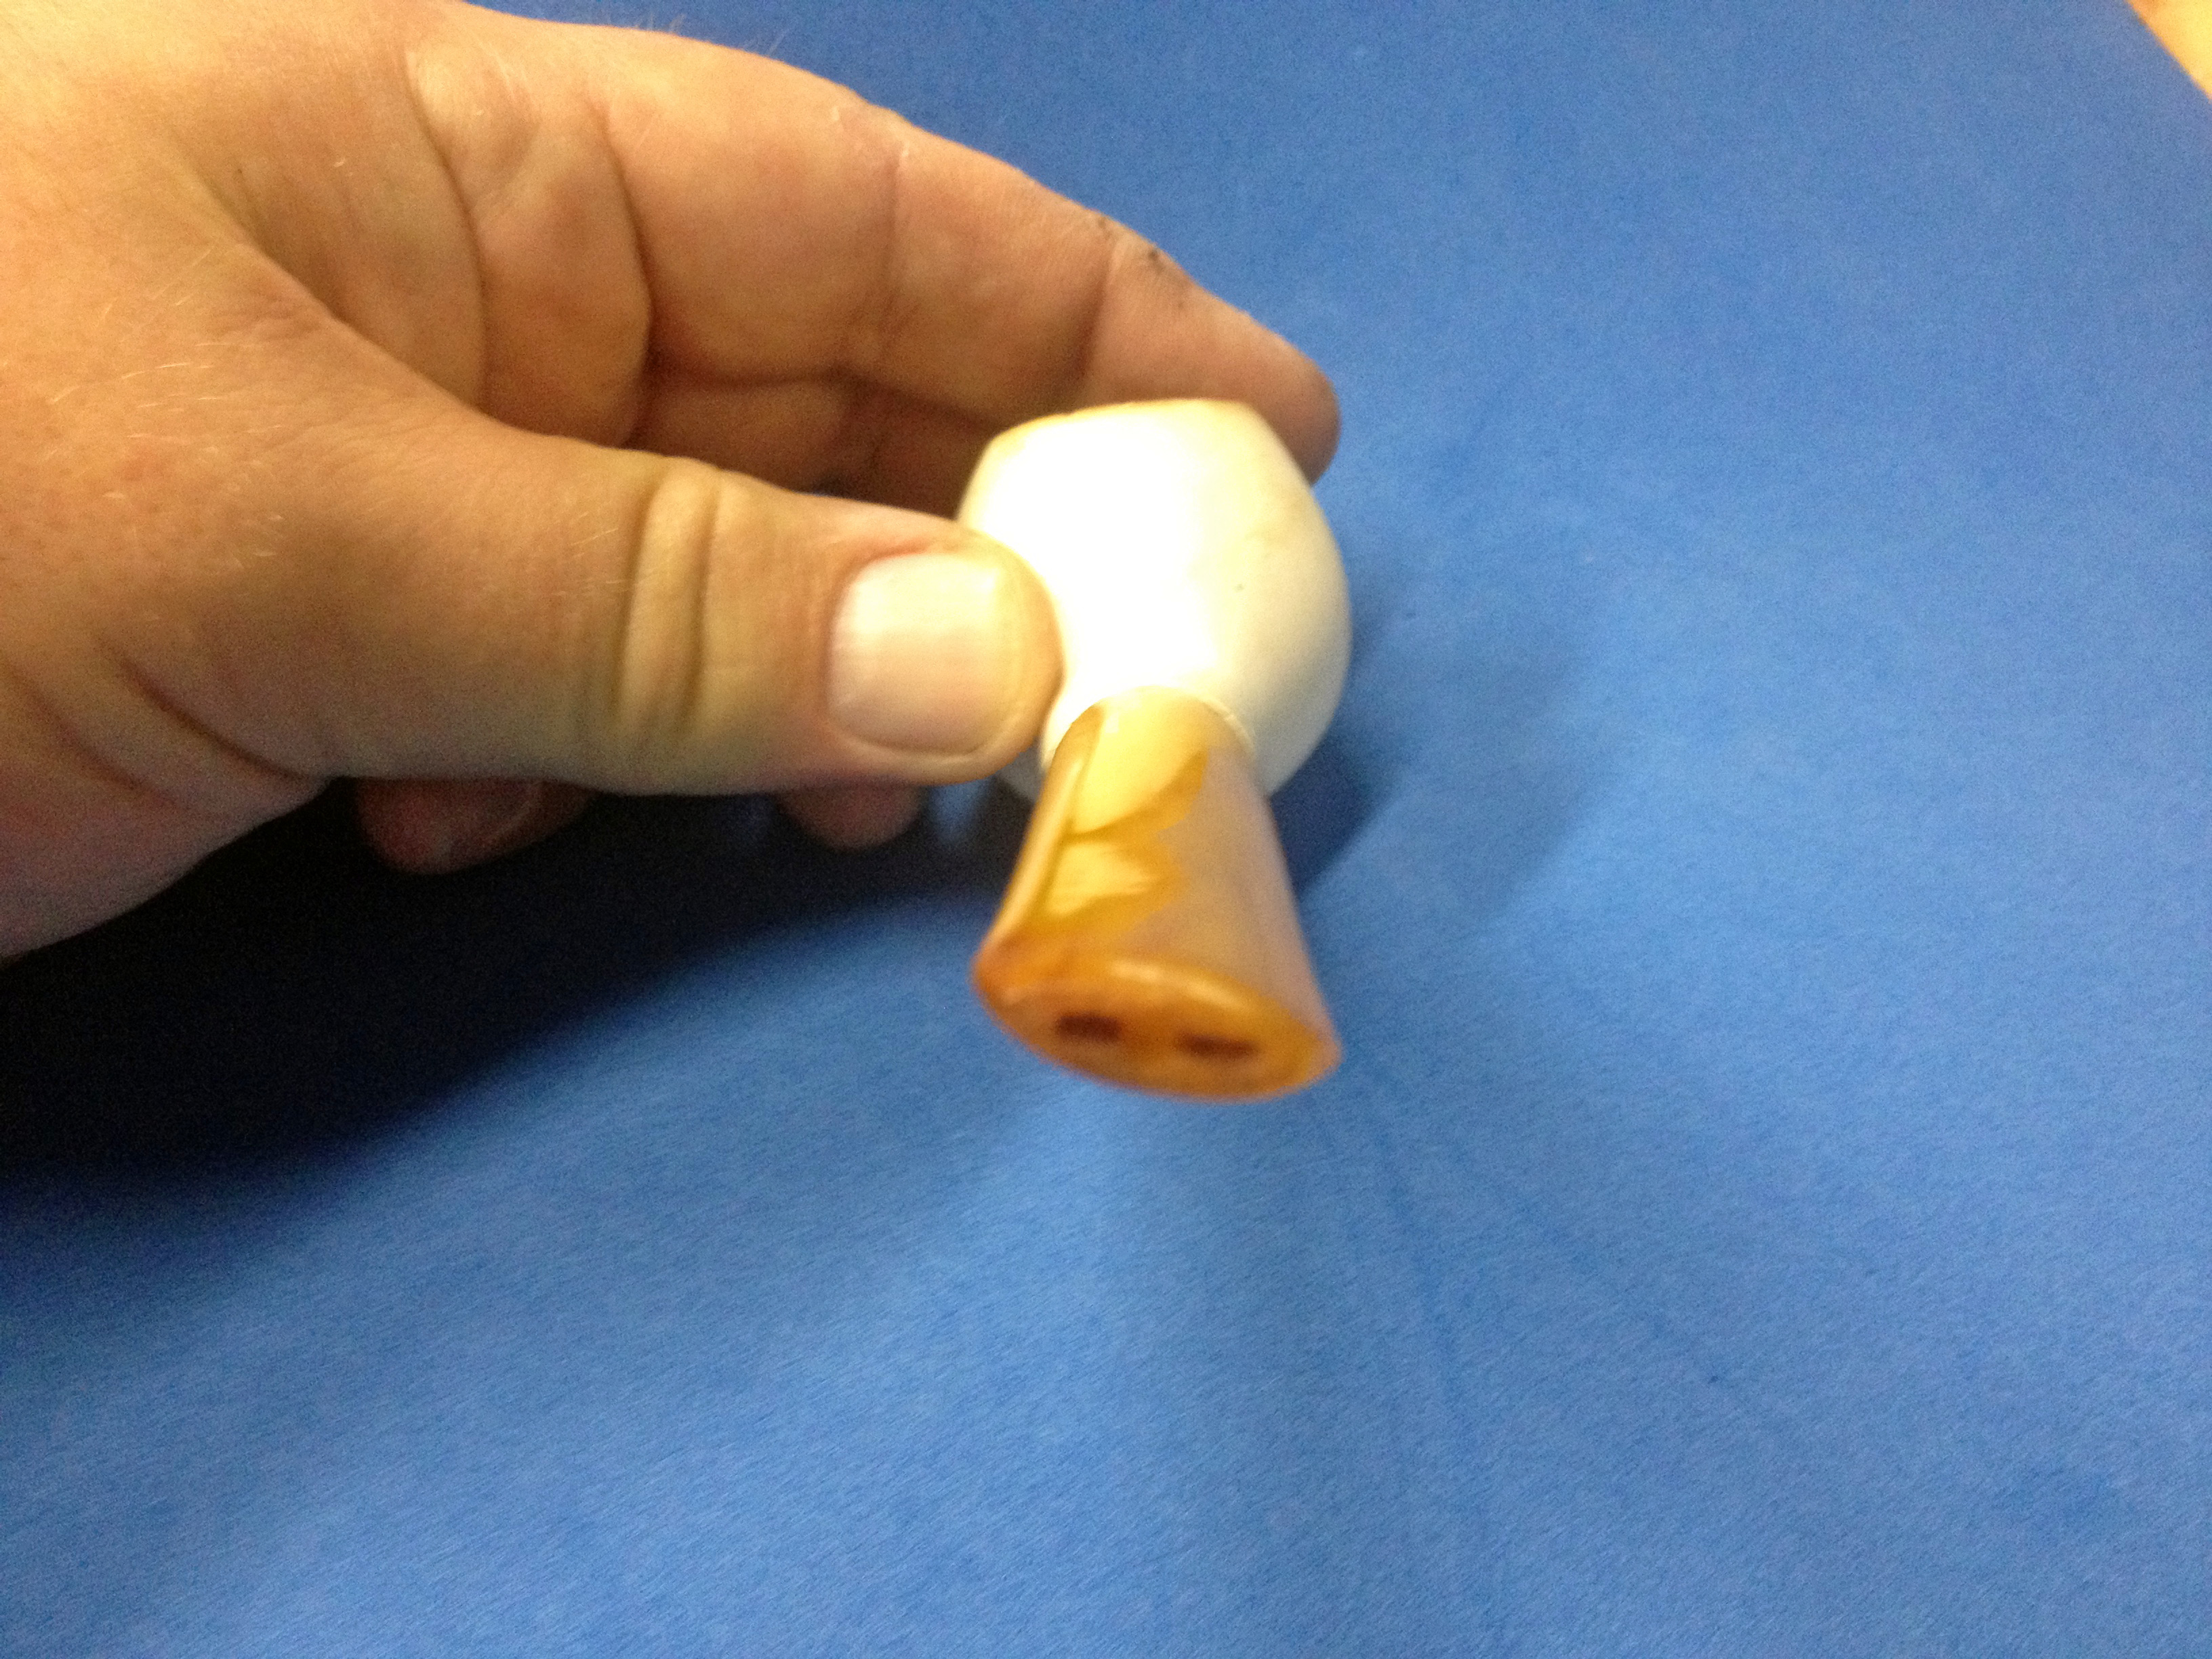
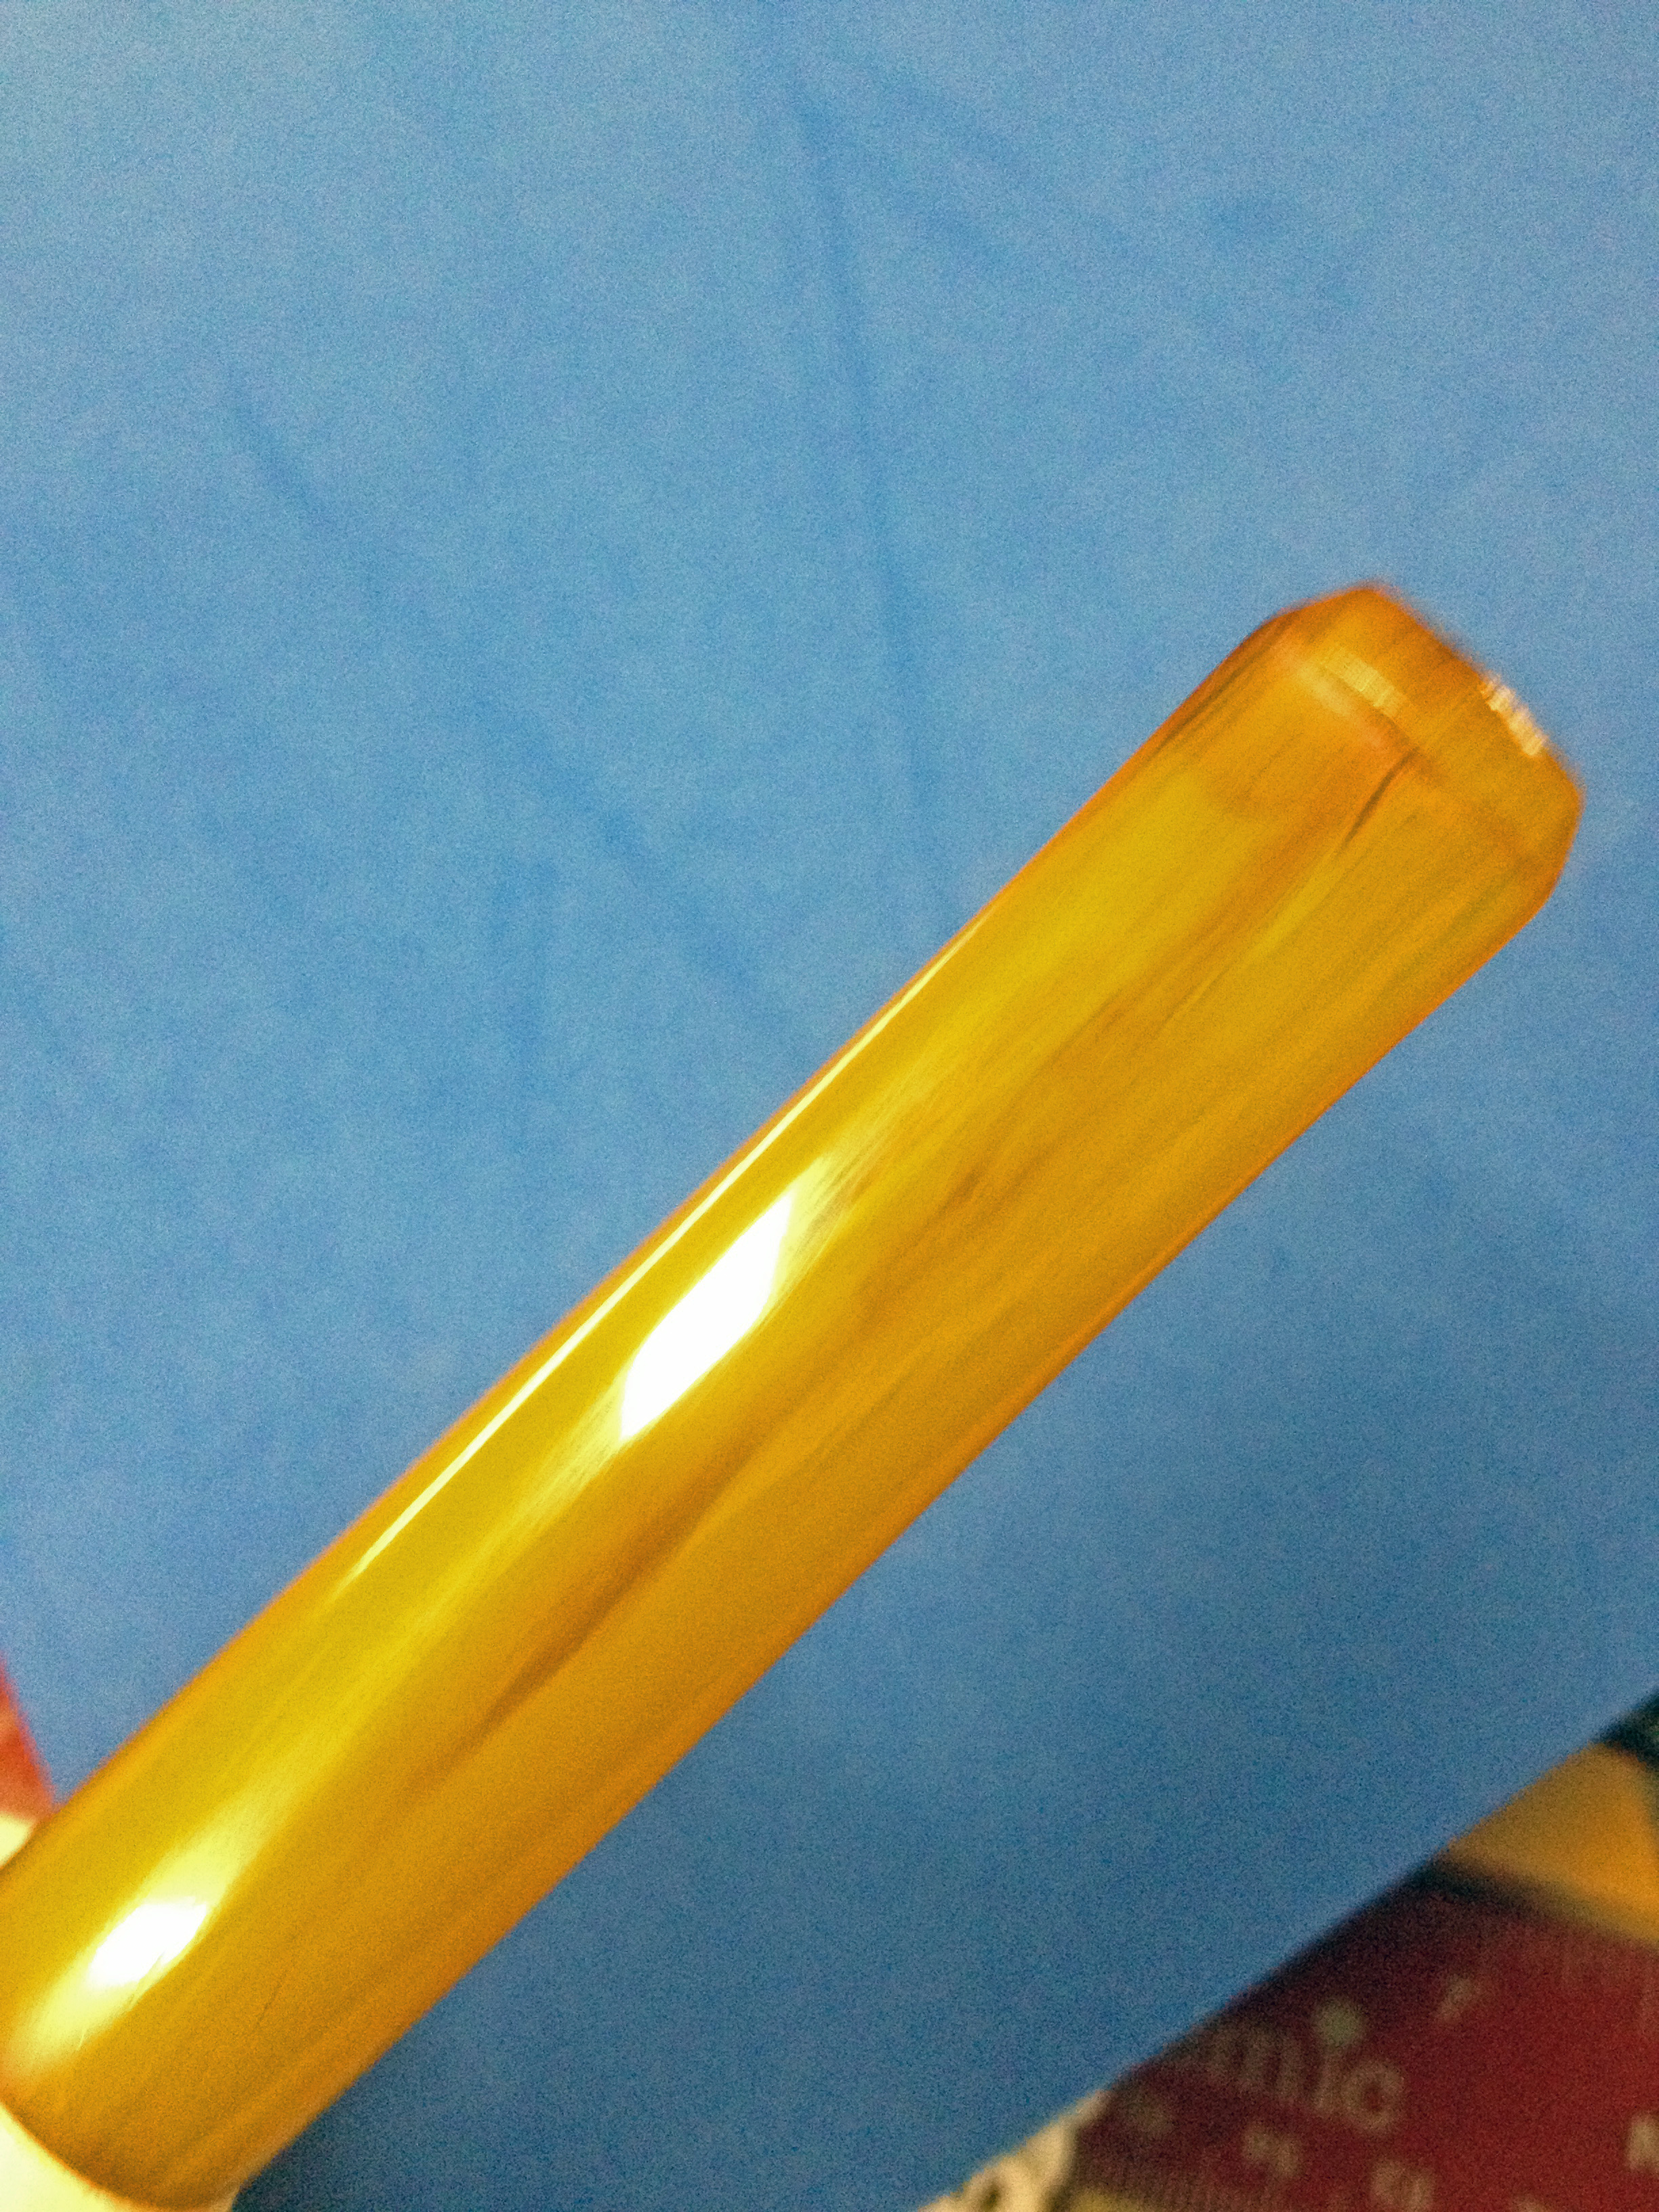
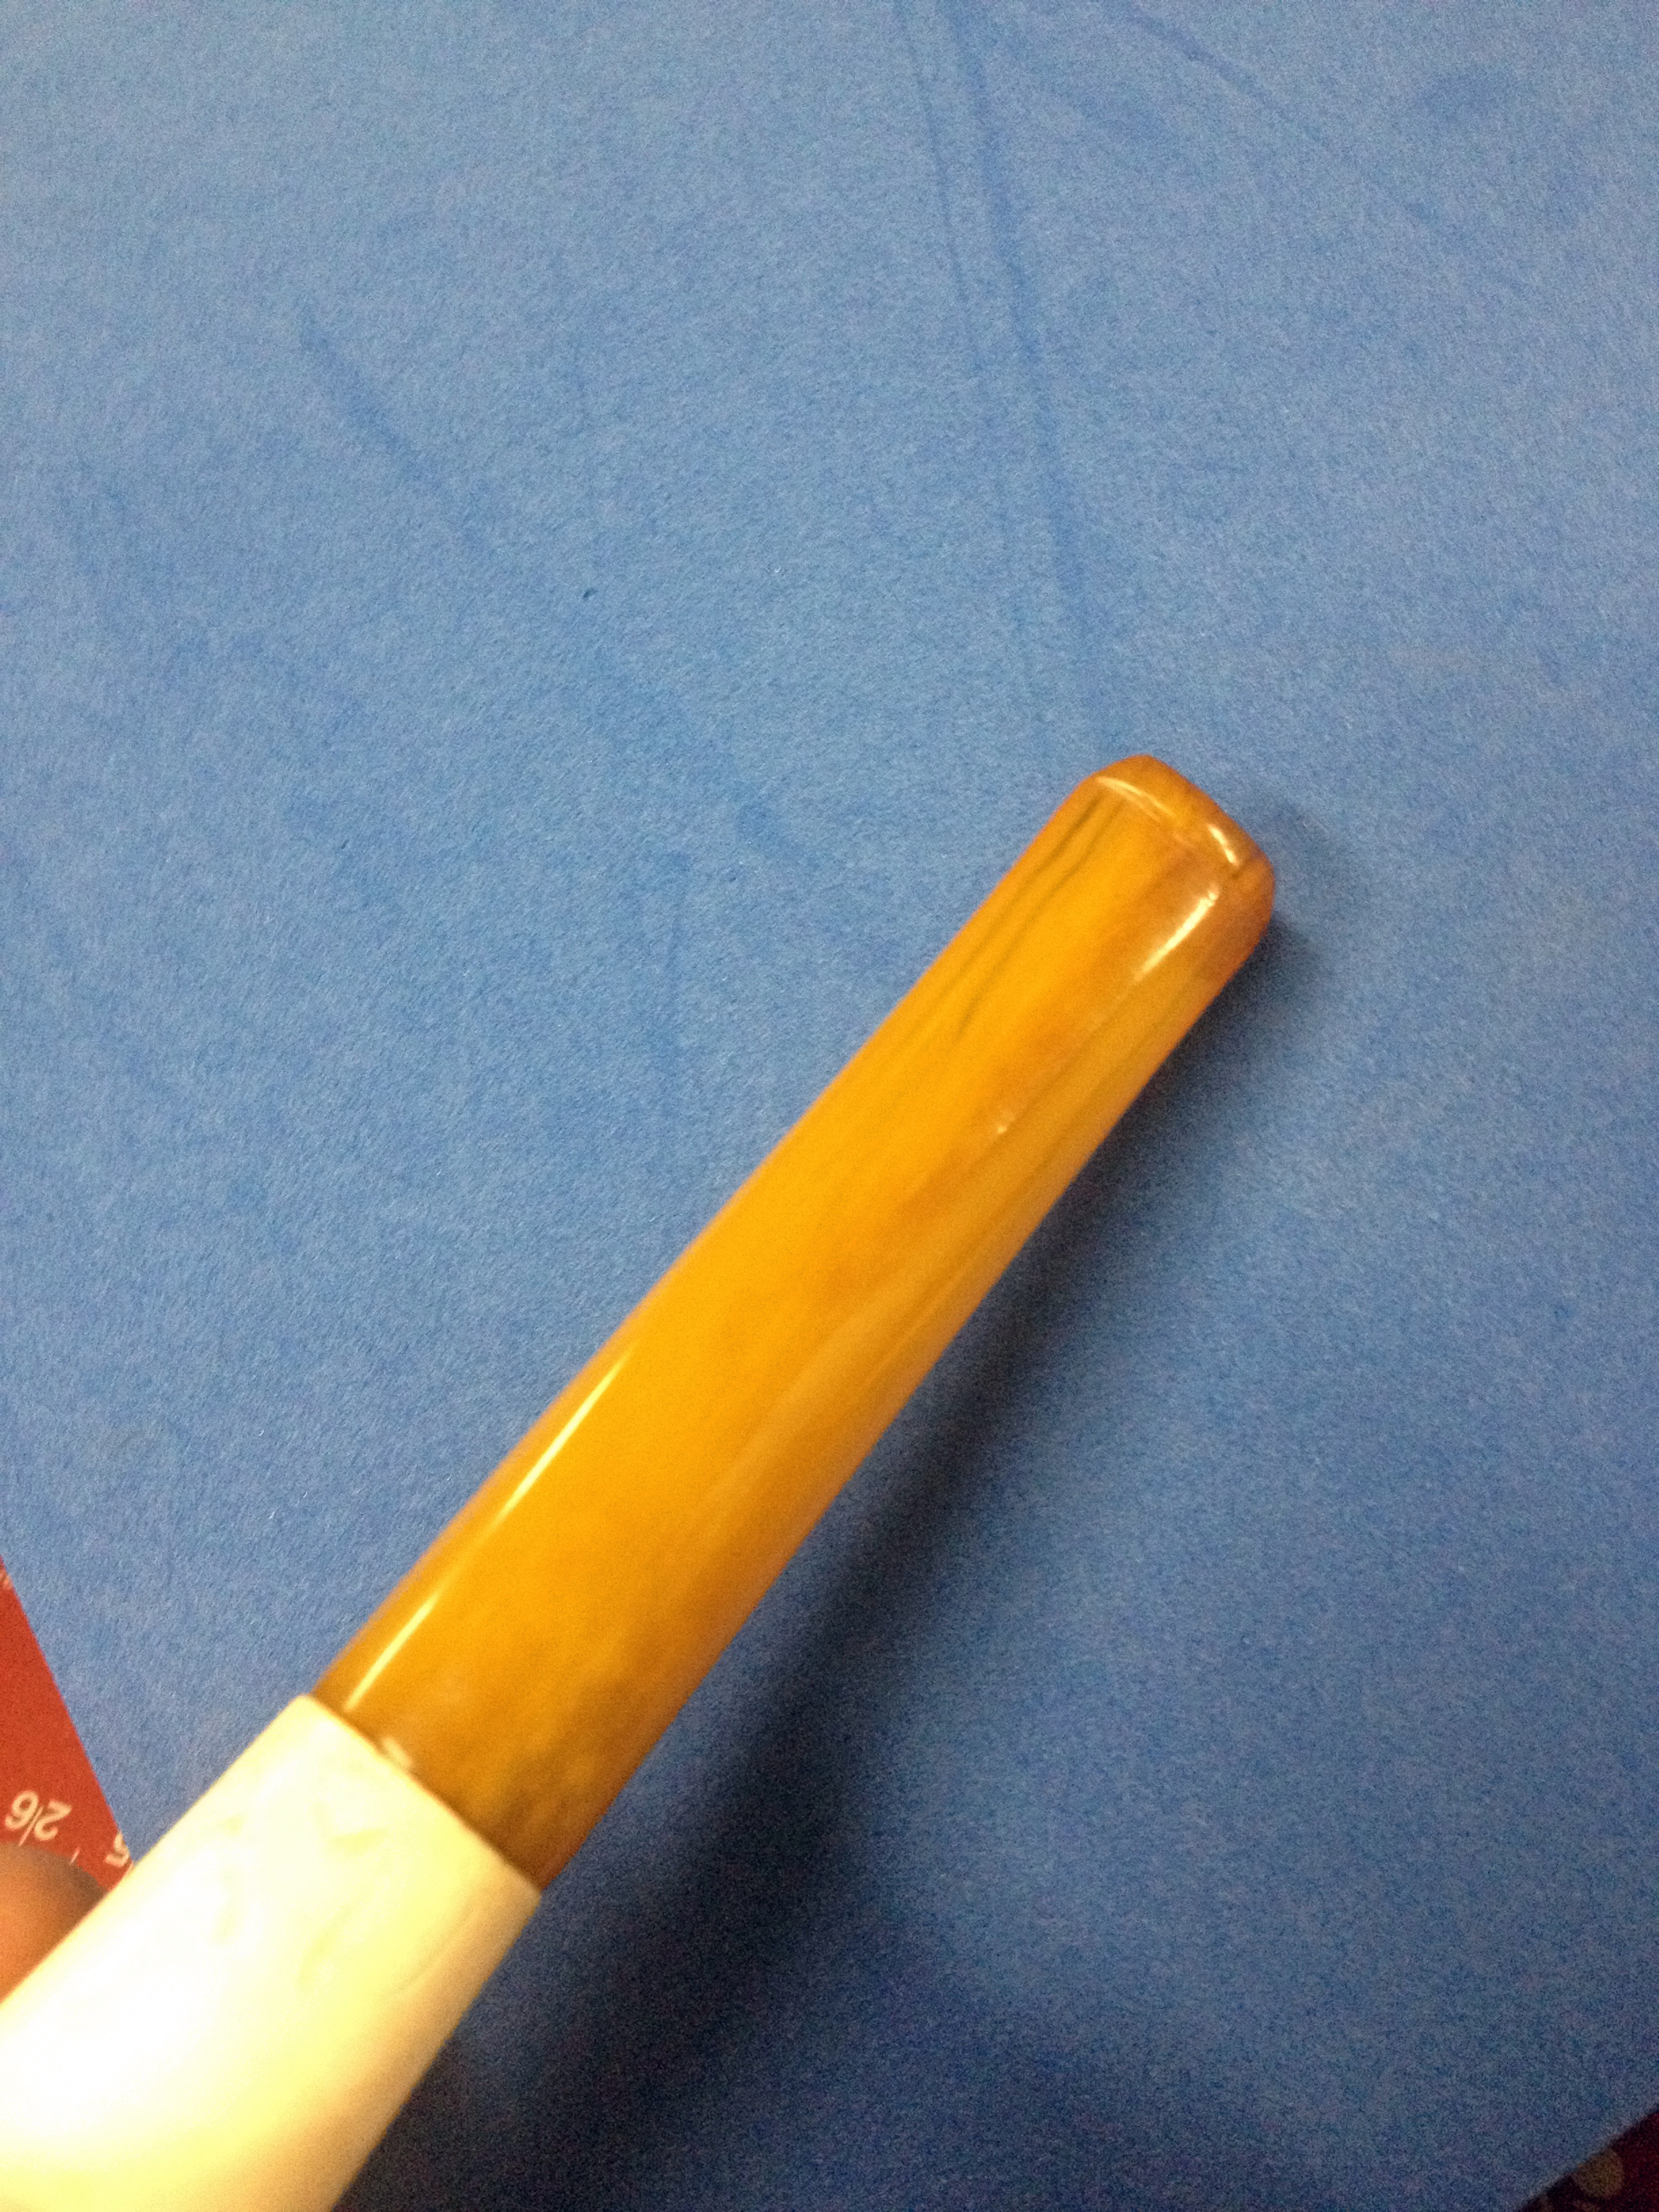
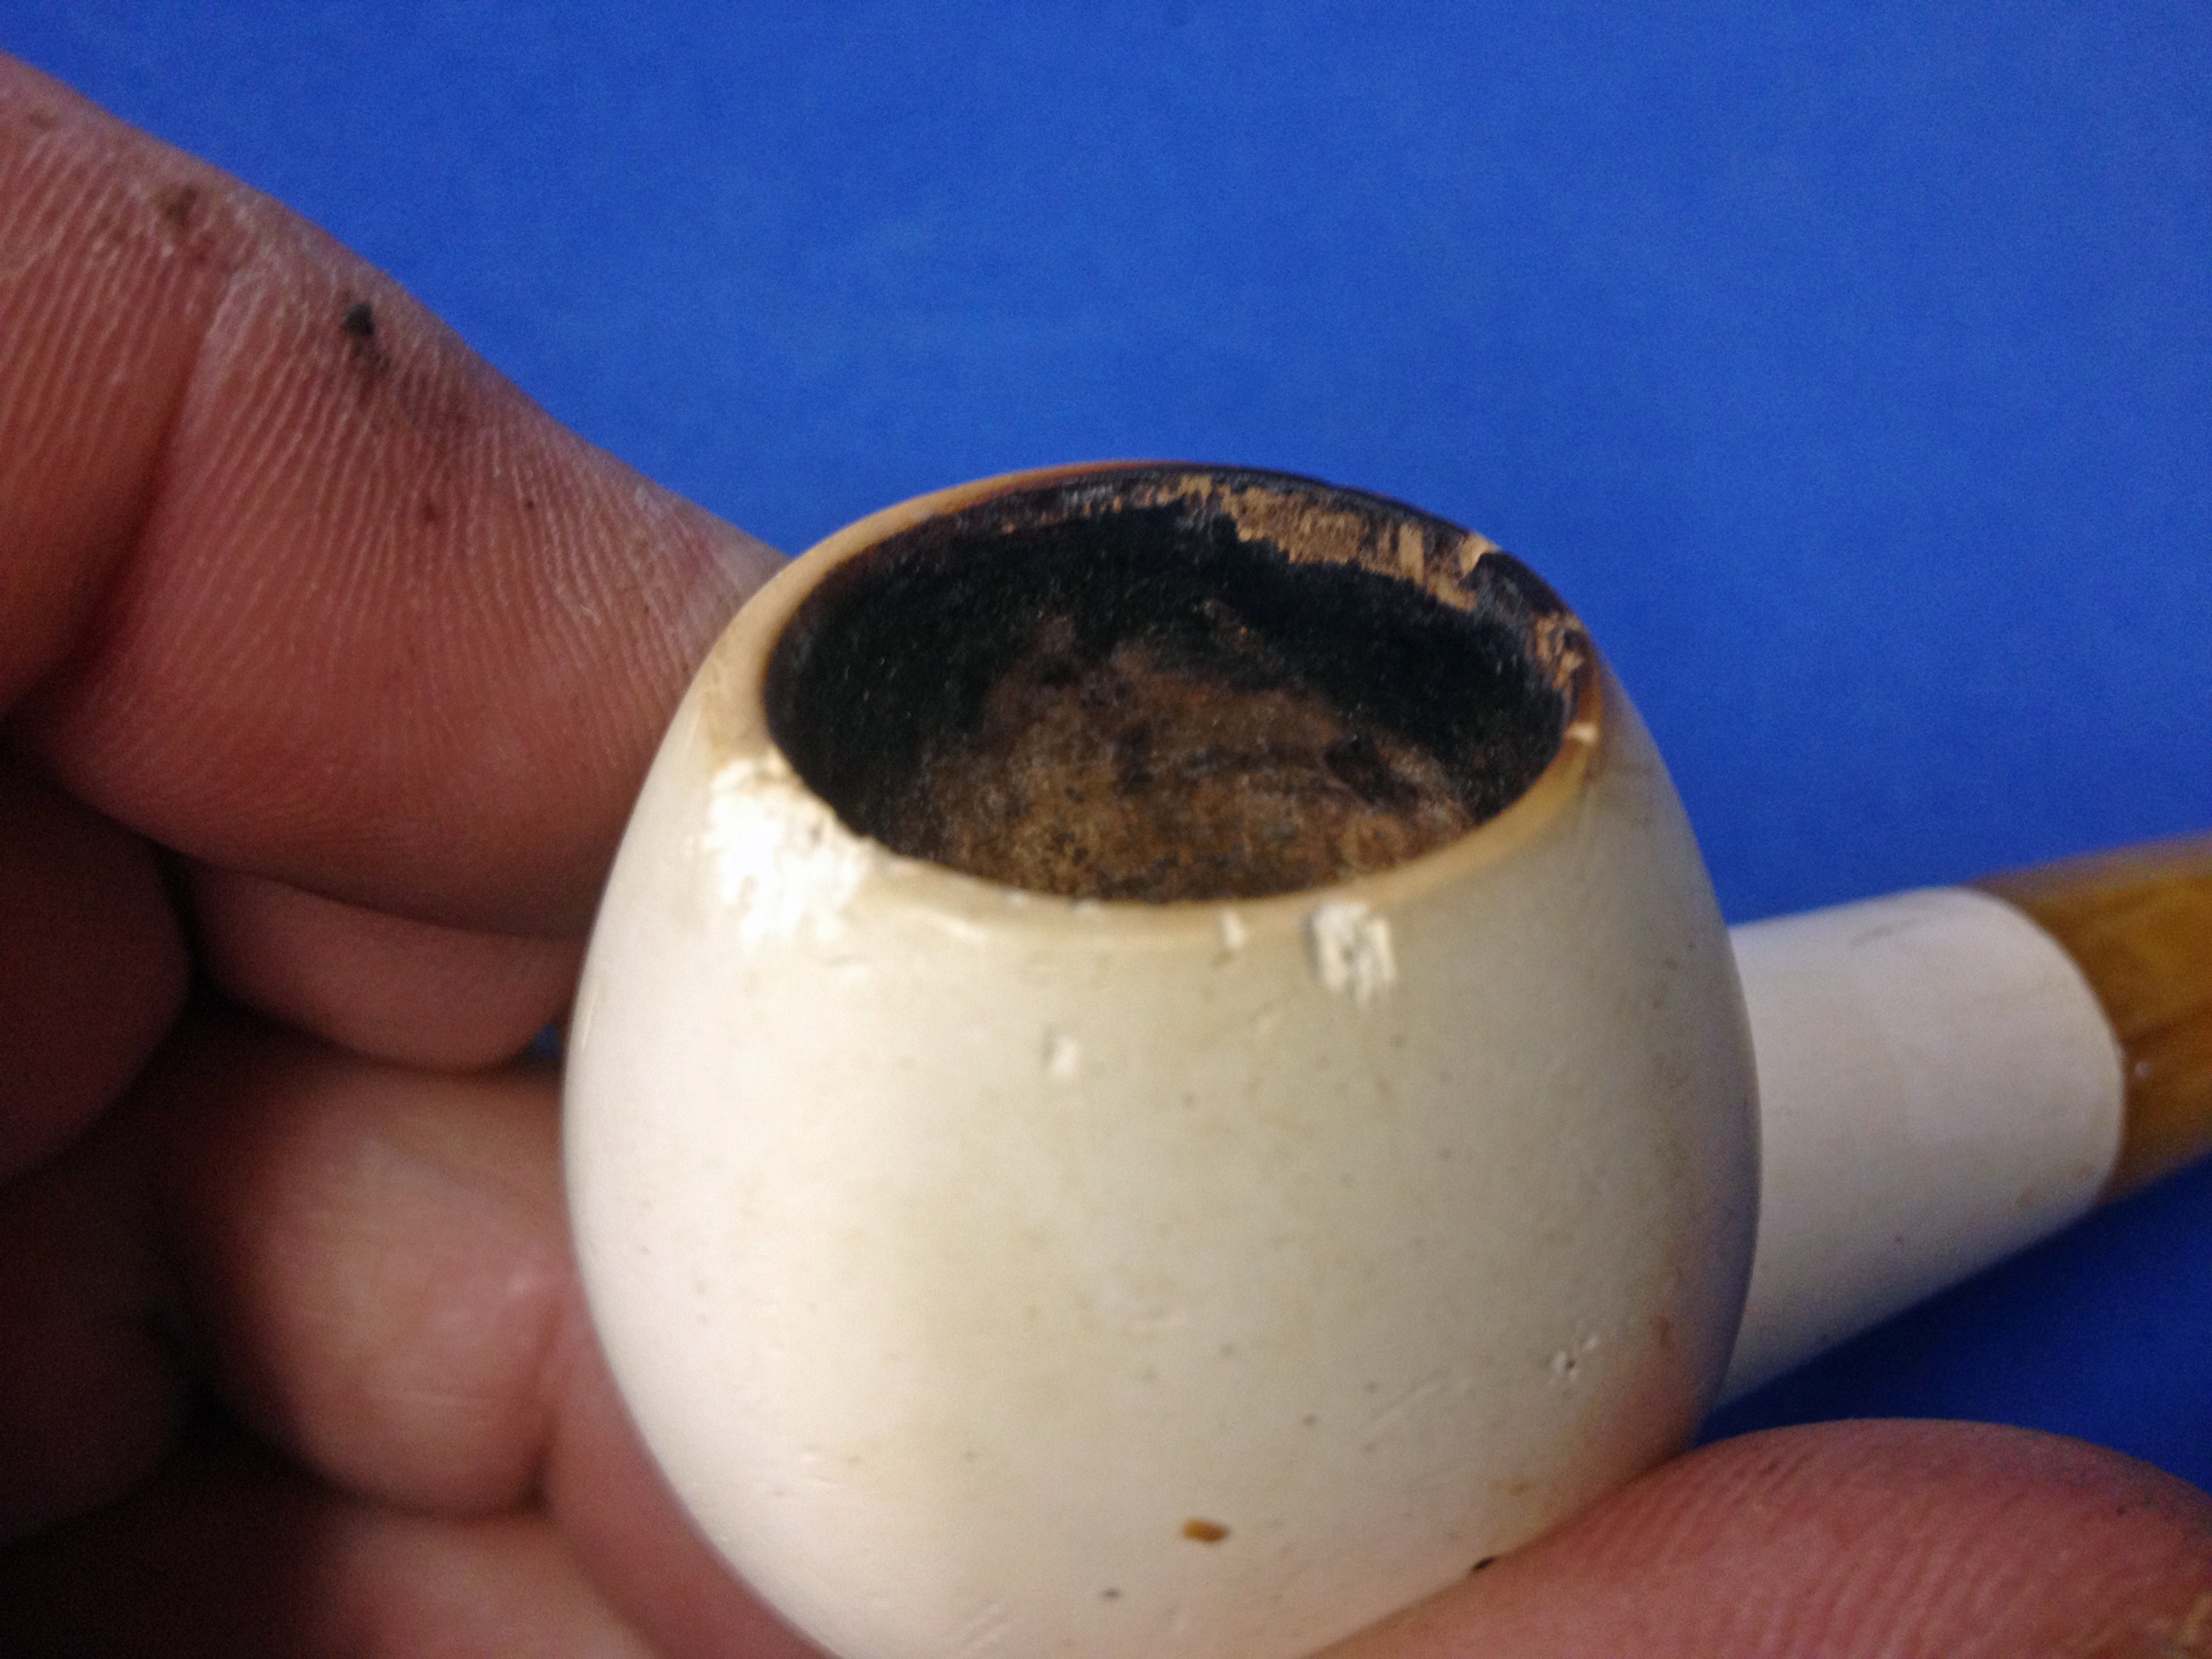
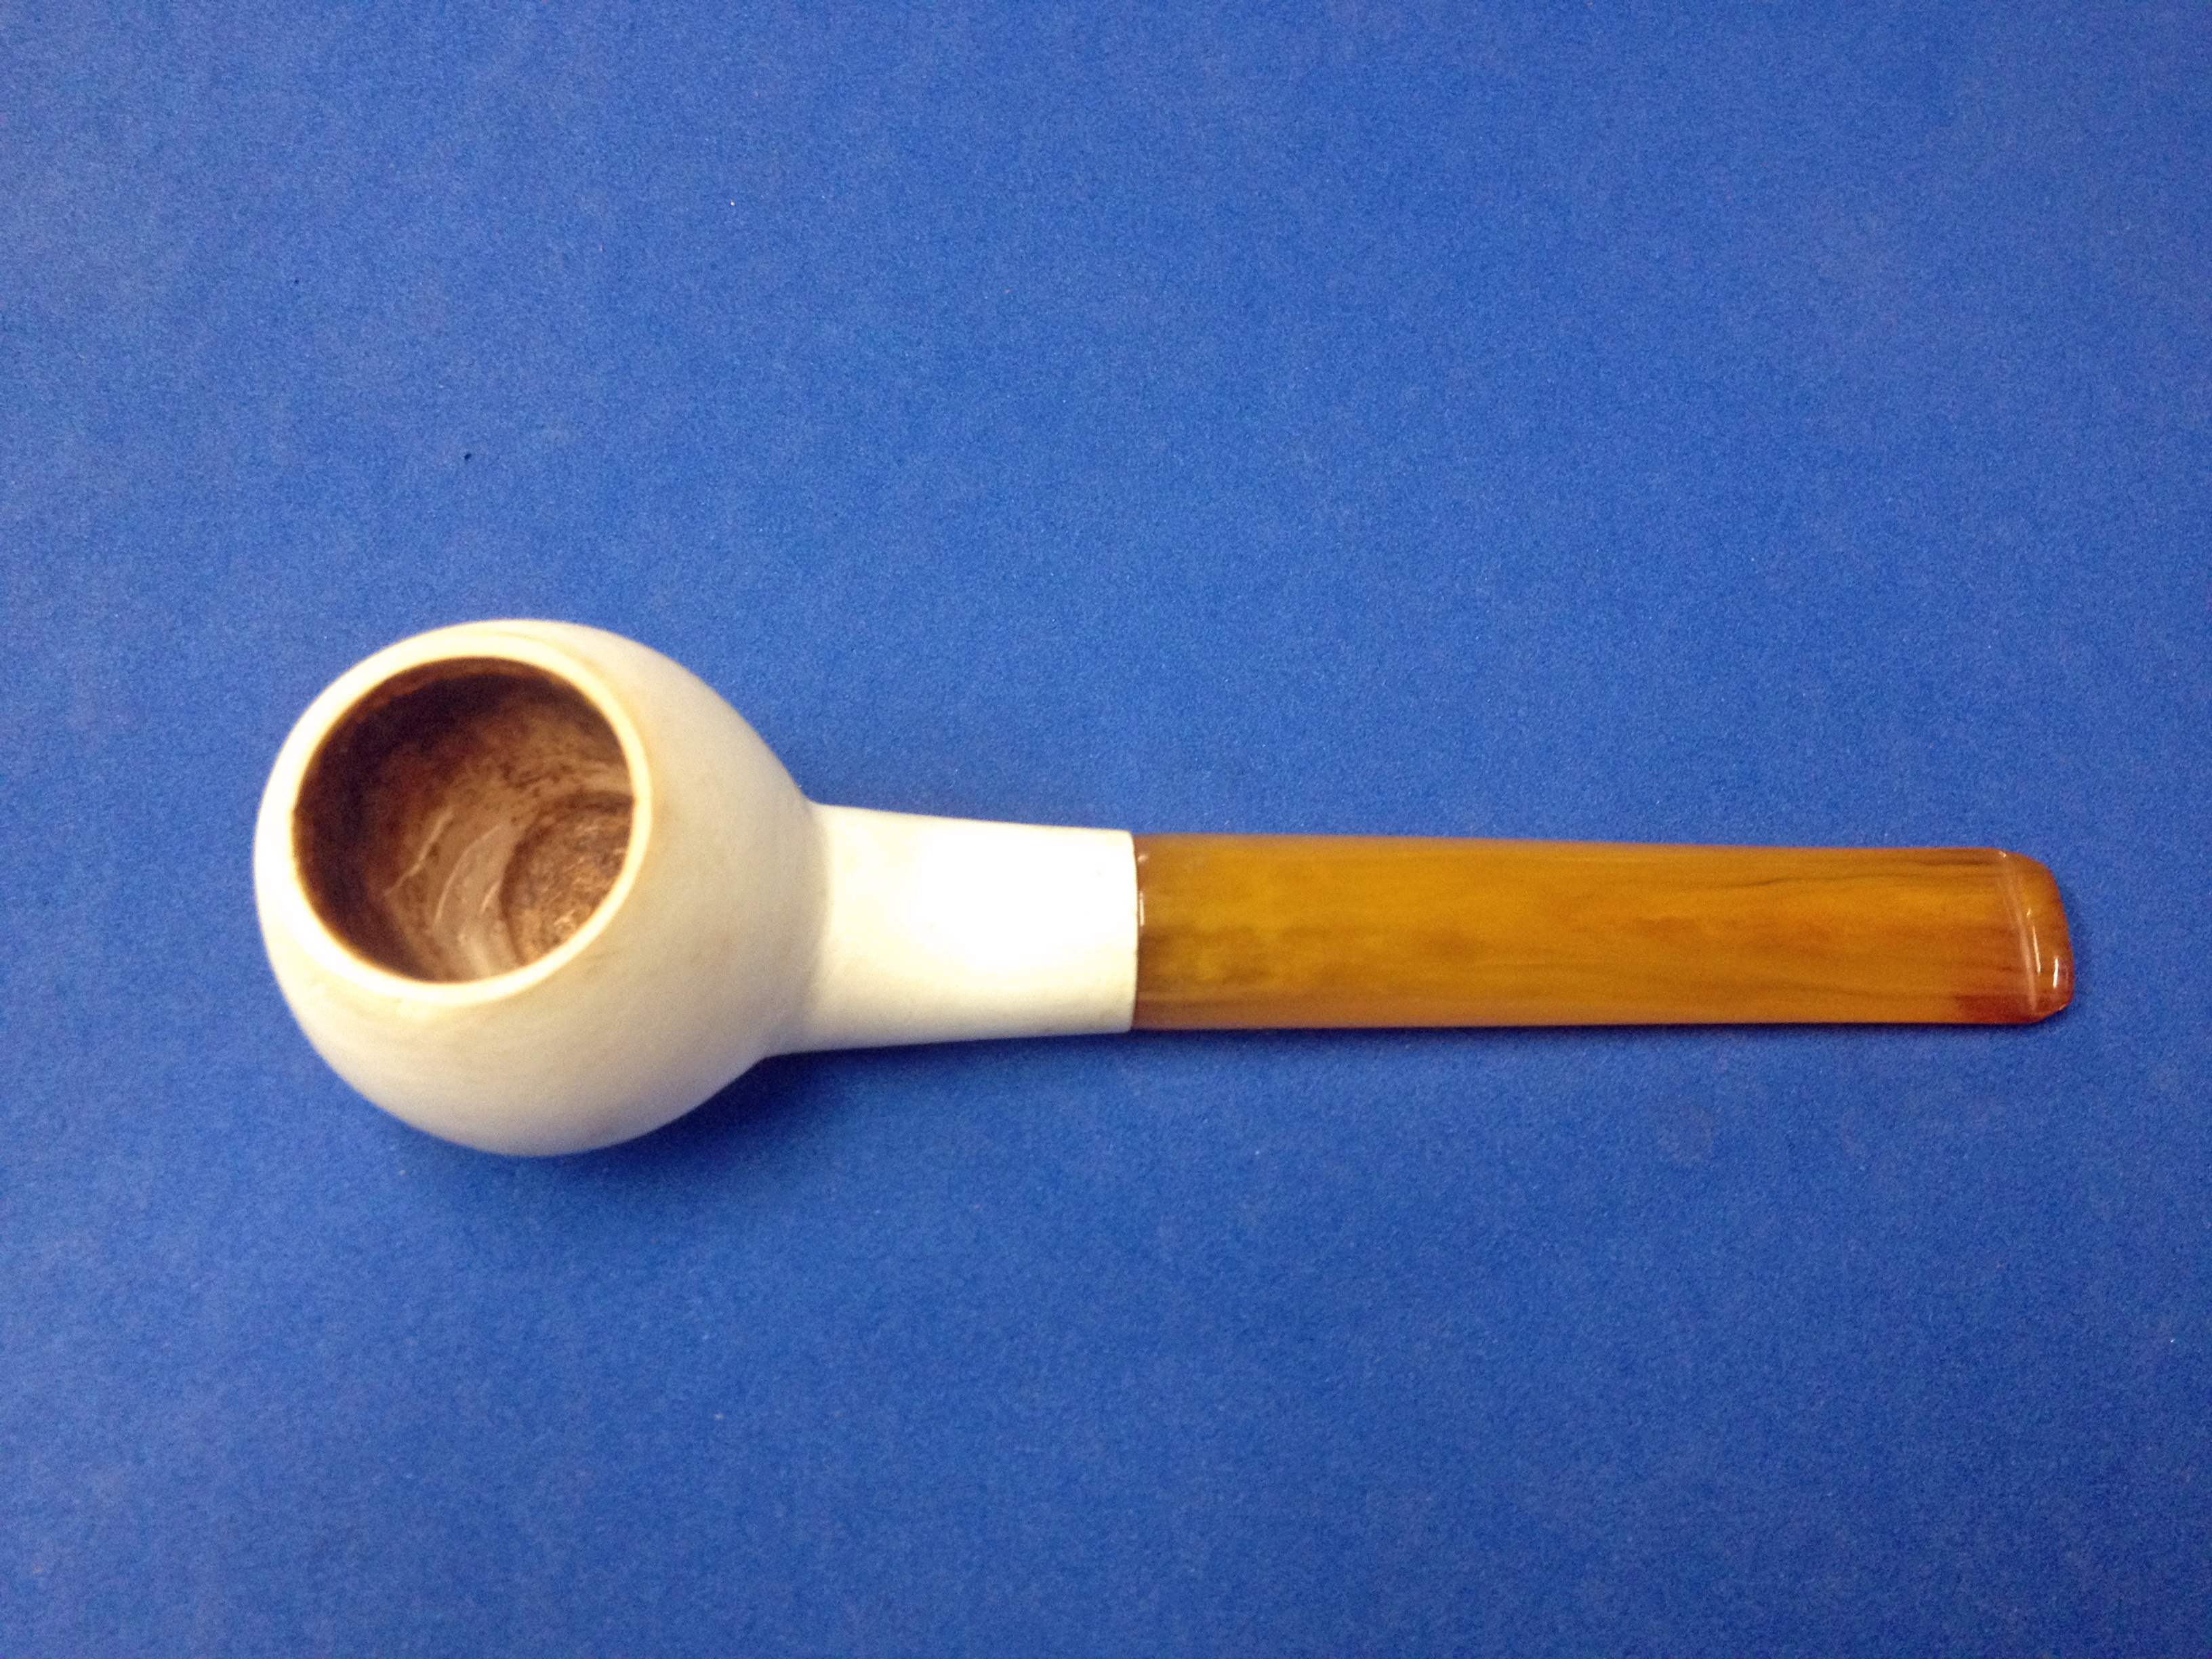
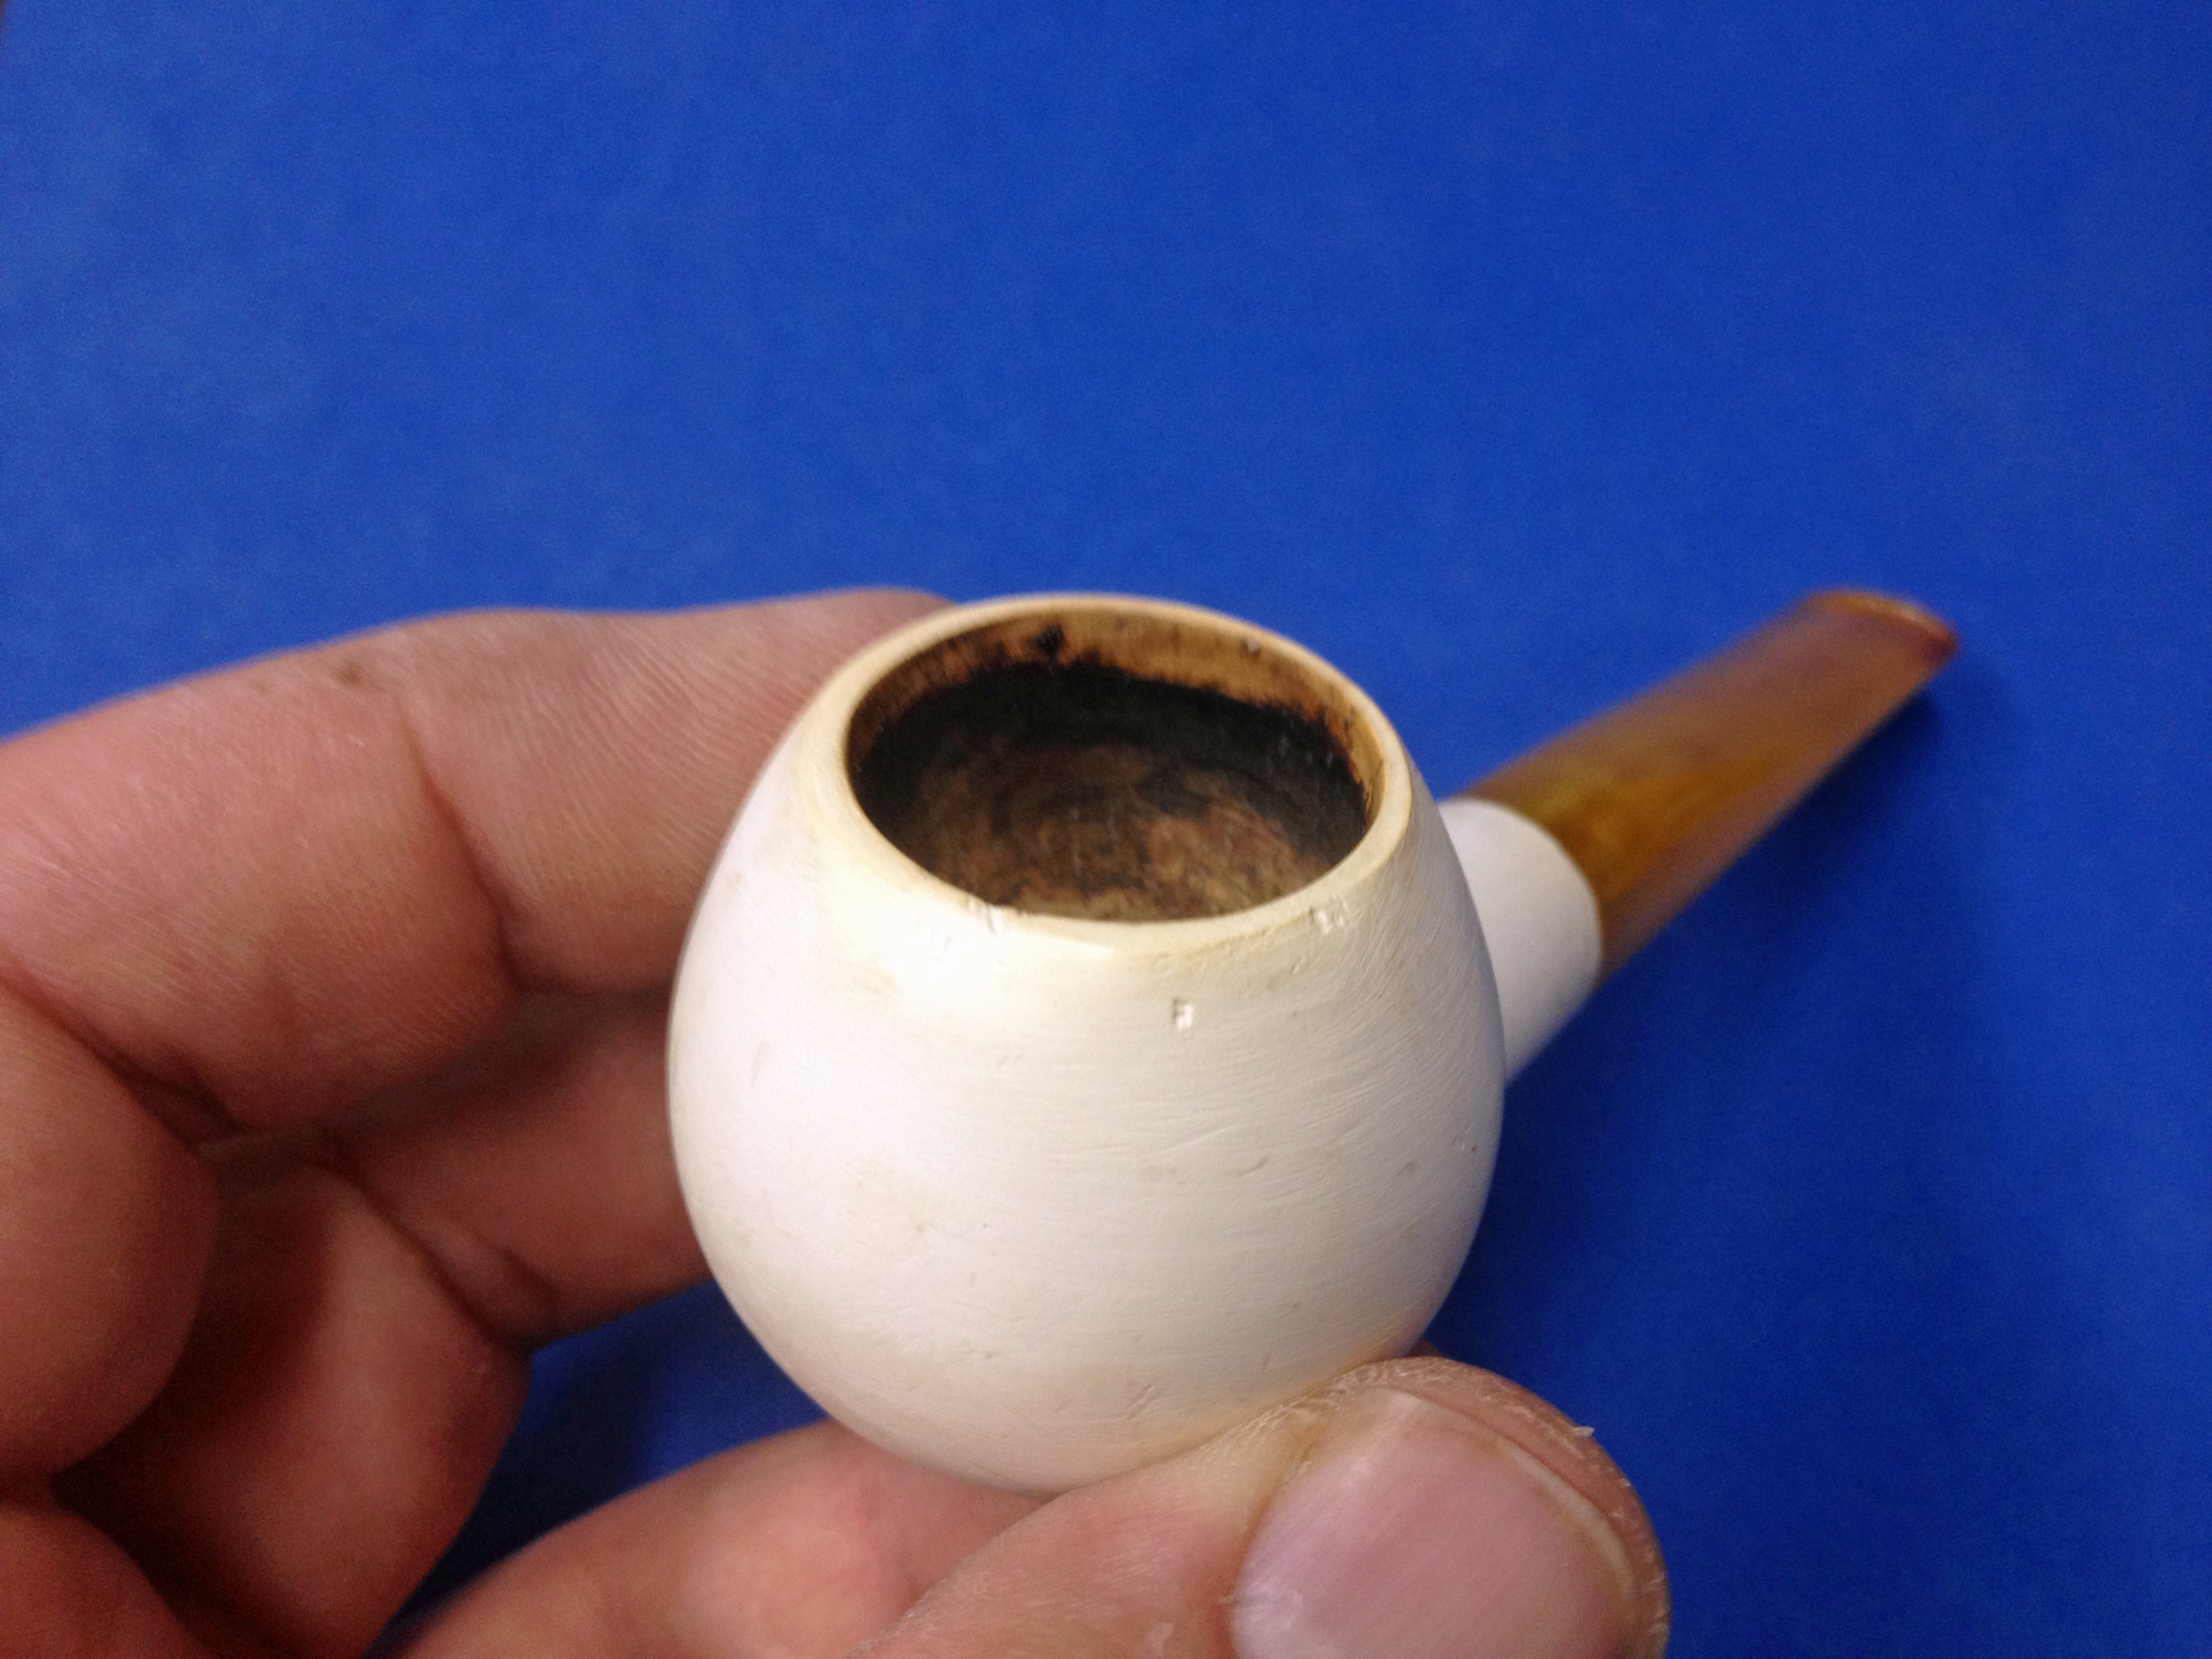
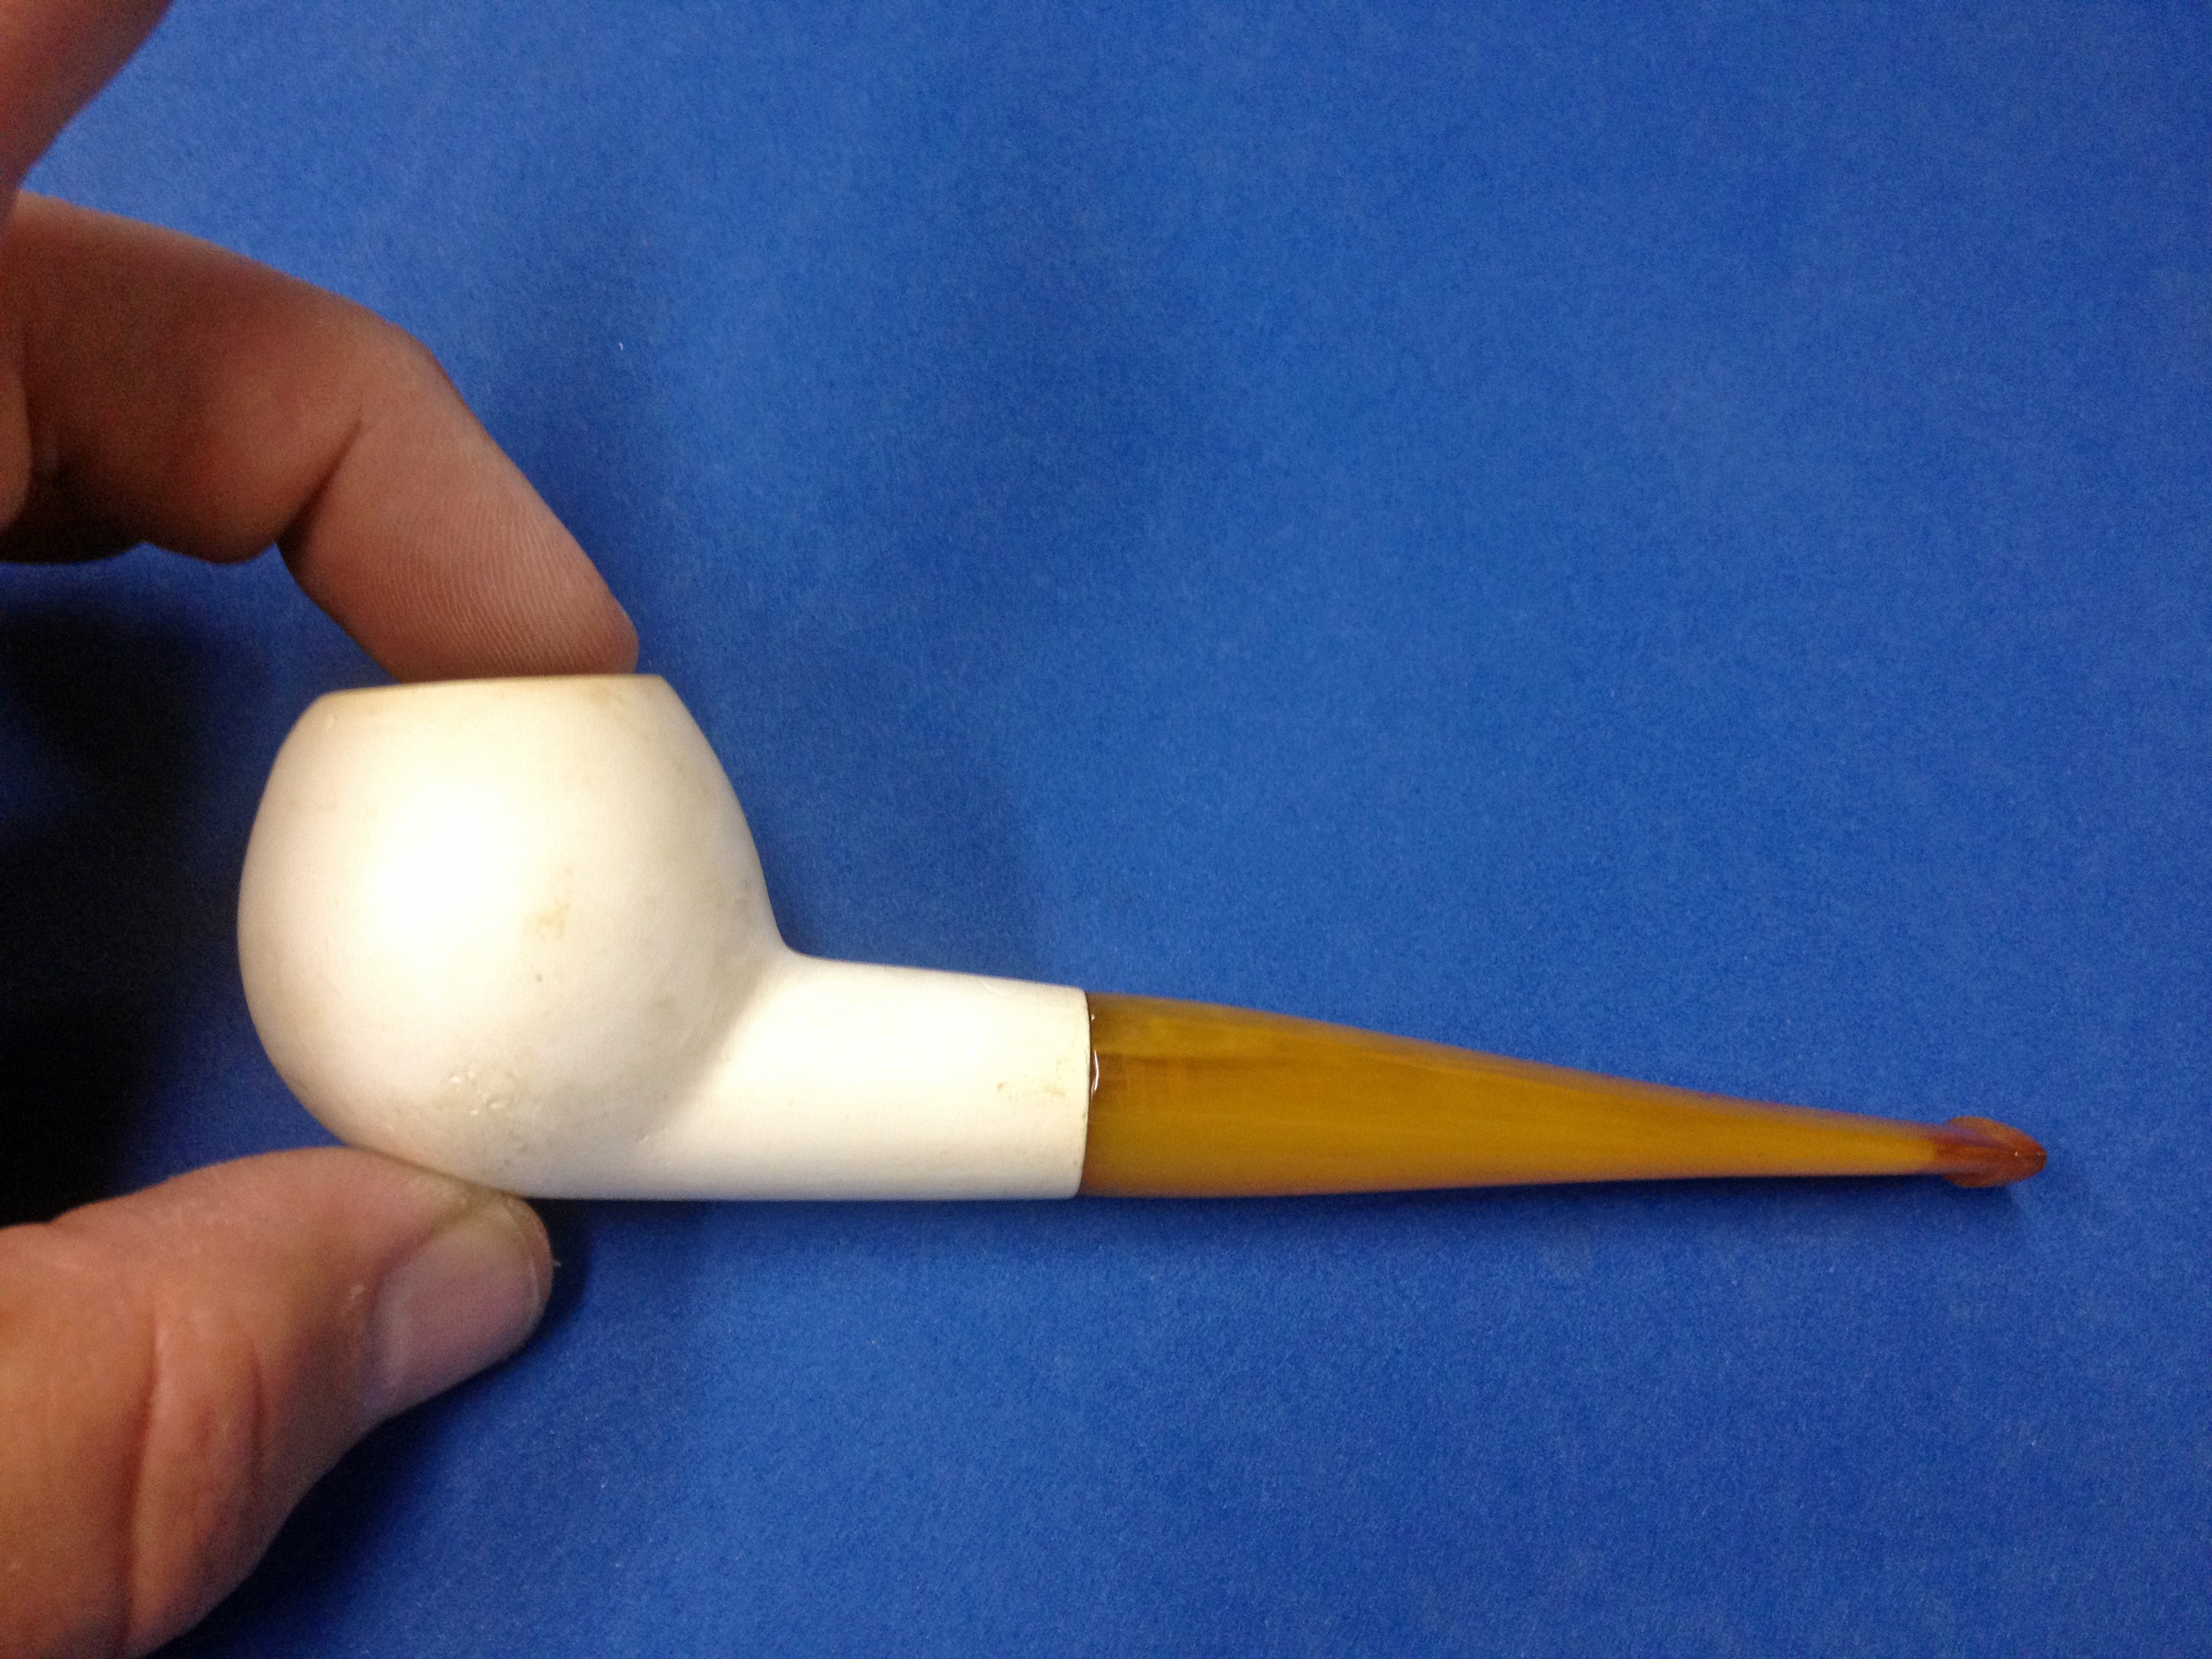
 I took photos of the rim top to show the meerschaum lining in the bowl and the condition of the amber taper stem. It is a beauty.
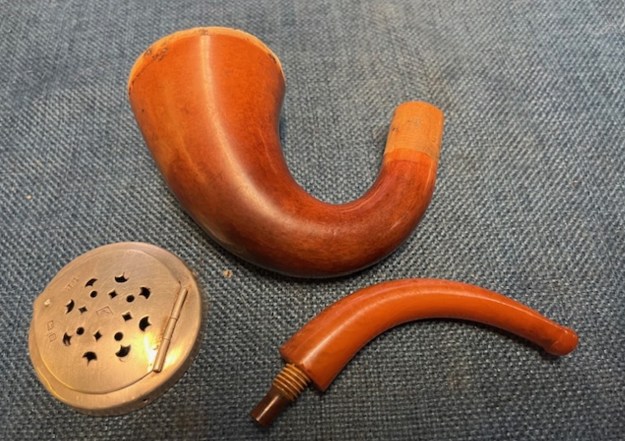
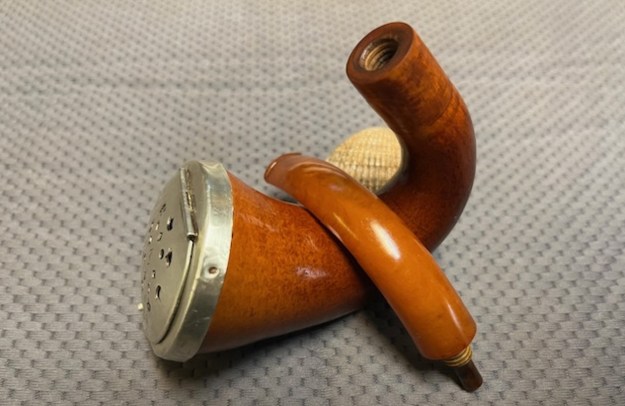
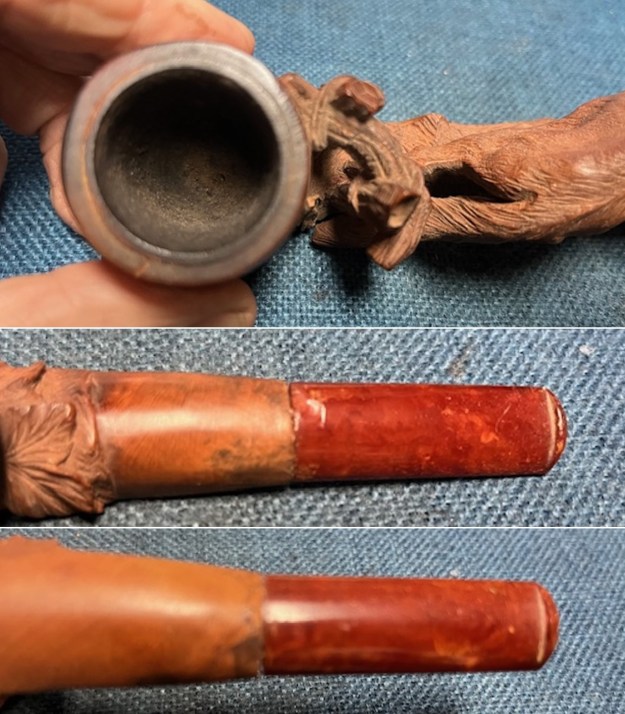 I removed the stem from the shank and took a photo of the parts. It is a well shaped carved pipe and the amber stem works well with the pipe.
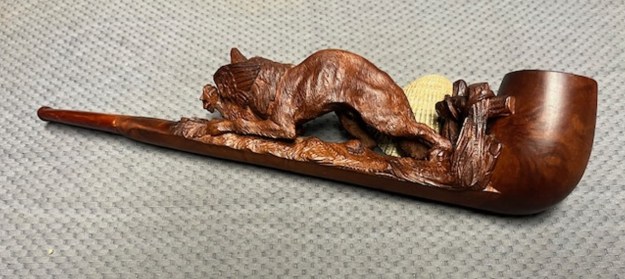
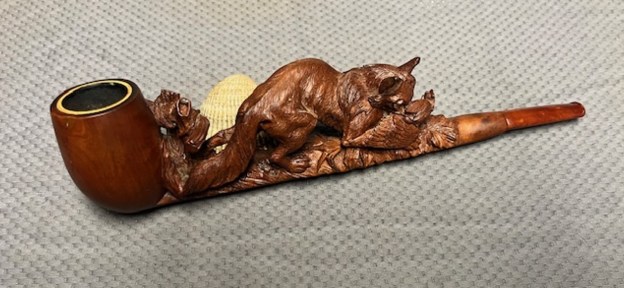
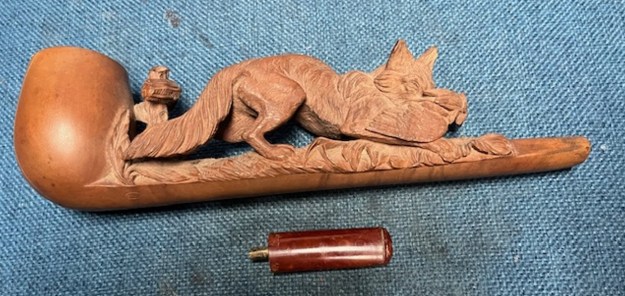 I took some photos of the carving on the shank that clearly showed the fox and hen as well as the fence on the back of the bowl and the grass and greens trampled under the feet of the fox and the hen. The feathers on the bird and the fur on the fox are very well done.
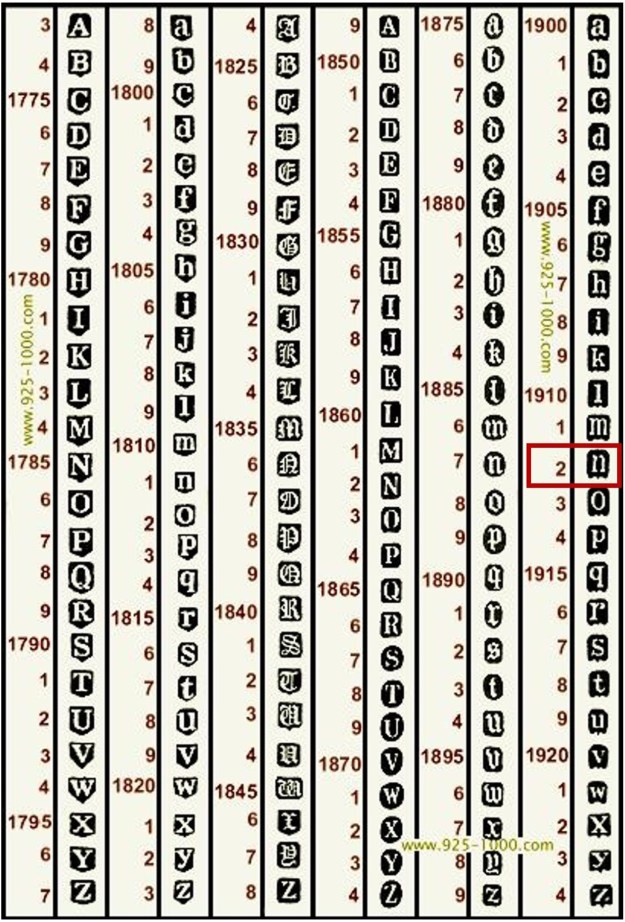
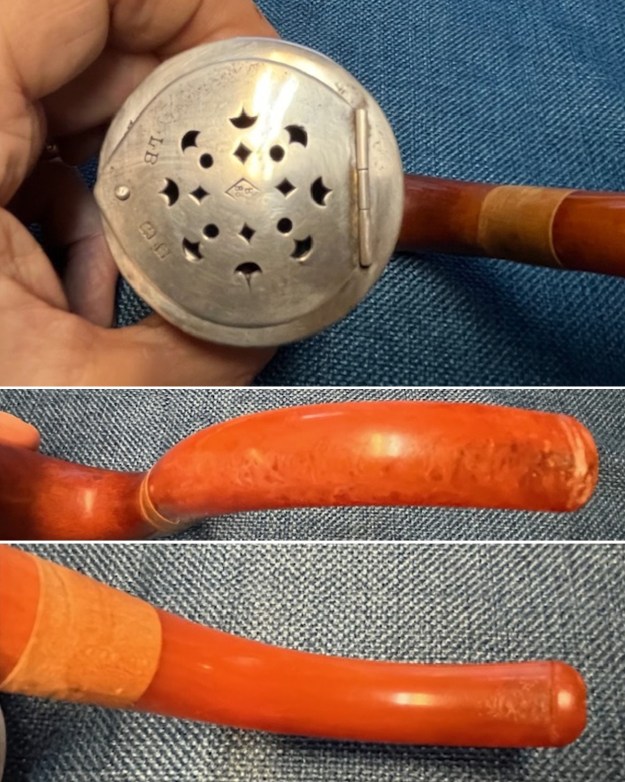
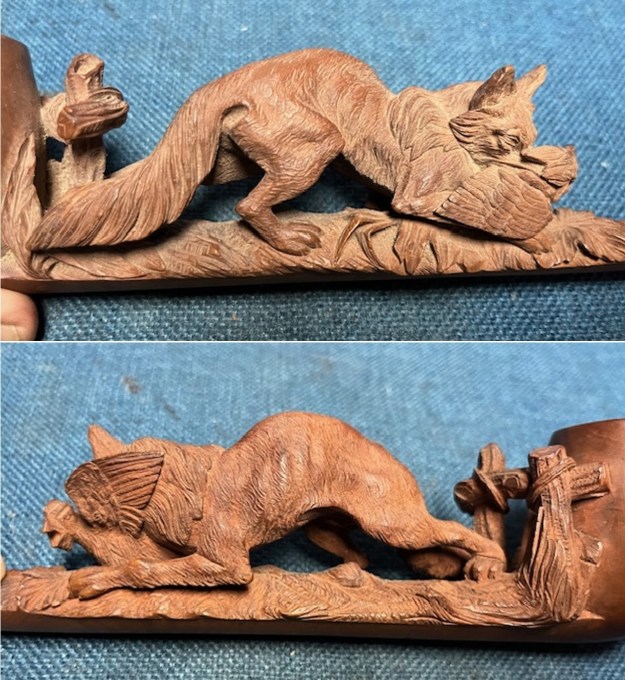 There is a VFSH in an oval stamp on the underside of the shank just ahead of the bowl. It is on both the left and right side of the shank.
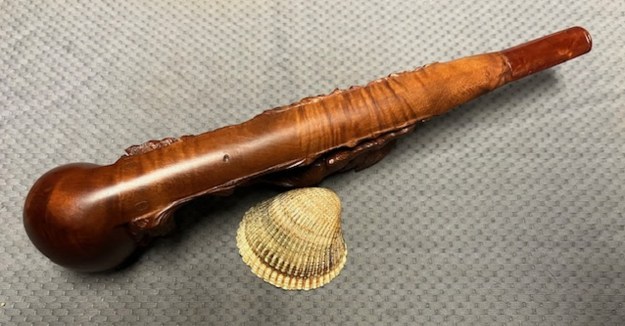
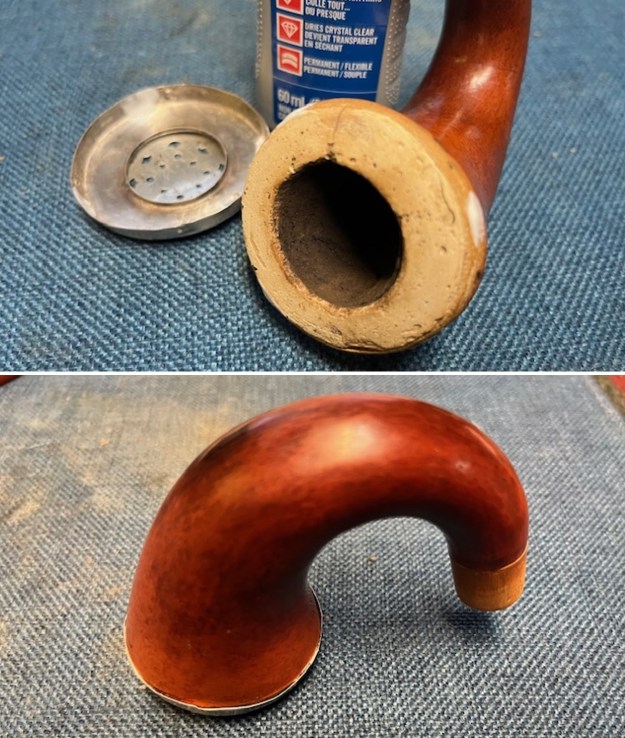
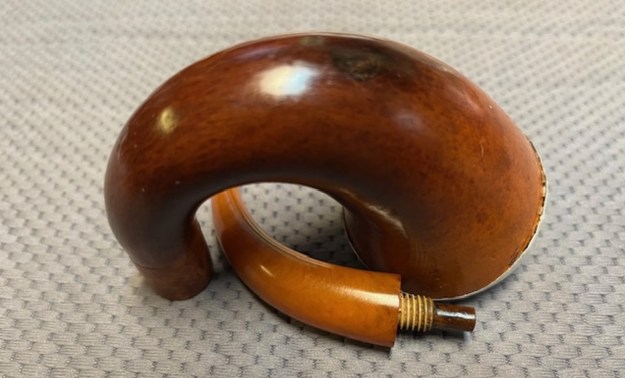
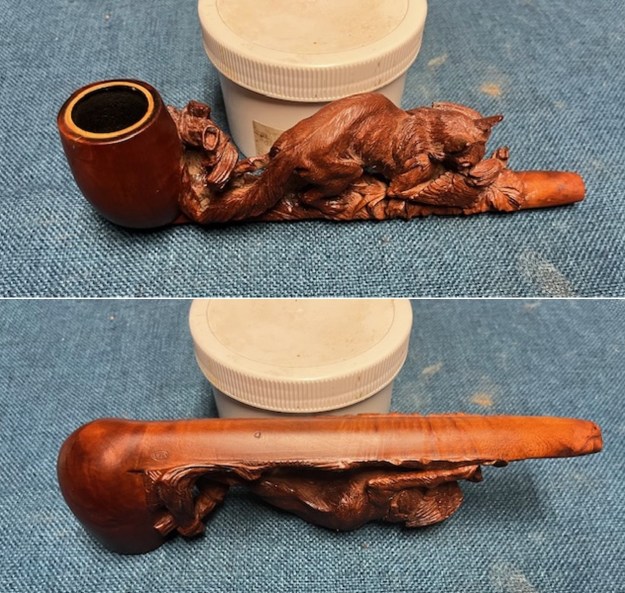
 The briar bowl that held the meerschaum liner had a large crack running down the right front of the bowl from the rim top down to the heel of the bowl. The inner meerschaum bowl is snug in the briar outer bowl and should be a reasonably easy repair.
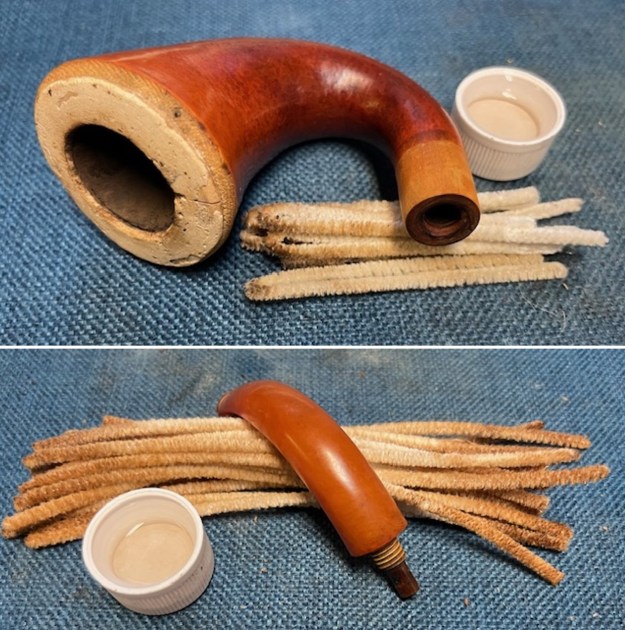
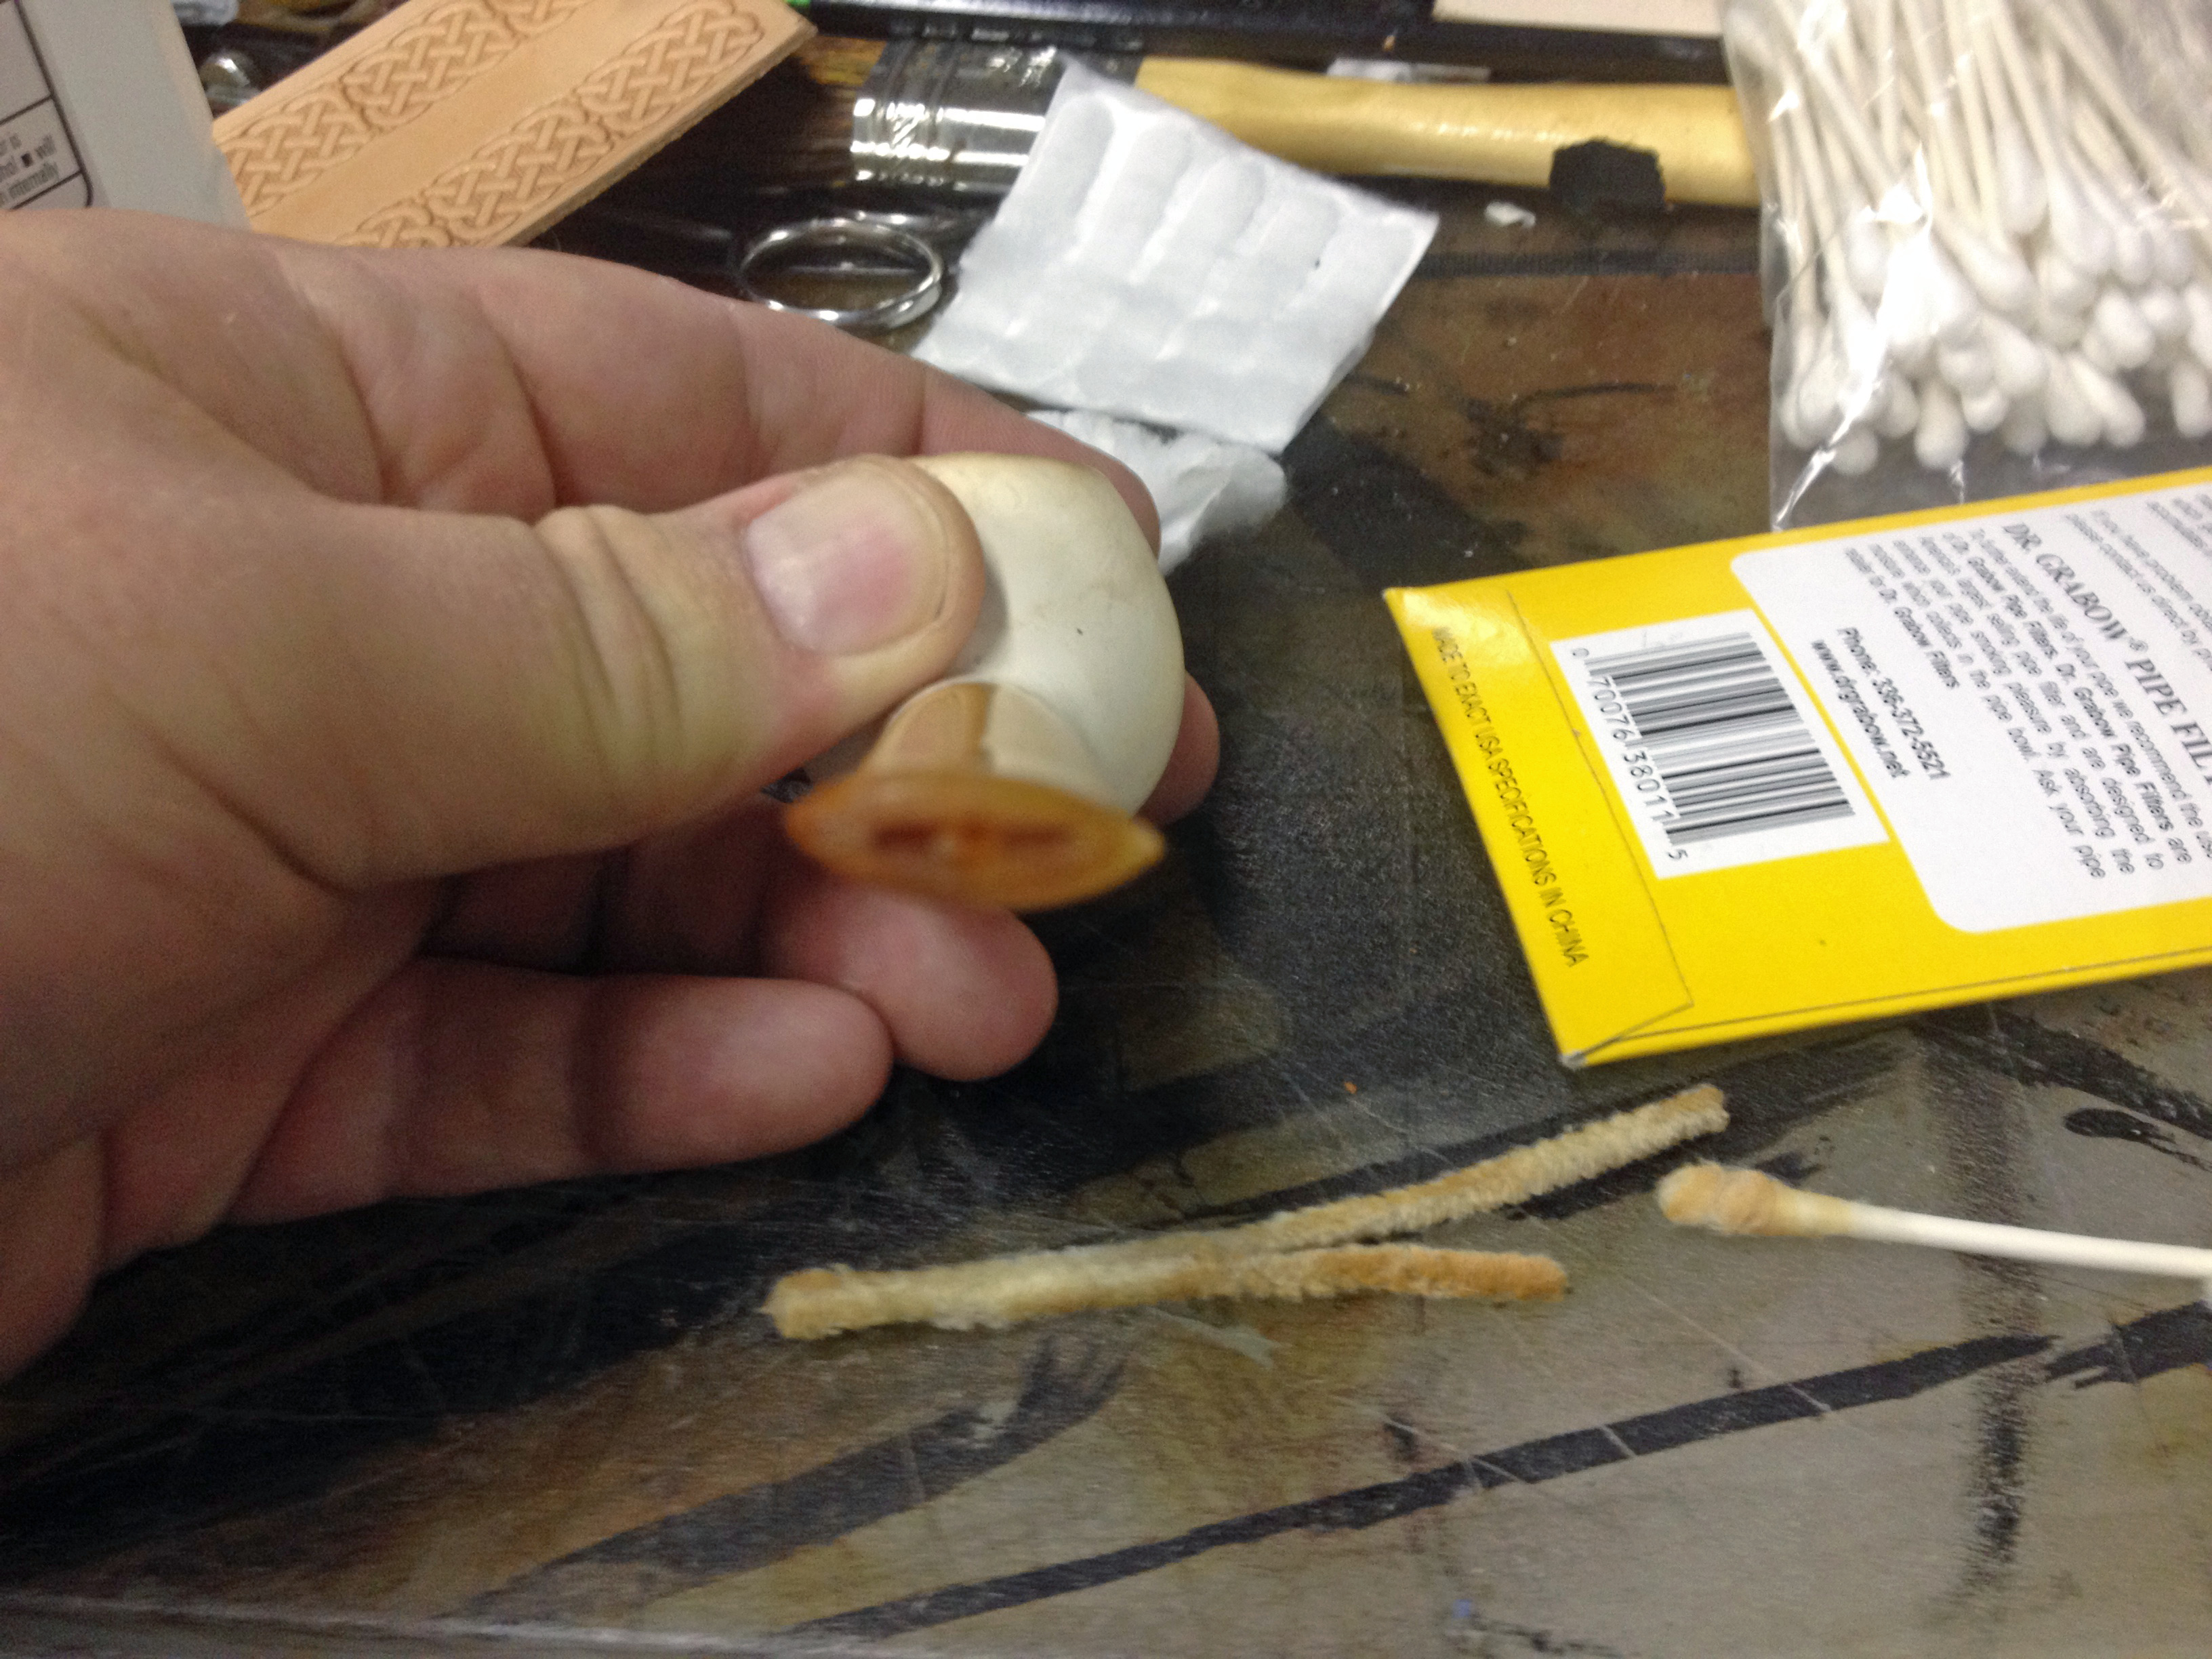
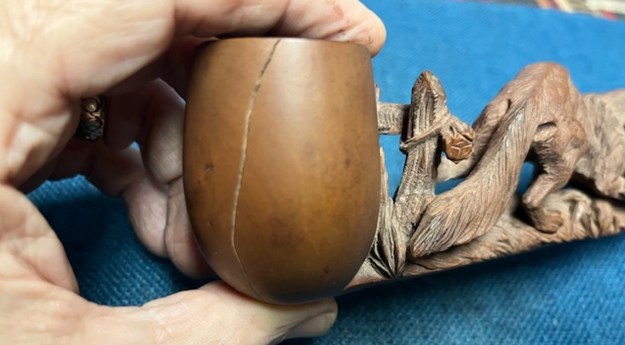 I reamed the bowl with a Savinelli Fitsall Pipe Knife to carefully scrape the cake from the bowl. I took the cake back to smooth walls. I sanded the bowl with 220 grit sandpaper wrapped around a dowel to smooth out the walls of the meerschaum.
 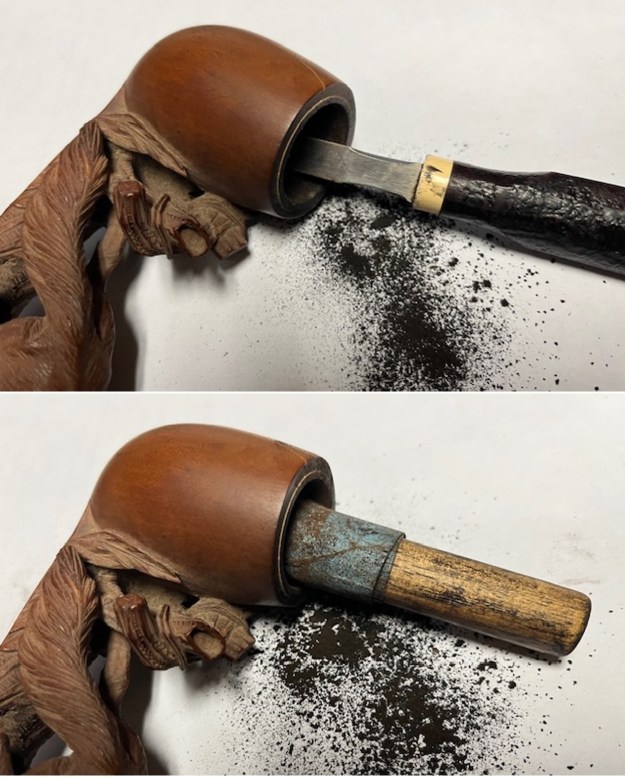 I used a medium grit sanding block to remove the build up on the rim top of the outer briar bowl and the meerschaum liner.
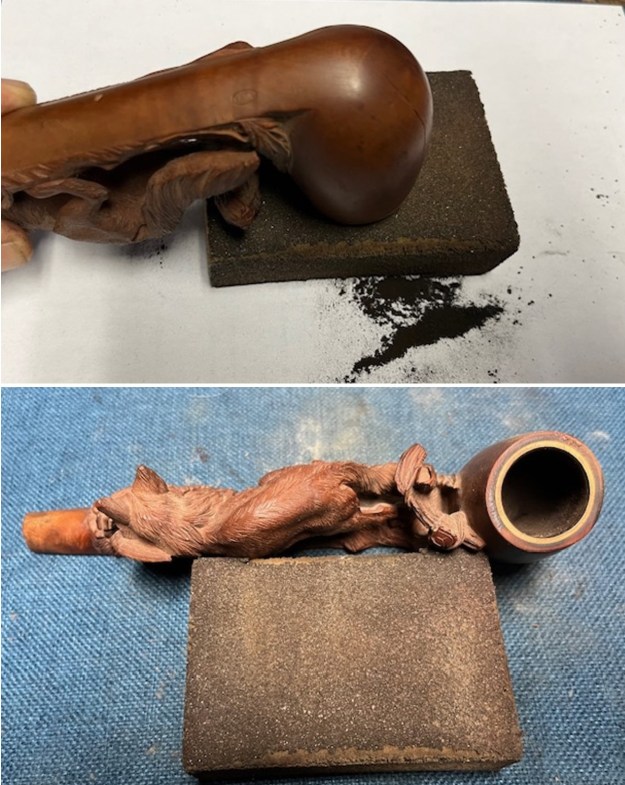 I repaired the crack with clear CA glue and briar dust. I filled in the crack with clear CA glue and then pressed briar dust into the crack with a flat dental file. I sanded the repaired area with 220 grit sandpaper to smooth out the repair.
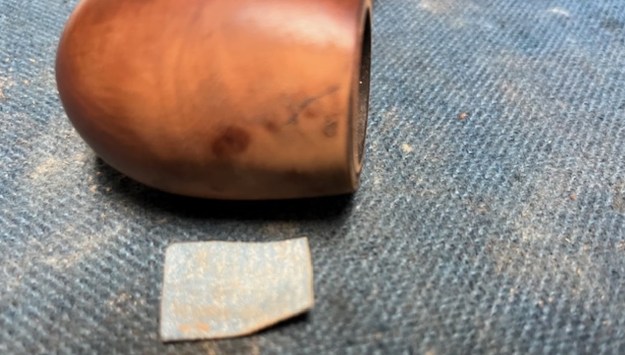
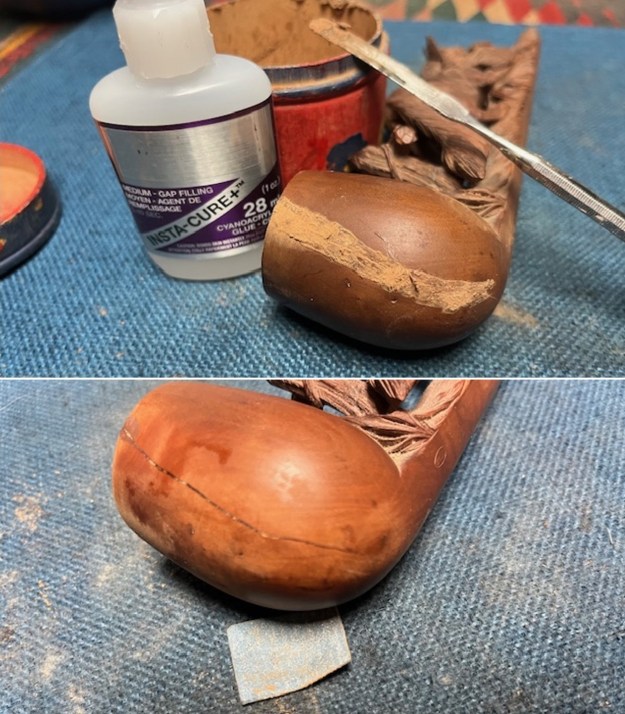
 I scrubbed the carved bowl and shank with a tooth brush and undiluted Murphy’s Oil Soap and warm water. I worked over the nooks and crannies with the brush and the soap. I rinsed the pipe off with warm water to remove the soap and debris on the surface. I dried the briar with a soft cloth.
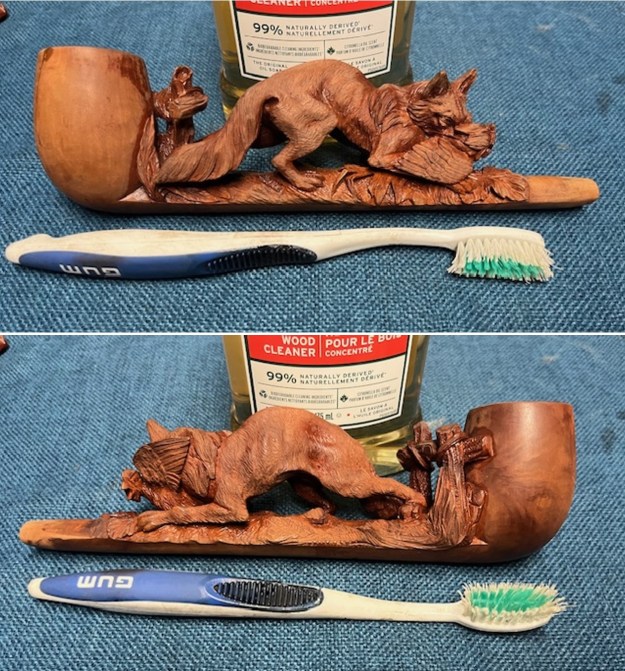
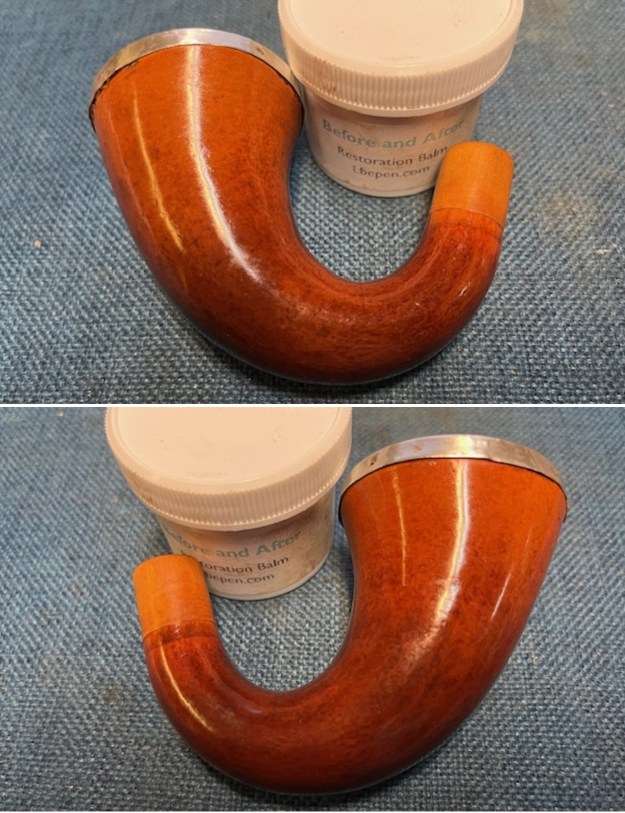
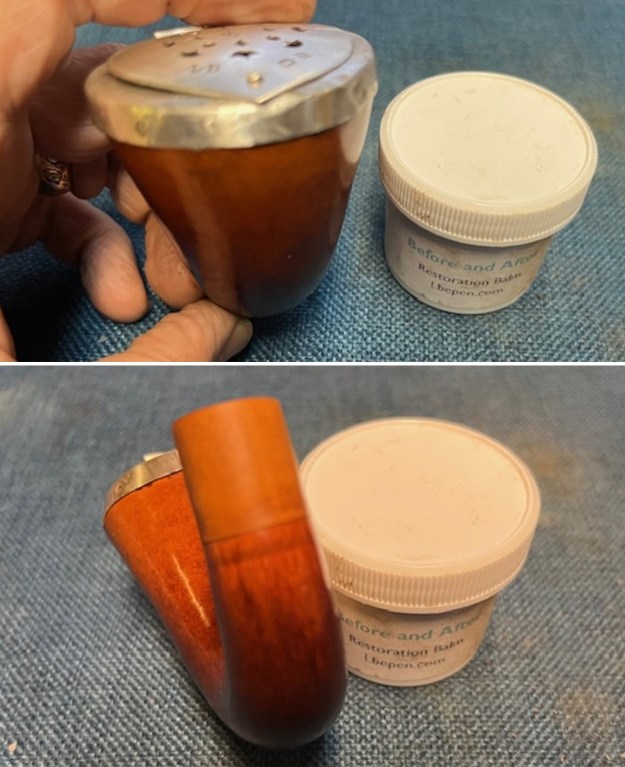
 I rubbed the briar down with Before & After Restoration Balm and worked it into the carving as much as possible with a horse hair shoe brush and qtip cotton swabs. The intricate carving on parts of the fox and hen were slow and tedious work but it made a difference to the briar once it was thoroughly worked into the surface.
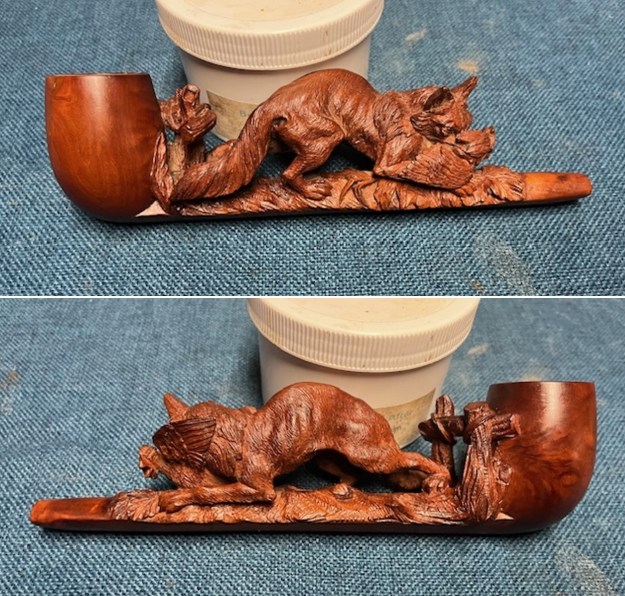
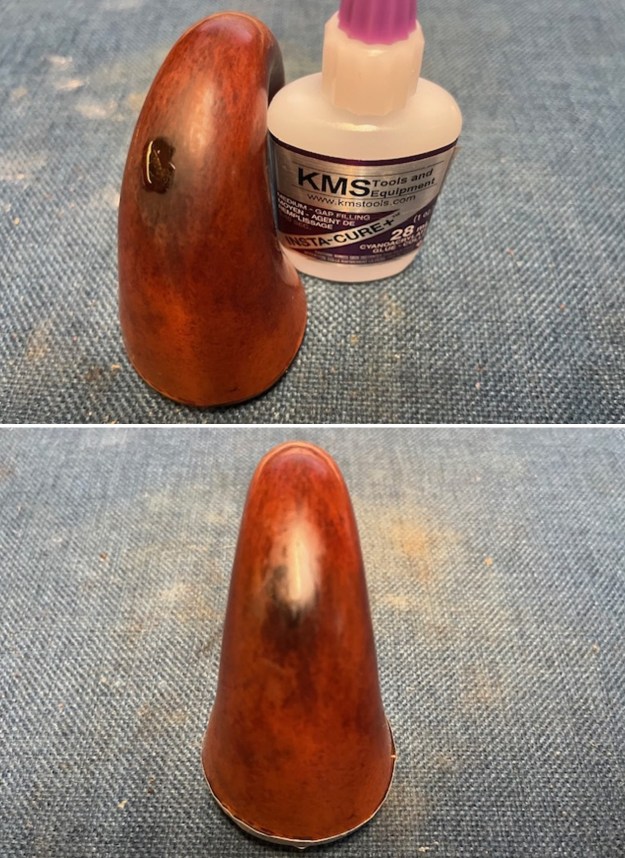
 I set the bowl aside and turned my attention to the stem. The amber stem had some chips in the surface on the top right side. I filled them in with clear CA glue. Once the repair cured I sanded the stem smooth with 220 grit sandpaper.
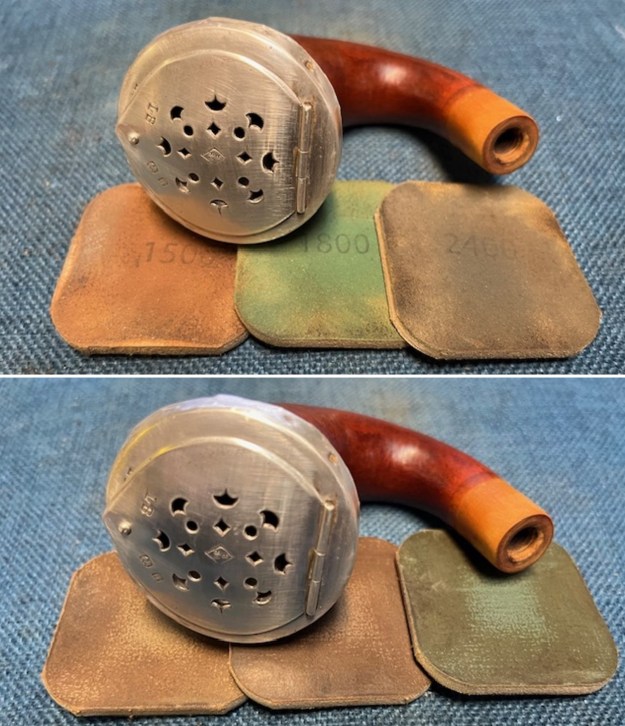
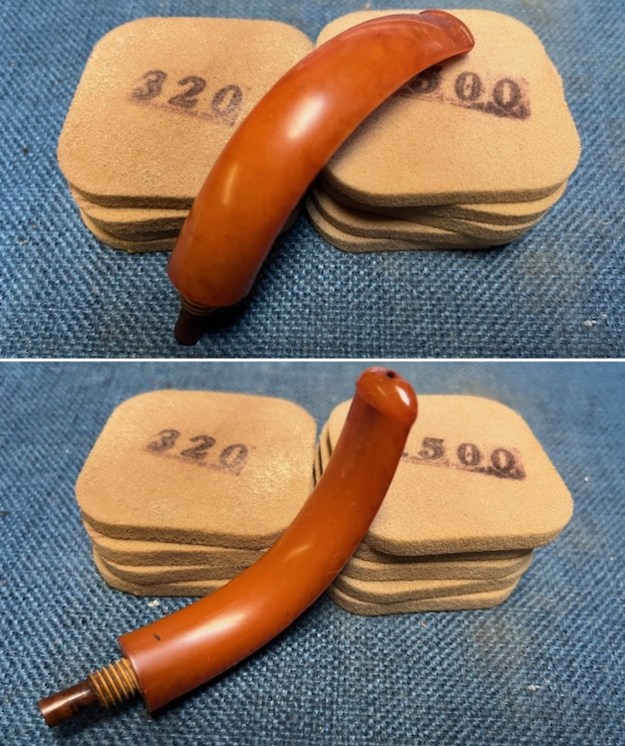
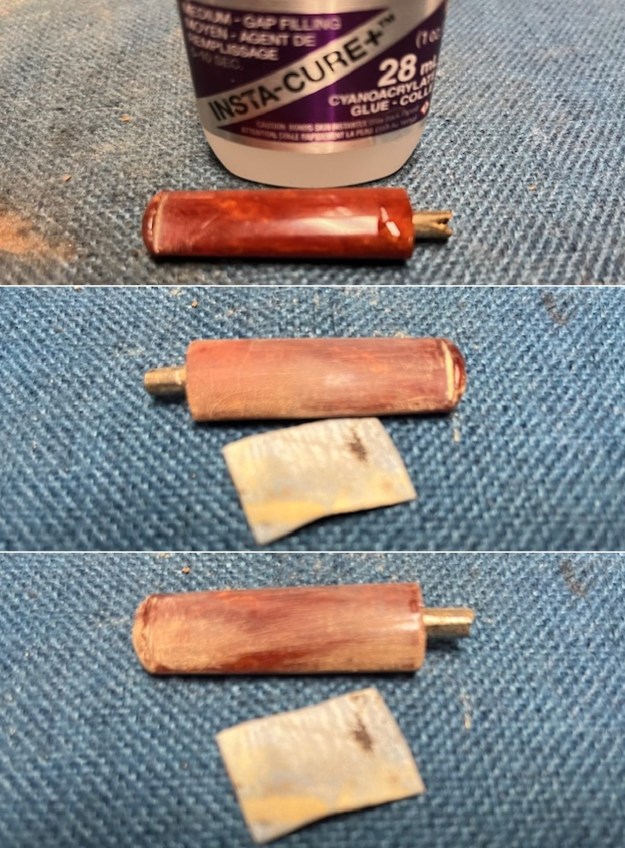 I sanded the stem with 320-3500 grit 2×2 inch sanding pads. I worked over the repaired areas and the entirety of the amber stem with the pad – dry sanding with each pad. I wiped the stem down after each sanding pad with a cloth and Obsidian Oil. It really began to look better.
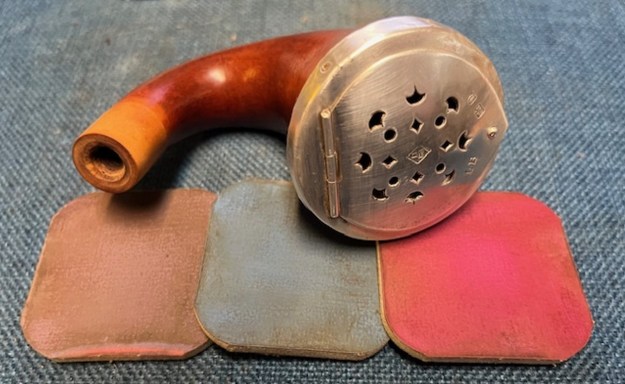
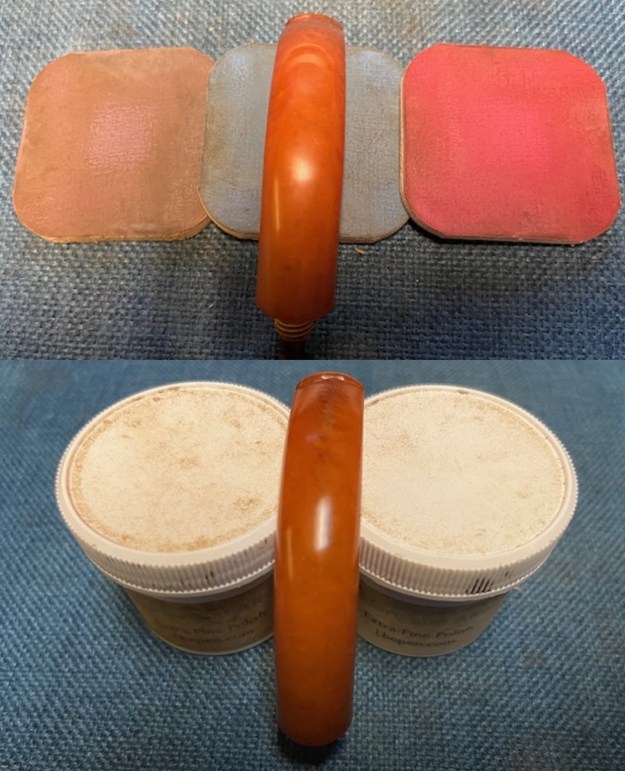
  I polished the stem with 1500-12000 grit micromesh sanding pads. I dry sanded it and after each sanding pad I wiped it down with an Obsidian Oil cloth. Once finished it took on a rich shine and glowed with the warmth of amber.
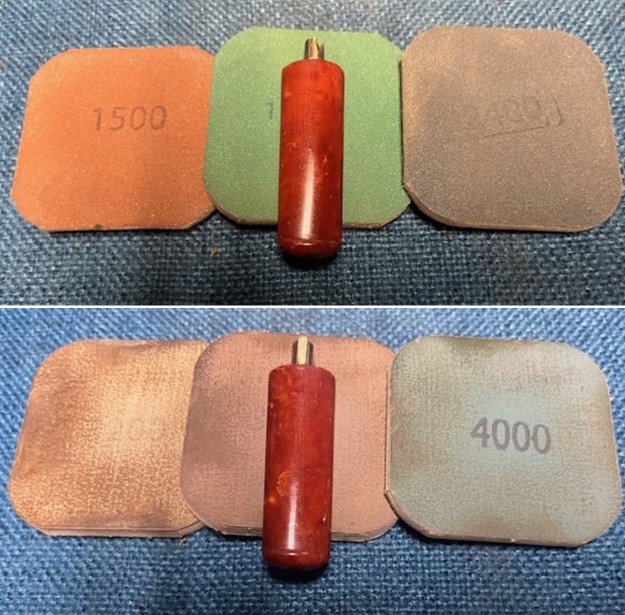
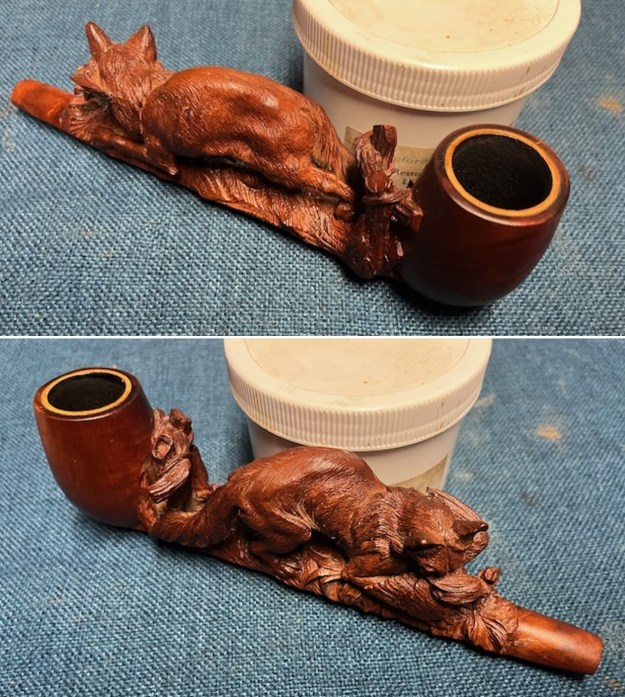
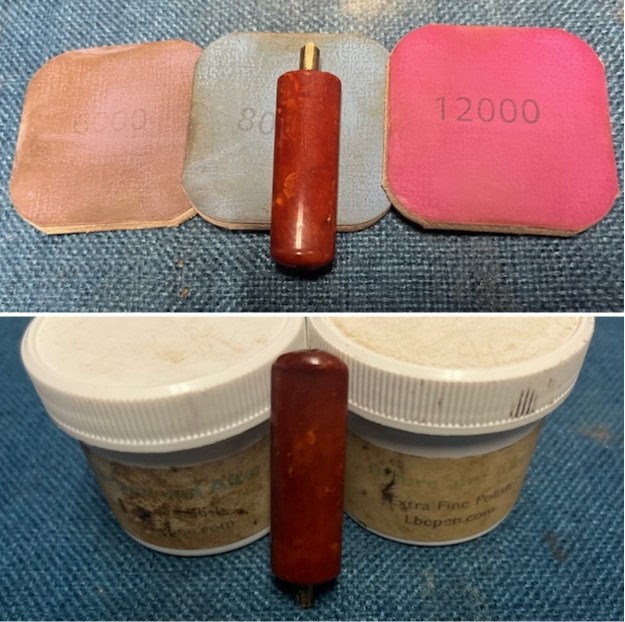 This Hand Carved Meerschaum Lined Fox and Chicken Canadian has a beautiful, unique carved finish on a smooth bowl and shank. The large smooth meerlined pipe has some great grain around the bowl and shank. The well done carving is almost alive looking with the fox shaking the hen in his mouth. The polished reddish amber stem adds to the mix. I put the stem back on the bowl and hand buffed the pipe with a soft cloth. I gave the stem multiple coats of Clapham’s beeswax/carnauba wax mixture with my finger tips and a qtip. I followed that by buffing it with a microfiber cloth to deepen the shine. The finished Fox and Chicken Hand Carved Canadian is quite nice and feels great in the hand. Give the finished pipe a look in the photos below. The dimensions of the pipe are Length: 10 inches, Height: 2 ¼ inches, Outside diameter of the bowl: 1 ½ inches, Chamber diameter: 1 inch. The weight of the pipe is 104 grams/3.77 ounces. This one will be going into my own personal collection. Thanks for walking through the restoration with me as I worked over another beautiful pipe Thanks for your time.