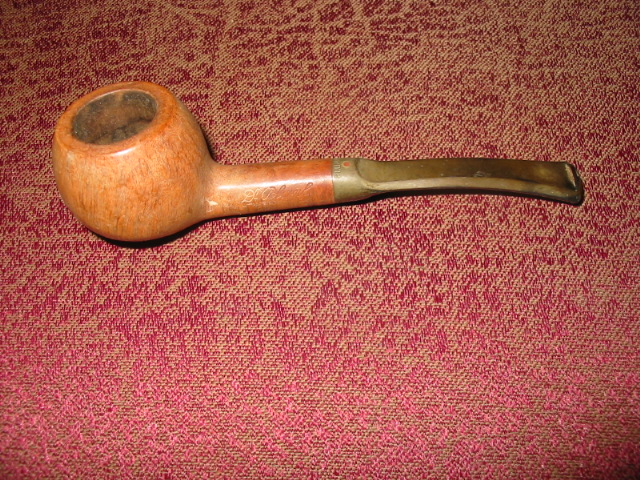
This past weekend I was in Lethbridge, Alberta as the speaker at a retreat for a friend of mine. As usual I took along my pipe and some tobacco and planned to sit on his front porch and enjoy a few bowls during the course of the weekend. We were sitting one night in his living room enjoying good conversation and a pint when he commented that he had been thinking of smoking a pipe. He wanted to know if I would teach him the ropes. Of course I agreed and the next afternoon we visited a couple of antique shops in search of a pipe for him. My experience in helping a newbie start is to find a seasoned pipe that is in good shape and use it to introduce the art of pipe smoking. The seasoned or estate pipe is already broken in and if it has been cared for is not too difficult to clean up and restore. We found just the pipe at the third shop we visited. It is a nice apple shaped pipe that was in fairly decent shape. He paid the $9 price on the pipe and we took it home.
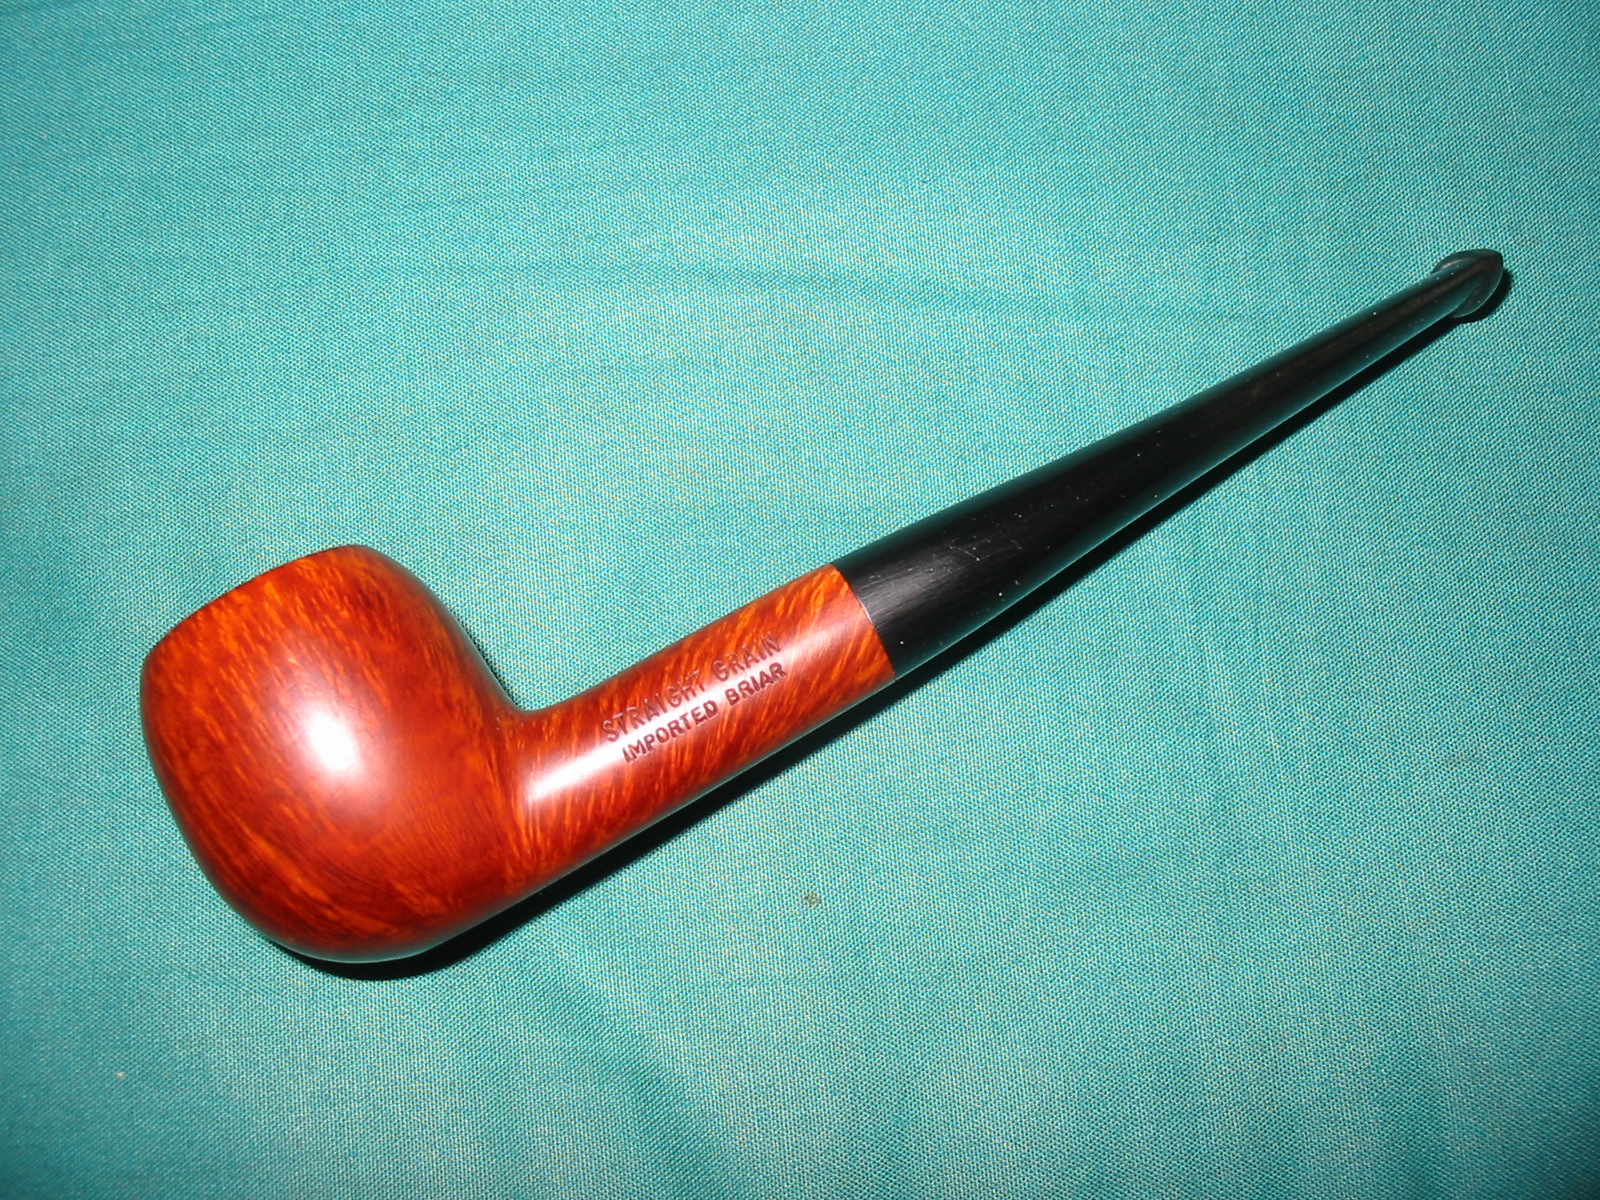
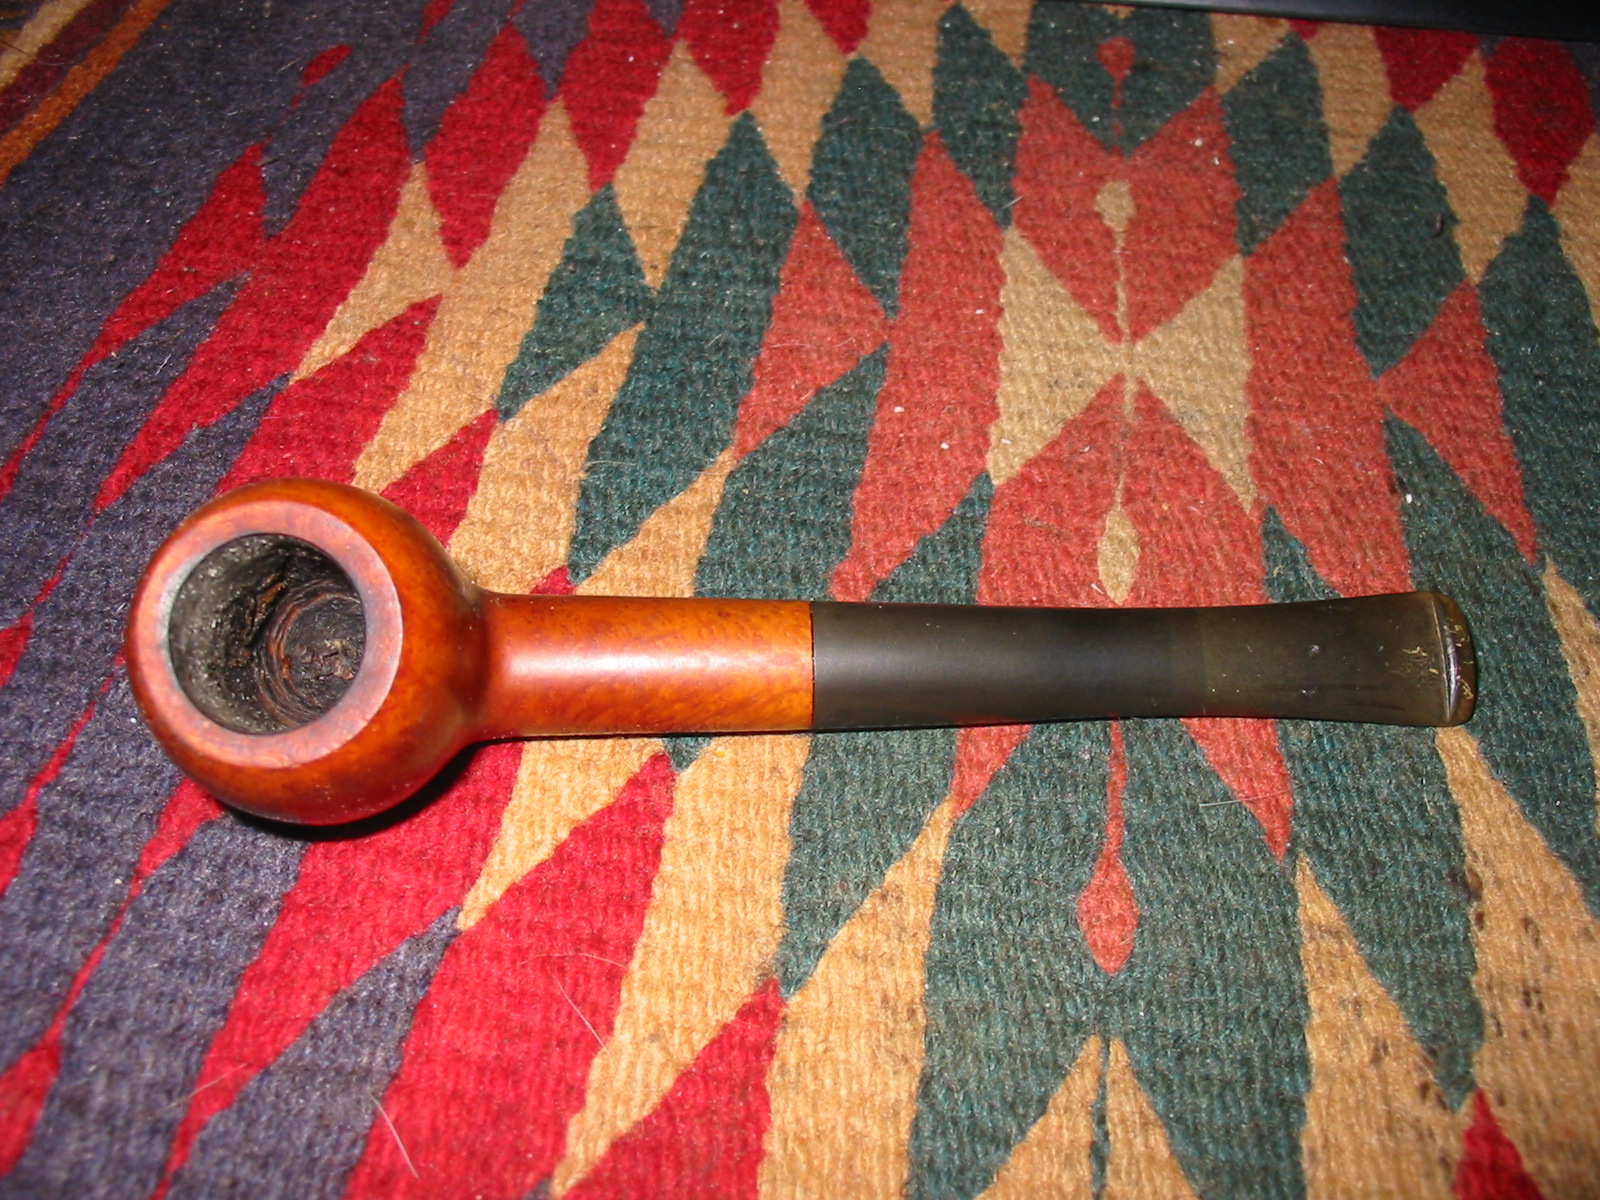
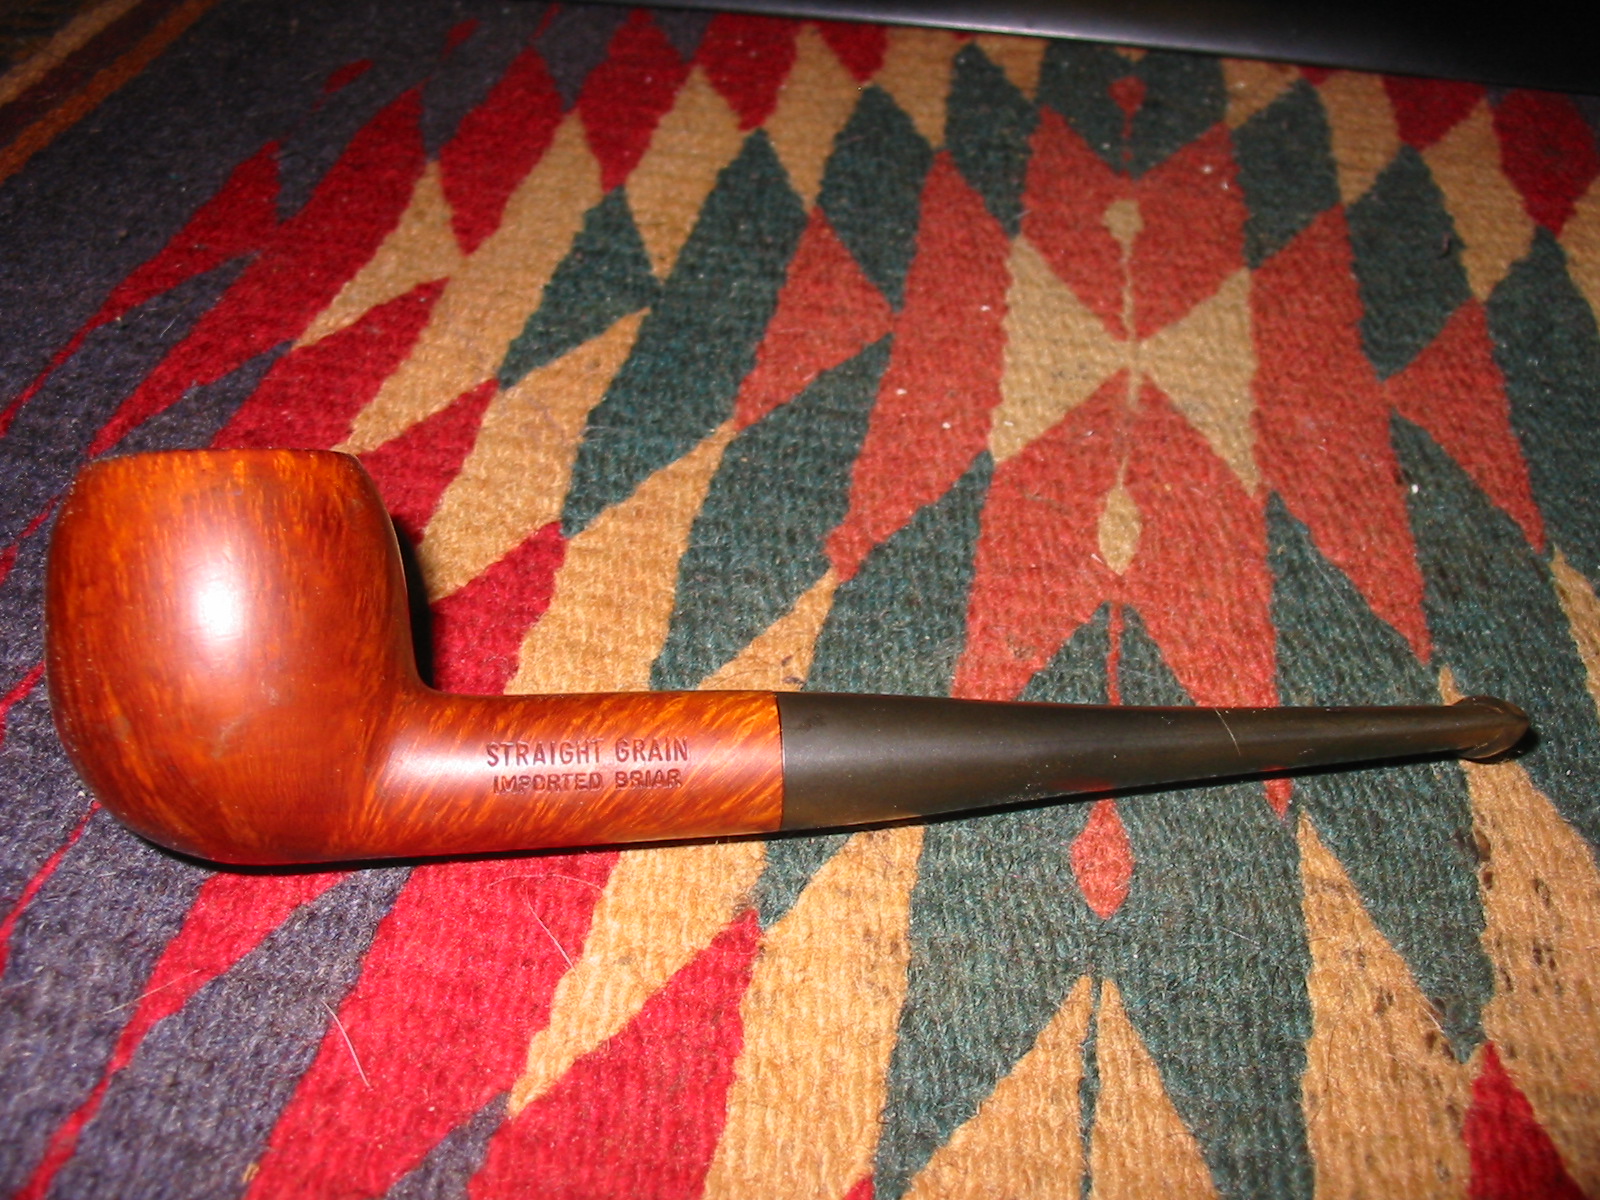
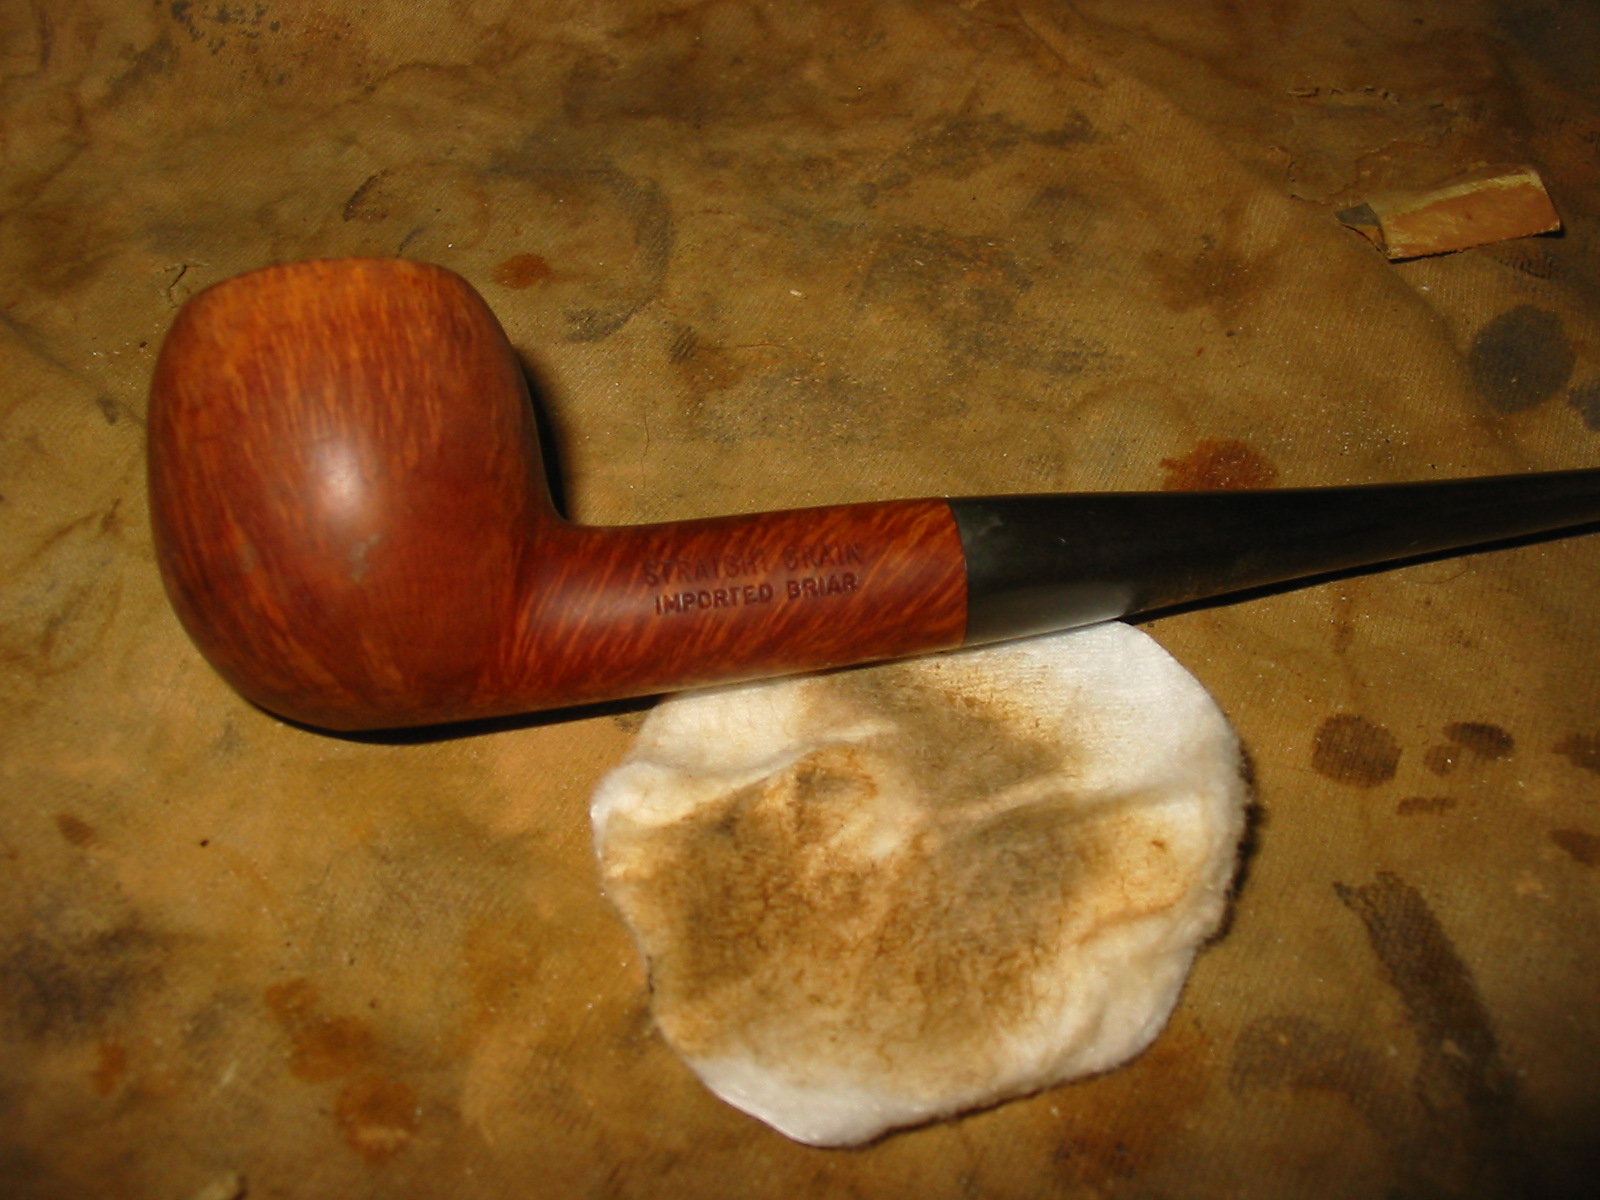
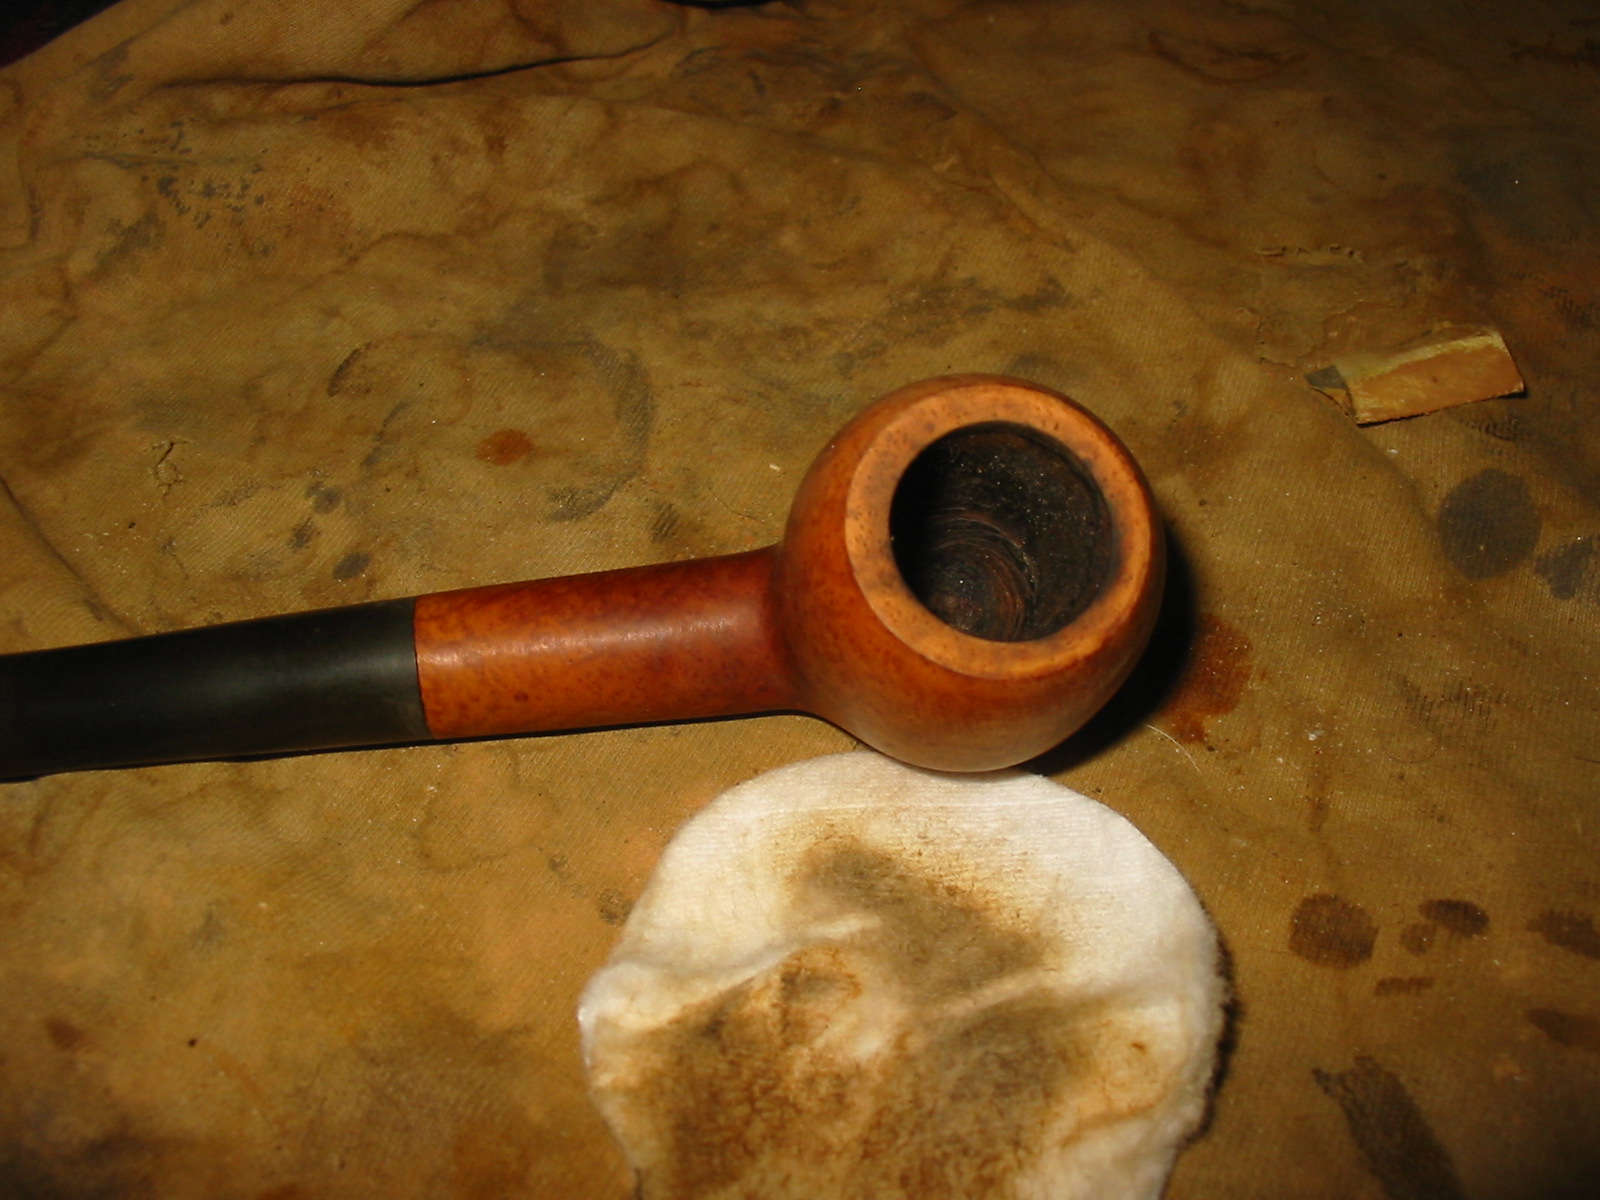
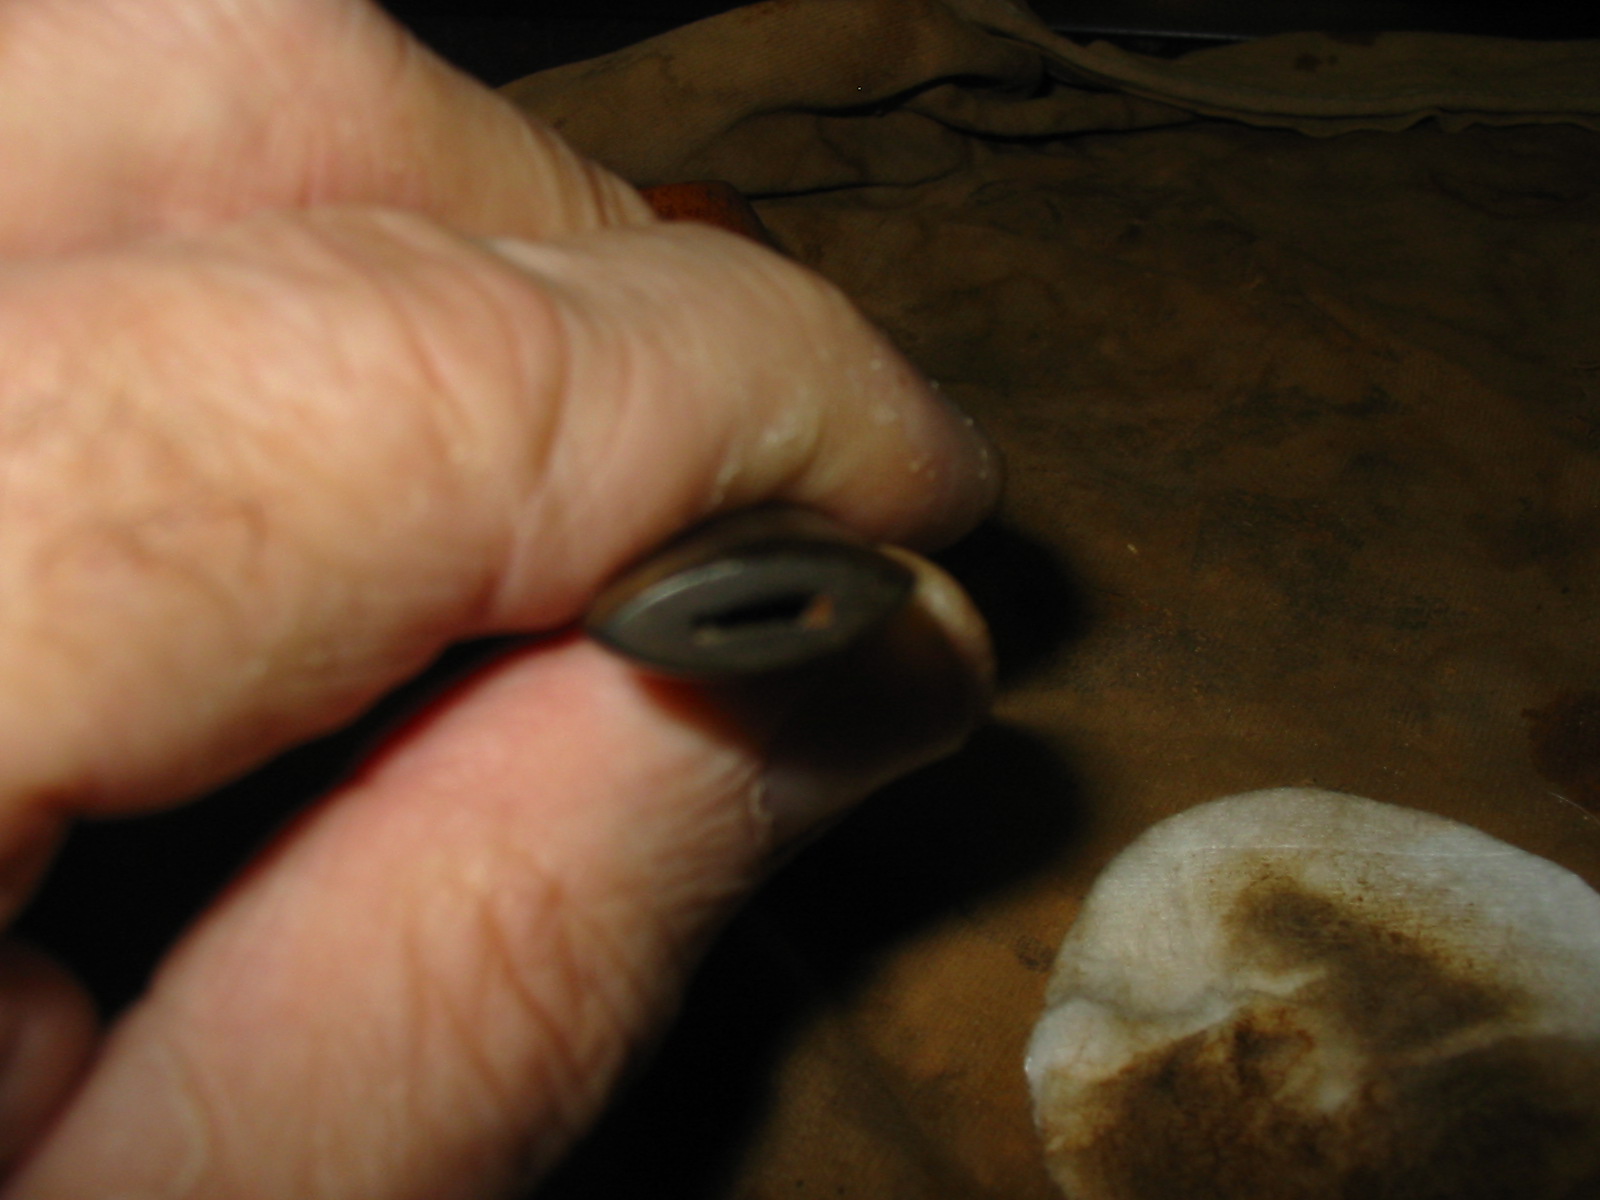
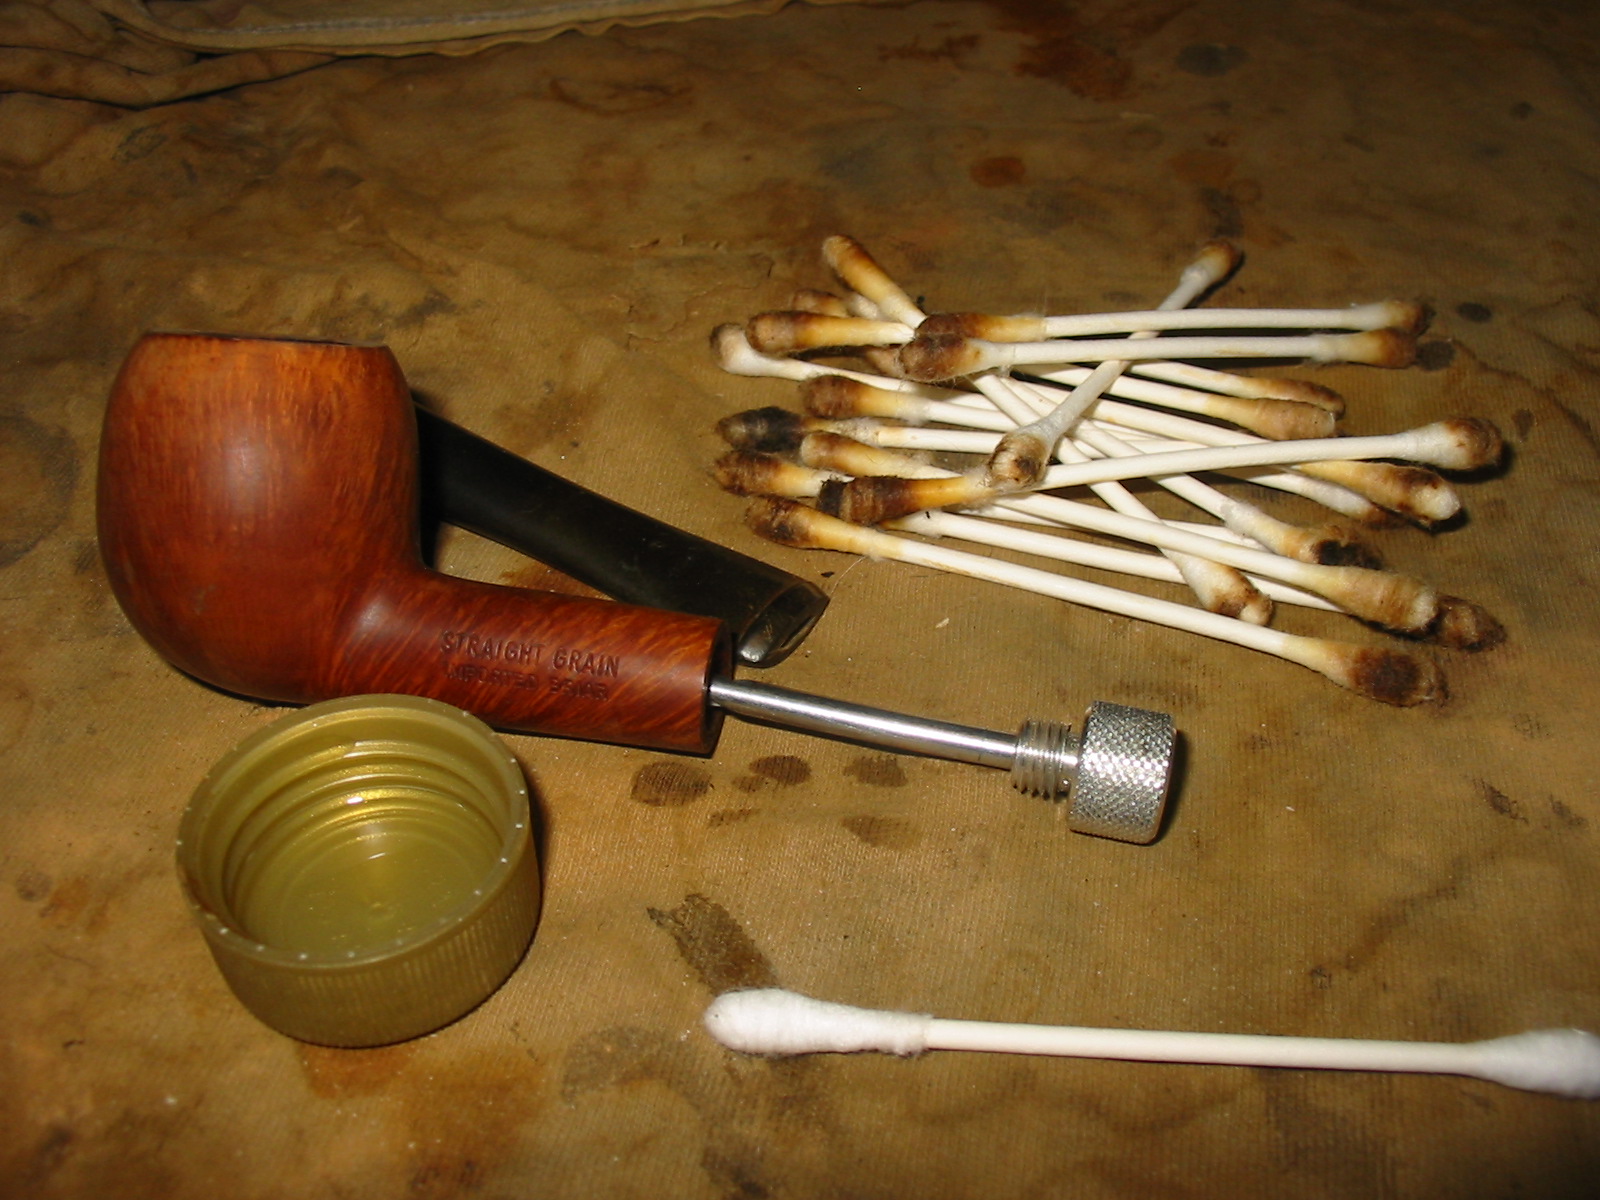
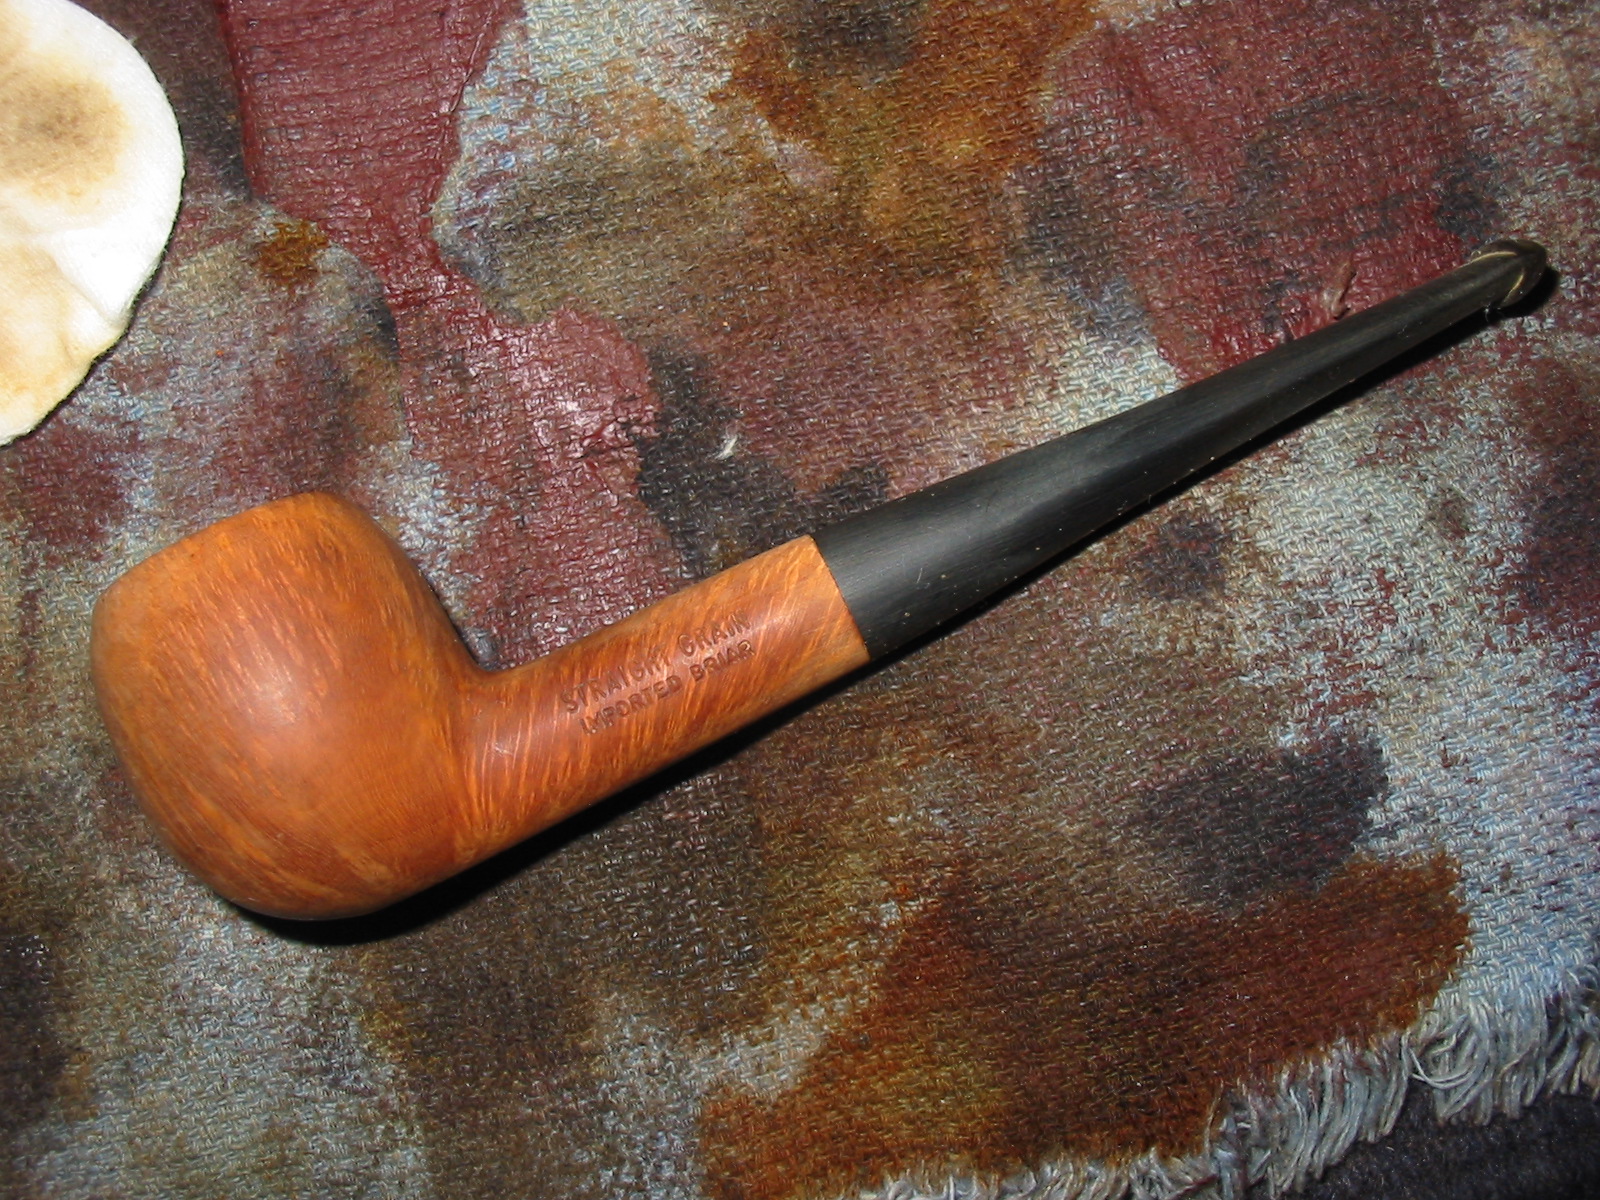
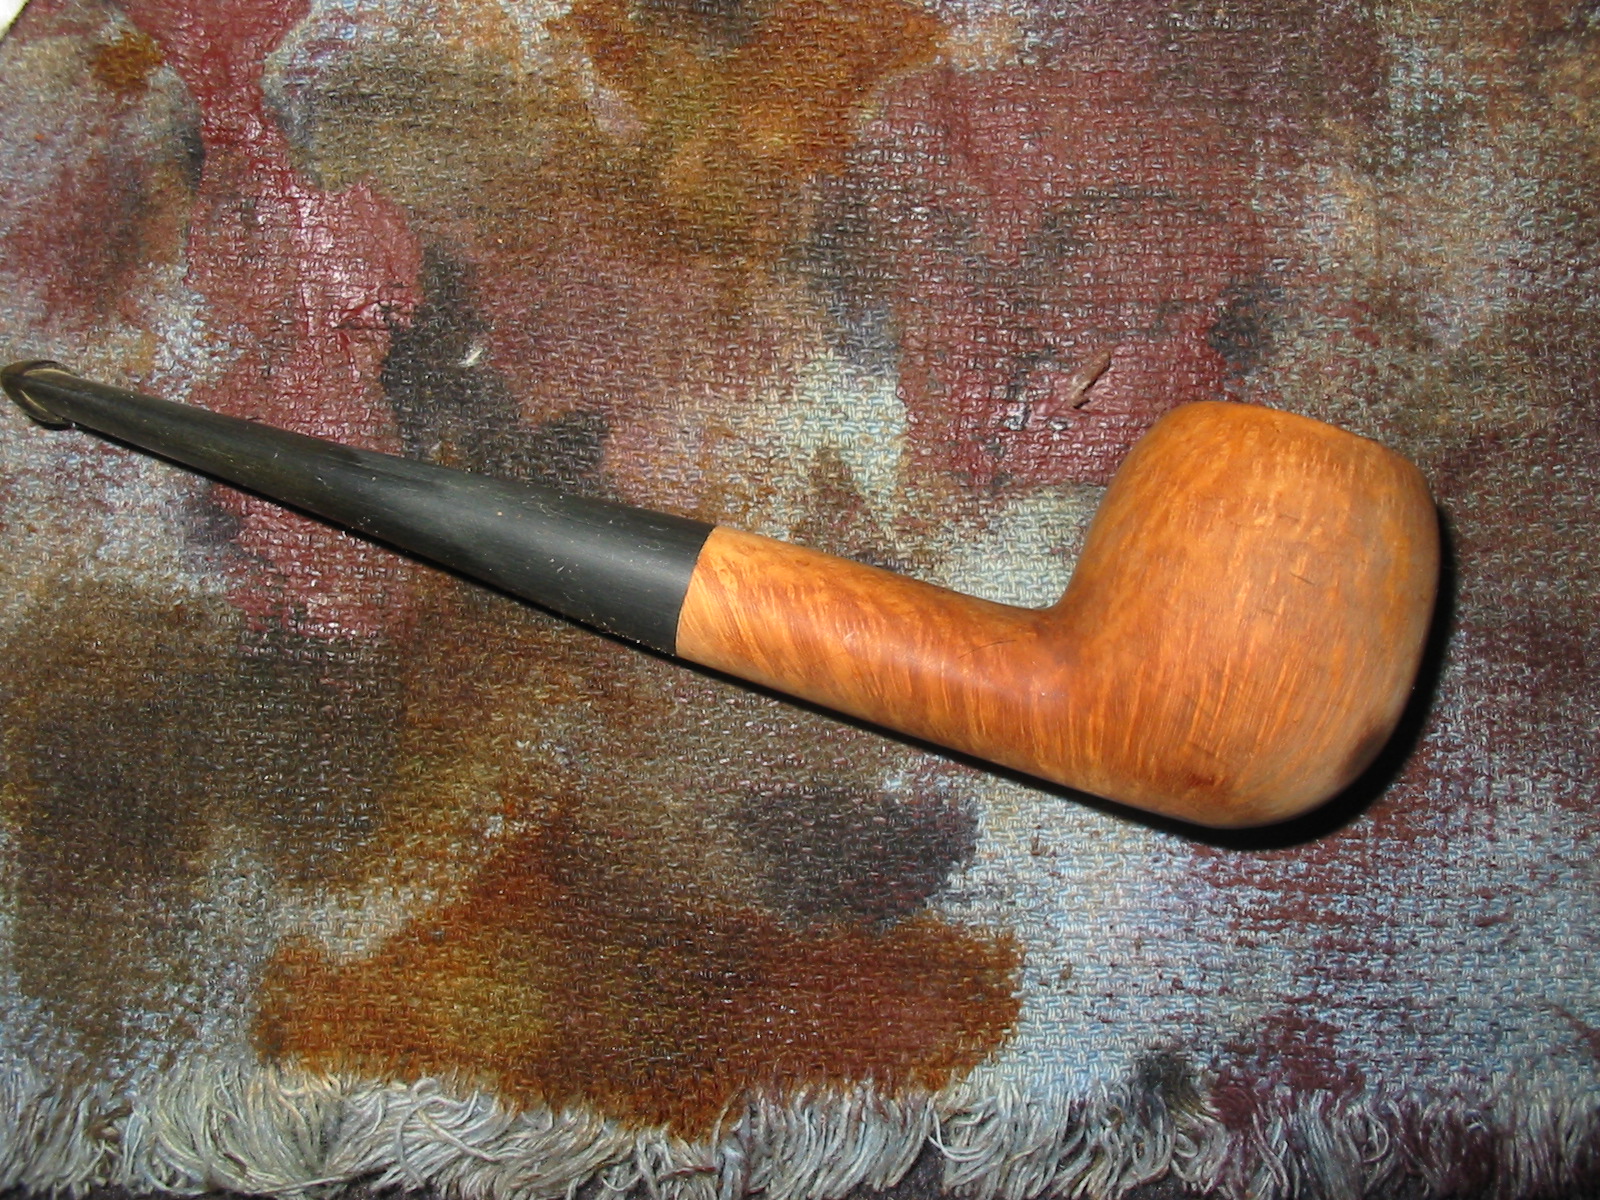
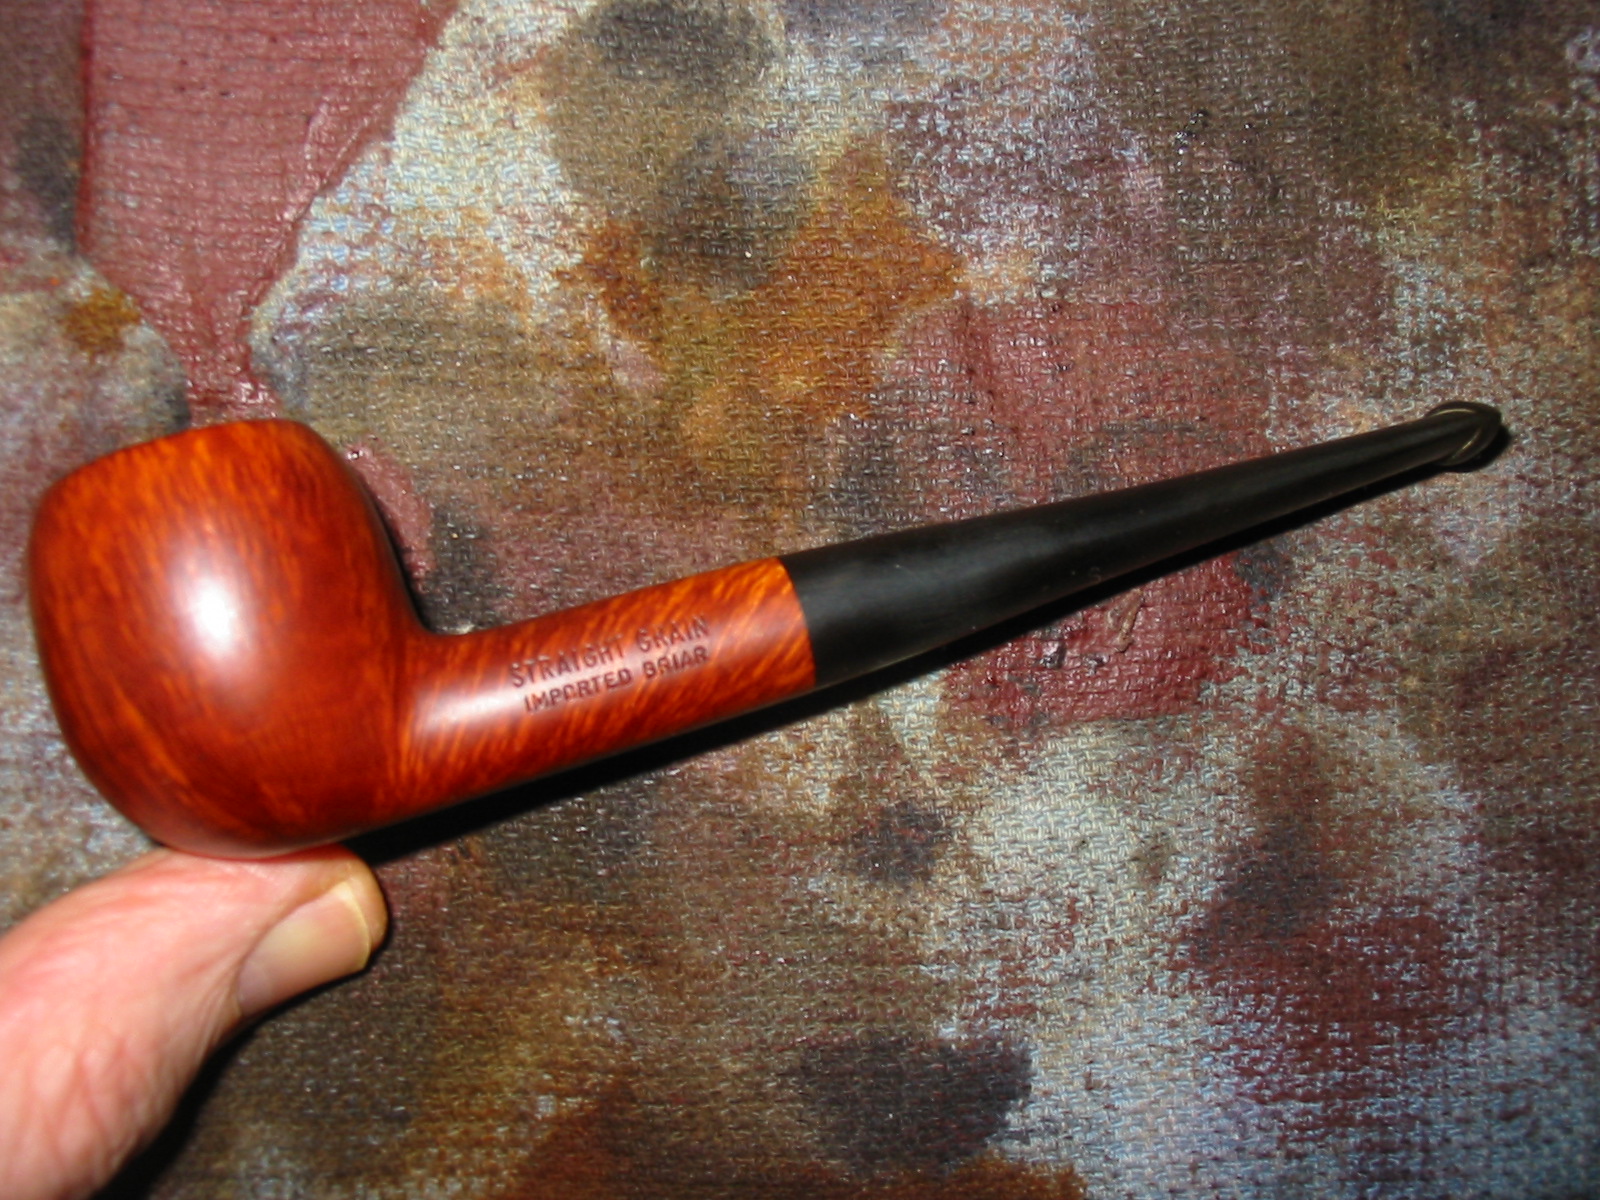
I asked him for some isopropyl alcohol, some cotton swabs, cotton makeup pads, and a sharp knife. I had some pipe cleaners with me so that we could field dress the pipe and clean it enough that he could smoke a bowl with me. The pipe had a slight burn on the front right of the bowl toward the bottom from having laid it in an ashtray and having it come in contact with a cigarette. The rim was caked and dirty with buildup but undamaged. The bowl was caked and had some burnt tobacco in it. The stem was lightly oxidized and there was light tooth chatter near the button. There was a stinger apparatus in the tenon of the stem. The stamping on the pipe was on the left side and read Straight Grain over Imported Briar. There was no other stamping on the pipe.
I carefully reamed the bowl with the pocket knife to remove a large portion of the cake. I scrubbed the top of the rim with the cotton pads and saliva until I removed the buildup on the rim. I cleaned out the inside of the shank with the pipe cleaners and the cotton swabs and isopropyl alcohol. I removed the stinger, threw it away and scrubbed the exterior and the interior of the stem to make it ready for him to smoke. Once finished we loaded a bowl of tobacco – a light English blend and headed to his front porch to have a bowl. It took some work to get the hang of lighting and keeping the bowl lit but it worked well after several tries. We enjoyed the visit and the smoke and then headed back inside.
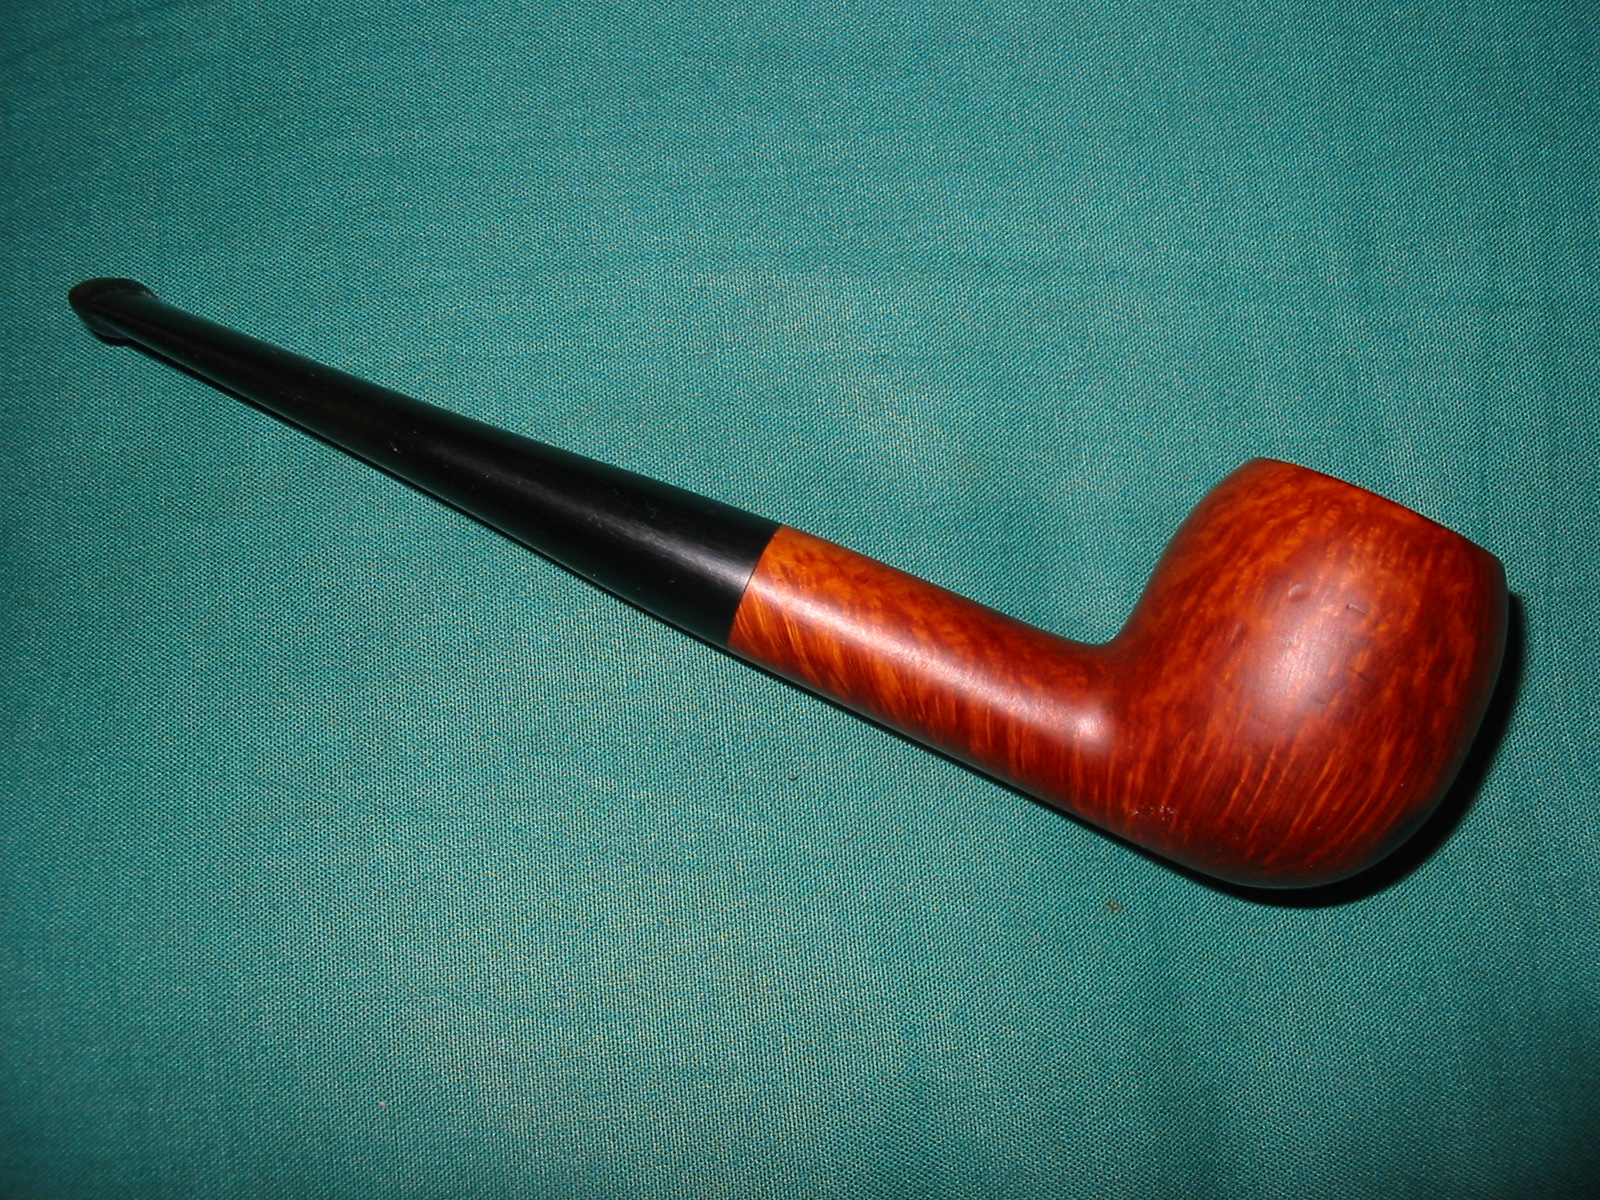
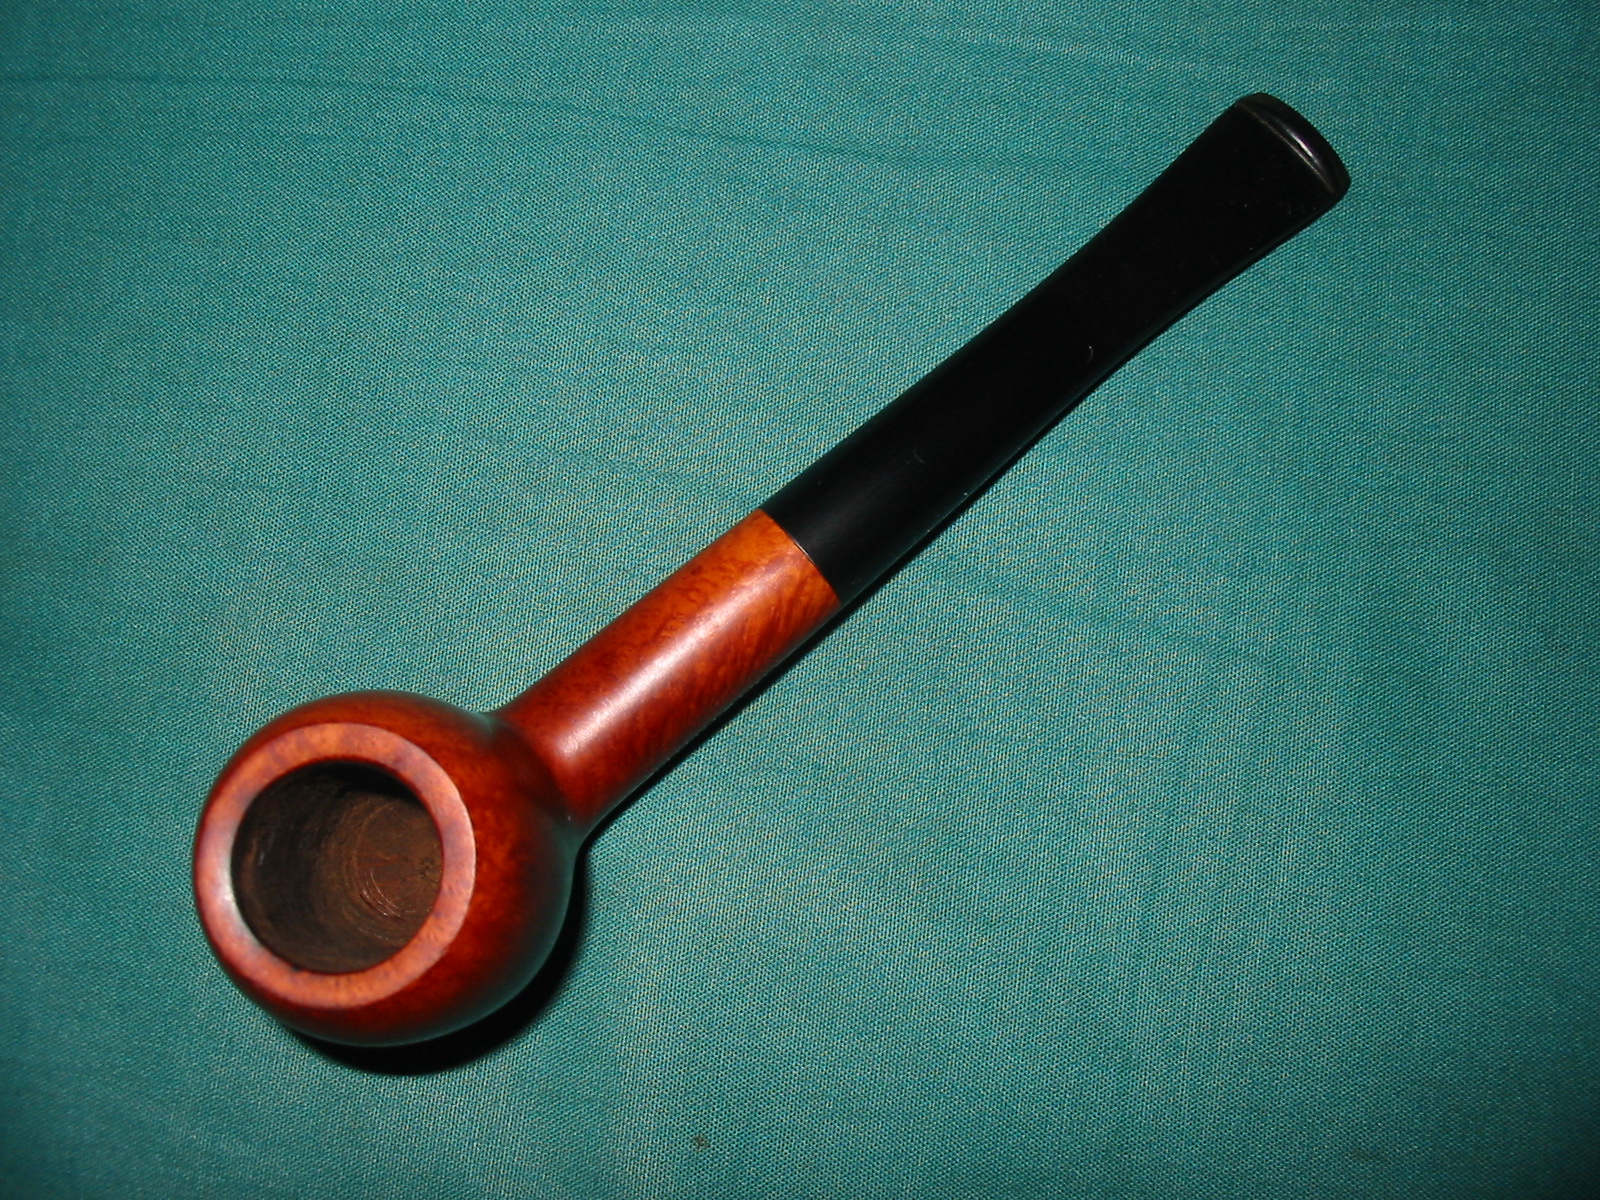
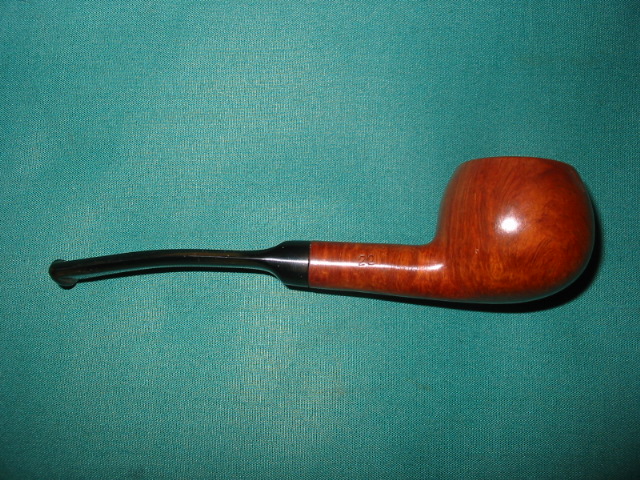
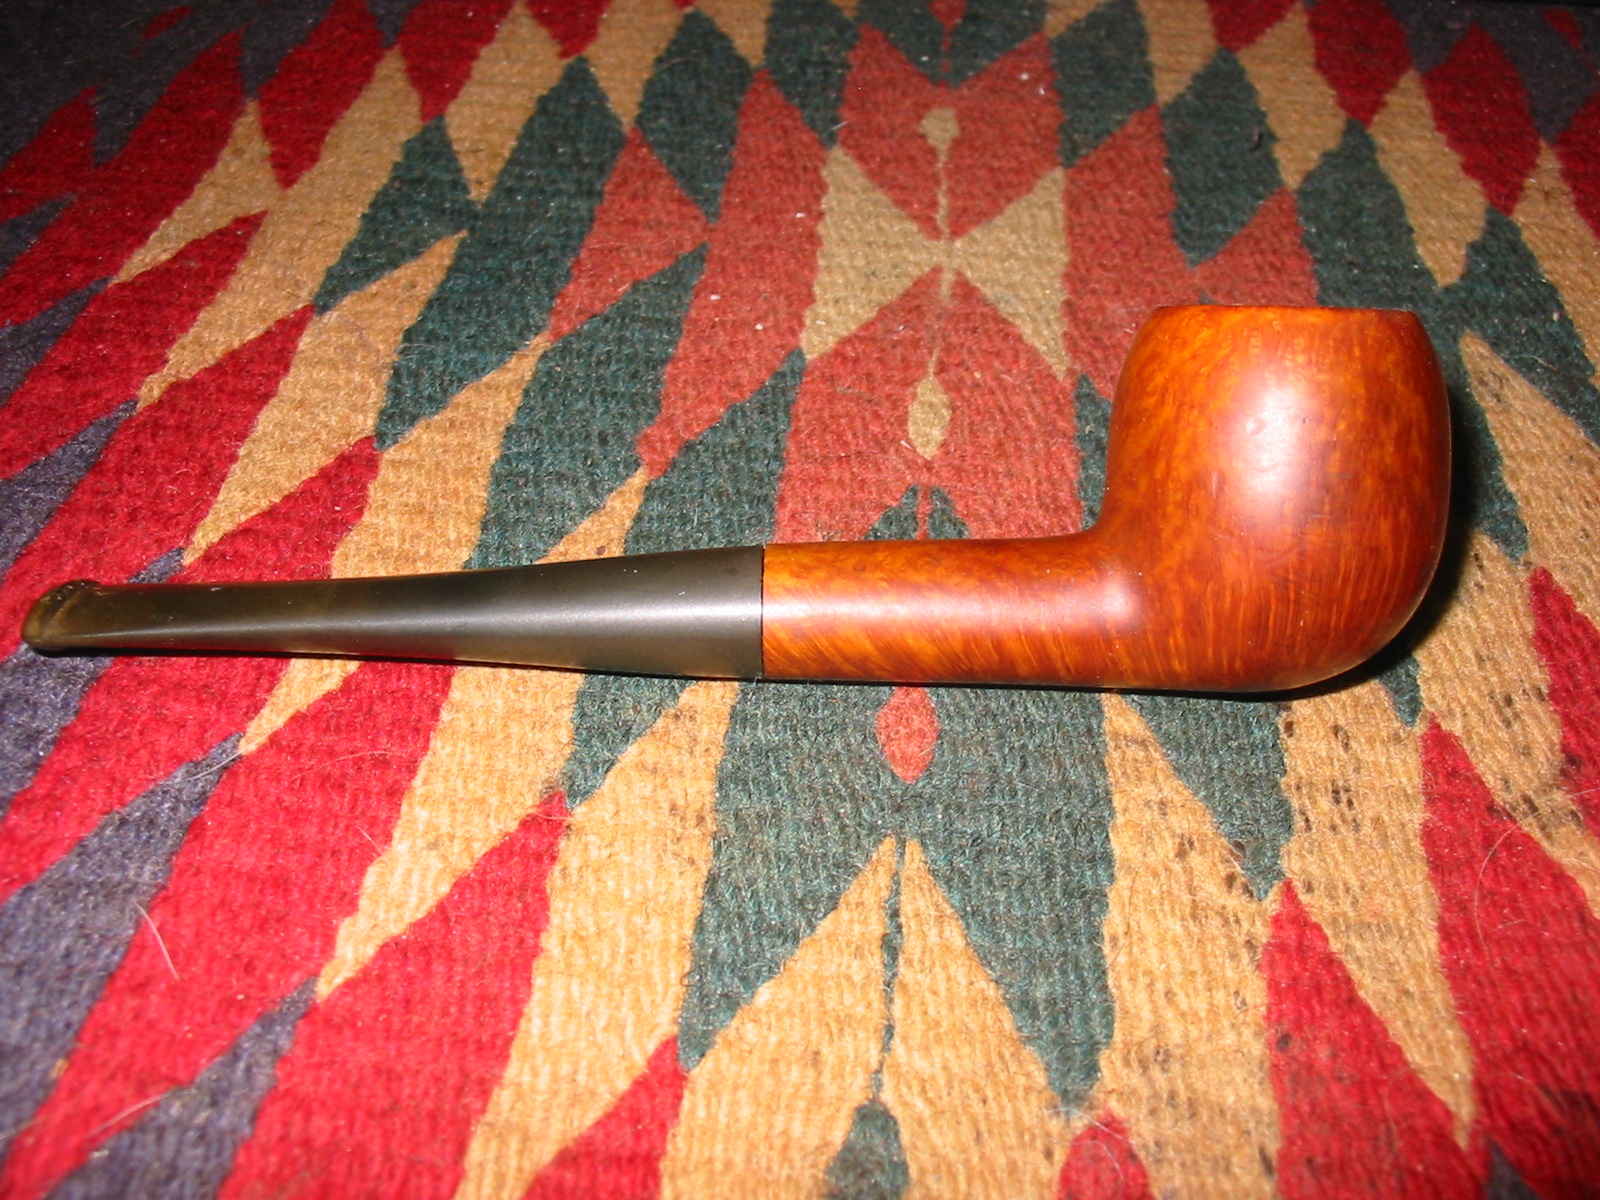
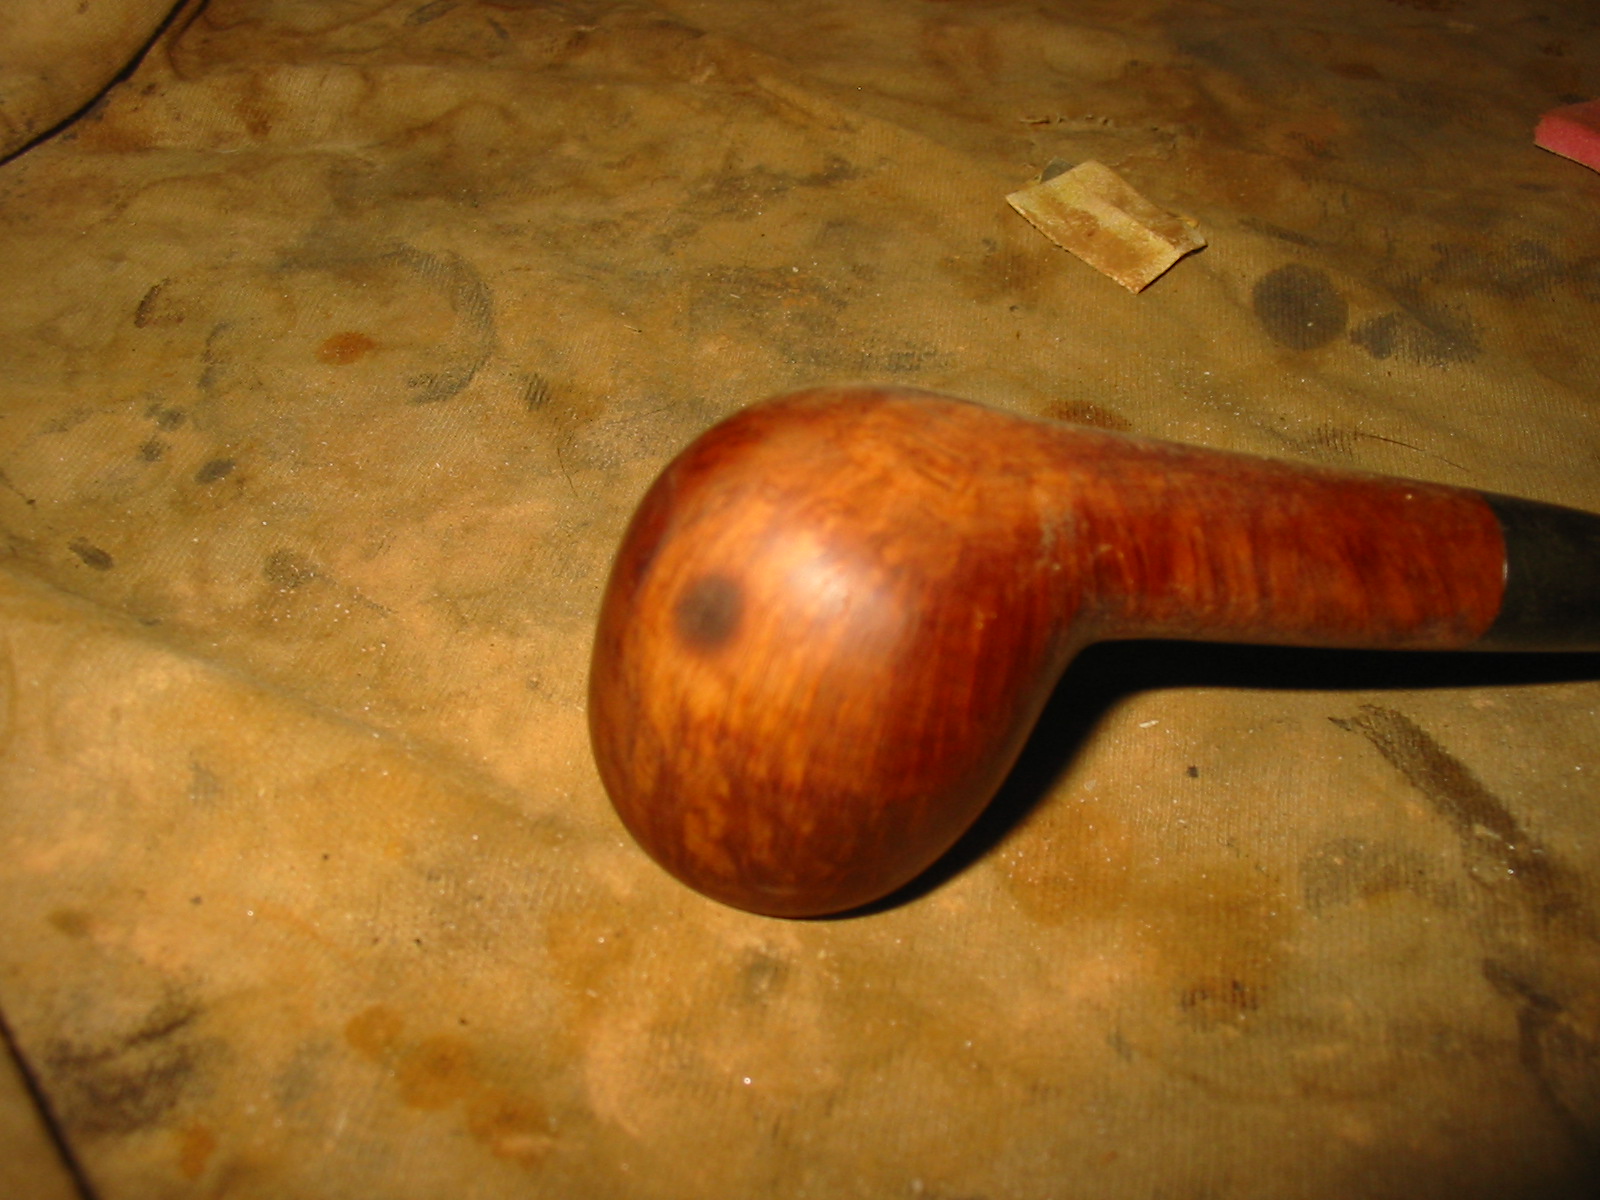
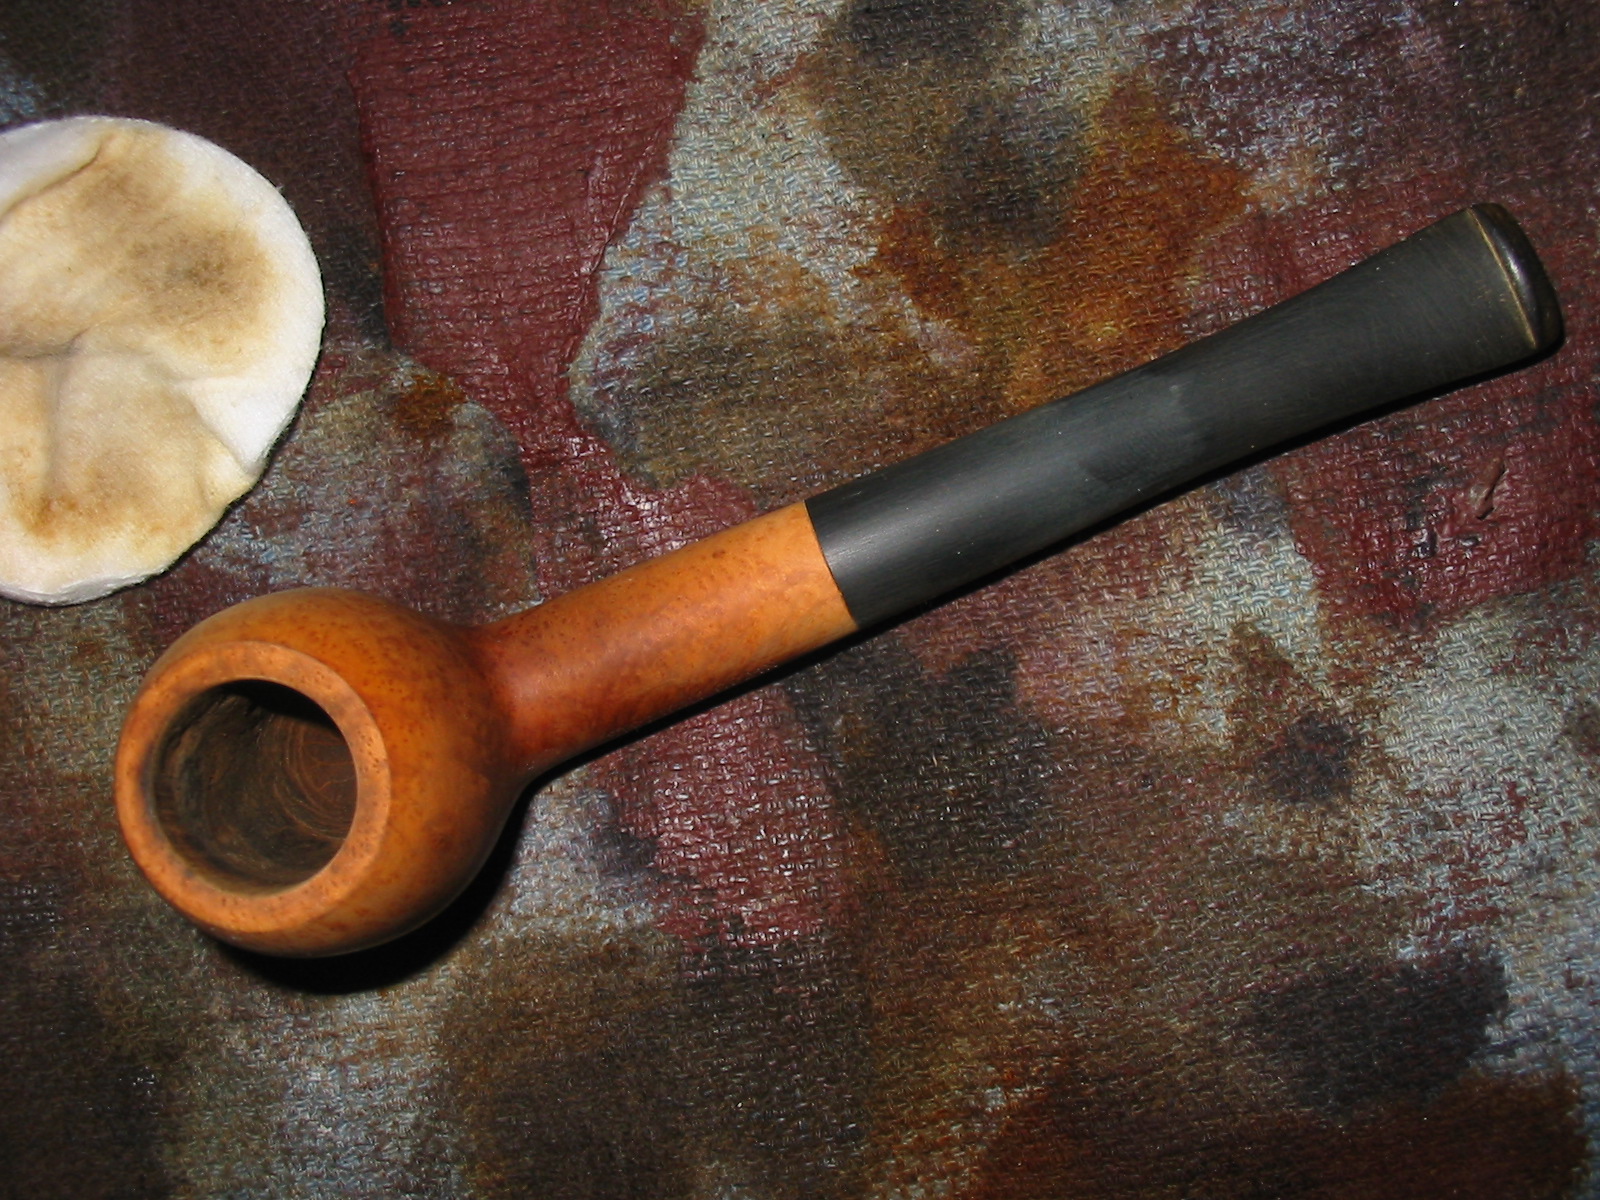
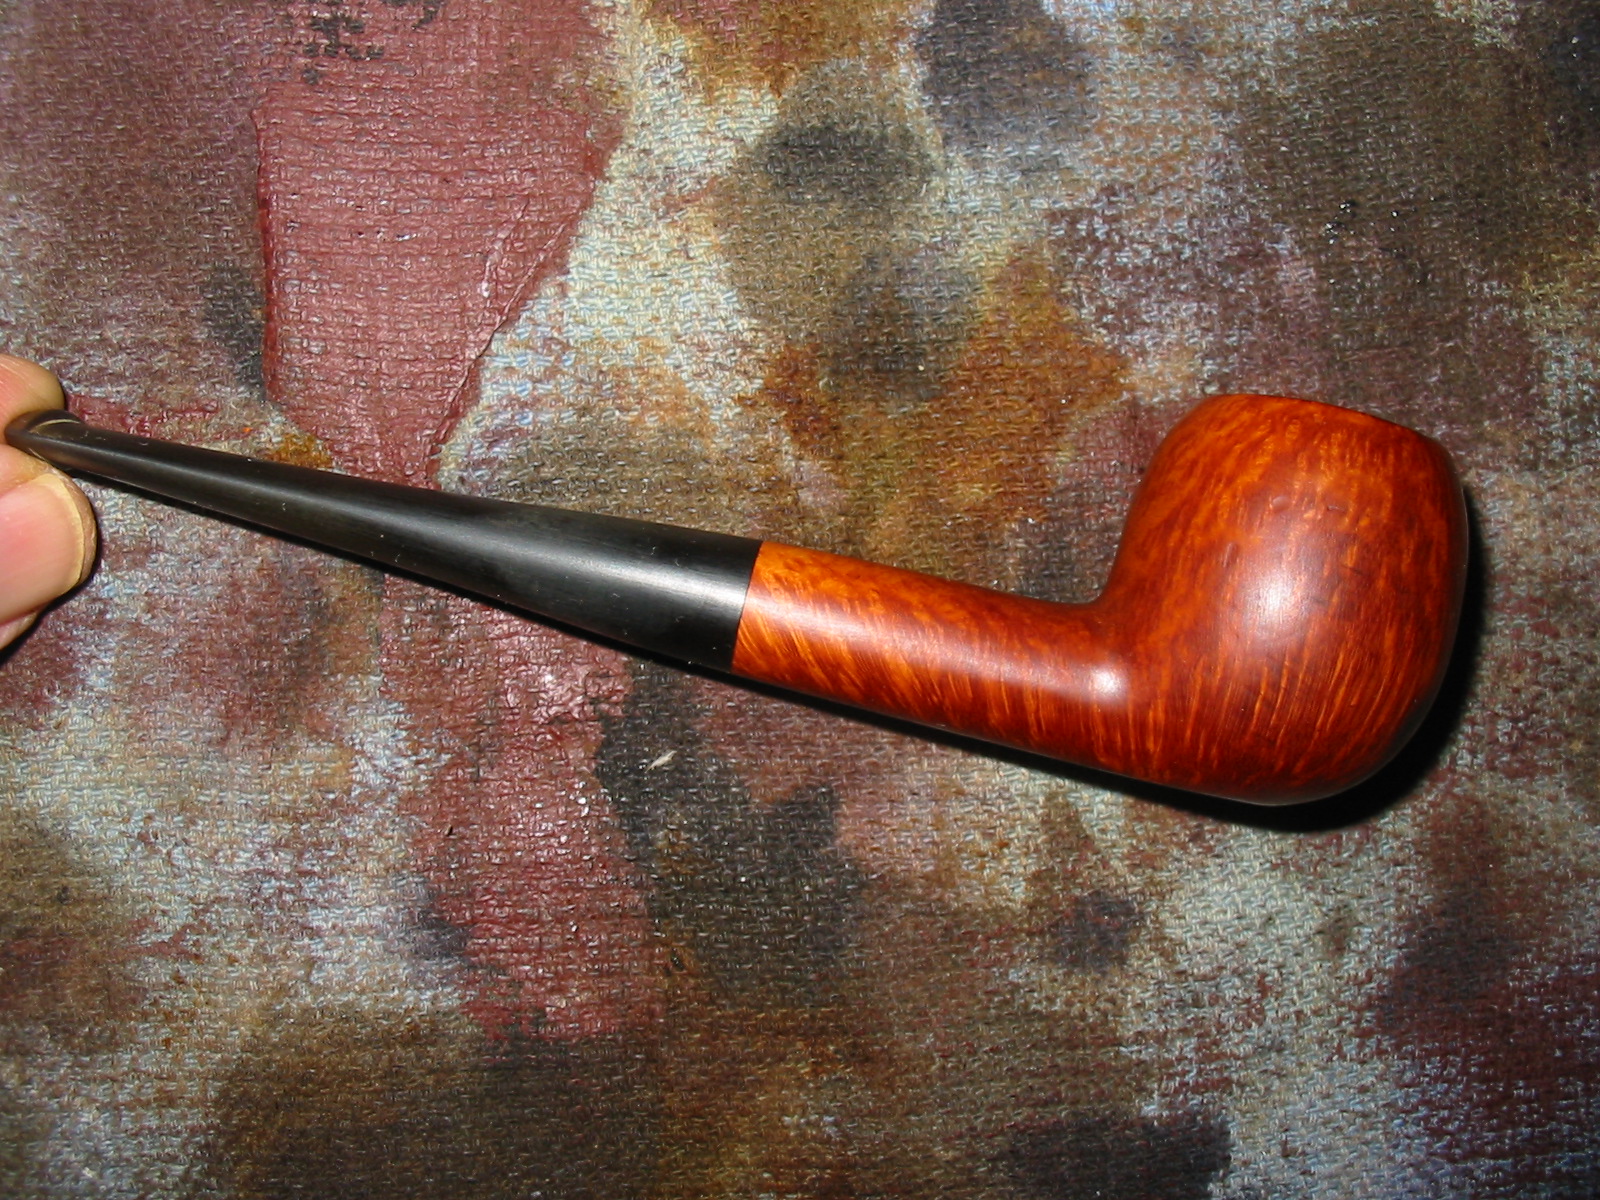
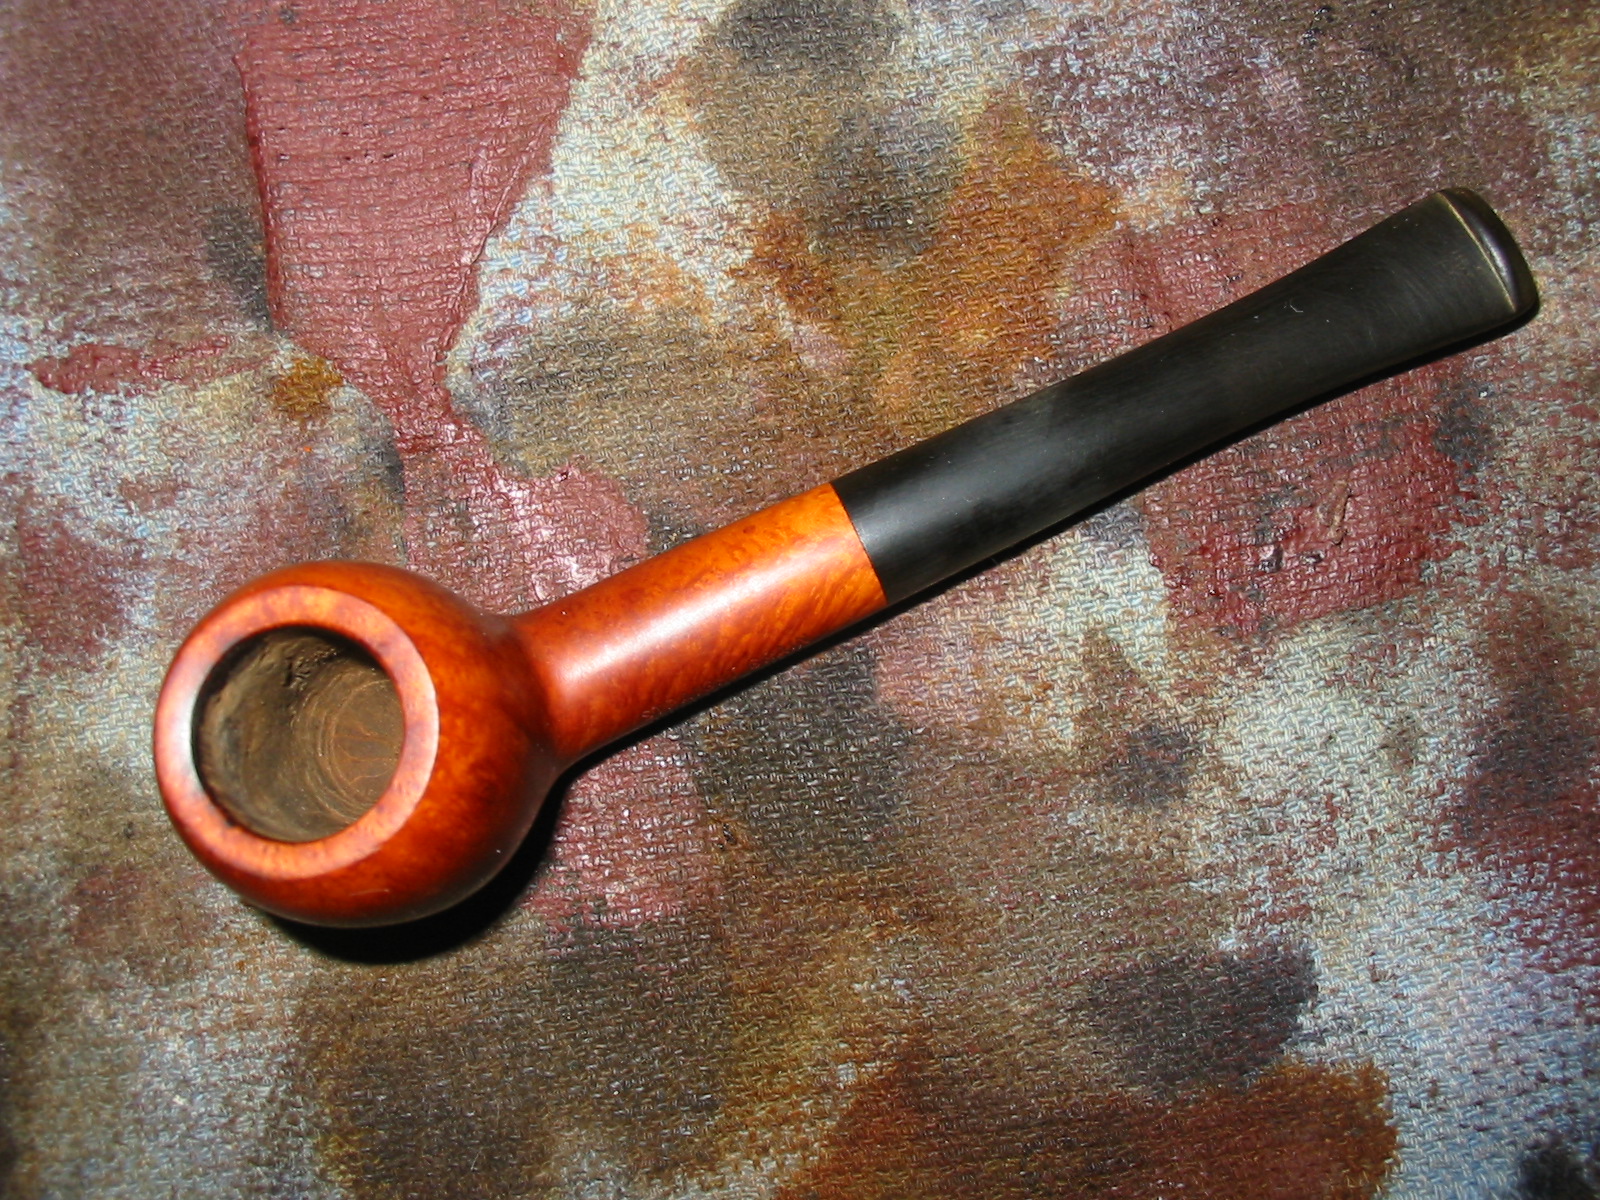
When I headed back to Vancouver I took the pipe with me to give it a more thorough cleaning and polish. The photos below show the pipe when I put it on the work table to give it a thorough work over.

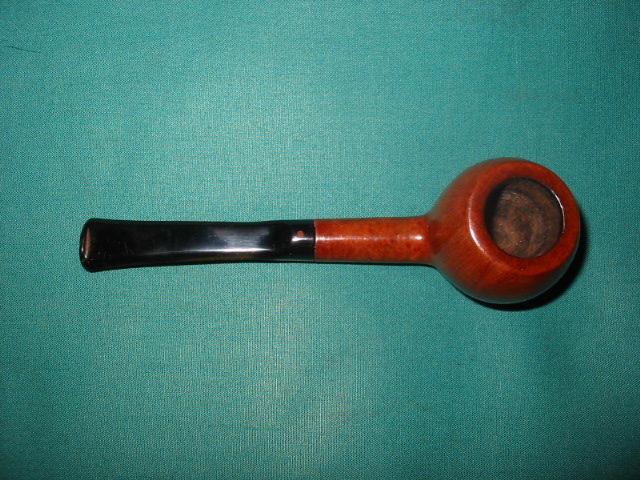
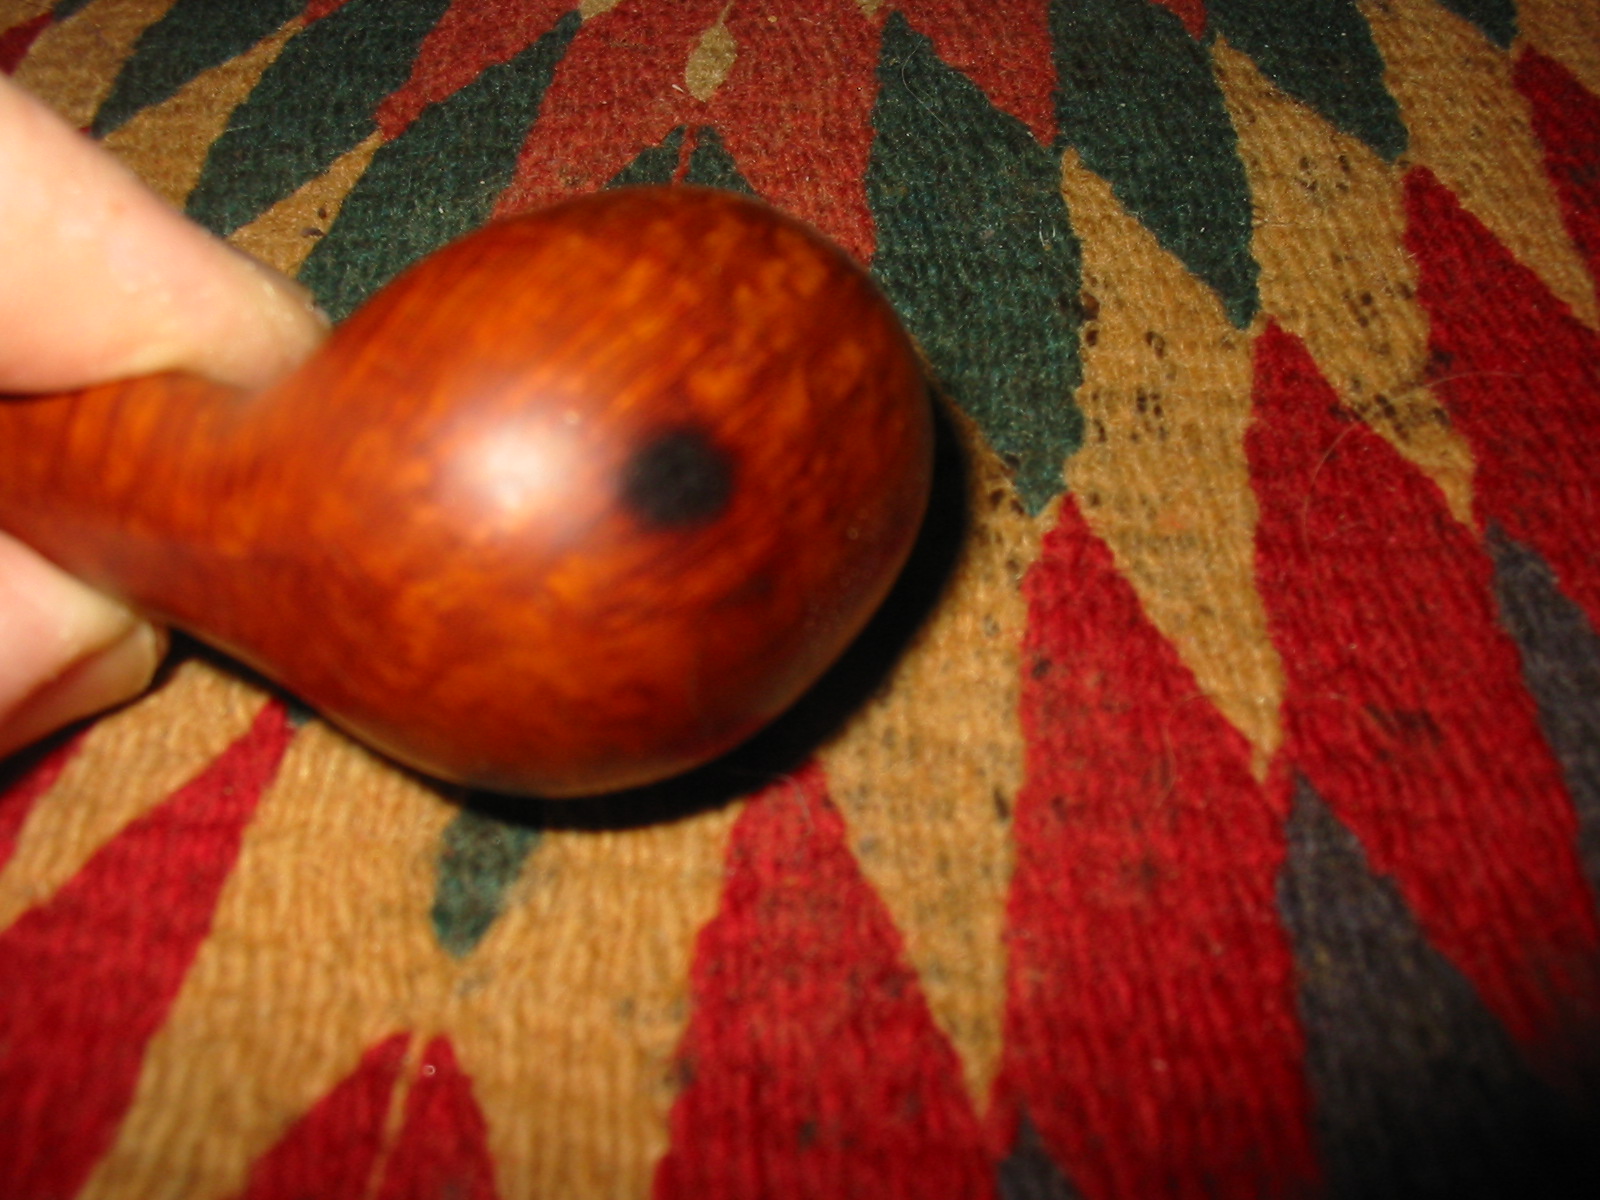
The next photo shows the cigarette burn mark on the bowl. It was not too deep and did not char the wood but it was deep enough that it could not be sanded out without damaging the shape of the bowl.
I sanded the burn mark and the rim to clean up the burn on the front inner edge. I used 220 grit sandpaper to start with and followed that with a medium grit sanding sponge.
I wiped the bowl down with acetone on cotton pads to remove the finish from the bowl and to prepare it for new staining.


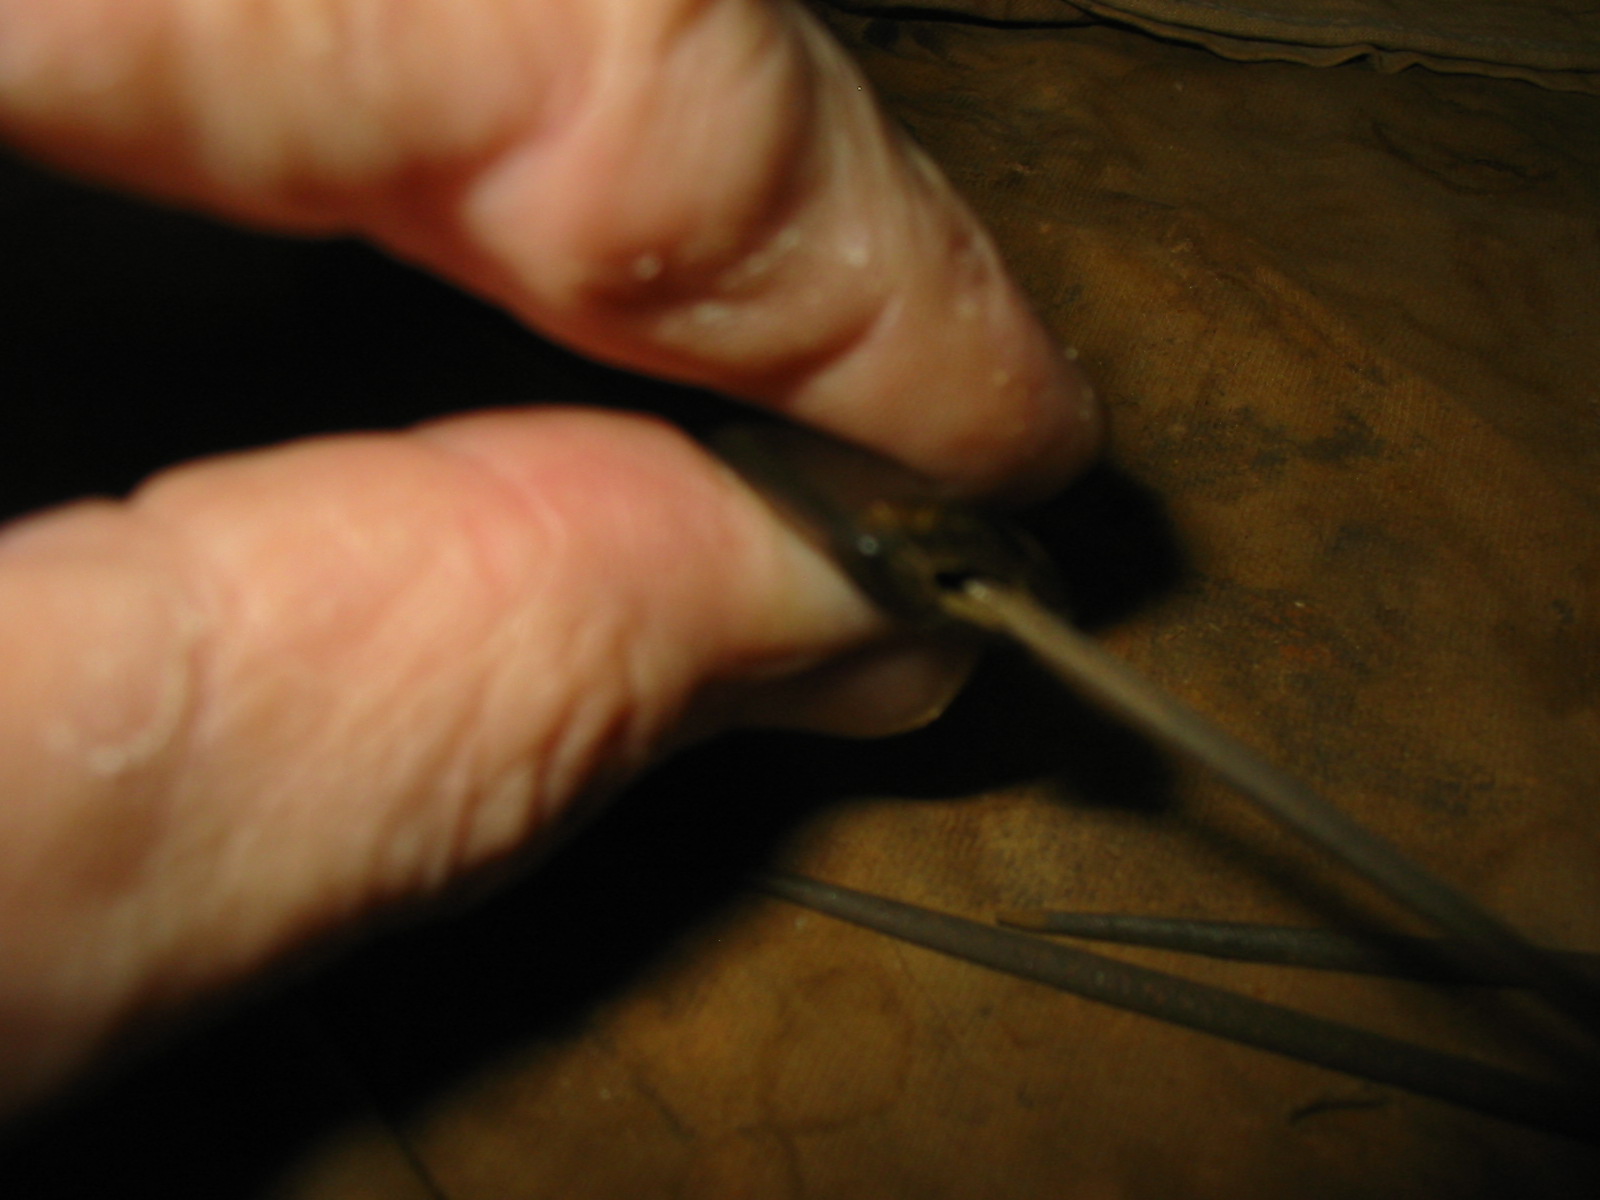
The slot in the stem was tight and hard to get a pipe cleaner to pass through easily so I decided to open the slot open with needle files. I shaped it and opened it and then sanded it with a folded piece of 220 grit sandpaper.


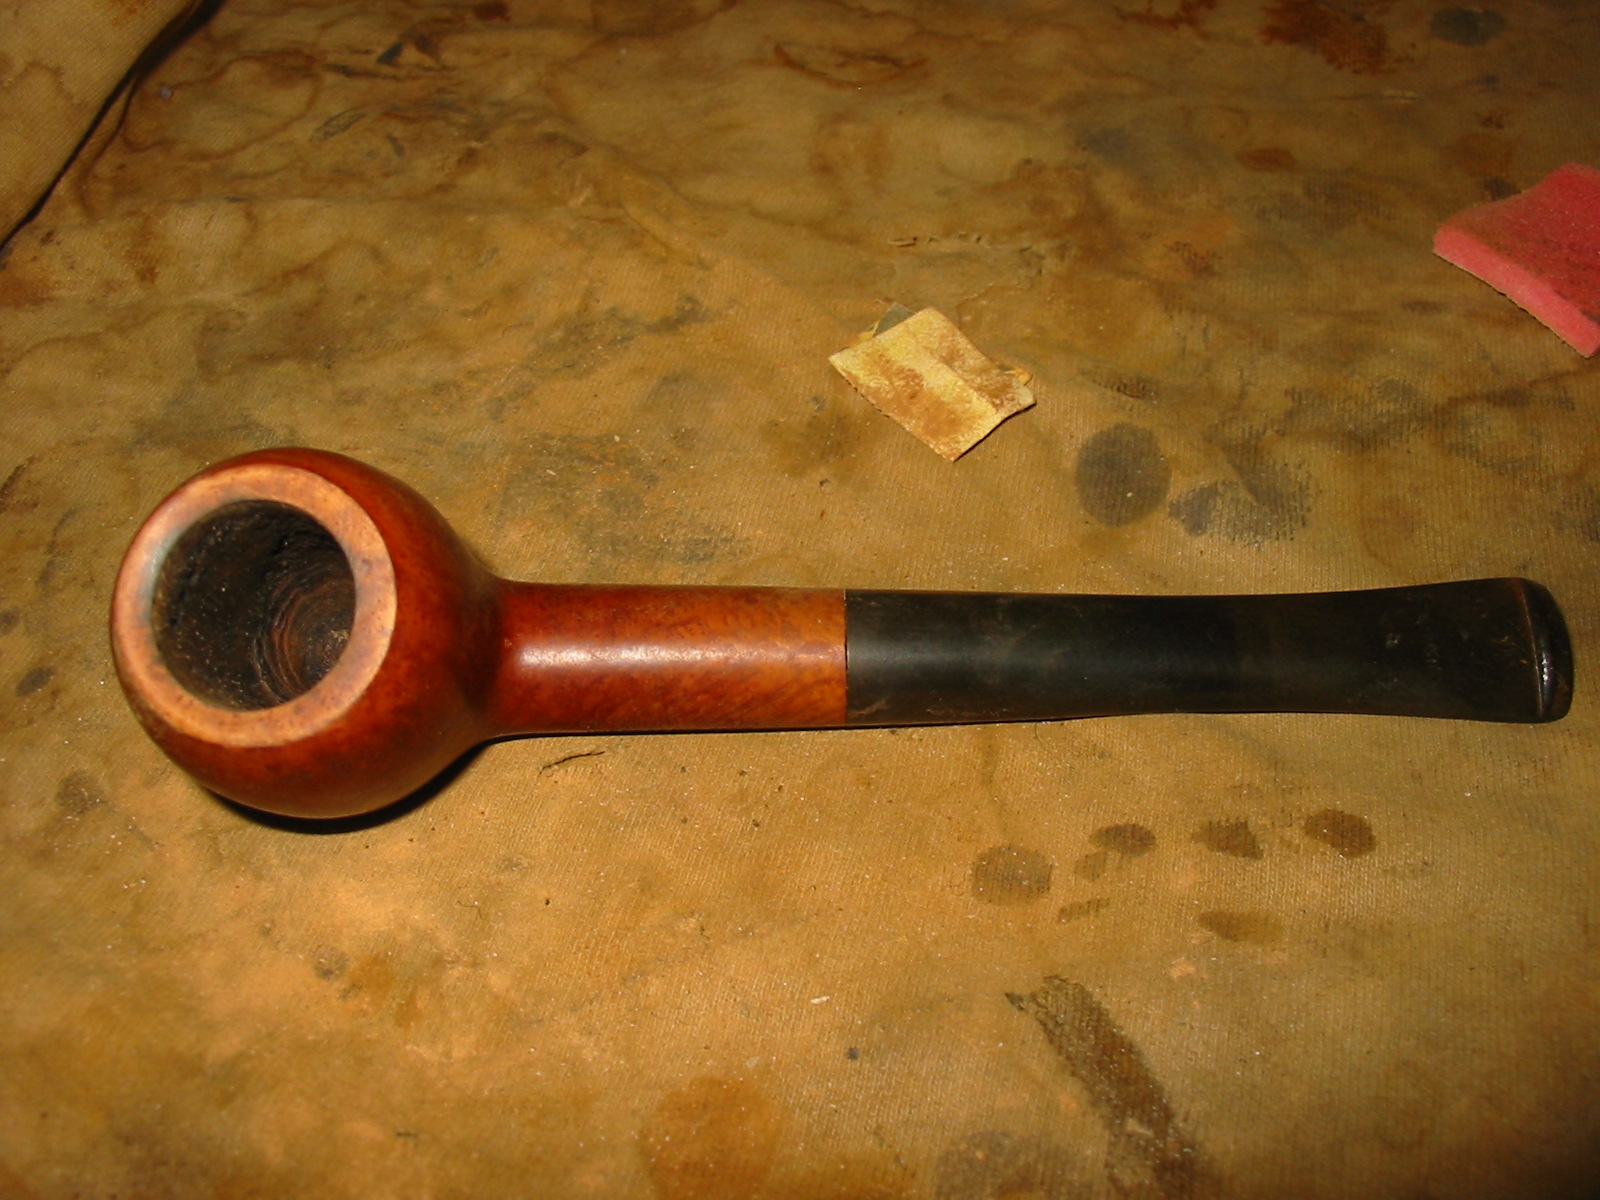
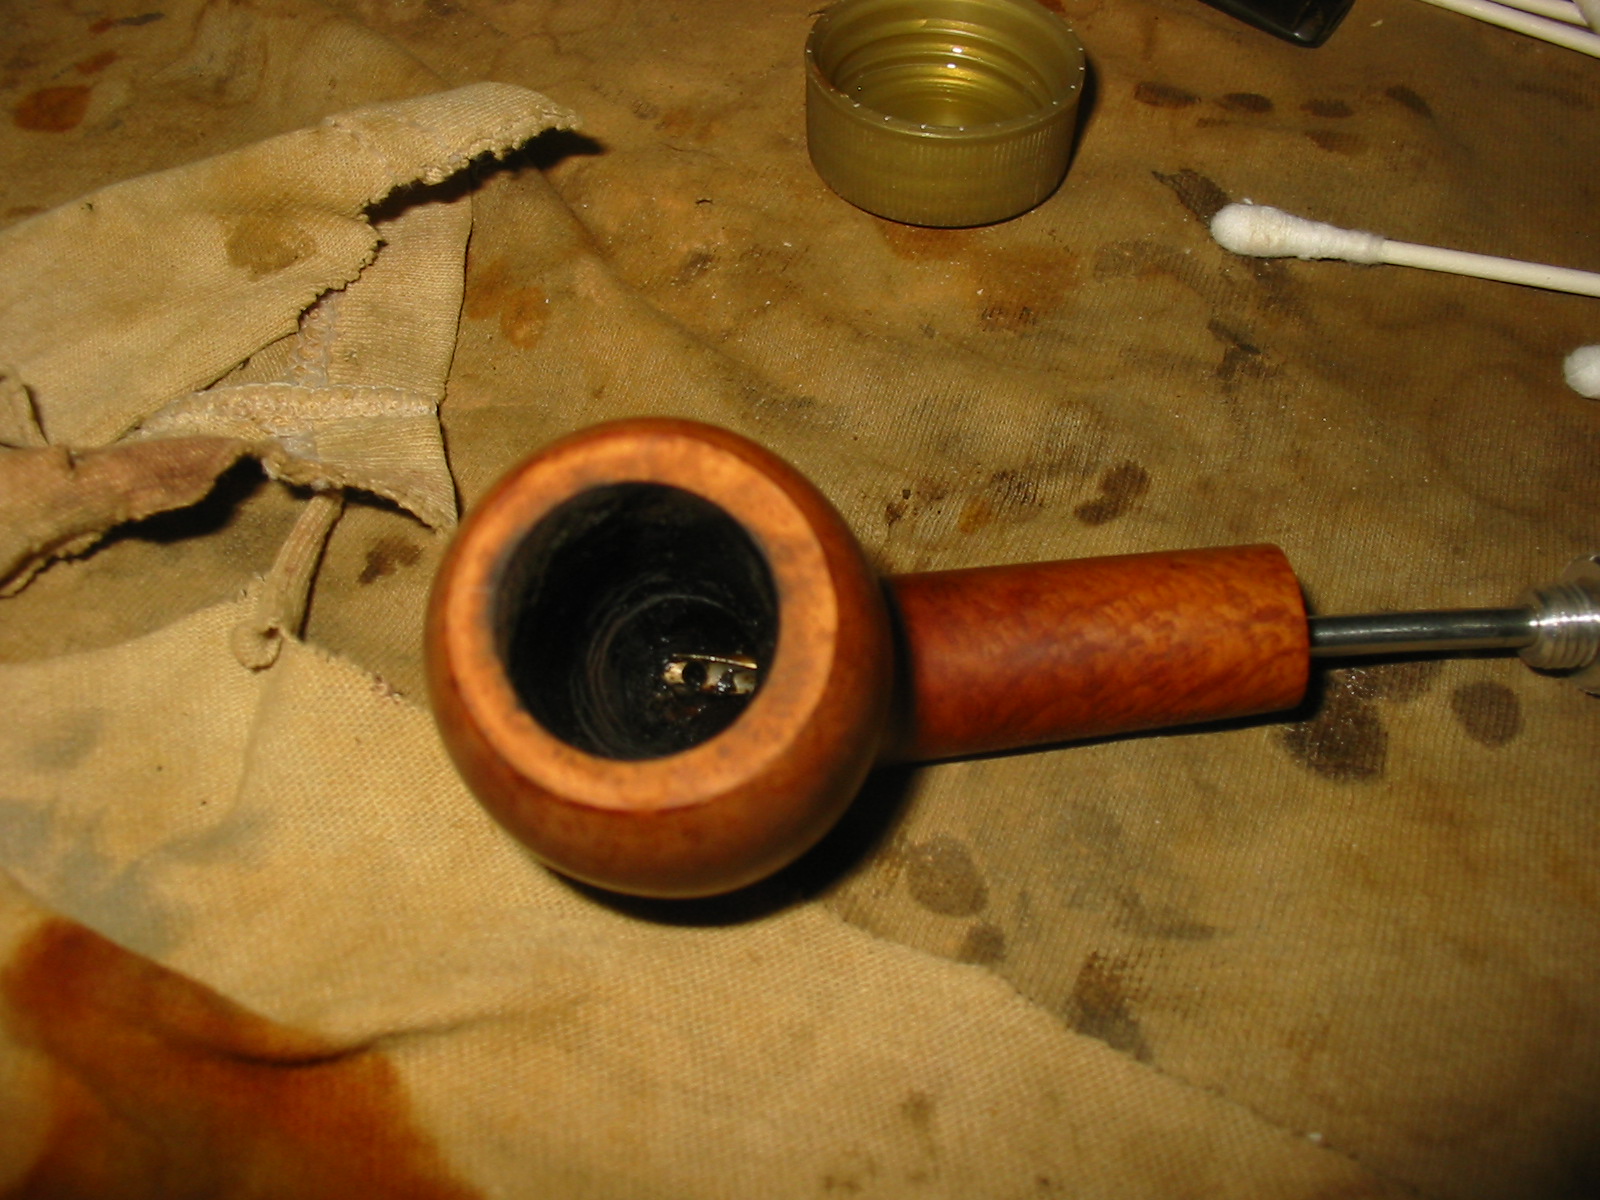
I reamed the bowl and cleaned out the shank with isopropyl alcohol and then used pipe cleaners. I used the drill bit in the KleenReem pipe reamer to open up the airway into the bowl from the shank. The tars had clogged the airway so the drill bit opened it and cleaned up the buildup on the sides of the airway.
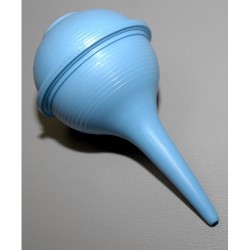
I decided to do a cotton boll and alcohol soak on the bowl. I stuffed the bowl with cotton and used an ear syringe to fill it with Everclear. I set the bowl in an old ice cube tray to let it soak while I was at work. The alcohol leaches out the tars in the bowl into the cotton and leaves the pipe fresh inside.
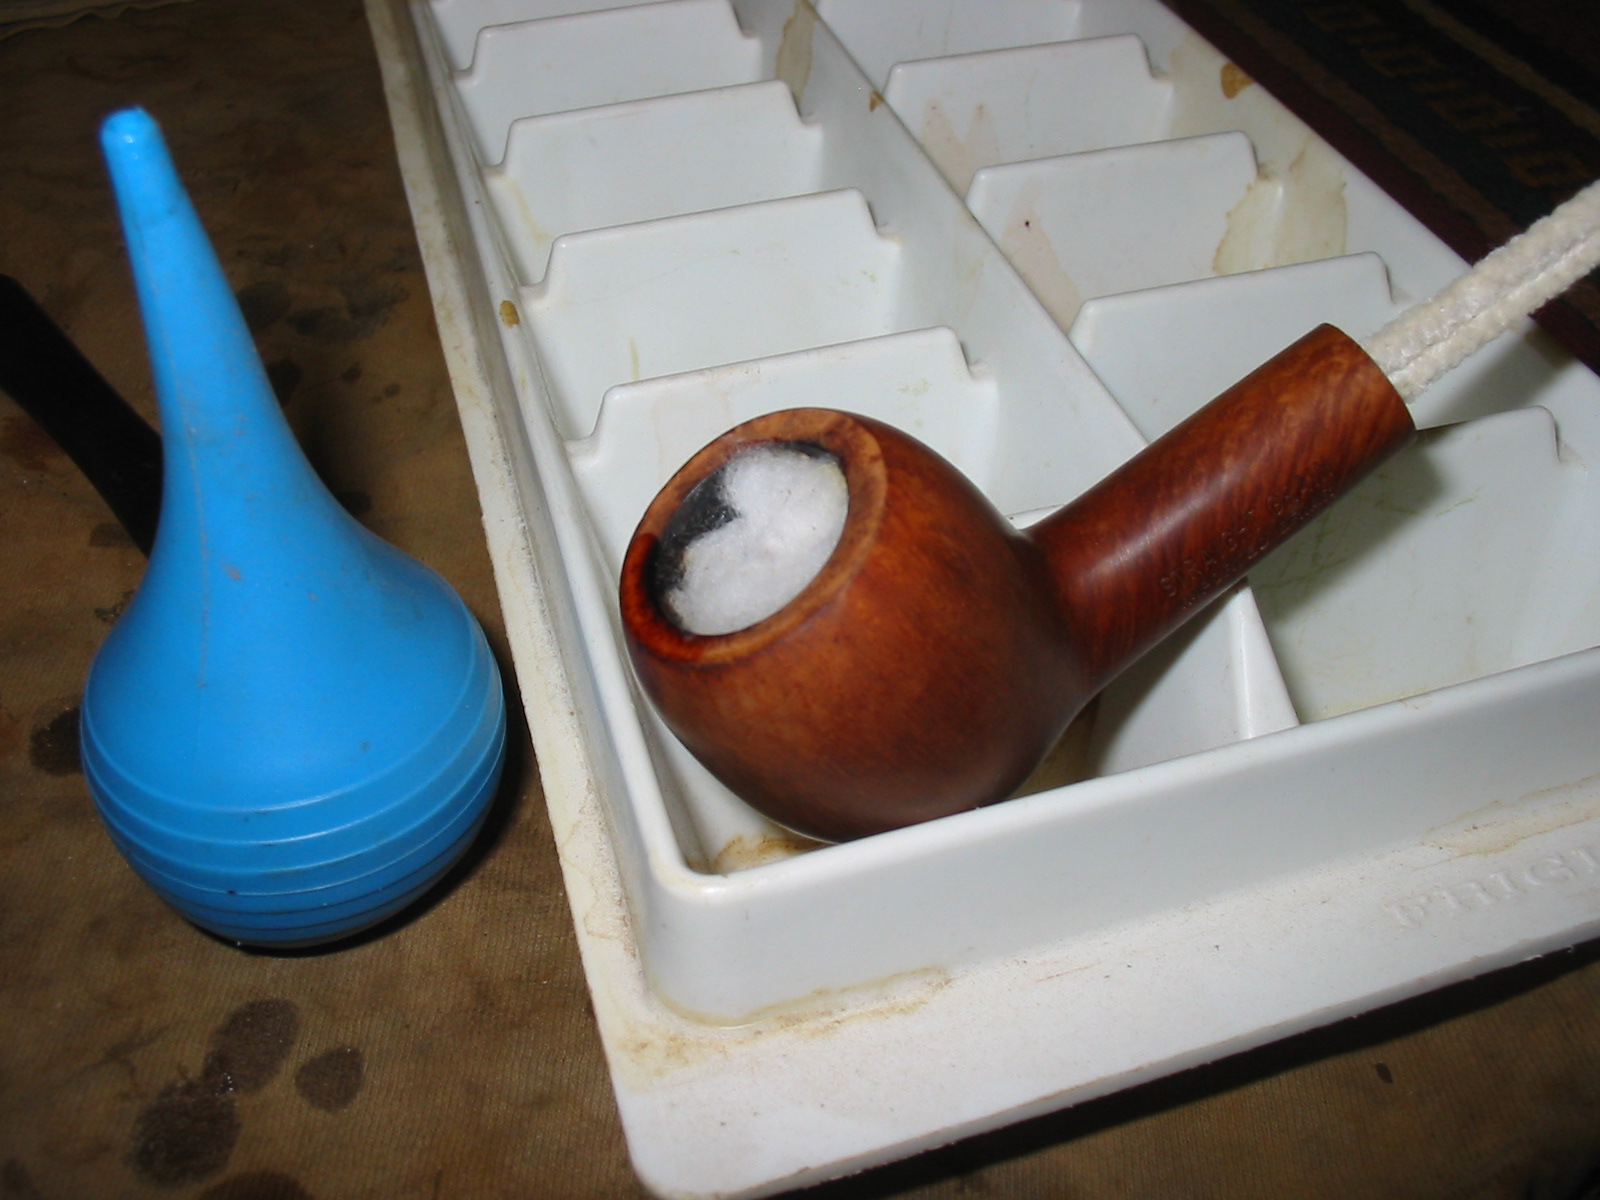
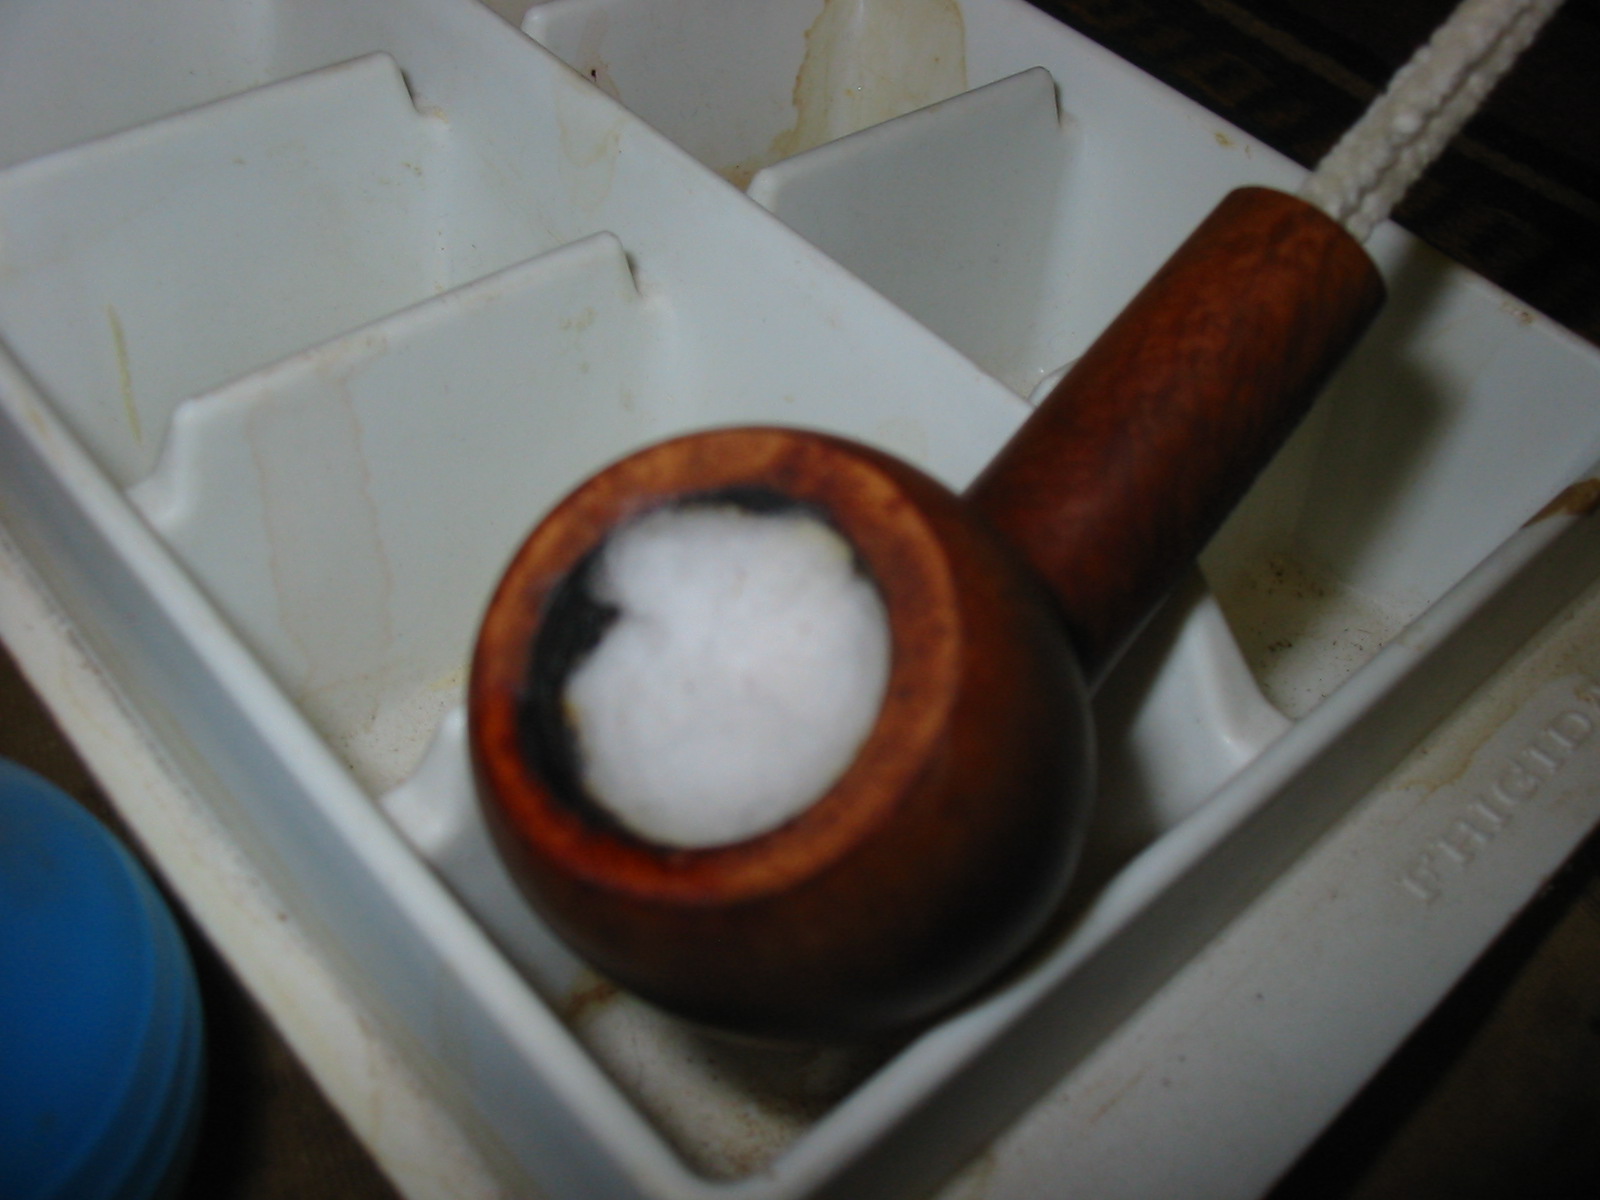
It sat in the tray for about 10 hours soaking. The cotton boll was soaked and brown coloured from the tars that leached out of the bowl.
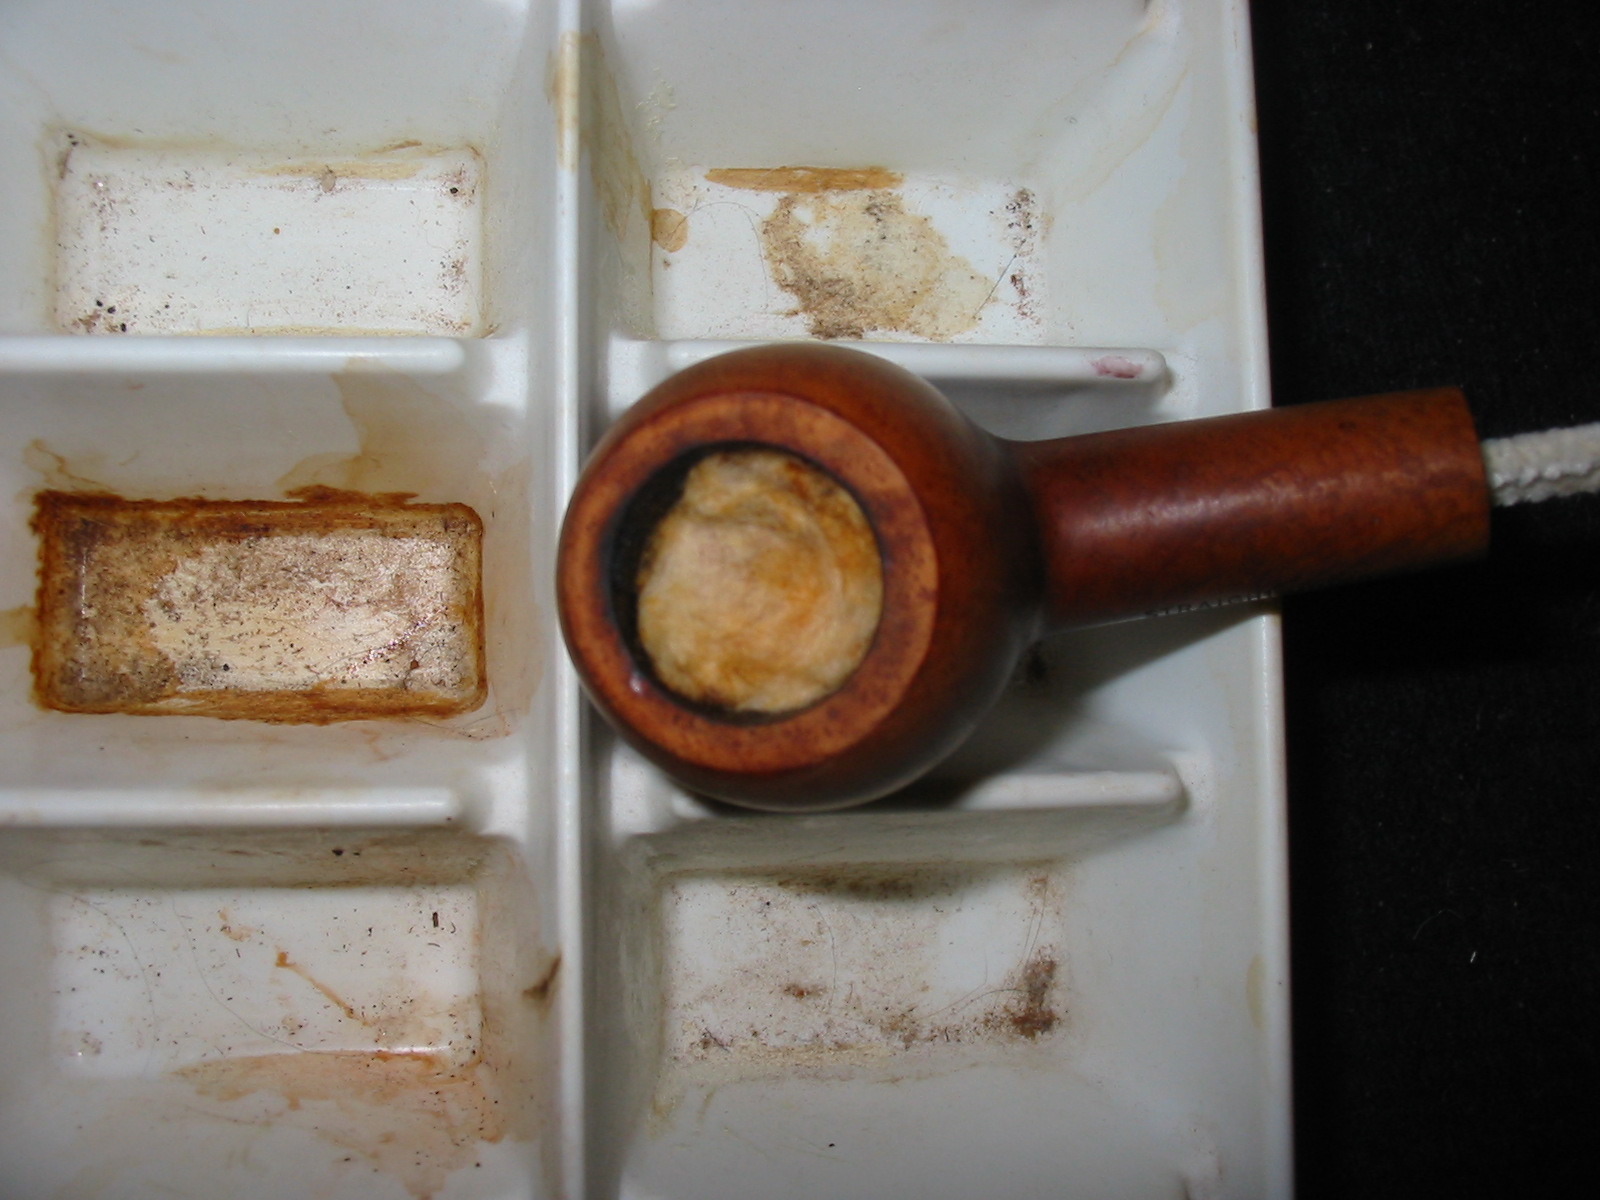
I took the cotton out of the bowl and then lit the alcohol remaining in the bowl with a lighter. It quickly burned the alcohol out and left the bowl dry. I used a folded piece of sandpaper to work on the inner edge of the rim to remove the burned spot on the front inner edge. I also used a PipNet reamer to remove the remaining cake that I had missed earlier. I wiped the bowl down a final time with acetone on cotton pads to remove the grit and grime that came out with the cleaning of the bowl.

I stained the bowl with an oxblood stain as an undercoat. I applied it and then flamed it. I hand buffed the bowl once the stain was dry.
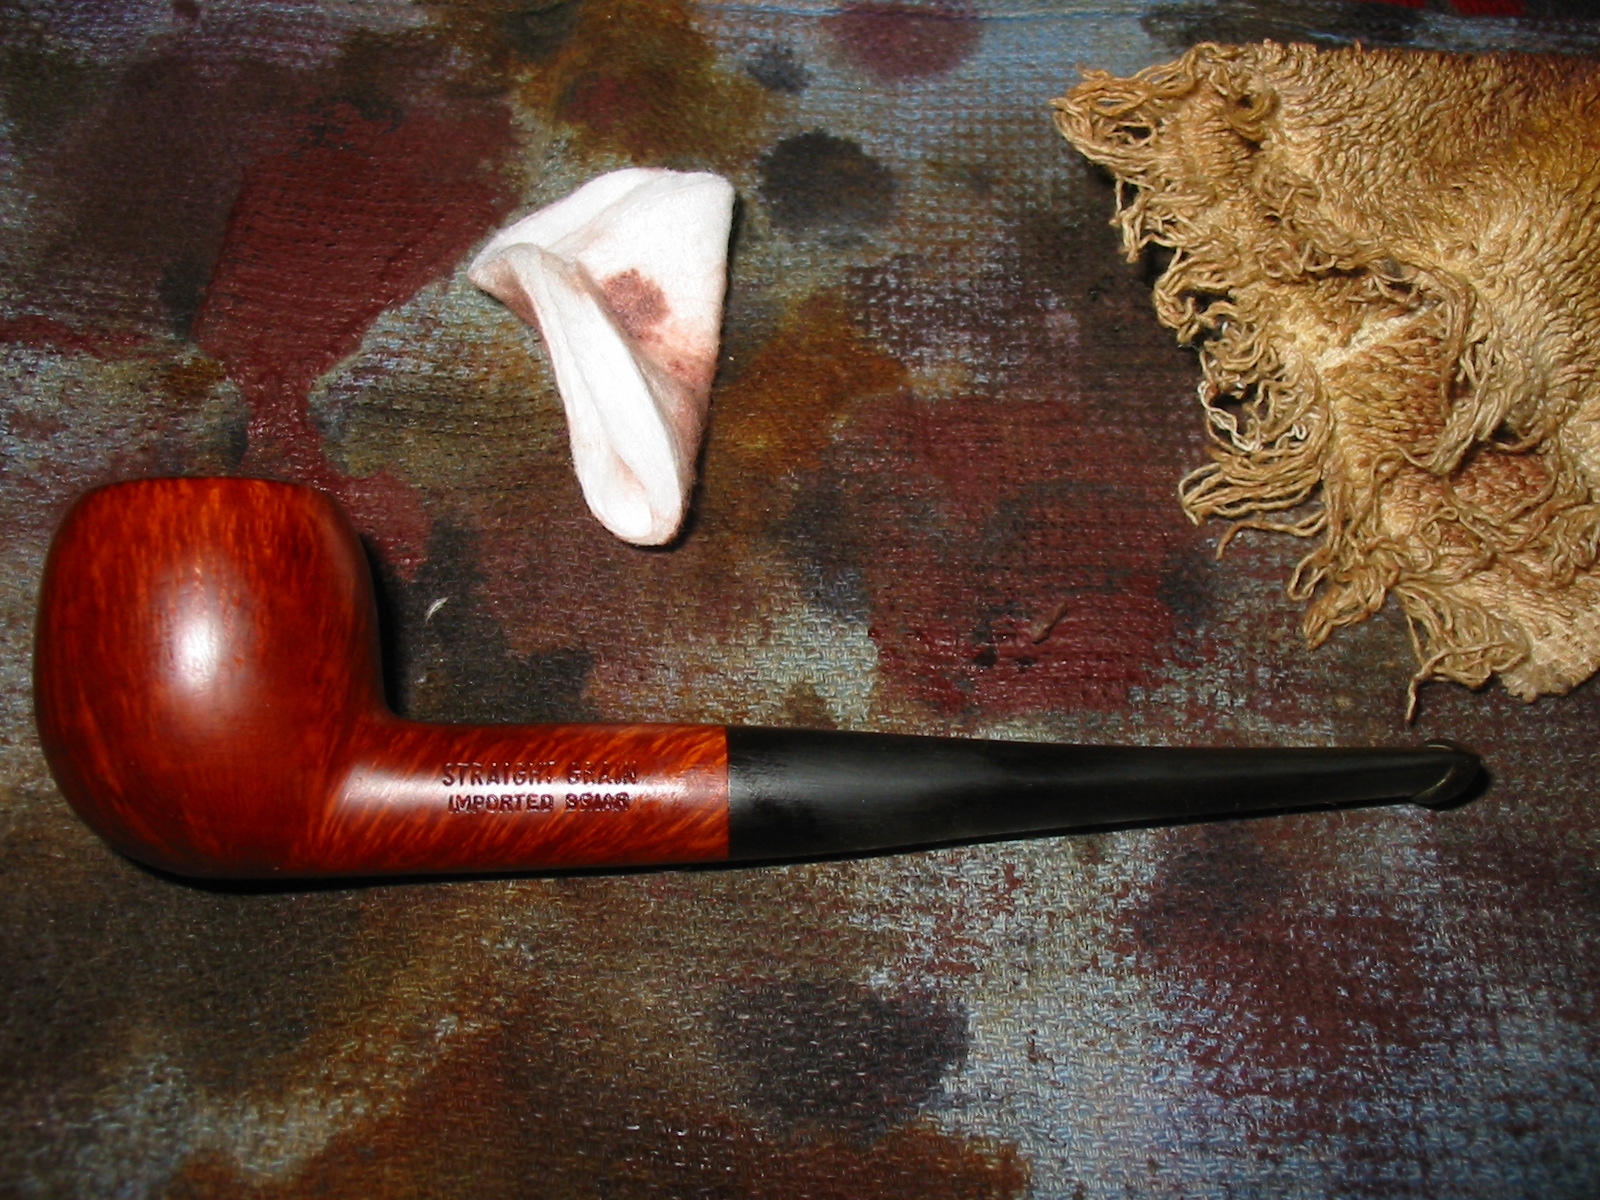
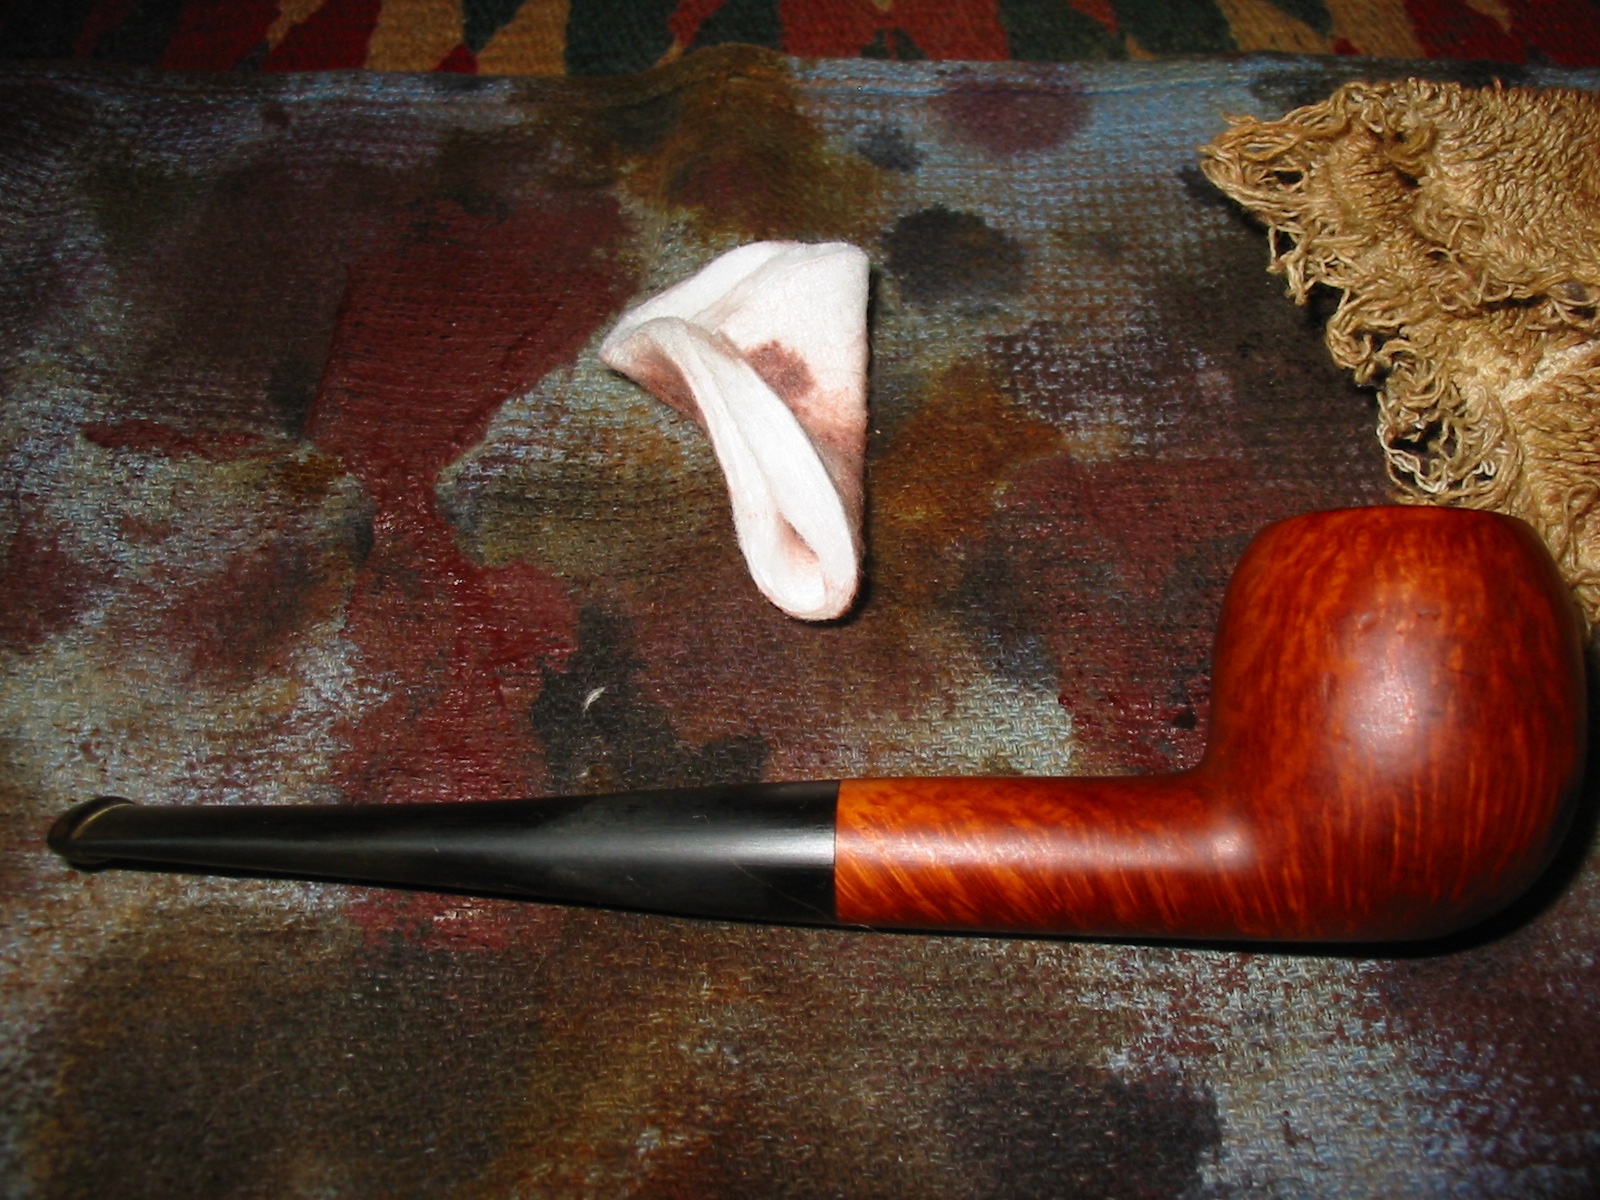
For the second coat of stain I used a dark brown aniline stain thinned 2:1 with isopropyl alcohol. I hand buffed the bowl with a soft cloth and then took the pipe to the buffer and buffed it with White Diamond.

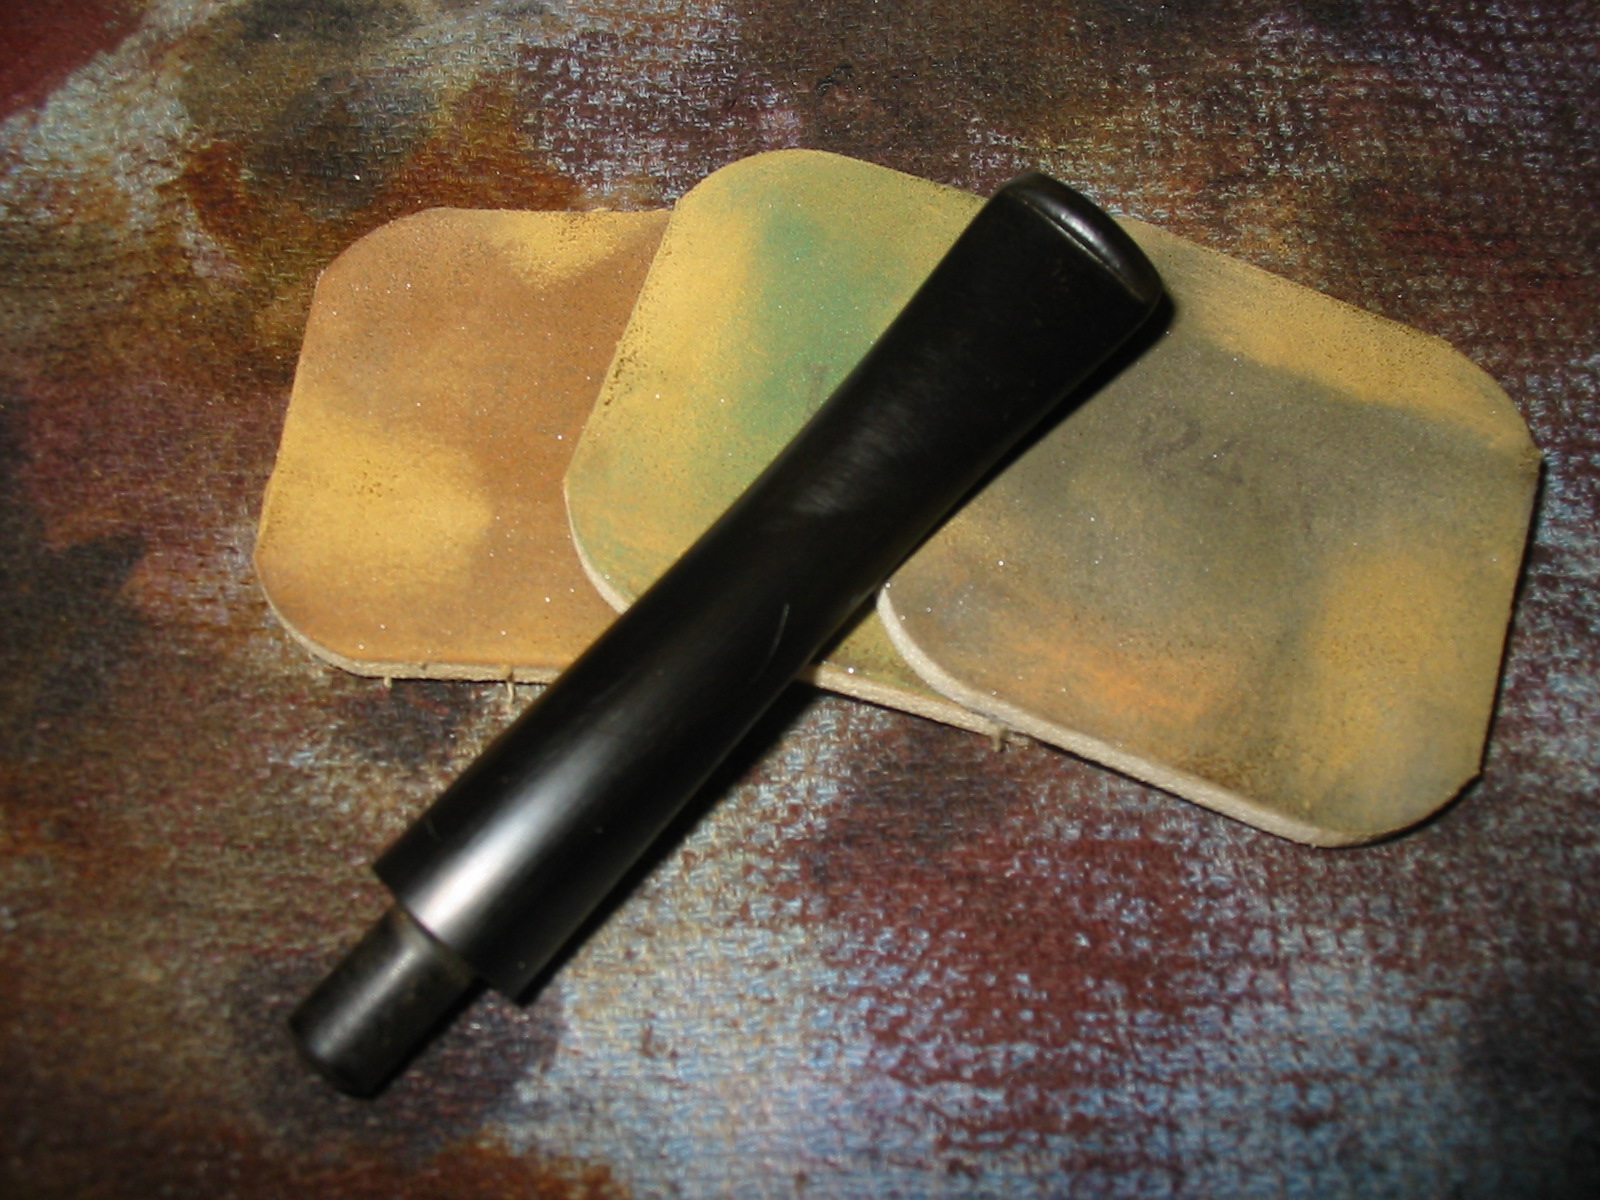
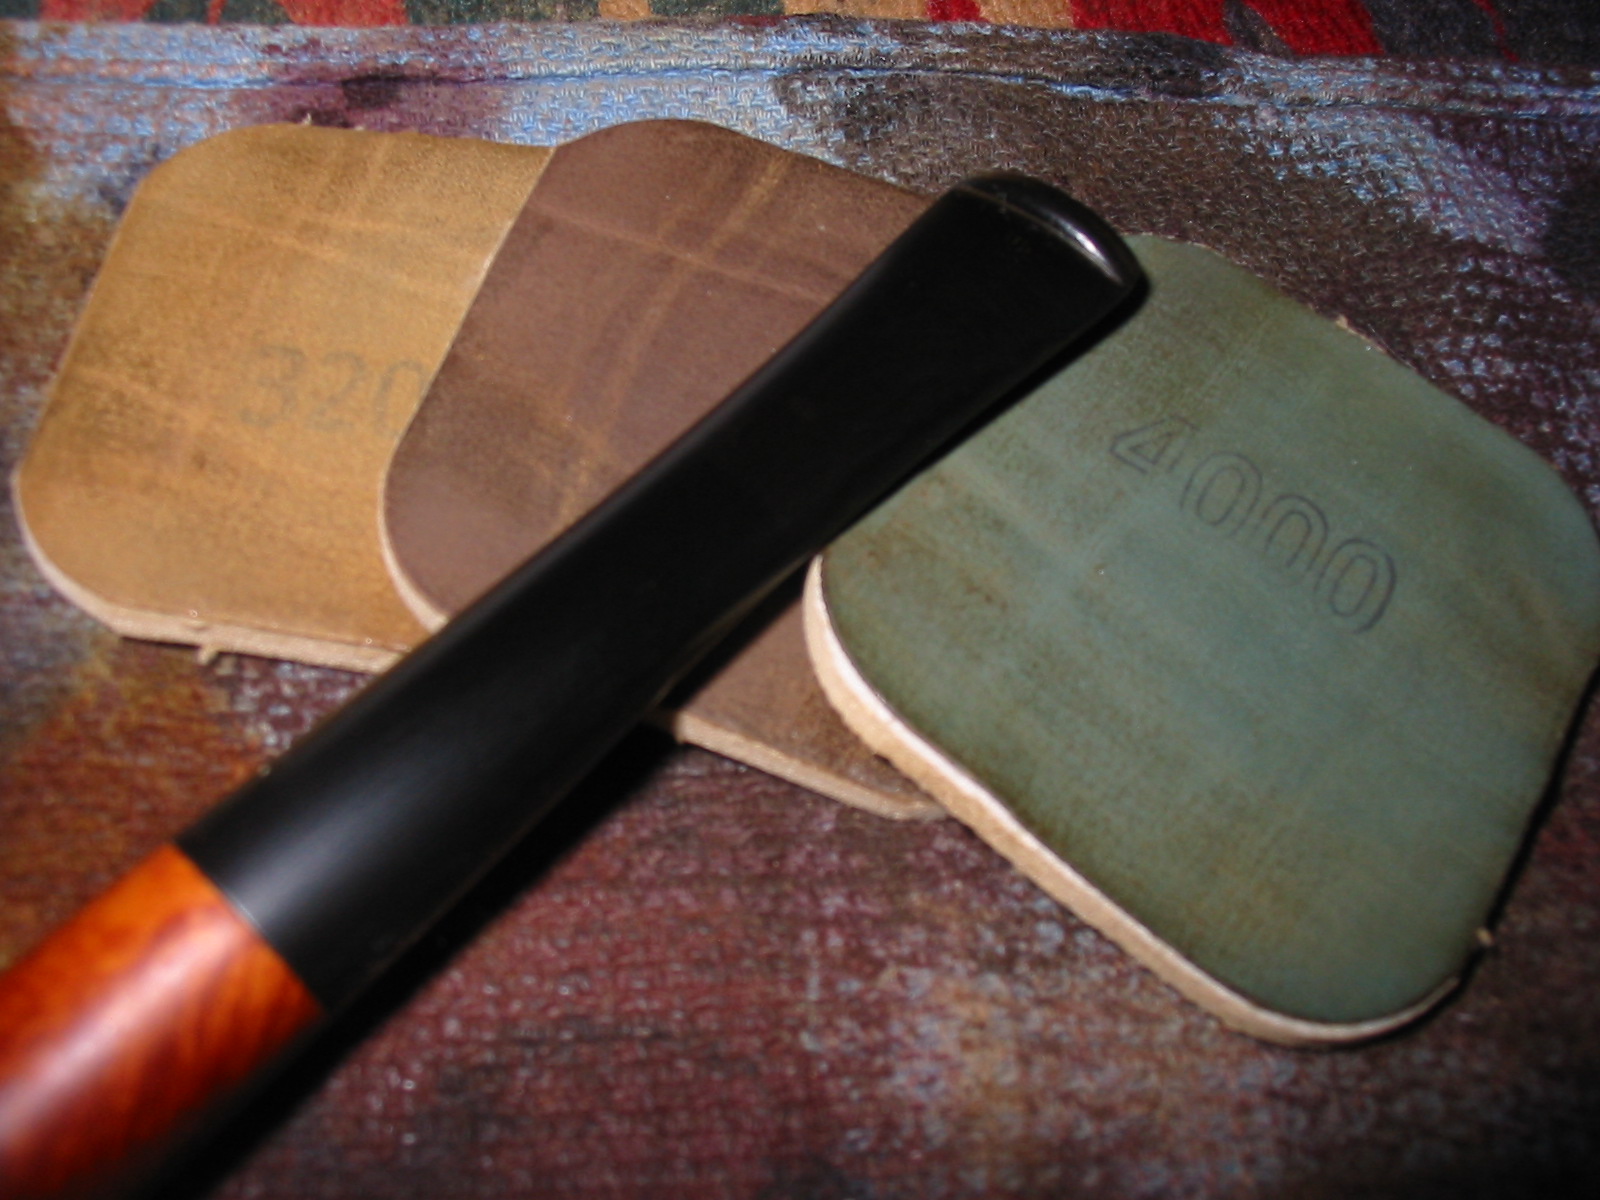
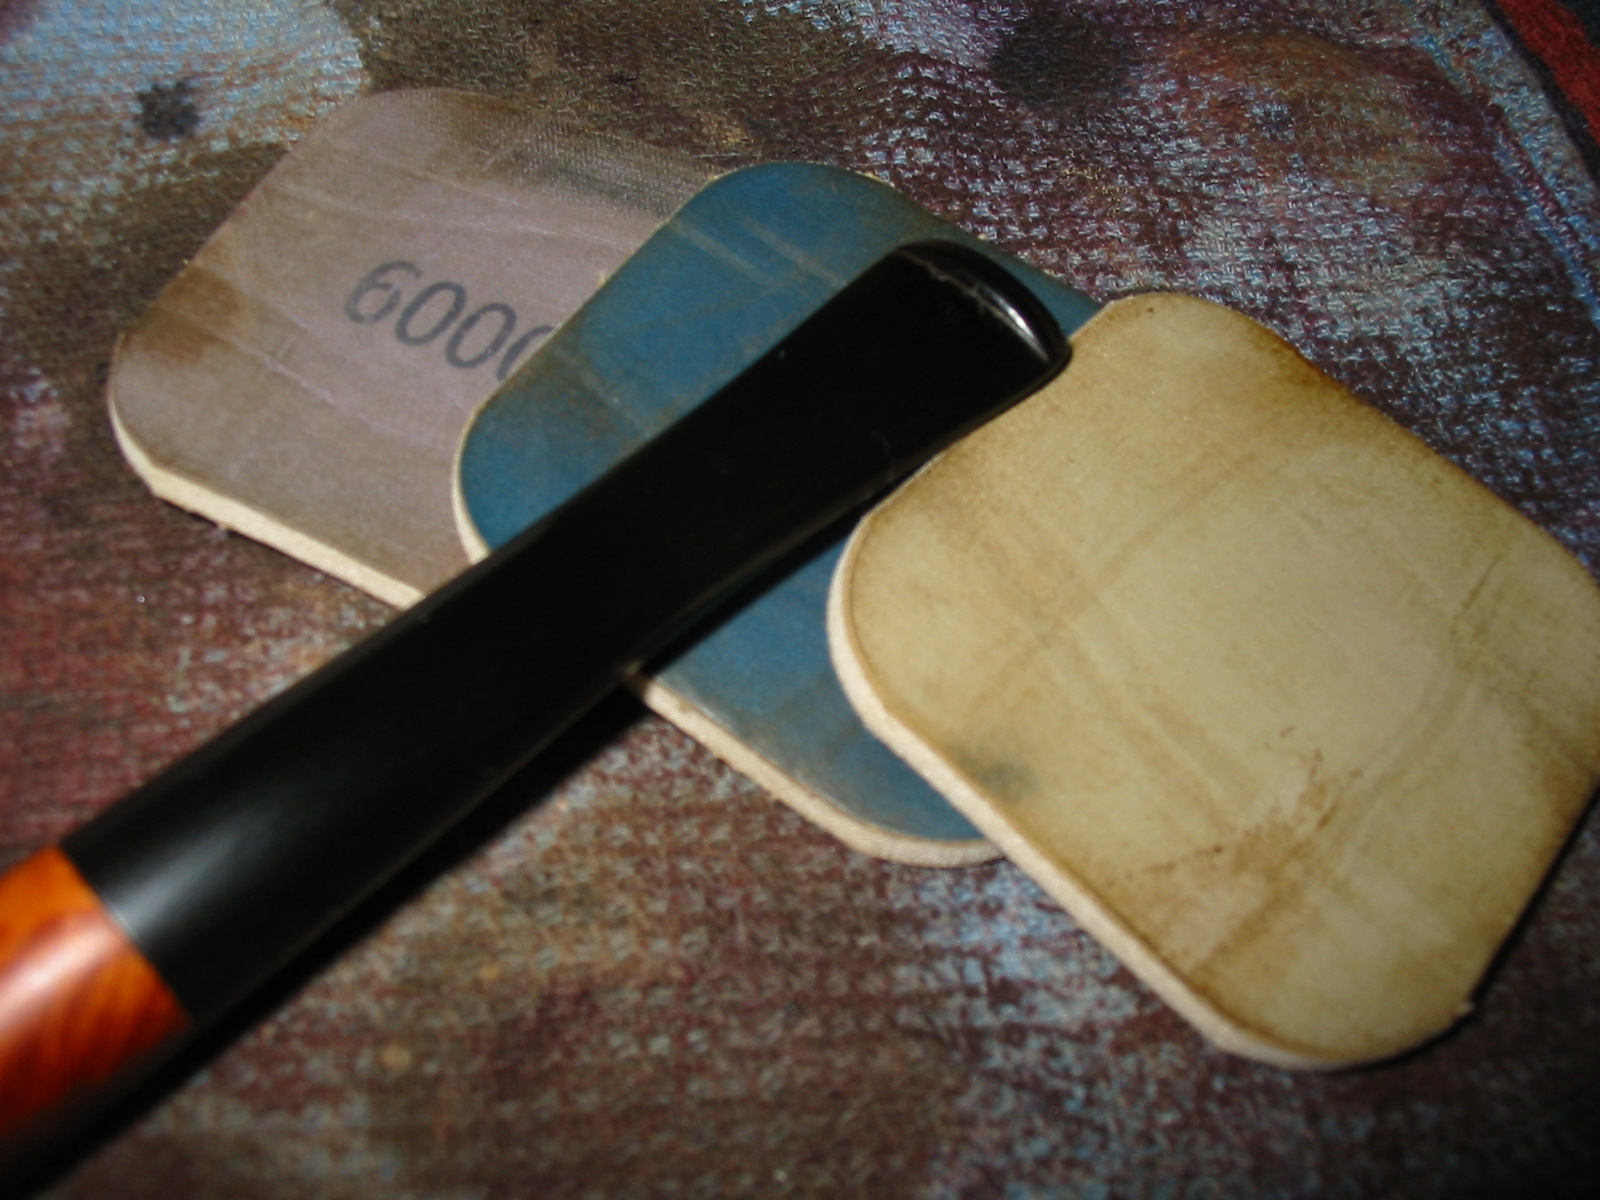
Once the staining of the pipe was finished I worked on the stem with my usual array of micromesh sanding pads – wet sanding with 1500-2400 grit pads and dry sanding with 3200-12,000 grit pads. I rubbed the stem down with Obsidian Oil and let it dry.
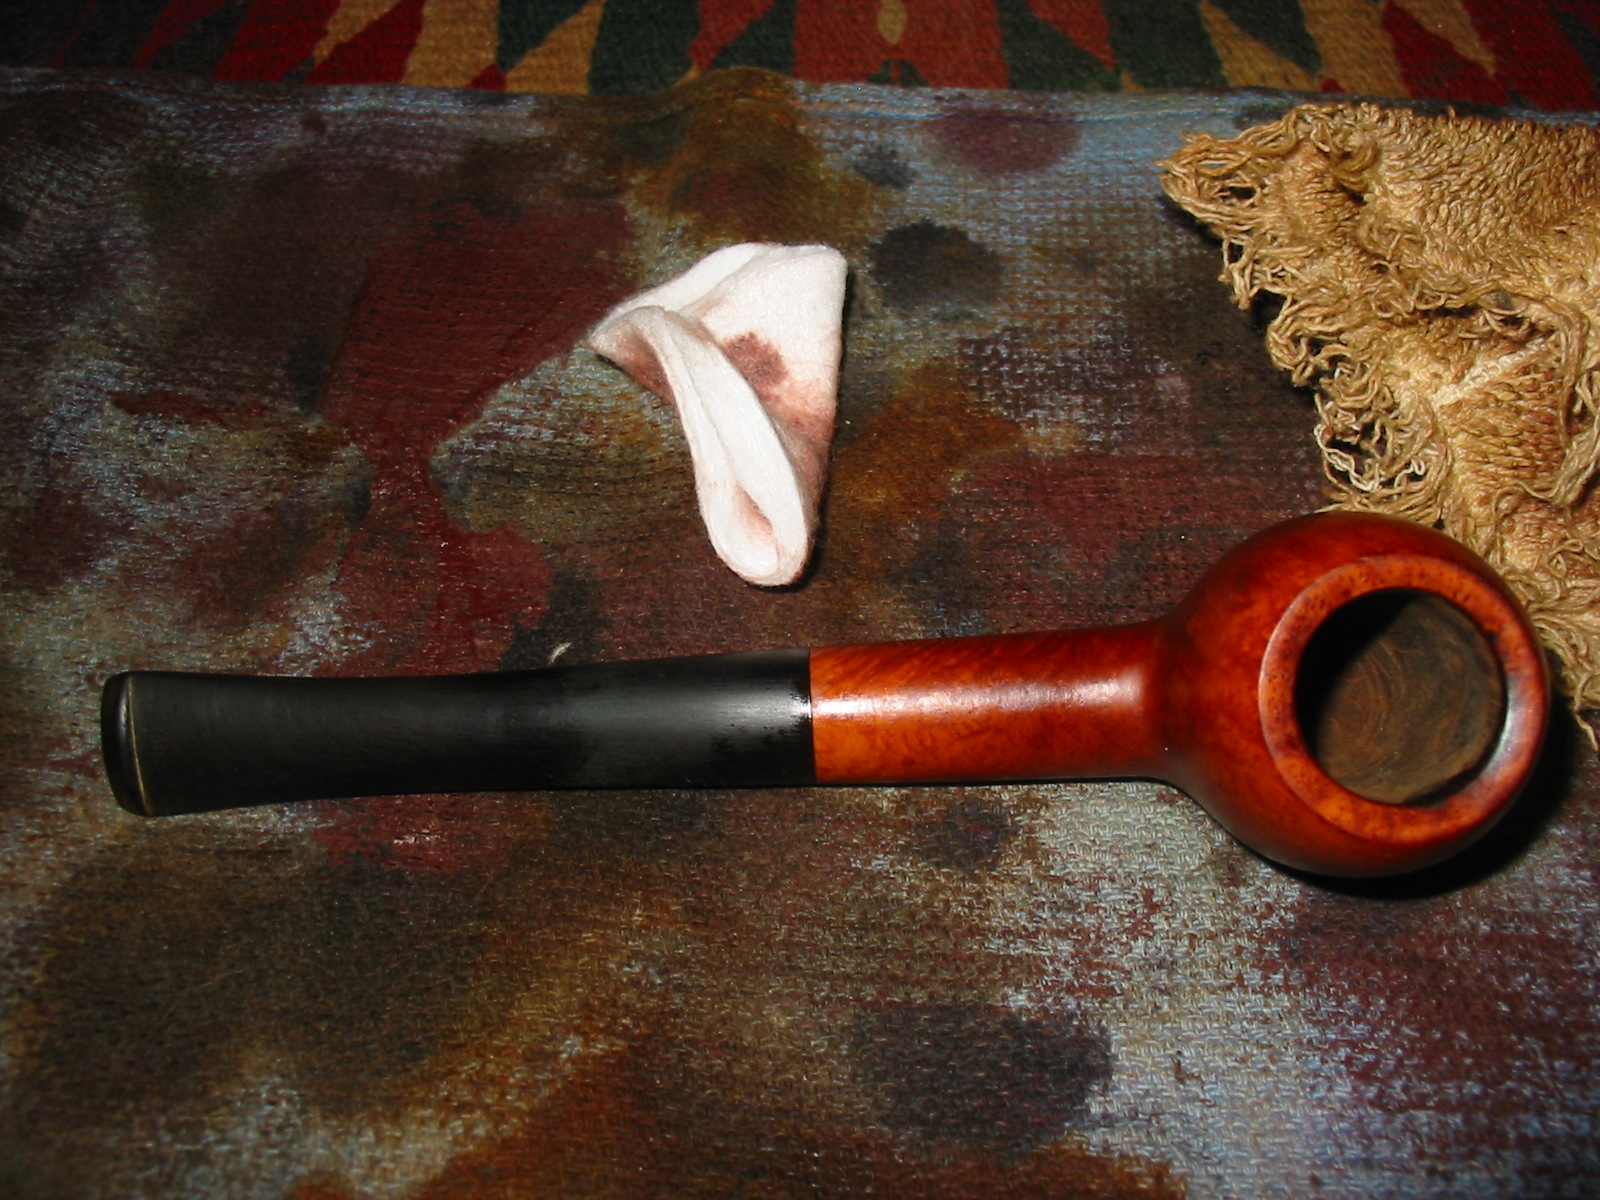
I took the pipe to the buffer and buffed it with White Diamond and then gave it multiple coats of carnauba wax. I finished by buffing it with a clean flannel buffing pad. The pictures below show the finished pipe. It is ready to send back to my buddy in Lethbridge. I think I will put a few samples of tobacco in the package with the “new pipe”. I think he will enjoy the improved version of his pipe.