Category Archives: Pipe Refurbishing Essays

Essays and pictorial essays on the art of refurbishing

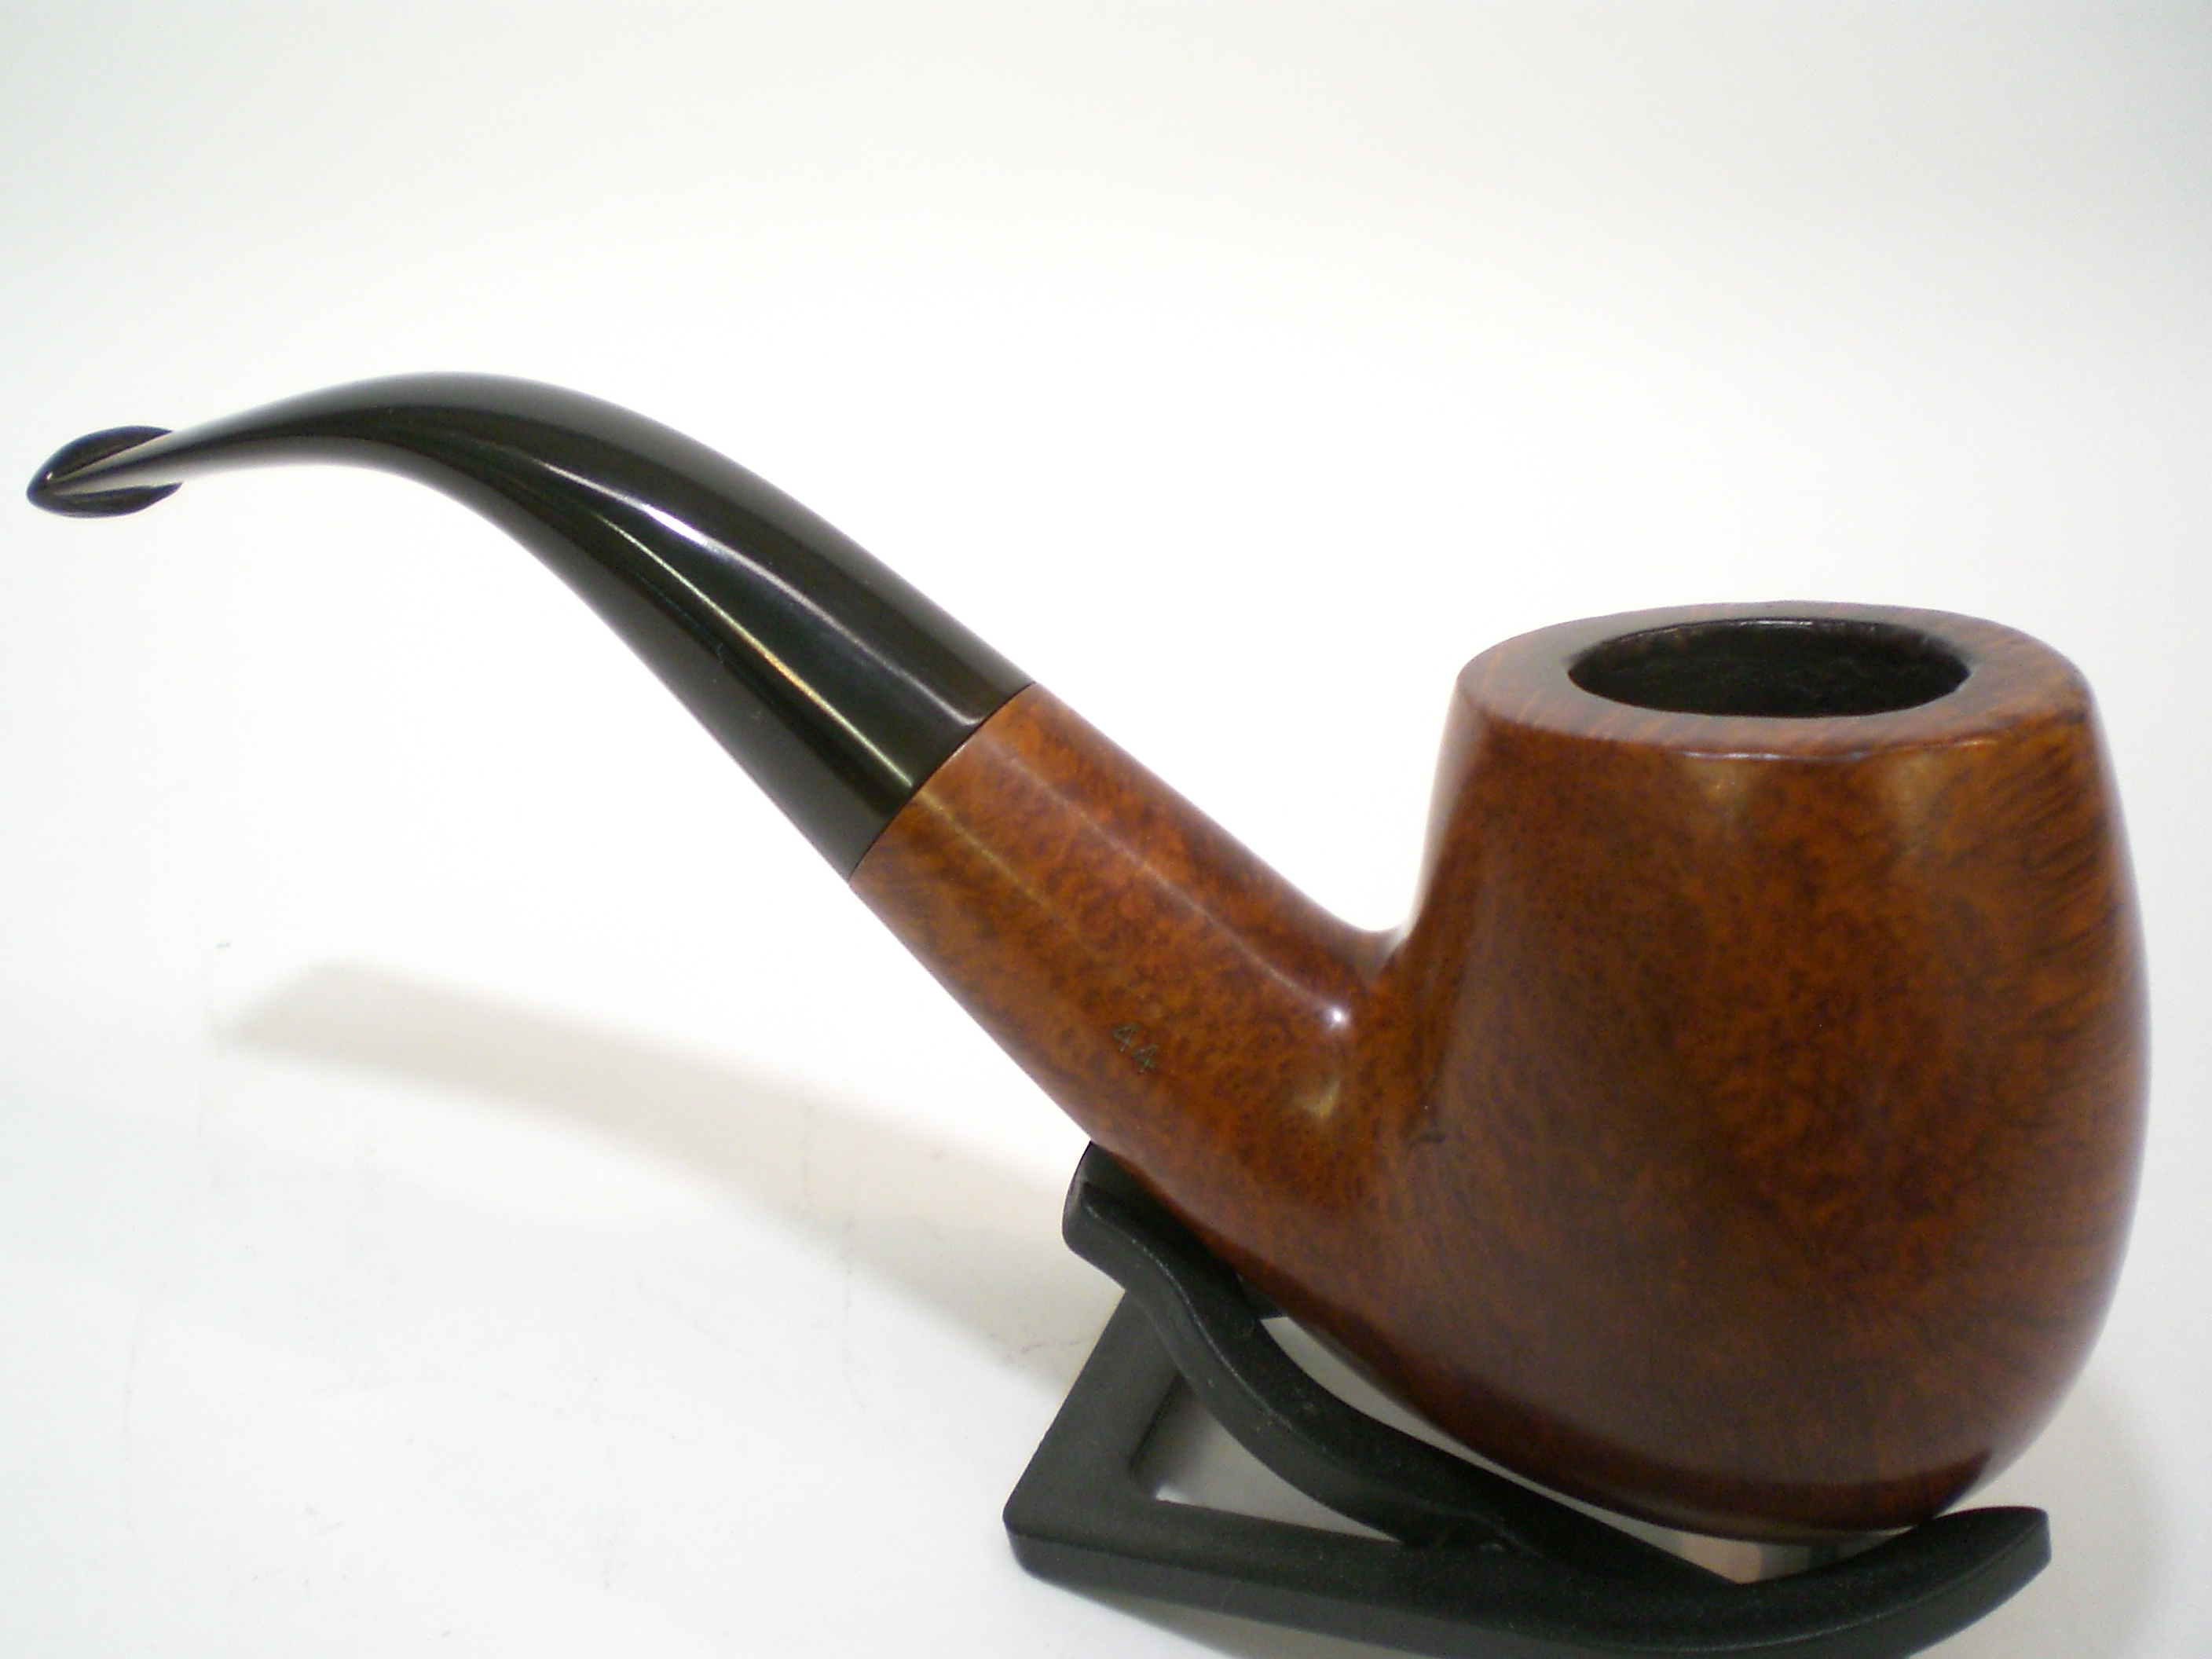
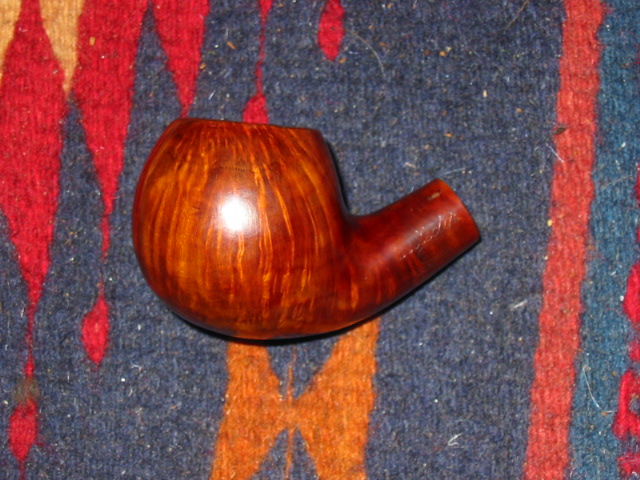
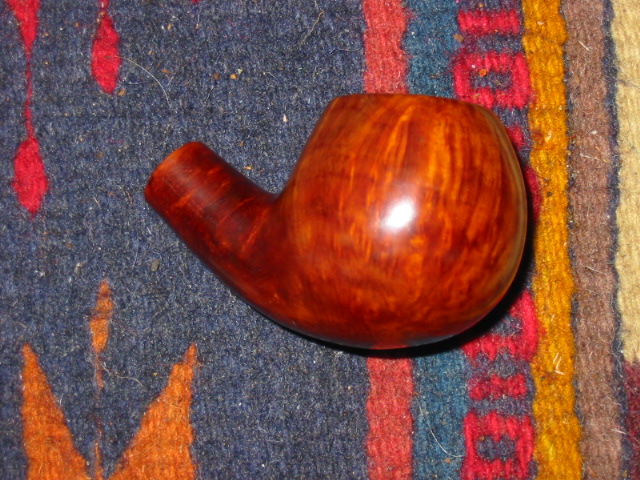
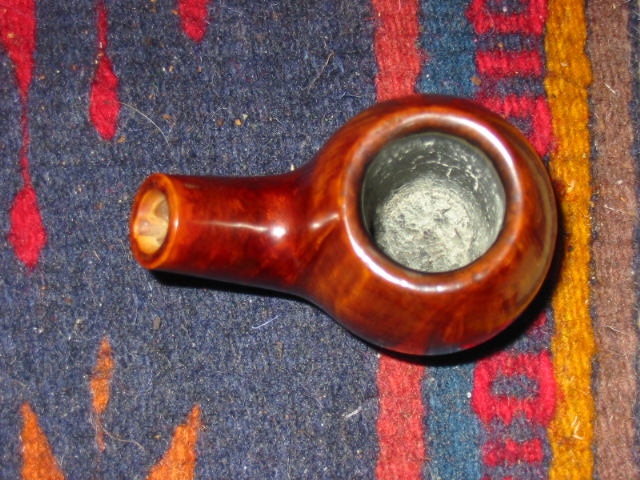
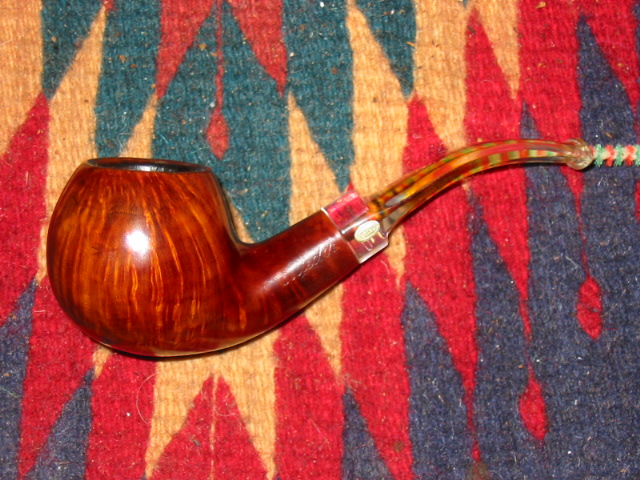
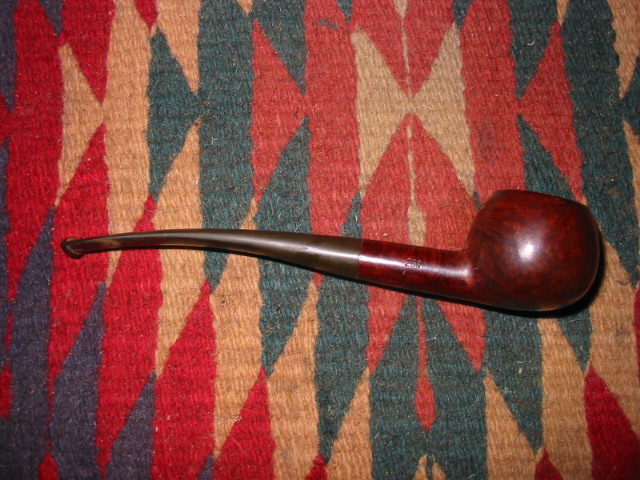
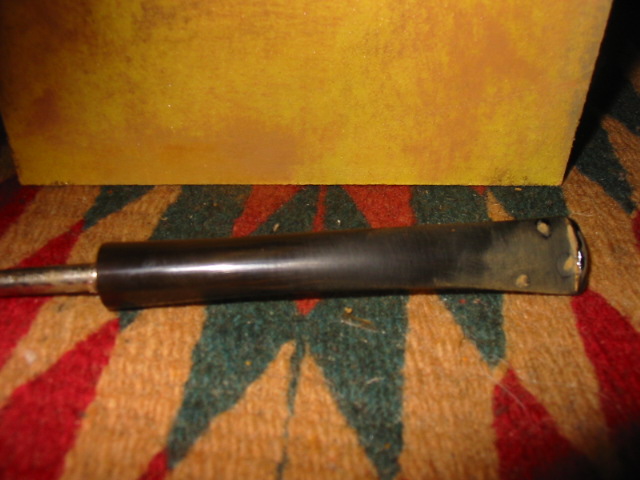
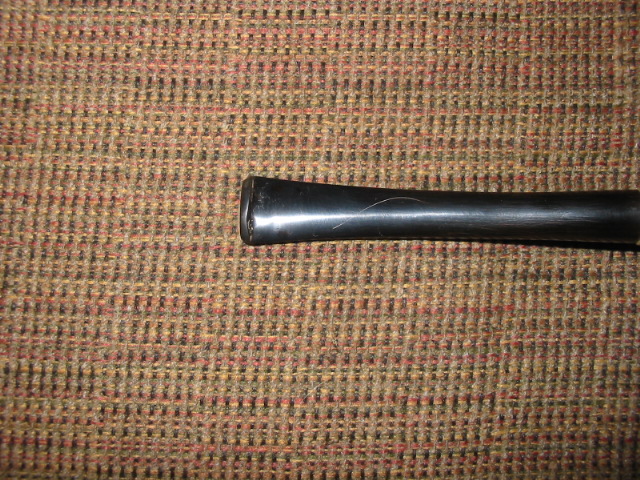
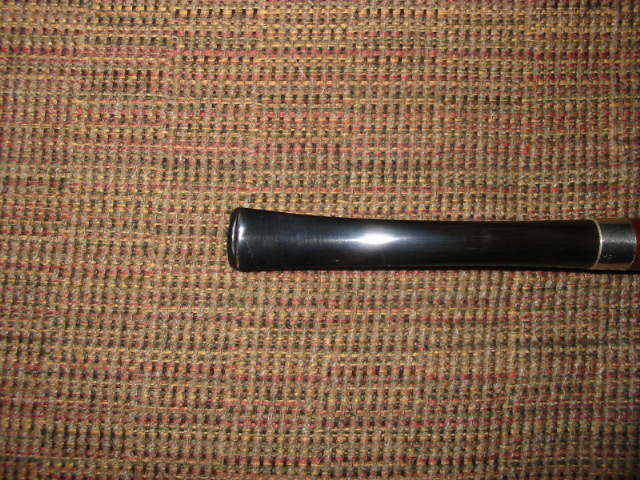
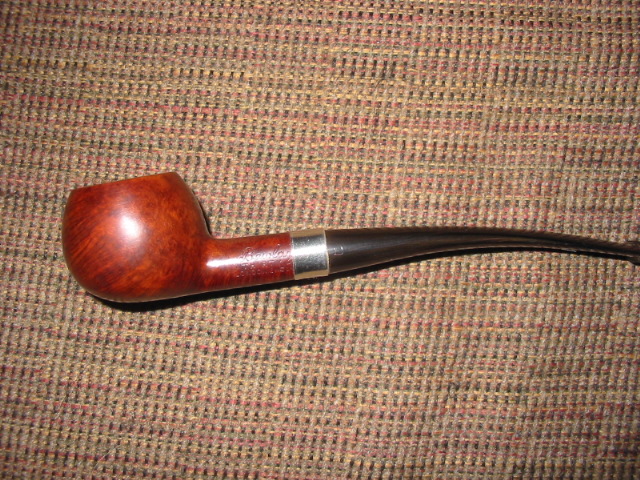
Four Pipes Restored – #1 Charatan Special Shape 44


Blog by Al Jones

Recently a friend asked me to restore four pipes that came from the estate of a family friend . This gentleman, from Ohio, had previously gifted me two wonderful GBD’s from this same estate. So, I was more than pleased to restore this quartet for him to enjoy.  From research into this group of pipes and my two, I belive they were purchased from the old Smokers Haven in Ohio.

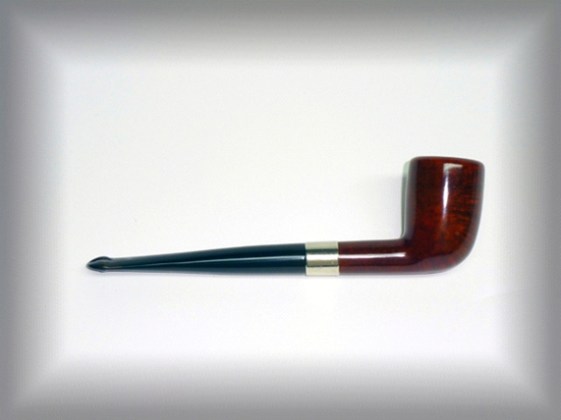
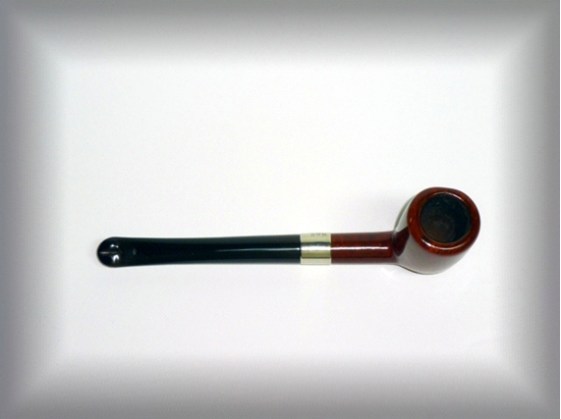
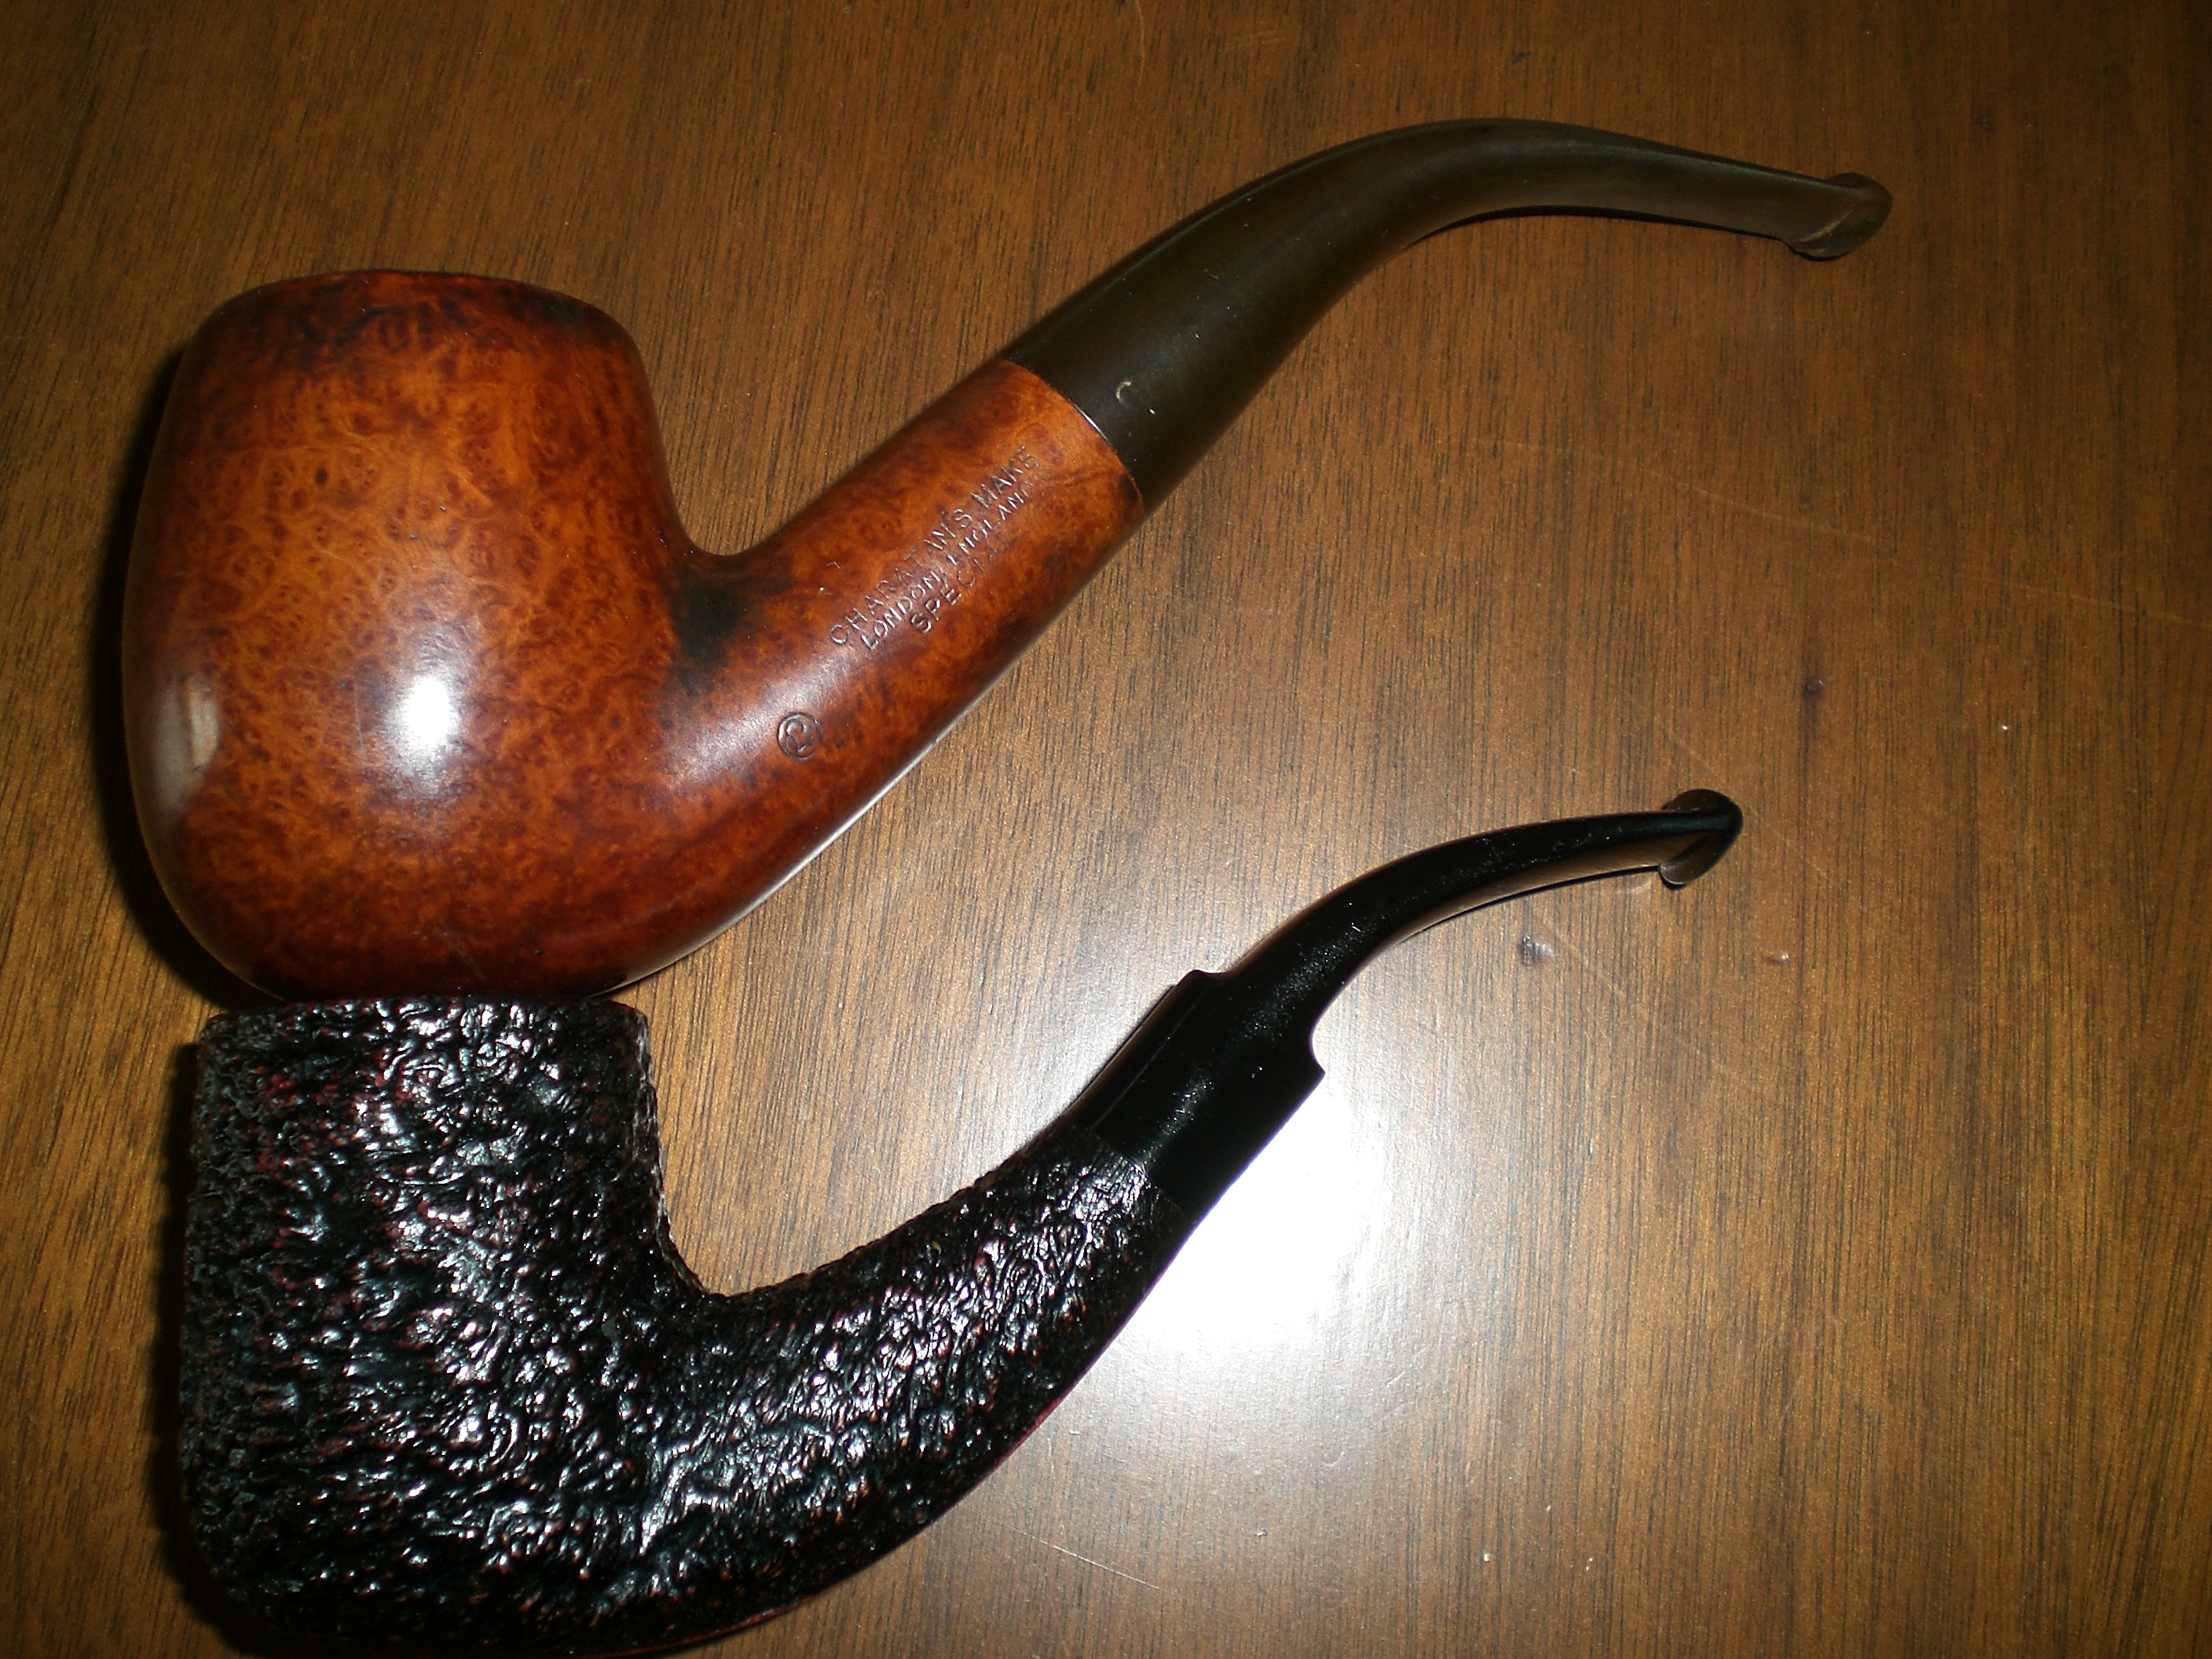
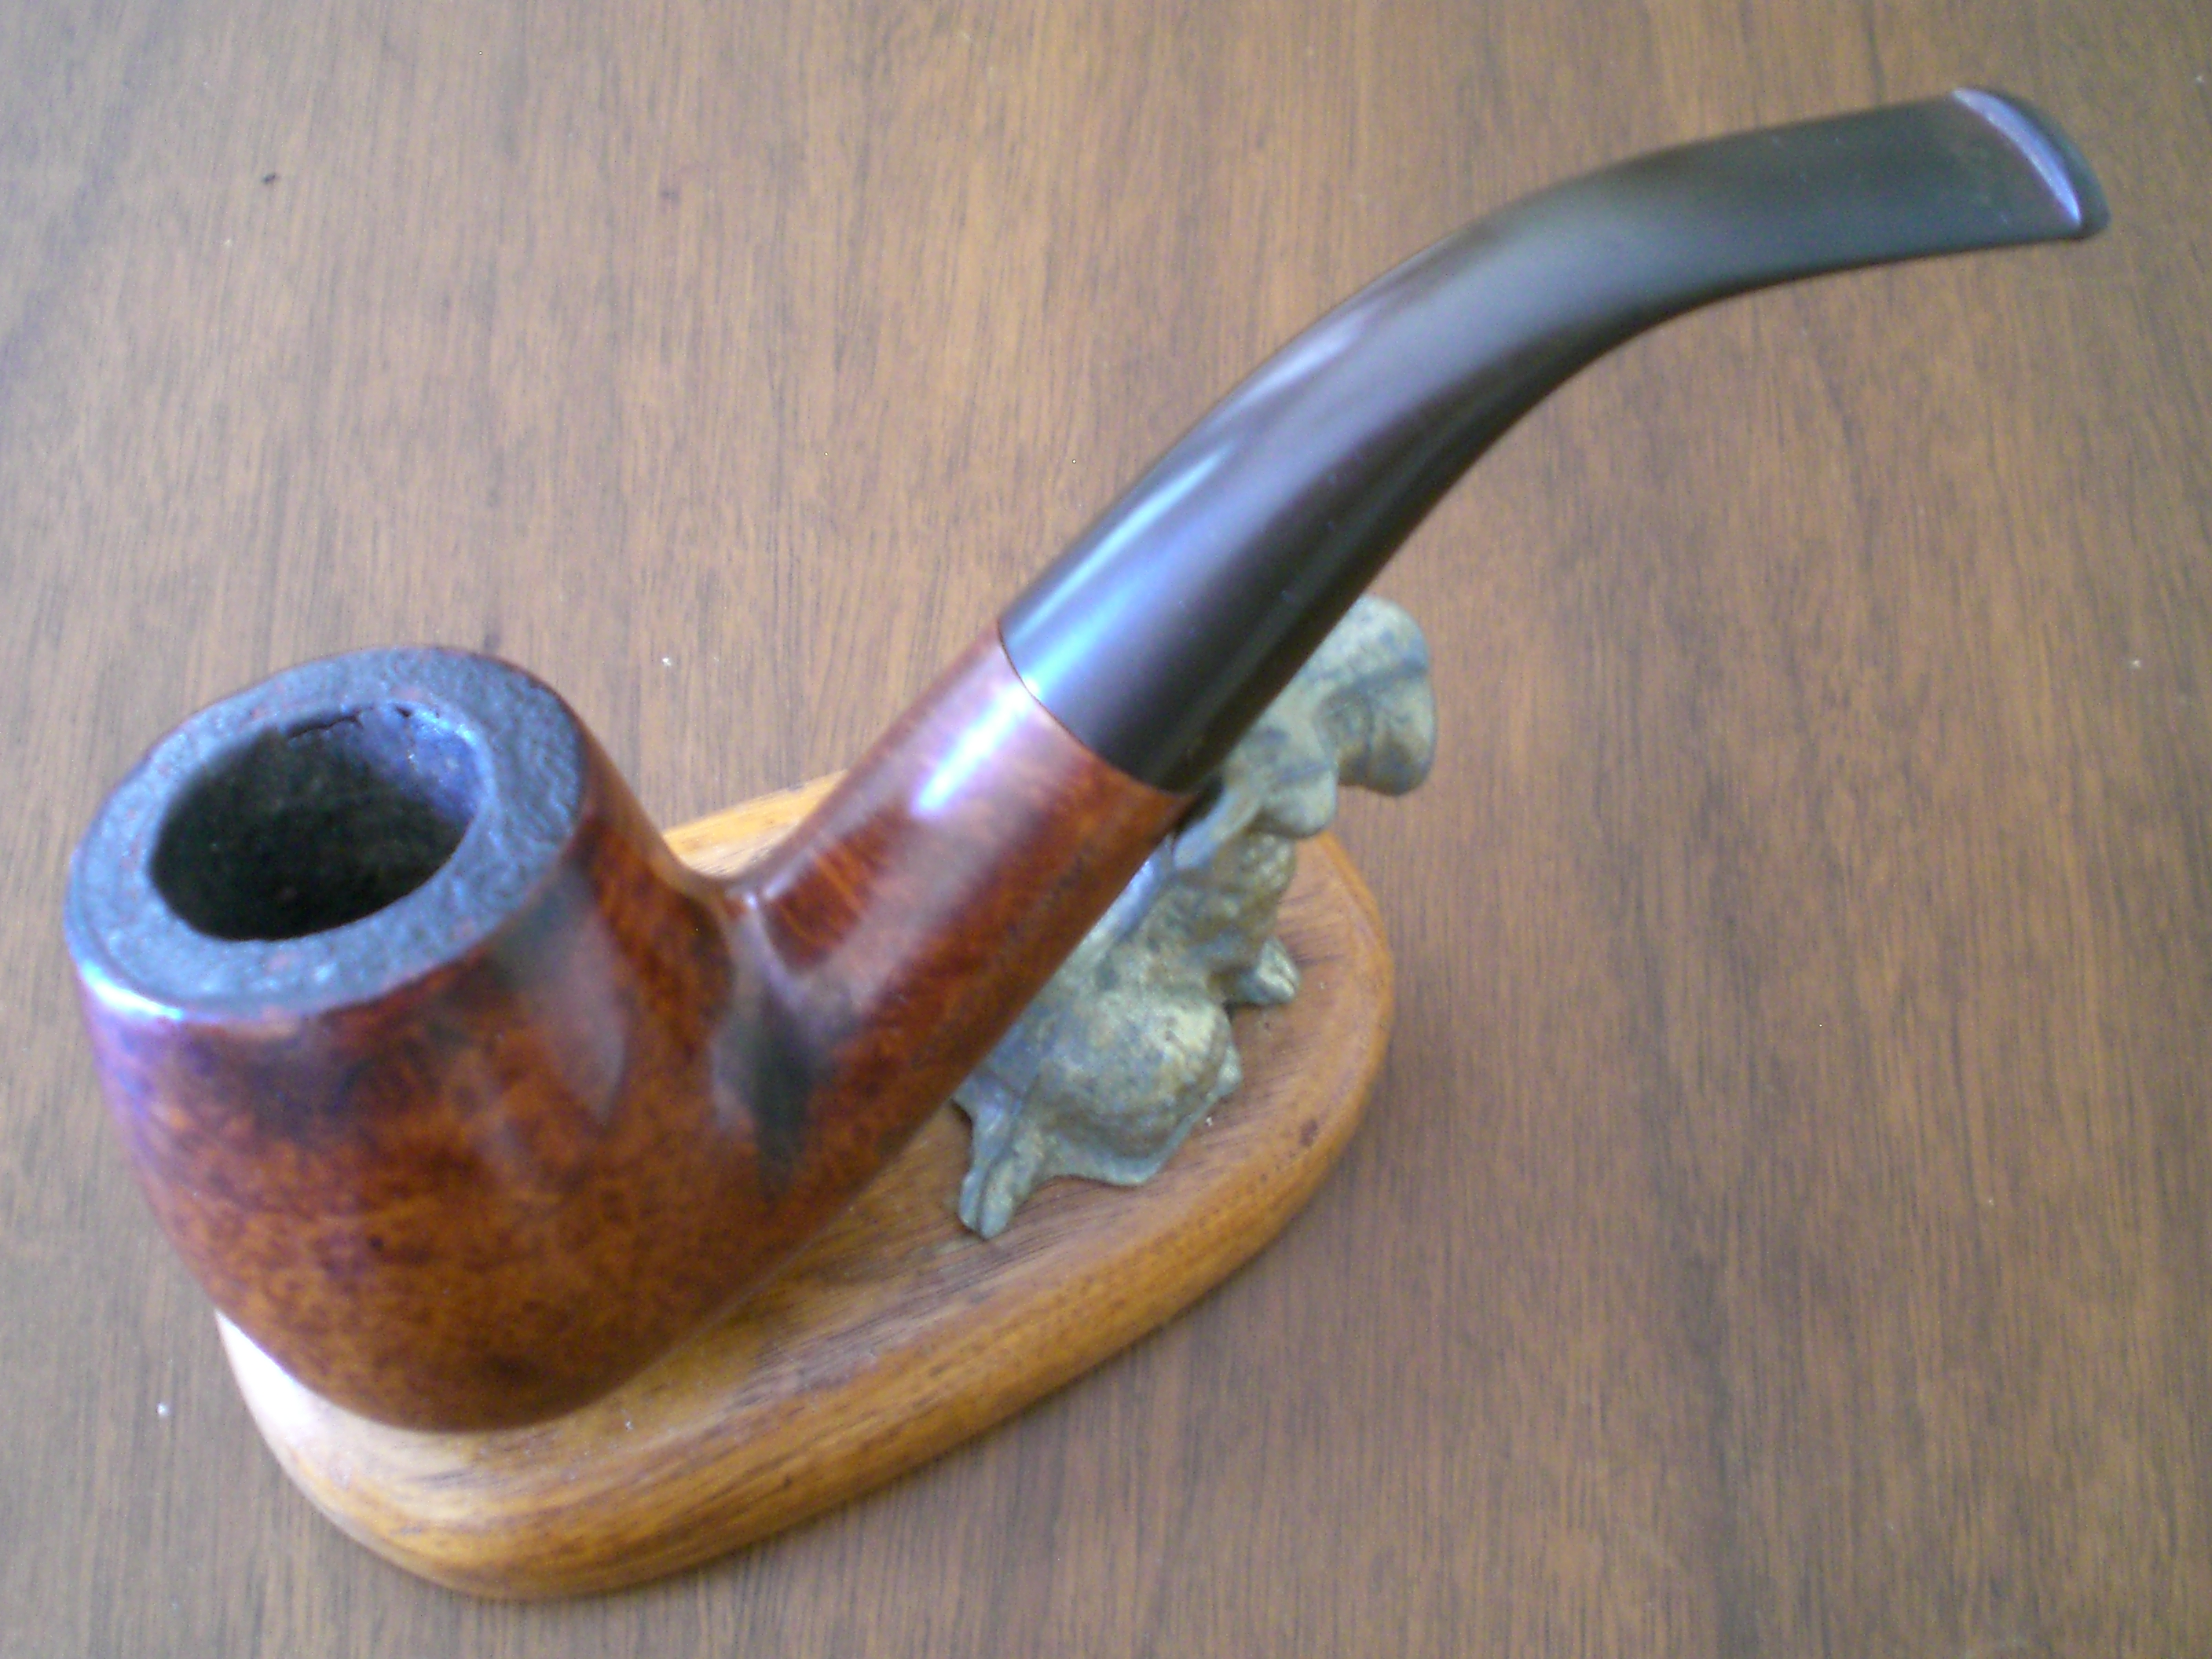
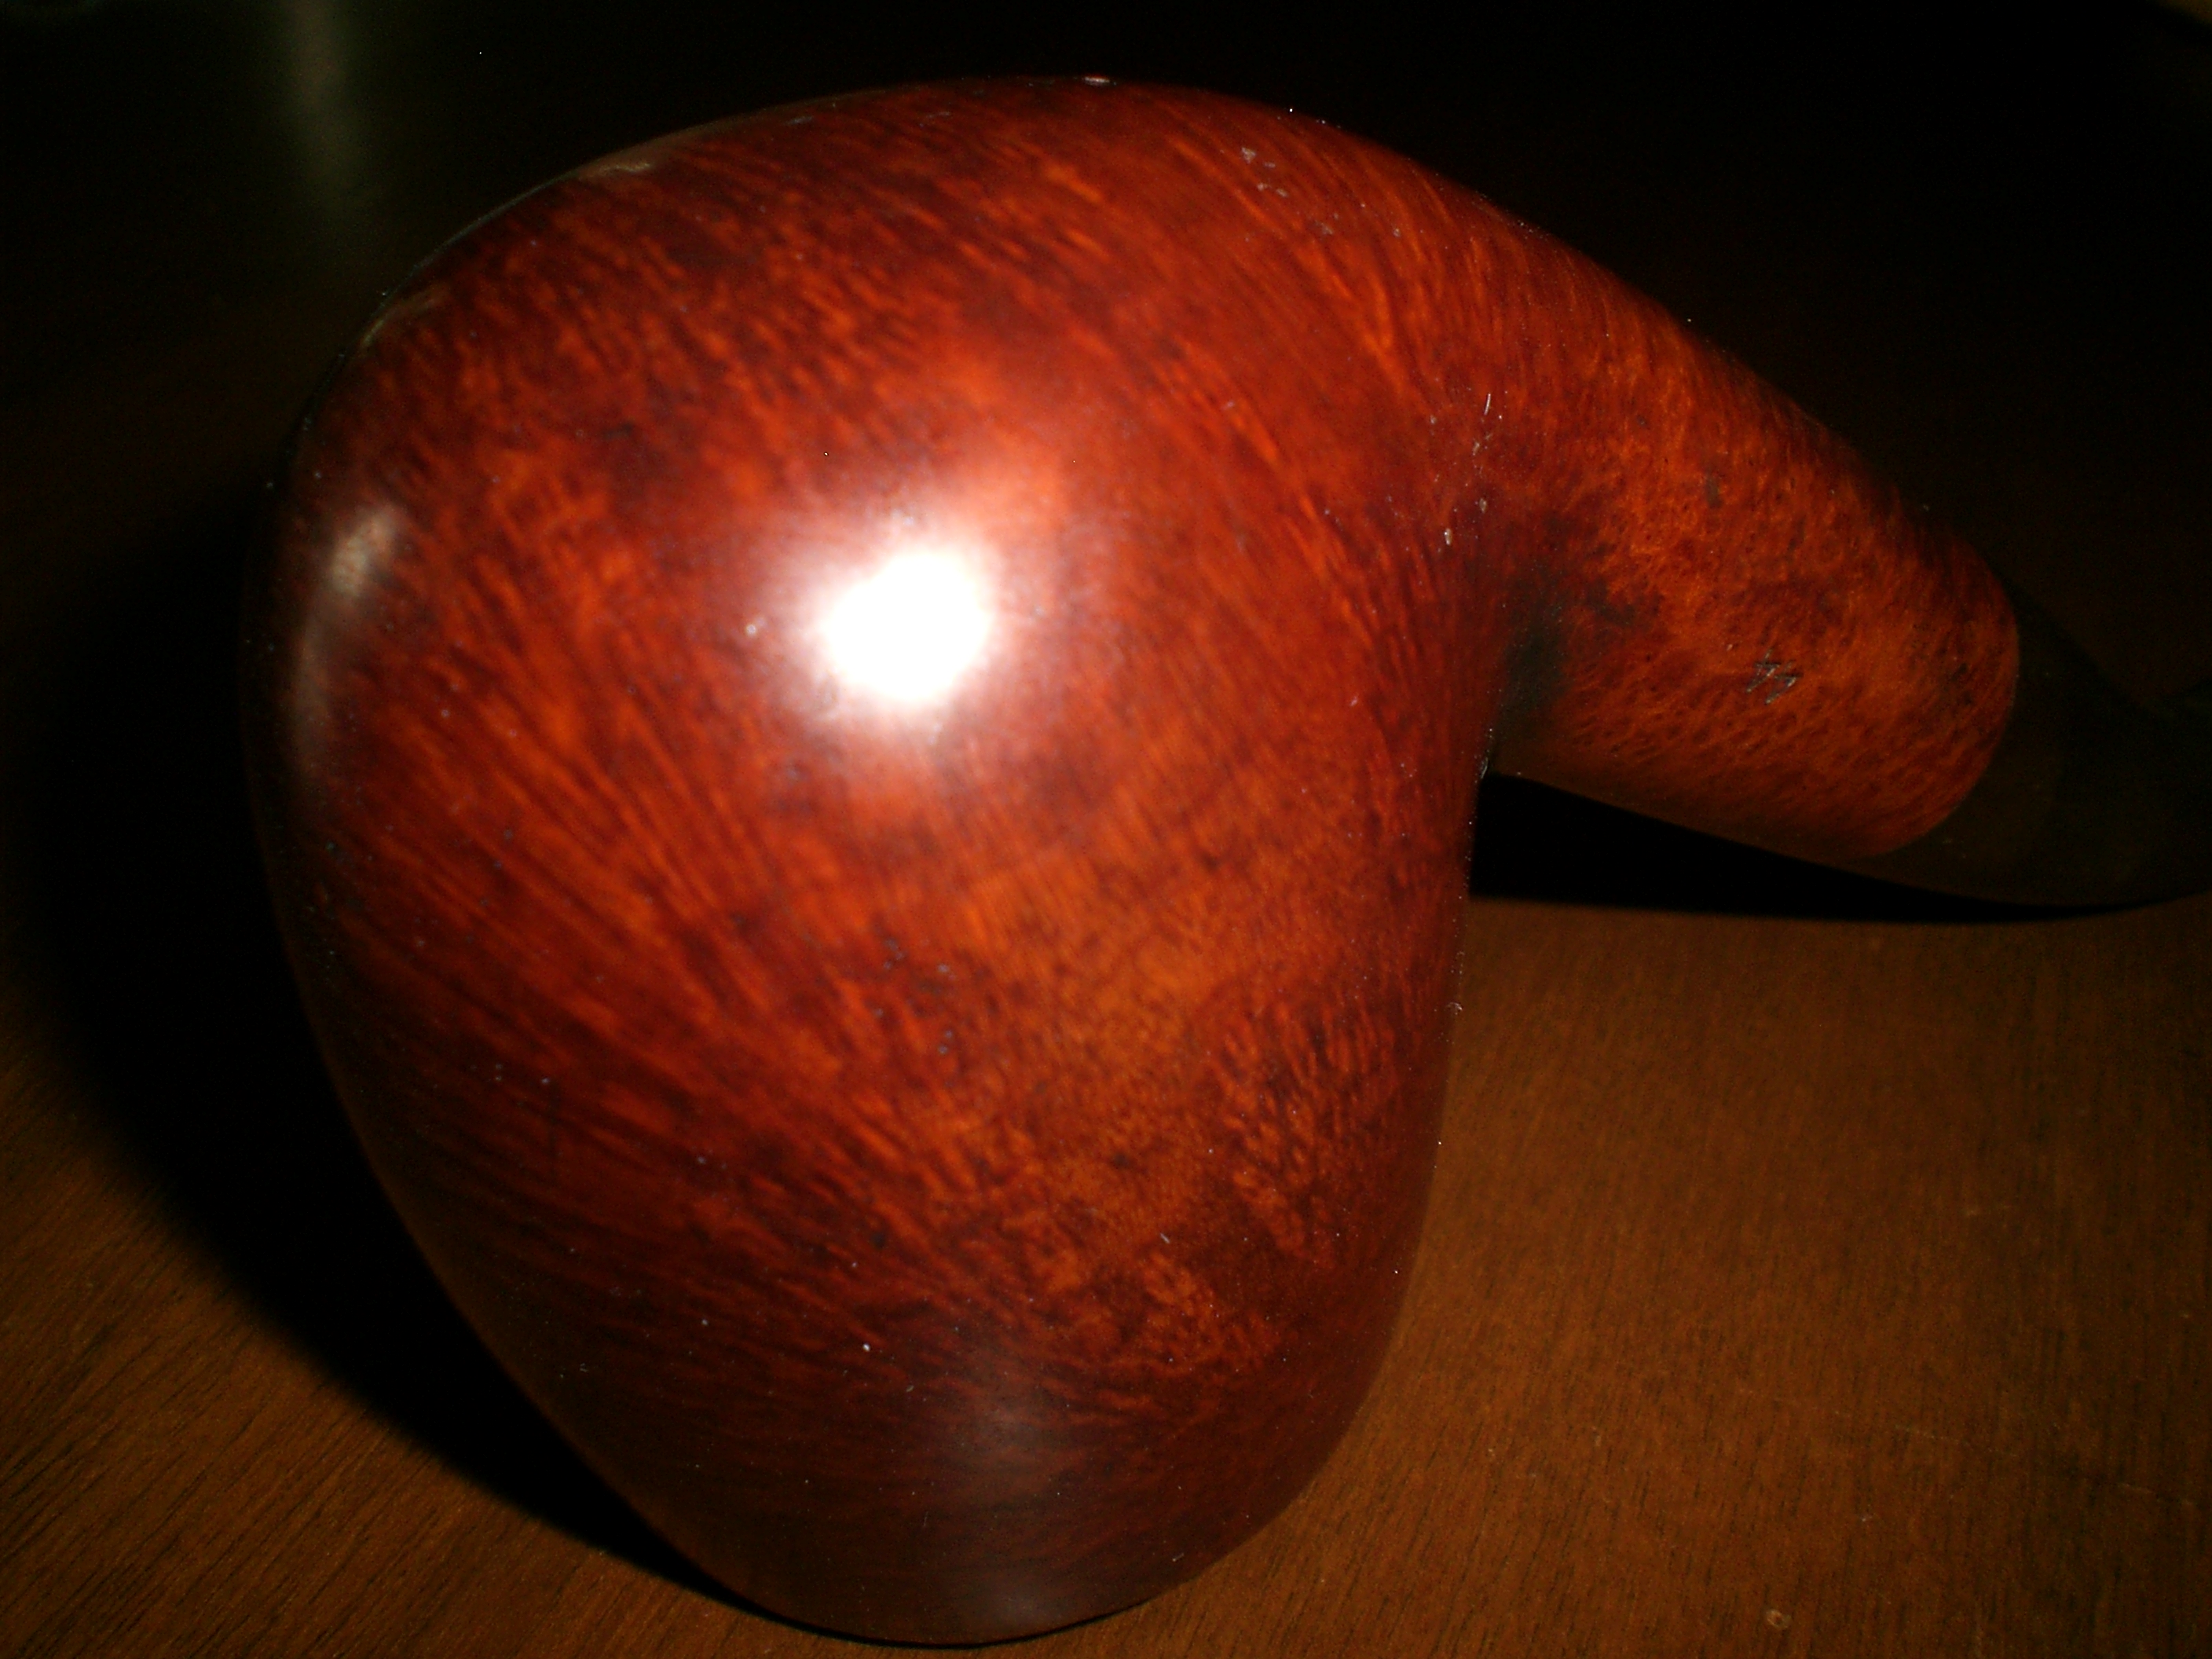
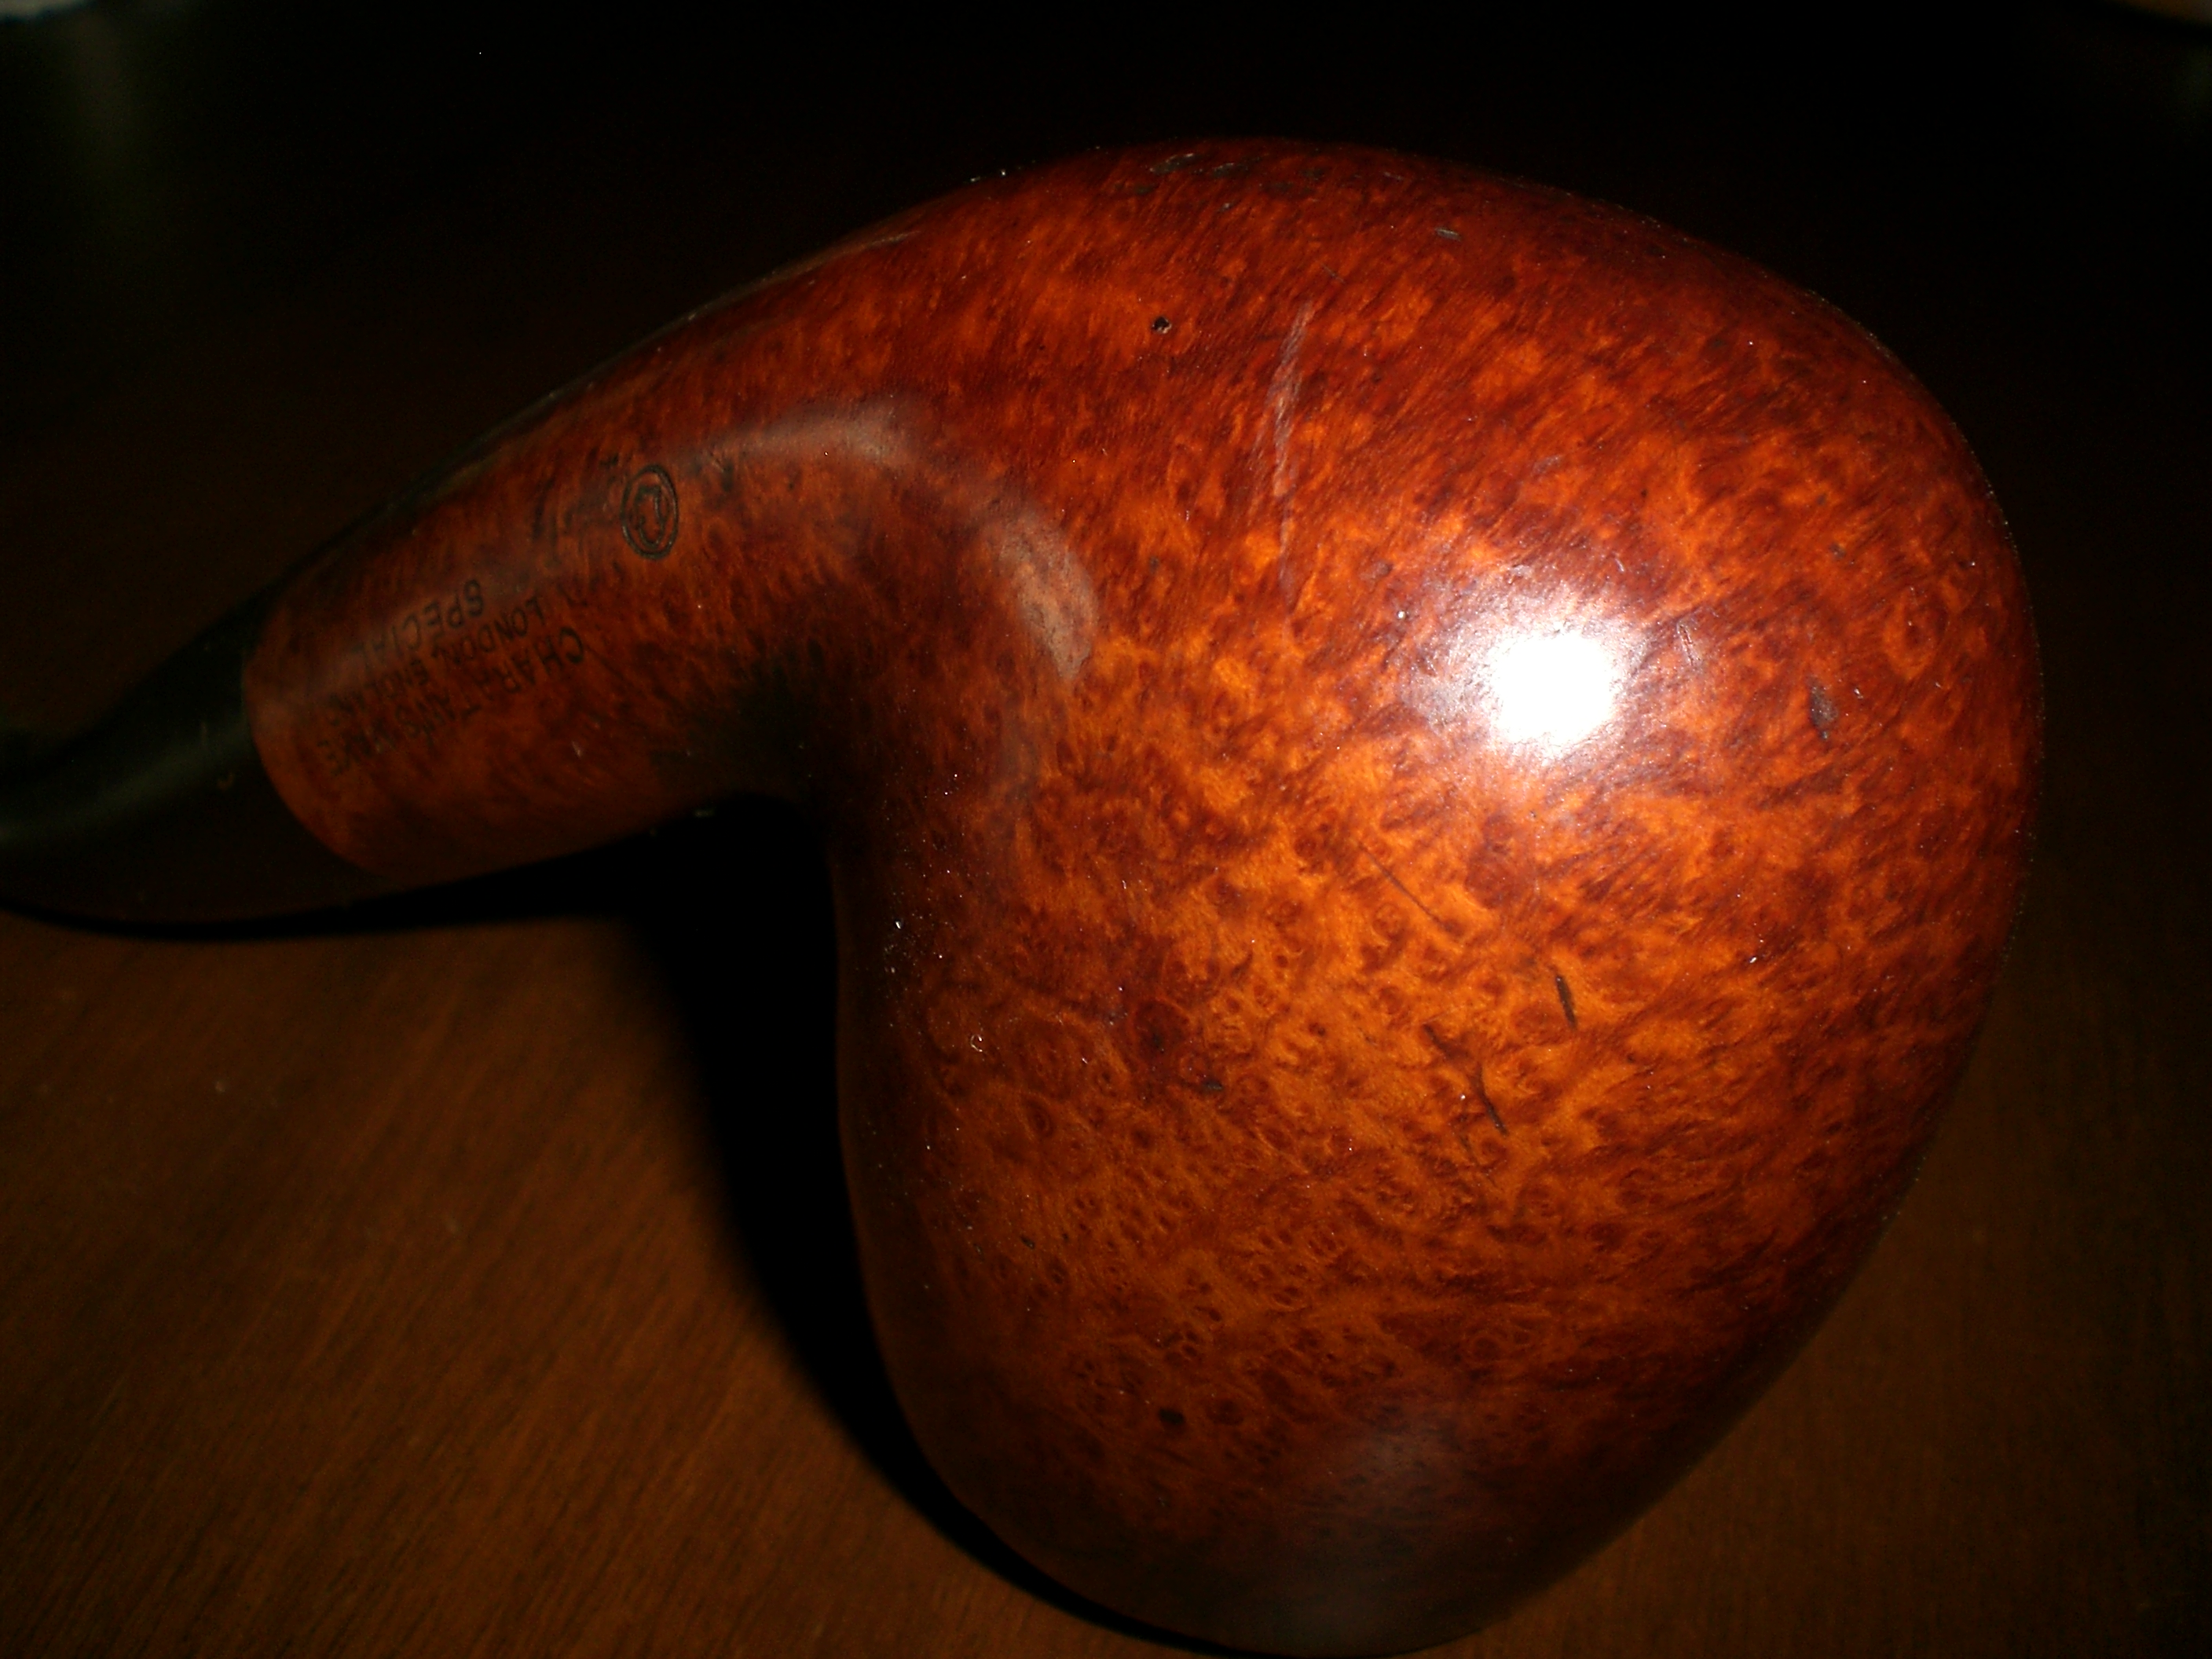
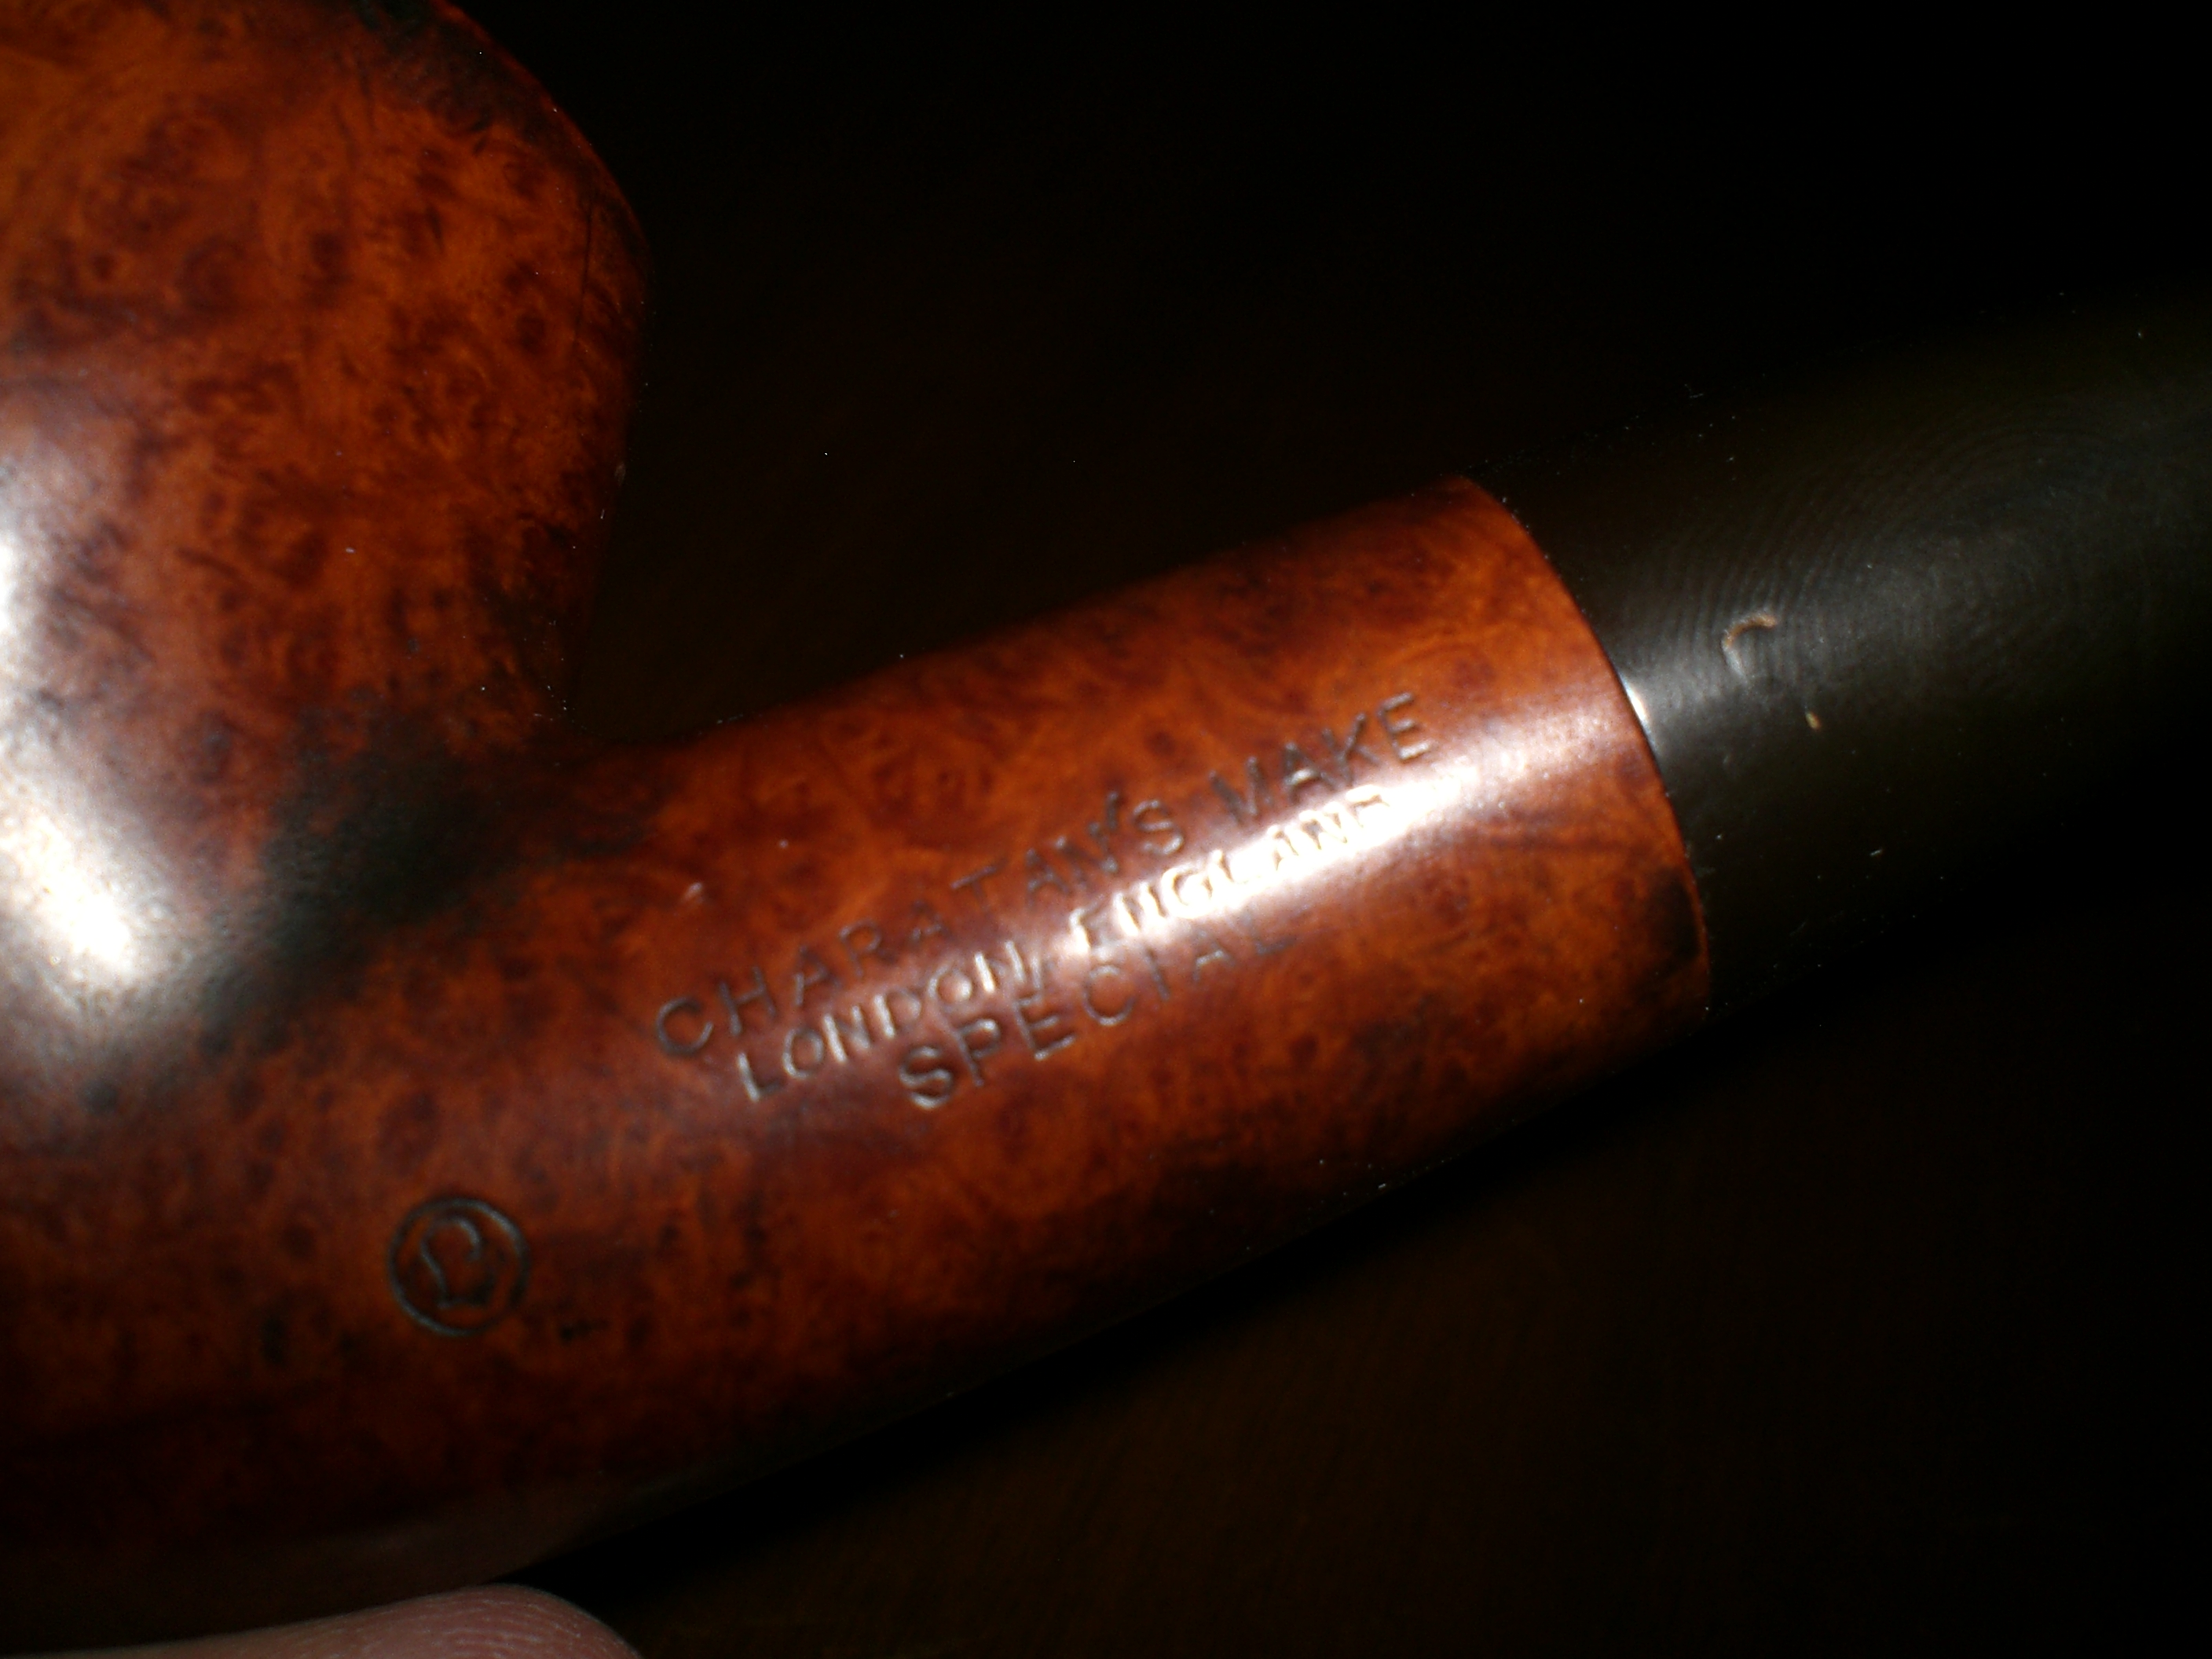
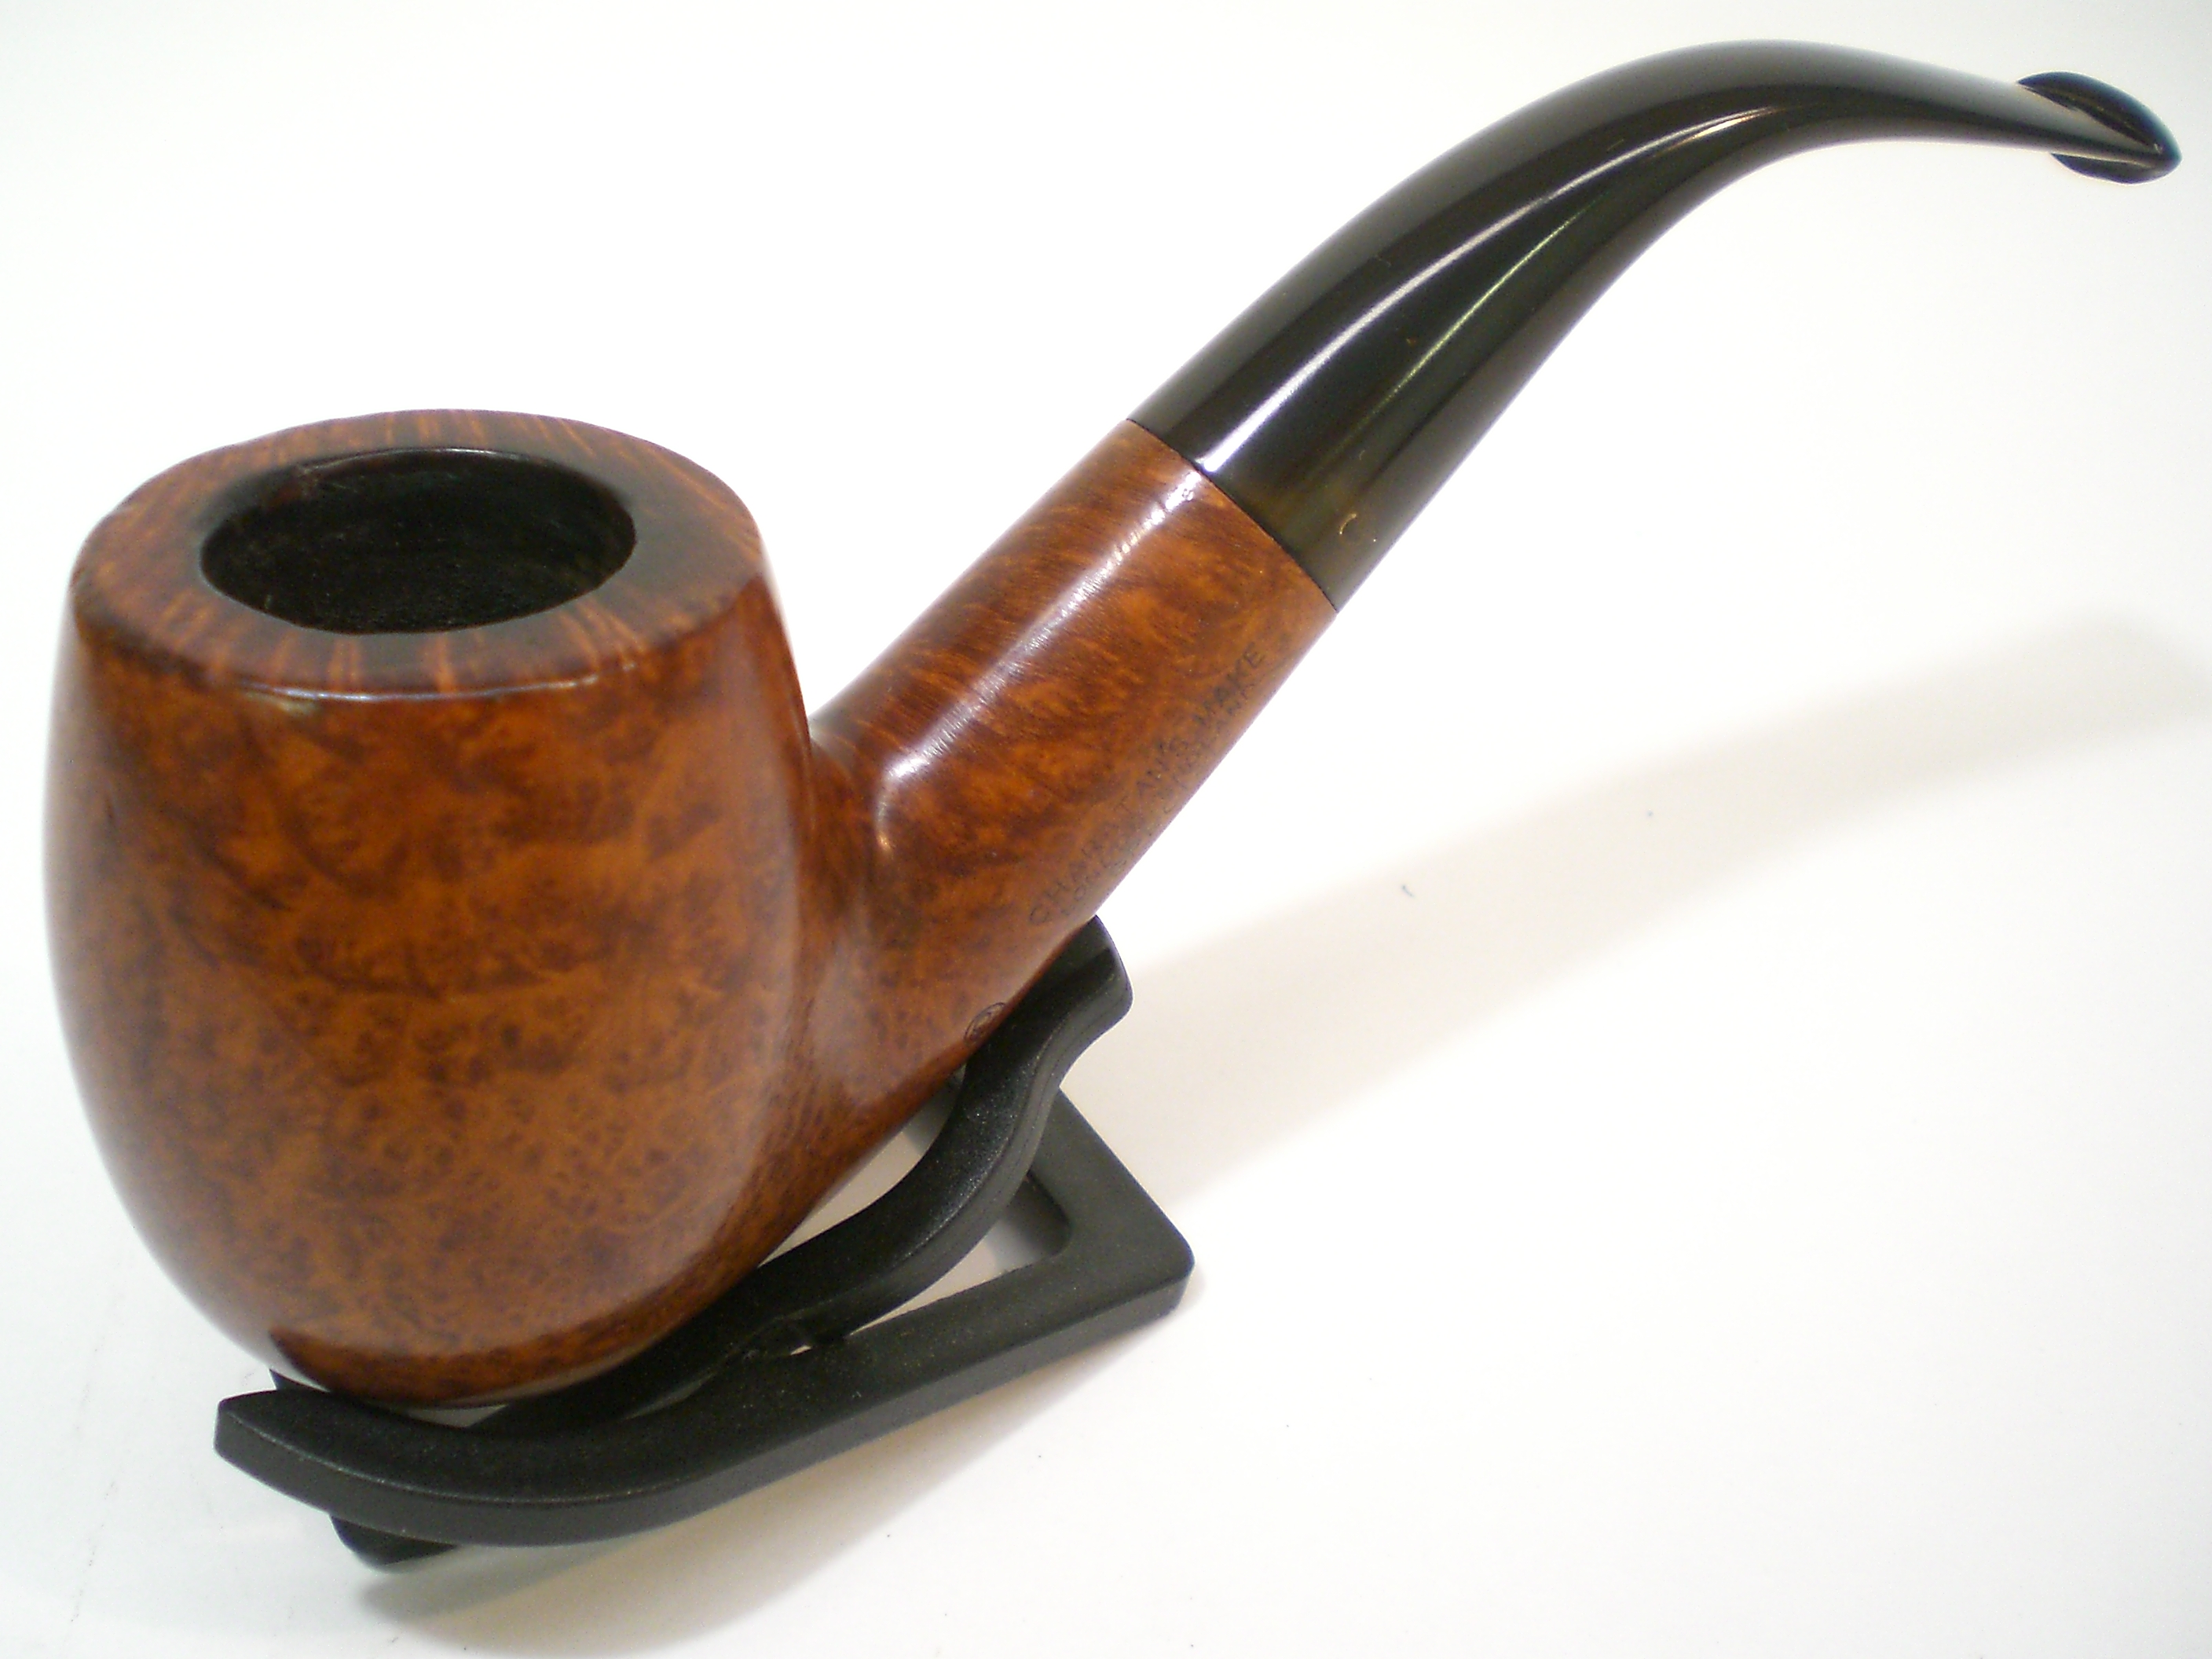
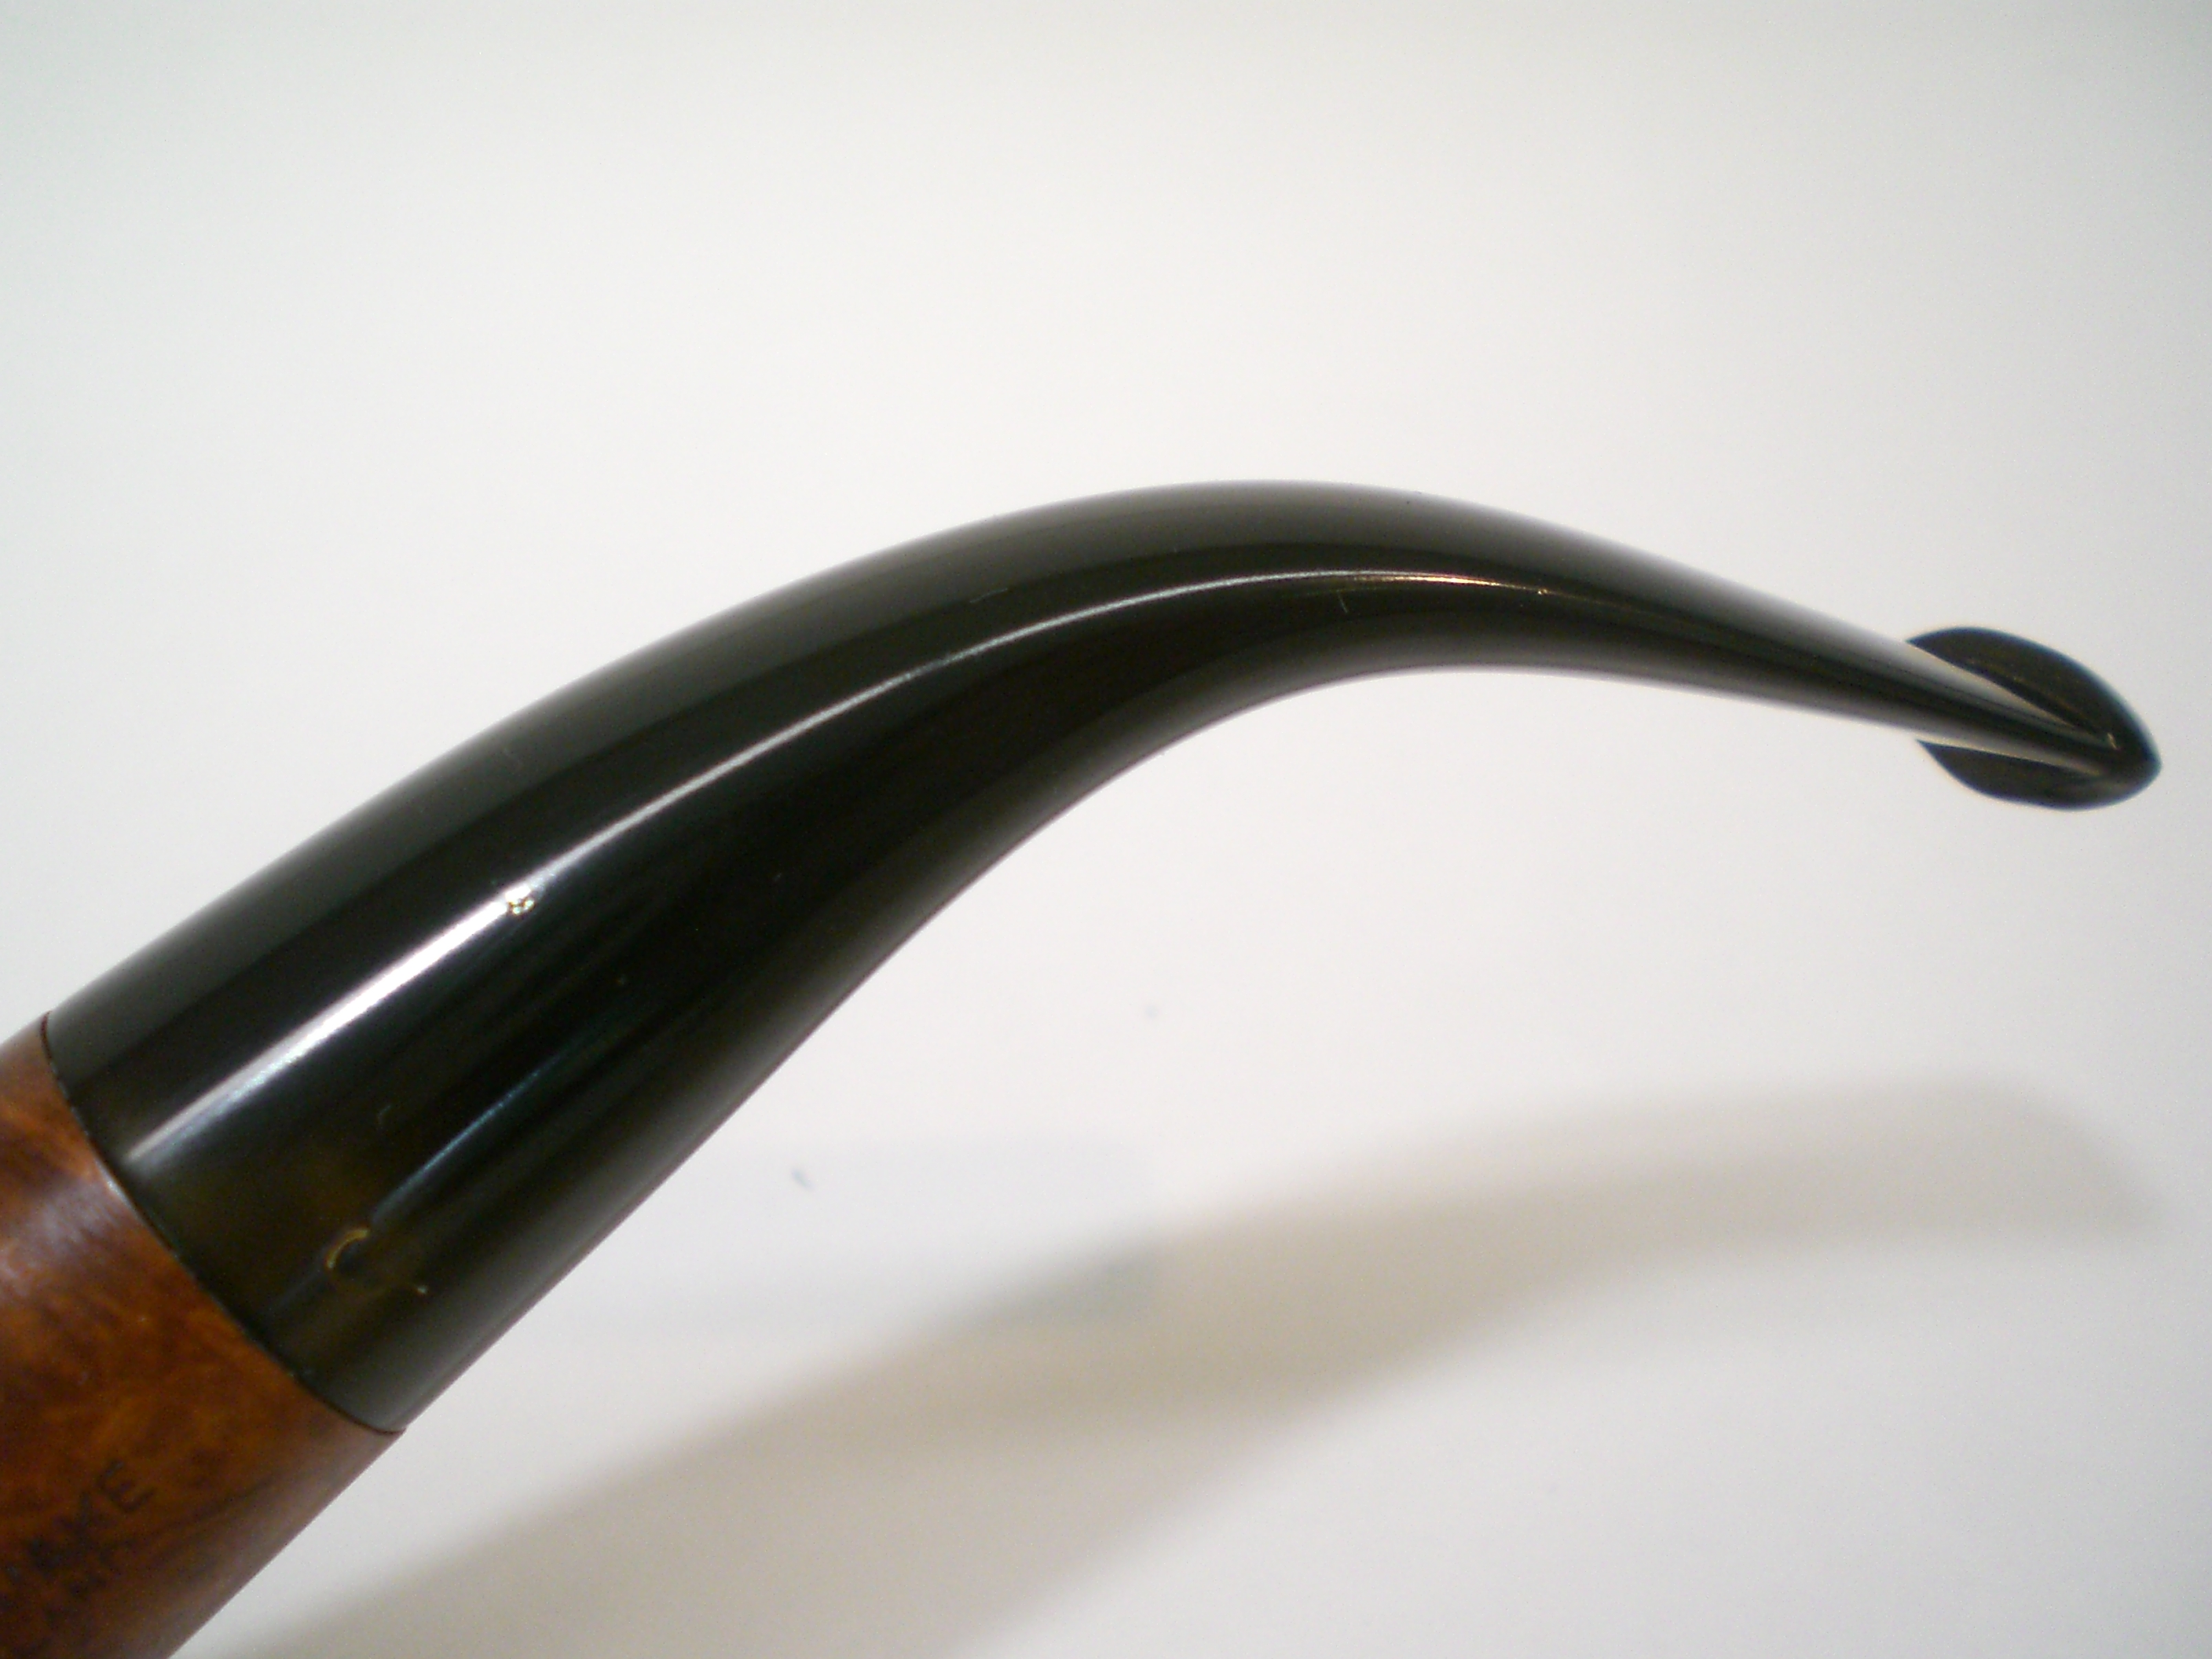
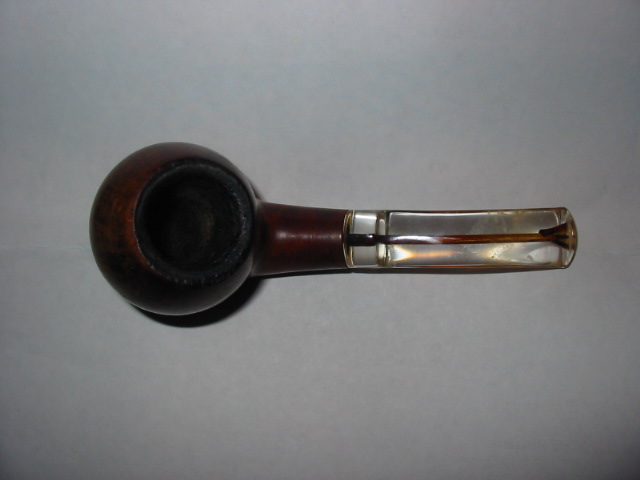
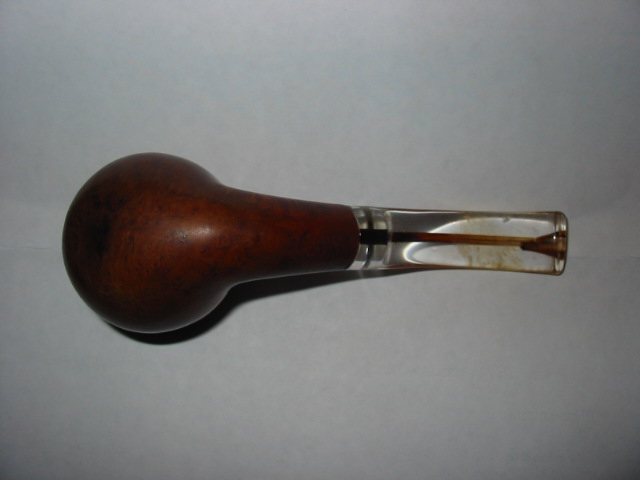
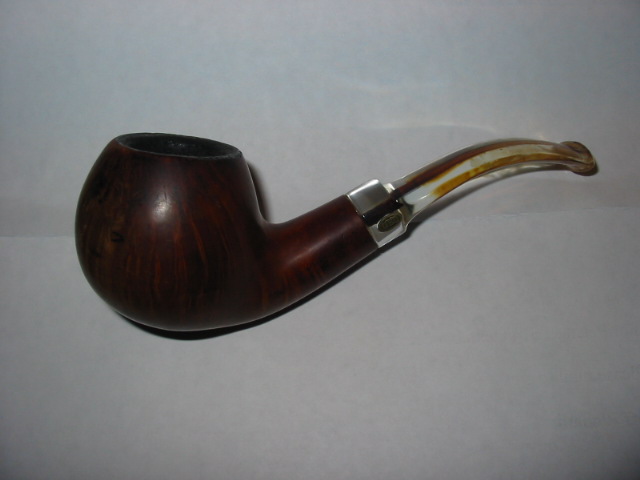
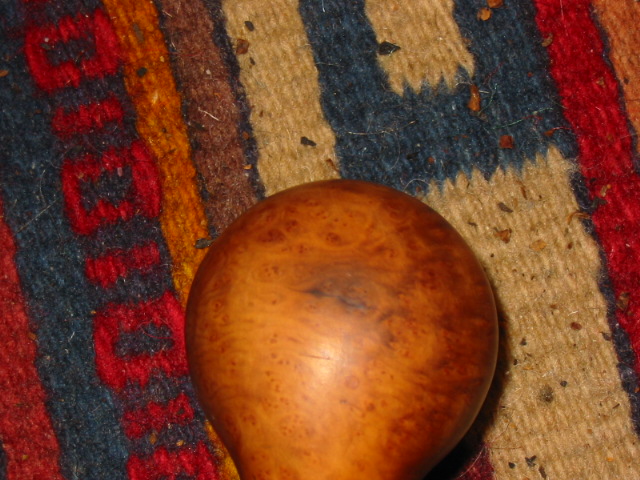
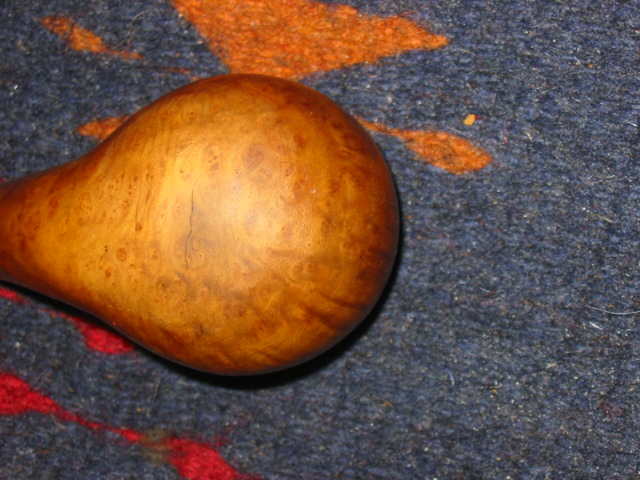
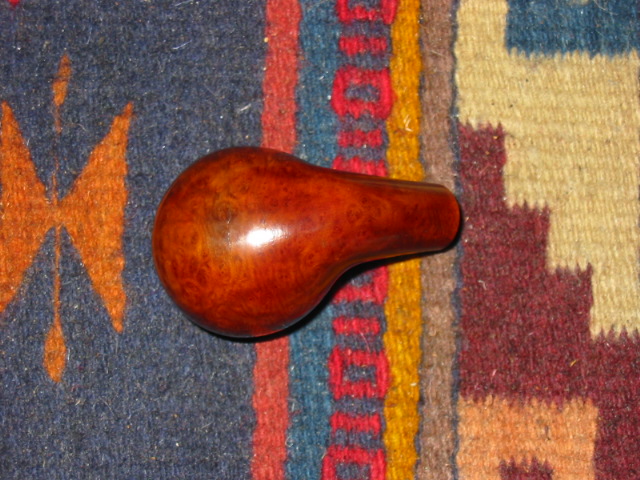
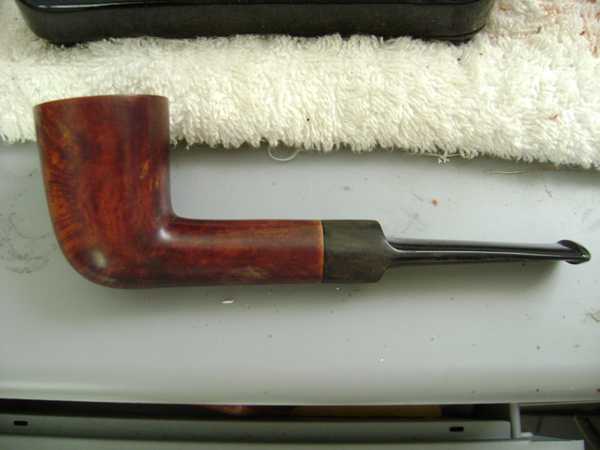
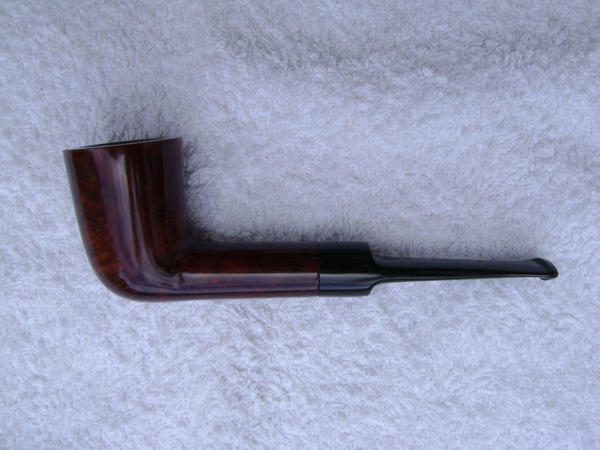
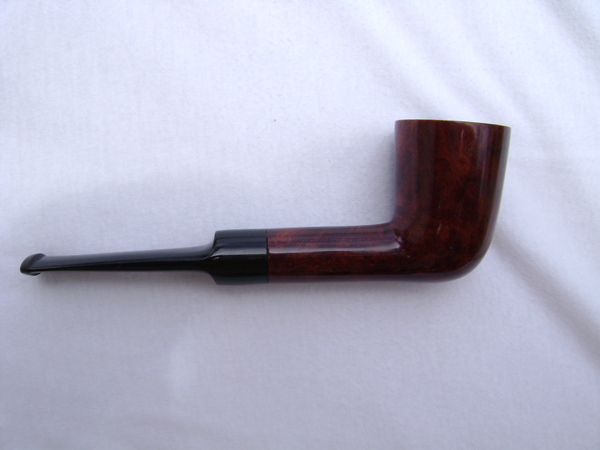
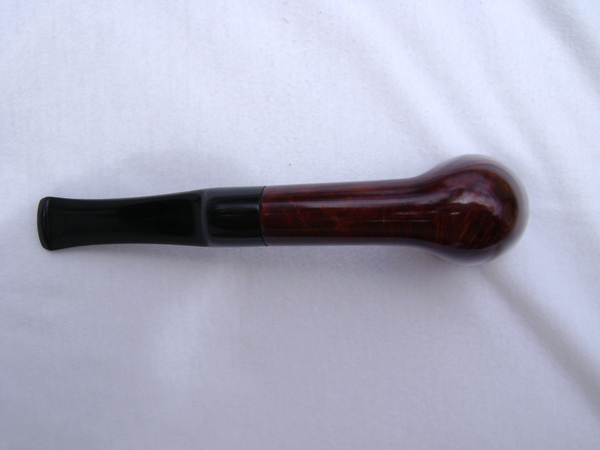
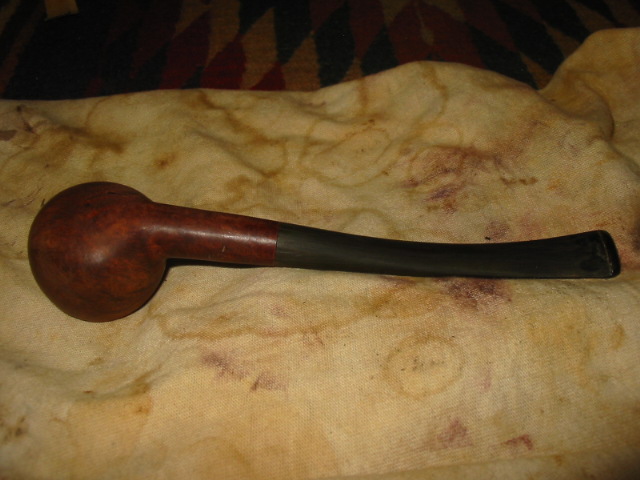
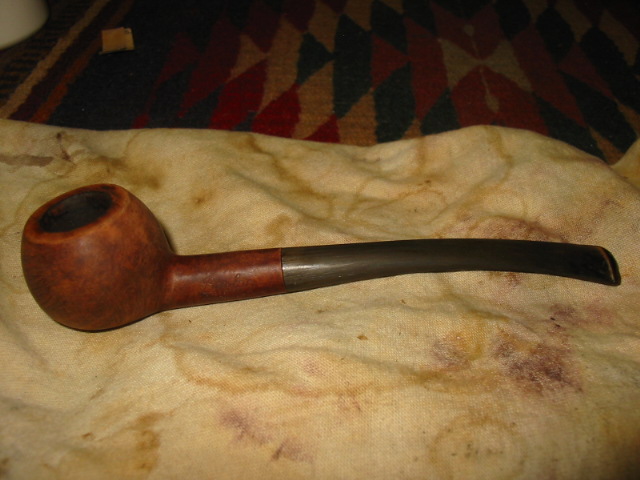
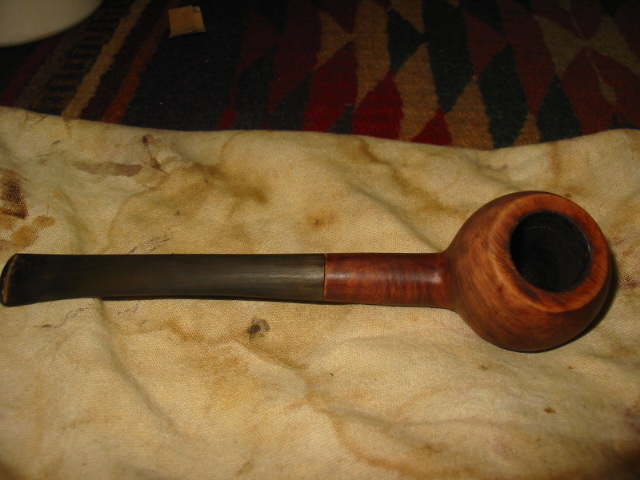
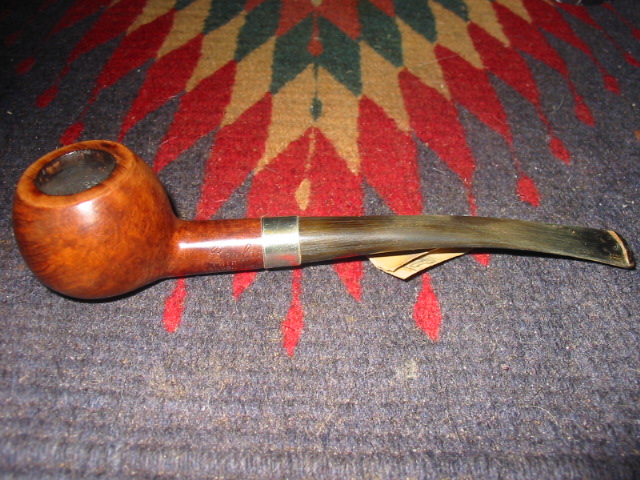
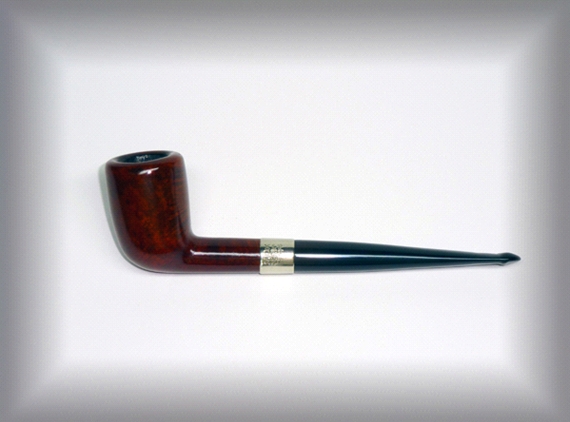
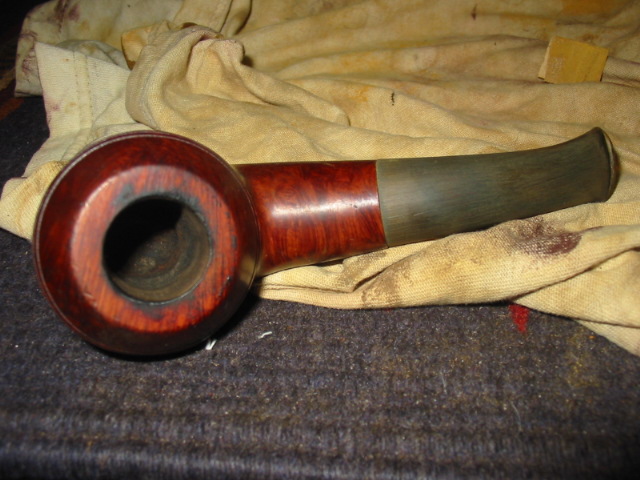
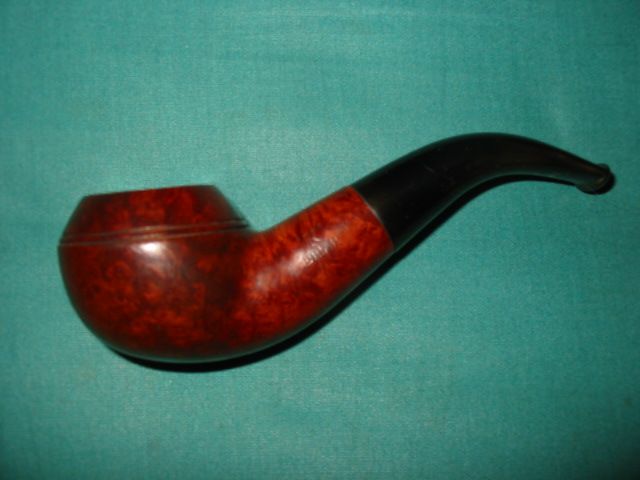
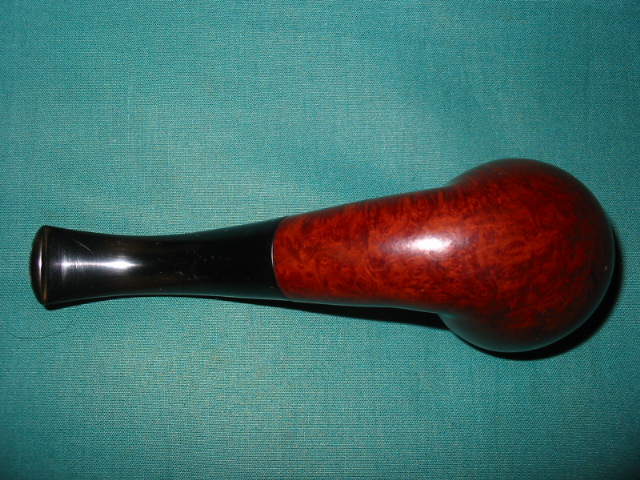
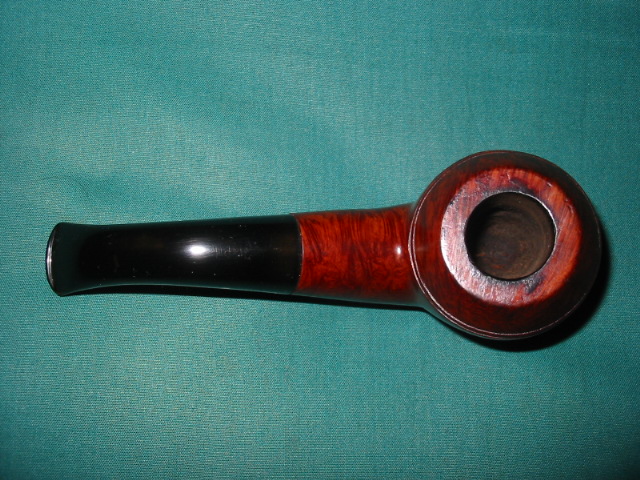
First up on the bench was this massive Charatan Special billiard. I’ve seen these Specials before, but they almost always have a saddle stem. This one has a lovely tapered stem. The pipe is 7″ long and at exactly 100 grams, a hefty hunk of briar. This one is a shape 44 and has the Lane stamp.

Paired with a 4K Castello to give you a perspective on the size of the pipe:


Each of these four pieces had a heavy layer of grime on them (as did the two GBD’s in my collection) and a very thick layer of tar on the bowl top.  The had some small tooth impressions that lifted out with some heat.

The tars on top came off with some light scrubbing. I soaked the stem in a mild Oxyclean solution to remove some stubborn oxidation. I stayed away from the “CP” stamp. It is light, but visible. I did not soak the bowl on this one, just gave it a light reaming. The owner smoked all of these pipes very hot and did a fair bit of damage to the inside of the bowl.  I was afraid to remove the cake filling that was filling in the crevasses. With a little use, the cake should build over these spots and the pipe should still have a long life, the briar is still very thick all over. There were a few dents on the bottom of the bowl. They lifted out nicely with an old kitchen knife held over a propane torch and a wet cloth.

After soaking the stem, the oxidation was removed with 1500 and then 2000 grit wet paper.  I then moved to using the last three grades of Micromesh sheets (6000>8000>12000).  The stem was then buffed first with Tripoli and then White diamond rouges.  A final buff with Blue Magic Plastic polish was the final step.

The tars on the bowl top were removed with a very mild solution of water and alcohol as I didn’t want to lighten the stain.  As the heavy layer was removed, I switched to plain water on a cloth.  The bowl was buffed with Tripoli, White Diamond and then Carnuba wax.  The briar really cleaned up nicely.

The finished pipe is a very regal looking piece.


I’ll detail the other three pipes from this estate in future essays.

Al Jones, aka Upshallfan

Repairing an Over-Reamed Bowl in a GBD Collector Century


Blog by Steve Laug

I picked up this older GBD bent apple with a Perspex stem on EBay for a reasonable price, at least in my opinion it was reasonable. On the left side it is stamped: Collector in script over GBD in an oval over Century. On the right side it is stamped: London England over the shape number 9633. The Collector line is the middle line between the Conquest and the Colossal. These three lines were termed GBD plus sized pipes. The dimensions on this one are length: 5 ½ inches, height: 1 ¾ inches, outer diameter: 1 ¼ inches, chamber diameter: 1 inch. The bowl exterior is chunky and wide and the bowl is larger than normal sized GBD`s.

The two pictures below are the ones that were used on the listing on EBay. The stem is dirty but whole and intact. The bowl rim is badly caked and the bowl itself looks to be caked and maybe a bit over reamed but it is hard to tell. The finish on the pipe was pretty much gone as can be seen in the two photos. There were some dark marks on the bowl front and the sides were faded in colour. Nonetheless it looked like it was worth a bid in my opinion. I asked a few questions of the seller and was answered cordially but with little helpful information regarding the state of the bowl. So I would just have to see it when it arrived. ImageImage

When it came, it was both in better shape and worse shape than the photos in the listing showed. The finish was dirty and really not in too bad a shape other than worn spots. The rim was caked and dirty but was not dented and damaged. The bowl had indeed been over-reamed. In fact it looked to have the beginnings of a burnout – or at least a hot spot on the bottom of the bowl. The stem was dirty but had no bite marks and minimal tooth chatter. Looking at the bottom of the bowl I notice what appeared to be a dark spot and maybe even the beginnings of a hole. This was not a good sign. I had repaired that old Dunhill with a briar plug not long before this so I knew it could be repaired but I wanted to be sure of what I was dealing with. I took the bowl and stem apart and carefully reamed the sides of the bowl to clean out the remaining grit. The top was cleaned with Murphy’s Oil Soap undiluted and scrubbed with a tooth brush. I did not worry about the finish as I was going to restain and refinish it when I was done. I set the stem aside for a bit while I worked on the bowl. Once it was clean I put it in an alcohol bath to soak and remove the remaining finish and grime. ImageImageImage

I removed the bowl from the alcohol bath and wiped it down to dry it off. I turned it over and the three pictures below show what I saw. From the outside the bowl looked like it was beginning to burnout. There was a darkening on the surface and what appeared to be a small crack in the briar. From the inside the over-reaming can be seen clearly. The bottom of the bowl was below the airway and the remaining briar was very thin.

ImageImageImage

I sanded the bottom of the bowl to see how deep the discolouration went into the briar and was pleasantly surprised. The photo below shows what the spot looked like after sanding. I then used a dental pick to pick at the crack in the surface and see how thin it was and how deep the crack went. The briar was still hard and did not break away with the dental pick. That was another good sign. I cleaned the surface with isopropyl alcohol and dried it off. I used some small drops of super glue to fill the crack and then sanded the surface again to smooth the patch of the glue. I did not plan on selling this pipe as it is a shape I enjoy so all of my work was for my own use at this point.  Image

The picture below shows the bowl after some more sanding and a light coat of medium brown stain. I restained the entire bowl and buffed it to see if the repair would be less obvious. You can see from the photo below that it is a bit darker and would require a few more coats of the brown stain to make it recede into the background.

ImageImageImage

I fired up a good cigar and made some pipe mud of the ash and water and began to rebuild the bottom of the bowl. I layered on several coats of the mud allowing it to dry to the touch between coats. My goal was to build up the bottom of the bowl to the bottom of the air way. The pipe mud is fairly thick but it actually worked quite well. In the photo below you can see the bottom of the bowl. I also used it to fill in some of the cracks in the cake on the sides of the bowl. I wanted to protect this pipe from further damage to the bowl.

Image

Once that was finished and dry I restained the pipe with two more coats of the medium brown aniline stain. I flamed the stain between coats to set it. Once it was dry I buffed the bowl with Tripoli to make the grain show and lighten the stain. The next series of four photos show the finished look of the bowl. The photo showing the bottom of the bowl shows that I was able to blend in the darkened area with each successive coat of stain. It is still present but it does not pop out at you when you look at it. In the photos you will also notice a pipe cleaner inserted in the stem. I used lemon juice to soak the stain in the Perspex as well as some hand cleaner with grit in it. The stain is stubborn to remove so I left the pipe cleaner soaked in the products in the stem overnight several times in an effort to remove the stain. You can see from the photos that it is lighter than when it arrived but it is still present. (NOTE: do not use alcohol in cleaning Perspex stems as it causes the stems to craze – multitudes of tiny cracks appear throughout the material.) ImageImageImageImage

The last series of photos shows the pipe as it is today. The refurbishment on it was about 2 or more years ago. I have smoked it in my rotation and it smokes very cool. The pipe mud has held up well and is incredibly hard now. The finish has darkened a bit and taken on a patina that I like. The save on this pipe worked incredibly well. One day if the need arises I can put a briar plug in the bottom of the bowl but so far it has not been necessary. ImageImageImageImage

The Resurrection of a Thomas Spanu Olive Pipe


Blog by Steve Laug

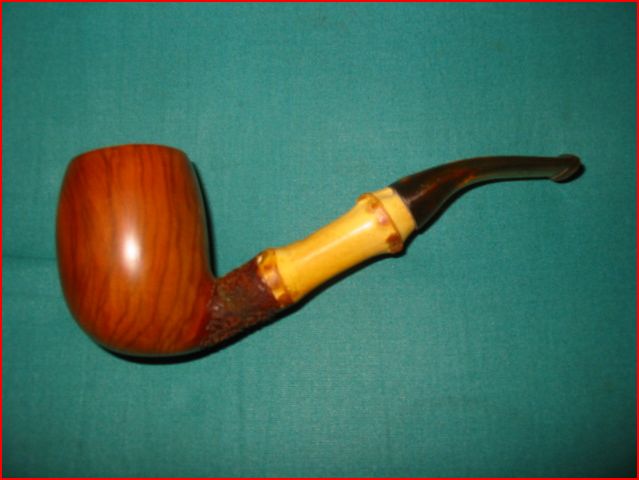
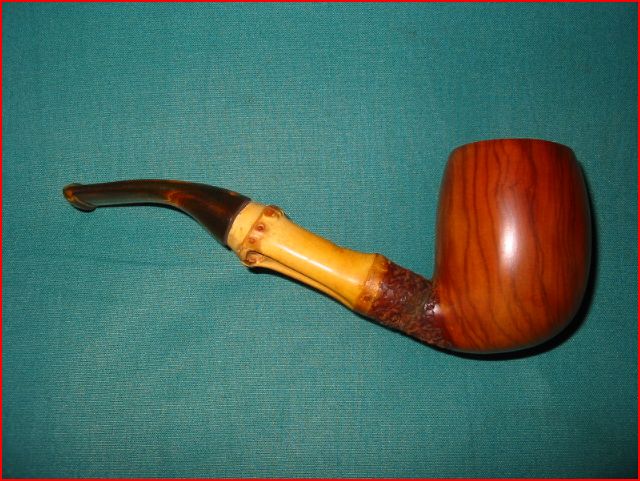
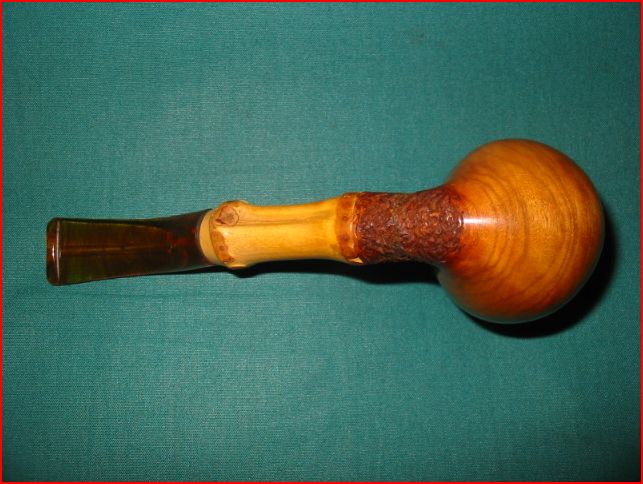
I was gifted this old Thomas Spanu Bamboo shanked bent billiard made out of Olive wood. It was originally a beautiful pipe. The grain on the olive was very nice and the bamboo shank had a nice patina to it. The problem was that it was snapped at the shank bowl junction and the bamboo at the mouthpiece had a crack that was separating. I knew it was this way when my friend sent it to me. But I was not prepared for the mess that it truly was. What was a shame about it was that the pipe was barely smoked. The bottom of the bowl was still raw wood. I knew I had to give this a try.

I utilized the same procedure that Gan spelled out in his post here on the blog regarding the work on the Peterson. https://rebornpipes.wordpress.com/wp-admin/post.php?post=3034&action=edit I used the same epoxy he recommended – a fast set epoxy – JB Kwik. It is extremely strong (though not as strong as regular Weld Bond), heat resistant to 500+ degrees F, impervious to moisture, and has a clamping time of only 3 minutes. I learned of this method from Gan early on when we were sharing tricks of refurbishing with each other. I mixed the two parts of the JB Kwik (epoxy/catalyst) and had plenty of working time to align the two pieces of the pipe stummel. I held them together tightly for three minutes and then released. The bond was good and though it shows because of the angles of the grain it is strong.

I then sanded bowl and the shank with 240 grit sandpaper to reduce the width of the glue. There was no way to hide the mark but I wanted to minimize it. I sanded until the line was thin and not overlapping on the surface of the olive wood. The picture below shows the bowl at that point in the process. I also used a small hacksaw to trim back the broken and cracked bamboo on the shank. I wanted to remove the entire cracked portion and then strengthen the remaining bamboo. To strengthen it I dripped superglue on the open end and then faced the new end on my sanding board to get a smooth flat surface for the stem.

Image

After the preparation and repair was done I sanded the bowl with micromesh pads to remove all scratches and then buffed the shank and bowl with White Diamond to give it a final polish. I did some work on the stem (Lucite) to make the fit and transition more even. I sanded it and then polished it with micromesh and Tripoli and White Diamond to smooth it out.  I then gave the entire pipe several coats of carnauba wax which I buffed with a soft flannel buffing pad. It is not beautiful and the repair shows, but the pipe smokes very well

Image! Image ImageImage

September 2, 2012 – This evening I decided to try rusticating the shank as Gan recommended in one of the comments. I used the modified Philips screwdriver that I used for rustication. Once I had it rusticated I restained it with medium brown aniline stain. I stained the shank and then the bowl as well. I wiped down the bowl with a bit of acetone to lighten the bowl colouration. Here is the finished product. It worked well Gan. Thanks for the recommendation Gan. 
Addendum:
I reworked the stem on the pipe this afternoon to try and get a closer match to the bamboo shank. It is better but still far from perfect. IMG_8063 IMG_8064 IMG_8065

Two men and Pipe Restoration via Skype – Part 2


Blog by Steve Laug

A month ago I posted the first part of this blog entry and you read through the interaction of Carl and me as we worked on a nice little billiard and brought it back to life. We did this through interacting on Skype and posting on Pipe Smokers Unleashed Forums as we did the work. It was a great experience and one that is worth repeating should anyone want to give this a try.

This is part 2 of that restoration via Skype. It will also be published in Pipe Smokers Unleashed Magazine in the September issue.

Carl and I ended our evening of work on the billiard with these last few comments.

SL – Nicely done. It looks like a “new” pipe. Fire up a good bowl of something and enjoy it. Tomorrow is sanding and staining day for the Dublin. Let’s see if we can get her looking as nice.

CH – Yeh, I’ll let the tea steep overnight so it is really dark.

SL – Do you have superglue there? We will need it on the fills tomorrow. If not we will be creative.

CH – This is the DR mate LOL.  Superglue is too technical for these people. I have the wood filler though and the tea LOL.

SL – We will make it work. I will check with you tomorrow when I have a bit of time to walk you through the other one. You can sand it some more if you like. Keep the stem on so you do not change the shape of the shank on it. Enjoy it. Once you have it ready we will look and see what we are dealing with. Enjoy the “new” pipe.

The next morning we reconnected on Skype to work on the Dublin. Carl had posted the following on the forum describing his work in prepping the pipe for the next lesson on staining.

CH – Ok guys, Dublin on the table today to carry on. This pipe requires a bit more in terms of restoration as I really wanted to try a re-stain and do more work on it. Here is a picture of what it looks like right now.

Image

First thing I did this morning was fire up the billiard with a bowl of CH and thought about what I wanted to do. I was intending to try and get a more contemporary look to the pipe with a pale stain but a couple of things are working against that at the moment. The first is the number of fills on the pipe and I only have access to my mahogany wood filler. The second is that when you wipe the bowl down with Isopropyl the briar color is quite dark and will actually make a good match to the filler I have.

Ok work done so far this morning while sipping away at the billiard.
– Sanding of bowl with 220 to remove all traces of previous finish.
– Next I wanted to remove as much of the chipping on the rim as possible so I took a piece of 220 and laid it on a glass desk that I have and sanded the rim in circular motions, alternating between clockwise and anticlockwise to keep the profile of the bowl intact. I did this for about 20 minutes or so and removed all chips apart from one that has about 1mm left on it and is hardly noticeable. The rim has a nice crisp sharp edge and when we stain I will look again to see if I need to push to remove that last tiny bit.
– I then looked at the fills on the pipe and as I am going to refill these I used a small flathead screwdriver take out the old filler.
– All sanding was done with the stem in place to ensure that the profile of shank to stem is not lost.

That is the stage where we are at the moment and the image above shows the current status of the Dublin. It looks very good. I will wash the bowl down with Isopropyl alcohol to remove any of the sanding grit and filler grit that may be left. Once that is done I will work on those fills. Then re-sand the bowl to blend in the fills. Glad to see that they match the colour of the wet briar. Hopefully they can disappear a bit into the briar.

As I didn’t have an old toothbrush (going to have to start saving them) I used an old 9mm pistol brush to clean the bowl with Isopropyl. When I was sure that all traces of the old filler were out and that the bowl was clean I then filled the holes with mahogany wood filler. I used a piece of cardboard from an old battery packaging that was fairly strong but flexible. This allowed me to push the putty right into the holes. I then tamped the putty with the flat edge of a screwdriver to ensure that it was really packed in.
Image

As you can see I really overdid the filler. This will ensure that all gaps are filled and I can sand down to the bowl profile evenly.

SL – Looking really good. Once it is dry sand it down to the bowl surface. I think the putty will dry lighter than the briar but it is better than the pink filler that was there.

CH – Once I have sanded it down we will want to do some work to highlight the beautiful grain that is on that one. I would like to see if we can make it pop a bit. It will also help to hide the fills and make them a bit less obvious.

SL – That is what we are going to want to highlight with our staining. Hopefully we can make it pop. I usually use black stain to do that. But we will make do.

After sanding the filler Carl took these photos to show me the pipe. The fills are very visible as the putty dried much lighter in colour than it was when wet. We will have to do a bit of work to hide the fills under the stain. This will not be a light tan coloured pipe at this rate.

Image

SL – Use the tea to paint the grain lines. Then follow it up with the medium brown stain applied with a brush on the grain lines, flame it and then buff it. When you are done send me a photo to see where we stand.

CH – Here is the pipe with the tea and then medium brown stain on one side to test how the filler shows.

Image

SL – It is looking really good. Put some stain on the shank near the stem. We will then use a black permanent marking pen to follow the grain lines through the fills. This will help hide them under the stain. Continue to re-stain the pipe until it is all brown and evenly stained. Then buff with Tripoli then White Diamond and finally carnauba wax.

Carl went on to use the marker on the fills and then re-stained the pipe several times. He flamed it after each stain and then buffed the pipe.

CH – I have done it and here is the final result is not too bad for a beginner I think……
ImageImageImageImage

SL – Fills covered pretty well Carl. If I did not know they were there I would not see them. They are hidden quite well. Nicely done for sure. You have two “new” ones you can be proud of. Well done. Got the bug now?

CH – Best fun I’ve had with my clothes on LOL. Now where is that damned lathe and band saw.
If it is as much fun to carve as it is to refurbish then I’m hooked and can’t wait to get back to the UK and make a little workshop.

SL – As the voice guide in the process I have got to say I had a great time as well. The final product tells the story. Working through the process via Skype and reporting it here was very cool. Enjoy your new pipes!

A Unique Piece of Pipe History – A Royden Meer-Tone


Blog by Steve Laug

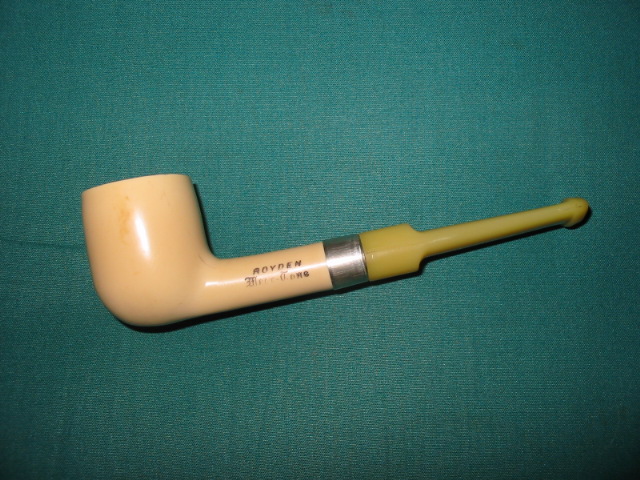
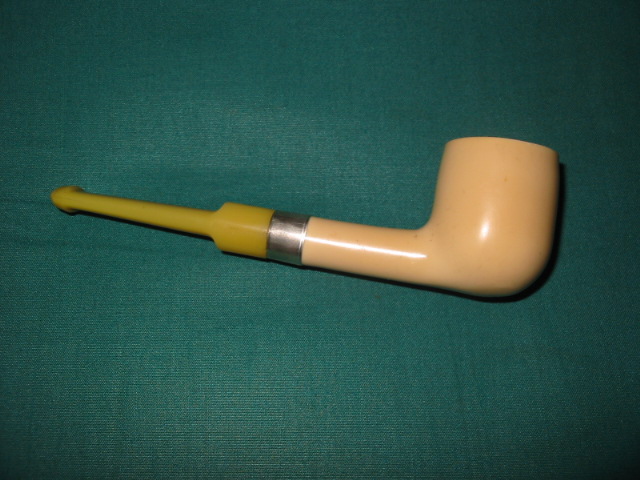
I picked this old Royden Meer-Tone up in a sale on EBay where a friend wanted the tobacco pouch that came with it. I won the bid and the result was he got the pouch and I got to keep this unique little pipe. It is different than any I have seen. I have done some research trying to find information on it and cannot find much at all. I have seen several on EBay that are unsmoked, some on Etsy that are also unsmoked, one even in a box. But there is not any information on the manufacturer that I can find. Anyone know anything about this brand and maker? Let us know.

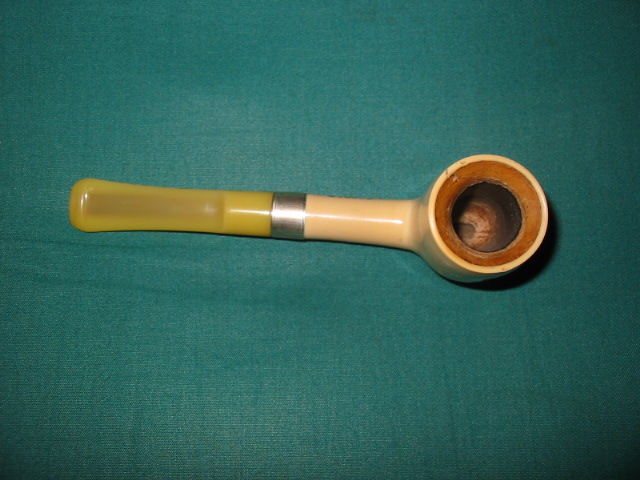
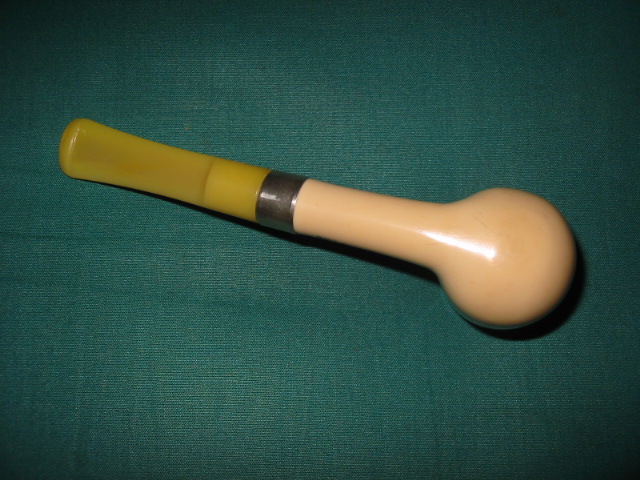
The stem is a yellow nylon, the bowl is a white plastic (maybe Bakelite) and the lining of the bowl is a meerschaum cup inserted into the bowl and drilled on the side like a regular pipe. The meer cup is fit tight to the bottom of the bowl with no airspace between it and the bottom of the bowl. When it arrived the meer was dirty – possibly smoked just a few times as the bottom of the bowl was still clean. The top half of the bowl and the rim were darkened. The shank had a fine crack in it.

I used 1500 grit micromesh to clean up the rim of the insert and the outer edge of the bowl. I also used the micromesh to polish the plastic bowl that the insert sat in. There were rub marks and some scratches that the micromesh took care of. The nylon stem was dirty on the inside and stained with tobacco oils. I cleaned that with some alcohol on pipe cleaners and a shank brush until it was clean. The inside of the shank was also dirty and I cleaned it as well. I repaired the crack in the shank with a little superglue and then banded the shank with a pressure fit nickel band. The stem had tooth marks (fortunately not deep). I am not sure about heating a nylon stem to raise the marks so in this case I sanded them with 240 grit sandpaper until they were gone. I used 400 and 600 grit wet dry (you probably have gotten the pattern by this point in my stem refurbishing) and then used micromesh pads 1500-12,000 grit. I find that the 8000 and the 12,000 add a noticeable shine to the stem.

The pictures below give you a good idea of what the pipe looks like. It is a small pipe – roughly 5 inches in length.

ImageImageImageImage


A Bewlay Thirty Prince Reborn


Blog by Steve Laug

This pipe grabbed my eye because of the classic prince shape. The bowl was dirty and caked. The rim is tarred and caked as well. The finish was scuffed and dirty, but there looked to be some nice grain underneath. The stem had tooth dents that were quite deep and the oxidation was odd in that it was streaked more than solid. The tenon was stainless steel and quite long. It can be seen in the first picture below. The alignment of the stem to the shank was slightly off as the tenon was inserted into the stem a bit high. In pictures 4 and 5 you can see that the stem is lower than the edge of the shank. ImageImageImageImageImage I reamed the bowl and cleaned the shank. The shank was plugged so I used a straightened piece of wire to push through the clog into the bowl. I repeated the push with the wire until I had cleaned out the shank. I finished cleaning it with many pipe cleaners, cotton swabs and a shank brush and isopropyl alcohol. Once I had finished the bowl I sanded the top with micromesh fibre pads from 1500-2400 grit. I wiped it down with cotton pads soaked with acetone to clean off the finish. Then I put the bowl in the alcohol bath and let it soak while I worked on the stem.

The next series of pictures show the bowl after I took it out of the bath. I reinserted the stem so that I could work on the bowl a bit more. You can see from the pictures in this series of photos that I had buffed the stem with Tripoli and also done the initial sanding of the stem and removed most of the surface oxidation. ImageImageImageImage

At this point in the process I pressure fit a band on the stem to help with the alignment of the stem. There was enough give in the stainless steel tenon to hold it in place with the nickel band. The band also gives the little prince a classy look (at least in my opinion!). I then did a lot more work on the stem. I used a heat gun to raise the bite marks as much as possible. They came up significantly but not completely. I sanded the stem near the button with 240 grit sandpaper to smooth out the surface. The five pictures below show the sanding process. I used a medium grit sanding pad after the 240 and then also used a fine grit sanding pad. I was trying to minimize the dents and isolate the deeper dents. The fourth and fifth picture below shows the stem after sanding. I wiped both the top and the bottom of the stem down with alcohol to clean the surface and prepare it for the super glue patches. ImageImageImageImageImage

The next two photos show the super glue patches. I used clear super glue on these patches as the dents were black and I was hoping that the clear would allow the black from the vulcanite to show through the glue and make the patches blend in clearly and match. You will notice that I used drops of super glue and applied it by dropping the glue on the stem. Once one side was dry I dropped the glue on the other side. ImageImage

Once the super glue was dry I sanded it with 240 grit sandpaper and the fine grit sanding block.  The next two photos show the first stages of the sanding. The spots are still large and very visible in these photos. I continued to sand them until they were well blended. Once it was finished I used micromesh pads to sand it until it was smooth. ImageImage

The next two photos show the stem in its finished condition. I sanded it with micromesh pads – 1500, 1800, 2400, 3200, 3600, 4000, 6000, 8000, 12,000 grits to bring the stem to this final state. The patches are well blended into the finish of the stem and are virtually invisible to those who don’t know where to look. ImageImage

The next series of four photos show the pipe after buffing with several coats of carnauba wax and then a soft flannel buff. The finish came out very smooth and the patches are not visible. The stem looks new. In the light of the flash a hair on the underside of the stem is visible. The pipe is now ready to fire up with its inaugural bowl. ImageImageImage

Opening the Slot in the Button with Needle Files – A Photo Essay


Blog by Steve Laug

This afternoon I was thinking it would be helpful to write up a tutorial on how I use needle files to open the slot on a pipe stem. In this photo essay I describe in a step by step breakdown the process I use to open the slot. I will describe it and illustrate it with pictures of the stem at each step and the files that I use to do the work. In the past I have just done the work but never documented it so this will be interesting for me as well as you.

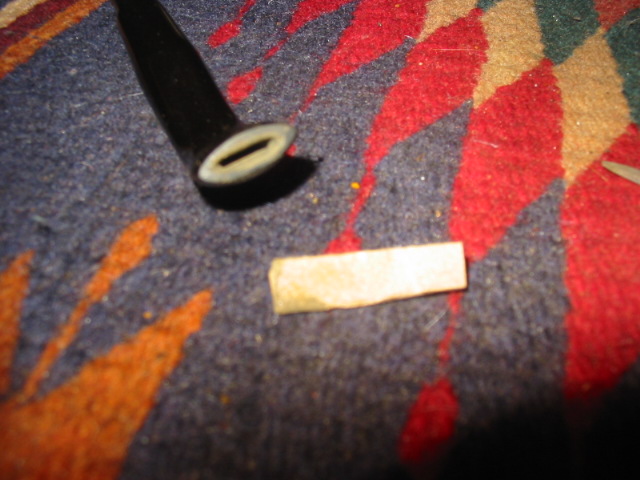
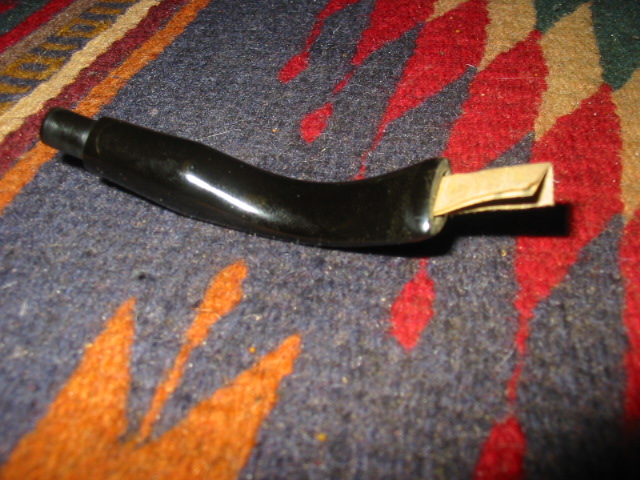
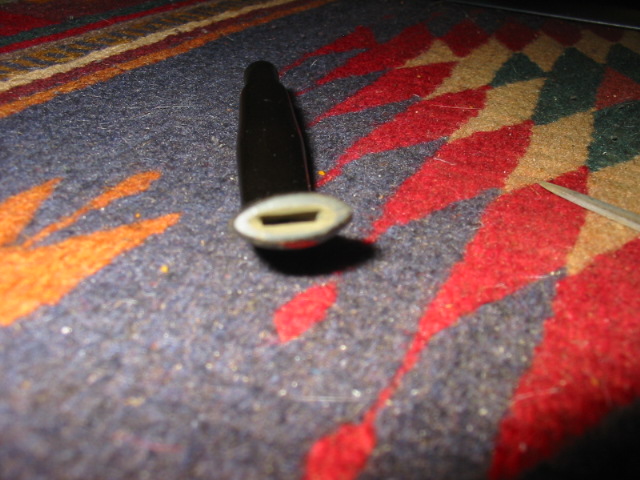
The stem I have chosen to open the slot on is a Peterson 69 that has a replacement bit that was fit by Howard Schultie of Schulties Pipe Repair. Howard did an amazing job of fitting the stem with a great tight fit in the end cap of the older Peterson that I sent him. I topped the bowl and restained it when it arrived yesterday. I only had one issue with the stem when I examined it and that was that it came with a fairly small slot that made fitting a pipe cleaner a chore and the draught a bit tight as well. I removed the stem and blew air through the bowl and the airway was nice and open. I slid a round needle file into the stem from the tenon end up to the bend and it too appeared to be open. From that point on the airway narrowed as it moved toward the slot. The slot was narrow and the v shaped funnel at the slot was shallow. I like a more open slot and deeper v in the button and end of the stem so I went to work on it with the files.
Image

Picture of stem before opening the slot Image

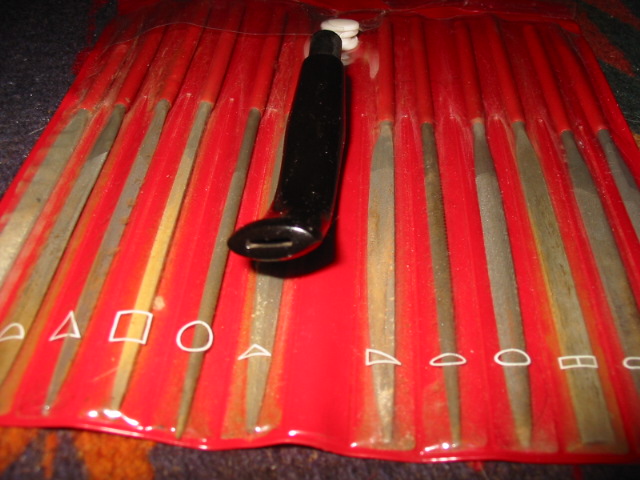
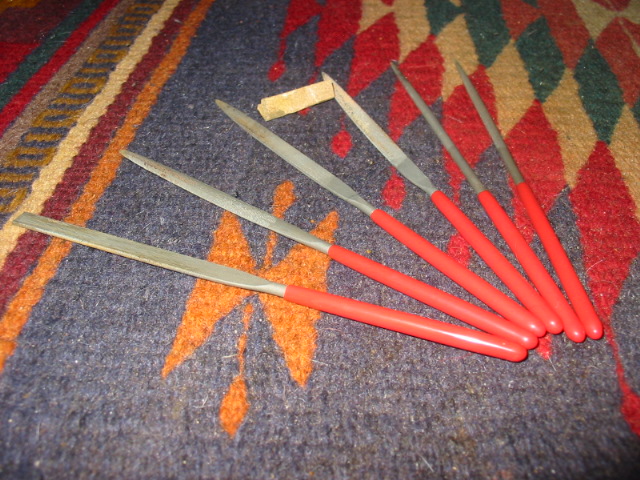
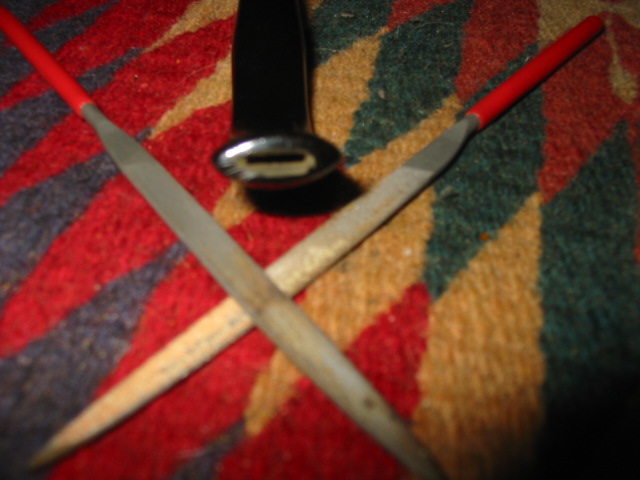
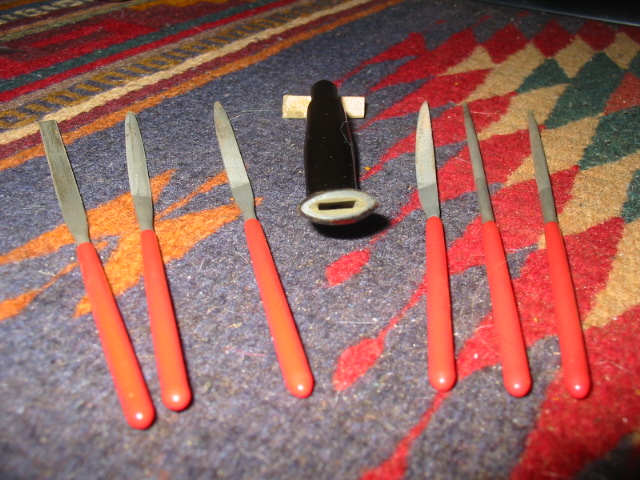
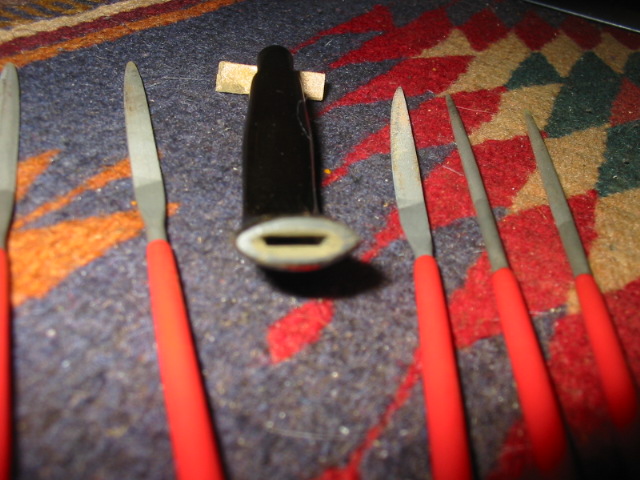
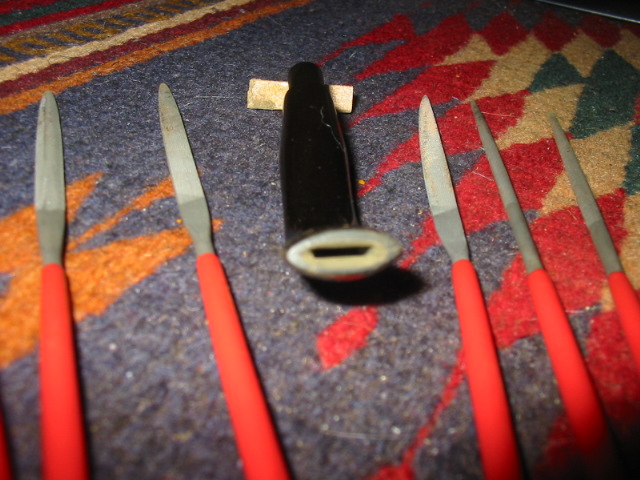
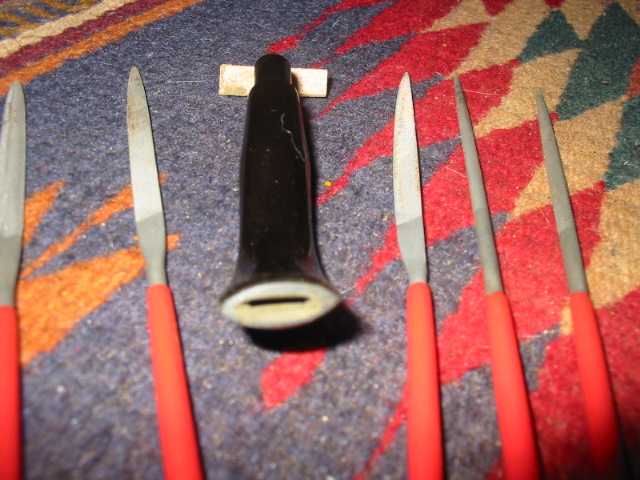
The files that I use – (left to right) flat rectangle, rounded blade with point, flat blade, wedge blade, oval blade, round blade
Image

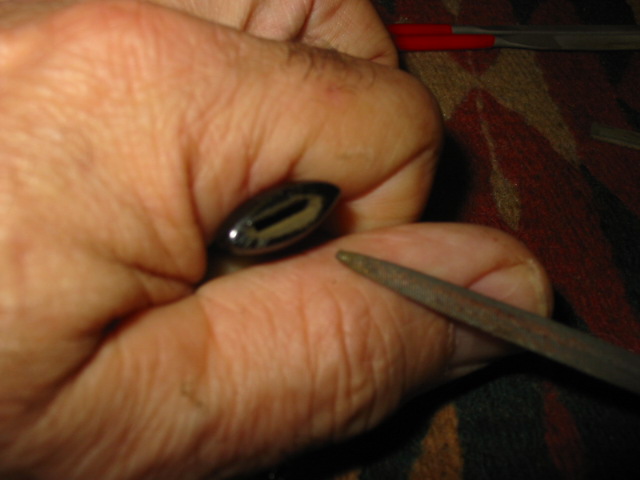
I do the filing with my right hand while holding the stem in my left hand. I probably could use a bench vise to hold the stem but I do not have one set up on my temporary worktable. I start the filing with the flat rectangular bladed file or a flat pointed file depending on which fits in the slot. In this case the flat rectangular blade was too thick so I used the pointed flat blade to begin. I filed the top and bottom edge of the slot to open it up wider. My preference for the slot is that is an elongated oval shape so I started by opening these top and bottom edges first. I also slanted the edges of the slot inward toward the airway. I have found that doing so allows me to use the thicker round and oval files to shape the ends of the slot.

The next series of four pictures show how the stem progressed as I used the pointed needle file to open the top and bottom of the slot and the slope of the edges inward. Each photo shows more progress until the fourth picture which shows how the slot looked when I was finished with the flat pointed blade.
Image

Image

Image

Image

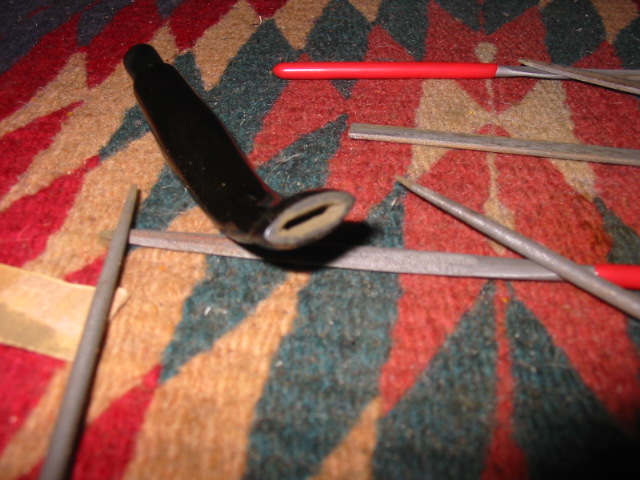
Once I had opened the top and bottom of the slot I could use the wedge file to deepen the v funnel in the airway. This takes a bit of work to keep the angles even on both side of the airway. The wedge file keeps the slot rectangular and really focuses the cutting of the file on the sides of airway and slot. Once I have the angles filed and the v deepened I change to the oval file and keep working both sides of the slot until I get the slot to the correct depth. The oval file also rounds the edges of the v on the inside of the slot and also rounds the corners of the outer edges of the slot. The next series of three photos show the progress of the rounding of the edges and the deepening of the v funnel. The last of the three shows the state of the slot when I had finished this step in the process.
Image

Image

Image

When the v funnel is completed I used the round file to round the edges of the slot on both ends. I also used it to widen the slot in the process so that it extends the equally to both sides of the button and the top and bottom. It is getting closer to the goal of the oval smooth slot.

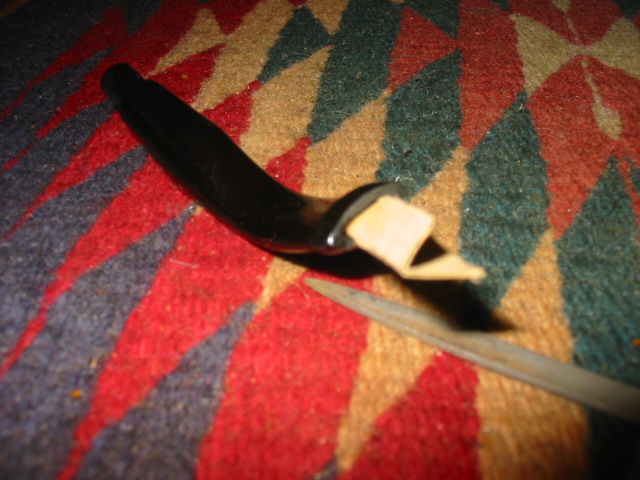
At this point in the process I use the folded piece of sandpaper in the photo above to work on the inside of the slot to smooth out the roughness left by the filing. I used 240 grit sandpaper to work on the inside until it was smooth and then shifted to 400 and 600 wet dry to finish the sanding. The final picture below in this series of four photos shows the state of the slot after sanding.
IMG_8353

Image

Image

Image

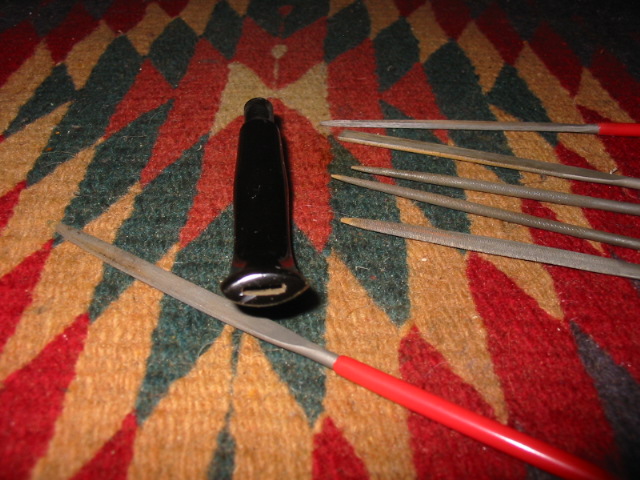
After finishing the basic shaping of the slot I decided to line up the files that I used to get the stem to this point. The next series of four photos show the files and the current appearance of the reshaped and opened slot. ImageImageImageImage

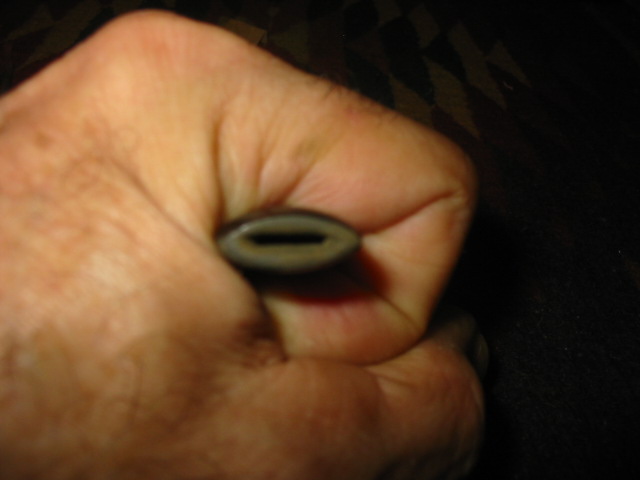
After taking these photos I did quite a bit more sanding on the internals of the slot. I used the folded sandpaper pictured above to open it up and smooth it out. The first photo shows the finished shape of the slot. From there I used fluffy pipe cleaners to clean out the sanding dust and vulcanite bits that were left in the stem and slot from the sanding. The second photo shows the finished slot after I had sanded it with the 240 grit, 400 and 600 grit sandpaper and water to get it smooth. ImageImage

The final photo below shows the finished slot. It is no longer the slight slot but is now a wide open and oval shaped slot. It easily takes a fluffy pipe cleaner with little effort. The draught is now very open. The internals are shaped in a wide open v shaped funnel that comes to a point ½ inch into the slot. Each side of the v is gradually sloped to the airway at the bottom. The whole process did not take too long. From start to finish I spent 45 minutes. I like the finished appearance of the slot far better than the original one. The feel in the mouth and the draw is comfortable. Image

Resurrecting a Petersen Pre-Republic Billiard – Gan Barber


Blog by Gan Barber

It is a privilege to be able to post this blog entry from a friend and co-laborer in the refurbishing hobby. I have learned much from Gan, including the use of the alcohol bath for soaking bowls and preparing them. In fact as I read this report I am amazed at all the things we do similarly. I appreciate his taking the time to write this up to share here at rebornpipes. I look forward to more articles from Gan, as I am sure you will also after reading this one. Thanks Gan!

Well, the work is done, so it’s time to sit back, light up a bowl of Perreti 9575, and record this adventure….

I am not an expert on dating Petersen Pipes, but from the little I know, this one appears to be a Pre-Republic era vintage. There are no markings on the briar or stem. The hallmark on the band indicates nickel, not silver, and provides no dating information. The K&P, Peterson, Dublin stamping is the only indication that the pipe dates from the Pre-Republic era.

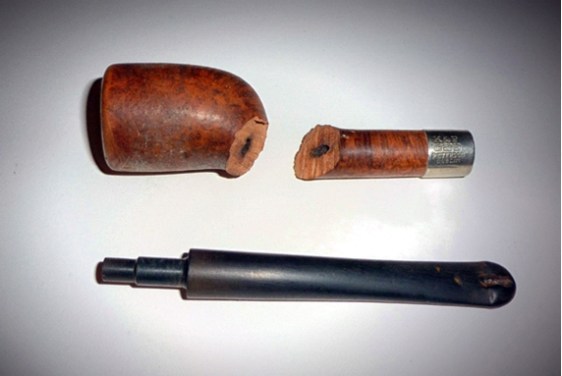
It came to me in a sorry state of repair, and, after some preliminary cleaning, sat in my ‘Lazarus’ box for many years. The shank had been snapped from the bowl, the rim was dented, and the P-Lip modified. It was never going to be a collector piece. Still, it held some promise…… Image
Before I begin the cleaning phase of any project, I like to remove any excess cake. I’m not looking to do anything more than scrape away thick accumulations from the bowl in order to find possible charring or burn-out. In this case, the break was clean, and exhibited no signs of burning that may have contributed to the damage. There was a small dent on the upper left rim of the bowl, leading me to believe that the previous owner liked to tap out the dottle, and had done so once too often.

Satisfied that the bowl was structurally sound, I placed it into a 91% Isopropyl alcohol bath. Once I removed the band, the broken shank followed. Image
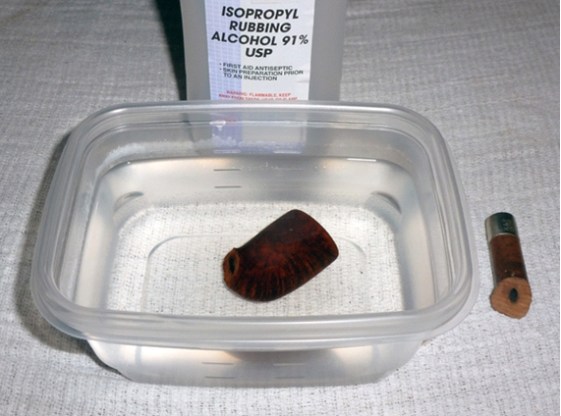
I have had favorable results using this method to strip and clean a stummel. Using the highest percentage Isopropyl alcohol I can find (91%), means that only 9% of the solution is water. The low percentage of water allows the briar to dry rapidly once removed from the bath with very little residual moisture. I have soaked stummels for days without ill effects, though the extended time provides little in the way of additional cleaning. It can help with reducing strong ghosts, though. The alcohol will soften even the most stubborn cake, and sweeten the bowl as well as any other method.

Once the bowl had soaked long enough so loosen the dirt and soften the cake, I removed it from the bath and immediately reamed the bowl, removing as much cake as possible without quite  getting down to bare briar. My tool of choice here is a Senior Adjustable Reamer. Not that it’s the only tool that will work; it just happens to be what I have and works quite well for this task.

With the reaming completed, the stummel went back into the bath for another wash. I prefer to do the preliminary cleaning wet, so the stummel will see the bath frequently. The advantages of working wet are two-fold: The alcohol lubricates the mechanical action of the steelwool, mitigating scratching, and the wetting reveals any missed areas requiring additional attention. I worked the wet stummel with 0000 steel wool until most of the dirt, grime and tar were gone.

While the bowl soaked in the alcohol bath, the vulcanite stem soaked in a solution of Oxy-Clean (1/4 scoop to 16 ounces of clean, warm water). Depending on the level of oxidation, I will let the stem soak anywhere from 30 minutes to overnight. Again, I’ve left stems soaking for days without detriment. Generally, I like to soak the stem for two to three hours. The oxidation will turn to a yellow-white slime, and the majority of it will come off quite easily with 0000 steel wool. There was no logo present, so I used the 0000 liberally to achieve a thorough cleaning. Another advantage of the Oxi-Clean soak is its ability to loosen any gunk that has accumulated in the smoke passage. Several bristle pipe cleaners are all that are needed to literally pull the residue from the passage. Another pass with a regular pipe cleaner and some alcohol will remove any traces of tar.

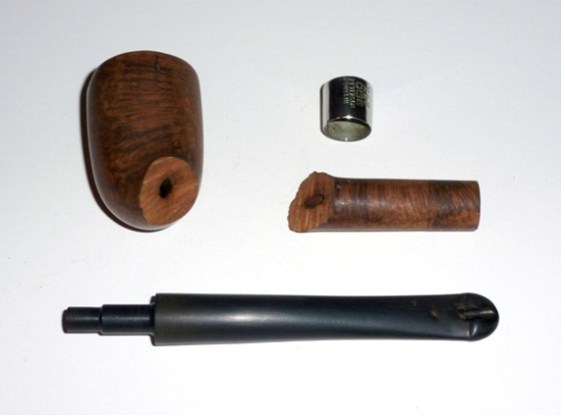
Below are the bowl, shank, and stem after soaking in their respective baths and an initial wet scrub with the 0000 steel wool. Later on in the refurb, I will continue to clean them, but by dipping the steel wool into the alcohol for the wood and the Oxi-clean for the stem, rather than re-immersing them. Image
Once I was satisfied with the initial cleaning, it was time to move on to the most challenging aspect of this project – mating the shank to the bowl.

There are a number of factors to consider when choosing the proper bonding agent to use in repairing a broken or cracked stummel. Heat, moisture, clamping time and compatibility with wood are paramount. Traditional outdoor rated aliphatic glues (Tite-Bond, Elmers, etc.) are resistant to moisture, but I don’t trust them to withstand moist heat. Polyurethane adhesives are stronger and more resistant to both heat and moisture, but have high expansion rates and excessive foaming. Both require extended clamping periods, which is extremely challenging due to the irregular shape of a stummel.

My adhesive of choice is a a fast set epoxy – JB Kwik. It is extremely strong (though not as strong as regular Weld Bond), heat resistant to 500+ degrees F, impervious to moisture, and has a clamping time of only 3 minutes. Mixed from two parts (epoxy/catalyst), it has a reasonable working time, and the two pieces of the pipe stummel can be held together with strong hand pressure for three minutes and then released.

To rejoin the shank to the bowl, I carefully aligned the two pieces so that I could easily find the correct registration before mixing a small amount of the epoxy. I applied it to both surfaces with a toothpick, then pressed the shank and bowl together, squeezing as much epoxy out of the joint as hand pressure would allow. I held them this way for three minutes. I did not worry about any squeeze-out getting into the air passage – yet.

After hand clamping for three minutes, I gently set the stummel down and let it rest for another 7 minutes. If properly mixed, Weld Bond Quick will be set to a rubbery stage after ten minutes (at 70 degrees F). At this point, I took a utility knife and carefully lifted the squeeze out off of the briar. It should peel like a rubber gasket if you catch it at the right time, leaving only a dark oily residue where it contacted the briar. Next, I took the drill bit from the Senior Reamer, and gently worked it through the airway. Care must be taken to use as little pressure as possible to twist and push out any epoxy the made its way into the passage. Although Weld Bond is non-toxic when cured, if cleaned out properly, little if any will be present in the airway.

I allowed the epoxy to cure for 6 hours, and then set to work gently sanding the joint with 400 grit emery to fare the seam as smooth as possible without altering the shape of the pipe. The only caveat to using this epoxy – it is rather viscous and will leave a faintly visible line at the joint no matter how well the parts are mated. I’ve found that after sanding, staining and buffing, this line will all but disappear.
Image

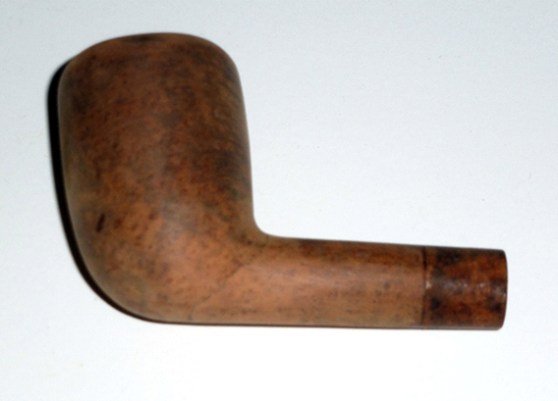
The stummel after roughing in with the 400 grit emery. The graining did little to hide the seam on the left side…..
Image

…while on the right, the grain pattern was more favorable and the seam blended in nicely.

With the shank and bowl rejoined and fared, I finished cleaning the briar with 0000 steel wool wetted with alcohol. Working wet with alcohol eases the scuffing of the steel wool and reveals the grain and any remaining flaws that may need attention. It also removes any oils or dirt introduced from handling the raw wood. The JB Kwik is impervious to the alcohol.

The next stage consisted of wet sanding with 600 grit. I used alcohol as a lubricant. When finished with the 600, I took the bowl to the buffer for a gentle once over with red rouge. This serves to deepen the color of the briar and reveal any scratches or imperfections that the finer grits will have difficulty removing. Satisfied with the results, I continued to wet sand with 1500 grit emery. The final sanding stages were done dry with 3600 and 6000 micro-mesh. At this point in the process, I was simply polishing the briar to prepare it for staining.

I chose Feibings Light Brown dye and gave the stummel a wash coat, undiluted, using a cotton Q-Tip. I set the stain with my Perdomo table-top lighter, and then gave it a thorough rub down with a microfiber cloth. The microfiber works to even out any imperfections in the finish, and noticeably polishes the dye to a nice luster. The bowl is now ready for the buffer.

The stem received an additional scrub with 0000 steel wool wetted with Oxi-Clean to remove any remaining oxidation. I then wet sanded, with water now, using 400 and then 600 grit emery. A quick and gentle buff with red rouge to find any remaining scratches from the steel wool and sandpaper was followed by a wet sand with 1500 emery. I then polished the vulcanite with 3600 and 6000 micro-mesh to prepare it for the buffer.

Both the stem and bowl were given a soft buffing with white diamond on the buffer and then wiped down with microfiber to remove any trace compound.  I then swapped out the white diamond wheel for the wax one, and applied three coats of caranauba wax to the bowl. I like to use a moderate amount of pressure when applying wax as the caranauba is extremely hard and requires the heat generated to go on properly.

After the stem received a coat of Walker Briar Works sealer/wax and the nickel band was polished with Never Dull wadding, everything went back together and was ready to be enjoyed once again. It’s far from perfect, but then, it’s all about the journey, isn’t it? ImageImageImage
Thanks to Steve for inviting me to contribute.

Best Regards,

Gan Barber

A New Tenon on an Old Stem and a Petersons K Briar 999 is Back in Action


Blog by Steve Laug

I picked up this older Peterson 999 K Briar from EBay. It came in a lot with some Barlings, Bewlays and three Imperial Tobacco pipes that I have repaired. This is an interesting pipe in that it is stamped K over Briar on the left side of the shank and on the right side it is stamped 999 “Peterson’s Product” made in England. I had not seen a K Briar pipe from Peterson before. This one is a beauty. It has the appearance of a GBD Rhodesian or a BBB Rhodesian. It has no fills and some very minor sand pits. The stain and finish were in great shape. The stem had just two small bite marks that needed to be taken care of. It has a unique stem that can be seen in the photos below. It is very different from the standard Peterson stem as it is rounded and crowned with a slot in the end of the button.
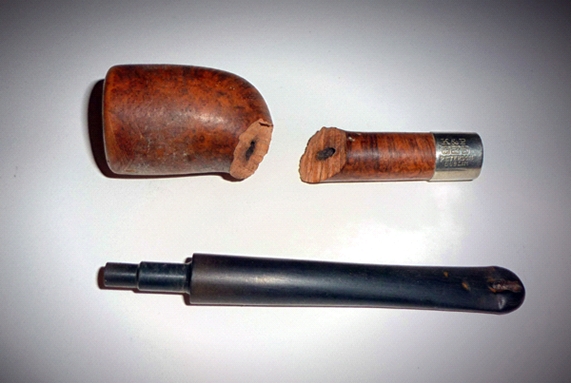
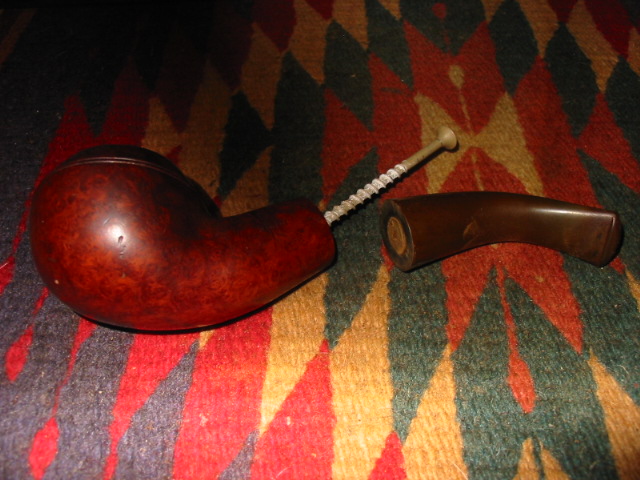
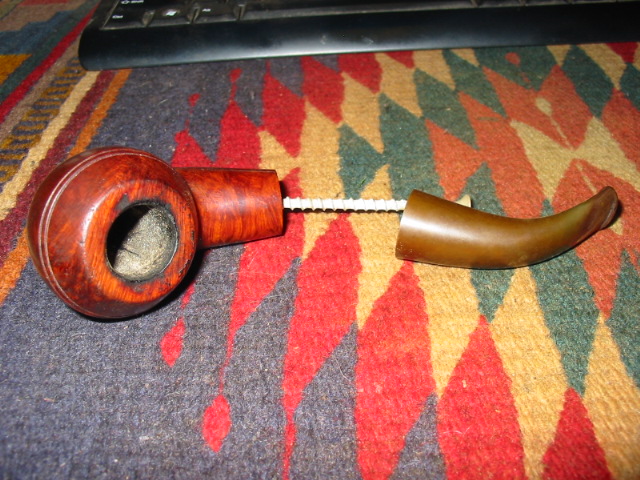
When the pipe arrived the tenon was broken off at the shank. It was a clean break as can be seen in the photo below. The tenon itself was stuck in the shank. I tried to remove it by my usual method – turning a screw into the airway on the tenon and then pulling. I tried and pulled both by hand and with a pair of vice grips. I clamp down on the screw and try to twist the bowl of the pipe. This tenon was really stuck. I dribbled alcohol down the shank and filled the bowl with cotton bolls and poured in alcohol and so that the inside of the shank could soak. I left it sitting that way over night and in the morning the tenon still would not come out. I figured I would try putting it in the freezer so that the two materials of the shank and tenon would contract and expand at different rates and loosen that way. When I took it out of the freezer I tried to remove it from the shank. It did not move. Nothing I tried seemed to work. I took a drill bit a little bigger than the airway in the tenon and drilled out the tenon very carefully. Once the drill bit was set I backed the drill out and the tenon was free. ImageImageImageImageImage

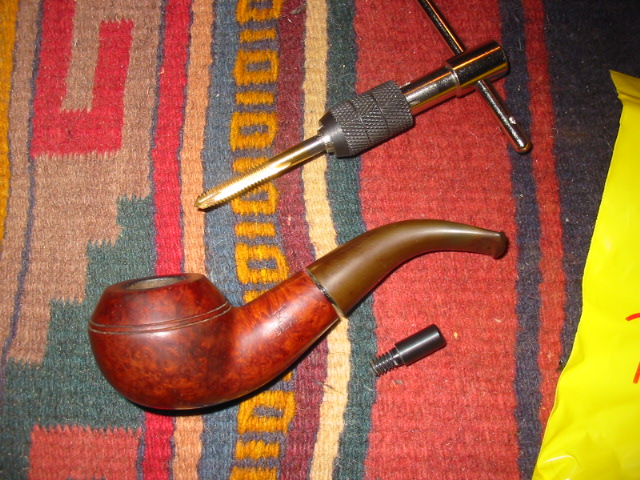
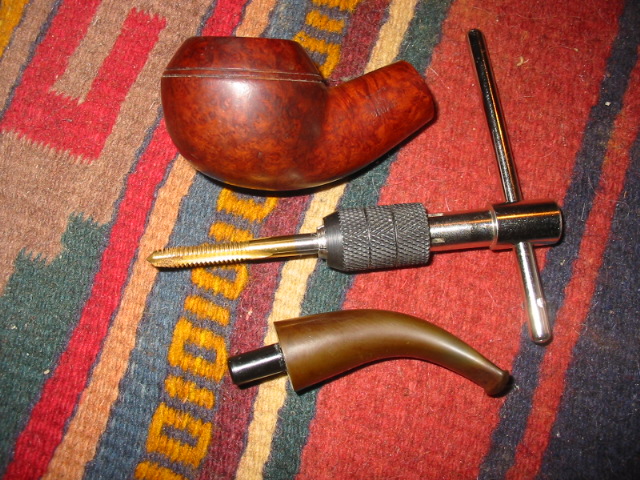
Once the tenon was out I held the stem vertically on a flat board and sandpaper to make certain that the flat surface of the stem was smooth and that there were no sharp pieces of the old tenon in the way. I drilled the airway in the stem to receive a quarter inch tap. I worked up to the quarter inch drill bit slowly moving from one that was slightly bigger than the airway. I wanted to make sure that the new opening for the Delrin tenon was centred and not off. Once I had it drilled with the ¼ inch drill bit I used a quarter inch tap to thread the hole in the stem. I had ordered threaded tenons from Pipe Makers Emporium and when they arrived I checked the depth on the tapped hole in the stem to make sure that it was the same depth as the length of the new tenon. Once it was correct I turned the new tenon into the threaded hole until it was just about tight and then dripped some super glue into the hole and finished threading the tenon in. I set it aside to dry before trying the tenon for a fit on the pipe. These threaded tenons are great to work with. It is the first time I have used them and it worked like a charm. ImageImage

Once the tenon was set, it was time to work on the stem and remove the oxidation. I used fine grit emery cloth to loosen the oxidation on the stem. From there I proceeded to use 240 grit sandpaper and then used 400 and 600 wet dry sandpaper. I wet the stem and sanded it with the wet dry sandpaper until all of the scratches were gone. The next series of three photos show the fit of the stem with the new tenon. Most of the oxidation is gone at this point. ImageImageImage

I took the pipe to the buffer and buffed the stem with Tripoli to see where I was at with the sanding. The oxidation was gone so I took it back to the worktable and sanded it with the micromesh pads from 1500-12000 grit. The final shine came alive with the 8000 and the 12000 grit micromesh. From that point I took it to the buffer and lightly buffed it with White Diamond. Then I waxed the pipe and stem with carnauba and buffed with a flannel buff. ImageImageImageImage

A Reborn Kaywoodie Relief Grain Billiard


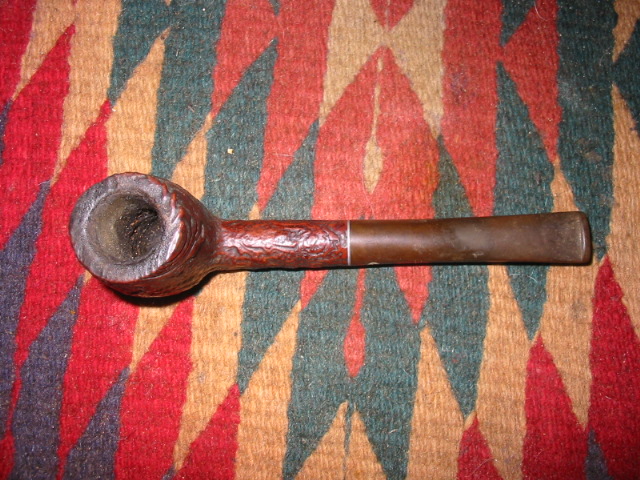
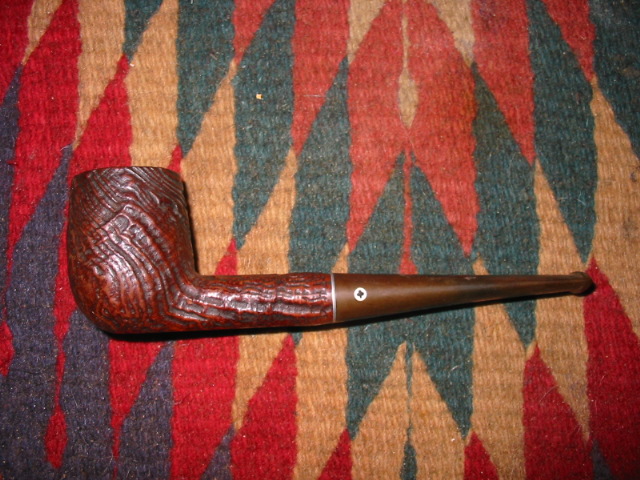
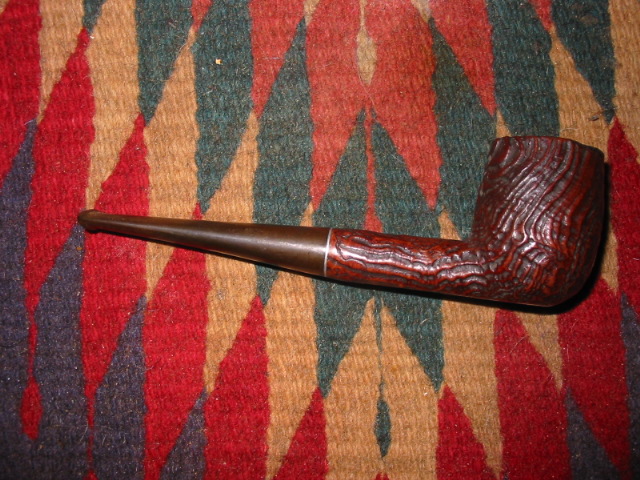
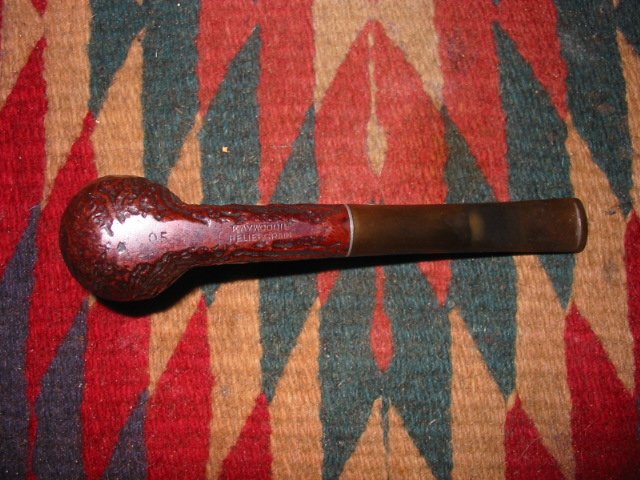
I went to work on this old timer Sunday afternoon. I had picked it up on a recent trip to the US for a visit. It has an amazing blast that is deep and craggy. The pictures give a bit of an idea how beautiful the grain is but in hand it is an amazing tactile experience. It is very rugged yet the ridges are smooth to the touch. The bowl still had tobacco inside and a hard cake inside that was uneven. The rim of the bowl was coated with tars and oils that filled all the grooves of the blast to the point that they were smooth. They were also running down the front of the bowl along the outer lip of the rim. The stem was badly oxidized and over-turned so that it would not line up when tightened. The stem was amazingly bite free and only had a minimum of tooth chatter so it would be easy to work on. The finish was in good shape but was dirty. This one would take more work on the stem than the bowl. ImageImageImageImage

I cleaned out the old tobacco with a dental pick and then reamed the bowl until it was bare wood. The cake was too uneven to leave much behind. I then used pipe cleaners and cotton swabs dipped in isopropyl alcohol to clean out the shank and the inside of the bowl. To scrub down the bowl I coated it with undiluted Murphy’s Oil Soap and used a tooth brush to scrub it down. I scrubbed the rim with a brass wire tire brush. I wiped the bowl down to remove the soap and then reapplied it to the rim and continued scrubbing until the grooves of the blast were clean and visible. I also used a micromesh pad 2400 grit to polish the metal band on the shank and the face of the metal tenon. Once that was finished I set the bowl aside and turned my attention to the stem.

I put the stem on the pipe and buffed it with Tripoli to remove the oxidation that would easily come off. Then I heated the 4 hole KW stinger with my heat gun and realigned the overturned stem. Once it cooled I took it back to the worktable to sand on the stem. I used 240 grit sandpaper to break up the oxidation and bring the surface back to a matter black. I was careful around the inserted KW emblem as they are fairly thin. I then used 400 and 600 grit wet dry sandpaper to finish the initial cleaning. Once the stem is fairly smooth, no tooth chatter, no more oxidation then I use the regimen of micromesh pads to sand it to a polished look. This time I added three new grits of pad to the process. I normally have used 1500-6000. This time I added 7000, 8000 and 12000 to the mix and the shine is remarkable. I finished by buffing it quickly and lightly with White Diamond and then gave the stem several coats of carnauba and the bowl several coats of Halcyon II Wax. ImageImageImageImage