by Steve Laug
The next pipe is on the table is a great looking Pot shaped pipe with a Bamboo\d shank and a vulcanite taper stem. Jeff and I purchased it from an auction in Atlanta, Georgia, USA. The pipe is well shaped and has nice grain around the bowl. It has a flat thin rim top and a rounded heel on the bowl. The pipe is stamped on the underside of the shank and reads Kaywoodie [over] Mandarin. There was grime and dust ground into the smooth finish of the bowl and shank. The bowl was heavily caked with thick lava on the rim top and edges. The inside edge looks like it may actually be undamaged under the lava coat. The outer edge looks very good. The vulcanite taper stem was oxidized, calcified and had tooth chatter and marks on the top and underside near the button and on the button edge. The tenon was a Kaywoodie style metal screw tenon, without a stinger apparatus. It was loose in the stem and stuck in the shank. There was no logo or stamping on the stem at all. The pipe showed a lot of promise but it was very dirty. Jeff took some photos of the pipe before he started his cleanup work.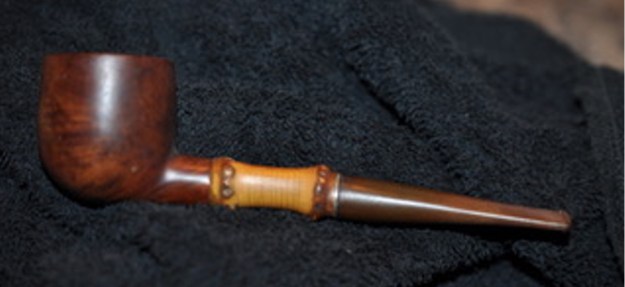
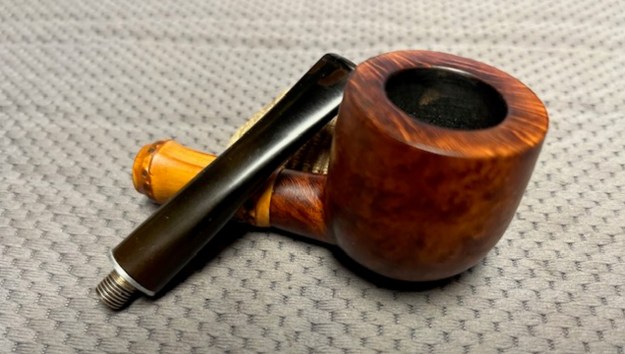
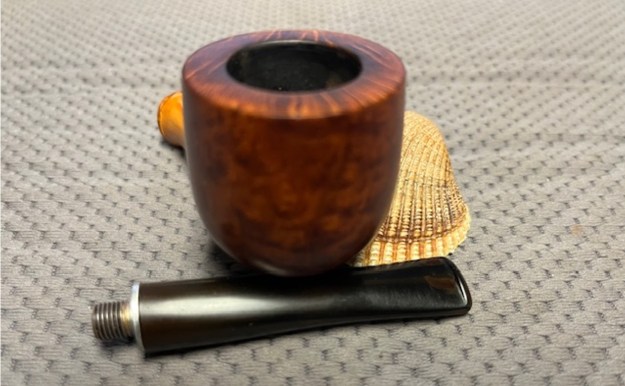
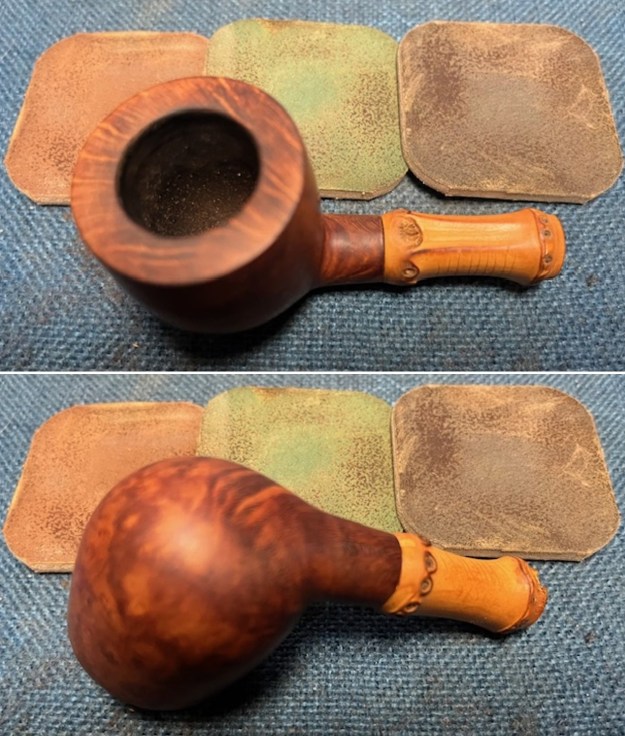
 He took photos of the rim top and bowl to give a clear picture of the thickness of the cake and tobacco debris as well as the inner edge of the rim. You can see the thick lava coat on the rim top and inner edge. It is obviously a well loved and heavily smoked pipe. He also took photos of the top and underside of the stem. The photos show the overall condition of the stem.
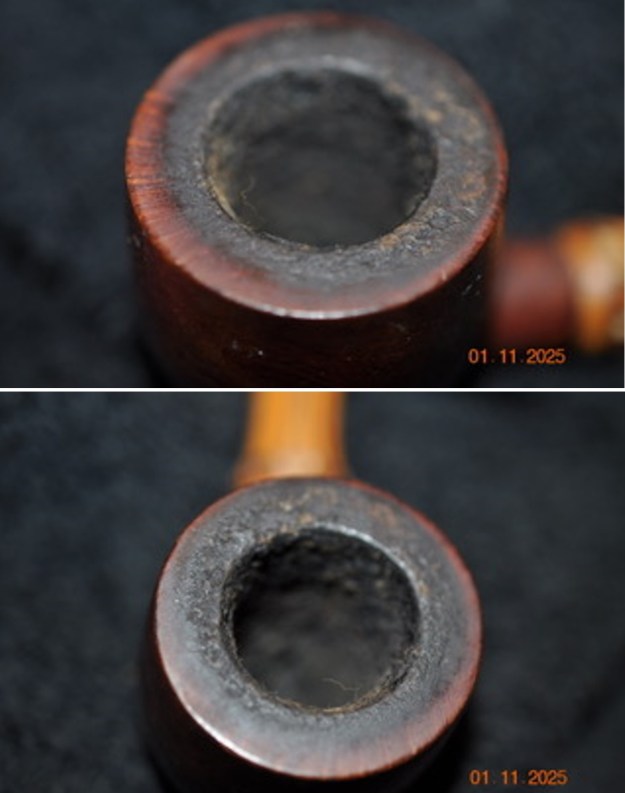

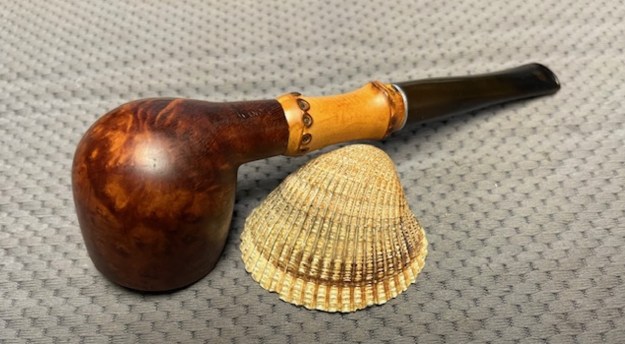
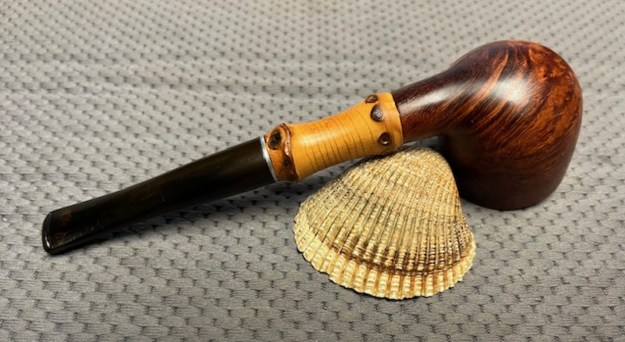
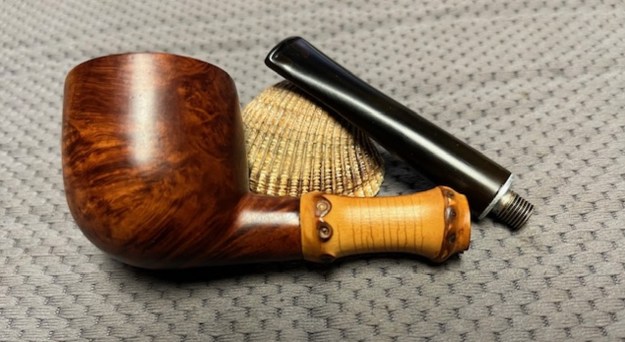
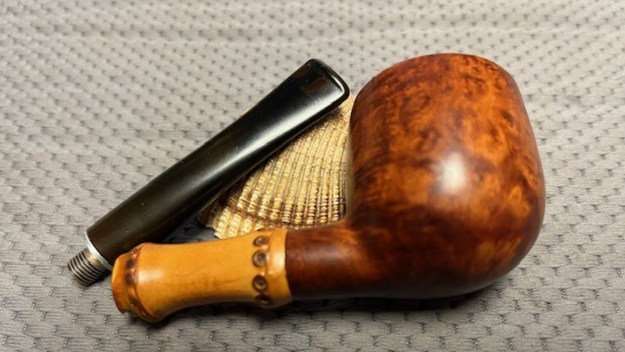
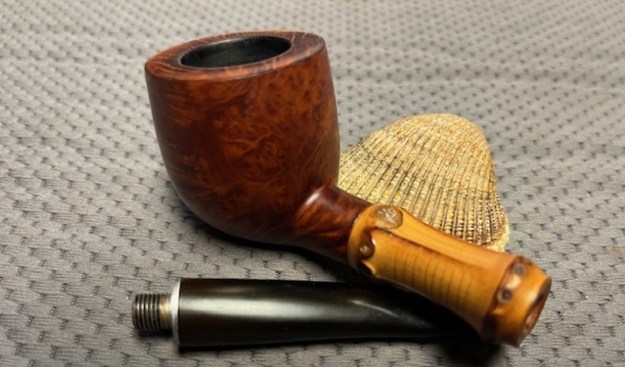
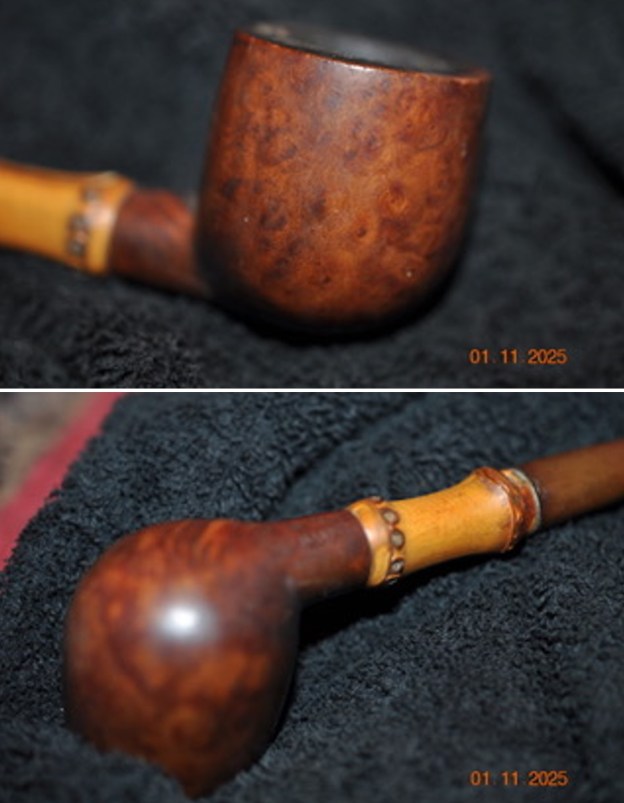
 Jeff took photos of the sides and heel of the bowl to give a picture of what the briar looked like under the grime on the surface. It truly has some nice grain around the bowl and shank.
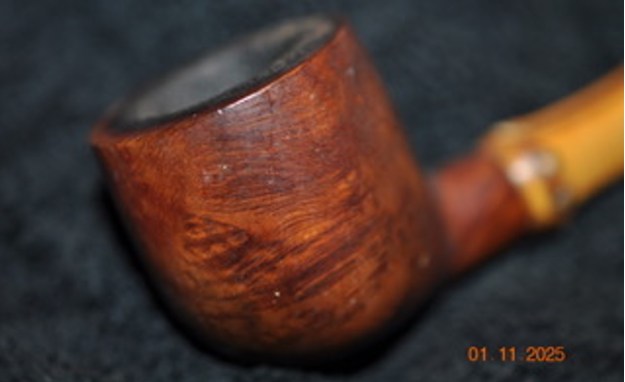
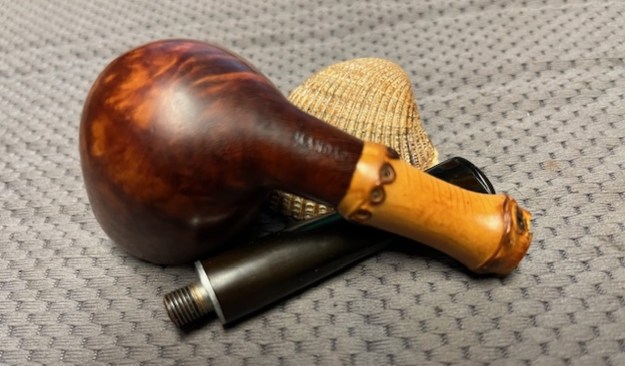
 The stamping on the underside of the shank is clear, though faint in spots. It is still readable and read as noted above. Jeff took a photo to capture the stamping on the underside of the shank.
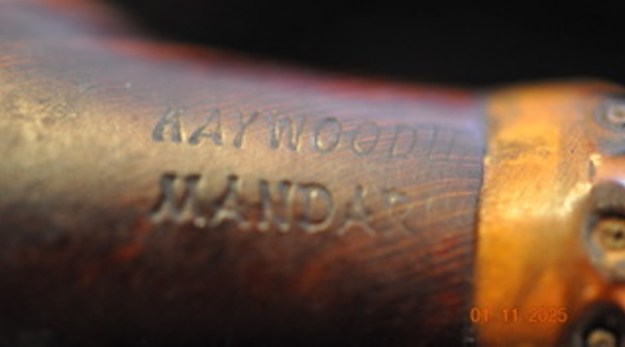 I wanted to confirm a possible date for both of these pipes. I turned to Pipephil to see what he had to say about the brand (http://www.pipephil.eu/logos/en/logo-kaywoodie-2.html). I have included a screen capture of the listing on the site as well as the sidebar notes.
  The Mandarin line was produced from 1958 to 1967.
I turned next to Pipedia to check out the Kaywoodie Collector’s Guide to see if I could get some more information on the Mandarin line. I found an interest monograph there called Notes on Kaywoodies Introduced between 1955 and 1968. It included reference to the Mandarin line. I include that in part below (https://pipedia.org/wiki/Collector%27s_Guide_to_Kaywoodie_Pipes). I have highlighted and underlined the Mandarin in the list below. Both of the pipes I am working on are the smooth versions.
NOTES ON KAYWOODIES INTRODUCED BETWEEN 1955 AND 1968
The material presented in this monograph is extracted from 1936, 1947, 1955, 1968-69, and four undated Kaywoodie catalogs. Based on a comparison of prices in the 1955 and 1968-69 catalogs, the four undated catalogs appear to span the period from the late 1950’s to the late 1960’s (i.e., after 1955 but before 1968). This section presents a brief summary of the Kaywoodie Pipes that appeared in these undated catalogs, but did not appear in either the 1955 or 1968-69 catalogs…
Here is a list of pipes from this time period.
…Hi-Bowl. Tall, tapered bowl in six shapes (see Table 5). Available in smooth or “rough” finish ($10).
Mandarin. Smooth or relief grain finish with burnished-bamboo shank ($10).
Setter. No shank, just a ridged hole for a slender, filter-free, push-bit. Available in “flat bottom” (hence, “Setter”) panel, billiard, and poker shapes. Smooth or textured finish ($10).
Tuckaway. The 1955 catalog shows a Drinkless Tuckaway that was simply a smaller version of other Kaywoodie styles. The Tuckaways of the 1955-1968 period had military mountings, filter-free see-thru bits, and were packaged in a leatherette case. Available in Standard, Relief Grain, and Super Grain grades ($6-$8, depending on grade). Miniatures. Two-inch miniature replicas of “their big brother”, complete with the Drinkless fitment and Synchro Stem. The catalogs show these as individually-cased pipes but multiple pipe sets were apparently available. Price: $5.
Miniatures. Two-inch miniature replicas of “their big brother”, complete with the Drinkless fitment and Synchro Stem. The catalogs show these as individually-cased pipes but multiple pipe sets were apparently available. Price: $5.
Colossal Super Grains. Available in three “oversize” shapes (see Section 3.2) in hand-carved or smooth finishes ($5).
Now I knew that the pipe came from this time period. It was made between 1955-1968. Somewhere along the way I assumed the stinger disappeared and only the threaded portion was present. There was also no logo on the side of the stem though it appears to be original.
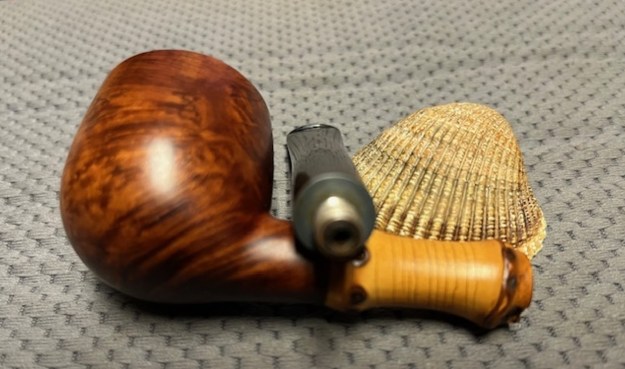
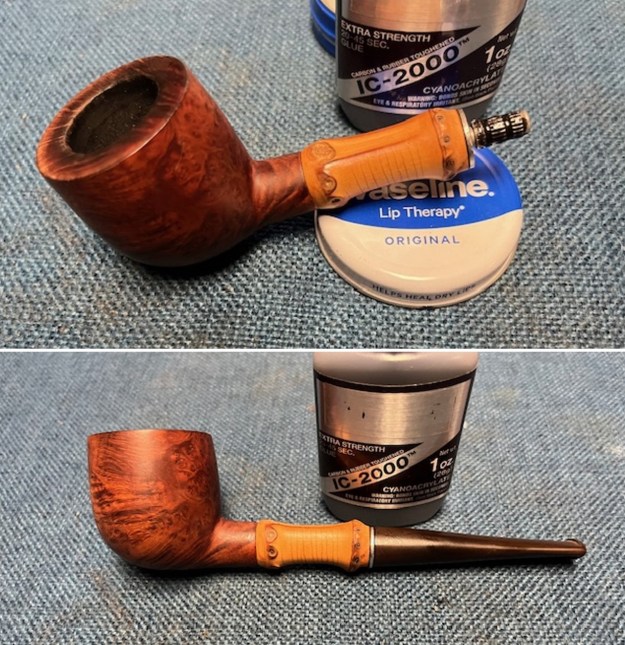
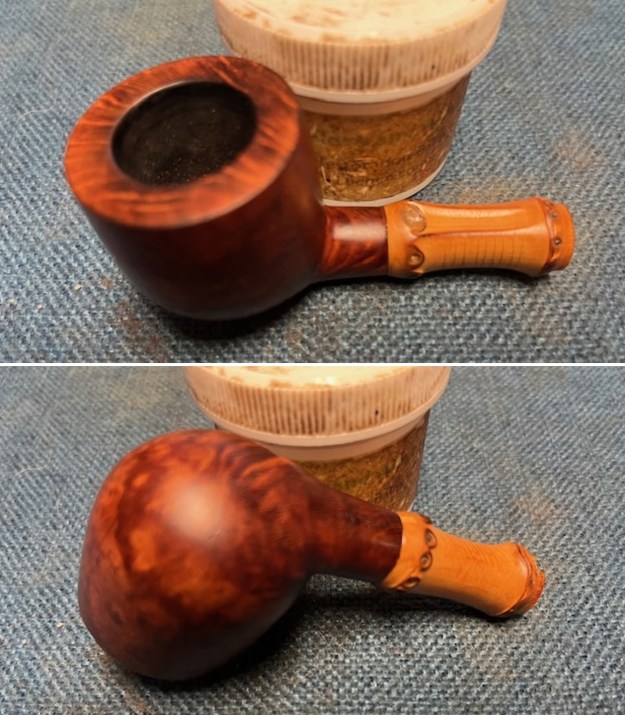
Jeff reamed the bowl with a PipNet pipe reamer and followed up with a Savinelli Fitsall pipe knife to remove the cake. He scrubbed out each mortise and the airway in the shanks and the stems with alcohol, cotton swabs, shank brushes and pipe cleaners. He scrubbed the exteriors of the bowl, rim, shank and stem with a tooth brush and Murphy’s Oil Soap to remove the oils and tars on the rim and the grime on the finish of the bowl of each pipe and bamboo shank. He rinsed them under running water. He dried them off with a soft cloth. He was able to remove the lava build up on the rim top. He scrubbed the stem with Soft Scrub and soaked it in Briarville’s Pipe Stem Deoxidizer. He rinsed it off with warm water and ran pipe cleaners through it once again. It looked much better. I took photos of the pipe to show its condition before I started my work on it. It really has a great look and the patina on the bamboo shank crackles and looked aged. It is a pretty pipe.
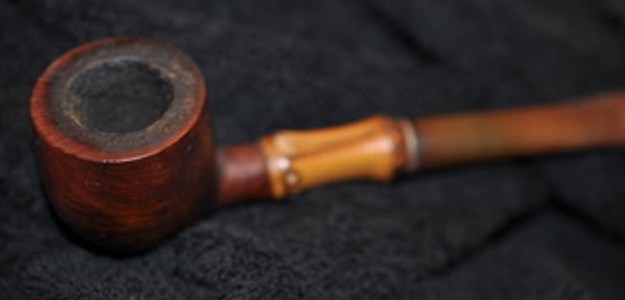
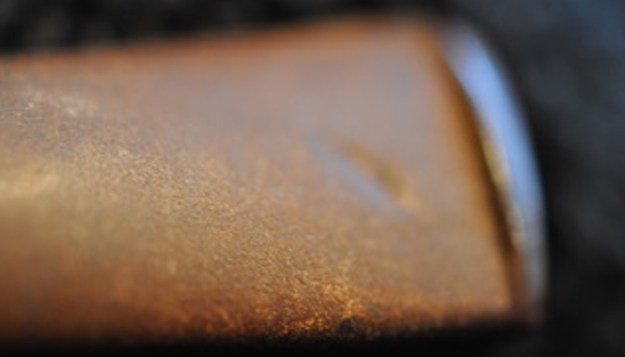
 I took close up photos of the bowl and rim top as well as the stem on the pipe. You can see the condition of the rim top and bowl in the first photo of each pipe. Jeff was able to remove all of the lava but there was darkening on the rim top. The vulcanite stem had some chatter and several deep tooth marks on the top and underside ahead of the button.
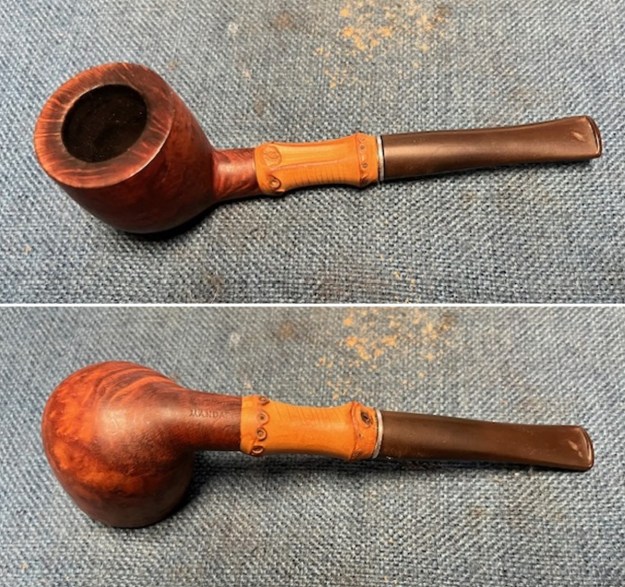
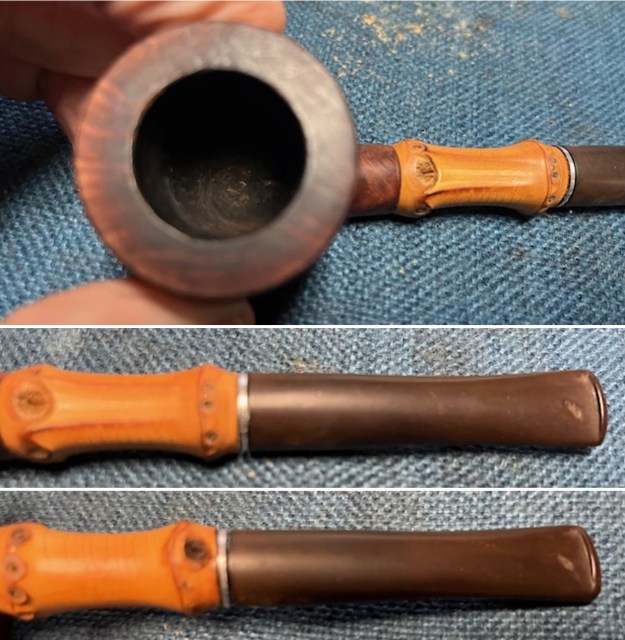 The stamping on the underside of the shank is faint in spots but is nonetheless readable. It is stamped as noted above. I removed the stem and took a photo of the pipe to give a sense of the whole. The taper stem is nice and the photo gives a sense of what the pipe looks like.
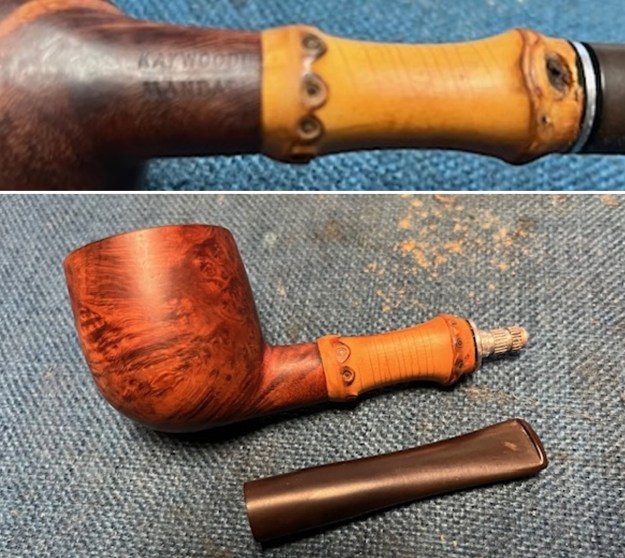 I needed to free the threaded tenon from the bamboo shank so I could glue it in place in the stem. It had long ago come free of the stem and it would no longer hold the stem in place. I heated the tenon with a lighter flame until the goop in the shank loosened and then unscrewed it with needle nose pliers. It came out quite easily and the threads from the bamboo were covered with debris. All looked good in the shank and the tenon.
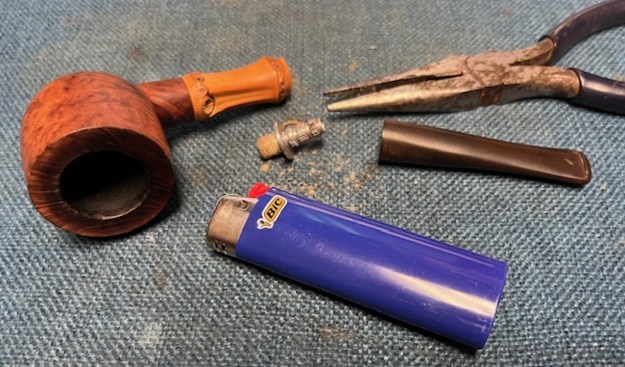 I cleaned up the thread on the tenon with a brass bristle wire brush and greased it with some Vaseline to make the threads turn more easily into the shank. I screwed it in place. Once it was snug I painted the stem end with black, rubberized CA glue and push the stem in place and aligned it on the shank. I set it aside to allow the glue to cure before unscrewing the stem.
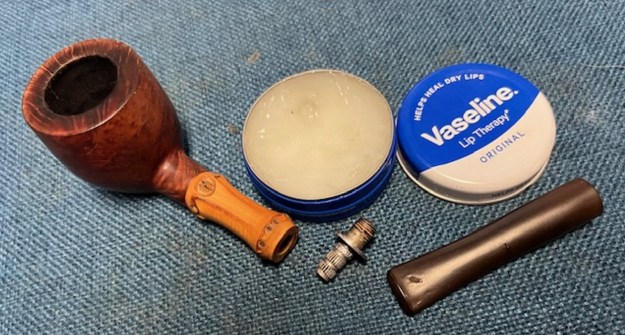
 Last evening after the glue had cured holding the tenon in the shank I unscrewed the stem from the shank. The bond was very well done and well cured. It was solid and the stem lined up well when it was screwed onto the shank.
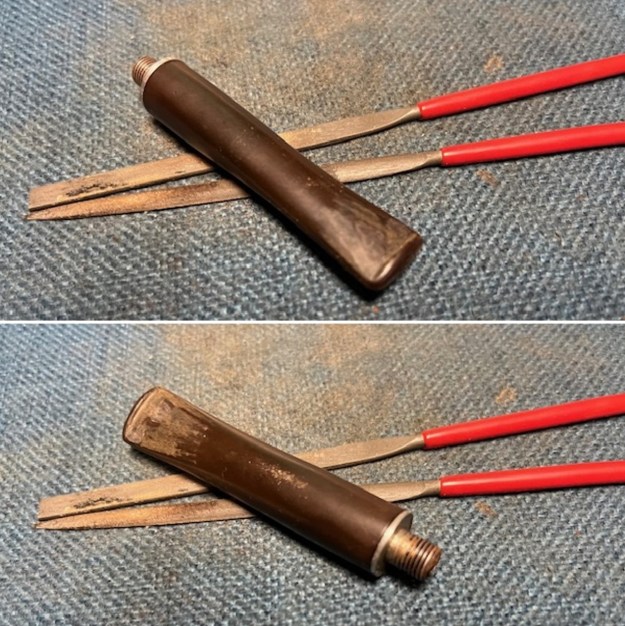
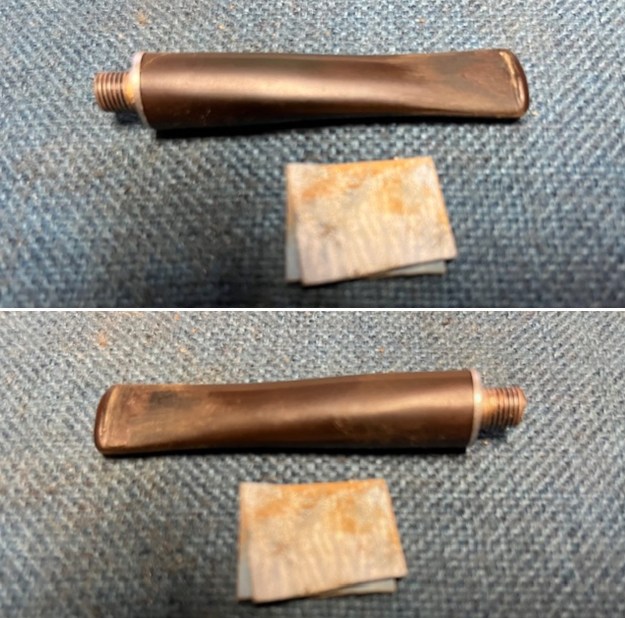
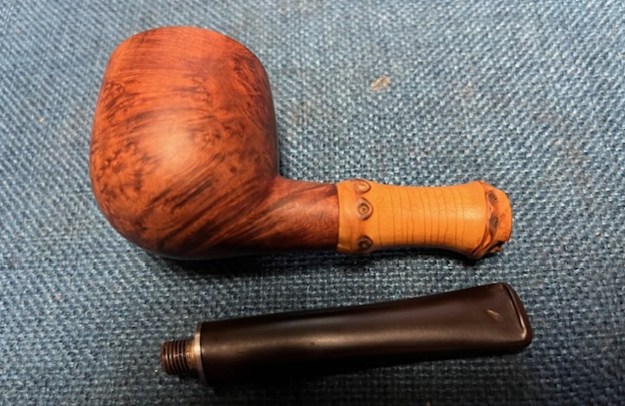 I filled in the deep tooth marks on both sides of the stem ahead of the button with black rubberized CA glue. I set it aside to cure. Once cured I used a file to recut the button edge and flatten out the repairs in the surface. I sanded them smooth with a folded piece of 220 grit sandpaper. They blended into the stem surface very well.
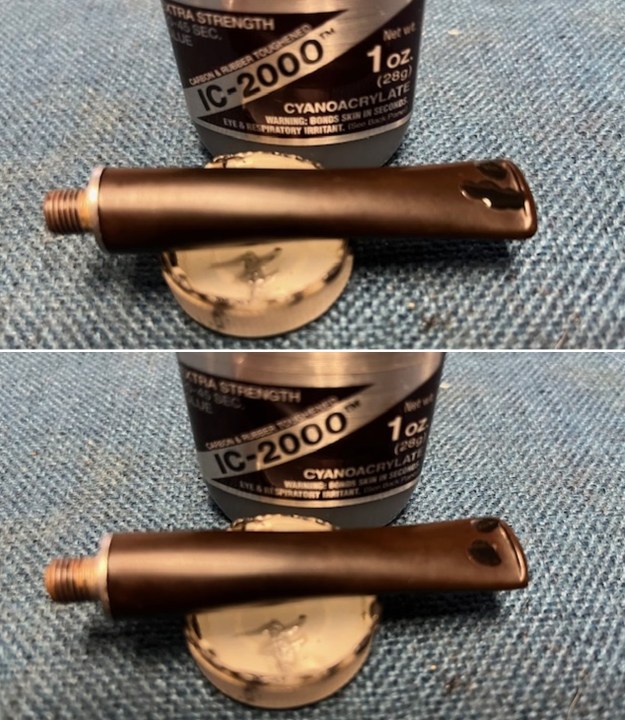
 I sanded the stem with 320-3500 grit sanding pads to further blend the repairs into the surface. I wiped the stem down between pads with an Obsidian Oil cloth to remove the sanding debris from the stem.
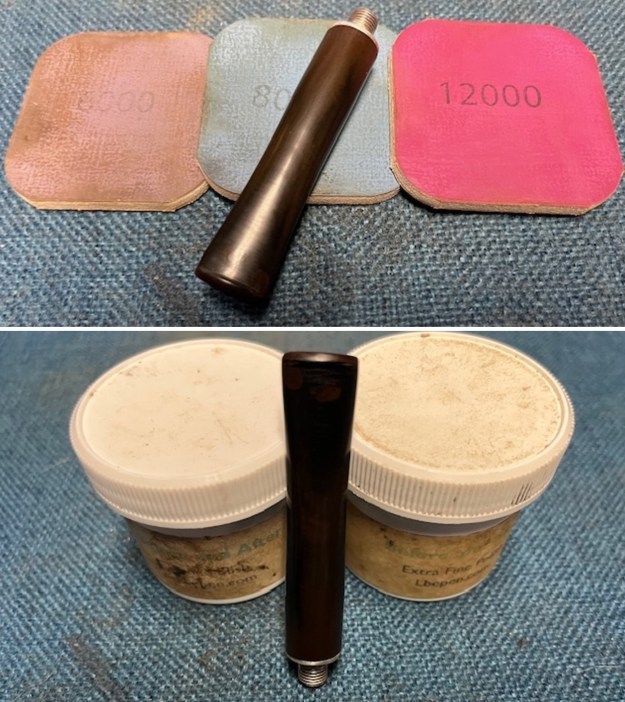
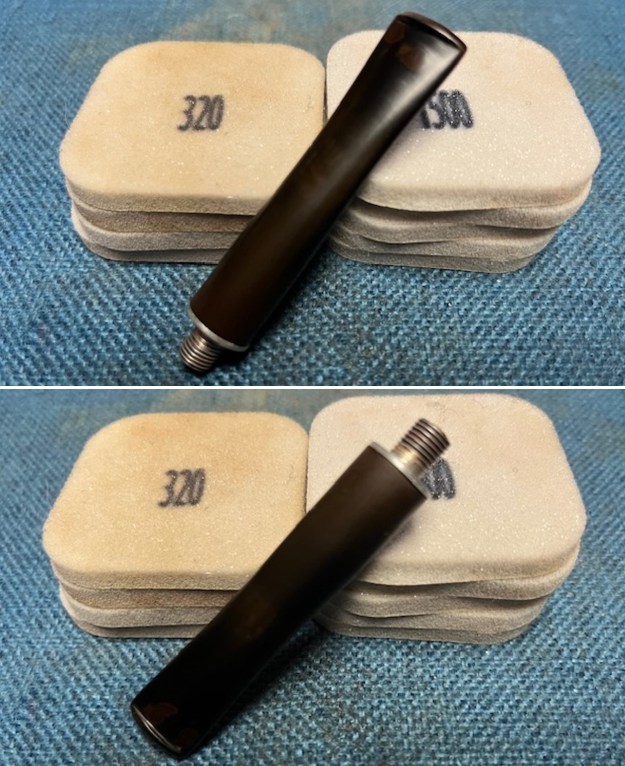 I polished the stem with micromesh sanding pads – dry sanding with 1500-12000 grit sanding pads. I wiped it down after each sanding pad with Obsidian Oil. I polished it with Before & After Pipe Stem Polish – both Fine and Extra Fine.
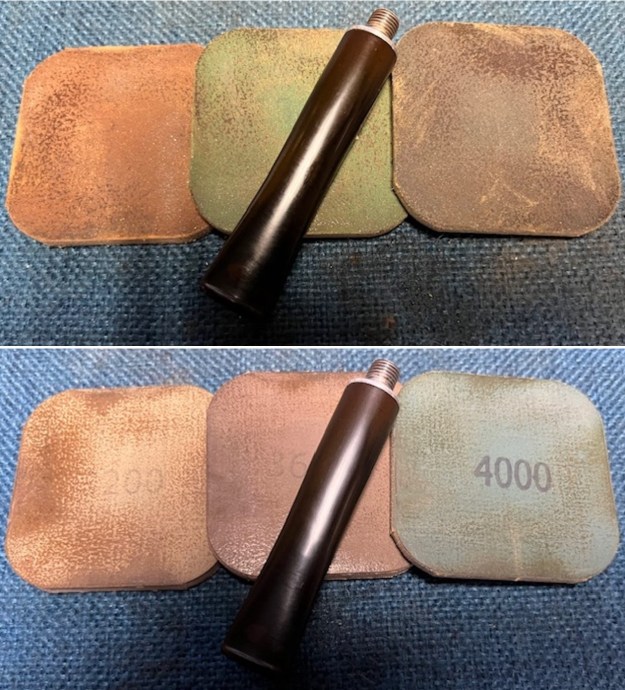
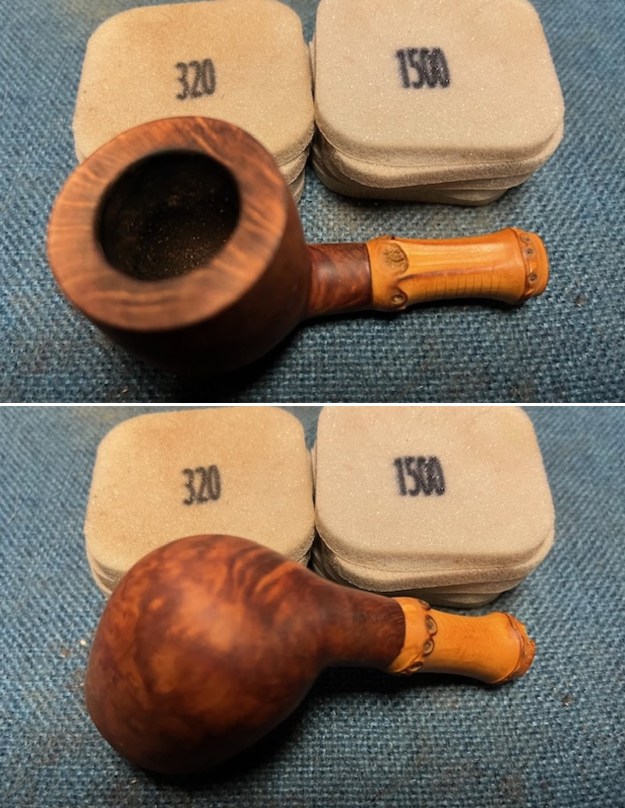
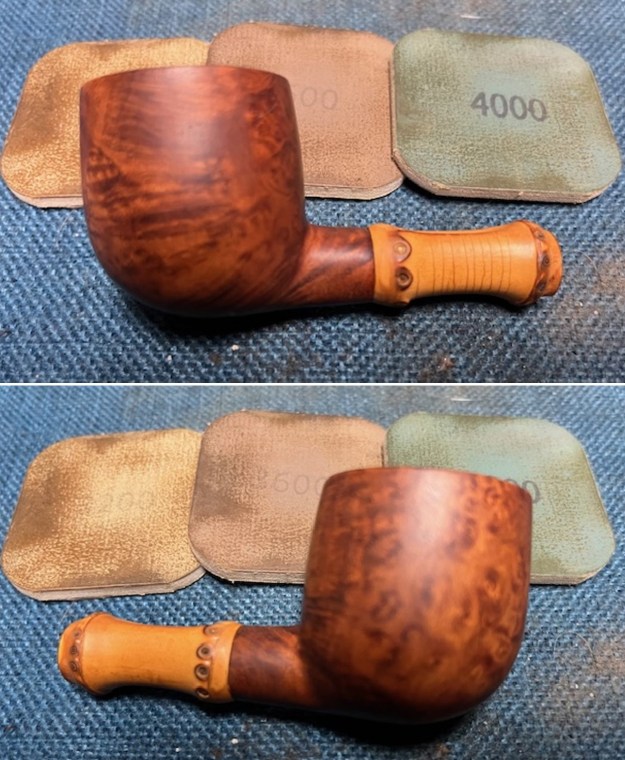
 I set the stem aside and turned my attention to the bowl. I used a folded piece of 220 grit sandpaper to smooth out the damage to the rim top and the inner edge and to remove the darkening. It started to look very good at this point.
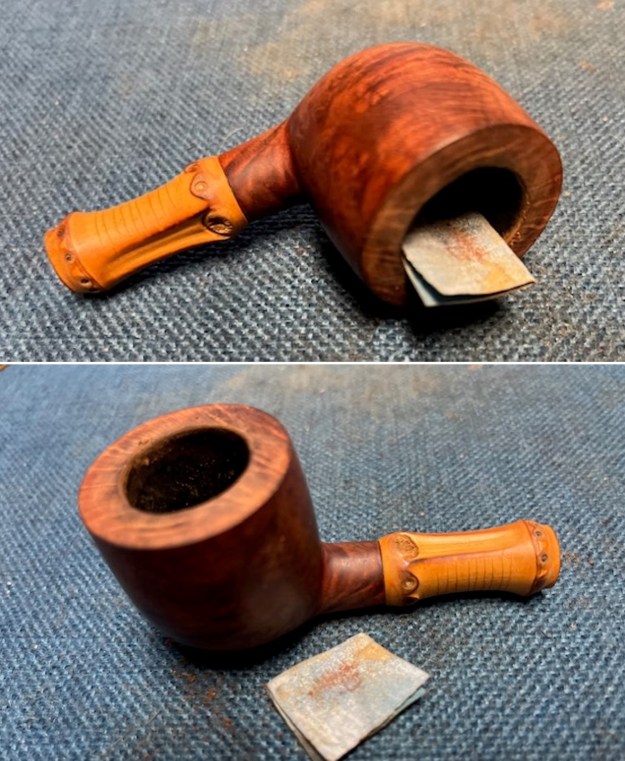 I sanded the briar with 320-3500 grit 2×2 inch sanding pads to smooth out the scratching in the surface. I wiped the briar down after each pad with a damp cloth to remove the dust and debris.
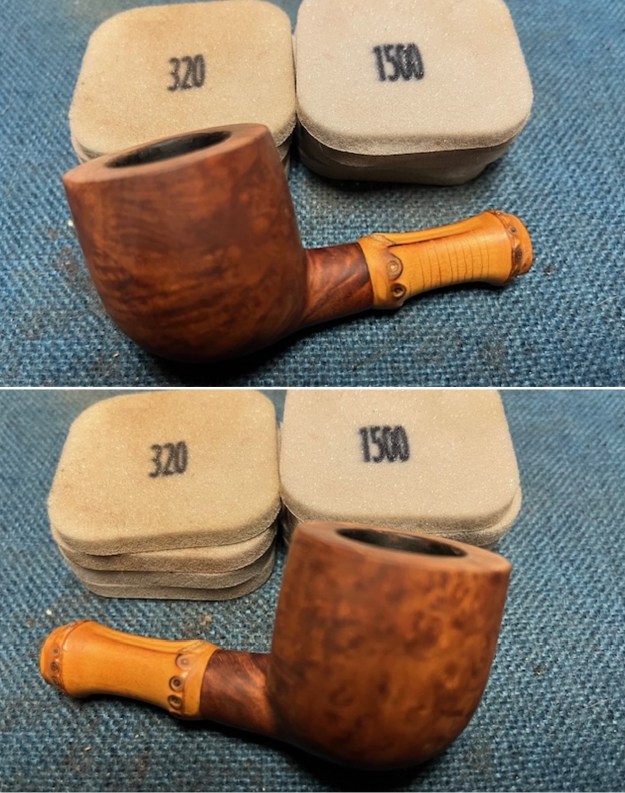
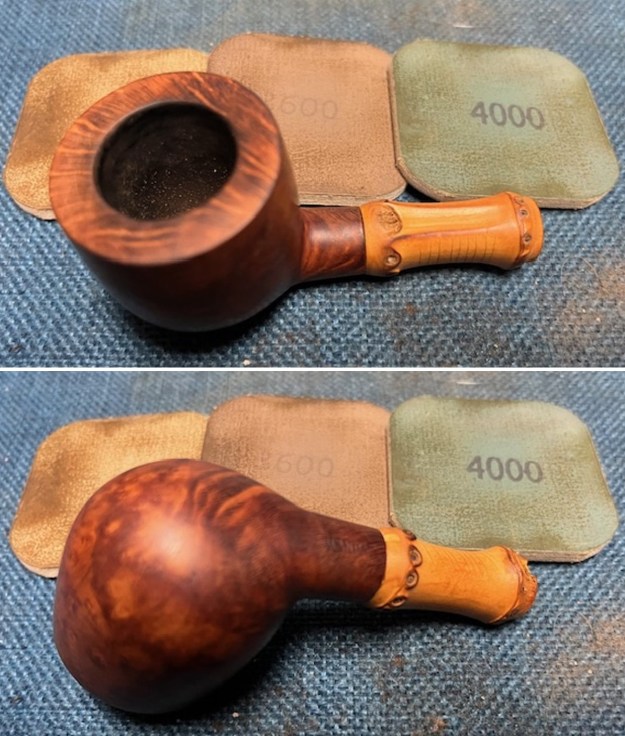
 I polished the briar with micromesh sanding pads – dry sanding with 1500-12000 grit pads. I worked over the inner and outer edge of the rim as well. After each pad I wiped the bowl down with a damp cloth to remove the sanding debris. It really took on a shine by the last three sanding pads.
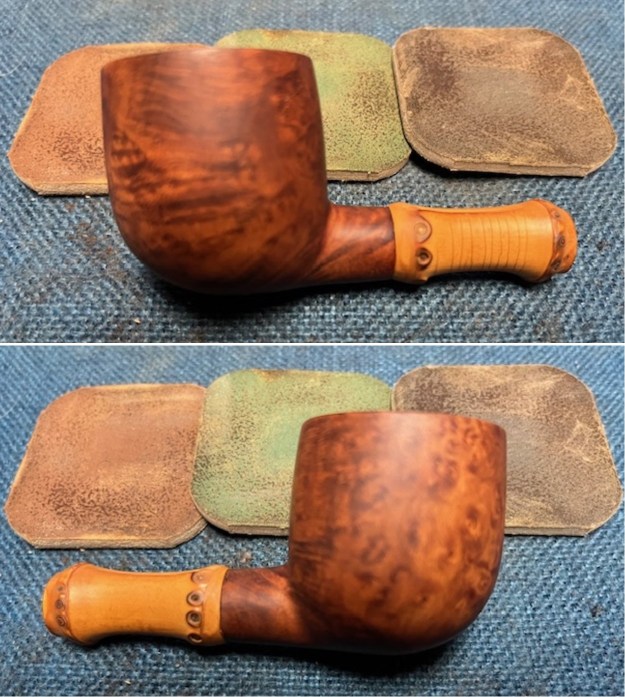
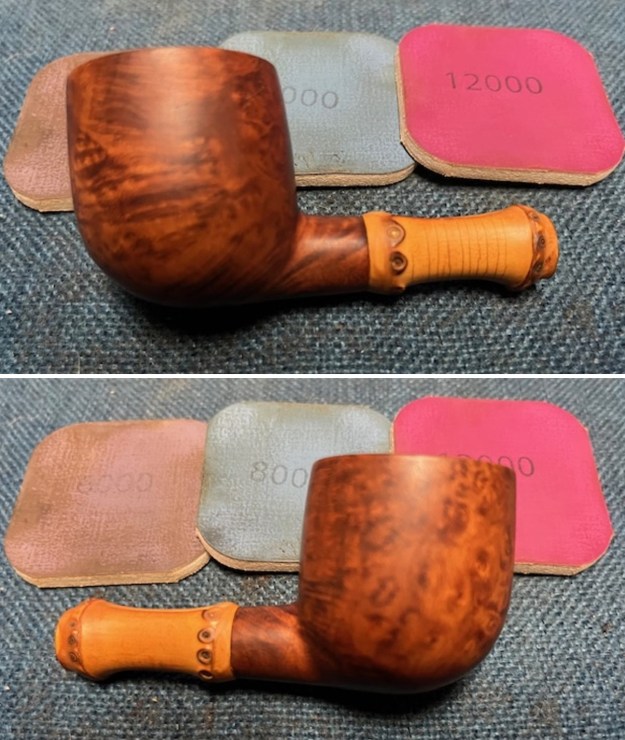
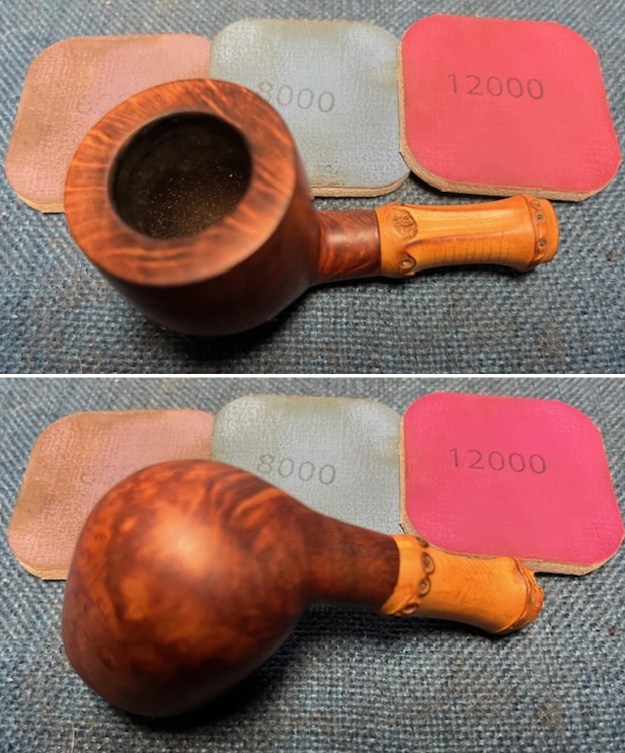 I rubbed the bowl down with Before & After Restoration Balm. I worked it into the surface of the briar with my fingertips where it works to clean, restore and preserve the briar. I let it do its magic for 15 minutes then buffed it off with a cotton cloth. The pipe looks incredibly good at this point in the process.
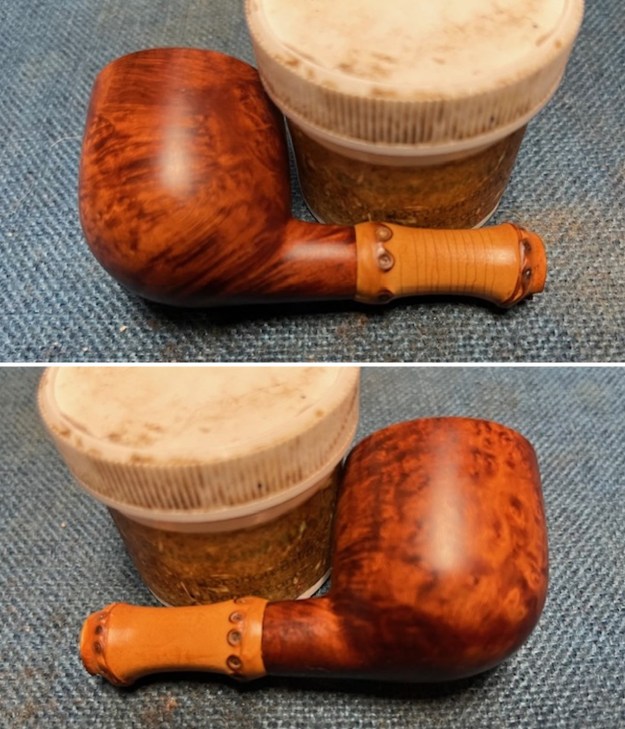
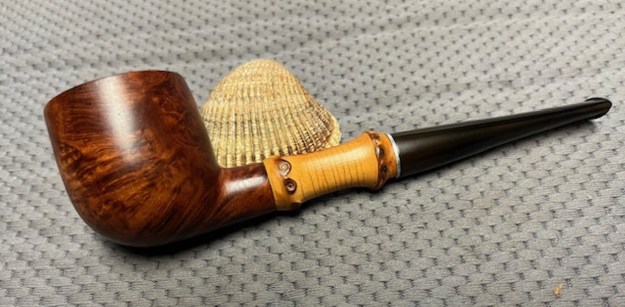
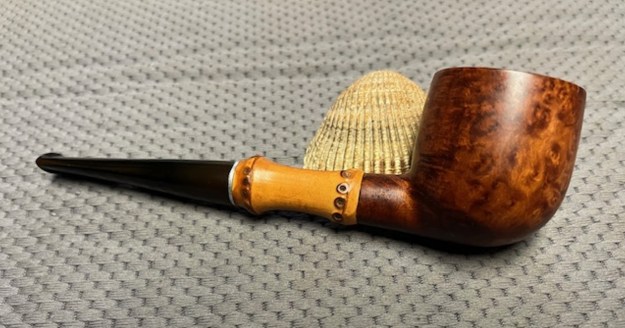
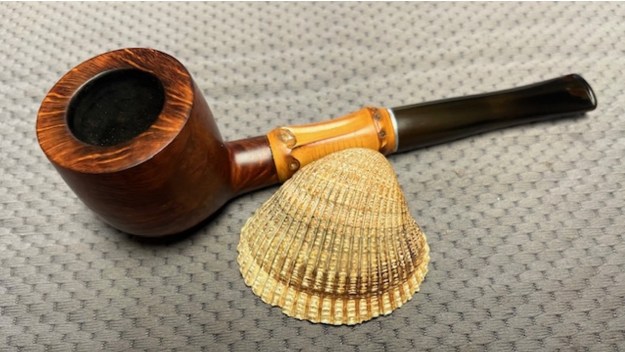
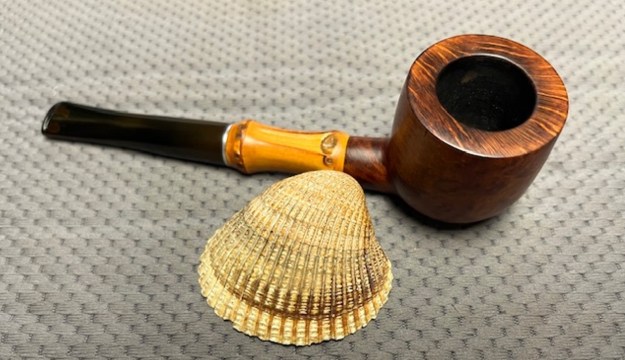
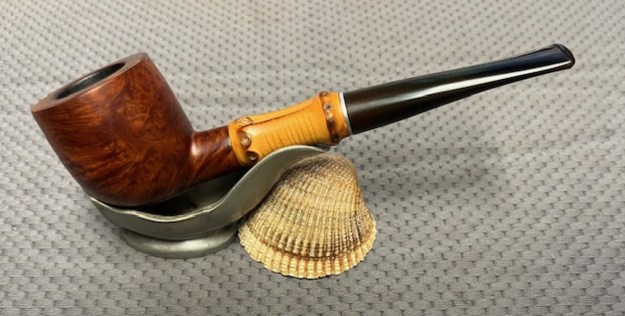
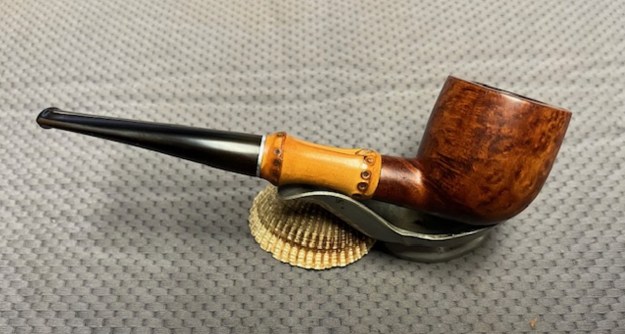
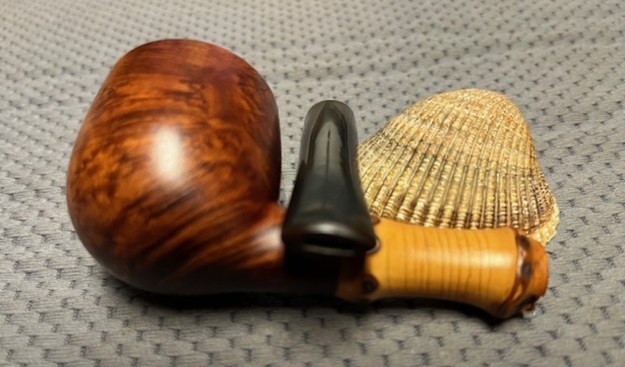
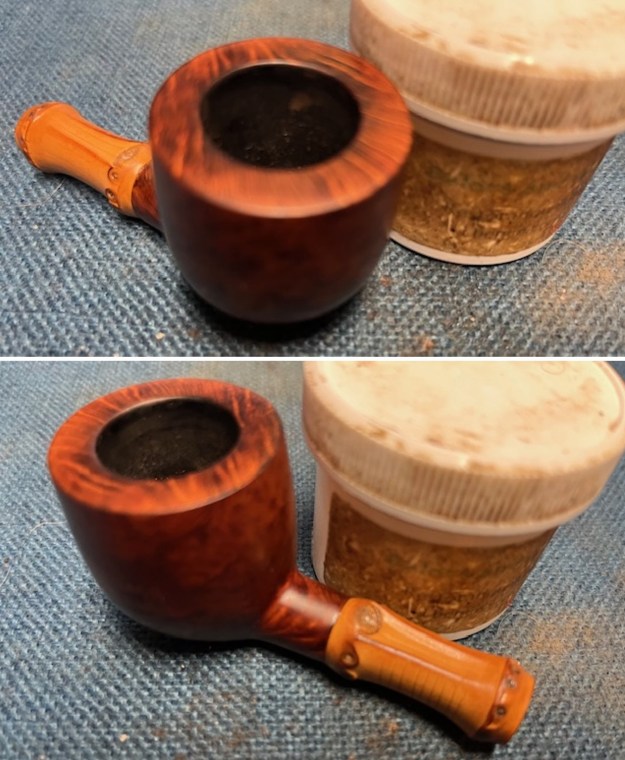 I am excited to finish this Kaywoodie Mandarin Pot with a Bamboo shank. I put the pipe back together and buffed it with Blue Diamond on the buffing wheel. I gave the bowl and the stem multiple coats of carnauba wax. I hand buffed the pipe with a clean buffing pad to raise the shine. It is fun to see what the polished bowl looks like with beautiful mixed grain all around it with just a few small flaws in the briar. The polished grain on the pipe looks great with the black vulcanite stem. This smooth Kaywoodie Mandarin Pot is great looking and the pipe feels great in my hand. It is light and well balanced. Have a look at it with the photos below. The dimensions are Length: 6 inches, Height: 1 ½ inches, Outside diameter of the bowl: 1 ½ inches, Chamber diameter: 7/8 of an inch. The weight of the pipe is 39 grams/1.38 ounces. It turned out to be a beautiful pipe. I will soon be putting it on the rebornpipes store in the US/American Pipe Makers Section. If you are interested in adding it to your collection let me know. Remember we are the next in a long line of pipe men and women who will carry on the trust of our pipes until we pass them on to the next trustee. Thanks for your time reading this blog.