by Steve Laug
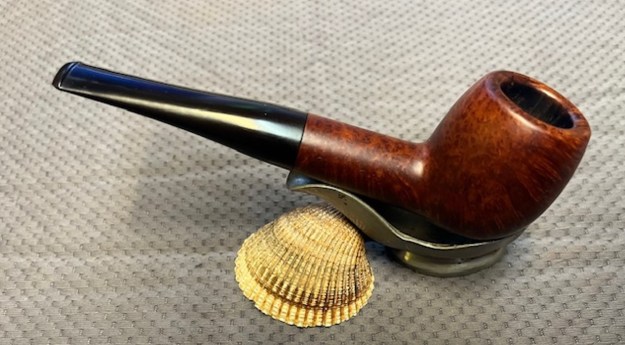
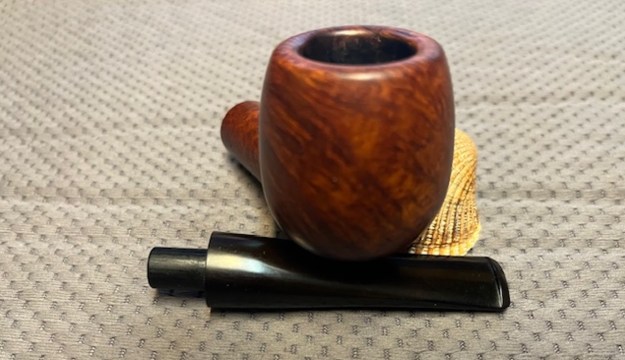
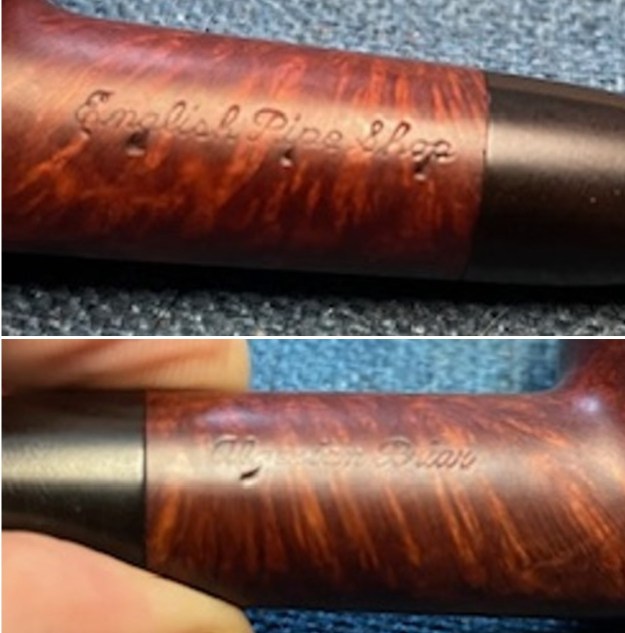
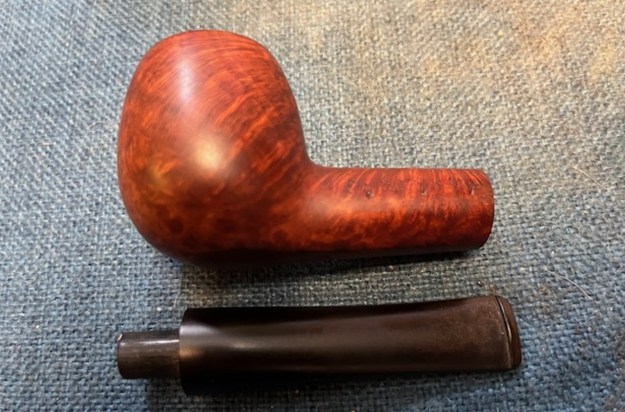
The next pipe on the worktable is a beautiful mix of grains on a straight apple. We bought it from antique shop in Wheeler, Oregon, USA. It is a truly beautiful piece of briar that is stamped English Pipe Shop on the left side of the shank and Algerian Briar on the right side. It is a brand I have not seen before but I really like the classic shape and the chunky shape. The grain on it is beautiful. The had a thick cake that had overflowed onto the rim top in thick lava. The inner and outer edge of the rim top was protected by the lava coat. I am hoping it will look good once it is cleaned up. The stem was oxidized, calcified and there was some chatter and tooth marks on the top and bottom of the stem near the button. The fit of the stem is perfect to the shank and there was no stamping or logo on the side of the stem. Jeff took photos of the pipe before he started his work on it. 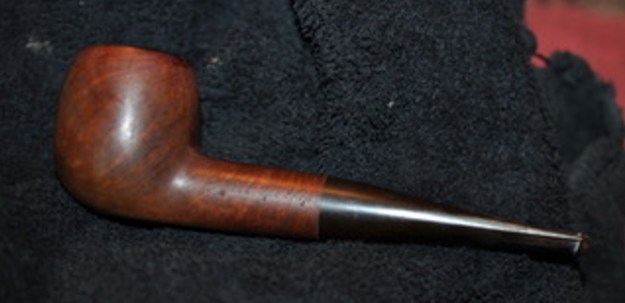
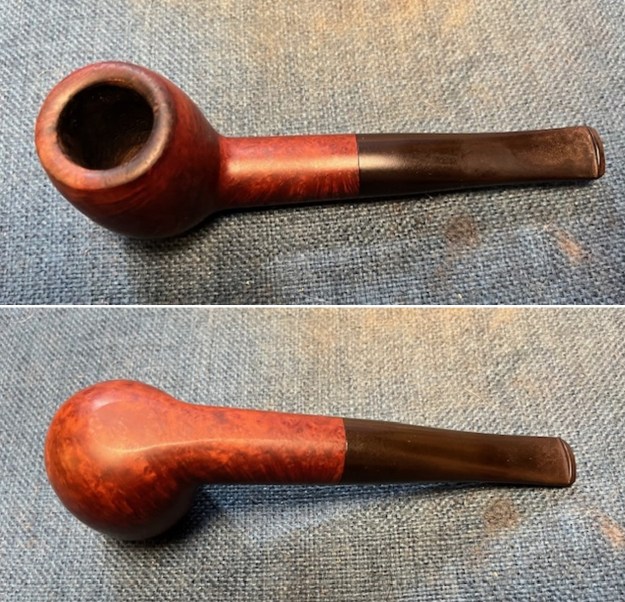
 Jeff took close up photos of the bowl and rim to capture the condition of the pipe before he started his cleanup work. The bowl had a thick cake and a thick overflow of lava on the rim top that hopefully protected the crowned rim. The outer edge looked to be in decent condition. The stem showed some oxidation, calcification and light tooth marks on both sides ahead of the button.
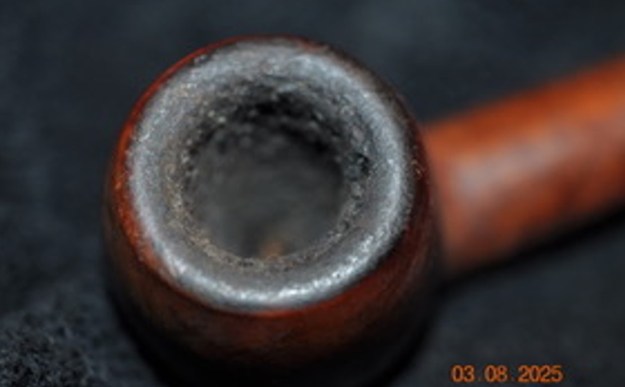
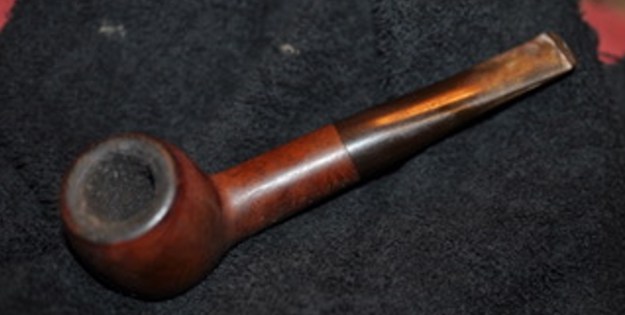
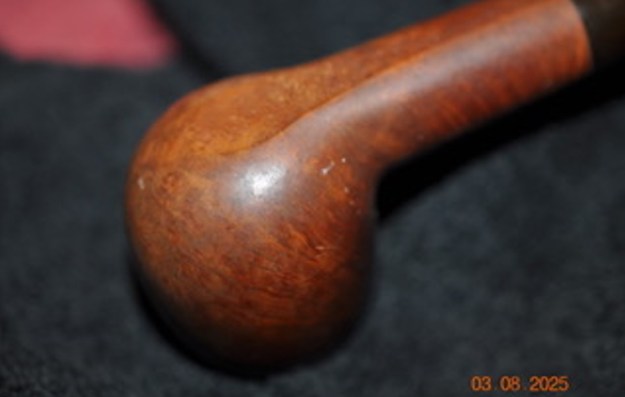
 He also took a photo of the side and bottom of the bowl and shank to show the beautiful grain around the bowl under the grain. The photos show the general condition of the bowl and it is quite clean and another beautiful pipe.
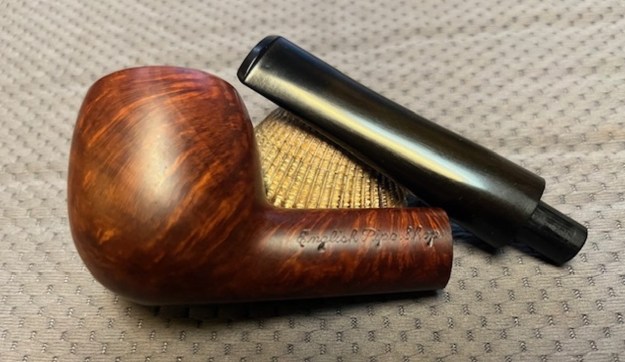
 Jeff took photos to capture the stamping on the sides of the shank. The photos show the stamping. It is clear and readable as noted above. The stamping is deep on all the downward tails of the stamping on both sides.
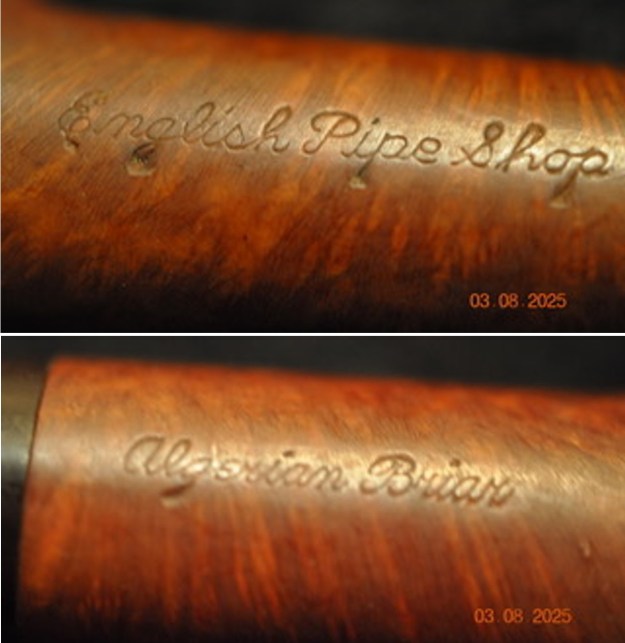 I cannot find any information on the brand though the stamping seems to point to an American made pipe. That is all I can determine from my observation of the pipe. It was time to work on the pipe.
Jeff reamed the bowl with a PipNet pipe reamer and followed up with a Savinelli Fitsall pipe knife to remove the cake. He scrubbed out the mortise and the airway in the shank and the stem with alcohol, cotton swabs, shank brushes and pipe cleaners. He scrubbed the exterior of the bowl, rim, shank and stem with a tooth brush and Murphy’s Oil Soap to remove the oils and tars on the rim and the grime on the finish of the bowl. He rinsed it under running water. He dried it off with a soft cloth. He was able to remove the lava build up on the rim top and the crowned surface of the rim top. Jeff scrubbed the interior of the stem with pipe cleaners and alcohol. He soaked it in Briarville’s Pipe Stem Deoxidizer and when finished he rinsed it off with warm water and dried it off with a soft cloth. I took photos of the pipe to show its condition before I started my work on it. The stem also looked better. 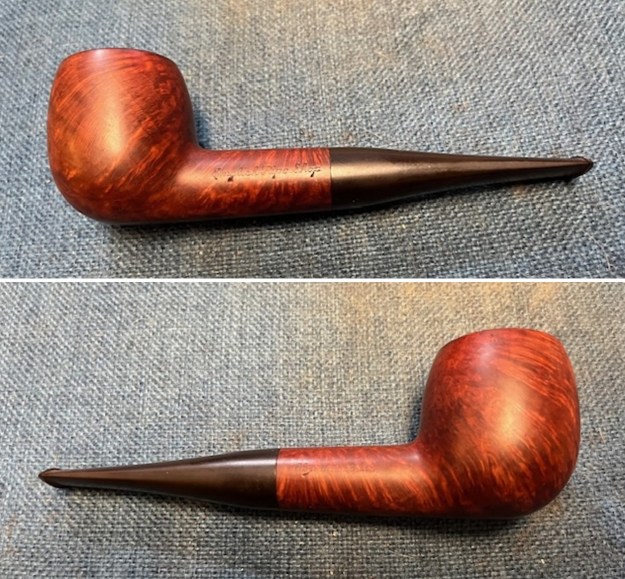
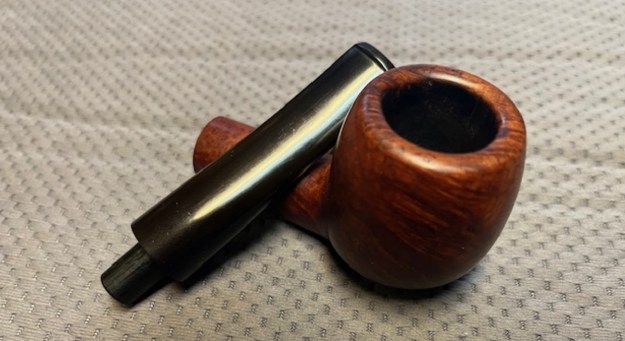
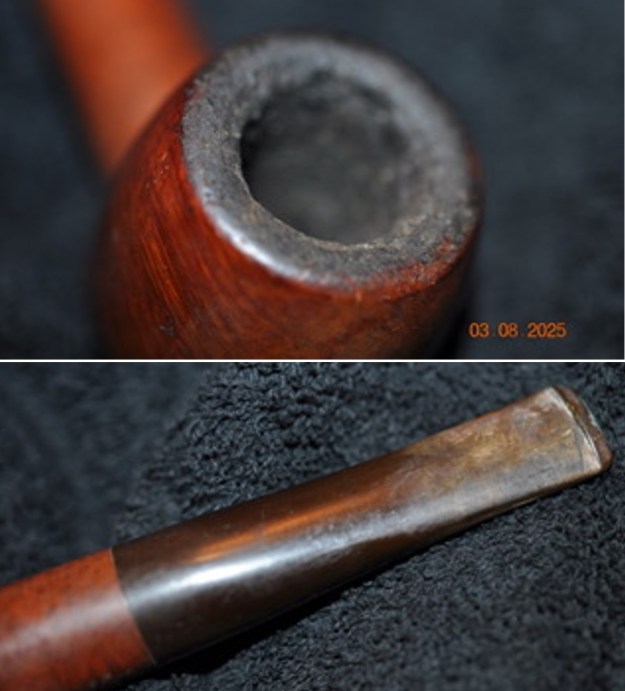
 I took close up photos of the bowl and rim top as well as the stem. You can see the condition of the rim top and bowl in the first photo. Jeff was able to remove all of the tar and oils but you can now see the darkening on the top and the edges of the bowl. The stem had light tooth marks and chatter on both sides near the button on both sides.
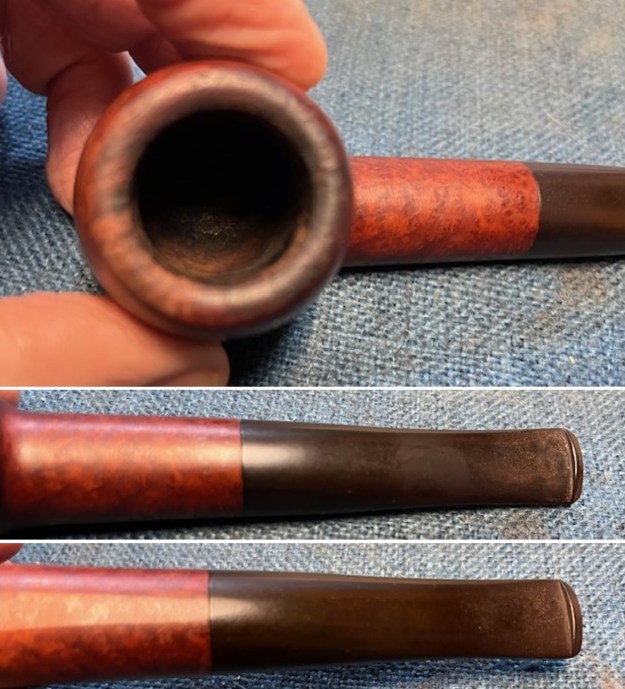 I took photos of the stamping on the shank sides to show the condition is. The stamping was clear and readable as noted above. I also removed the stem and took a photo of the appearance of the parts of the pipe.
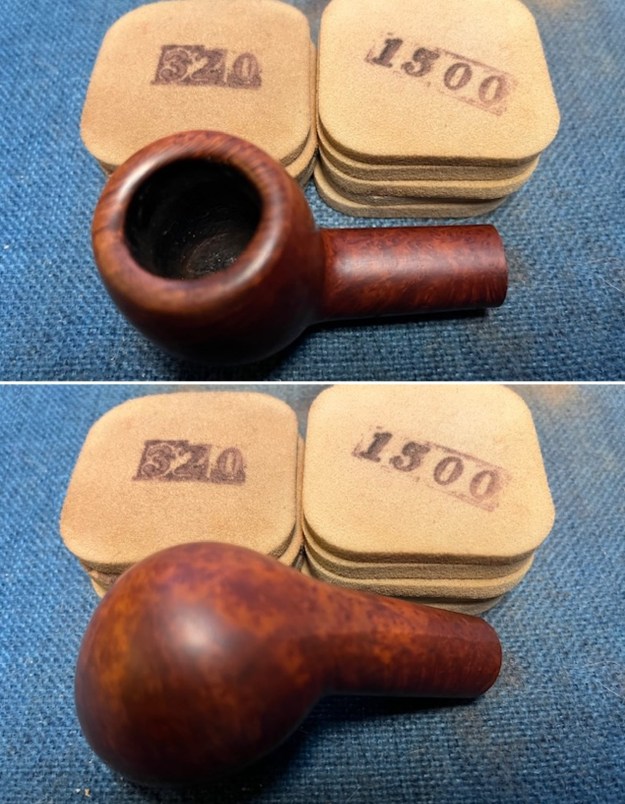
 I decided to address the rim top first. To remove the darkening on the rim top and edges of the bowl with 220 grit sandpaper. That removed a lot of the damage on the rim top and outer edge.
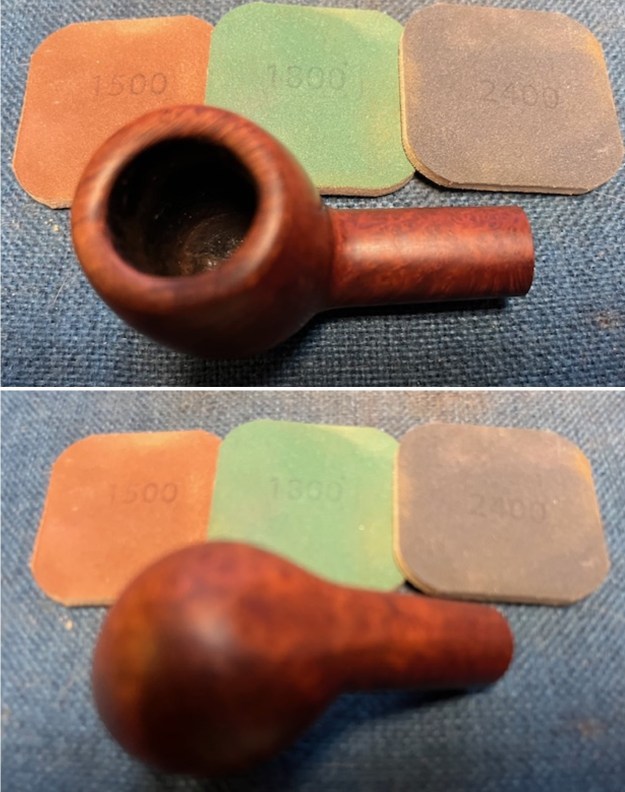
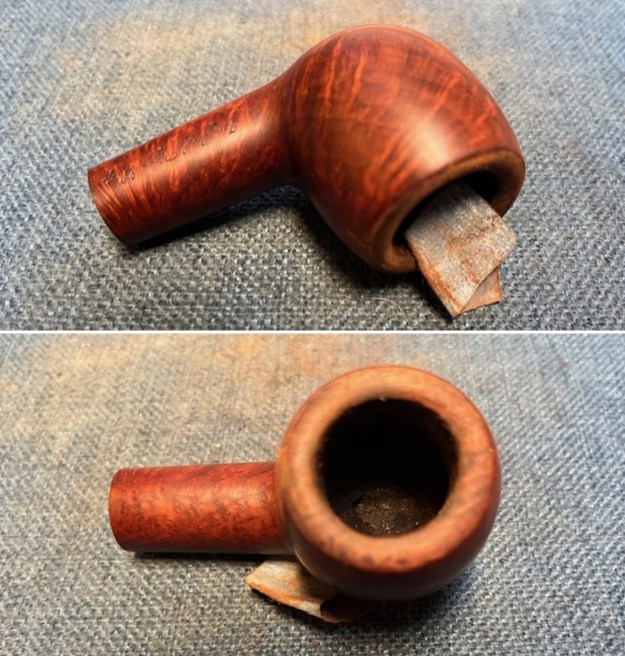 I sanded the bowl and rim with 320-3500 grit sanding pads to begin the process of removing the scratches and blending the restored rim top into the rest of the bowl. I wiped the bowl down after each pad with a damp cloth to remove the dust and debris. The photos tell the story.
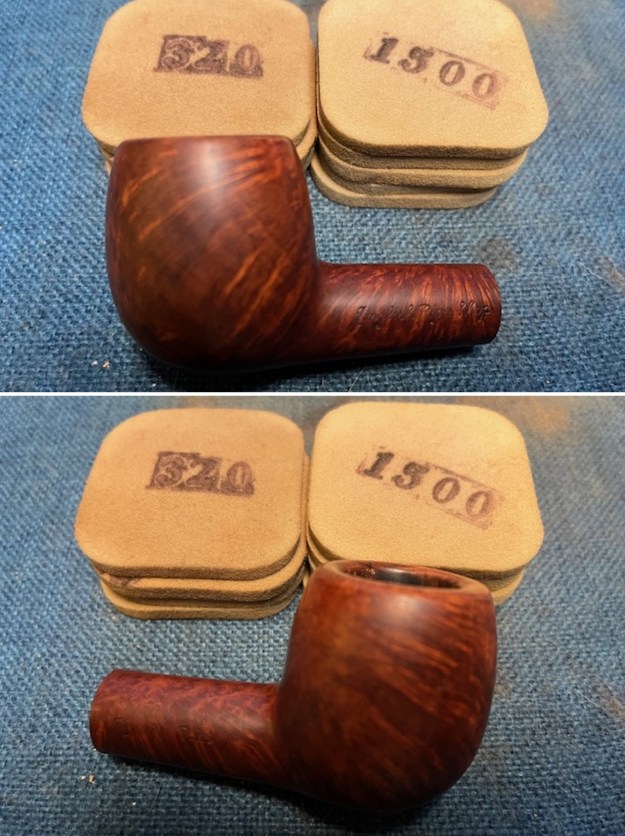
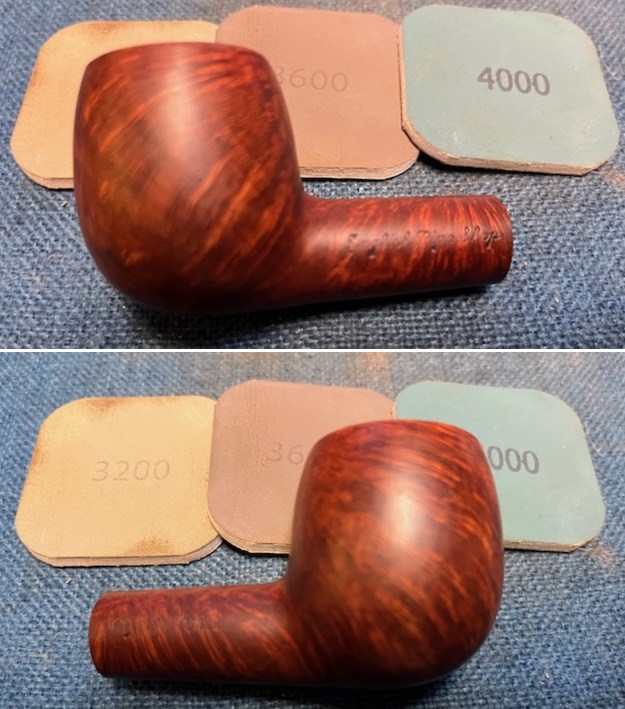
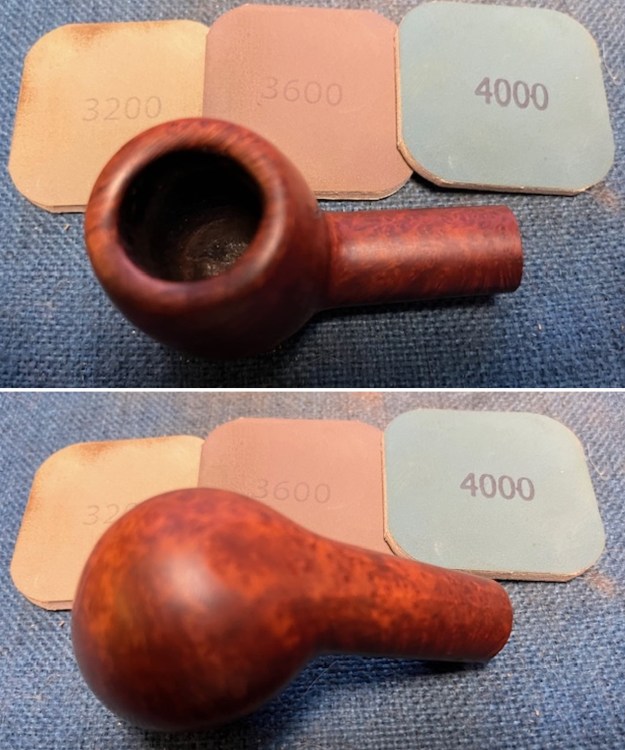
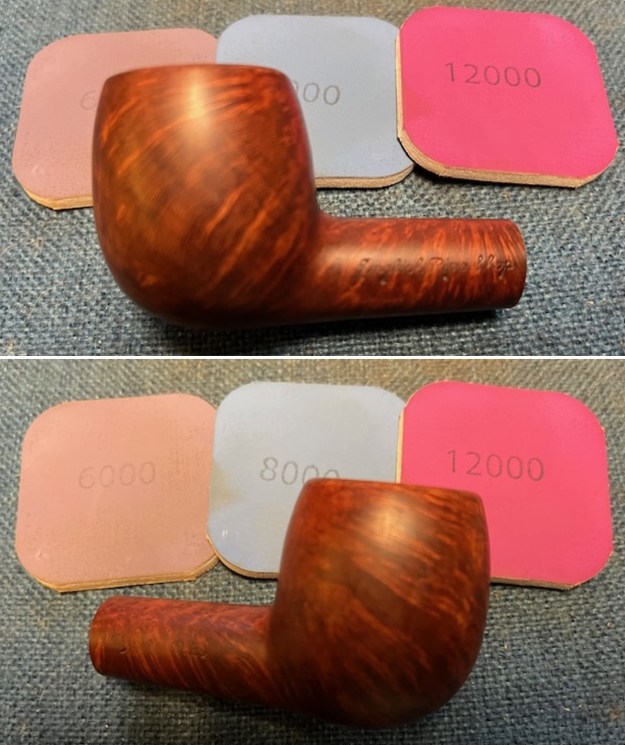
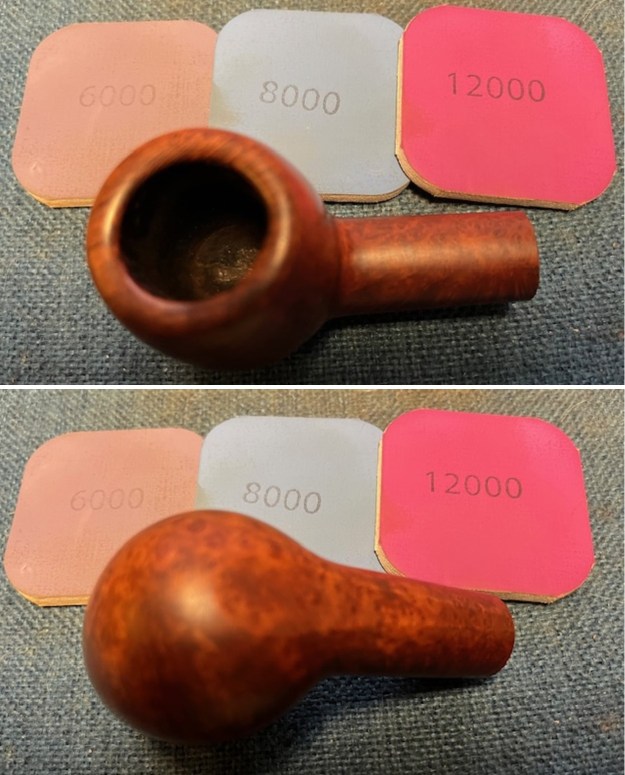
 I polished the briar with 1500-12000 grit sanding pads. I wiped down the bowl with a damp cloth to remove the sanding debris and dust. The bowl began to look amazing.
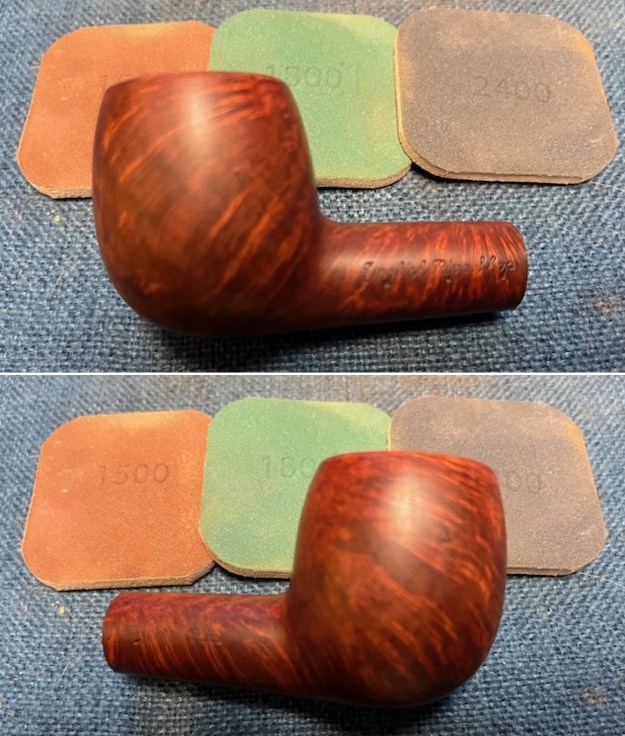
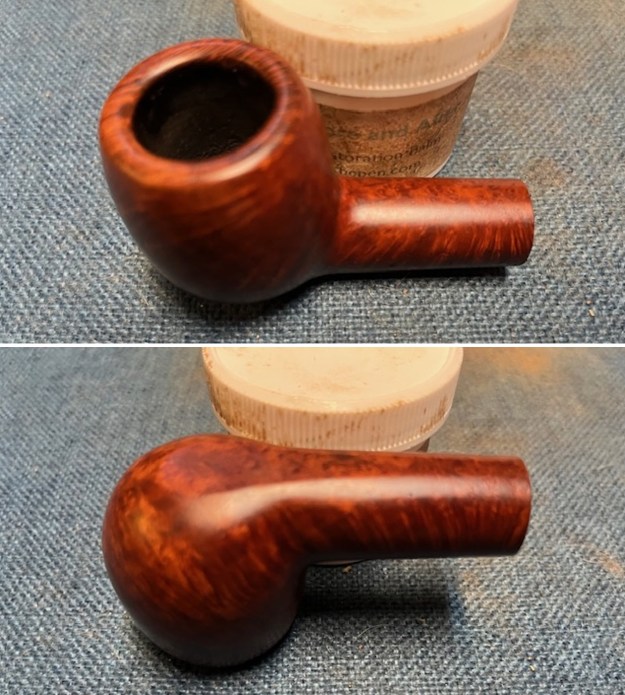
 I worked some Before & After Restoration Balm into the surface of the briar with my fingertips to clean, enliven and protect it. I let the balm sit for a little while and then buffed with a cotton cloth to raise the shine. The following photos show the bowl at this point in the restoration process. I am very happy with the results.
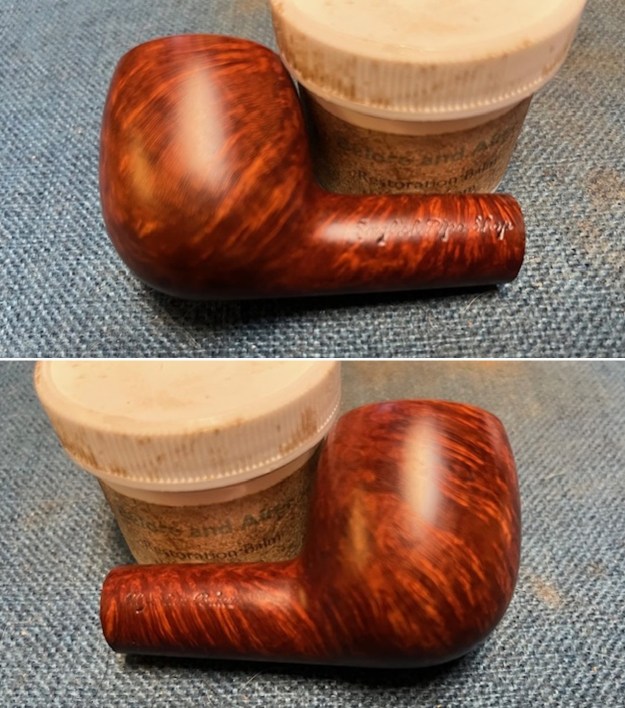
 I “painted” the tooth marks on the stem with the flame of a lighter. I was able to lift them all. I smoothed out the surface with a folded piece of 220 grit sandpaper.
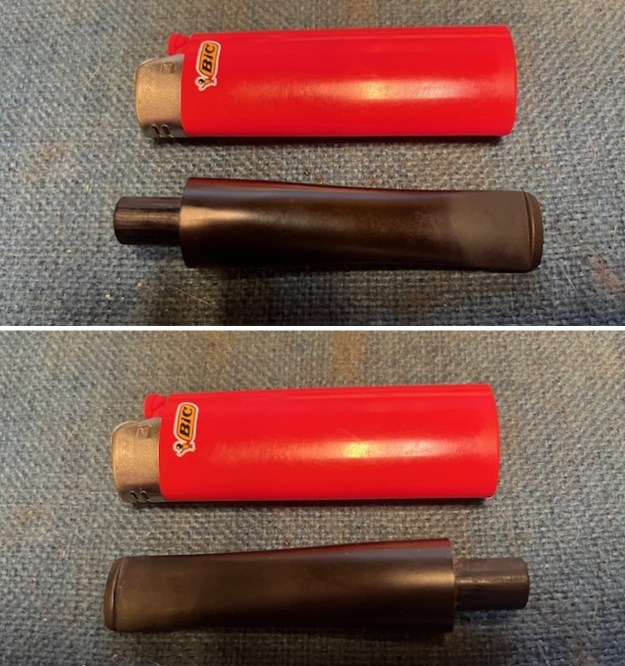
 I sanded the stem with 320-3500 grit sanding pads. I wiped the stem down with an Obsidian Oil cloth after each sanding pad. The tooth marks were blended in quite well.
 I polished the stem with micromesh sanding pads – dry sanding with 1500-12000 grit sanding pads. I wiped it down after each sanding pad Obsidian Oil. I finished by polishing it with Before & After Pipe Stem Polish both fine and extra Fine and then wiped it down with a final coat of Obsidian Oil.
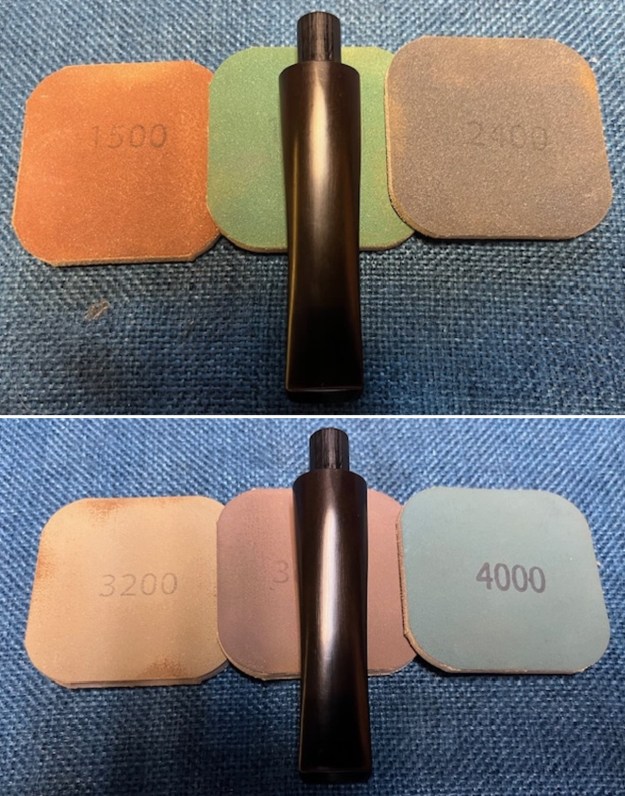
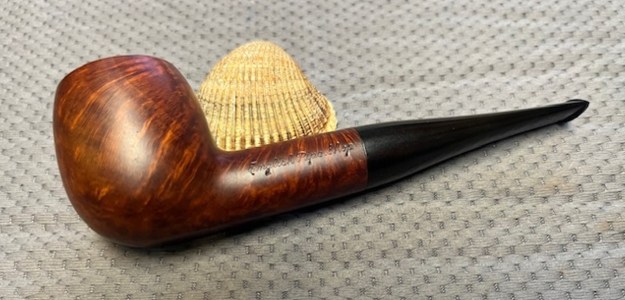
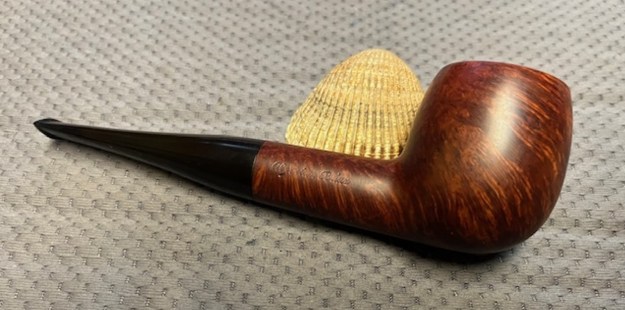
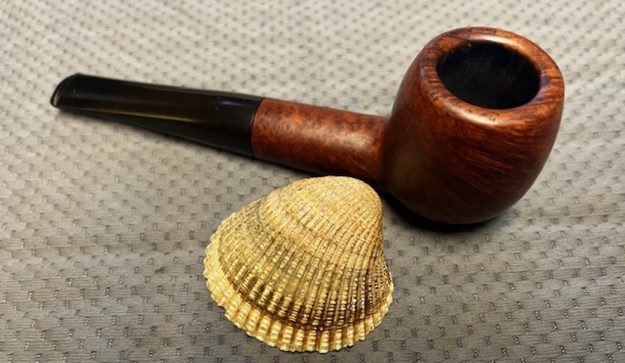
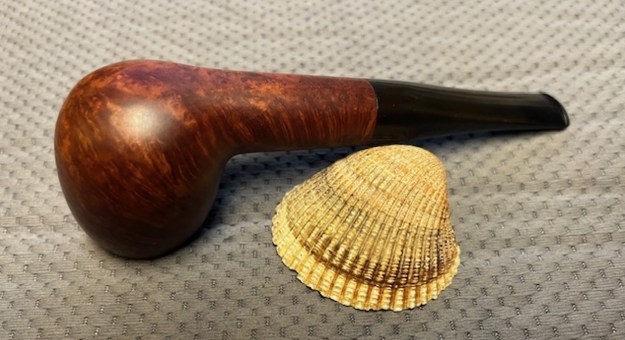
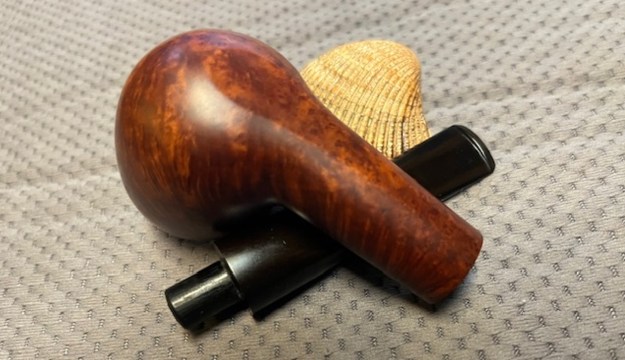
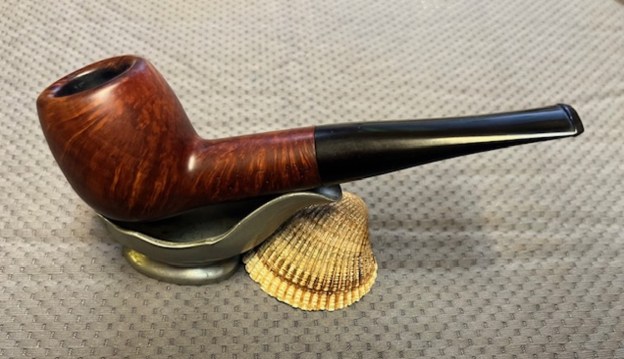
 This is a beautiful English Pipe Shop Apple with a vulcanite tapered stem. It has a great look and feel. The shape of the bowl, the beveled rim top and the cut of the briar work well to highlight the grain around the bowl sides. I polished stem and the bowl with Blue Diamond polish on the buffing wheel. I gave the bowl and the stem multiple coats of carnauba wax. I buffed the pipe with a clean buffing pad to raise the shine. I hand buffed it with a microfiber cloth to deepen the shine. The English Pipe Shop pipe polished up pretty nicely. The grain took on life with the buffing. The rich stains work well with the polished vulcanite stem. The finished pipe has a rich look that is quite catching. Have a look at it with the photos below. The shape, finish and flow of the pipe and stem are very well done. The dimensions are Length: 5 ½ inches, Height: 1 ¾ inches, Outside diameter of the bowl: 1 ¼ inches, Chamber diameter: ¾ of an inch. The weight of the pipe is 1.66 ounces/47 grams. It is a beautiful pipe. I will be putting it on the rebornpipes store shortly in the American Pipemakers Section if you are interested in adding it to your collection. Thanks for walking with me through the restoration.