by Steve Laug
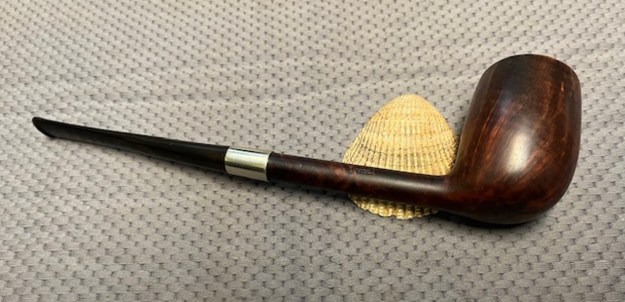
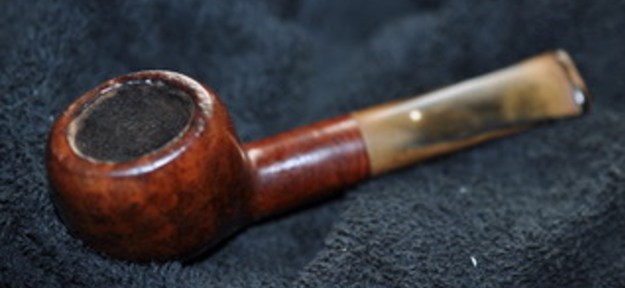
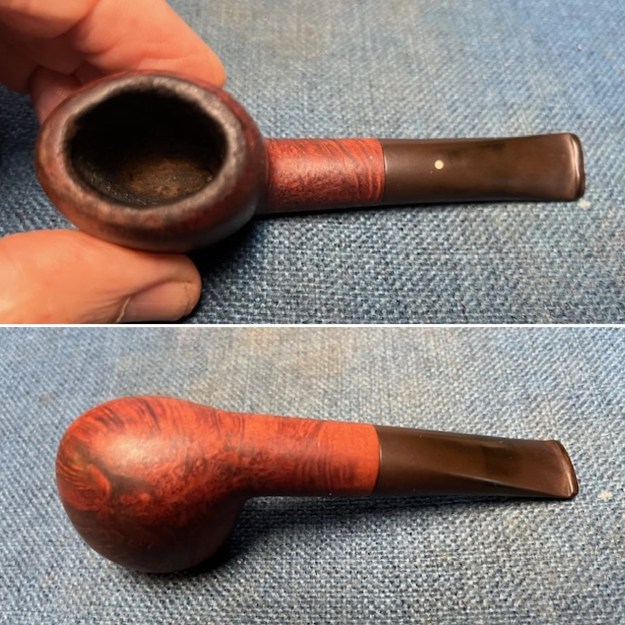
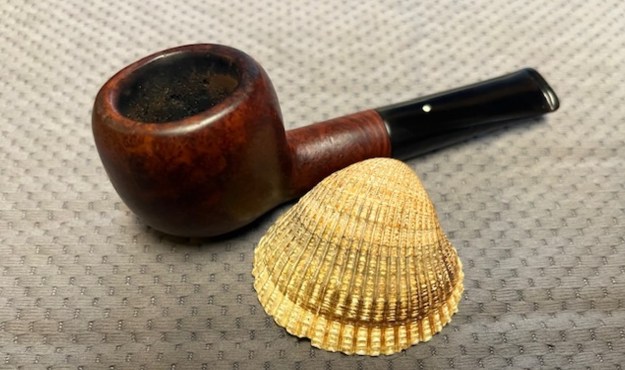
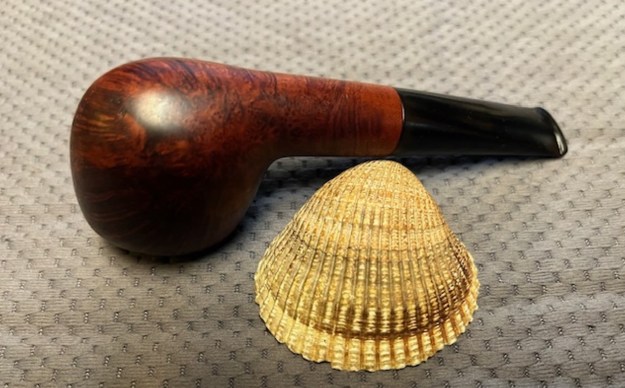
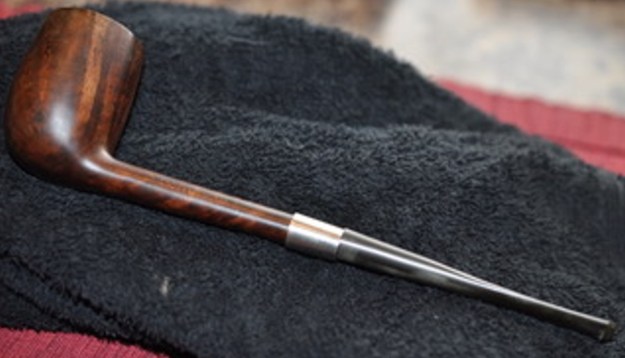
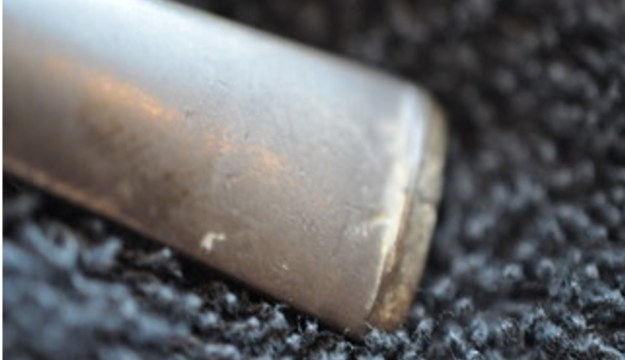
The next pipe on the table is one that we picked up in the lot from a seller in Ogden, Utah, USA on 12/12/2024. The shape/size, grain, finish and the Merchant Service stamping is what caught our eye. It is stamped on the left side of the shank and reads Merchant Service. On the right side it is stamped Special in script. It has a smooth finish that is stained dark that highlights the beautiful grain around the bowl and shank. The shank includes a nickel band as standard equipment for decoration. Both go well with the long, thin vulcanite taper stem. The bowl appears to be moderately caked and the inner edge and the top show some lava overflow and darkening. The stem is oxidized and has some tooth marks and chatter on the top and underside ahead of the button. There is no stamping or logos on the nickel band or the stem. Jeff took some photos of the pipe to show the general condition of the pipe before he started his clean up. 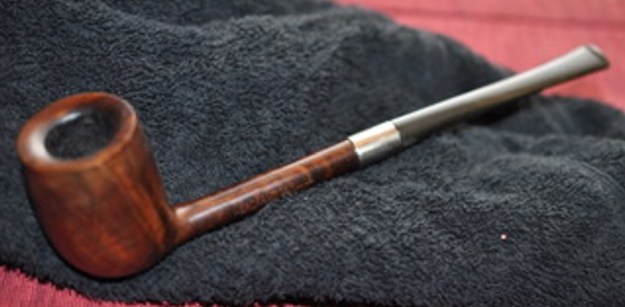
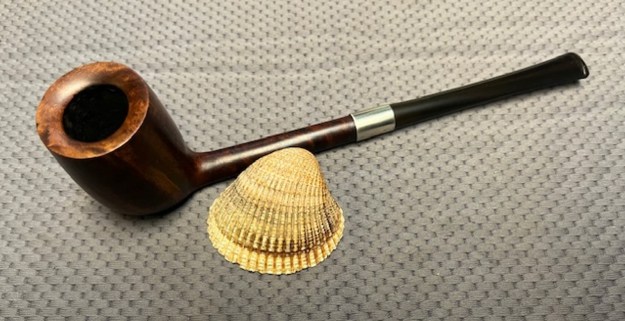
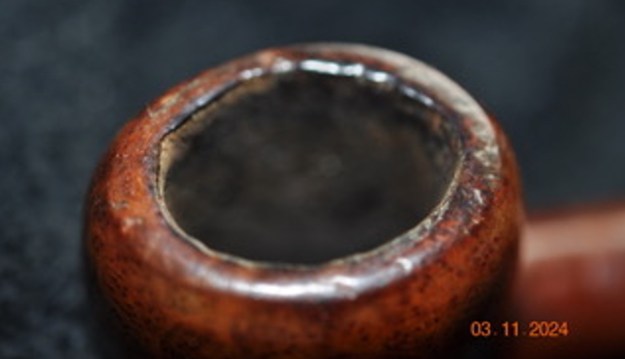
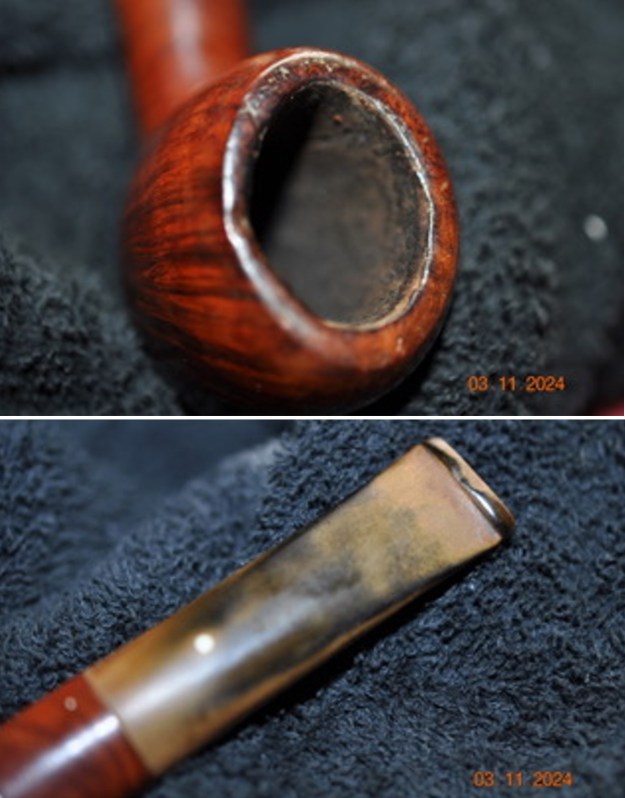
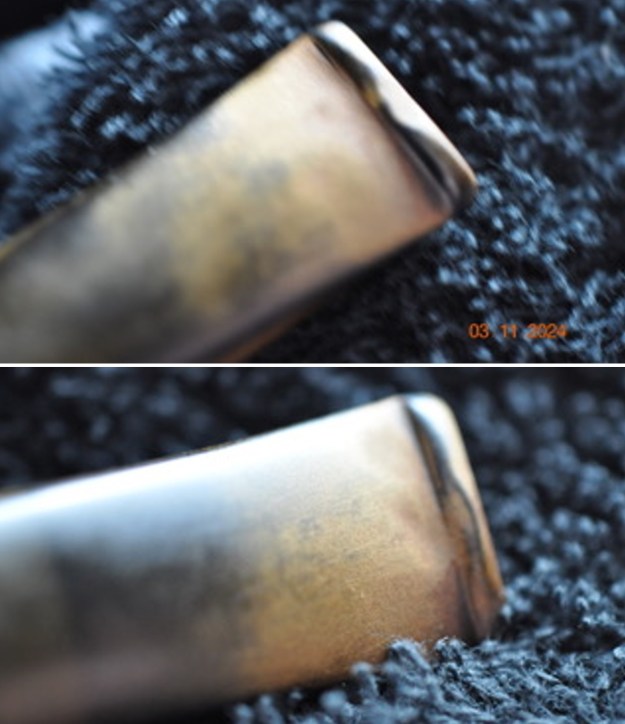
 He took some photos of the rim top and bowl from various angles to give me a clear picture of the condition of the rim top and bowl. You can see the lava and darkening on the rim top and inner edge of the bowl. The cake in the bowl is visible as well but is thicker than the photos show. He included photos that show the top and underside of the stem. It is as described above.
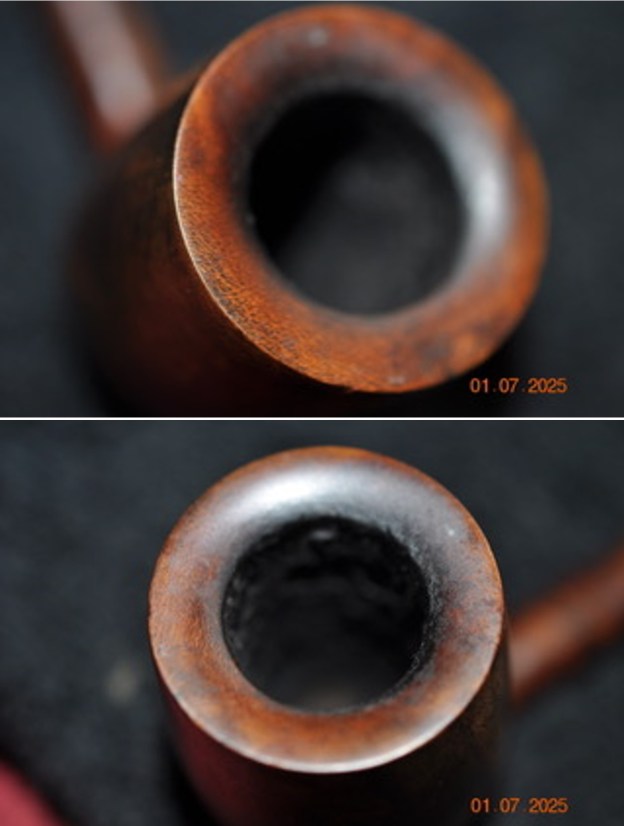

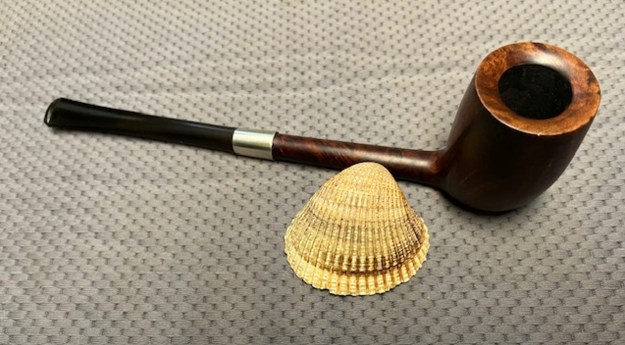
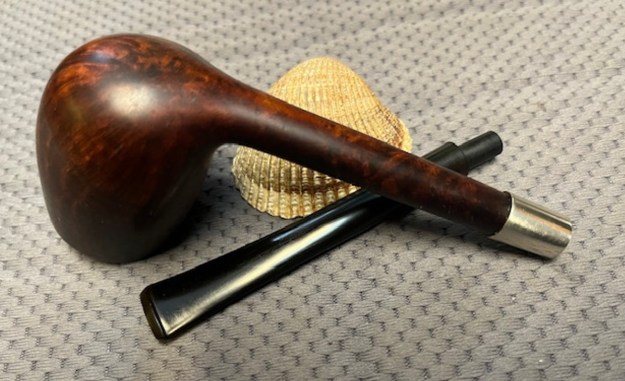
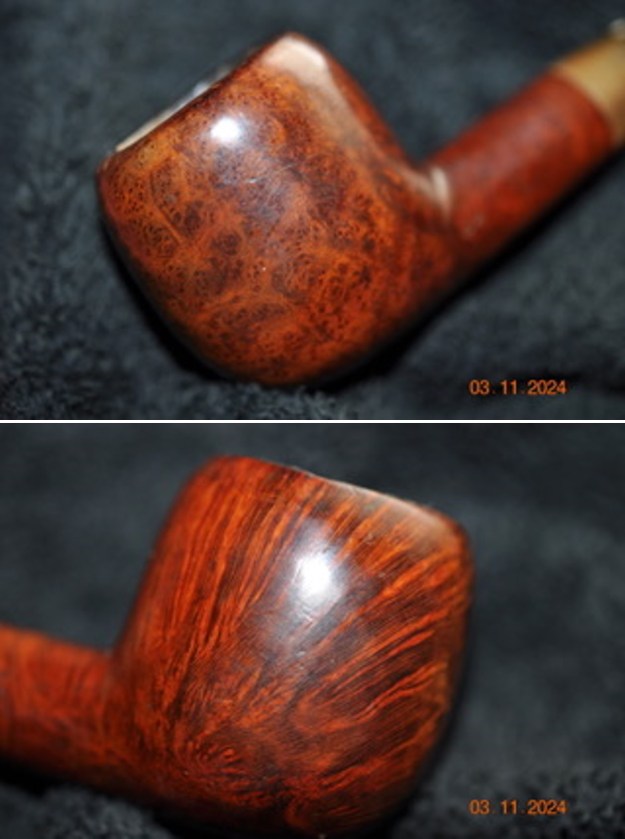
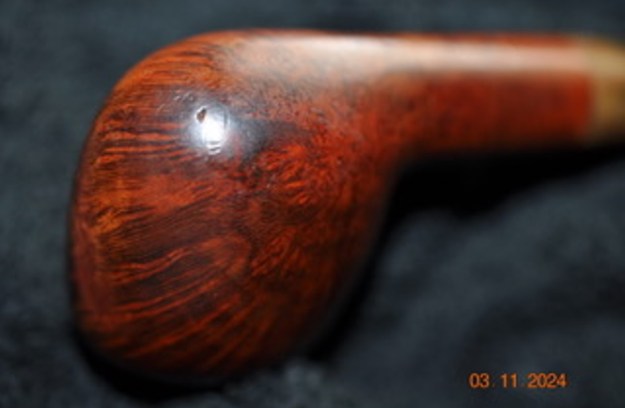
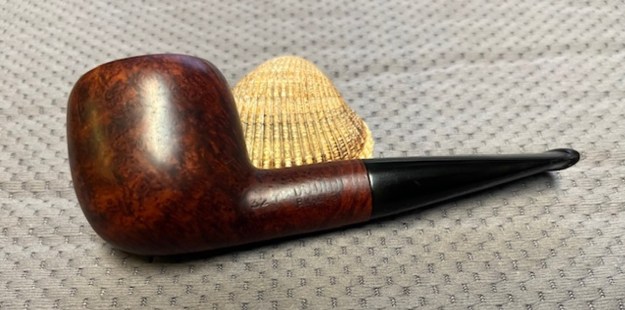
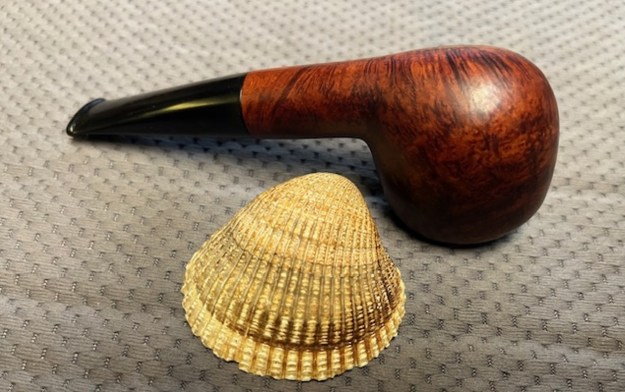
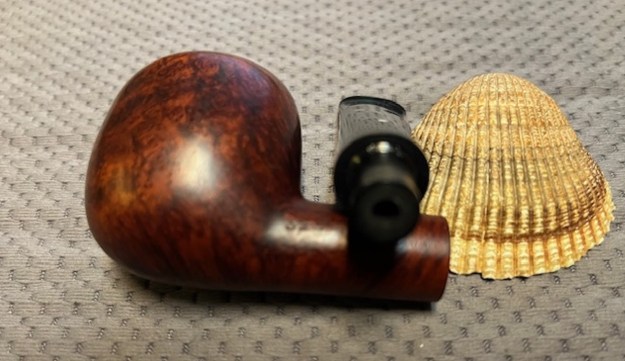
 Jeff took some photos of the sides and heel of the bowl to show the condition of the finish on the pipe. The photos showed some great grain around the bowl and shank under the dirt and grime of use. It is a great looking piece of briar.
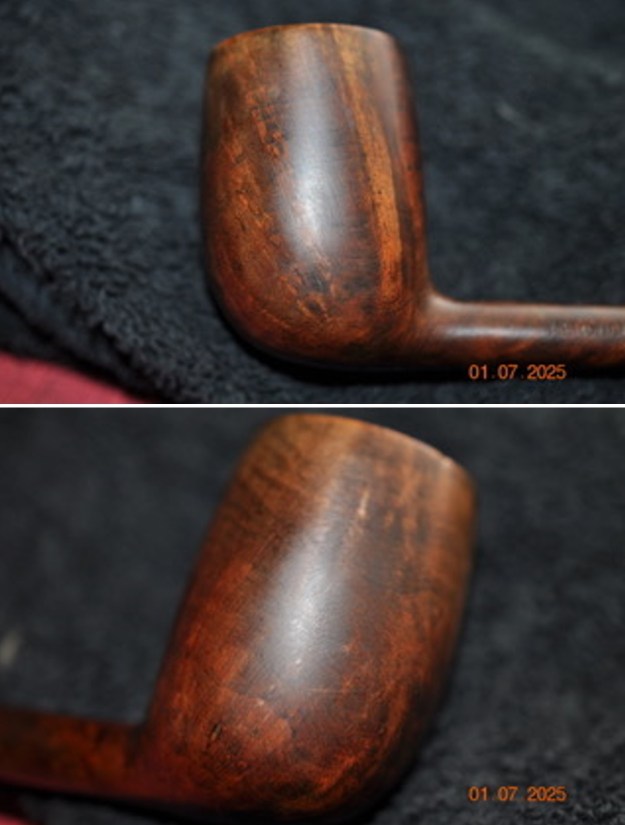
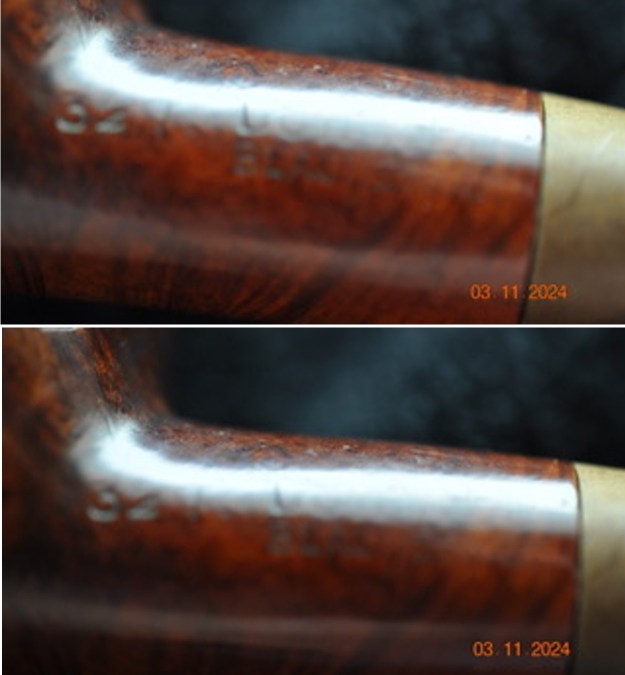
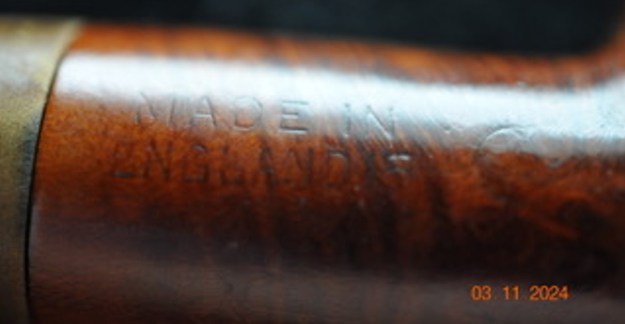
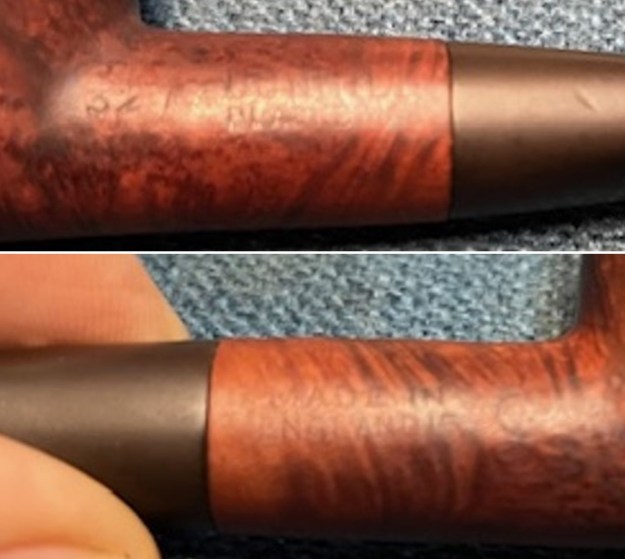
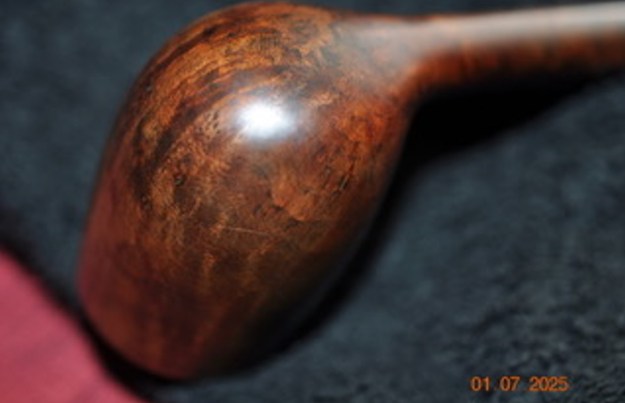 He took some photos of the stamping on the sides of the shank. The stamping was clear and readable as noted above.
  I turned to both Pipephil’s site and Pipedia to gather some historical information on the brand. There was nothing on Pipephil’s site and Pipedia had a brief quote from Manuel Lopes that I have included below (https://pipedia.org/wiki/Herbert_Merchant_Inc.).
Herbert Merchant Inc owned by Herbert Merchant, who died in 1944. They made the Marchent Service pipe, which later belonged to Holland Penny Limited. It was a favorite of the Norh American entertainer Bing Crosby.
I knew I was not dealing with the older brand of Merchant Service Pipes as I had heard and read that the brand had been resurrected and was operating in England. I googled the website and found a link that I have included (https://merchantservicepipes.com/?v=5435c69ed3bc). I quote sections of the site below and have included a photo from the site as well.
British pipe design has withstood the test of time because it represents the confluence of function with elegance. We have produced our products to share this vision of classic design. A lengthy search for the best materials has now enabled us to reproduce an icon of smoking pipe history.
A bit of history…
Among the joys of pipe smoking and collecting is understanding and appreciating the traditions of the craft.
Perhaps the greatest traditions are associated with the British. For decades they produced some of the most sought after brands by creating the most beautifully refined classic shapes. Interestingly, a brand surfaced in the late 1930s that was not very well known. A small English company produced a unique variation on the billiard shape that caught the eye of a noted American crooner and famous pipe smoker.
That shape ultimately took on iconic proportions. 
. When one looks at this shape, the smoker is taken back to a time when pipe smoking was commonplace. It reflects a certain quiet elegance that the British were noted for in men’s fashion – a style that is just as important today as it was when Frederick Sholte first designed the “drape” suit for the then Duke of Windsor.
And so we welcome the release of the new Merchant Service billiard pipe. It is offered in smooth, sandblasted and rusticated models at prices that will appeal to a broad spectrum of today’s smokers. We offer two versions of the billiard. The “Special” is made with a larger bowl than the original British version. The “Standard” is very close to the smaller original bowl specifications. Otherwise both versions have essentially the same proportions and length. Therefore, the smoker has the option of a longer or shorter smoke as the mood strikes.
Our briar has been carefully sourced to produce bowls that are well aged and dry. Special attention has been paid to produce an open draw and to minimize turbulence. These details will produce satisfactory performance and at a reasonable price.
Please examine our pipes. We at Merchant Service sincerely believe you will enjoy our pipes as much as previous generations enjoyed the originals.
I now knew that I was working on the larger bowled “Special” and not the standard. It is truly a large pipe but incredibly light weight. The grain and flow are spectacular.
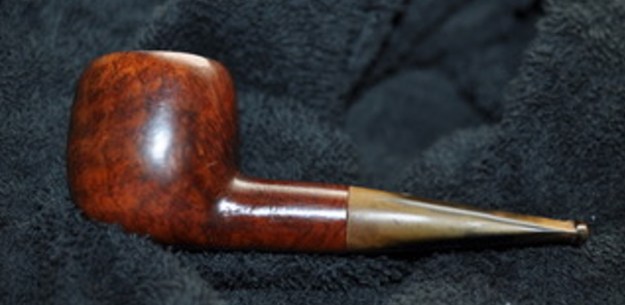
On the site I turned to the store and found the pipe I was working on. It is called a Special Dark Smooth (https://merchantservicepipes.com/shop/dark-smooth/?v=5435c69ed3bc). I have included a photo and description below
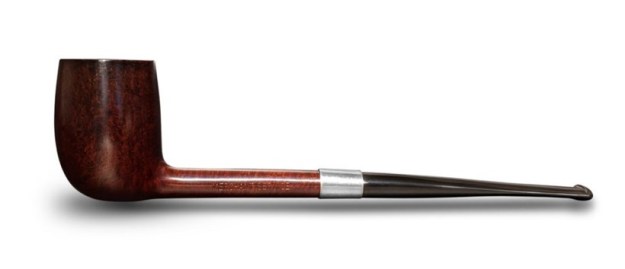 Special Dark Smooth A richly burnished finish in the British tradition.
Approximate Measurements Bowl Height: ~2″
Chamber Depth: ~1-3/4″
Chamber Width: ~13/16″
Overall Length: ~7 -1/2″+
Weight: ~1-1/2 oz
Stem Material: Vulcanite
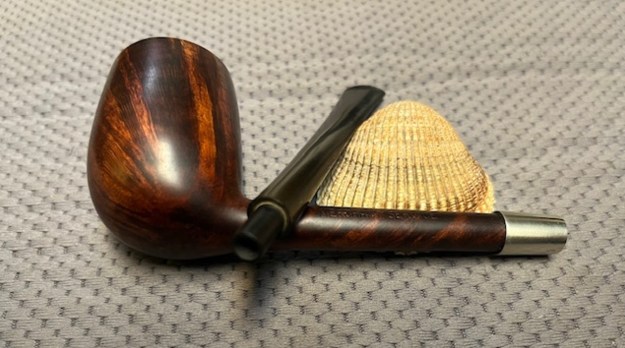
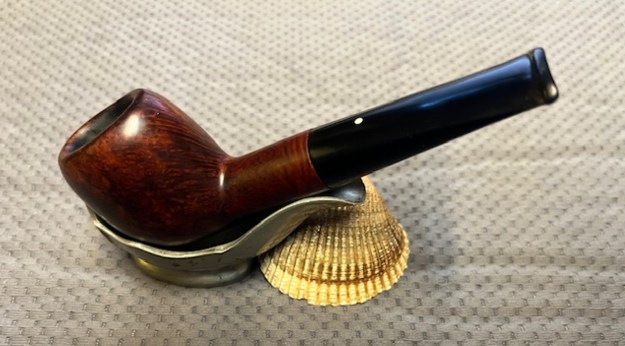
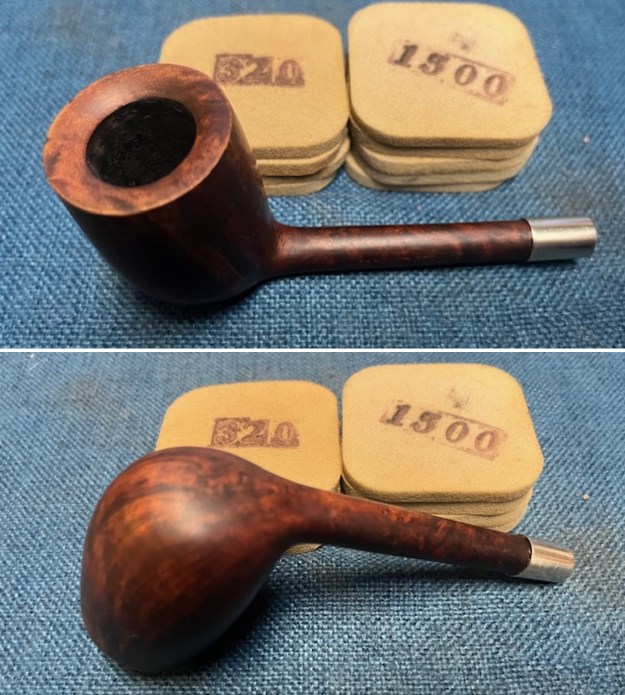
Armed with that information I turned to work on the pipe itself. Jeff had done a great job cleaning up the pipe as usual. He cleaned up the inside of the bowl with a PipNet reamer and a Savinelli Fitsall Pipe Knife. The rim top and the inner edge of the bowl look very good. The bowl walls looked very good. He scrubbed the interior of the bowl and shank with pipe cleaners, shank brushes, cotton swabs and alcohol to remove the tars and oils. He scrubbed the exterior of the pipe with undiluted Murphy’s Oil Soap and a tooth brush to remove the grime from the finish. He worked on the rim top lava and darkening with the soap and tooth brush. He scrubbed the inside of the stem with alcohol and pipe cleaners. He scrubbed the exterior with Soft Scrub and then soaked it in Briarville’s Pipe Stem Deoxidizer. He washed it off with warm water to remove the deoxidizer. The stem looked good with only light chatter on both sides ahead of the button. I took photos of the pipe when I received it before I started working on it.
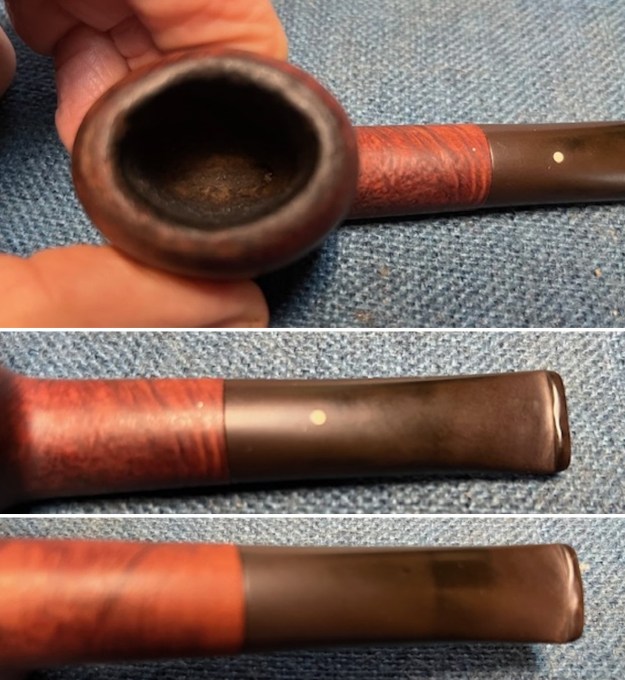
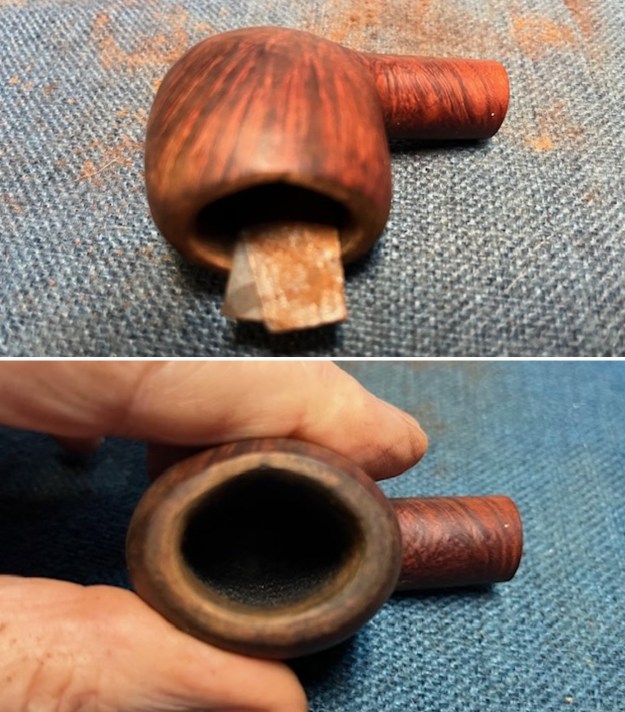
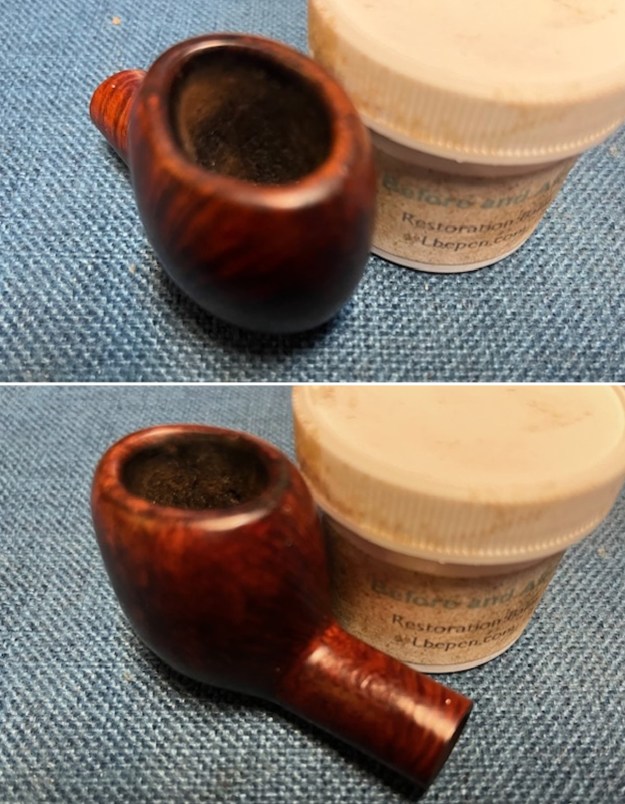
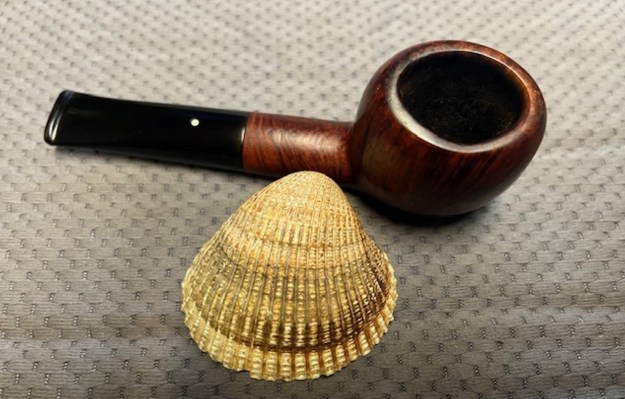
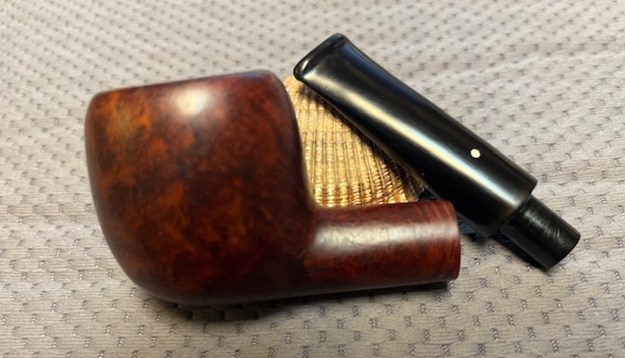
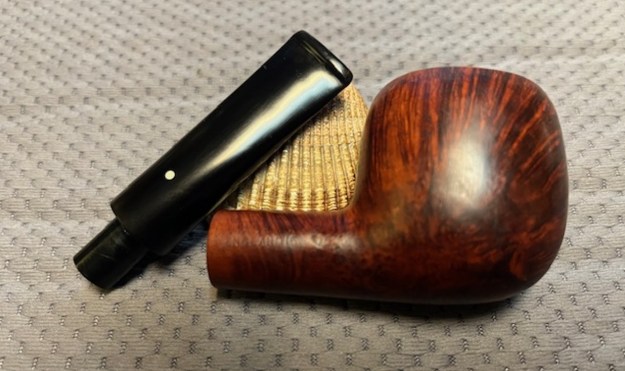
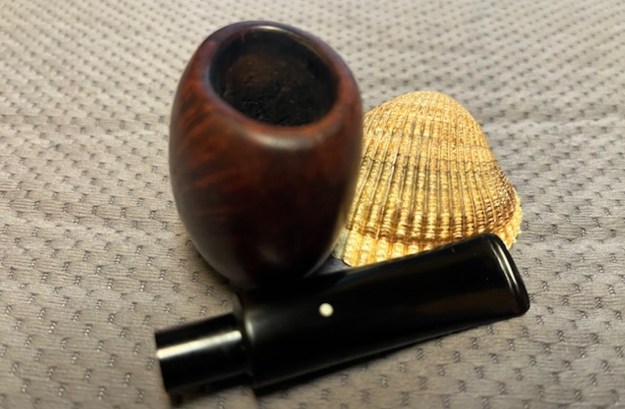
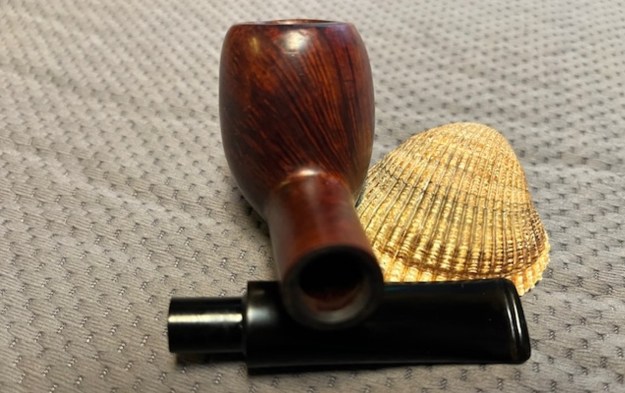
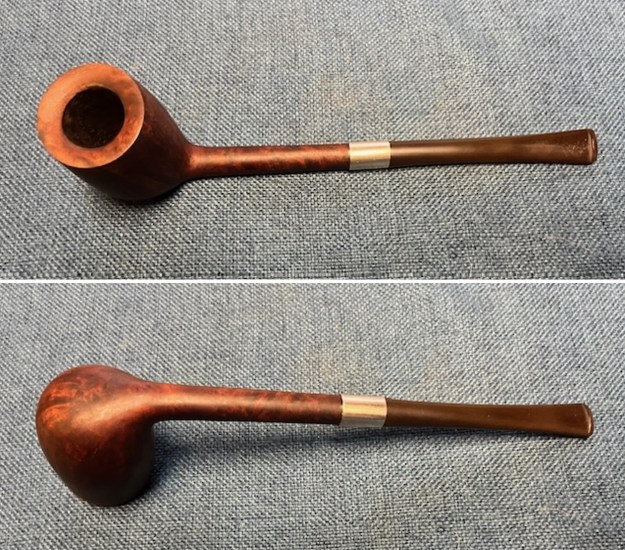 I took close up photos of the bowl, rim top and stem to show how clean the pipe was. The bowl was clean and the rim top and the inner edge look very good. The stem was clean and the light tooth marks and chatter can be seen in the photos.
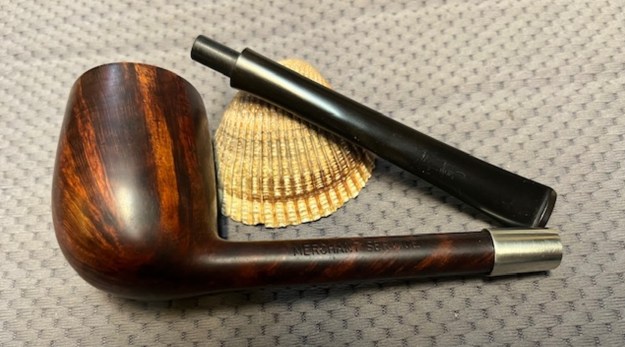
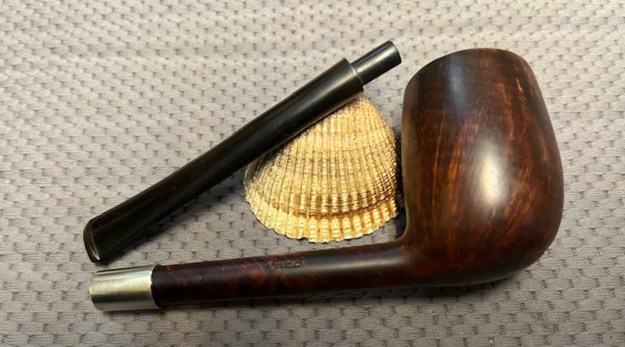
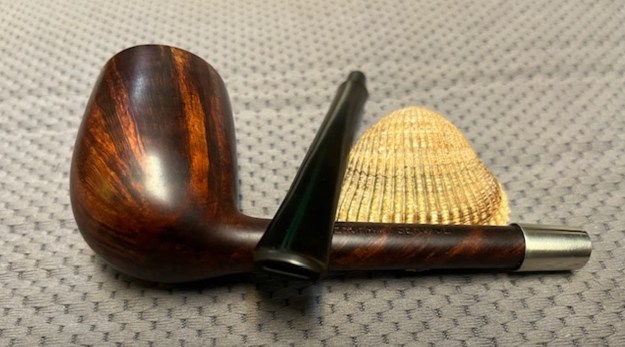
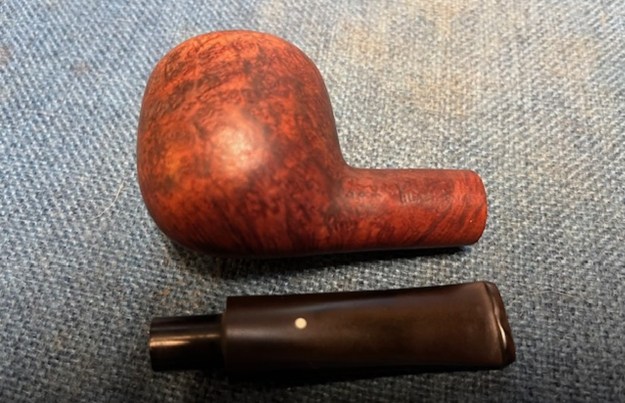
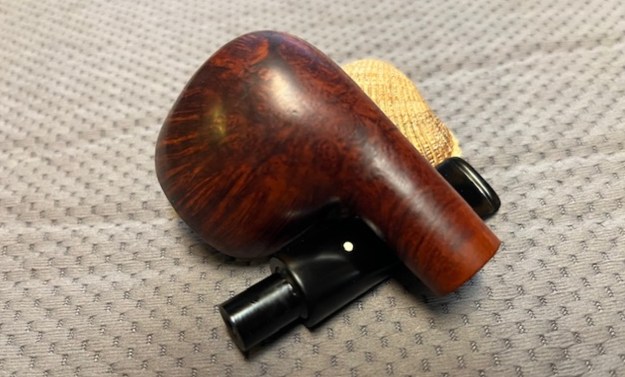
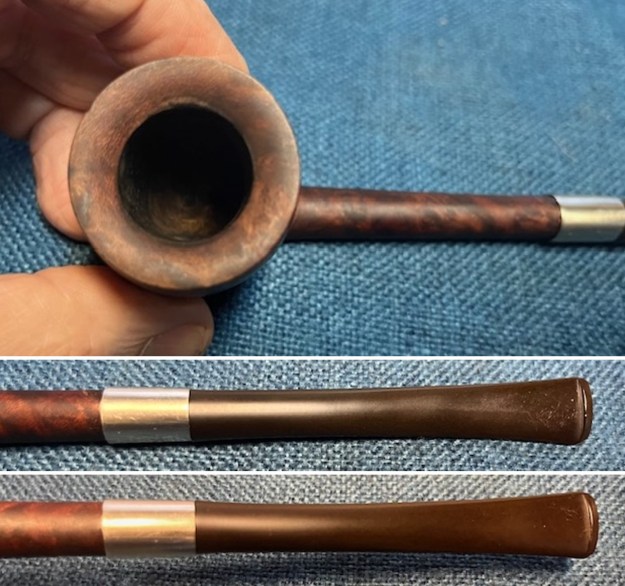 I took photos of the stamping on the sides of the shank. It is very clear and readable and read as noted above. I also removed the stem from the shank and took photos of the pipe to show the look of the parts.
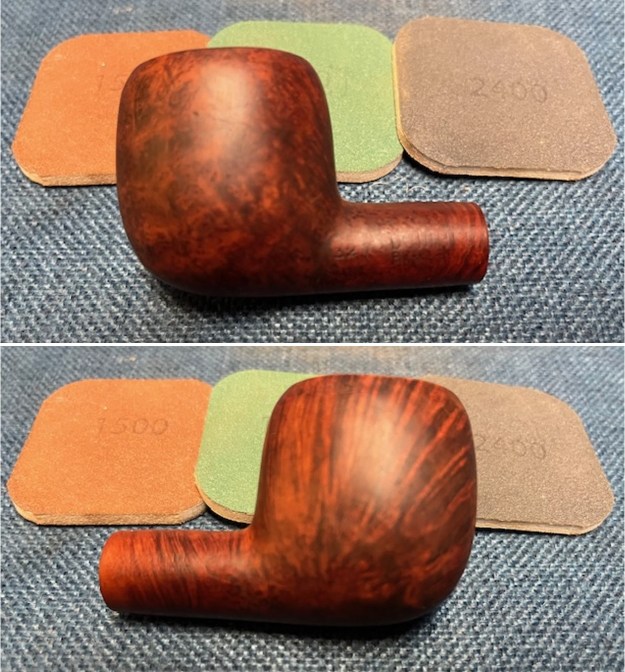
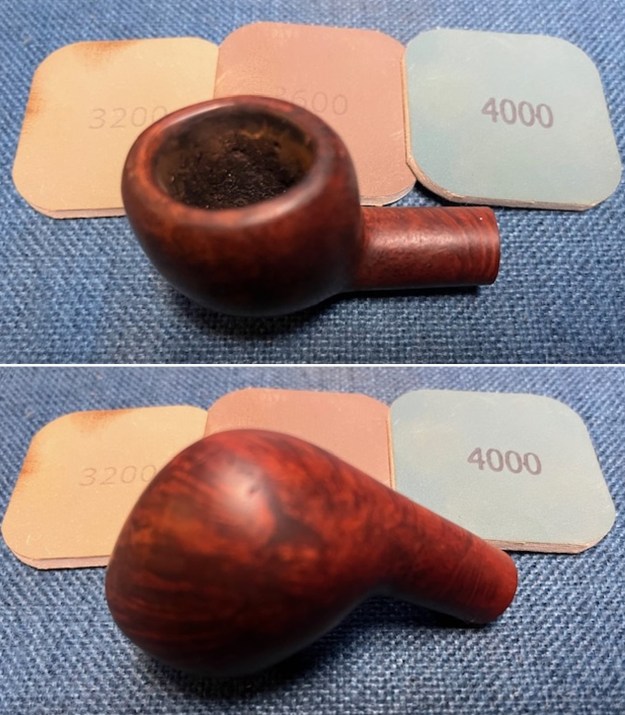
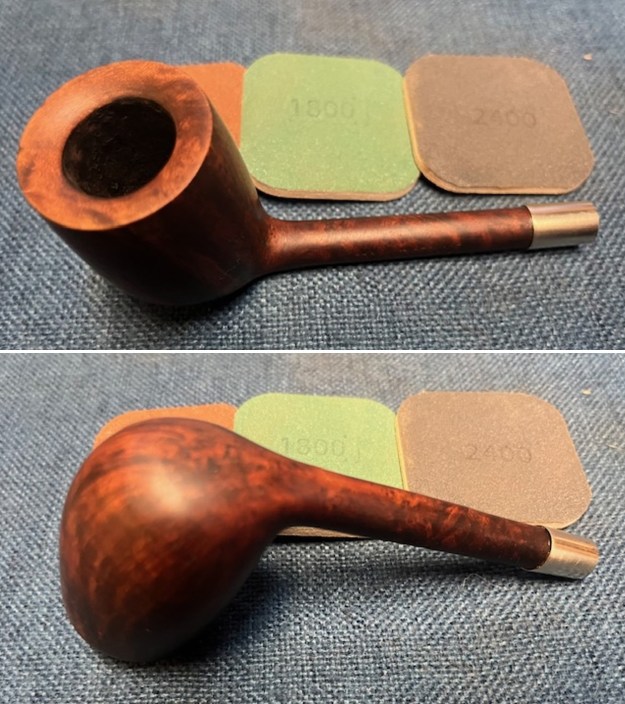
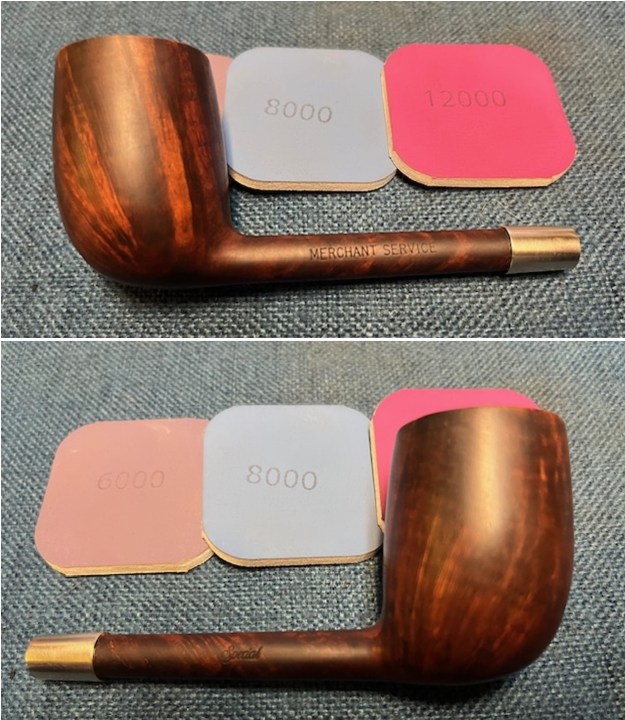
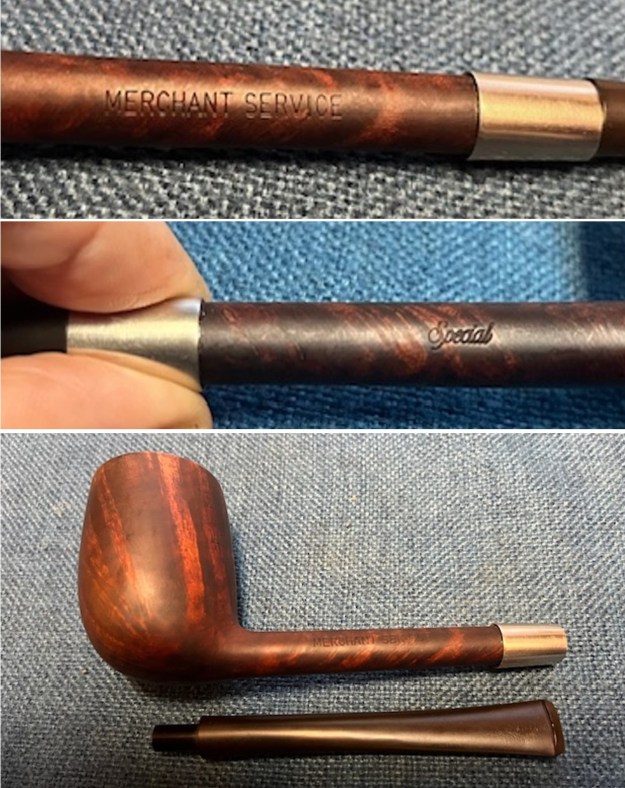 I started my work on the pipe sanding the bowl and rim top with 320-3500 grit sanding pads. I wiped the bowl down after each pad with a damp cloth. The grain is really beginning to stand out.I started my work on the pipe sanding the bowl and rim top with 320-3500 grit sanding pads. I wiped the bowl down after each pad with a damp cloth. The grain is really beginning to stand out.
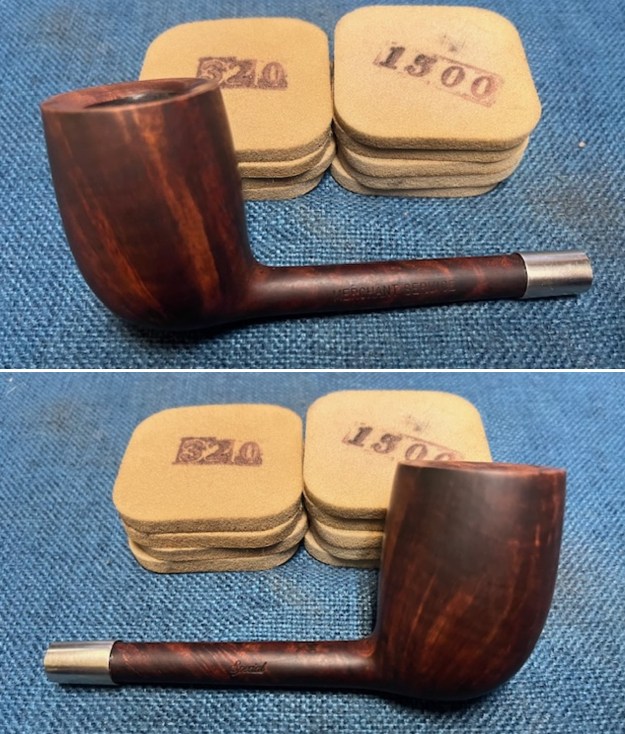
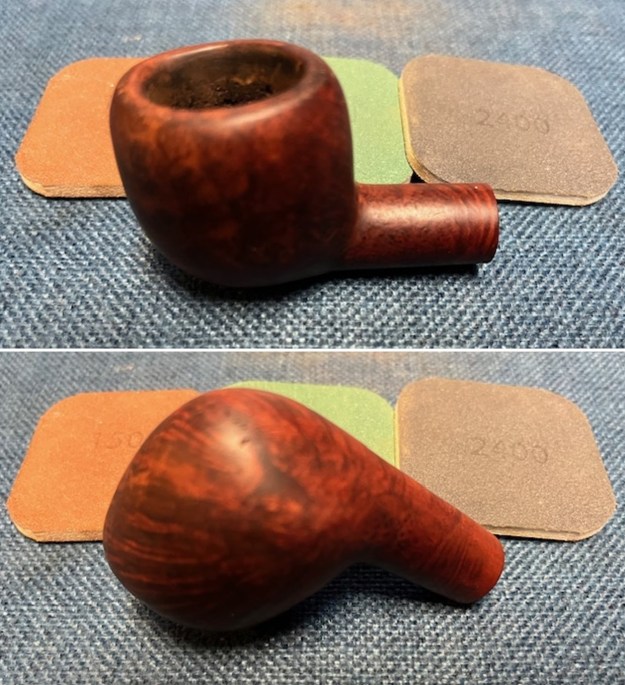
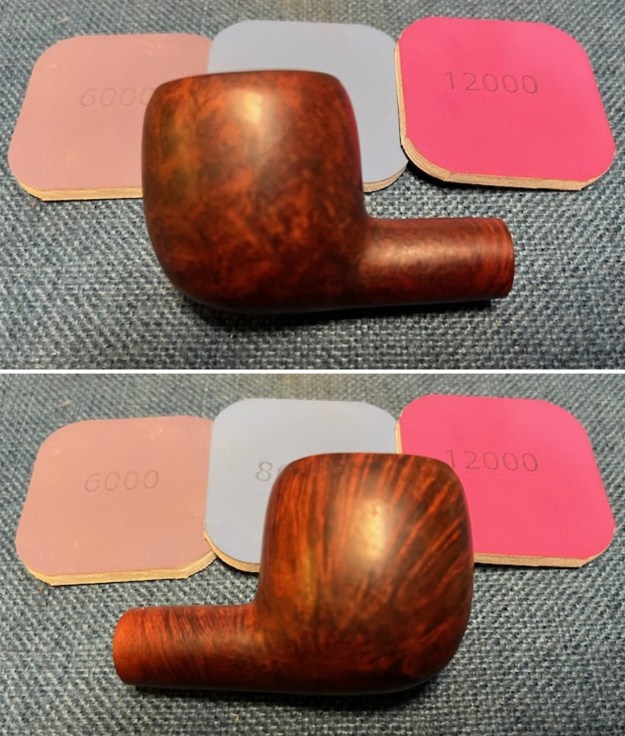
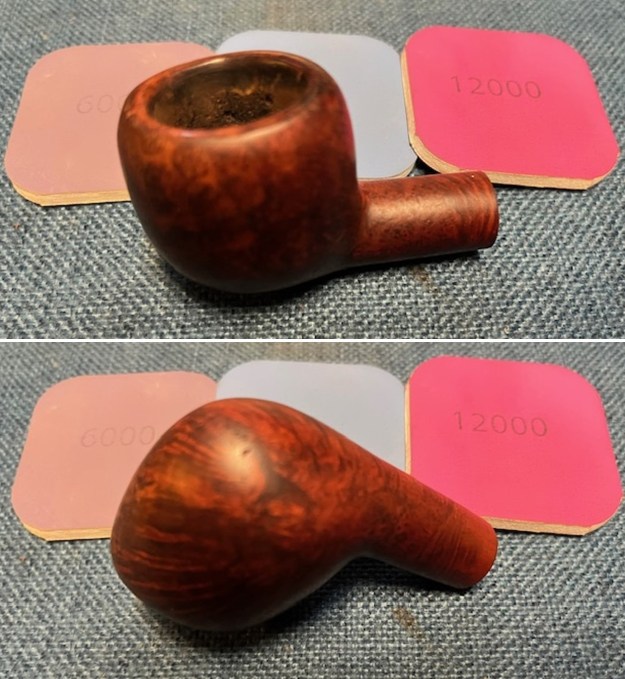
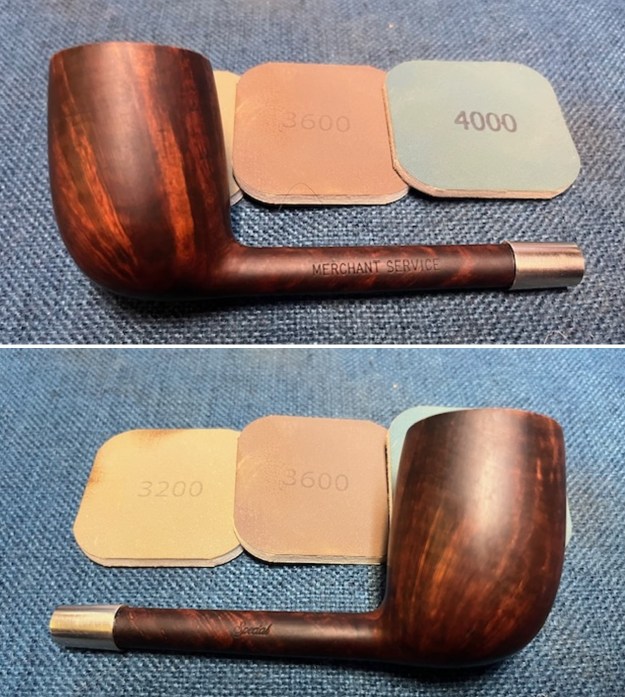
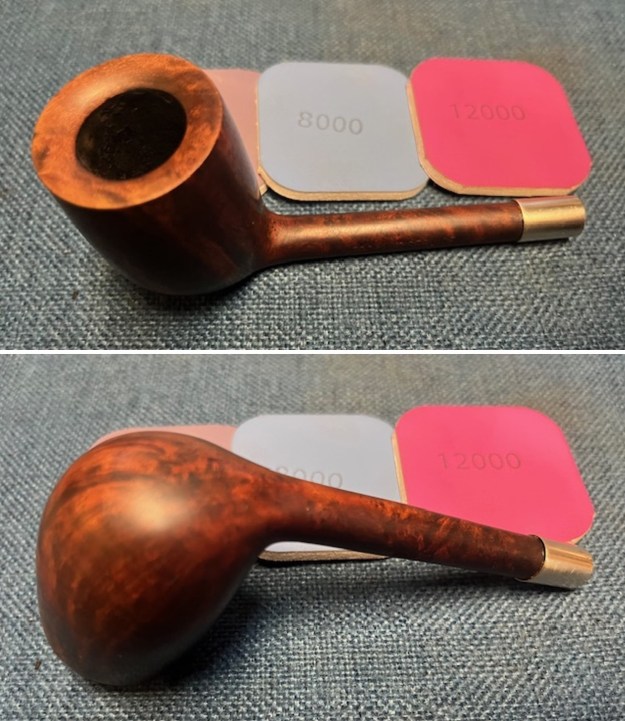
 I polished the briar with micromesh sanding pads – dry sanding with 1500-12000 grit pads. I wiped the bowl down between pads and was happy with the rich shine.
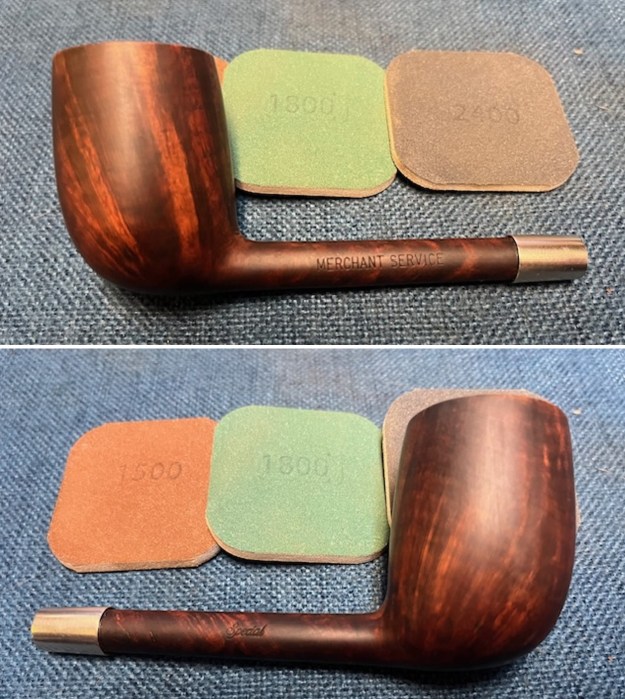
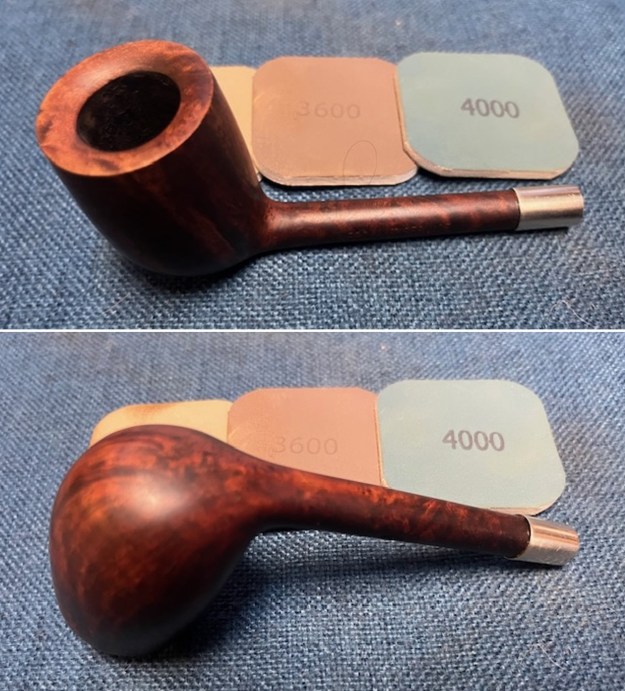
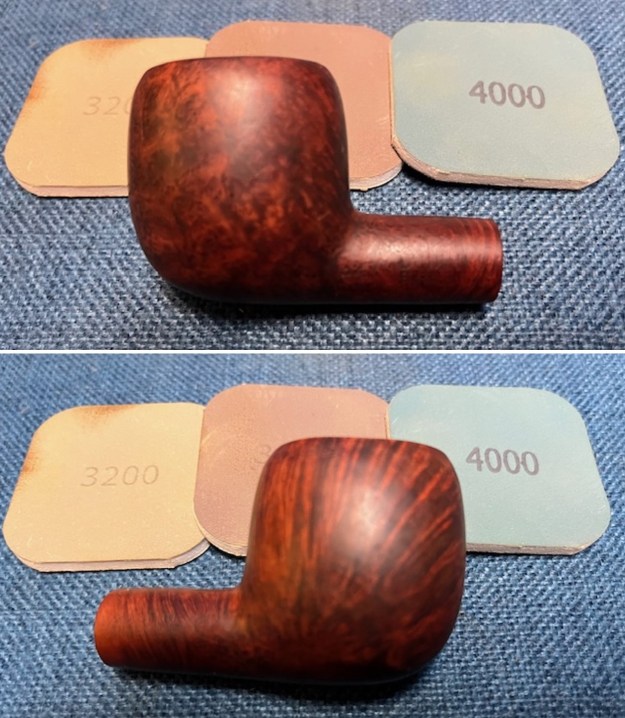
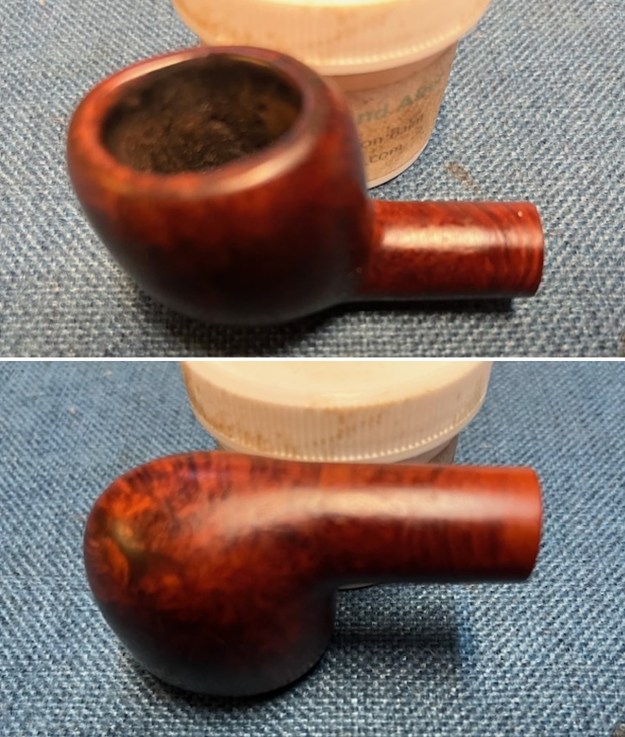
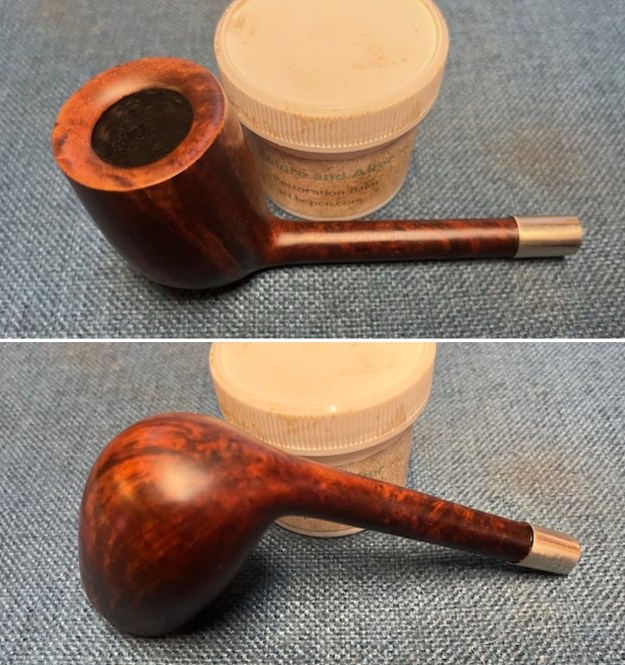
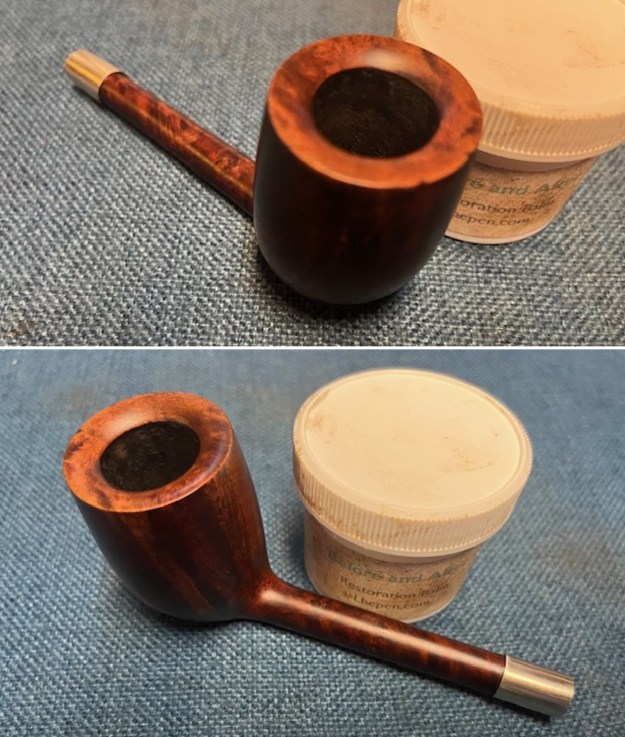
 The exterior of the bowl look better after sanding. I worked some Before & After Restoration Balm into the briar with my finger tips. I let it sit on the bowl for 10 minutes and then buffed it off with a paper towel and soft cloth. The product is a great addition to the restoration work. It enlivens, enriches and protects the briar while giving it a deep glow. It is a product I use on every pipe I restore.
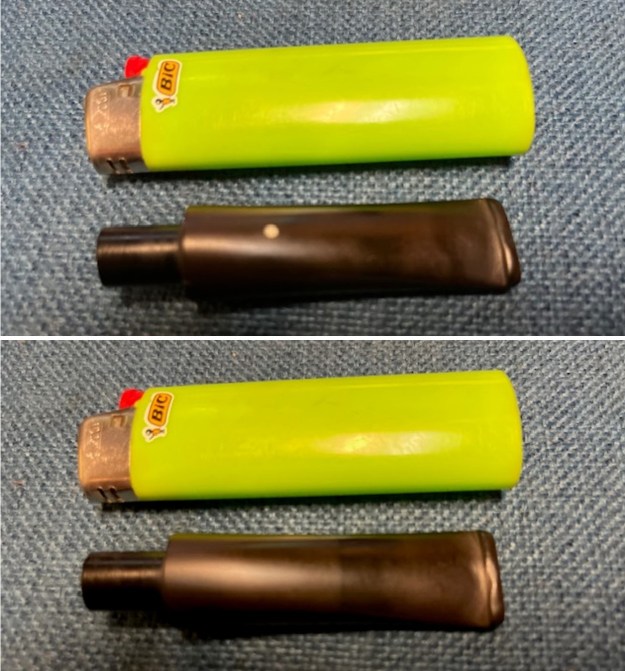
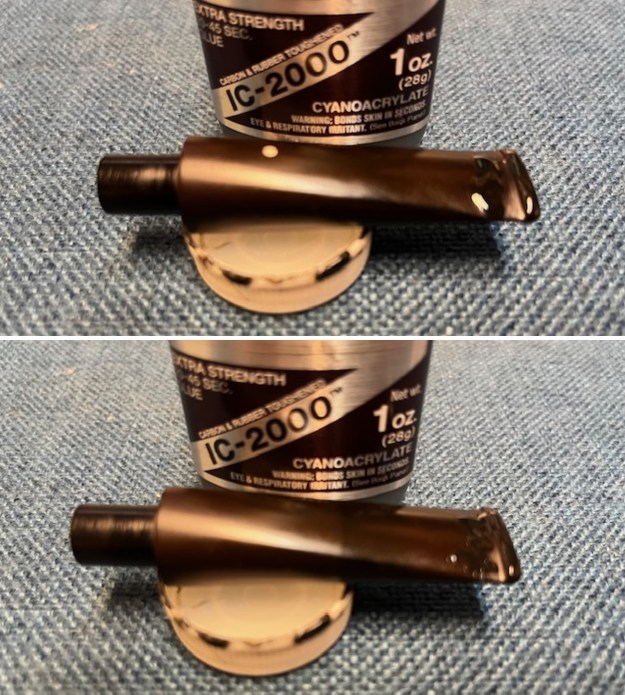
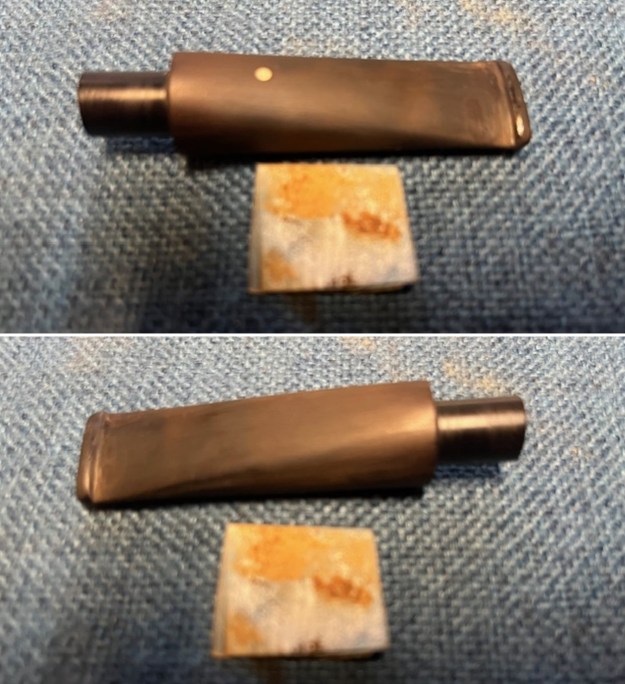
 I set the bowl aside and turned my attention to the stem. I smoothed out the tooth chatter and marks on the surface of the stem with a folded piece of 220 grit sandpaper. I wiped it down with an Obsidian Oil cloth.
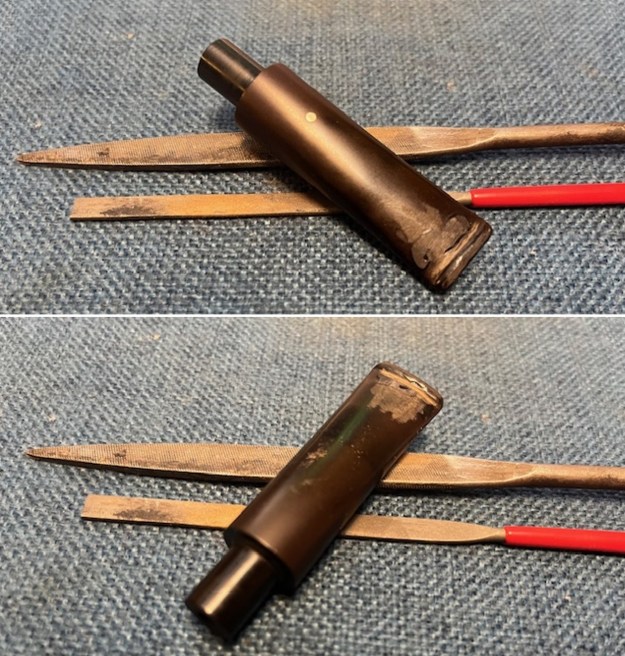
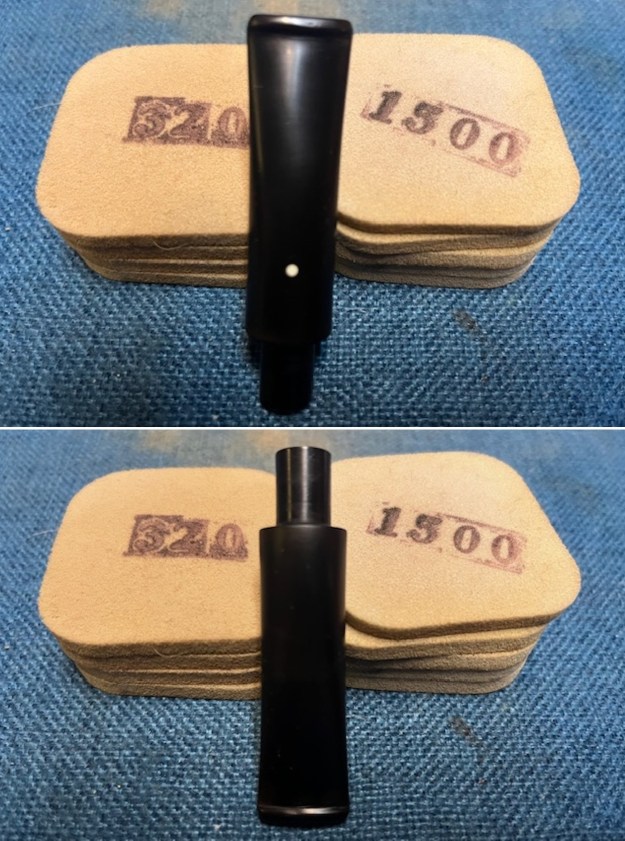
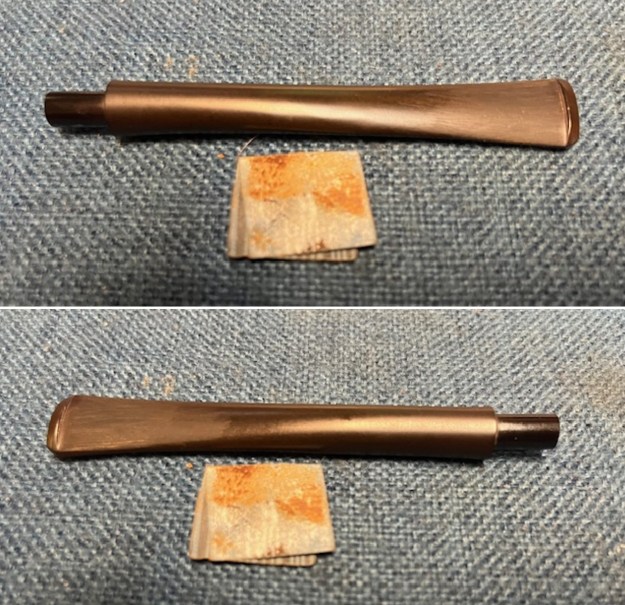 I sanded the stem with 320-3500 grit sanding pads to remove residual oxidation on the stem surface and further blend the repairs into the surrounding vulcanite.
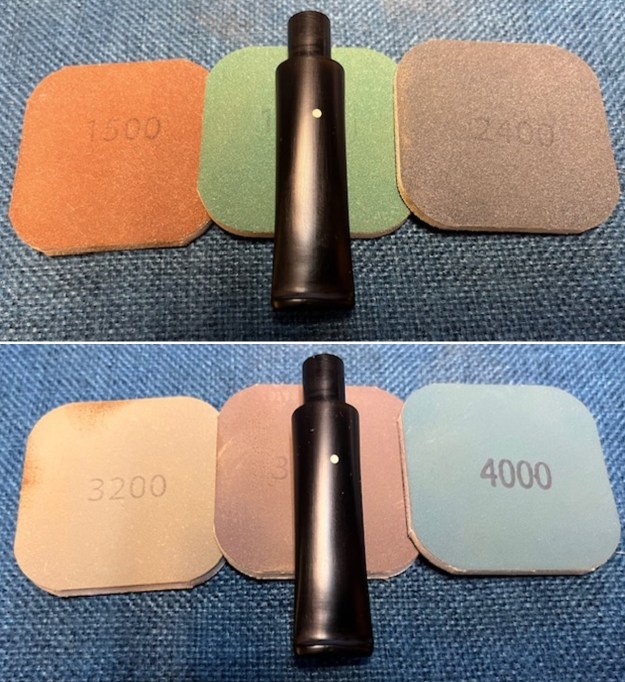
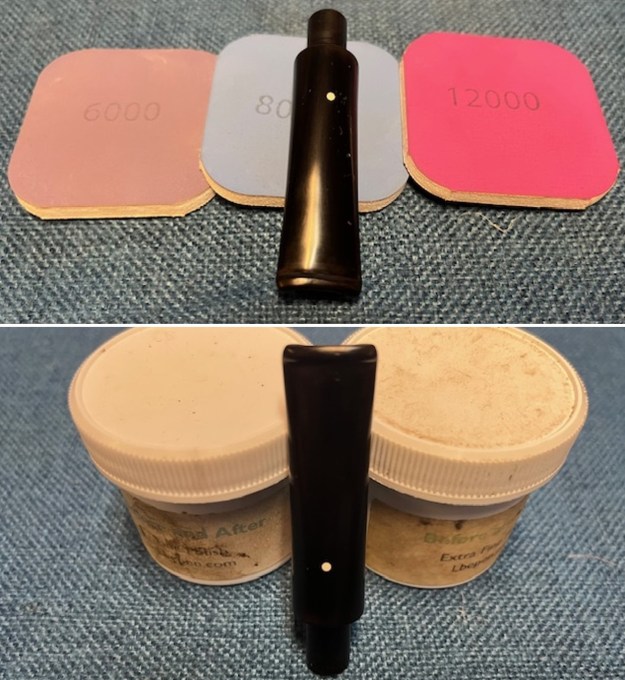
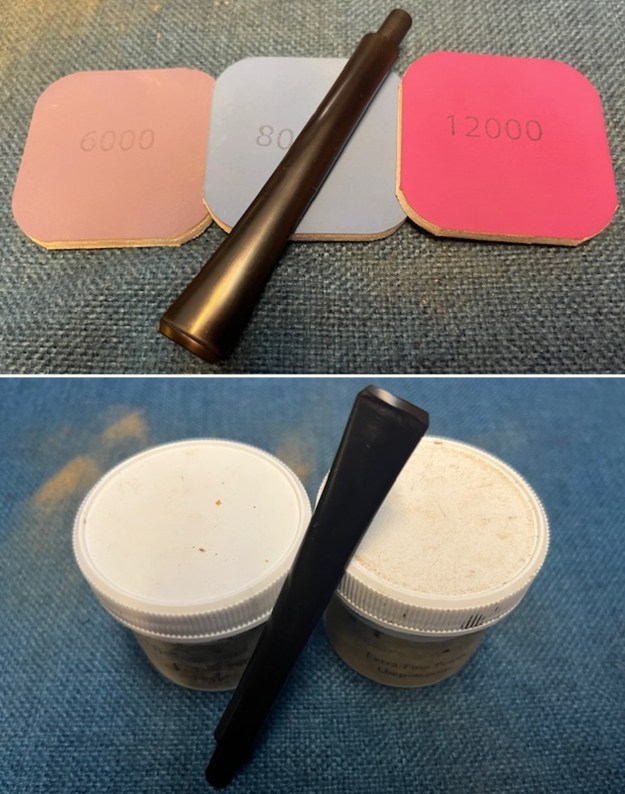
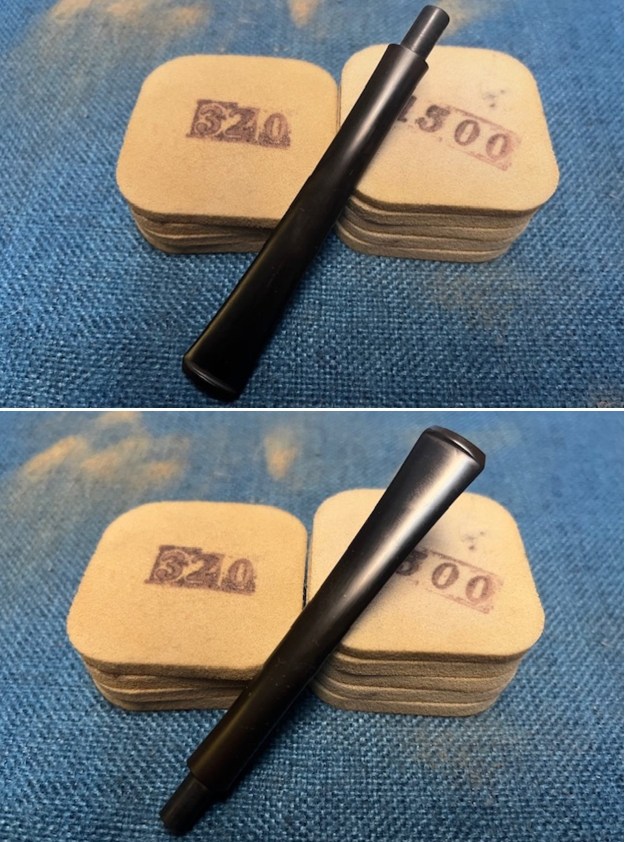 It was ready for the next step. I polished it with micromesh sanding pads – dry sanding with 1500-12000 grit pads and wiping the surface down with Obsidian Oil after each sanding pad. It is really shining. I polished it further with Before & After Stem Polish – both Fine and Extra Fine. I gave it another coat of Obsidian Oil to finish this step.
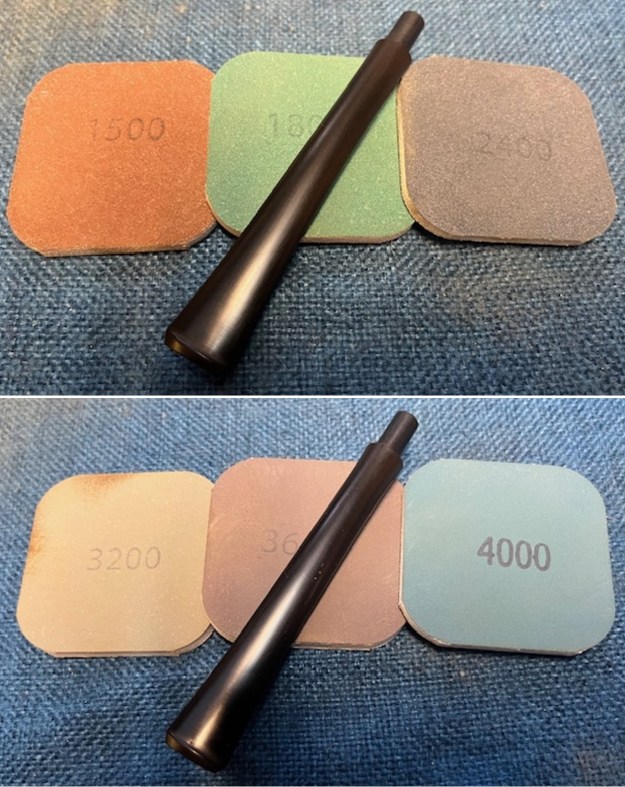
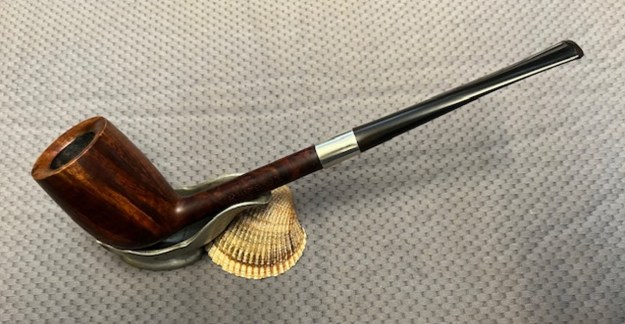
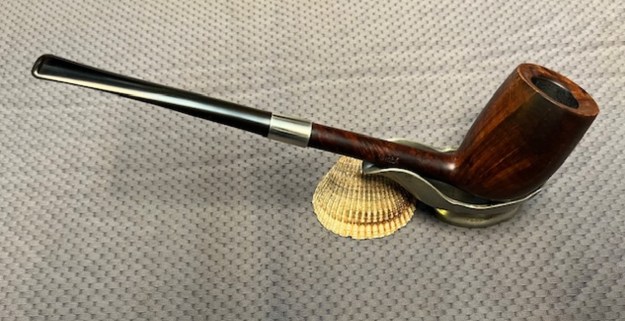
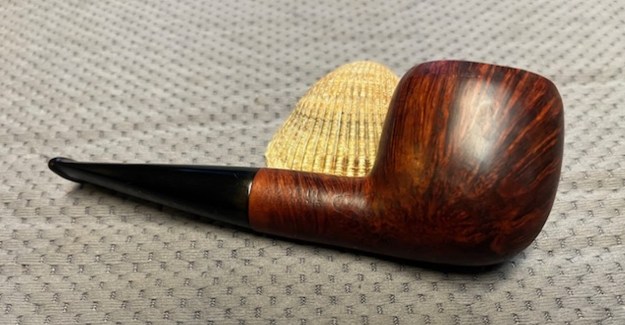
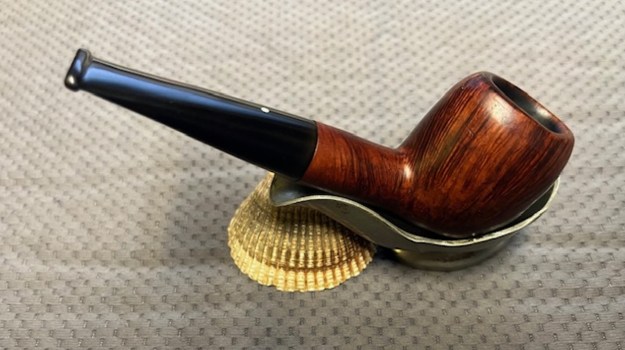
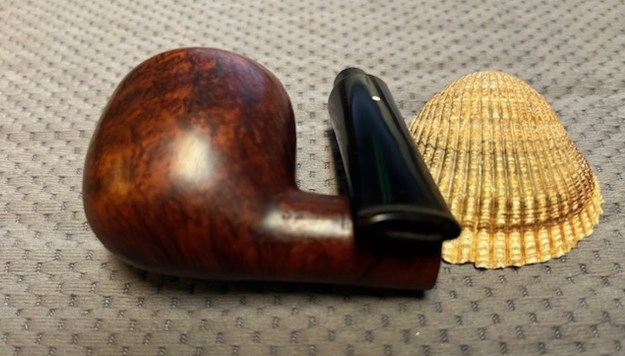
 I am excited to be on the homestretch and look forward to seeing the Merchant Service Select Pipe put back together, polished and waxed. I put the bowl and stem back together and lightly polished the bowl and stem with Blue Diamond to polish them. I gave the bowl and the stem multiple coats of carnauba wax. I buffed the pipe on the wheel with a clean buffing pad to raise the shine. I hand buffed it with a microfiber cloth to deepen the shine. The depths of the grain really pop with the wax and polish. The repaired and polished vulcanite stem is a beautiful contrast to the combination of Black and Brown stains on the bowl and shank. This Merchant Service Large Select Billiard was fun to bring back to life. The pipe is light weight, comfortable in the hand and should feel great as it is warmed up when smoking. The finished pipe is shown in the photos below. The dimensions of the pipe are Length: 8 inches, Height: 2 inches, Outside diameter of the bowl: 1 ¼ inches, Chamber diameter: ¾ of an inch. The weight of the pipe is 1.62 ounces/46 grams. I will be putting this one on the rebornpipes store in the British Pipemakers Section soon. Let me know if you wish to add it to your collection.
As always, I encourage your questions and comments as you read the blog. Thanks to each of you who are reading this blog. Remember we are not pipe owners; we are pipe men and women who hold our pipes in trust until they pass on into the trust of those who follow us.