by Steve Laug
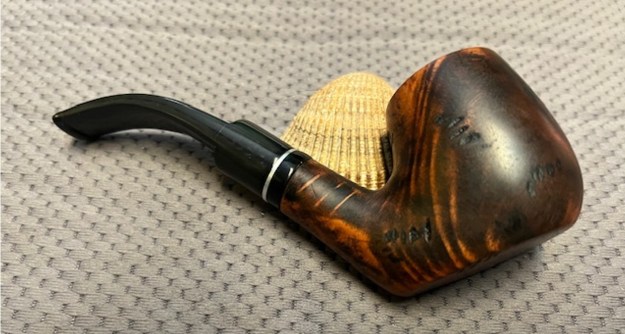
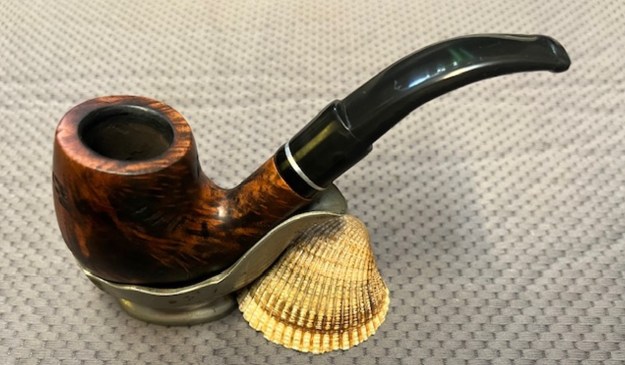
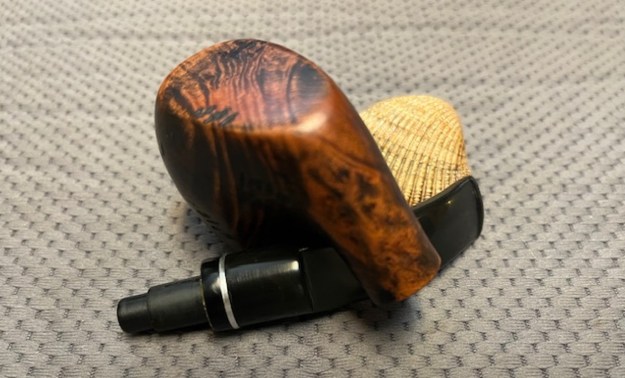
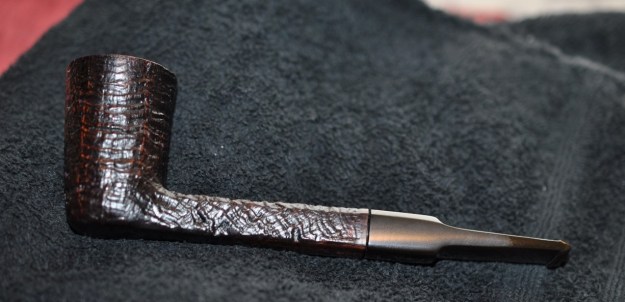
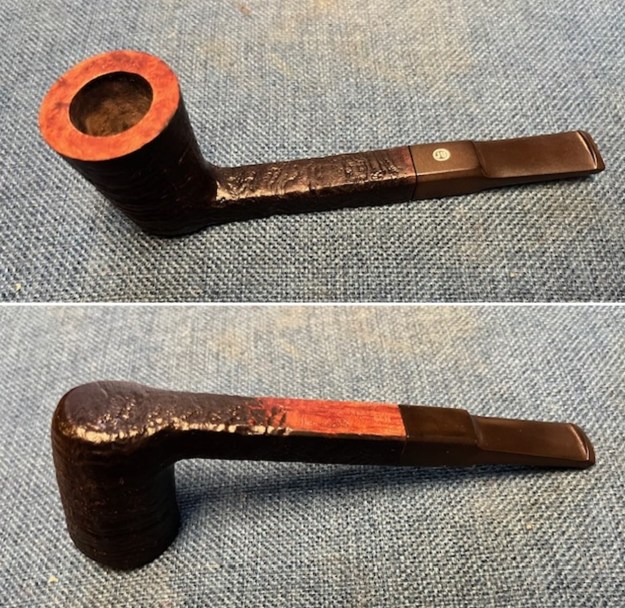
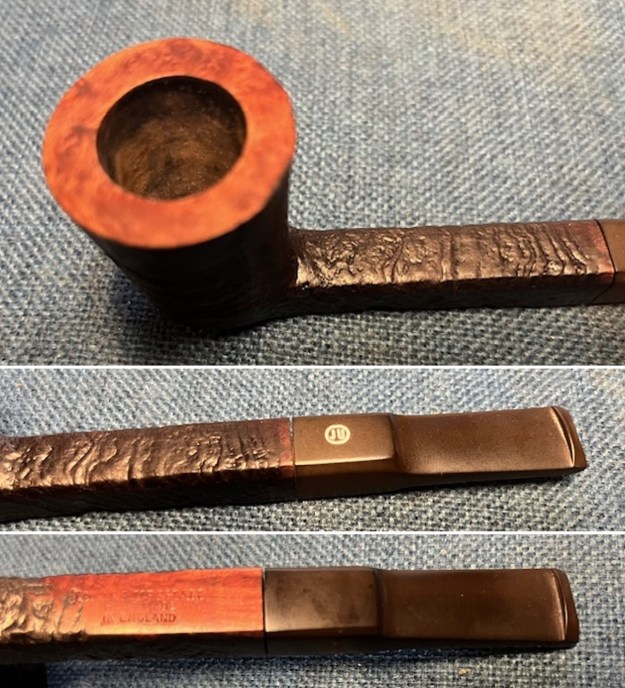
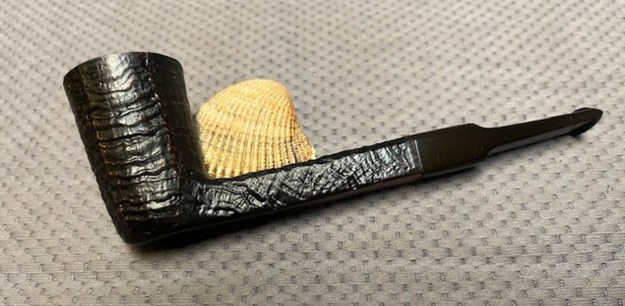
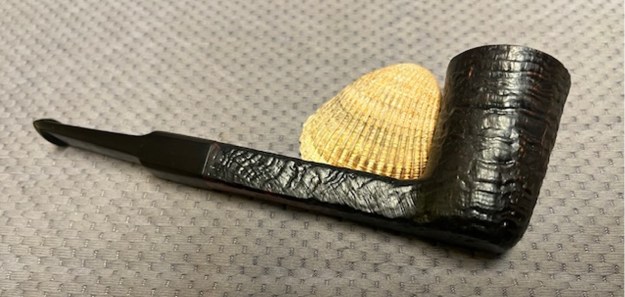
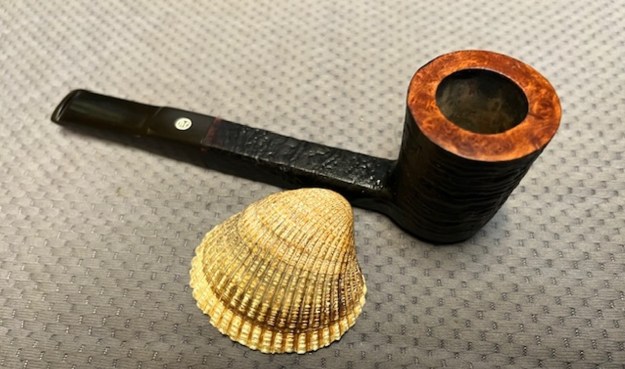
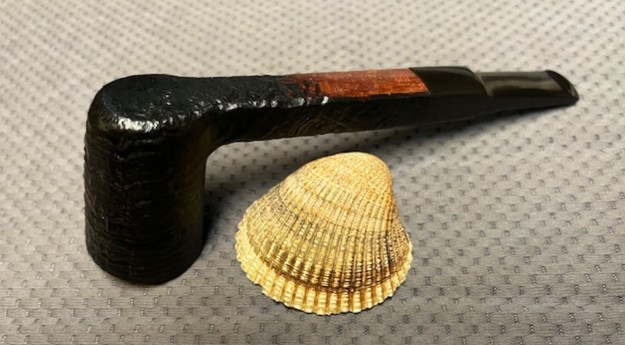
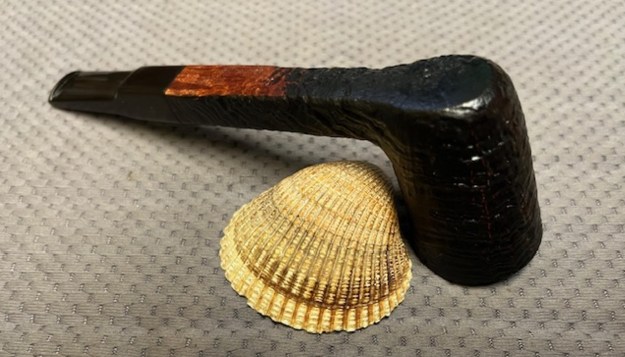
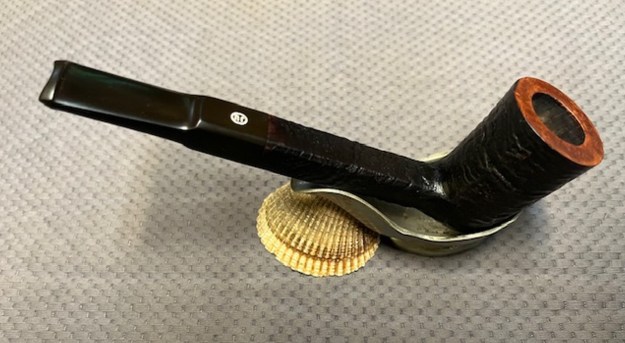
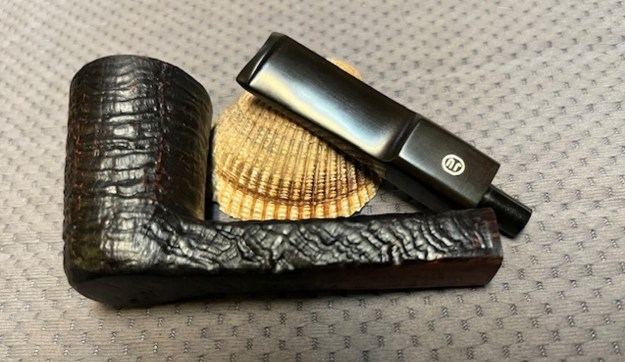
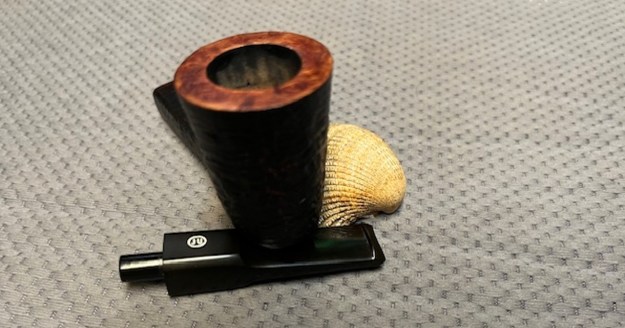
On Sunday afternoon a fellow stopped by with a bag of parts from one of his first pipes. It was in pieces and he was thinking perhaps it needed a new stem. As I looked at the parts I could see what happened. It also seemed things were missing. The 9mm filter tenon had come loose from the stem and in the process, he lost one of the metal spacers. The spacers were originally an acrylic ring sandwiched between to steel washers. With one missing it made the fit of the stem to the shank crooked as the acrylic spacer was not uniform in its depth. Work would need to be done on the spacer pieces to correct the issues. The pipe appeared to be a basket pipe from Italy and bore the stamp Angelo on the left side. It was not a brand I was familiar with. It had a thick varnish coat that was bubbling all around the sides and would need to be removed. The finish was smooth with small hash marks around the surface of the bowl and shank. The bowl had a thick cake and an overflow of lava on the rim top. The top and inner edges looked good as far as I could tell through the grime. The stem had tooth marks and chatter on both sides and was dirty and scratched from sitting around. I put the stem in the shank part way to have a look at what I had to work with. The order of the rings on the stem as it is in the following photos appears wrong to me. The missing ring changes the sandwich look. I think the washer needs to go against the stem face and the acrylic against the shank to have the right feel. I will need to set those in an order that minimizes the break in the flow of the stem and shank. Here are some photos of the pipe as it was initially fit together.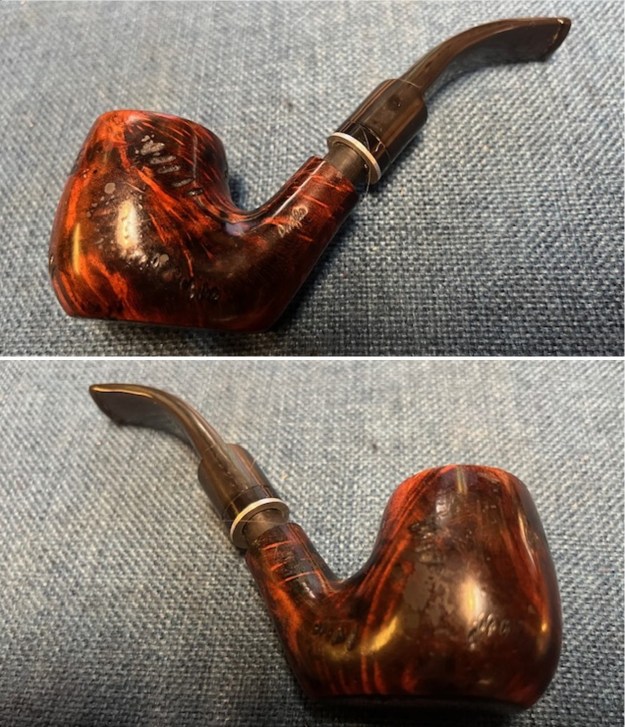
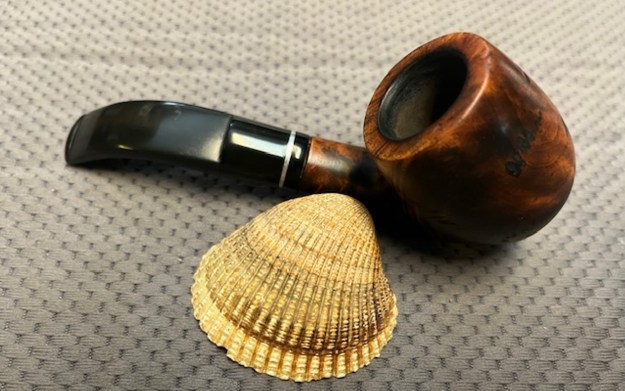
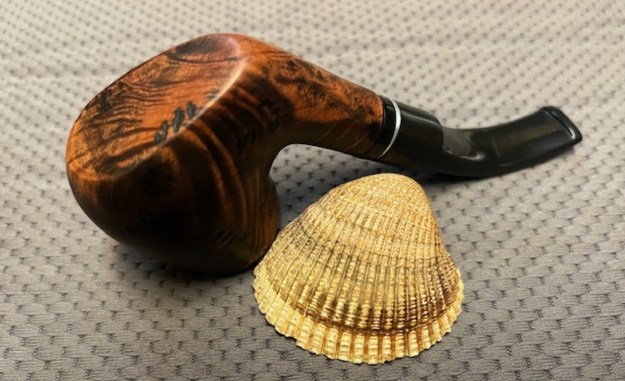
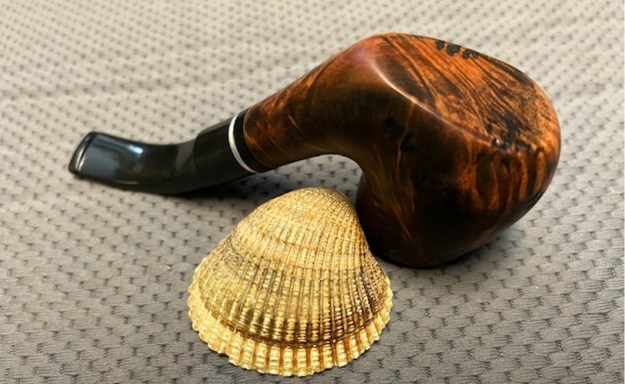
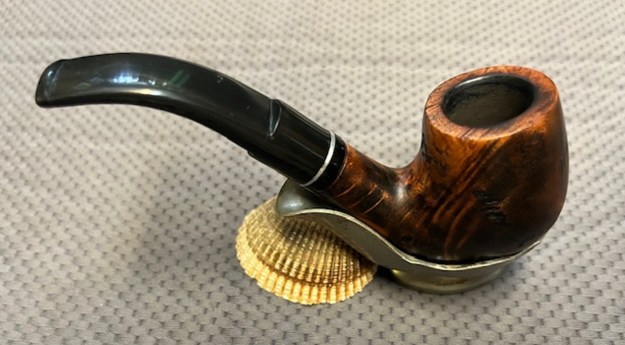
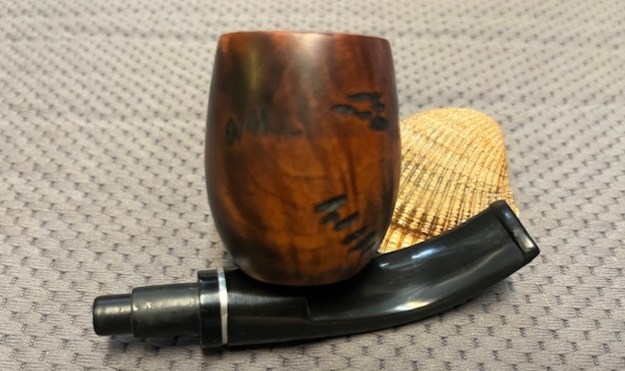
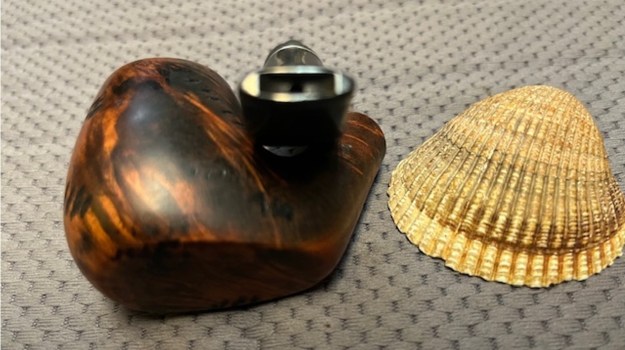
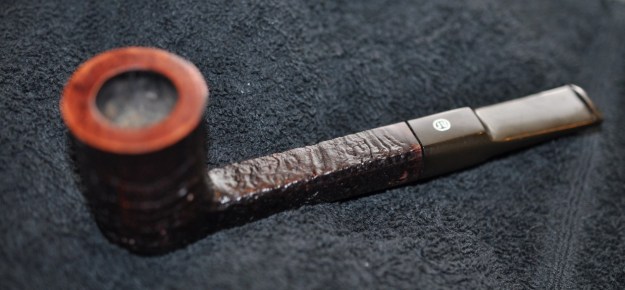
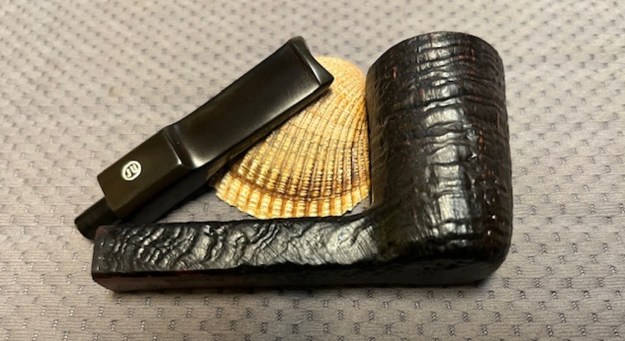
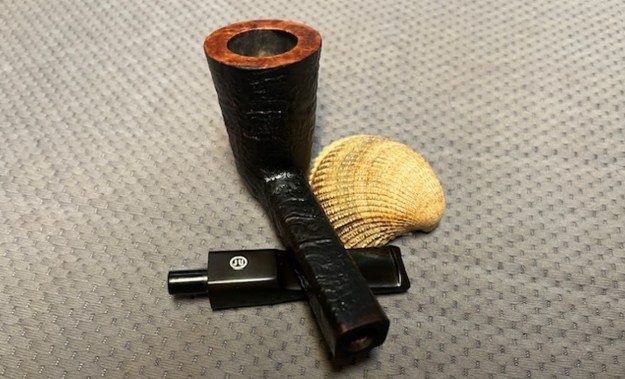
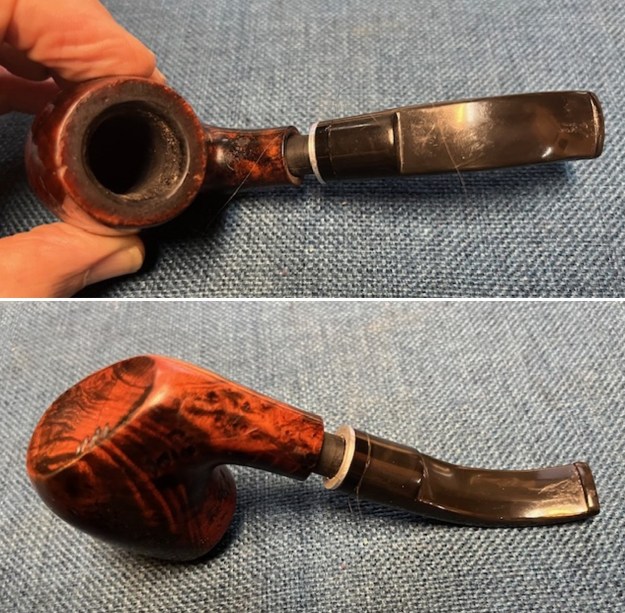 I took the stem off the shank and took a photo of the current look of the pipe. I think there is potential to improve the look as it has some charm and the sitter base is very balanced and functional.
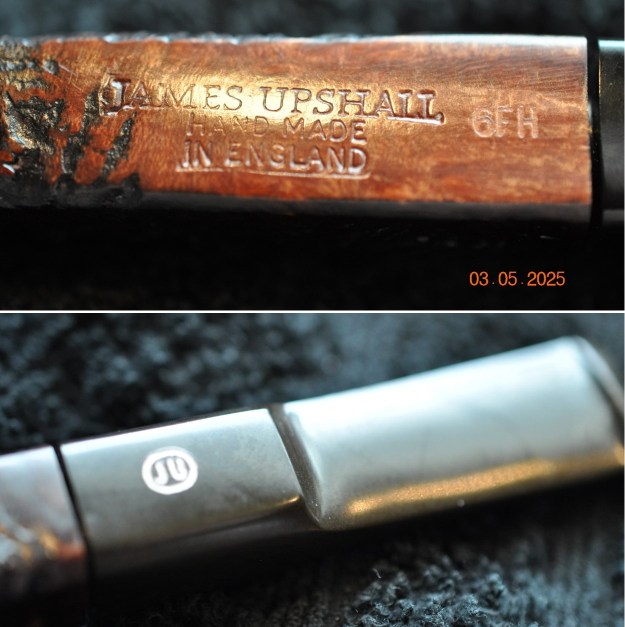
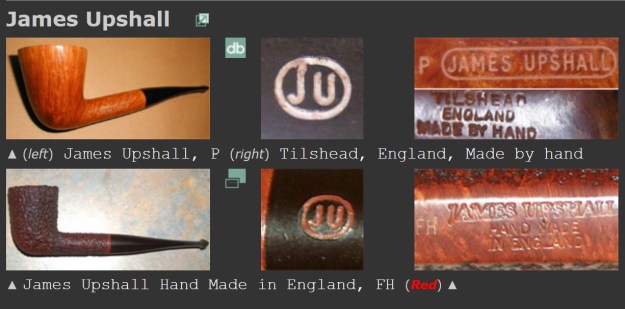
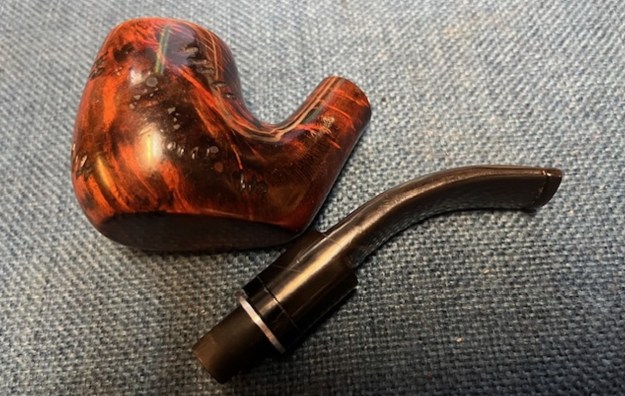 Before I started my reworking of the stem and bowl on this problematic pipe I wanted to have a bit of information on the Angelo brand. I personally like to have the background so that when I am working on a pipe I know who carved or made it originally. Then as I work on it I can carry on a dialogue with them (at least in my mind) about my changes. I turned to PipePhil’ site for information (http://www.pipephil.eu/logos/en/logo-a6.html#angelo). I have included a screen capture of the pertinent section and the sidebar information below the photo.
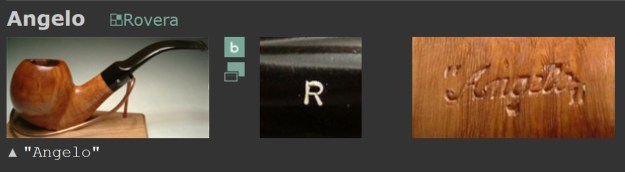 Second brand used by the Rovera family (Angelo and Damiano) who produces Ardor, Roverart and Rovera.
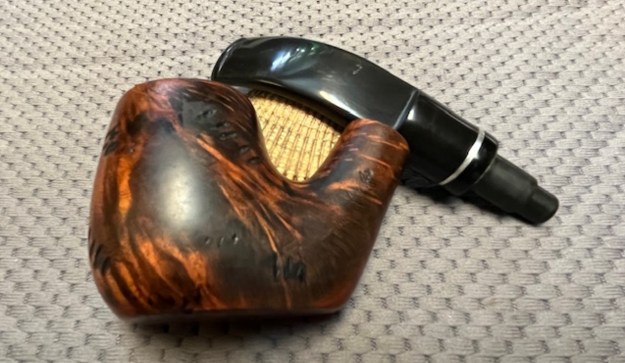
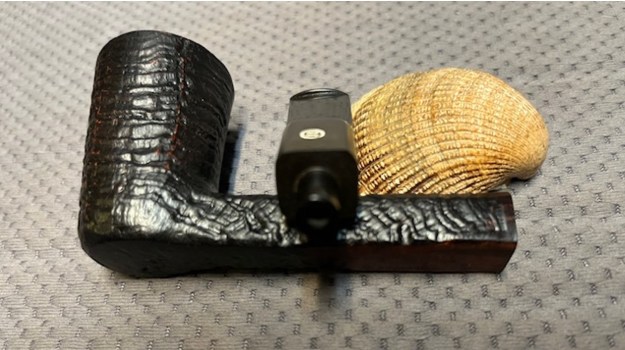
I decided to start my work on the pipe by addressing the puzzle of the stem. I took it apart and found that the rings were not glued and could be slipped up and down the tenon. This was a plus in this case so I removed the rings and reversed the order so that the metal spacer separated the vulcanite stem from the acrylic spacer. I fit it in the stem and in the shank for a look. Because the shank is very dirty it is hard to press the stem into the shank all the way but this gave me a sense of the look of the pipe with the rings reverse. I liked it and was pretty sure that the missing metal spacer would have been on the other side of the acrylic. 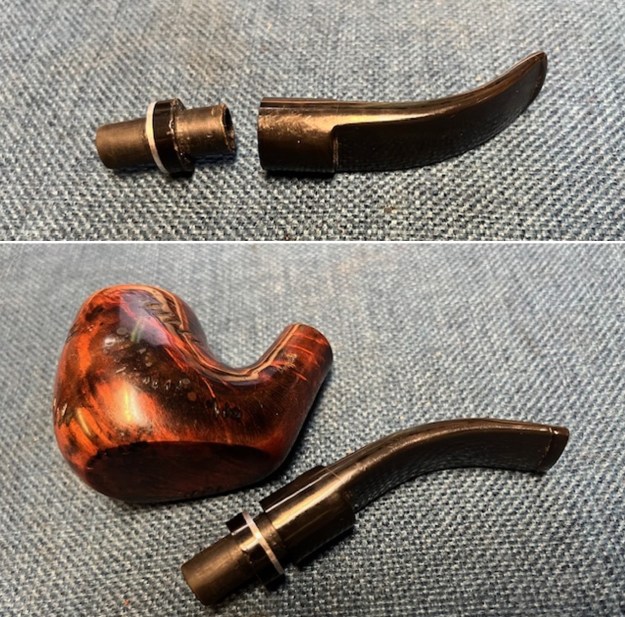 With the order of the spacers to my liking I cleaned out the stem with alcohol, pipe cleaners and cotton swabs to remove the grime in the airway and int seat of the tenon. I cleaned out the tenon at the same time. I coated the tenon end that it in the stem with black CA glue using a tooth pick. Once it was ready I pressed the parts together and set the stem aside to let the glue cure. I like the overall look of the stem at this point. I did not anchor the acrylic ring as there were going to be issues with the fit as it was not round or flat on the face.
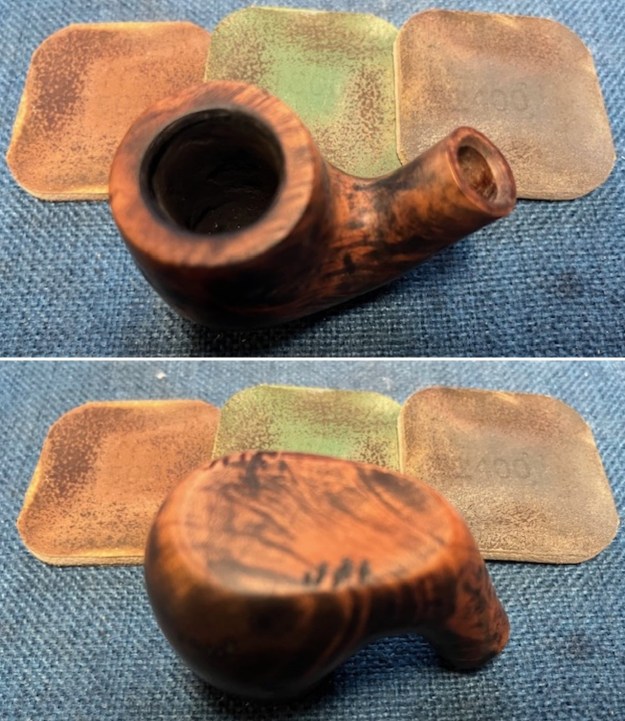
 While the glue cured on the tenon I move to address the bowl. I reamed the cake in the bowl using a PipNet pipe reamer with the second and third cutting heads to take back the cake. I used a Savinelli Fitsall Pipe Knife to scrape the remainder of the cake out of the bowl and clean up the bottom of the bowl. I sanded the bowl walls with 220 grit sandpaper wrapped around a piece of dowel. With the bowl cleaned out I was able to see that the bowl walls and bottom were in great condition. There was no checking or damage. I used the edge of the Fitsall knife to scrape the lava from the rim top.
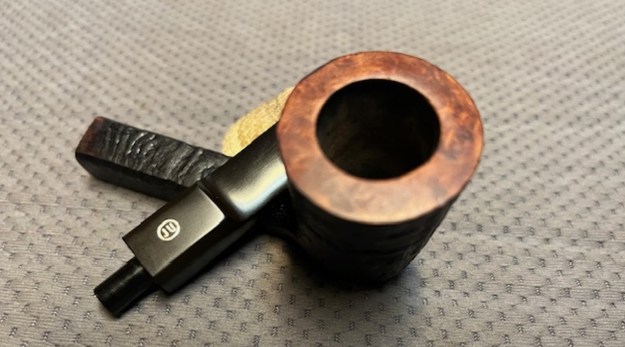
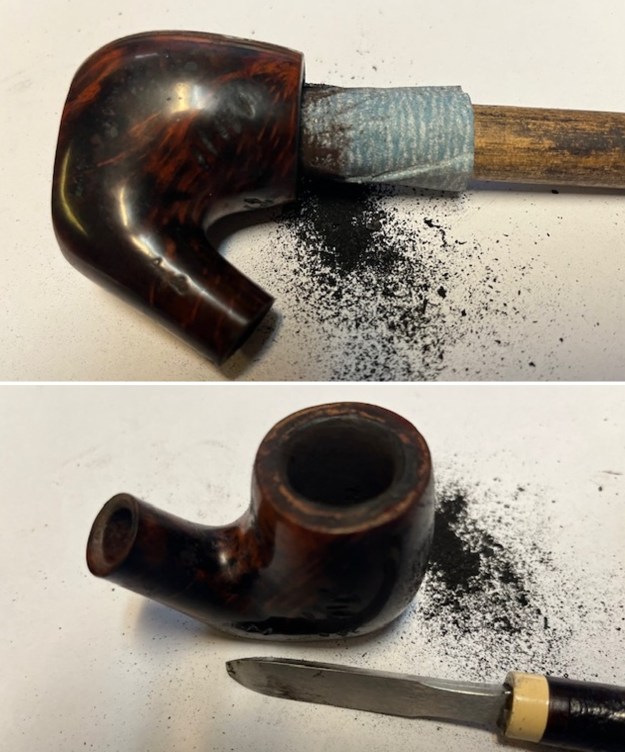
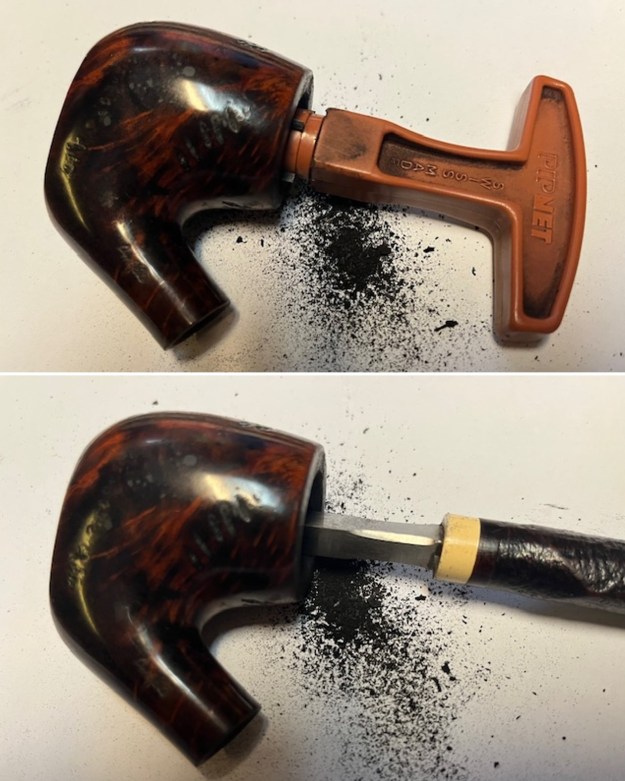
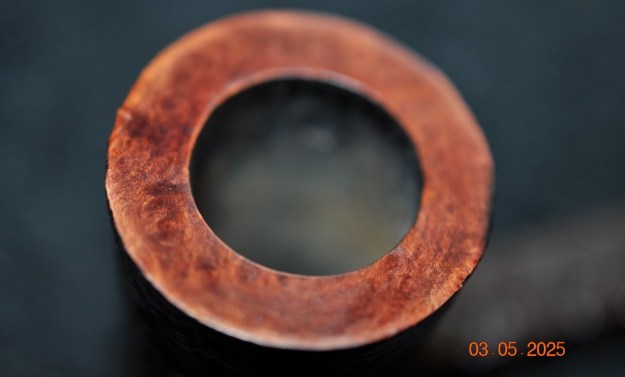
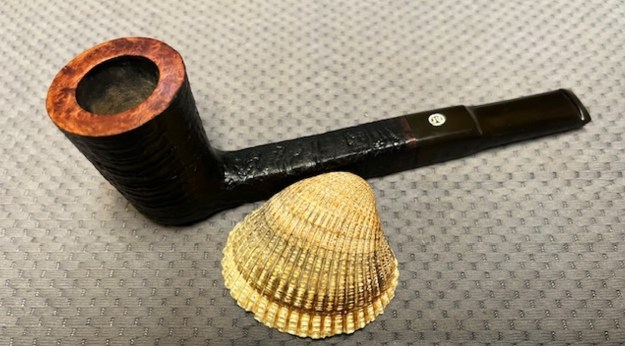
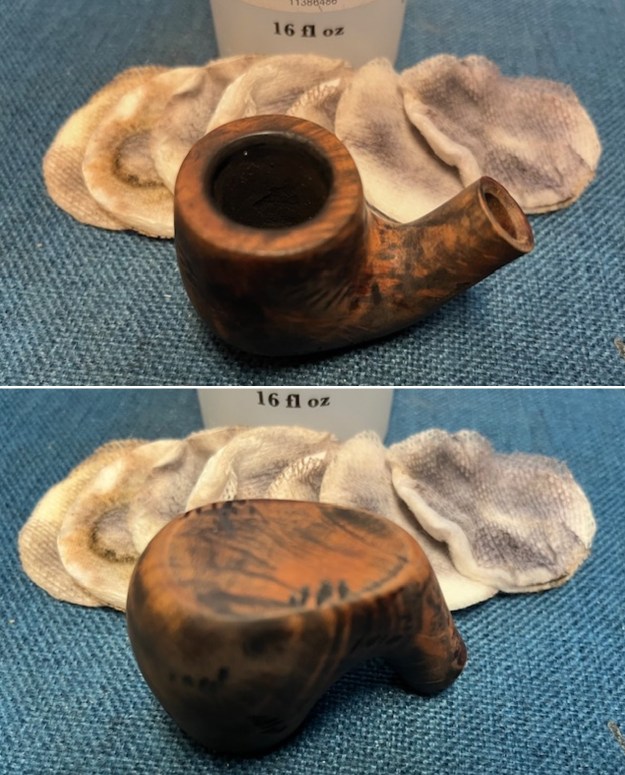
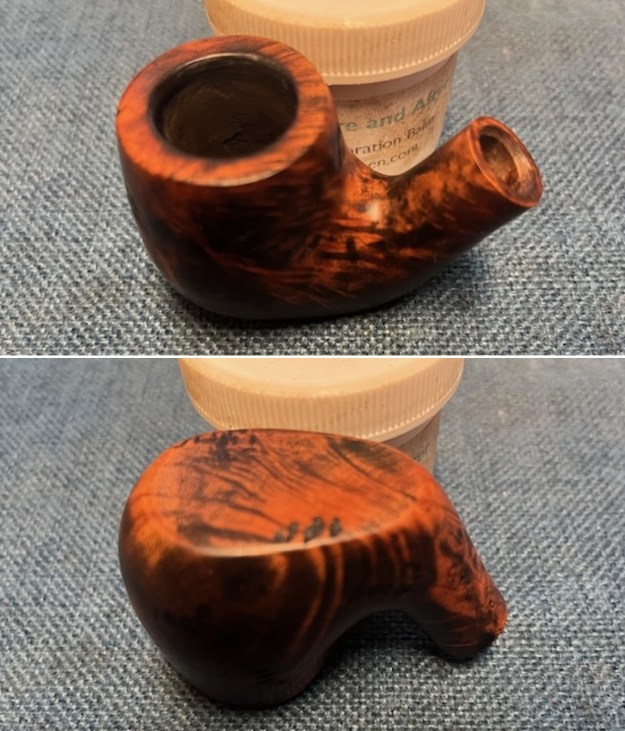
 I decided to remove the bubbling varnish coat next. I used acetone and cotton pads to scrub the thick bubbling varnish coat off the bowl. I was surprised by the way the briar looked with the shiny coat gone. It was a nice looking piece of wood and once cleaned and polished would be quite lovely.
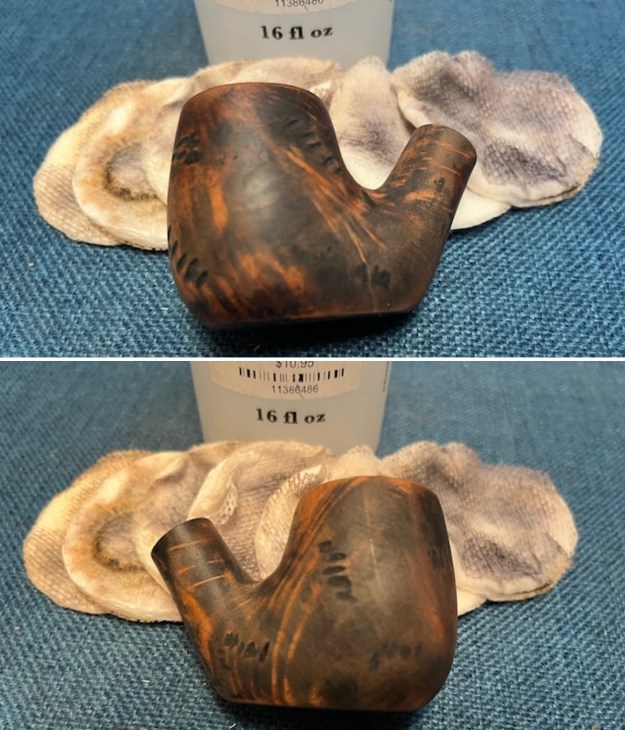
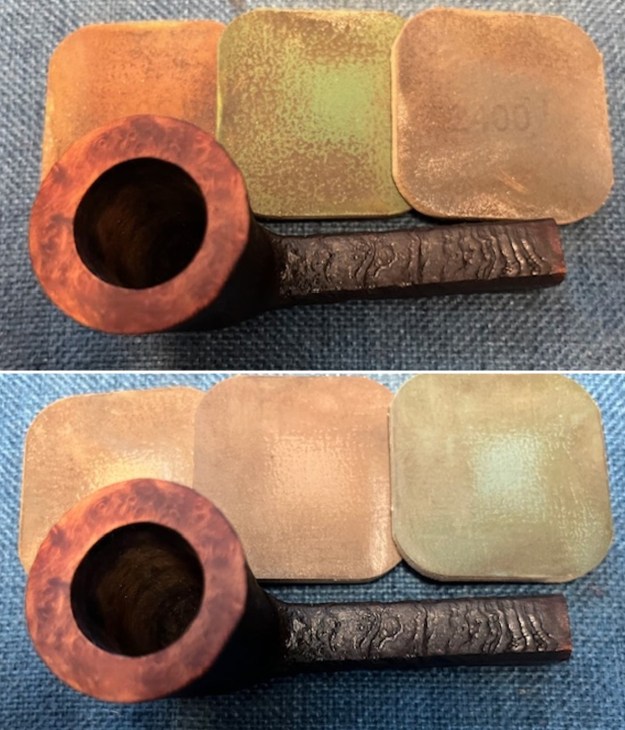
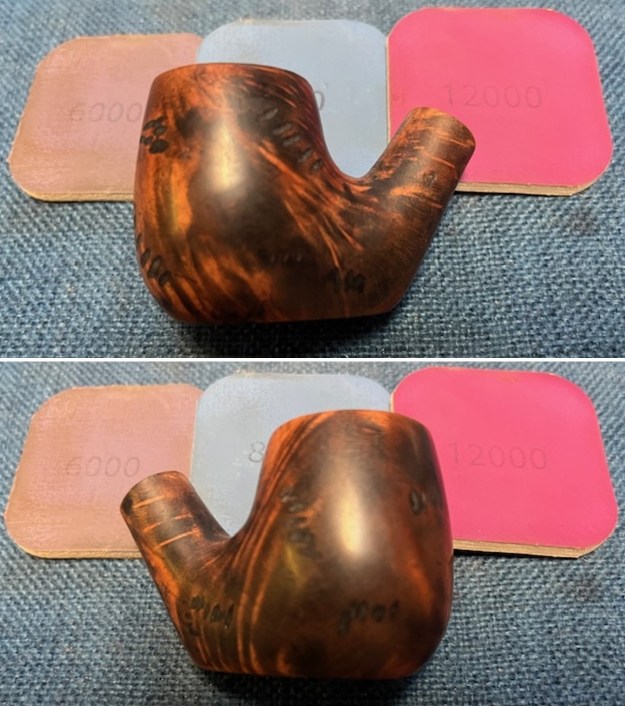
 I sanded the bowl and shank (carefully avoiding the stamping) with 320-3500 grit sanding pads. I wiped the bowl down after each pad with a damp cloth to remove the dust and debris from the sanding. The briar really was taking on a rich shine.
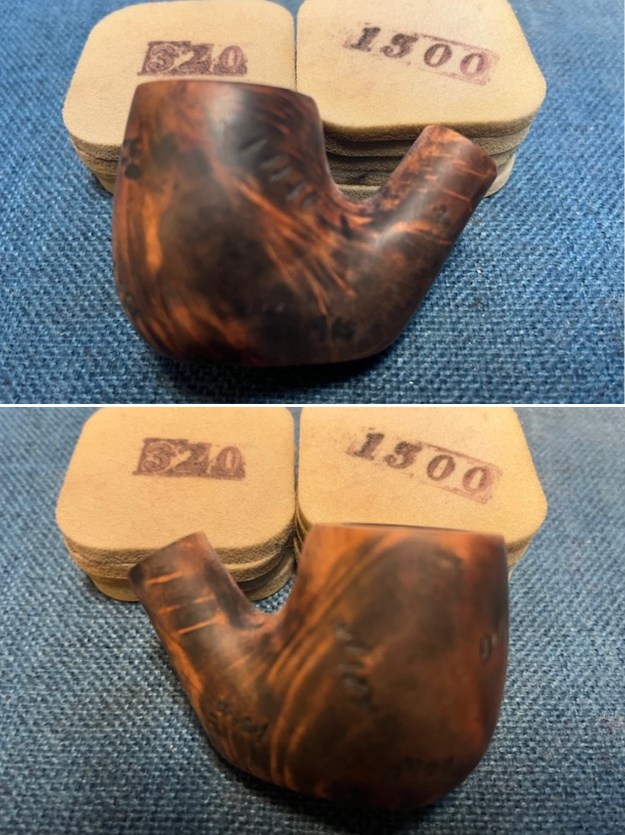
 After the sanding and stem work I cleaned out the airway in the shank, mortise and the stem with alcohol, pipe cleaners and cotton swabs. I was surprised by how much more gunk came out of the tenon particularly. The pipe was clean now.
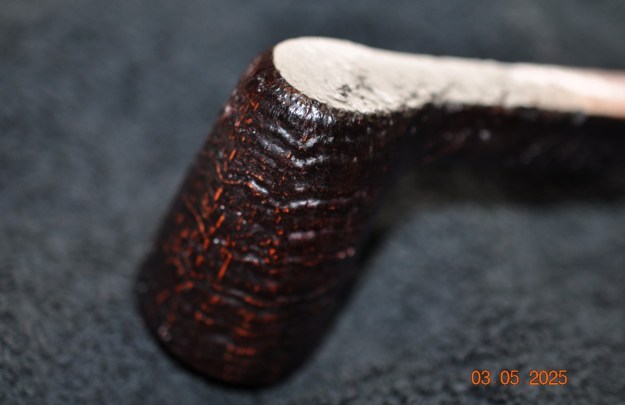
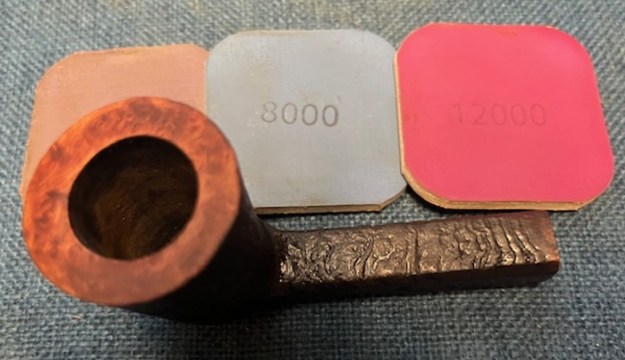
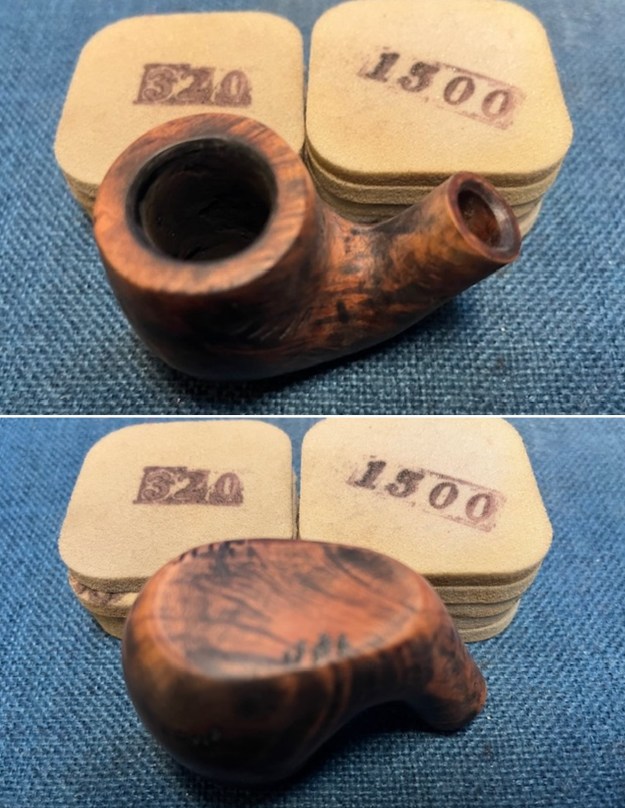
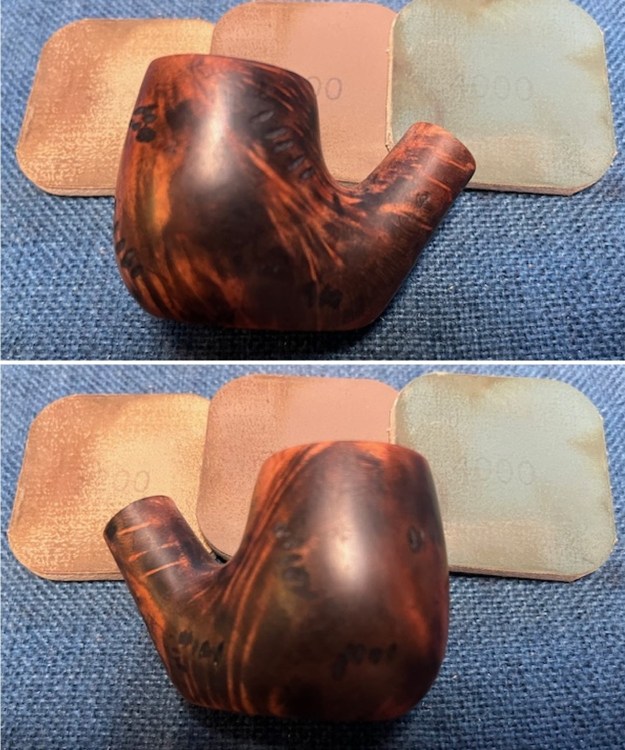
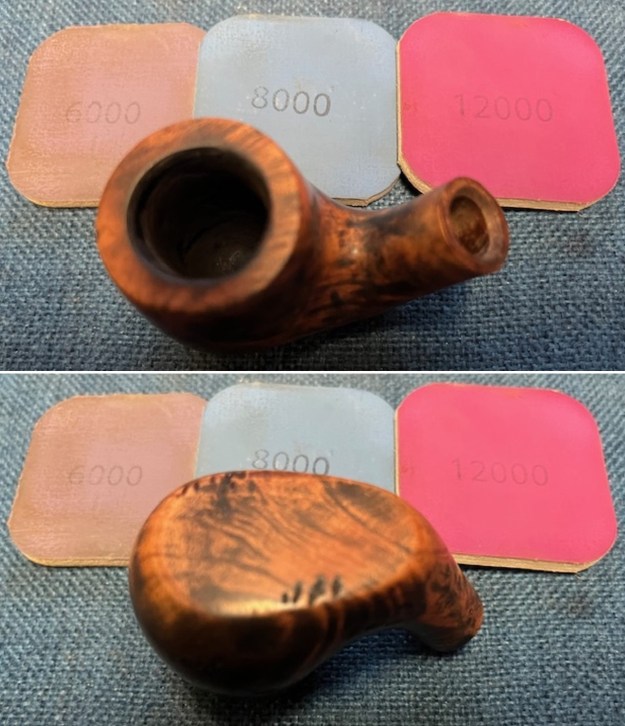
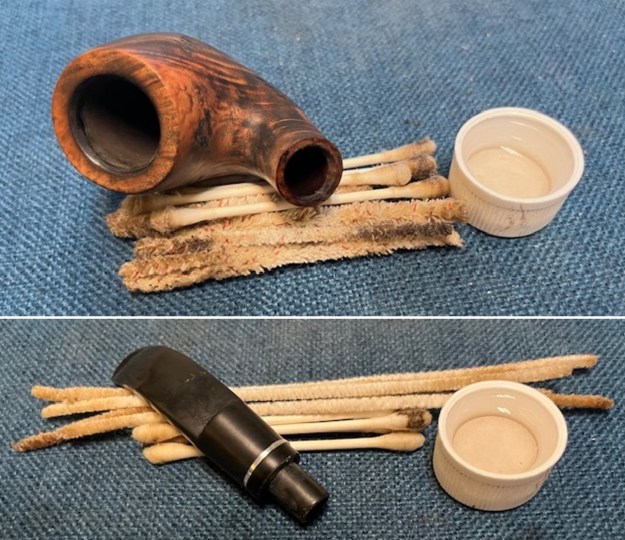 I polished the bowl and rim with micromesh sanding pads – dry sanding with 1500-12000 grit sanding pads. I wiped it down after each pad with a damp cloth. It took on a deeper shine with each pad.
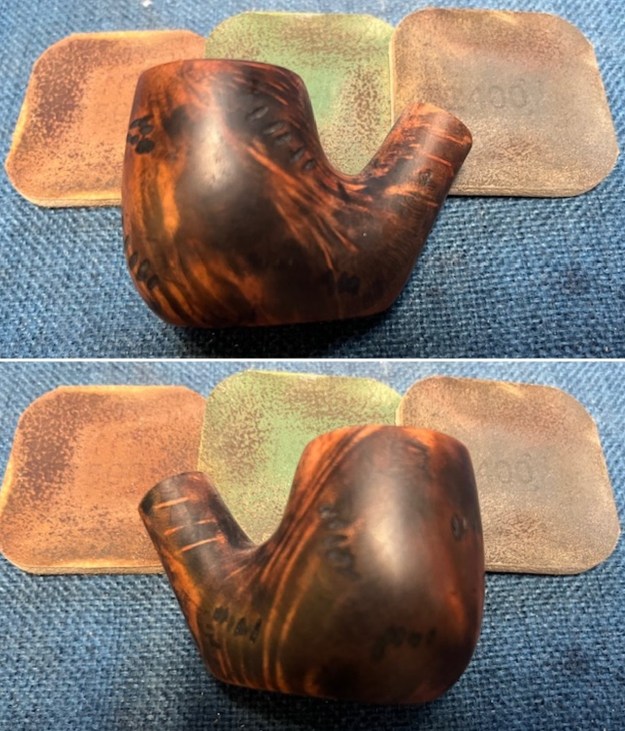
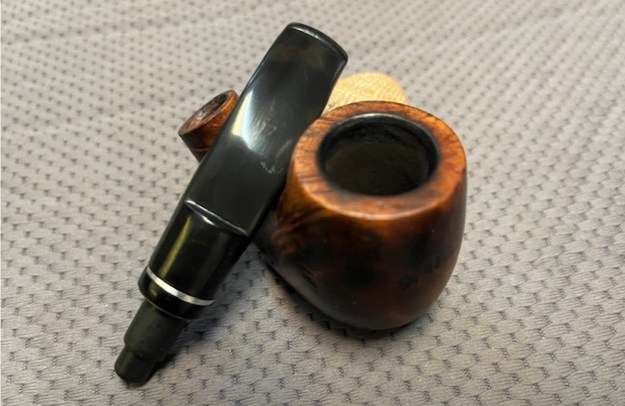
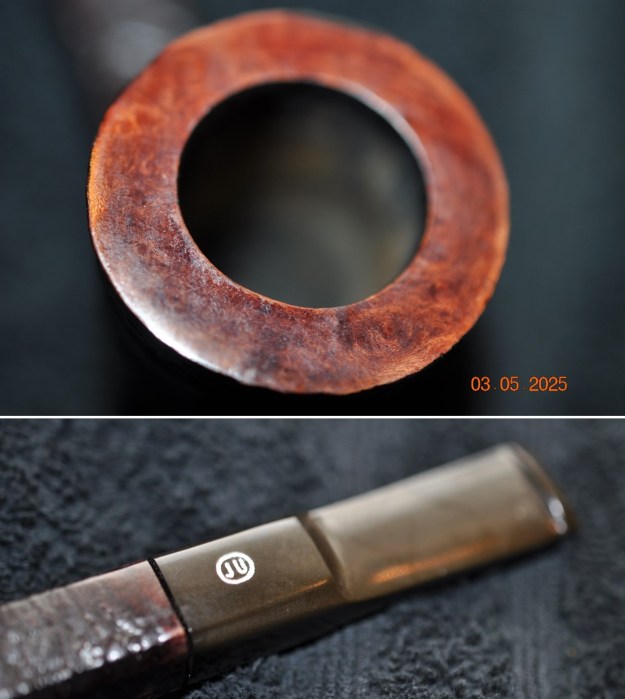
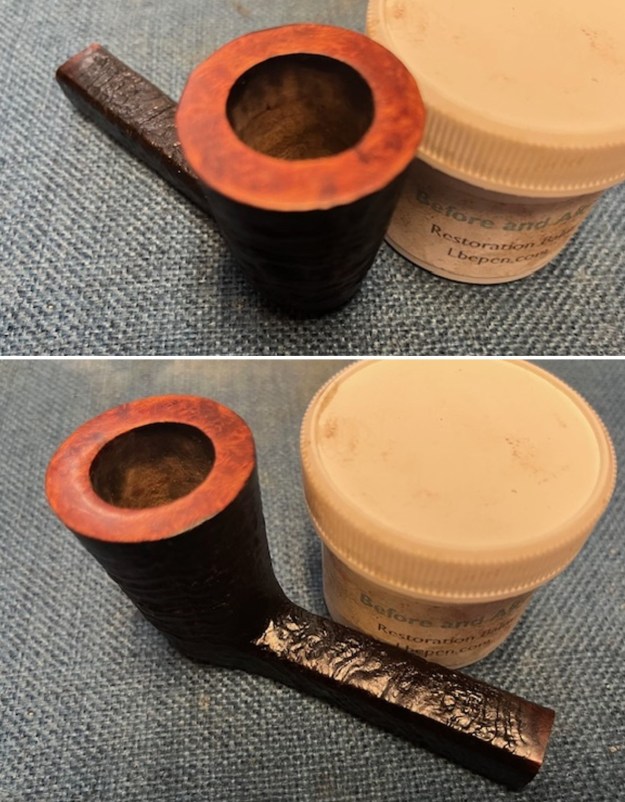
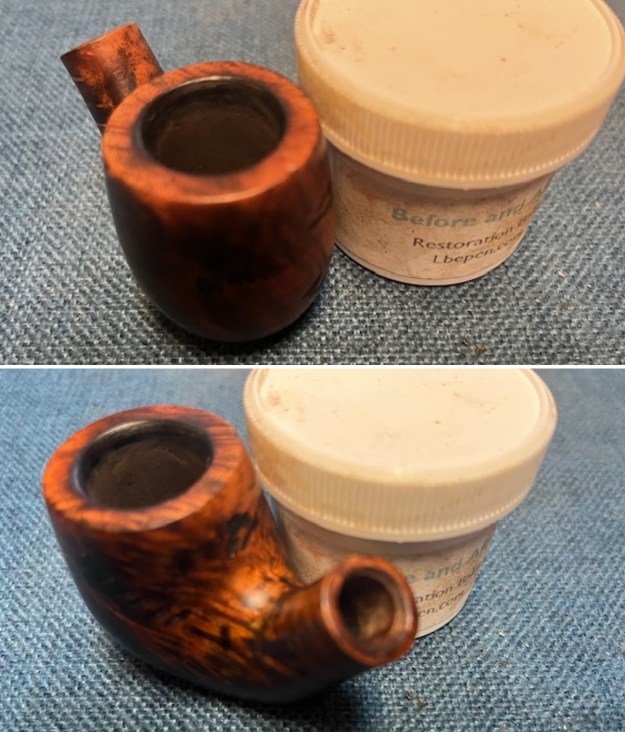
 I decided to fit the stem to the shank end before I gave it a rub down with Restoration Balm. The shank was cut at and angle and the stem would not fit flat against it. I put the stem in place and marked it with a pencil to clean up the angle. The top half of the shank needed to be reduced in depth to match the bottom half. I used a folded piece of 220 sandpaper to do the work. I constantly rechecked the fit until I had the face flat and the stem sat correctly. The picture below shows the sanded shank end. I stained the sanded briar with a walnut stain pen to match the rest.
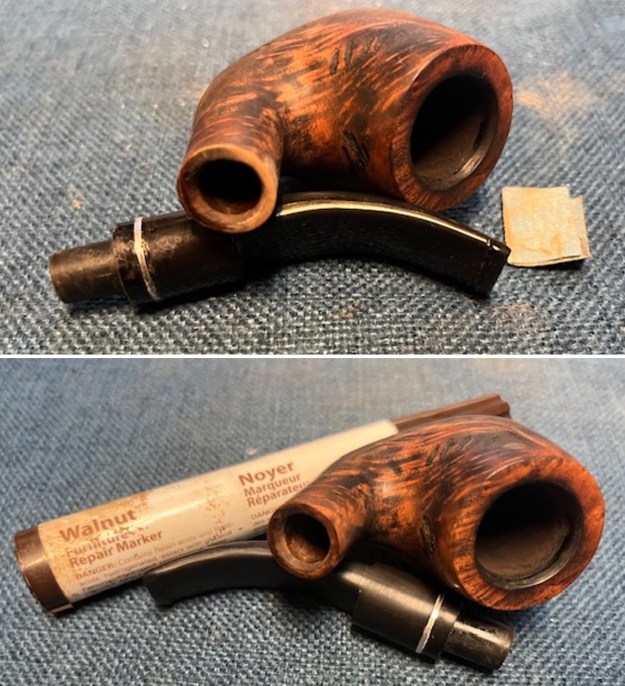
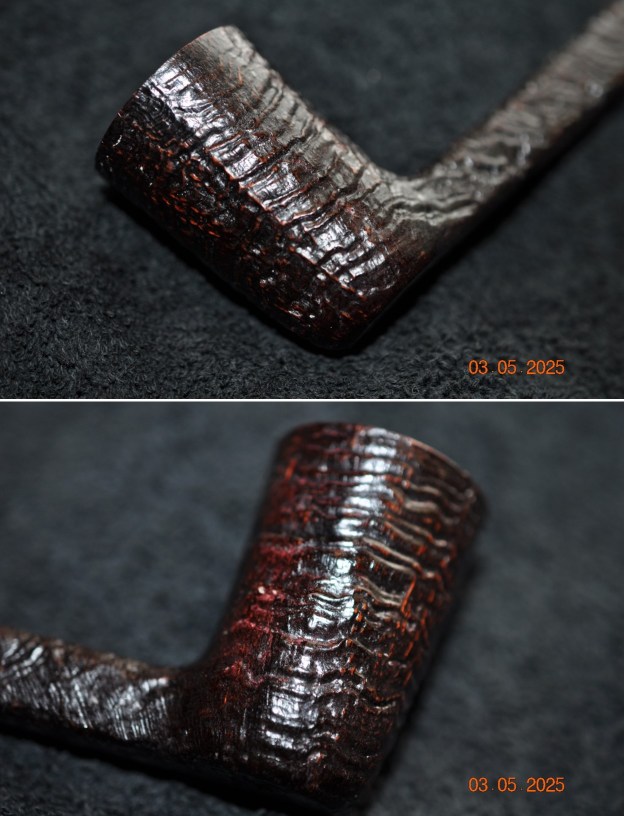
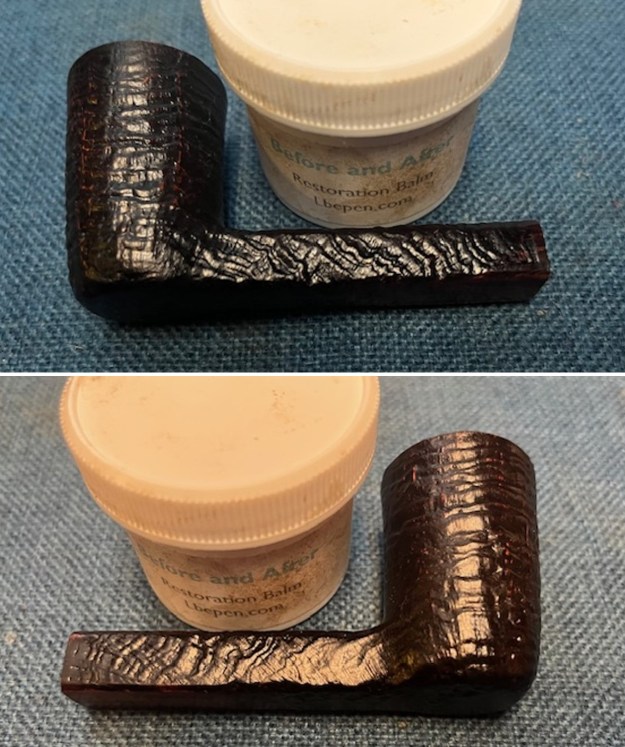
 I rubbed the briar down with Before & After Restoration Balm. I worked it into the briar with my fingertips to work it into the finish. The product works to clean, enliven and preserve the briar. I let it sit for 10 minutes then I buffed it with a cotton cloth to deepen the shine. The briar really comes alive with the balm.
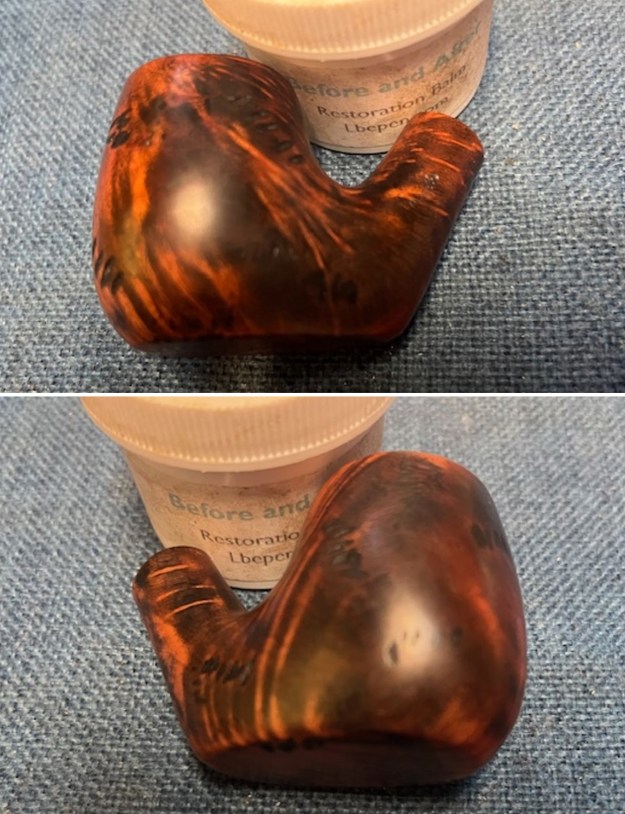
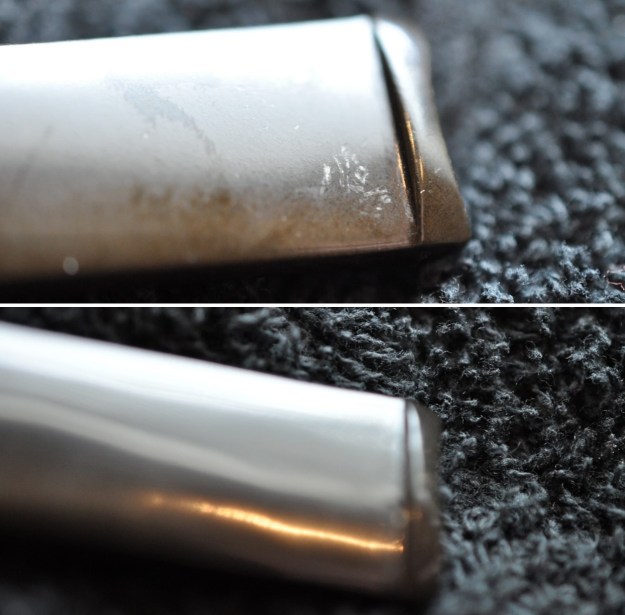
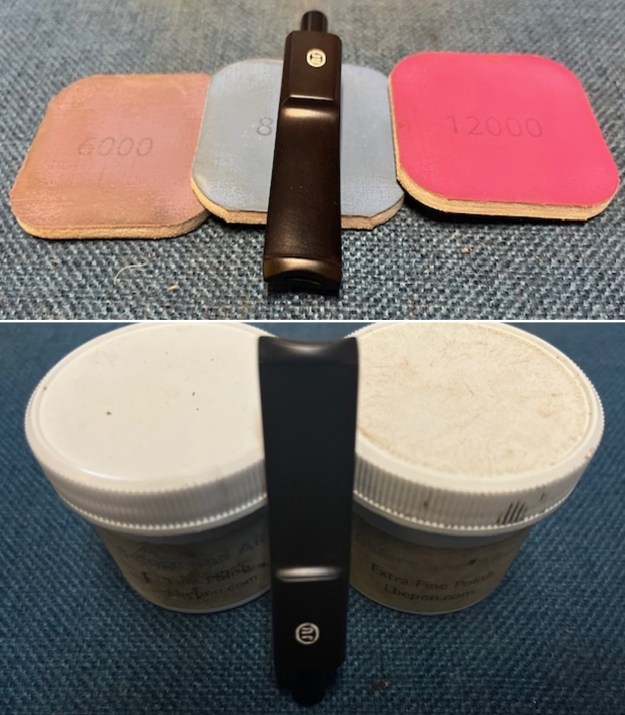
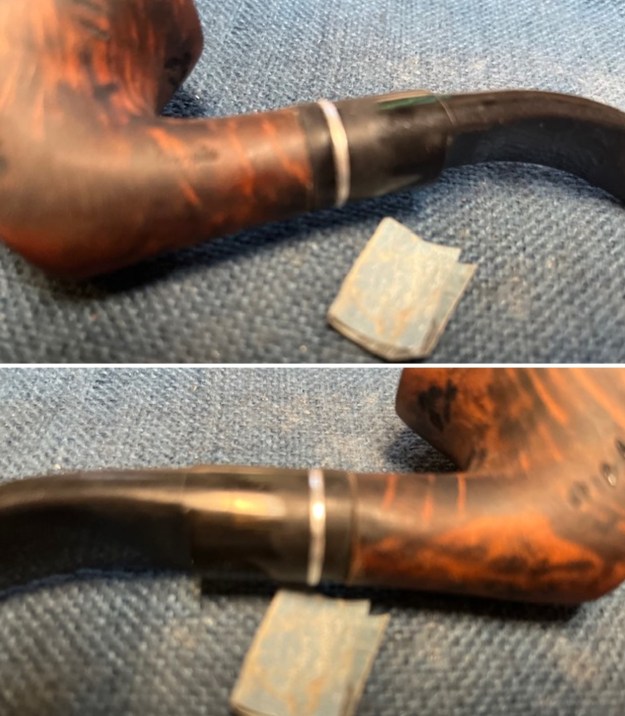
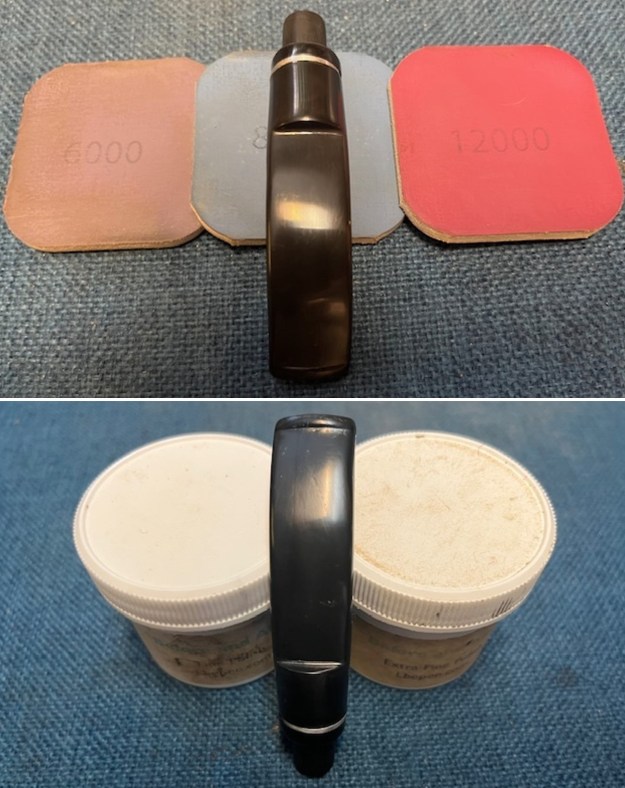
 I sanded the stem with 320-3500 grit sanding pads to smooth out the marks. I wiped it down with Obsidian Oil after each sanding pad. The bands and the stem work very well.
 I polished the stem with micromesh sanding pads – dry sanding with 1500-12000 grit pads. Once again, I wiped it down between each pad with Obsidian Oil. I further polished it with Before and After Stem Polish – both Fine and Extra Fine. It looked very good.
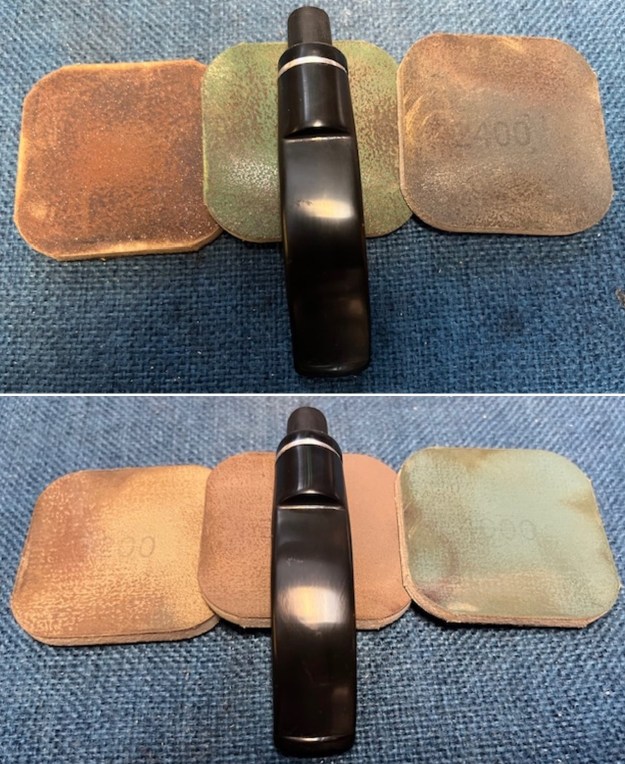
 I used a replacement tenon to make a 9mm converter to fit a stem to be a non-filter stem. I slipped it into the tenon and it fit well.
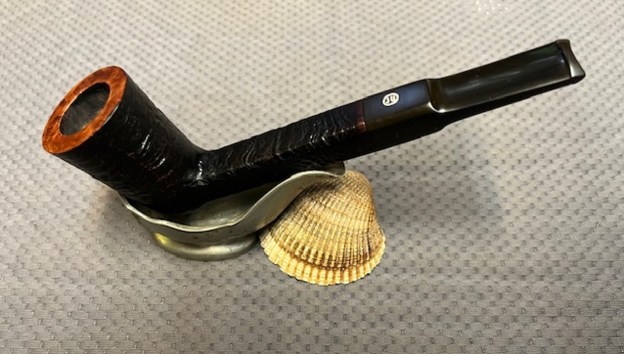
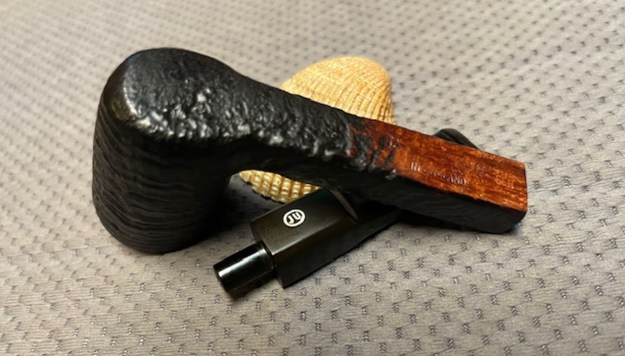
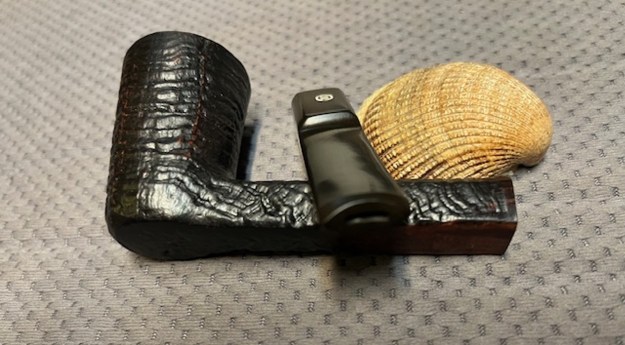
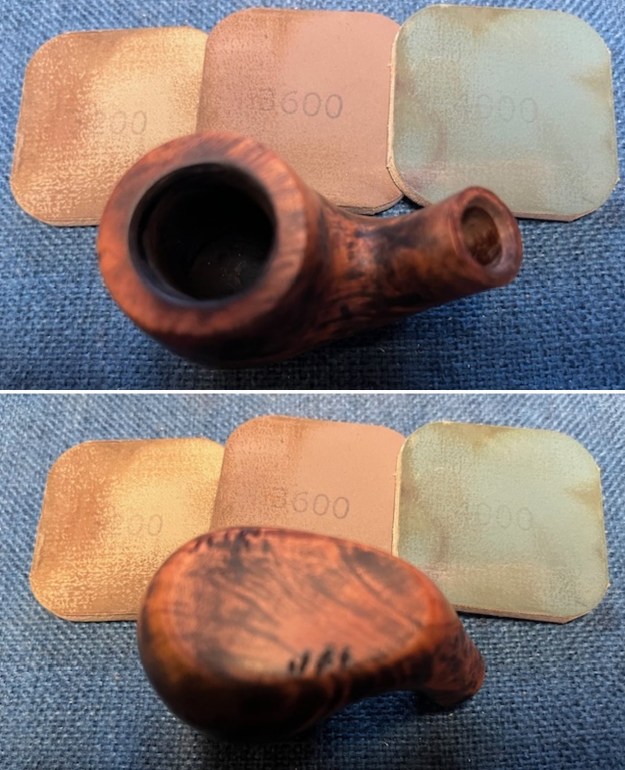
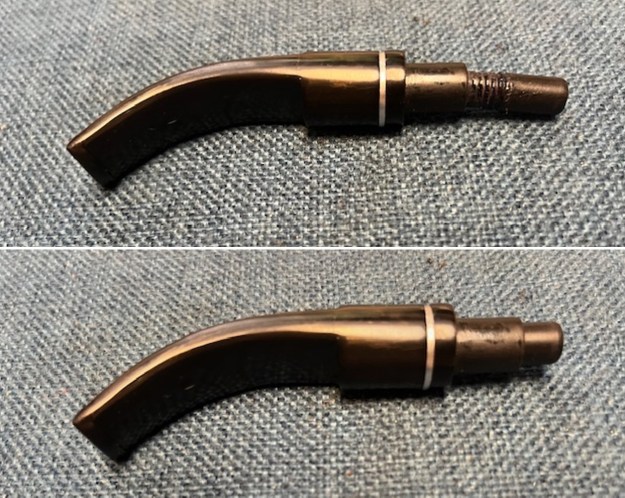 This reworked Angelo Bent Sitter has a beautiful finish now that the varnish coat has been removed and the stem refit. It truly has a new lease on life. The medium brown/black finish gives depth to the grain around the bowl and shank. The rebuilt and polished black vulcanite acrylic stem adds to the mix. I put the stem back on the bowl and buffed the pipe with Blue Diamond on the buffing wheel being careful to not buff the stamping. I gave the bowl and the stem multiple coats of carnauba wax on the buffing wheel and followed that by buffing it with a clean buffing pad. I hand buffed the pipe with a microfiber cloth to deepen the shine. The finished Angelo Bent Sitter is quite nice and feels great in the hand. Give the finished pipe a look in the photos below. The dimensions of the pipe are Length: 5 ½ inches, Height: 1 ¾ inches, Outside diameter of the bowl: 1 ¼ inch, Chamber diameter: ¾ of an inch. The weight of the pipe is 1.69 ounces/48 grams. Thanks for walking through the restoration with me as I worked over another beautiful pipe. The fellow who dropped it off will pick up his pipe on the weekend. I am looking forward to seeing what he thinks of it.