by Steve Laug
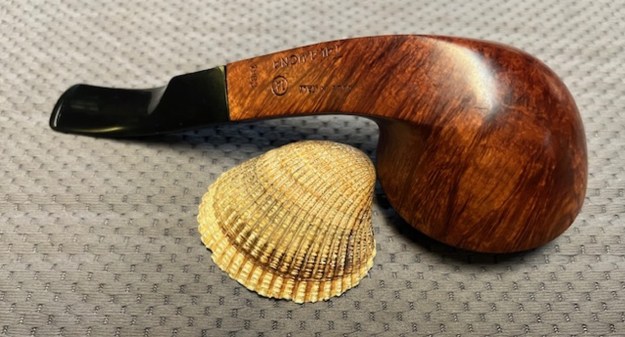
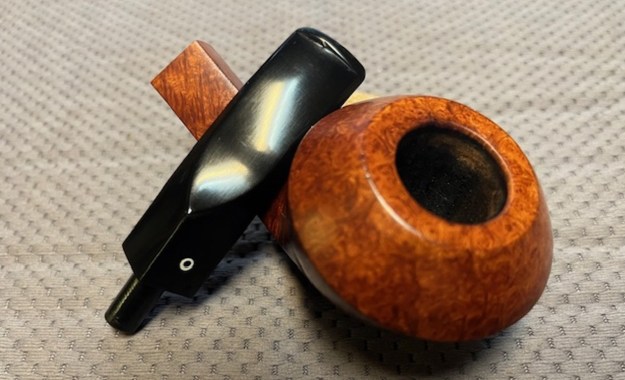
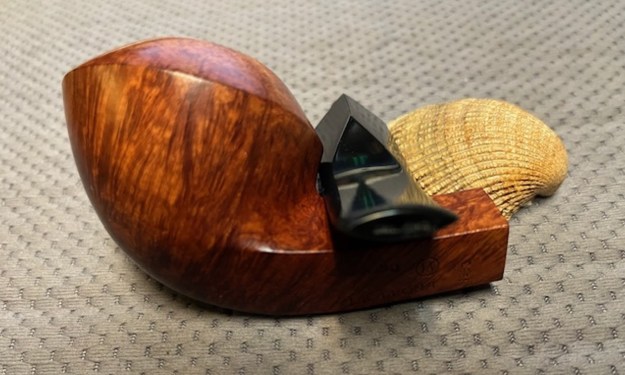
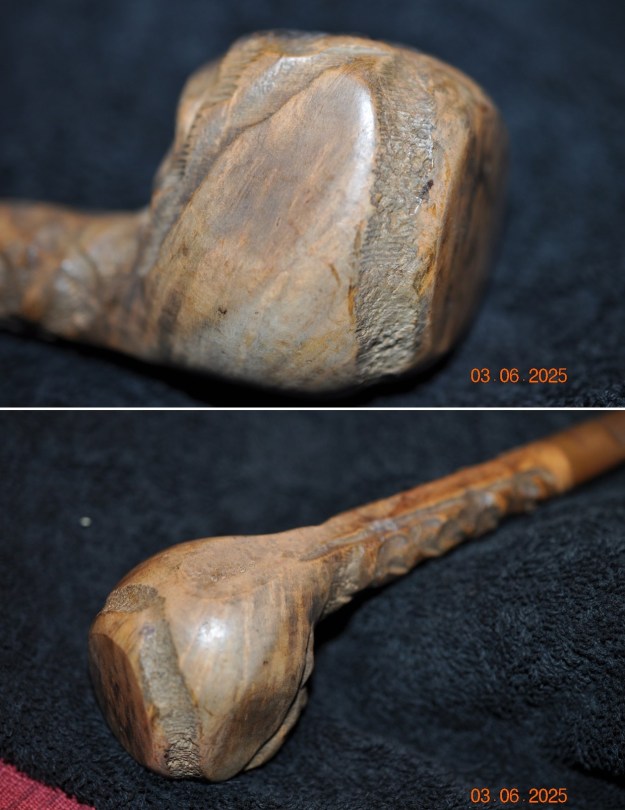
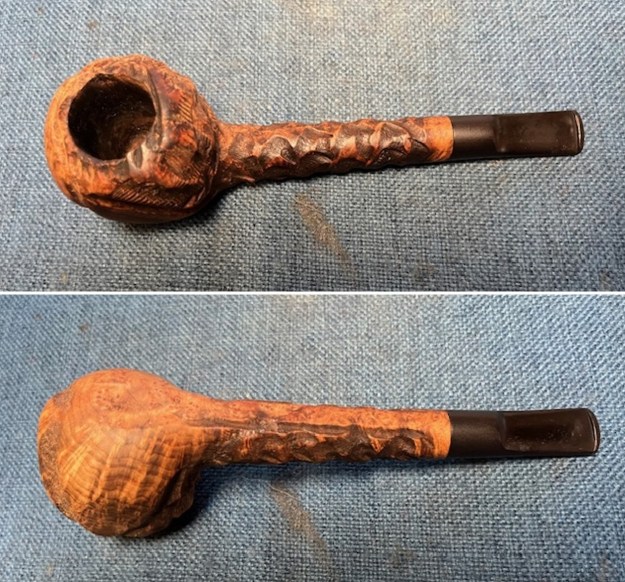
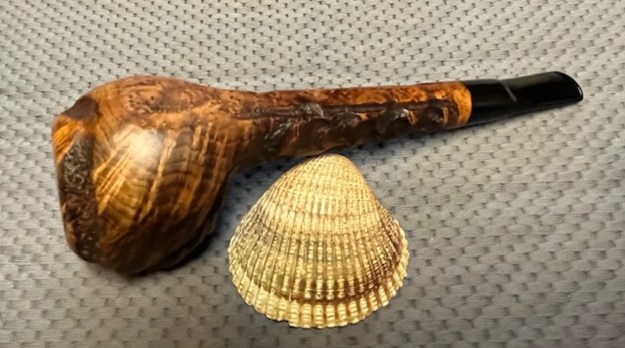
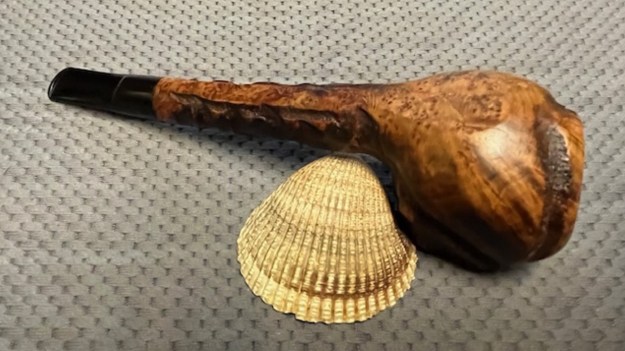
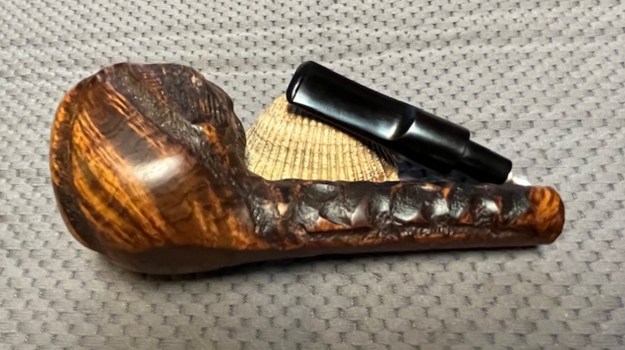
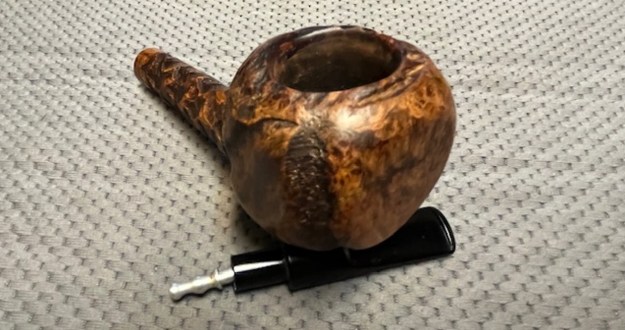
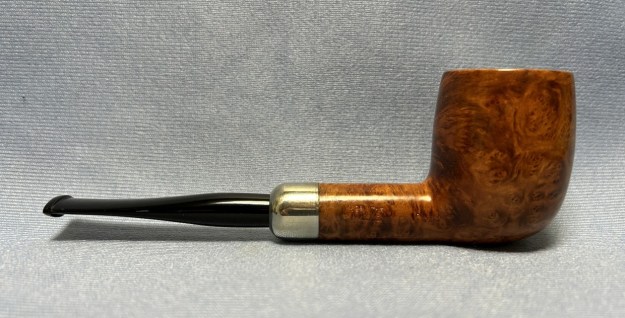
The next pipe I chose to work on was a unique one in many respects. It was a mixed finish – rusticated and smooth long shank Apple with a saddle stem. It was purchased on 09/09/2021 from an auction in East Greenville, Pennsylvania, USA. The pipe was clearly stamped on the heel of the bowl and reads Marxman (a logo stamp with an arrow going through it), followed by a “C” [over] Jumbo. It has a unique style of rustication that I have become accustomed to on Marxman Jumbo pipes. It includes Tracy Mincer style worm trails but in all different directions with a lot of cross hatching inside the trails. On this pipe the rustication is on the back of the bowl, spots around the front and sides and on the shank. It is flat bottomed so that it was a sitter. There was a thick cake in the bowl and an overflow of lava on the rim top. The condition of the inner and outer edges was hard to know with certainty because of the lava and burn marks. It had a vulcanite saddle stem that was oxidized and calcified. It had light tooth marks and chatter on both sides ahead of the button. Jeff took photos of the pipe before he started his clean up work.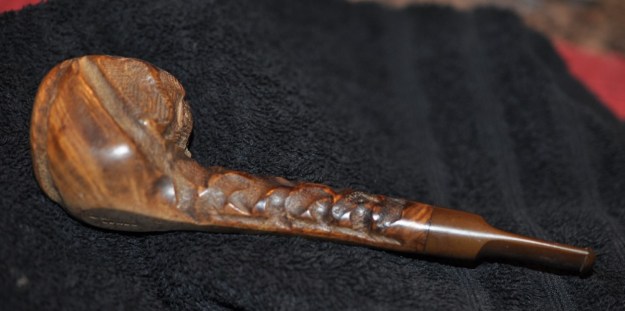
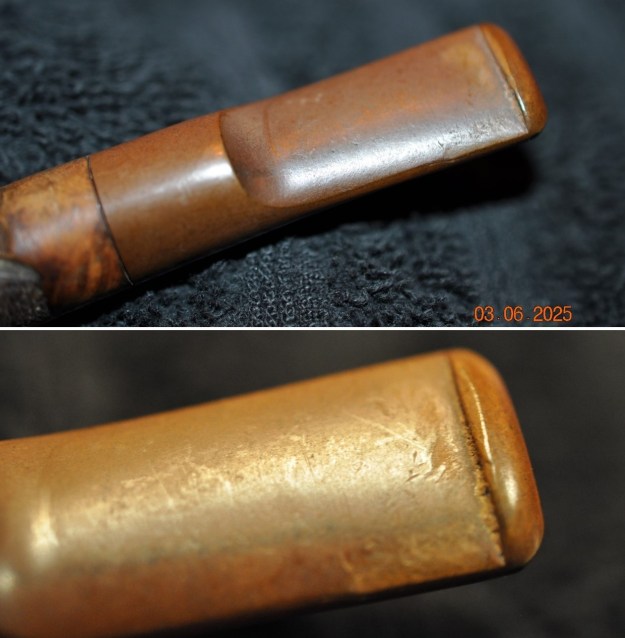
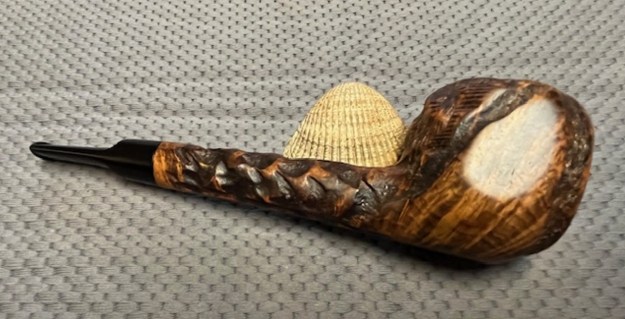
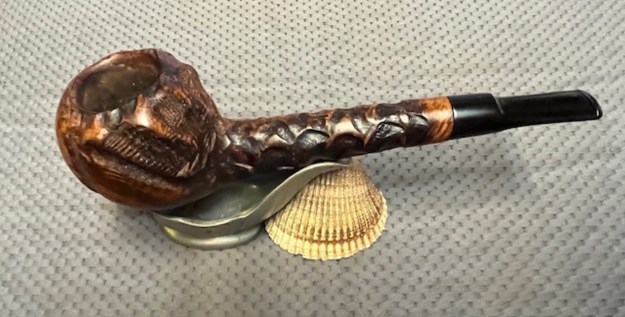
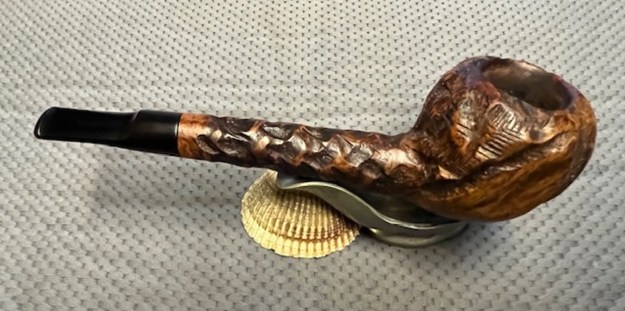
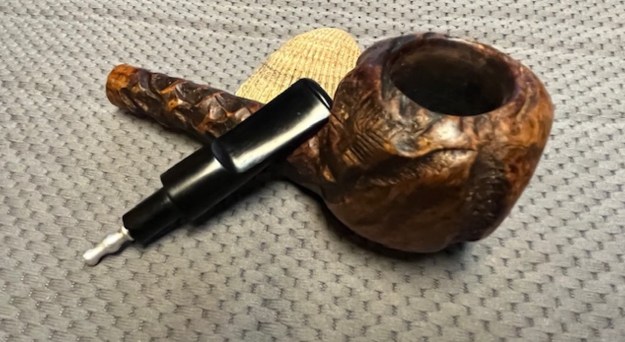
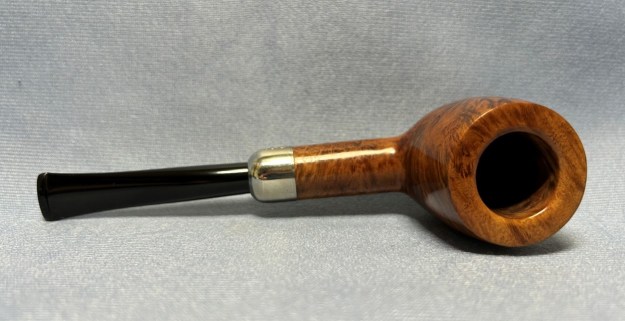
 Jeff took close up photos of the rim top from various angles to show the general condition of the bowl and rim. The first photo shows the thickness of the cake in the bowl and the lava build up on the inner edge. The edges look like they have been protected by the thick cake so they will probably be fine once the bowl is reamed. The stem was oxidized and had light tooth chatter on both sides.
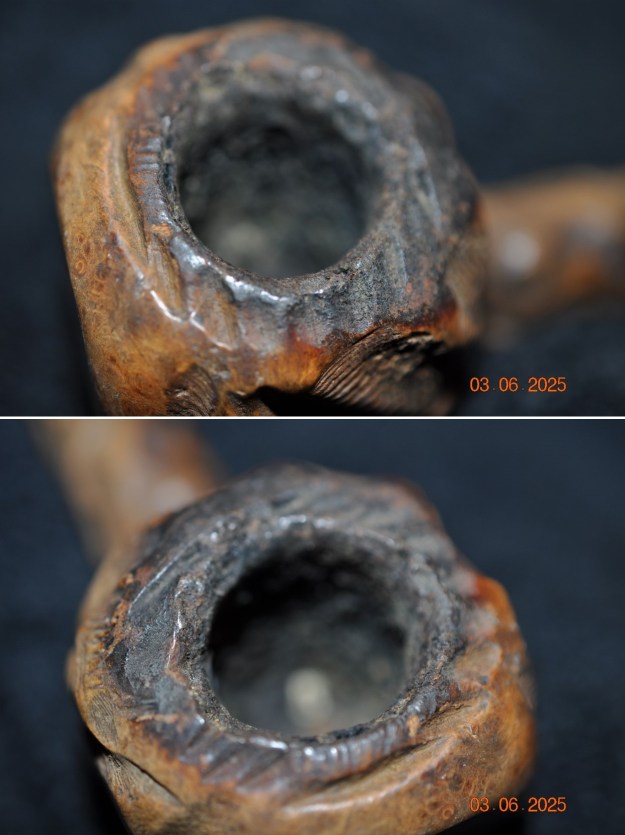
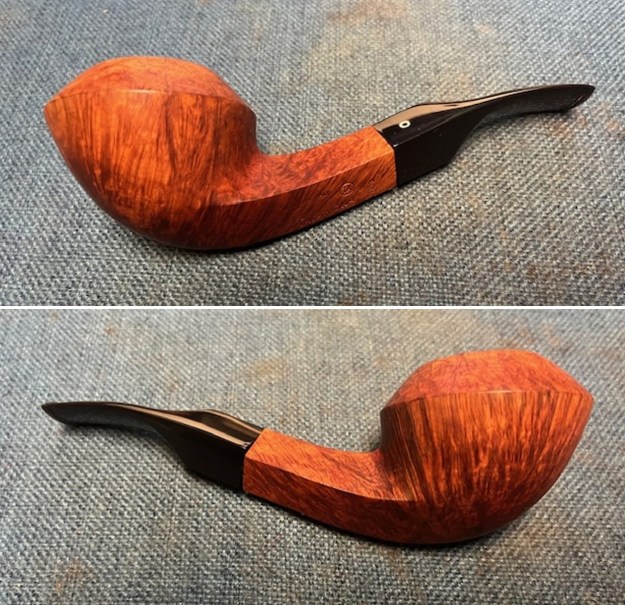
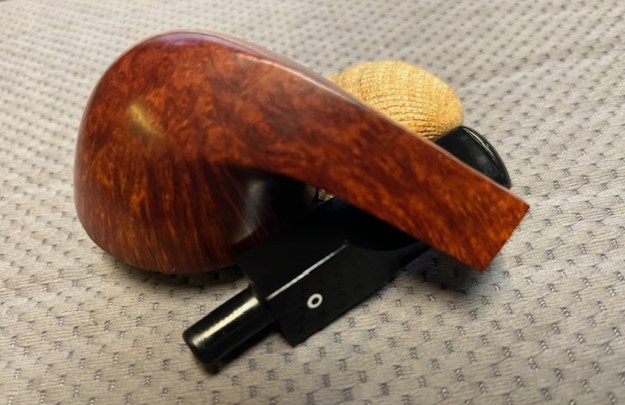
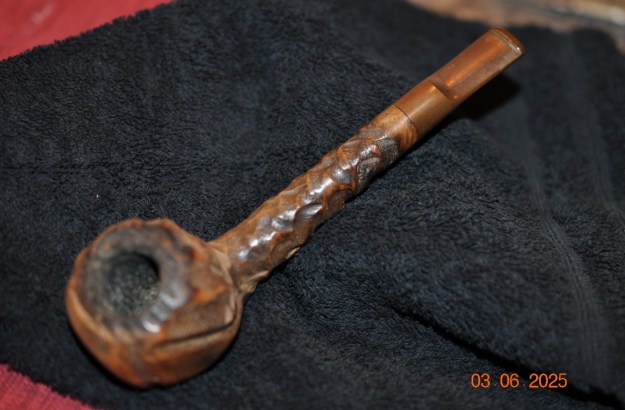
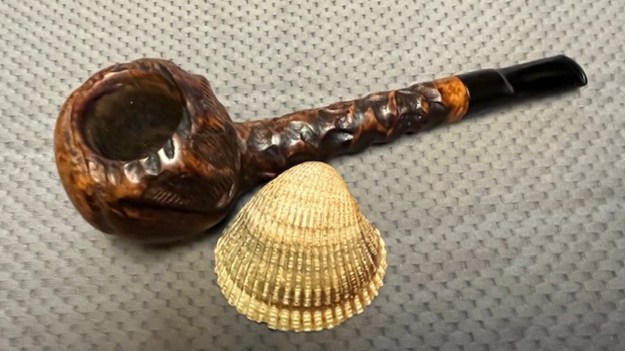
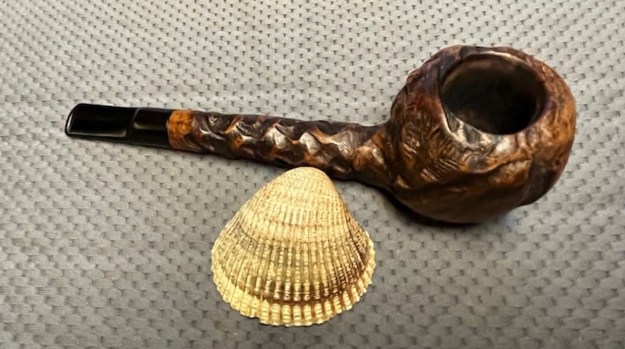
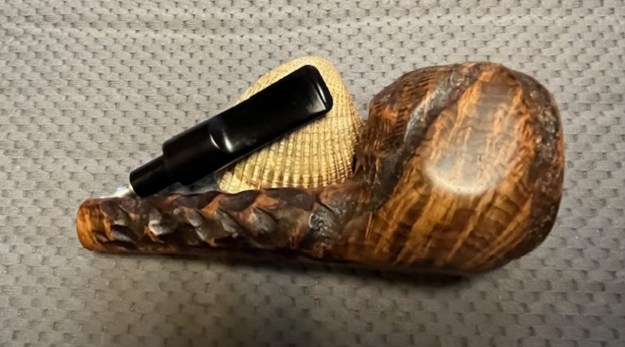
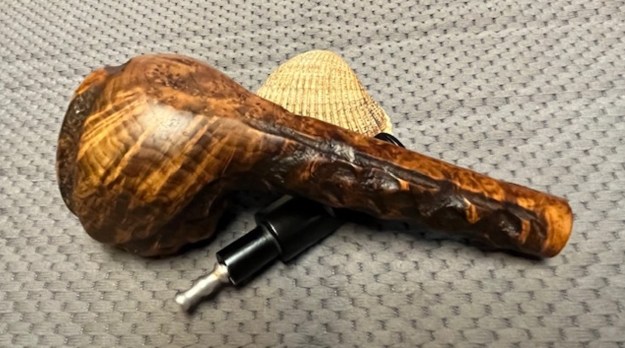
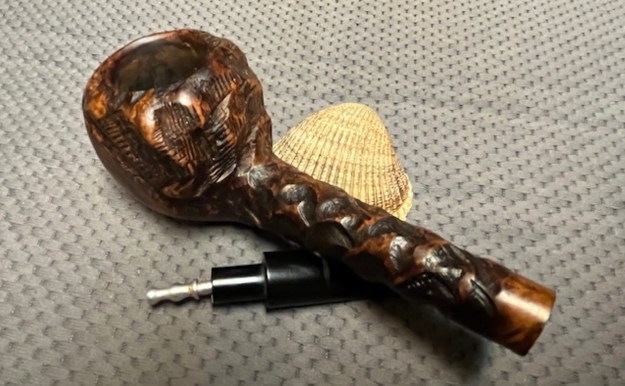
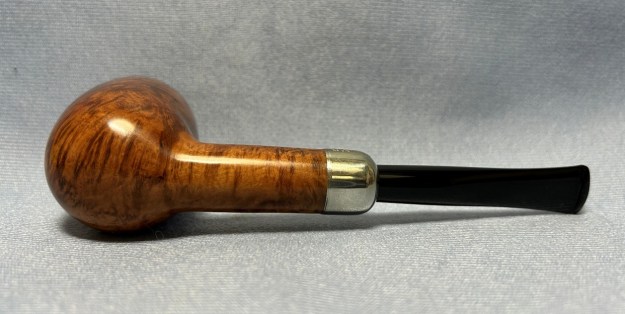
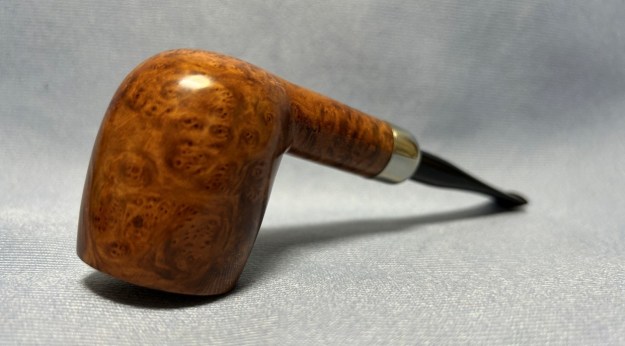
 Jeff took a photo of the sides and heel of the bowl to give an idea of the beauty of the grain on the smooth portions of the bowl sides and the condition of the bowl.
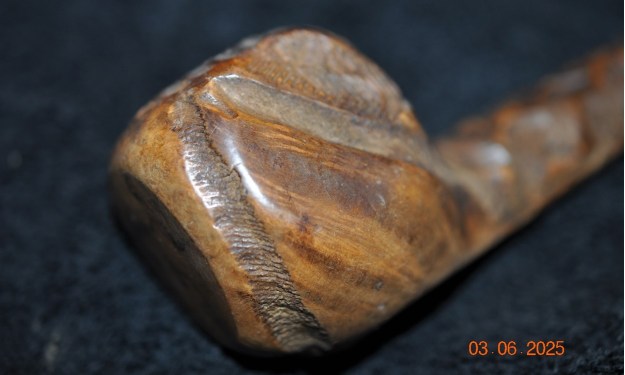
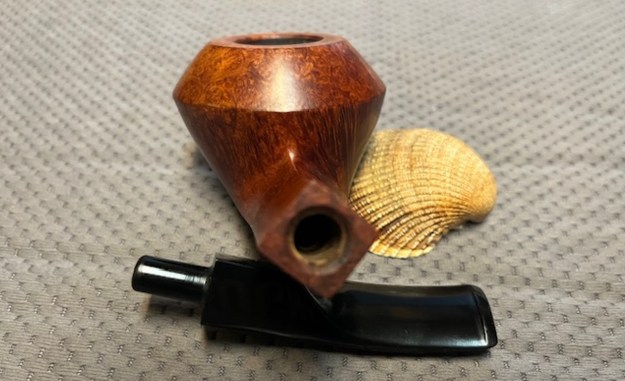
 The stamping on the heel of the bowl is clear and readable but faint on the right side. It reads as noted above.
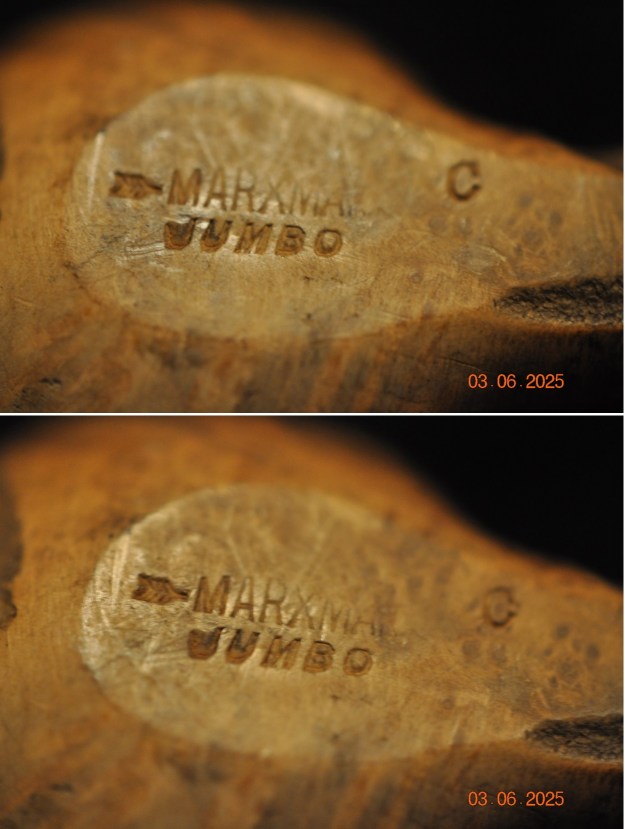 I wanted to refresh my memory of the brand so I turned to Pipephil first to get a short summary of the history (http://www.pipephil.eu/logos/en/logo-m2.html). The site had a side note that the brand was created in 1934 and merged with Mastercraft Pipes in 1953.
 I then turned to Pipedia to find out more information on the brand and the maker of the pipe (https://pipedia.org/wiki/Marxman). The site quote from Pipes, Artisans and Trademarks, by José Manuel Lopes. I include a portion of that information below.
Marxman (Marxman Pipe Company) was created by Robert (Bob) L. Marx in 1934, when he was 29, and after he had worked for the William Demuth Company. His pipes were not outstanding because of the quality of their wood (probably Algerian), but Bob started making unique sculpted pieces, which brought the brand fame in the World of Hollywood cinema. Actors like Zachery Scott, Dennis Morgan, Jack Carson, Alan Hale, Joel McRae, and Ronald Reagan were some of the faces that appeared on the bowls.
Bob knew how to innovate and took full advantage of marketing and press advertising in order to sell the brand–one of his slogans being “Relax with a Marxman”.
From the information on the two sites I learned that the pipe was made between 1934 when the company started and 1953 when the company was taken over by Mastercraft. I have included an advertisement for the Marxman Jumbo that was included on the article (1946 Ad, Courtesy Doug Valitchka). 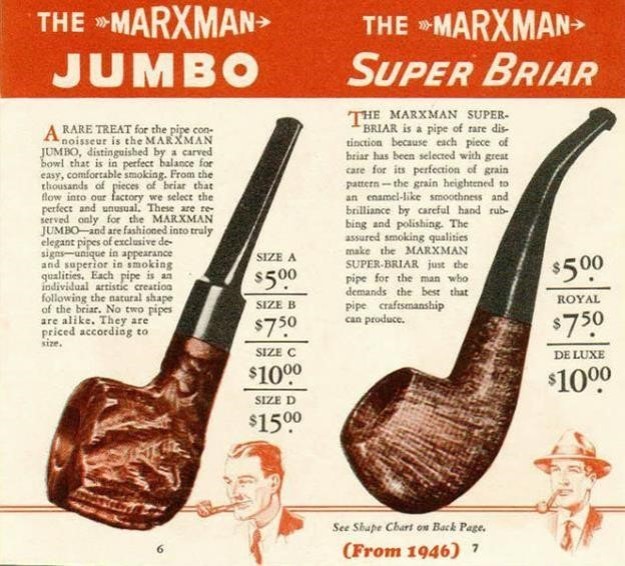 It includes the following information. “A rare treat for the pipe connoisseur is the Marxman Jumbo, distinguished by a carved bowl that is in perfect balance for easy, comfortable smoking. From the thousands of pieces of briar that flow into our factory we select the perfect and unusual. These are reserved only for the Marxman Jumbo – and are fashioned into truly elegant pipes of exclusive designs – unique in appearance and superior in smoking qualities. Each pipe is an individual artistic creation following the natural shape of the briar. No two pipes are alike. They are priced according to size.”
From the leaflet above I knew that I was working a Size “C” pipe – one of the larger ones. Now it was time to work on the pipe.
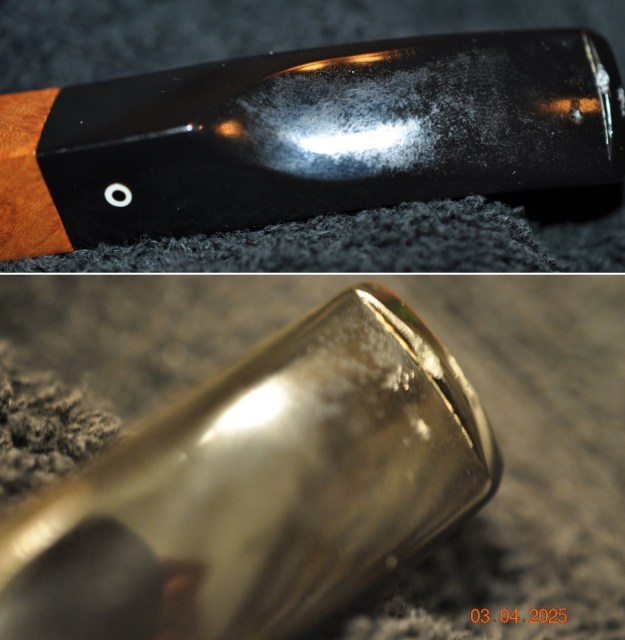
Jeff had done his usual thorough clean up of the pipe. He had reamed it with a PipNet reamer and finished with a Savinelli Fitsall Pipe Knife. He scrubbed the exterior with Murphy’s Oil Soap and the interior with isopropyl alcohol, cotton swabs and pipe cleaners. He worked on the vulcanite stem with Soft Scrub then let it soak in Before & After Pipe Stem Deoxidizer. It has light tooth marks and chatter on both sides. I took photos of the pipe before I started my work. 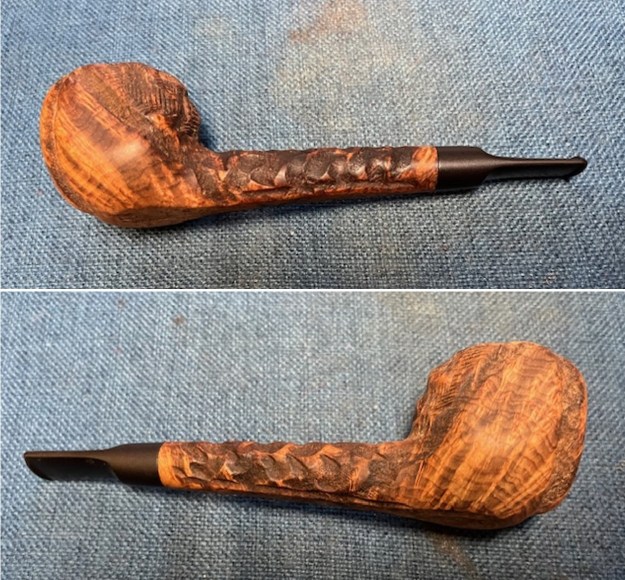
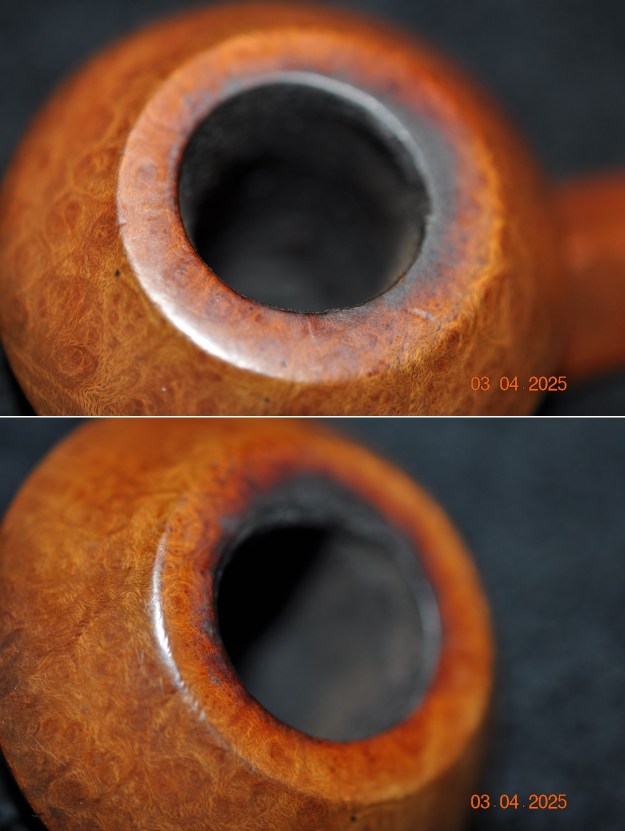
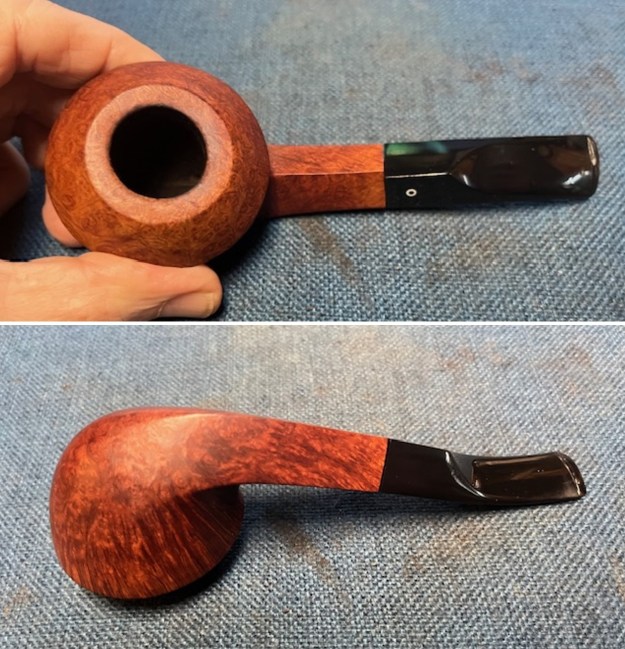
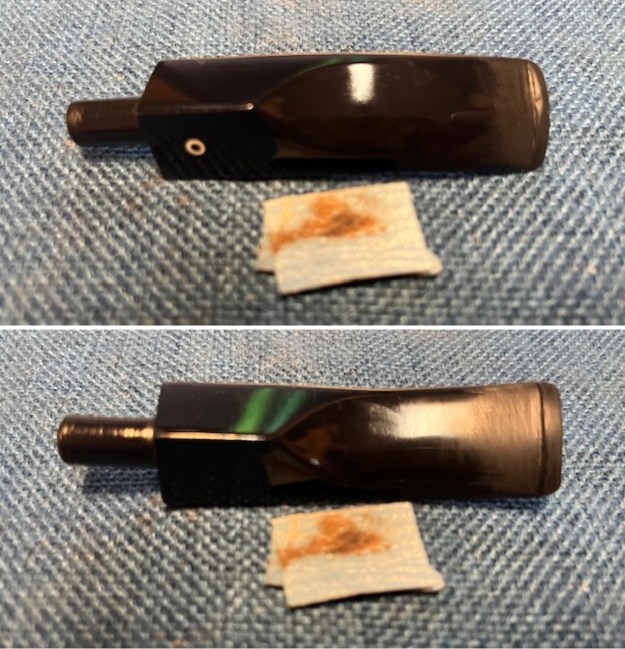
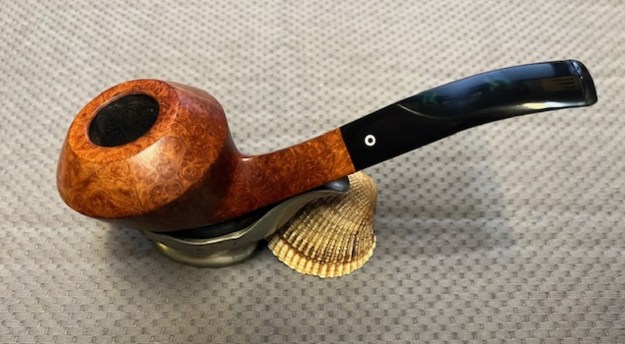
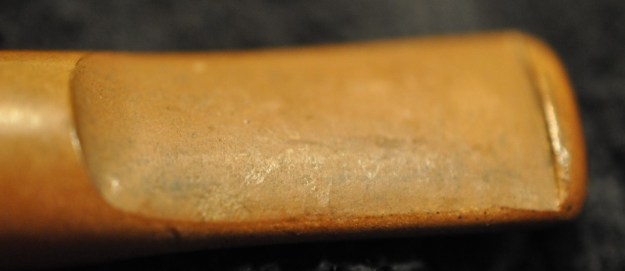
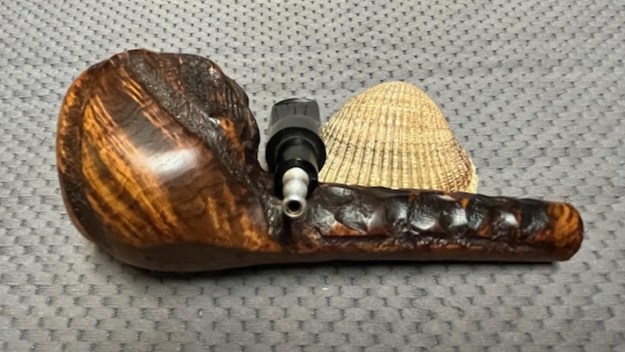
 I took some close up photos of the bowl/rim top and the stem to show the condition they were in at this point. The rim top and edges looked good and the bowl was clean. There was some darkening on the top toward the back of the rim and the damage to the inner edges. The stem had light chatter on both sides near the button.
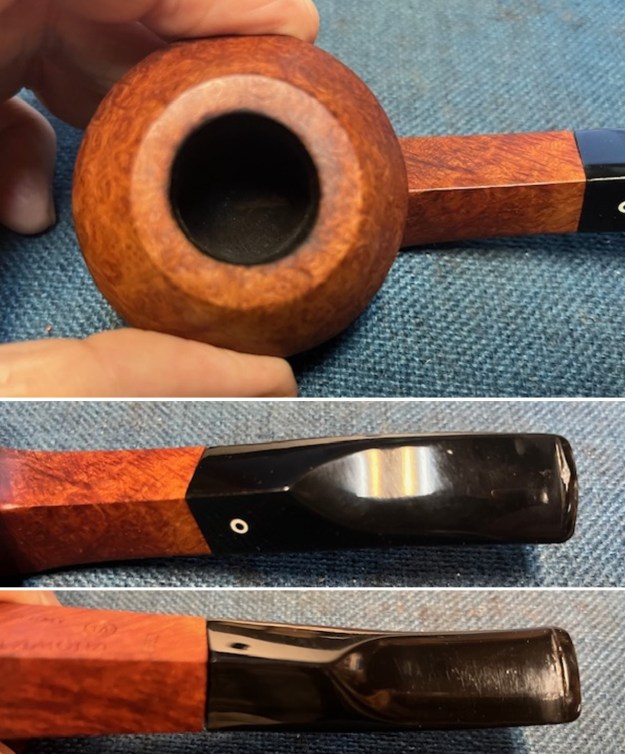
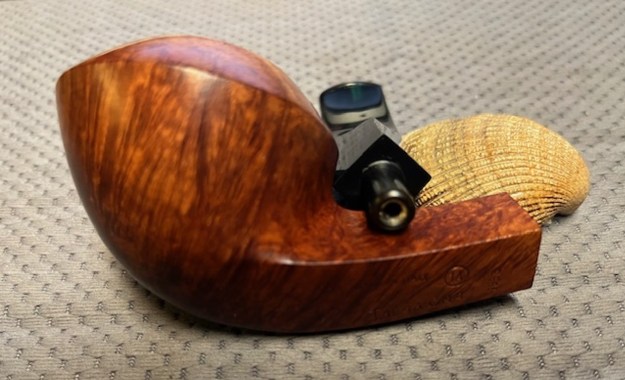
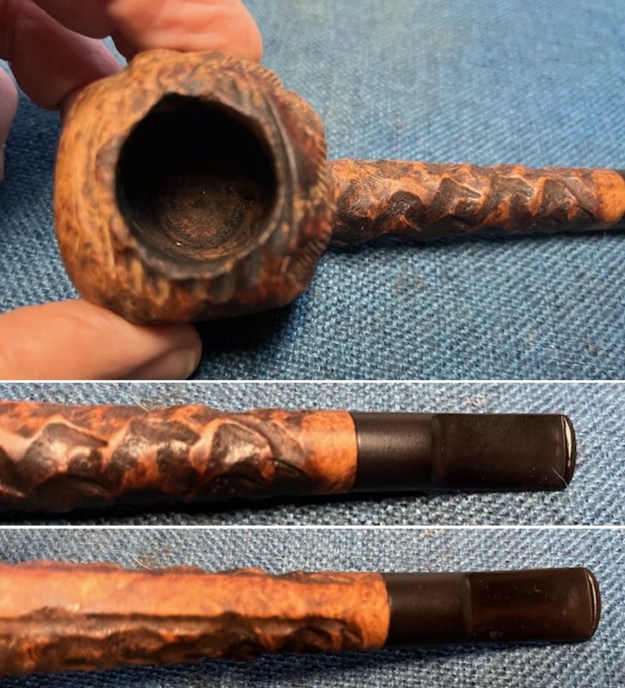 I took a photo of the stamping on the heel of the bowl. It is clear and readable as noted above. I removed the stem from the shank to give a sense of the pipe.
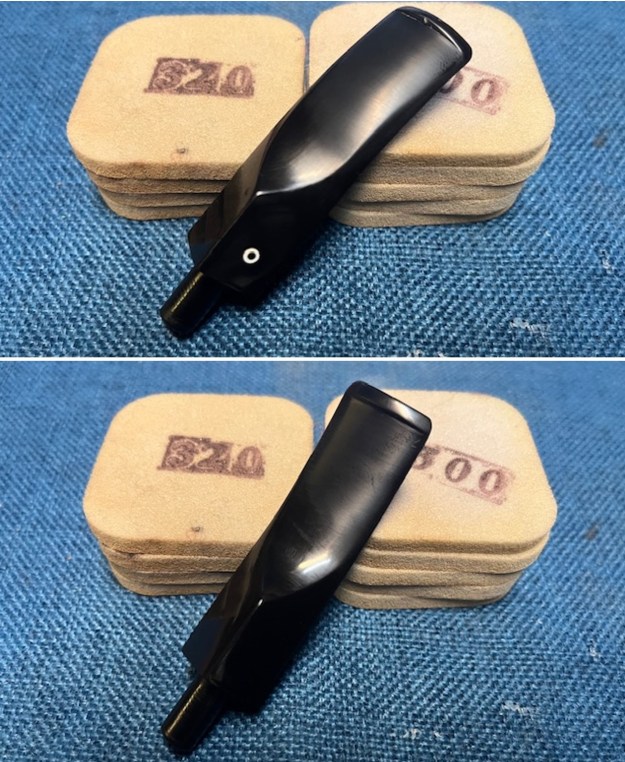
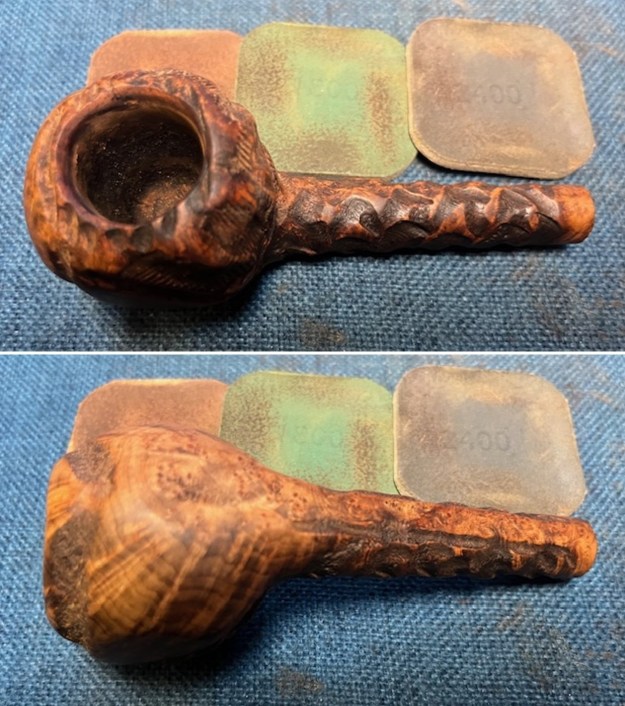
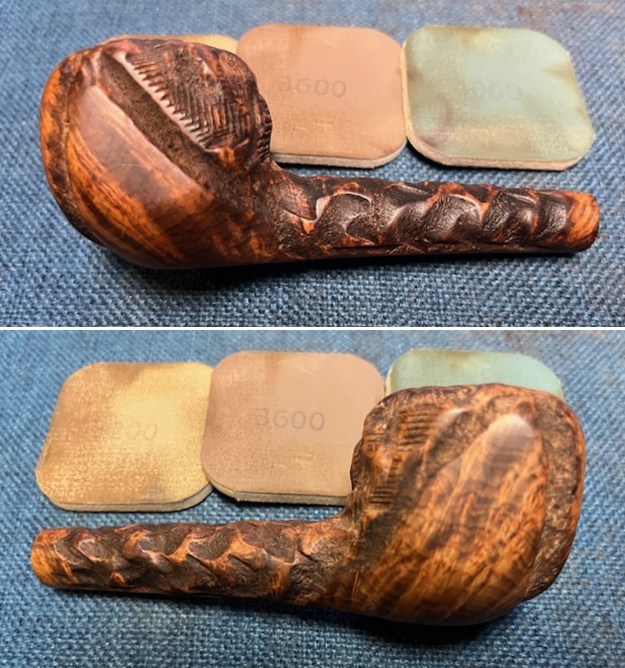
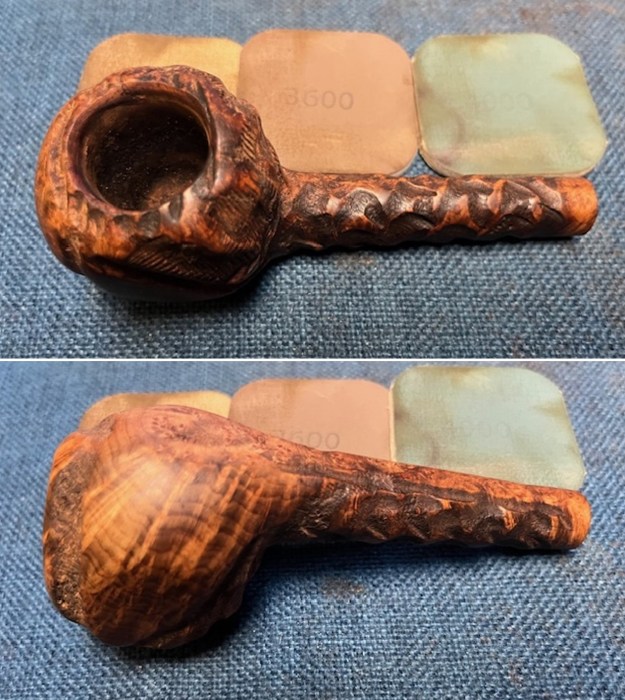
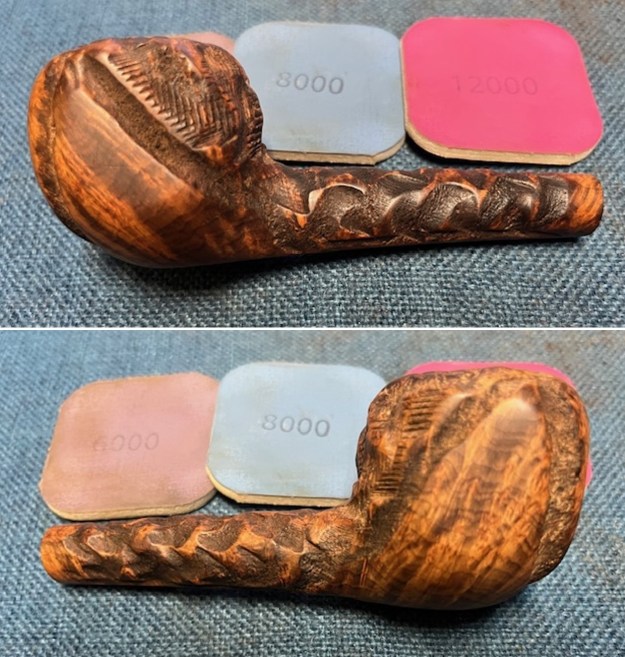
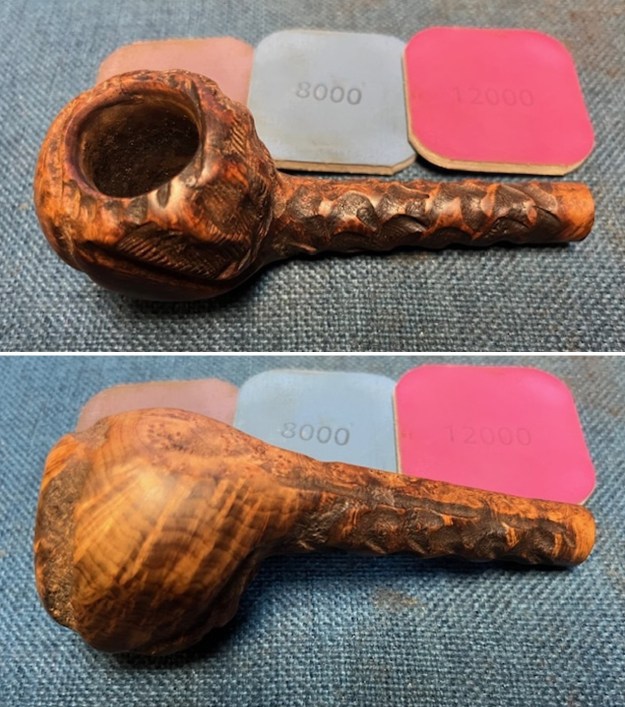
 I worked on the darkened rim top and the inner edge of the rim. I used a folded piece of 220 grit sandpaper. After working on it the rim top and bowl edge looked much better.
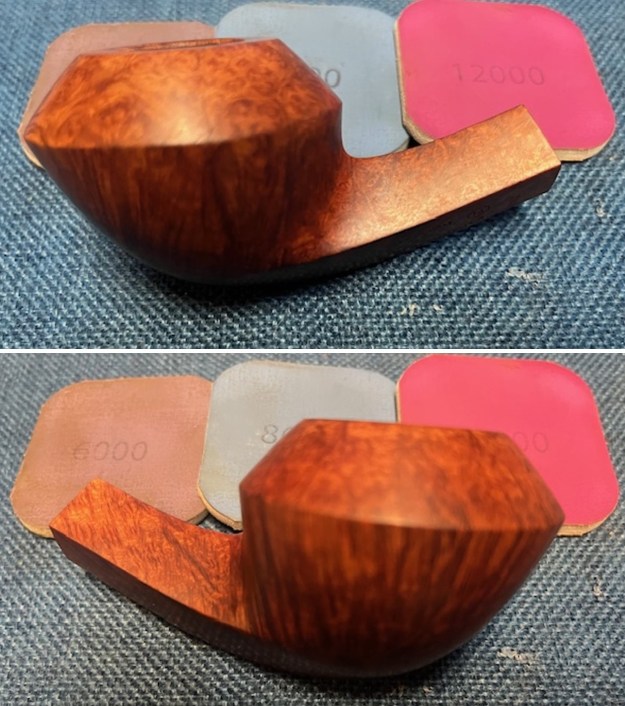
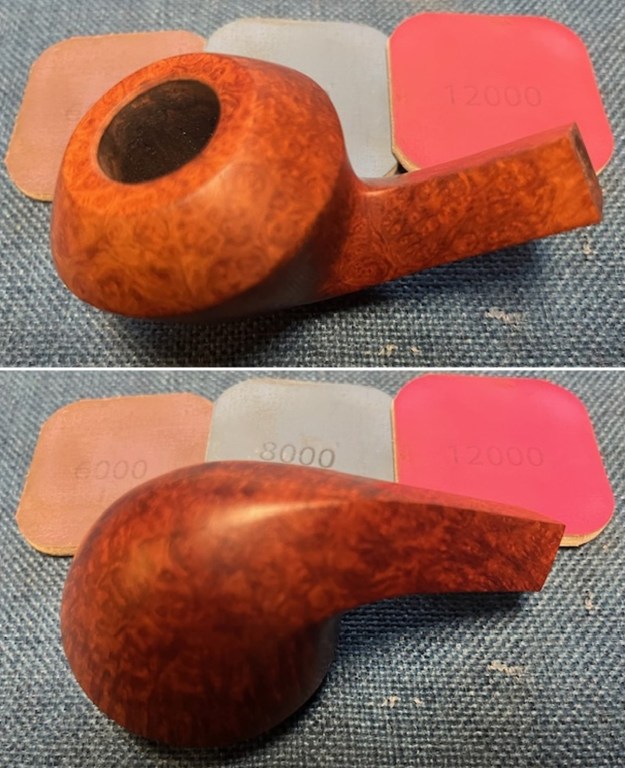
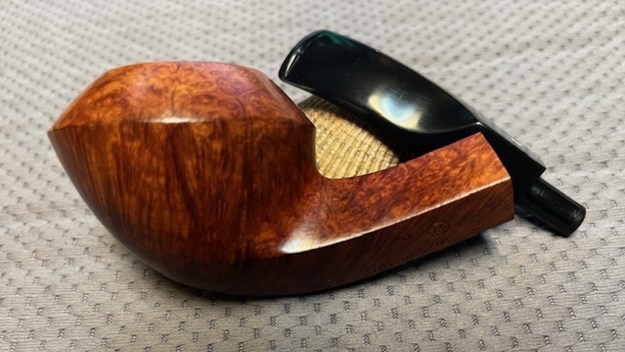
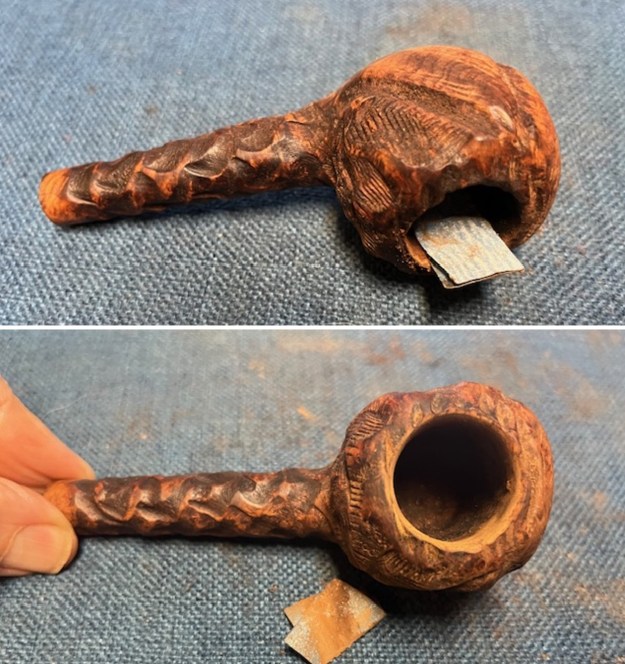 I polished the smooth portions of the briar with micromesh sanding pads – dry sanding it with 1500-12000 grit pads. I wiped the bowl down after each pad with a damp cloth. The finished bowl and shank look very good.
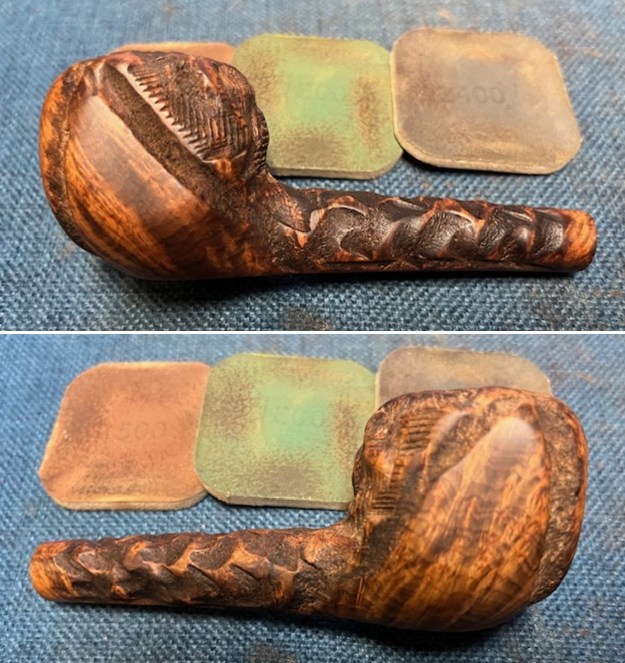
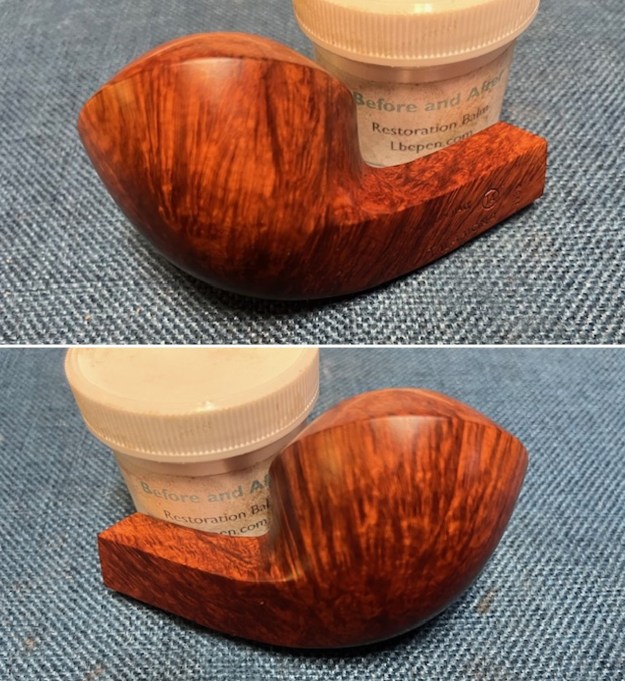
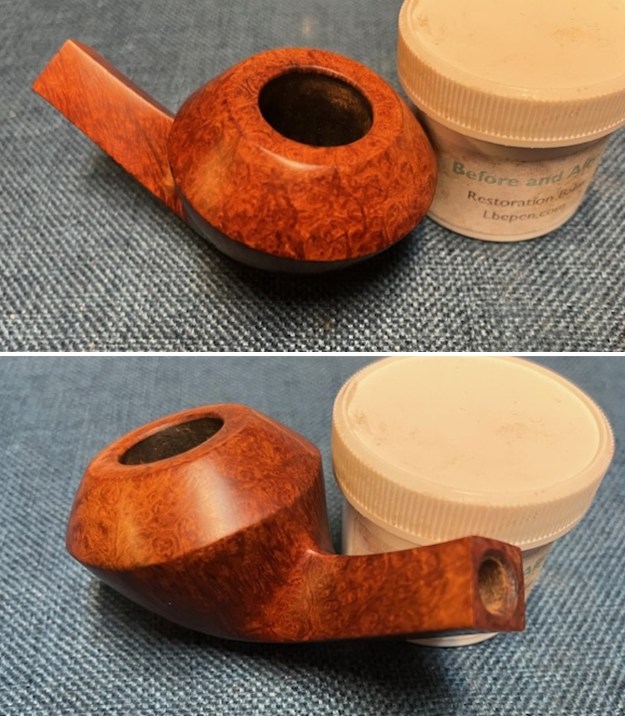
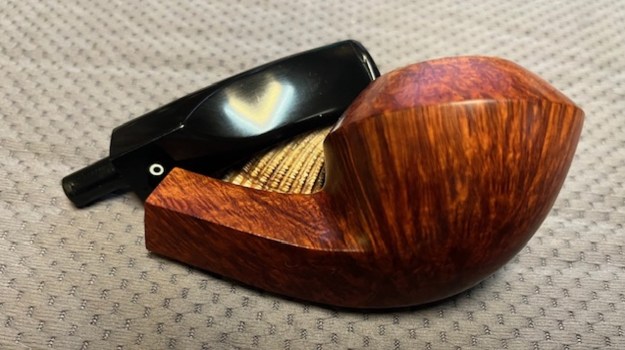
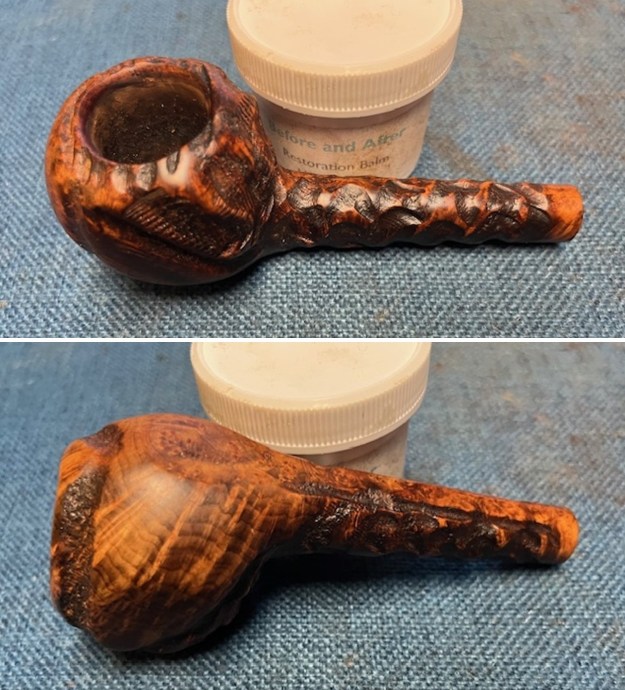
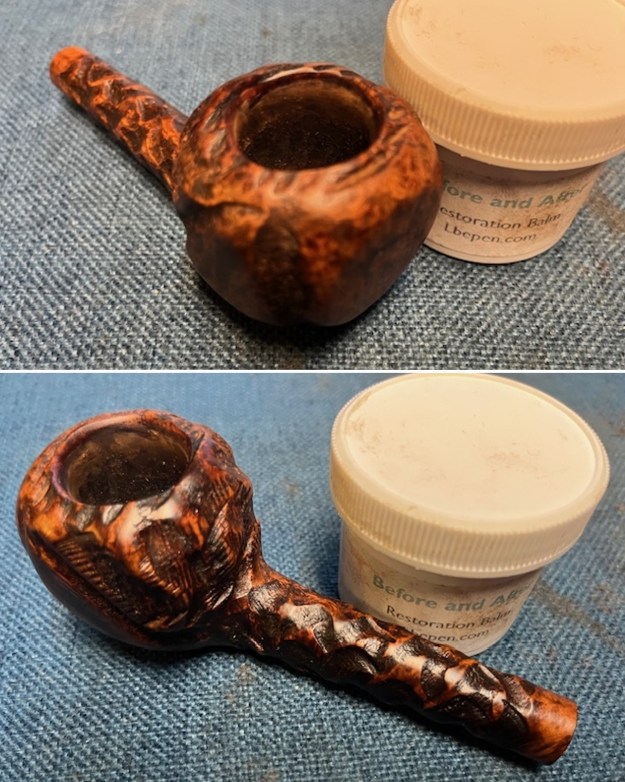
 I worked some Before & After Restoration Balm into the surface of the briar with my finger tips and a shoe brush to get into the valleys and crevices of the rustication. The product is amazing and works to clean, enliven and protect the briar. I let it sit on the briar for 10 or more minutes and then buff it off with a soft cloth. It really makes the briar come alive and look quite rich.
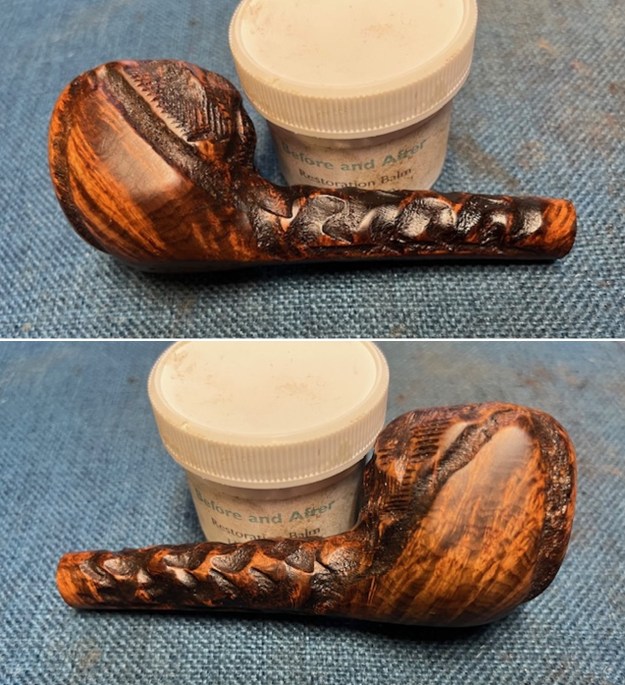
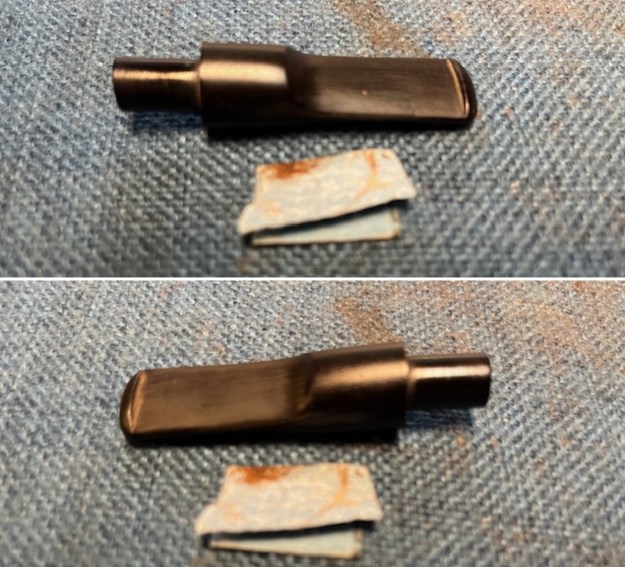
 I set the bowl aside and turned my attention to the stem. There were some tooth dents on the topside and underside of the stem surface. I painted them with the flame of a lighter and was able to lift them. I sanded out the remnants and the remaining oxidation with a folded piece of 220 grit sandpaper.
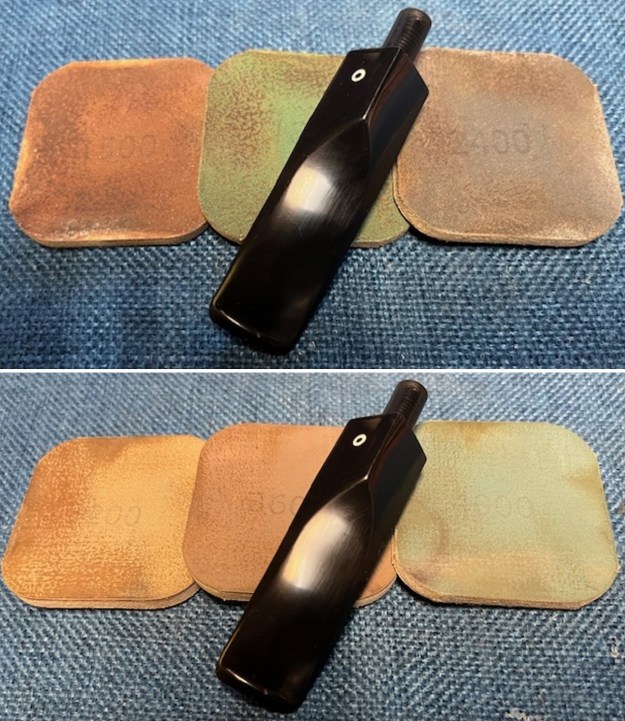
 I sanded the stem with 320-3500 grit sanding pads. I wiped the surface down after each pad with some Obsidian Oil and it was beginning to look very good.
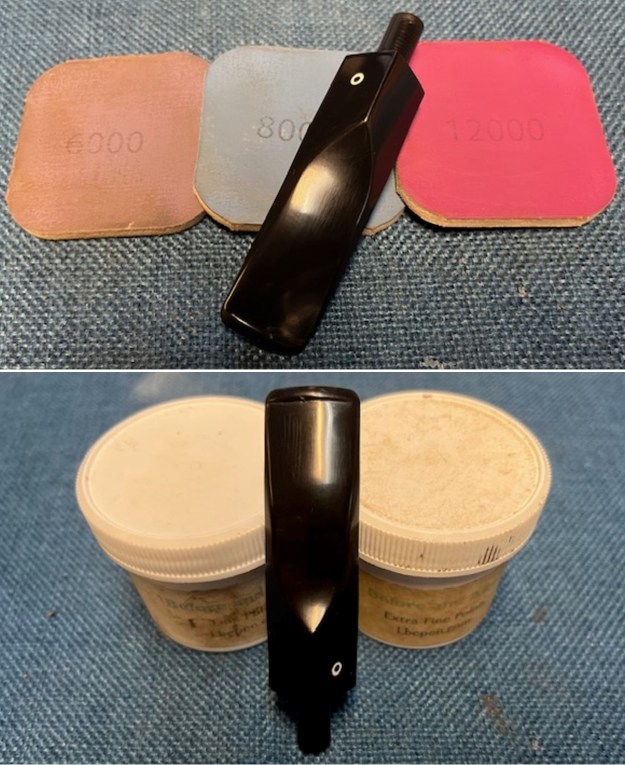
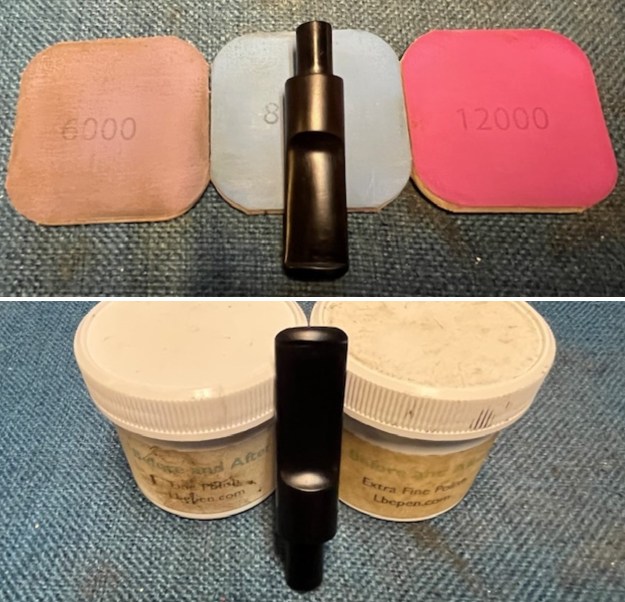
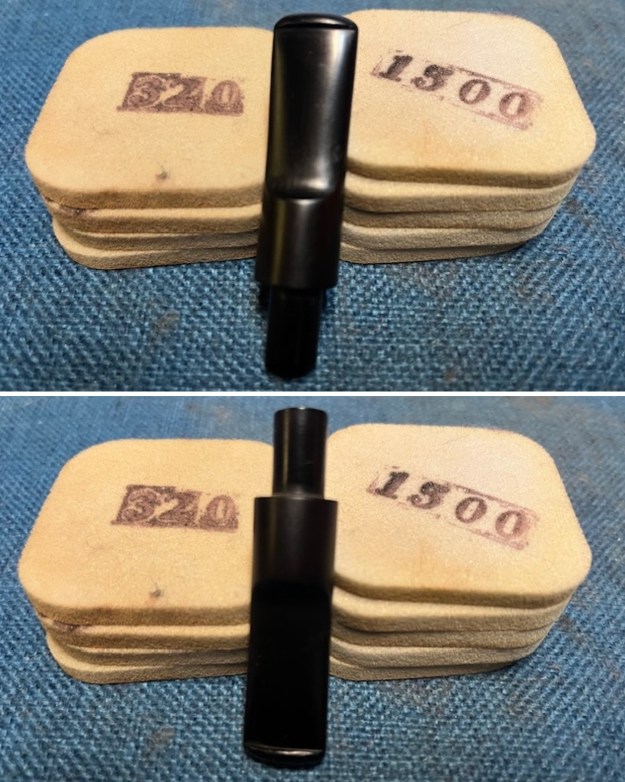 I polished it with micromesh sanding pads – dry sanding with 1500-12000 grit pads. I wiped the stem down after each pad with a cloth and Obsidian Oil. I finished the polishing with Before & After Pipe Stem Polish – both Fine and Extra Fine. I gave it a final coat of Obsidian Oil.
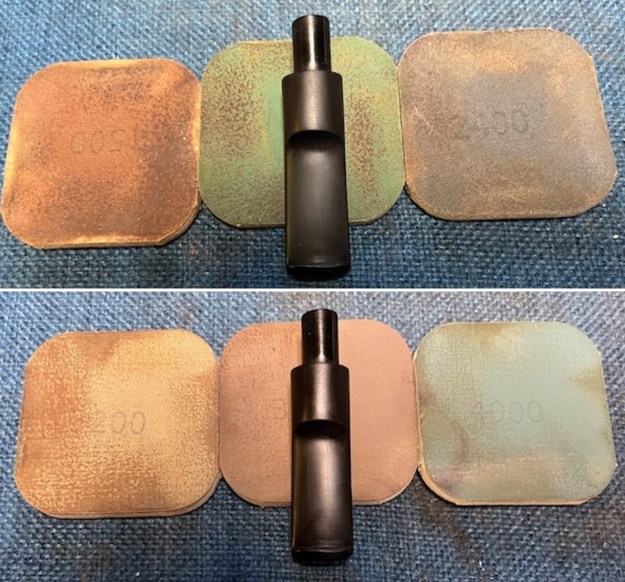
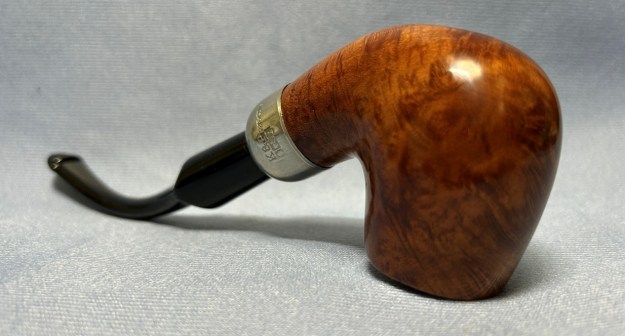
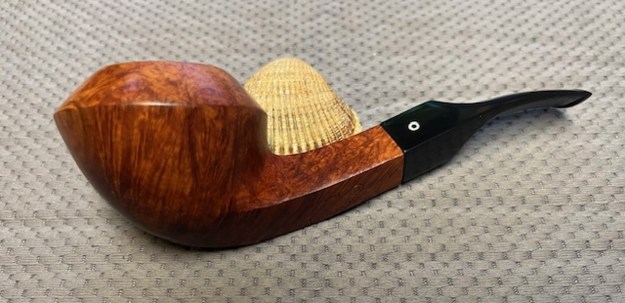
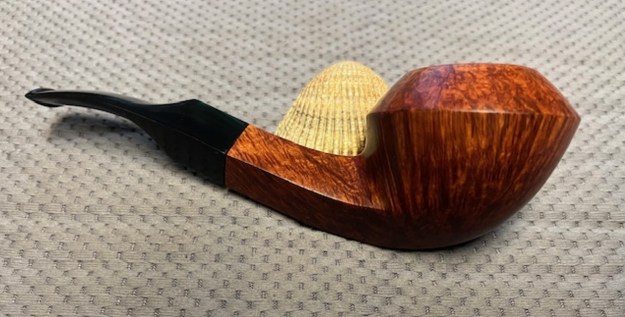
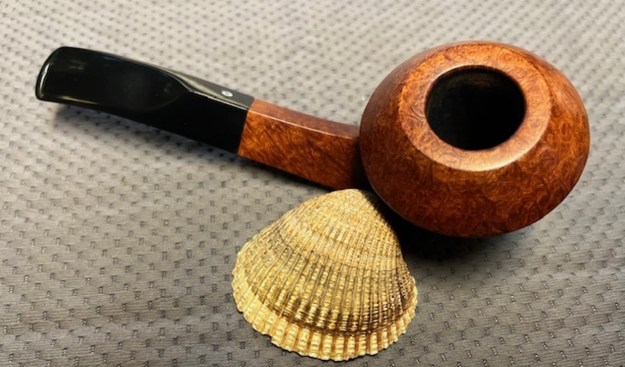
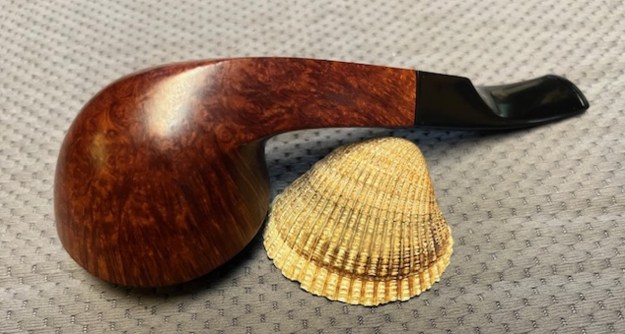
 I put the Marxman Jumbo Long Shank Apple “C” back together and buffed it on the buffing wheel with Blue Diamond. It raised a shine on the briar and the stem and gave some depth to the look of the carved grooves. I gave both the bowl and the stem multiple coats of carnauba wax on the wheel and buffed the pipe with a clean buffing pad to raise the shine. I hand buffed it with a microfiber cloth to deepen the shine. The pipe turned out to be a unique beauty in its own rugged way. Flat bottom Apple shape make it very different from most of the other Marxman Jumbos I have worked on. I like the look of the rusticated shank and saddle on the stem. The dimensions of the pipe are Length: 6 ½ inches, Height: 1 ¾ inches, Outer diameter of the bowl: 1 ½ inches, Chamber diameter: 1 inch. The weight of the pipe is 1.76 ounces/50 grams. It really is a uniquely beautiful pipe. I will soon be putting it on the rebornpipes store in the American (US) Pipemakers Section. Thanks for walking through the restoration with me. Cheers.
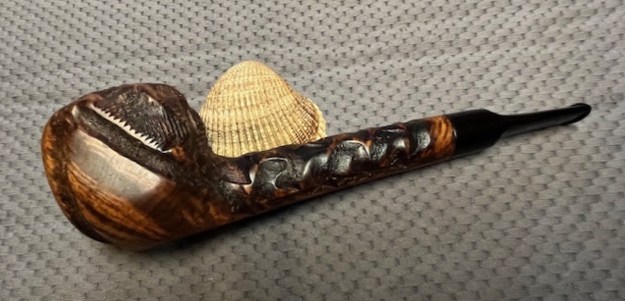


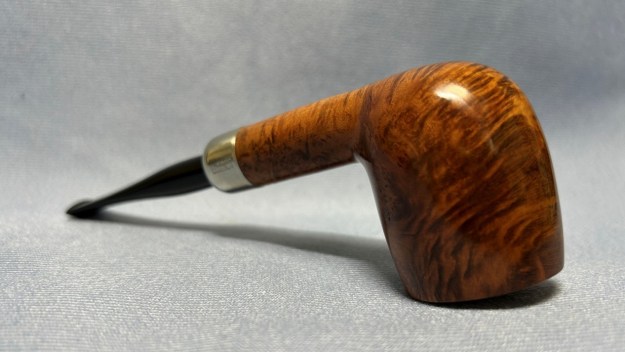
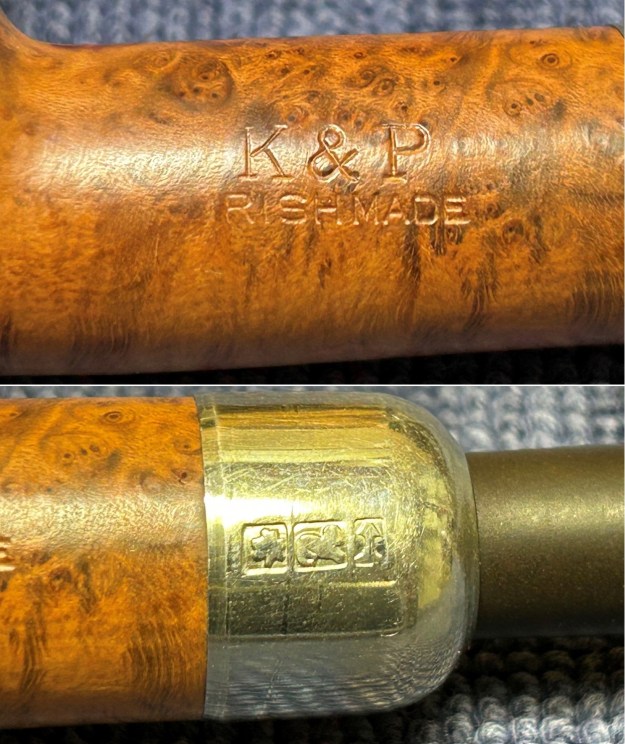
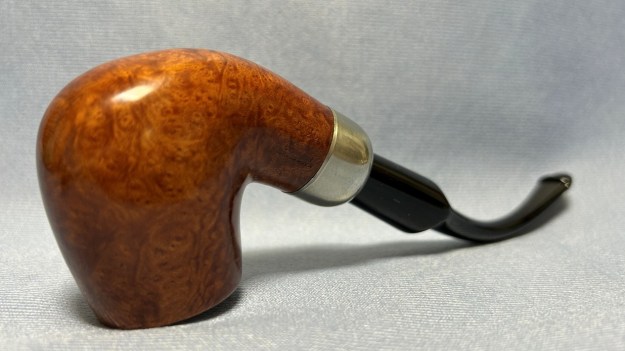
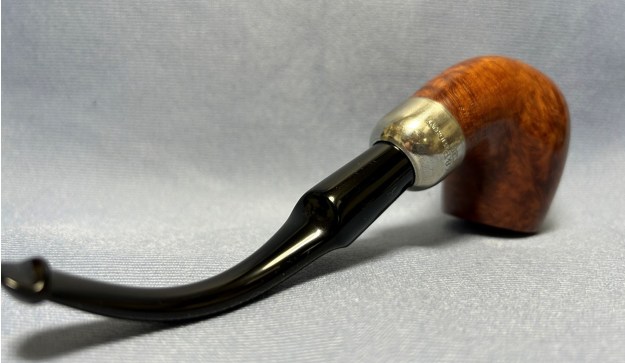
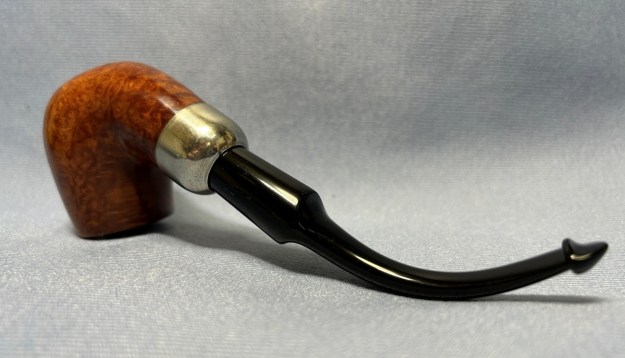
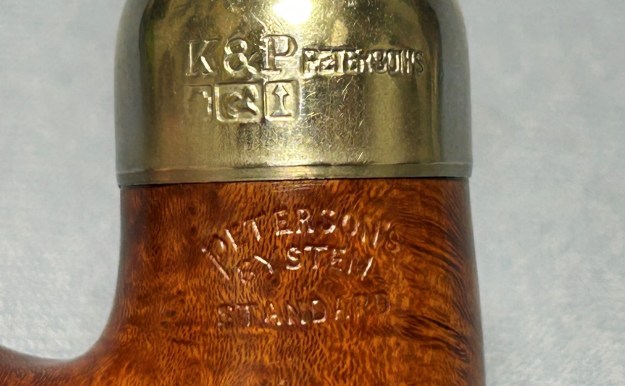
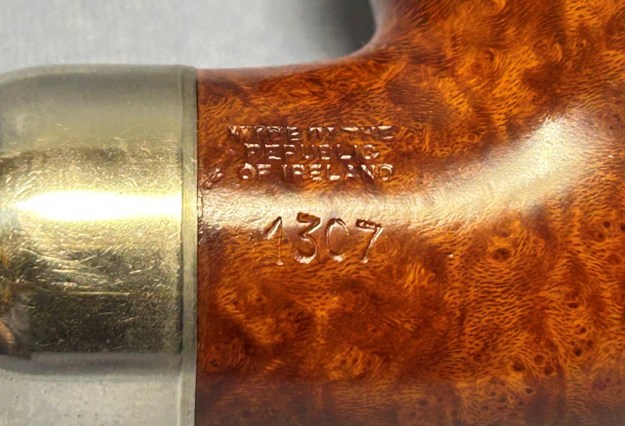
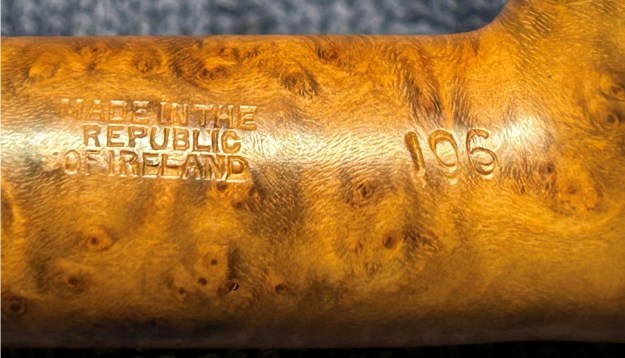 Next is a Peterson System Standard 1307 (same as 307) bent billiard. Another lovely pipe. If you are interested in acquiring it for your collection, please have a look in the “Irish” pipe section of the store here on Steve’s website. You can also email me directly at kenneth@knightsofthepipe.com. The approximate dimensions of the Peterson System Standard 1307 are as follows: length 6½ in. (165 mm); height 2⅛ in. (54 mm); bowl diameter 1½ in. (40 mm); chamber diameter ⅞ in. (21 mm). The weight of the pipe is 2⅜ oz. (67 g). Have a look below. Thanks.