by Kenneth Lieblich
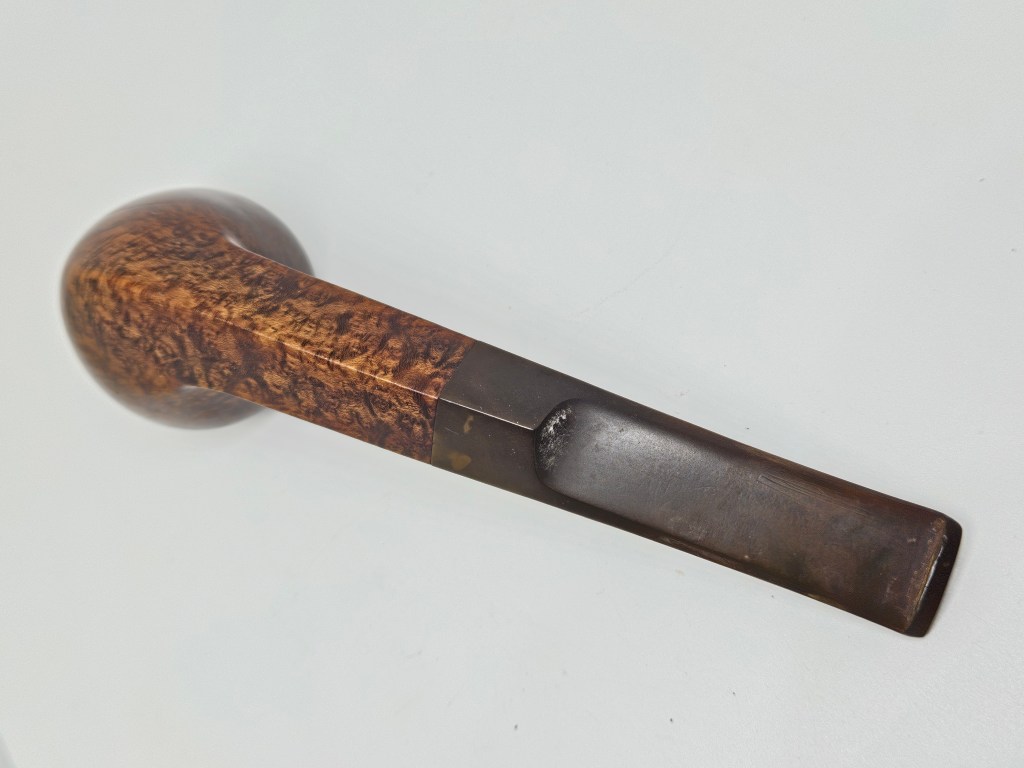
This pipe is for you. Yes, YOU. No doubt, when you’ve read my blog post about it, you’ll be charmed enough to want it for yourself. I received it in an auction lot and something about its look seemed vaguely familiar to me. I thought it was quite handsome, despite its tired appearance, so I figured I’d get it restored for whoever its next owner might be. There was beauty to be uncovered!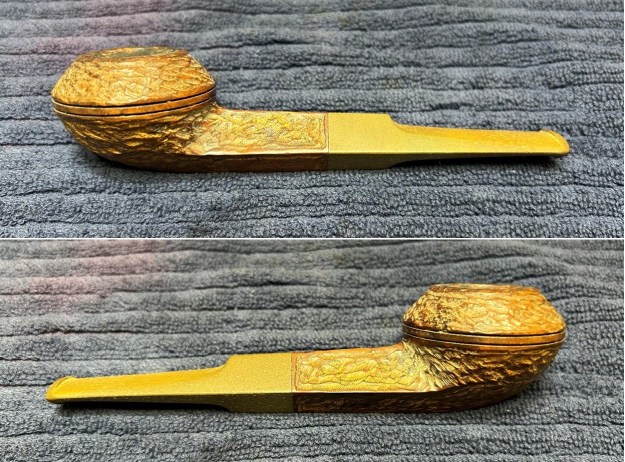
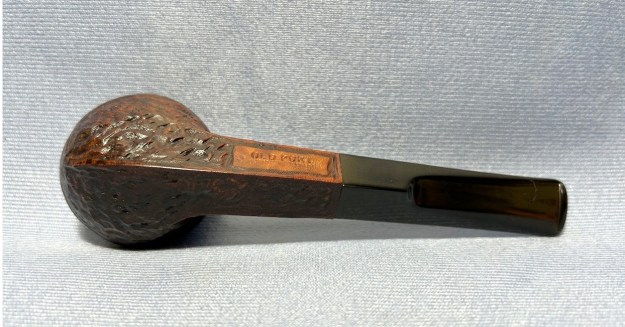
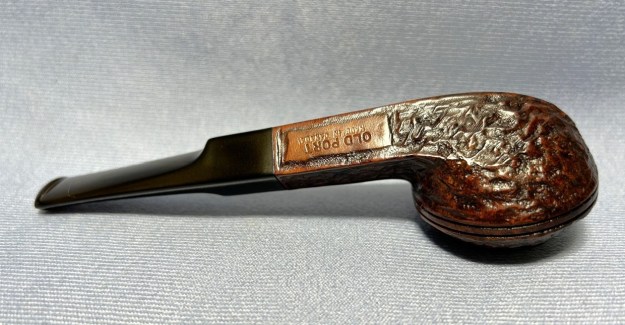
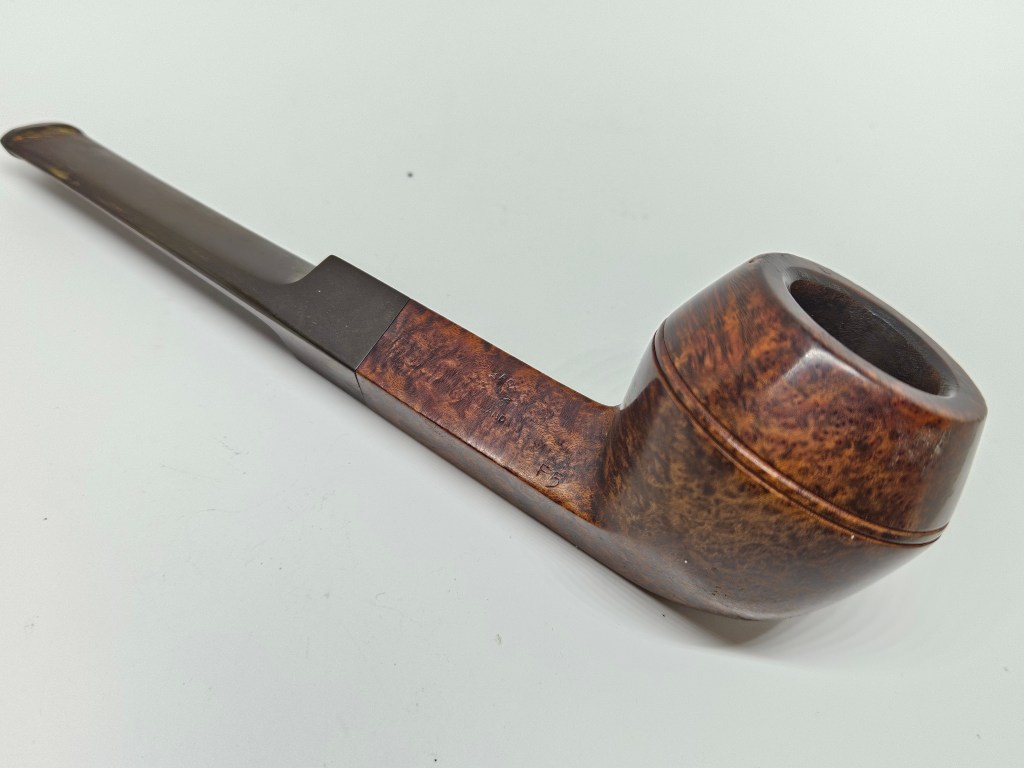
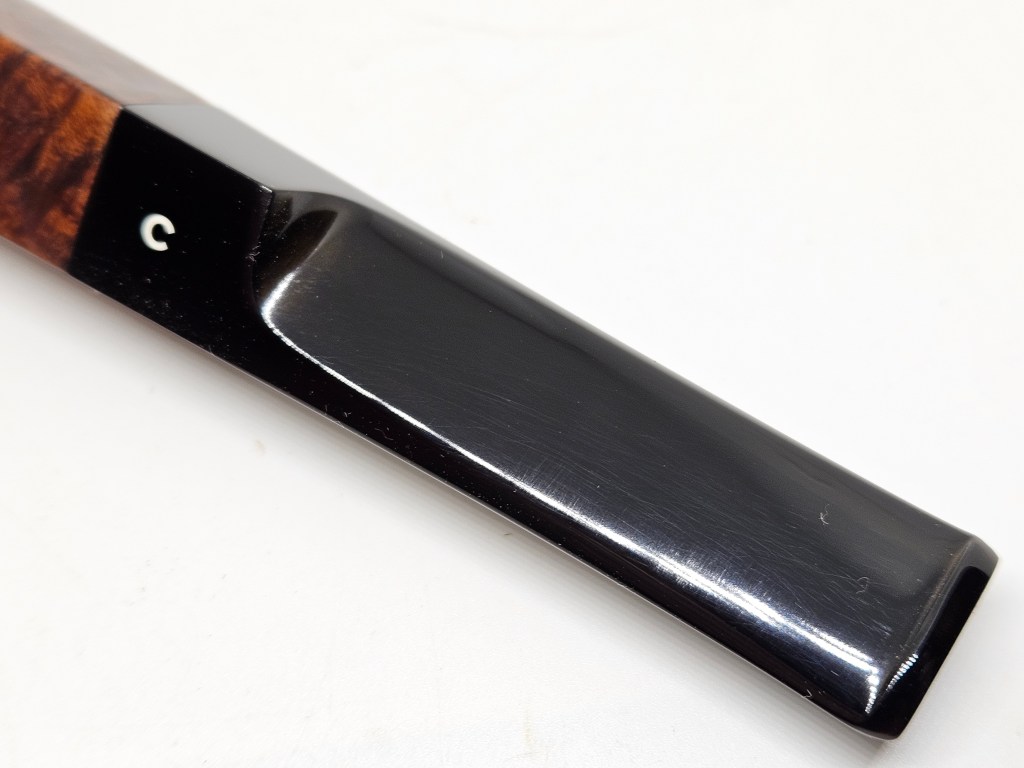
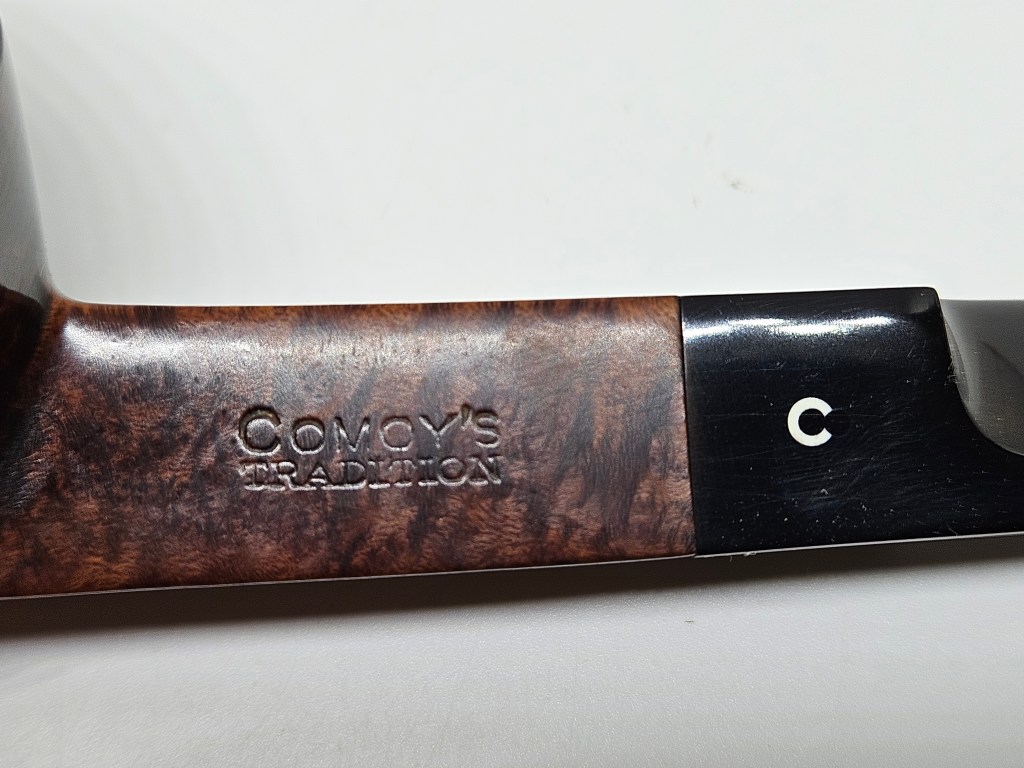
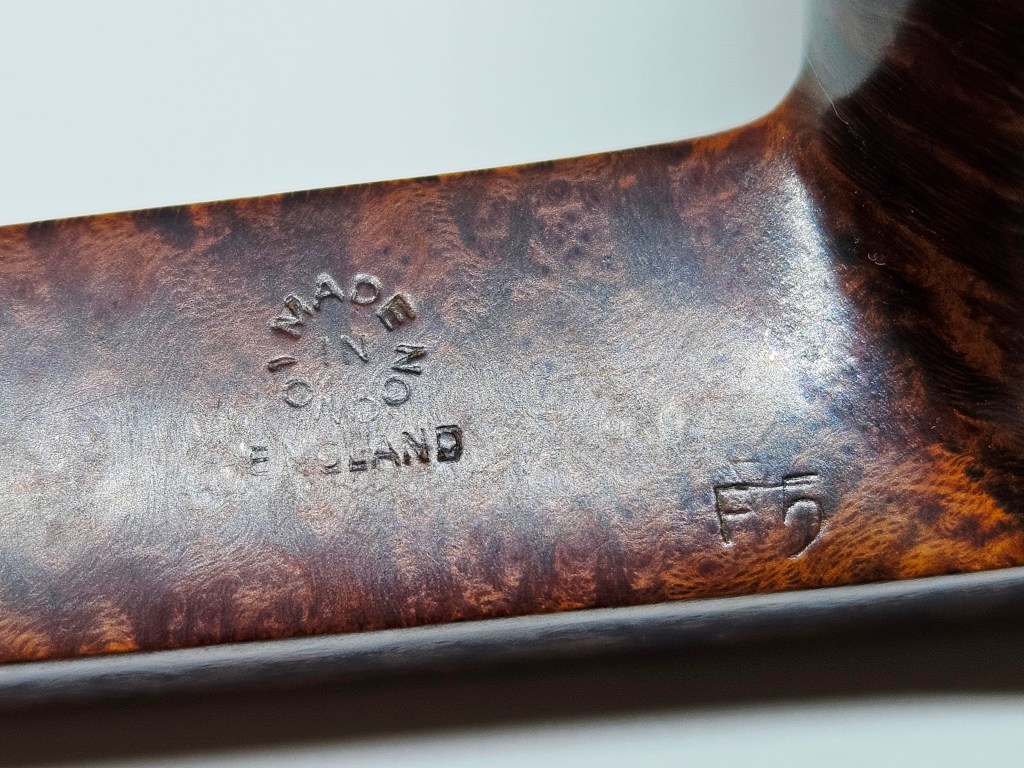
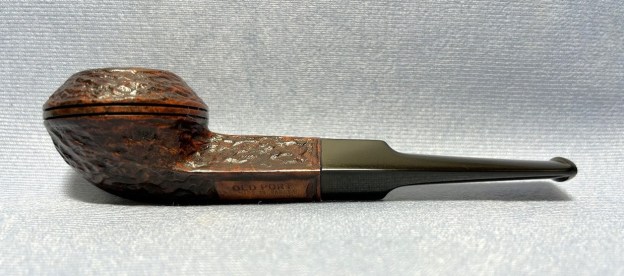
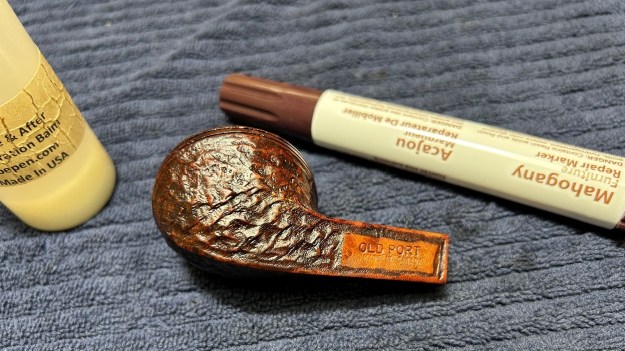
 The pipe’s markings were straightforward enough. On the side of the shank read the words, OLD PORT [over] MADE IN CANADA. The Made in Canada words did seem reminiscent of the markings on old Brigham pipes, so that suggested a clue to the pipe’s origin. Before I pursued that lead, however, I needed to dig into the Old Port name first.
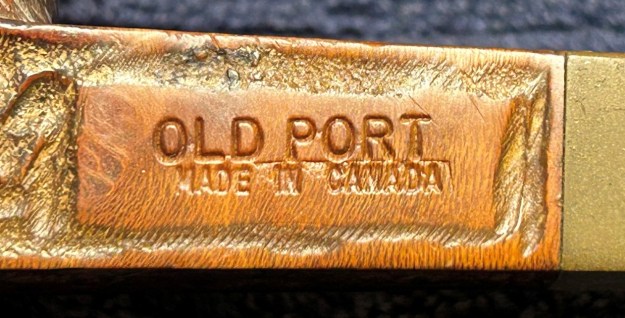 I remembered Old Port, not as a pipe maker, but as a brand of drug-store tobacco, as one might call it. In fact, I think my father used to smoke Old Port once upon a time – I’ll have to ask him.
  First, it’s time to go down the rabbit hole of Old Port.
It’s worth mentioning that Steve also restored a pipe with name of Old Port nearly ten years ago and I encourage you to read that article here – it will help flesh out the story. The markings of Steve’s pipe and my pipe were different, and I was not convinced that they were from the same company (spoiler: I was wrong). In any event, I did some digging through my usual sources for information on this brand – and I came up with nothing. So, I went searching through the weeds of various online pipe forums and I came up with a few tidbits. The following is a summation of what I found.
 Old Port is, indeed, an over-the-counter pipe tobacco, produced for the Canadian market. There was also an Old Port line of cigarillos. It has been manufactured in Montréal since 1927 and was subsequently bought out by the Scandinavian Tobacco Group (STG) in 2000. A quotation from the STG website (which no longer appears) confirms this information:
The Canadian company offers a portfolio of cigar brands comprising Colts, Old Port, CAO, Café Crème and White Owl, as well as the Old Port, Sail and Erinmore pipe tobacco brands. STG Canada was previously called Old Port & Colts Cigar Company. Scandinavian Tobacco Group acquired the Canadian business in 2000 when Imperial Tobacco Canada sold off its cigar activities.
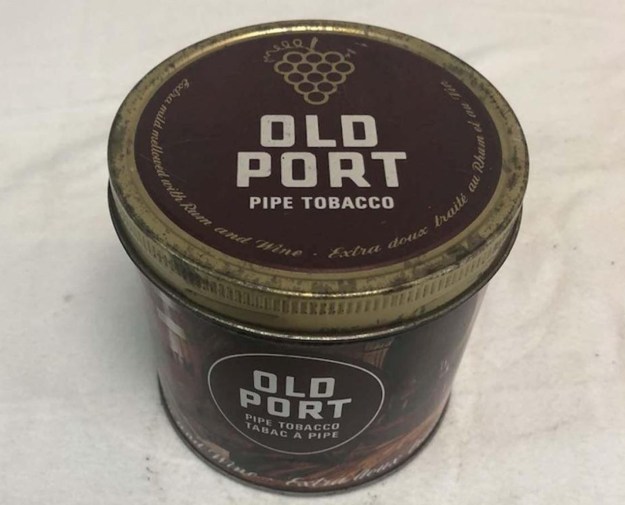
It turns out that Old Port pipes were voucher pipes. In other words, when you bought a tin of Old Port pipe tobacco, you received a coupon and when you collected enough, you could redeem them for a pipe. Many companies did this sort of thing, and I suppose this was one Canadian example. Through my searching, I found some images of a completed auction for an old 1970s tin of Old Port tobacco (as seen above). Two of these photos showed some detail of the brochure that came with the tin. In fact, the brochure shows an image of Steve’s very pipe. This demonstrated that Steve’s pipe and mine are from the same source. In turns out that my pipe was, in fact, made by Brigham, as part of a contract they took on with Old Port. Quite frankly, the pipe looks like a Brigham. One fellow on the pipe forums said that Brigham only made these for two years in the late 1960s, “so as a collectible pipe it might be worth having in your collection.”
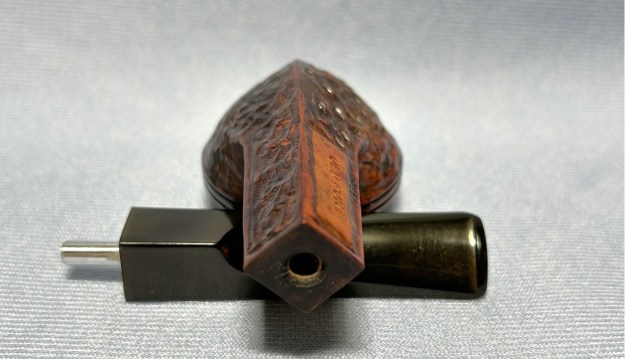
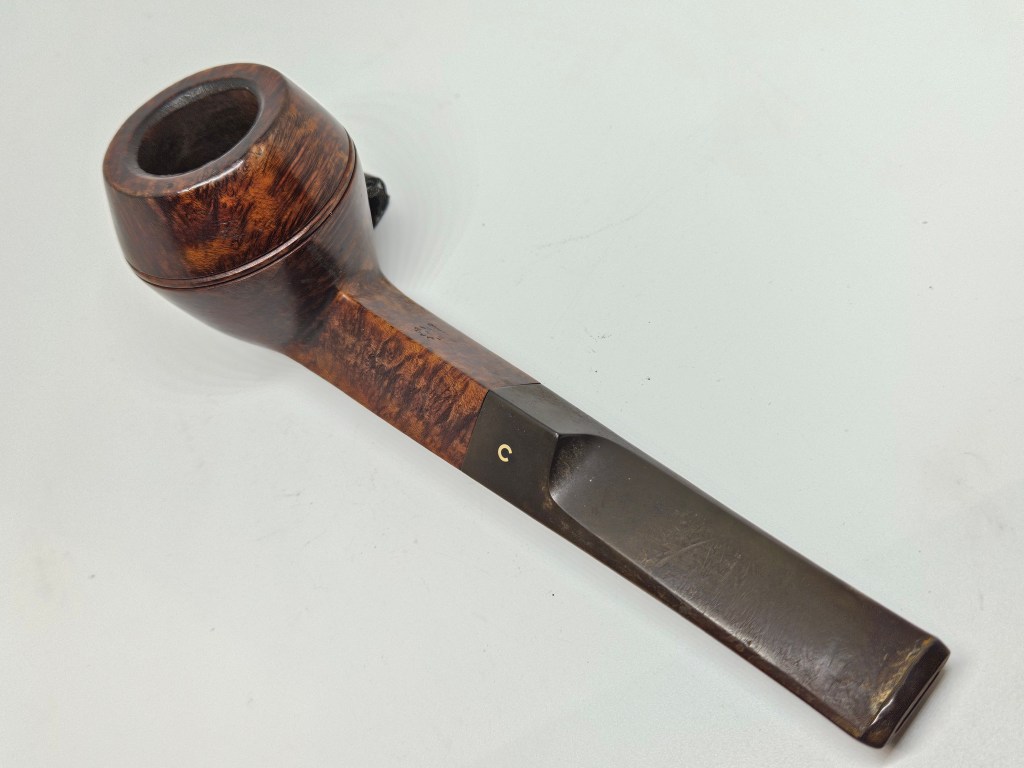
 From the brochure I found above, I assumed that these pipes were also from the 1970s. However, the MADE IN CANADA logo on the shank corresponds to the Brigham logo of the 1956-69 period — so the late 1960s seems right. I learned this logo information thanks to Brigham expert, Charles Lemon’s book on Brigham pipes. Brigham produced these as a non-filtered pipe which was stamped “Old Port”. They featured an experimental aluminum tube which was small enough in diameter to regulate air flow. Supposedly, the concept didn’t work out and Brigham went back to doing their own thing. It then makes sense that Old Port went looking for other manufacturers to make their pipes into the 1970s. And the brochure mentions pipes from Lorenzo, Oppenheimer, among other companies. According to one of the forum posters, some or all of the above information was confirmed by Charles Lemon. So, Charles, if you’re reading this, please let us know in the comments below if this is accurate and if you have any further information!
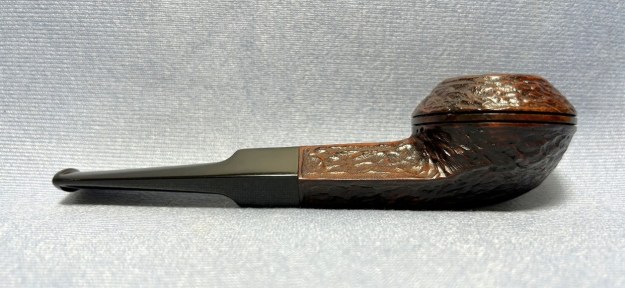
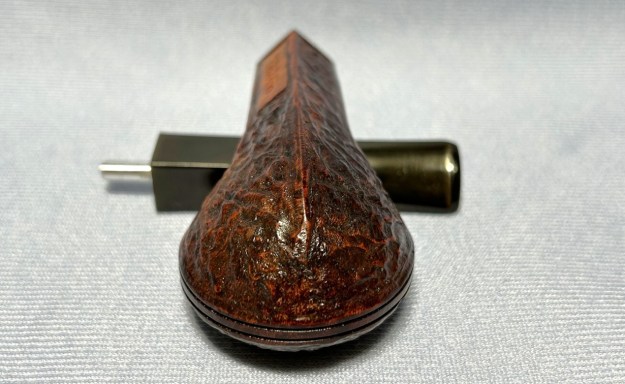
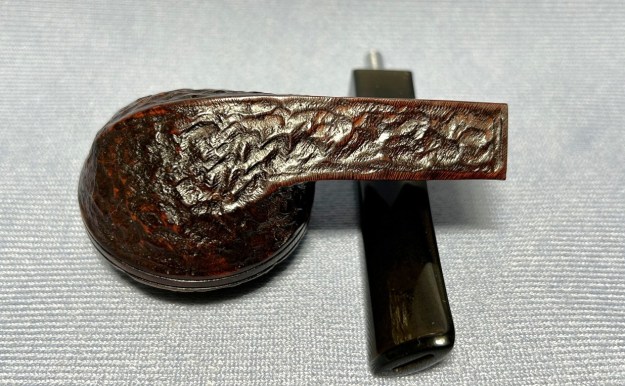
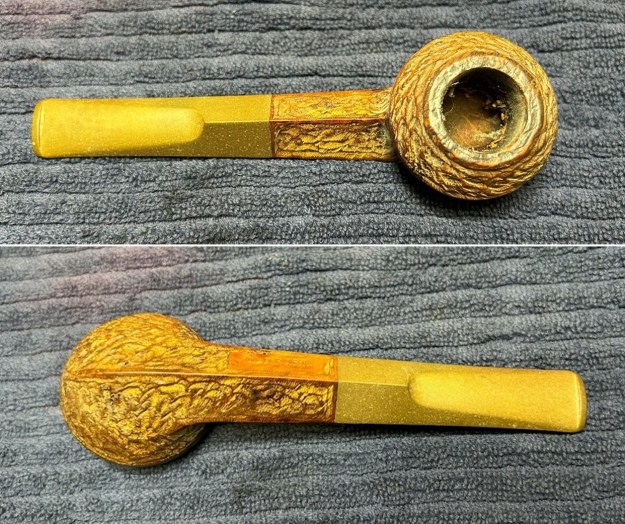
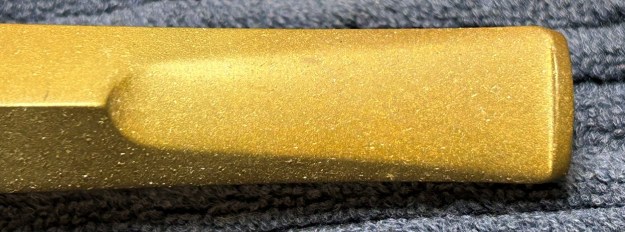
On to the pipe itself. Fortunately, this would be a relatively easy restoration, as the pipe was in good condition. It must have been very seldom smoked, as the stem showed next-to-no tooth marks. The one thing I did notice, however, is that the stem was heavily oxidized. It probably sat in the sun for a long time. The stummel, too, was in great shape. A bit dusty and shabby perhaps, but nothing that I couldn’t resolve. 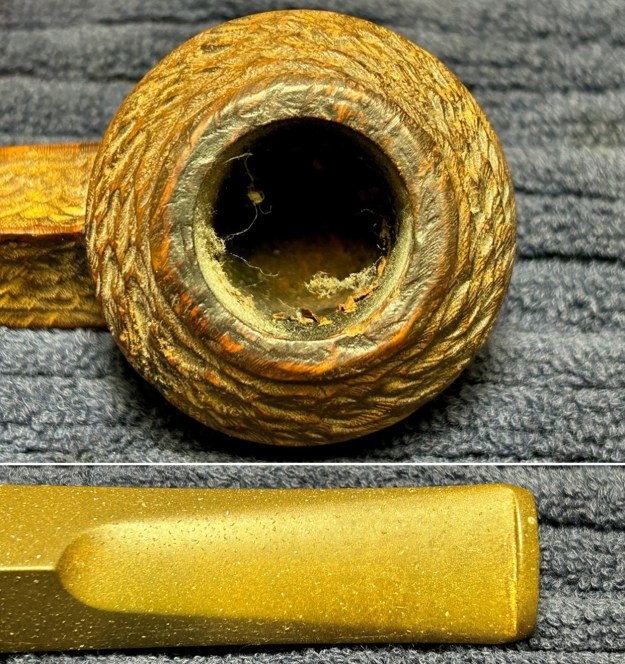
 First, I used oil soap on a few cotton rounds and wiped the stem down to provide an initial cleaning before moving on to the next steps. The primary cleaning comes next. I cleaned the inside of the stem with both pipe cleaners and cotton swabs dipped in 99% lemon-infused isopropyl alcohol. I scrubbed thoroughly to make sure the interior was clean. As the pipe was seldom smoked, this was a quick procedure.
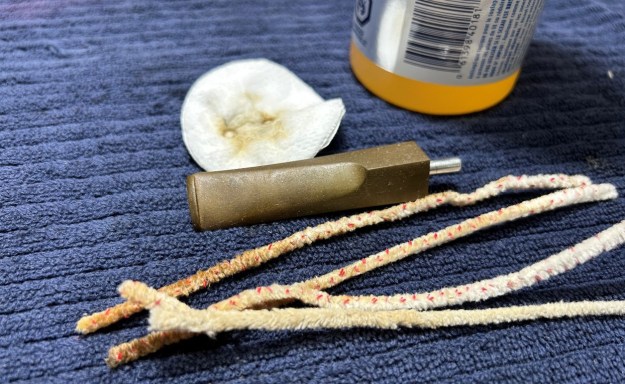 The goal of the next step is the removal (or minimization) of oxidation. Going to my sink, I used cream cleanser, cotton rounds, and a toothbrush, and scoured the stem to remove as much surface oxidation as possible. As the photos show, the result is a hideous brownish mess – but better off the stem than on it.
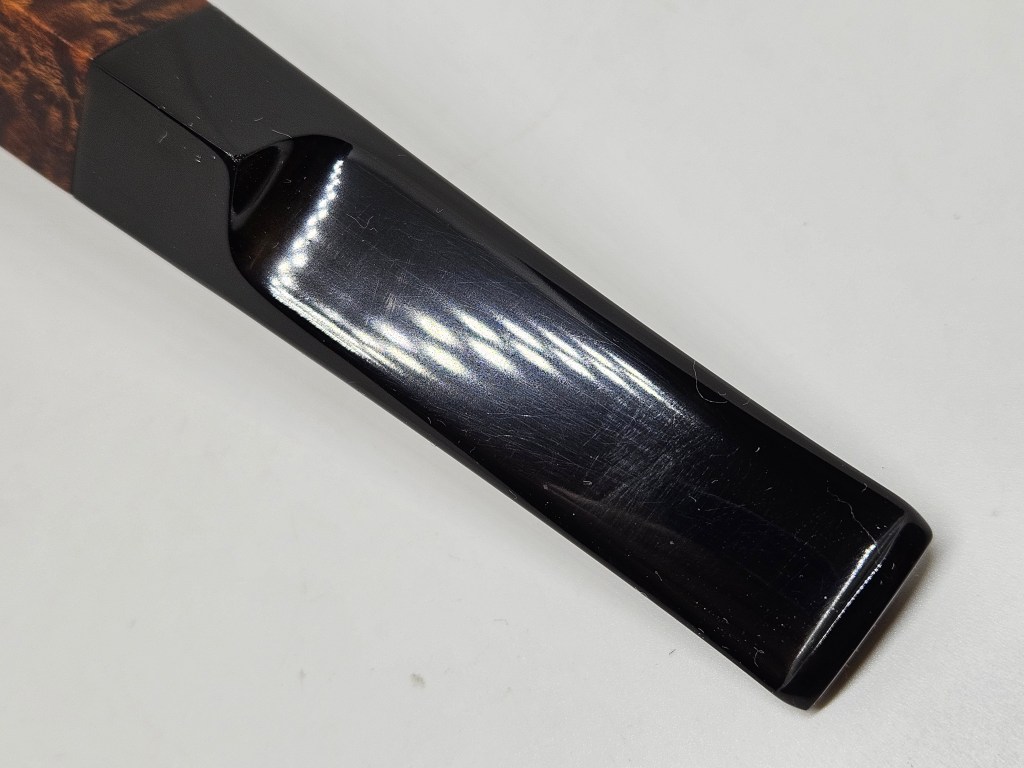
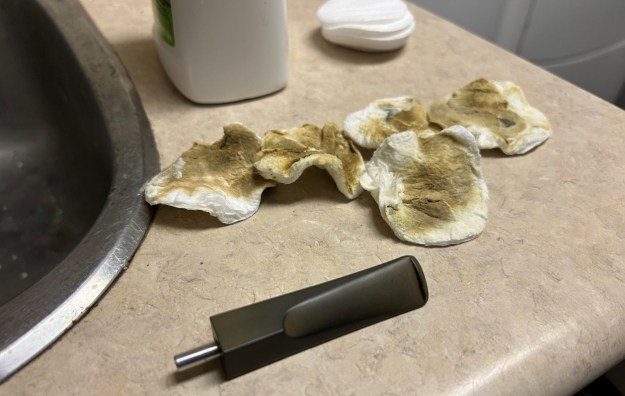 Once the stem was reasonably clean, I soaked it overnight in some de-oxidation fluid. This solution works to draw oxidation in the stem to the surface. This is a major aid and important step in ensuring a clean stem. The following day, I drew the stem out from its bath and scrubbed the lingering fluid with a toothbrush. However, due to the severity of the oxidation, I then repeated the scrubbing with the cream cleanser for maximum effect. Unfortunately, some remnants of the oxidation will always live in this stem – but it is part of the pipe’s long story.
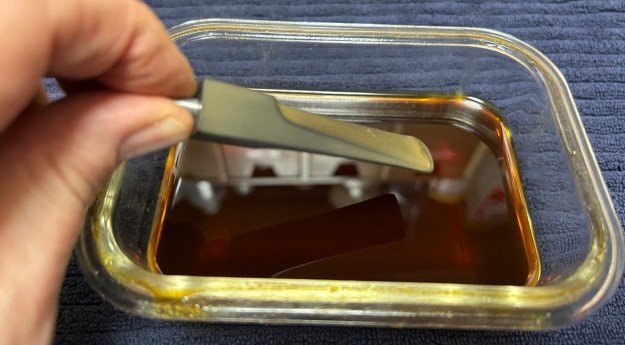 The penultimate step for the stem is sanding. I used all nine of the micromesh sanding pads (1,500 through 12,000 grit) to sand out flaws, even out the vulcanite, and provide gentle polishing of the finished surface. I also apply pipe-stem oil while using the last five micromesh pads. There was a wonderful, deep black shine to the stem when I was done.
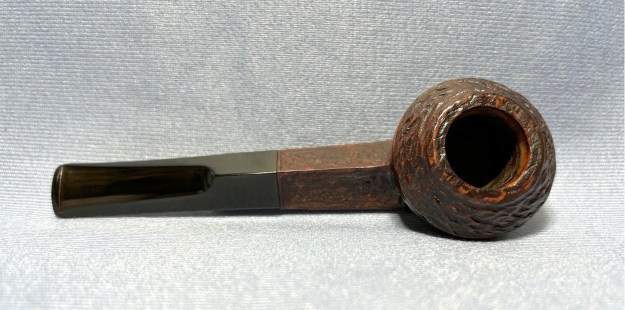
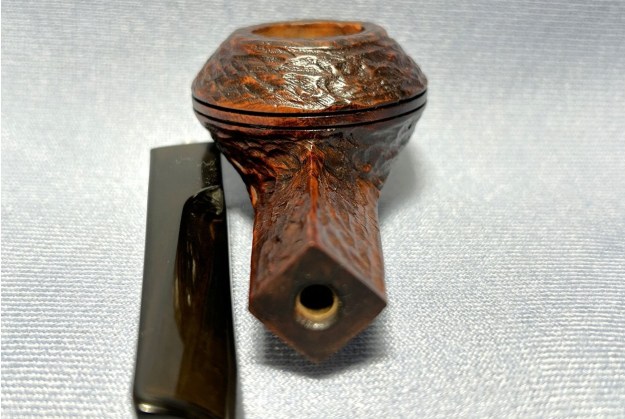
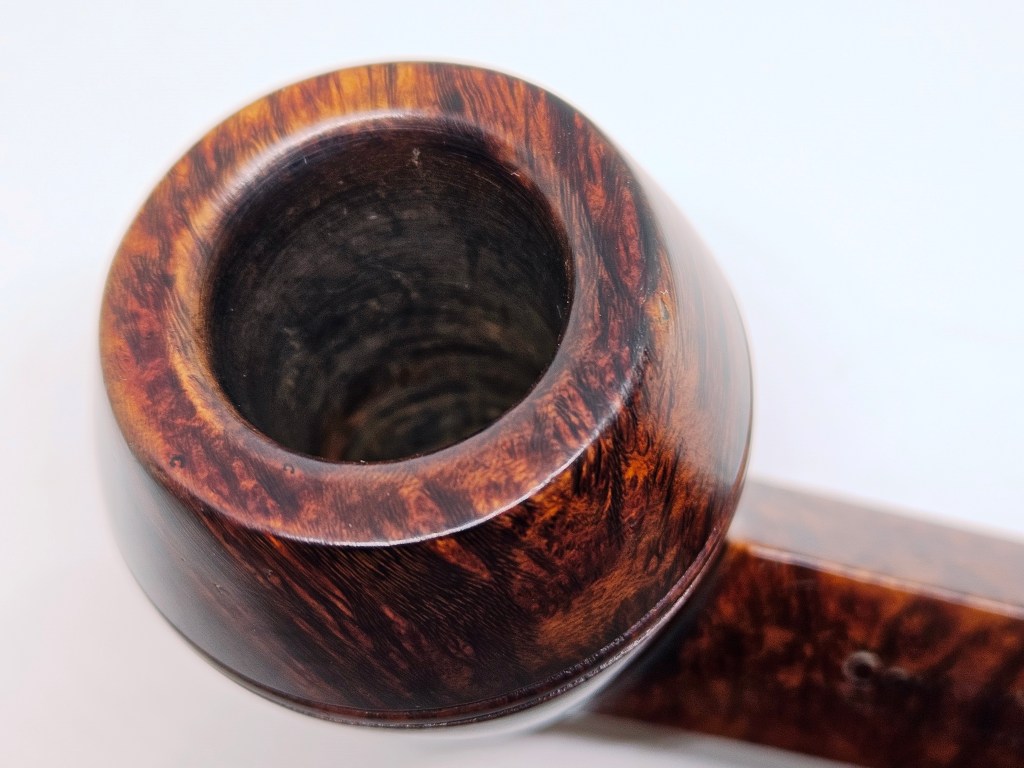
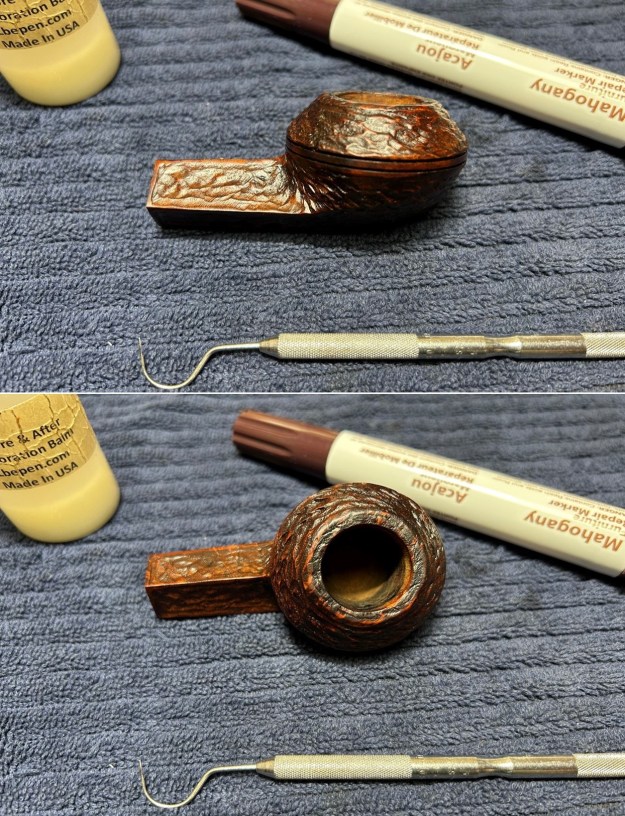
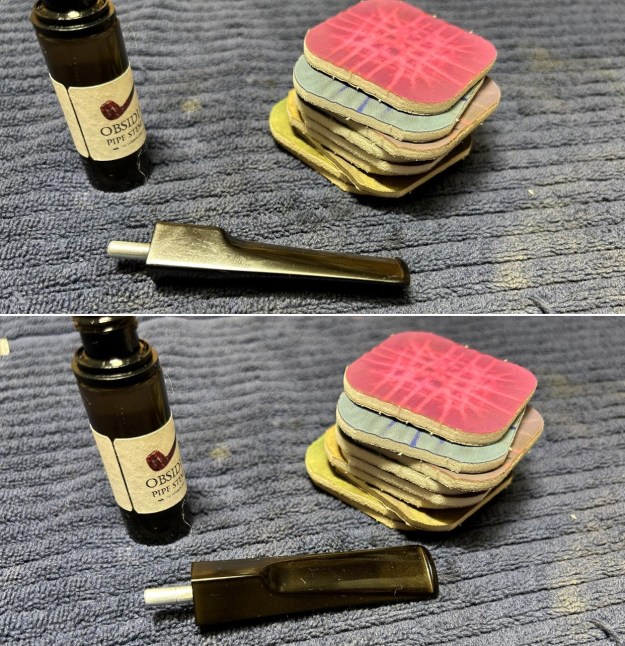 Now that the stem is (nearly) complete, I can move on to the stummel. The first step for me is to ream out the bowl – that is to say, remove all the cake inside the bowl. This accomplishes a couple of things. First (and most obviously), it cleans the bowl and provides a refurbished chamber for future smoking. Second, when the old cake is removed, I can inspect the interior walls of the bowl and determine if there is damage or not. I used a pipe knife, and a piece of sandpaper taped to a wooden dowel. These ensured that all the debris is removed – and I am pleased to report that there wasn’t much.
 Similar to the stem, I then cleaned the stummel with both pipe cleaners and cotton swabs dipped in 99% lemon-infused isopropyl alcohol. This time, it wasn’t too bad.
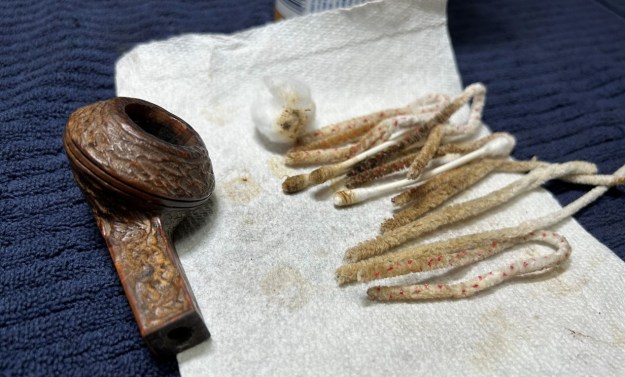 I then decided to ‘de-ghost’ the pipe – that is to say, exorcize the remaining filth from the briar. I filled the bowl and the shank with cotton balls, then saturated them with 99% isopropyl alcohol. I let the stummel sit overnight. This caused any remaining oils, tars and smells to leach out into the cotton.
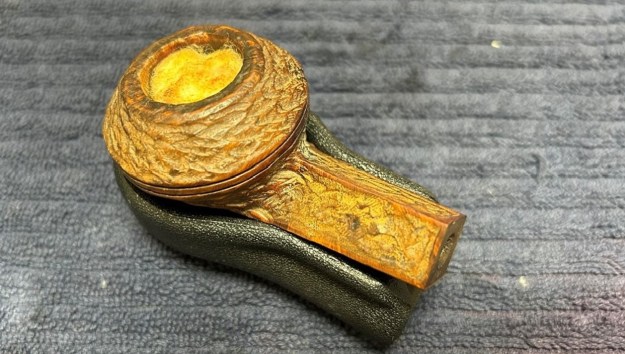 To tidy up the briar, I also wiped down the outside with some oil soap on cotton rounds (and a toothbrush). This does a good job of cleaning any latent dirt on the surface of the briar. The toothbrush especially helps to get into the nooks and crannies of the rustication. The last step of the cleaning process is to scour the inside of the stummel with some soap and tube brushes. This is the culmination of my work in getting the pipe clean.
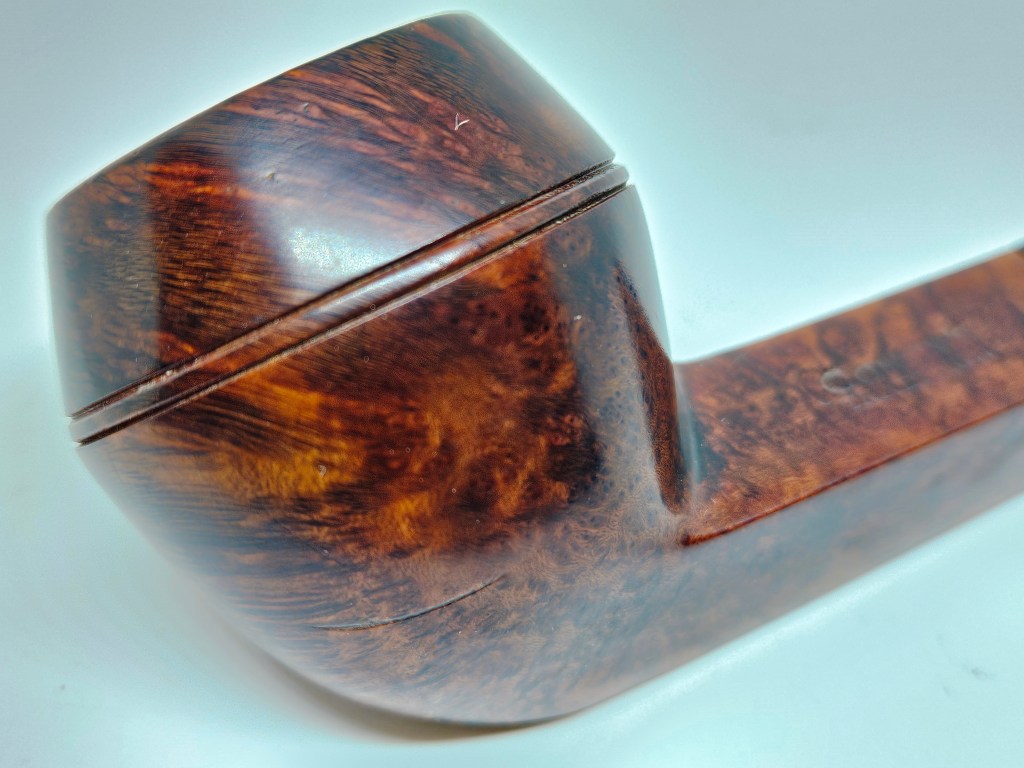
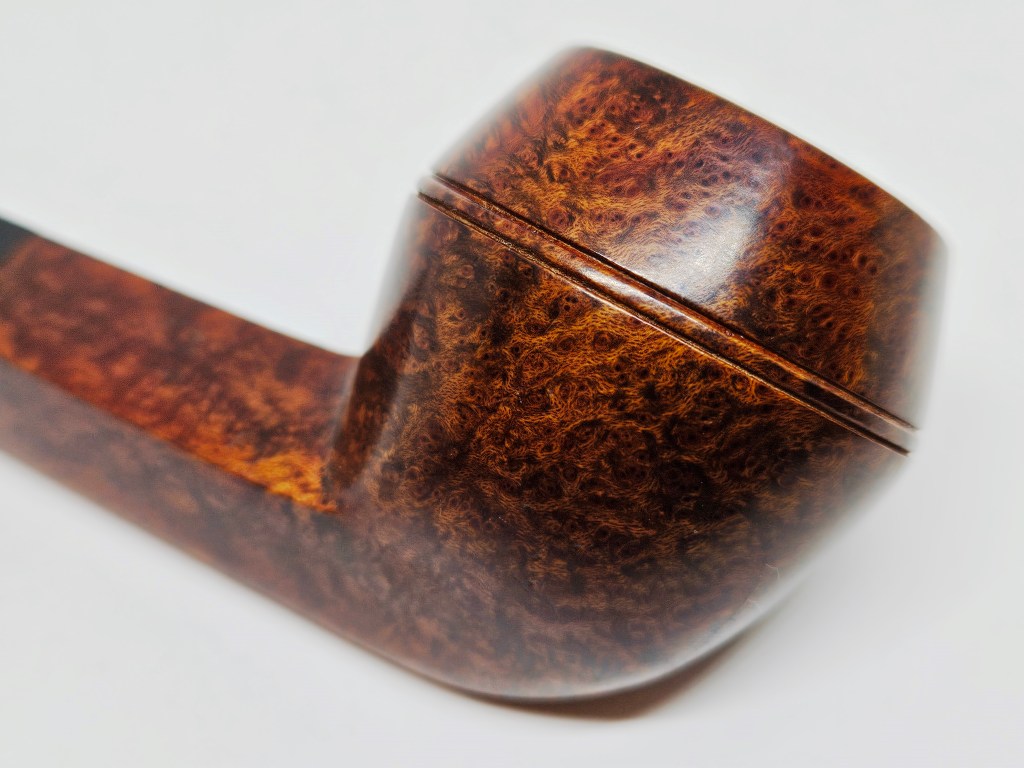
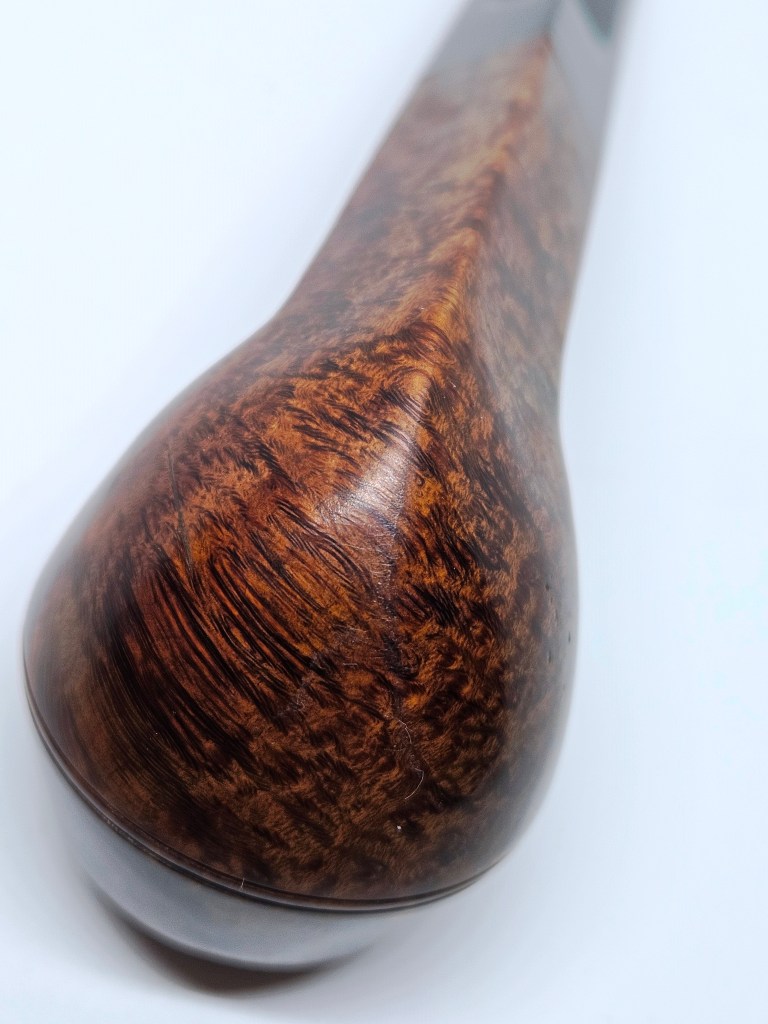
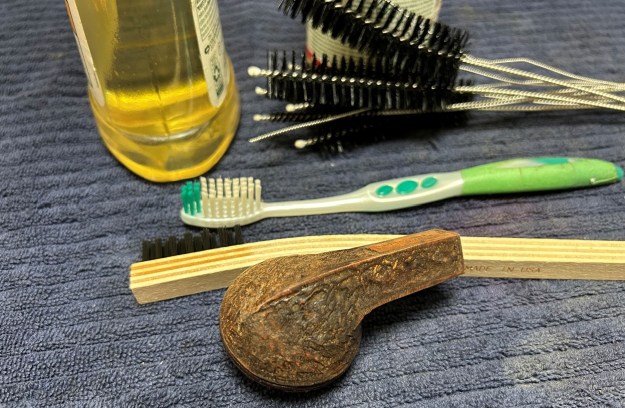 After that, I used some of my furniture pens (which is simply dye in pen form) to touch up and enliven the colours on the wood. Then, I rubbed some Before & After Restoration Balm into the briar and let it sit for 20 minutes or so. The balm moisturizes the wood and gives a beautiful depth to the briar. I then buffed it with a microfibre cloth.
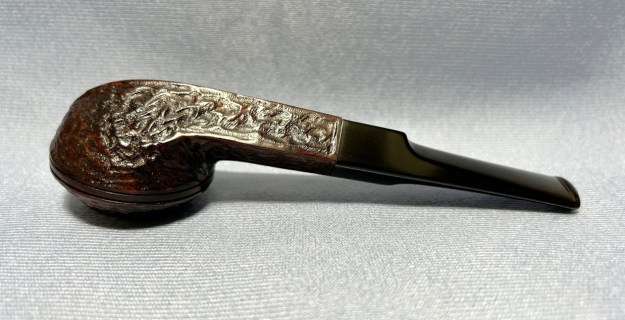
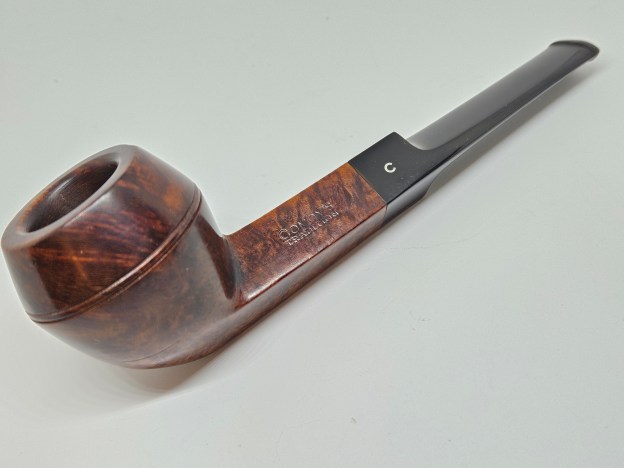
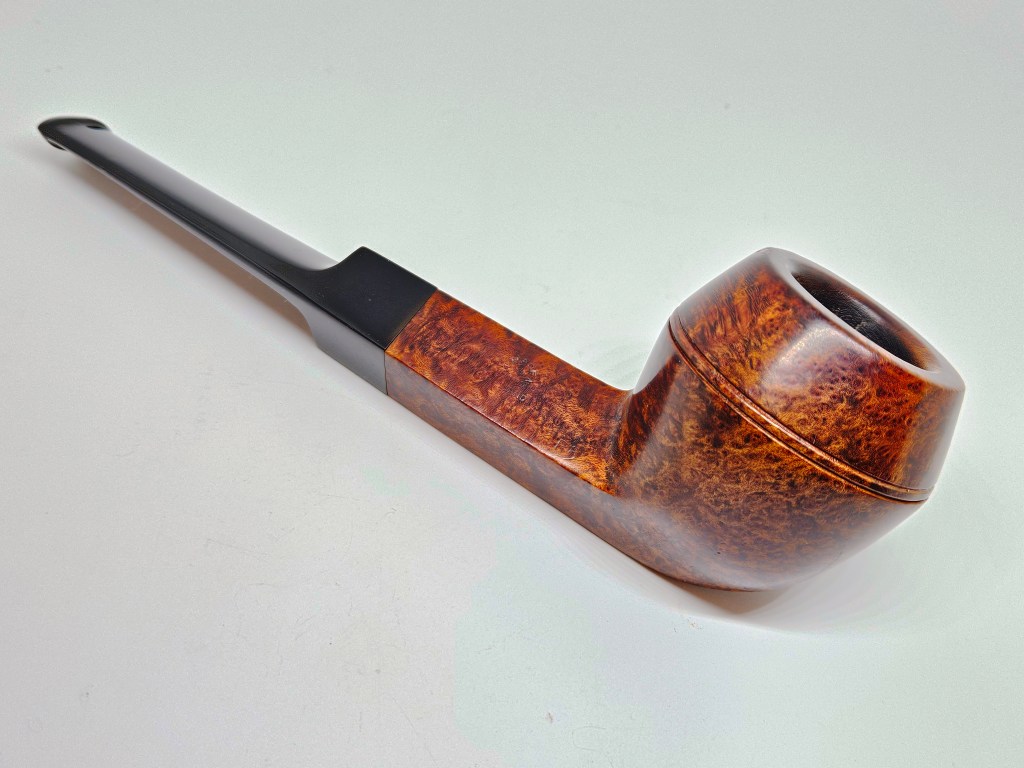
 For the final step, I took the pipe to my bench buffer and carefully polished it – first with a white diamond compound, then with three coats of conservator’s wax. This procedure makes the pipe look its best – the stummel sings and stem glows.
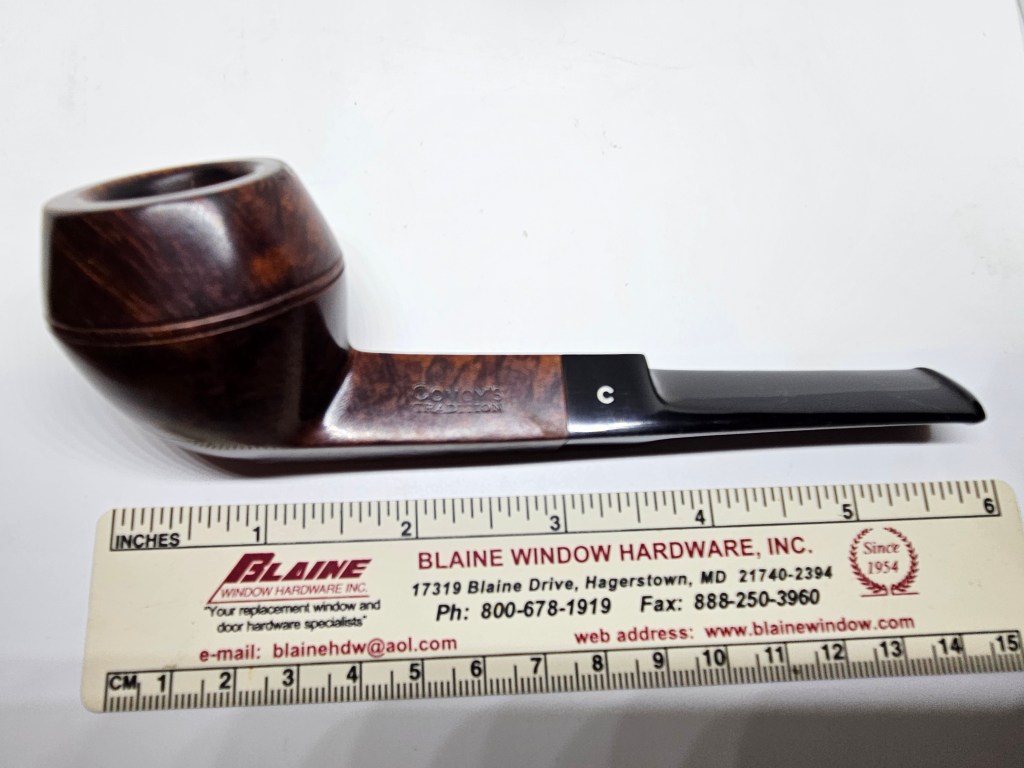
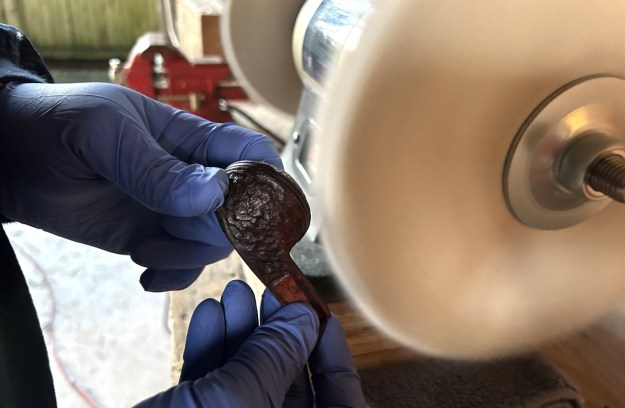 All done! This Old Port bulldog looks fantastic again and is ready to be enjoyed by its next owner. I am pleased to announce that this pipe is for sale! If you are interested in acquiring it for your collection, please have a look in the ‘Canadian section of the store here on Steve’s website. You can also email me directly at kenneth@knightsofthepipe.com. The approximate dimensions of the pipe are as follows: length 5¾ in. (146 mm); height 1⅜ in. (36 mm); bowl diameter 1¾ in. (45 mm); chamber diameter ⅝ in. (21 mm). The weight of the pipe is 1¼ oz. (37 g). I hope you enjoyed reading the story of this pipe’s restoration as much as I did restoring it. If you are interested in more of my work, please follow me here on Steve’s website or send me an email. Thank you very much for reading and, as always, I welcome and encourage your comments.