
by Steve Laug
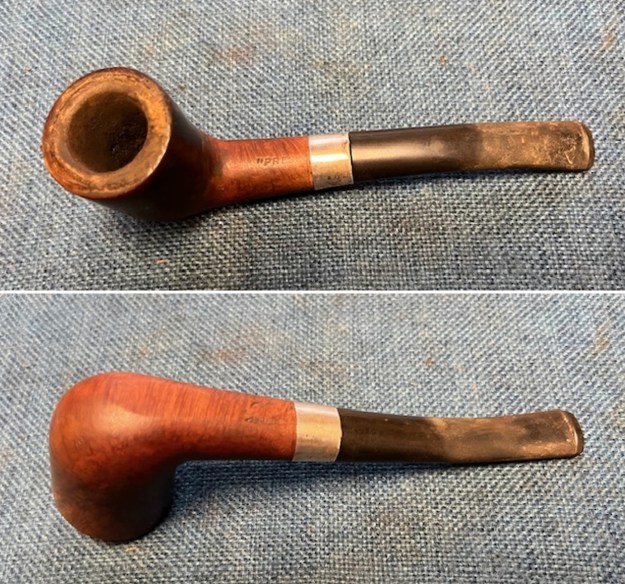
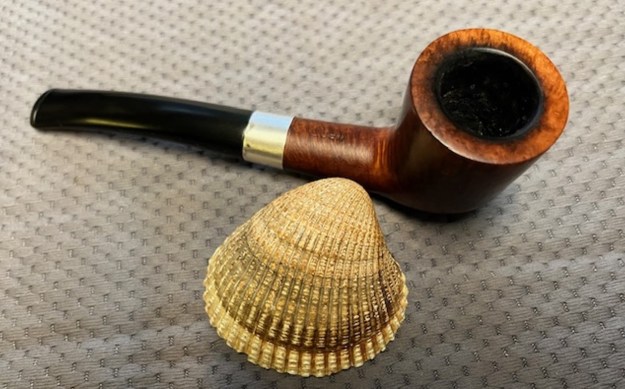
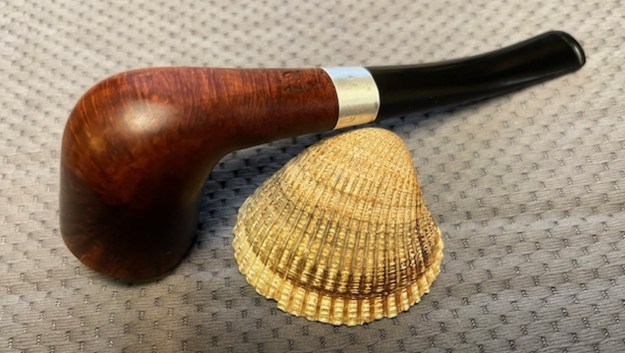
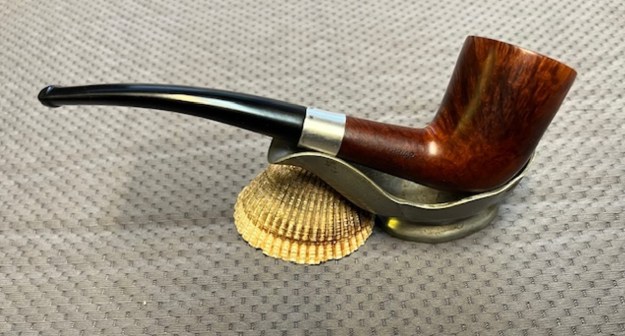
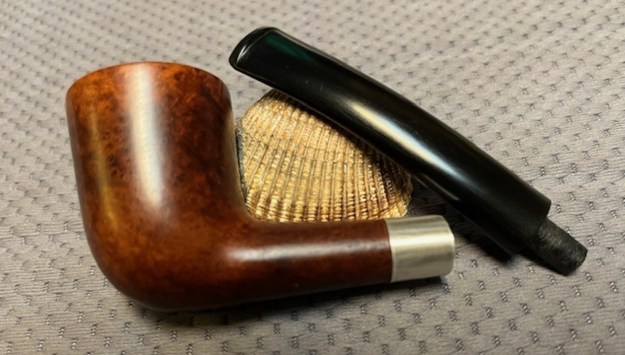
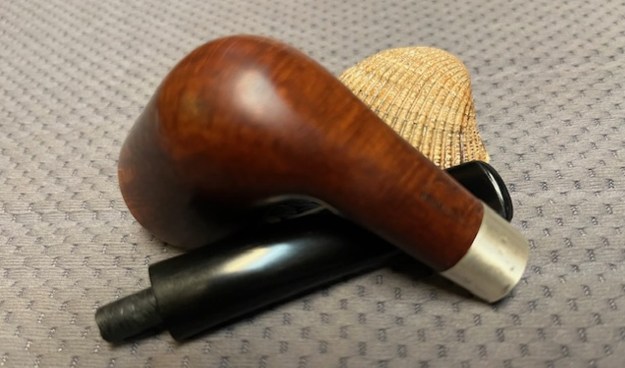
The next pipe on the work table is a smooth, classic Zulu shape that looks very European. It is stamped on the top side of the shank and reads “PRESI—-” with the rest of the stamp covered by the silver repair band. On the underside of the shank it is stamped Fischer in script but also some of the letters are covered by the band. On the right side of the shank it reads IMPORTED BRIAR. There were no other identifying marks or stamps on the shank or the band. It is another one that came from a box of pipes with broken tenons that I set aside to work on someday. Another one of those days I guess! It is Zulu shaped bowl with a slight bend and canted bowl and a vulcanite taper stem. It has a mix of grain around the sides and shank. The bowl had a heavy cake in the bowl and thick lava on the rim top. The finish was in worn and very dirty so it was hard to know with certainty what lay underneath. The internals were also very dirty and the shank/mortise was filled with tars and a white residue of what looked like tape. The nickel band has some deep nicks in it and the shank end of the band bent and flattened on the shank end. The vulcanite taper stem had no logo stamped on the topside. It has oxidation, calcification, tooth chatter and tooth marks on both sides ahead of the button. The tenon had snapped off cleanly and was missing when it came to us. I took photos of the pipe before I started working on it.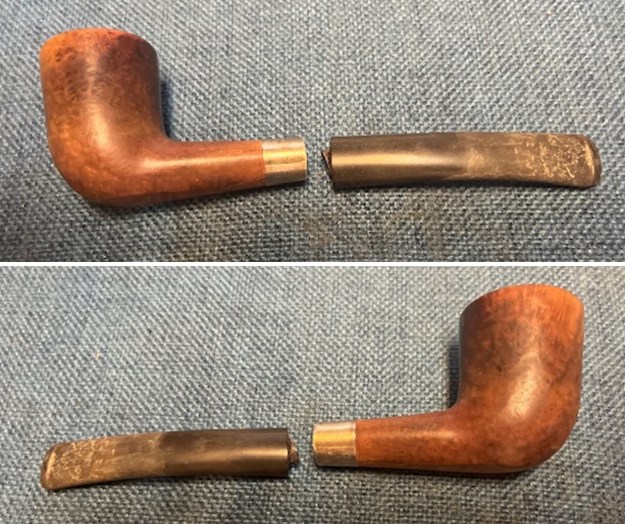
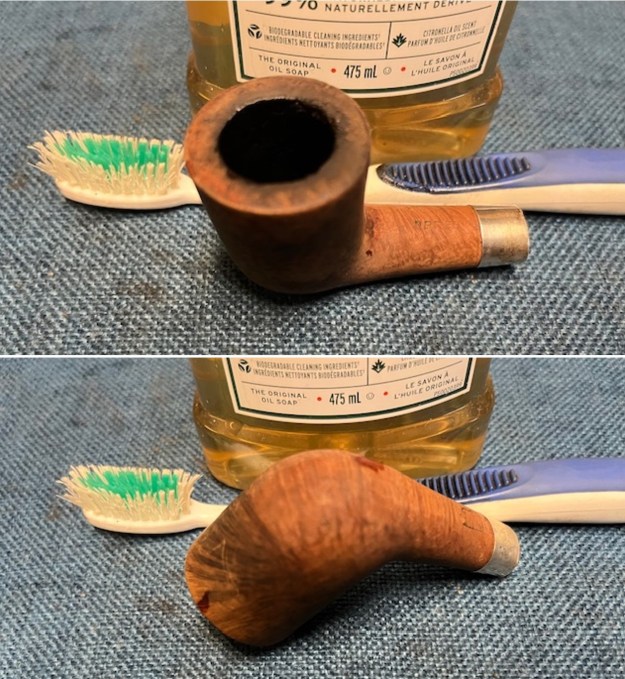
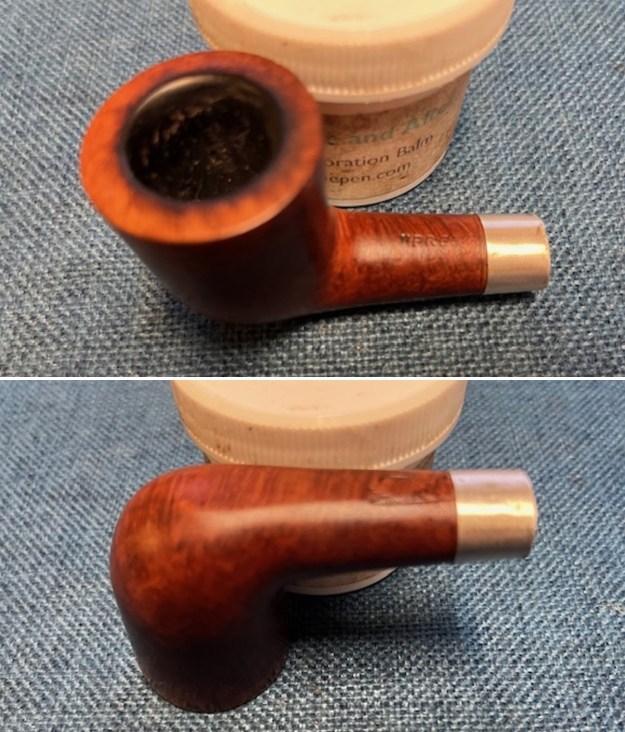
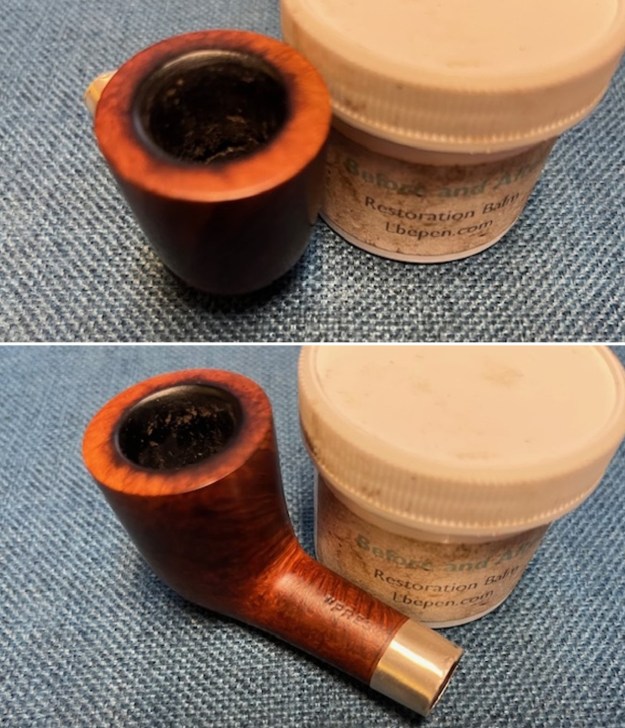
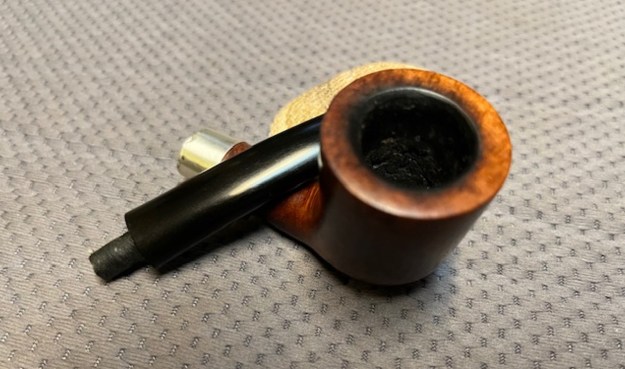
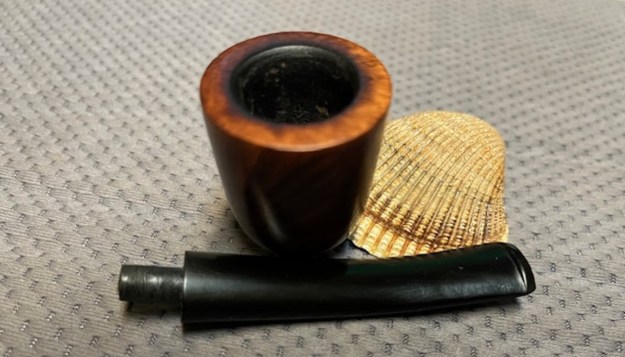
 I took photos of the bowl, rim top and stem sides to show the condition of the both. It was a dirty bowl with debris and a heavy cake on the walls. The rim top had a thick lava covering the bowl and the edges. It was hard to know what the condition of the inner edge was underneath. I took photos of the top and underside of the stem showing condition and the tooth marks on both sides ahead of the button.
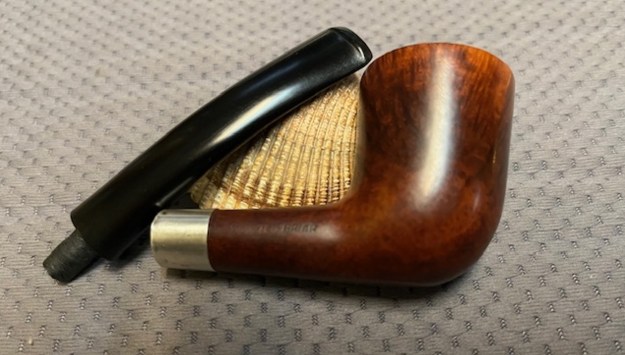
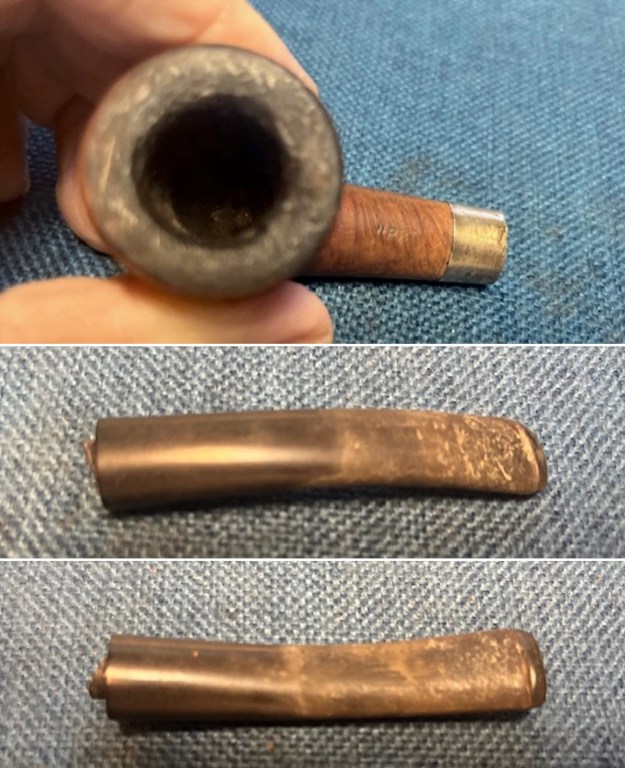 I took photos to capture the stamping on the top and underside of the shank. What is visible ahead of the band is clear and readable as noted above. I could not capture the faint Imported Briar stamp on the right side.
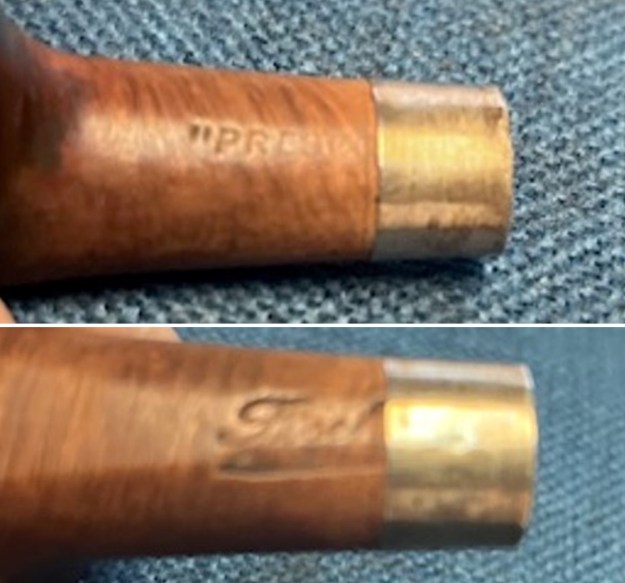 I turned to Pipephil’s site (http://www.pipephil.eu/logos/en/logo-f2.html) and looked up the Fischer brand. I found the listing below and have included both a screen capture and the side bar notes. The stamping is the same as the one on the pipe I am working on.
 Store closed in 1978. Former address: House of Fischer, 1722 Boston Ridge Road, Orchard Park, NY.
I then turned to the listed for US pipe makers/manufacturers (https://pipedia.org/wiki/Fischer) to see if I could find out more information. I have included the article below.
Gustave Fischer was pipe maker for “The House of Fischer’, which was located in Orchard Park, NY, near Buffalo. The Fischer family apparently made pipes for six generations, starting in Germany and continuing in the United States until the 1970s. Their literature from 1956 said that all their briars were bench made. They also made meerschaums, but some confusion is caused by the fact that there was also Gustav Fischer, who made meerschaum pipes in Boston during roughly the same period.
The article went on to give information on the Fischer from Orchard Park, NY. I quote from that below.
The following information is gleaned from a thread on PipesMagazine.com
PIPES BY THE HOUSE OF FISCHER, ORCHARD PARK NY
Fischer pipes were made in USA through the 1950’s up to late 1978 when the owner, Paul Fischer retired, sold the store and moved to Florida in 1978. Unfortunately, The House of Fischer did not use a date stamp on their pipes, and therefore it is not possible to determine the exact date of manufacture.
Lee Pattison writes the following:
The Fischer shop in Buffalo closed in the late 1950’s last run by Arthur Fischer who moved shop to his home in Orchard Park. Arthur was the last of the family and retired 1978. Early pipes made in shop in Buffalo were stamped Buffalo in loop below name. Art deleted this from the stamp in early on 1960’s which helps in partial dating. Art did only pipe repair and sales. An unconfirmed report from a pipe maker Milton Kalnitz from the same era stated that the later pipe may have been made by Weber. Paul Fisher was part of the unrelated family in Boston Mass. The Buffalo shop started about 1890’s. Source of info was personal contact with family.
FISCHER PIPE QUALITY GRADE STAMPS
This is a list of various Fischer pipe stampings from my personal collection of over sixty Fischer pipes accumulated over the past forty plus years. It is by no means meant to be all-inclusive, however, if you find more Fischer pipe stampings please email me so I can update my list.
- Fischer Supreme
- Fischer Royal
- Fischer Imperial
- Fischer Golden 15
- Fischer 15 Grand
- Fischer 25 Grand
- Fischer Ramsgate
- Fischer Deluxe
- Fischer Special
- Fischer Texan (for which they applied for a patent)
- Fischer Seconds
The list of Quality Grade Stamps does not show one with the “PRESI… (President) stamp so it does not help me in identifying more information about the pipe. The Zulu has some great grain on the bowl and shank. I do know that is was made after the removal of the Buffalo stamp on the shank in the early 1960s as far as I can see due to partial coverage with a silver repair band on the shank end.
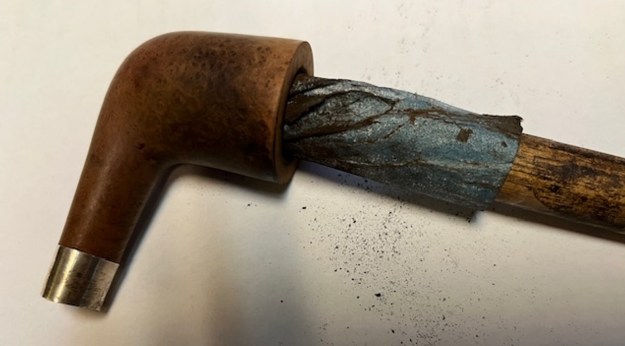
Armed with that information I turned to work on the pipe itself. In preparation for fitting a new tenon I flattened out the broken edges on the snapped tenon using a topping board and 220 grit sandpaper. I carefully smoothed out the stem end with a Dremel and sanding drum.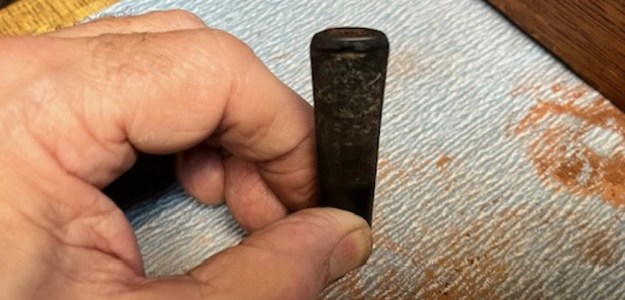 I drilled the home for the new tenon using airway in the stem as a guide. I drilled it several times with increasingly larger drill bits until I had the opening the same size as the threaded portion of the new tenon.
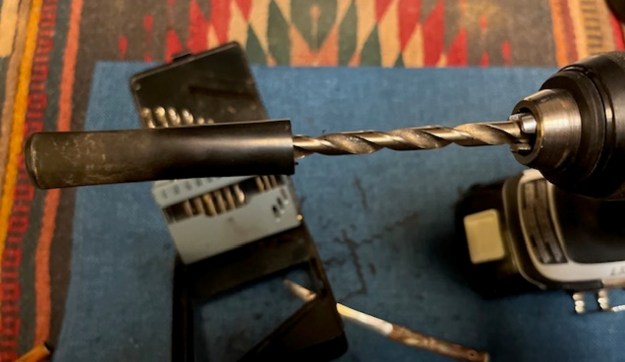 I fit the tenon in the stem to make sure the fit and alignment was correct and repeated the process in the mortise. I reduced the diameter of the tenon with a Dremel and sanding drum for a smooth fit in the mortise. I fit the stem on the tenon in the mortise to check the alignment.
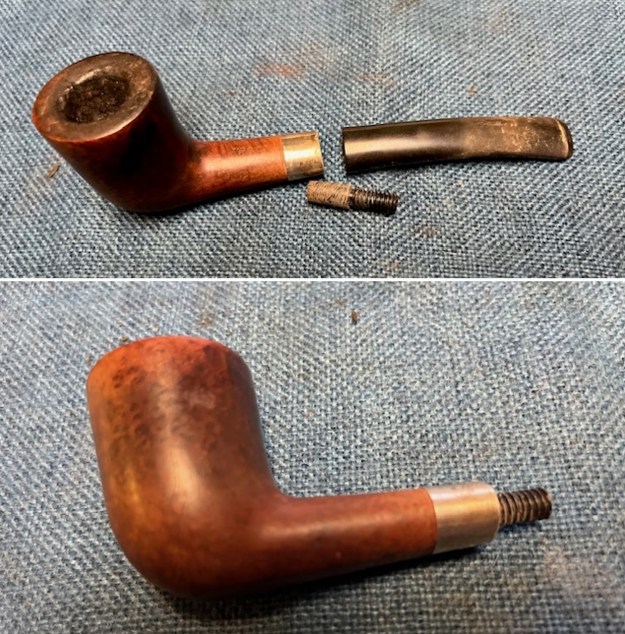 With the fit as good as it was going to get on this one I slid a pipe cleaner in the stem and tenon and painted the threads with black CA glue. I pressed it into place in the stem and set it aside to cure.
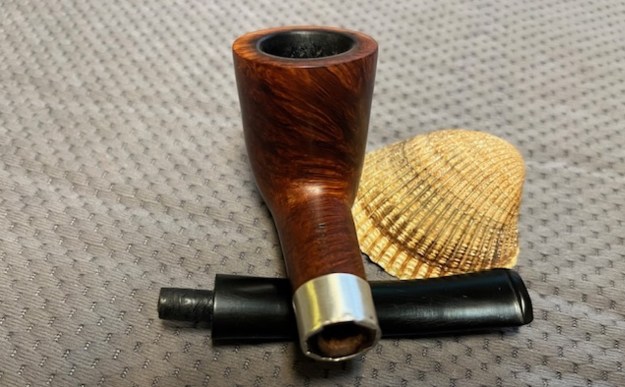
 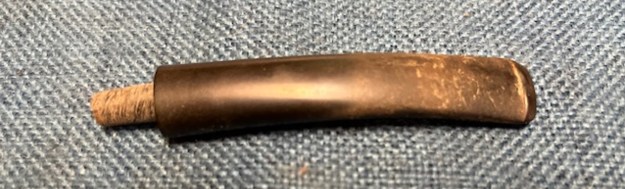 Once the glue cured I fit the stem on the shank and took some photos to capture the fit to the shank. It looked very good.
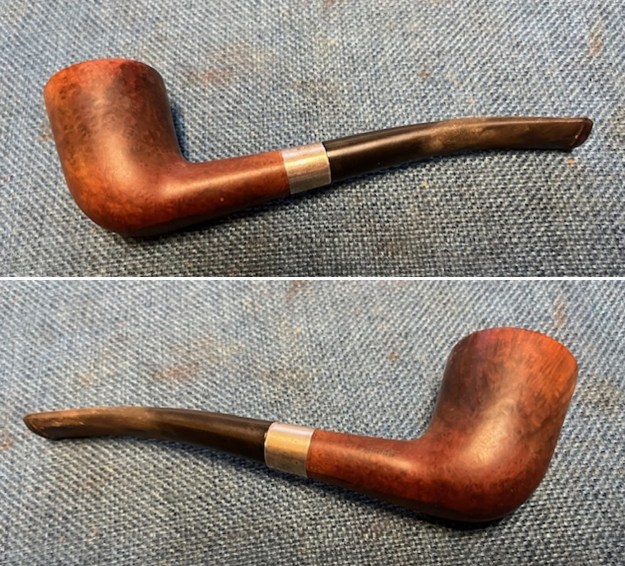
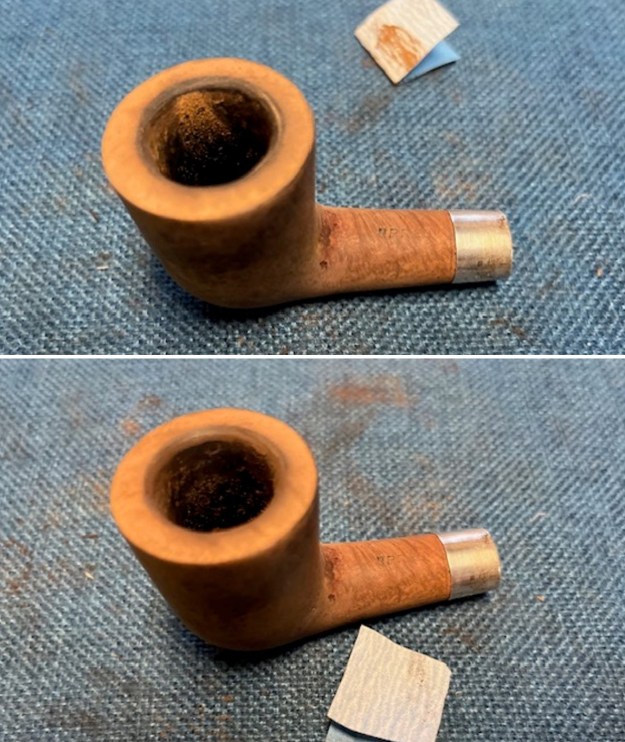
 While the glue on the tenon continued to cure I turned my attention to the bowl. I reamed the bowl with a PipNet pipe reamer using the 2nd and 3rd cutting heads to remove the cake in the bowl. I cleaned up the reaming with a Savinelli Fitsall Pipe Knife and finally sanded the bowl with 220 grit sandpaper wrapped around a piece of dowel to clean up the walls of the bowl. It was in great condition.
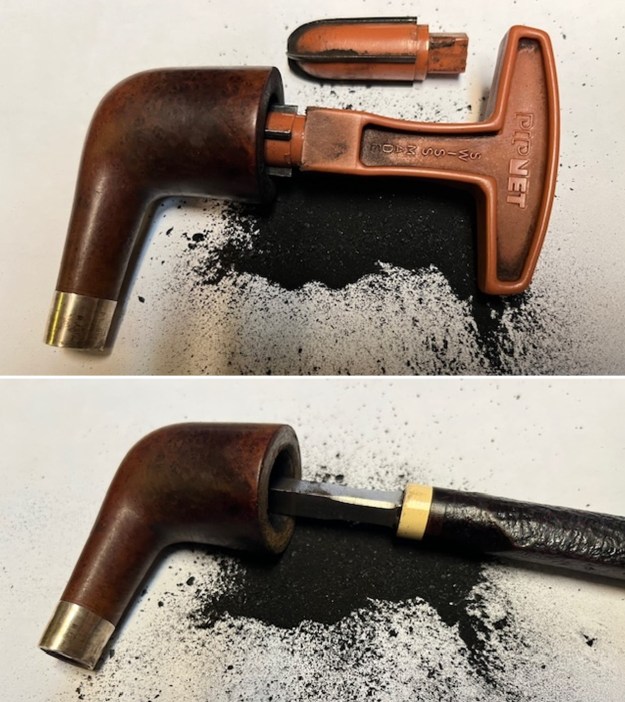
 I cleaned out the shank and airway into the bowl and the stem with pipe cleaners, cotton swabs and alcohol to remove the tars and oils. I cleaned out the airway in the stem at the same time.
 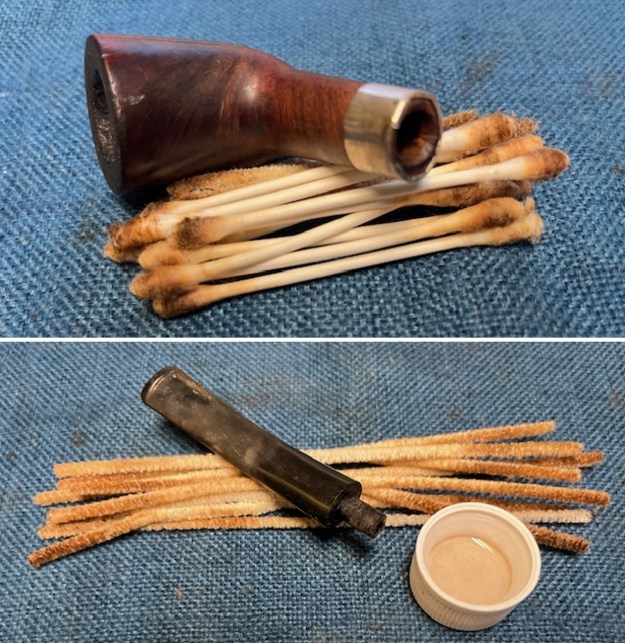 I scrubbed the bowl and rim top with undiluted Murphy’s Oil Soap and a tooth brush to remove the grime. I rinsed it with warm water and dried it off with a cotton towel.
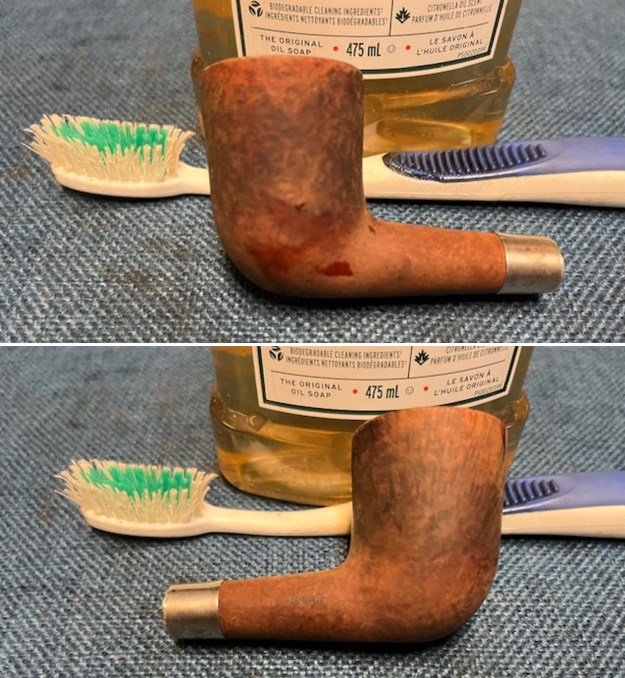
 I worked on the inner edge of the bowl to smooth out the darkening and damage. I lightly topped the bowl on a topping board with 220 grit sandpaper to smooth out the damage on the rim top. I worked over the inner edge once again and the top and edge looked good.
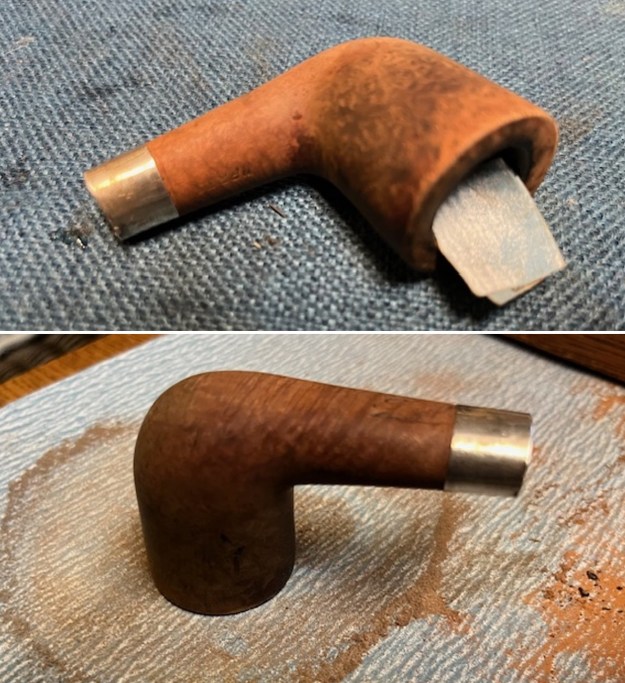
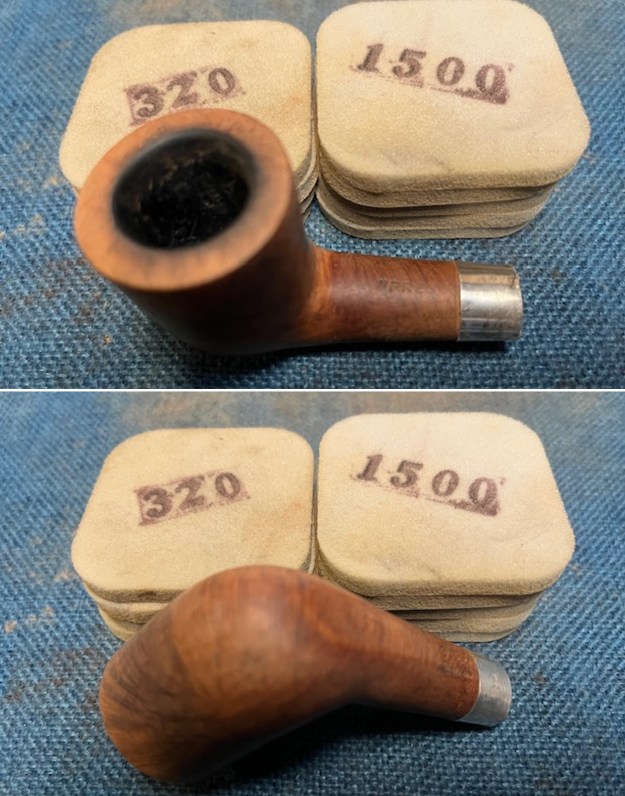
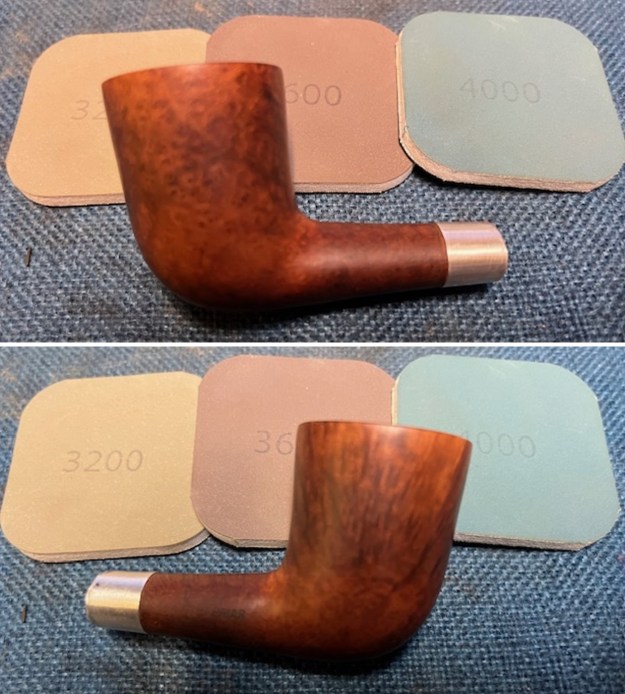
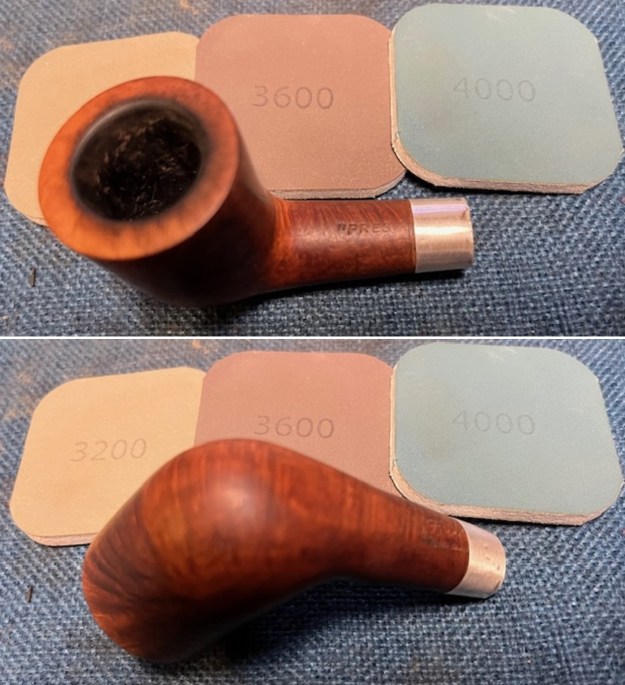
 I sanded the bowl and rim top with sanding pads – 320-3500 grit pads. I wiped the bowl down after each sanding pad to remove grime and check the progress. It was looking very good by the time I finished with the final pad.
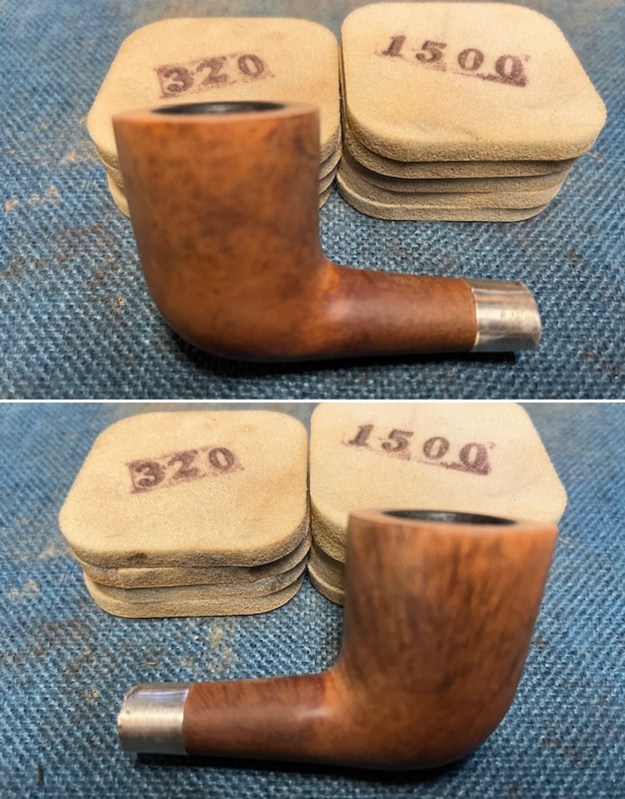
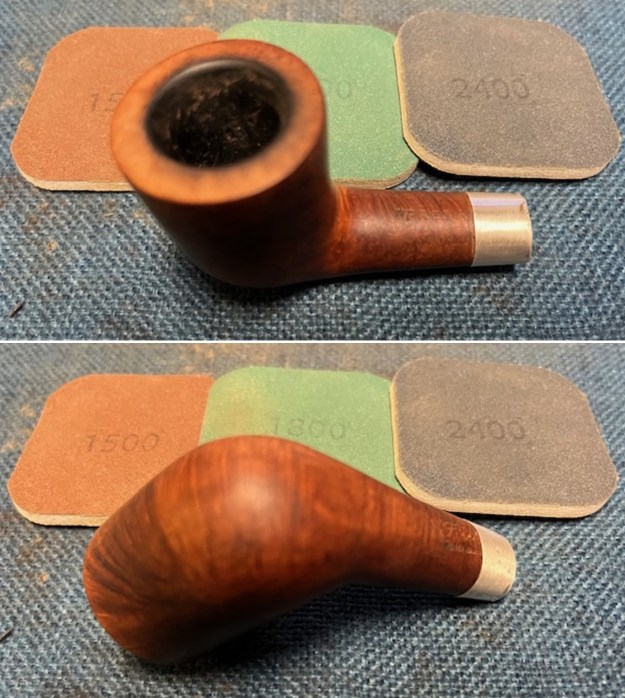
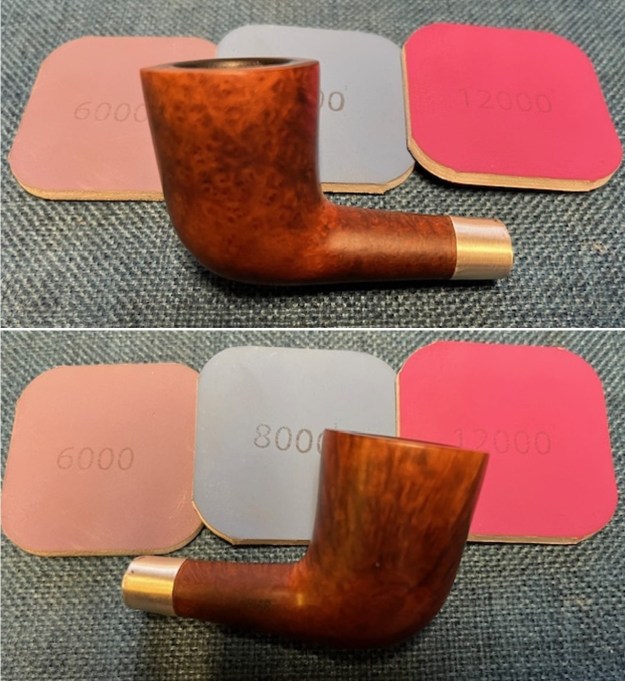
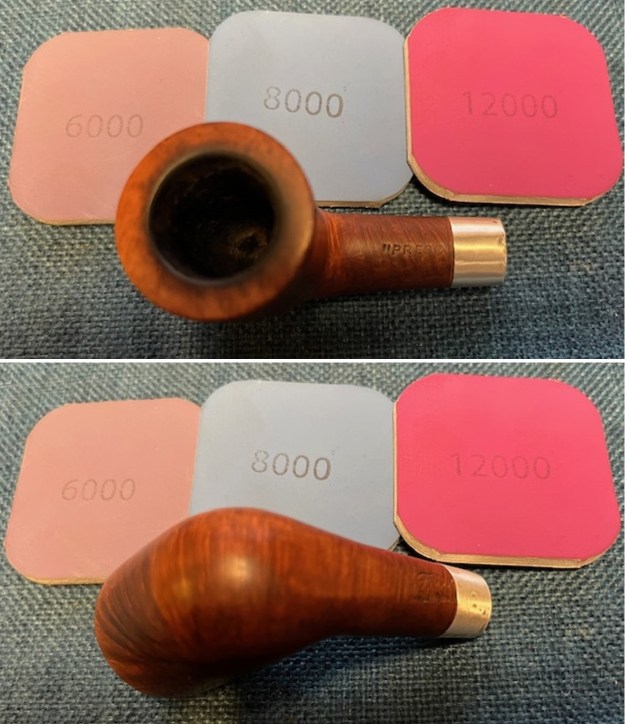
 I polished the rim top and bowl with micromesh sanding pads – dry sanding with 1500-12000 grit sanding pads. I wiped it down with a damp cloth after each sanding pad to remove the dust and debris. The grain stood out more with each set of pads.
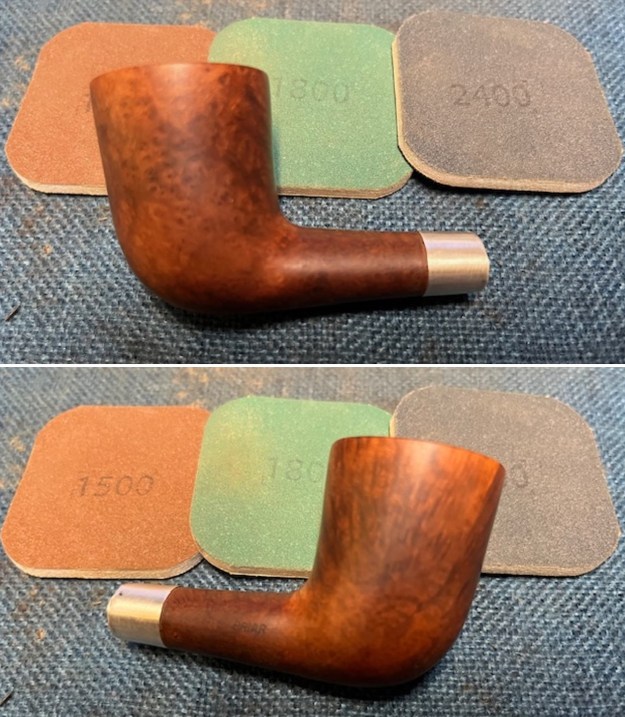
 I worked some Before & After Restoration Balm into the finish of the bowl, rim top and shank with my fingertips to clean, enliven and protect it. I find that the balm really makes the briar come alive again. I let the balm sit for 15 minutes and then buffed with a cotton cloth to raise the shine. The bowl really looks good at this point.
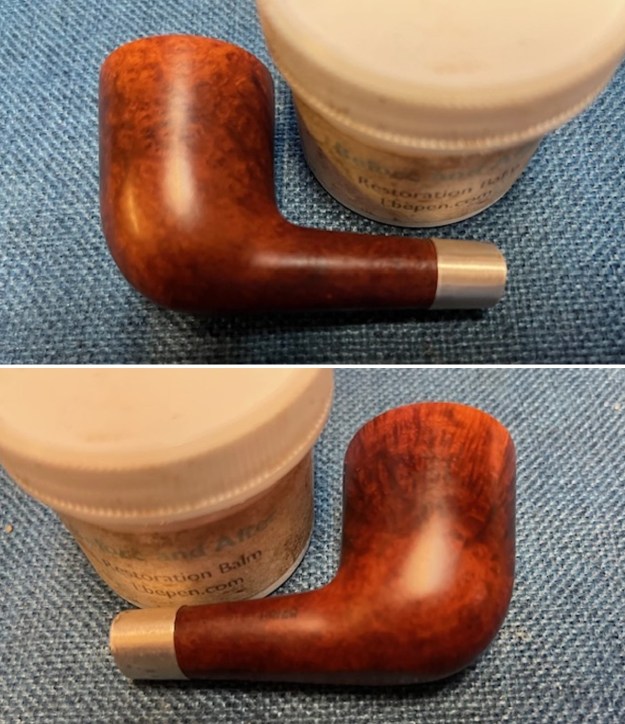
 I set the bowl aside and turned my attention back to the stem. I was surprised that there were not deep tooth marks to deal with and that really all I needed to do was remove the oxidation and calcification. To address that I sanded the stem with 320-3500 grit sanding pads and wiped the stem down after each pad with an Obsidian Oil saturated cloth to remove the grime and protect the stem.
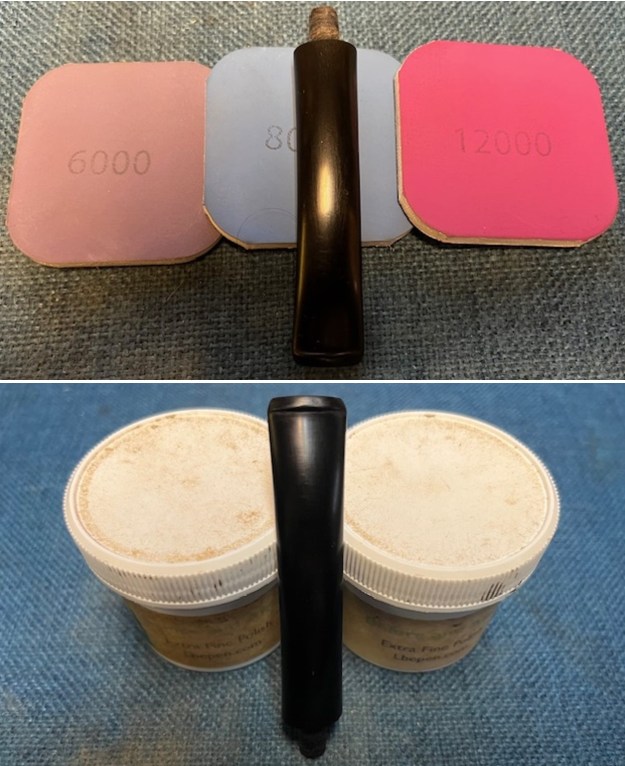
 I polished the stem with micromesh sanding pads – dry sanding it with 1500-12000 grit pads. I polished it further with Before & After Pipe Stem Polish – both fine and extra fine.
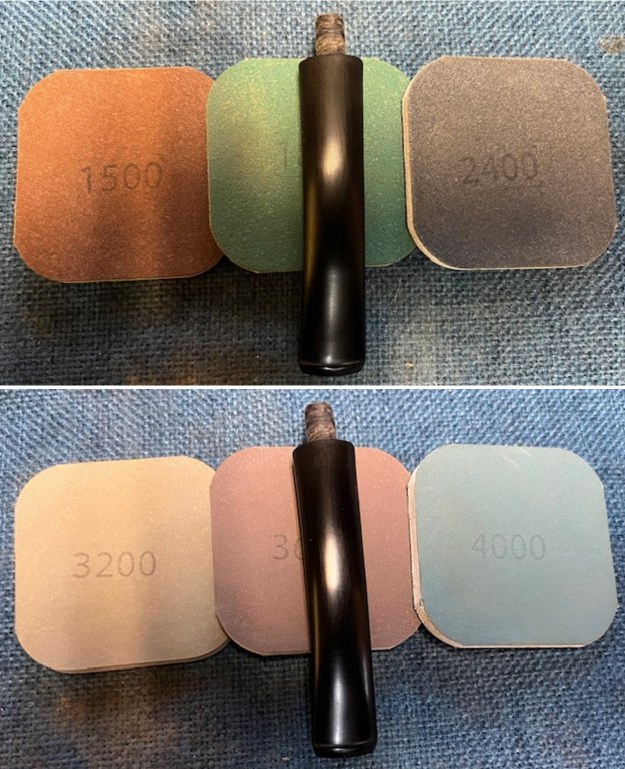
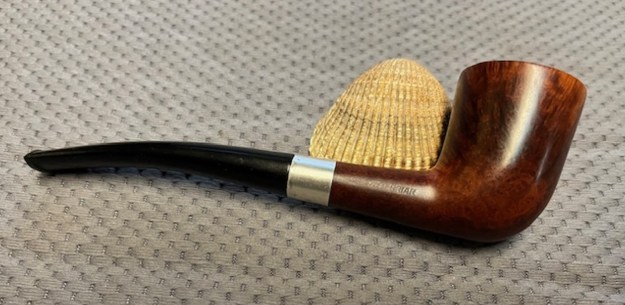
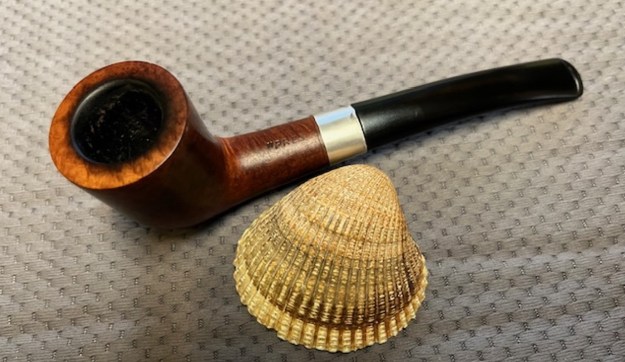
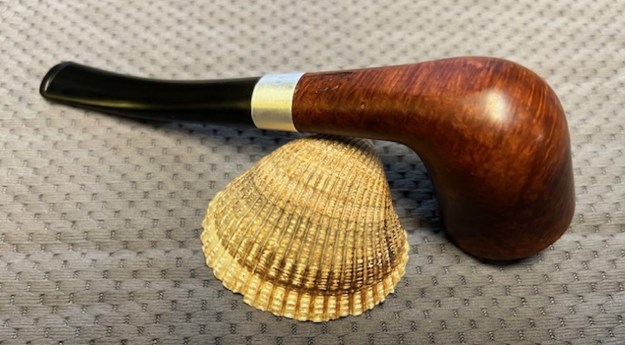
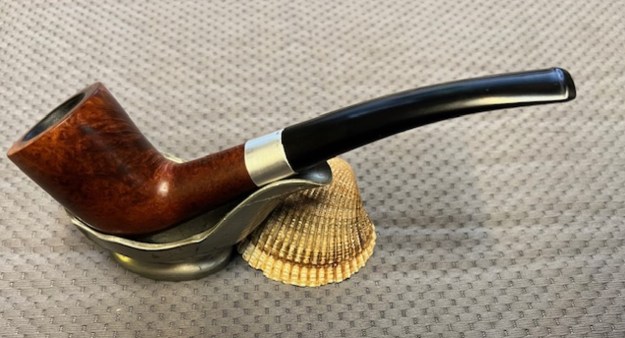
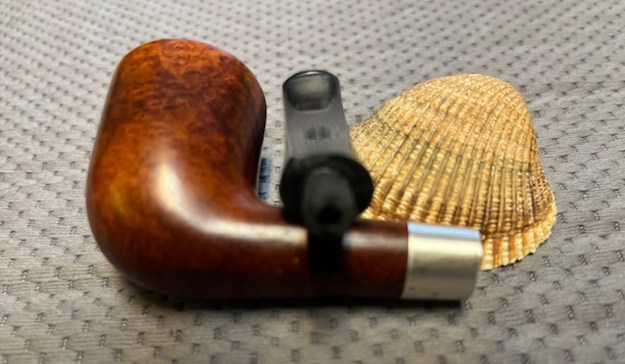
 I put the stem back on the Fischer “President” Imported Briar Zulu and took it to the buffer. I worked it over with Blue Diamond to polish out the remaining small scratches. I gave the bowl and the stem several coats of carnauba wax and buffed the pipe with a clean buffing pad to raise the shine. I hand buffed it with a microfiber cloth to deepen the shine. The pipe polished up really well and the rim top looked good. I was happy with the look of the finished pipe. The photos below show what the pipe looks like after the restoration. The Fischer Zulu is a beautiful and unique take on a classic shape. The polished vulcanite taper stem looks really good with the browns of the briar. The dimensions of the pipe are Length: 5 ¾ inches, Height: 1 ½ inches, Outside diameter of the bowl: 1 ¼ inches, Chamber diameter: ¾ of an inch. The weight of the pipe is 1.13 ounces/32 grams. This is another pipe that I will be putting it on the rebornpipes store in the American Pipe Makers Section shortly, if you are interested in adding it to your collection. The long shank and tall bowl look and feel great in the hand. This one should be a great smoker. Thanks for walking through the restoration with me on this beauty!
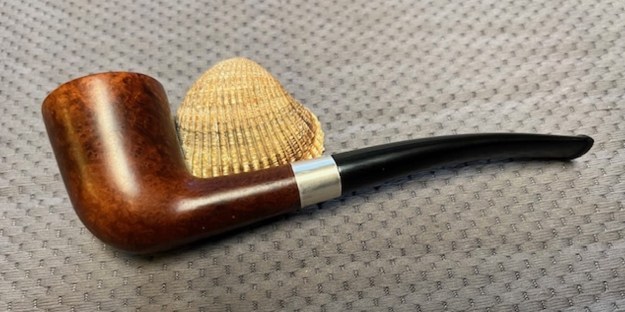


looks great, Steve!
LikeLiked by 1 person