by Steve Laug
Earlier this month a friend, Ilan wrote about a pipe. He was looking for an Upshall and wanted to know if I had one to sell. Unfortunately, I did not have one at that time. A few days later he wrote back about one that he had a line on. It was one that was recommended to him by a fellow, Pete Siegel on one of the forums who used to work for Upshall. He said he loved the look of it and wanted to know what I thought about it. His main question was if it was restorable. He sent me the link from eBay. I went to the link and carefully looked over the photos. It was a huge Upshall Canadian with great grain. The bowl had a moderate to thick cake with lava overflow on the rim top. To me the bowl was still in round and it looked like the edges were undamaged under the lava. The finish was dirty with a small burn mark on the outer edge on the left front. Otherwise it was undamaged under the grime. The stem was quite heavily oxidized and the logo was faded but looked to be deep enough to recolour. Overall, I felt that the pipe was a good buy and one that would clean up quite well. I wrote Ilan and let him know. Below is his response.
Perfect. I’ve bought it, and sent it to you. Happy to work with you again. I attaching the correspondence with the guy from Upshall. The pipe world is just outstanding!!! All the best.
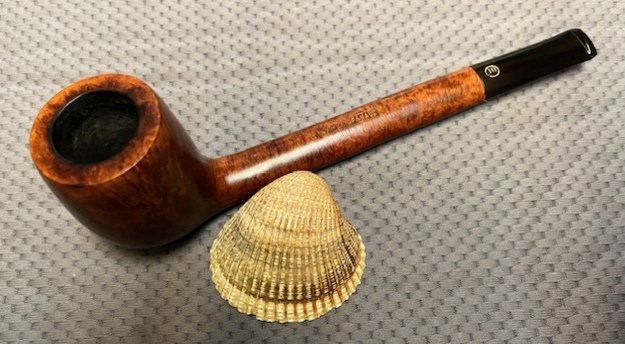
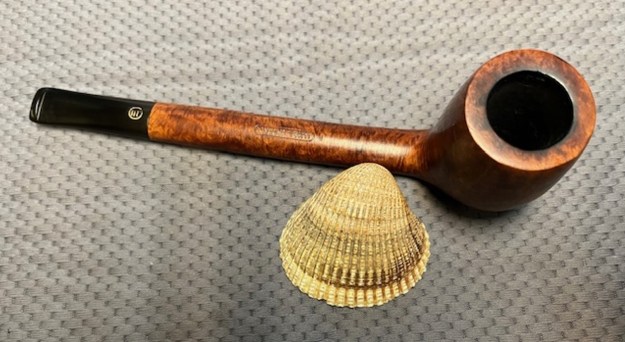
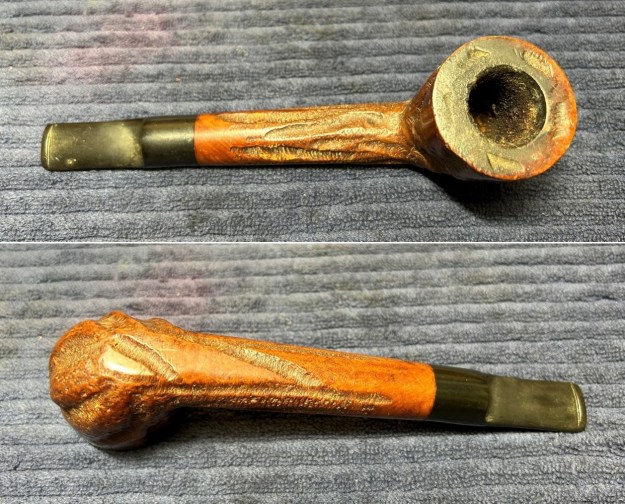
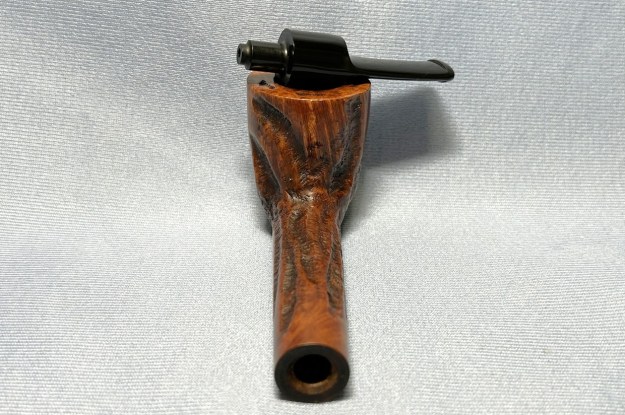
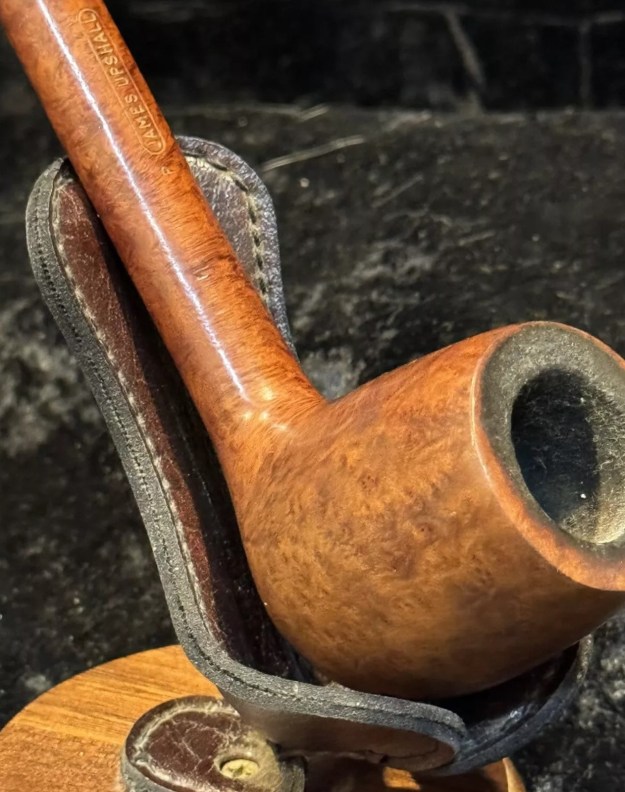
I went on the eBay link and saved the photos before the seller removed them after the sale. I wanted to have before photos for comparison sake. I was amazed at the volume of photos included and, in some ways, the odd angles they captured. I have included key photos below from the seller. They give a good picture of the condition of the pipe.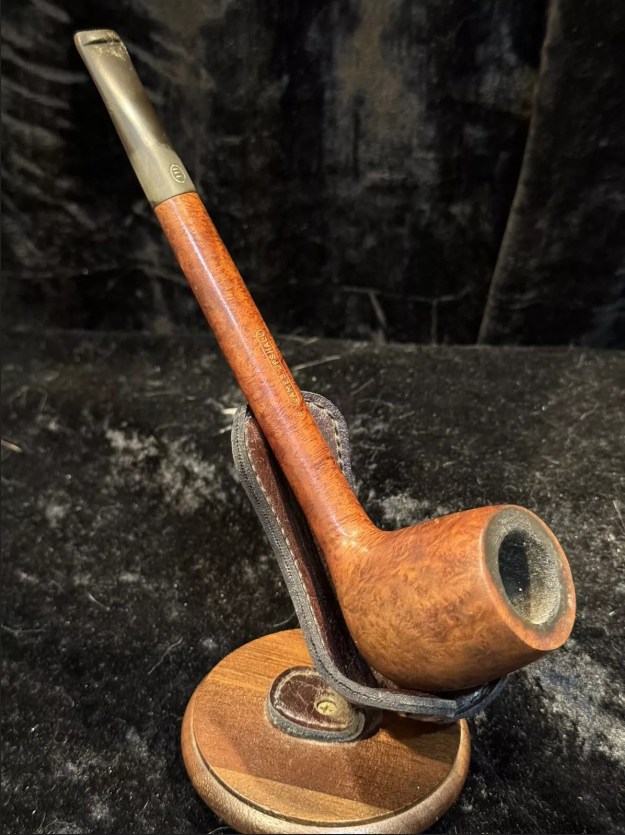 I included some of the photos of the bowl and rim to show the cake and the lava build up on the top and inner edge of the bowl. It looks okay but one cleaned up I will know for sure. The lava could hide some darkening on the top but I will soon know. The stem photos show the stem from a variety of angles. You can see the tooth chatter and marks along with the heavy oxidation.
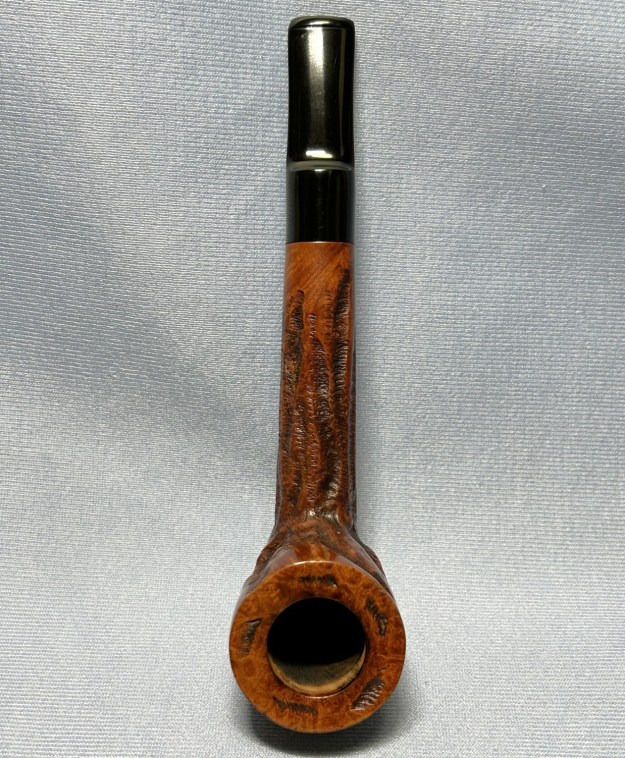
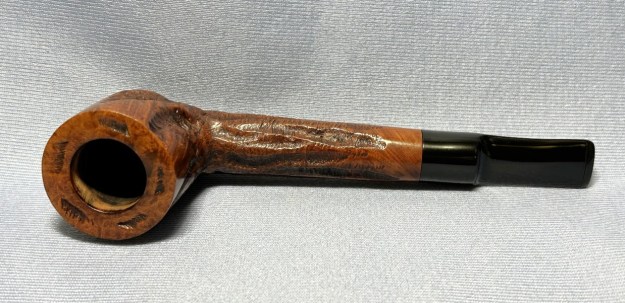
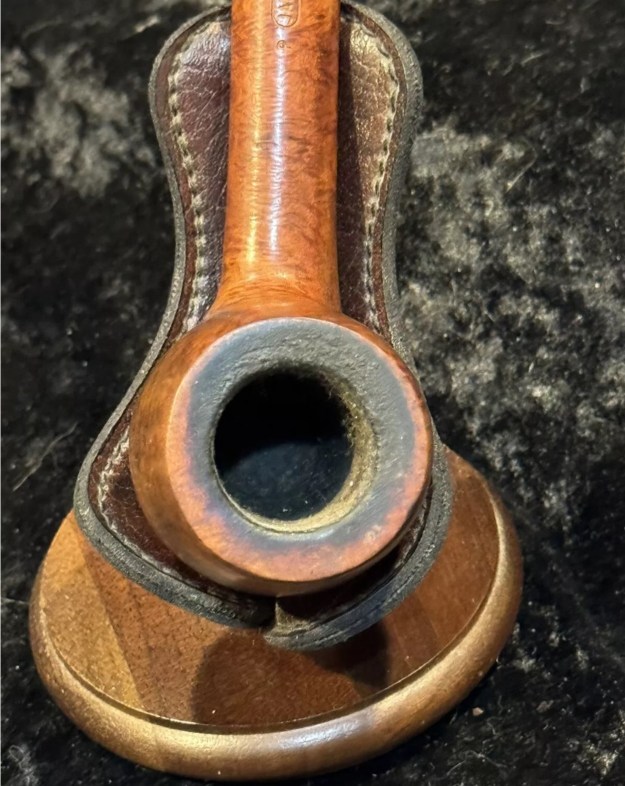

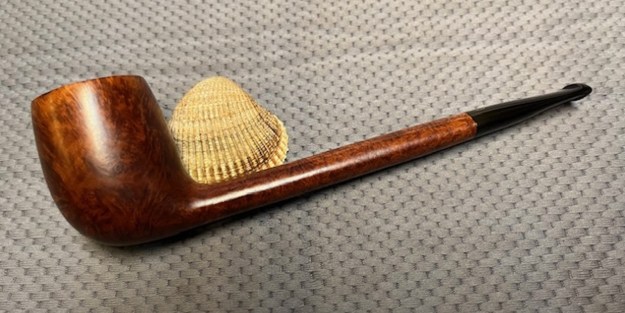
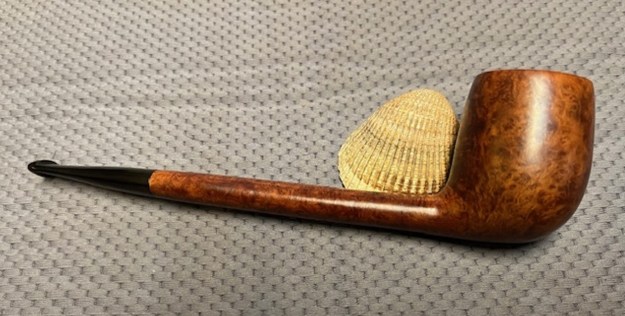
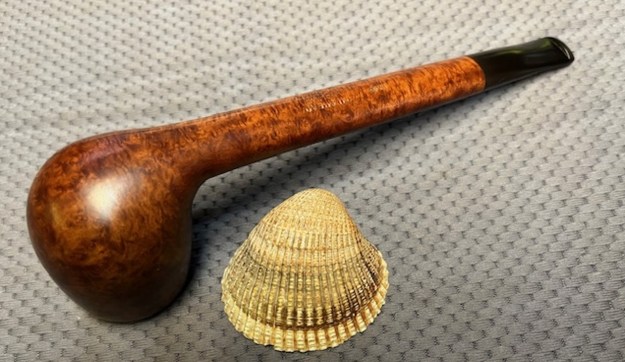
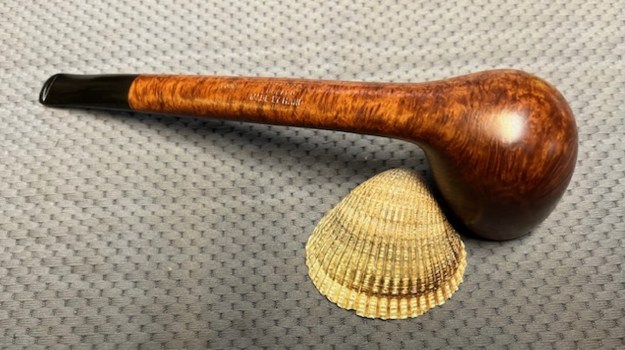
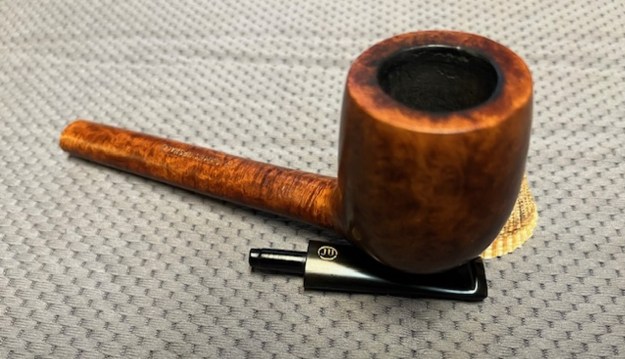
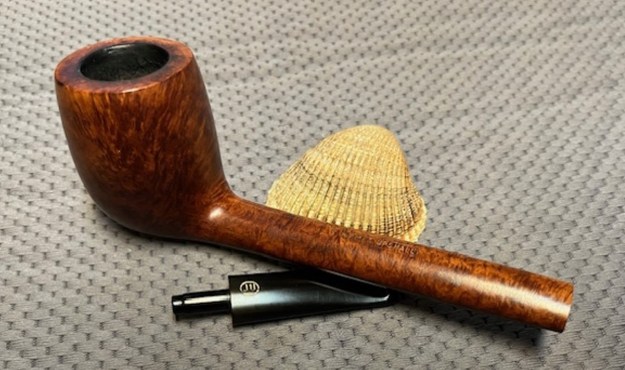
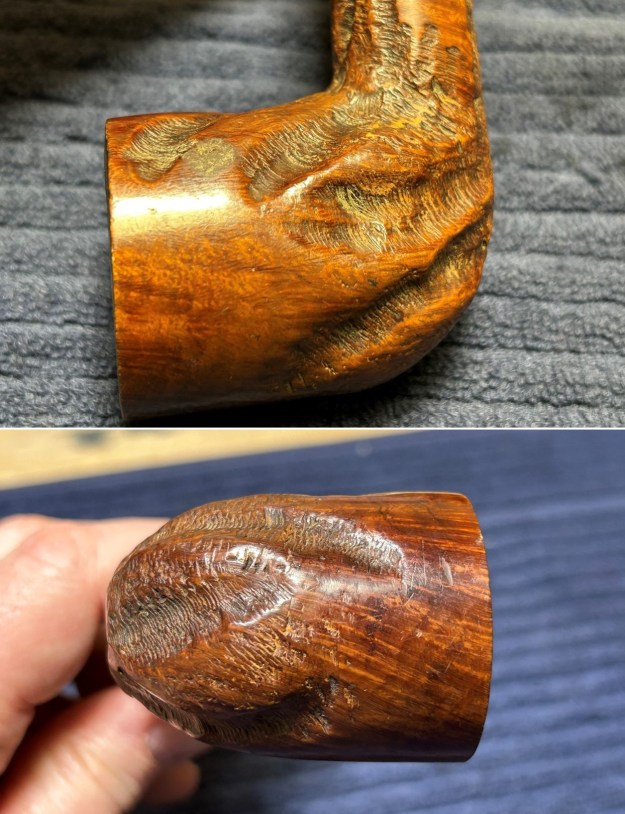
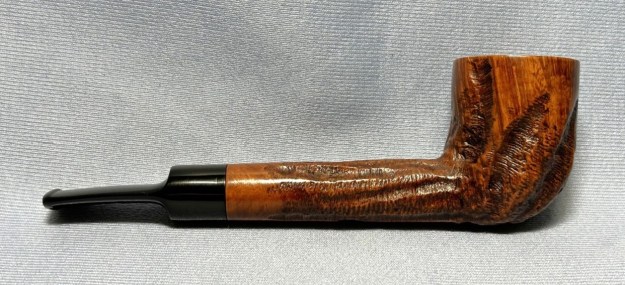
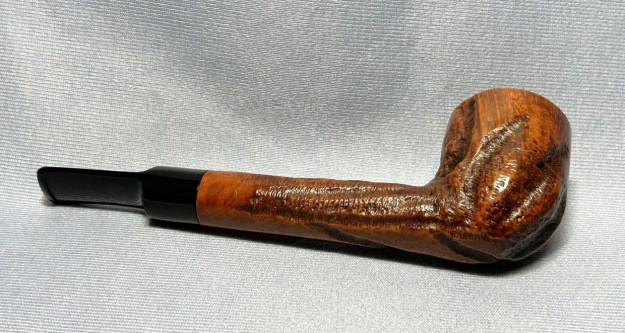
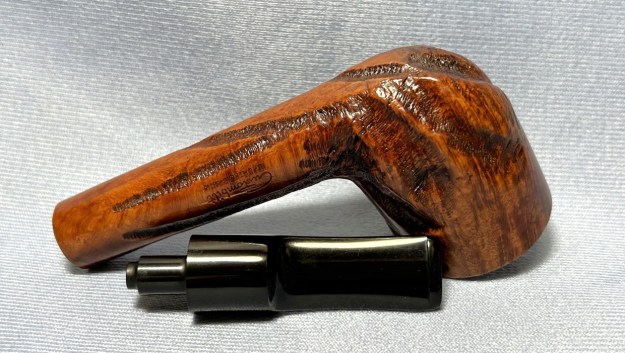
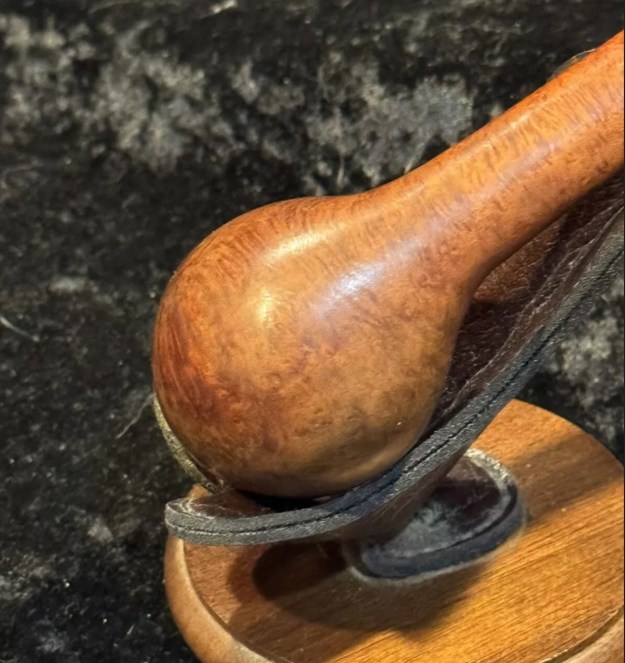
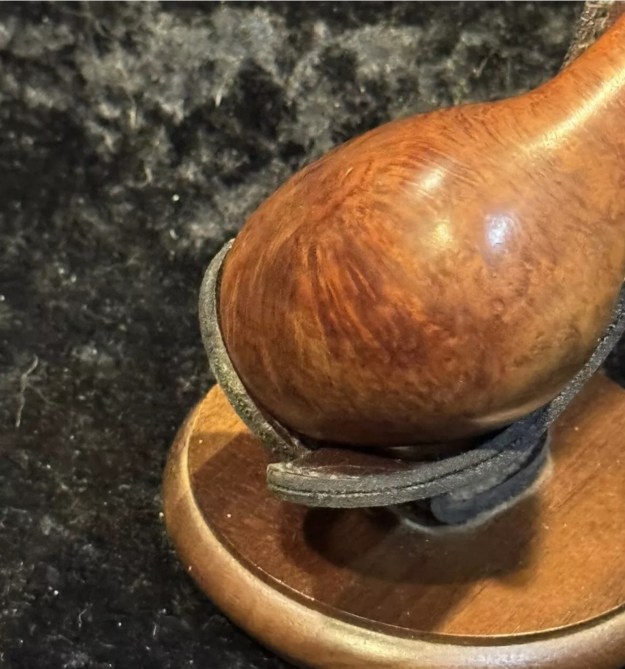
 I have also included shots of the sides and heel of the bowl to show the interesting grain patterns hidden under the grime. It is a pretty pipe.
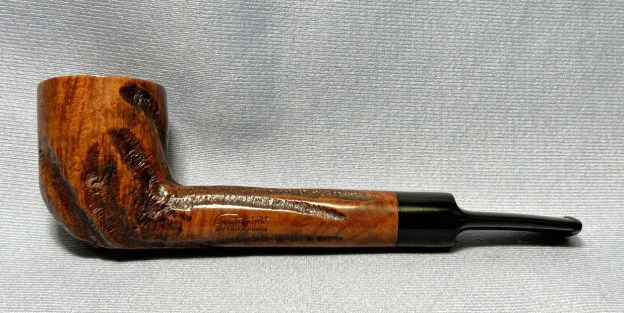
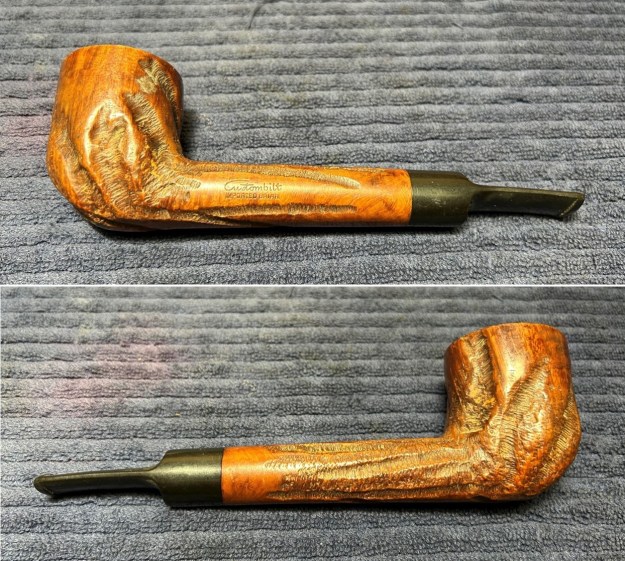
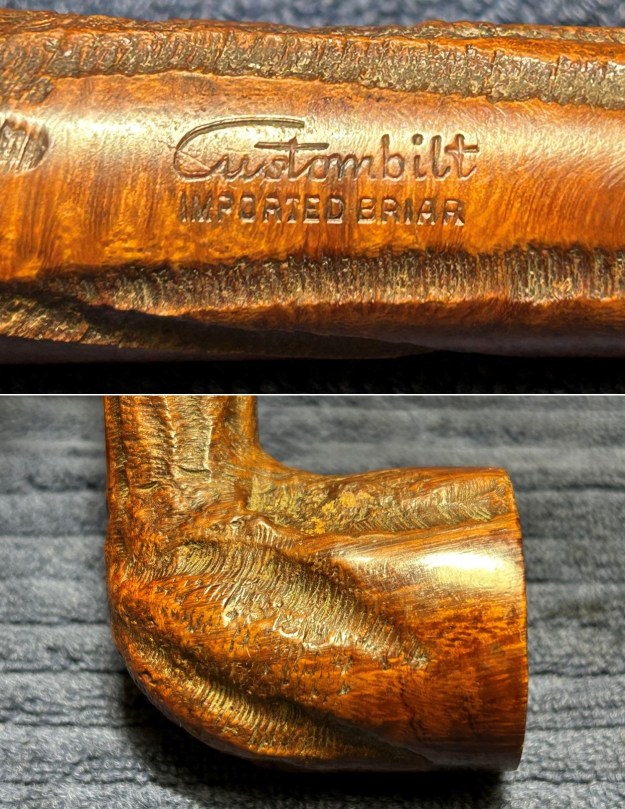
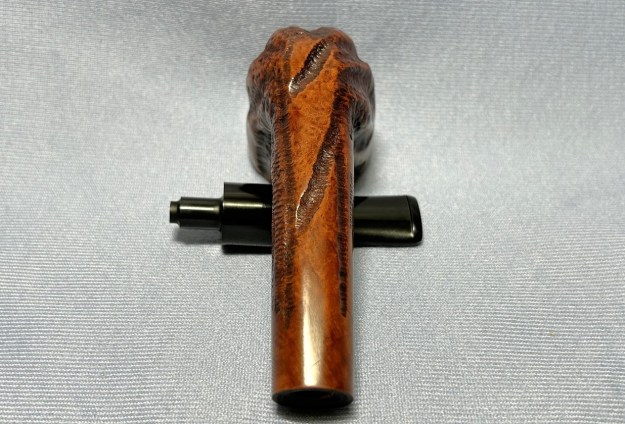
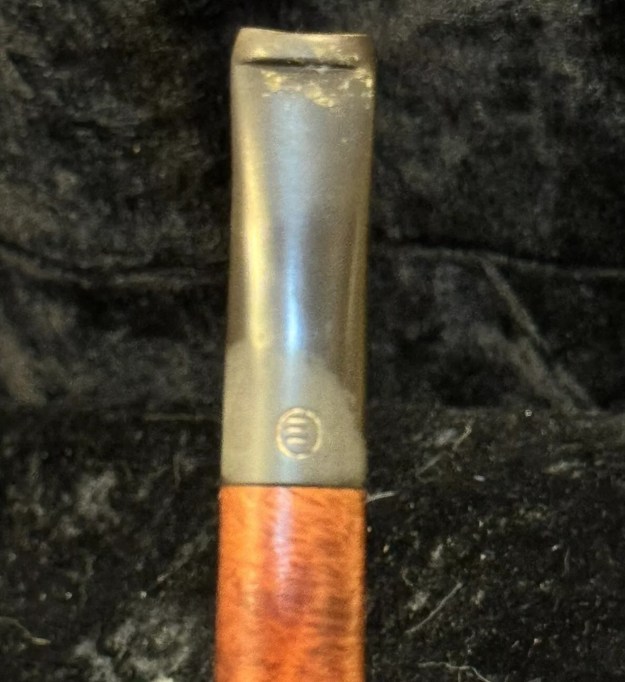
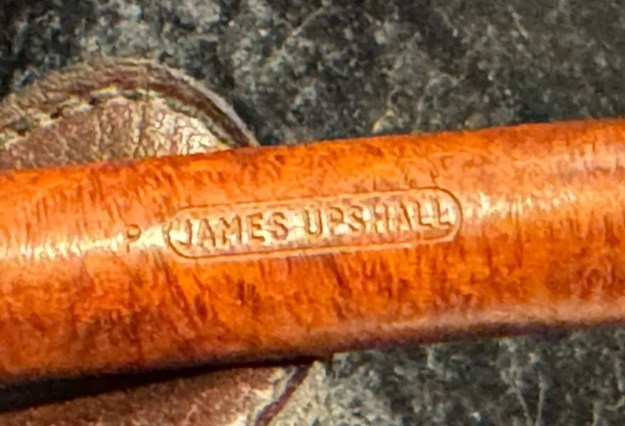
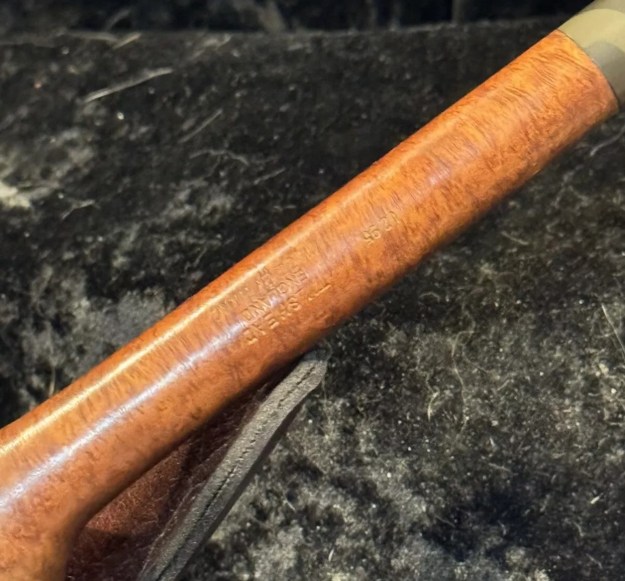
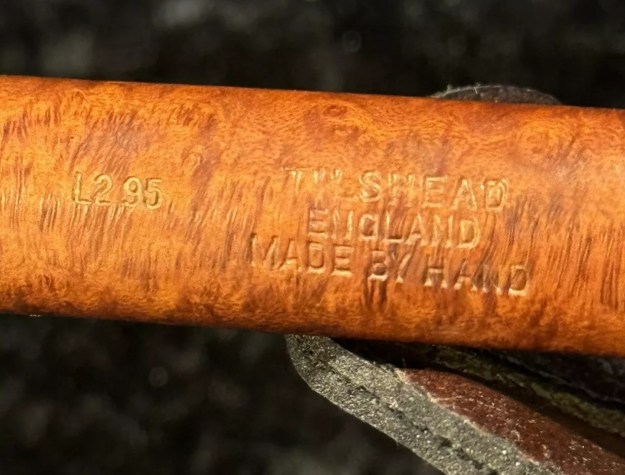
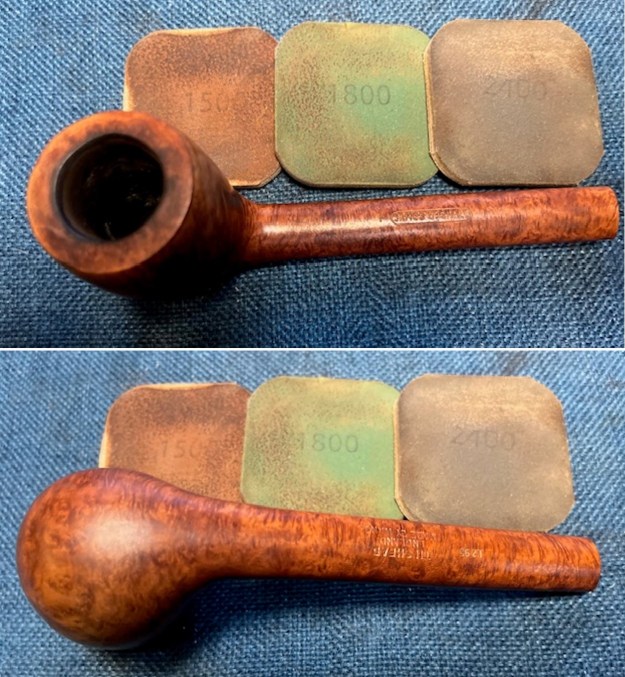
 The seller included several photos of the stamping on both sides of the shank. It is very clear and readable from his photos. The stamping on the topside of the shank reads JAMES UPSHALL in an oval and there is a JU in an oval on the top of the taper stem. On the underside it reads L2 95 (Shape Number) followed by Tilshead [over] England [over] Made by Hand.
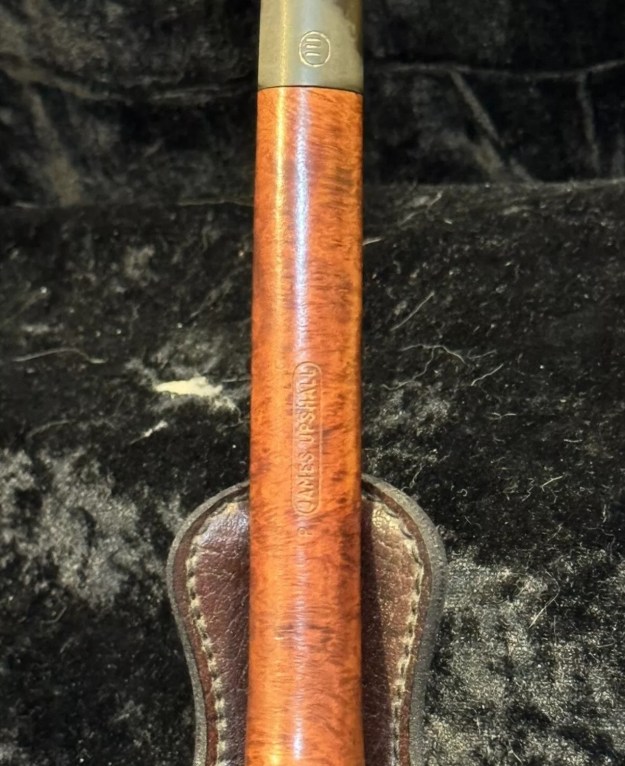
 Ilan also included a screen capture of his conversation on PipesMagazine.com with Peter Siegel for me to have a look at. I am including it as well because of the pertinent information that it gives regarding this particular pipe.
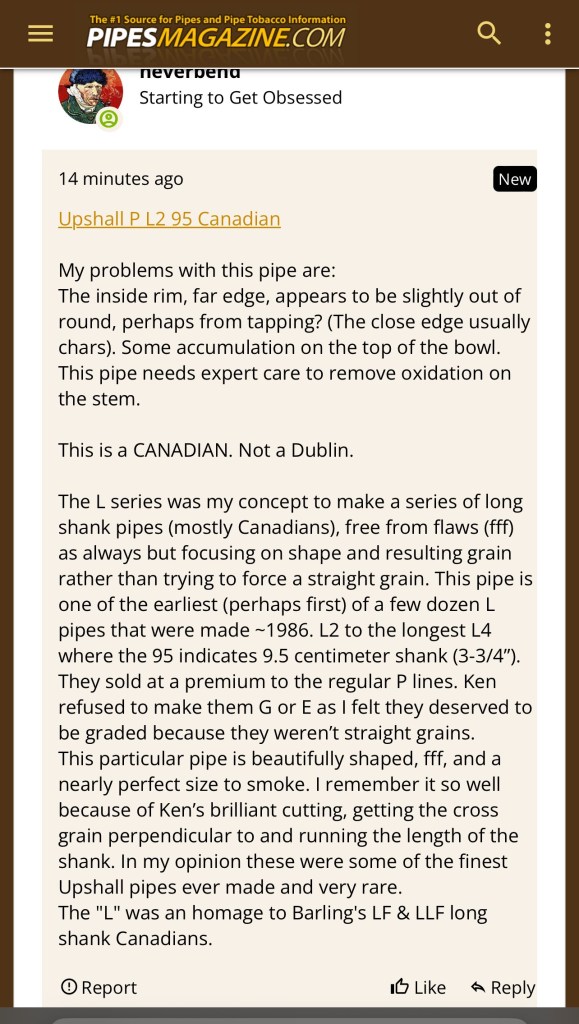 Pete described what he saw as he looked at the pipe from the seller’s photos. He notes the inside edge of the rim on the right side appearing to be slightly out of round. That was certainly a possibility in the photos but I was not certain of it due to the build up around the inner edge. It would become very clear once the pipe was cleaned and reamed. He also notes the build up on the rim top as I pointed out above as well as the oxidation on the stem. Overall there were not too many issues that he noted that I have not mentioned above.
The rest of the post is perhaps the most important to me at this point in my process. The pipe is an L series which Pete says was his concept to make long shank pipes (mostly Canadians) free from flaws but focused on the shape rather than trying to force the grain. He believes that the pipe was one of the earliest L series pipes of a few dozen made in 1986. The stamping for length was L2 to the longest L4. The 95 indicates 9.5-centimetre shank (3 ¾ inches). They were marked P as Ken refused to grade them G or E as Pete felt they deserved because they were not straight grains.
He goes on to say that this pipe is beautifully shaped, (fff = Free from flaws) and a nearly perfect size to smoke. He also notes that he remembers this pipe in particular because of Ken’s brilliant cutting getting the cross grain perpendicular to and running the length of the shank. He states that these were some of the finest Upshall pipes ever made and are very rare. I found it interesting that he ends his post with a not on the L stamp which he says was an homage to Barling’s LF & LLF long shank Canadians.
Ilan also included an email that Pete wrote with the explanation that Pete was the US distributor for Upshall pipes. He asked if I wanted to be included in the correspondence. I answered unequivocally YES. Have included that below:
Here’s what Pete wrote regarding the pipe. He was the US distributor. Do you want me to include you in our correspondence? — Ilan
Hi Ilan,
Nice to meet you. I was afraid that someone might buy the pipe out from under you. $160 is a great price. I think your pipe may be 1985 rather than 86 (as I wrote earlier) but it’s right there. To correct what I wrote, Ken wouldn’t grade the L series higher (at least at the beginning) because they weren’t straight grains so they were all (initially) P grade with a surcharge for the L series. Iirc, the P was $125, P L2 $175, L3 $200 and L4 $225. The longer shanks may have been impressive but they weren’t as symmetrical or beautifully (classic English) shaped as the L2.
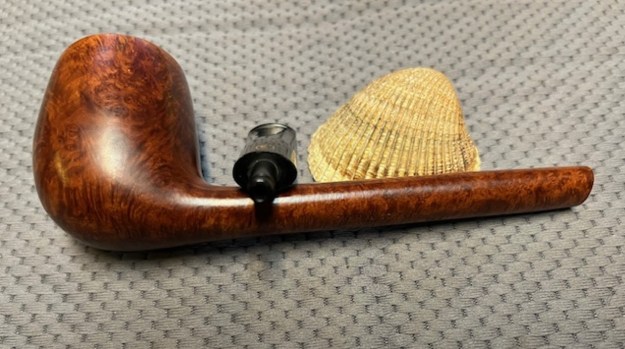
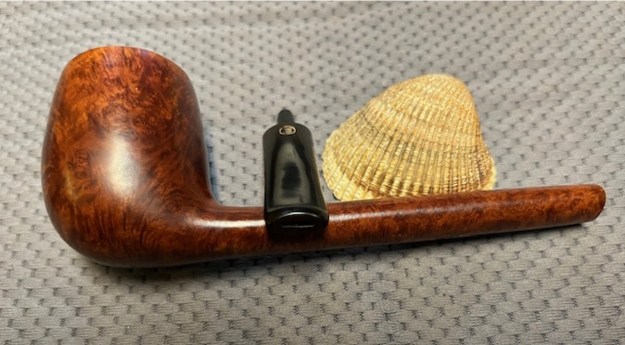
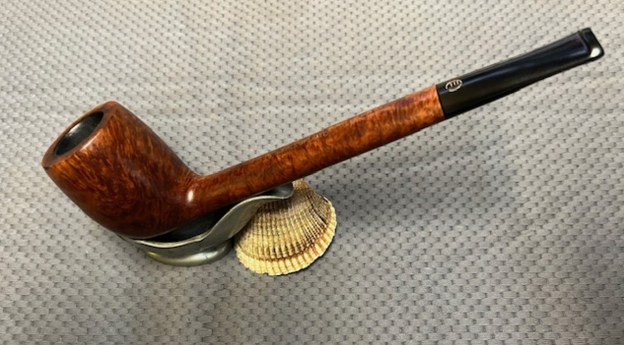
Upshall “Canadian” (really a large Liverpool)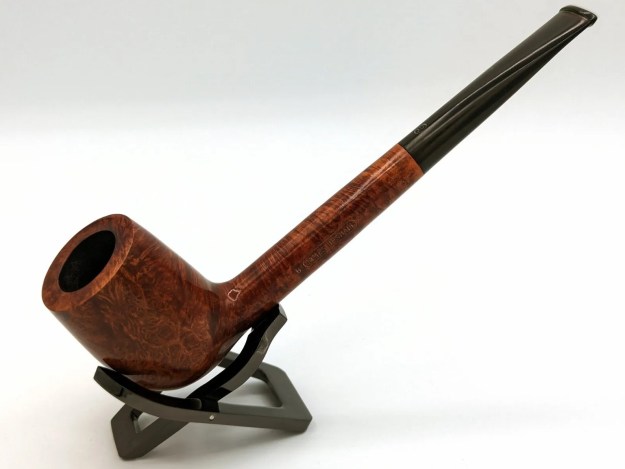 The pipe above is selling for ~$450. Large and long, not an “L” series. Looks a little buffed and rounded. Nice but imho your Canadian is a better pipe to smoke and it should be more valuable.
I used to get Steve’s blog and he seems to be an exacting craftsman.
Looking forward to seeing pictures of the pipe 🙂
Pete
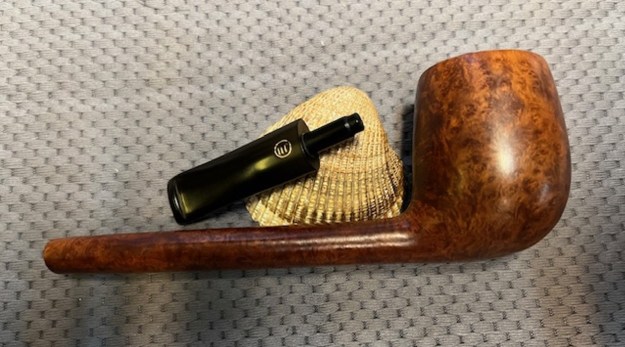
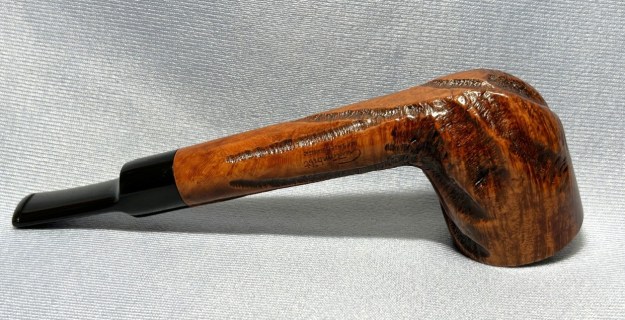
The Upshall arrived in Vancouver, Canada yesterday afternoon. I was excited to see what it looked like so I carefully unwrapped the package that it came in. I went over it carefully to check my initial observations and see if there was anything further to note. Thankfully, there were no surprises or issues that came up in this initial assessment. I took photos of the pipe when it arrived to document its condition before I started my clean up.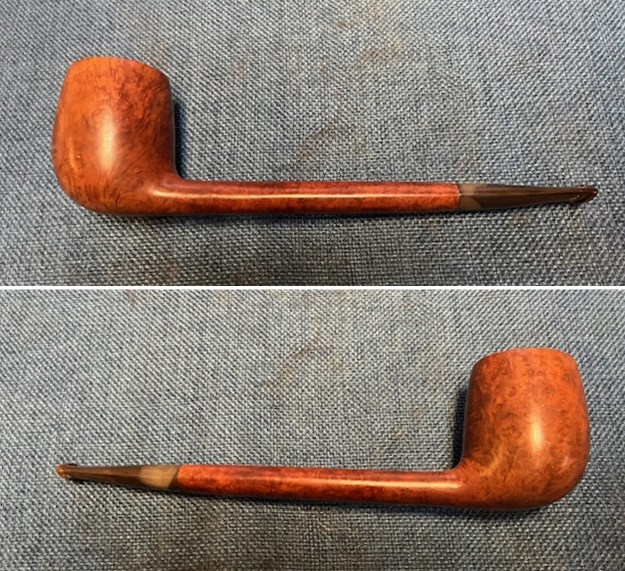
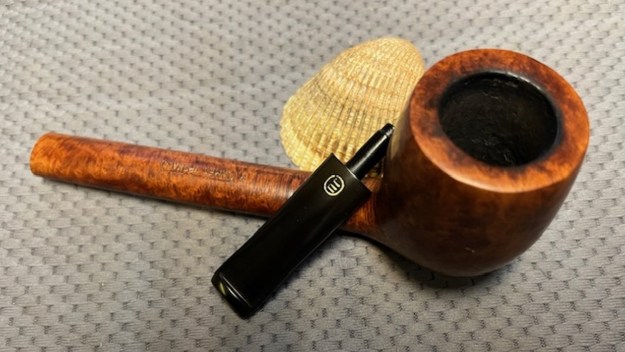
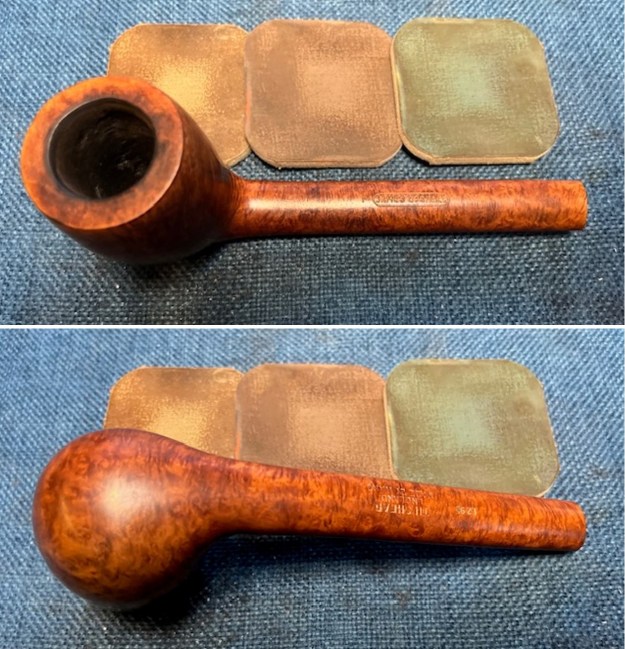
 I took photos of the rim top to show the cake in the bowl and the thick lava coat and debris in the finish. There was darkening all around the bowl edge and on the inner edge. I took photos of the stem to show the oxidation and tooth chatter and light marks on both sides of the stem ahead of the button.
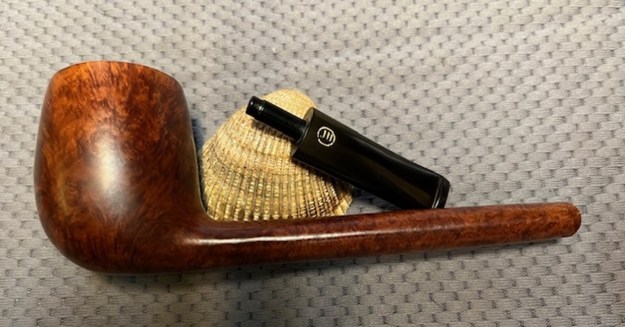
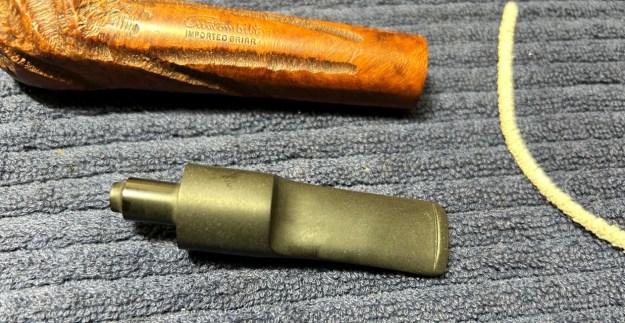
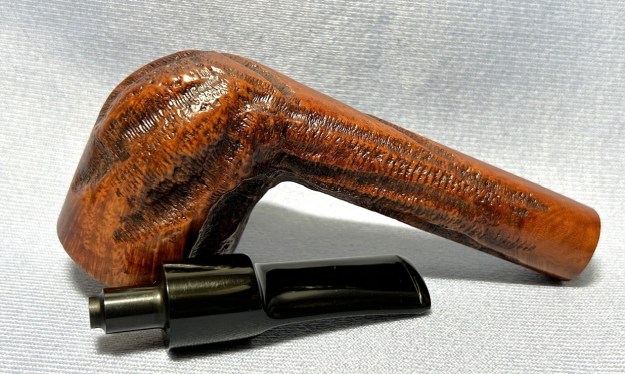
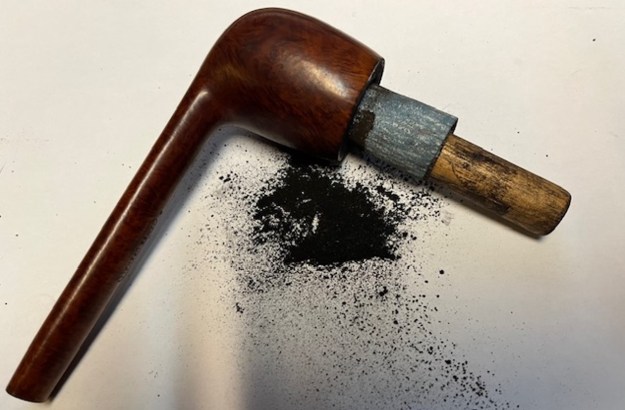
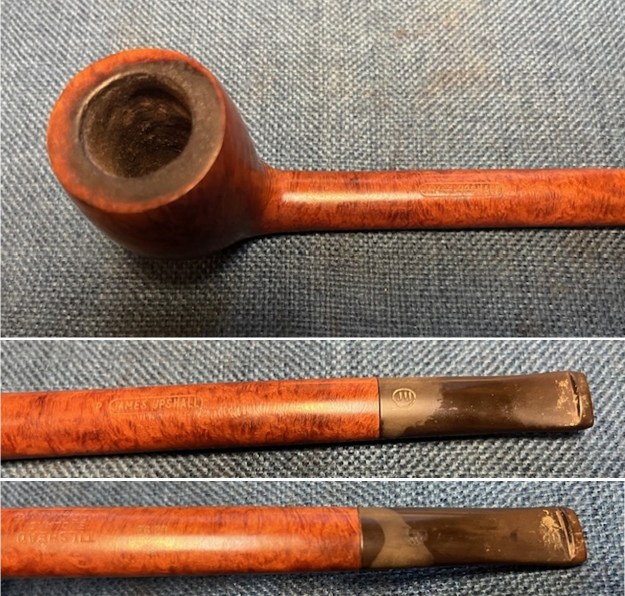 I captured the stamping as best as possible on the top and underside of the shank. It reads as noted above. I took the stem off the shank and took a photo of the parts to show the proportions of this long shank Canadian. It really is a beauty.
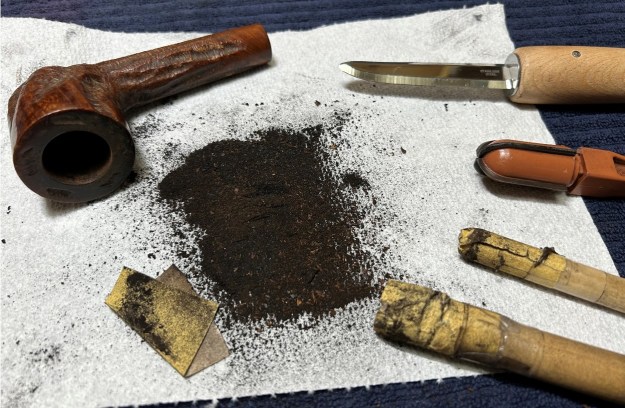
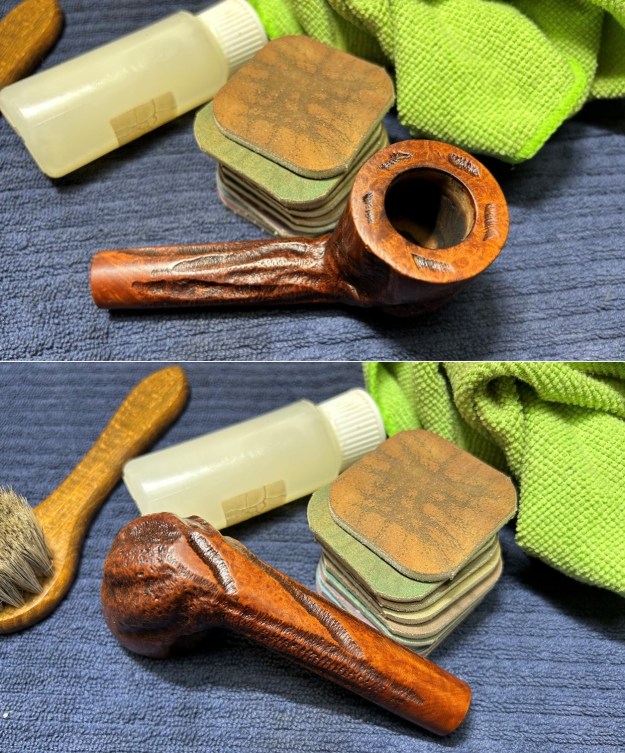
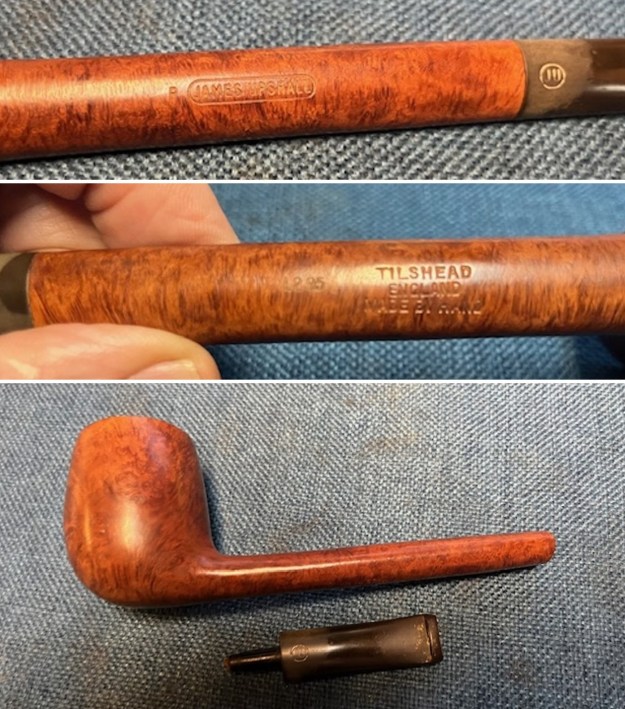 Now it was time to work on the stunning 1985 Upshall P L2 95 Canadian. I started by reaming the bowl with a PipNet reamer and took the cake back to bare briar. I cleaned up the reaming with a Savinelli Fitsall Pipe Knife and then sanded the walls smooth with a piece of 220 grit sandpaper wrapped around a dowel. I do this thorough stripping of the cake so that I can check out the condition of the walls under the cake. I know others don’t do this but it is necessary in my opinion for a thorough look at the pipes condition. In this case the walls looked very good. I also carefully scraped the lava on the rim top with the Savinelli Fitsall Pipe Knife.
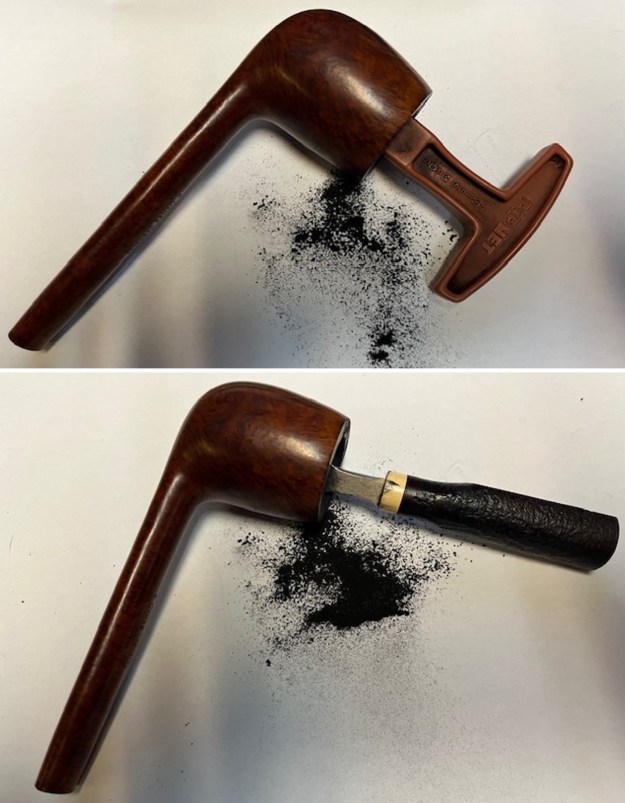
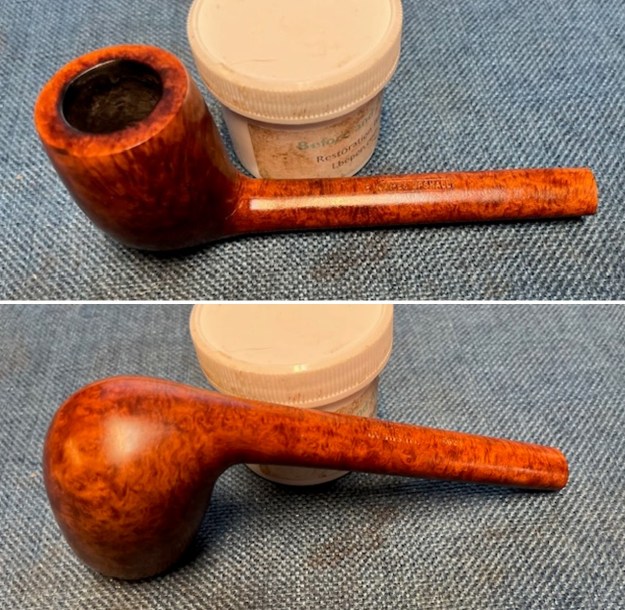
 I did an initial scrubbing of the briar with Mark Hoover’s Before & After Briar Cleaner to try to break through the darkening on the rim top. I applied it by hand, scrubbed with a tooth brush and wiped it off with a cotton pad. While it looked better it still needed more work. It did a good job of cutting through the grime around the bowl sides.
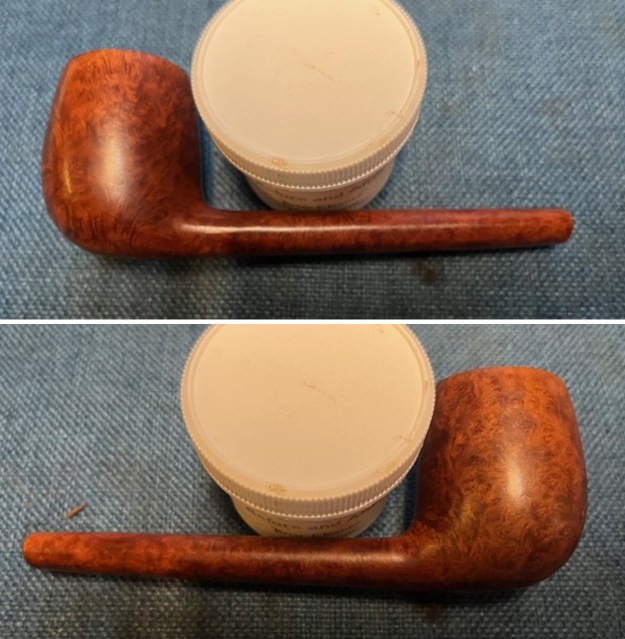
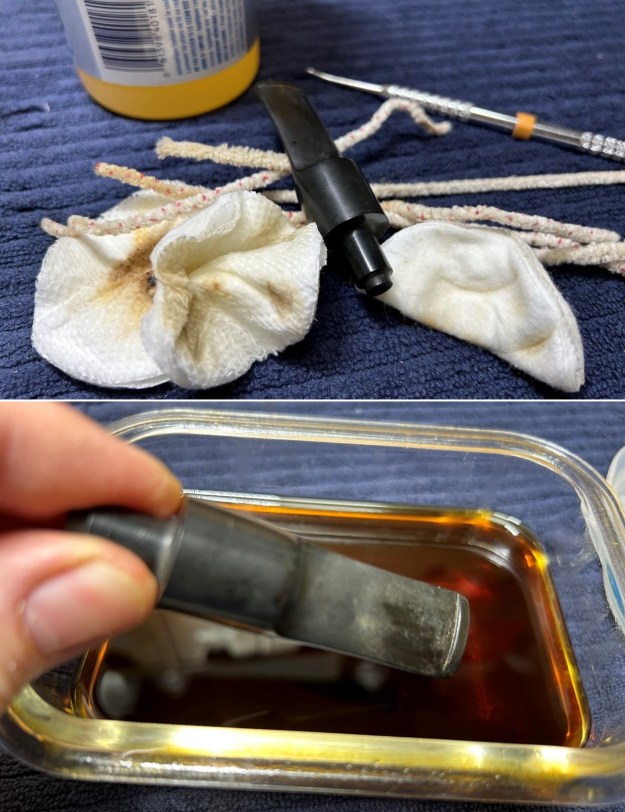
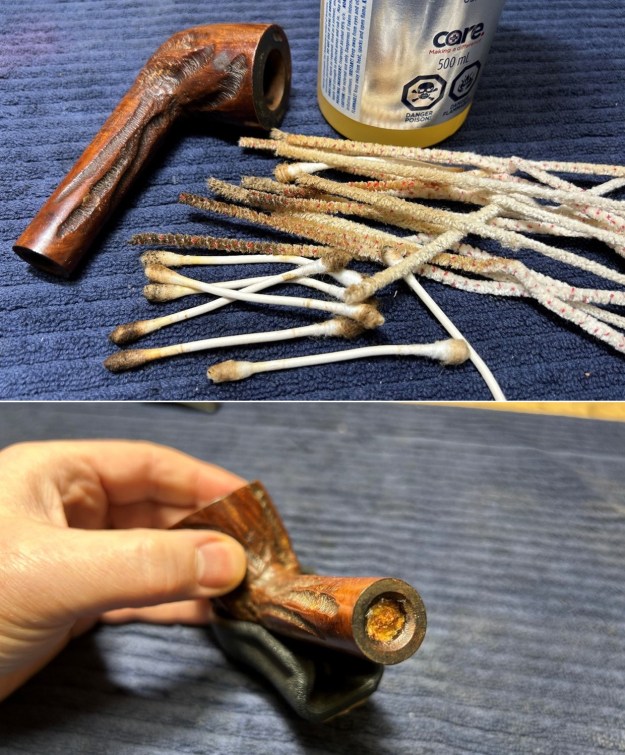
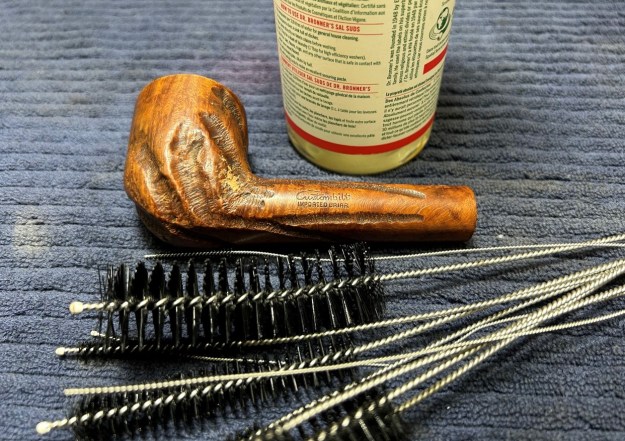
 I scrubbed out the internals of the shank and stem with 99% isopropyl alcohol, cotton swabs, smooth and bristle pipe cleaners to remove the tars and oils that were on the walls of the mortise and shank and in the airway on the shank and stem. It came out looking and smelling much cleaner than when I started.
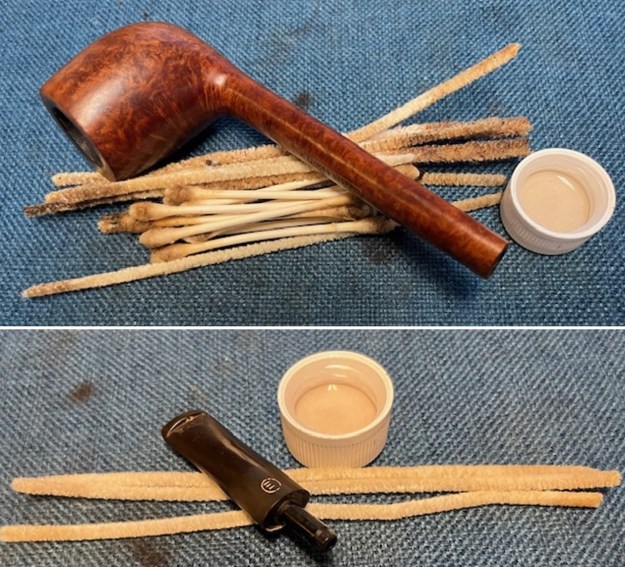 I decided to further scrub the rim top and finish with undiluted Murphy’s Oil Soap to see if I could remove more of the darkening on the edges and top of the bowl. I scrubbed it with a tooth brush and rinsed it with warm water. I certainly did look better but I wanted a bit more removed!
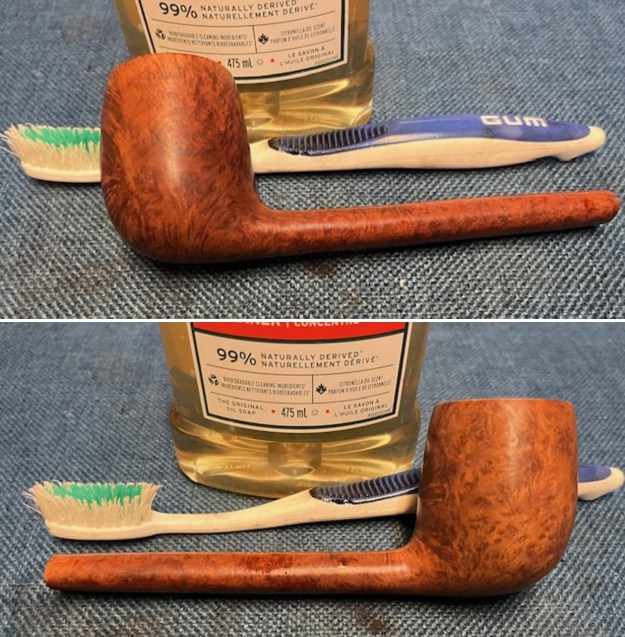
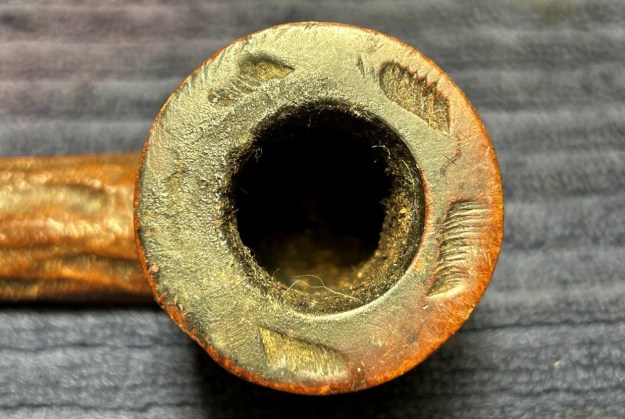
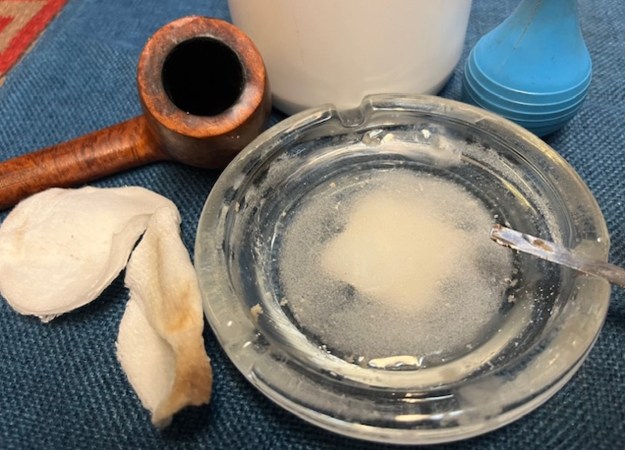
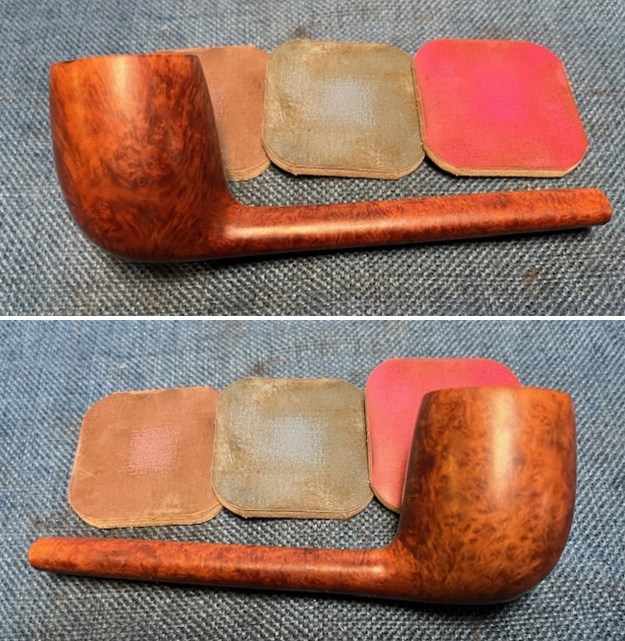
 I took a photo of the rim top at this point to show where I was in cleaning it off. It still needed more to remove the darkening. I mixed up a batch of Oxalic Acid and wiped the rim top down with that on a cotton pad. I removed even more of the issue.
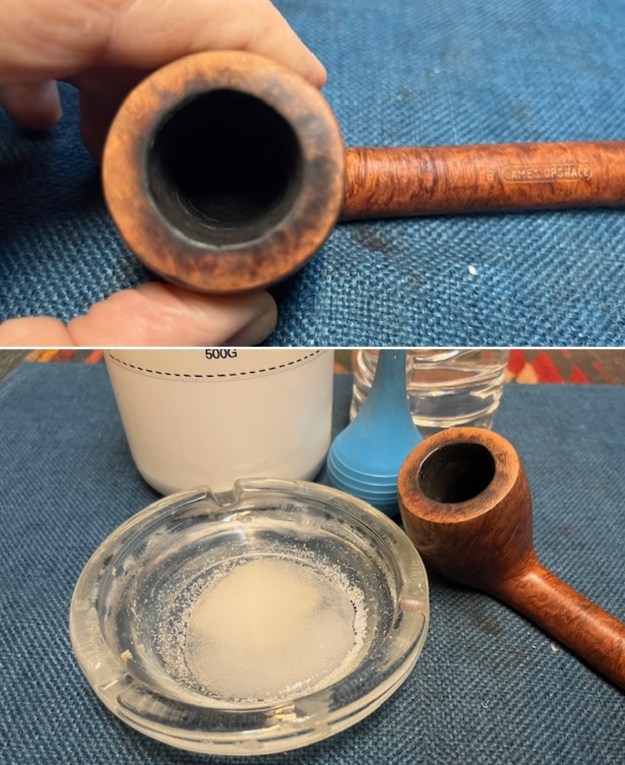
 I gently cleaned up the inner edge of the bowl with a folded piece of 220 grit sandpaper to smooth out the damage to the edge. I wiped it off with a damp cloth. I stained the rim top and edges with an Oak stain pen which matched the stain around the rest of the bowl. Once it was buffed it would be perfect.
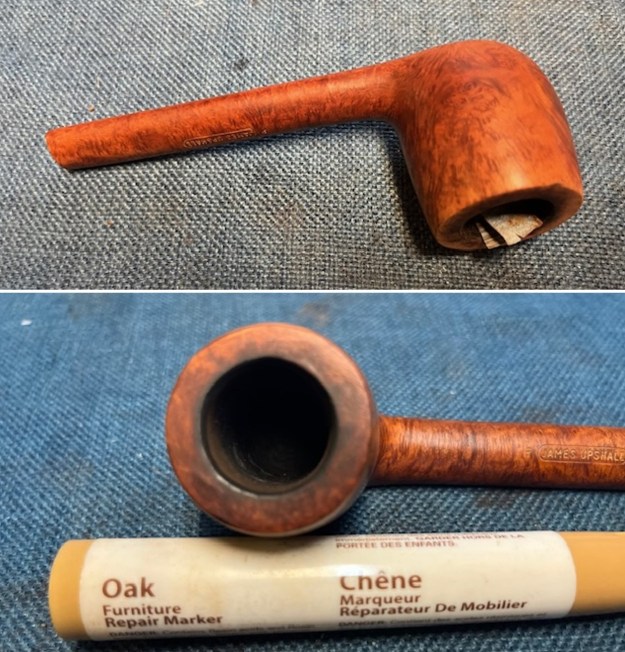 I polished the bowl and rim top with micromesh sanding pads – wet sanding with 1500-12000 grit sanding pads. I wiped down the briar after each pad with a damp cloth to remove the dust and debris from the surface. The briar began to take on a shine.
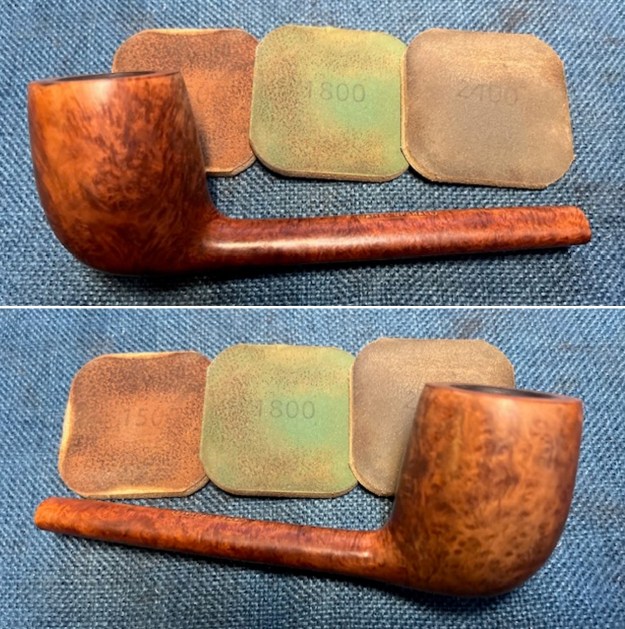
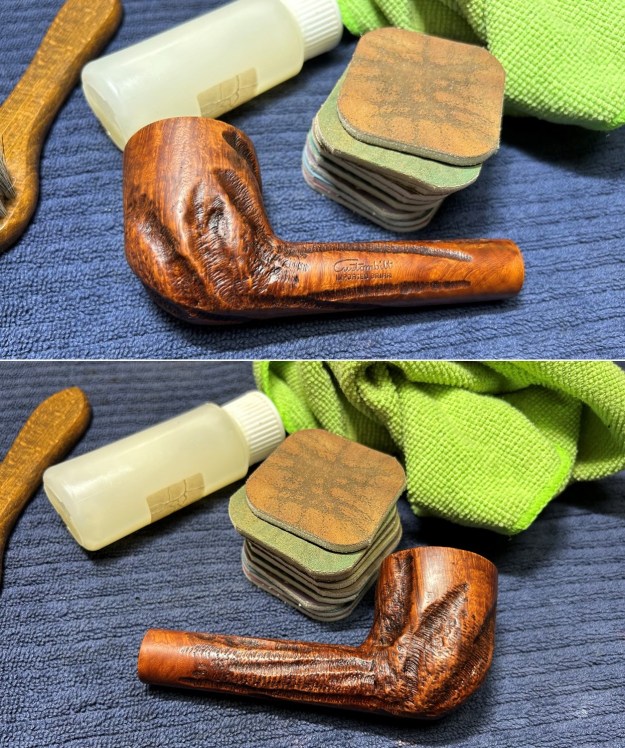
 I worked some Before & After Restoration Balm into the surface of the briar with my finger tips. The product is incredible and the way it brings the grain to the fore is unique. It works to clean, protect and invigorate the wood.
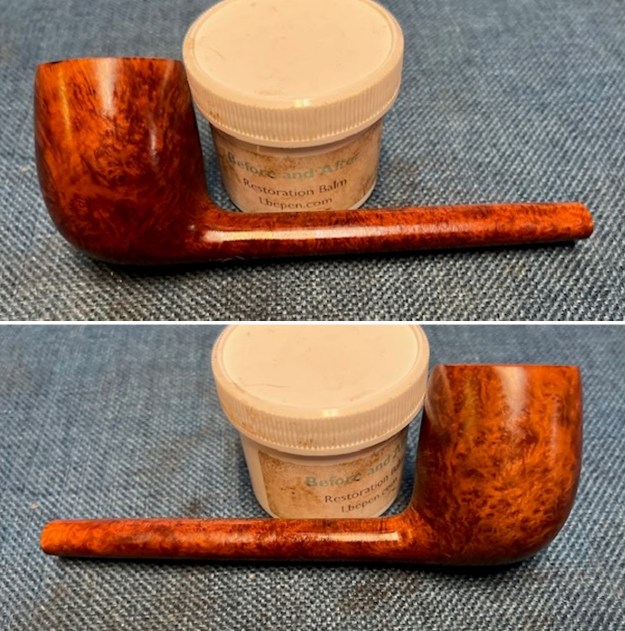
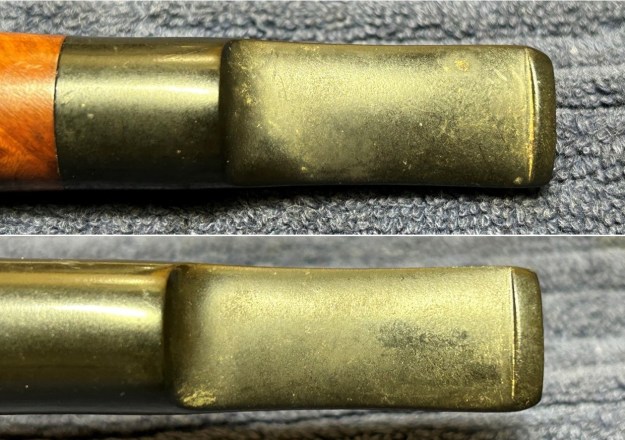
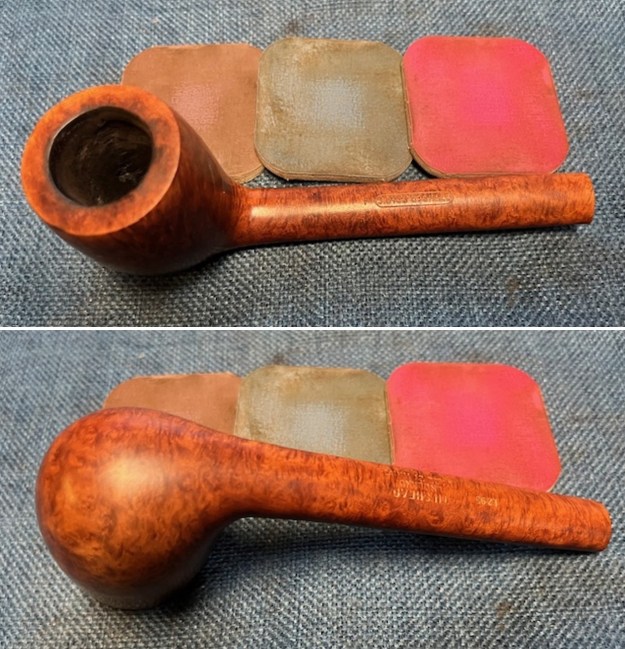
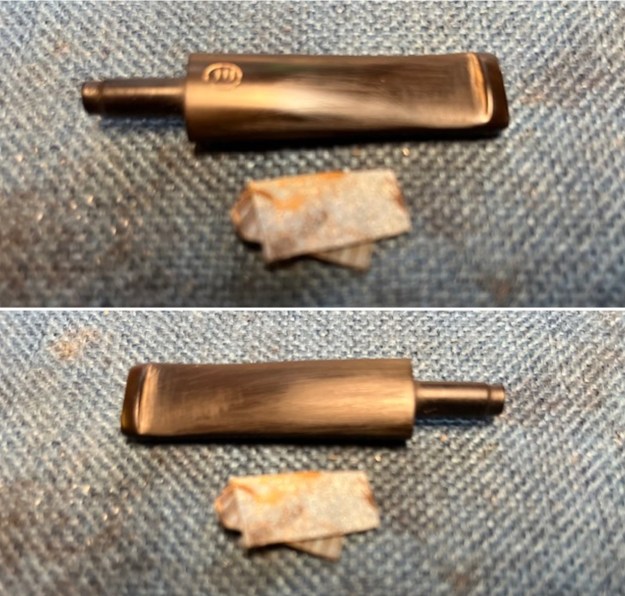
 I set the bowl aside and turned my attention to the stem. I wiped the stem down with a cotton pad and some Soft Scrub cleanser to remove the oxidation on the surface and the area around the stamping in preparation recolouring it.
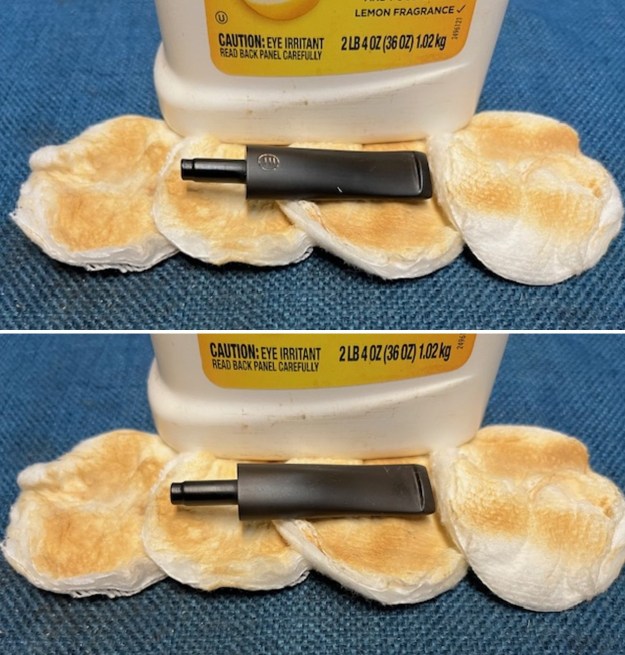 I “painted” the stem surface with the flame of a lighter to lift the tooth marks and chatter out of the surface. It worked very well and lifted all of them. I sanded out what small marks that remained with a folded piece of 220 grit sandpaper. I was able to remove the damage and the stem looked much better.
 I touched up the faint stamp on the top of the stem with Rub’n Buff Antique Gold. I rubbed the product into the stamping and buffed it off with a soft cloth. It looks much better.
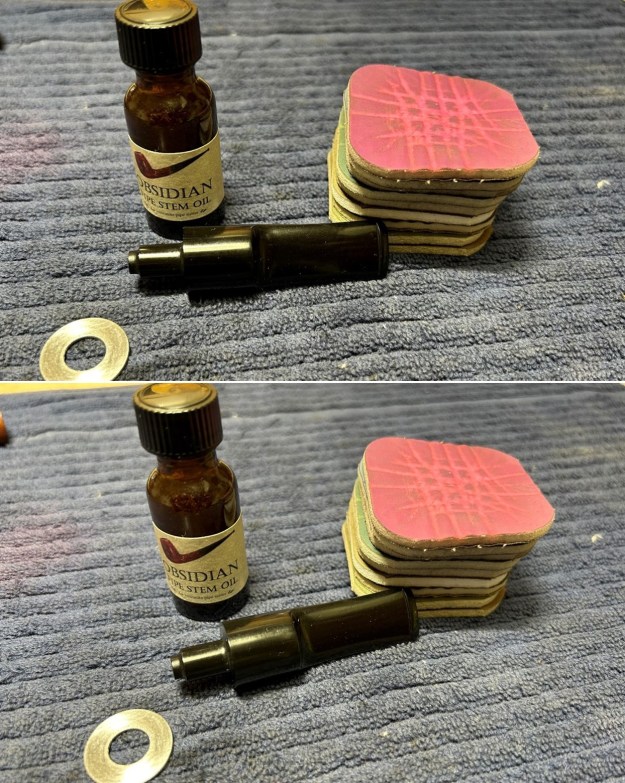
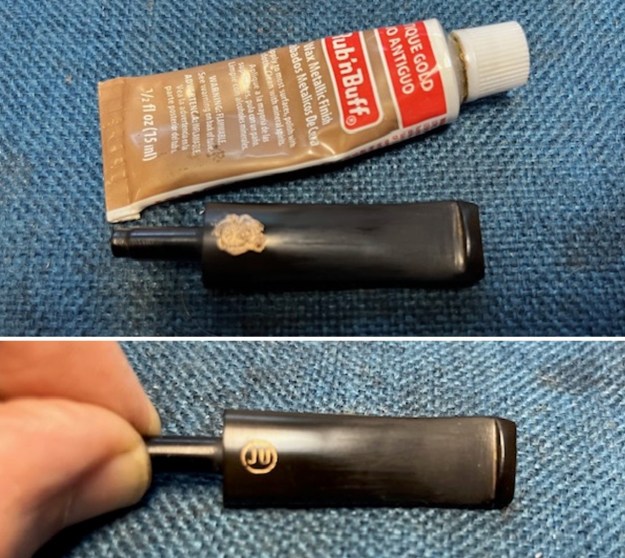 I sanded the stem with 320-3500 grit sanding pads. Between the pads I wiped the stem down with Obsidian Oil. It is starting to look very good.
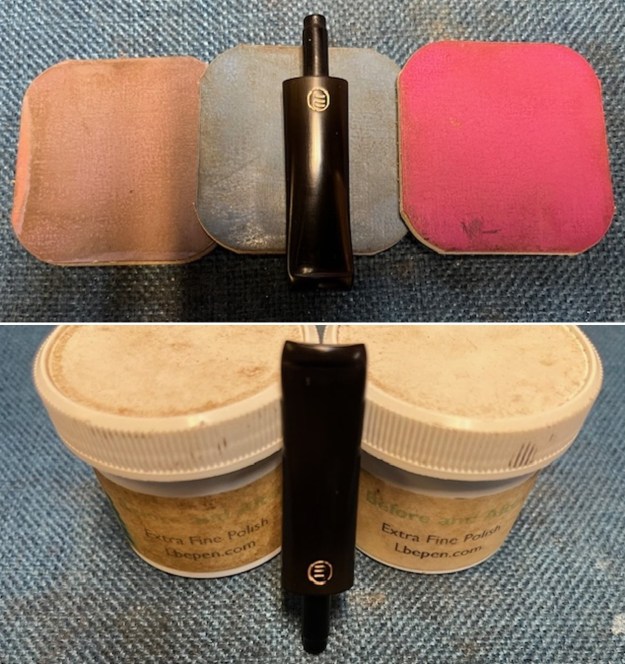
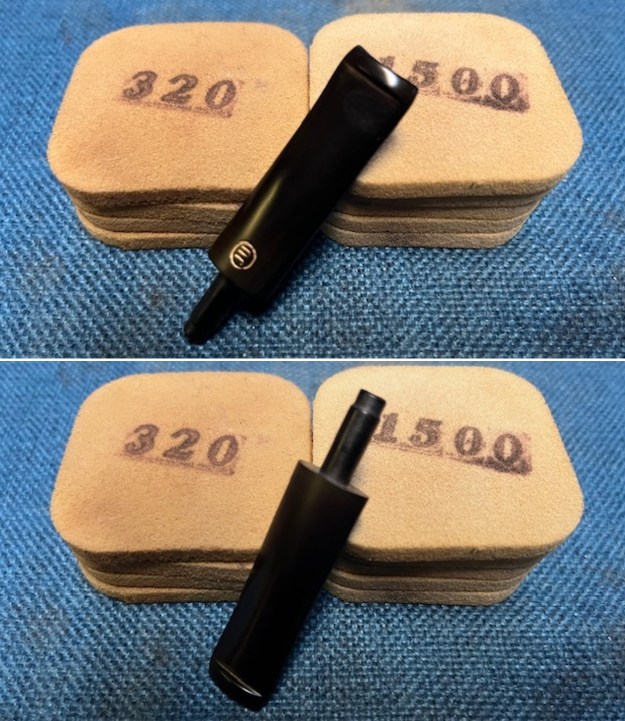 I polished the stem with micromesh sanding pads – wet sanding it 1500-12000 pads. I wiped it down with Obsidian Oil after each pad to enliven and protect the vulcanite. I polished it with Before After Pipe Polish – both Fine and Extra Fine. I rubbed the stem down with Obsidian Oil and set it aside to dry.
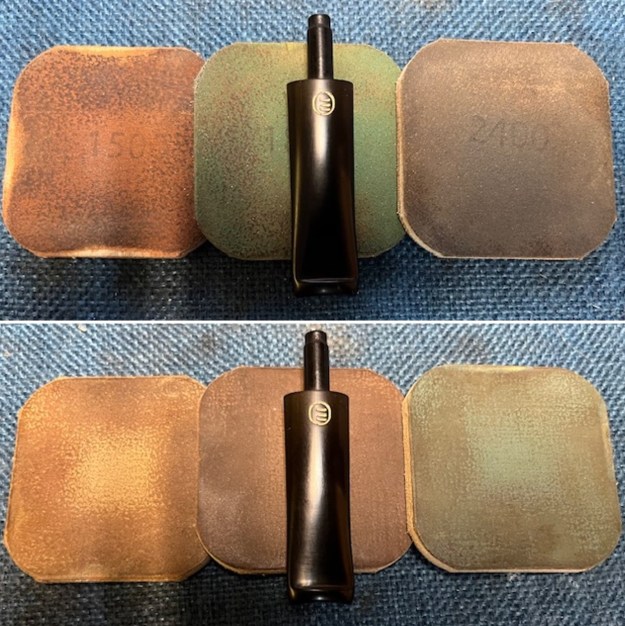
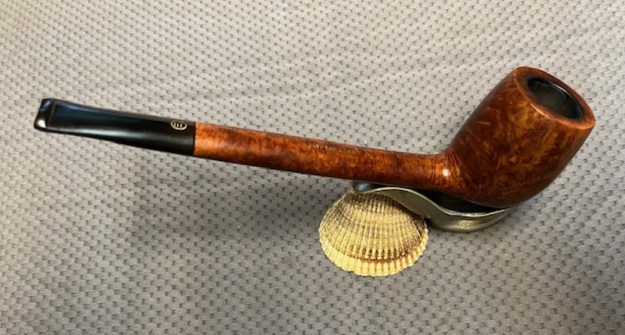
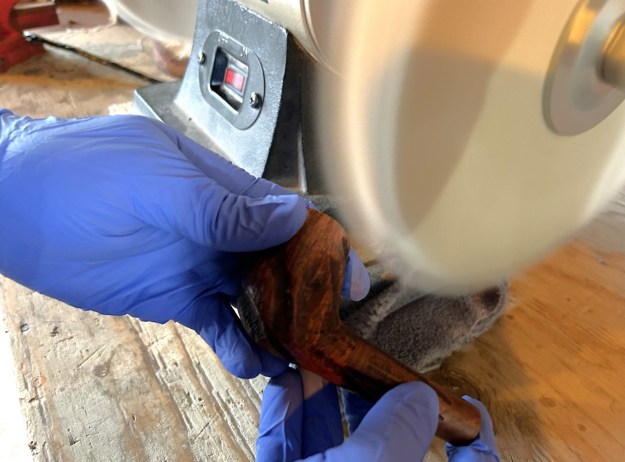
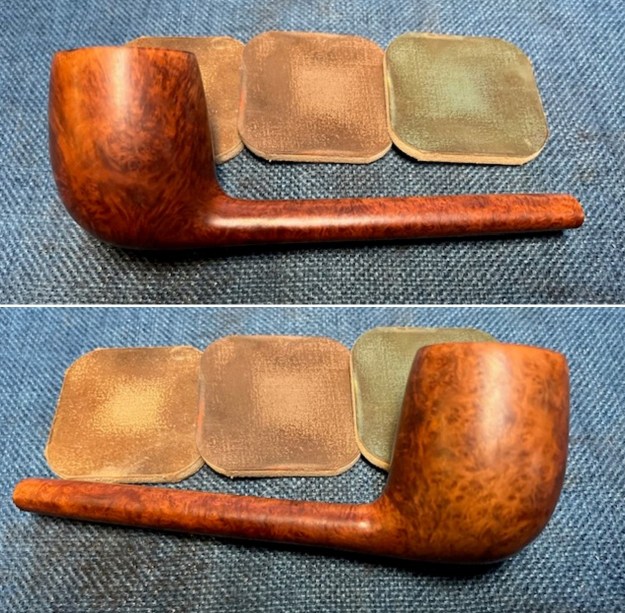
 I am excited to be on the homestretch with this beautiful James Upshall P-Grade Made by Hand L2 95 Canadian. I look forward to when it all comes back together, polished and waxed. I put the bowl and stem back together. I polished the bowl and stem with Blue Diamond to polish out the tiny remnants of scratches in the briar and the vulcanite. I gave the bowl and the stem multiple coats of carnauba wax. I buffed the pipe with a clean buffing pad to raise the shine. I hand buffed it with a microfiber cloth to deepen the shine. The pipe polished up pretty nicely. The beautifully grained finish looks really good with the interesting grain patterns standing out on the shape. The long, well grained shank and the polished black vulcanite taper stem went really well together. This James Upshall Long Canadian L2 95 was another fun pipe to work on. It really has that classic English look that catches the eye. The rich colour of the polished briar really makes the pipe look attractive. It is a large but comfortable pipe to hold in the hand. The finished pipe is shown in the photos below. The dimensions of the pipe are Length: 7 ½ inches, Height: 2 inches, Outside diameter of the bowl: 1 ¼ inches, Chamber diameter: ¾ of an inch. The weight of the pipe is 52 grams/1.87 ounces. This is an Upshall that catches my eye. I will soon be packing it up and sending it back to Ilan. I look forward to hearing from Ilan what he thinks of this beauty. Thanks for reading this blog and my reflections on the pipe while I worked on it. This is an interesting estate to bring back to life.