by Steve Laug
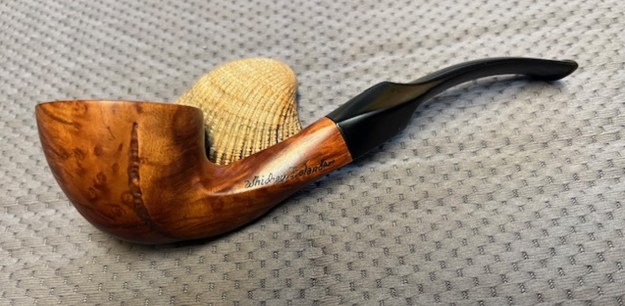
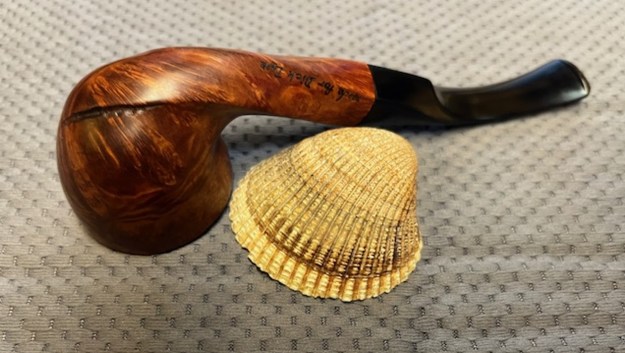
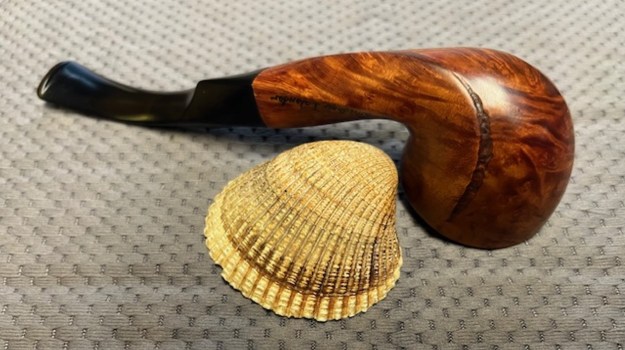
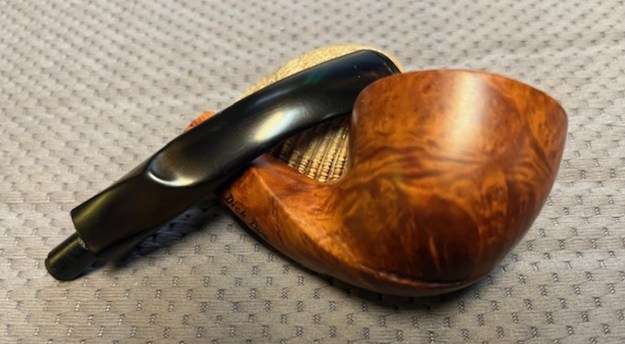
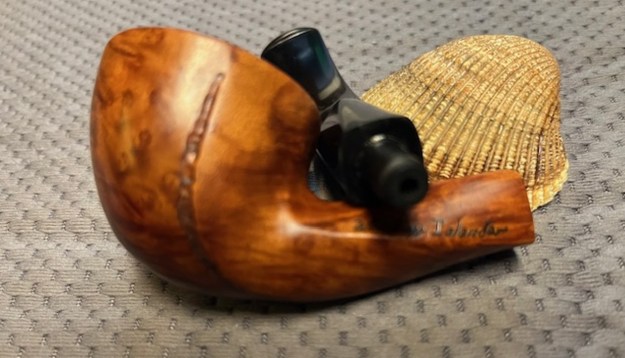
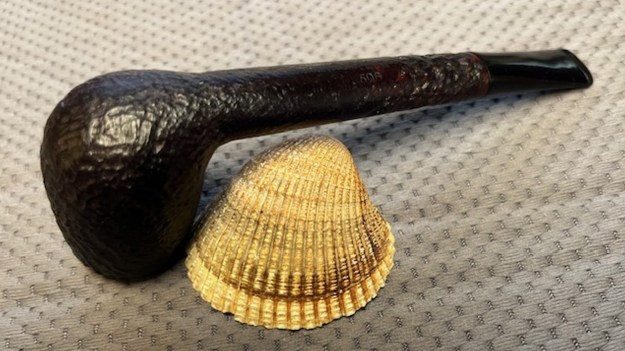
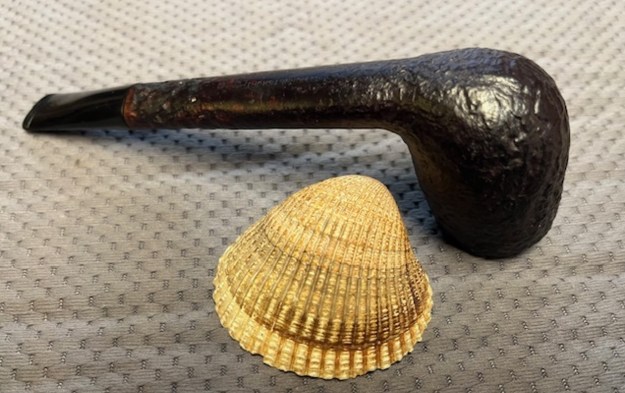
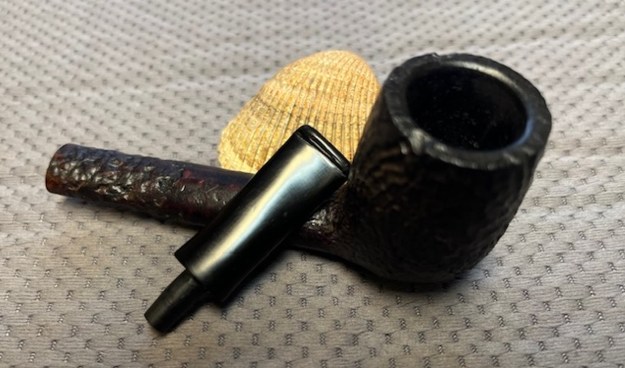
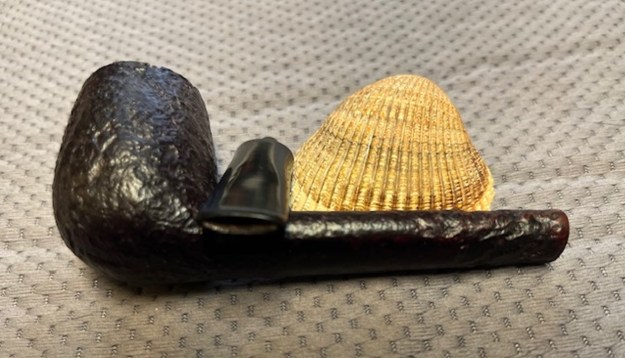
About a year ago I visited an older pipe repair man (when I say older I mean older than me). He gave me a lot of pipe parts – stems, bases, bowl, tenons and bands On Monday, August 25 after a visit with my brother Kenneth and I went to visit my contact again. This time he had more stuff that he wanted to get rid of from his parts. Once again, we received more stems and tenons. But he also put in a box of pipes that were in various states of repair or disrepair. One of those pipes was an interesting smooth Dublin with a twisted shank going into a diamond shaped saddle stem. The stamping, or rather etching on the left side of the shank is clear and readable. It reads Whidbey Islander. On the right side of the shank it read Made for Dick Dye. The bowl is an squat Dublin with a worm trail carving on the left side from the top and another on the right underside. The shank twists from the bowl junction back to the stem. It continues onto the saddle portion of the stem. It has some stunning grain around the bowl and shank even in its unpolished condition. The bowl had been reamed recently and the top and edges of the rim had some scratches. The inner edge was slightly out of round. The freehand vulcanite stem is square at the shank end then has a twist that continues from shank. It was oxidized and had some calcification ahead of the button on both sides. The stem had a repair in it mid stem – like it had been broken and repaired. There were tooth marks on the surface that had also been repaired with what looked like a white epoxy like substance. I took some photos of the pipe before I started my work.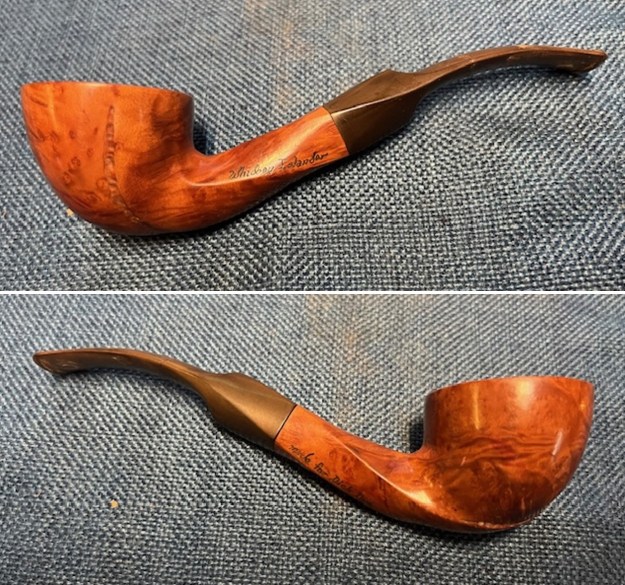
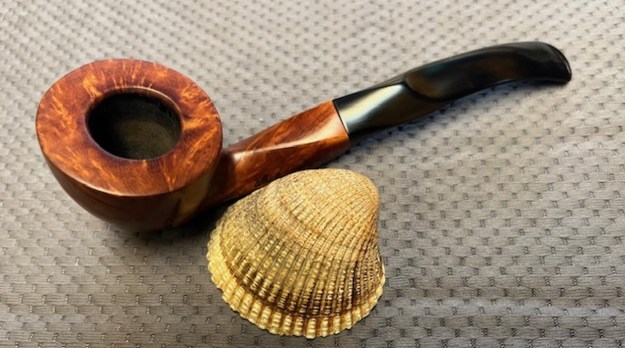
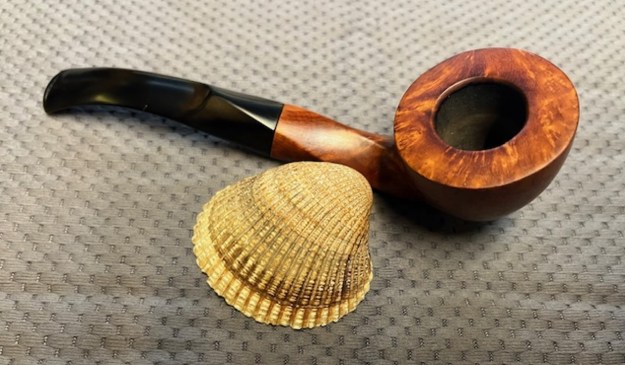
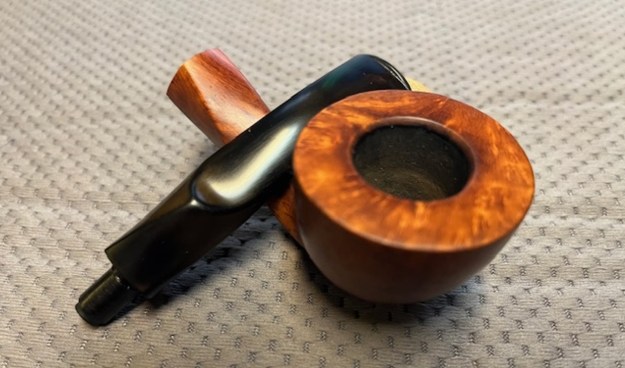
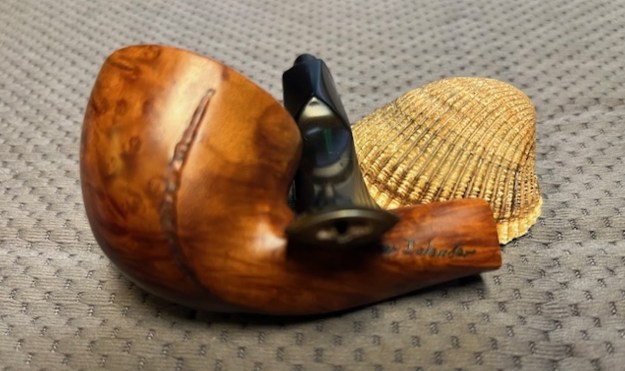
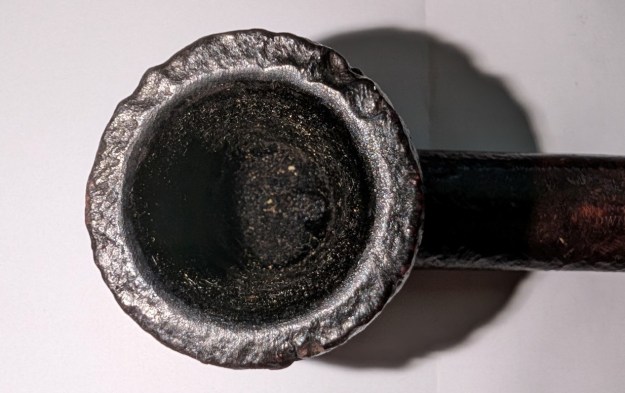
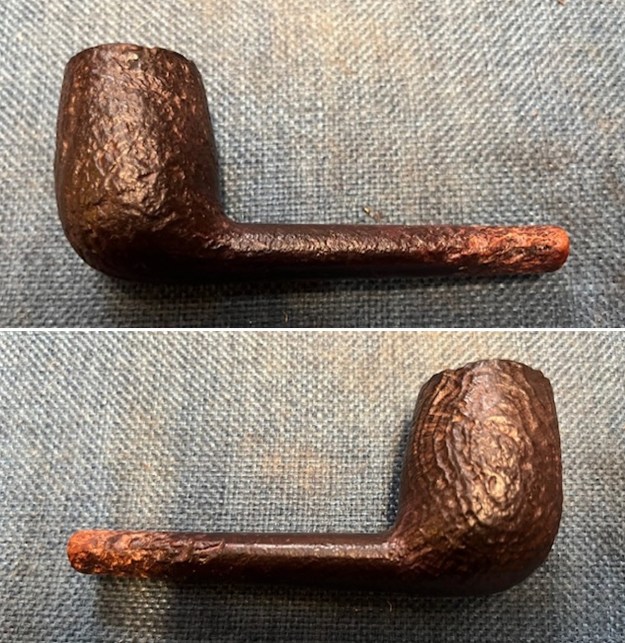
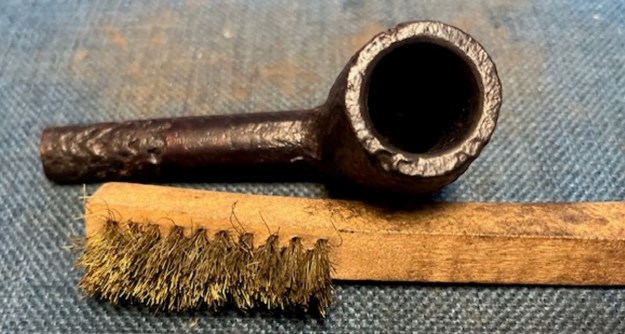
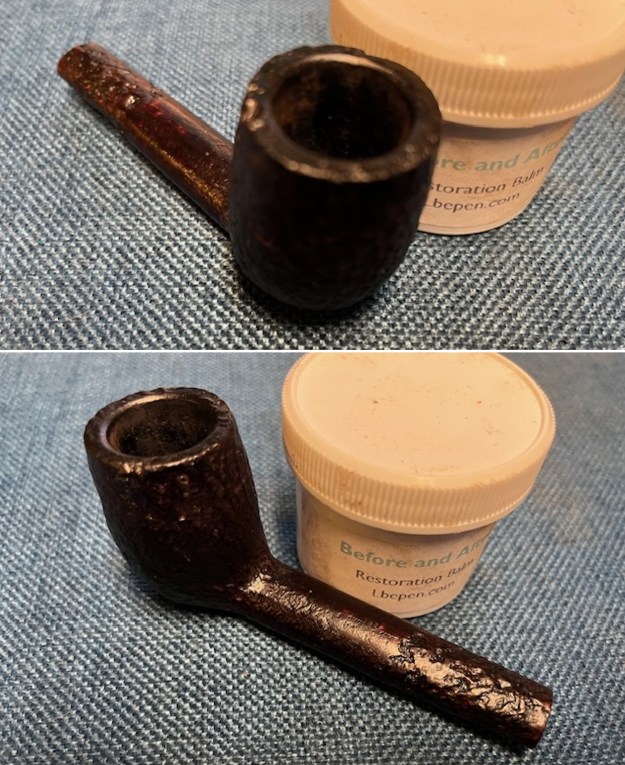
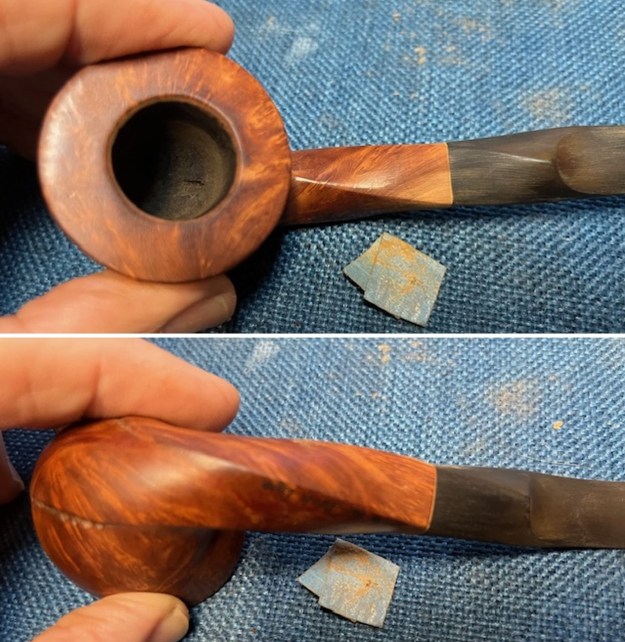
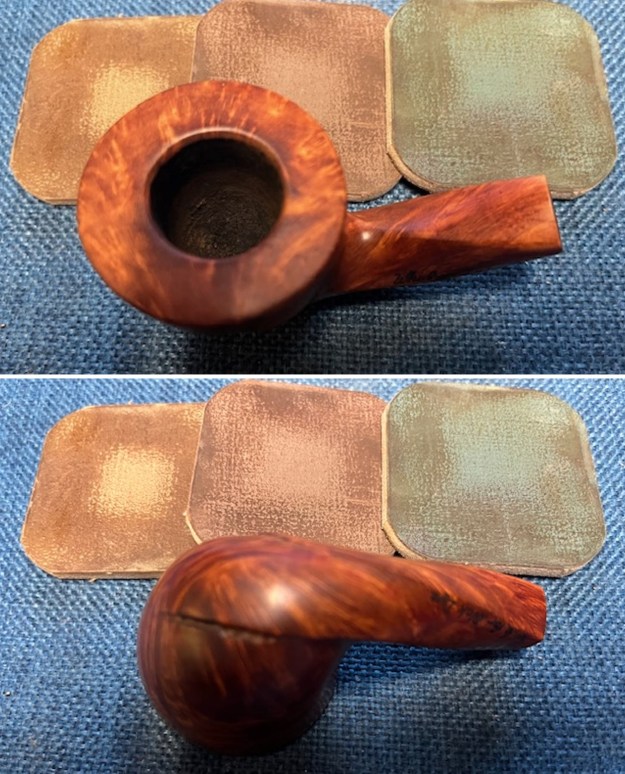
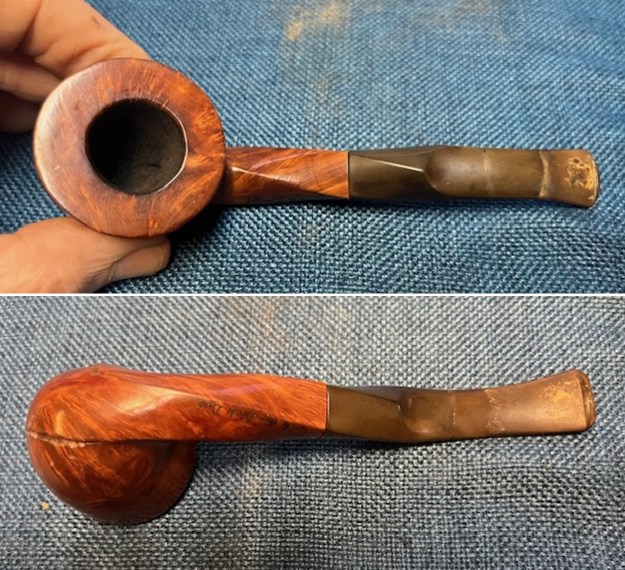 I took close up photos of the bowl and the stem. You can see the light cake in the bowl and the darkening on the rim top and the edges. There were also some scratches on the top. The stem surface was oxidized and had some calcification on the end ahead of the button. There were tooth marks and chatter on both sides on and ahead of the button. There were also two large repairs ahead of the button. They not black rather white. The stem also had been repaired at a crack in the middle across the stem.
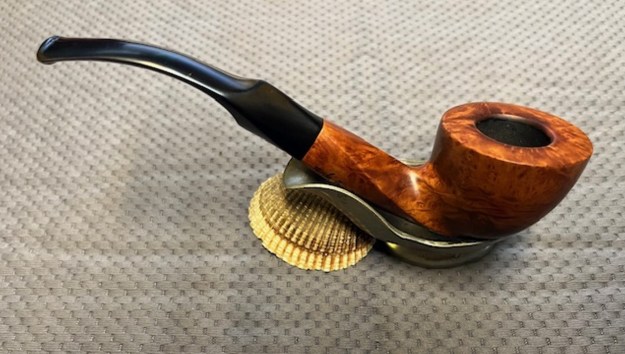
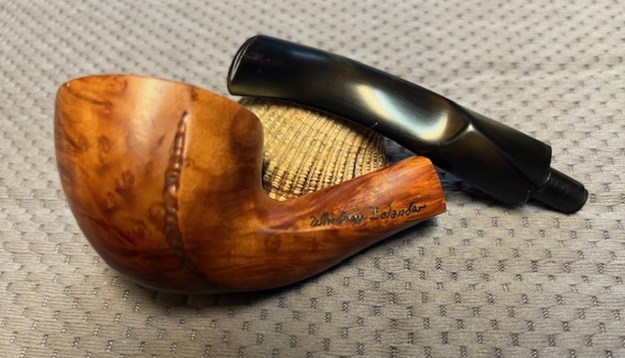
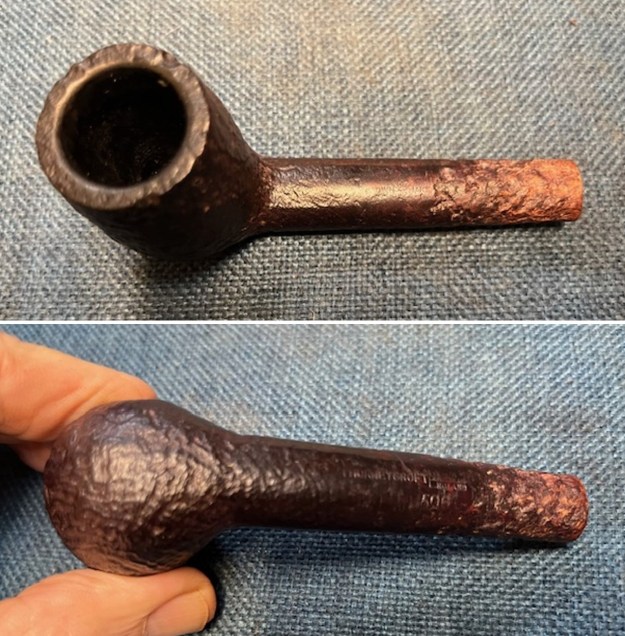
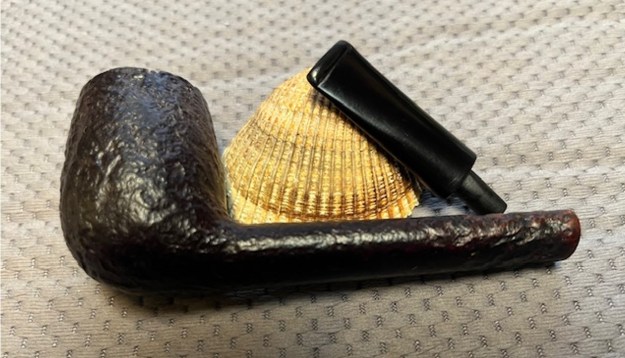
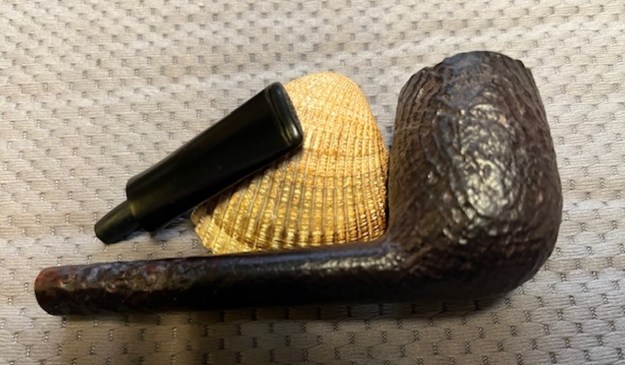
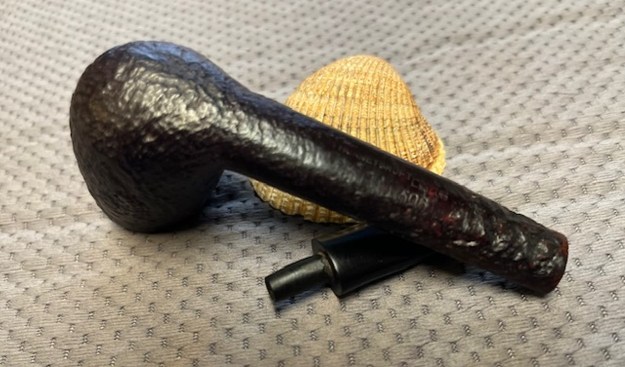
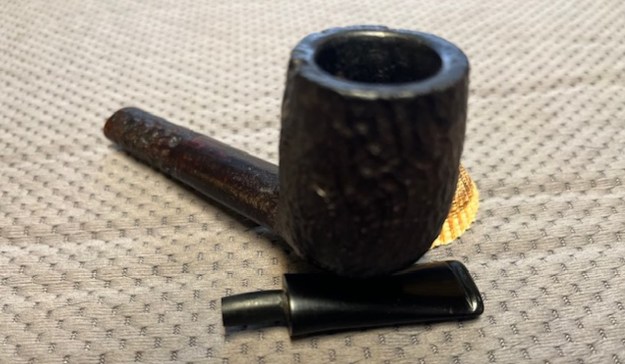
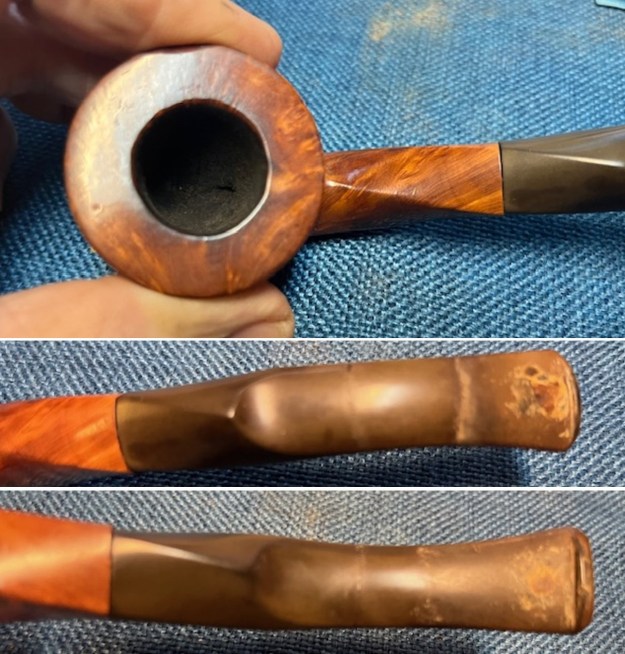 The next photos show the stamping that I described in the opening paragraph. It is clear and readable. I took a photo of the pipe with stem removed to give a sense of the proportions of the pipe.
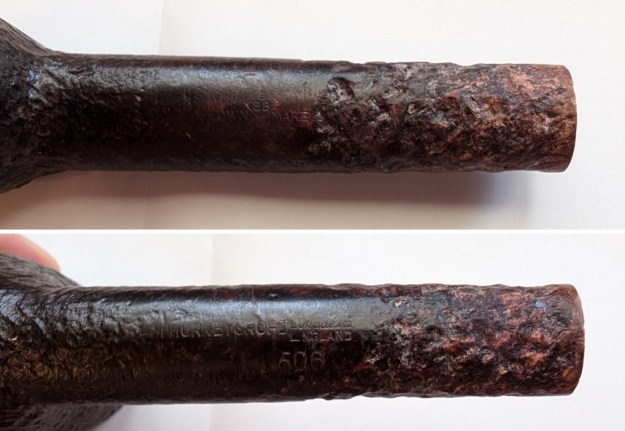
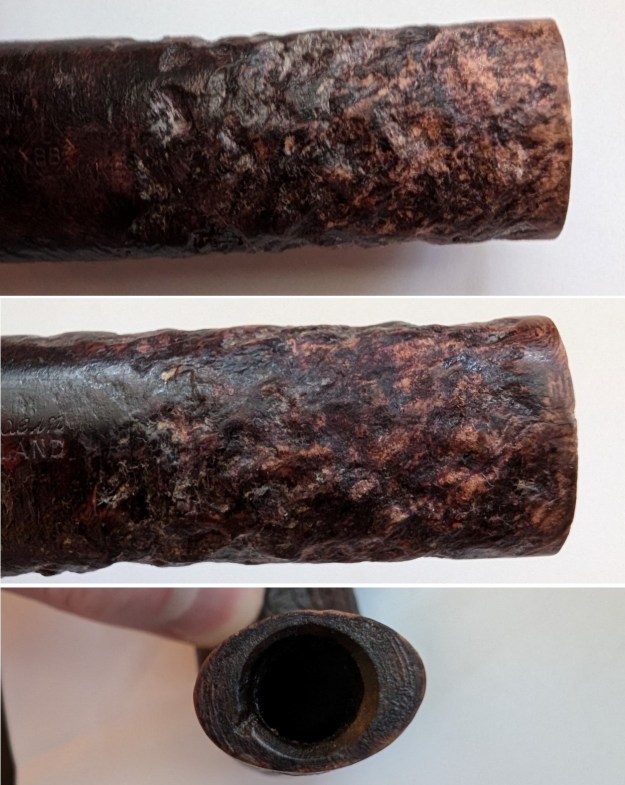
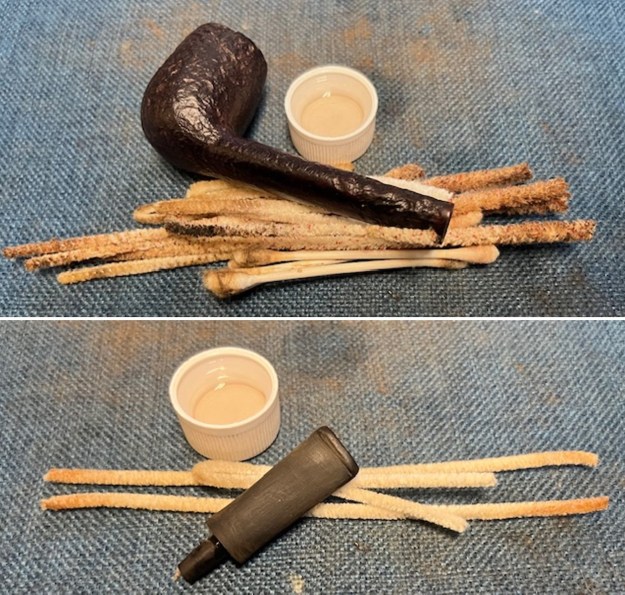
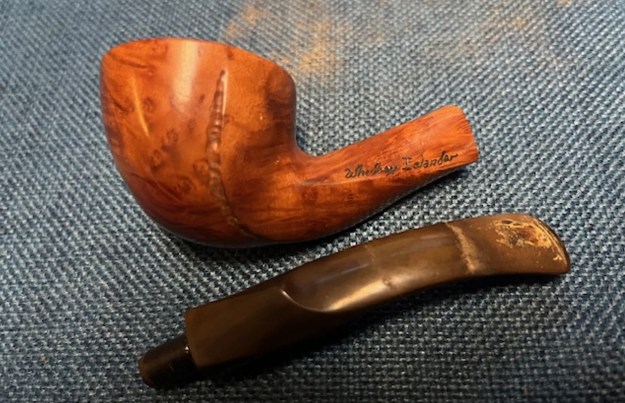
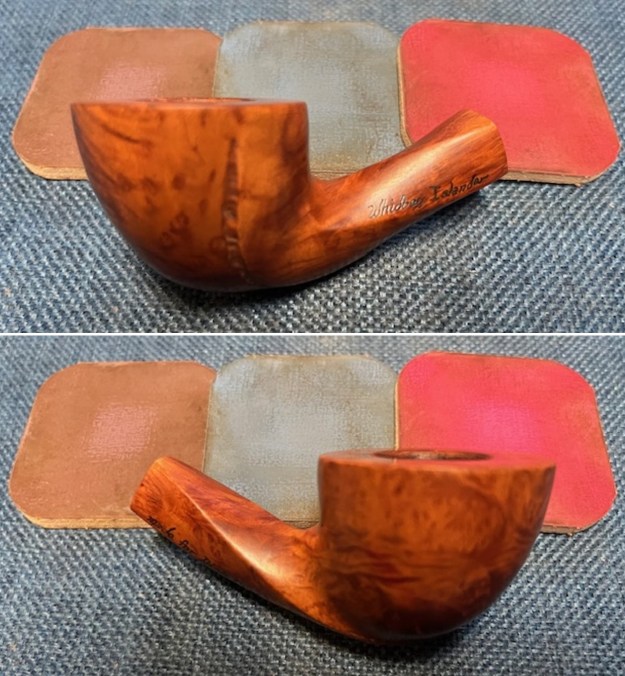
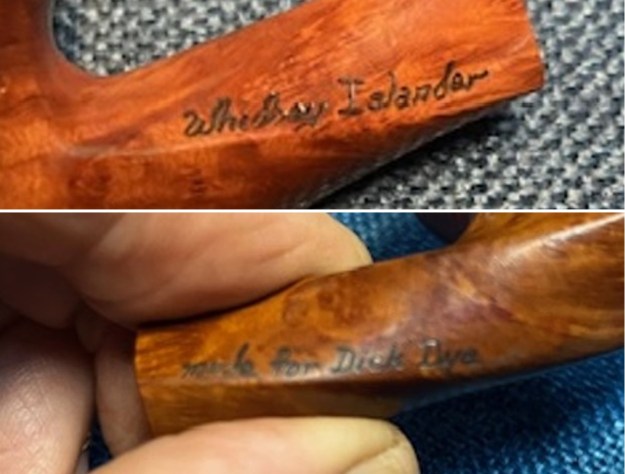
 On the right side of the shank it read Made for Dick Dye. I wanted to have some idea who Dick Dye was. I googled the name and specified the Seattle area. I came up with an interesting and possible connection to a Richard Dye who passed away in 2019. The connection is pretty likely as he lived in the Seattle/Everett area of Washington state. Give the obit a read as it gives a bit of character of the man and his life (https://www.legacy.com/us/obituaries/heraldnet/name/richard-dye-obituary?id=14190787).
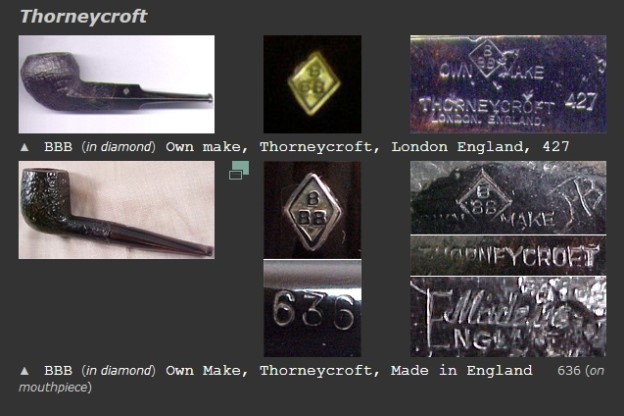
Before working on the pipe, I wanted to see what I could learn about the brand. I have a memory of visiting the shop many years ago but it is foggy so I did a bit of reading. There is a listing on Pipedia for Whidbey Islander Pipes (https://pipedia.org/wiki/Whidbey_Islander_Pipes). I quote the information from that site below. It is brief but quite interesting to read. I quote it in full.
Whidbey Islander Pipes are high-praised, but very rarely seen freehand pipes. Hand-cut Briars by Master Pipe Maker Travers LaRue were made and sold in his shop “Virginia Tobacco and Pipe Shoppe” in Langley on Whidbey Island, Washington between 1972-1983. LaRue died in 1983. He used 125 year old Sardinian briar and 150 year old Grecian Plateau briar with or without burl top. Trav custom designed ”free-hands” or classic shapes. A sterling dot on the shank along with his signature marked his one of a kind designs and possibly one of the best smoking pipes around. Trav taught his son-in-law Charles Whitmore the trade and soon he became a pipe maker too. The shop produced a hand-cut from 75 year old Italian briar known as the “Whidbey Islander”. These were mostly made by Chuck Whitmore that could be ordered with your own name inscribed. The shop was also known for hand blended pipe tobacco that was 100% pure premium quality American and imported tobaccos. The most famous being “Brown Crock”. The 1936 Hollywood Pipe Shop recipe that Bing Crosby smoked exclusively and loved by many. The family still owns the recipe. Travers pipes are few and precious. You’re lucky if you own one.
Judging from the description above I believe that I am working on a pipe made on Whidbey Island, Washington made by Chuck Whitmore between 1972-1983. It is a very interesting hand cut “twist” on a classic shaped pipe with great grain and a fancy vulcanite stem. Now it was time to work on the pipe.
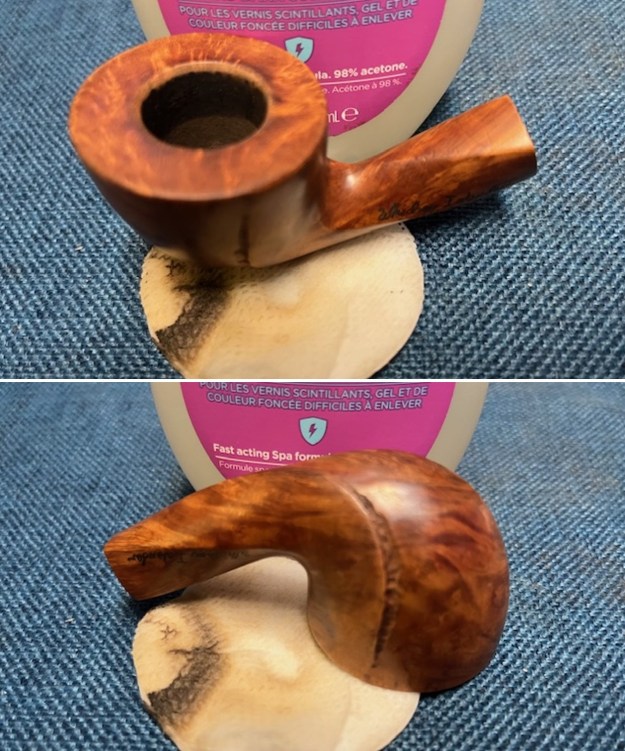
I decided to address the damage to the inner edge of the bowl first. I used a folded piece of 220 grit sandpaper to give the inner edge of the bowl a slight bevel on the inner edge to remove burned areas and blend them into the surrounding briar. It began to really look better.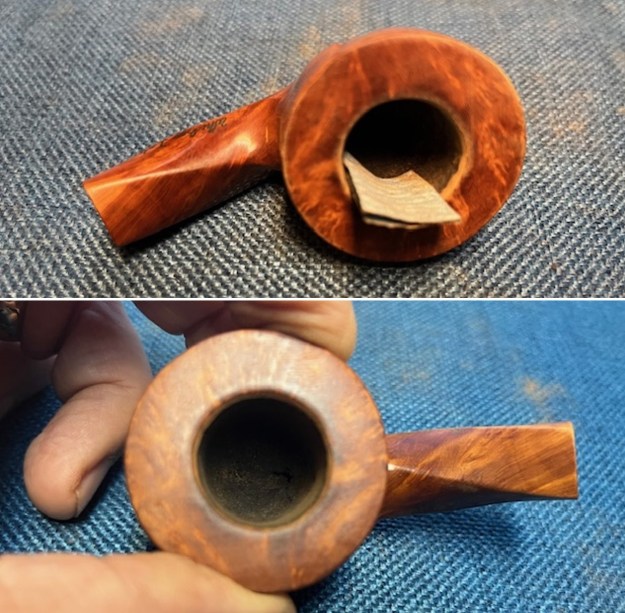 I wiped off the varnish on the bowl with acetone on a cotton pad. I was careful around the signatures and stamping on the shank side. They were almost hand etched on the twisted shank sides. I was able to remove a lot of varnish and when done it looked much better.
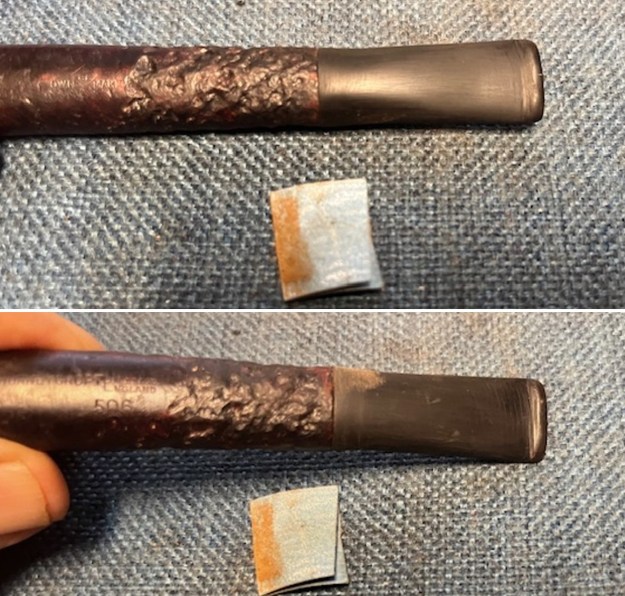
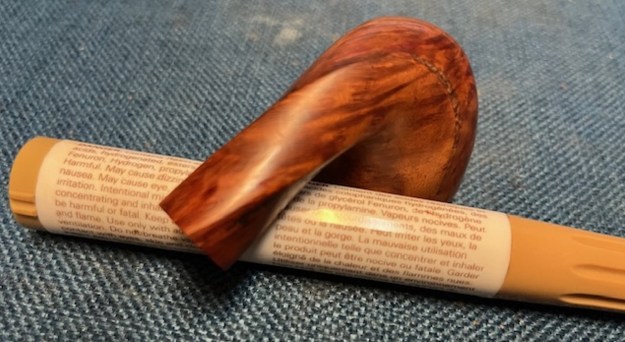
 I needed to adjust the fit of the twisted shank to the twist in the stem. Nothing aligned in terms of either the sharp angles or the flattened portions. I used a folded piece of 220 grit sandpaper to correct the angles and flow of the twists on both the briar and the vulcanite. It was a lot of sanding but the improvement the look of the pipe was worth it.
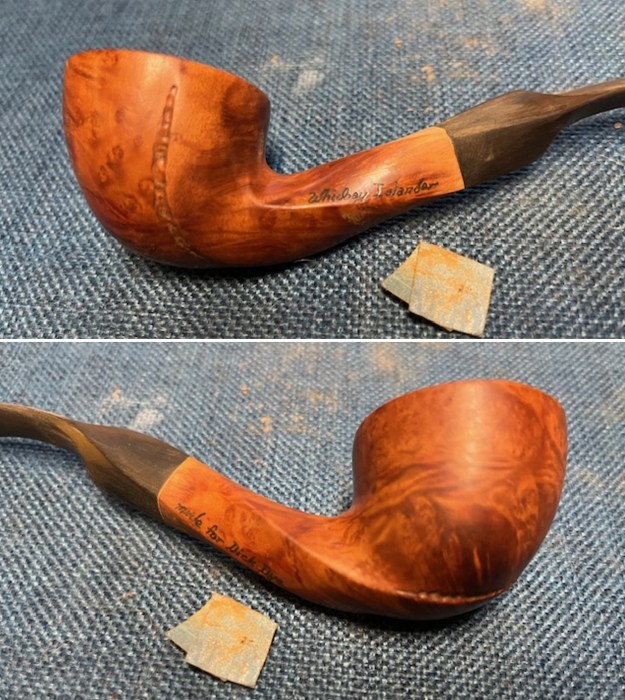
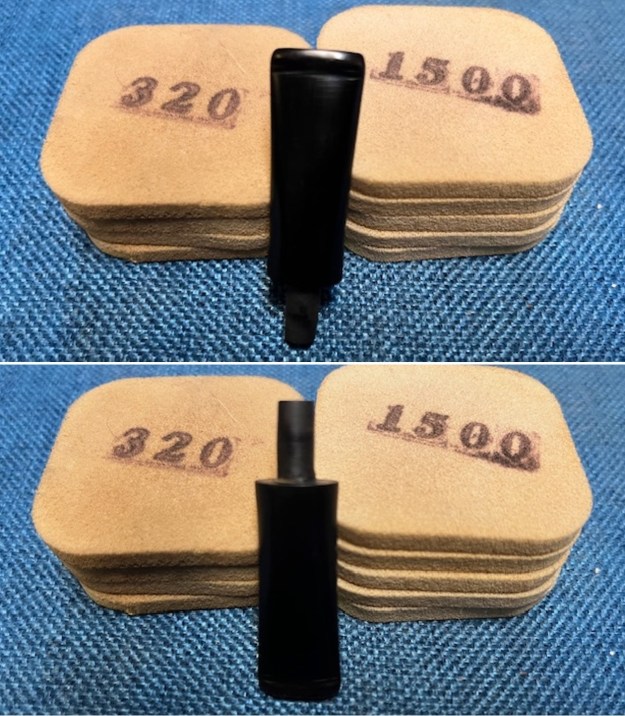
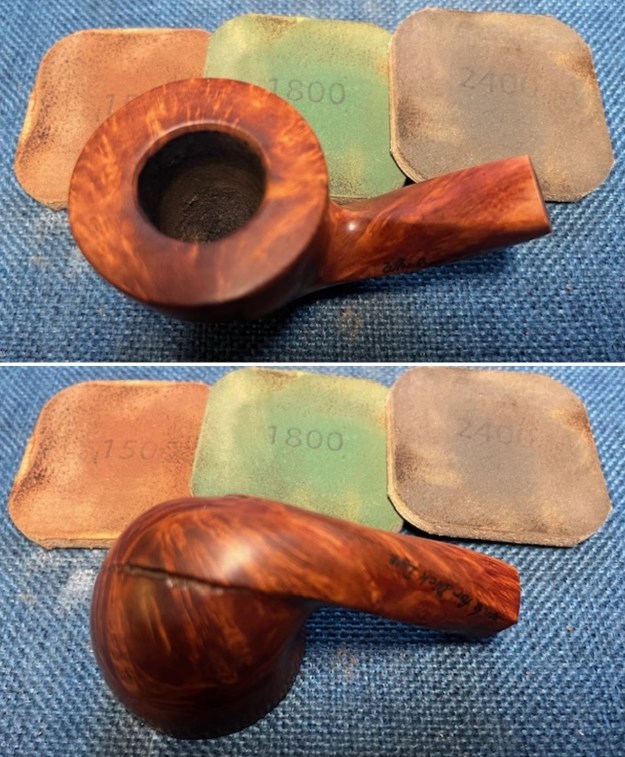
 I smoothed out the sanding on the shank and started polishing the bowl with 320-3500 grit sanding pads. I wiped the briar down after each pad with a damp cloth to remove the sanding debris. The finish began to look very good.
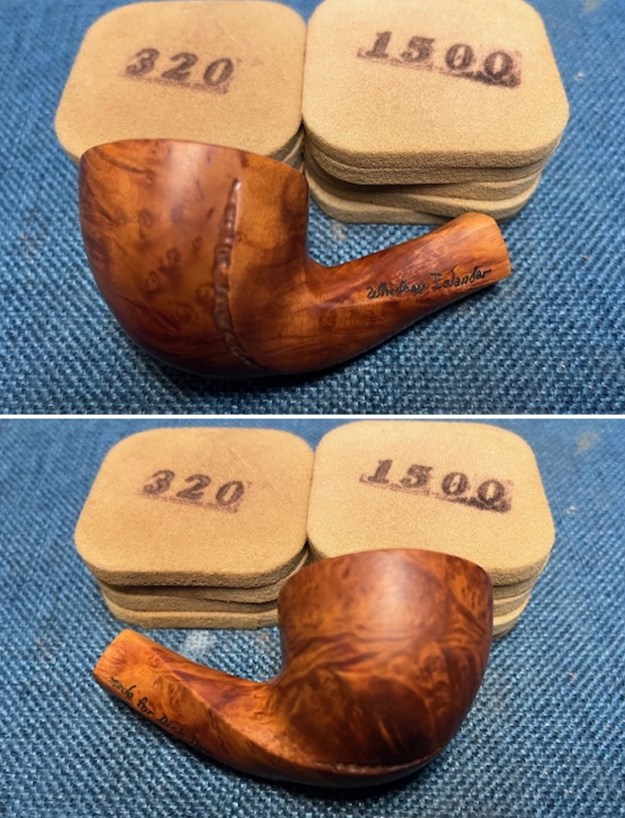
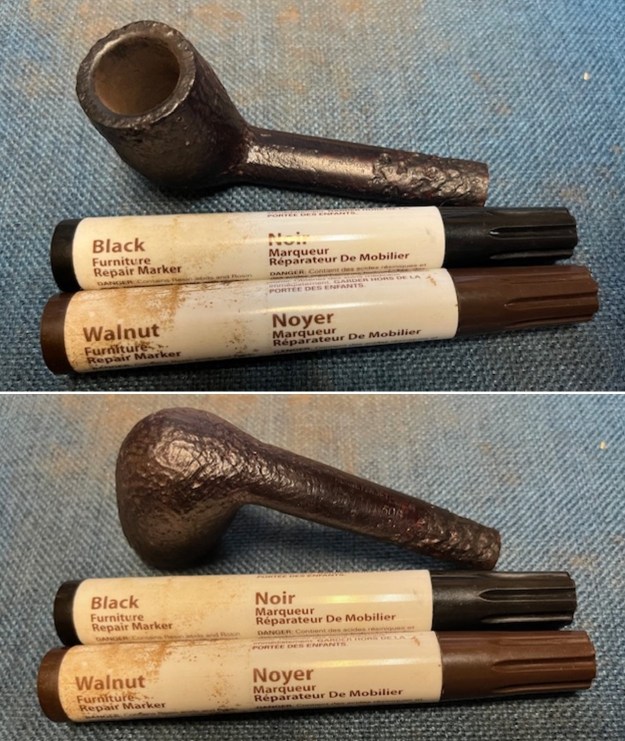
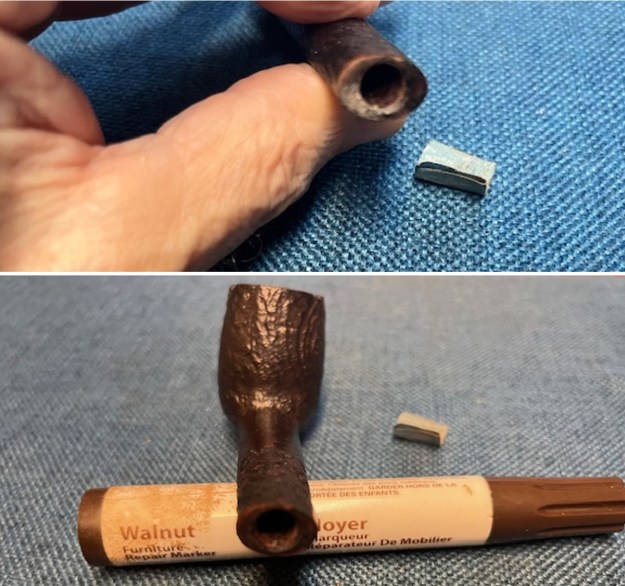
 I touched up the sanded portions of the shank end with an Oak stain pen and blended it into the surrounding briar. It looked very good and the match was perfect.
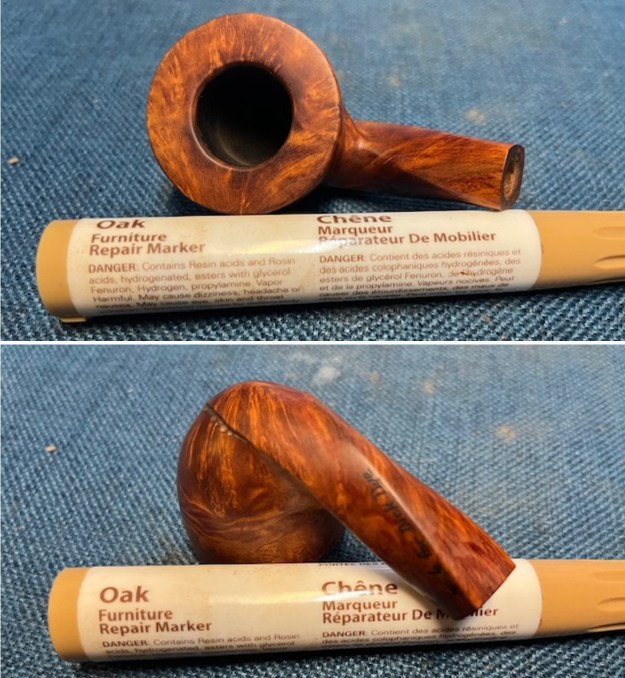
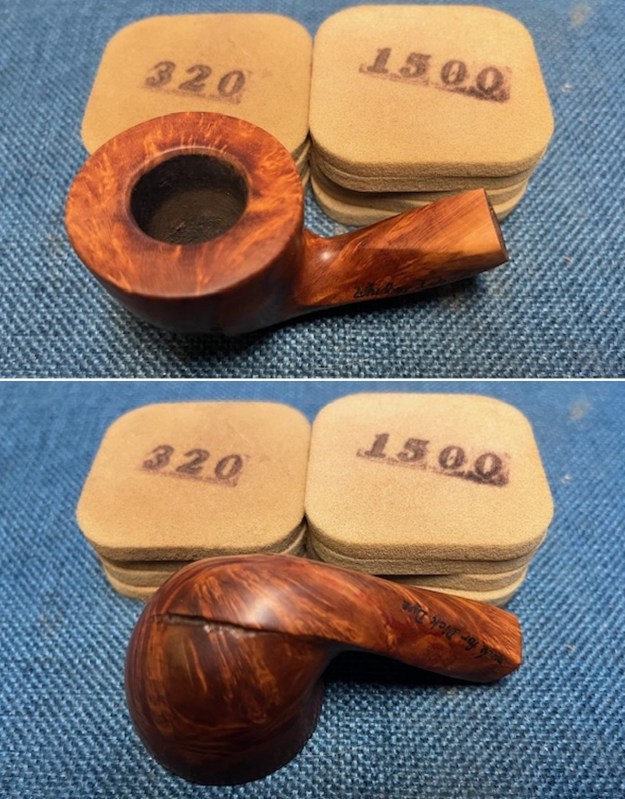
 I polished the briar with micromesh sanding pads – dry sanding with 1500-12000 grit pads and wiping it down after each pad with a damp cloth. The briar took on a rich shine.
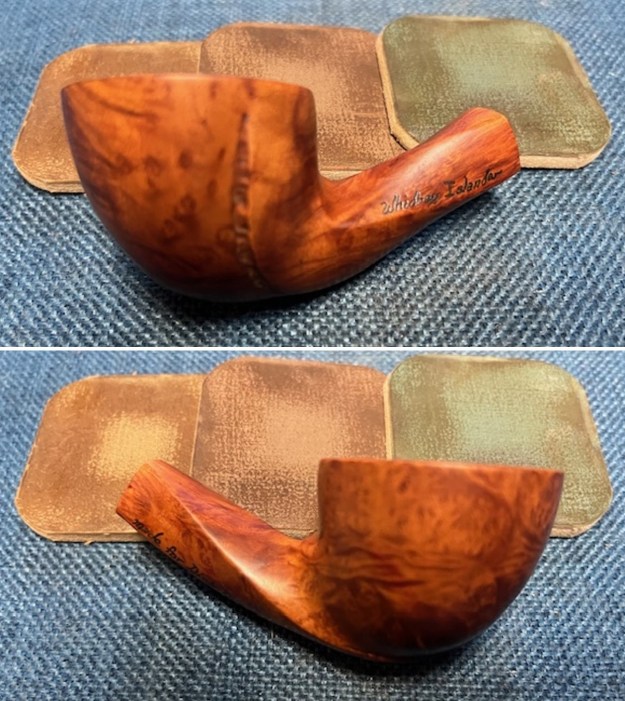
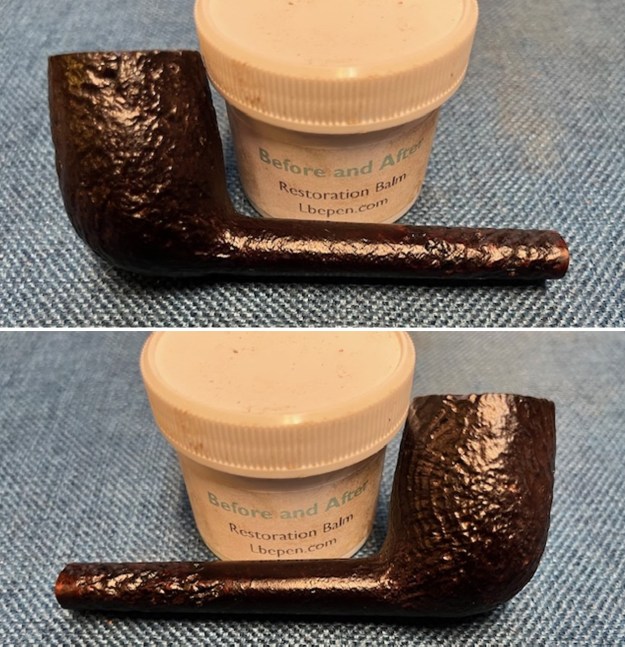
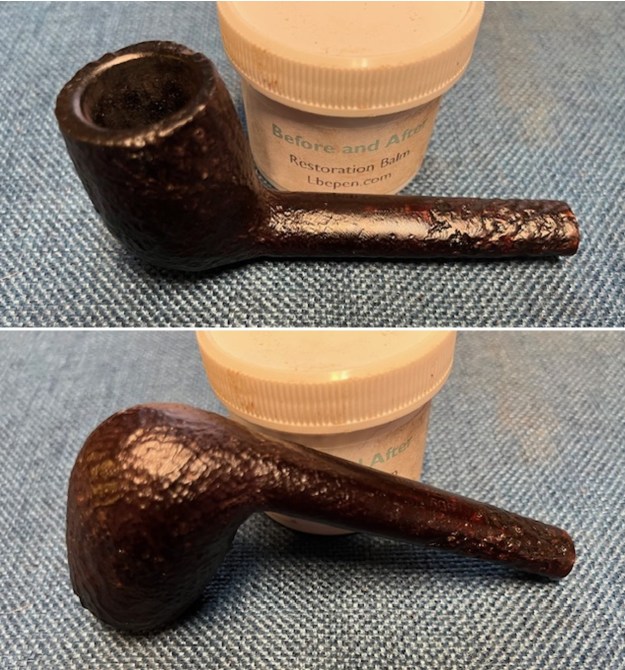
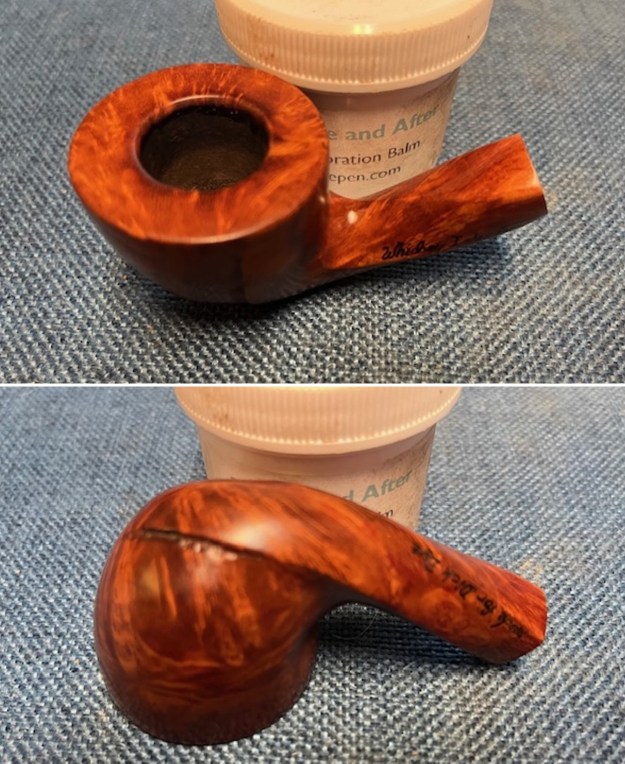
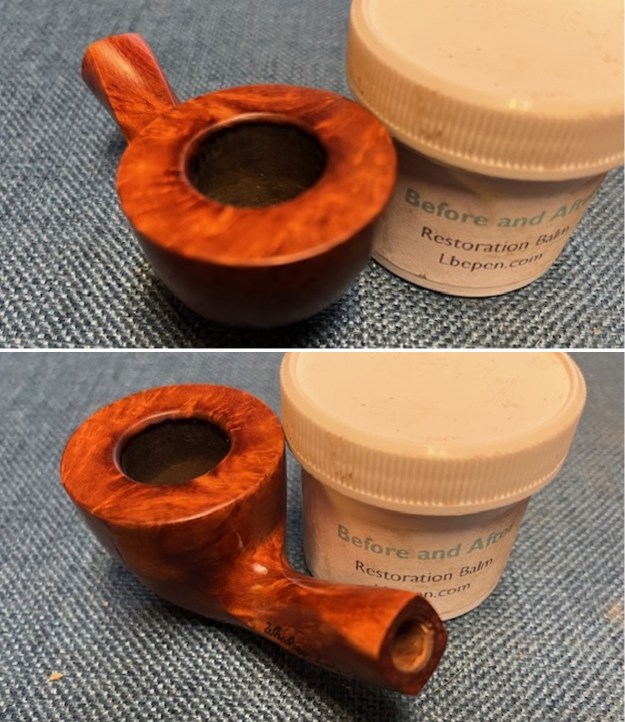
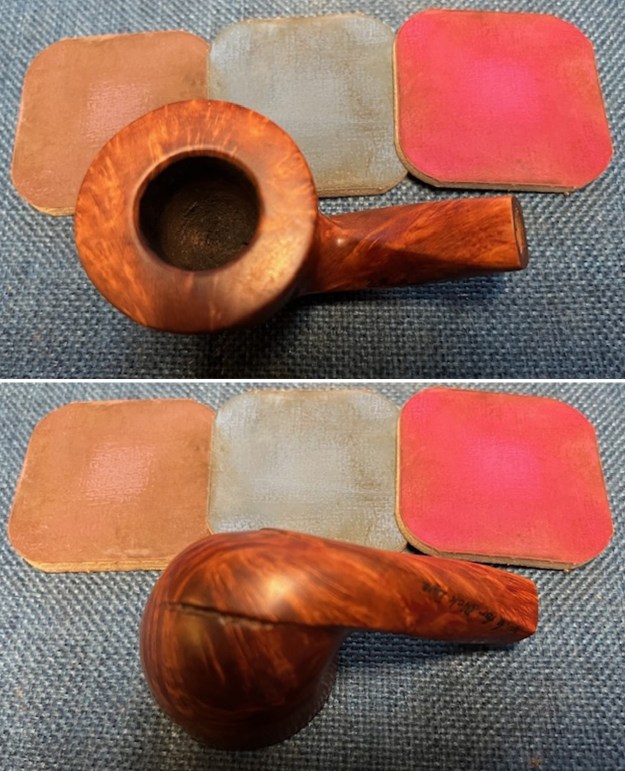 I rubbed the briar down with Before & After Restoration Balm. I worked it into the briar with my fingertips. The product works to clean, enliven and preserve the briar. I let it sit for 10 minutes then I buffed it with a cotton cloth to deepen the shine. The briar really comes alive with the balm.
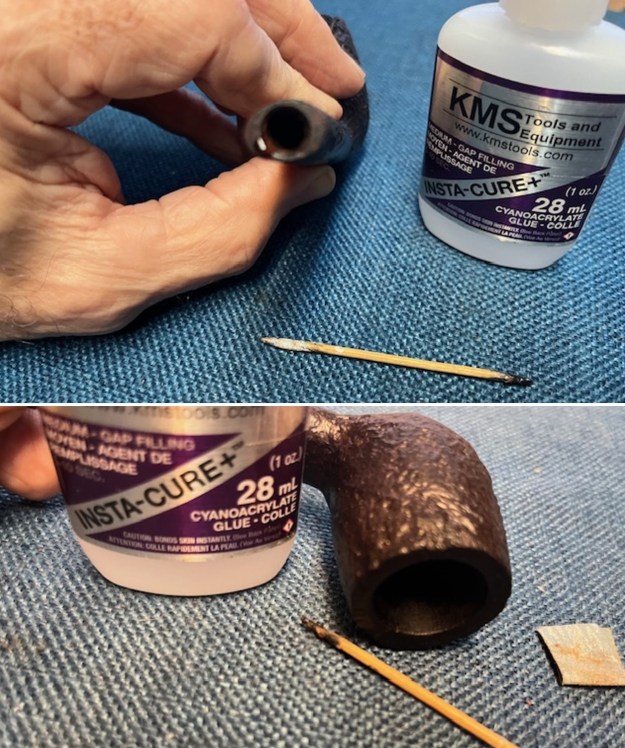
 Now it was time to deal with the issues of the stem – the resanded and shaped fit to the shank, the crack mid blade and the white fills in the top and underside ahead of the button. They were many and varied but the shape of the stem made a new stem more work than I was willing to do at the moment. I filled in the repaired areas on the top and underside ahead of the button with black CA glue. Thankfully the repairs were a little indented. I sanded the stem surface and the repairs with 220 grit sandpaper. I also worked on the mid stem repairs to blend them in a bit more.
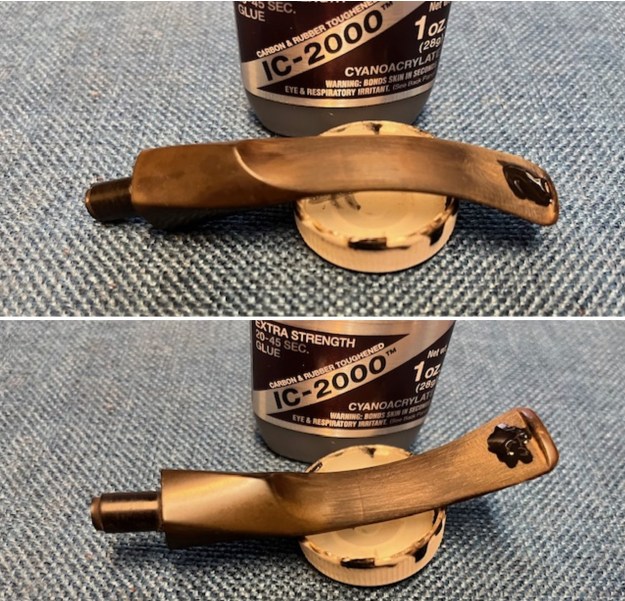
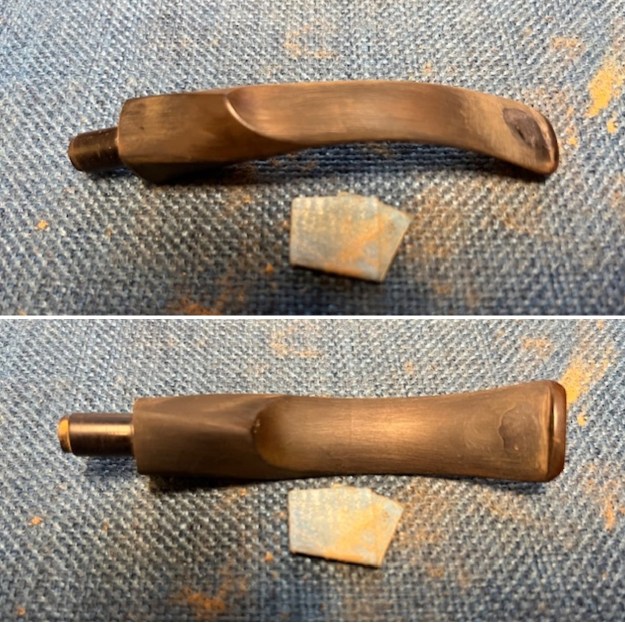 I sanded the stem further to begin the polishing using 320-3500 grit sanding pads. I wiped the stem down after each pad with an Obsidian Oil impregnated cloth that really helped the sanding and helped protect it from oxidation.
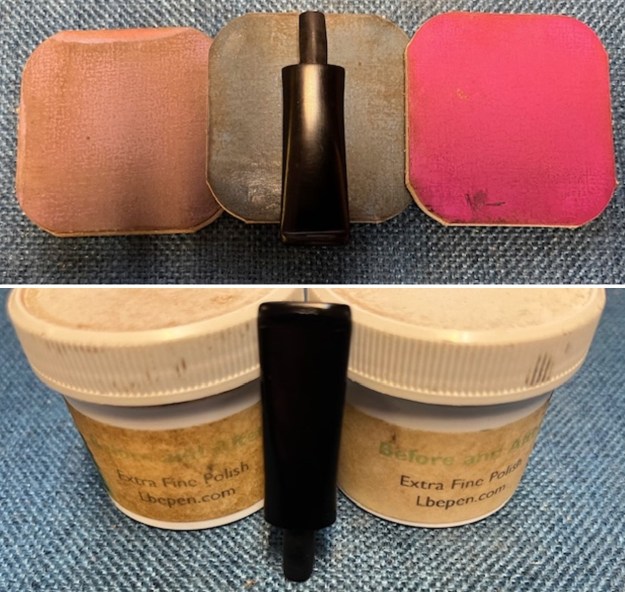
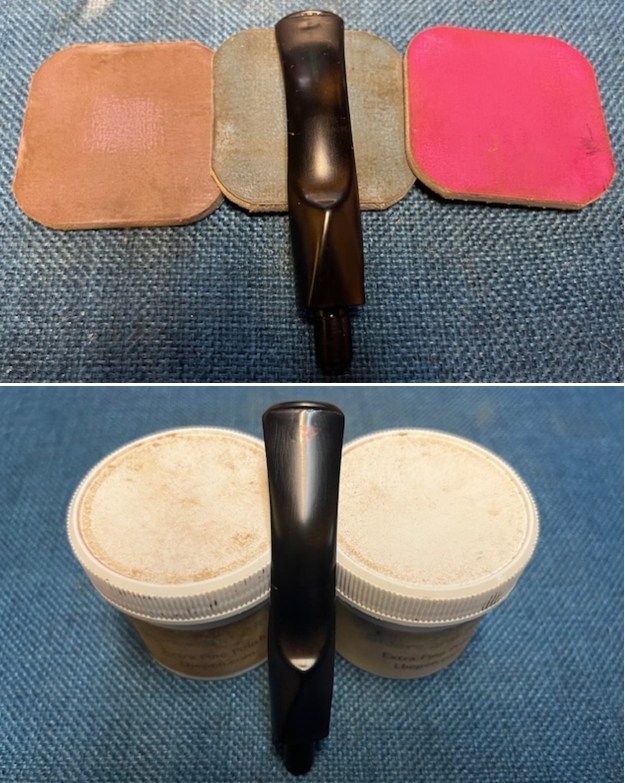
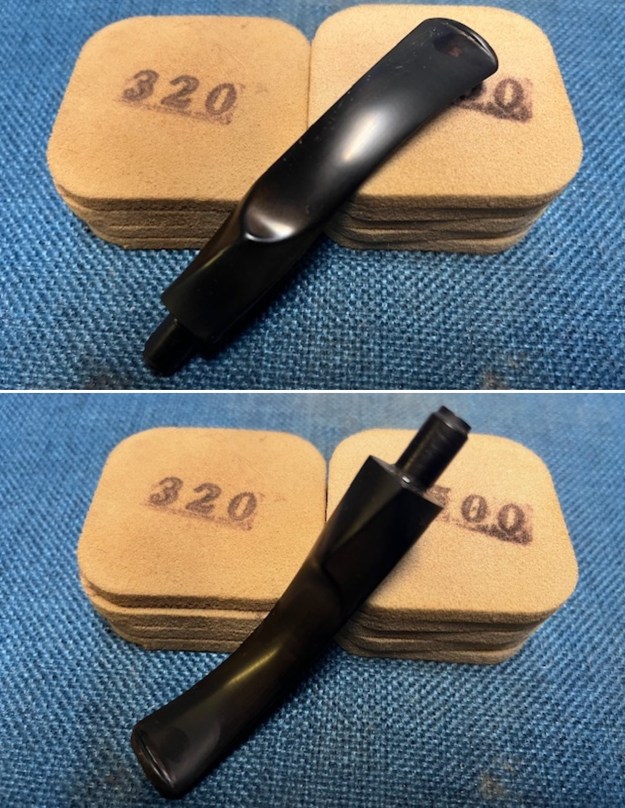 I polished the stem with micromesh sanding pads – dry sanding it with 1500-12000 grit pads. I wiped the stem down with Obsidian Oil after each pad. I polished it with Before & After Pipe Polish – both Fine and Extra Fine and gave it a final coat Obsidian Oil and set it aside to dry. Overall the stem looked better. There were still some ghosts of oxidation on the twists. The repairs on the white repaired areas showed.
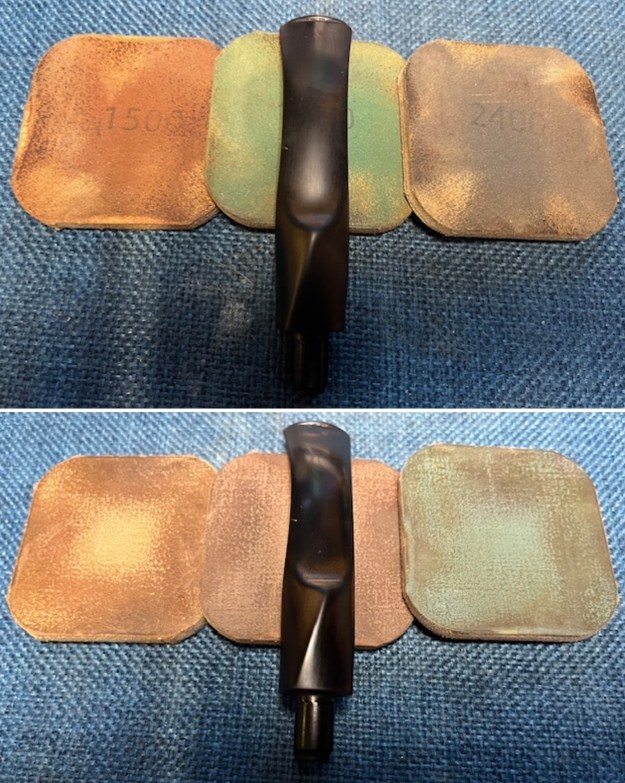
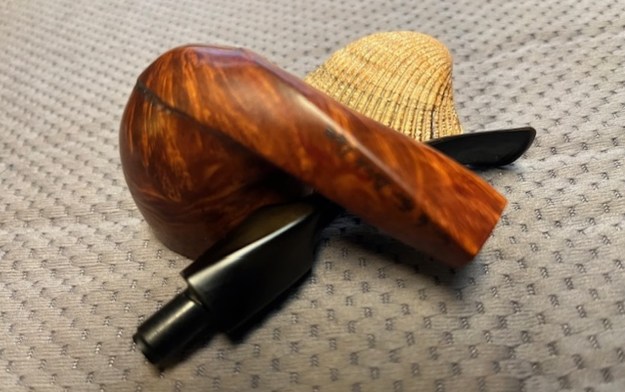
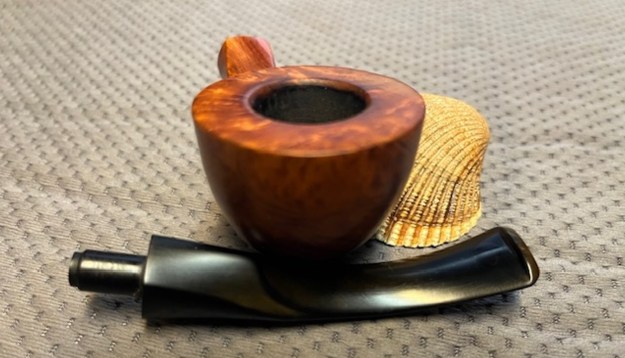
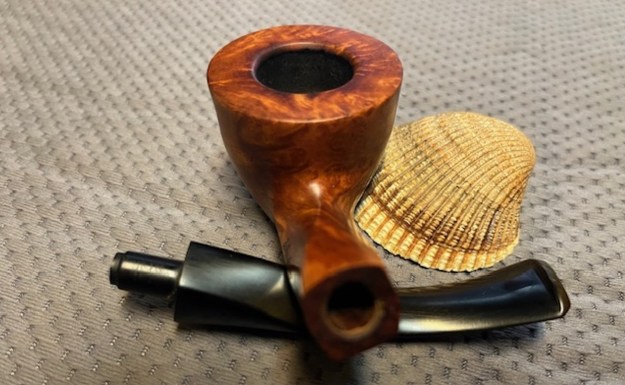
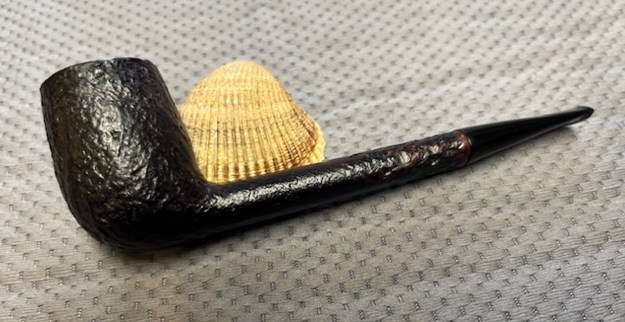
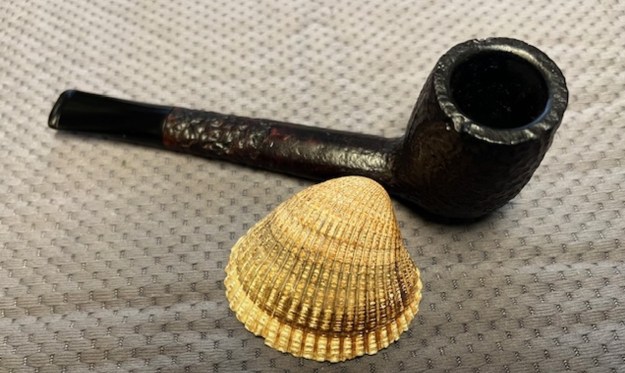
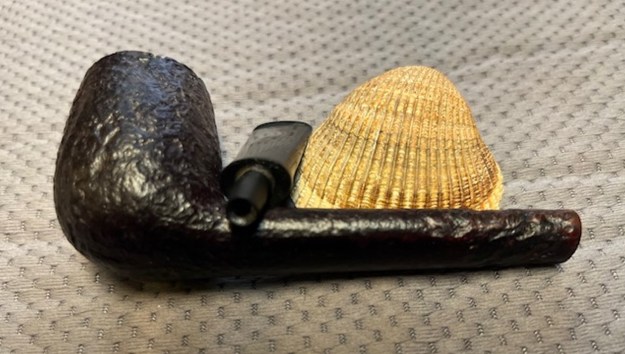
 I am excited to finish this Chuck Whitmore made Whidbey Islander Twisted Dublin. I put the pipe back together and buffed it with Blue Diamond on the buffing wheel. I gave the bowl and the stem multiple coats of carnauba wax. I hand buffed the pipe with a clean buffing pad to raise the shine. It is fun to see what the polished bowl looks like with beautiful grain all around it. The two carved trails carry on the flow of the angles of the twists in the shank and stem. Added to that the black vulcanite stem was beautiful. This smooth Whidbey Islander is great looking and the pipe feels great in my hand. It is light and well balanced. I am sure that Dick enjoyed it when he first picked it up at the shop. Have a look at it with the photos below. The dimensions are Length: 6 inches, Height: 1 ½ inches, Outside diameter of the bowl: 1 5/8 inches, Chamber diameter: ¾ of an inch. The weight of the pipe is 38 grams/1.34 ounces. It is a beautiful pipe and one I will hold onto for the memory of the shop. Thanks for walking through the restoration with me as I worked over this pipe. Thanks to each of you who are reading this blog.