By Steve Laug
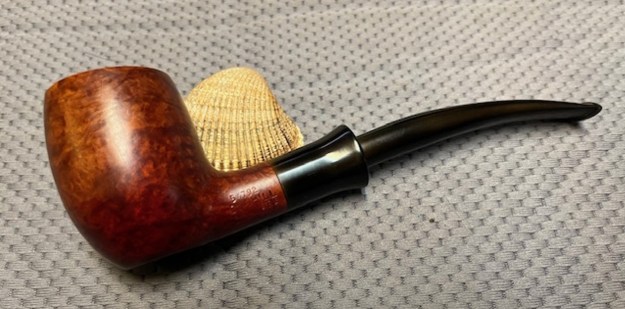
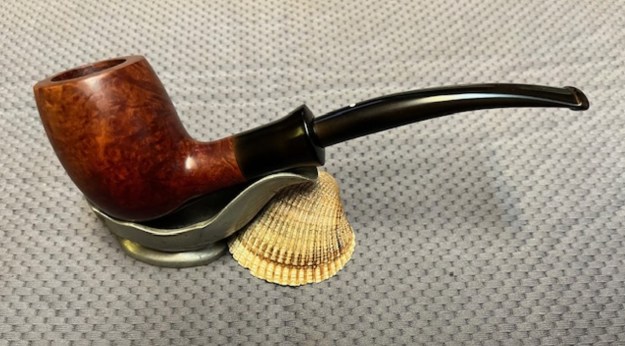
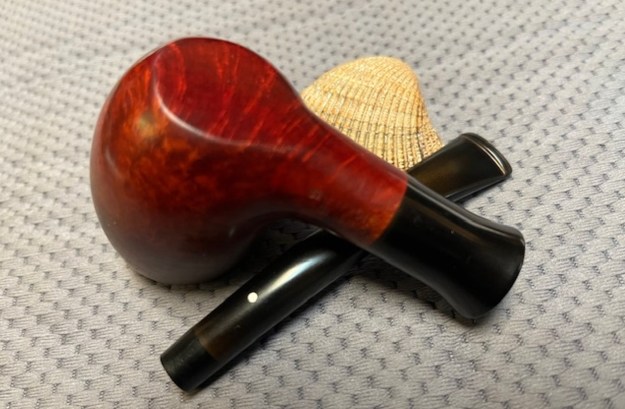
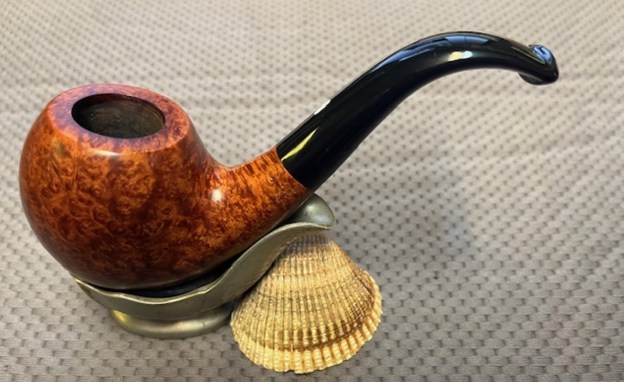
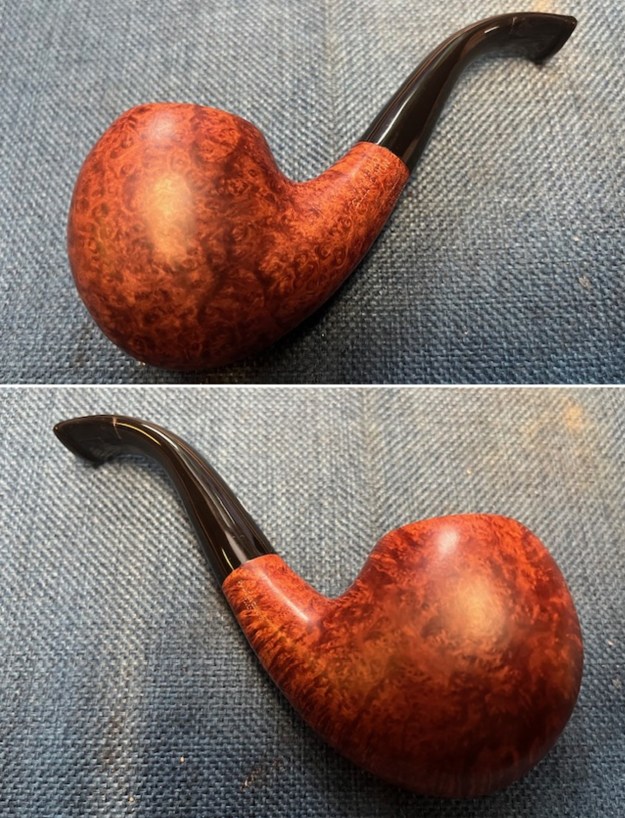
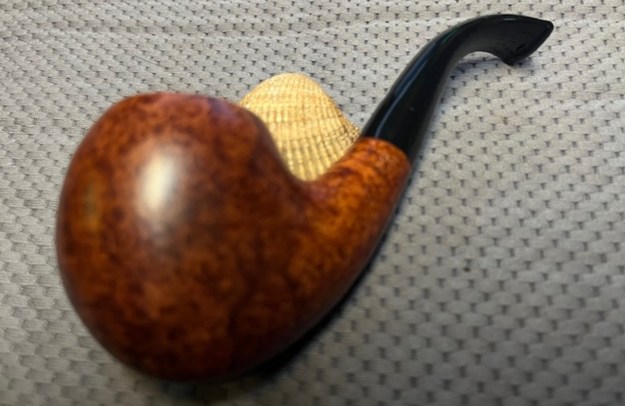
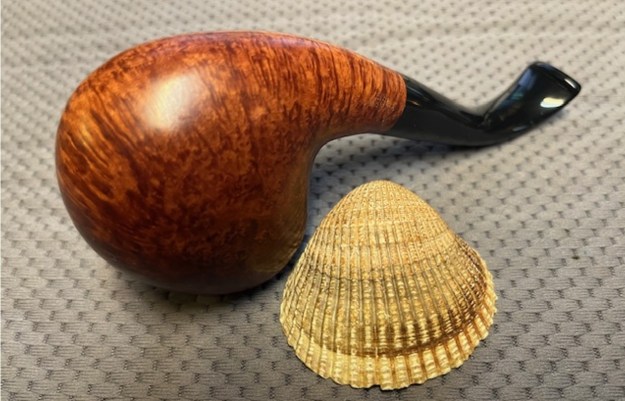
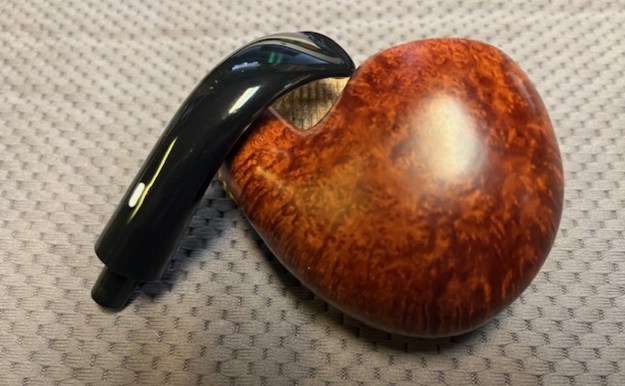
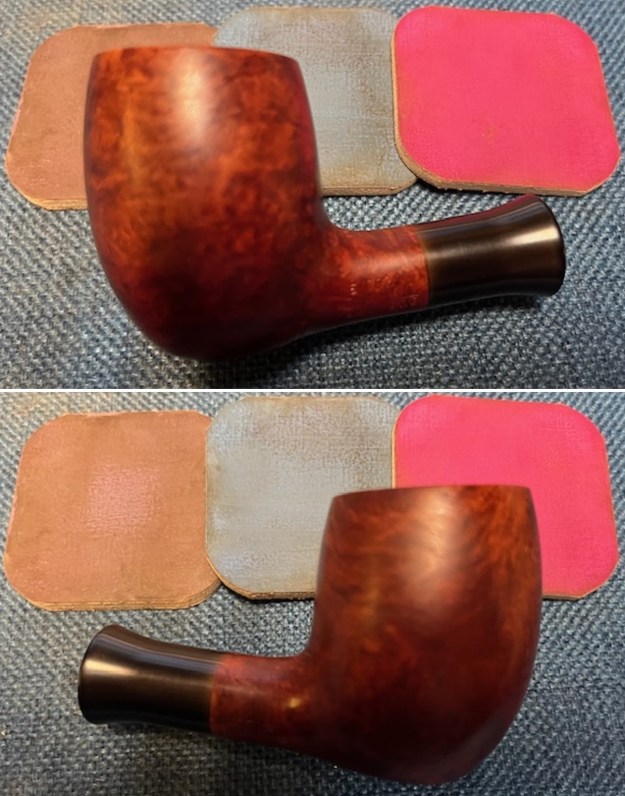
The next pipe on the table is a beautiful Dunhill Bruyere Sitter that was sitting next to the Ferndown Bark in a display cabinet. We purchased it from an Antique Mall in Lincoln City, Oregon, USA on 08/24/2024. The pipe is stamped left side of the shank and reads 54792 [over] Dunhill [over] Bruyere. On the right side of the shank it is stamped Made in [over] England22. The bowl had been reamed and was just dusty. The rim top and inner edge looked great. The finish was dull and there was also some fading on the right side of the bowl toward the front running down from the rim edge to about midbowl. It was faded as if by sun or being exposed to florescent lights. The pipe was someone’s obvious favourite and was well care. The unique thing about this pipe was the vulcanite shank extension and military bit. I have seen bits like this before but have never seen a vulcanite shank extension that looks almost Danish. The extension and the stem are heavily oxidized. There is an inset white spot logo on the top side of the bit. There appears to be some light tooth chatter on the top and underside of the stem ahead of the button. I took photos of the pipe earlier this morning before I started my clean up work. I have included them below.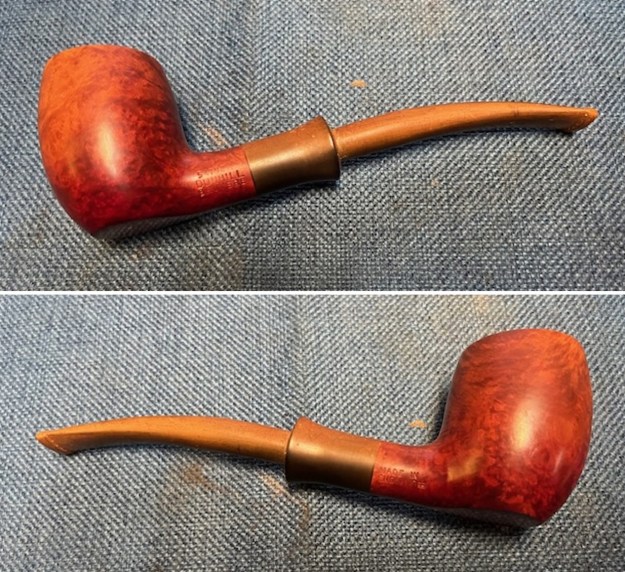
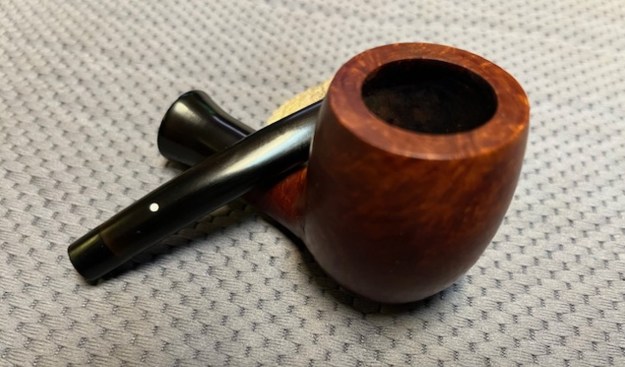
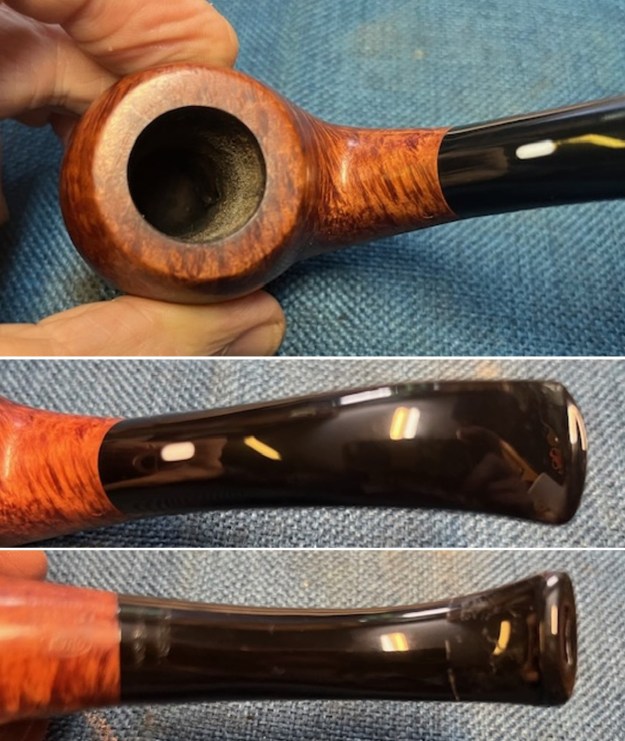
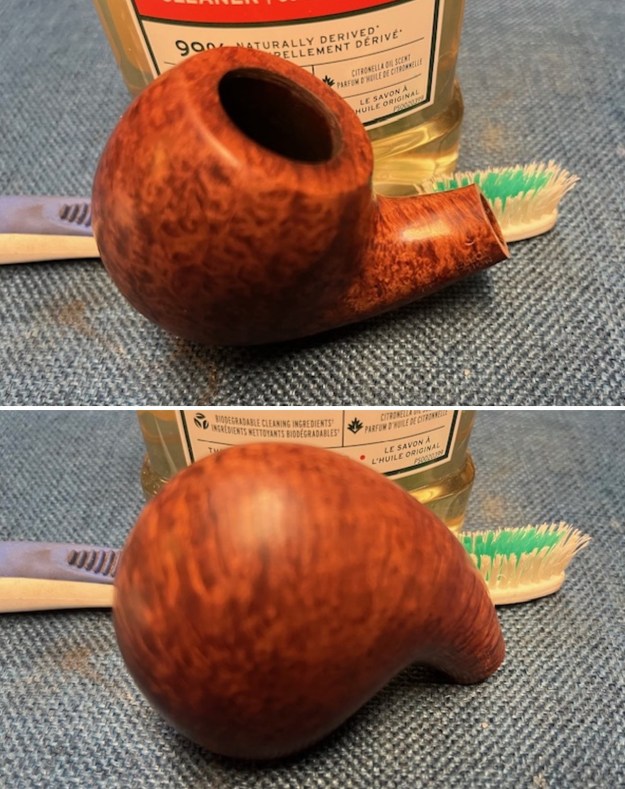
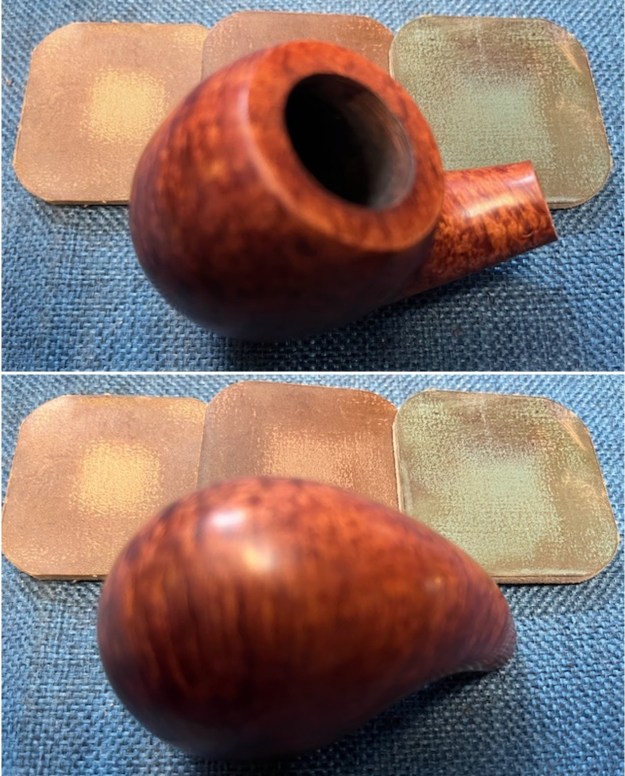
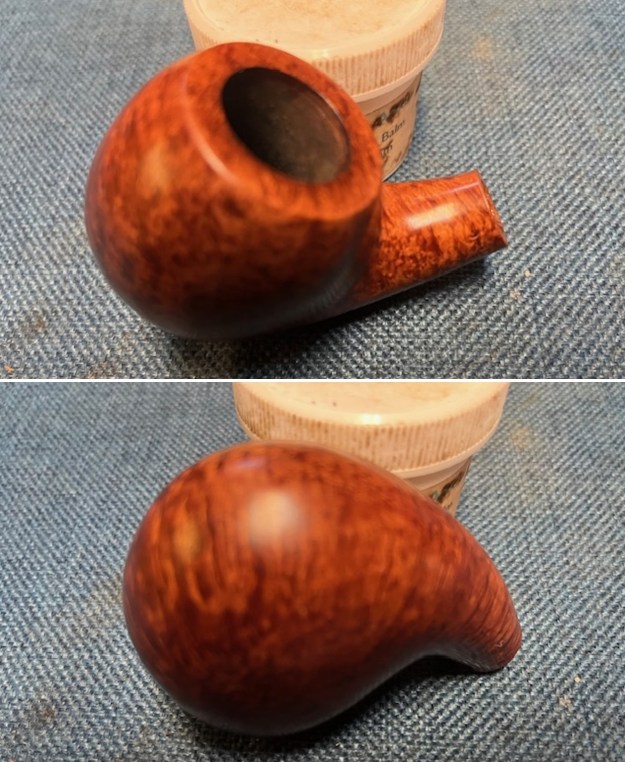
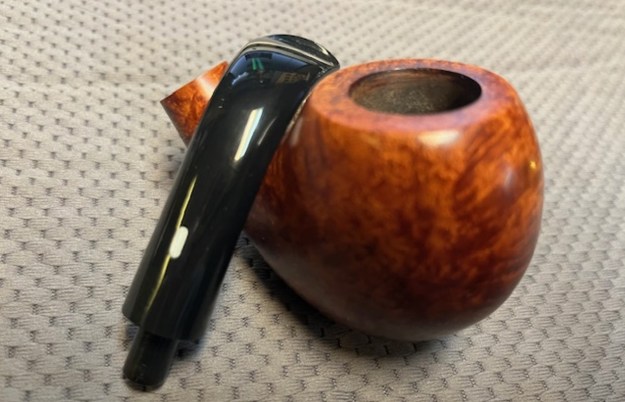
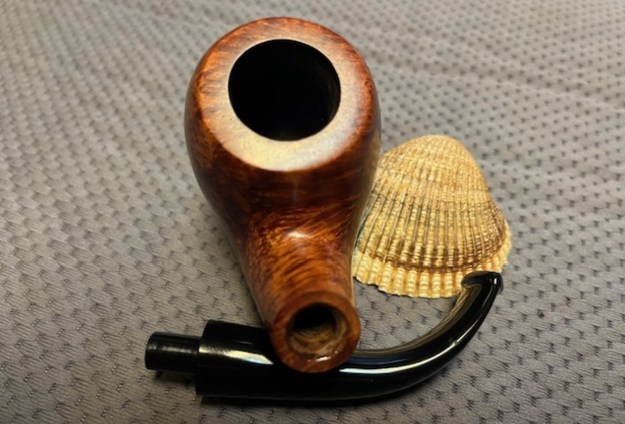
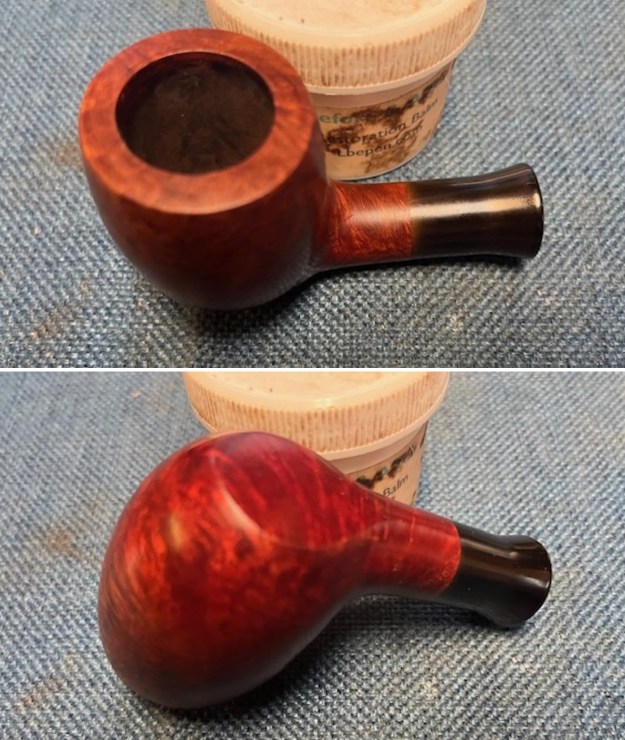
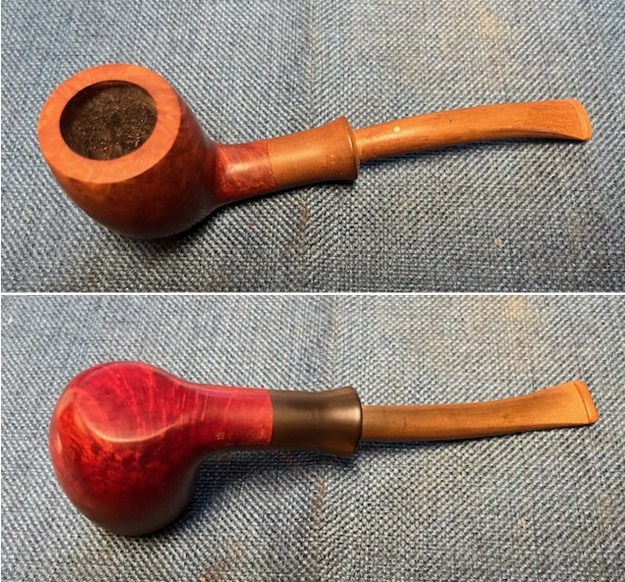 I took a photo of the rim top, bowl and the surfaces of the stem to give a sense of the condition of the pipe. The walls of the bowl were quite clean with light debris in the bottom of the bowl. There was no lava on the rim edges or top. The stem and shank extension are heavily oxidized, calcified and dirty. There are light tooth marks on both sides ahead of the button.
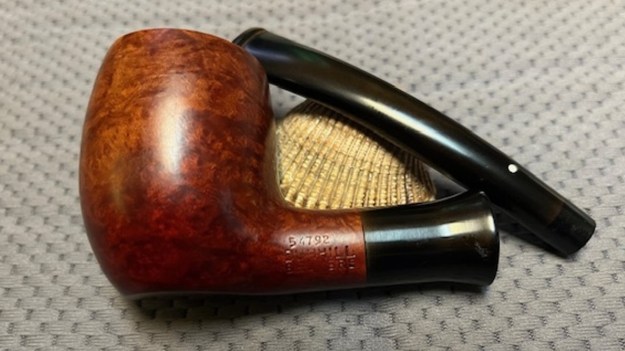
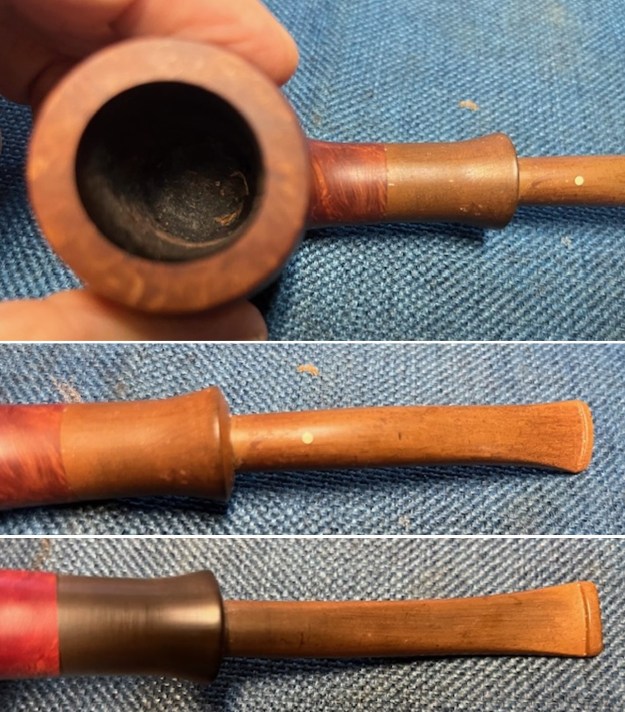 I took photos of the stamping on the sides of the shank. It is clear and readable and read as noted above.
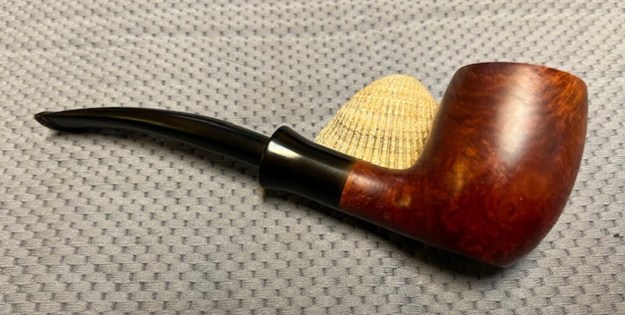
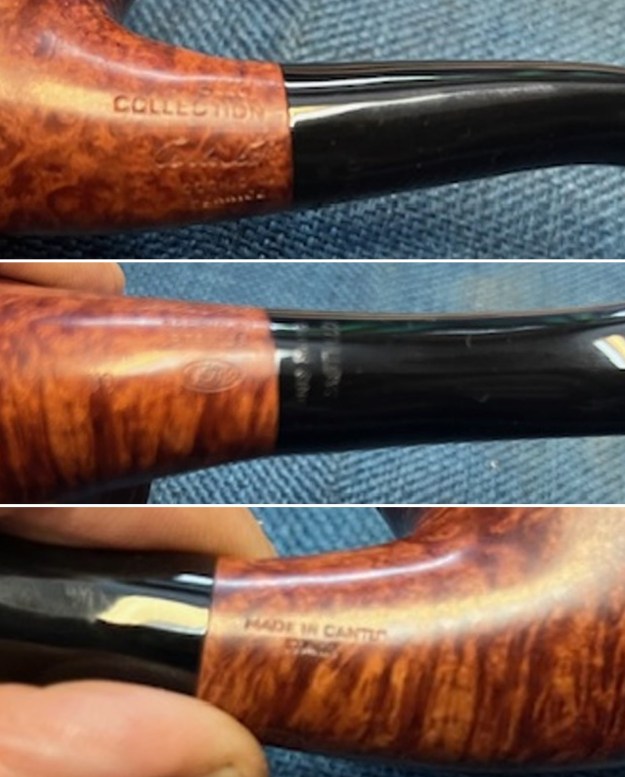
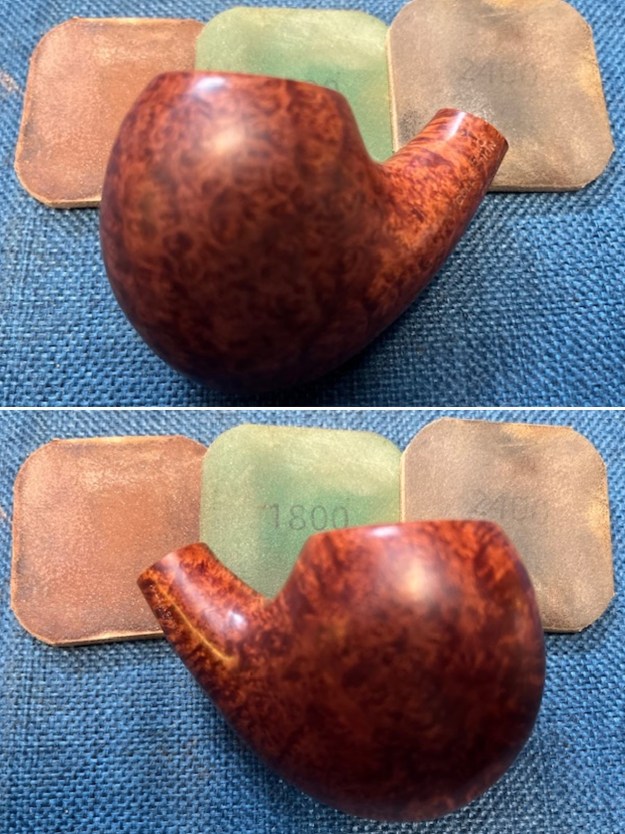
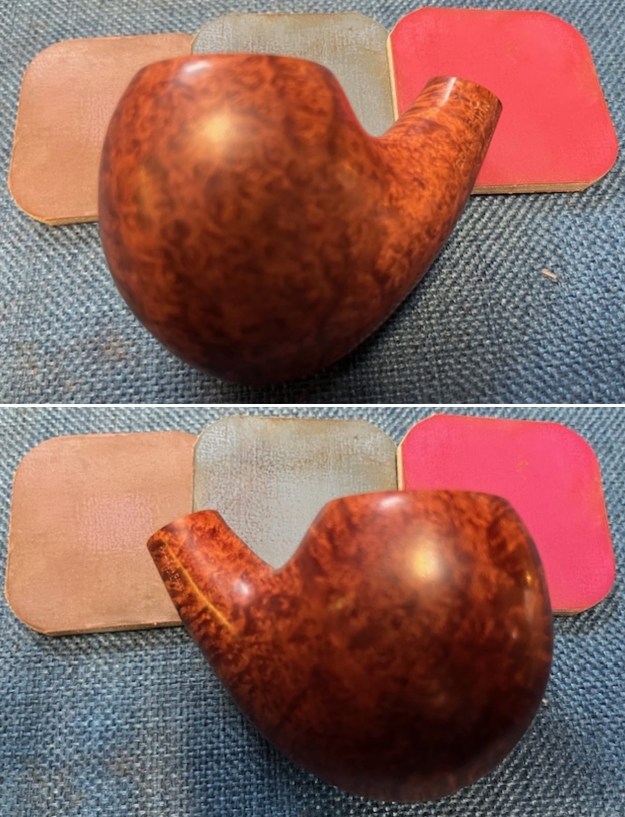
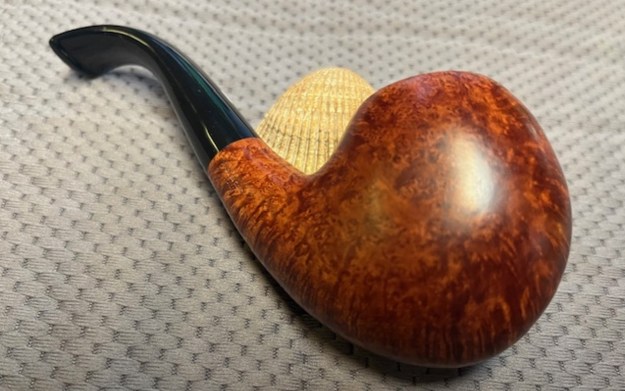
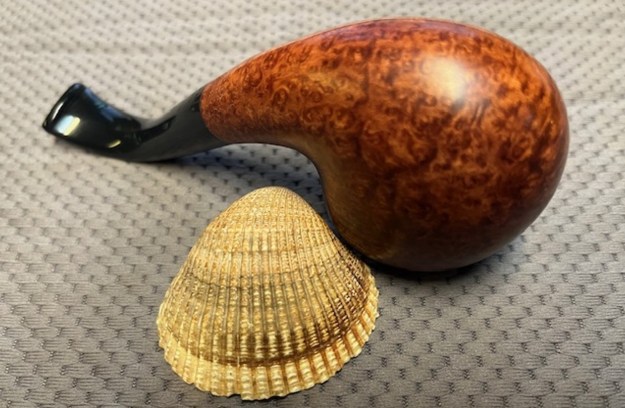
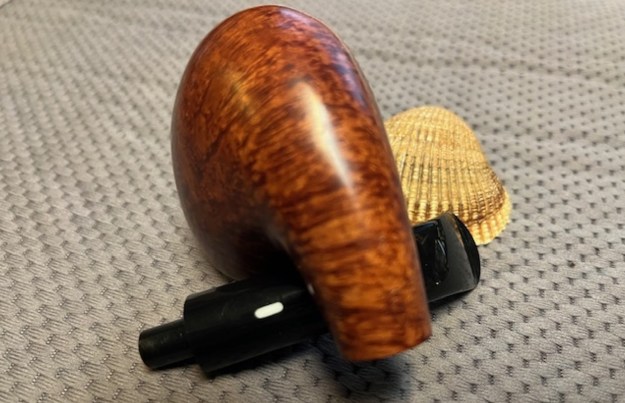
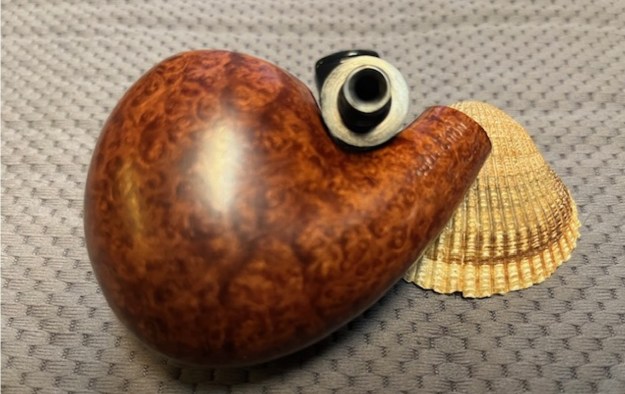
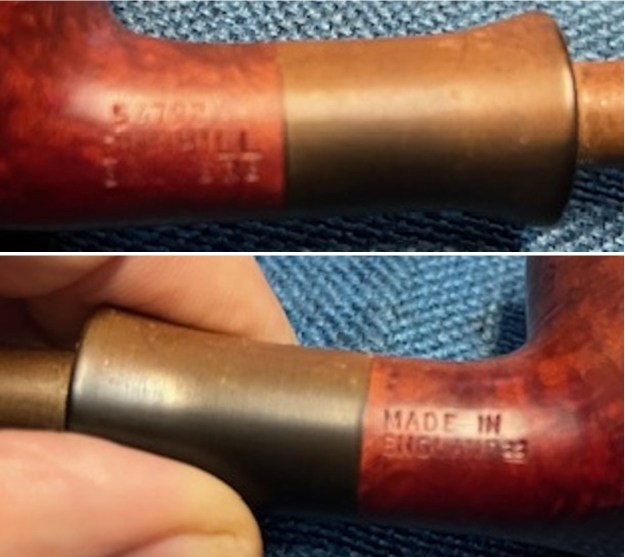 I took some photos of the fading on the front and sides of the bowl extending half way down the surface. It shows some signs of fading from the sun.
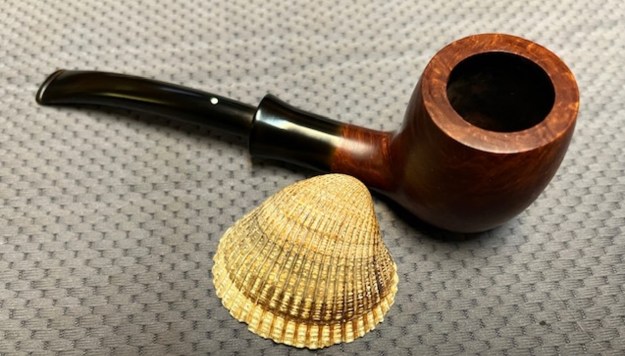
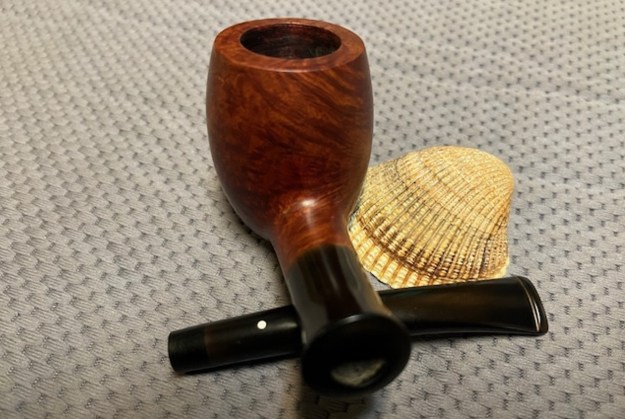
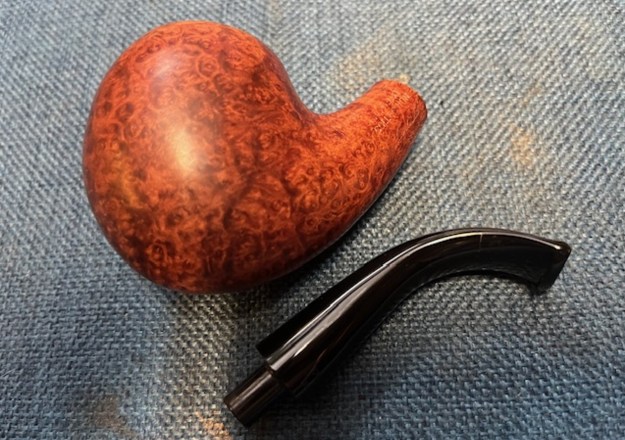
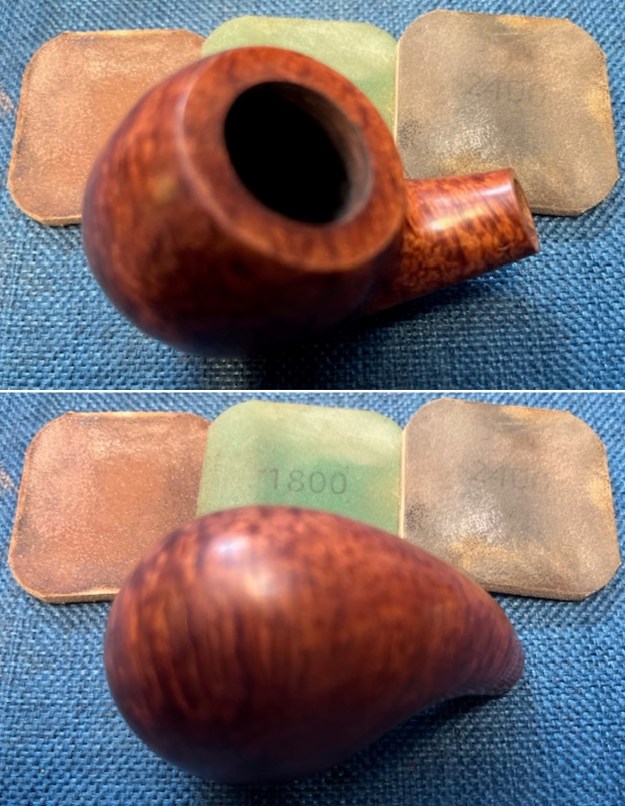
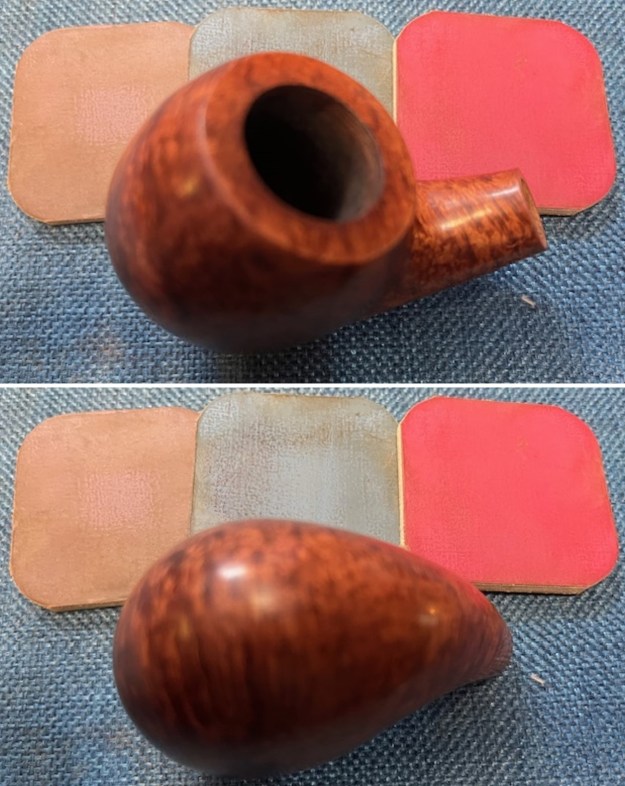
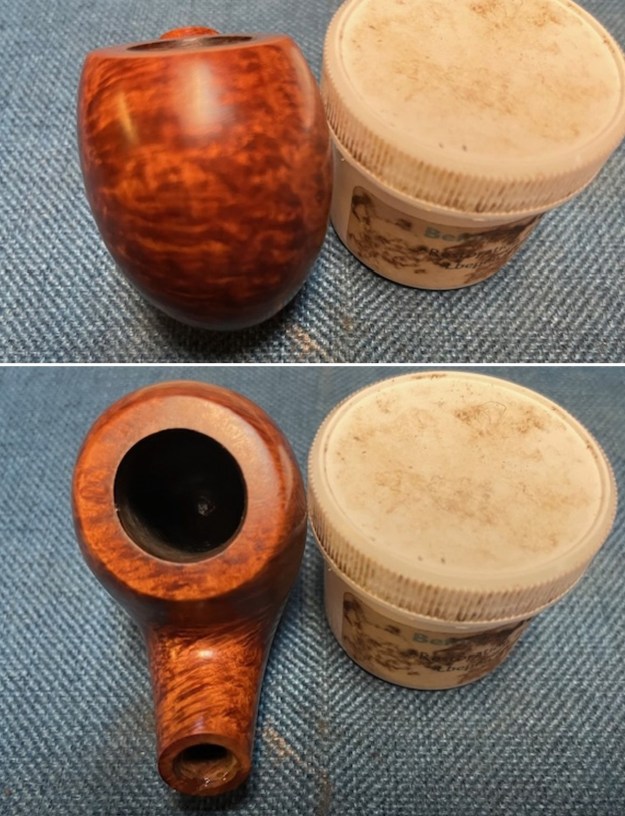
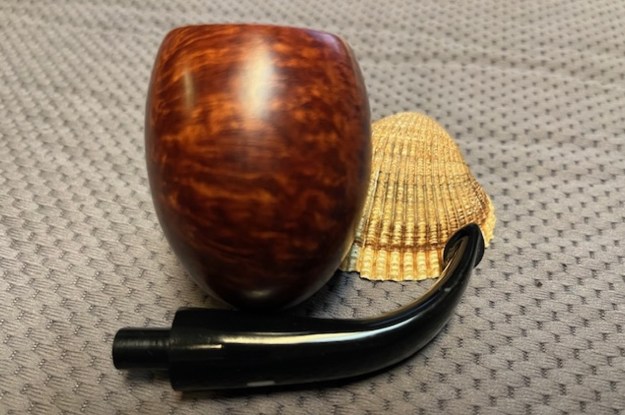
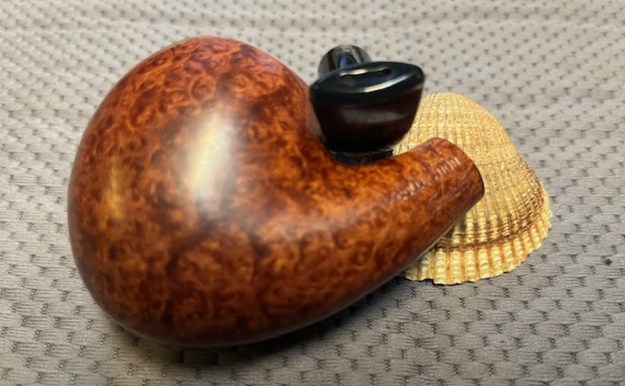
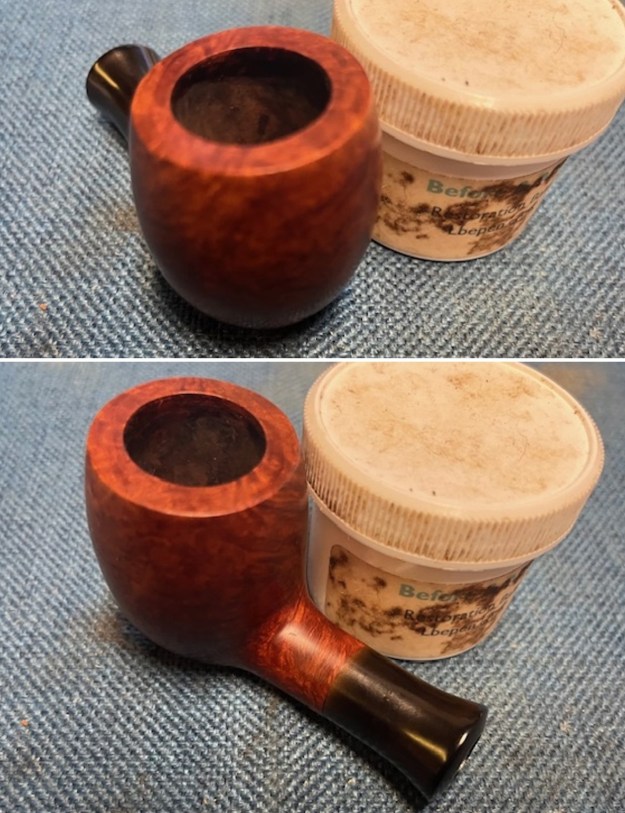
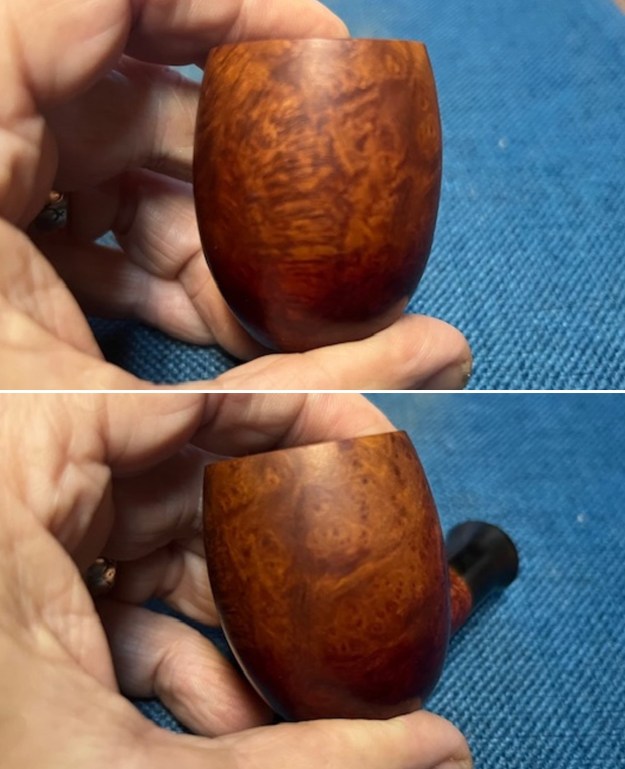 I took a photo of the pipe with the stem removed. It is definitely dirty and very oxidized on the shank extension and the stem.
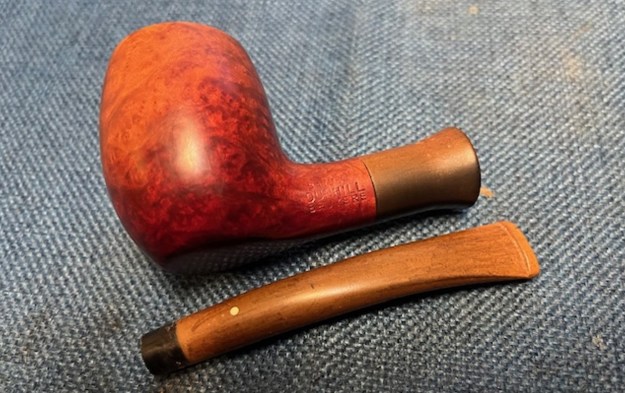 One of the first things I like to do when working on a pipe is to unpack the stamping and understand each element in it. I turned to Pipephil’s helpful site where he has some great resources on stamping (http://pipephil.eu/logos/en/dunhill/shapes-l.html). I am using the illustration below to interpret the stamping.
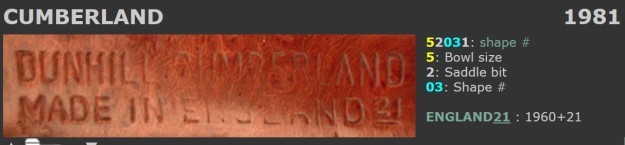 The 54792 stamp includes the shape code 79 mid stamp shown in teal blue above. Sadly, it is not listed in this shape chart. The 5 (in yellow above) is the bowl size the other digits 4 and 1 are a bit harder to interpret. The fifth digit 2 is not needed. The 4 may refer to the shape of the stem (in this case a military bit) but I am not sure. I did some searching on Google as well for the shape and was not able to locate a 54792 or even shape 79.
Pipephil also has some helpful dating keys on the site that are basically flow charts that you can walk through to date your pipe (http://pipephil.eu/logos/en/dunhill/cledat-en1.html). I turned to Part 1 of the Dating Key and followed the chart. This pipe has a superscript 22 following the England stamp. That took me to the section on the chart below (column one) which instructed me that the pipe could be dated as being made posterior to 1954.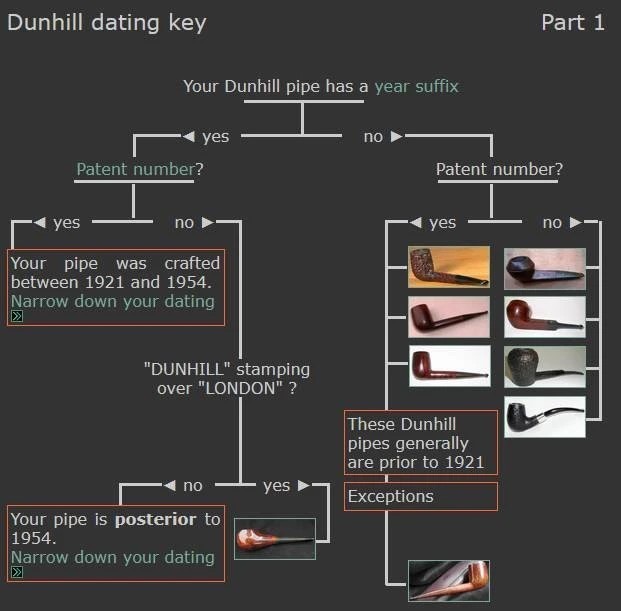 I followed the link following the “Your pipe is posterior to 1954. Narrow down your dating”. That took me to Page 2 of the dating key (http://pipephil.eu/logos/en/dunhill/cledat-en1a.html). The second column (suffix [1…4] or [11…39]) led me to the section with a 22 after the D in England. There was a directive for dating the pipe spelled out as follows: 1960 + suffix 22 which gives the pipe a date of 1982.
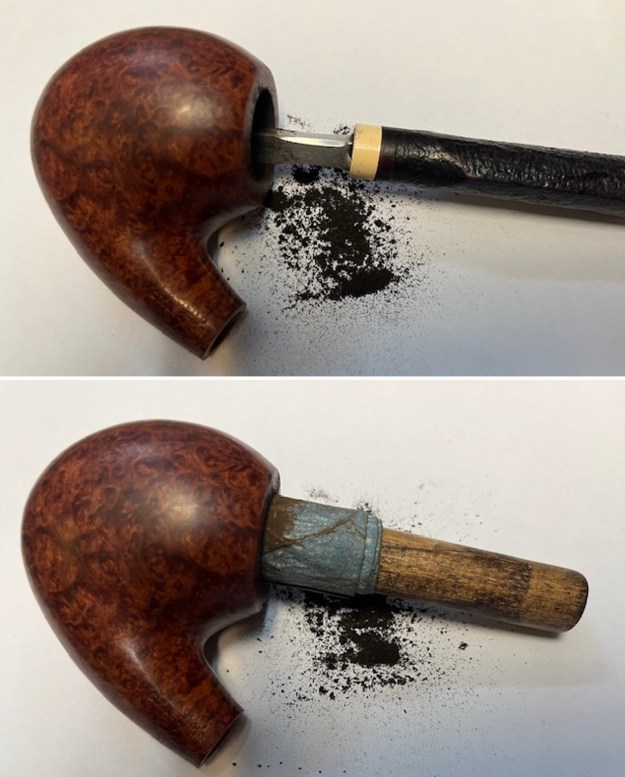
 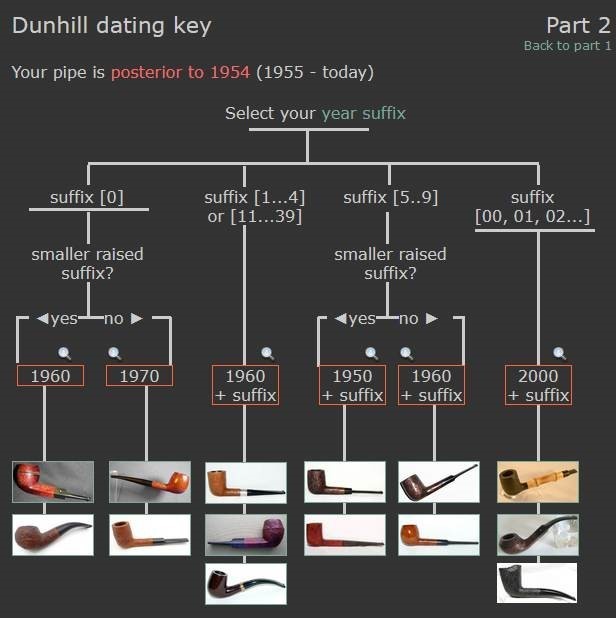 Now it was time to work on the pipe. I started my work by reaming the sparse cake and debris in the bowl. I scraped out the light cake with a Savinelli Fitsall Pipe Knife. I took the cake back to bare briar. I sanded the walls smooth with 220 grit sandpaper wrapped around a piece of dowel. The bowl walls looked very good with no burn damage or checking on the walls. (Note I had already started working on the oxidized shank extension. I could not help myself😉.)
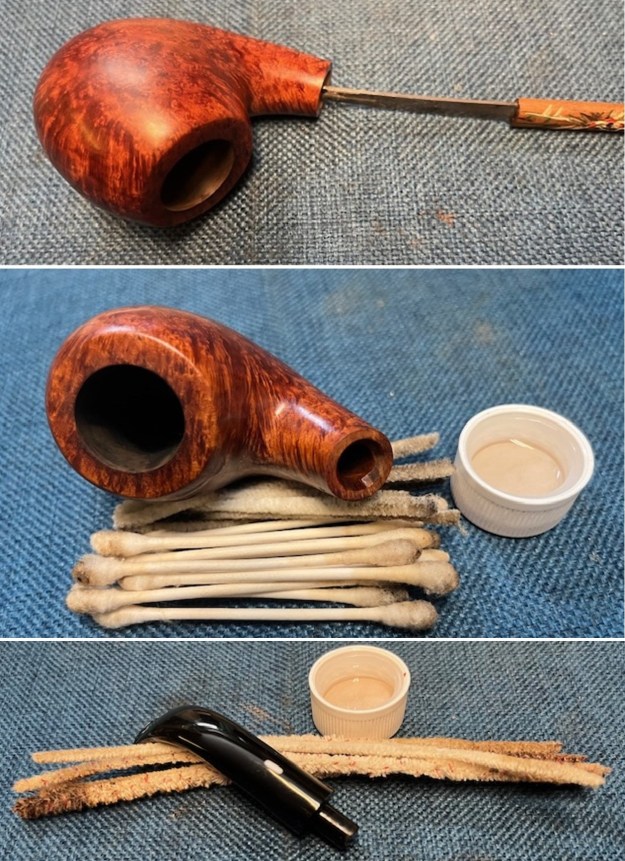
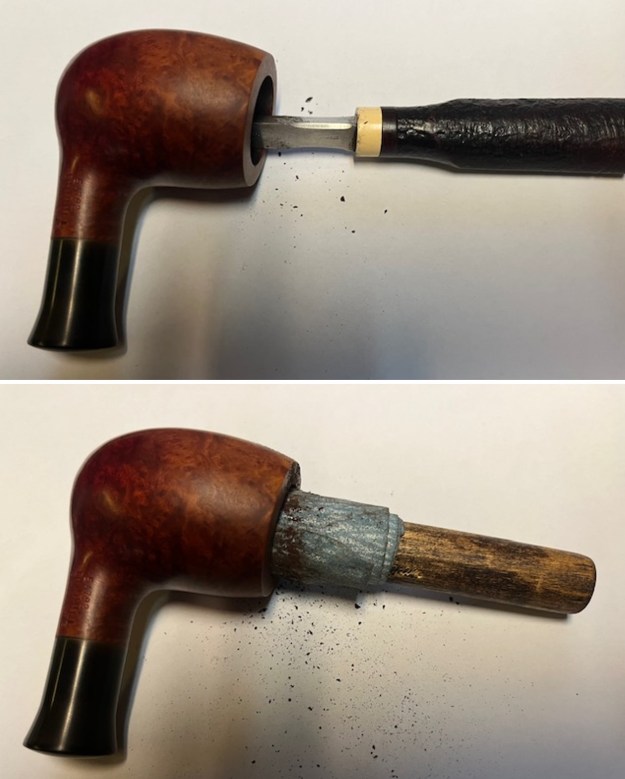 I cleaned out he internals of the shank, mortise and airway in the shank and the stem with alcohol, cotton swabs and pipe cleaners.
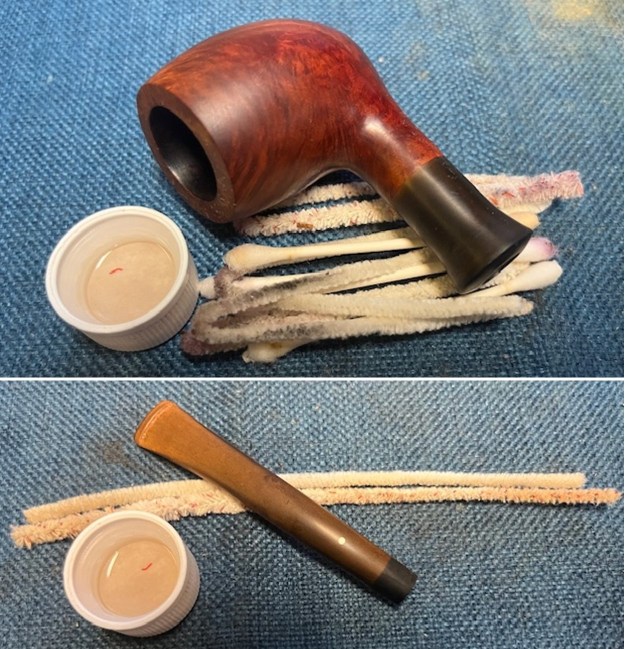 I sanded the shank extension with 320-3500 grit sanding pads to remove the oxidation. I wiped the vulcanite down after each pad with an Obsidian Oil cloth. The oxidation was stubborn but it slowly began to disappear.
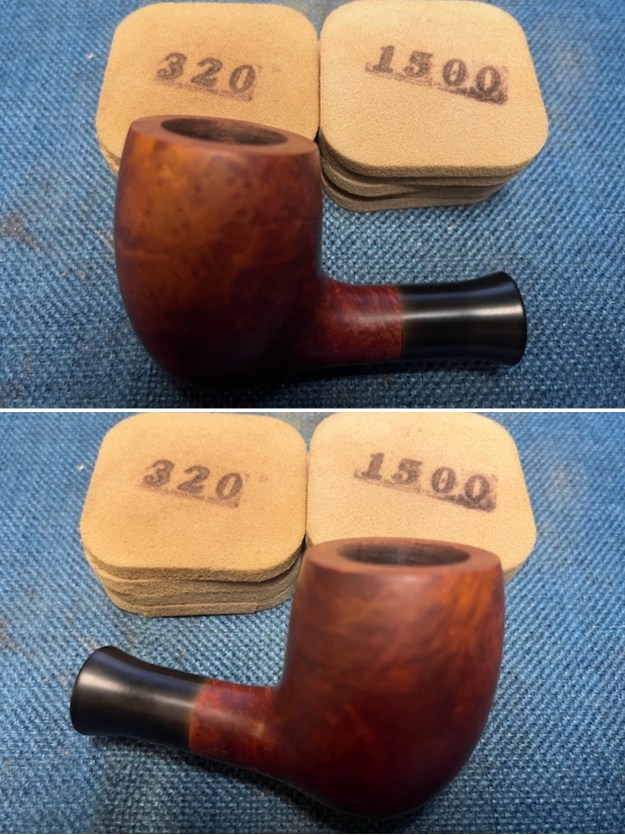
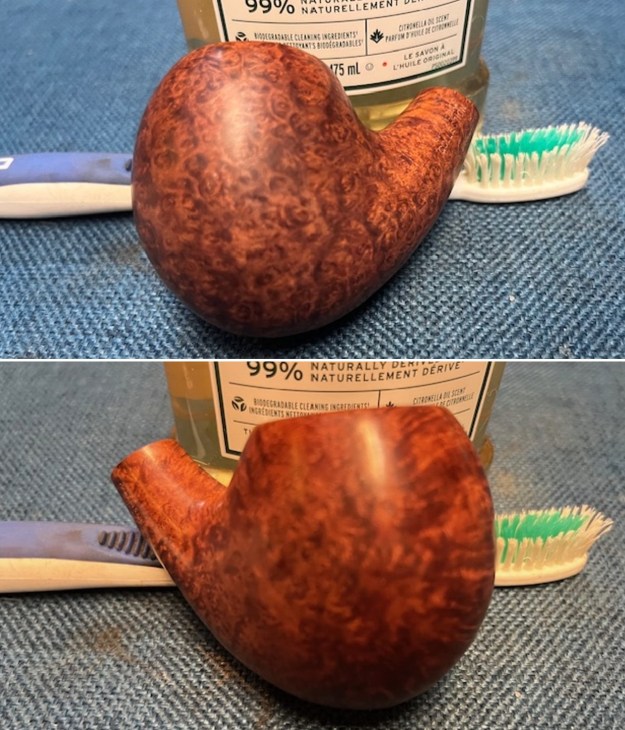
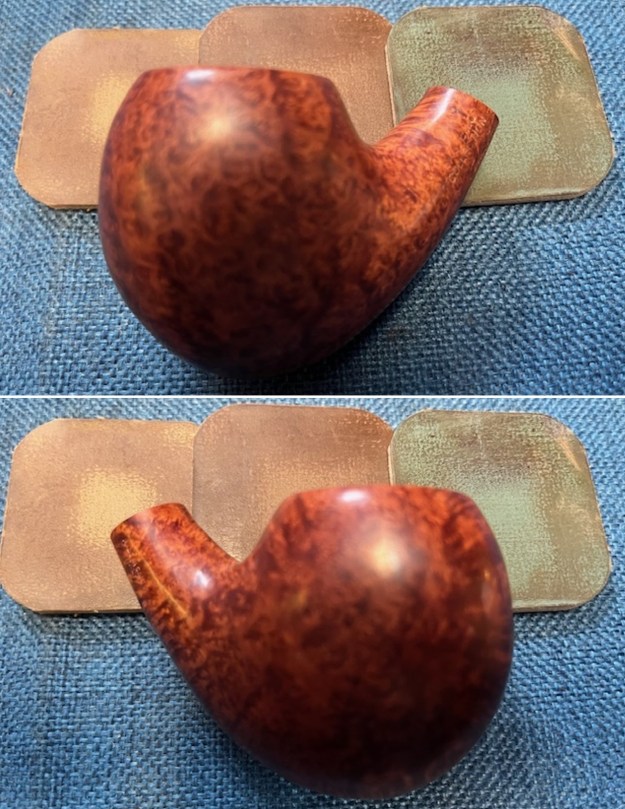
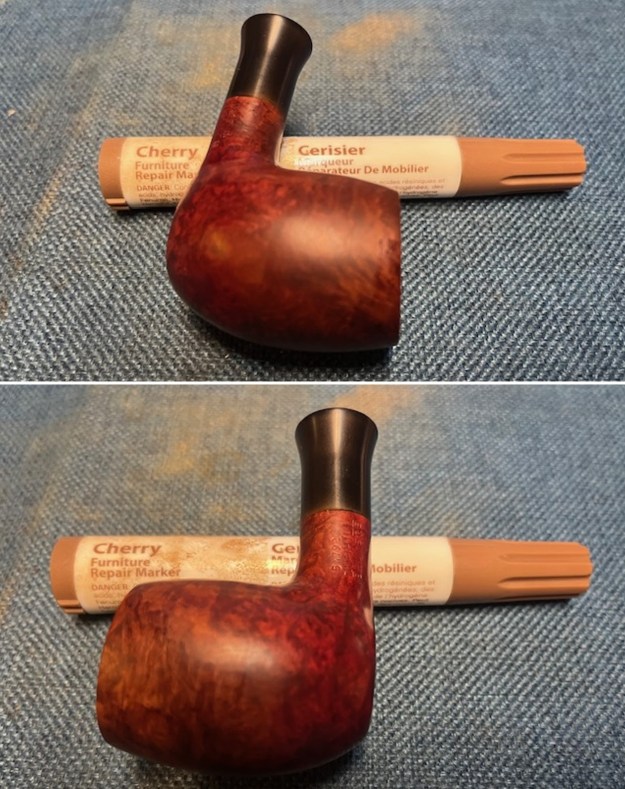
 I touched up the faded portions on the front of the bowl, the rim top and the right and left sides with a Cherry Stain pen. I have found in the past that the colour works very well with a Bruyere finish. I also touch up the joint of the shank and the shank extension at the same time. It looks much better but will blend in even better once I polish it.
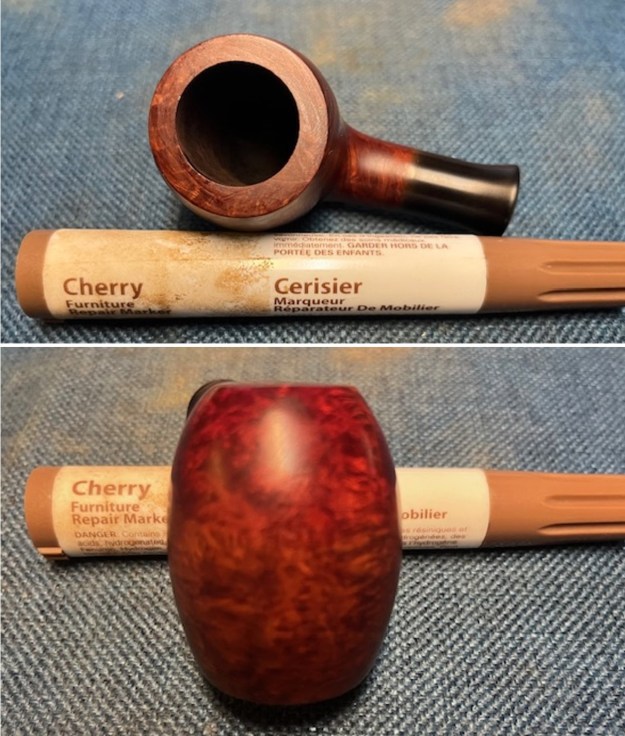
 Over all the briar looked good after staining. There were no nicks of dents in it so I polished it with micromesh sanding pads. I dry sanded it with the higher-grade pads – 3200-12000 grit and wiped the bowl down after each pad with a damp cloth. By the final pads the briar really had a shine. I polished the shank extension at the same time.
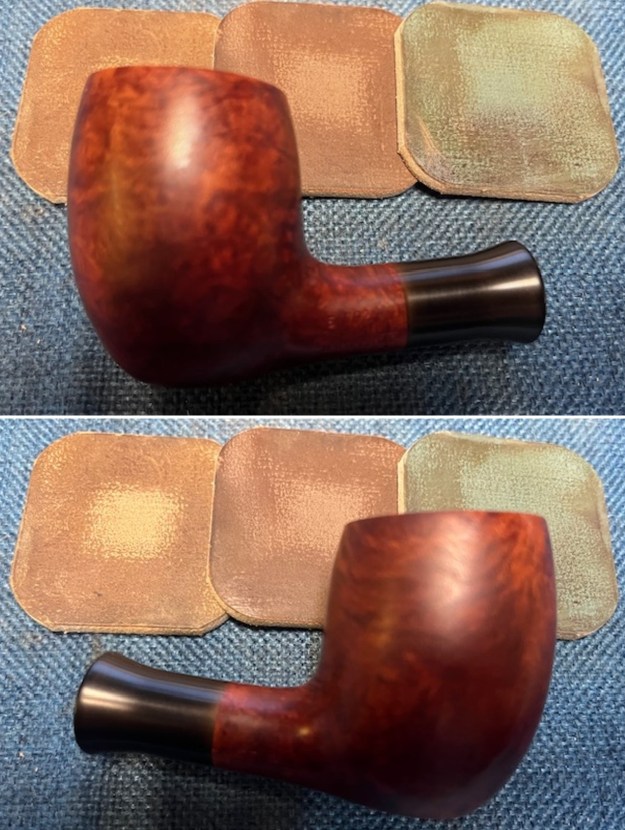
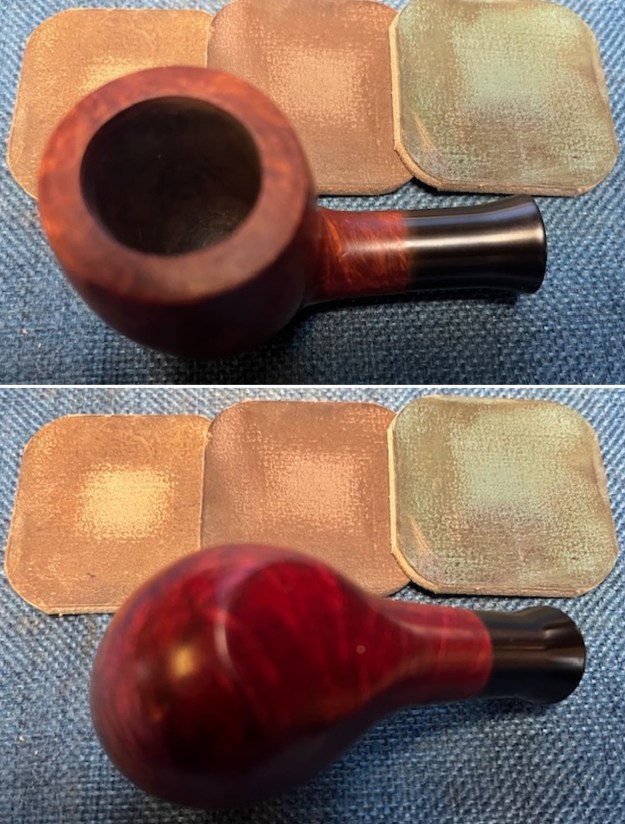
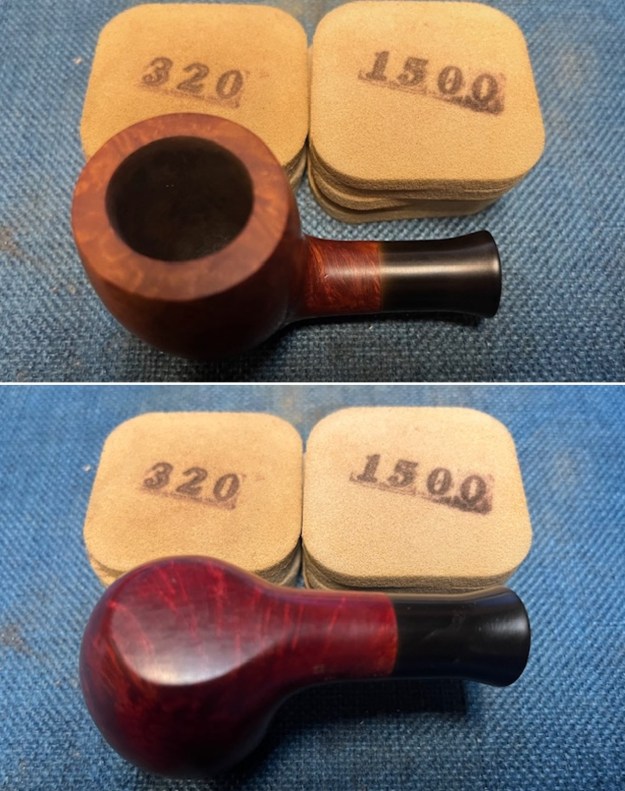
 I rubbed the briar down with Before & After Restoration Balm. I worked it into the smooth rim top surface with my fingertips. The product works to clean, enliven and preserve the briar. I let it sit for 10 minutes then I buffed it with a cotton cloth to deepen the shine. The briar really comes alive with the balm.
 I set the bowl aside and turned my attention to the stem. I scrubbed the oxidation on the stem surface with Soft Scrub and paper towel square until it was much cleaner.
 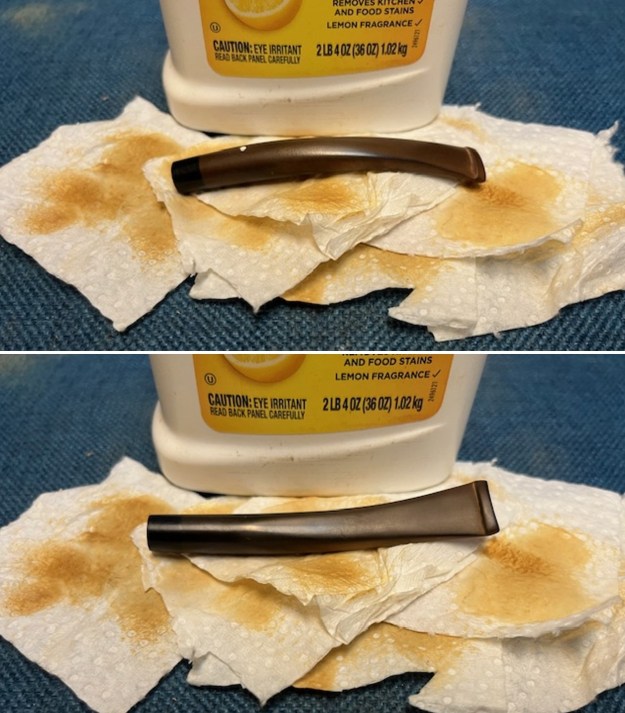 I sanded the surface with 320-3500 grit sanding pads. I wiped the stem down after each pad with Obsidian Oil. I was able to remove the remnants of oxidation and the stem looked better.
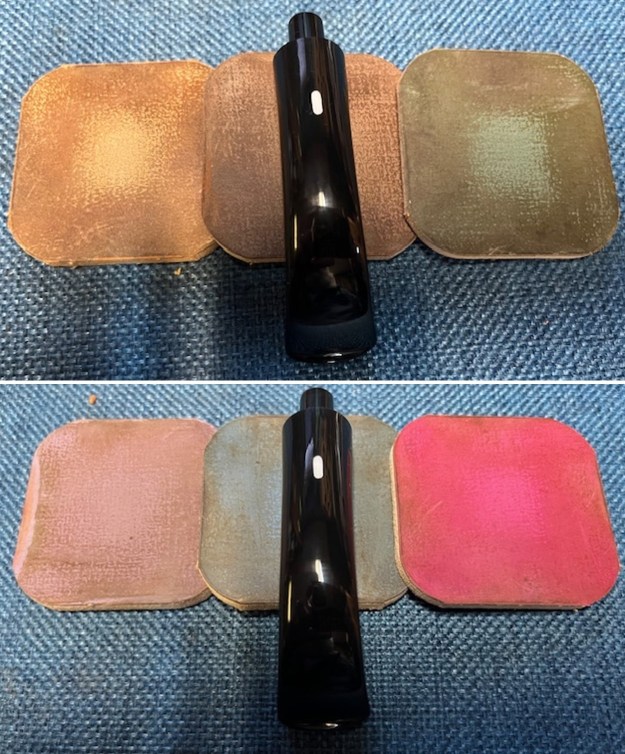
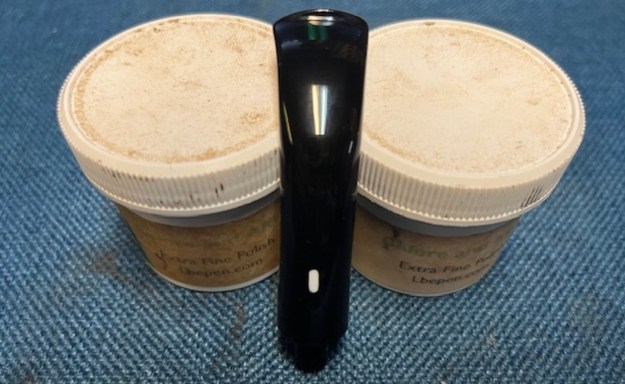
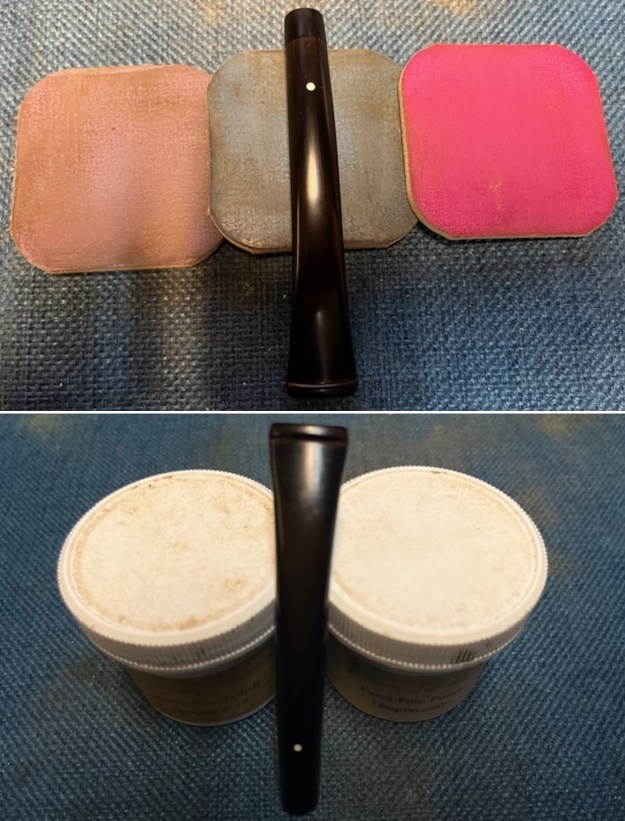
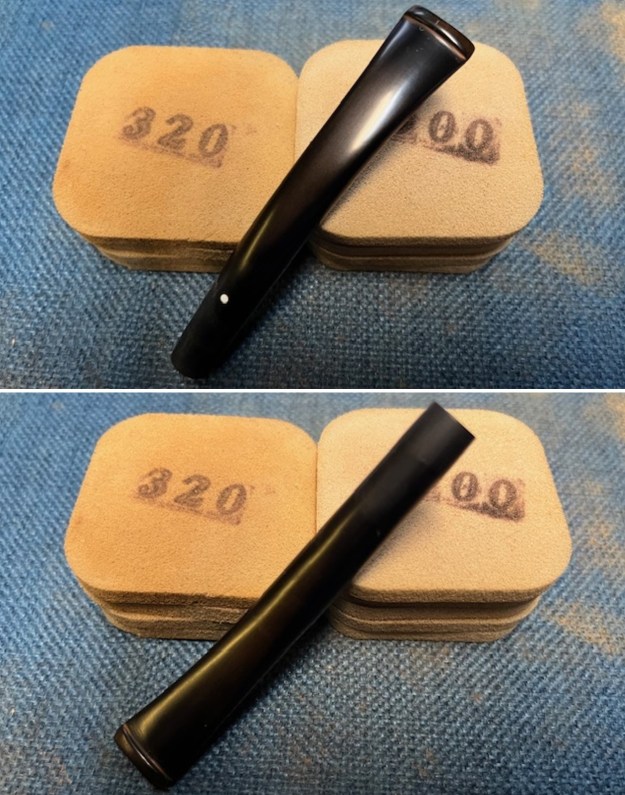 I polished the vulcanite stem with micromesh sanding pads – 1500-12000 grit pads. I wiped it down with Obsidian Oil after each sanding pad. I used Before & After Pipe Stem Polish – both Fine and Extra Fine to further polish the stem.
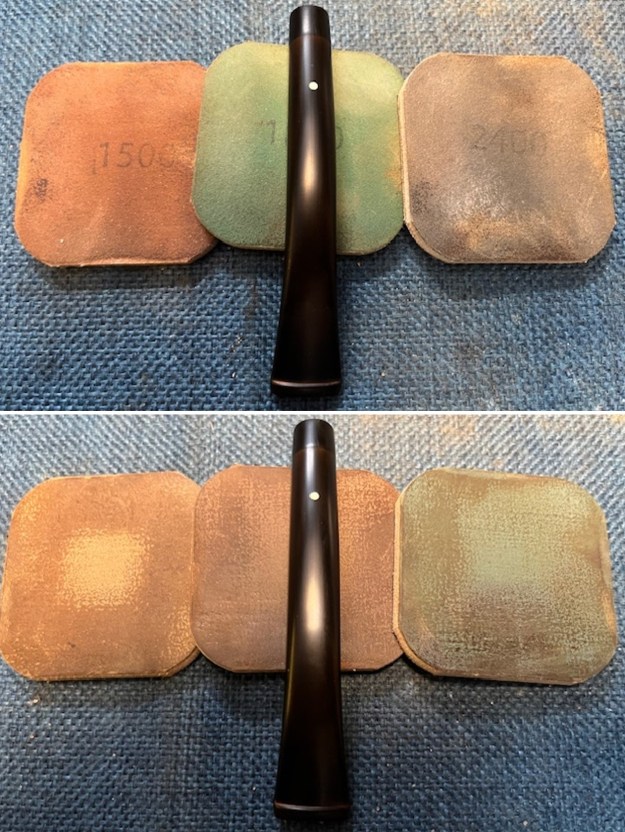
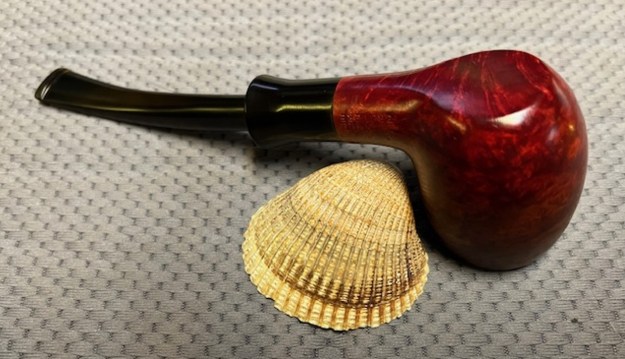
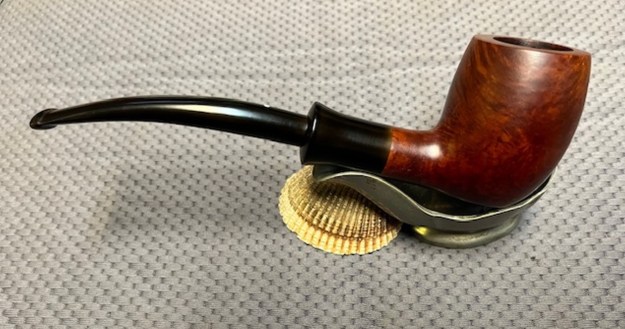
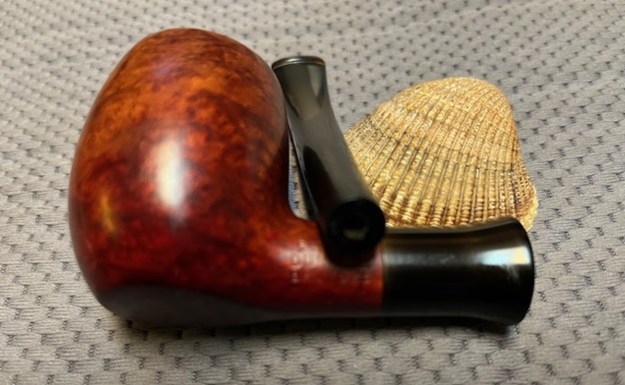
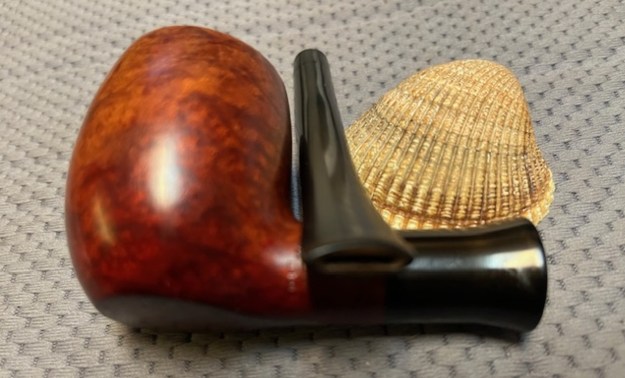
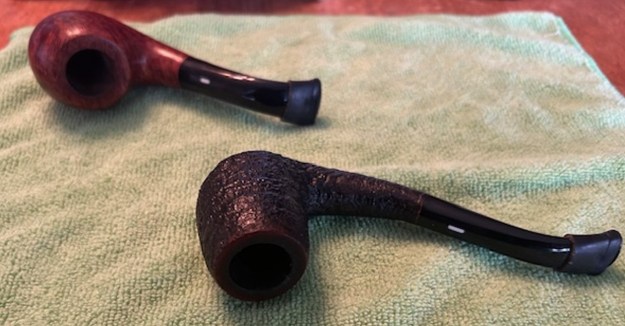
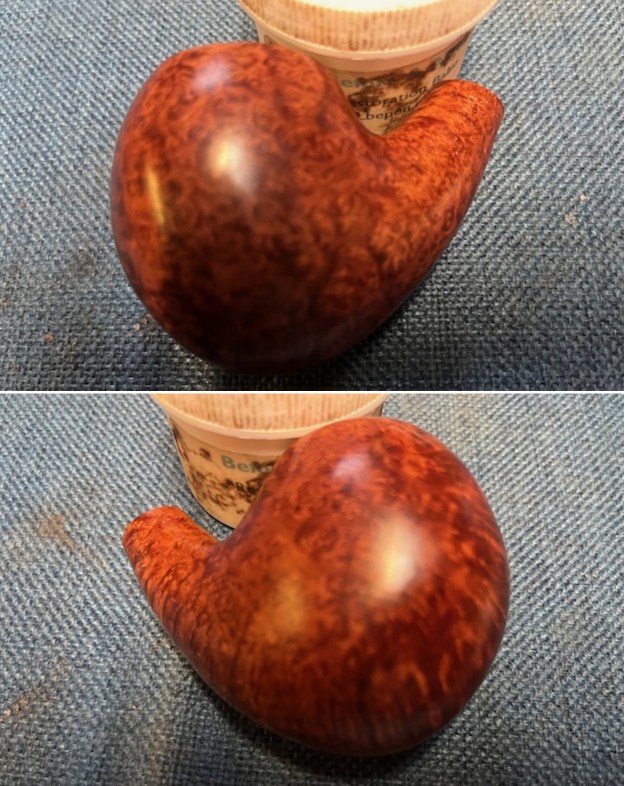
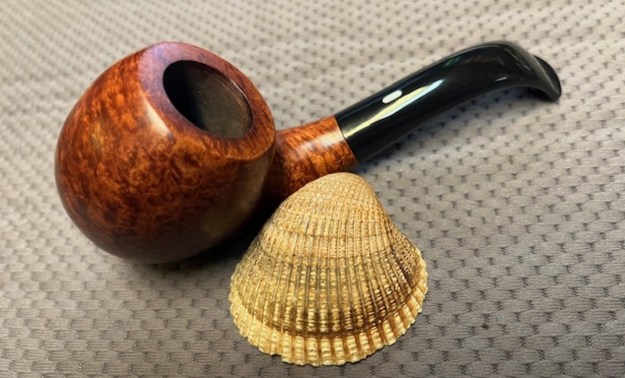
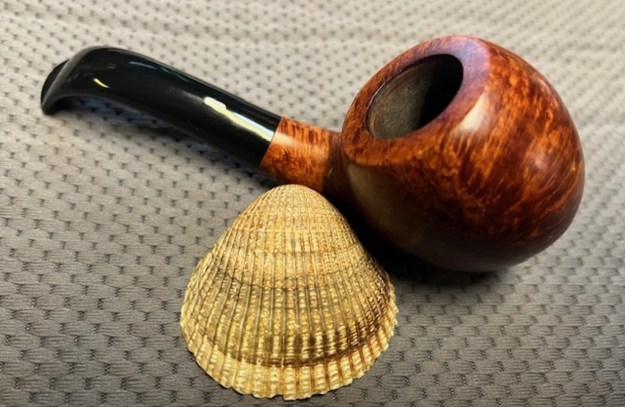
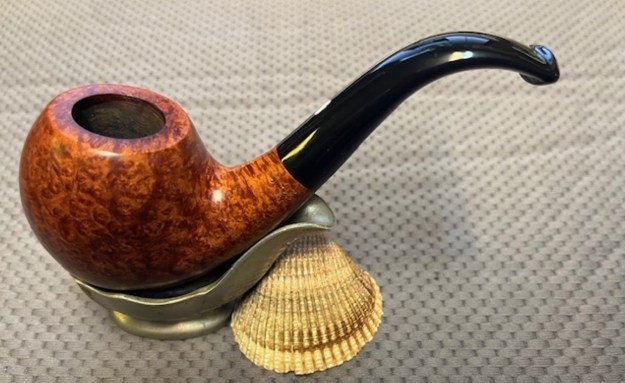
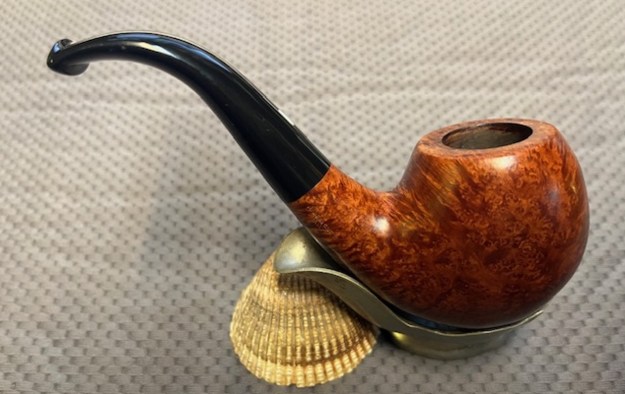
 This beautiful Danish style Dunhill Bruyere 54792 Billiard Sitter with a taper vulcanite military bit looks amazing after the work on it. The briar is clean and the grain really came alive. The rich brown stains gave the finish a sense of depth with the polishing and waxing. The grain really popped. I put the stem back on the bowl and buffed the pipe with Blue Diamond on the buffing wheel using a light touch on the briar. I gave the bowl and the stem multiple coats of carnauba wax on the buffing wheel. I buffed the pipe with a clean buffing pad to raise the shine. I hand buffed the pipe with a microfiber cloth to deepen the shine. The finished Dunhill Bruyere Billiard Sitter really is a beauty and feels great in the hand and looks very good. Give the finished pipe a look in the photos below. The dimensions of the pipe are Length: 6 ½ inches, Height: 2 inches, Outside diameter of the bowl: 1 ½ inches, Chamber diameter: 7/8 of an inch. The weight of the pipe is 50 grams/1.80 ounces. This beautiful rusticated pipe will soon be on the rebornpipes store in the British Pipemakers Secton. It should make a great smoker for the next trustee. Thanks for reading this blog and my reflections on the pipe while I worked on it. It was a fun one to work on.