Blog by Steve Laug
The next pipe on the work table is a pipe that Jeff and I bought from an antique store on Victoria Day, May 4, 2024 in Bellingham, Washington, USA. It was one that came from an antique shop that I have visited for over 20 years and come to know the owner. We generally have a great chat on our visits and that day spent some time chatting and catching up on life. By the time we finished chatting and dickering we came away with five additional pipes to the hunt bag. These included a Savinelli Sherwood Rock Briar 316KS, a Sir Winston Bellingham WA, a Kensington Made in London England Pot, Genuine Block Meerschaum Opera pipe, and last of all an Oval shank 1/4 Bent pot Sir Winston’s Own with great grain. Great additions to the hunt bag (https://rebornpipes.com/tag/bellingham-pipe-hunt/). I decided to take a break from the pipes in my queue of pipes to work on and deal with the Meerschaum Opera Pipe shown above next. The rim top and shank end are smooth and are stained to match the browns and blacks of the bowl sides. The sides of the bowl and shank are rusticated with a finish that approximates a sandblast finish. It came out with a very tactile feeling. It is stained with black and brown stains that highlight the rustication valleys and high spots. The stem is a tapered vulcanite stem with a lot of oxidation on the surface. The tenon is a threaded metal tube that screws into the mortise. The pipe is stamped on the left side of the shank in a smooth panel and reads 9 Genuine Block [over] Meerschaum. It is clear and readable. The bowl had a thick cake in it a lava coat on the rim top and edges. The finish was dirty. The stem was a taper that sat against the shank end. It was dirty, oxidized, calcified and had tooth marks and chatter on both sides ahead of the button. I took some photos of the pipe before I started working on it.
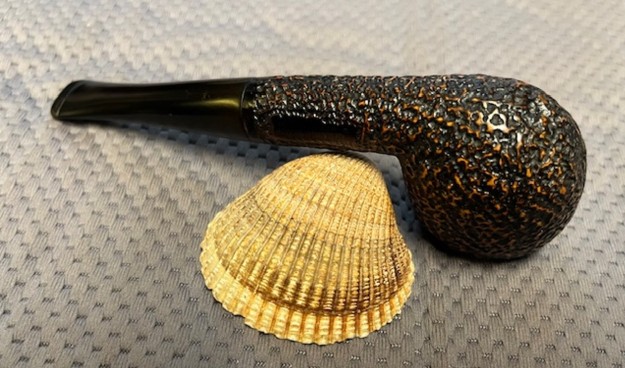
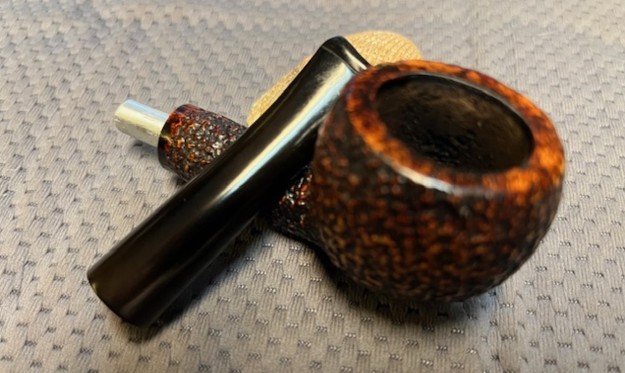
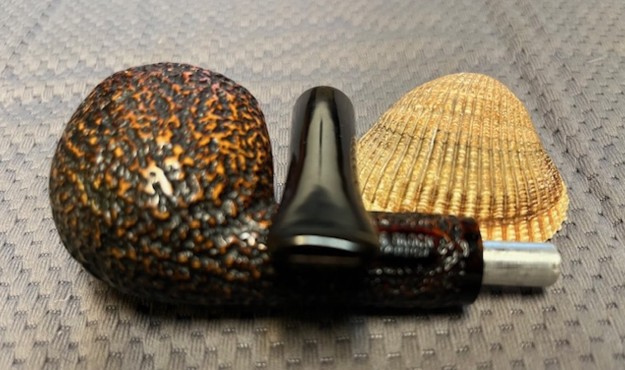
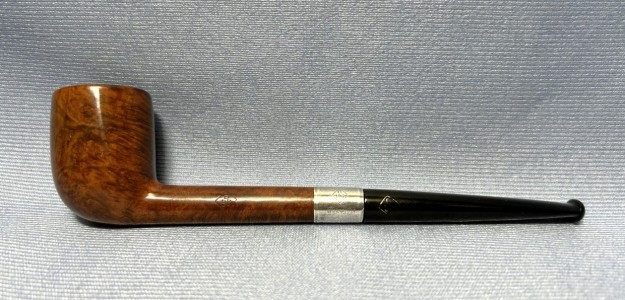
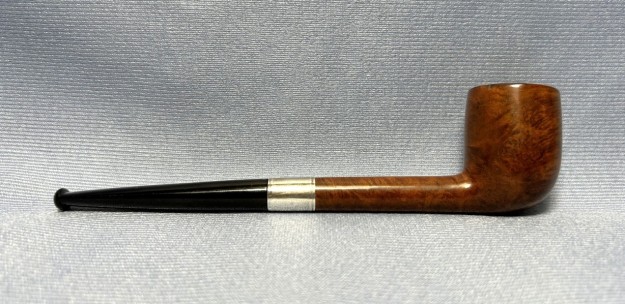
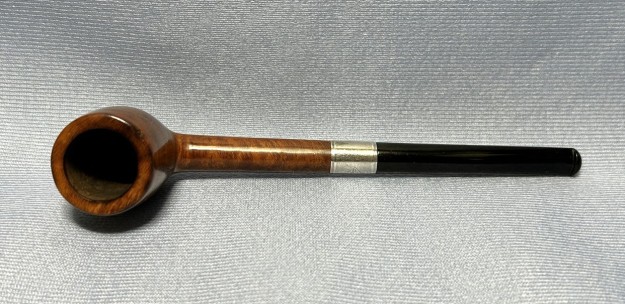
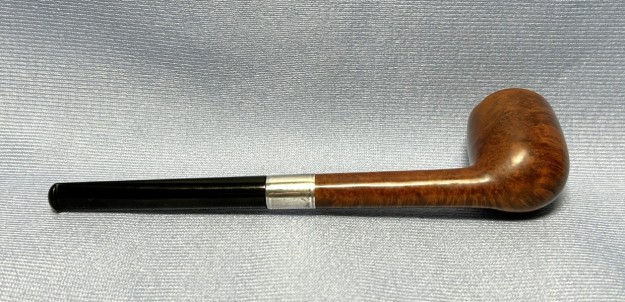
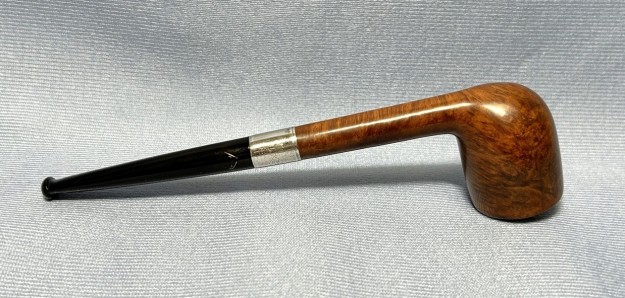
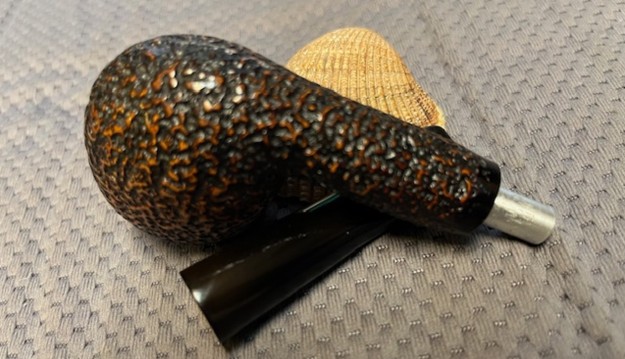
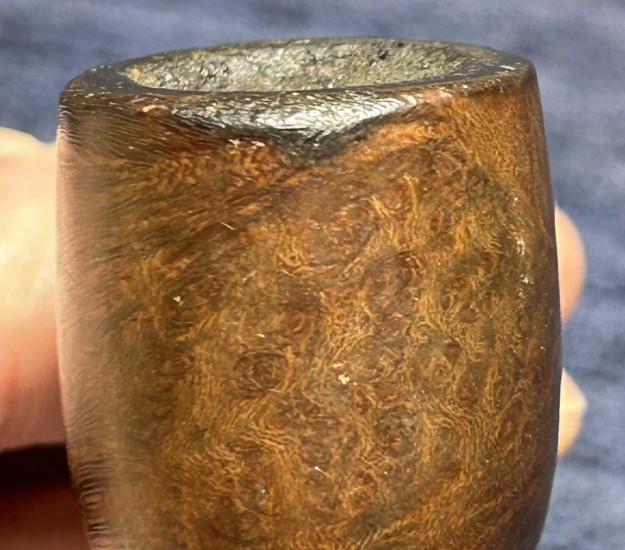
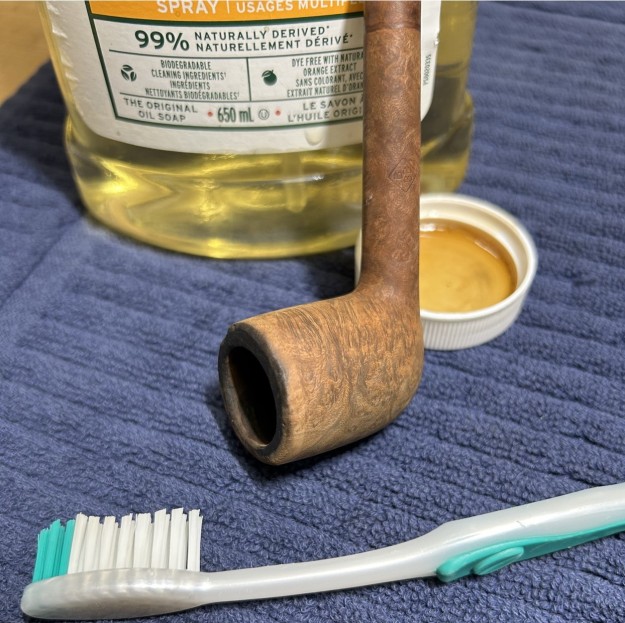
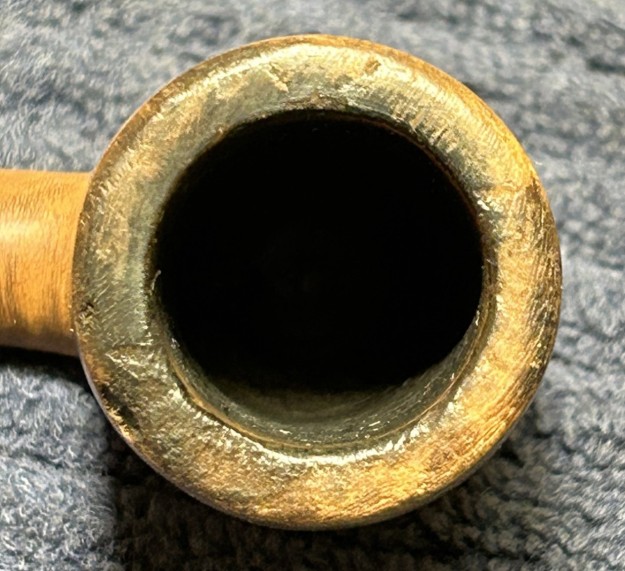
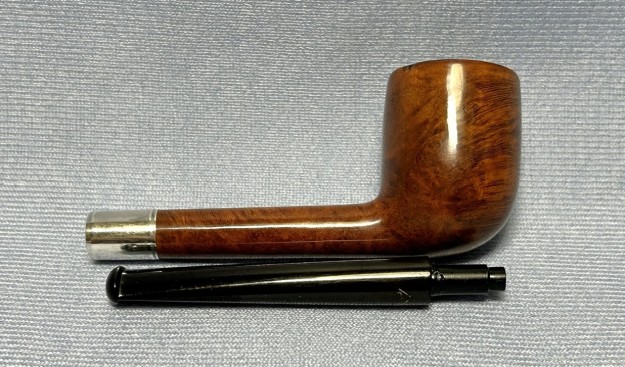
 I took photos of the bowl, rim top to show the thickness of the cake in the bowl and the light lava coat on the rim top. The inner edge had some darkening and some build up of tars and oils. I took photos of the top and underside of the stem showing the light tooth marks and chatter on both sides near the button. It is quite oxidized and I could not see any stamping on the sides or top. You can also see the gap between the shank end and the stem end.
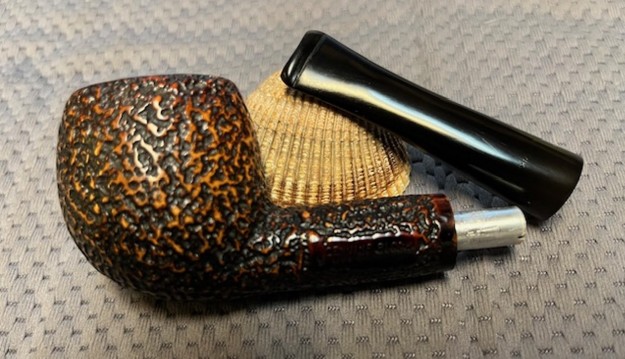
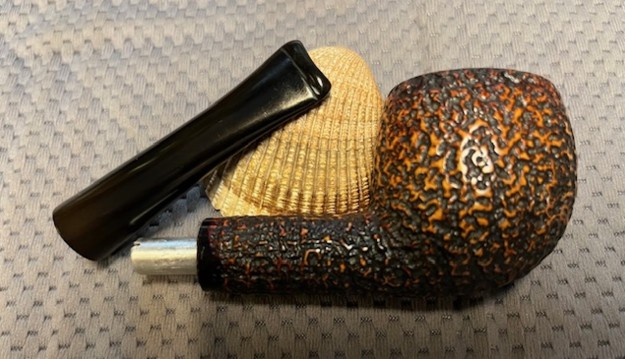
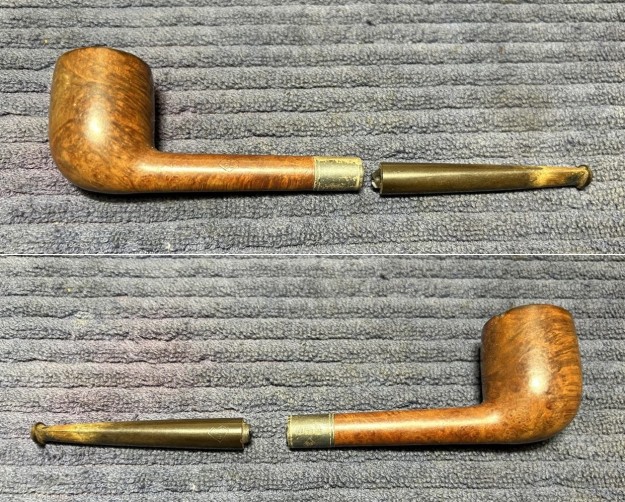
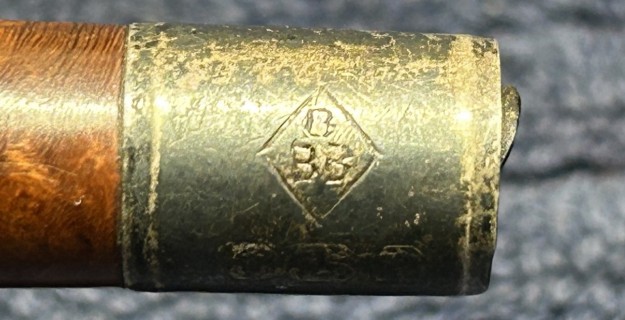
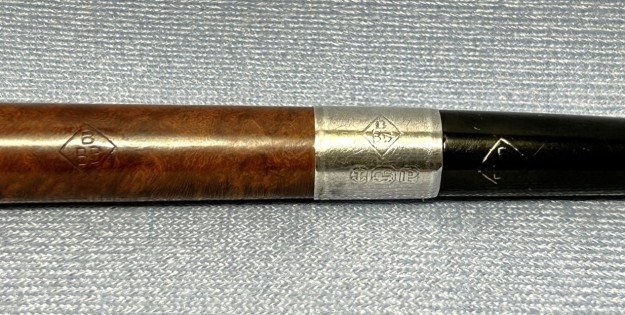
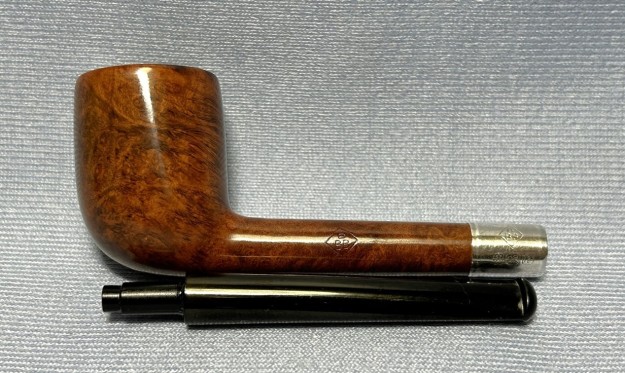
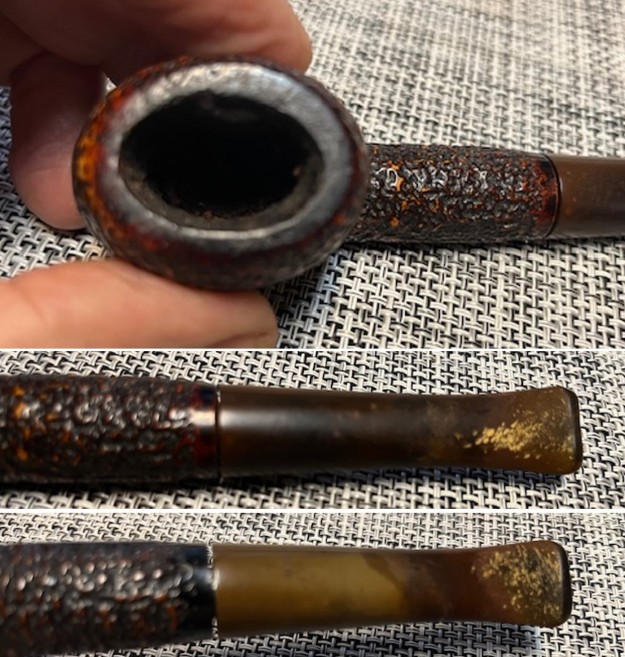 I took a photo of the stamping on the left side of the shank. It was clear and readable. It read as noted above. I unscrewed the stem from the shank and the tenon came out of the shank. On previous pipes like this I have seen the threaded tenon in the shank end and then the stem was pushed on to it as a friction fit. This could possible explain the gap between the shank and the stem. I took a photo of the parts and it is a pretty looking meerschaum Opera pipe.
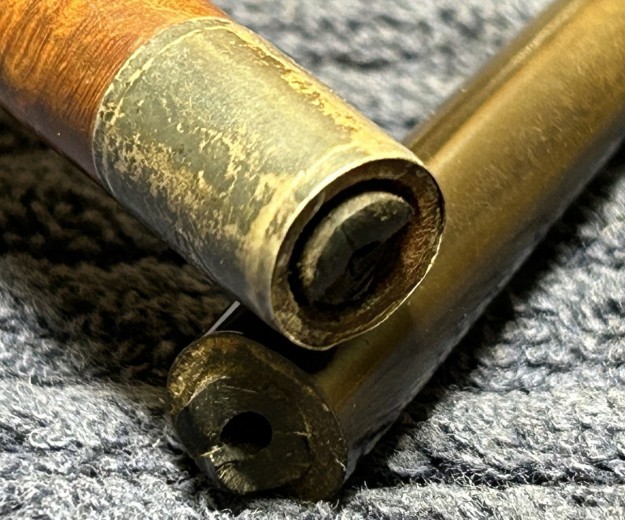
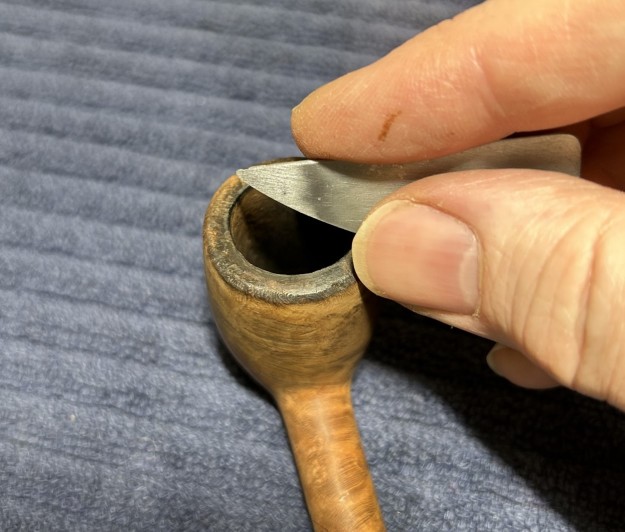
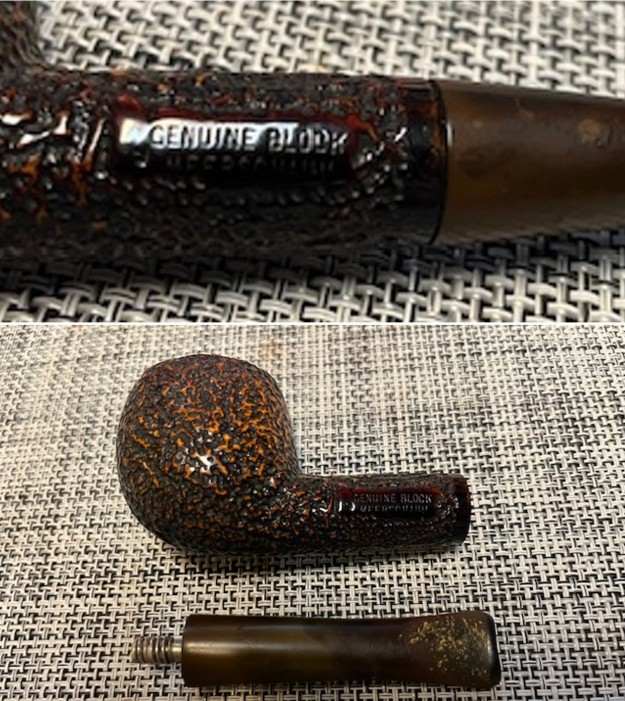 Now I was ready to start the work on the pipe. I reamed the oval bowl with a Savinelli Fitsall Pipe Knife. I sanded the bowl walls with sandpaper wrapped my finger to smooth them out. The inside walls were clean and looked very good.
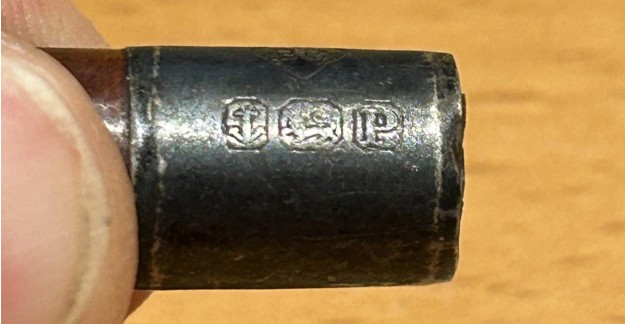
 I removed the tenon from the stem. I was surprised to see that the portion that sat in the stem was slotted and was made to be turned with a screw driver. This confirms what I thought regarding the threaded tenon being screwed into the shank and then the stem friction fit onto the smooth tenon end. I cleaned the threads on the tenon with pipe cleaners, cotton swabs and isopropyl alcohol followed by a brass bristle wire brush to remove the debris on the threads. Once cleaned I rubbed the threads down with some Vaseline to protect the threads and to make screwing it into the shank much easier.
 I screwed the tenon into the shank and turned it in fully with a screw driver. The fit against the shank end is snug and when I slipped the stem onto the tenon the gap was gone.
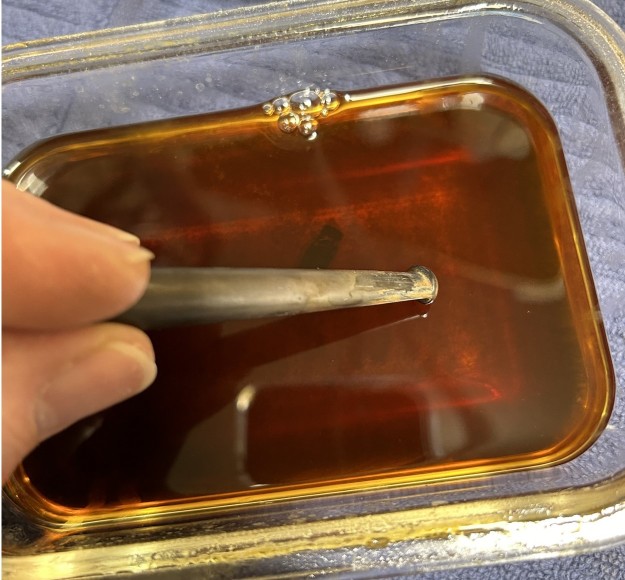
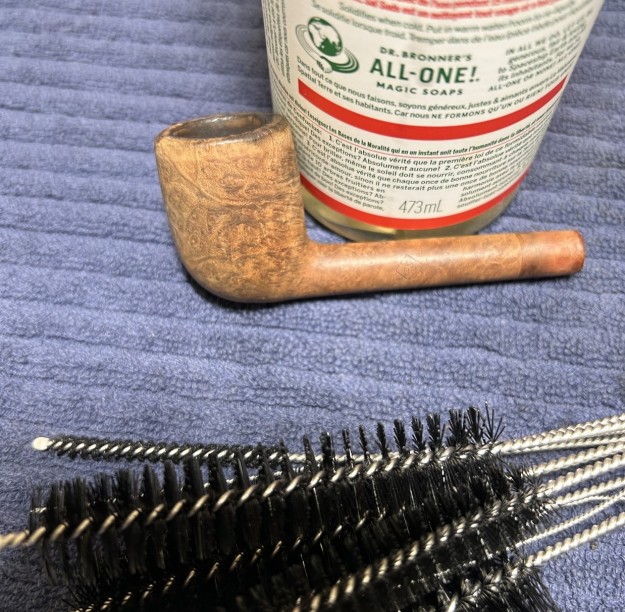
 I removed the tenon from the shank and cleaned out the mortise and airway in the tenon with alcohol, cotton swabs and pipe cleaners. I cleaned it until the pipe cleaners and cotton swabs came out clean. Once they were cleaned I cleaned the airway in the tenon and put it back in the shank. The bowl smelled clean. I set the bowl aside and cleaned out the airway in the stem and the button with pipe cleaners, cotton swabs and alcohol. I wanted the end that fit on the tenon to be very clean so that it would be a smooth fit.
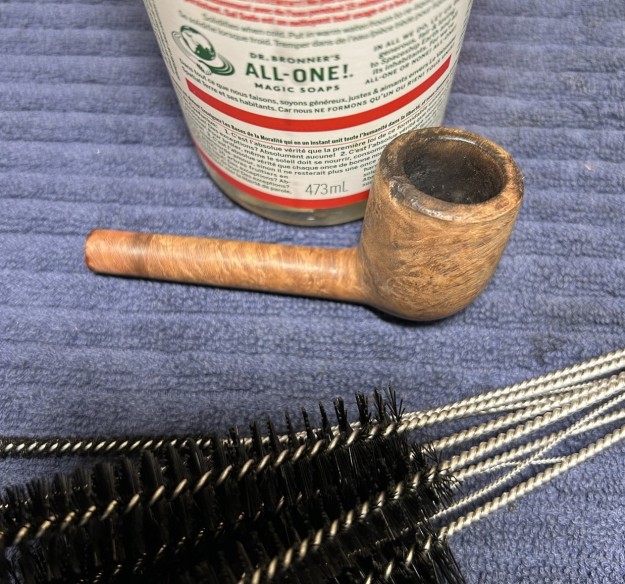
 I polished the rim top and the aluminum tenon with micromesh sanding pads. I dry sanded with 1500-12000 grit pads and wiped both down between the pads with a damp cotton pad. The rim begn to shine and matched the colour of the bowl and shank end. The aluminum tenon became smooth with the scratches and nicks smooth out.
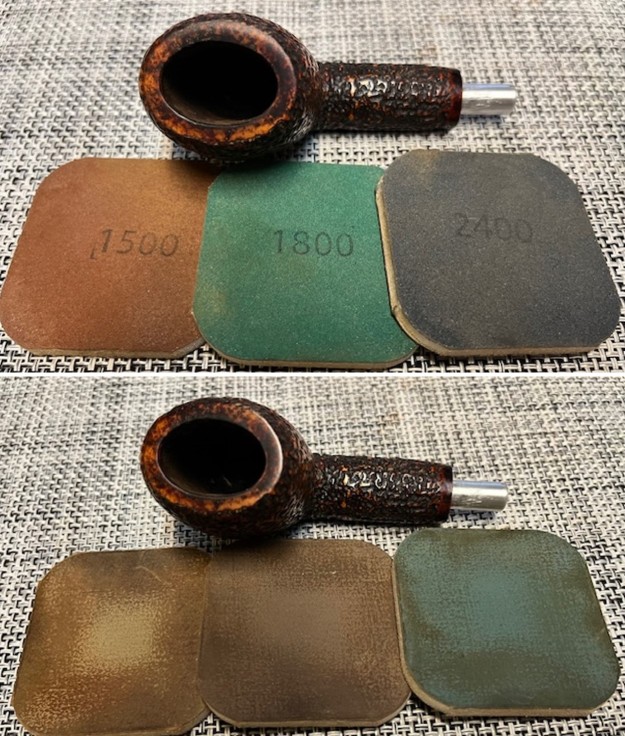
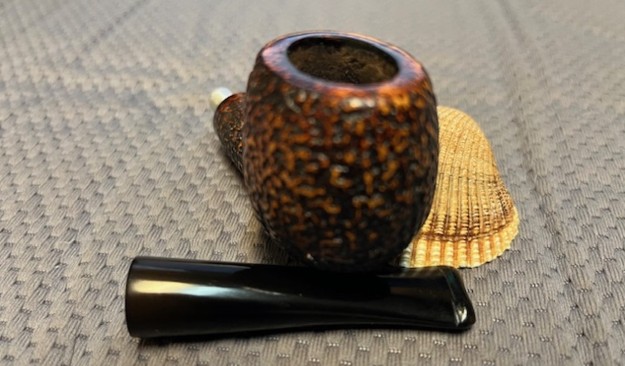
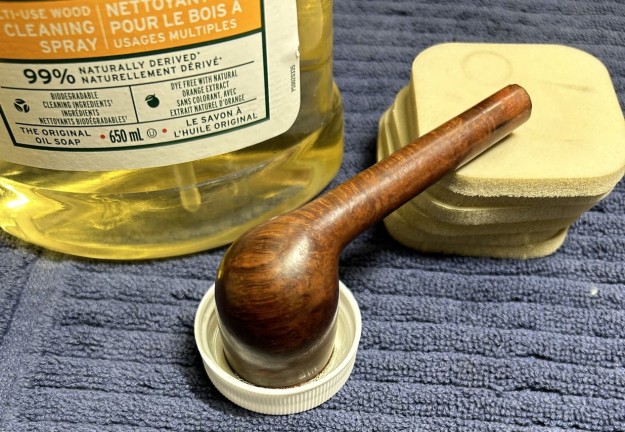
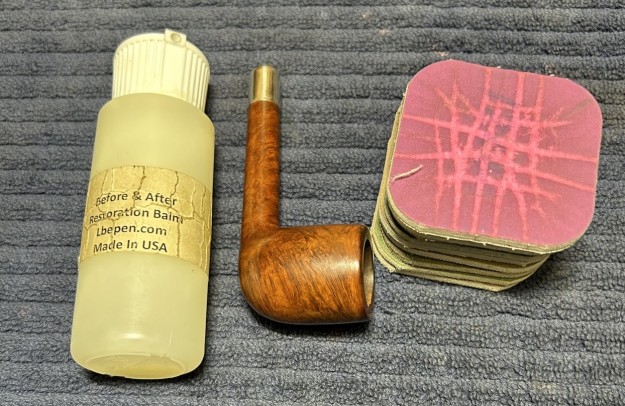
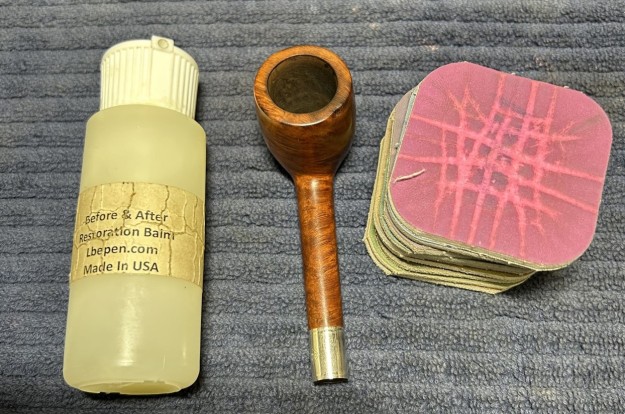
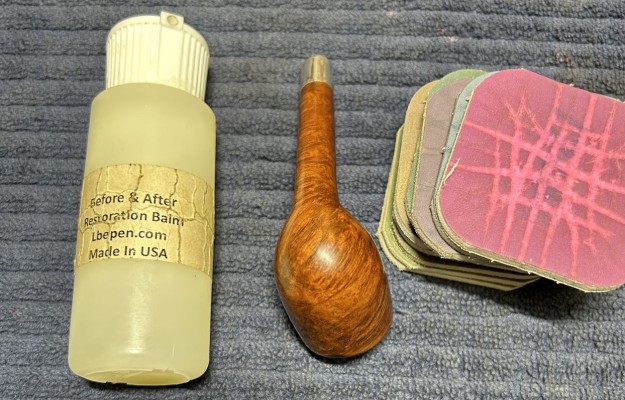
 I worked some Claphams Beeswax/Carnauba Wax into the surface of the bowl and shank with my fingertips and a horsehair shoe brush to clean, enliven and protect the smooth surfaces of the meerschaum. I let the wax dry for about 10 minutes and then buffed with a cotton cloth to raise the shine. The photos show the bowl at this point in the restoration process.
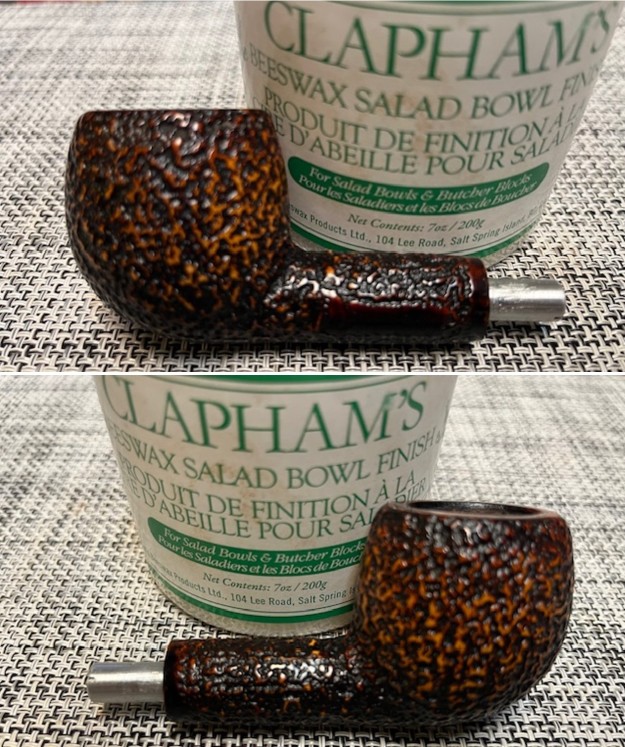

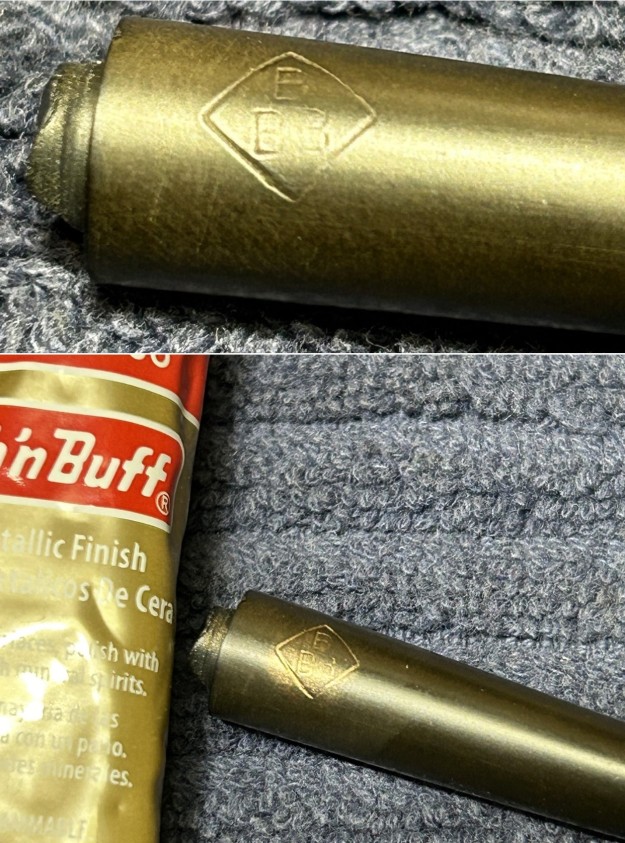
 I set the bowl aside and turned my attention to the stem. I scrubbed it with Soft Scrub all-purpose cleaner to remove the oxidation and calcification on the stem surface. I was beginning to look better.
  I sanded the oxidation, calcification, tooth marks and chatter smooth with 320-3500 grit sanding pads. I wiped the stem down after each sanding pad with a cloth impregnated with Obsidian Oil.
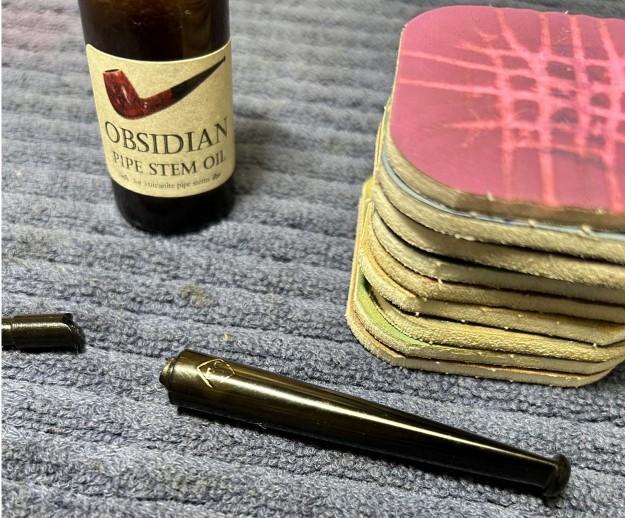
 I polished the stem with micromesh sanding pads – dry sanding with 1500-12000 grit sanding pads. I wiped it down after each sanding pad with Obsidian Oil. I polished it with Before & After Pipe Stem Polish – both Fine and Extra Fine. I gave it a final coat of Obsidian Oil. It looks significantly better!
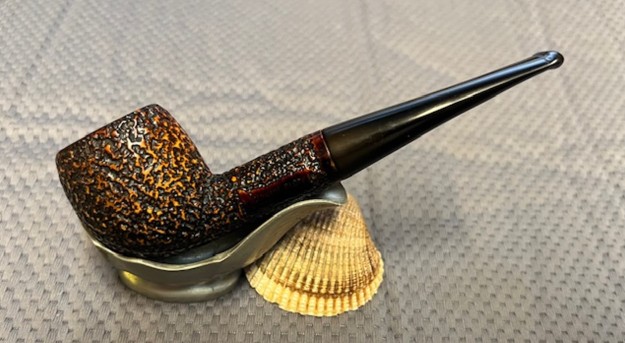
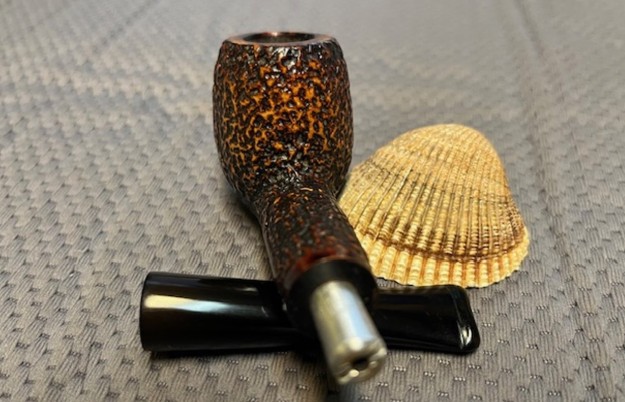
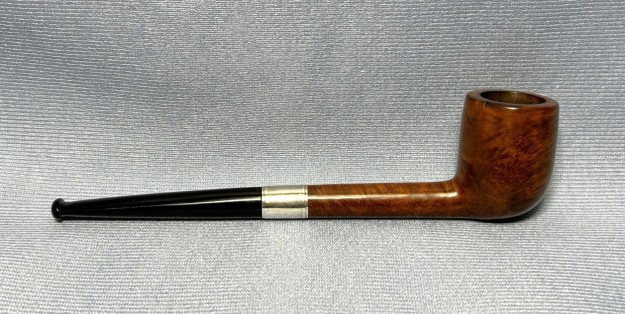
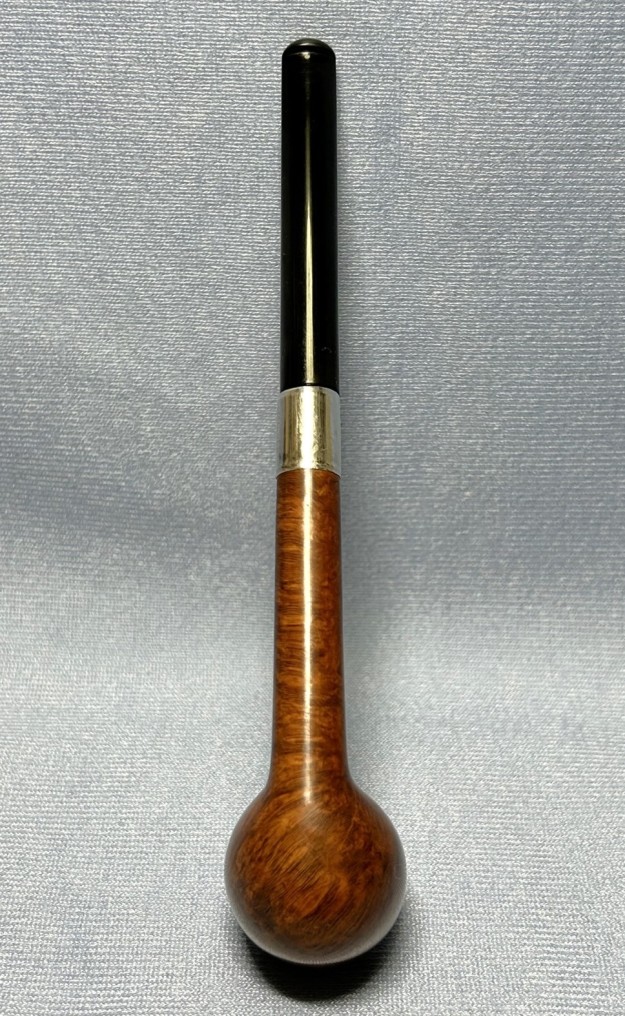
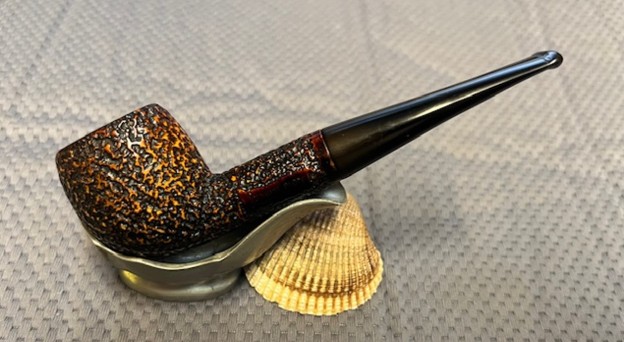
 With the bowl and the stem finished I put the unique rusticated #9 Genuine Block Meerschaum Rusticated Opera Pipe back together and buffed it lightly on the wheel using Blue Diamond to give it a shine. I gave the stem multiple coats of carnauba wax on the wheel. I buffed the bowl with a horsehair shoe brush to raise the shine. I hand buffed it with a microfiber cloth to deepen the shine. The carved surface of the bowl and shank is a great looking. The dimensions of the pipe are – Length: 5 ½ inches, Height: 1 ½ inches, Outside diameter of the bowl: 1 ½ inches x 1 inch, Chamber diameter: ½ of an inch x ¾ of an inch. The weight of this large pipe is 1.31 ounces /37 grams. This Rusticated Meerschaum Opera Pipe is another great find. It is much more beautiful in person than these photos can capture. I will be adding it to the Meerschaum Pipe section of the rebornpipes store soon. If you want to add it to your collection it will make a fine smoking addition. This is another pipe that has the possibility of transporting the pipe man or woman back to a slower paced time in history where you can enjoy a respite. Thanks for walking through the restoration with me.