Blog by Steve Laug
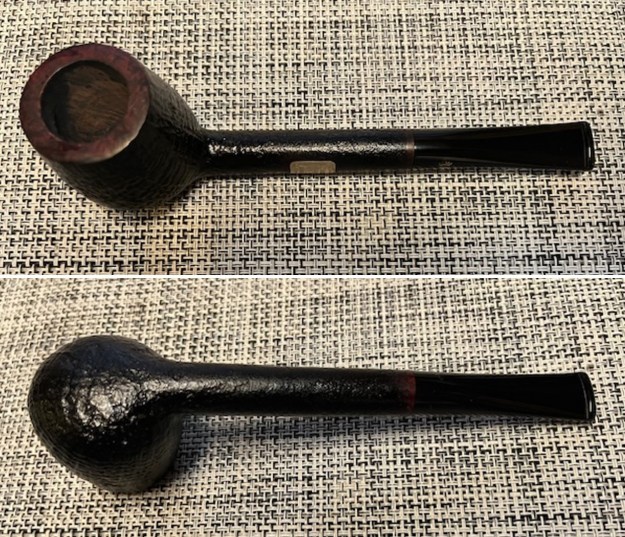
The next pipe on the table is large smooth finished Bent Poker/Cherrywood. We purchased it from an Antique Store in Missoula, Montana, USA on 07/25/2023. The pipe is stamped on the left side of the shank and reads Londoner [over] London England. On the right side of the shank it is stamped BB&S 6969. On the left side of the saddle stem it is stamped BB&S which stands for Bill Barling & Sons. The rim was in good condition other than a lot of lava in the finish overflowing from the thick cake in the bowl. There were oils and grime ground into the bowl sides gives the finish a flat look. The stem is oxidized and calcified. It had light tooth marks on both the top and underside of the stem just ahead of the button. Jeff took photos of the pipe before he started his clean up work. I have included them below.
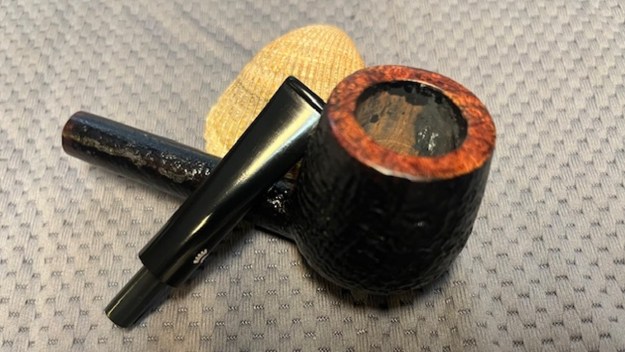
 He took photos of the rim top to show the cake and the dust on the top. It is another dirty pipe. He also captured the light tooth marks on the top and underside of the stem near the button.

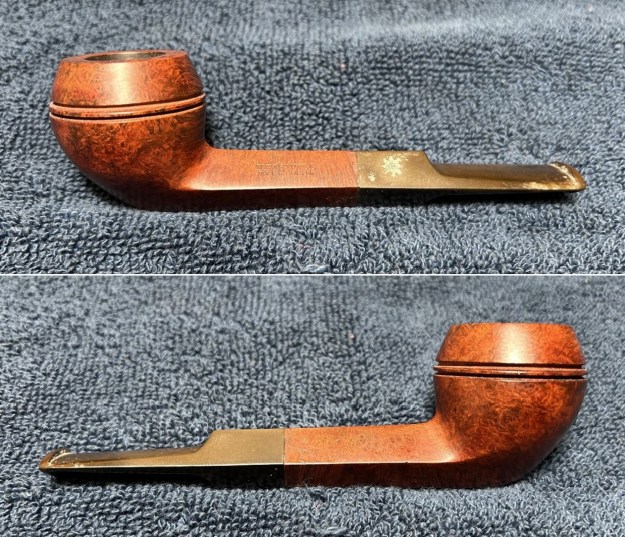
 He took photos of the sides and heel of the bowl to show the grain around the bowl and the amount of grime ground into the surface of the briar.
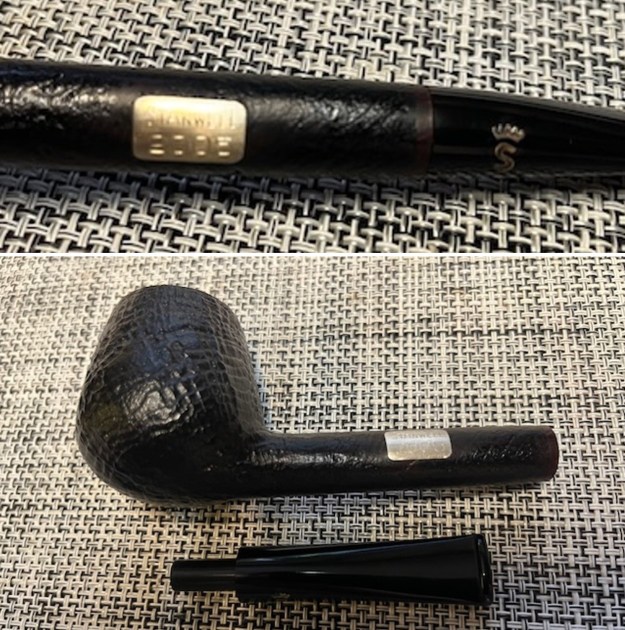
  He took photos of the stamping on the sides of the shank. It is clear and quite readable. The BB&S stamp on the left side of the saddle stem was also readable.
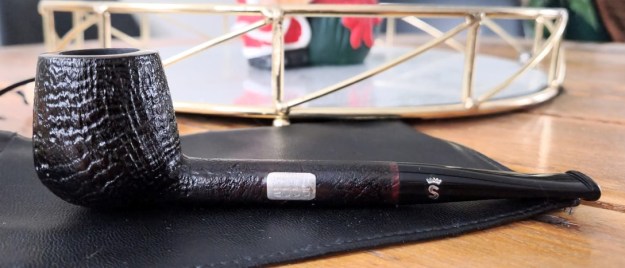
 I remembered that Dal had written about a BB&S Challenger he had restored on the Pipesteward blog so I looked it up to see what he had learned about the brand when he had worked on it and written his blog. Here is the link (https://thepipesteward.com/2022/07/13/renewing-a-barling-bbs-challenger-london-england-5589-billiard/). Here is a photo of the BB&S Challenger that he worked on finished and looking good.
  I am using his research on the brand and the stamping and have included it below. Thank you Dal for your work and the time it saved me in redoing it! He wrote:
BB&S is noted in Pipedia with this brief entry (https://pipedia.org/wiki/BB%26S).
BB&S, which stood for Bill Barling & Sons, was a transition era Barling sub-brand. Among their lines were the Challenger, Rallye and Londoner. For more information see Barling.
He then turned to the section on Barling:
The history of the Barling name goes back to the 1700s when the Barling name was associated with silversmiths in England. Benjamin Barling, according to the Pipedia Barling article, applied the silversmith trade to “outfitting meerschaum bowls with exquisite silver mountings.” The founding of the B. Barling and Sons followed in 1812. The Barling history is full as it developed and grew through the 1800s and into the 1900s. The family-owned business continued until October 3, 1960, when the business was sold to the largest client of the Barlings, Finley. The Pipedia article drills in more detail describing and defining the ‘eras’ of the Barling name. Here is what is said about the eras, but the author makes the disclaimer that it’s not as straightforward as it appears:
Pre-Transition: 1812 (or 1815) thru October 3rd, 1960.
On that date, the Barling family sold their business to Finlay, their largest client.
Transition: Late 1960 thru February 1963.
Finlay was 40% owned by Imperial Tobacco. Imperial Tobacco had an option to purchase the remaining shares of Finlay, which it did in February of 1963. When Finlay was absorbed, Barling came under direct control of Imperial Tobacco.
Post-Transition Era: Early 1963 and later.
Imperial ran the business; some say into the ground. They closed the Barling factories in 1970 and outsourced the production of pipes, first to several English makers, and then later to Nording, etc. In 1980 Bucktrout purchases the rights to the Barling name and Barlings have shown up as relatively cheap pipes made by Peterson.
Though we now have Eras whose duration is linked to the *public record, it’s still not simple and here’s why.
The author of the Pipedia Barling article goes on to describe how when the Barlings sold the business to Finlay in 1960 ushering in the beginning of the ‘Transition Era’, the Barlings continued to operate the business for Finlay. During this period of 20 months, pipes continued to be produced with no changes to the nomenclature. The result of this was having no way of determining which pipes were produced under the Barling ownership before the transition period and those pipes produced during the transition, under new ownership.
For this reason, the Pipedia author proposes an alternative method of dating Barling pipes:
- Family Era 1912 – 1962: Pipes made by the Barling family while it either owned or managed B. Barling & Sons.
- Corporate Era 1962 – the Present: Pipes made after the family left off managing the company, beginning with the revised product grades and revised nomenclature that were introduced in the 1962 Dealers’ Catalog.
It is interesting also to note that the Pipephil.eu Barling entry identifies the transition period from the Barling family era to the later corporate era as dated from 1961 to 1967. There are differences in era dating from different sources, but with the B.B&S Challenger on the table now, which is not a Barling stamped pipe but a second brand line most likely put out by Barling during the early transition period dating this pipe somewhere from 1960 to 1962. In the Pipedia entry quoted above for BB&S, there are 3 lines put out during this time: Challenger, Rallye, and Londoner.
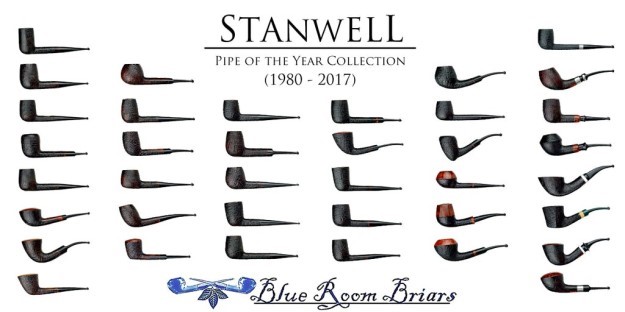
Pipephil has a helpful entry on BB&S with the panel. The ‘Challenger London England’ pictured on the top of the panel, matches the Challenger on the table. The nomenclature on the panel is crisp showing what cannot be seen clearly on the Challenger on the table.
The author of the Pipedia Barling article makes one additional observation that helps to corroborate the sense that the BB&S Challenger on the table was indeed in the transition period, but more likely in the earlier part of the transition era – under the Finlay ownership commencing in 1960:
Initially, Finlay’s management used the remaining stock of bowls that were turned by the original family run company, and then proceeded to turn more bowls with old wood remaining in inventory, and at least initially, this work was performed by many of the same craftsman. Under Finlay’s management the factory continued to turn out a quality product. Production was expanded to produce a greater number of own name brands for Finlay and Bewlay, as well as the production of pipes for other pipe firms such as Colibri, Falcon, and Ronson. Also, several lines of “seconds” were developed, amongst them Portland, BB & S, Cragmoor, and London Brand.
Here, the ‘seconds’ are described during the Finlay ownership included ‘BB&S’. It would seem, therefore, that ‘Challenger’ is a line of the second, BB&S.
One last additional piece of information that is of interest. The Barling 4-digit numbering system was introduced in the June 1962, publication of the 150th Year Anniversary Catalogue which was still under Barling management, but owned by Finlay.
Here the number system is explained:
It is in the 150th Anniversary catalog that the new numbering system first appears. The new numbering system was introduced while the Barling family managed the business. The price list explains that the new number designates size.
The BB&S Challenger ‘shape number’ reflects this new Barling system. The first digit represents the size followed by a shape designation. The ‘Barling Pipe Reference Number Chart’ (https://pipedia.org/wiki/File:1962_Barling_Retailers%27_Cat_size_chart.jpg) below was taken from the ‘Retailers Catalogue’ which was also published in 1962, but later in the year. Note in the chart below, going horizontally, the sizes are from 1 to 6 representing an increasing size designation (‘1’ was introduced in this later catalogue)…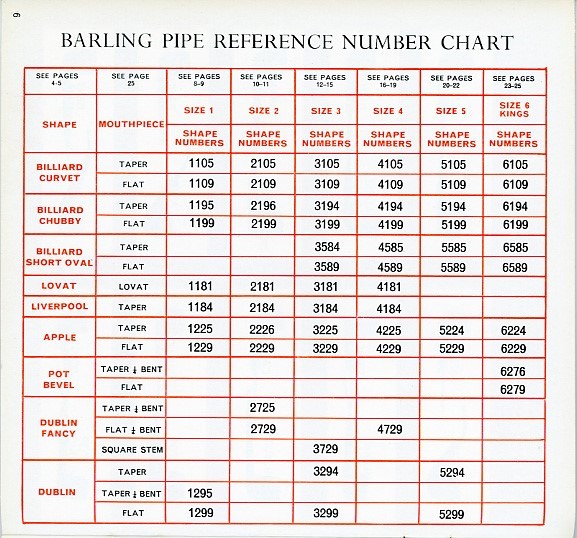 The BB&S pipe I am working on is a 6969 which is not listed in the chart above. However, from the chart I learned that the pipe was a Size 6/King size. The Cherrywood/Poker is not listed as a shape however. Thanks Dal for the help on this! Now it was time to work on the pipe!
Jeff had cleaned up the pipe following his normal cleaning process. In short, he reamed the bowl with a PipNet pipe reamer and cleaned up the reaming with a Savinelli Fitsall Pipe Knife. He scrubbed the smooth bowl with undiluted Murphy’s Oil Soap with a tooth brush. He worked over the lava and debris on the rim top and was able to remove it. He rinsed it under running warm water to remove the soap and grime. He cleaned out the inside of the shank and the airway in the stem with alcohol, cotton swabs and pipe cleaners. He scrubbed the stem with Soft Scrub and cotton pads to remove the debris and oils on the stem. He soaked it in a bath of Briarville’s Pipe Stem Deoxidizer to remove the oxidation. He rinsed it with warm water and dried it off. I took photos of the pipe once I received it. It really looked good.
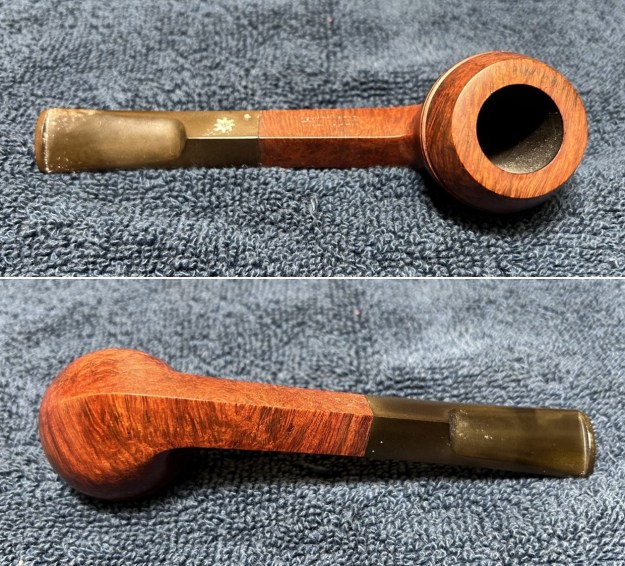
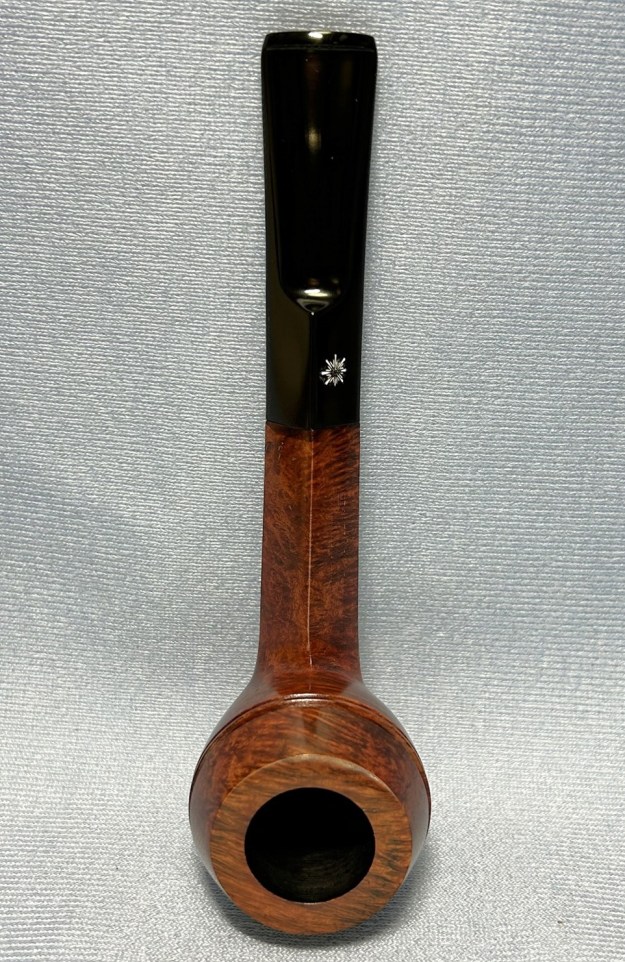
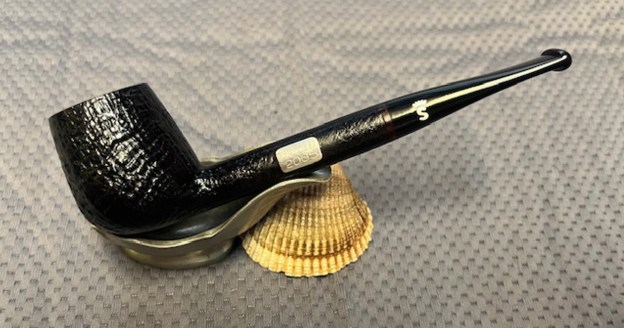
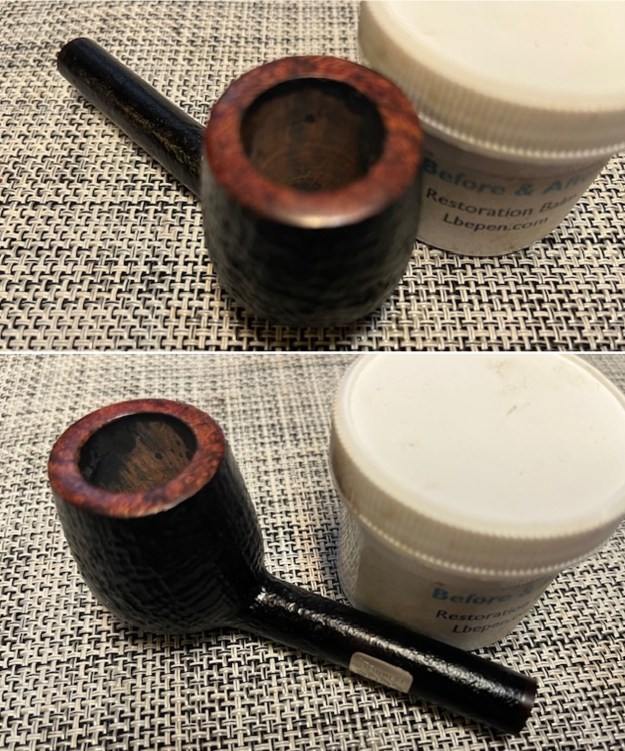
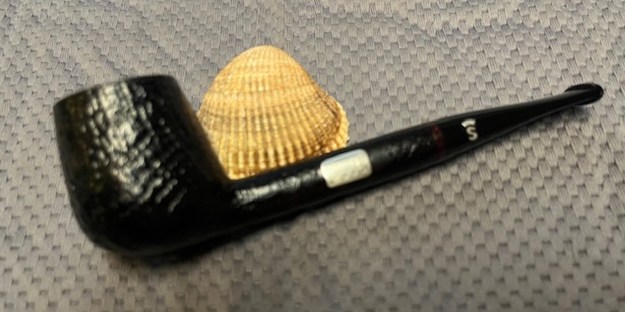
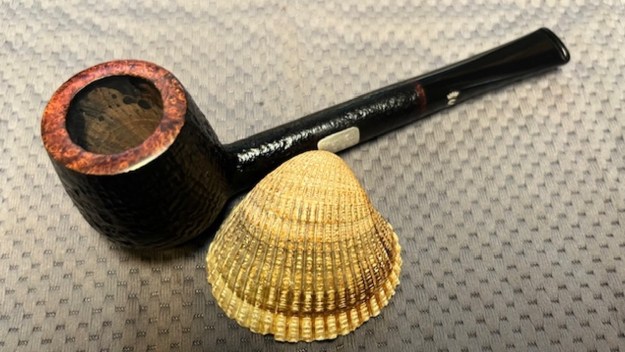
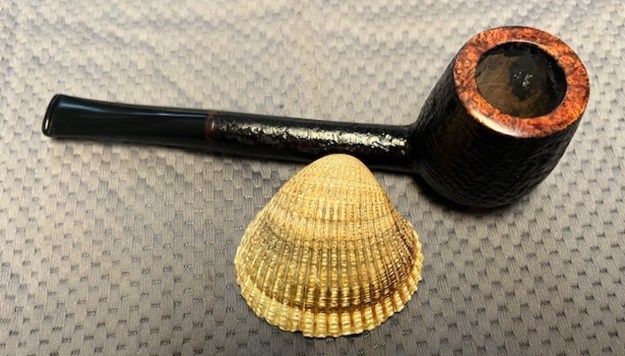
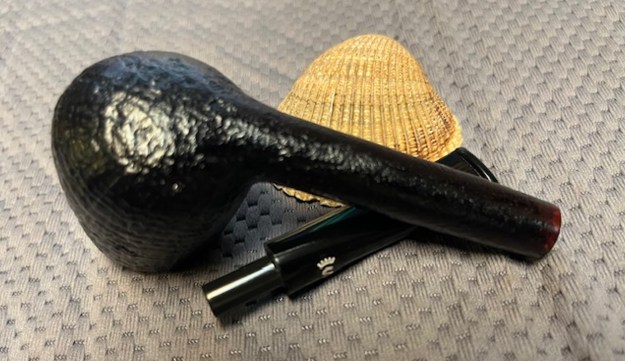
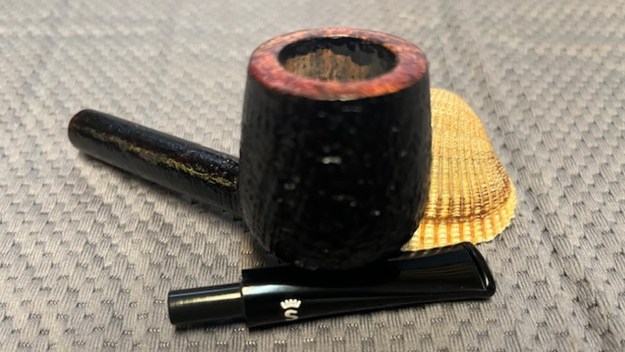
 I took a photo of the rim top and stem to show the condition. They cleaned up really well and the top of the rim and inner looked very good. There were some scratches and some spots of varnish on the rim top. The inner edge of the bowl looked quite good. The vulcanite saddle stem had light tooth chatter and marks on both sides ahead of the button and on the button edges.
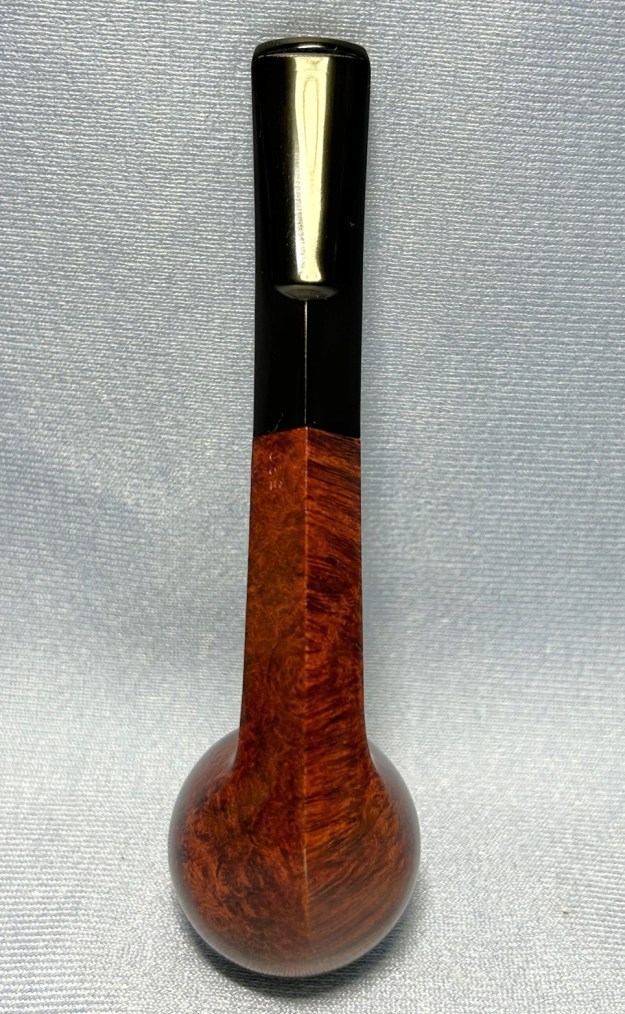
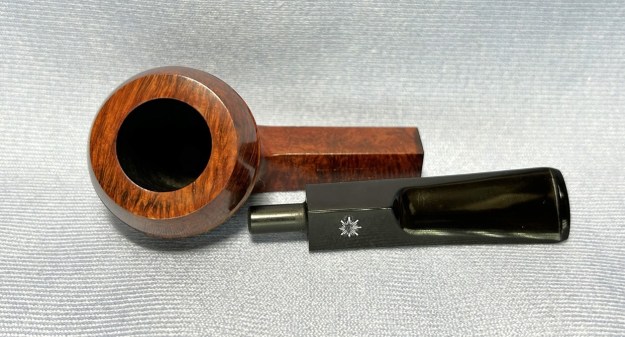
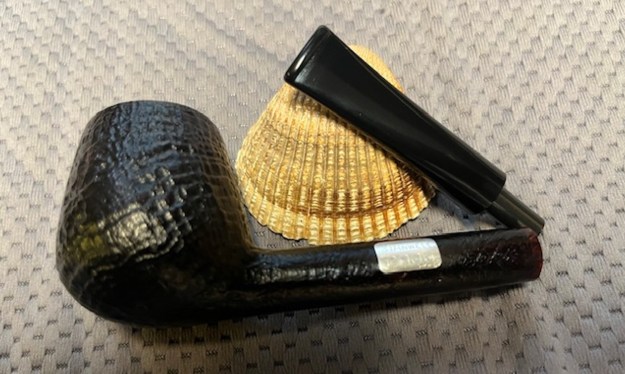
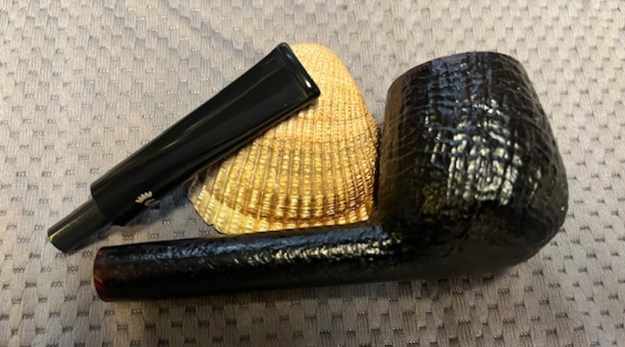
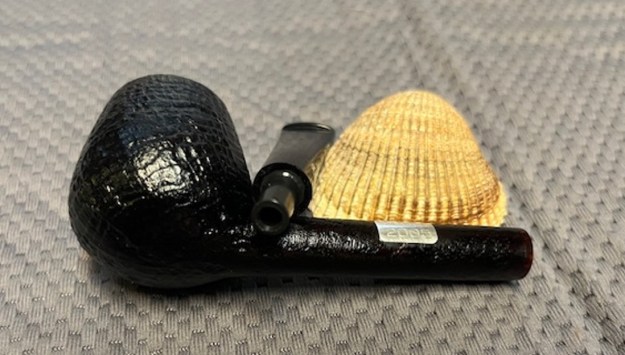
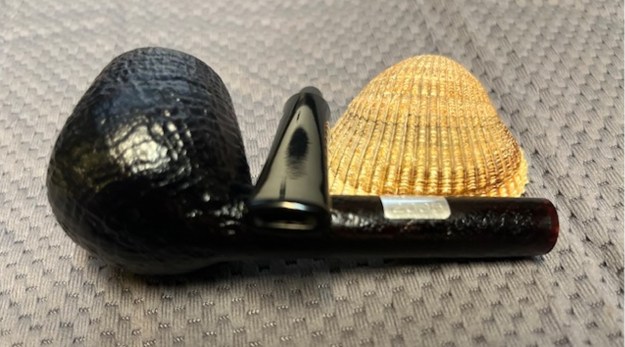
 I took a photo of the stamping on the sides of the shank. It read as noted above. I removed the stem and took a photo of the pipe to give a sense of the whole. It is a well shaped Cherrrywood.
 I polished the smooth rim top, the inner edge and the sides of the bowl with micromesh sanding pads – dry sanding with 1500-12000 grit sanding pads. I wiped it down with a damp cloth after each pad to remove the debris. The bowl took on a rich glow.


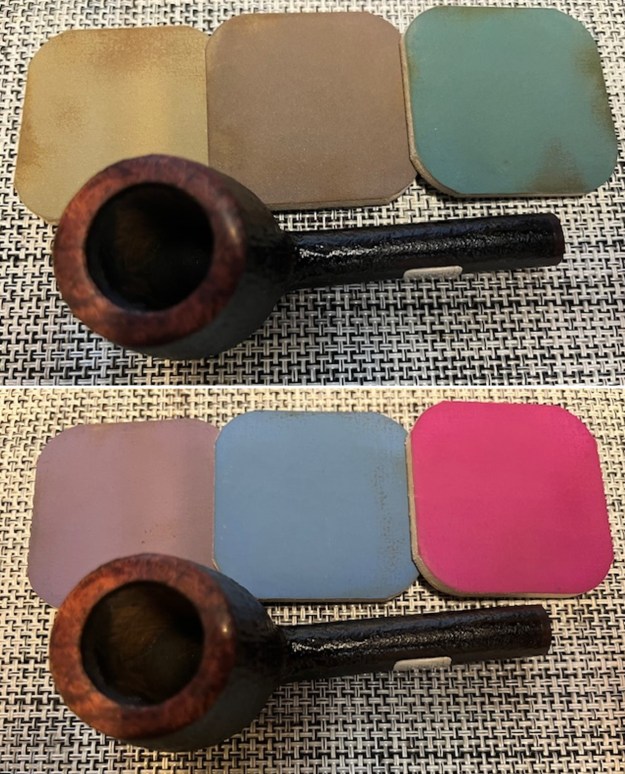
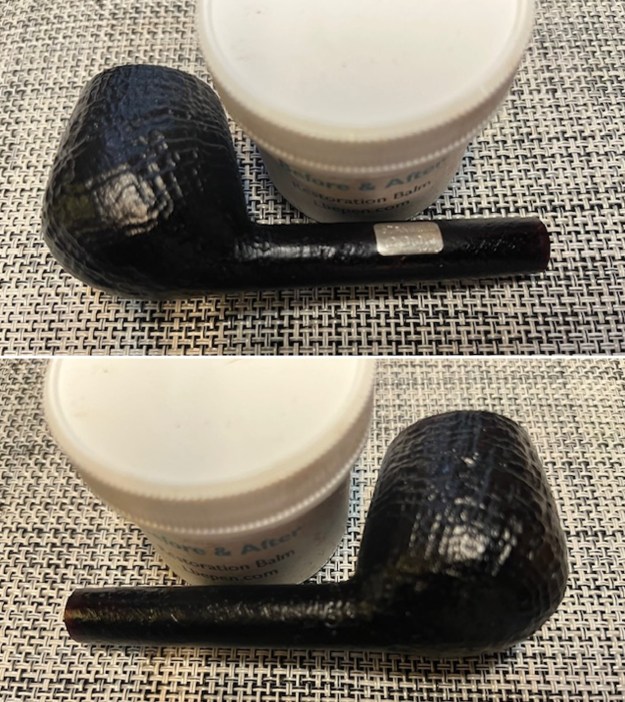
 I worked some Before & After Restoration Balm into the briar with my finger tips and into the rustication with a shoe brush. The product works to clean, revive and protect the briar. I let it sit on the pipe for 10 minutes then buffed it off with a soft cloth.

 I set the bowl aside and turned my attention to the stem. I sanded the stem with the 2 inch square 320-3500 grit sanding pads. I wiped down the stem after each sanding pad. I was able blend in the repairs on both sides with the pads. The stem looked very good.
 I touched up the BB&S stamp on the left side of the saddle stem with white acrylic fingernail polish. Once it cured I used a worn 1500 grit micromesh sanding pad to remove the excess. It is faint on both ends of the stamp but is still readable.
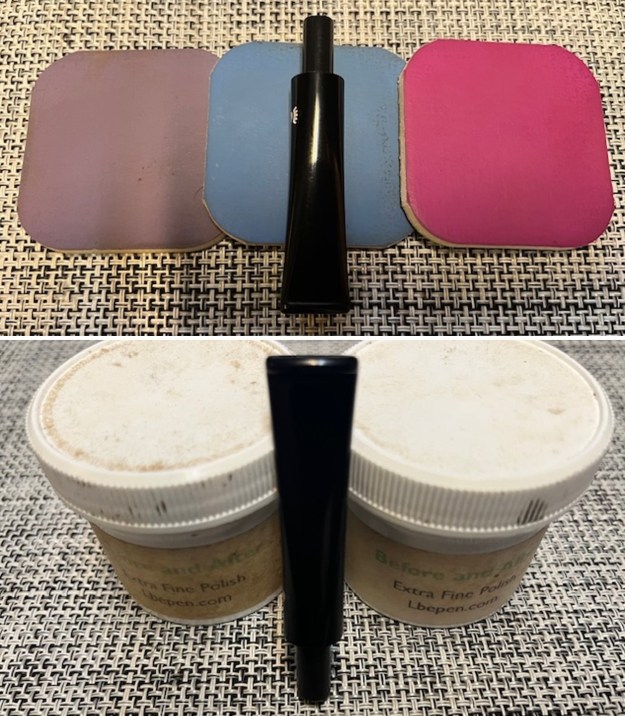
  I polished the vulcanite stem with micromesh sanding pads – 1500-12000 grit pads. I wiped it down with a damp cloth after each sanding pad. I used Before & After Pipe Polish – both Fine and Extra Fine to further polish the stem.
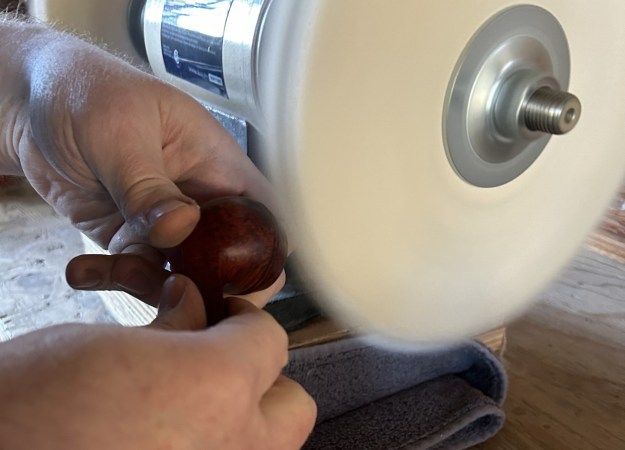
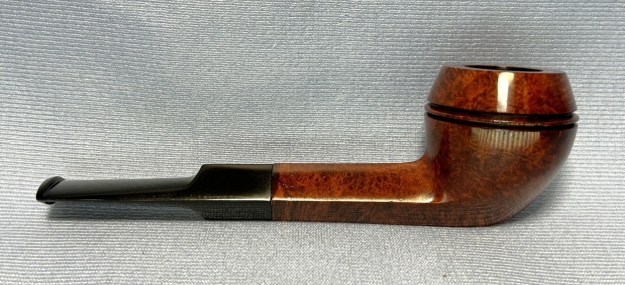
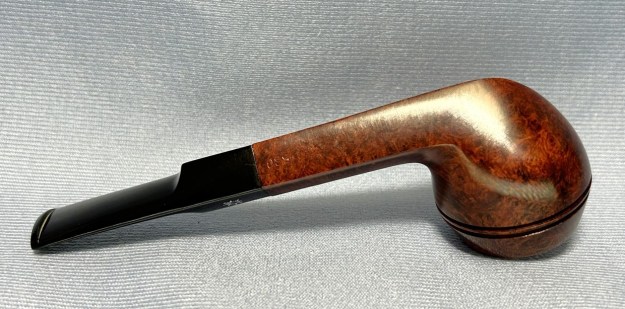
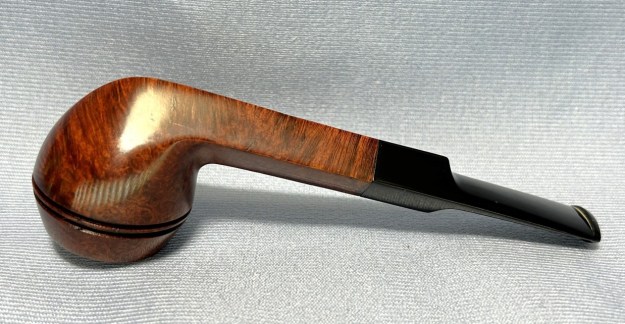
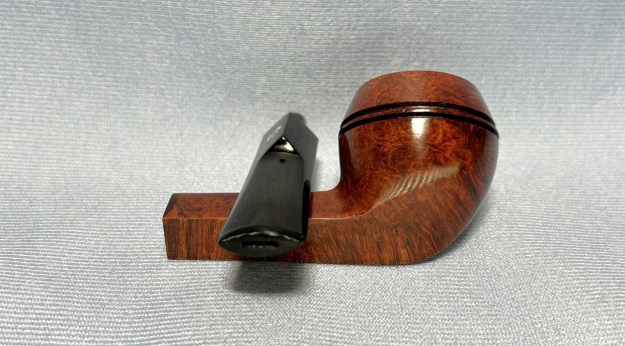
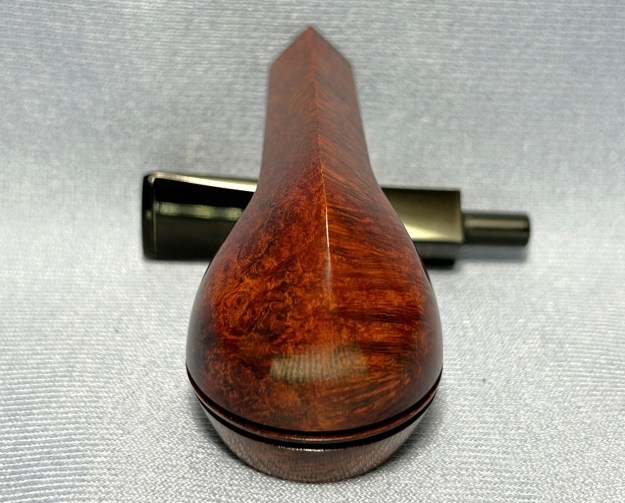
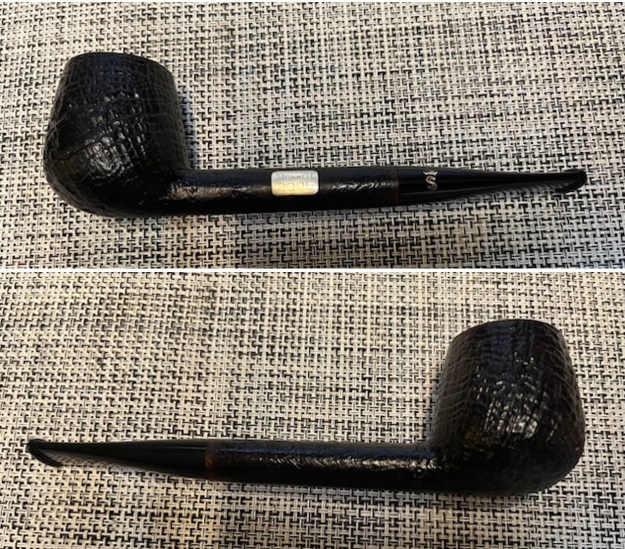
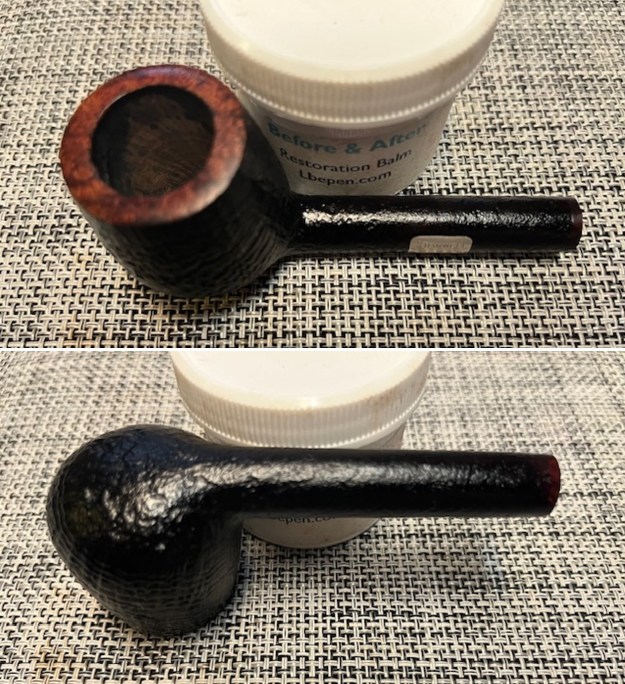
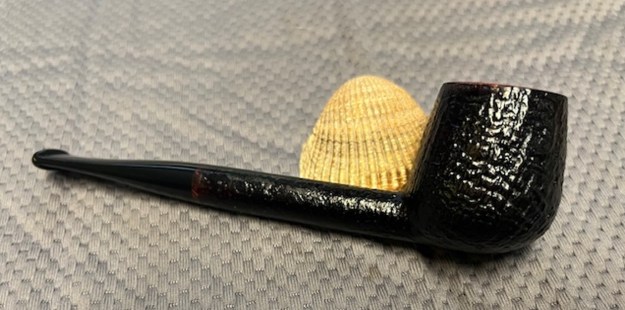
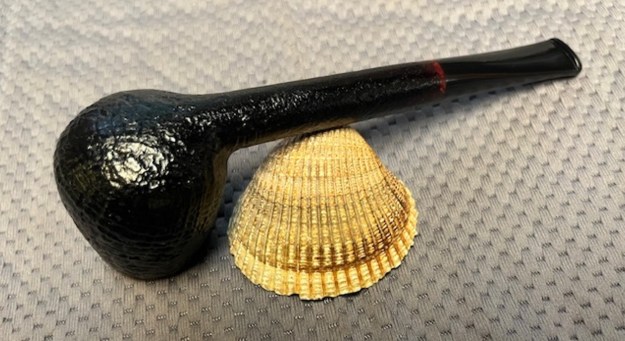
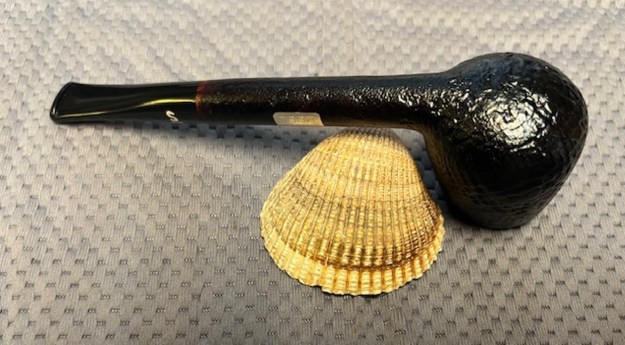
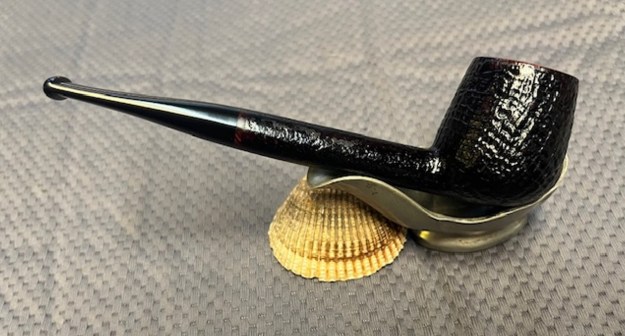
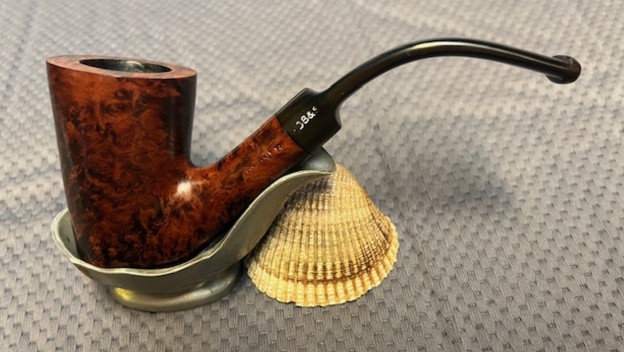
 This is another pipe that I am really happy about the look of the finished restoration. This reborn BB&S Londoner 6969 Bent Cherrywood turned out really well. I think that it is a great looking pipe with a great shape and grain. The unique grain pattern and the vulcanite saddle stem goes well together. The polished black of the stem works well with the briar. The rich reddish brown stains of the finish make the grain really pop with the polishing and waxing. I put the stem back on the bowl and buffed the pipe with Blue Diamond on the buffing wheel. I gave the bowl and the stem multiple coats of carnauba wax on the buffing wheel. I buffed the pipe with a clean buffing pad to raise the shine. I hand buffed the pipe with a microfiber cloth to deepen the shine. The finished BB&S Londoner 6969 Bent Cherrywood really feels great in the hand and it looks very good. Give the finished pipe a look in the photos below. The dimensions of the pipe are Length: 5 inches, Height: 2 inches, Outside diameter of the bowl: 1 ½ inches, Chamber diameter: ¾ of an inch. The weight of the pipe is 44 grams/1.55 oz. The pipe will be going on the rebornpipes store soon. It will be in the British Pipe Makers Section if you would like to add it to your collection. Thanks for reading this blog and my reflections on the pipe while I worked on it. It was a fun one to work on!


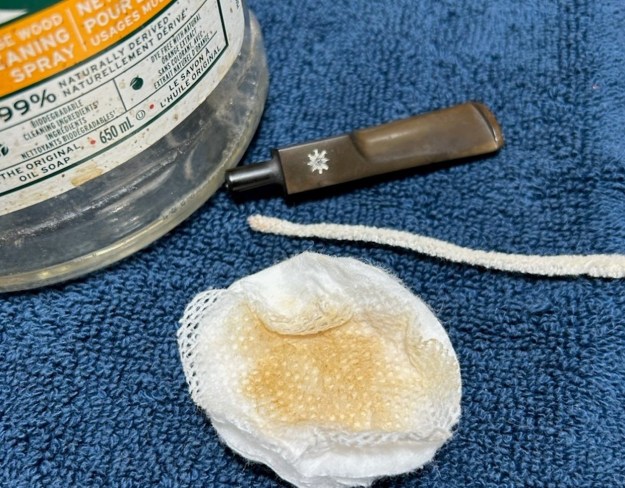
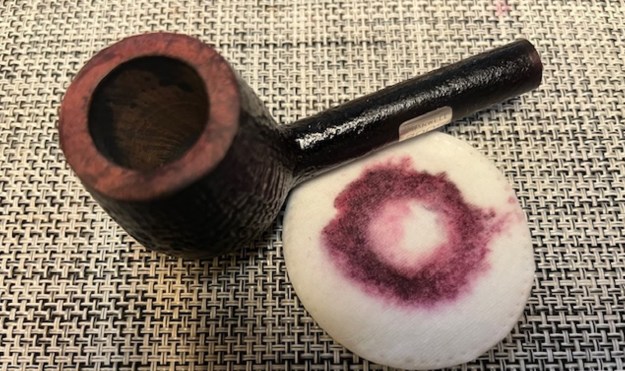
 The only work of note that I did on this pipe was to the stem. It was kind of dingy from sitting around for ages and had acquired some oxidation. I wiped the outside down with Murphy’s Oil Soap on some cotton pads.
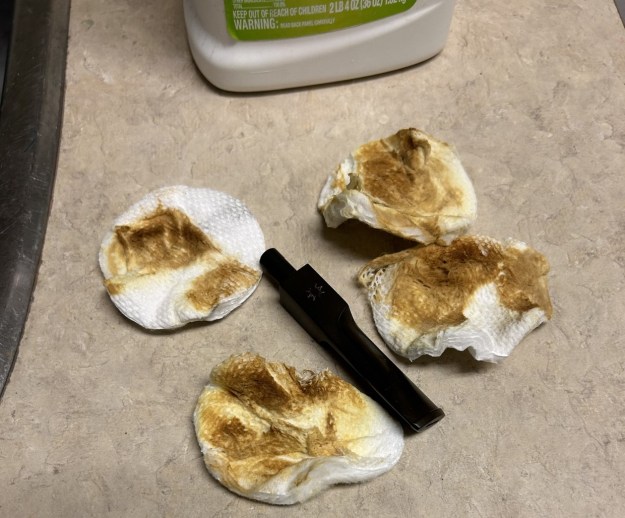
 After that, I wiped down the stem with SoftScrub cleaner to remove surface oxidation. Once this process was done, the stem went for an overnight soak in the Pipe Stem Oxidation Remover. This allows me to clean the oxidation off in a couple of ways: by applying a mild cleaner to the surface and sanding the stem. The next day, I used SoftScrub again with some cotton rounds and more oxidation came off.
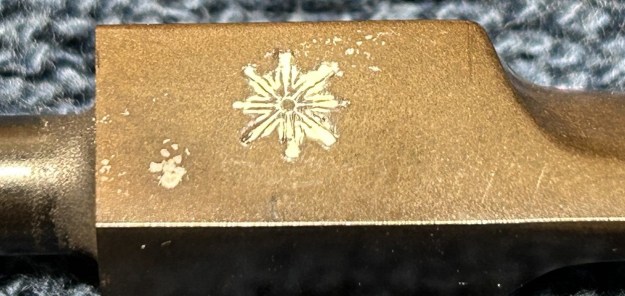
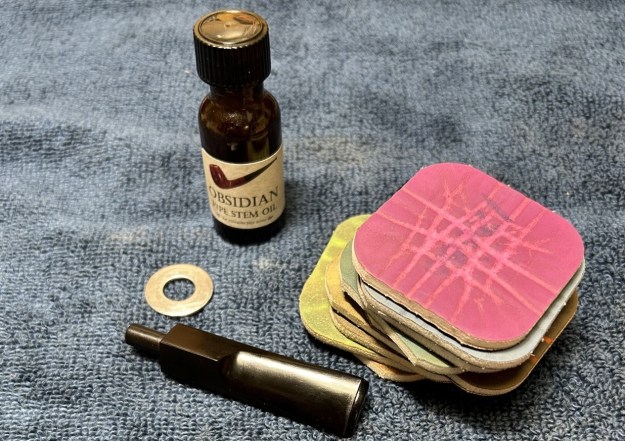
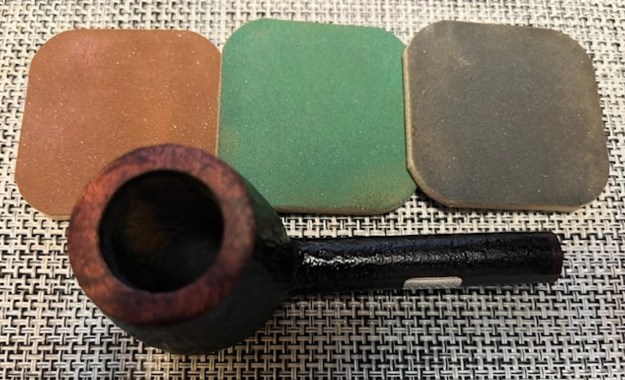
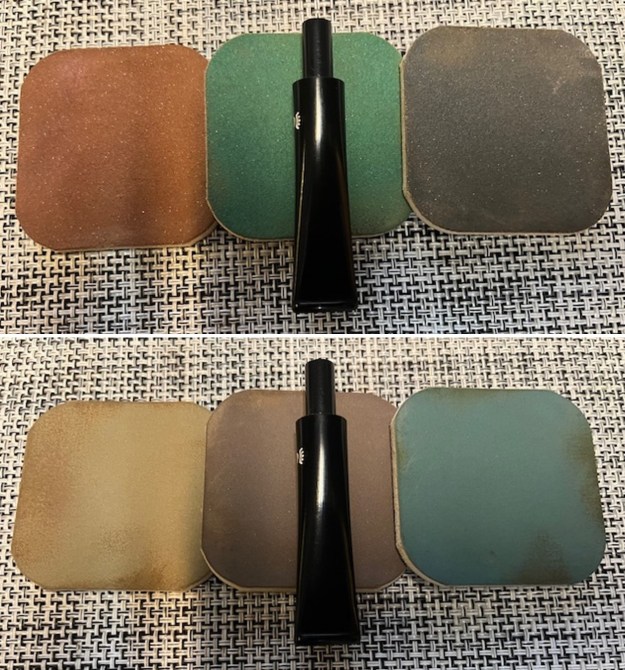
 I used some nail polish to restore the logo on the stem. I painted the area carefully and let it set before proceeding. I then used my Micromesh pads, but, since the stem was new, I only used the last five to bring out the lovely black lustre on the stem. I also used Obsidian Pipe Stem Oil in between each pad scrubbing.
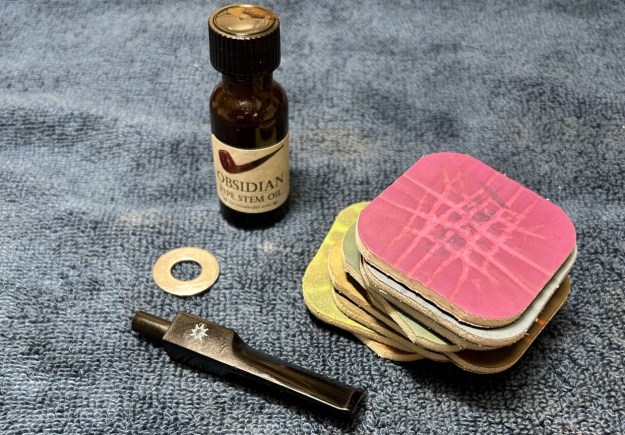
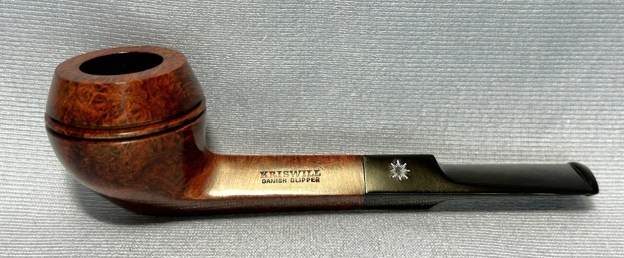
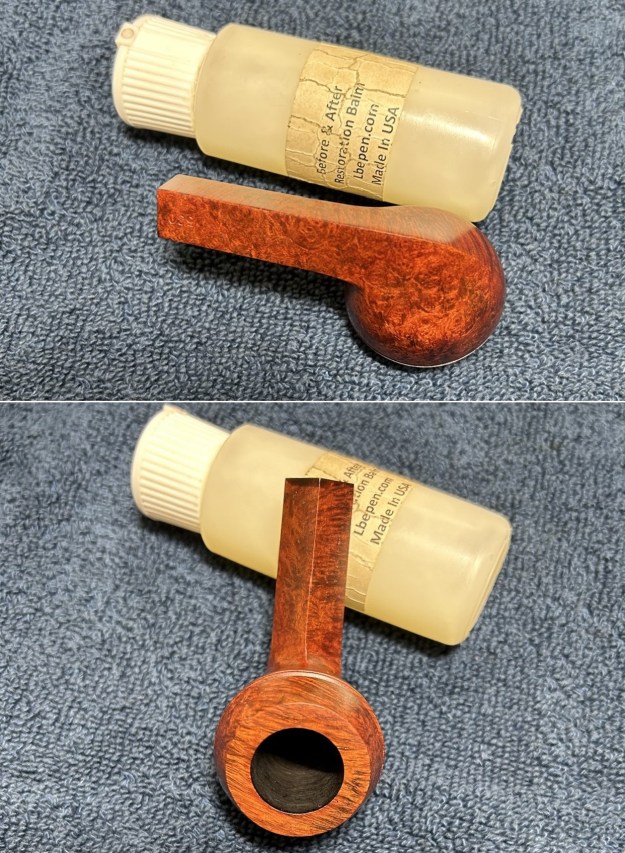
 After that, a light application of Before & After Restoration Balm brought out the best in the stummel’s grain. This is a very nice pipe. A dose of White Diamond and a few coats of carnauba wax were applied with my bench polisher and – wow – we have a real looker!
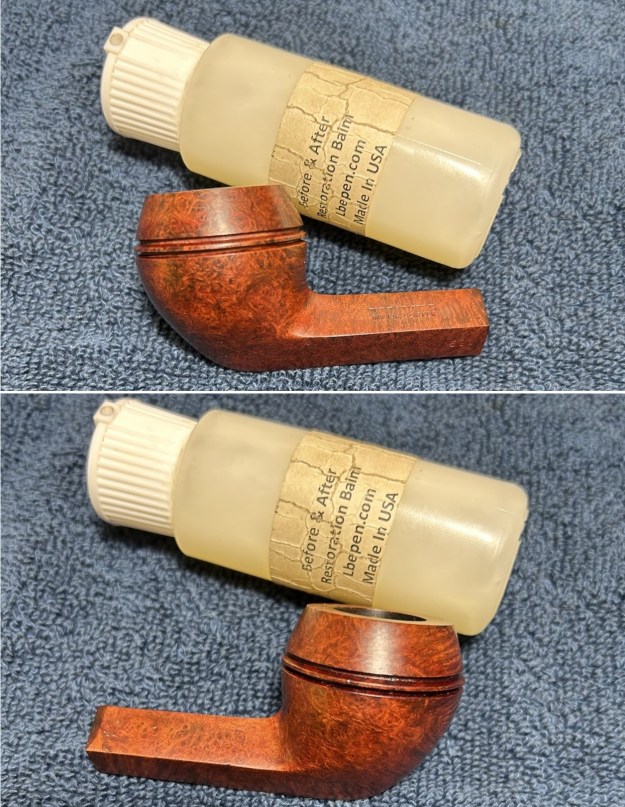
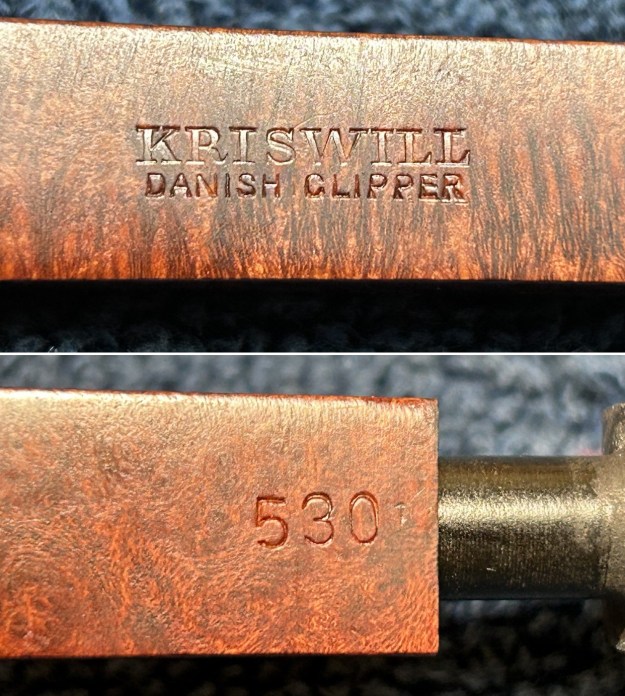
 This Kriswill Danish Clipper 530 Bulldog is a really handsome pipe. If you are interested in acquiring it for your collection, please have a look in the “Danish” pipe section of the store here on Steve’s website. You can also email me directly at kenneth@knightsofthepipe.com. The approximate dimensions of the pipe are as follows: length 5½ in. (141 mm); height 1⅝ in. (43 mm); bowl diameter 1⅛ in. (39 mm); chamber diameter ¾ in. (19 mm). The weight of the pipe is 1¼ oz. (35 g). If you are interested in more of my work, please follow me here on Steve’s website or send me an email. Thank you very much for reading and, as always, I welcome and encourage your comments.
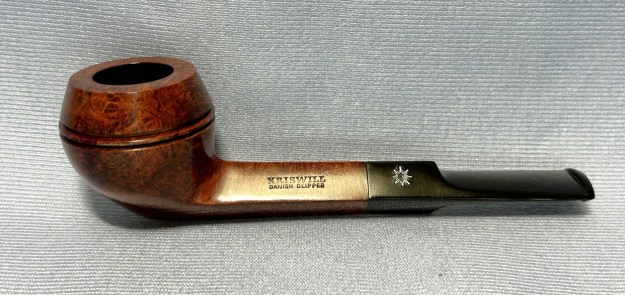


