Blog by Steve Laug
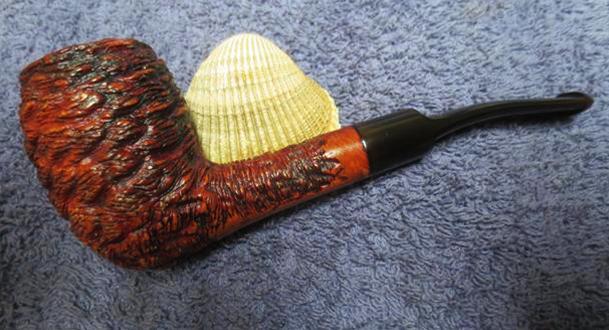
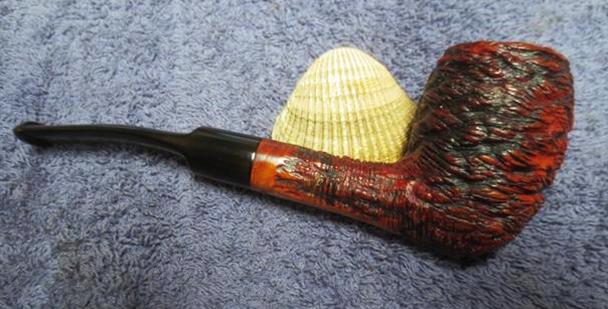
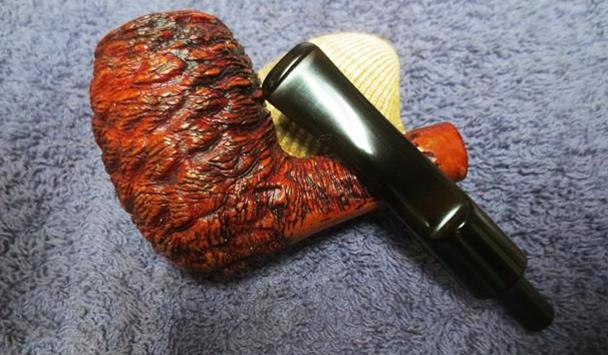
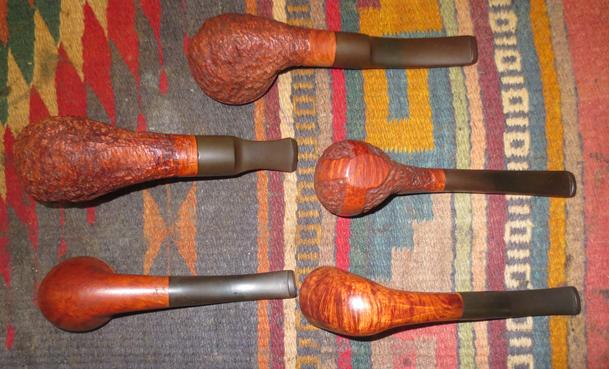
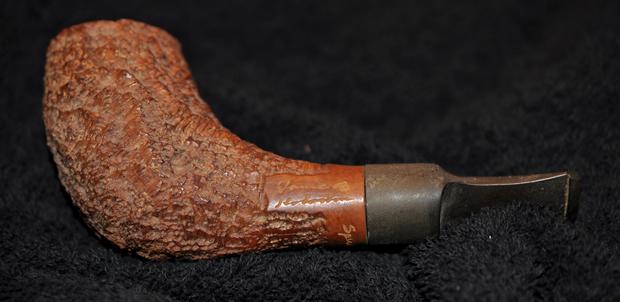
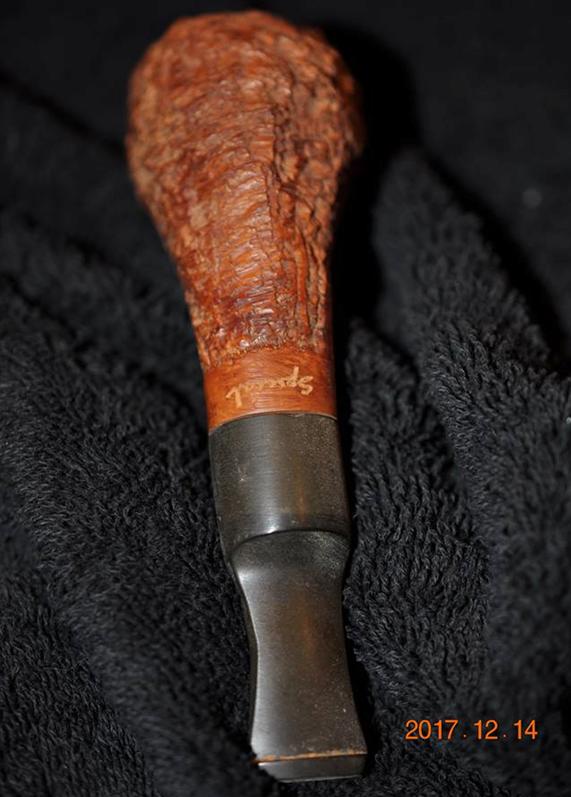
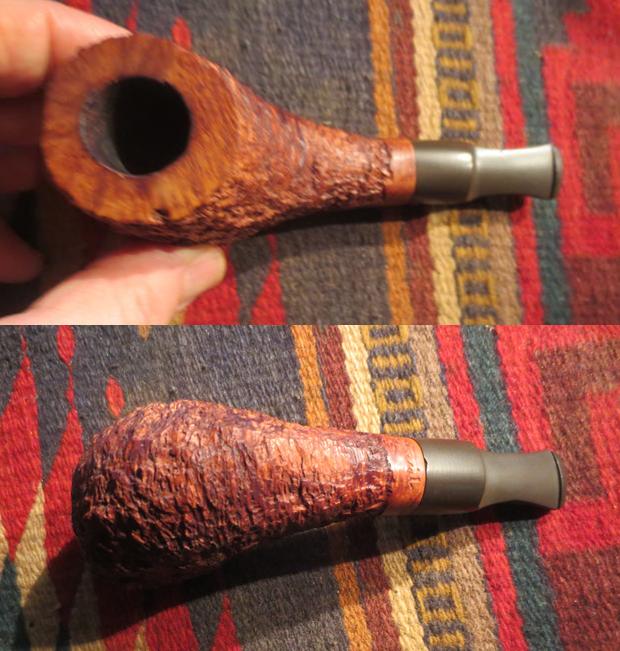
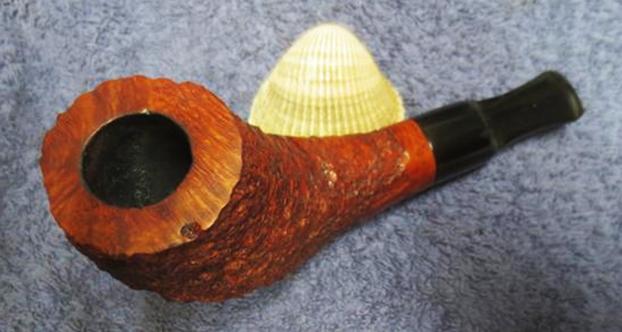
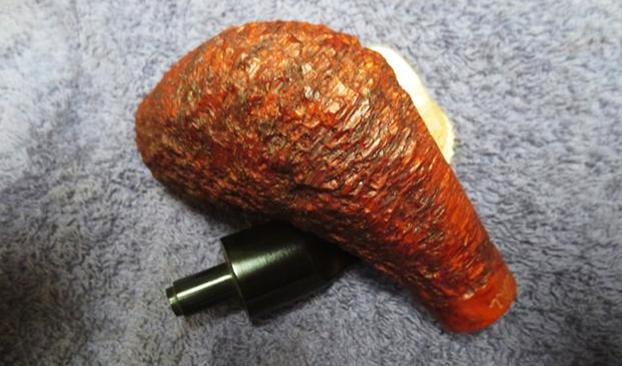
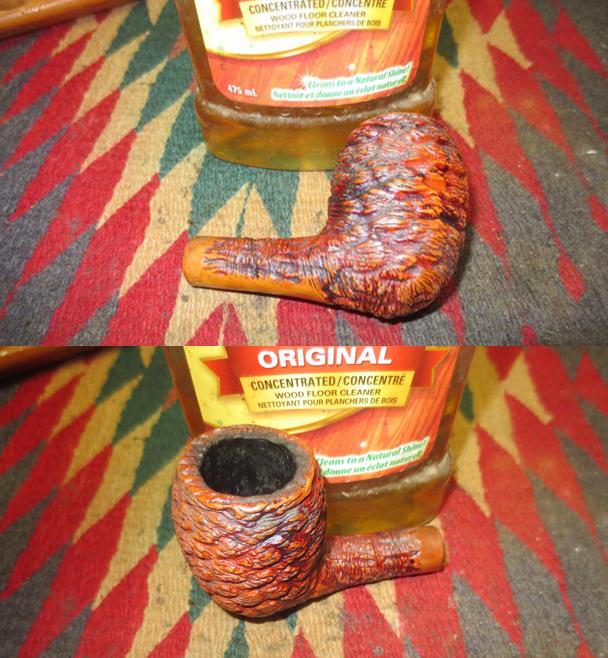
When Mark sent me his uncle’s pipes for restoration he also put in several of his own pipes. This is the first of those. It is a ¼ bent rusticated acorn shaped pipe. The only marking on the pipe was the stamping Italy at the stem/shank junction on the underside of the pipe. There was a lot of dust and grime deep in the grooves of the rustication. There was a smooth band around the end of the shank and on the underside. Overall the finish was in decent condition but it was a very dirty pipe. The stem was oxidized – more on the topside than the underside. The tooth chatter was light and the tooth marks were even lighter. This pipe reminded me of one that I restemmed not long ago with the same finish and stamping. It has a great ruff finish that feels great in the hand (https://rebornpipes.com/2017/10/22/this-old-italian-canadian-showed-promise/).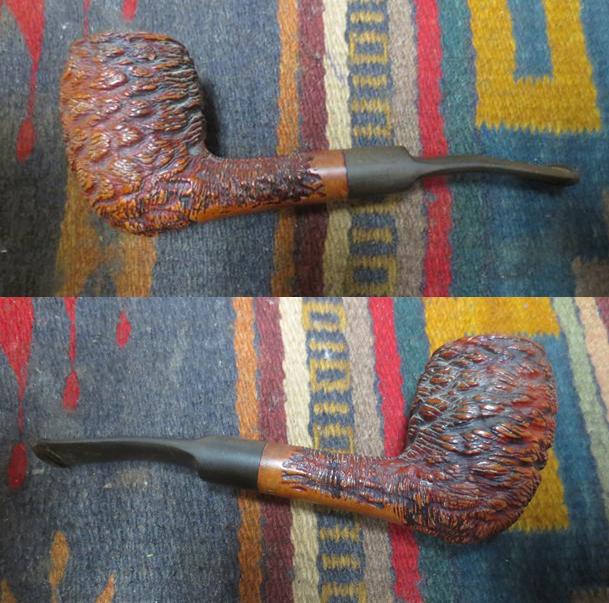
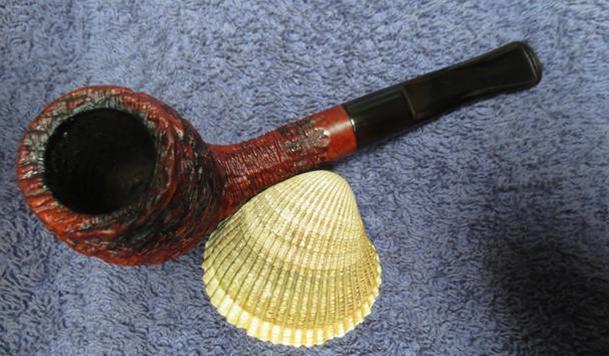
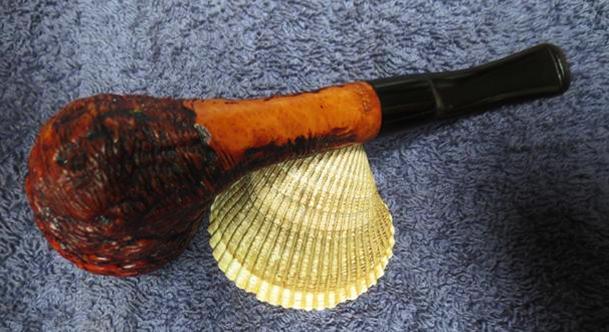
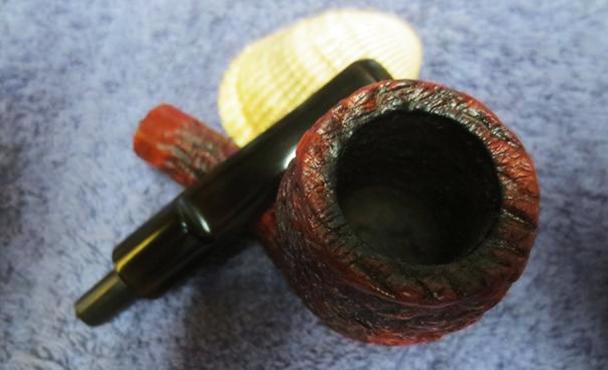
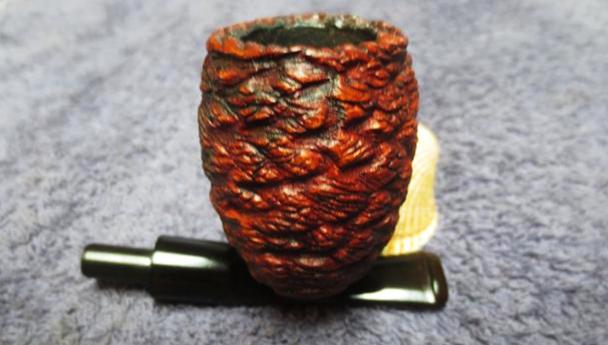
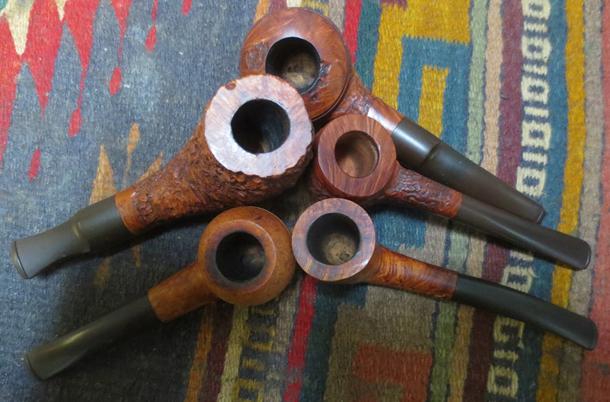
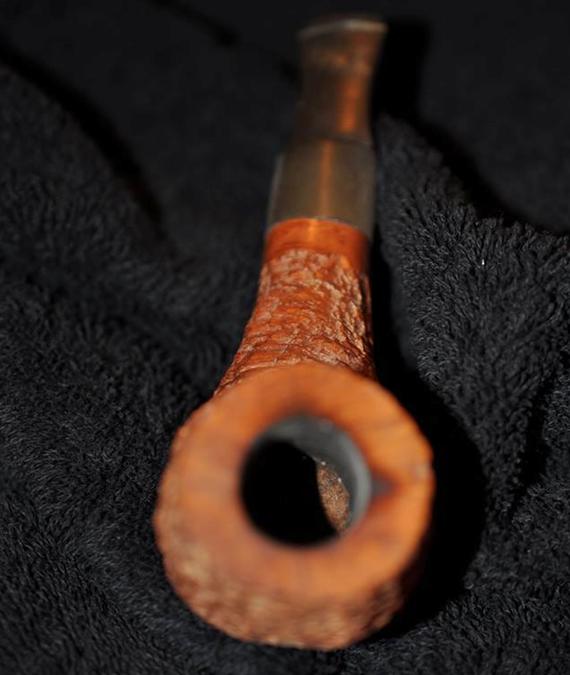
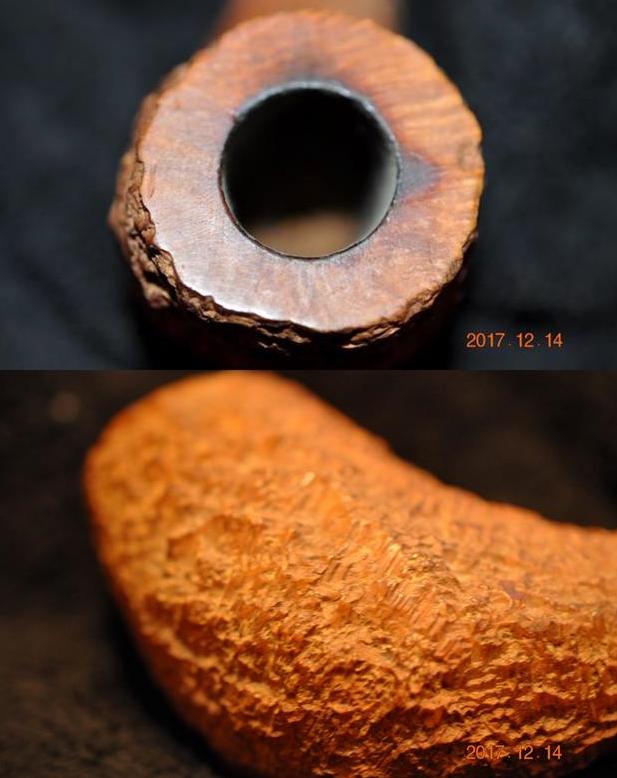
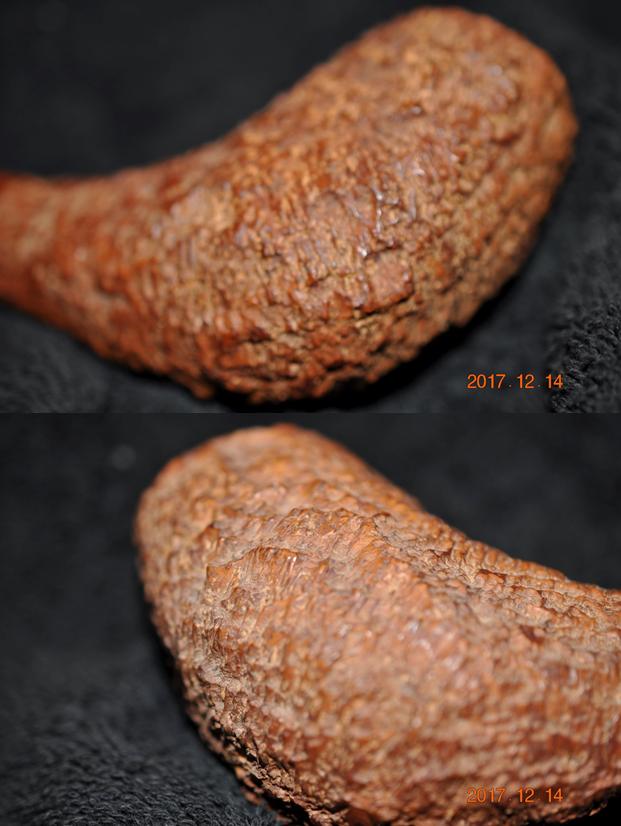
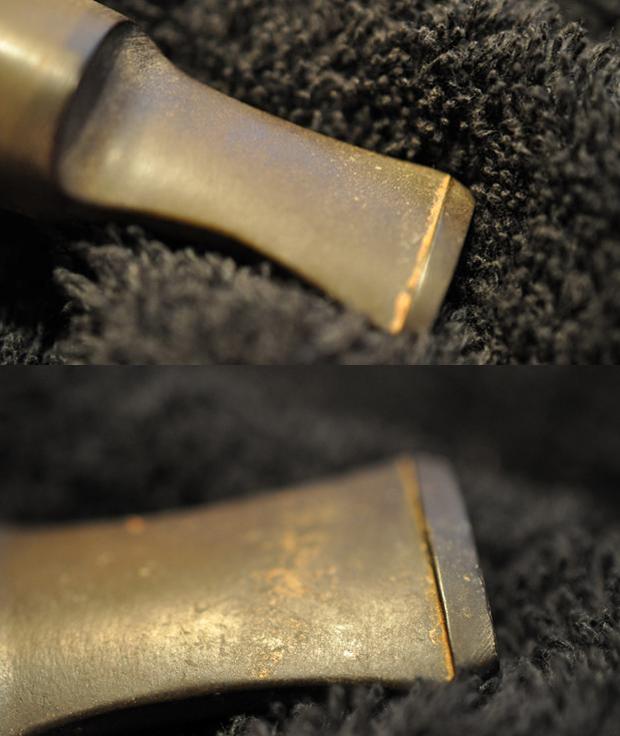
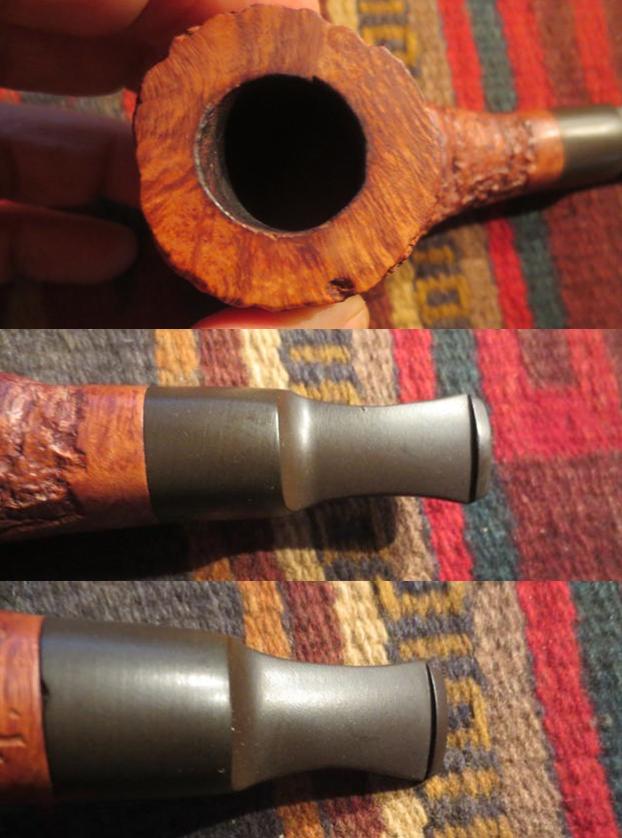
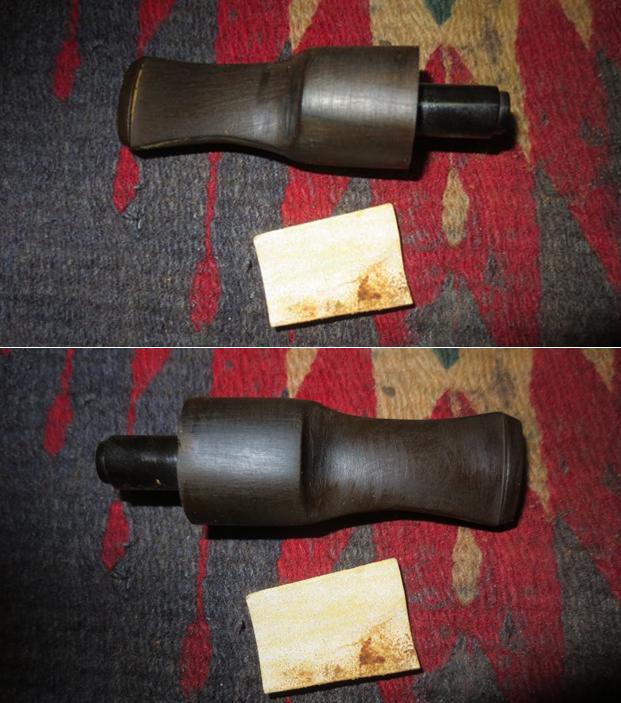
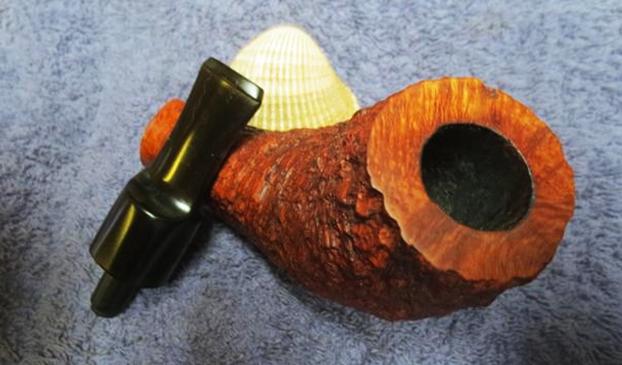
 I took a close up photo of the rim top to show the lava build up and the light cake in the bowl. Mark kept the pipe relatively clean in terms of the cake. It appeared that the bowl had been reamed not too long ago. There were some remnants of the cake in the bowl. The rusticated rim top had some lava deep in the grooves of the finish. The edges of the rim looked to be in good condition. I took some close up photos of the stem to show the condition of both sides. The stem was oxidized and showed tooth chatter and light tooth marks on both sides near the button.
 I added this stem to the other three stems that I put in the Before & After Pipe Stem Deoxidizer. I pushed them under the solution and left them to soak overnight.
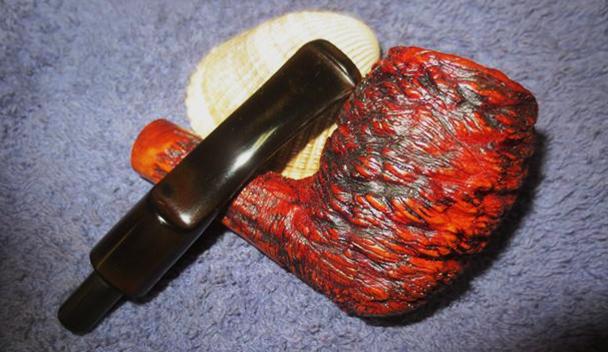
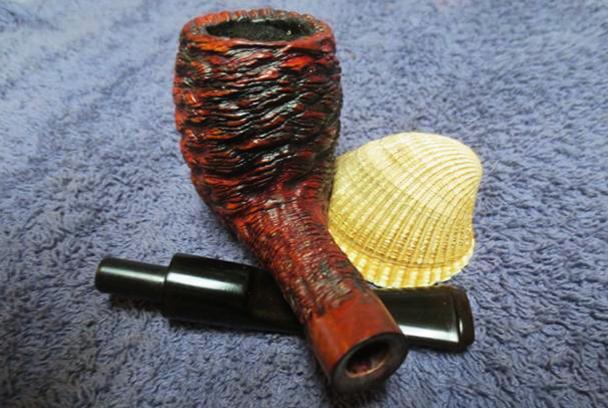
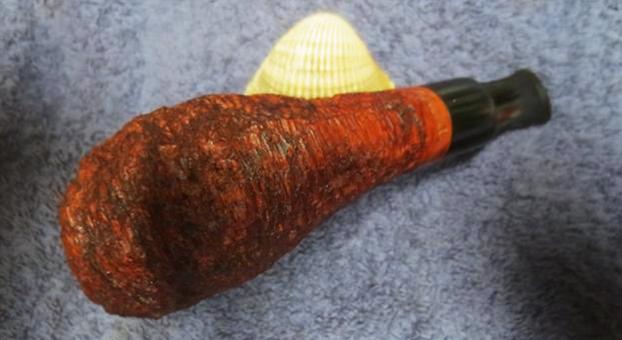
 While the stems were all soaking I turned my attention to the bowl. I scrubbed the grooves and rustication on the rim top with a brass bristle brush to break up the tars and lava. I followed that by cleaning the surface of the briar with Murphy’s Oil Soap to clean off the dust and grime that sat on the surface. I scrubbed the surface with a tooth brush and rinsed it off with running water. I dried the bowl and shank off with a soft cotton towel. I took photos of the cleaned Italian pipe with the sea rock finish. It actually looked really good. The rim top still needed work but it looked better.
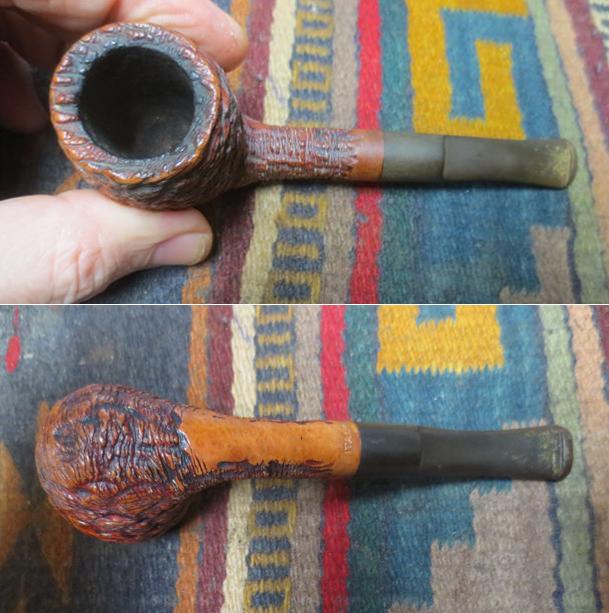
 I cleaned up the inside of the bowl to remove the remaining bits of cake on the walls and the bottom of the bowl with a Savinelli Fitsall Pipe Knife.
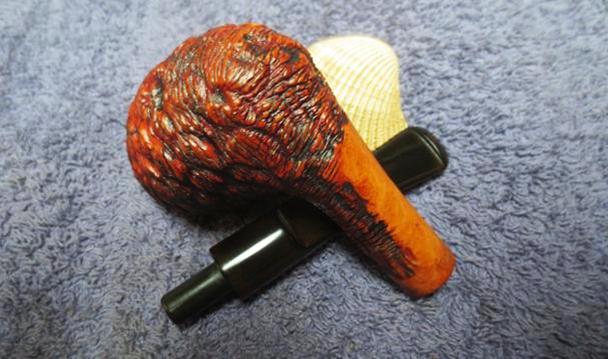
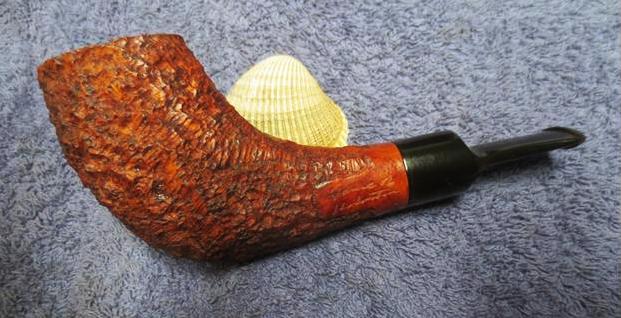
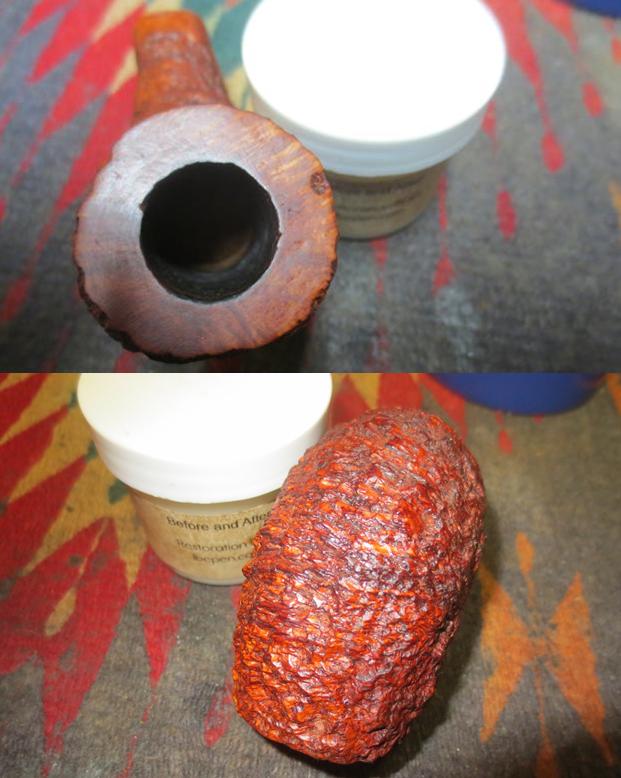
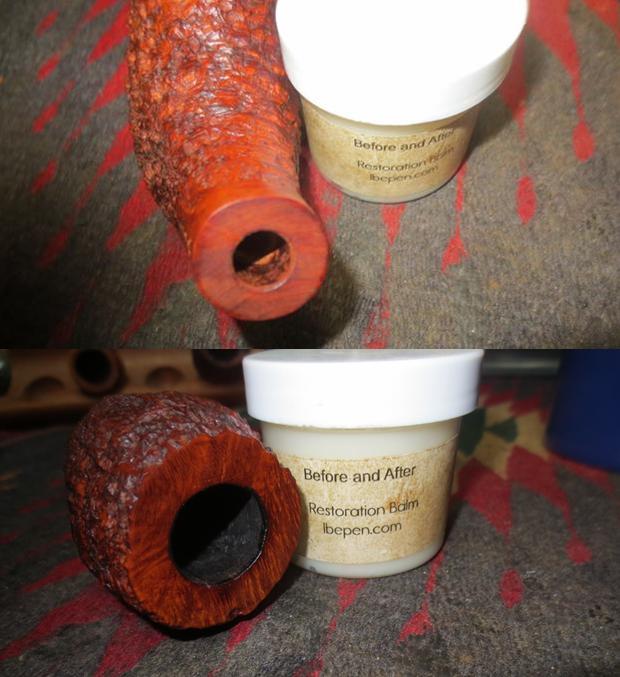
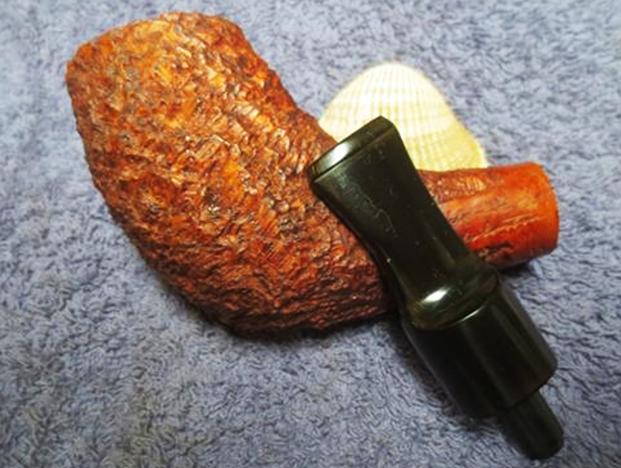
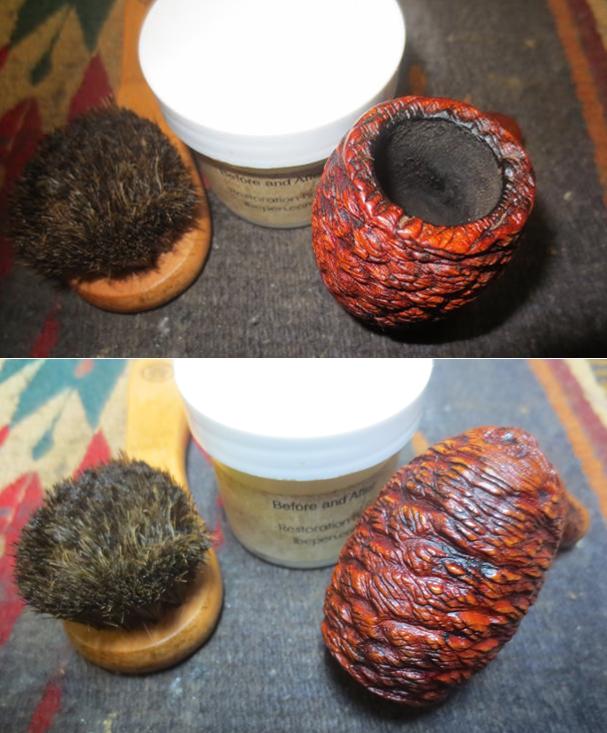
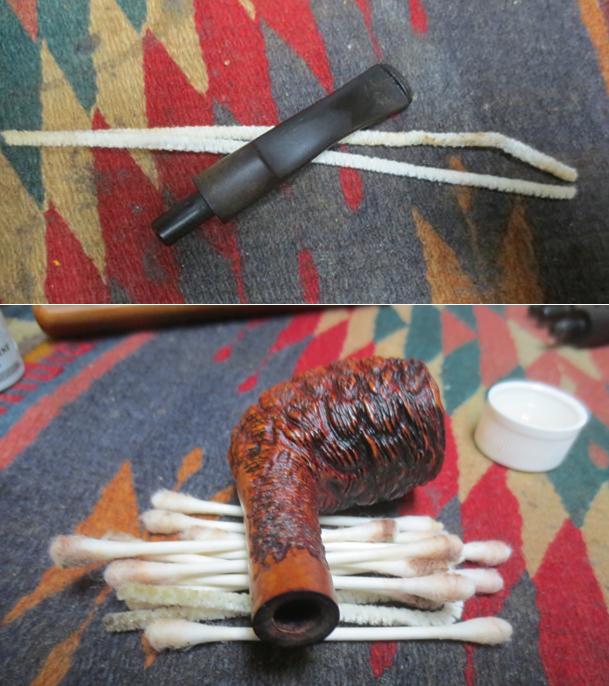
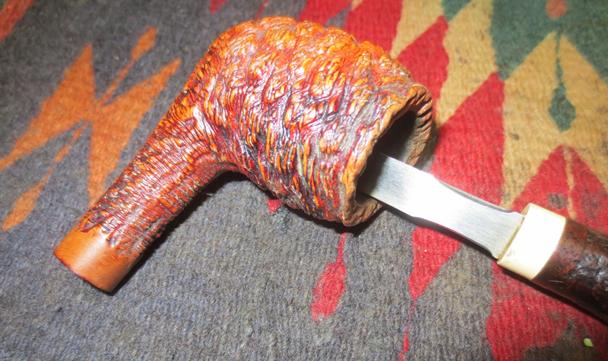 I worked some Before & After Restoration Balm into the surface of the briar with my finger tips to deep clean the finish, enliven and protect the wood. I used a cotton swab to work the balm into the grooves in the rustication. I let it sit for a few minutes and then buffed it with a cotton cloth. The wood came alive and the grain had begun to show through at this point and there was a rich shine to the briar. I took some photos of the bowl at this point to mark the progress in the restoration.
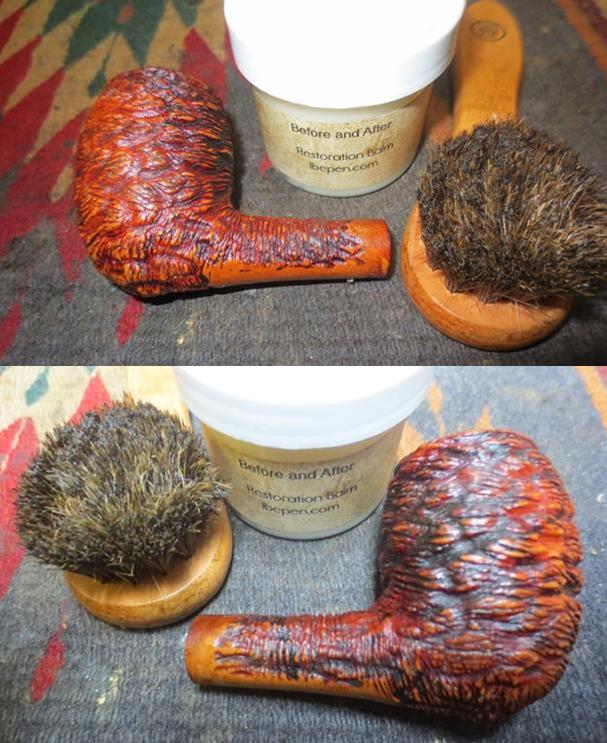
 I set the bowl aside and called it a night. The bowl was ready other than touching up the cleaning of the shank. In the morning I removed the stem from the Before & After Stem Deoxidizer and wiped it off with a paper towel to remove the remaining oxidation and bath. I cleaned out the airway with pipe cleaners and alcohol until it was clean. I cleaned out the shank with alcohol, pipe cleaners and cotton swabs at the same time to remove any debris that remained inside. The stem was clean and there was still some oxidation on the surface with some scratching, tooth chatter and marks. It was ready to be sanded and polished.
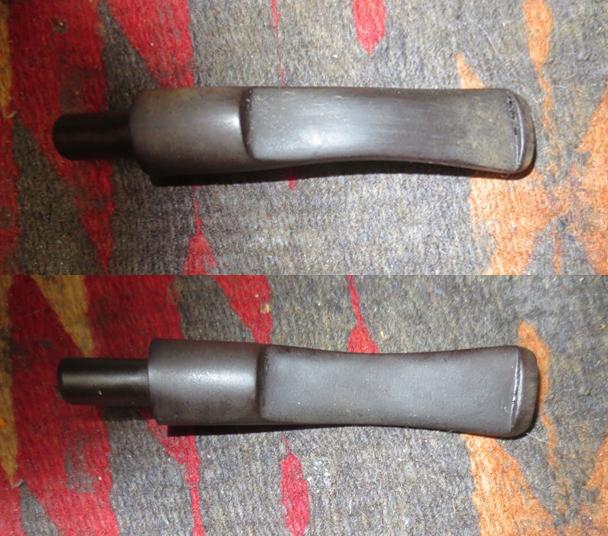
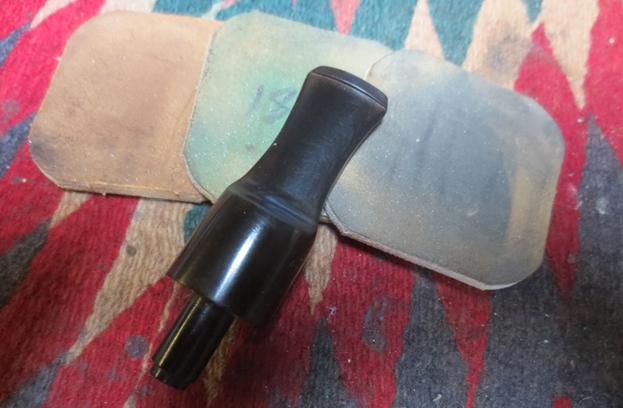
 I sanded the stem to remove the scratching and tooth chatter. I heated the stem with a Bic lighter to lift the light tooth marks. The heat smoothed out the surface enough that I was able to sand out the rest of the remnants of the marks.
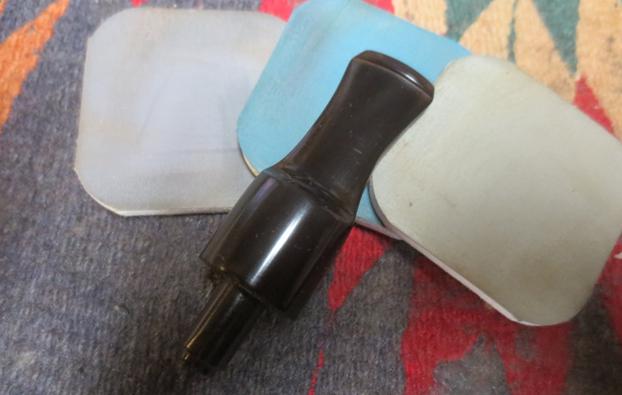
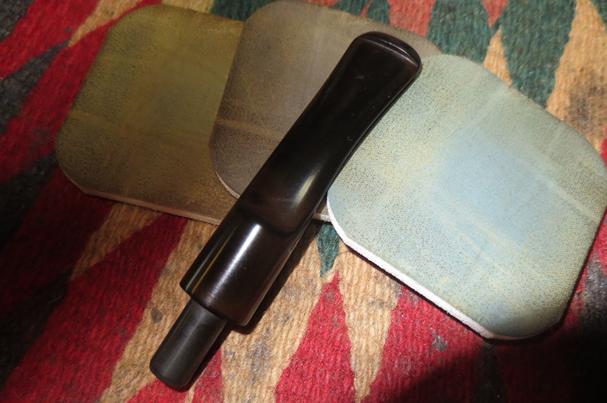
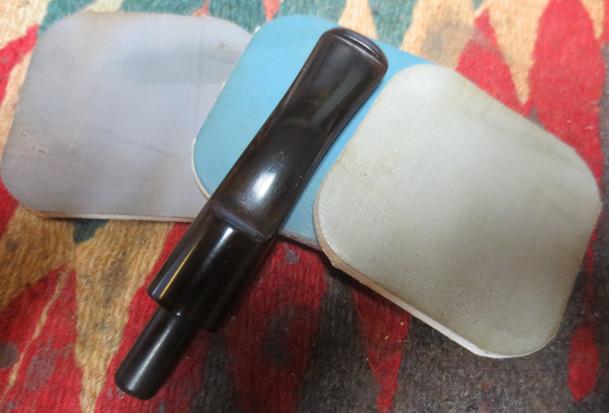
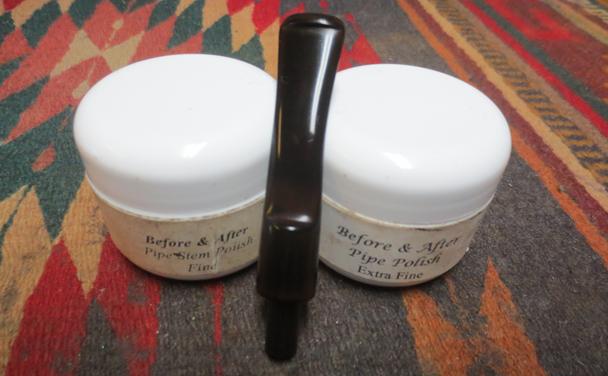
 I worked over the stem with micromesh sanding pads. I polished out the sanding scratches and marks in the vulcanite – wet sanding it with 1500-2400 grit pads and dry sanding it with 3200-12000 grit pads and wiped it down with Obsidian Oil after each one. When I finished with the 12000 grit pad I gave it a final coat of oil and let it dry. Once it had dried, I polished it with Before & After Pipe Stem Polish Fine and Extra Fine. I rubbed it down with final coat Obsidian Oil and took the following pictures.
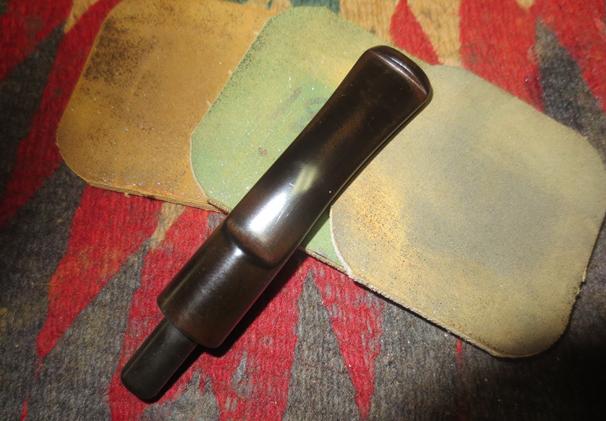
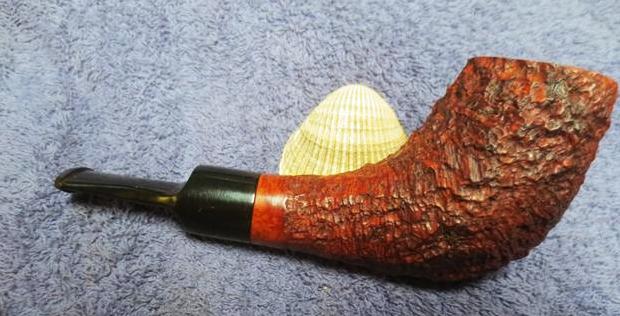
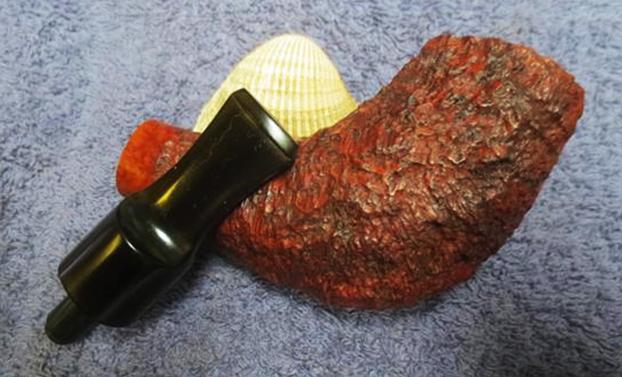
 I put the stem back on the bowl and took the pipe to the buffing wheel to work it over. I buffed the bowl and stem with Blue Diamond to polish them. I gave the bowl and stem multiple coats of carnauba wax. I buffed the entire pipe with a clean buffing pad to raise the shine. I hand buffed it with a microfiber cloth to deepen the shine. The finished pipe is shown in the photos below. The briar has a shine and a rich glow to it and the vulcanite stem came out quite nice with a deep shine. The pipe came out really well. Now I have four more of the uncle’s pipes to finish up and then these will be heading back to the US. Thanks for looking.