Blog by Steve Laug
For the past month or more I have been carrying on an online conversation with a Colonel in the Indian Military about his own pipe refurbishing and repair work. In the process of talking through a variety of the processes of pipe restoration he asked if I would be willing to work on a few of his pipes that had chipped or broken stems. We decided to look into what it would take to ship them to Canada from India. It seemed like a pretty daunting task but nonetheless he has some pipes in transit to me in Vancouver. In the meantime he wrote and said he had picked up a Bari and a Savinelli Alligator pipe and had the Ebay seller send them directly to me in Canada so I could refurbish them for him and add them to the box of other pipes I would be sending back to him. I agreed and this week the pipes arrived.
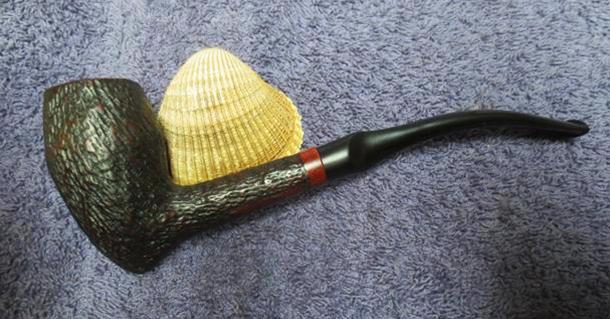
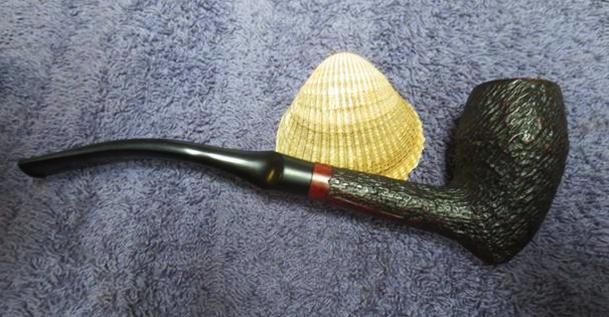
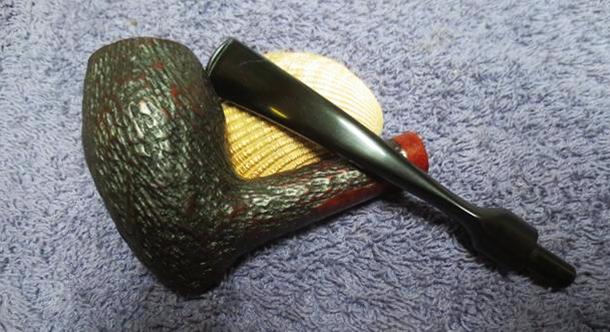
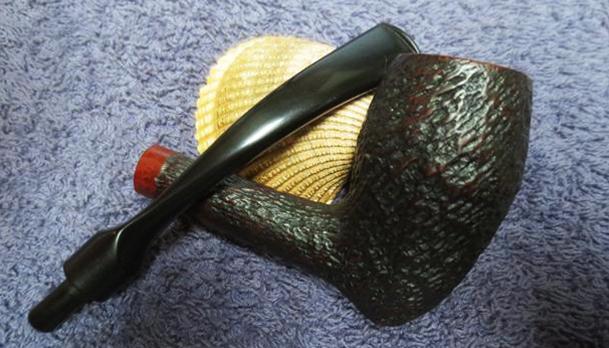
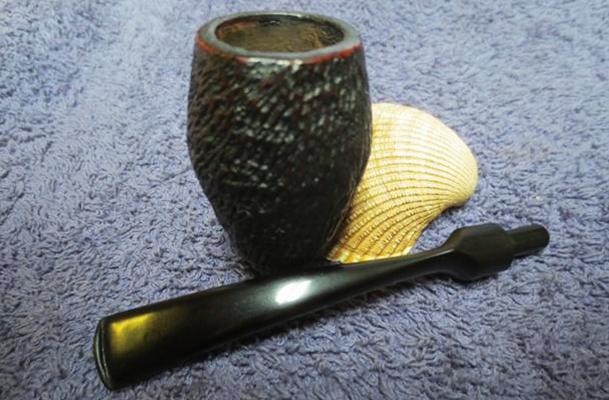
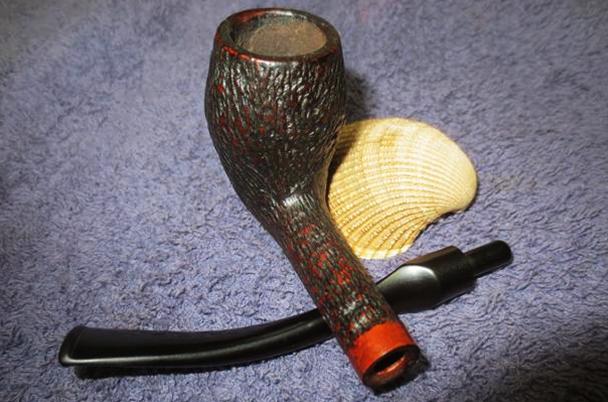
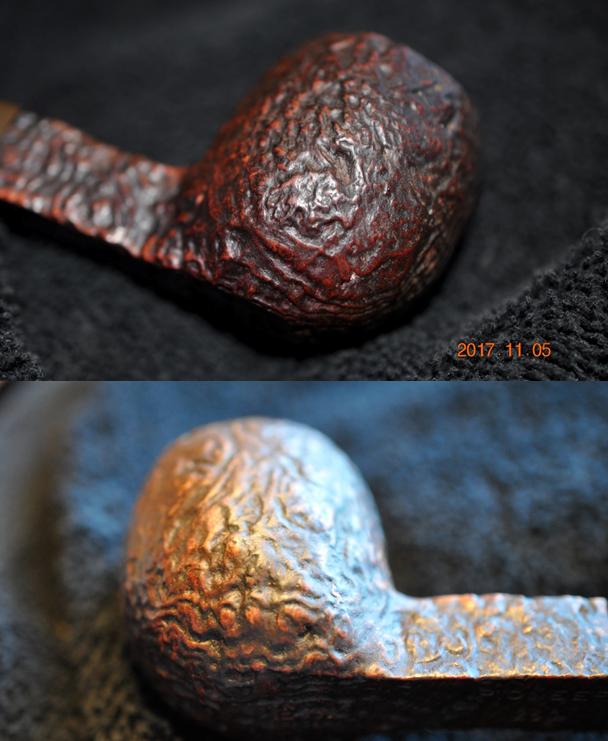
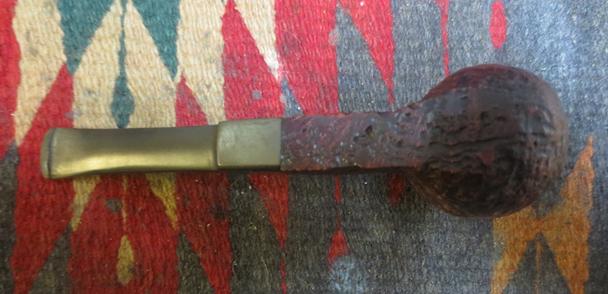
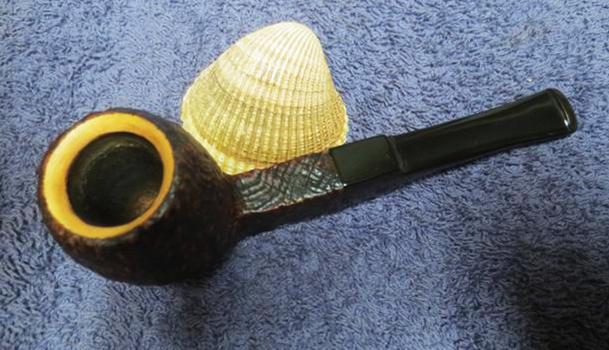
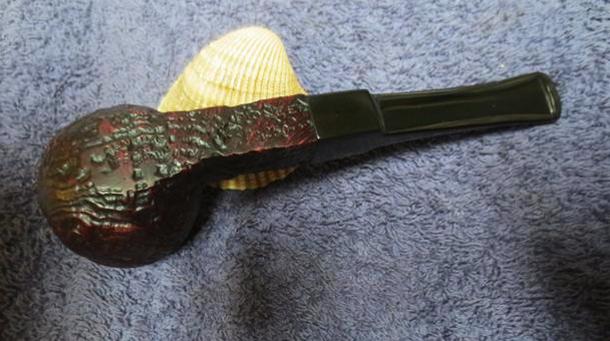
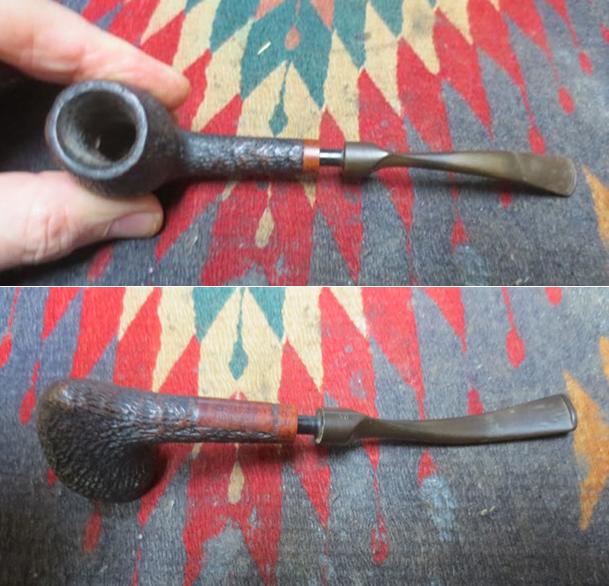
The first one that I decided to work on was a Bari Special Handmade, a really delicate and interesting looking pipe. The bowl has a pretty thick cake but otherwise looks sound. The finish and the rim are very dirty with dust and grime from years of use and then sitting unused. The finish is an interesting wire rustication that follows the angles of the bowl and looks good under the grime. The interior of the mortise and shank are very dirty and the stem does not fit the shank well – very tight because of the tars. In fact it will not seat all the way in the mortise at this point. The style of the stem is one I have seen on Bari pipes before – a pinched stem is how it has been described. You can see why when looking at it from the top or bottom view. The stem is very oxidized and also has some deep tooth marks on both sides of the stem at the button. It is a very delicate stem. There is something about the pipe that assures me that it will look very good when it is finished. I took photos of the pipe to record the condition it was in when it arrived here in Vancouver. It gives me a benchmark to measure the finished pipe against as well.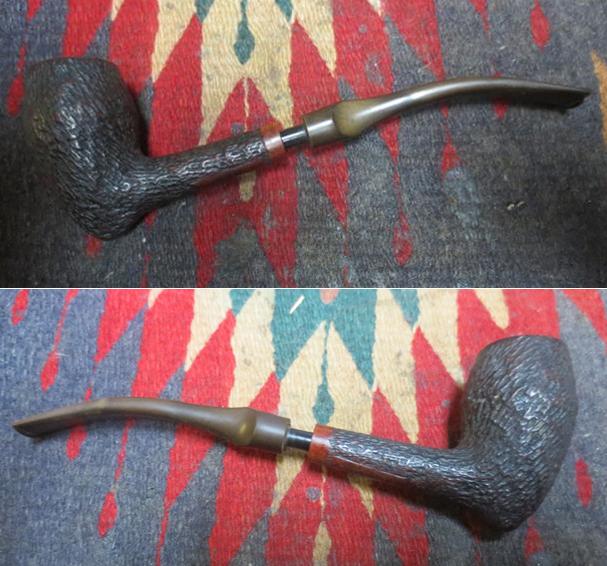
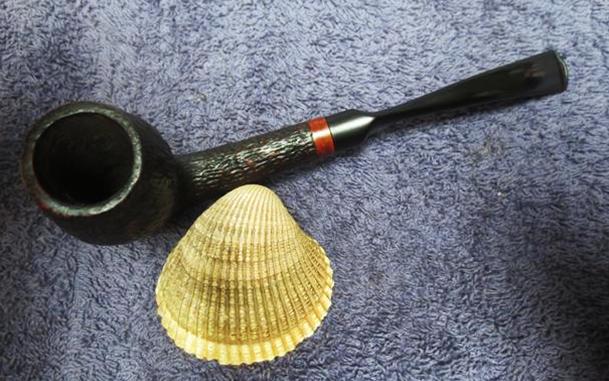
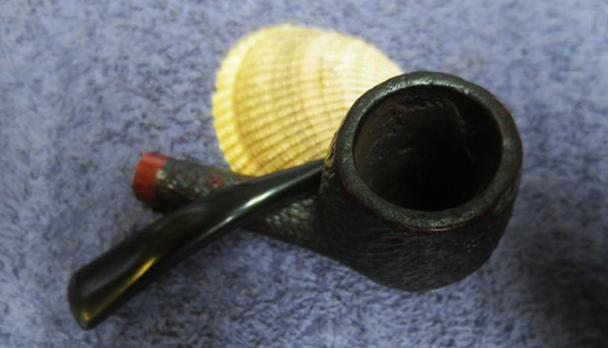
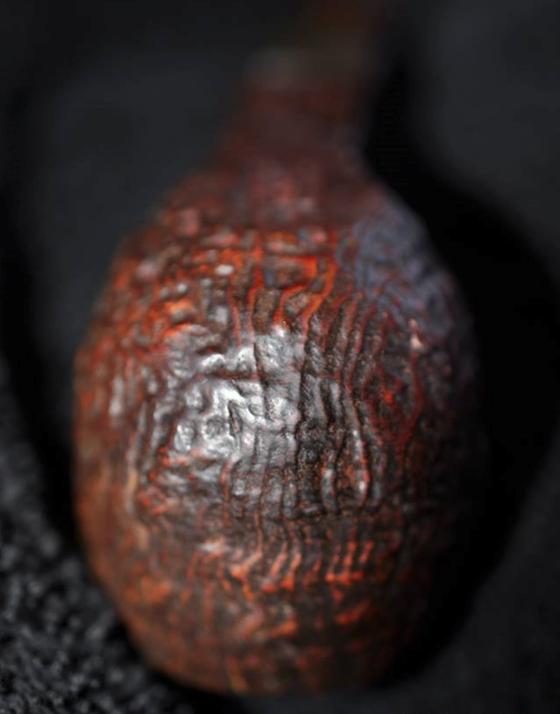
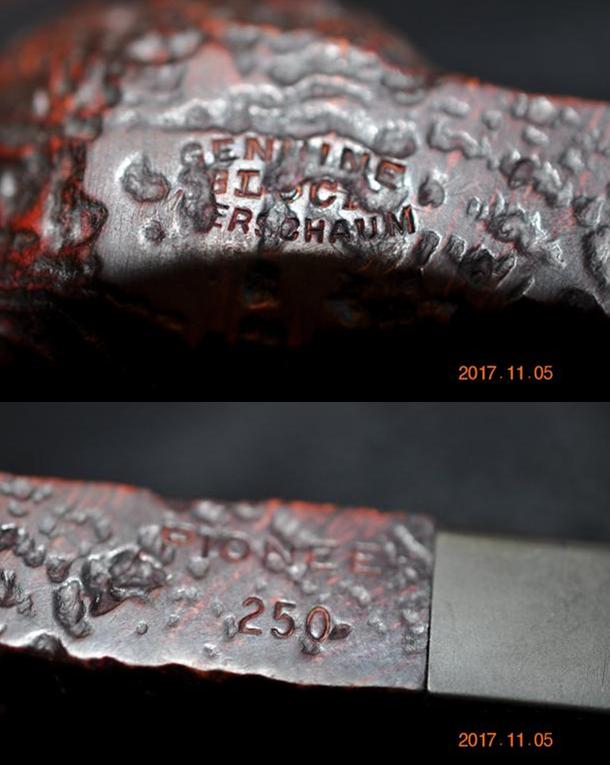
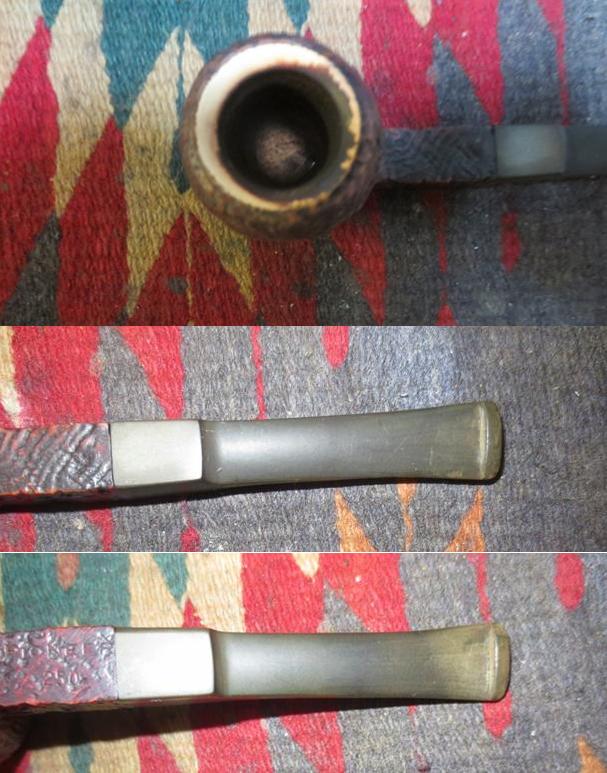
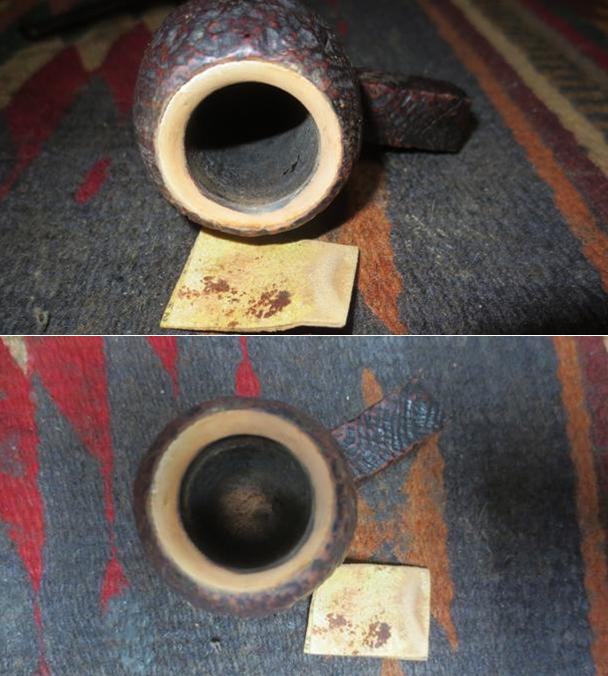
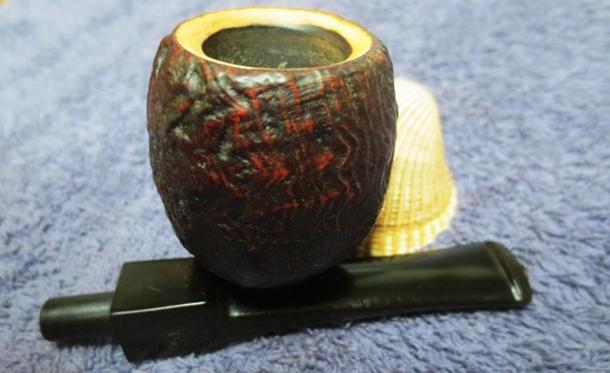
 I took a close up photo of the rim top and bowl. The bowl had a thick cake in it all the way down to the heel. It was thick enough that I could not get my little finger into the bowl. It is a narrow conical bowl anyway but the cake is very thick and hard. The rim top has some lava overflow but it is not too bad. The stamping on the underside of the pipe is quite readable through the grime. It reads Bari over Special over Handcut. Next to the shank/stem junction the shape number 848 is also readable. Both are stamped in a smooth unrusticated band on the underside of the shank.
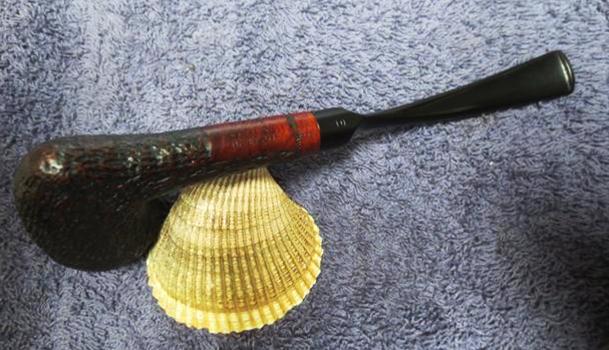
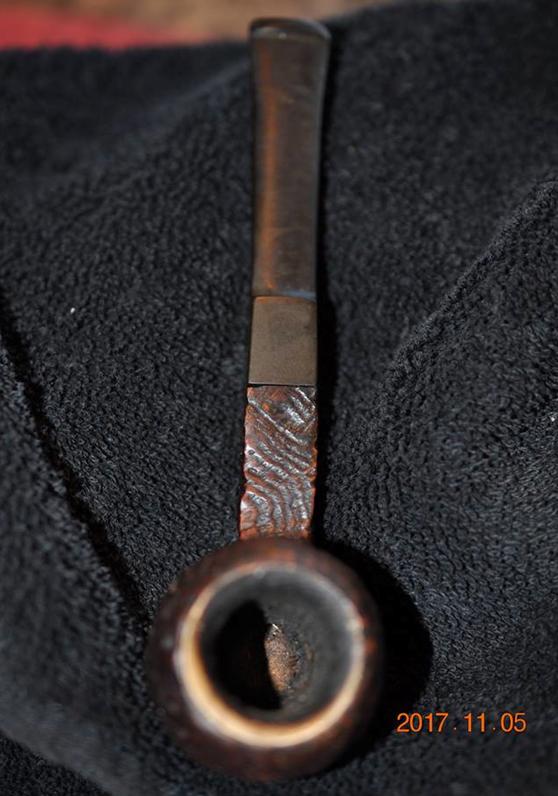
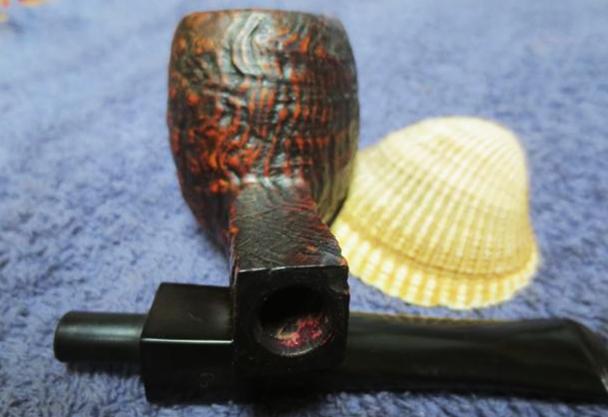
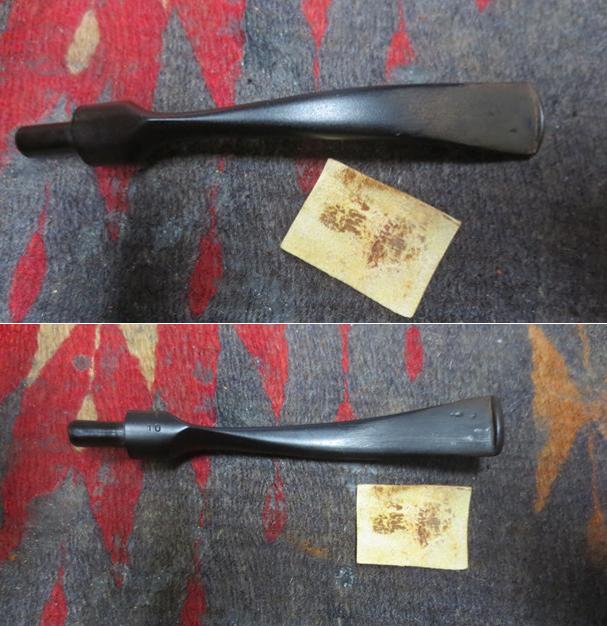
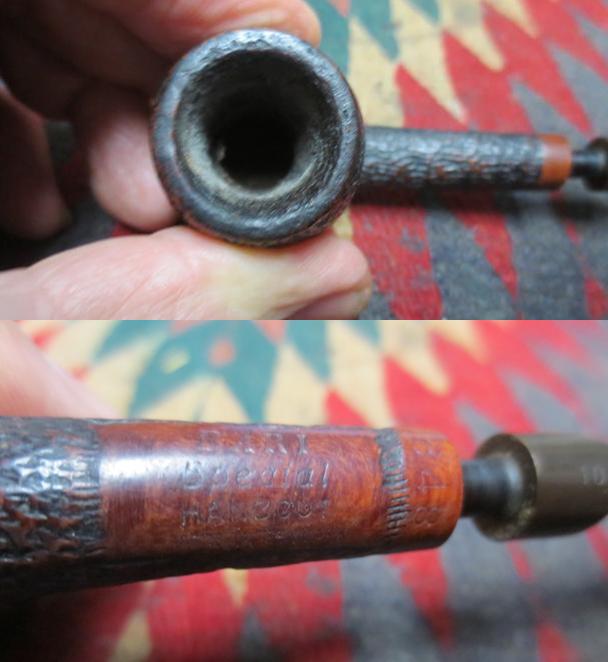 I took photos of the stem condition as well. You can see why it is called a pinched stem from the photos. It is oxidized and very delicate. The tooth marks on both sides are visible in the photos below. You can see the ones on the underside as they are worse. There is a number 10 stamped on the underside of the saddle portion of the stem. My guess is that it is a replacement stem number should one be required by a repairman back when the pipe was made.
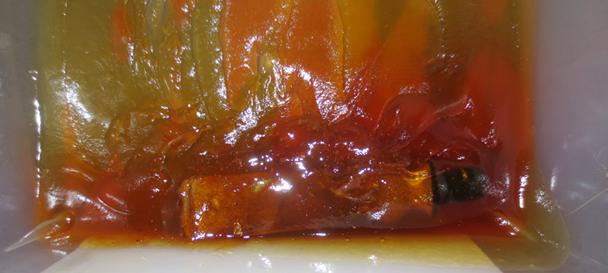
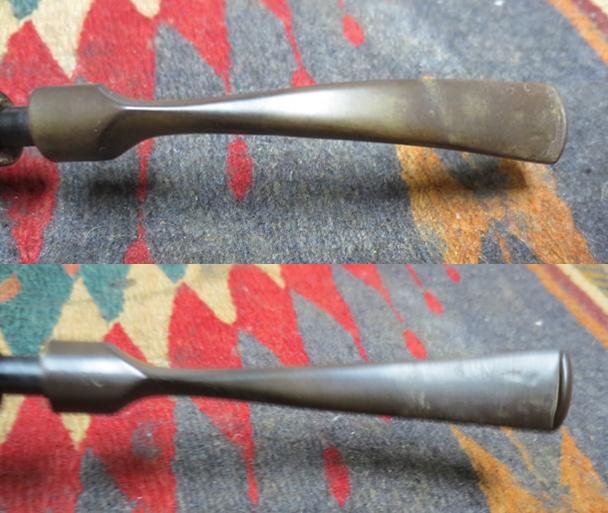 I dropped the badly oxidized stem in a bath of Before & After Pipe Stem Deoxidizer to soak away the oxidation. In this case the oxidation was quite thick and the stem was delicate so I did not want to do a lot of sanding so the deoxidizer could do its work. I put the lid on the airtight container and left the stem to soak overnight.
 I turned my attention to the bowl and the cleanup that was awaiting me there. I reamed the bowl with a PipNet pipe reamer using the smallest cutting head to work away the heavy cake. I worked at it very slowly so as to keep the blade from ruining the roundness of the bowl and to keep from splitting or damaging the delicate bowl. I finished up the reaming with a Savinelli Fitsall Pipe Knife taking the cake back to bare briar and smoothing things out. I used a folded piece of 180 grit sandpaper to work on the inner edge of the rim and smooth out that edge of the bowl and down into the bowl about an inch.
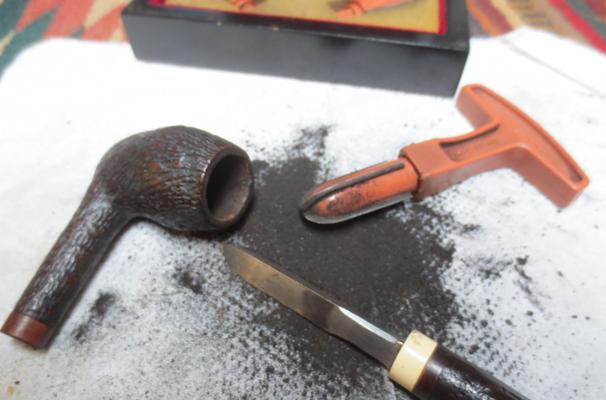
 With the bowl reamed it was time to clean out the internals of the bowl and shank. I used 99% isopropyl alcohol, cotton swabs and pipe cleaners to remove the accumulated tars and grime in the shank and airway. I folded the used pipe cleaners and swabbed out the walls of the bowl with them. I scraped out the walls of the mortise using a small pen knife blade to remove the buildup on the walls that kept the stem from seating.
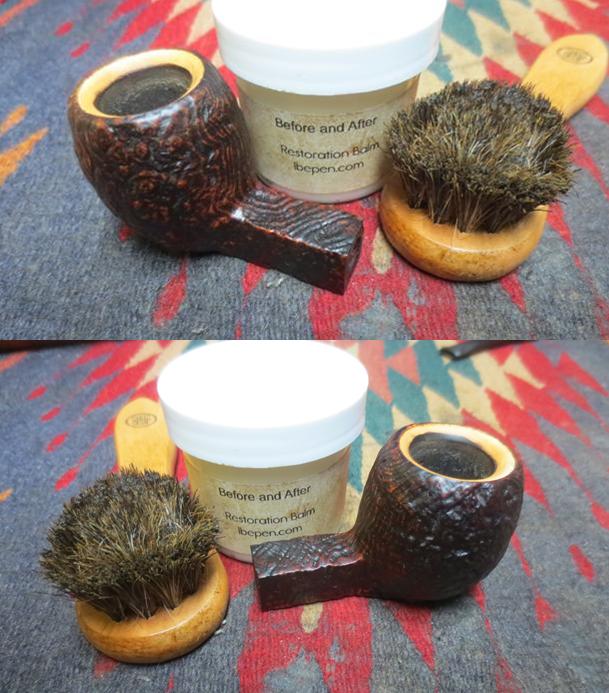
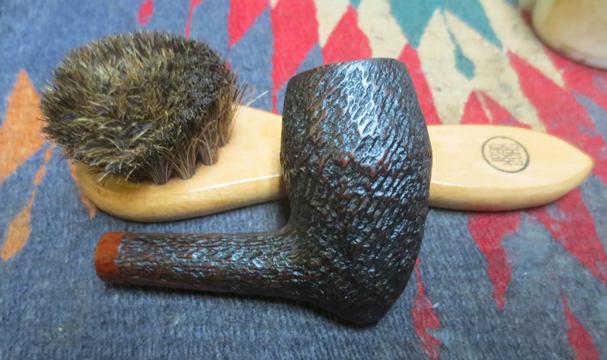
 I wiped the exterior of the bowl with a damp cloth and then scrubbed it with the Before & After Restoration Balm. I wanted to see how well it would work with the wire rustication pattern and the dirty condition of the finish on this pipe. I worked it into the grooves of the rustication with my fingers, rubbing it deep into the grooves. I used a shoe brush to further work it into the finish.
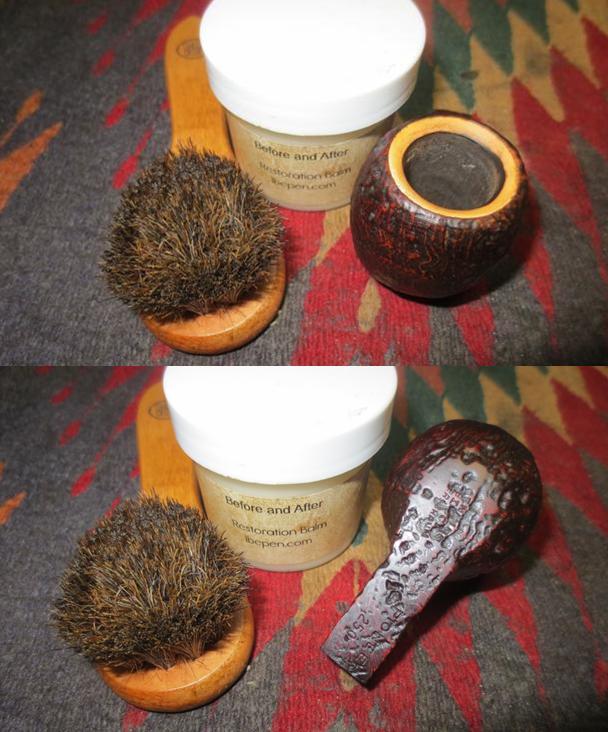
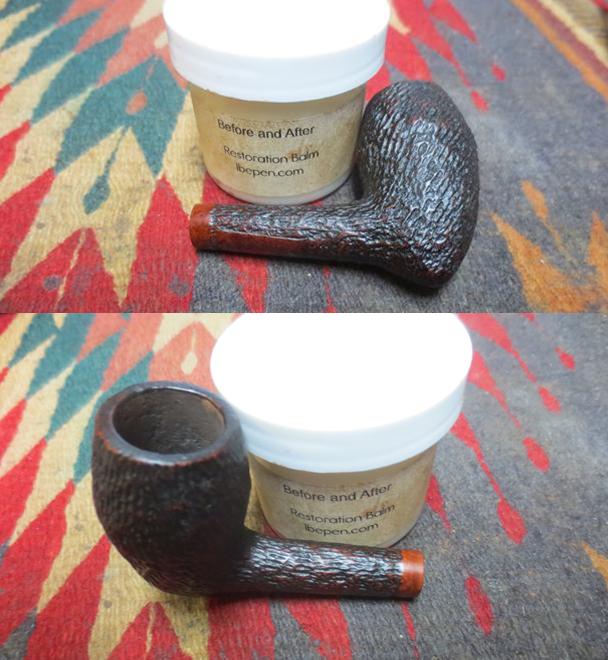

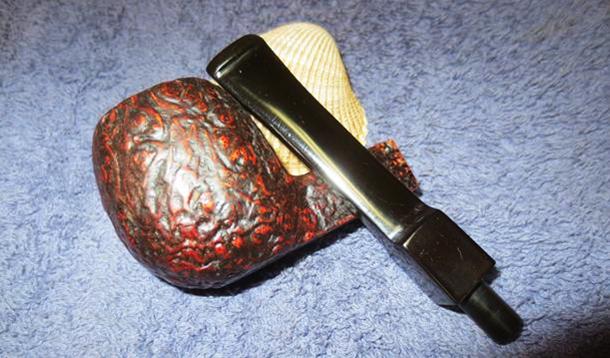
 I wiped it off with a clean cloth and buffed it on the buffing wheel with Blue Diamond using a light touch. The photos below show the bowl after the complete treatment I described. It is looking really good at this point. Once the stem is done I will buff it a bit more and give it several coats of wax but for now it is finished and I am calling it a night.
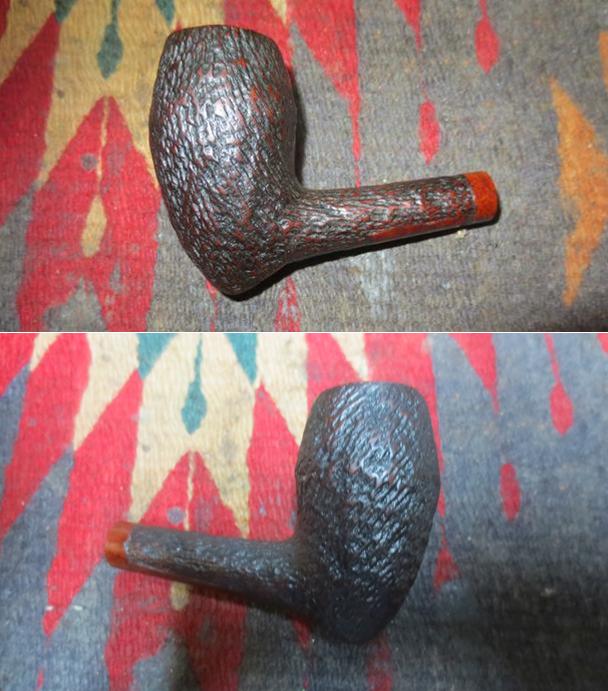
 I took the stem out of the bath of Before & After Pipe Stem Deoxidizer and wiped it down with a paper towel to remove the excess deoxidizer. I ran pipe cleaners and alcohol through the airway to clean out the buildup inside. The stem was very clean and the oxidation was gone. The tooth marks in the surface of the stem on both sides near the button were visible.
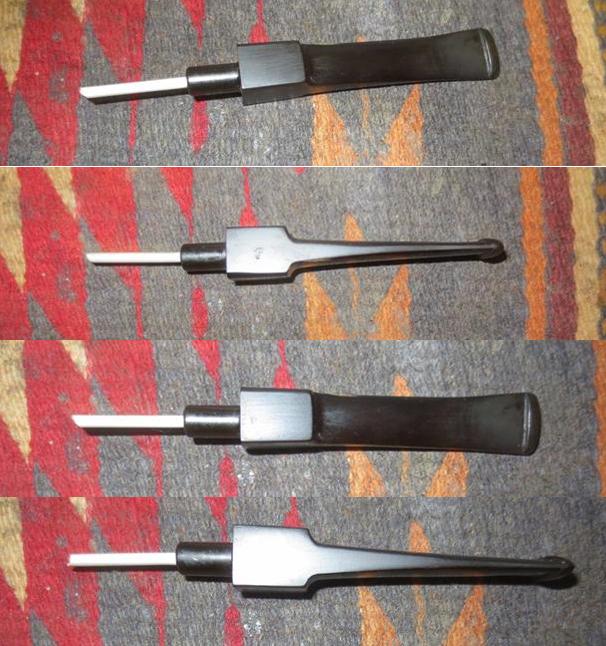
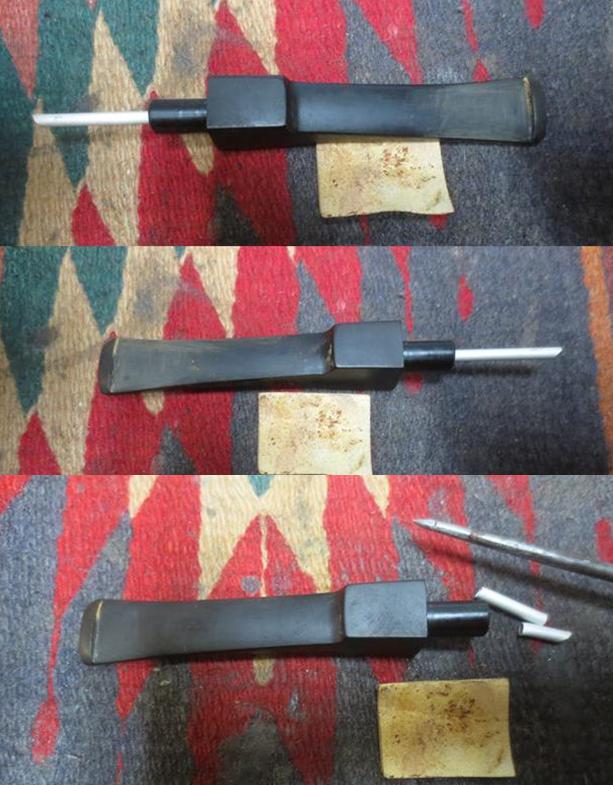
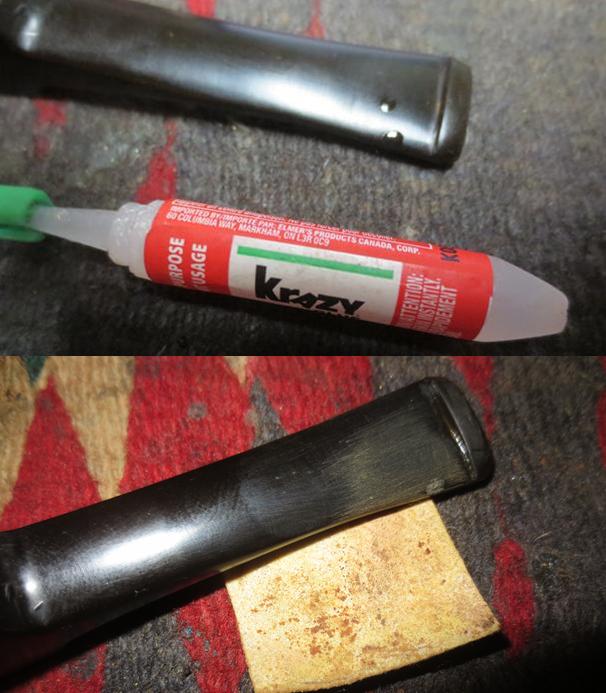
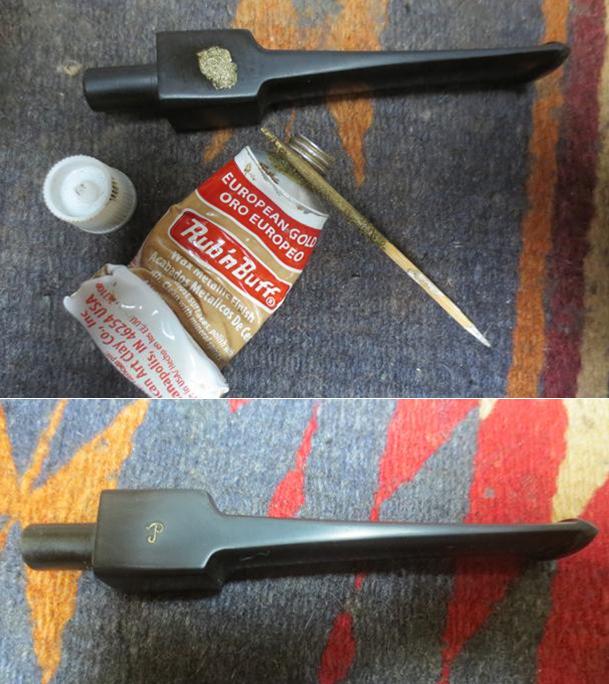
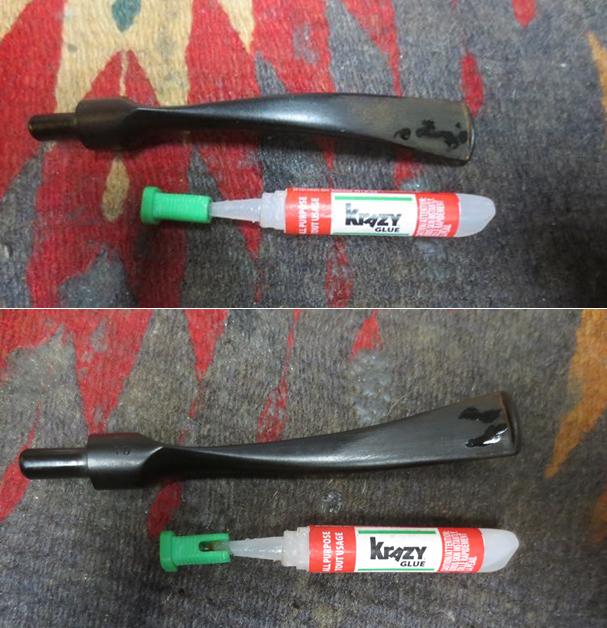
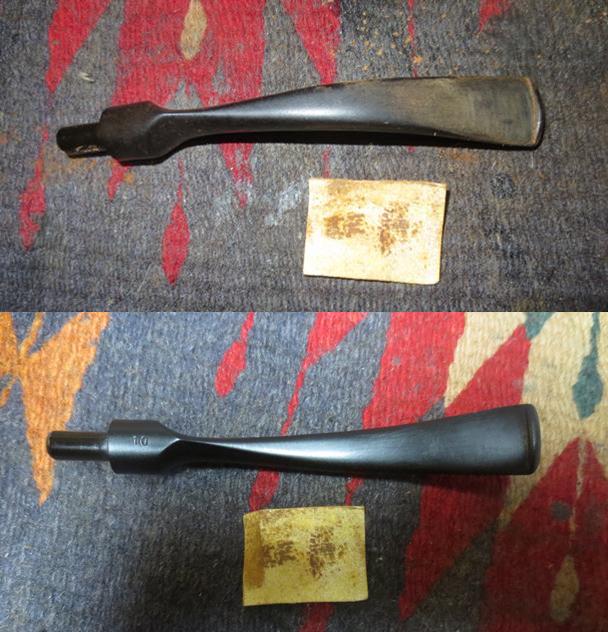
 I painted the tooth marks with a Bic Lighter flame to lift the vulcanite. One of the beauties of vulcanite is its “memory”. When heated the dents will come back to the surface. In this case the tooth dents on the top of the stem came up almost even. The ones on the underside were greatly reduced but still present (first two photos below). I sanded out the tooth marks and was able to blend the majority into the surface of the stem (third and fourth photo below). Those that remained I filled in with clear super glue (fifth and sixth photo) and after the repairs dried sanded them smooth to blend (seventh and eighth photo). The photos below tell the story.
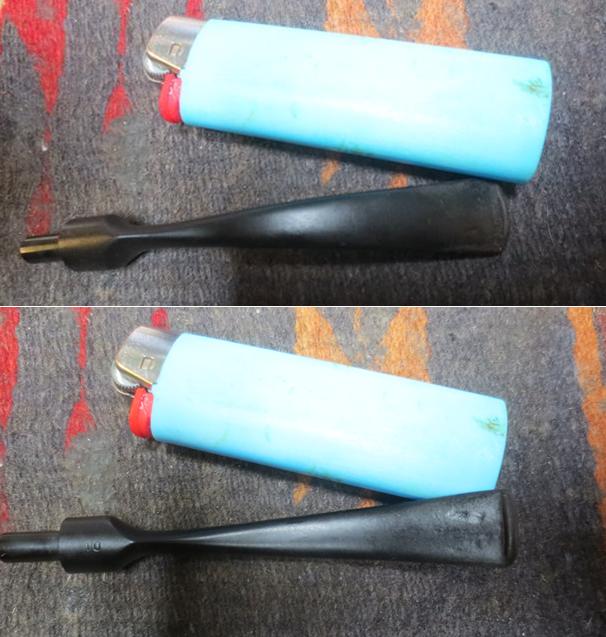
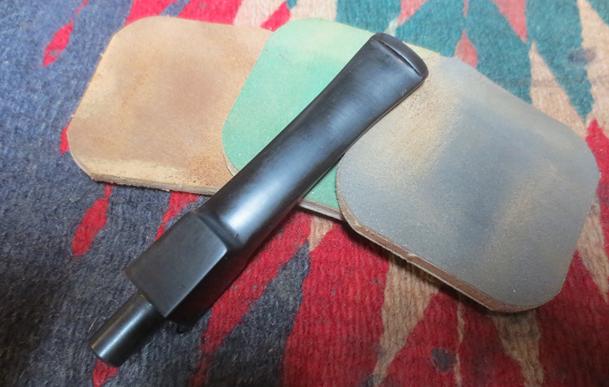
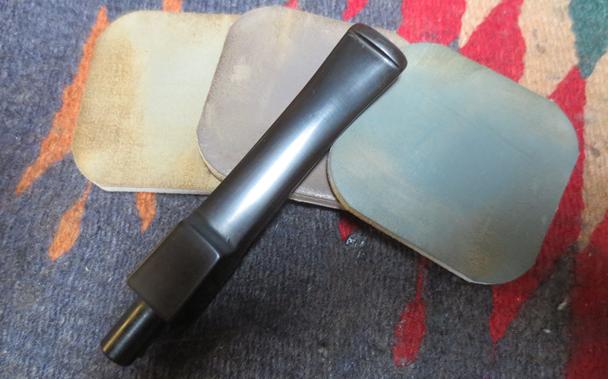
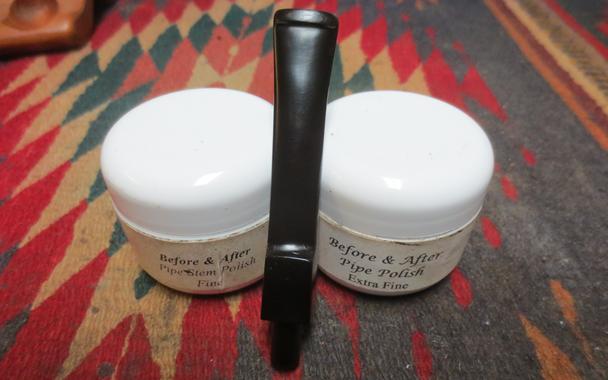
 I worked over the stem with micromesh sanding pads. I polished out the sanding scratches and marks in the vulcanite – wet sanding it with 1500-2400 grit pads and dry sanding it with 3200-12000 grit pads and wiped it down with Obsidian Oil after each one. When I finished with the 12000 grit pad I gave it a final coat of oil and set it aside to dry.
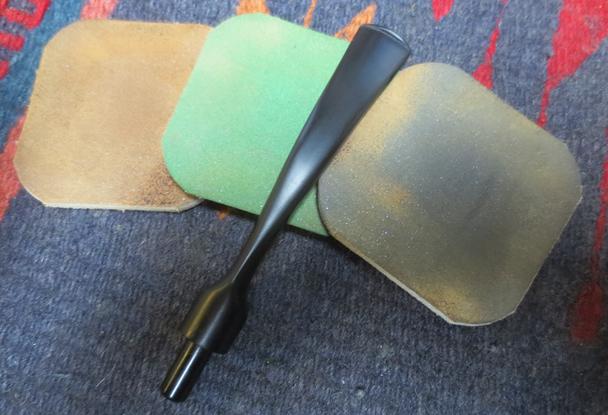

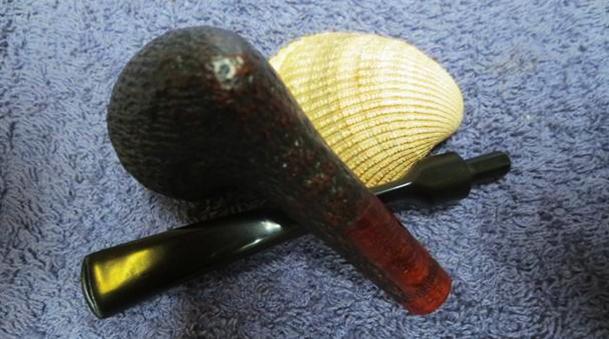
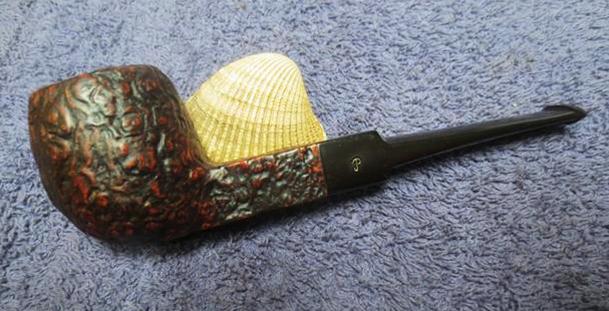
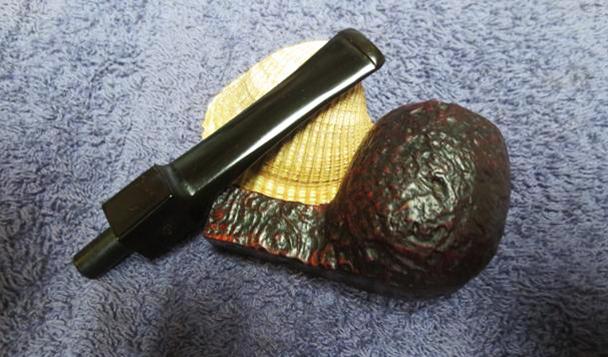
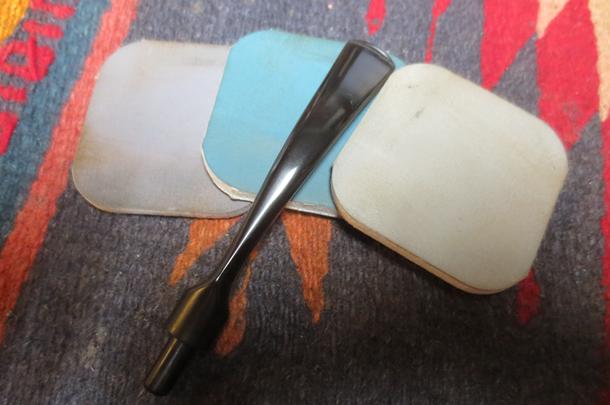 I put the stem back on the bowl and took the pipe to the buffing wheel to work it over. I gently buffed the rusticated bowl with Blue Diamond to polish the briar. I buffed the stem at the same time to raise the gloss on the vulcanite carefully working on the delicate stem. It would be very easy to break it at the pinched area. I gave the bowl multiple coats of Conservator’s Wax and the stem several coats carnauba wax. I buffed the entire pipe with a clean buffing pad to raise the shine. I hand buffed it with a microfiber cloth to deepen the shine. The finished pipe is shown in the photos below. I am hoping that the fellow I am restoring it for enjoys this beauty. For now he will have to enjoy it by looking at the photos but soon it will wing its way back to India. Thanks for looking.