Daily Archives: April 11, 2016

Bulgarian Leather Pipe and Tobacco Pouch from Sofia


Blog by Steve Laug

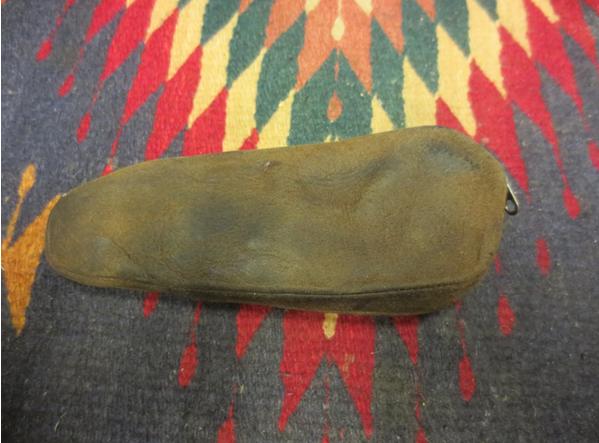
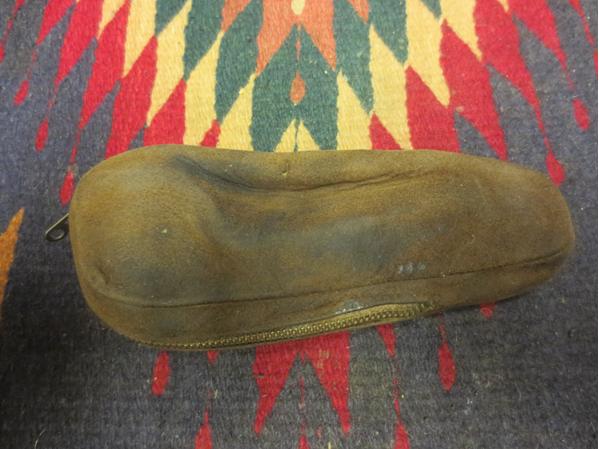
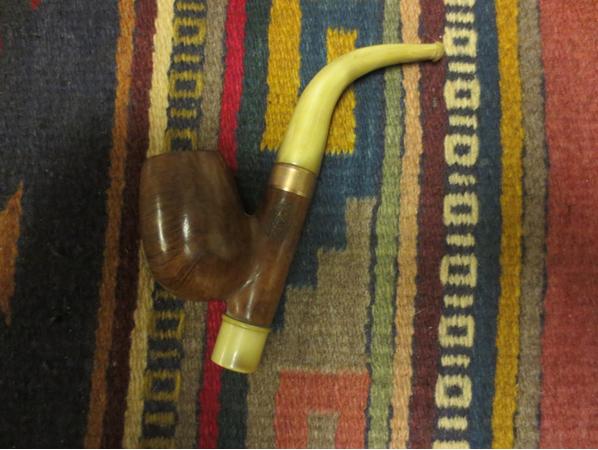
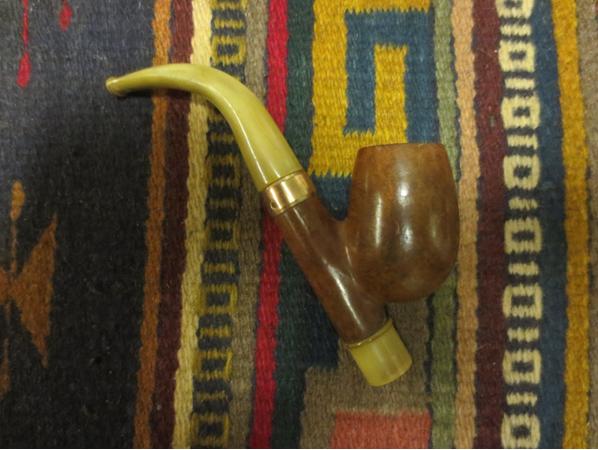
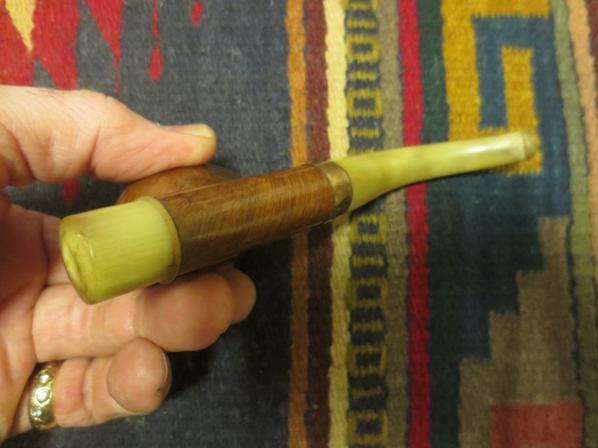
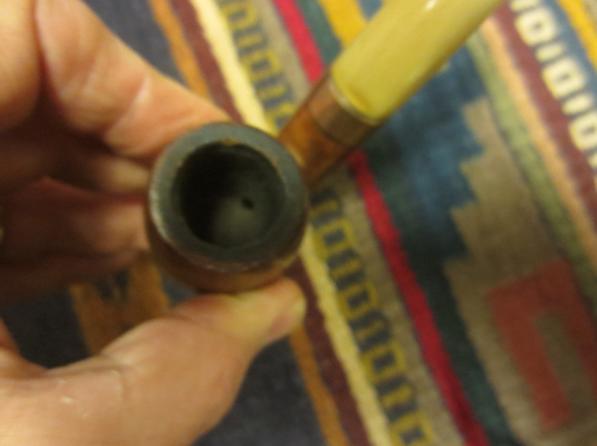
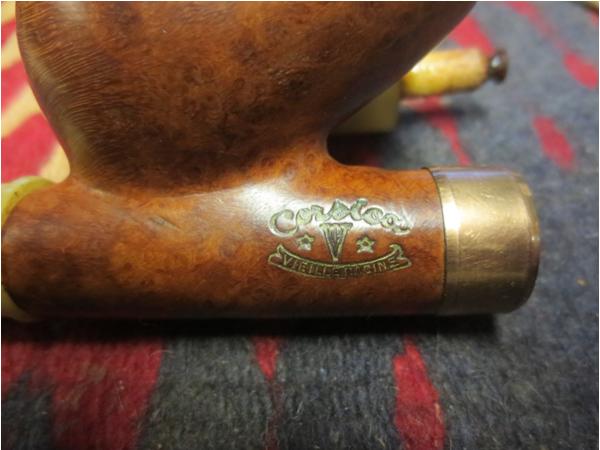
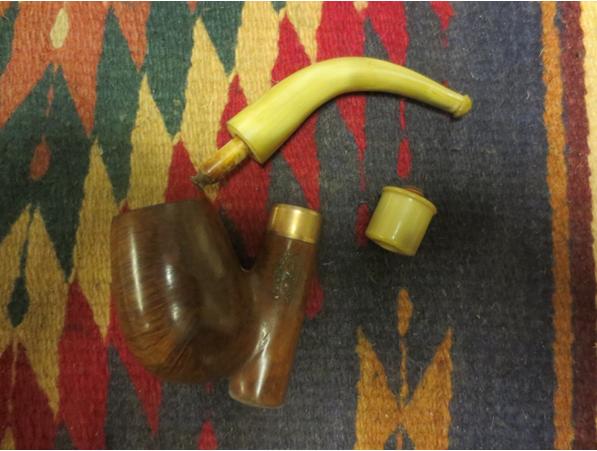
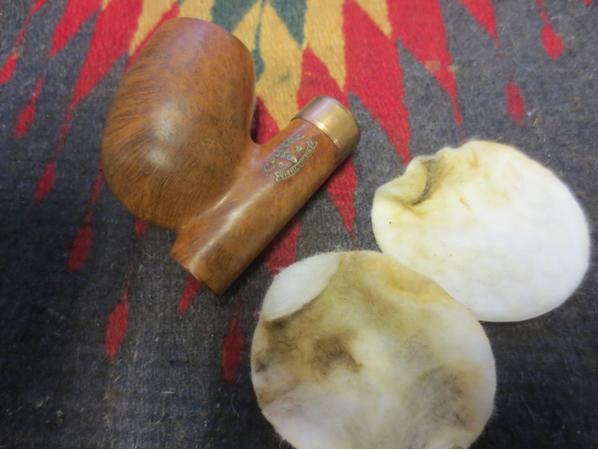
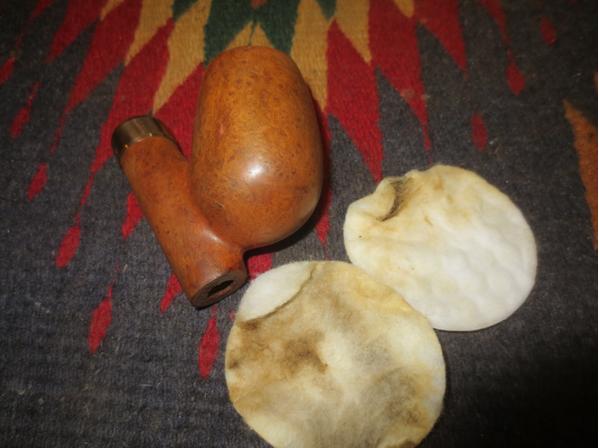
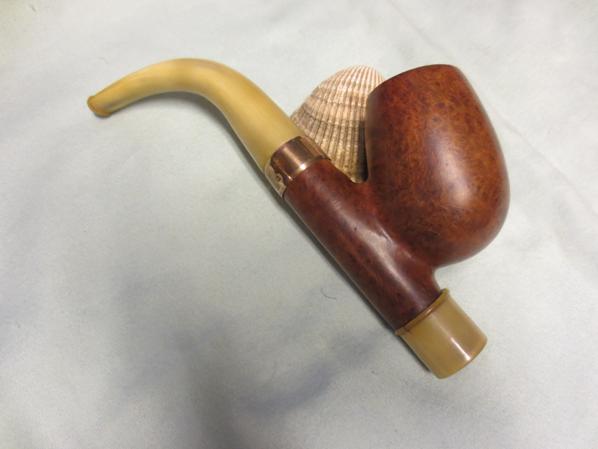
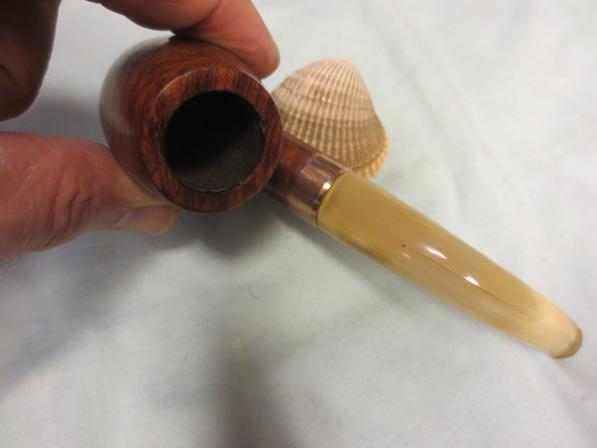
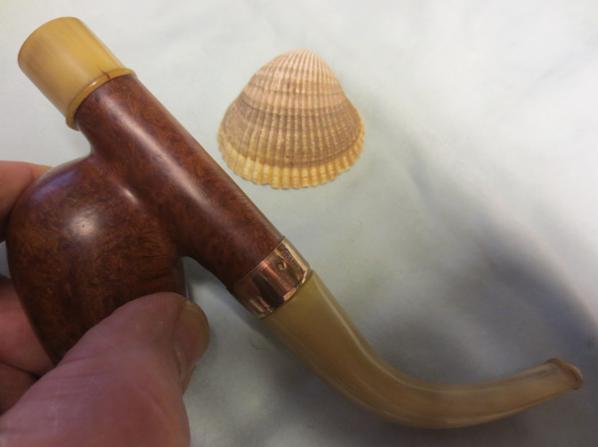
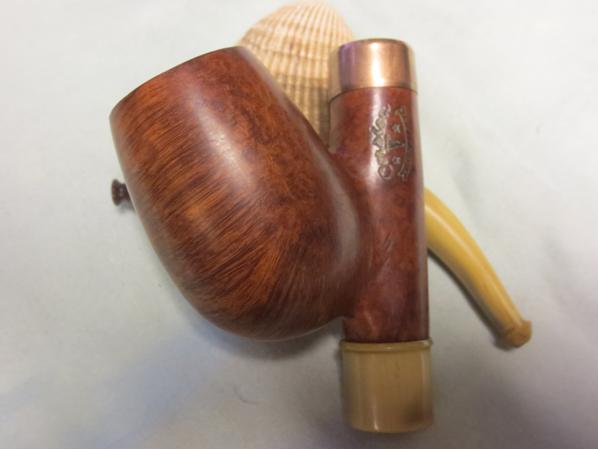
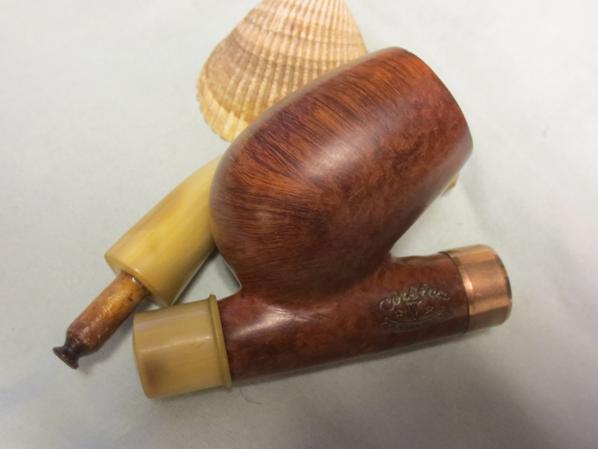
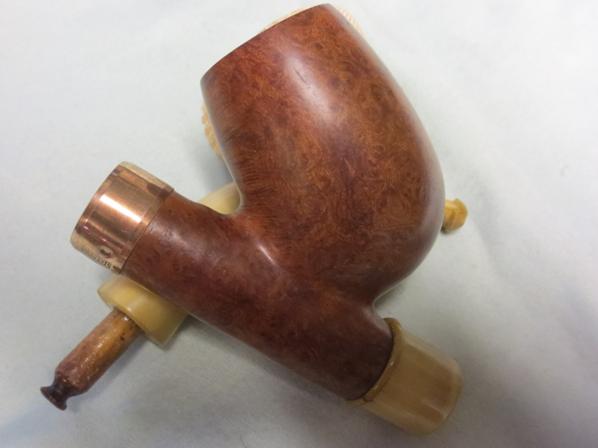
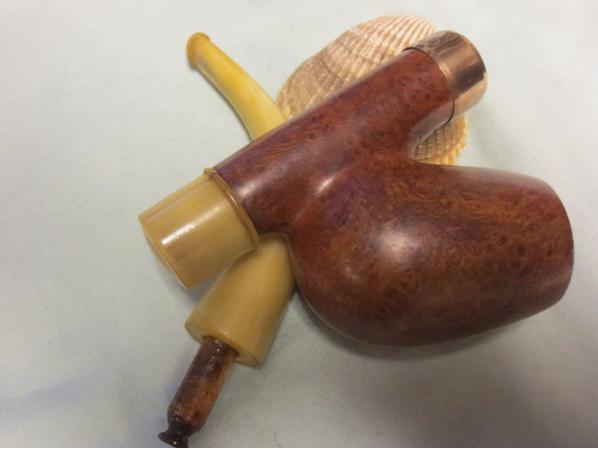
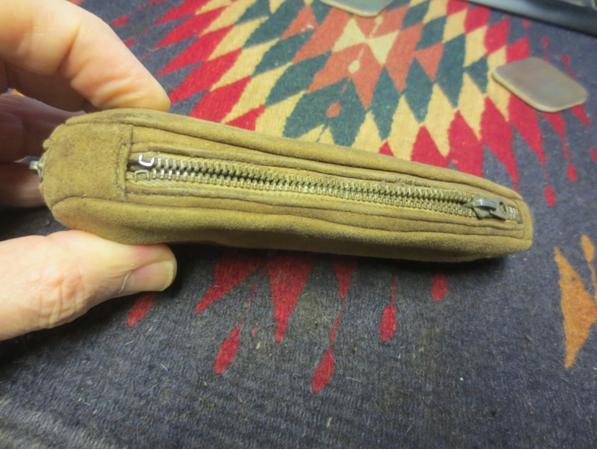
I wrote a blog about the restoration the Butz Choquin 1635 pipe that was inside of this pouch last week (https://rebornpipes.com/2016/04/08/unzipped-an-old-pouch-and-found-a-butz-choquin-oval-shank-capitan-1635/). I have no idea how old the pouch is or who the original owner was but it still had some charm. The pouch was worn but salvageable so I cleaned it up as well. I thought some of you might be interested in seeing how the old pouch turned out. Here are a few pictures of the pouch from the eBay seller.Bag1 Bag2 Bag3
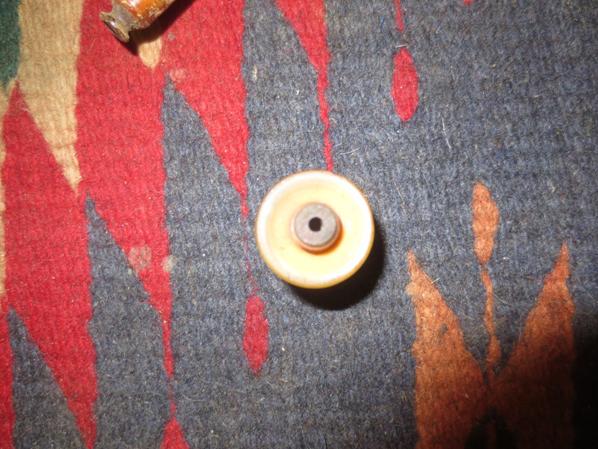
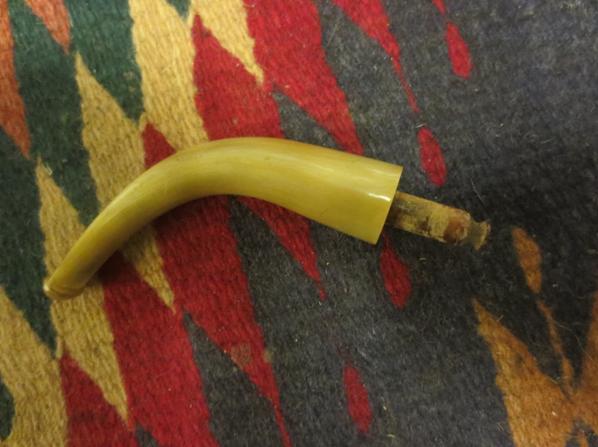
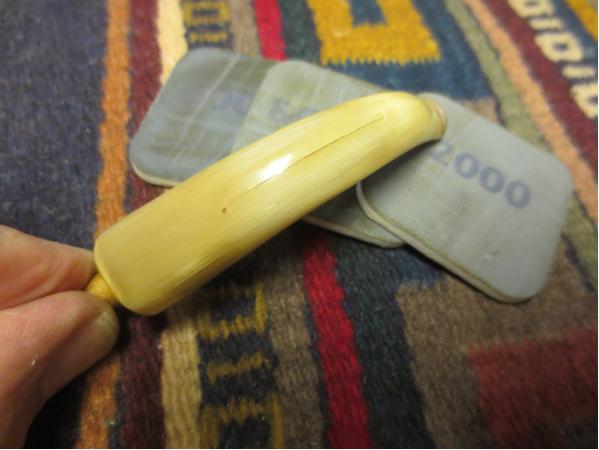
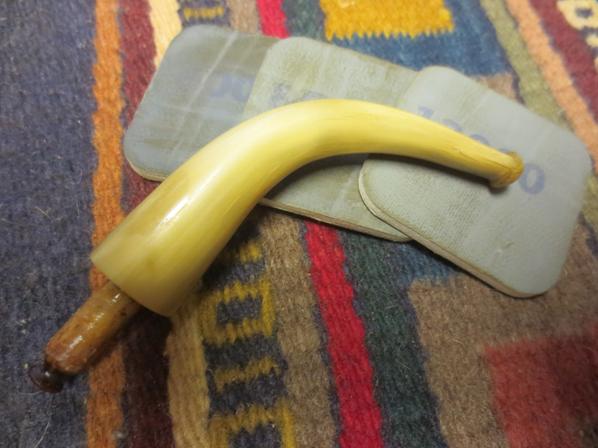
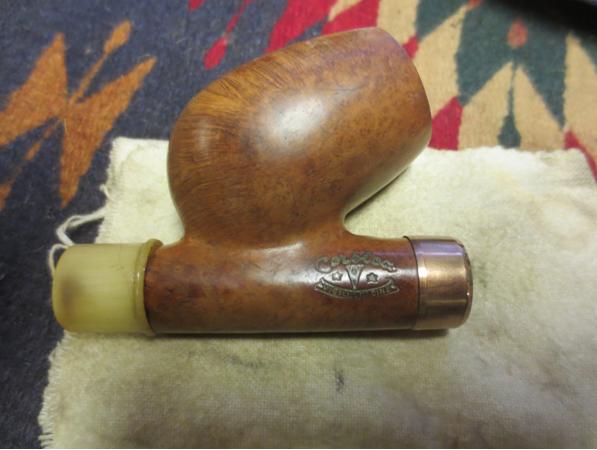
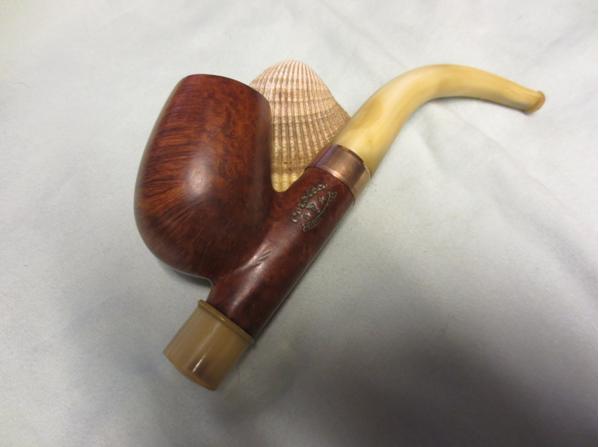
What was interesting to me is that the pipe, pouch and tool came to me from Sofia, Bulgaria via the US. Why is that interesting you might ask? Good question. You see, I have a friend who is a pipeman who lives there and is starting on the hobby of pipe restoration. It is great to have a pipe and pouch that came from there. He has one of my pipes that he lovingly calls Vancouver. I took the following photos before I started to clean up the pouch.Bag4 Bag5 Bag6
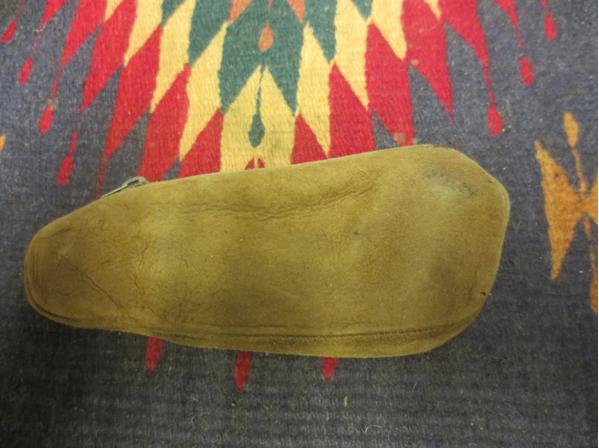
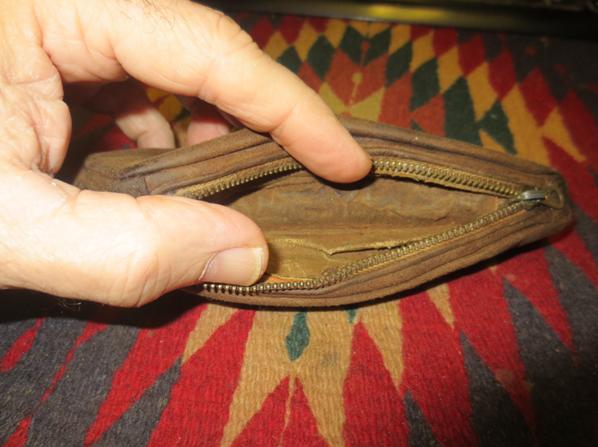
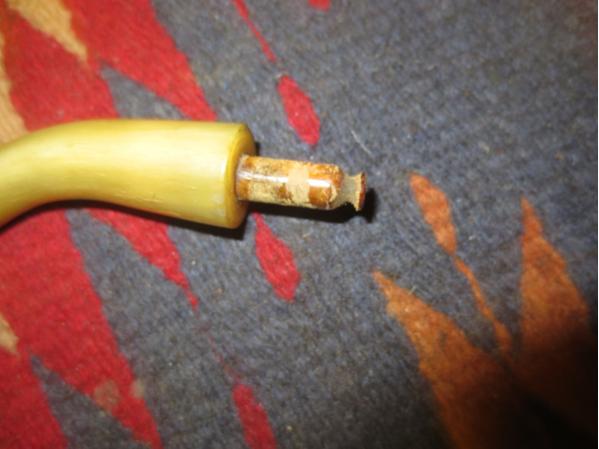
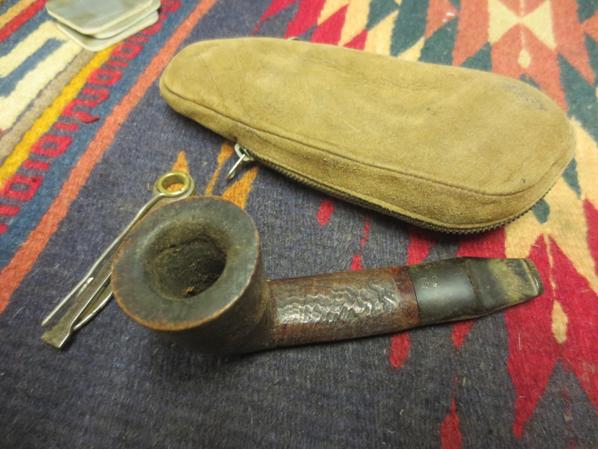
The pouch exterior was made of suede leather. The brass zippers were dirty but in working order. The inside of the top zipped area held a waxed canvas liner that still had remnants of tobacco in it. The inside of the underside which held the pipe had a leather insert that was loose as it had come unglued. I began by spraying the zippers with WD40 to lubricate them and worked them back and forth to clean out the teeth. I glued the leather insert in the underside of the pouch with an all-purpose white glue and inserted a bottle to keep the insert in place while the glue dried. I brush out the inside of the canvas insert on the top of the pouch and wiped it down with a damp cloth to remove the dust.

When the glue had dried on the interior of the pouch I brushed the suede exterior with a leather brush and then gave it a coat of Obenauf’s Leather Treatment. It is a deodorized grease like substance that restores and preserves the leather. I rubbed the grease into the leather by hand until the entire pouch was covered and then set the pouch aside to dry. As it dries the Obenauf’s is absorbed into the leather darkening it slightly but also giving the leather a soft pliable feel.Bag7 Bag8
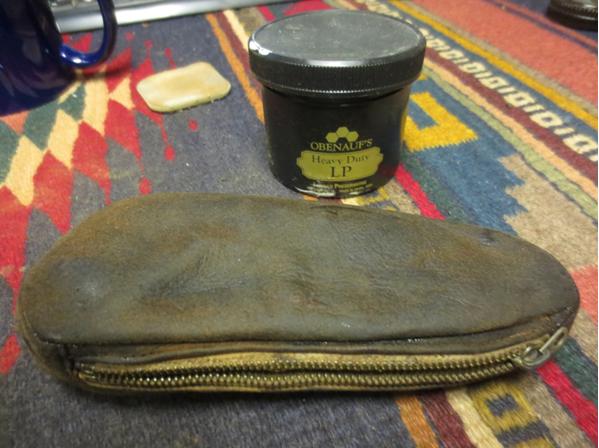
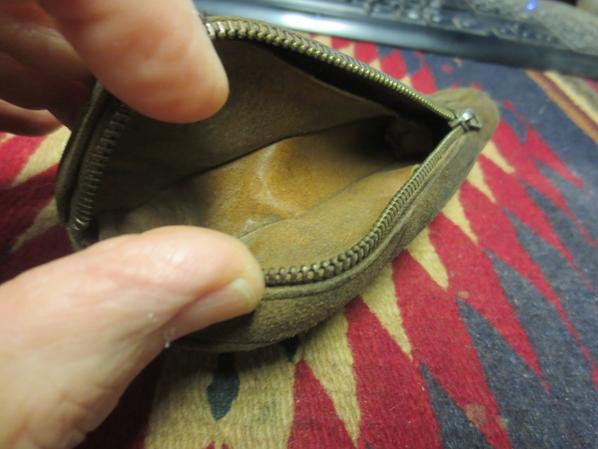
I laid the pouch aside on my desk top for a few days and let the product do its work. The photos below show the pouch as it looks after four days of sitting in a warm spot. While it is not beautiful it is greatly improved. I have taken photos of both sides and the inside of both compartments. There are still some worn spots in the leather and some nicks that give it character but it is clean and functional. The pouch is useable once again. Thanks for looking.Bag9 Bag10 Bag11 Bag12

An Amazing Find – A Corsica Cavalier with a Horn Stem and End Cap


Blog Steve Laug

This is yet one more of my brother’s amazing finds. It is a beautiful Cavalier with a horn stem and end cap. It is stamped in classic late 19th Century fashion with gold leaf on the left side of the shank. It reads CORSICA in and arch over two stars around a capital V with what looks like an elongated 0 in the middle of the V. Underneath the *V* is VIEILLE RACINE stamped in a reverse arch. The words form and oval. It is my understanding that the Vielle Racine stamp translates literally as Old Root. The band is stamped 14K and is almost a rose gold. It is fitted to the shank and also is beveled inward covering the shank end. The horn end cap has a threaded short bone tenon that screws into the briar. It has a large bowl.

When the pipe came to me it was dirty but the bowl had been reamed. The rim had a slight build up and the inner edge had been slightly damaged when it had been reamed. The gold band was tarnished. The finish was dirty and spotted with sticky dark spots on the end cap and in the bend at the top of the shank bowl junction. The bowl had been coated with shellac that was spotty and cloudy in places. The stem looked really good at first glance but I would have to examine it more closely once I started cleaning it up. The grain on the briar was beautiful and I could not wait to clean it up and see what lay beneath the grime and the shellac.Cor1 Cor2 Cor3 Cor4I took several close-up photos to highlight different aspects of the pipe. The first of these is the state of the rim and bowl. The rim photo is a bit blurry but gives a pretty good idea nonetheless of the state of the bowl and the tars on the rim. The second photo is of the stamping on the left side of the shank. It still had the gold leaf in the stamping to highlight it.Cor5 Cor6I took the pipe apart and photographed the parts. I also took a photo of the end cap so that the bone tenon in visible.Cor7 Cor8The horn stem looked really good but looking at it up close I could see a crack along the top of the stem following the curve and a small group of them on the right side of the stem. There were also a few chips missing on the underside of the stem near the shank junction. The tenon had a unique look to it – almost a nipple on the end of it. It was coated with a little varnish as well so it much have someone’s attempt to tighten it as it was currently quite loose in the shank.Cor9 Cor10Before I started to work on it I decided to do a bit of research to fill in the gaps on another pipe brand that had not heard of before seeing this one. I was familiar with briar coming from Corsica but had not run across the pipe brand of that name. I resorted to the pipephil site to see if he had any information on the pipe and who may have made it. The site did have the brand listed. It turns out that Corsica is a brand of Henri Vuillard of Saint Claude, France. This Vuillard was not to be confused with E. Vuillard & Cie also of Saint Claude. Reading that information helped me to make sense of the large *V* in the centre of the stamping on the pipe that I am working on. Here is the link to the information: http://www.pipephil.eu/logos/en/infos/hvuillard-en.html. The site included the following photos of several pipes in this line. The cursive form of the Corsica stamp is very similar to the stamping on my pipe.Cor11The link also included a sub link to a secondary page on the history of the brand. The following is an abstract of the information that I found regarding the maker of this pipe. At the end of the 19th century the Vuillard house managed by Paul Vuillard and established at Chemin de la Coupe (Saint Claude) produced match boxes and cases for spectacles. At the beginning of the 20th century on Henri’s (son of Paul Vuillard) initiative the factory is converted to the production of briar pipes which were marketed under the “Corsica” brand.

From that information along with the materials and the design of the pipe I am pretty confident in saying that it was made in the early 20th century when the company was managed by Paul Vuillard who took the initiative to start making pipes. An interesting note is that from 1914-1918 The Henri Vuillard Factory produced pipes for the French Army. The article says that at that time they had between 170-180 employees.

Armed with this new knowledge and an estimate of the age of the pipe I began to clean it up. The cake had been reamed already so I just cleaned up the walls of the bowl with the Savinelli Pipe Knife. I had removed the stem and the end cap so it was easy to hold the bowl and ream it.Cor12I cleaned the shank from the mortise to the end cap with pipe cleaners, cotton swabs and alcohol. The oils and tars that came out were not very dark and they did not smell like tobacco. It was almost as if they were the stain from the outside of the bowl. It did not matter though it took quite a few before the shank was clean all the way through.Cor13I cleaned the airway in the stem as well. It also was dirty. But as I cleaned off the exterior the cracks became more noticeable, particularly the one on the topside.Cor14I scrubbed the exterior of the bowl with acetone on cotton pads to remove the shellac coat. I was careful around the gold leaf in the stamping as I did not want to damage that area of the bowl.Cor15 Cor16 Cor17 Cor18I put Vaseline on the threads of the bone tenon on the end cap and carefully turned it into the end of the shank. I polished the bone of the end cap with 1500-4000 grit micromesh sanding pads to smooth it out. I rubbed it down with some Obsidian Oil and let it dry. Cor19In the photo below you can see the fine cracks in the stem near the tenon end. This is also where the chips were. I drilled a tiny hole at each end of the crack on the top of the stem with a micro drill bit. I filled the holes and the crack with clear super glue. I used the clear super glue to also stabilize the other cracks on the sides of the stem and to build up the chipped areas on the underside of the stem.Cor20 Cor21 Cor22When the glue dried I sanded the stem with 220 grit sandpaper to smooth out the repairs and to begin to polish the stem.Cor23 Cor24 Cor25 Cor26 Cor27Once the repairs were smooth I wet sanded the stem with 1500-2400 grit micromesh sanding pads and gave the stem a coat of Obsidian Oil. I dry sanded it with 3200-4000 grit pads and gave it another coat of oil. I know the oil is made for vulcanite but I wanted to bring a little life to the horn. I finished sanding the stem with 6000-12000 grit pads and gave it a final coat of oil.Cor28 Cor29 Cor30 Cor31 Cor32 Cor33I polished the gold band on the shank end with a jeweler’s cloth until it shone. I gave the briar several coats of Conservators Wax and hand buffed the bowl with a shoe brush when it dried. Cor34 Cor35I decided not to buff this pipe on the wheel because I did not want to damage the gold leaf or the horn. I hand buffed it with a microfibre cloth and polished it until it shone. The finished pipe is shown in the photos that follow. It truly is a beautiful old pipe. I only wish that the horn was more perfect. The stem glows but I see the repaired cracks. Ah well it is better than having the stem splinter apart while using it. It should be good for another hundred plus years now. Thanks for looking.Cor36 Cor37 Cor38 Cor39 Cor40 Cor41 Cor42 Cor43 Cor44 Cor45