If you enjoy Balkan blends (and can get it) this should be on your “list”!
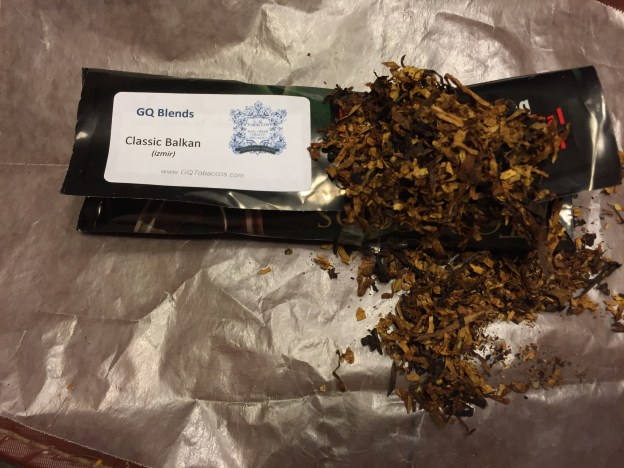
GQ Blends Classic Balkan (Izmir): an oriental delight
Leave a reply
If you enjoy Balkan blends (and can get it) this should be on your “list”!
Blog by Steve Laug
Warren, a Facebook friend, gifted me this Estella Dublin made by Savinelli not too long ago. It came to me in decent shape. Someone had topped the bowl and removed the original rustication and the topping had given the bowl a decided cant to the front and to the left side. The finish was in good shape. There was a dark spot on the lower portion of the bowl on the right side that made me wonder what was going on. The stamping was sharp and read Estella 412KS. The inside of the bowl had been reamed but it showed that it was lightly smoked. The stem was dirty but in decent shape as well. There was minimal tooth chatter on both sides and a faint E stamp on the left near the half saddle. There were also some ripples in the Lucite stem from buffing.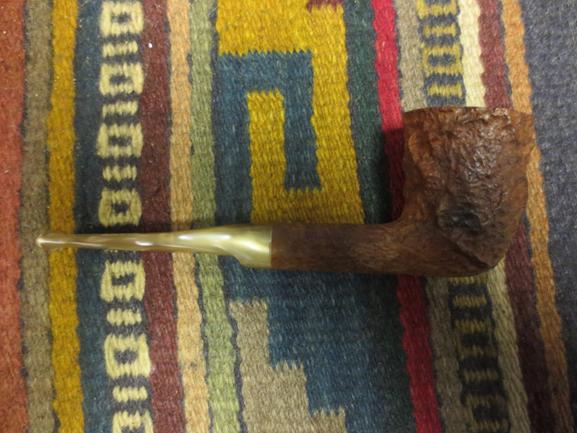


 I scrubbed the bowl with Murphy’s Oil Soap and a tooth brush to remove the grime and to see what was going on with the dark spot on the right. I could see from the inside of the bowl that there was no internal damage or burn through happening there. It appeared to be darkened only in colour rather than in burning.
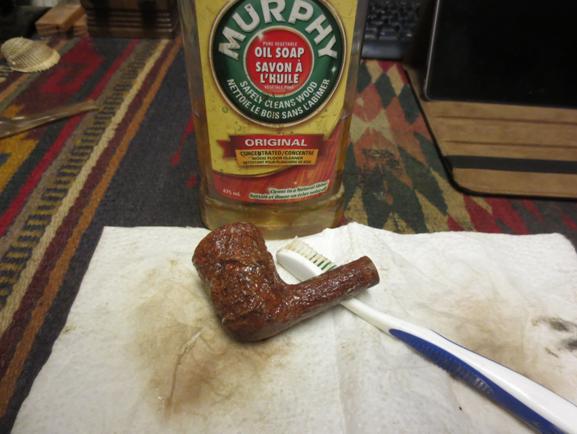 I rinsed the bowl with warm water and dried it off. The photos below show the bowl after it had been scrubbed.


 The next three photos show the angle on the top of the bowl. From all my research on the brand and shape on the internet I had seen that the top was supposed to be flat and rusticated. I would need to flatten the rim and take care of the cant.
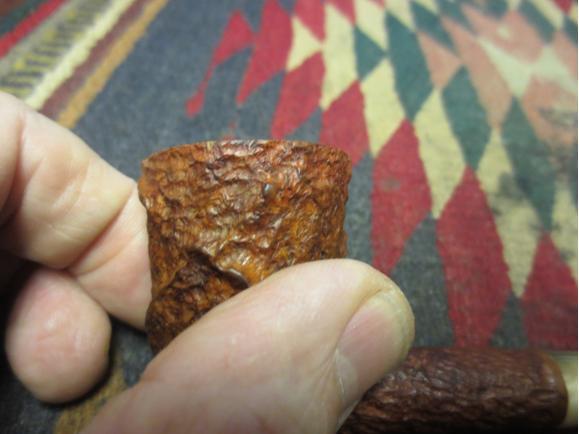

 When a bowl is this far out of square with a difference of almost ¼ inch in the slope it is a bit tricky to get a flat top. I used 220 grit sandpaper to begin the process and then used the Dremel and sanding drum to bring all sides even to my eye. Once I had the surface close to flattened I used a topping board and sandpaper to finish the job.
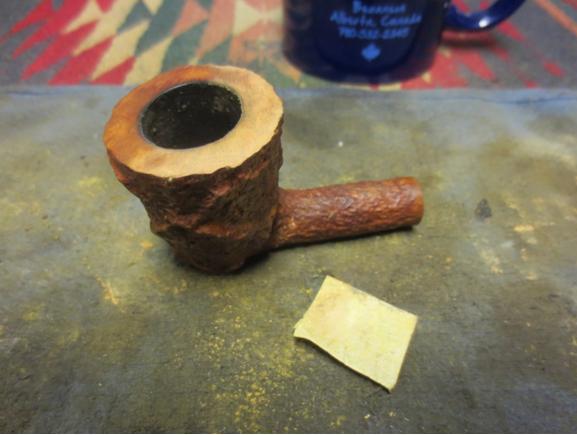

 I cleaned out the airway in the mortise and the stem with pipe cleaners, cotton swabs and alcohol.
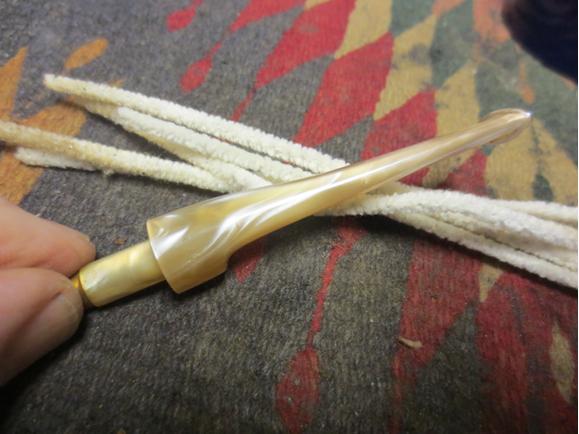 With the internals clean and the top flattened it was time to work on rusticating it. I wiped down the top with a cloth to have a clean surface to work with. The photo below is the final photo of the flattened smooth top.
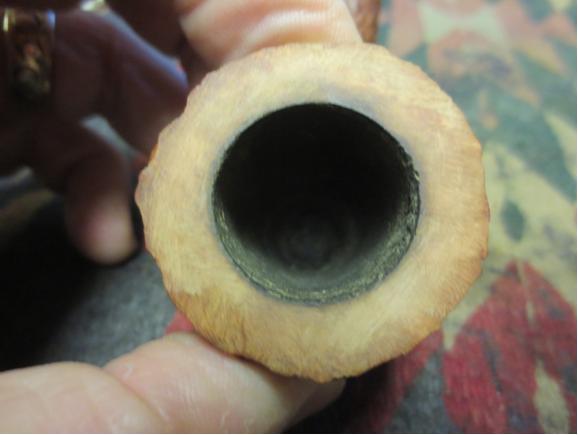 Originally the Estella had a rim top that went with the rustication on the bowl. In all of my research I could not find one that was smooth topped. I wanted to approximate the original finish of the rim so I looked on the internet to find a close-up photo of what the rim on this particular shaped Dublin would have looked like when it left the factory. The photo below, while not of a new pipe, shows the rustication of the original rim.
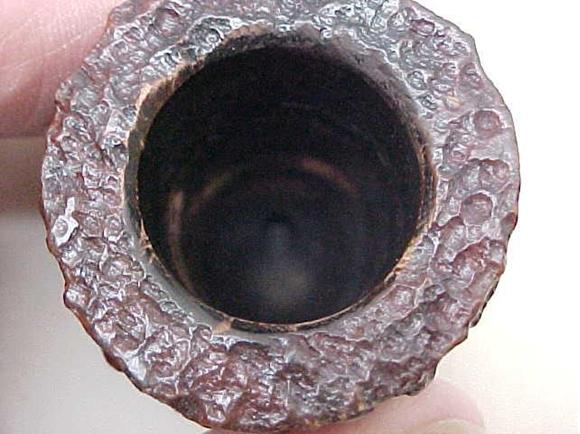 I used a Dremel and an assortment of dental burrs to rusticate the rim surface. I started with a Dremel burr to begin with so I could roughen the surface before using the other burrs. Each burr gave a slightly different pattern to the rustication and gave it a more random appearance.
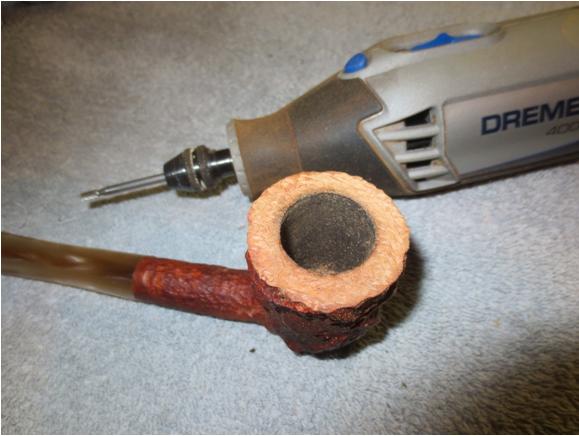


 The finished rustication is shown in the photo below.
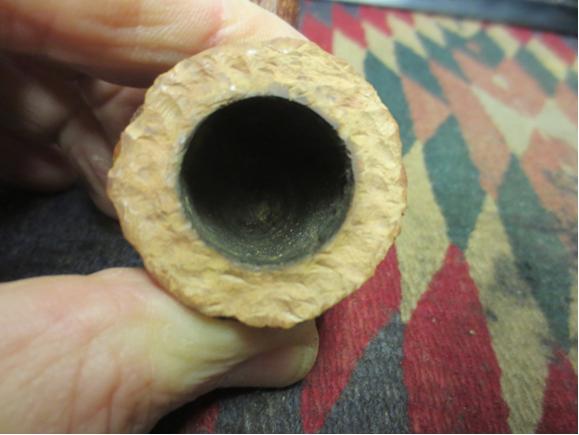 I used a light brown stain pen to stain the rim to match the rest of the pipe.
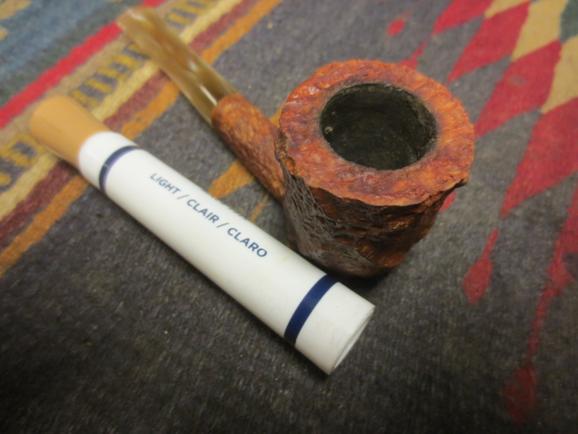 I scrubbed the rusticated top with a brass tire brush to clean up the look and give it the same kind aged rustication that the bowl had. The brass brush knocked off the high spots and evened out the surface for a more random look.
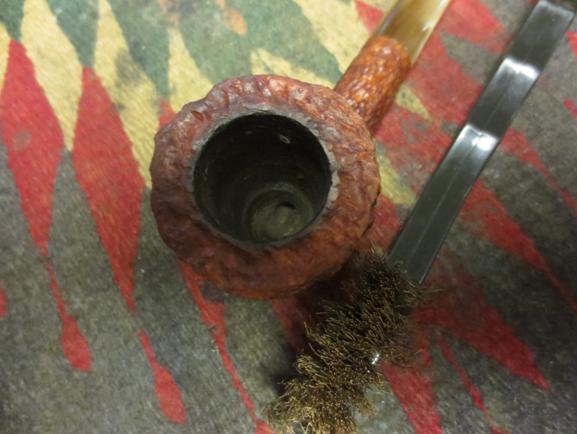 I sanded the stem with 220 grit sandpaper to remove the rippled effect on both the top and the bottom of the stem and then used a fine grit sanding sponge to smooth out the scratches. I wet sanded the stem with 1500-2400 grit micromesh sanding pads and then dry sanded with 3200-12000 grit micromesh pads.
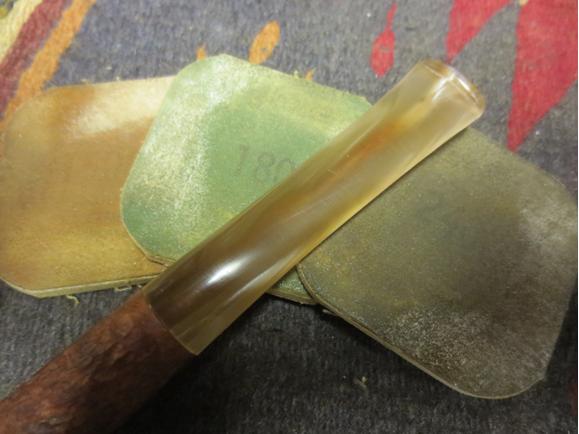

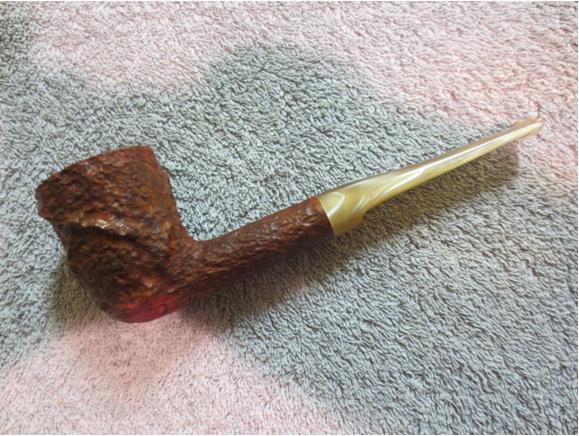
 I buffed the bowl and stem with Blue Diamond on the buffer and then gave them both several coats of Halcyon II wax and hand buffed it with a shoe brush to raise the shine. The finished pipe is shown in the photos below. I thoroughly enjoy the challenges present by the pipes I work on. This one was no exception. I think the finished look was worth the added effort to rusticate the rim. Once again thank you for taking the time to read and look at the blog.