Blog by Andrew Selking
As a collector of old KB&B pipes, I have searched for a KB&B Capitol for a very long time. First of all they just have a unique look, kind of like an upside down poker, but what really interests me is the craftsmanship required to make a threaded briar insert. There is very little information available about these pipes, about the best I could find is that it was made between 1919 and 1924.
When I received the pipe it had some cake built up in the bowl and tar stains on the rim and the stem was unmolested. The biggest issue was that the insert was firmly stuck. In fact a previous owner tried pliers to get it out, based on the gouges along the top. I tried the usual method of freezing it, but to no avail. I wrote Steve for any ideas and he suggested doing a retort. That didn’t work either. I finally ended up soaking the bowl in alcohol for 24 hours, freezing it, then heating it with my heat gun. With the help of a rubber kitchen gripper, it finally broke loose.
In these first pictures you can really see the tar build up on the inside of the pipe.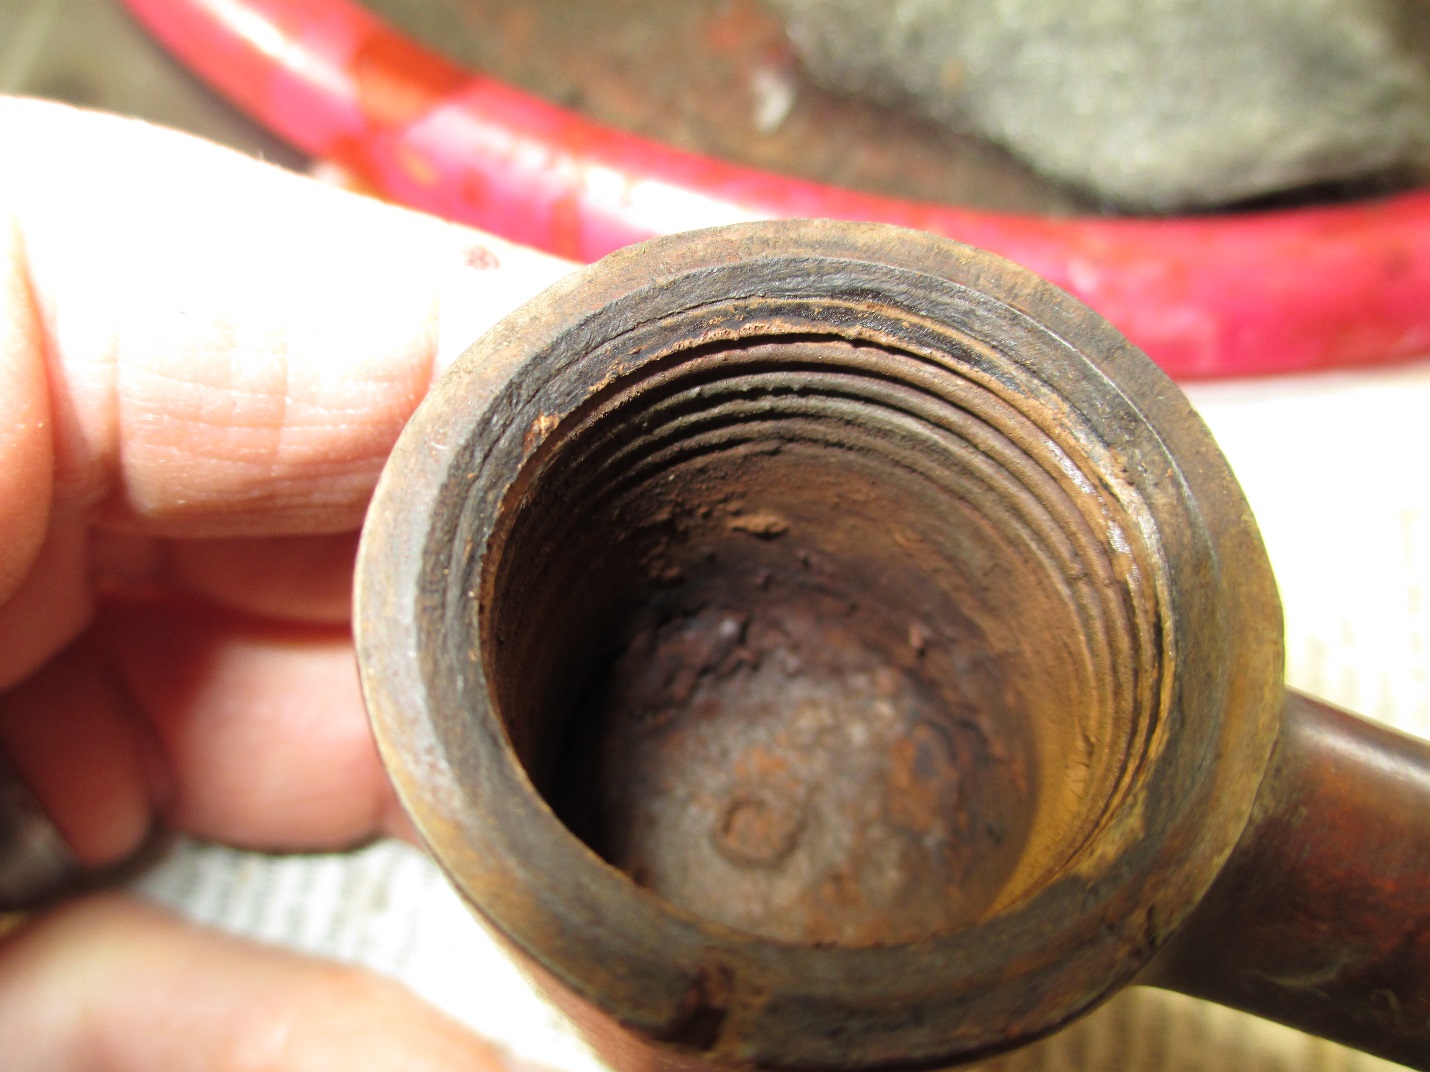

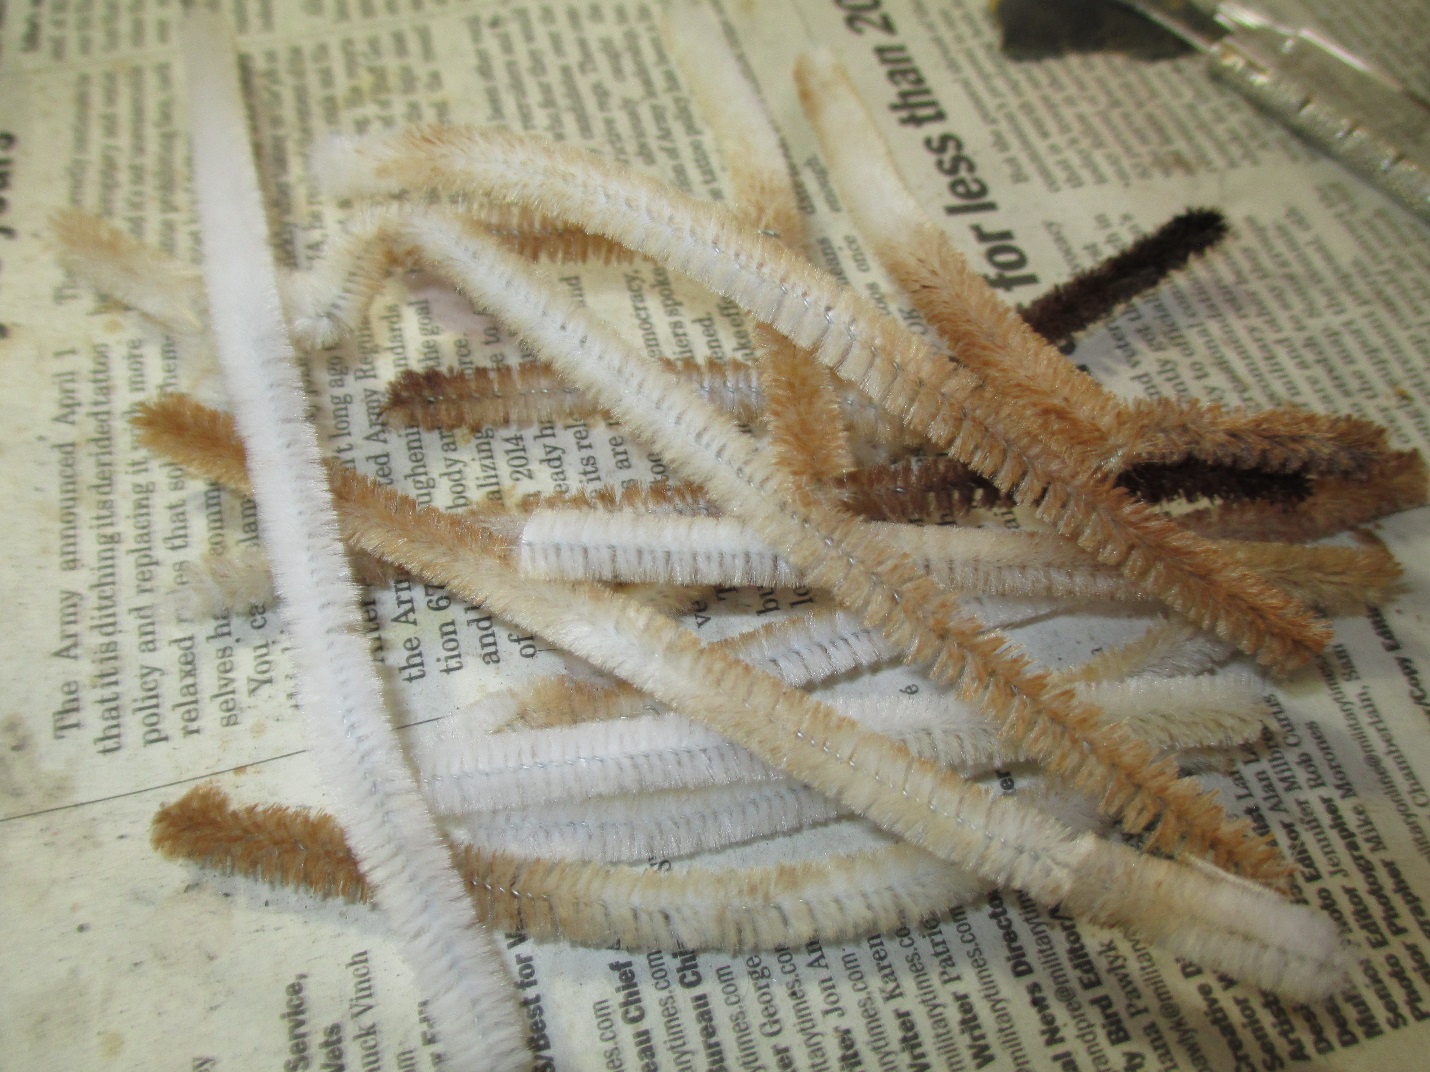
 I soaked the stem in Oxyclean. The stem was marked “Hard Rubber” and exhibited no oxidation after soaking. It was pretty filthy though. I used a pipe cleaner soaked in the Oxyclean solution to remove as much gunk as possible, this was the first pass.
 Next I turned my attention to removing the serious tar build up in the inner bowl. I found my dental pick was the perfect tool for this task.
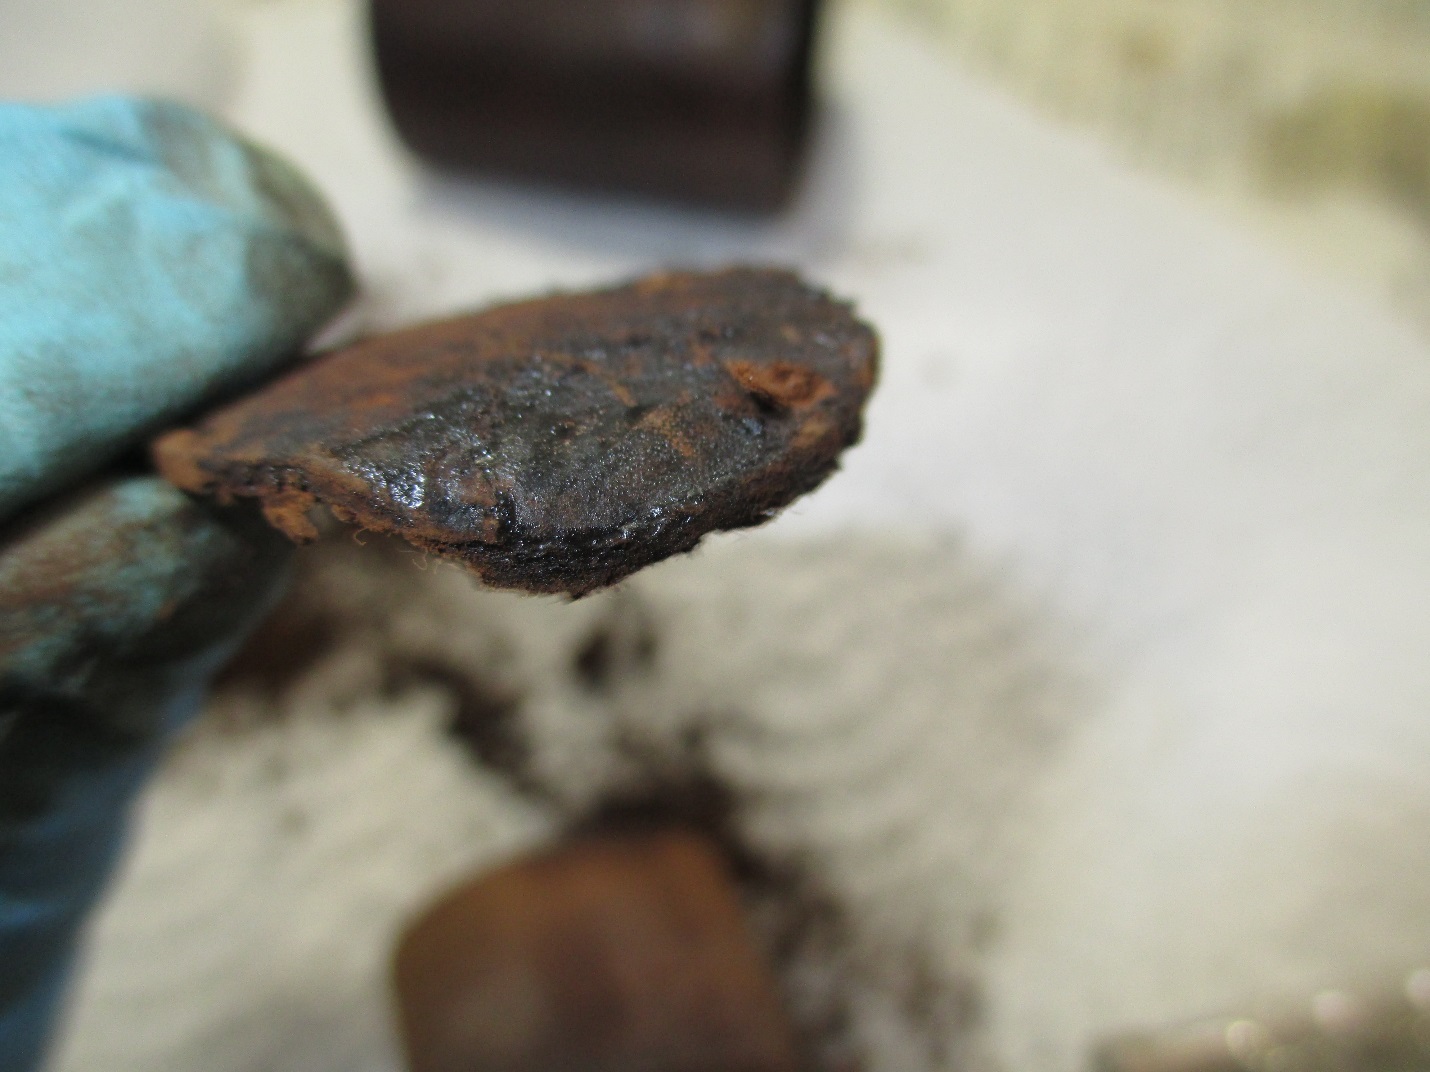
 The bottom of the inner bowl had a biscuit of tar.
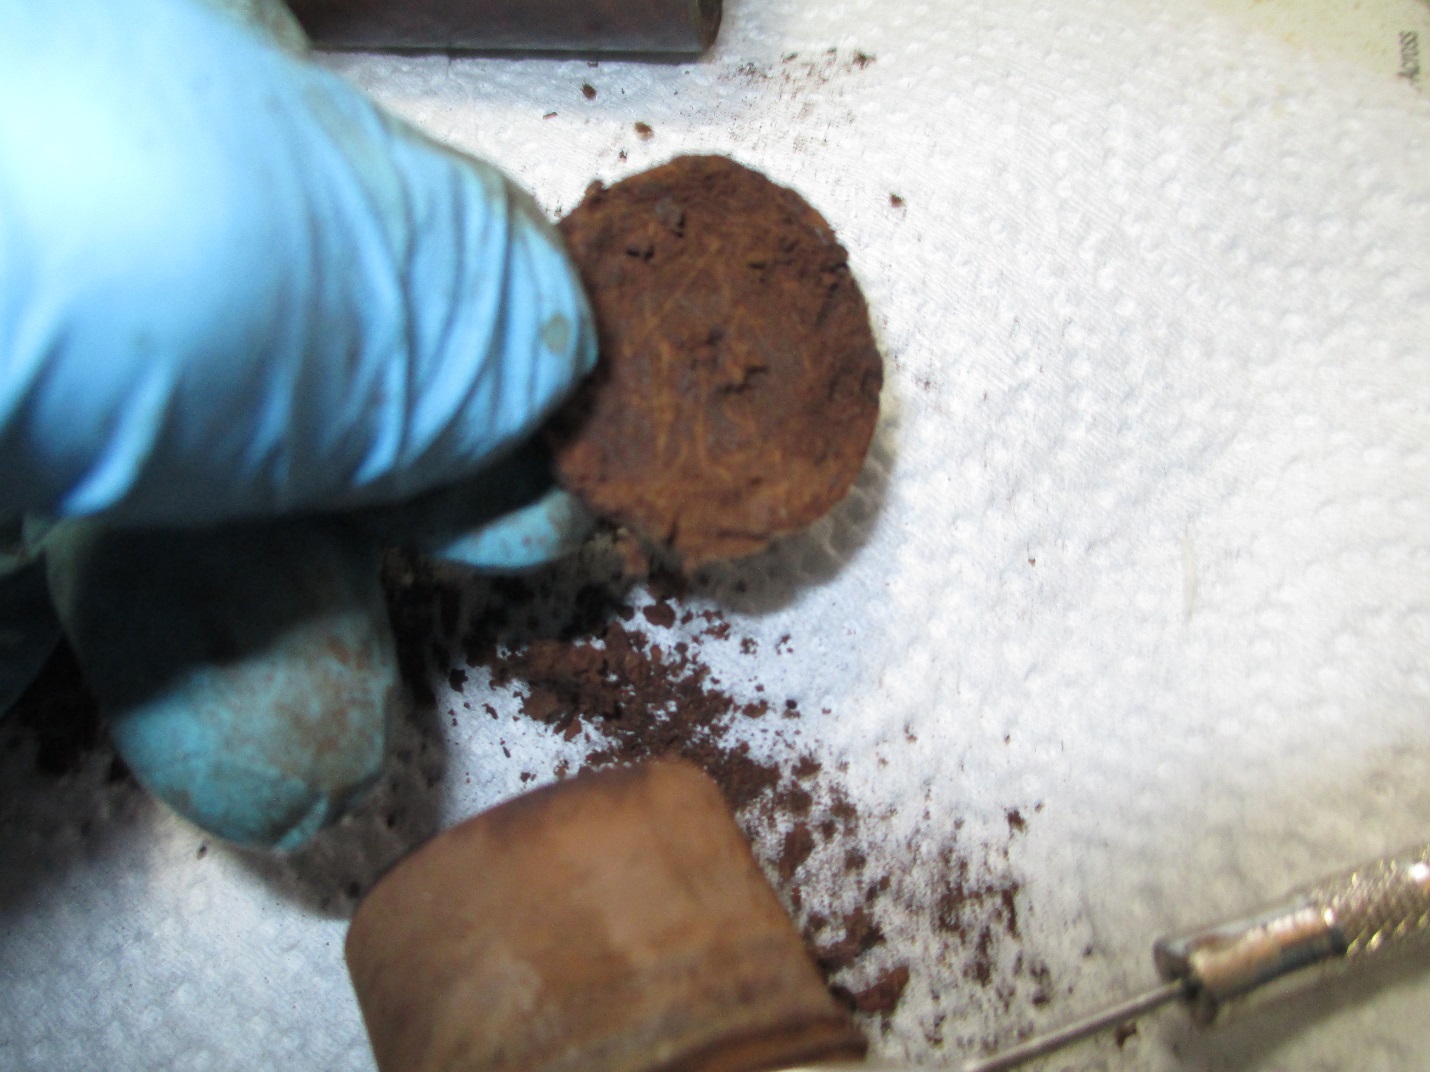
 I used an alcohol soaked cotton ball to loosen the tar in the threads.
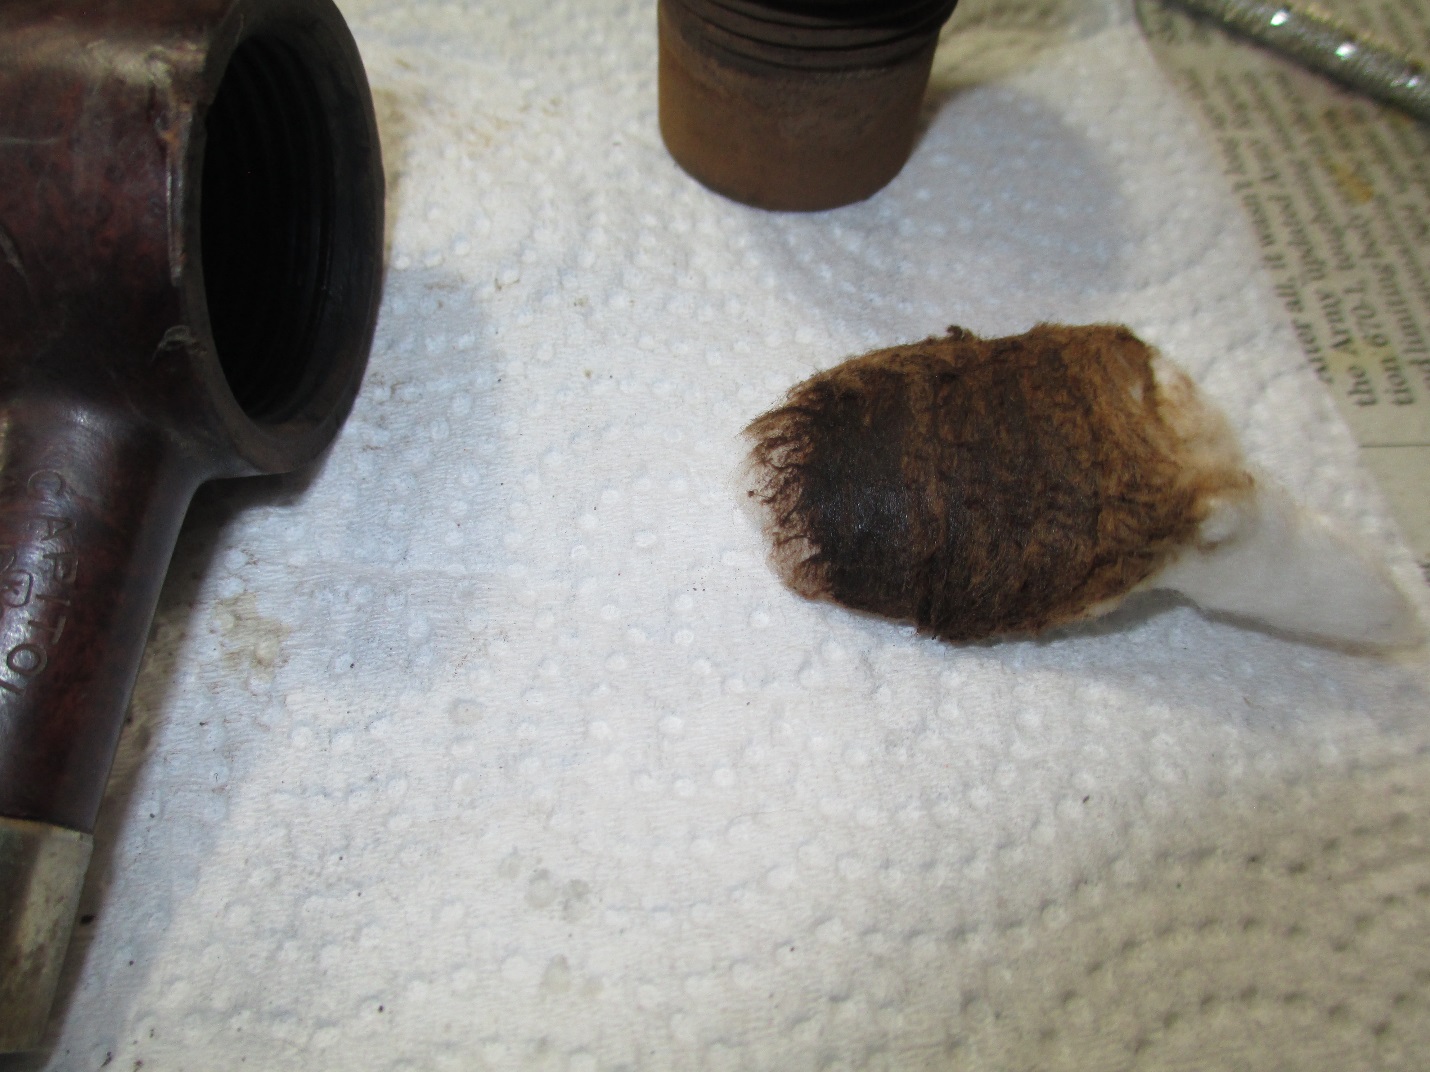 Since this pipe has two bowls, I did a retort with just the outer bowl followed by a retort with the inner bowl inserted.
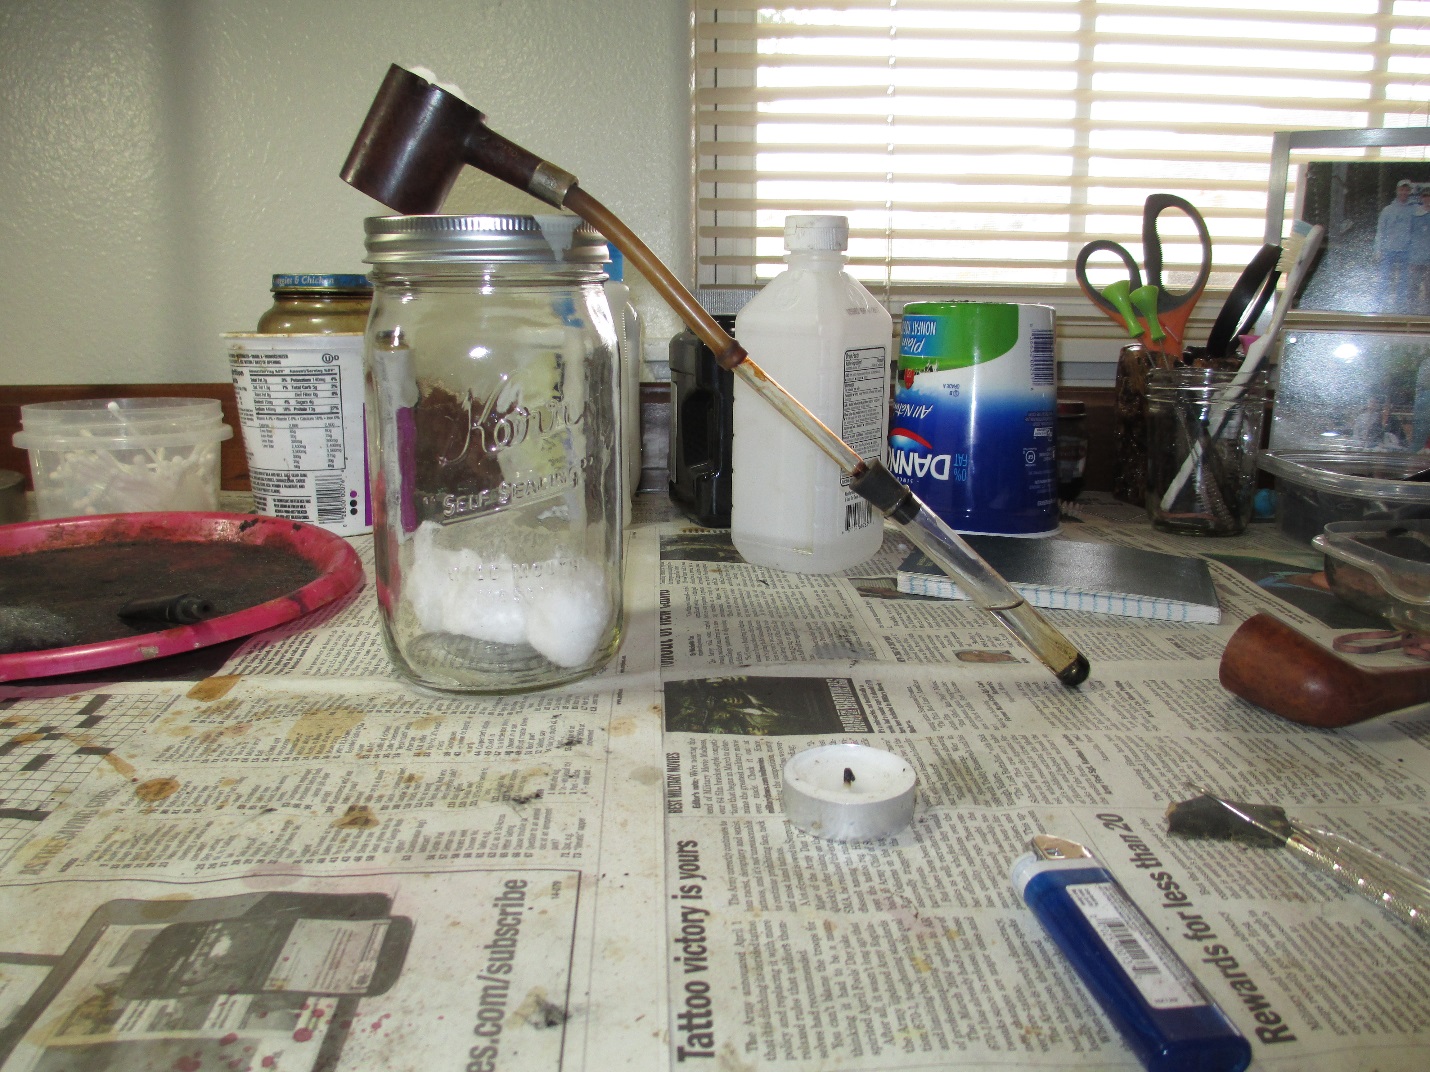 I love the old stems.
 I did a retort on the stem. It was nasty, but the boiling alcohol did the trick.
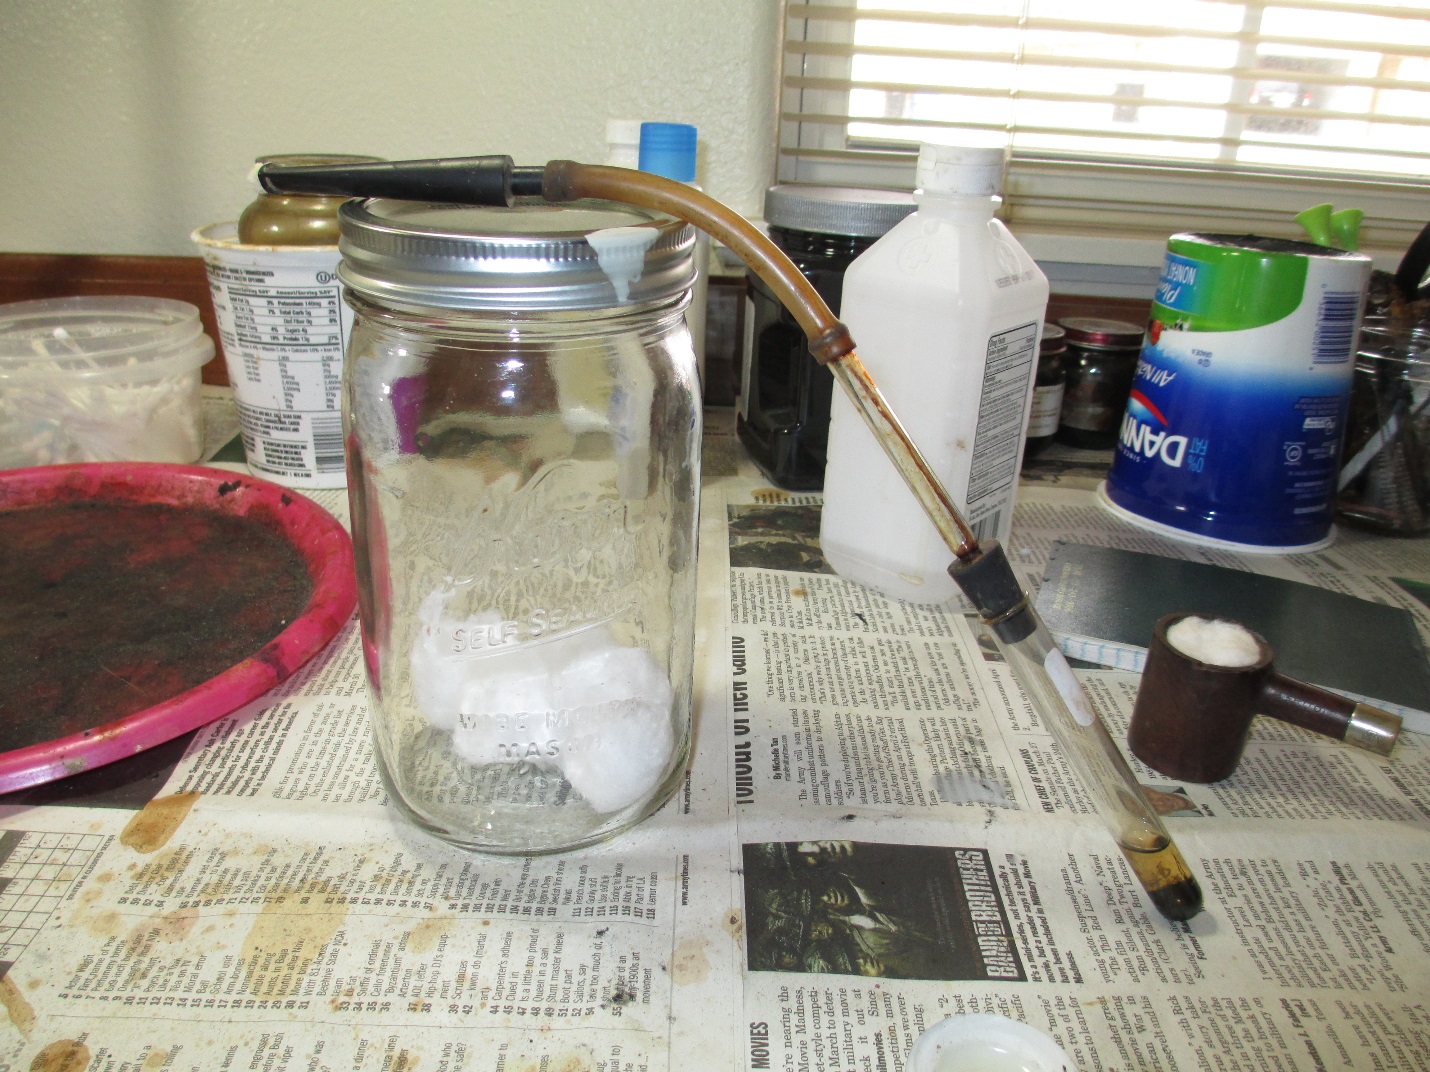
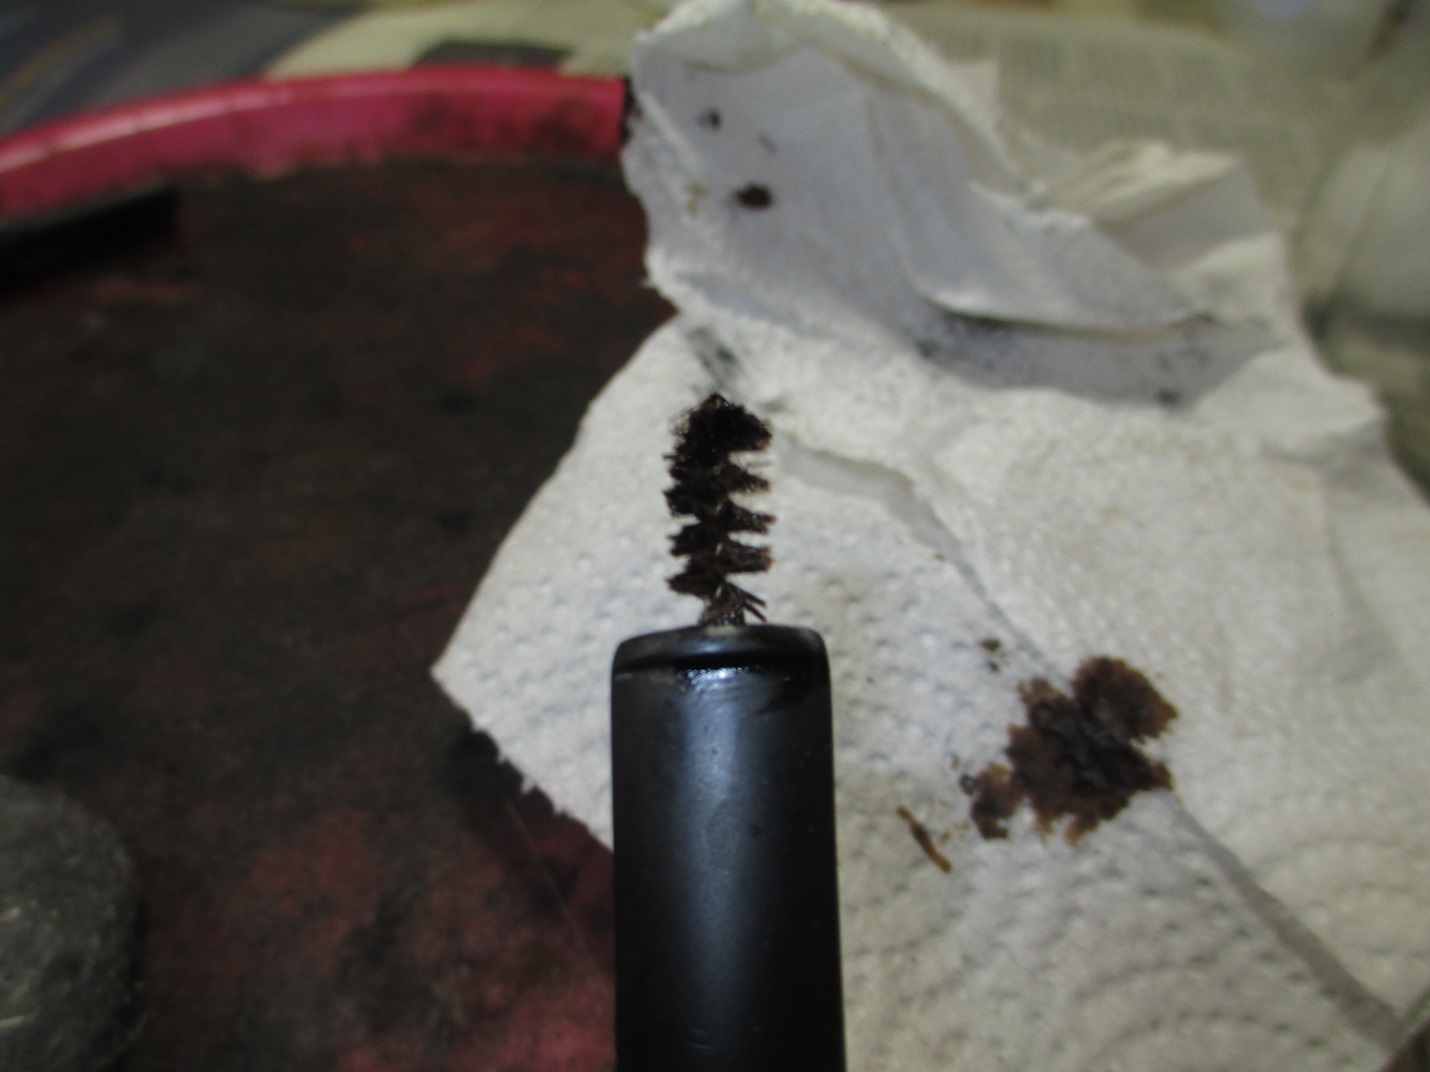
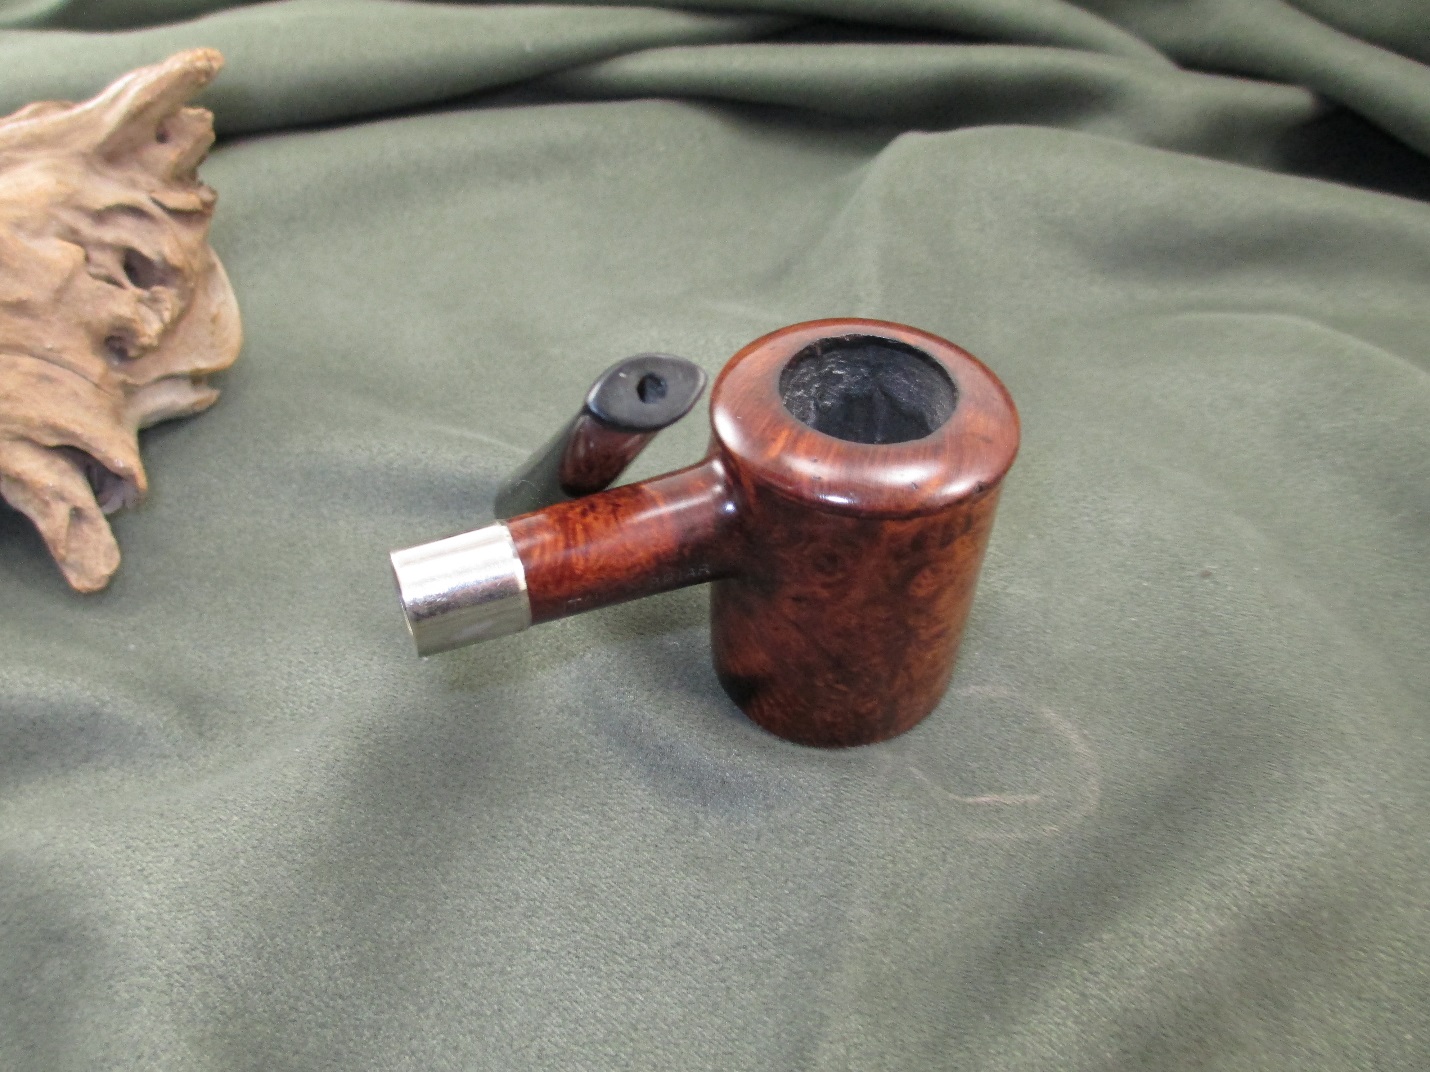
 The design of this pipe makes it extremely easy to clean, although I doubt that ever happened prior to my getting ahold of it.
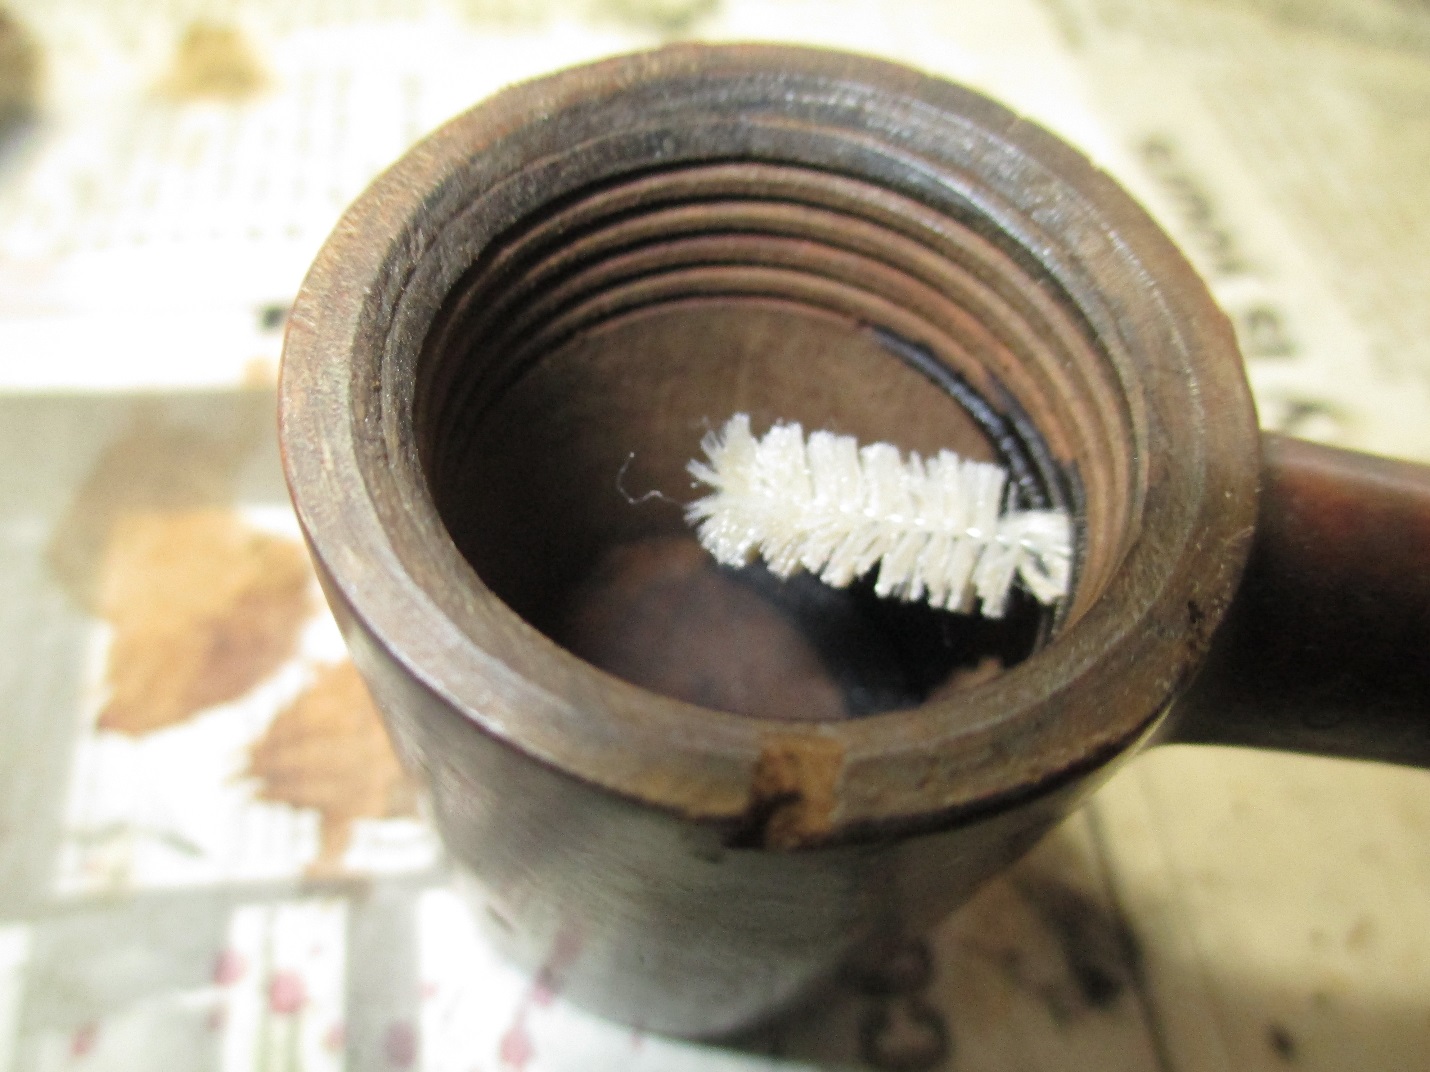 A couple of q-tips and a pipe cleaner and the shank was clean.
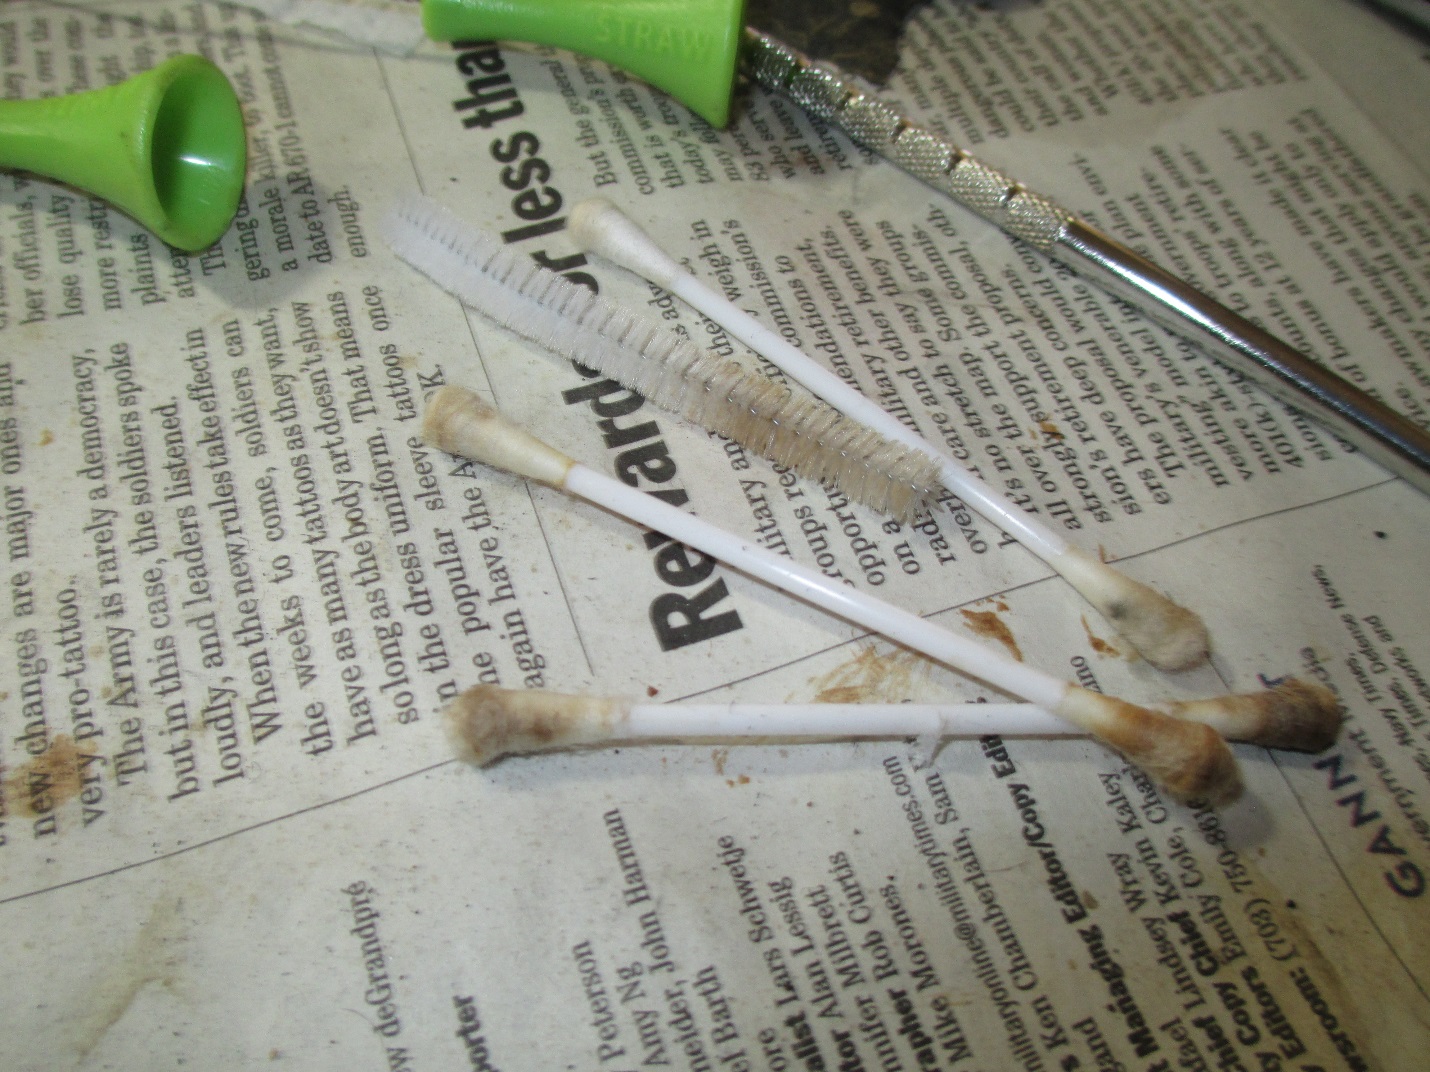 Next I tackled the stem. I used 400 grit wet/dry with water followed by 1500-2400 grit micro mesh pads with water. You will notice the small washer, I use that to make sure that I don’t round off the edges of the stem.
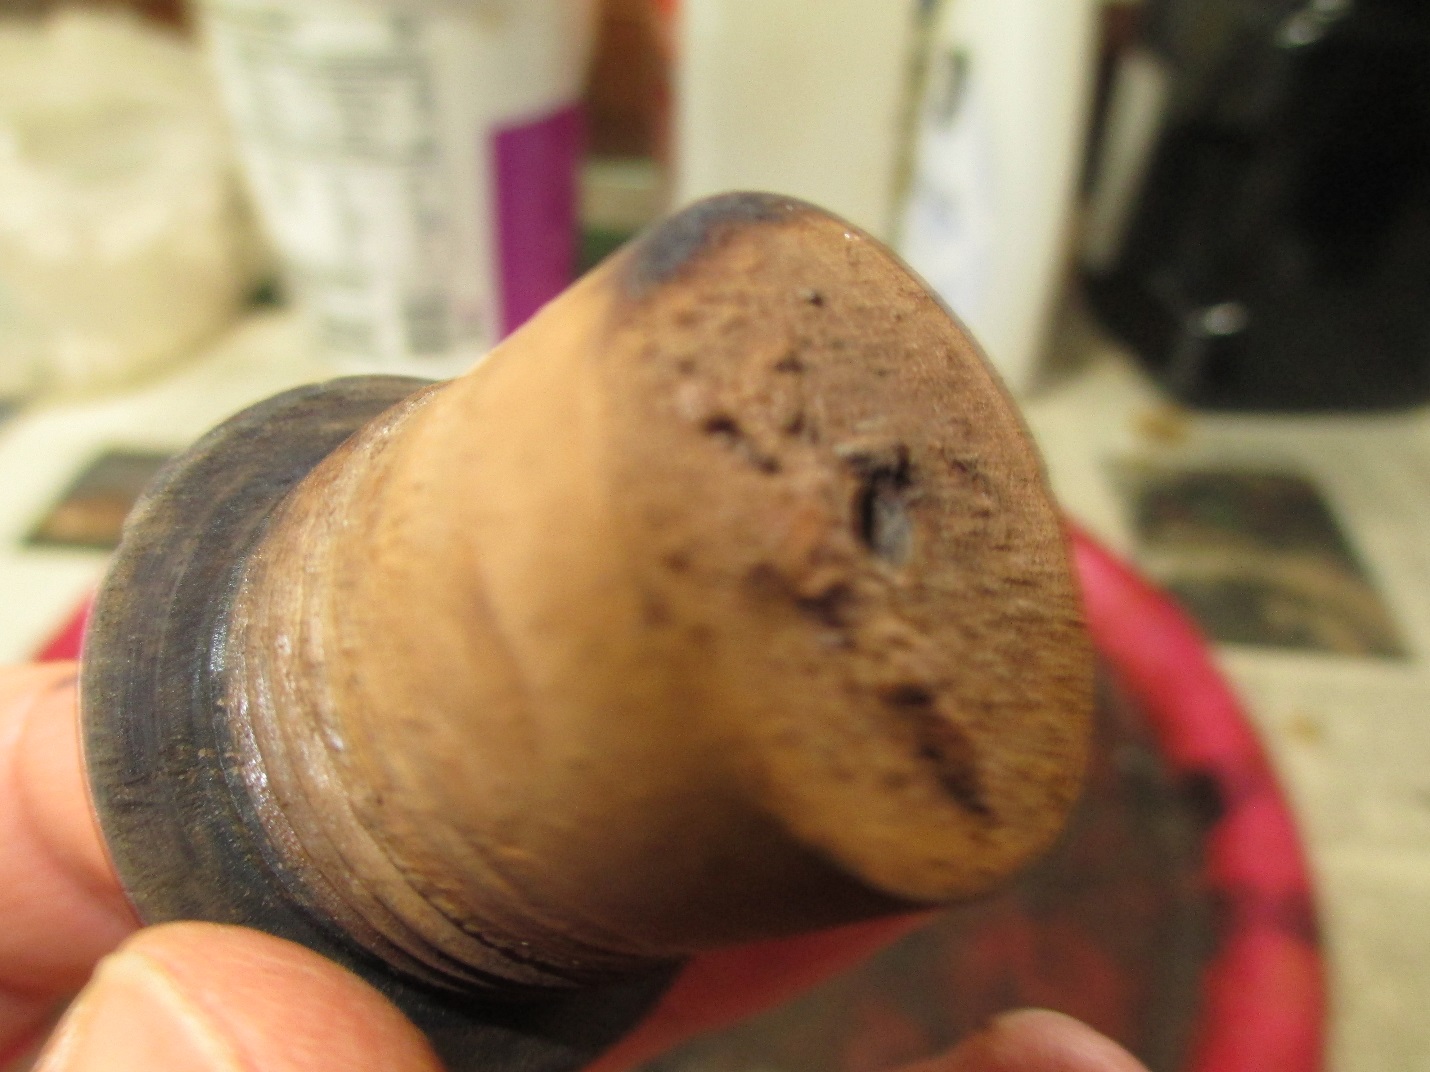
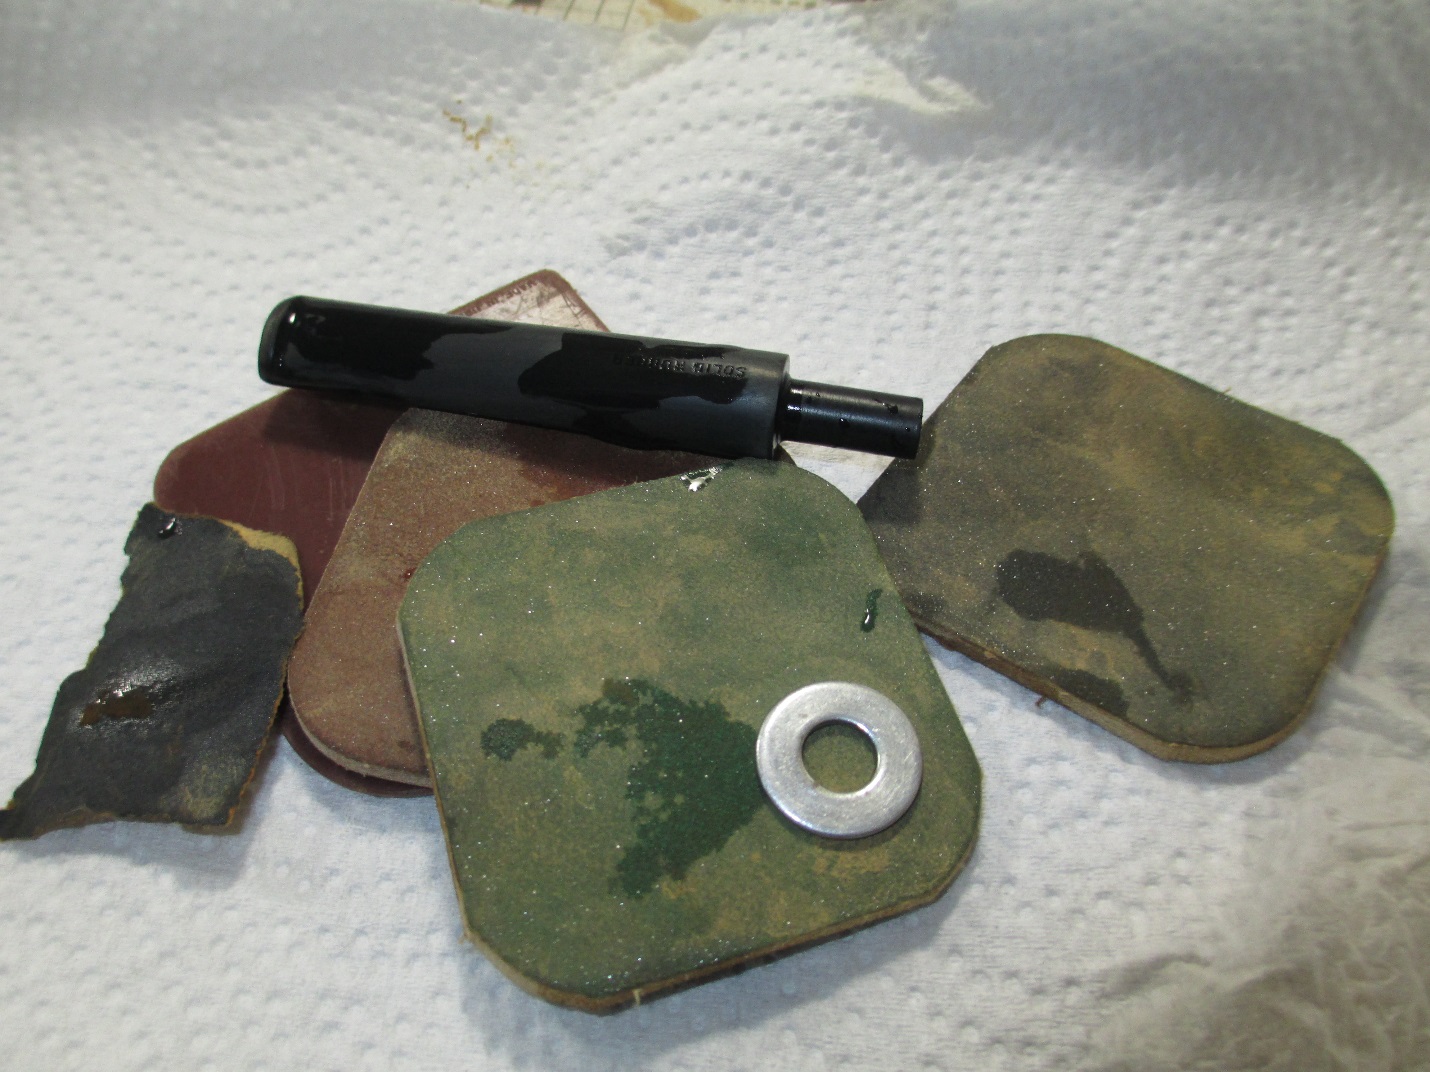 You may have noticed in a previous picture that there was a piece missing at the top of the inner bowl. I spread a small amount of CA glue into the hole with a push pin followed by briar dust and accelerator.
 I also noticed a small fill residing under the band, so I picked out the old fill and replaced it with briar dust and CA glue.
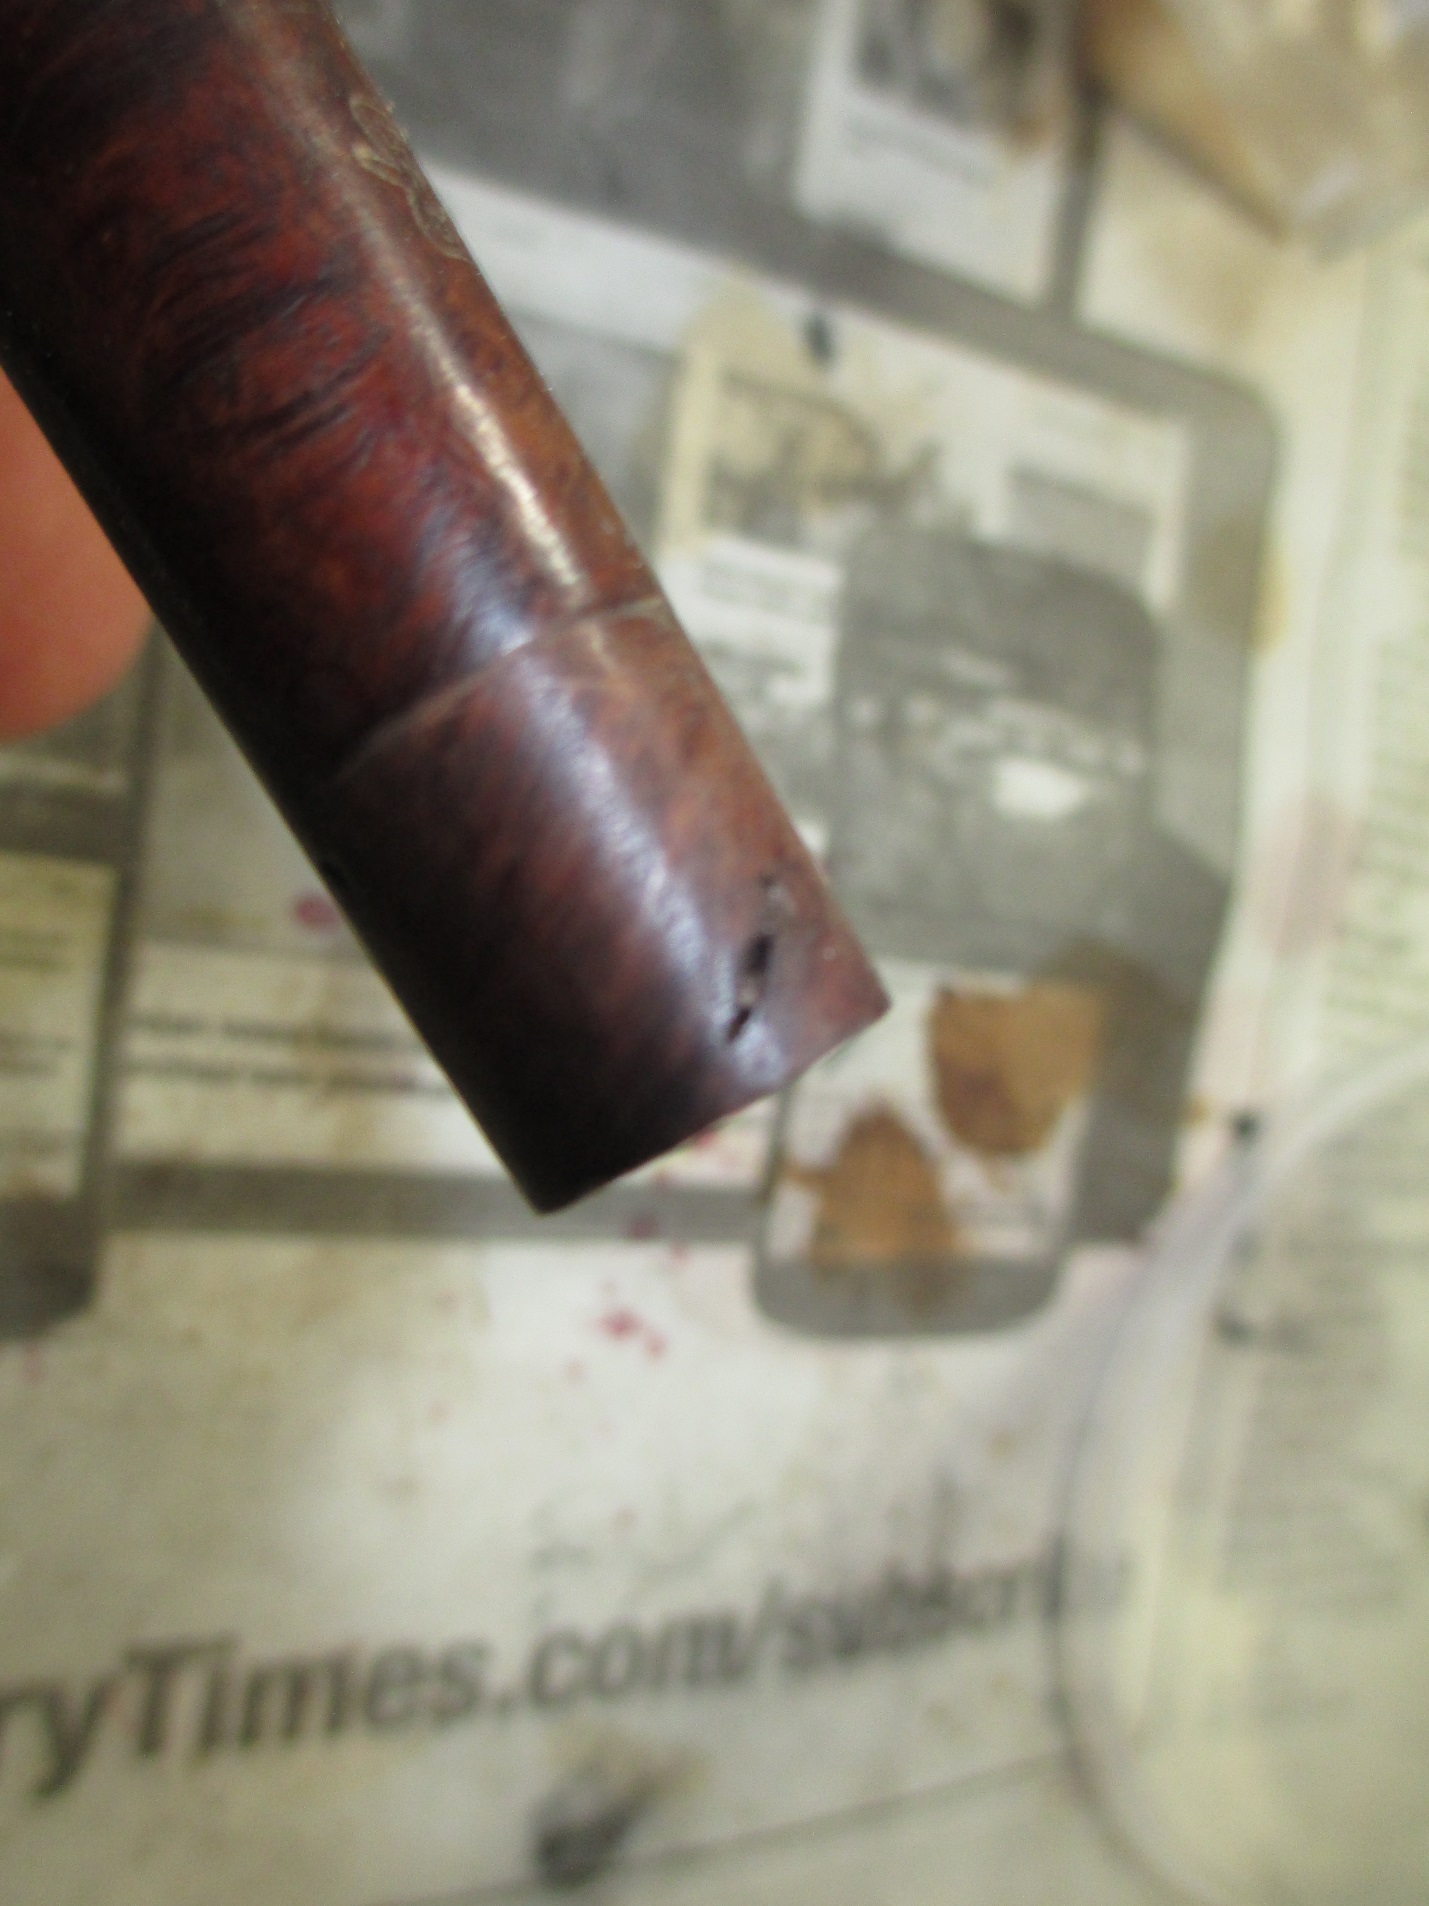 The exterior of the bowl was caked with tars and grime, so I used acetone and 0000 steel wool to clean it up.
 That was only minimally effective, so I ended up sanding the whole thing. I used 400 grit to get the worst off, followed by a progression of micro mesh pads, 1500-12,000 grit. While working on the bowl, I also polished the stem with 3200-12,000 grit micro mesh pads. One of the things Steve talks about is using Obsidian Oil after each third set of pads. Since I don’t have Obsidian Oil, I used a very small amount of mineral oil with the 3200 grit pad. It really cut down on the dust and seemed to help the rest of the pads polish more effectively. Here is the pipe ready for stain and polishing.
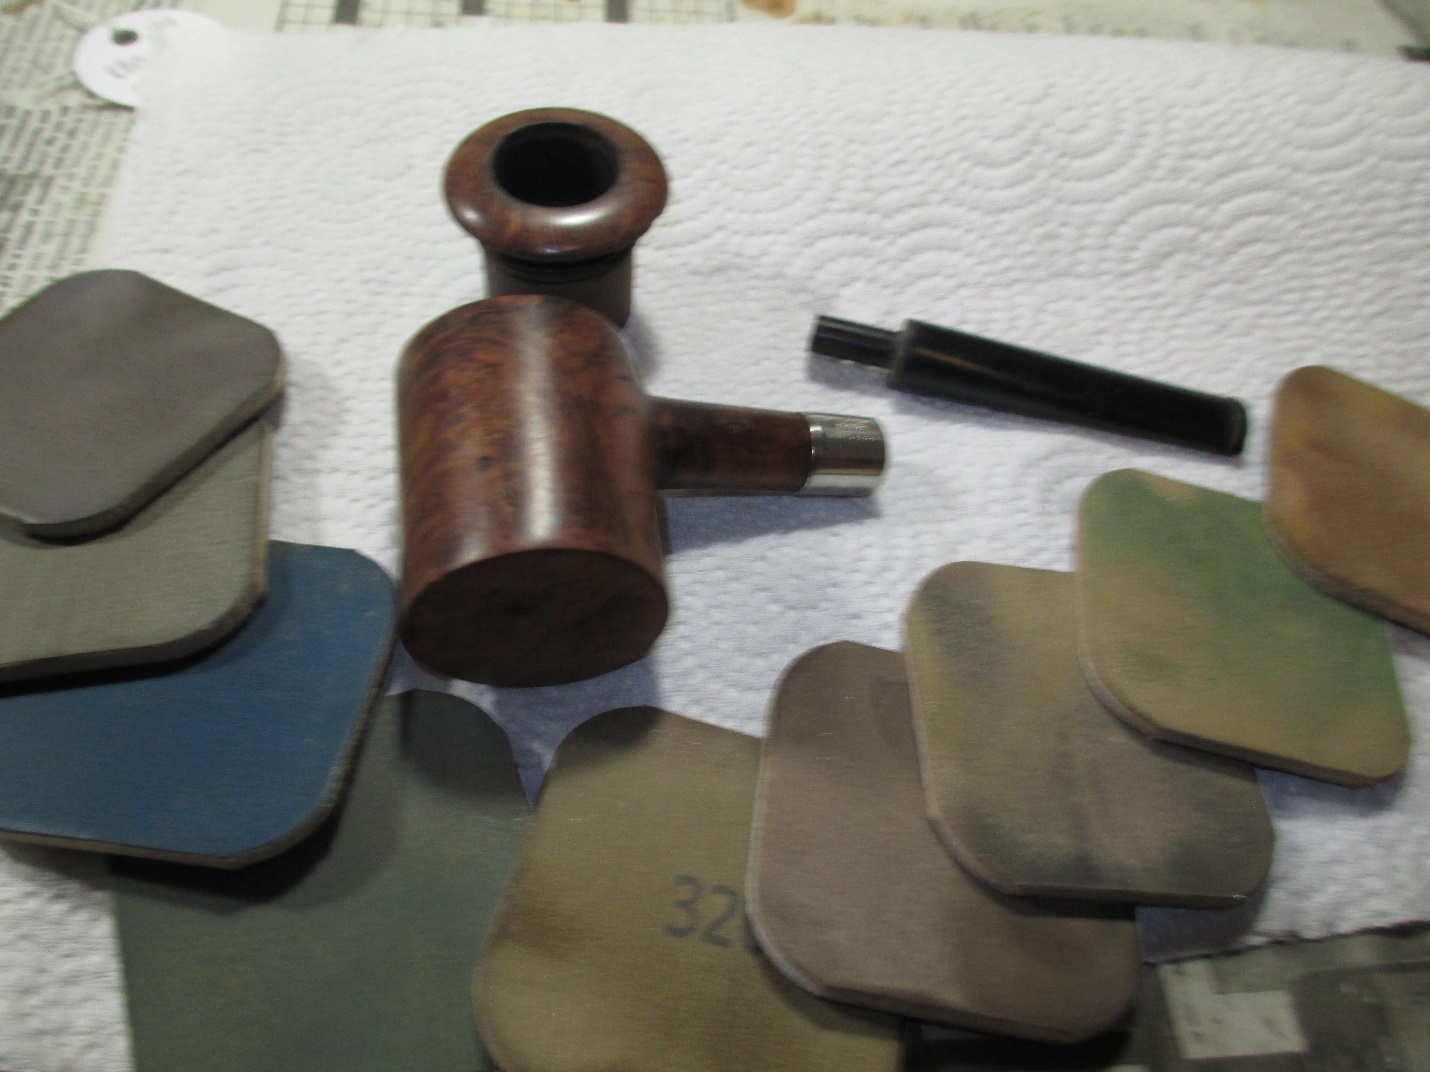 I don’t know if the stamping on the stem was originally filled in white, but I thought it might look nice. I used my correction pen to fill in the letters.
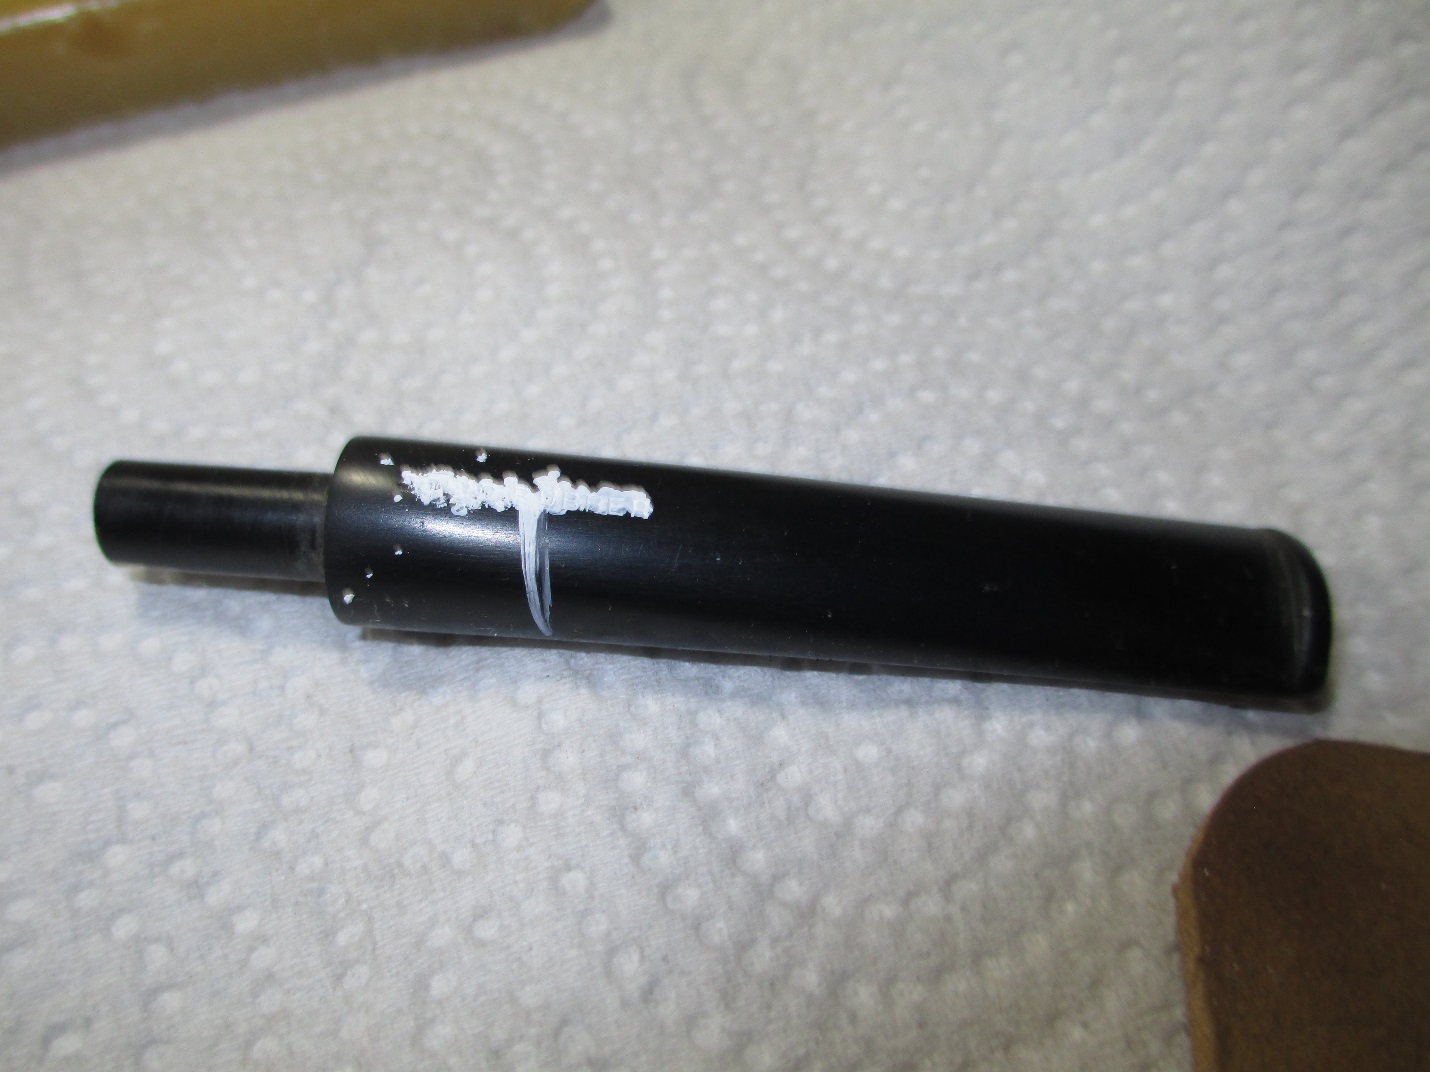 I removed the excess correction fluid with my rotary tool and some white diamond. I then polished the stem with carnauba wax.
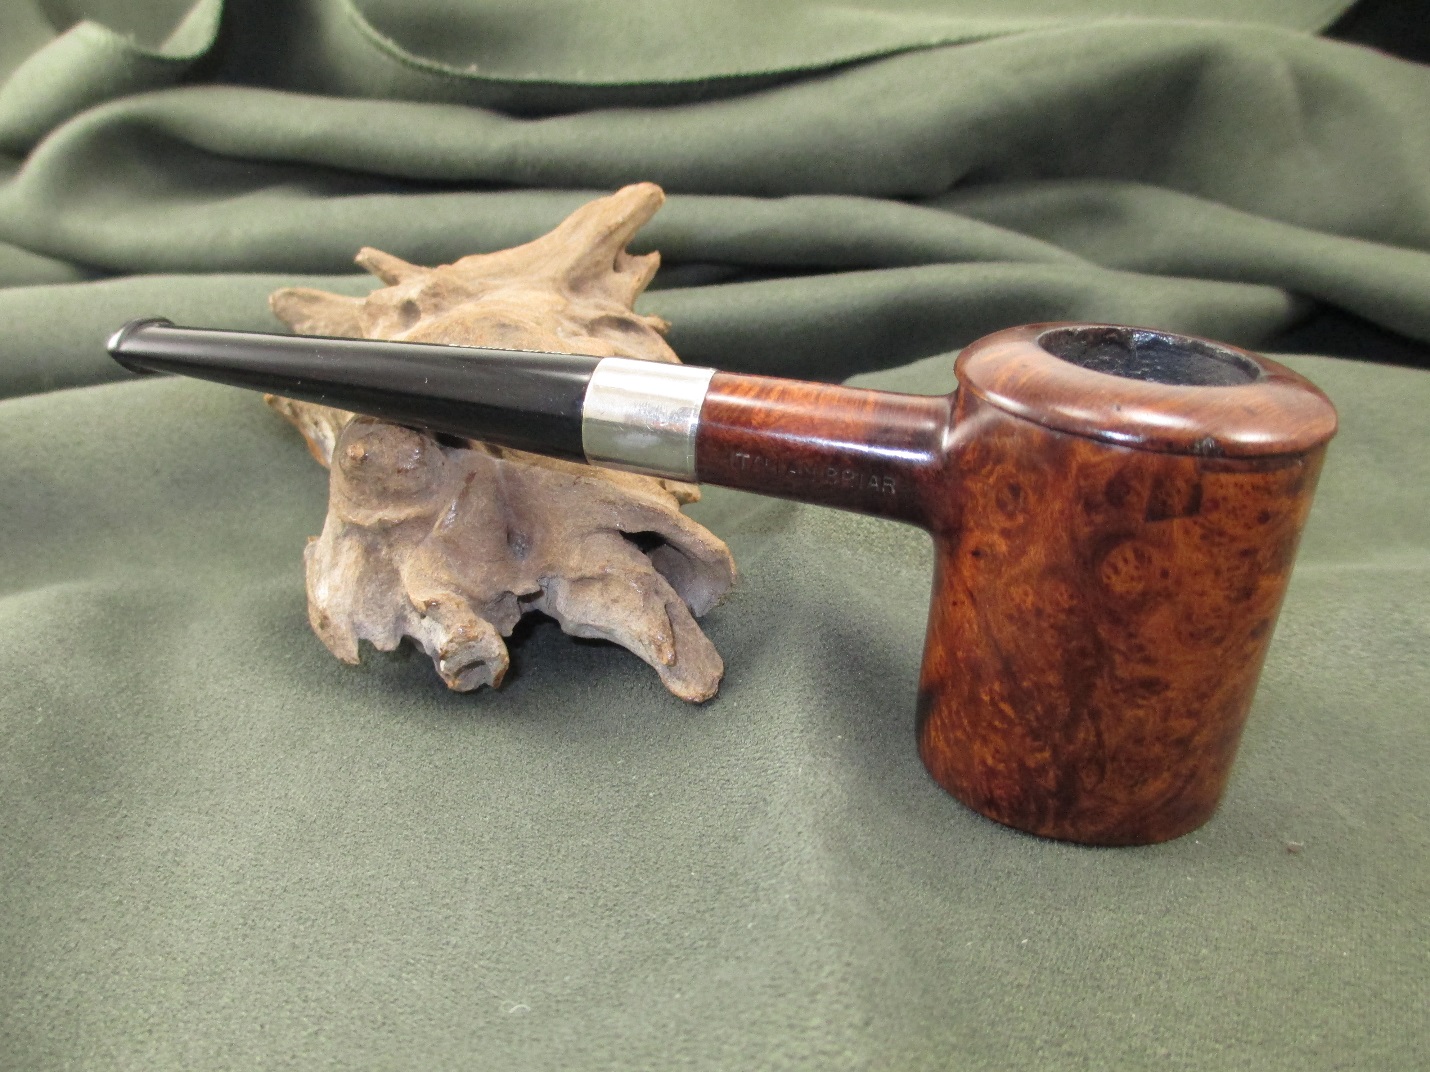
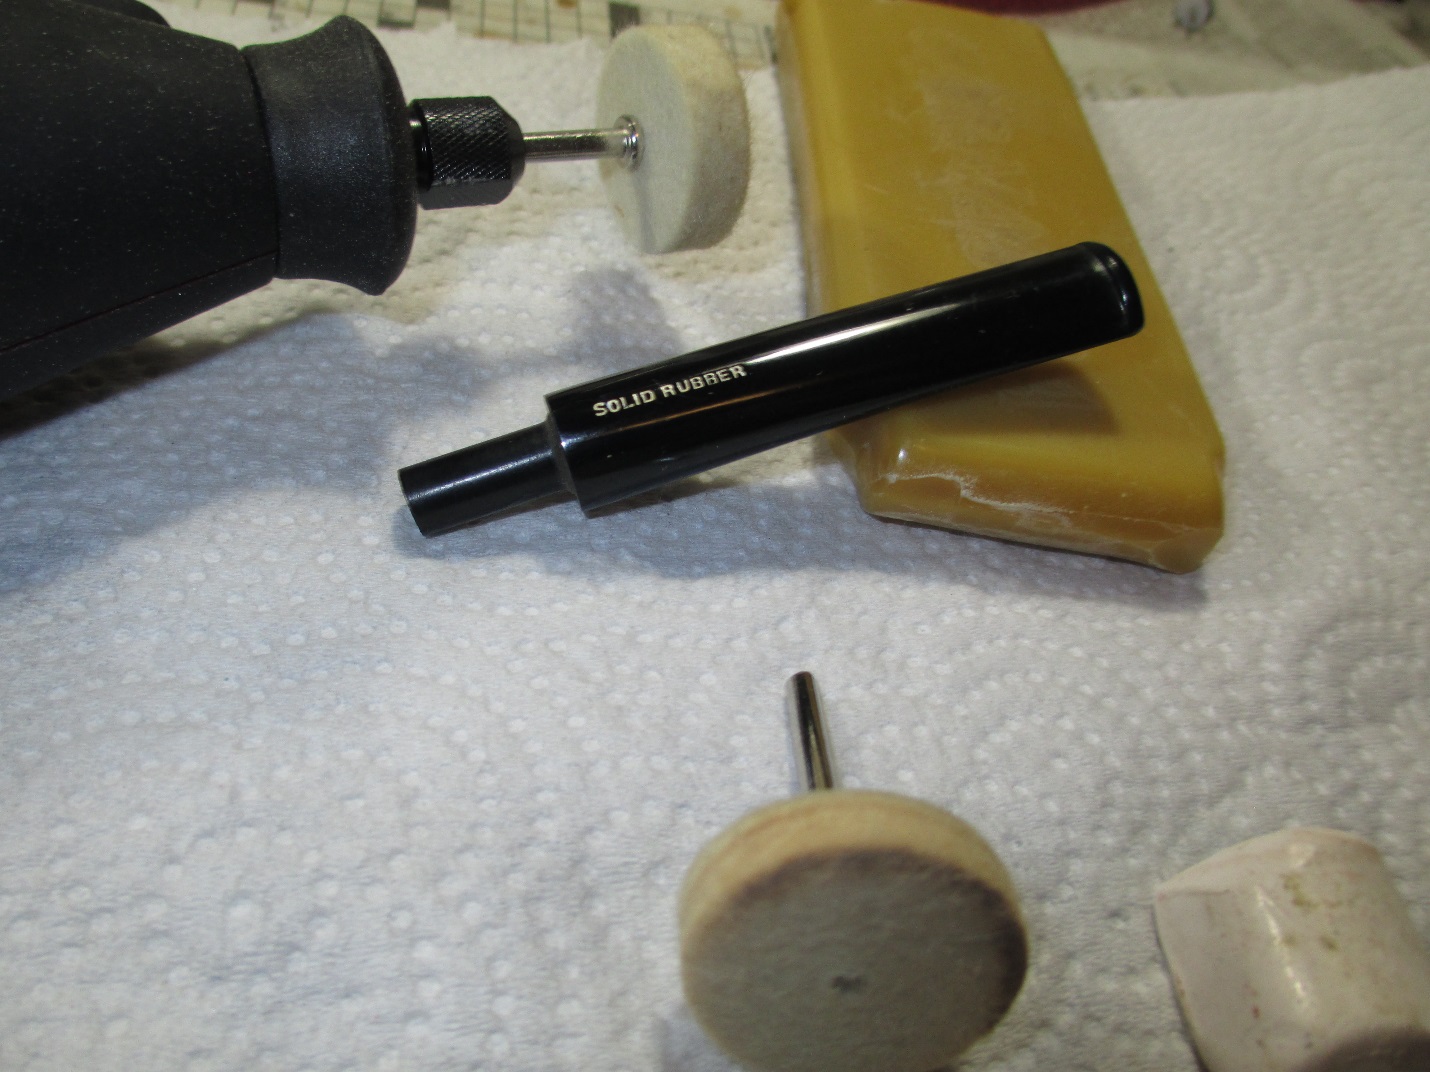 I stained the pipe with a medium brown stain and polished it on the buffer with white diamond and carnauba wax. Here is the final result.
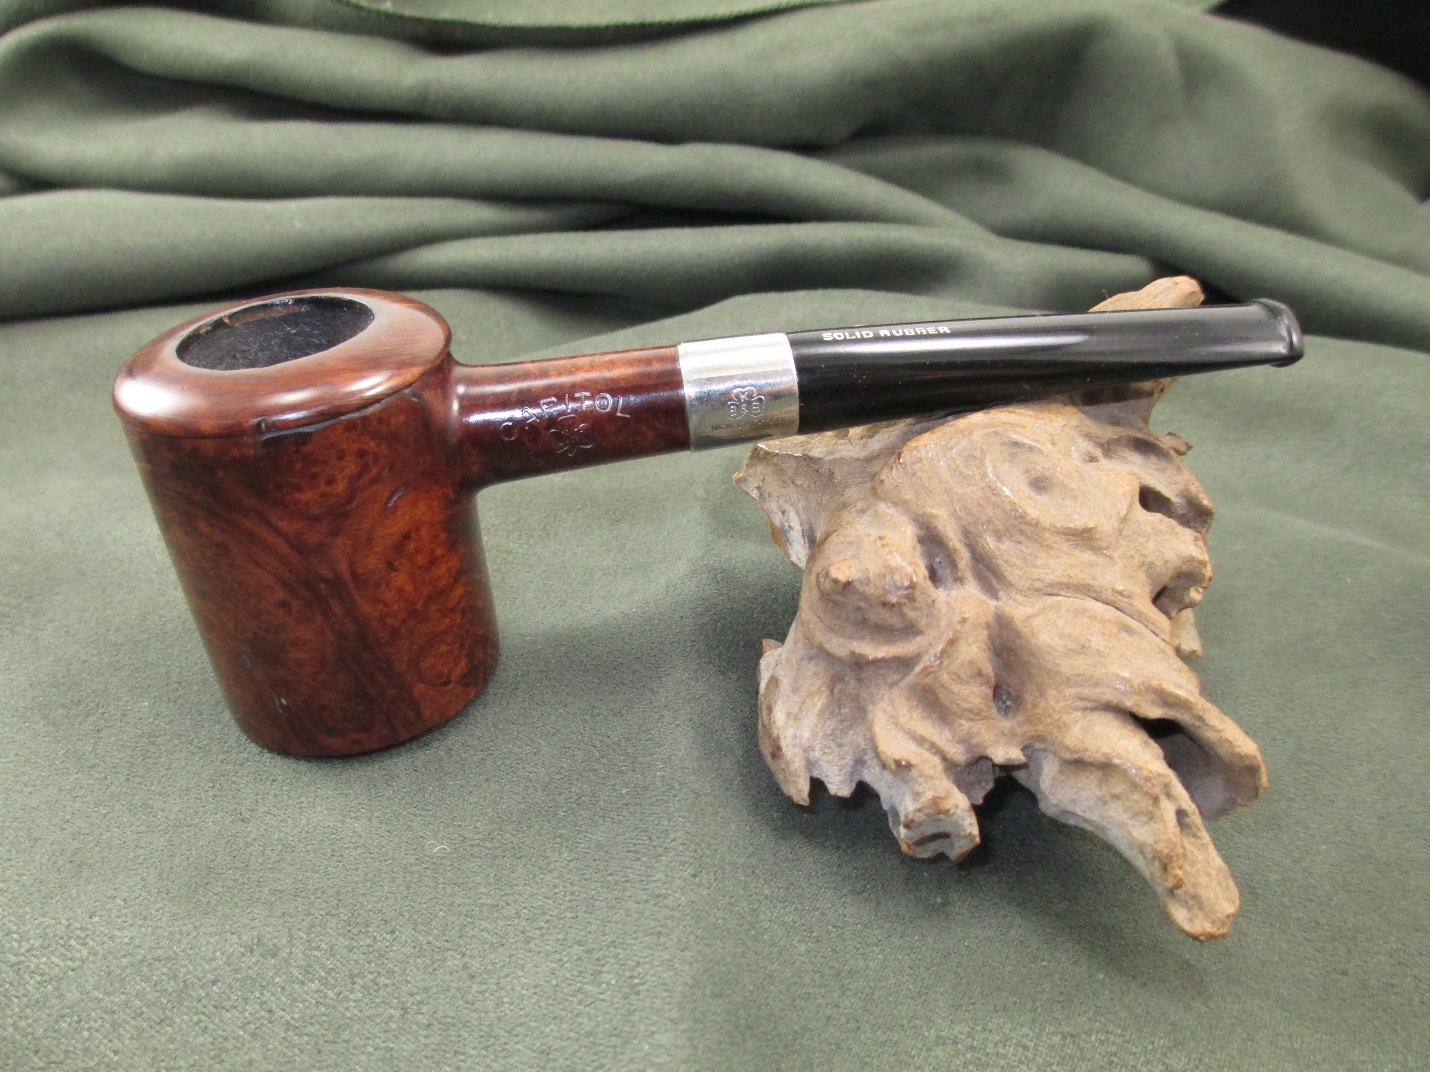

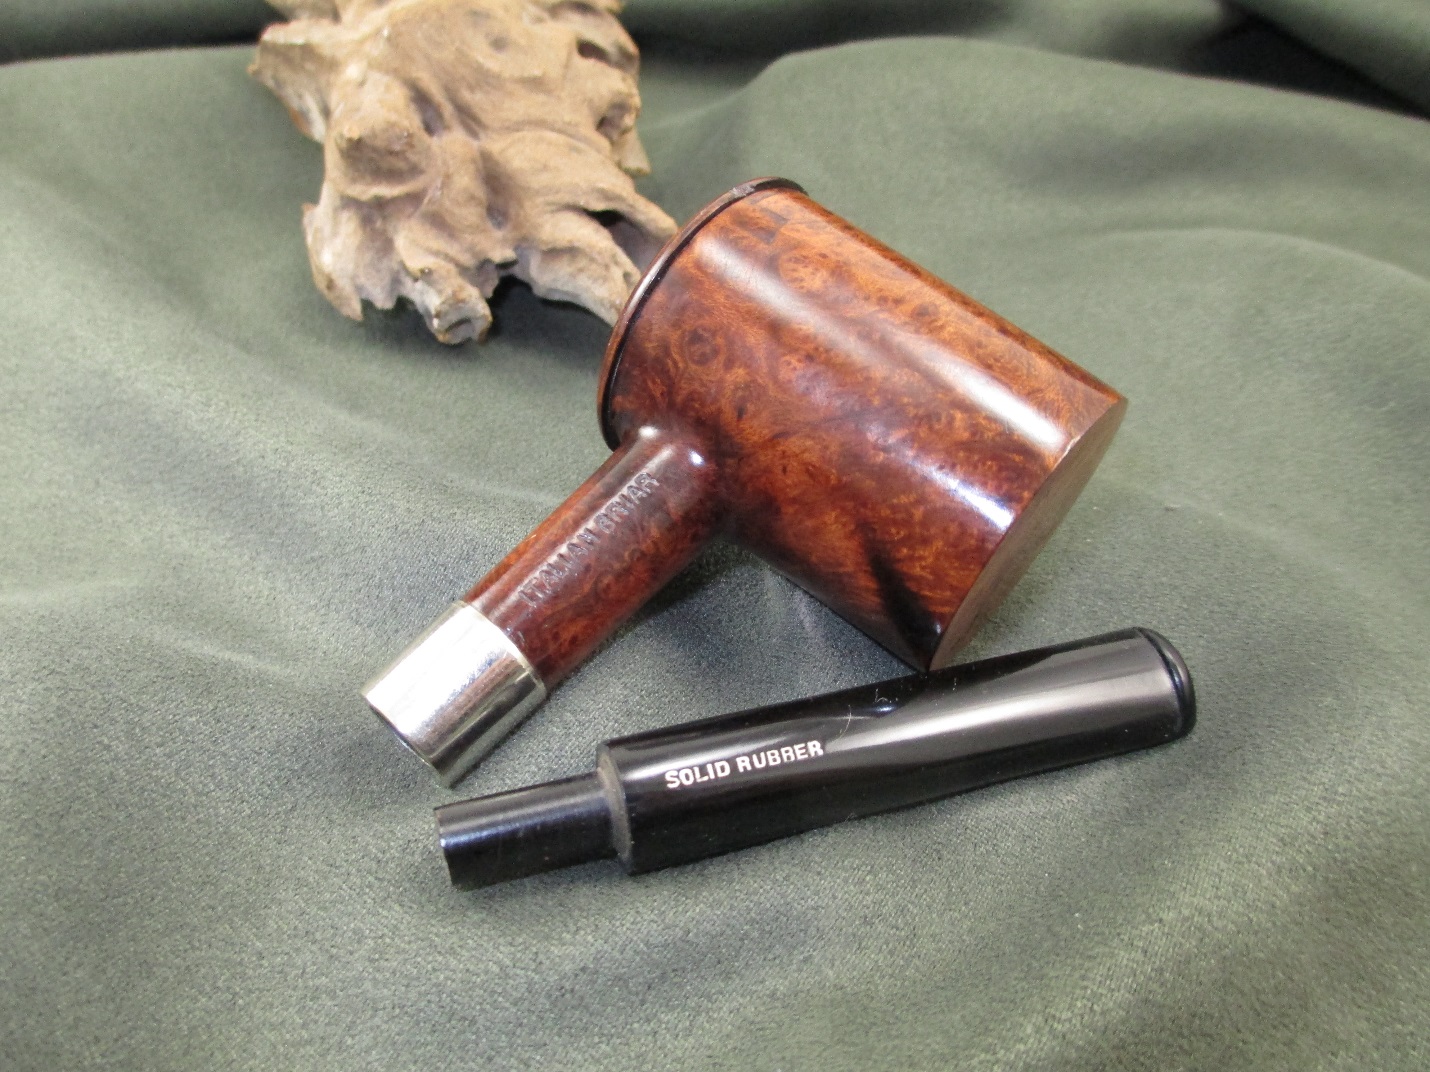

Thank you for this well documented restoration. Pics of the stamping on the stem have helped me realize that the ill fitting stem on a client’s KB&B Capitol are the result of a shortened stem due to a broken tennon that then had an amateurishly made “new” tennon. The replacement stem I make will now be longer that the damaged original I intended to copy.
LikeLiked by 1 person
Thank Troy. Do you know any history about your pipe? I looked at all the usual places to try and find out something about this pipe, but couldn’t.
LikeLike
I do not really know much about it . I got it in a sort of trade from Dave Whitney.Though i really haven’t tried to research it very much .
LikeLike
Al, the repair is stellar. I talked with Joe about it. The Gorilla Glue is the same as the clear that we use. The difference in the patches is the size of particles of briar dust. He uses a medium wood rasp to churn up some larger sized particles that he uses. If you look at the size of the particles on the spoon you can see the difference in sized compared to the briar dust that I use. My dust is very fine. Joe is pretty convinced that the larger particles is what enables him to have lighter coloured patches. Now I am going to have to experiment.
LikeLike
I’ll have to give the larger particles a try. Joe is the person who gave me the idea to try the charcoal and CA glue in the first place.
LikeLike
That is a interesting piece. I like how the stem logo came out, outstanding.
LikeLike
Thanks Greg.
LikeLike
Very nice work Andrew on a interesting pipe . It came out excellent !
Ive got a pipe very similar to it called a Windy Perpetual Drysmoker .One day i need to get to it and refurbish it .
LikeLike