Blog by Steve Laug
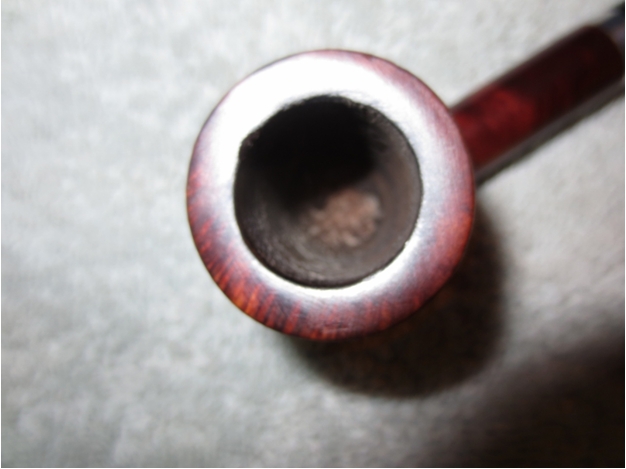
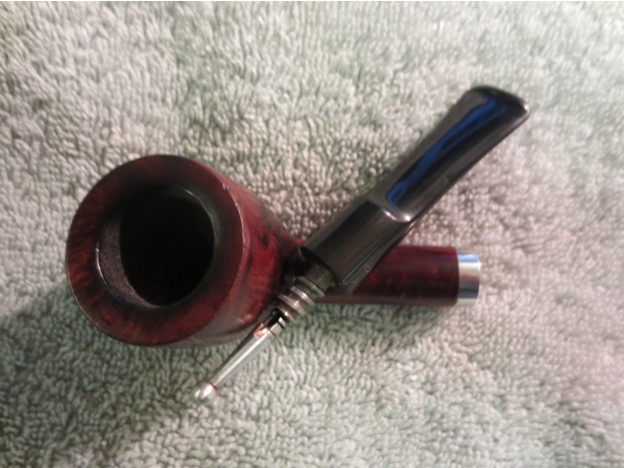
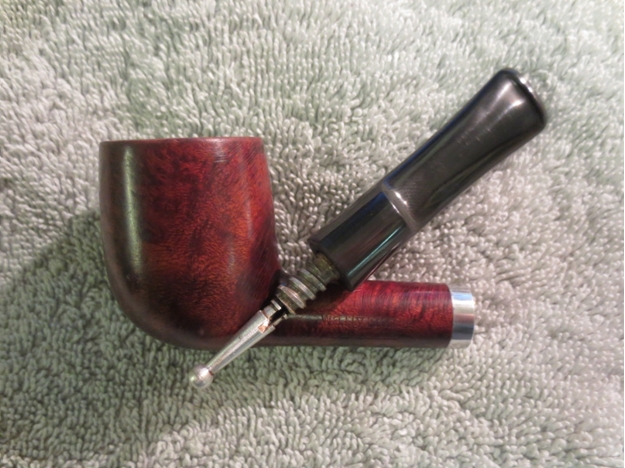
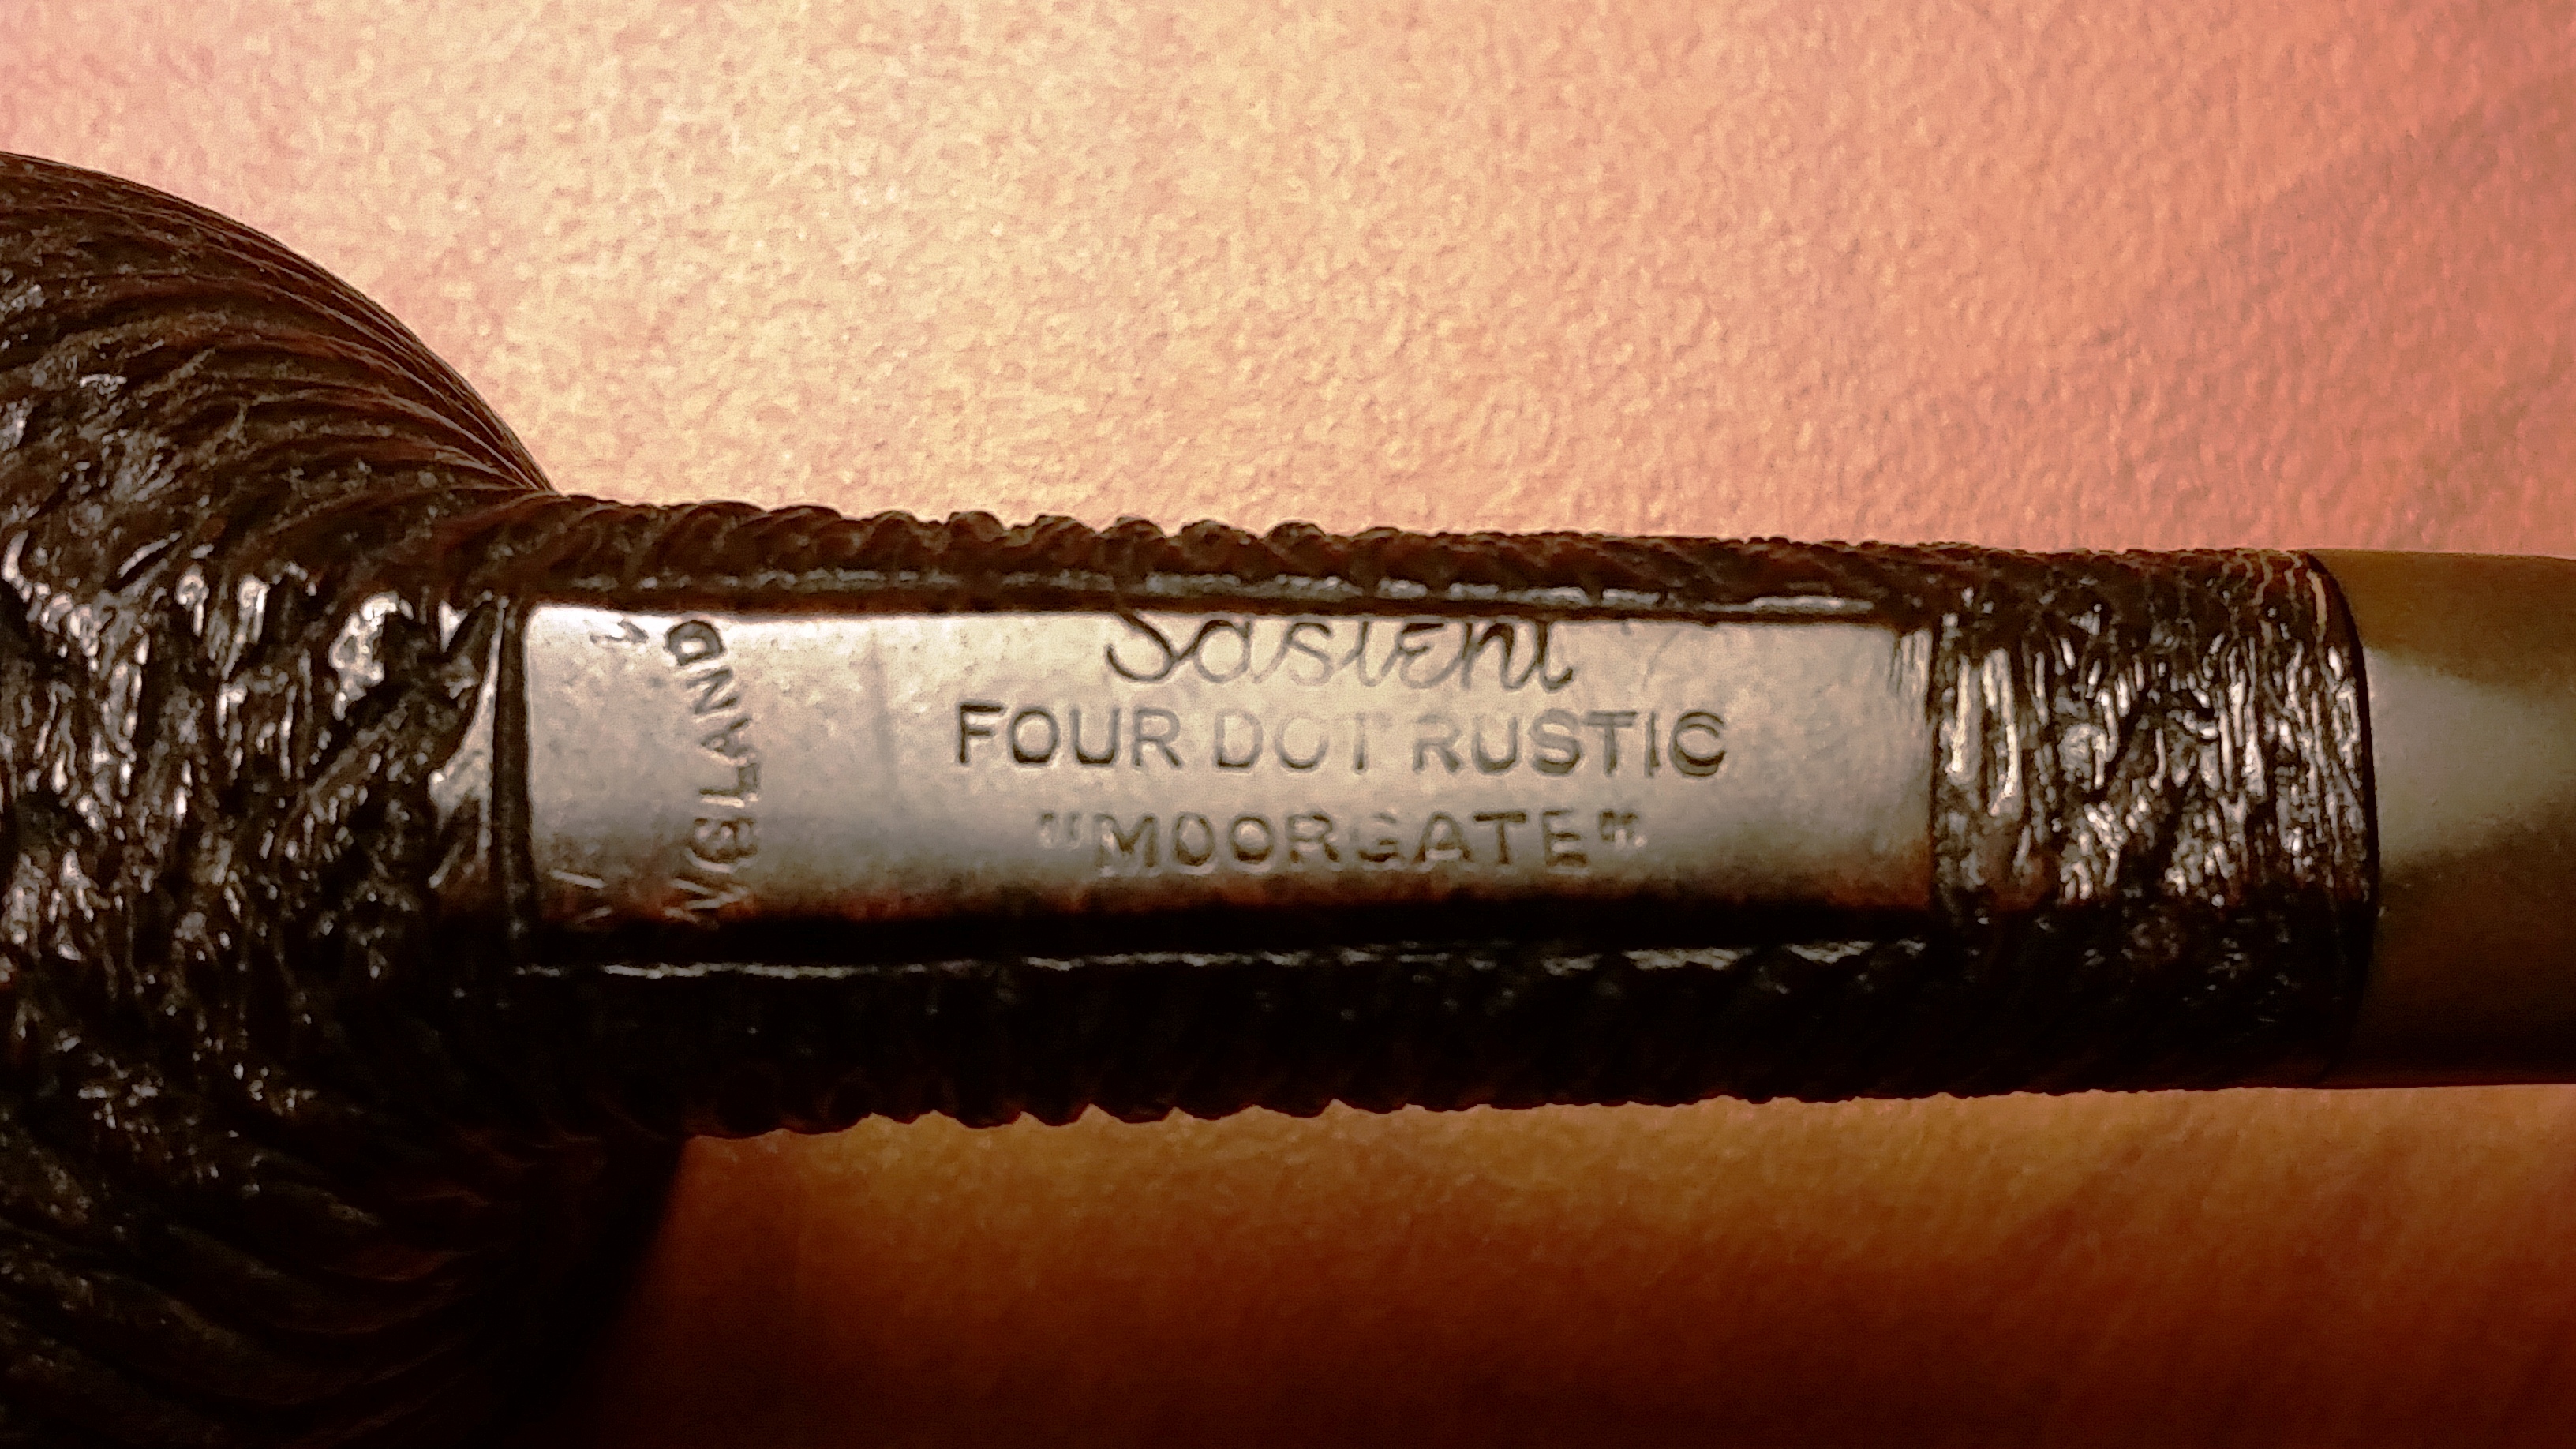
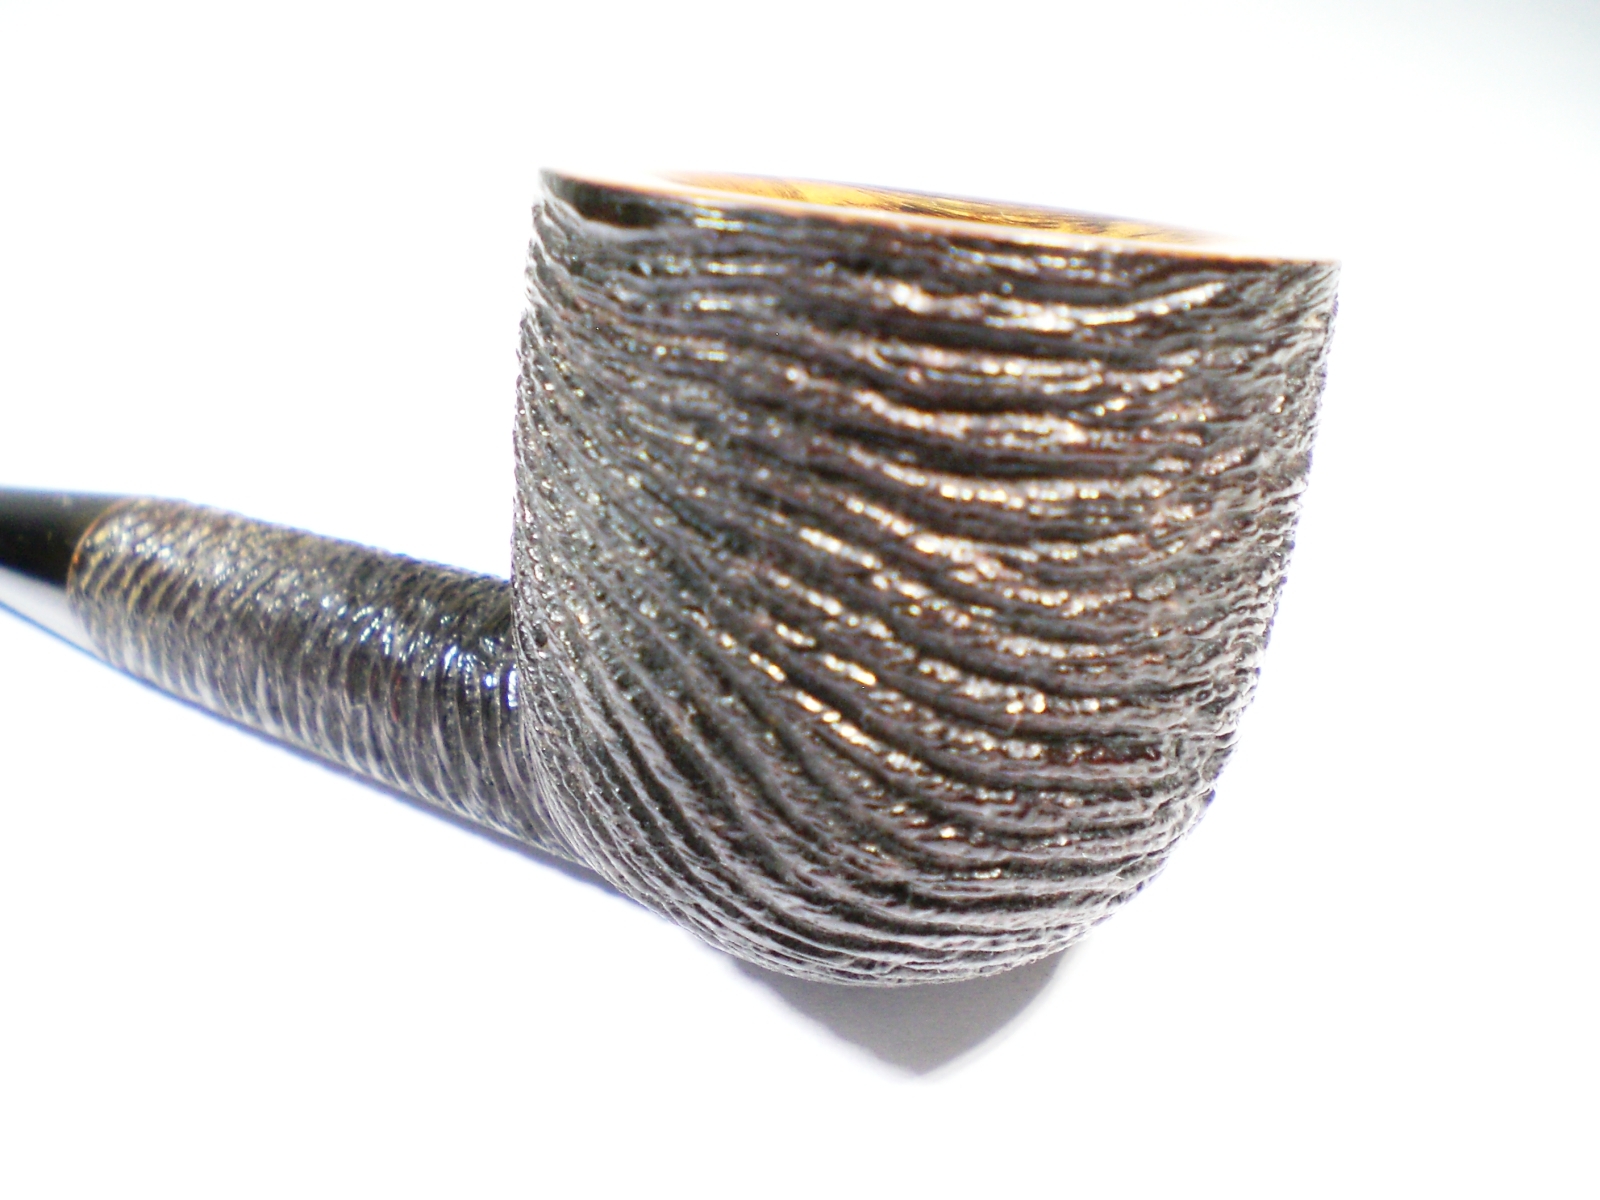
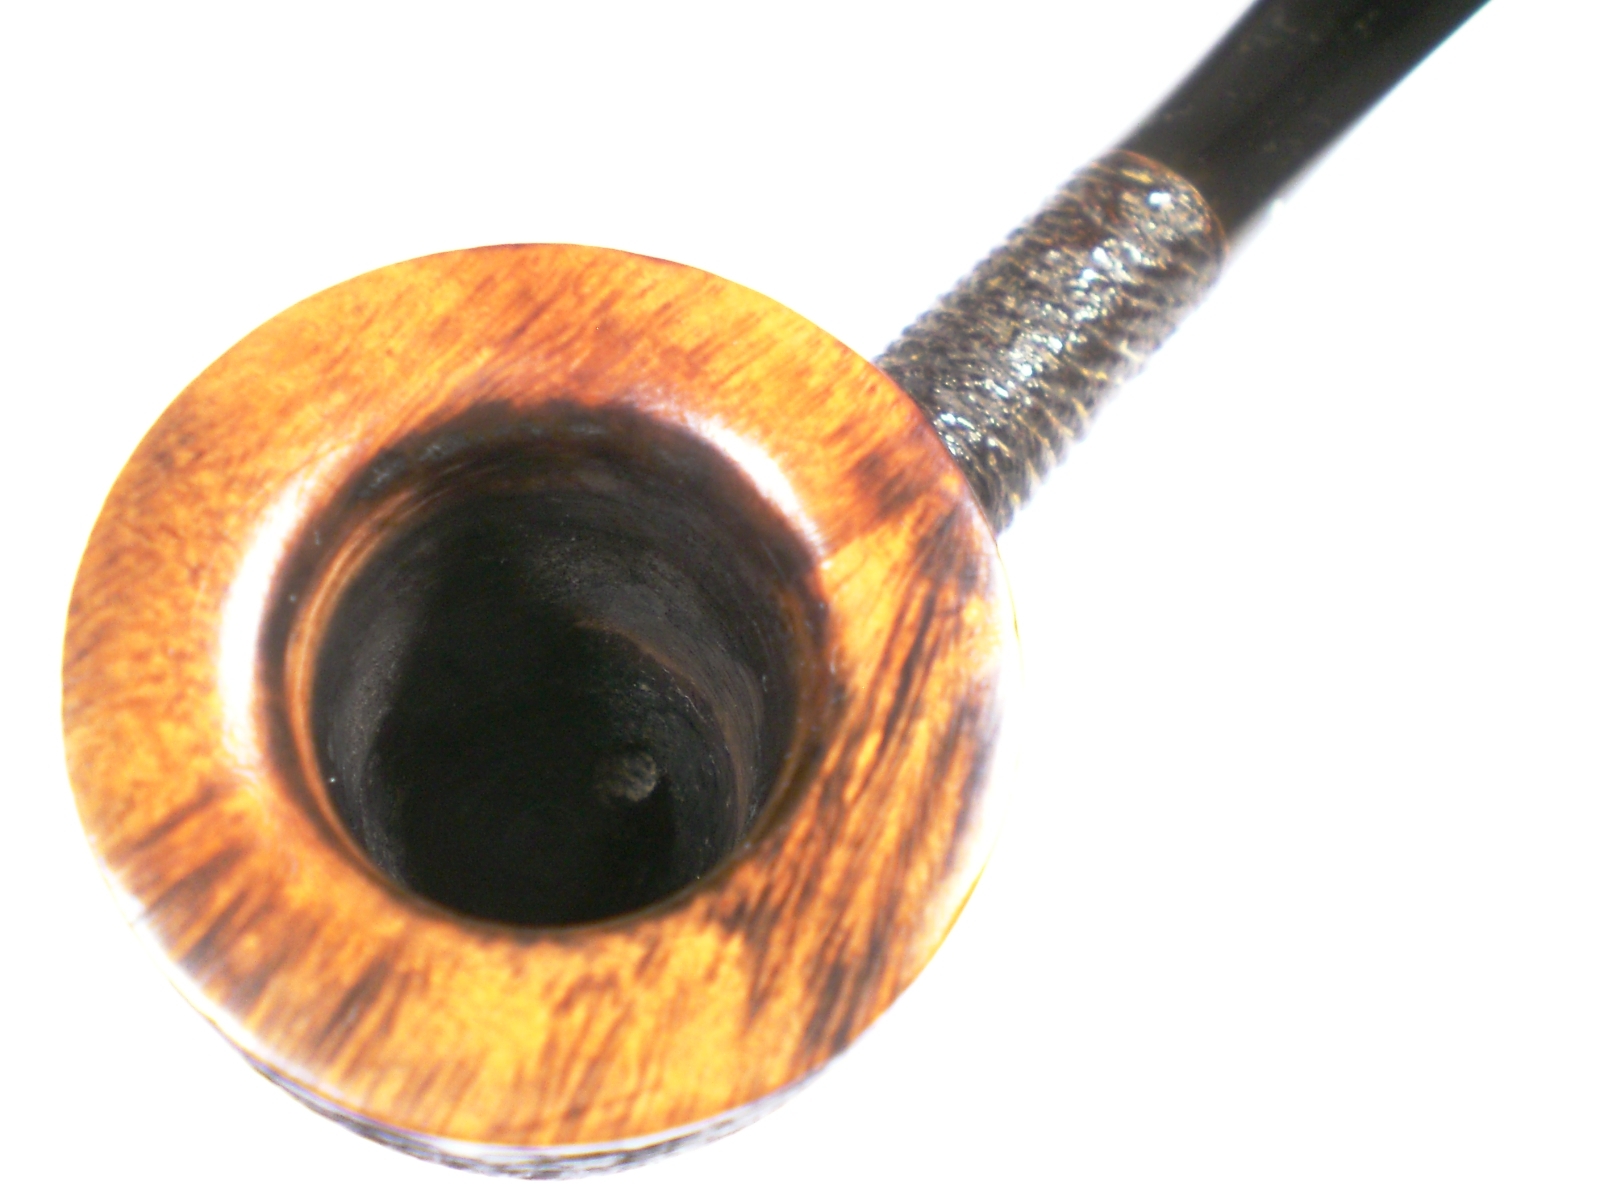
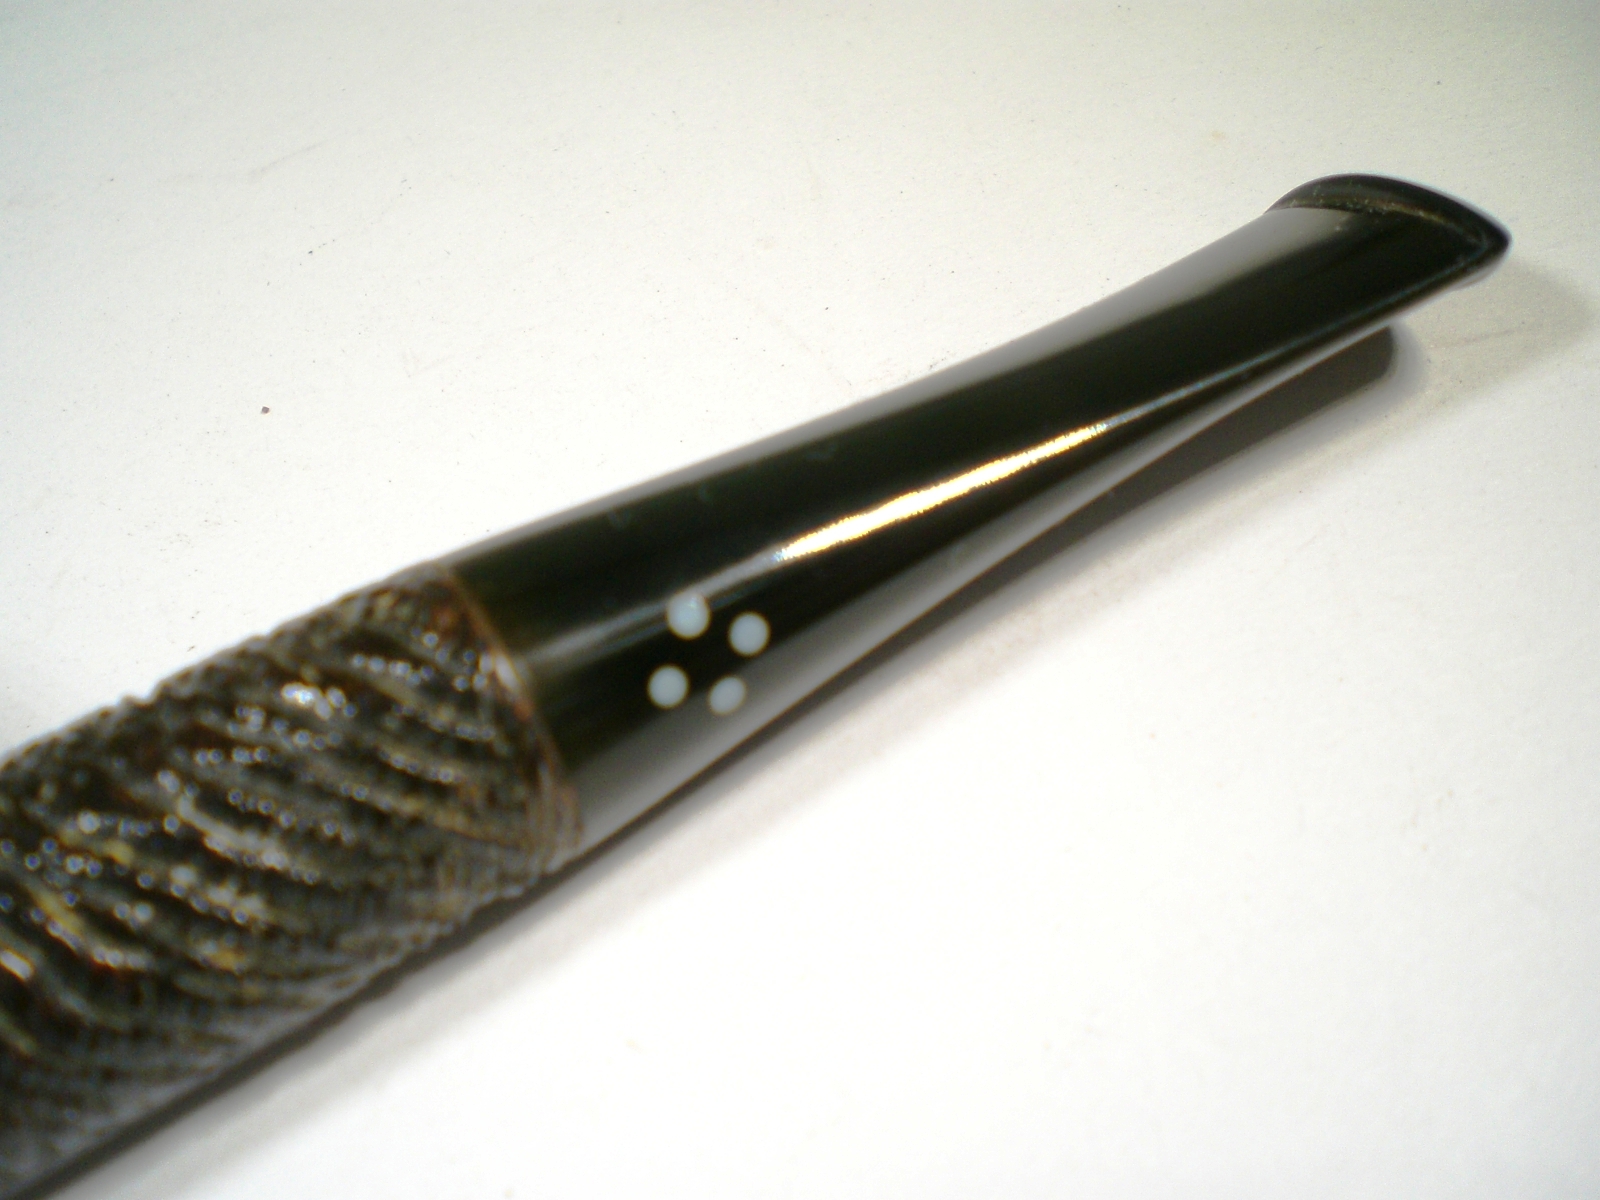
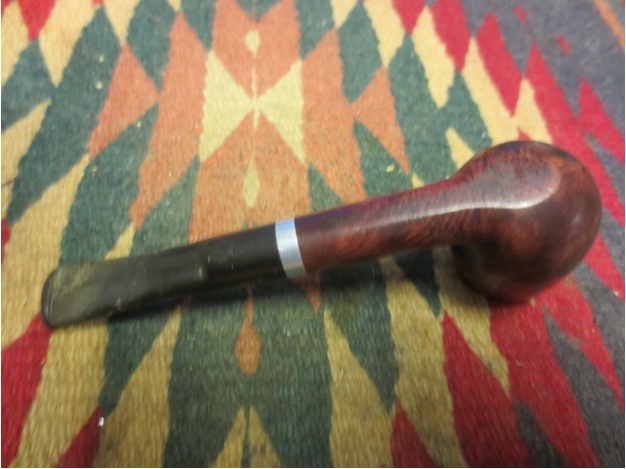
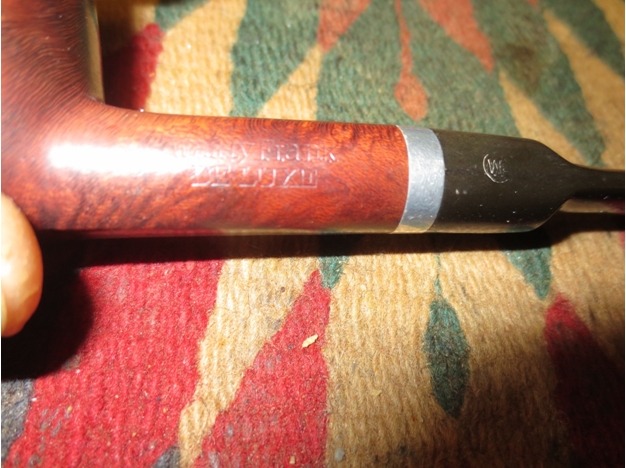
I am slowly working my way through the gift box of pipes I received. The one that caught my eye next was a small Wally Frank De Luxe saddle billiard. The stem was not in too bad shape – just a bit of tooth chatter on the top and bottom of the stem along with a deep tooth mark on the underside near the button. It was lightly oxidized. The metal threaded tenon had a pressure fit metal stinger in place that was stuck. The stem was slightly overturned. The bowl was dirty – the finish spotty and damaged. There were scratches but they did not go deep in the briar. The rim had a thick build up of “lava” (tars and oils) that came out of the bowl and over the rim. The bowl was thickly caked. The left side of the shank was stamped WALLY FRANK over DE LUXE. On the saddle of the stem was worn and light stamping of what appears to be WF in a circle but the right side of the stamping is missing. On the right side of the shank it is stamped Imported Briar. The bottom of the bowl and the shank are flattened making the pipe a sitter.
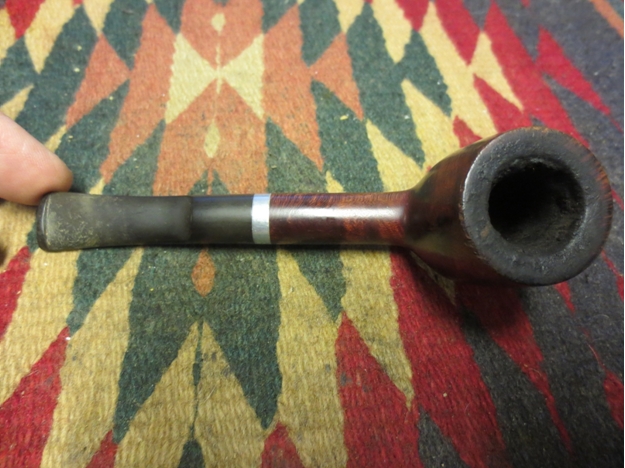
 I took two close-up photos of the rim and the stamping on the left side of the shank to show the state of the pipe when I brought it to the work table.
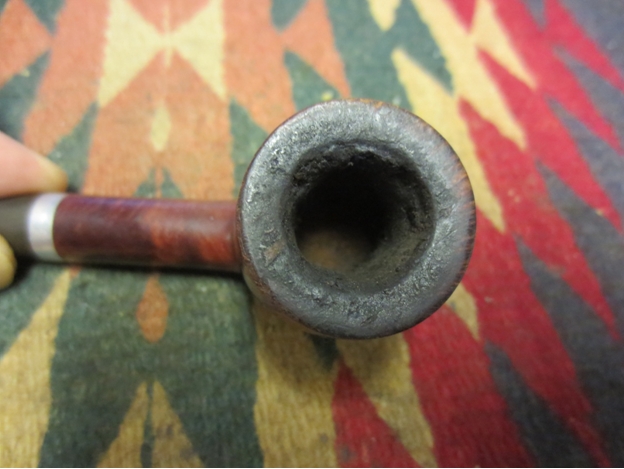
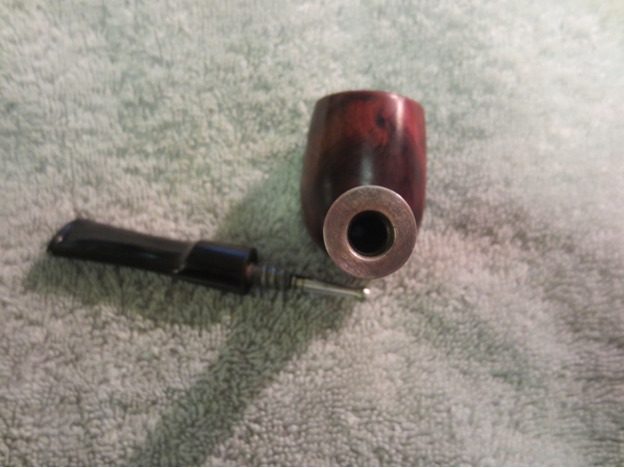
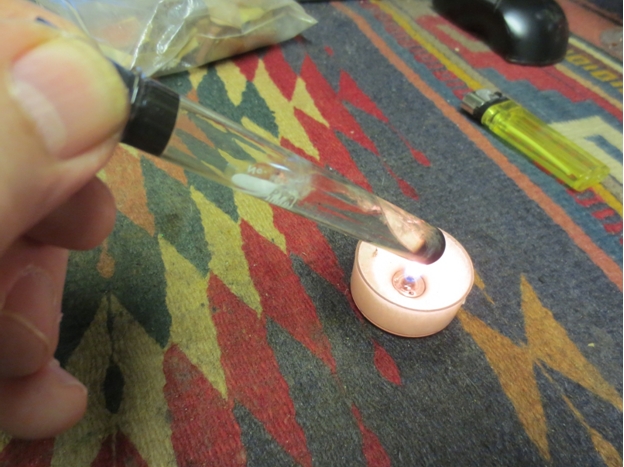
 I unscrewed the stem from the shank and dripped alcohol on the stinger to loosen it from the tenon. Once it soaked a few moments I was able to carefully pull it out of the tenon. One side of the stinger insert was missing but it still fit in the tenon tightly.
 With the stinger removed I heated the tenon with a lighter to soften the glue and correct the over turned stem. It did not take long to heat it enough to screw it into the shank and turn the stem on the tenon until it lined up correctly.
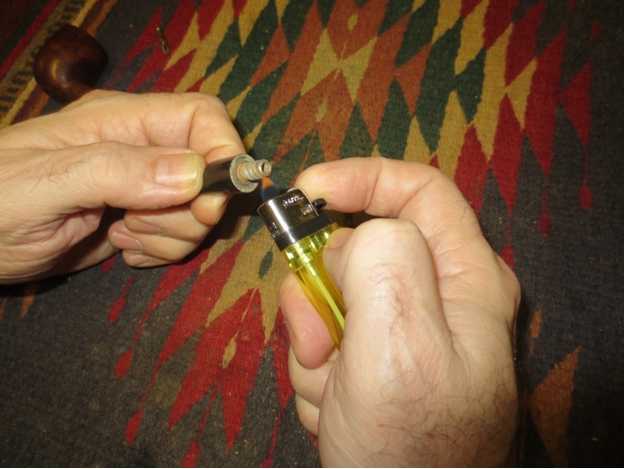 I reamed the bowl with a PipNet pipe reamer starting with the smallest cutting head and working up to the head that would take the cake back to bare wood.
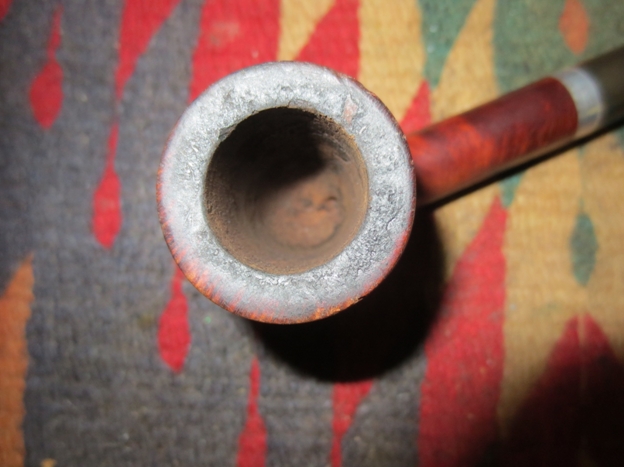 With cake cleaned I scrubbed the rim with alcohol on a cotton pad to remove the buildup of tars and oils. I was able to remove the majority of the overflow on the rim with elbow grease and persistence. There was some slight inner rim damage that would be easy to clean up with a light sanding. I also scrubbed the bowl with acetone on cotton pads and then with alcohol. It took off the grime and some of the mess but left the stain intact.
 The shank was very dirty and the aluminum on the tenon, stinger and end of the mortise insert was oxidized. I scrubbed those with 0000 steel wool and then put the pipe back together in order to use the retort on it.
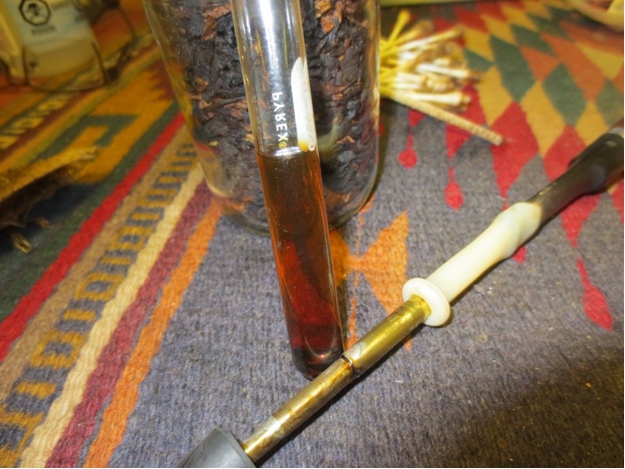
 I set up the retort using a jar to lift the pipe up above the flame of the candle I used to heat the alcohol. I filled the test tube 2/3 of the way full with isopropyl alcohol and inserted the rubber stopper in it. I pulled the surgical tubing over the end of the stem and put a cotton ball loosely in the bowl. I heated the alcohol over the candle flame until it boiled through the shank and bowl. I changed the alcohol four times before I was able to get the shank clean and the alcohol coming out clean.
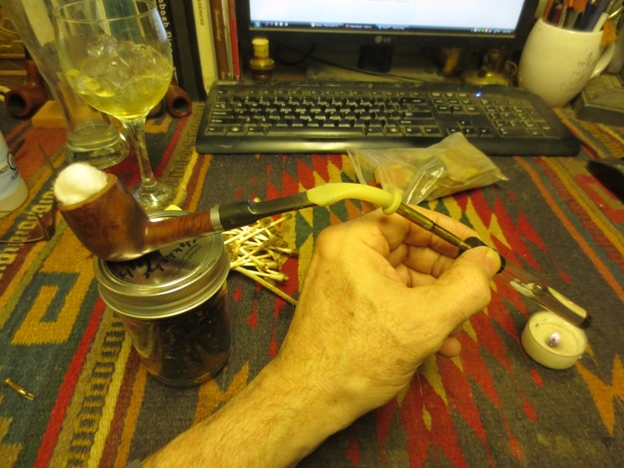
 Finally the shank and stem was clean. I removed the retort and ran pipe cleaners through the stem and shank. I used pipe cleaners, cotton swabs and alcohol to remove the leftover tar and oil from both. Finally they were clean and came out as white as they were when I put them into the shank and stem.
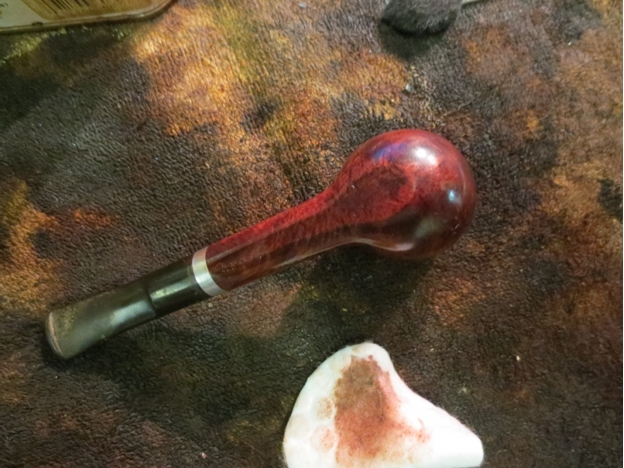
I decided to stain the bowl and rim with a oxblood stain. I applied it to the pipe with a cotton pad and then flamed it to set it in the grain. I reapplied it until I had the coverage I wanted with the colour.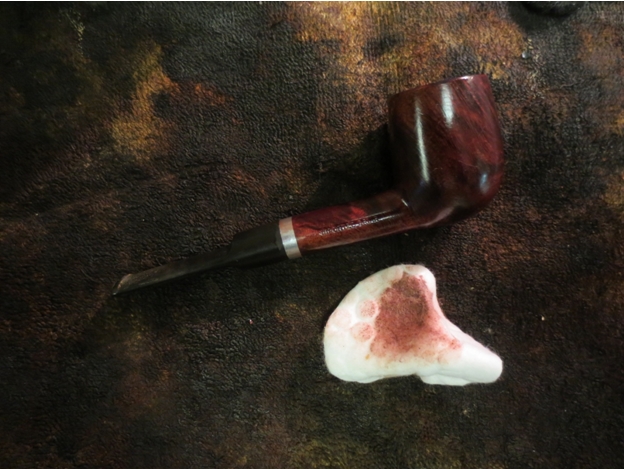

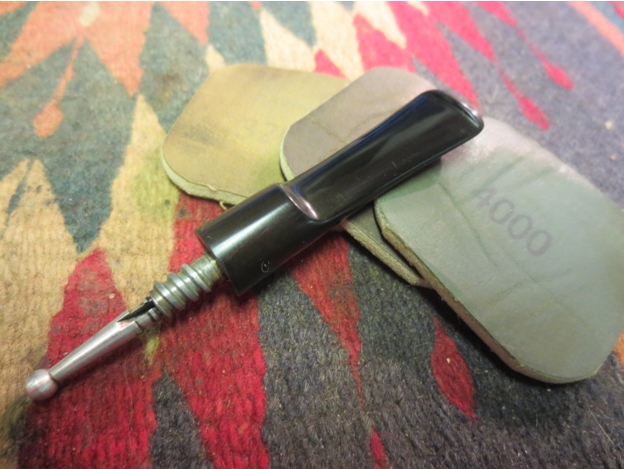
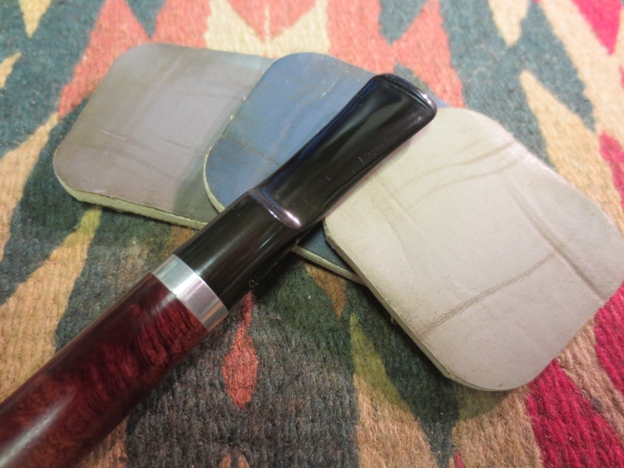
 I set the bowl aside to dry for a while and worked on the stem. I sanded the tooth chatter and oxidation with a medium and fine grit sanding sponge. They were hard to remove so I used a folded piece of 220 grit sandpaper to work on the tooth chatter and tooth mark on the underside of the stem. I had to use a small drop of clear super glue to fill the tooth mark. Once it dried I sanded it smooth with 220 grit sandpaper and then began the work of polishing the stem with micromesh sanding pads. I wet sanded with 1500-2400 grit pads and dry sanded with 3200-12,000 grit pads. I rubbed it down between each set of three pads with Obsidian Oil before sanding with the next set of three pads.
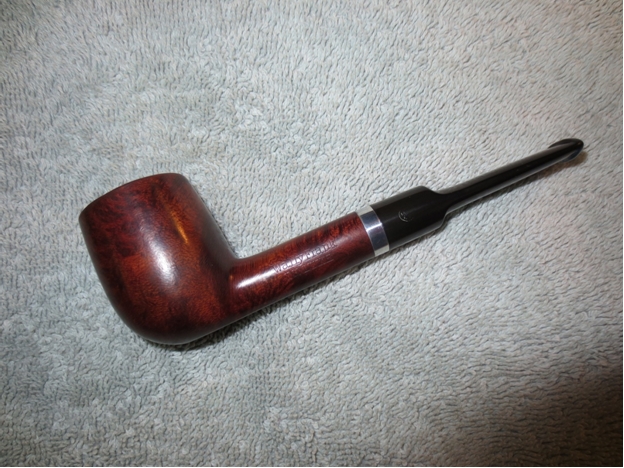
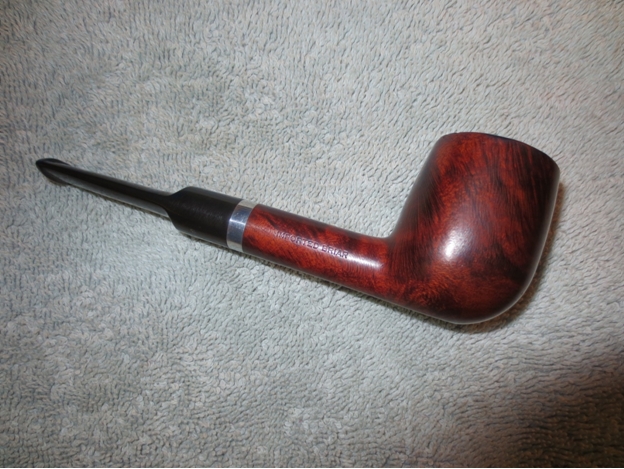
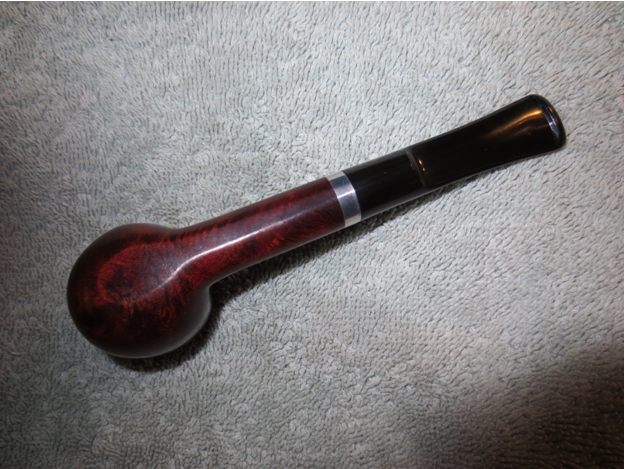
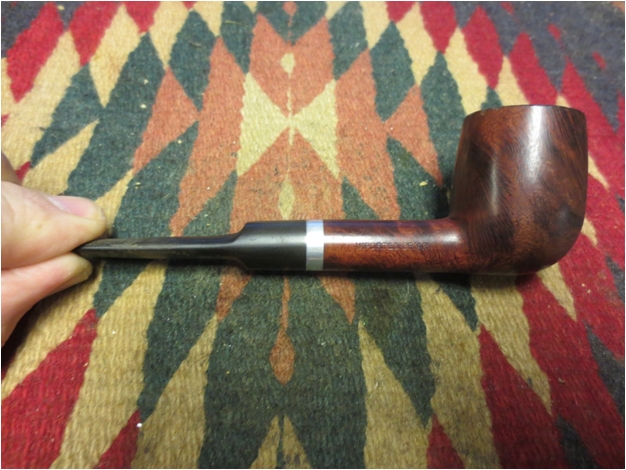
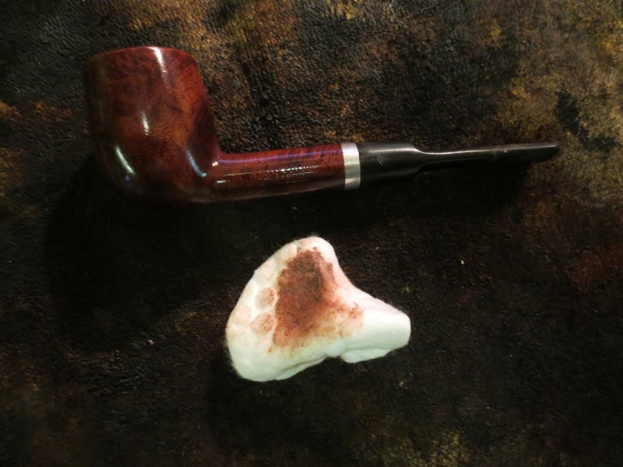
 I put the stem back in the shank after sanding with the 12,000 grit pad and then buffed the pipe with White Diamond and Blue Diamond before giving the bowl and stem multiple coats of carnauba wax. I finished by buffing it with a soft flannel buff to raise a shine. The finished pipe is shown below. The new stain coat, the wax and the polished stem give it a new look and the cleaned interior a new life. This one should be a great smoker if the amount of cake and gunk I removed from the bowl and shank are any indication.