Daily Archives: February 14, 2015

Peterson XL90s Shamrock Filter / BC


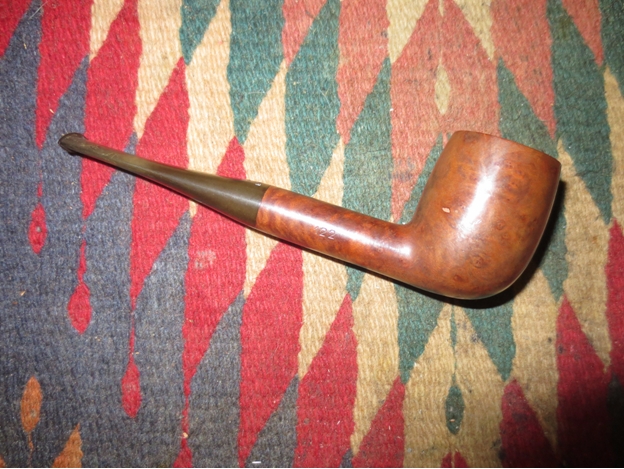
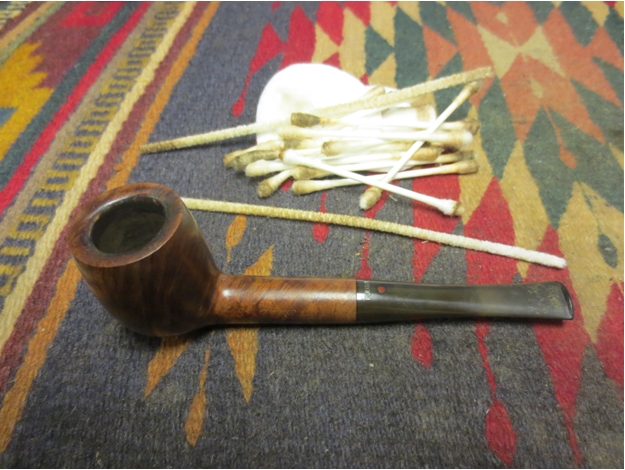
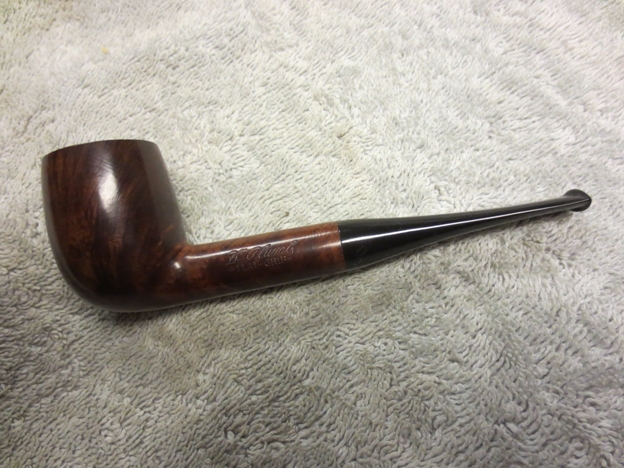
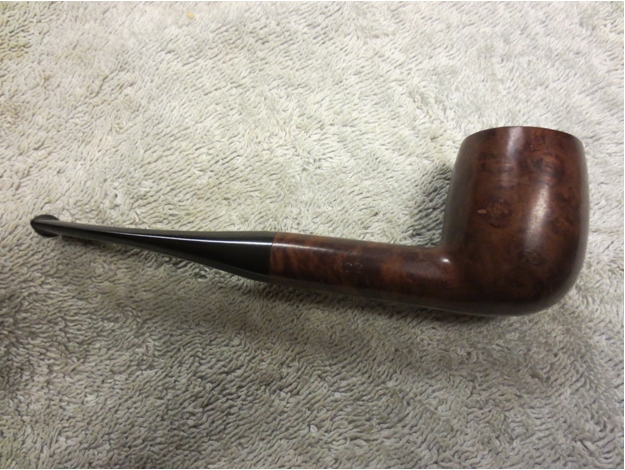
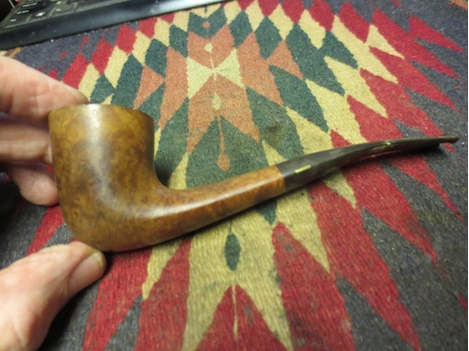
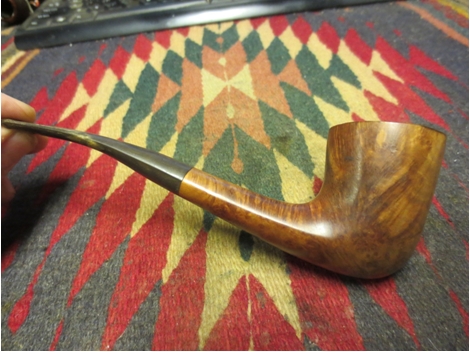
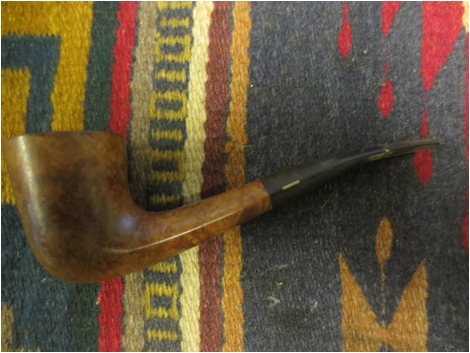
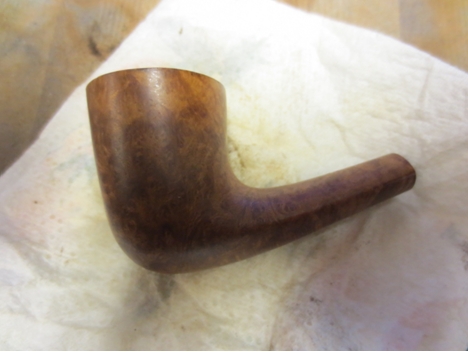
John it has been a while since you have posted some of your work. this is a nice looking old pipe once you finished it up. Good work.

ReserectedPipes's avatarReserectedPipes

The first thing I need to say is –

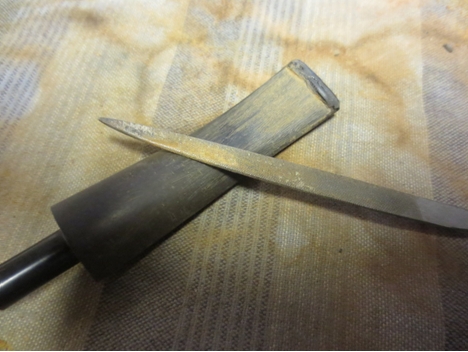
“Put the knife down and step away from the pipe!!”

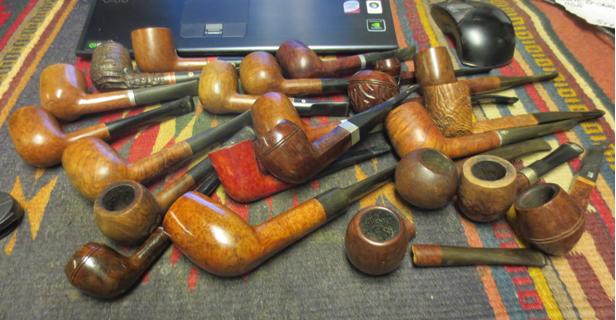
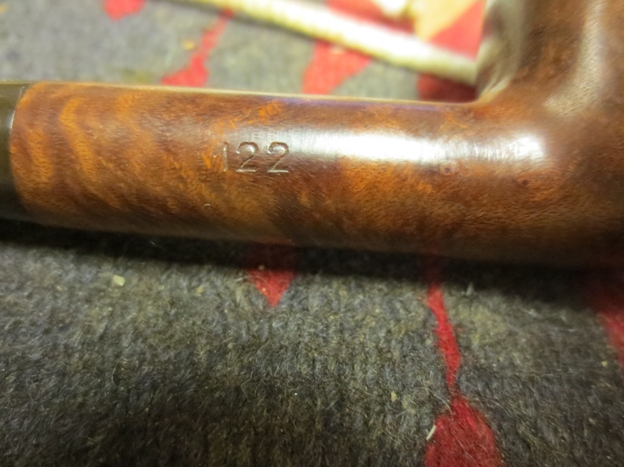
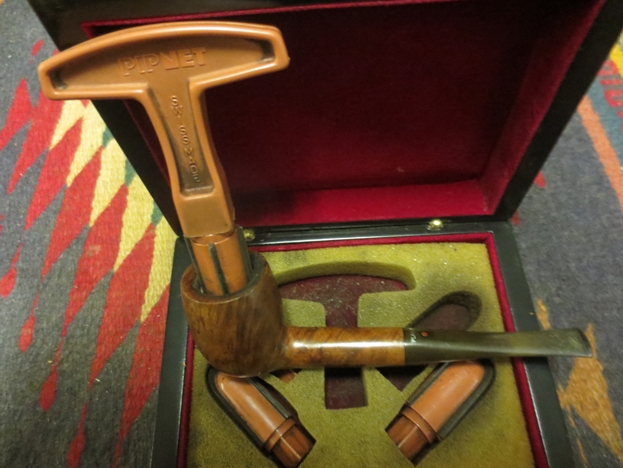
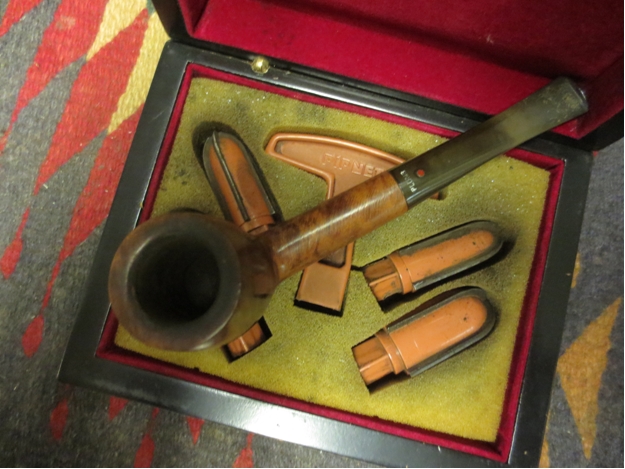
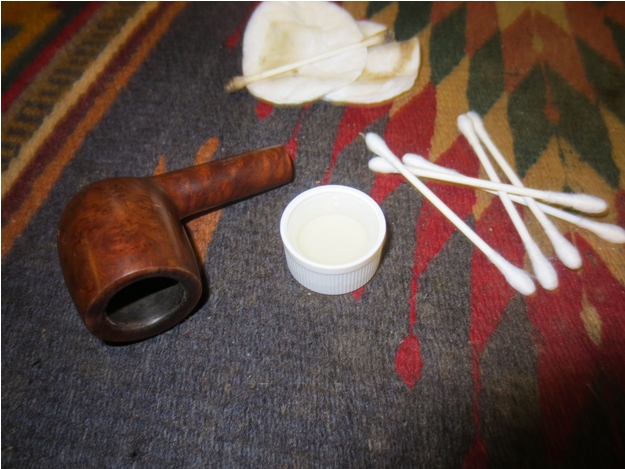
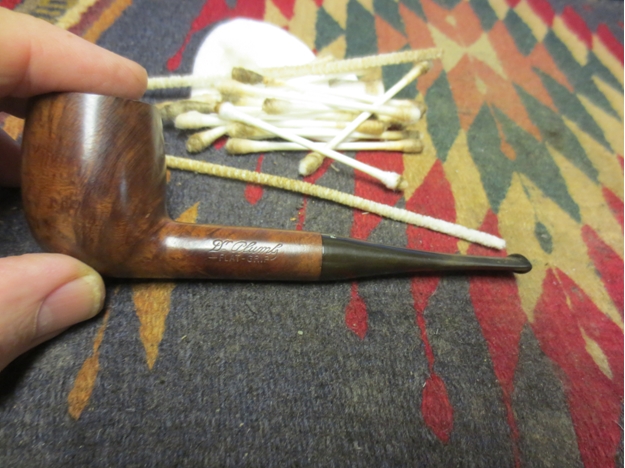
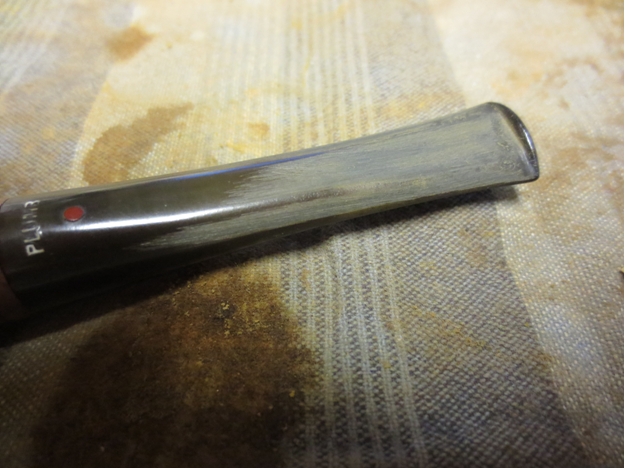
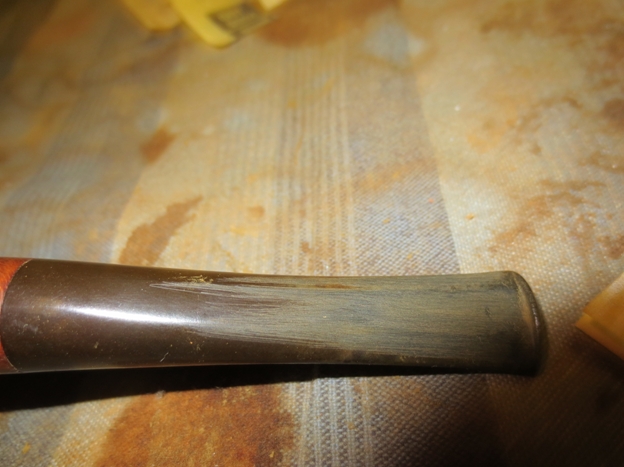
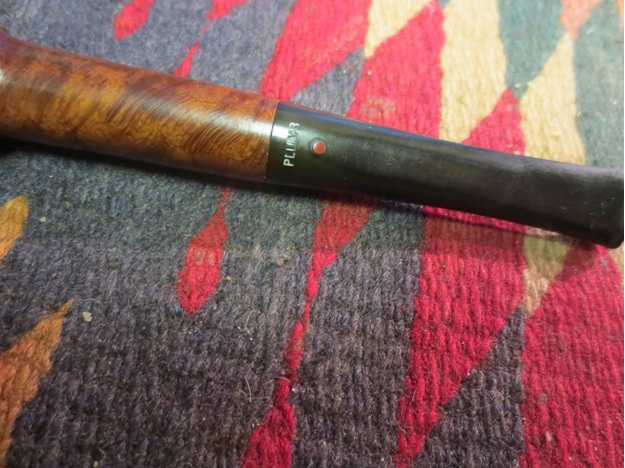
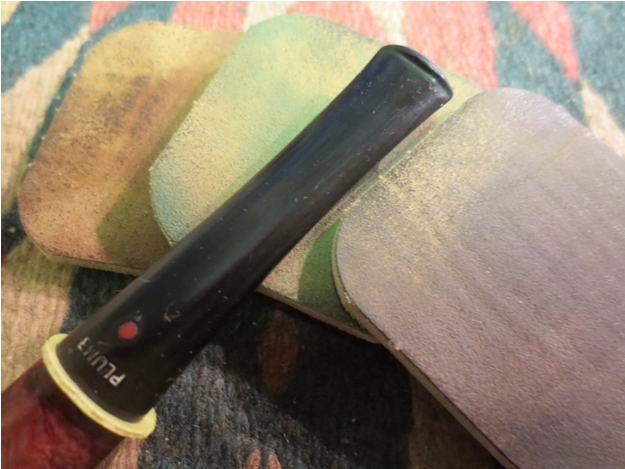
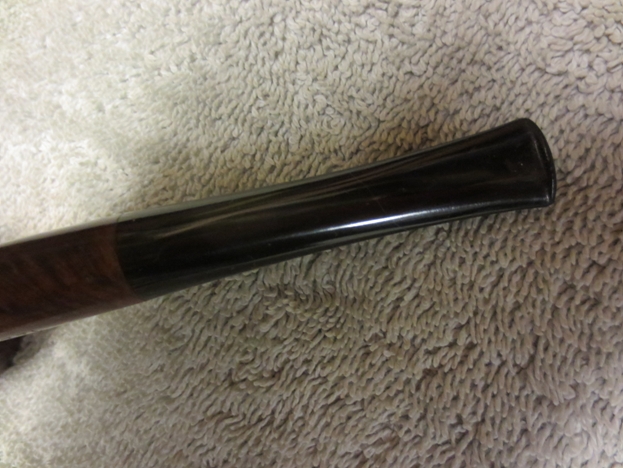
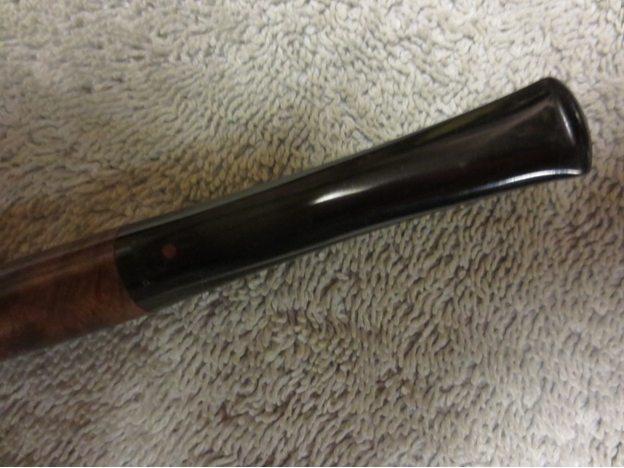
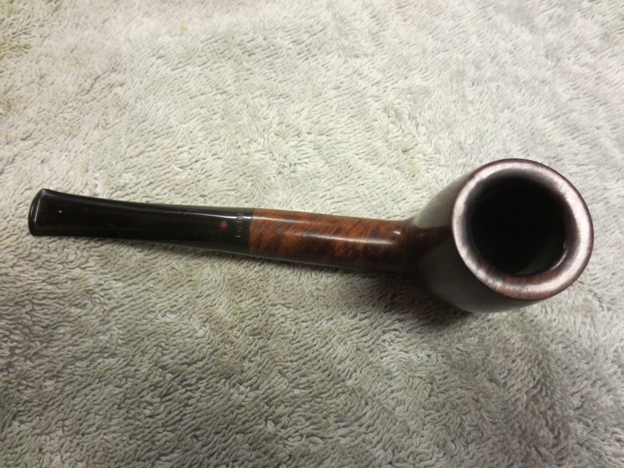
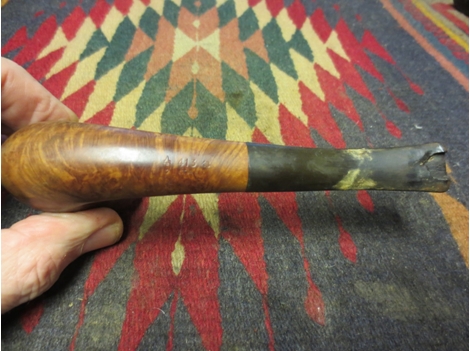
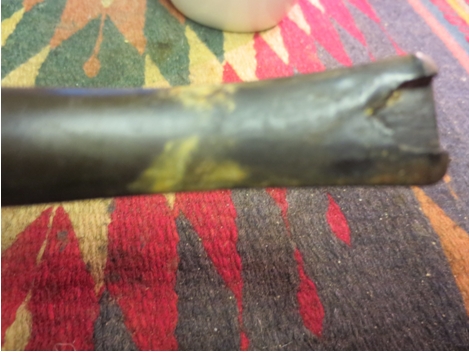
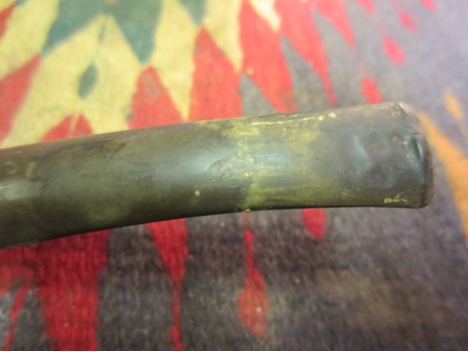
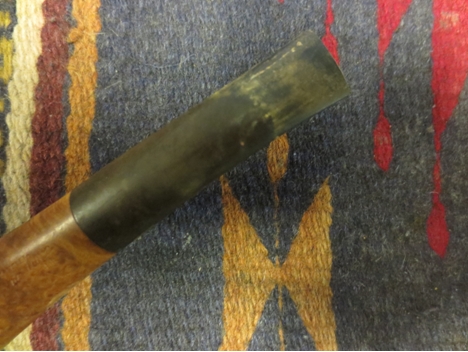
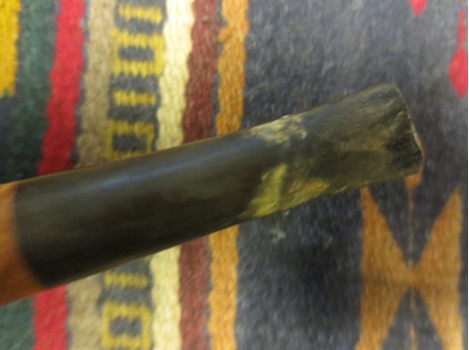
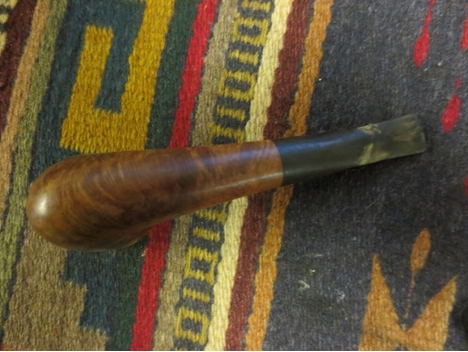
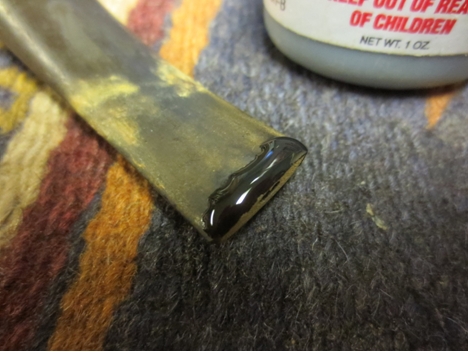
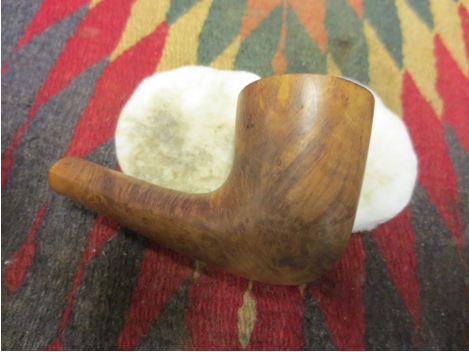
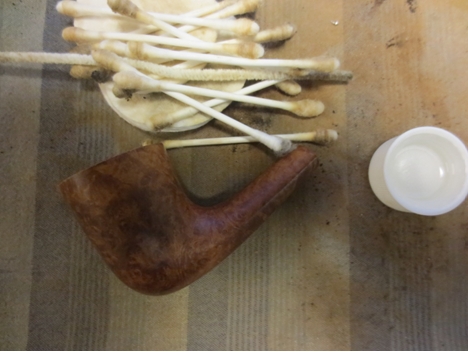
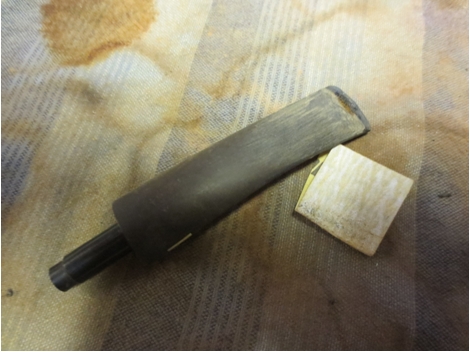
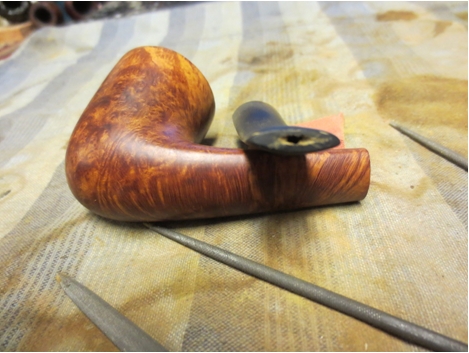
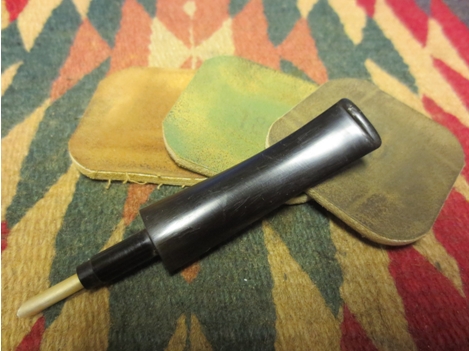
I got this on eBay recently and was dubious of the buy but got it cheap enough. It has a stem with the letters BC in a plastic / lexan insert in it. In looking up the BC it resembles the Butz – Choquin style. The fit is good and it has a 9mm filter inside. The nomenclature on the pipe is in good shape and says Peterson XL90s on the right and Shamrock filter on the left. The stem had a very rough texture to it, like it had been sand blasted. It wasn’t scratched as in sanding, just raised material that was very dull in color.

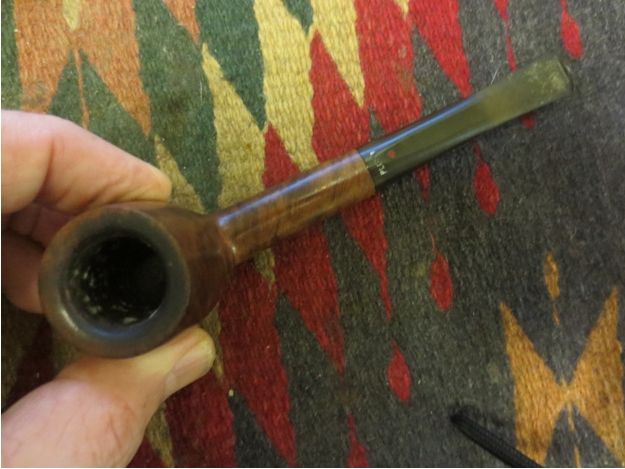
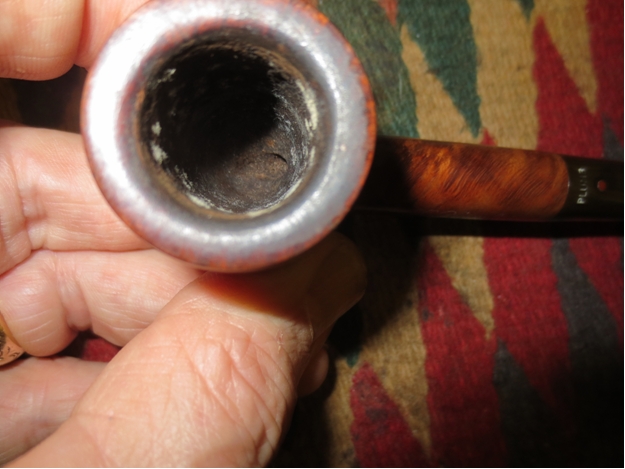
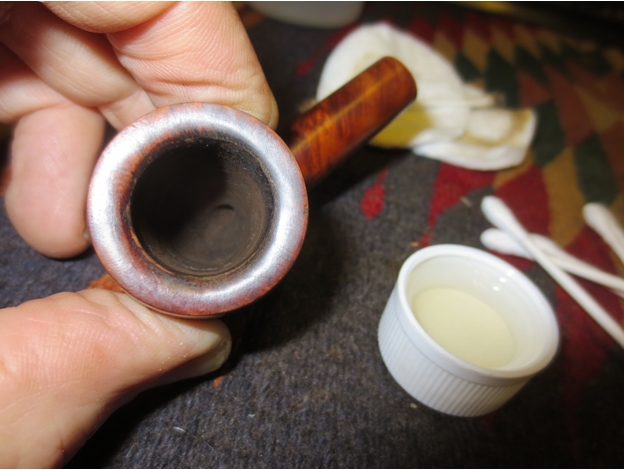
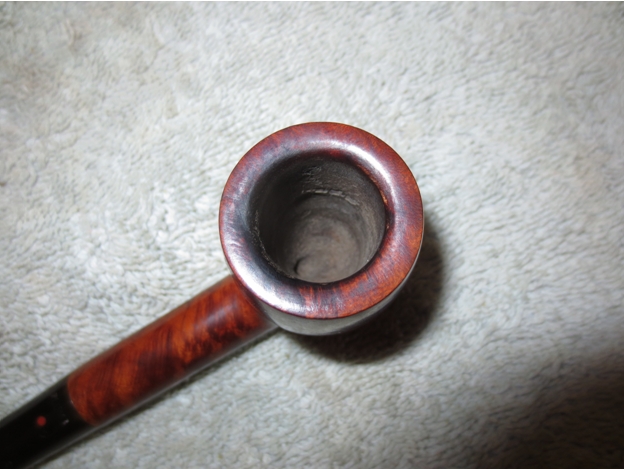
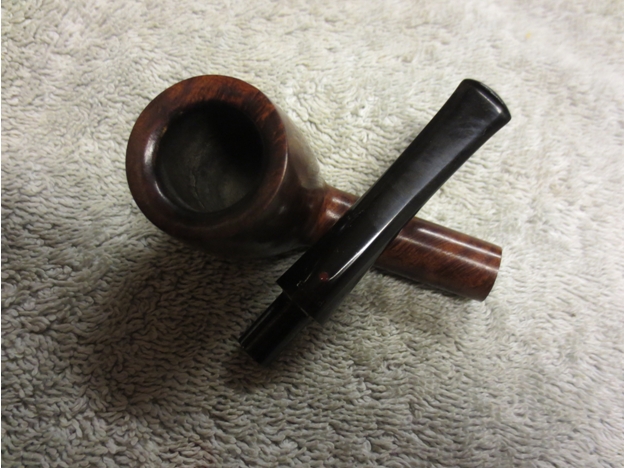
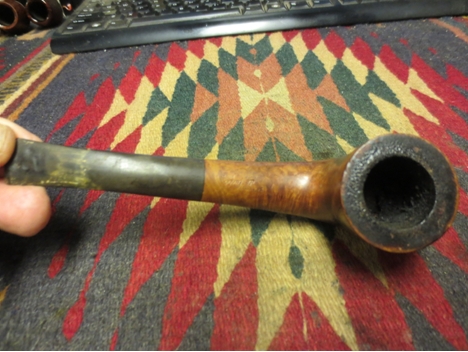
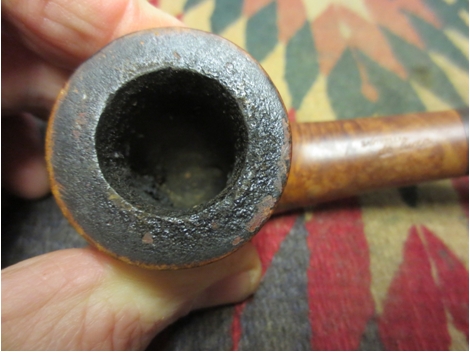
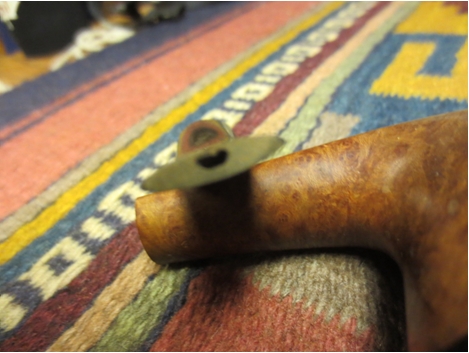
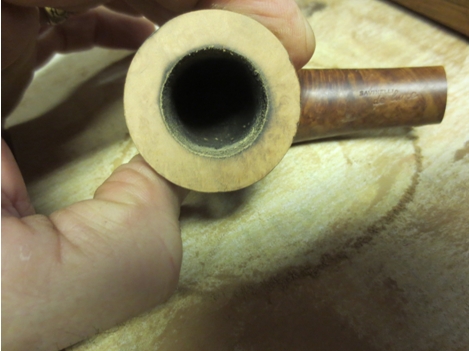
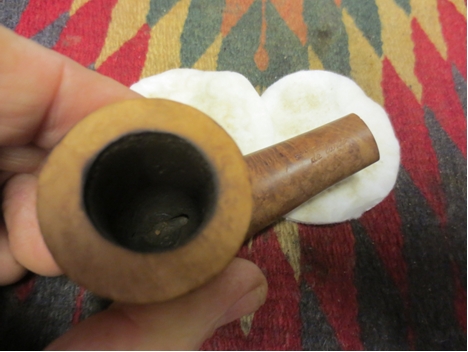
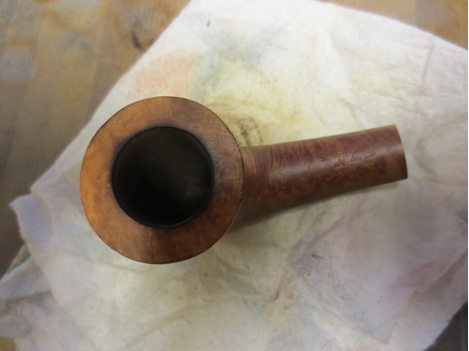
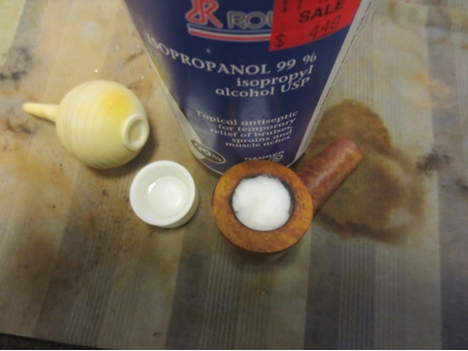
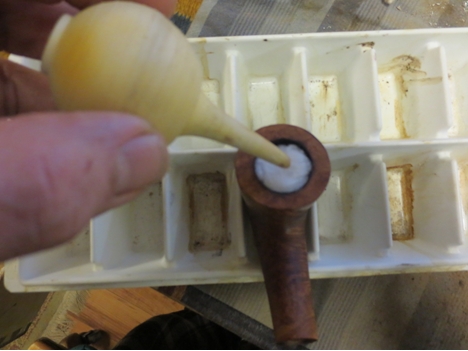
The reason for the first comment was that a prior owner had left knife marks in the cake. A reamer was a foreign…

View original post 453 more words

An Easy Restoration – A Dr. Plumb Flat-Grip 422 Billiard


Blog by Steve Laug

After the latest struggle with the Savinelli I decided to work on one that I thought would be an easy restoration. But given my track record with the last one I was not sure. Time would tell if it would be easy or if the work on it that I did would make it hard. This little billiard came to me in the gift box of pipes to rework.boxadditions It is stamped on the right side of the shank Dr. Plumb in a script over – Flat-Grip. On the right side of the shank it is stamped with the shaper number, 722. On the underside of the shank there is a horizontal stamping next to the stem that reads FRANCE.Dr1

Dr2 The pipe was in good condition. The finish was dirty but had no damage. There was one fill on the bowl on the back right side. The stain was even and not faded at the shank stem union or on the sides of the bowl. The rim had some build up and darkening but did not have damage to either the inner or outer edges. It had a slight bevel inward to the bowl that is often found on older billiards of this era. The shape bore all the marks of the GBD line that is sprung from. My guess is that the one fill on the back right moved it from the GBD line to the Dr. Plumb line. The stem was oxidized and had some tooth chatter and marks on the top and underside near the button. The bowl was caked and had a few spots that looked like mould on the inside of the bowl. I scraped one and looked at it under the light to see if it was mould. For all intents and purposes it was. Now the question was how deep into the cake did it go and would a complete ream of the bowl remove it from the pipe. Maybe this pipe would not be as easy a restoration as I had thought.Dr3

Dr4 The stem had the Dr. Plumb red dot on the top of the stem with the word PLUMB stamped over the top in white. The Plumb stamping on the stem would need to be touched up.Dr5

Dr6 I have included two close-up photos of the bowl rim and the white mould in the bowl. I was very curious to see if a good ream would remove it. Would the mould go deeper into the bowl than the cake? Would it be in the briar itself? I certainly hoped not but a reaming would disclose the depth of the problem.Dr7

Dr8 I reamed the cake back to bare wood. I wanted to remove all signs of the mould. I scrubbed off the cutting head before putting it away. I examined the bowl to make sure I had removed all of the signs of the mould. The wood was clean and bare. It was so it looked as if the mould had only been on the surface. I scrubbed the surface of the walls with alcohol and cotton swabs to make sure that none of the spores survived.Dr9

Dr10 I scrubbed the darkening and build up on the rim with cotton pads and saliva and was able to remove it. I use cotton swabs with alcohol as a follow up on the rim and when I was finished the rim was dull but clean.Dr11

Dr12

Dr13 I scrubbed out the shank with cotton swabs and isopropyl alcohol and pipe cleaners to clean out the airway in the mortise and the stem. I put the stem back in the mortise and took a few photos of the pipe at this point.Dr14

Dr15 The Dr. Plumb Flat Grip stem is unique in its design. It has a different style of taper that allows it to have what GBD called a flat surface. Instead of a crowned, rounded stem top and bottom there were slight taper from the edge of the surface to the side of the stem on all sides top and bottom. On this stem these were slightly rounded from use. I used a 220 grit sandpaper to break through the surface of the oxidation, remove the tooth marks and chatter and also clean up these tapered edges.Dr16

Dr17 I sanded the stem with a medium and a fine grit sanding sponge to smooth out the scratches and clean up the stem surface further. I wet sanded the stem with 1500 grit micromesh and then used a liquid paper/Whiteout to touch up the PLUMB stamping on the top near the shank.Dr18

Dr19 I put the plastic washer on the tenon and inserted it into the shank so that I could sand the edge without rounding the shoulders of the stem. I sanded it with a fine grit sanding sponge to remove the light oxidation that still remained on the shoulders. I repeated the wet sanding with 1500-2400 grit sanding pads and then dry sanded with 3200-12,000 grit pads. I rubbed the stem down with Obsidian Oil between each set of three pads. I rubbed it down a final time and let it sit until it was absorbed into the vulcanite.Dr20

Dr21

Dr22 I buffed the stem with White Diamond to finish polishing it and raise the shine. I buffed it with a soft flannel buff to finish the stem.Dr23

Dr24 I buffed the entire pipe with White Diamond and Blue Diamond to polish the briar and stem. I gave the pipe multiple coats of carnauba wax and then buffed it with a soft flannel buffing pad to raise the shine. The finished pipe is shown in the photos below. It is cleaned and there is no sign of the mould that once was in the bowl. The pipe smells clean and new. It is ready to load up and smoke the first bowl.
Dr25

Dr26

Dr27

Dr28

Dr29

The use of Rit Dye to stain pipes


Blog by Troy Wilburn

imagesYesterday I sent an email to Troy about his use of Rit Dye to stain pipes. I have been reading and enjoying his blogs on the various restorations he has done here on rebornpipes and from reading them had some questions about his use of the dye. I have had questions for a while now about water based stains in general so I looked forward to his reply. His response was very helpful and gave me the information I wanted to know. I have included my email that started the conversation before Troy’s response.

Hey Troy,
Hope the morning is going well for you. I have been thinking about your Rit dye stain. I have a couple of questions for you.
1. Does the dye swell the grain being water based? I wonder if you could mix it with Isopropyl alcohol like the aniline stains that come in powder form and mix with alcohol.
2. What is the durability? When you heat it does the stain come off on your hands? Over time does it come off with use?

Thanks
Steve
Rit2 Here is Troy’s response:

The dye does not mix with alcohol well from my experience.

The mixture does raise the grain some but not as much as you think. That is one reason I rub the pipe down with mineral oil after drying. It seems to knock down the raised grain. I usually use a cotton ball with oil. If it’s a rusticated or blasted pipe after wiping with oil I take a tooth brush and gently spread the oil in recesses.

Some dye will be lifted in doing this and in the first time you apply wax with a wheel, so I tend to make it a little darker as it will lighten up slightly. When I apply the first base wax I do it very lightly as I just want to use it as a sealer.

As far as durability I have had no problems using this and all the pipes I have done have held up well to constant smoking.

If I want to do a light stain I simply wipe on and wipe off. I repeat this process if I want to add just a slightly darker coat. If I want to do a very dark stain or a dark base I wipe the mixture on heavy and use a small paint brush and brush the stain after applying it with a rag or cotton ball.

I used to do be employed as a wood finisher for a custom cabinet furniture company in Florida, so I have some experience in water based stains and mixing my own colors. One reason I chose to try and use fabric dyes is basically they are water based stains and can be found easily and they are cheap to buy.
I have used alcohol based stains before also but prefer water based as they are more forgiving and easier to manipulate if you want to lighten or darken. They are also easier to tint over.

Getting the Rit dye to mix well and figuring out the right amount to use does take a little time but can be mastered by trial and error rather quickly. The hotter the water the better and use small amounts until you get the right consistency and the depth of color you are looking for.

If you are interested in trying out the Rit dye I suggest messing around with some old trashed bowls and judge for yourself if it is something that you would like to use. Just because I like it and works for me you may not like it.

I think for someone who has used a lot of alcohol based stains and is comfortable with them this may not be their cup of tea.

As I stated before I’m more comfortable with water based stains and used to mixing my own colors.

Hope this helps in your questions and feel free to ask anymore anytime.

Troy

I thought I would include some of the colours that are available for Rit dye. The chart below gives just a few of them and the combinations that can be made are many. – SteveRit dye

A Savinelli de Luxe Milano 431KS Reborn Twice – PART 1: reshaping a broken stem.


Blog by Steve Laug

You will see by the end of this blog why I say the pipe was reborn twice. Suffice it to say in this opening paragraph that a near pipe repair tragedy occurred when I had all but finished the first rebirth.When I picked up the pipe it was one of two that I found while on a pipe hunt in Bellingham, Washington with a friend. The other pipe was a Custom Bilt that I have already blogged about. The grain on this pipe attracted my attention and made me want to see what I could do with it.Sav When I brought the pipe to the work table most of the issues were with the stem. The bowl had originally had a natural finish so it was dirty but not stained. There was no finish on it or varnish that needed to be removed so the clean up would be quite simple. The rim was caked with a thick tar and oil buildup that was shiny and hard. The bowl had a cake of the same material and had the sweet smell of an aromatic – lots of vanilla. The main issue with the stem was twofold. The top surface of the stem from the button up the stem about 1 inch there were many dents and bite marks. The underside of the stem had a large piece of vulcanite missing from the stem and the airway had been clamped down by biting. It also was oxidized and calcified. The fit against the shank was fairly decent with a slight gap on the left side, top and bottom at the shank.Sav1

Sav2

Sav3

Sav4 The next two close up photos of the stem show the damage to the top and bottom side of the surface next to the button. The underside is the most damaged with a huge chunk missing. The second photo shows the top of the stem with the many tooth marks and bumps that created a thin surface on the top of the stem.Sav5

Sav6 I took the next photo to show the rim. All edges are intact but the surface is coated with a thick, hard coat of oils and tar.Sav7 The tenon had an inner tube insert in it. I have had several of these Savinellis but never had one with the tube. It would turn out to come in handy later.Sav8 I weighed my options with the stem for several days before I decided to cut off the damaged portion of the stem. I used my Dremel with a sanding drum and took the stem back to solid material.Sav9

Sav10 The next four photos show the look of the pipe with the shorter stem. Personally I like the more compact look of the stem as it seems to fit proportionally well with the pipe.Sav11

Sav12

Sav13

Sav14 I decided to work on the button on the pipe before turning to the bowl. You can see from the photo below that the underside of the area where I would cut the button was quite thin. I did not want to cut back the stem any further so I built up that area with black super glue. I applied the glue and set the stem aside to cure. It would take several coats before the button was built up.Sav15

Sav16

Sav17 While the glue cured and hardened I worked on the bowl. I reamed it with a PipNet reamer starting with the smallest cutting head and working up to a head that would cut back the cake to bare briar.Sav18

Sav19 With the bowl reamed back I could tackle the top of the bowl. Even using the reamer did not chip or crack the buildup on the top of the rim. It was like rock. I scrubbed the rim with oil soap and a tooth brush. I picked at it with a dental pick and was not able to break through the rock. I decided to lightly top the bowl to remove the buildup. The idea was not to remove any briar but merely to take of the rock hard tars on the rim. I used my topping board and 220 grit sandpaper and worked the rim carefully to ensure that I only took the rim down to briar. Once I broke through the rock I took several more turns on the sandpaper to finish up the rim.Sav20

Sav21 I scrubbed the bowl with acetone on cotton pads to remove the soiling and oils in the briar. It did not take much to bring the briar back to its natural state.Sav22

Sav23

Sav24 I decided to rub down the bowl with a light coat of olive oil to protect the briar and give it some life. I applied the oil with a paper towel and rubbed it in and rubbed it off. It also served to highlight the grain and make it stand out.Sav25

Sav26

Sav27

Sav28 I cleaned out the shank with cotton swabs, pipe cleaners and isopropyl alcohol until they came out clean. For the amount of build up of tars and oils on the rim the shank was quite clean.Sav29 I decided to use a cotton ball and alcohol soak on the bowl to remove the sweet smells of the aromatics that had been smoked in the bowl. It had a thick vanilla smell that needed to go in my opinion. I set the stuffed bowl in an ice cube tray and used an ear syringe to fill it with alcohol. I let the bowl soak overnight to leach out the oils in the wood.Sav30

Sav31

Sav32

Sav33 By the time I had finished setting up the bowl I called it a night and went to bed. The next morning I worked on cutting and shaping the new button on the stem. I used my usual knife blade file to make the initial cuts and shave back the slope of the stem.Sav34

Sav35 When I had the slope and look right I sanded the newly shaped button and stem with 220 grit sandpaper. I then repaired some of the low spots with clear super glue. I recut the button with the needle files and sanded it with 220 grit sandpaper to clean up the edges.Sav36

Sav37 With more sanding and shaping I had it where I wanted it and then sanded the stem with a medium and a fine grit sanding sponge to clean up the scratches in the vulcanite.Sav38

Sav39 With the button shaped in I worked on the slot in the airway. I used my usual three needle files – a flat oval, an oval and a round file to work on the slot. I always start with the flat oval and work to the round file.Sav40

Sav41 I used a folded piece of sandpaper to smooth out the inside of the slot.Sav42 At this point I worked some more on the surface of the button. It still was too rough to my liking. I sanded and filed it to reshape it. The next two photos show it before I worked it over with files and papers.Sav43

Sav44 Once I had the button shaped to my satisfaction I sanded it with micromesh sanding pads. I wet sanded with 1500-2400 grit pads, rubbed down with Obsidian Oil and then set it aside to dry. I was pleased with the overall effect of the new button and could not wait to finish polishing it. This is where I made the first mistake in this repair.Sav45

Sav46 Instead of leaving it on the work table and calling it a night I brought the pipe upstairs with me from the basement work area. I wanted to show the girls in my family the result of my work. I know that they are not that interested but they attempt to humour the old man. I stopped at the fridge to get some water and that is when the disaster struck. I could not believe it. The pipe simply slid through my fingers and hit the hardwood floor in our kitchen. I can’t tell you how many times that has happened with no issues. But this time there was going to be a major issue and it came with a vengeance. When it hit the floor, really only 2 feet as I was bending over, I heard the awful click and the stem and bowl separated. The tenon snapped at the shank.Sav47 All that work done and now what to do? I was sick with the thought of starting over. I carried the broken pipe down the stairs to the work table and left it in the dark and went to bed – just a tad frustrated. If you are interested in seeing what I did to try and redeem this disaster make sure to read Part Two of the work on this pipe.