Blog by Andrew Selking
After reading Al’s posts about his GBD pipes, I had to have one. I saw this pipe listed on eBay with a low buy it now price, obviously based on the scorch mark on the front of the bowl.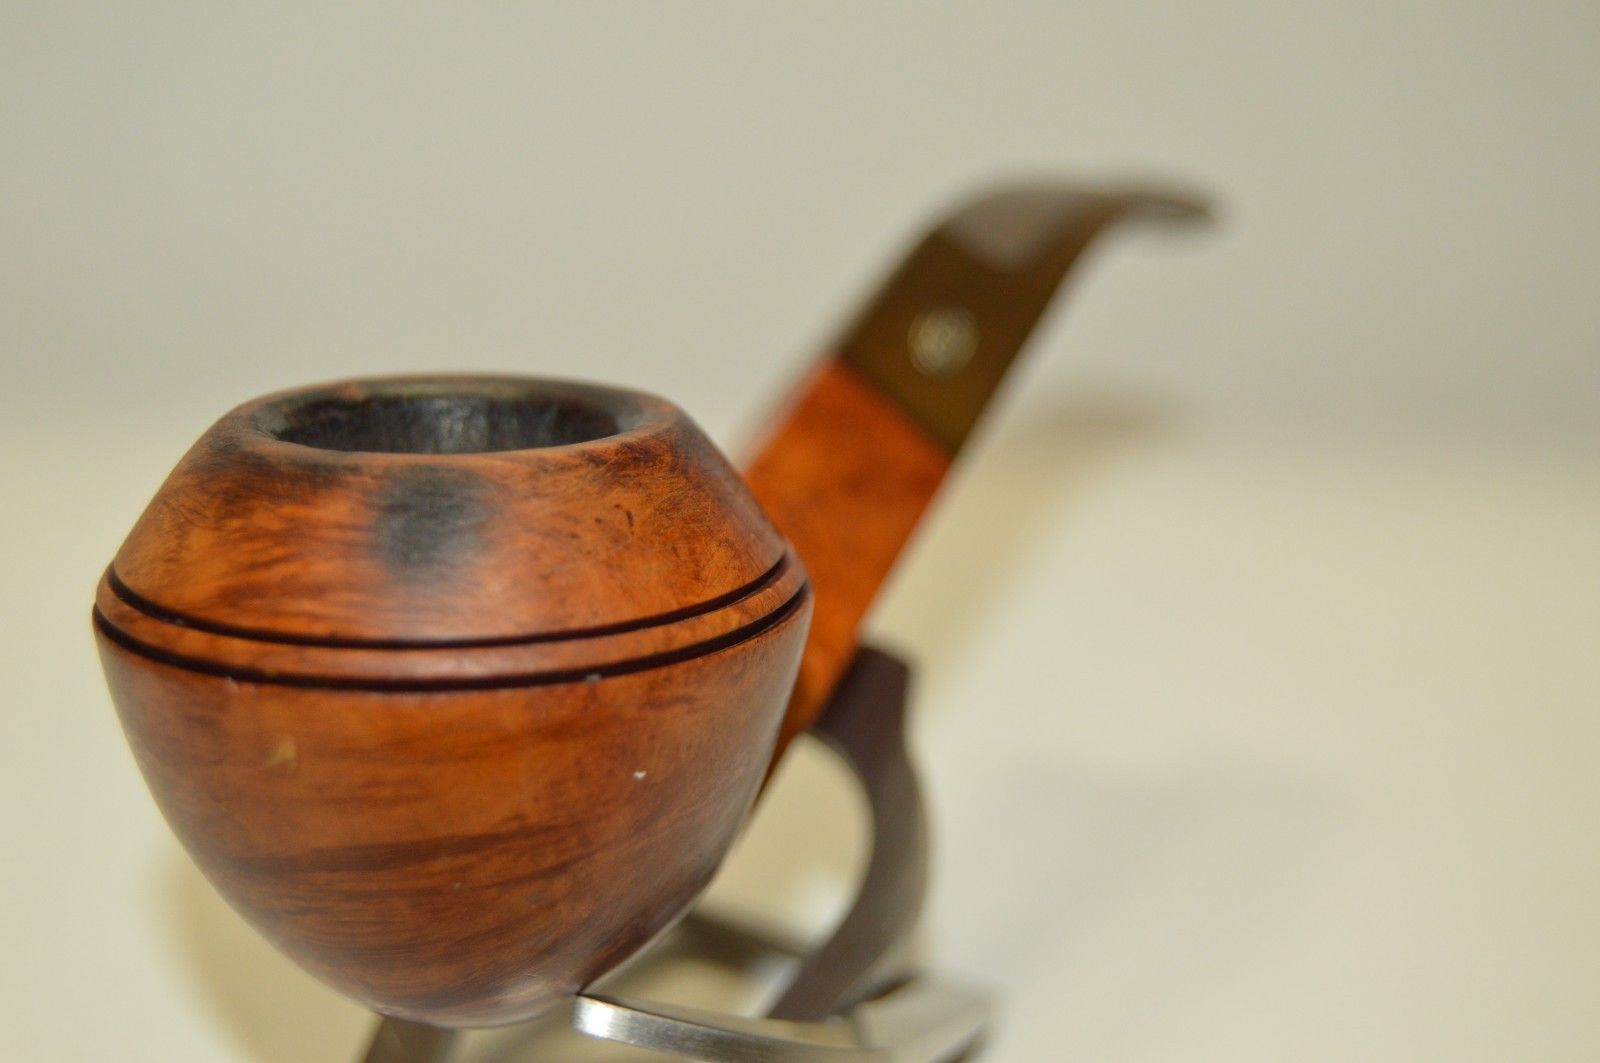 I’m not sure whether it was a sense of overconfidence in my ability or naivety about the extent of the damage, but I bought the pipe. I realized when it arrived that if I couldn’t fix the scorch mark the pipe probably wouldn’t be worth my time. I nearly despaired when normal procedures failed to even lighten the mark. I put the pipe aside several times before finally deciding to take drastic measures and use a hand sander with 150 grit sand paper. I figured at this point there was nothing to lose and I knew I could still maintain the original shape if I was careful. After spending about a half an hour with the sander, I found myself at about an 80% solution. The mark was still too dark, so I took it to the next level of desperation: the rotary tool (that’s the generic name for a dremel that you buy at Harbor Freight Tools) with a sanding attachment.
I do not recommend the use of either a hand sander or the rotary tool except as a last resort. By this point I had accepted the fact that this pipe was beyond hope for a perfect restoration, so I lowered my expectations to a good restoration.
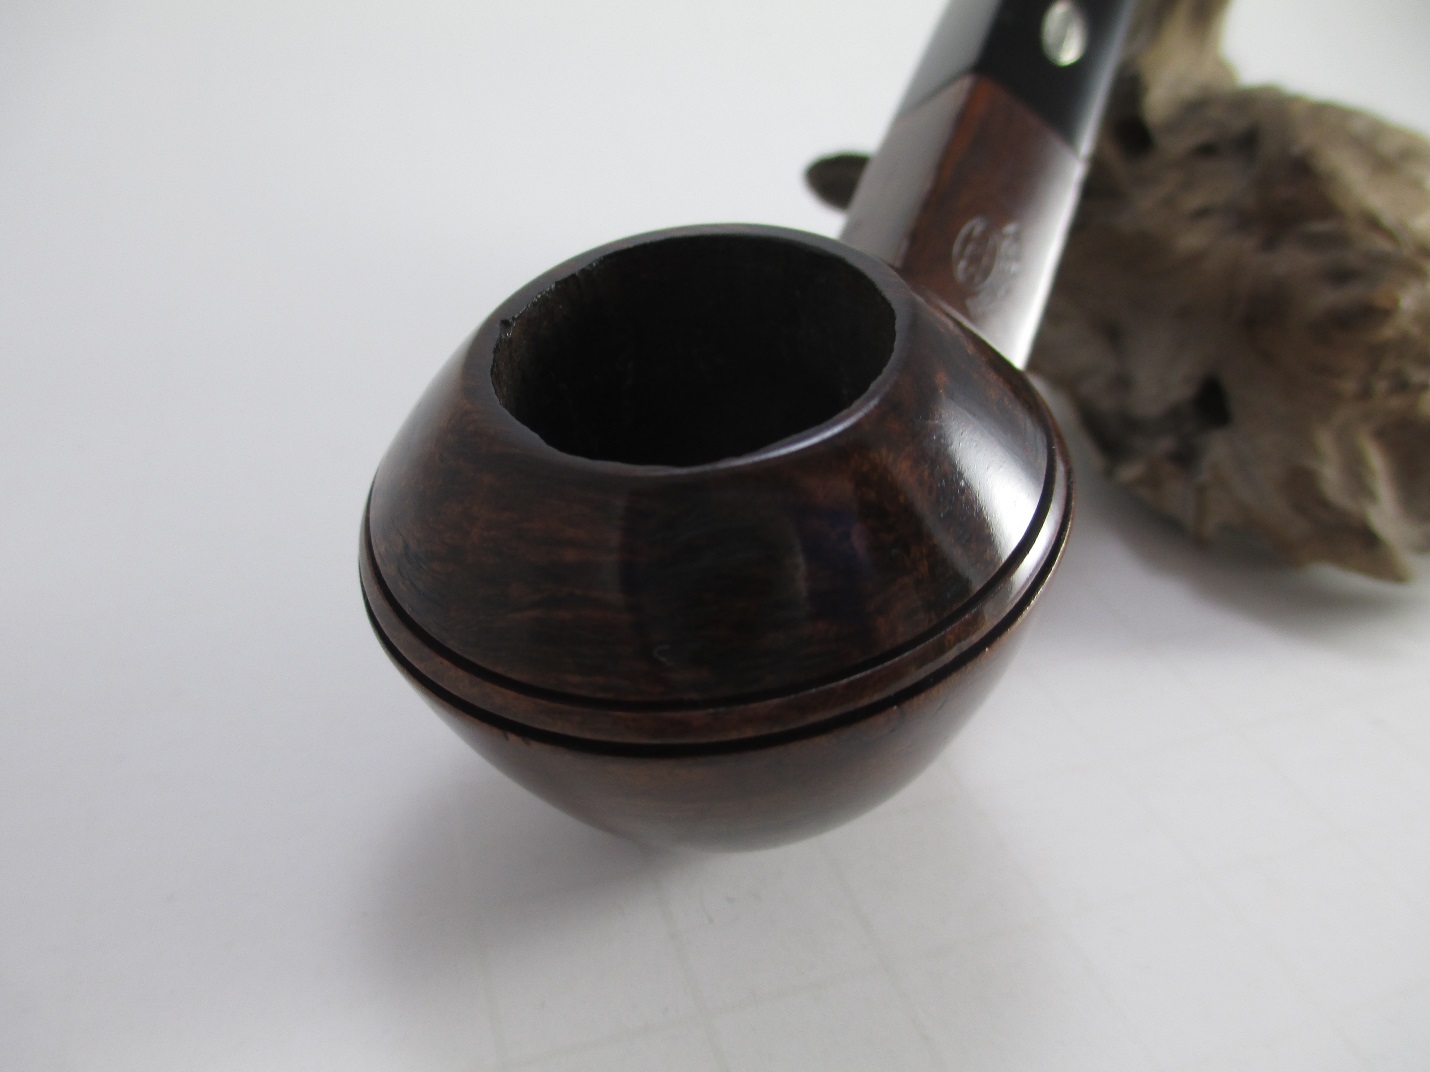
The sanding on the top portion of the bowl changed the contour of the rim, so I used 400 grit sand paper and a piece of glass to top it.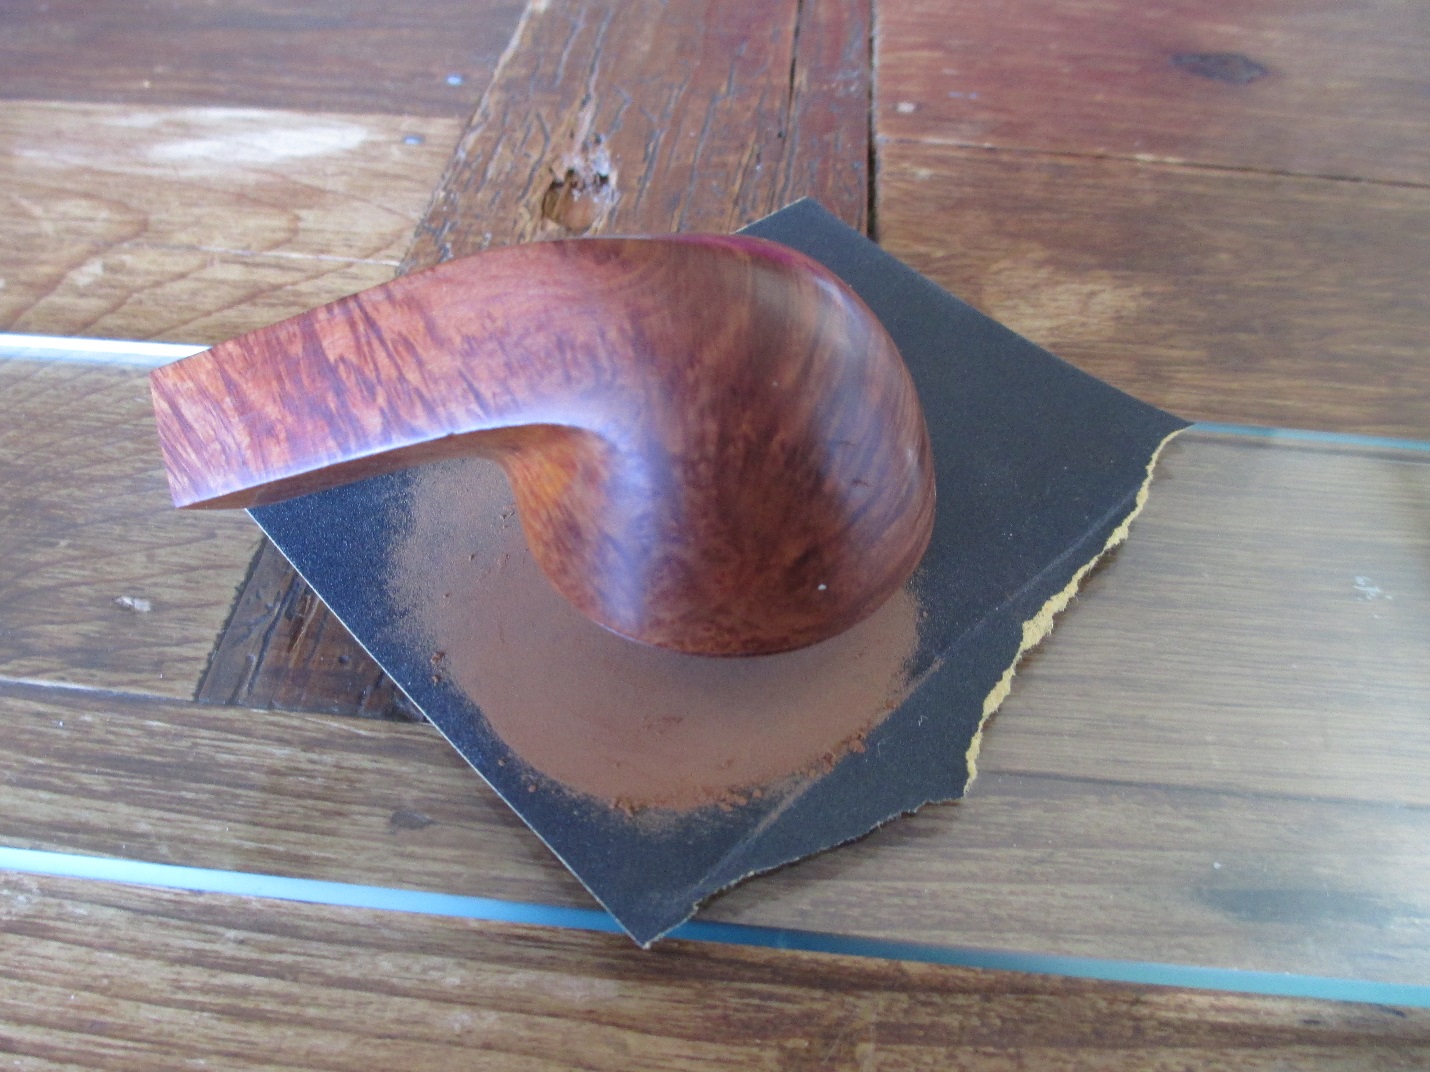 Normally I have a set order for restoring a pipe, but dealing with the scorch mark threw it all off. I don’t like to work on a pipe that has a dirty bowl, so I went ahead and reamed it. As you can see from this picture the scorch mark is fairly light.
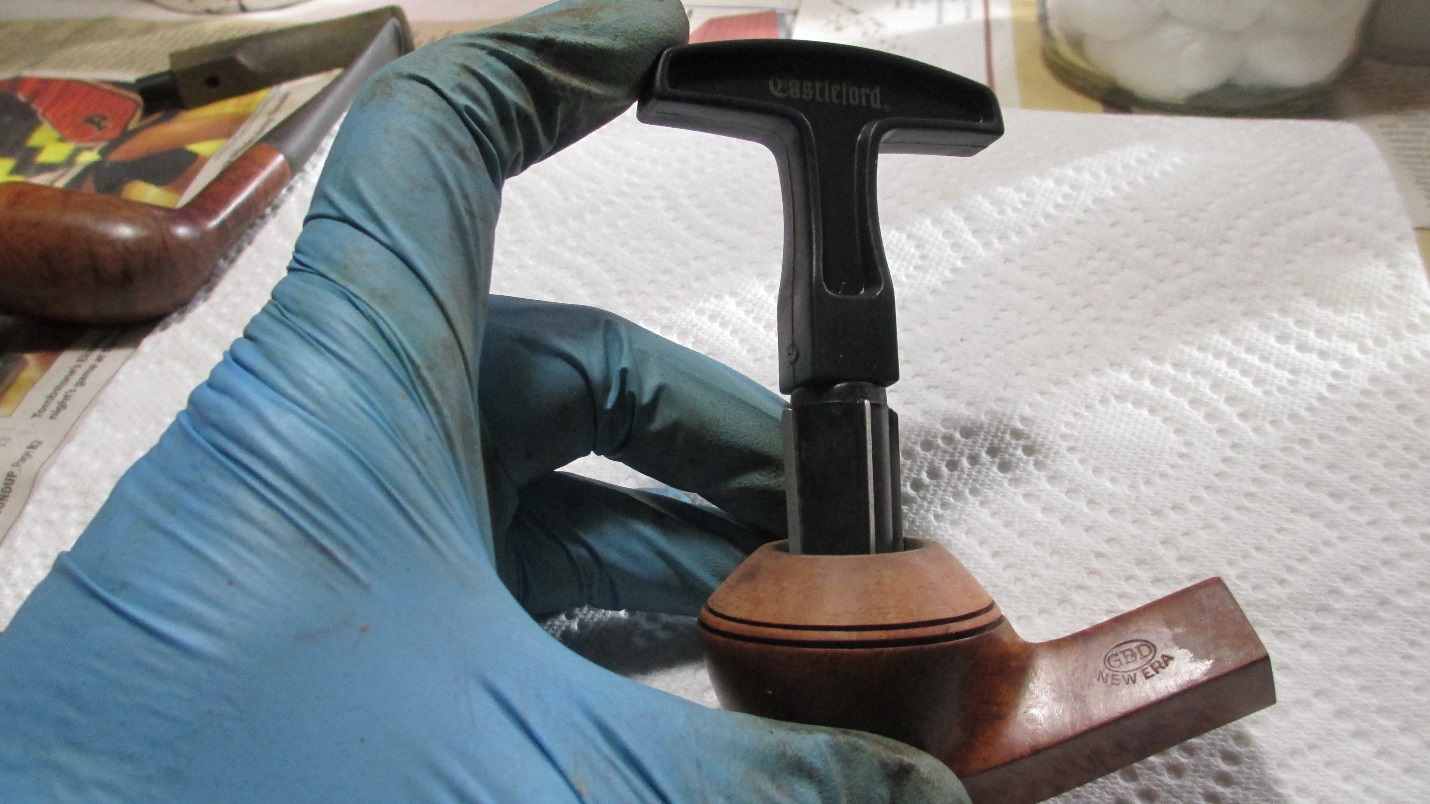 Next I retorted the shank.
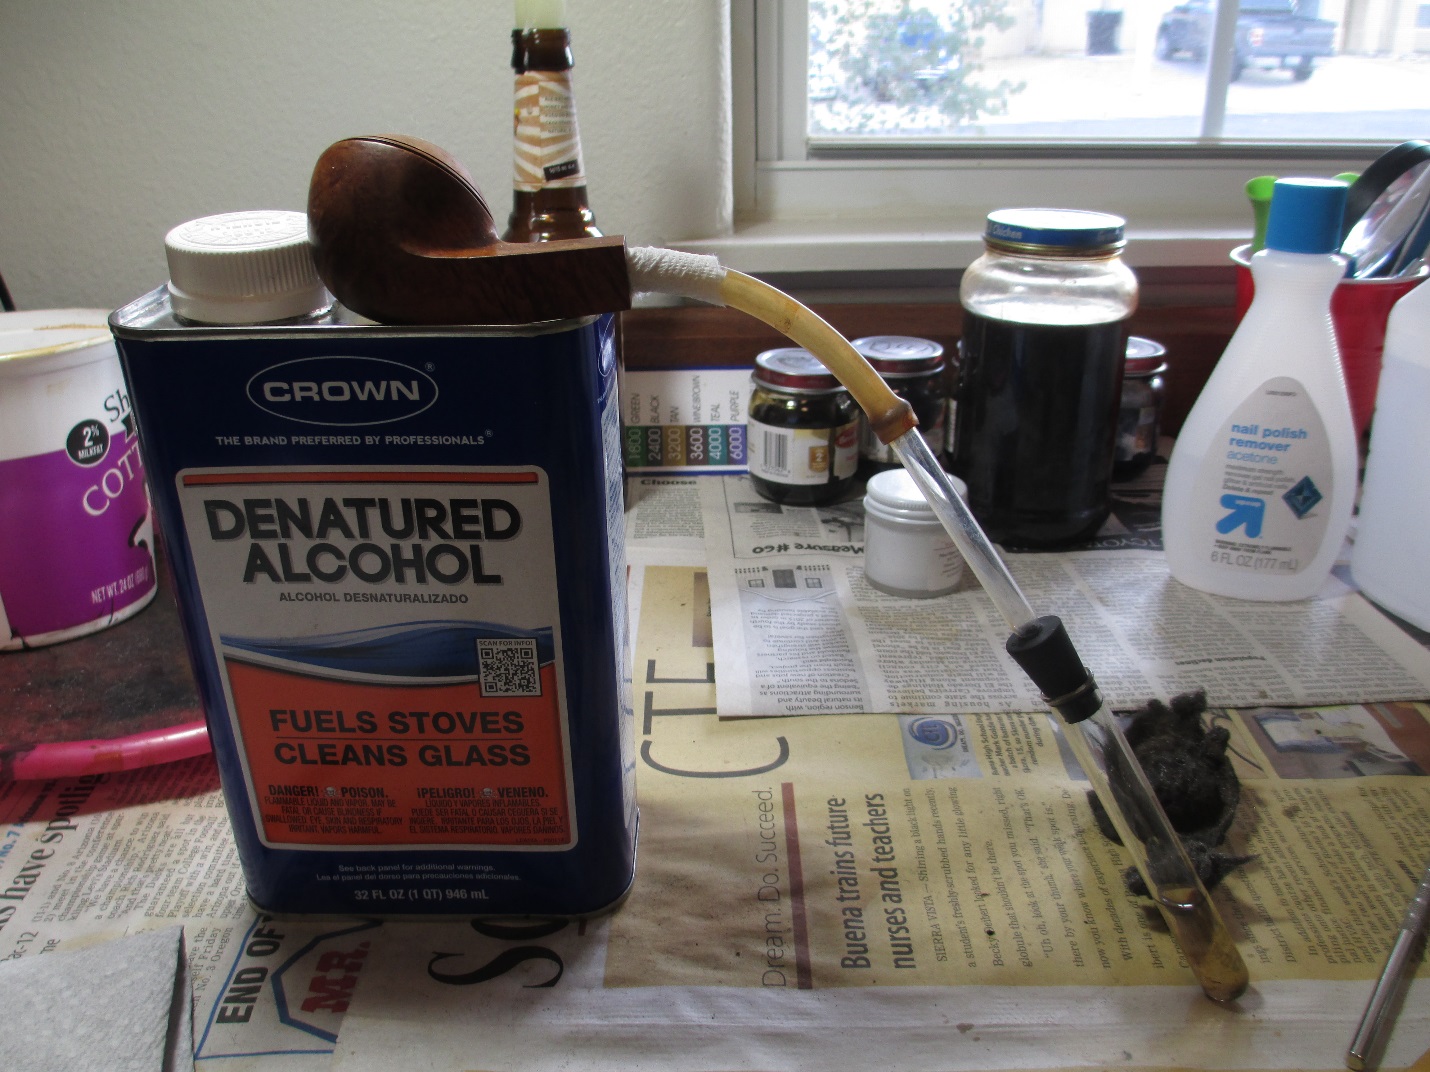 She was a dirty girl.
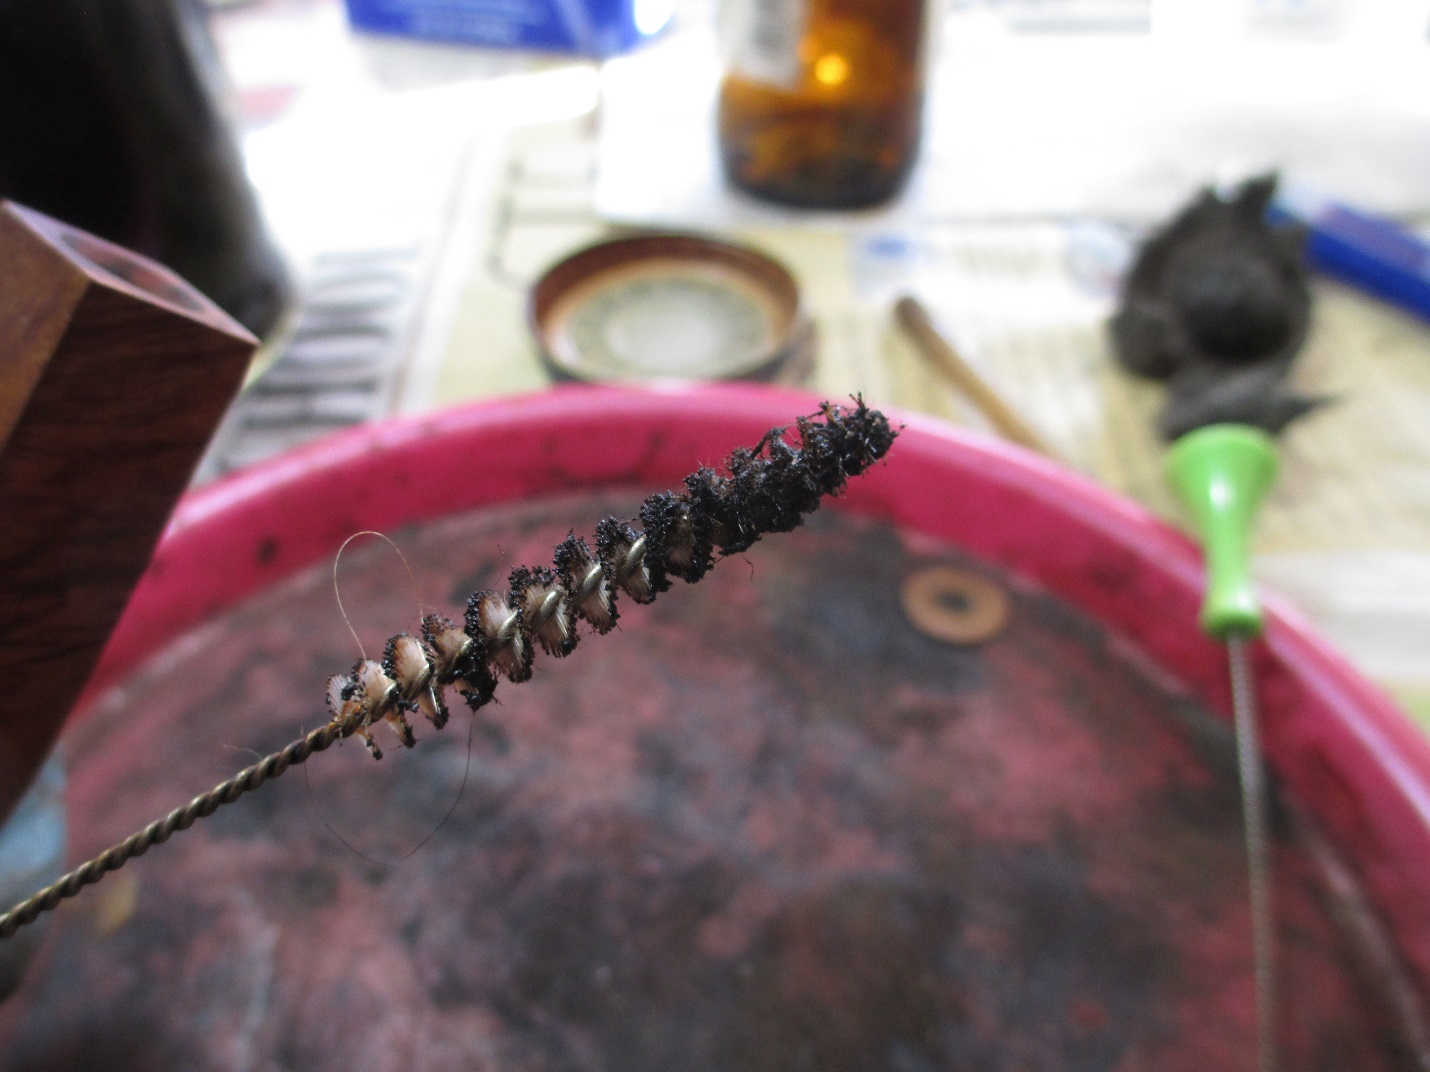
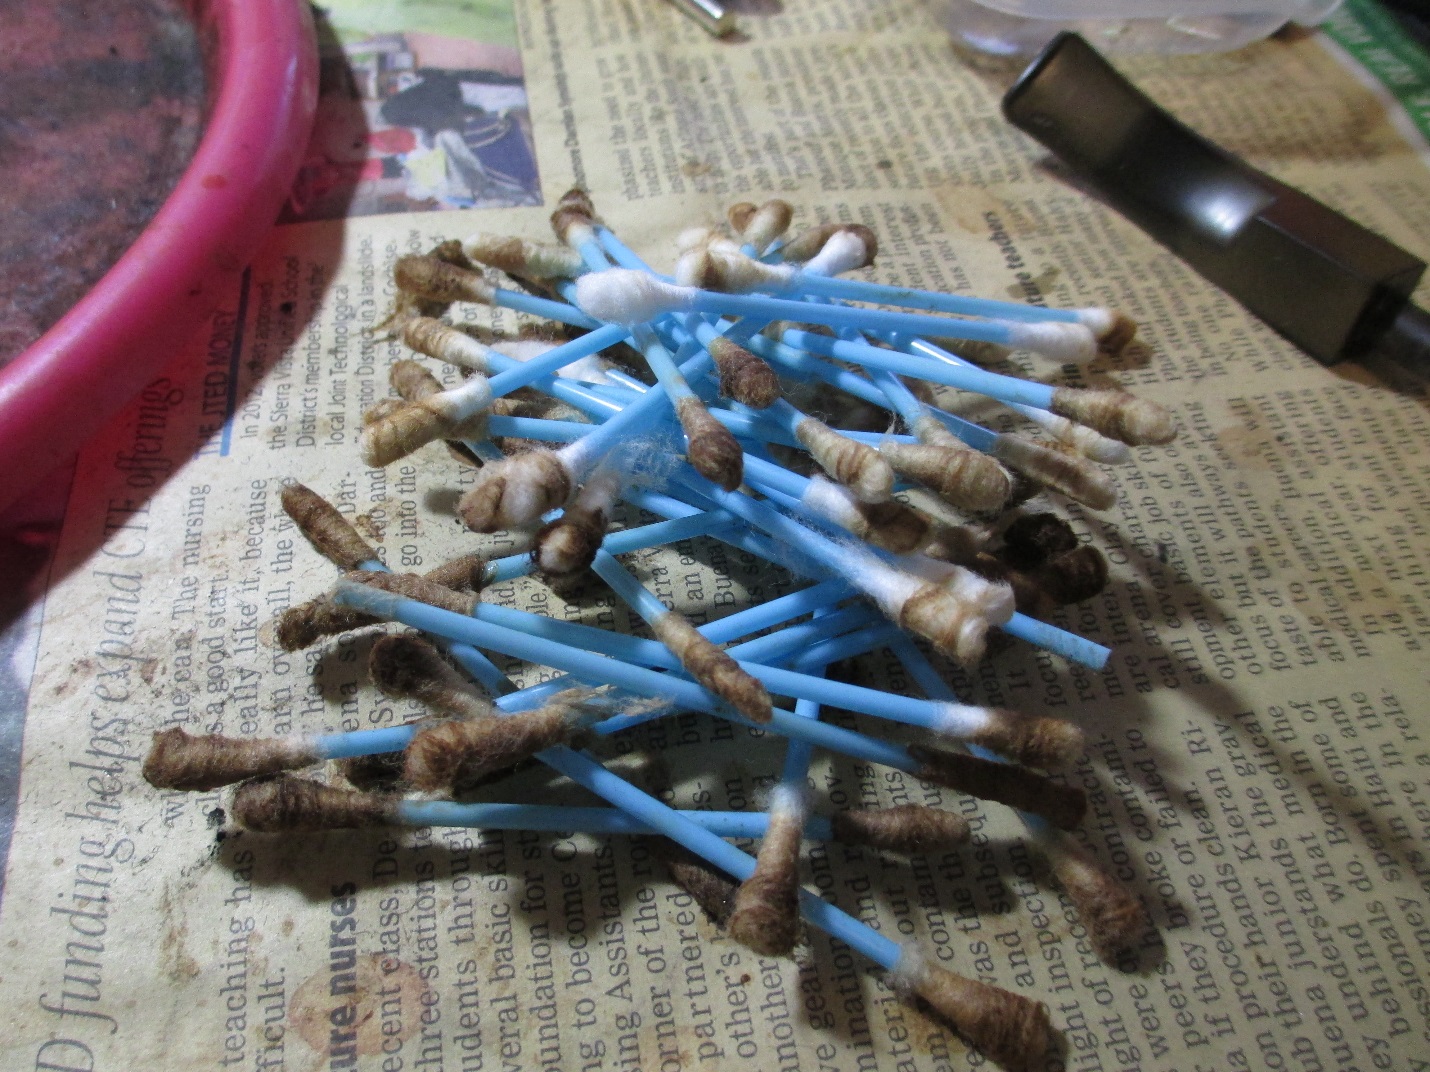 I retorted the stem after that, but did it four times. On a dirty pipe you can either spend time with lots of q-tips and fuzzy sticks, or do the retort multiple times.
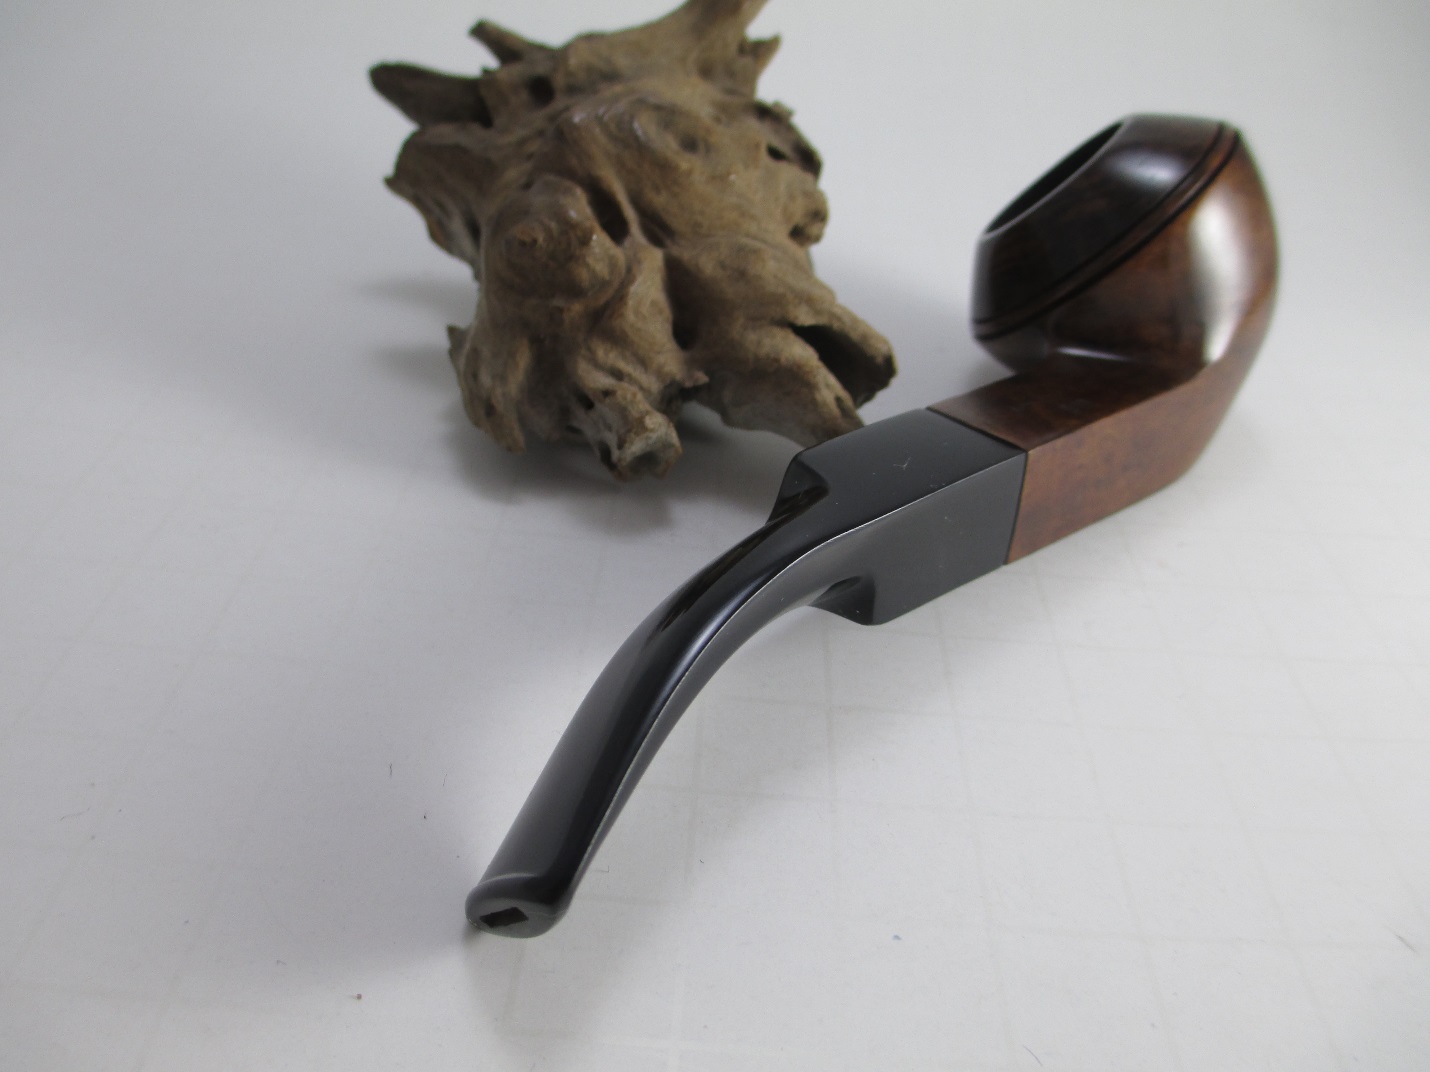
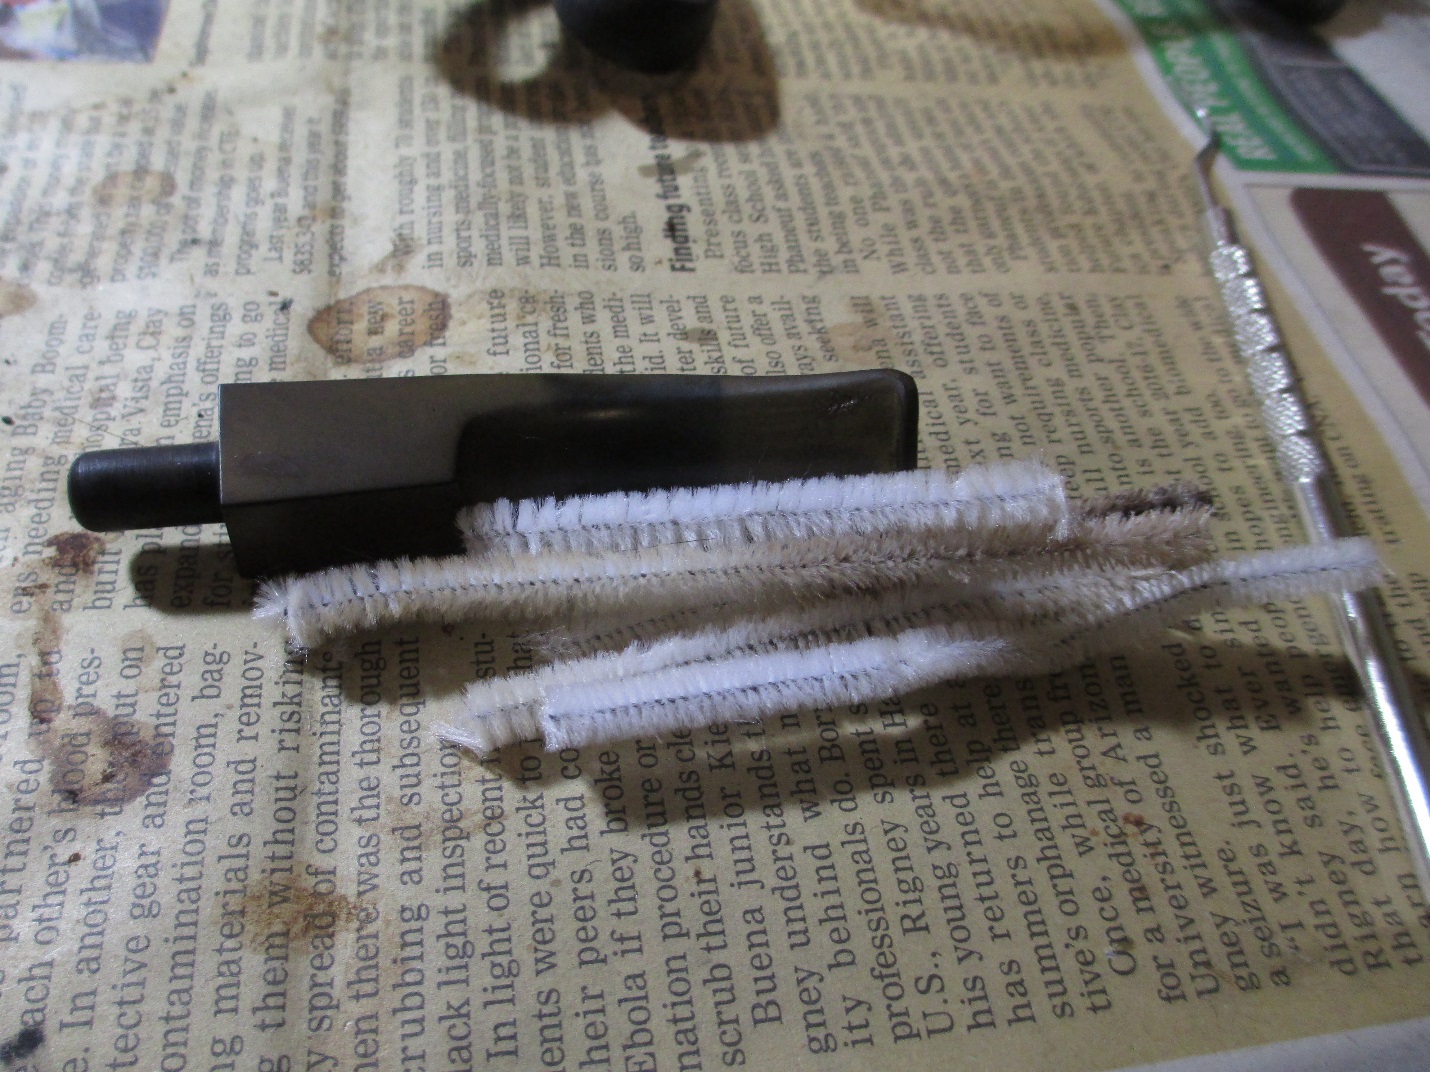 Now that I had the internals of the pipe cleaned, I turned my attention to the removing the oxidation from the stem. This stem was all angles and had some serious oxidation. I’ve felt for a long time that my stem work needed improvement. It’s especially difficult to clean the crease under the button and in the case of this stem the curved area where it meets the diamond portion. I know that when I work with wood I use a sanding block or wrap the sand paper around an object that would fit into the area to be sanded. With that in mind, I “borrowed” a small plastic scraper from the kitchen. You will notice that it has a beveled edge and fits the underside of the button perfectly.
 Using the scraper wrapped with 400 grit wet/dry and water, the oxidation was soon gone. I followed with 1500-2400 grit micro mesh pads and water.
 The bowl had a couple of dents so I decided to steam them out.
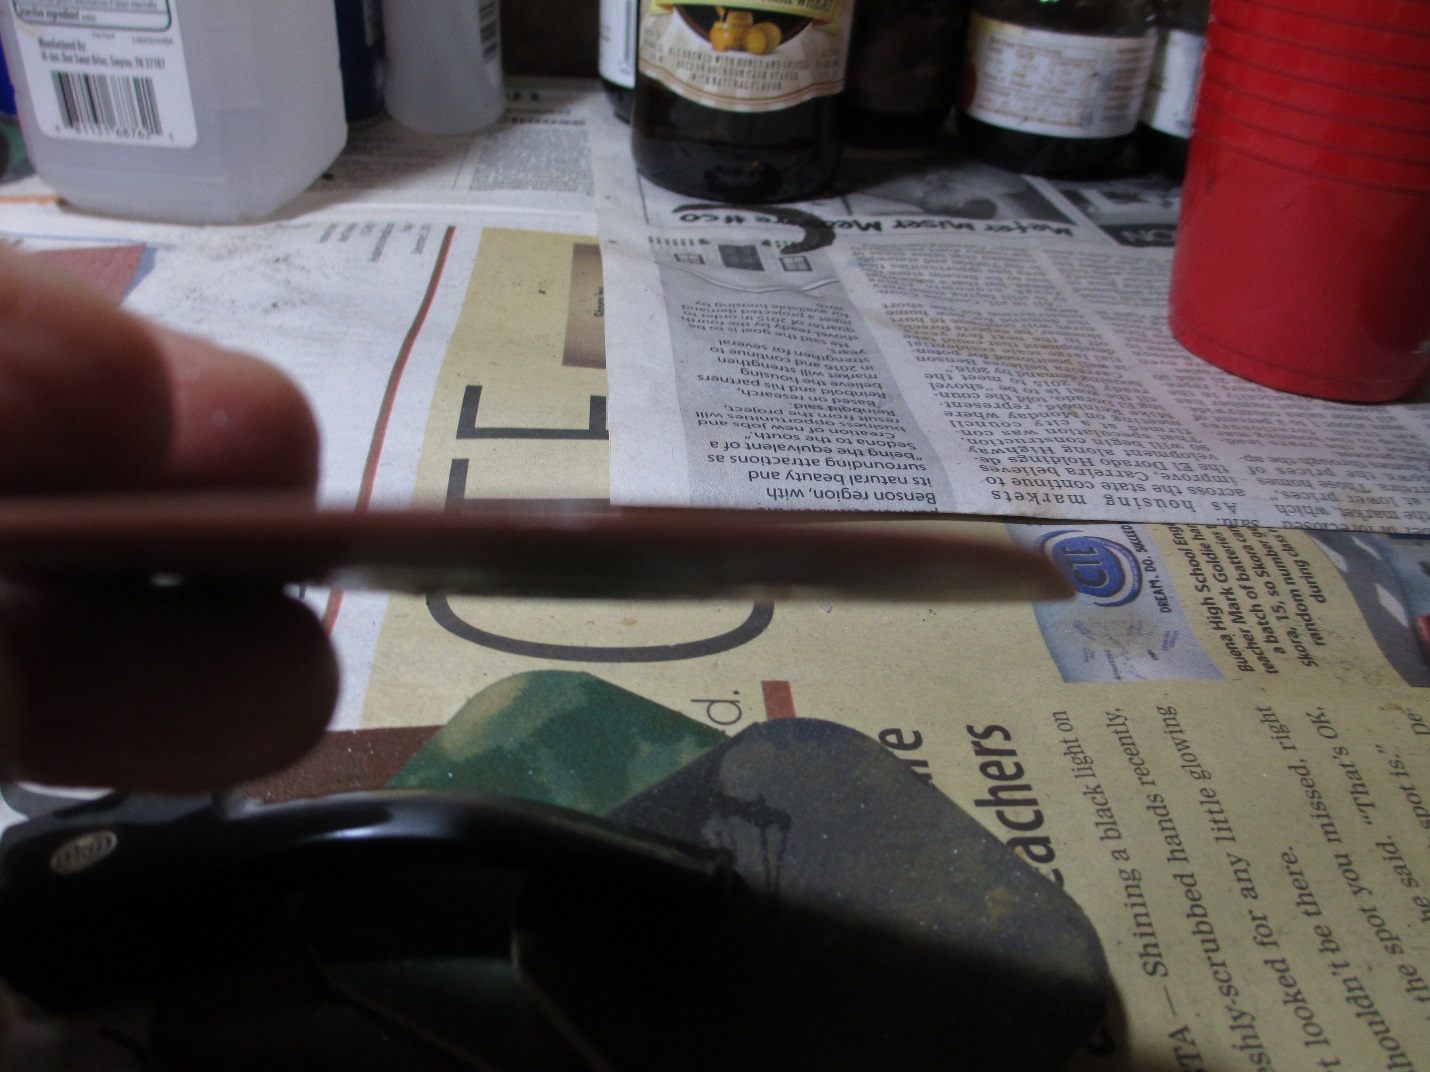
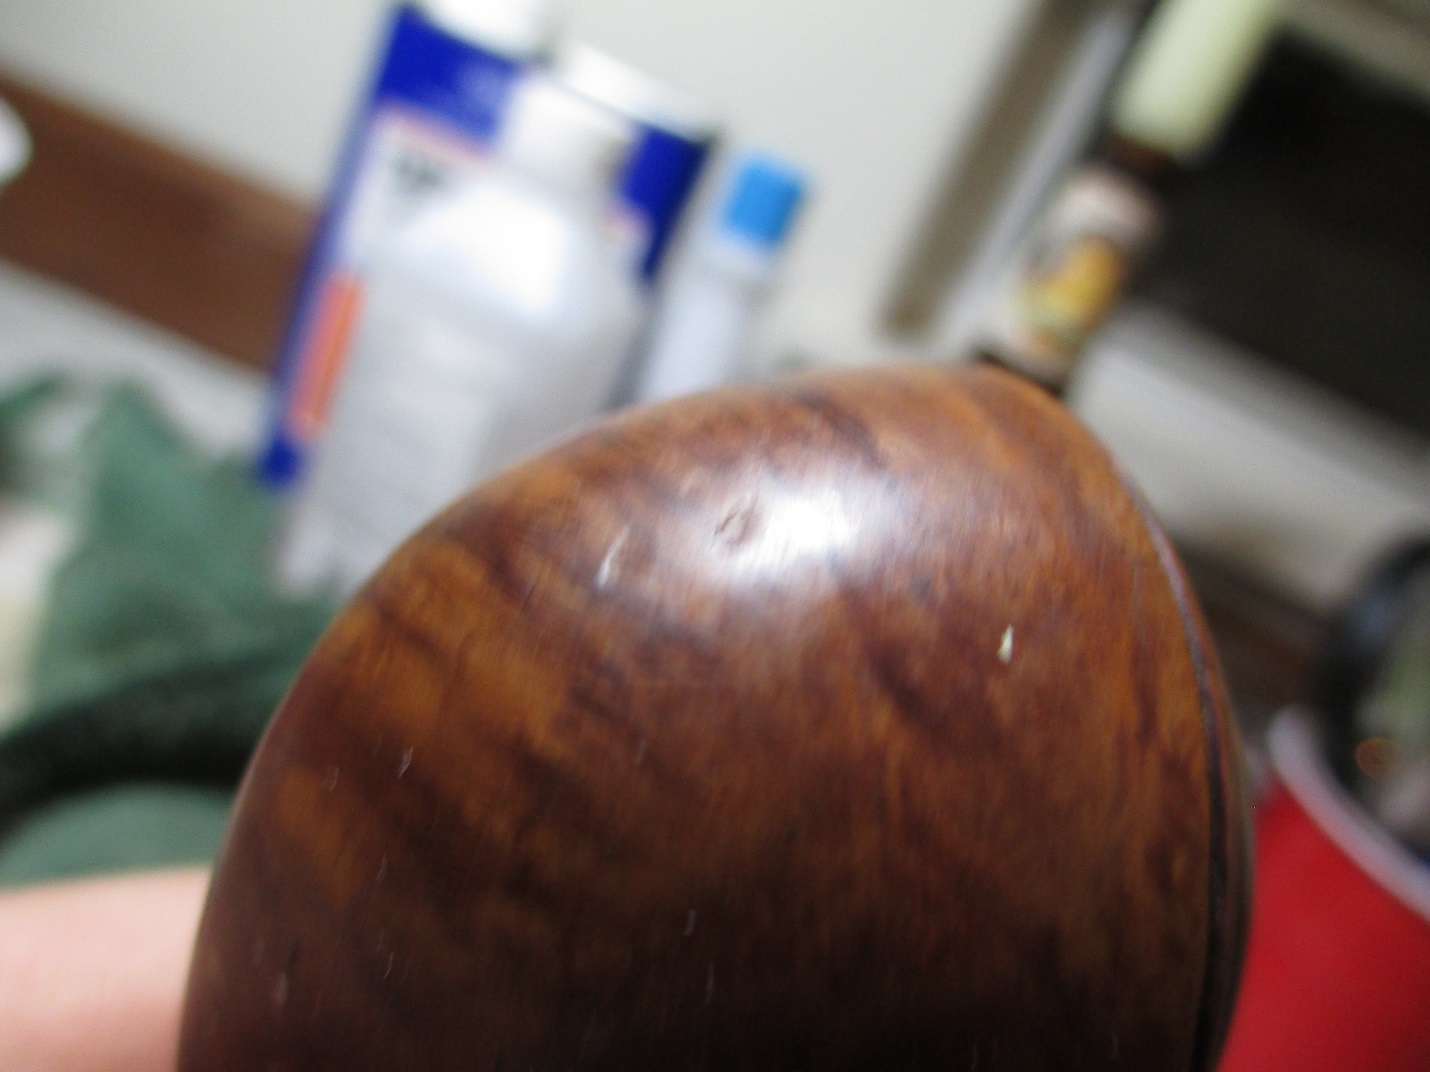 One of my essential tools for this type of work is an old butter knife.
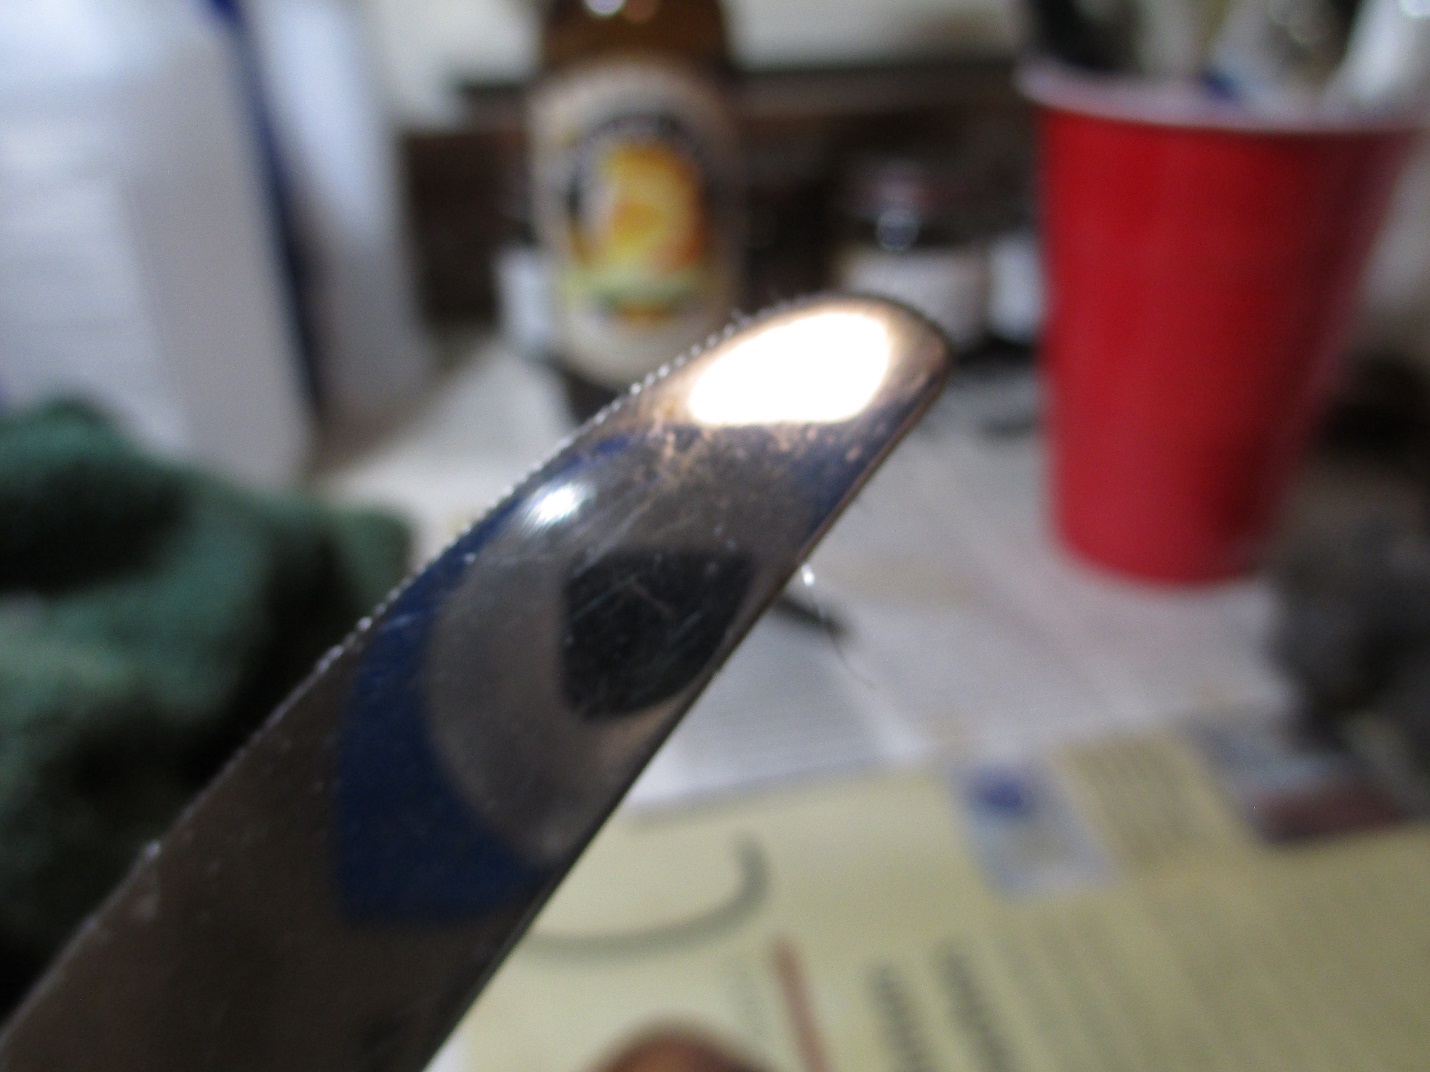 I used my heat gun to get the tip of the knife very hot, then applied it to a wet cloth directly over the dents. Here is what it looked like after several applications of steam.
 The dents still needed some work, so I sanded them smooth with 400 grit sand paper.
 By this point the finish was completely uneven, with bare wood on the rim and side of the bowl, so I used acetone and 0000 steel wool to remove the remaining finish. I find that if I’m careful with the stampings, that grade of steel wool cleans the wood without damaging the stampings.
 This is what the pipe looked like after I took the bowl and stem through a progression of micro mesh pads, 1500-12,000.
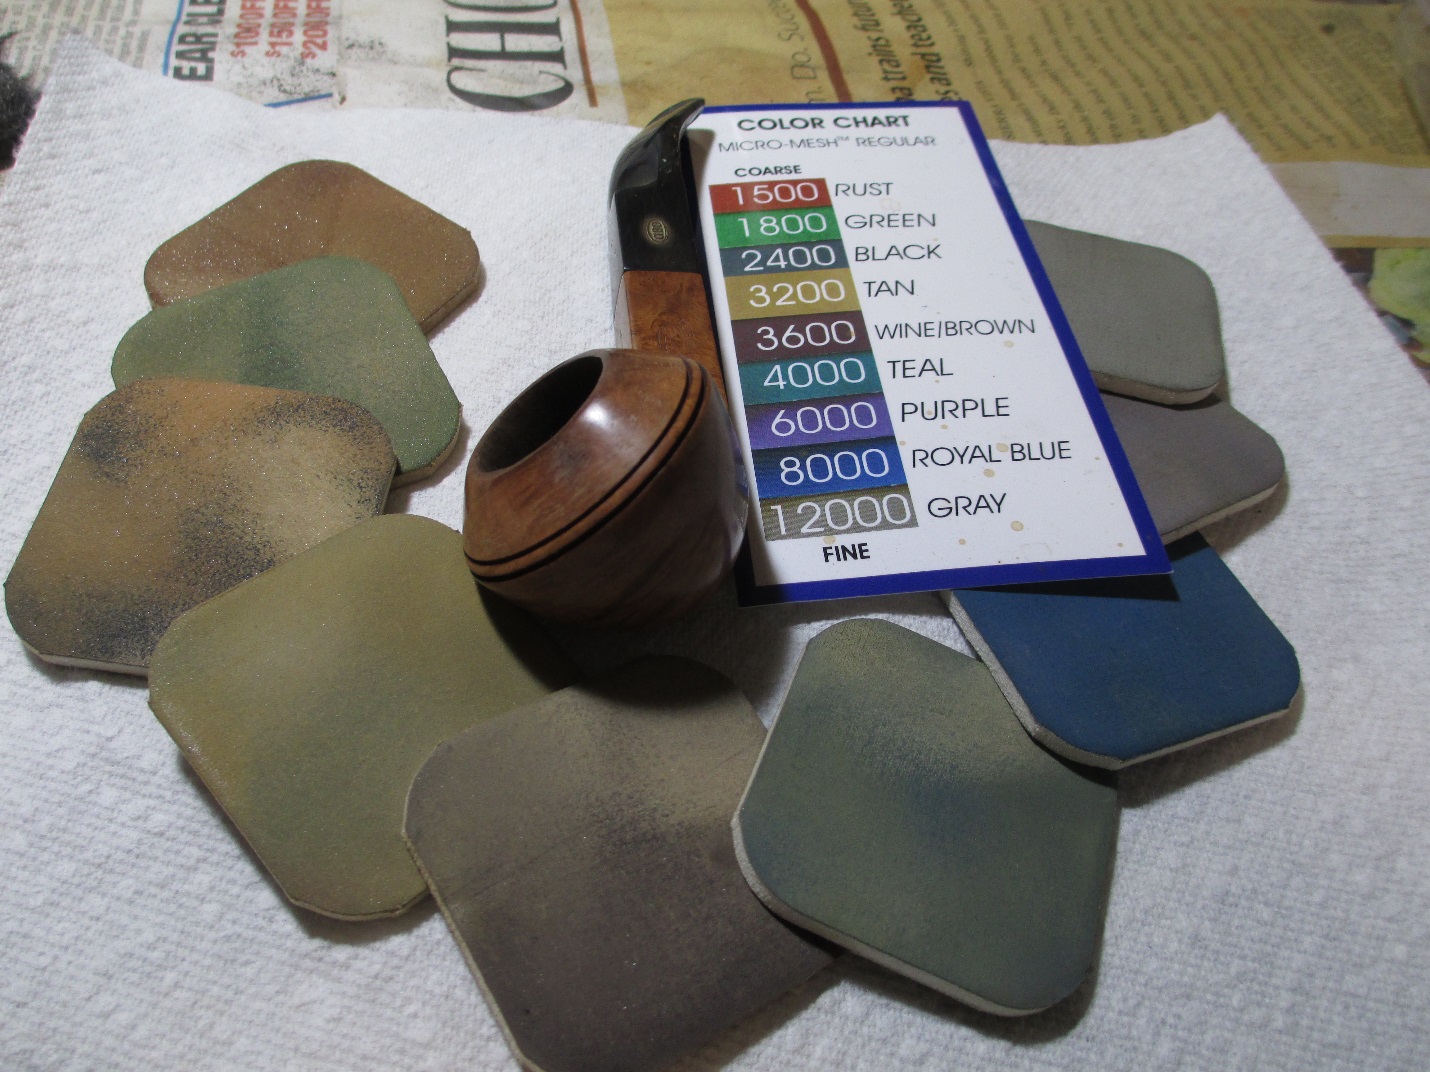 I decided to use a dark walnut stain from Pimo Pipe Supply to help cover the remaining scorch mark. Here is the bowl after the application of stain.
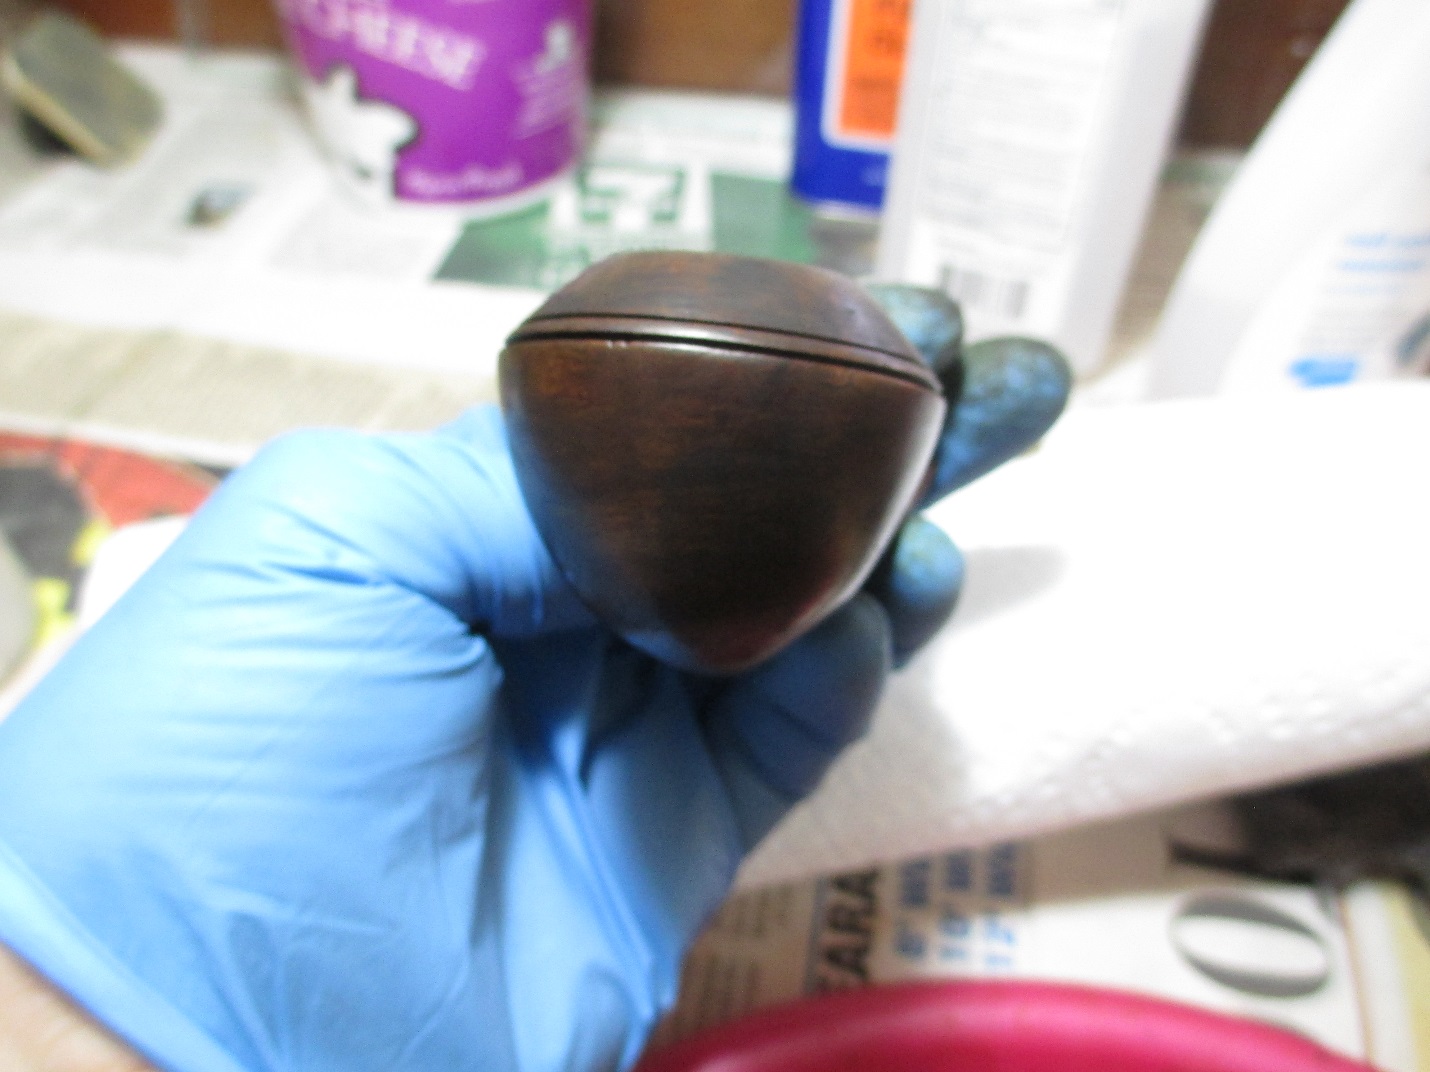 I used white diamond buffing compound on the buffing wheel to bring out a shine. Let me digress a bit about buffers. There are three things that a buffer loves, angles, stem inserts, and nice pipes. When spinning at 3450 rpm’s the buffer will catch anything with an angle and fling it at a high rate of speed onto the nearest hard surface. Alternately it will catch any type of stem insert and rip it out of the stem. Finally if you have a nice pipe that you’ve invested time in, the buffer has a tendency to shatter it just as you finish. This pipe had all of those elements, so I decided to try something different; my rotary tool.
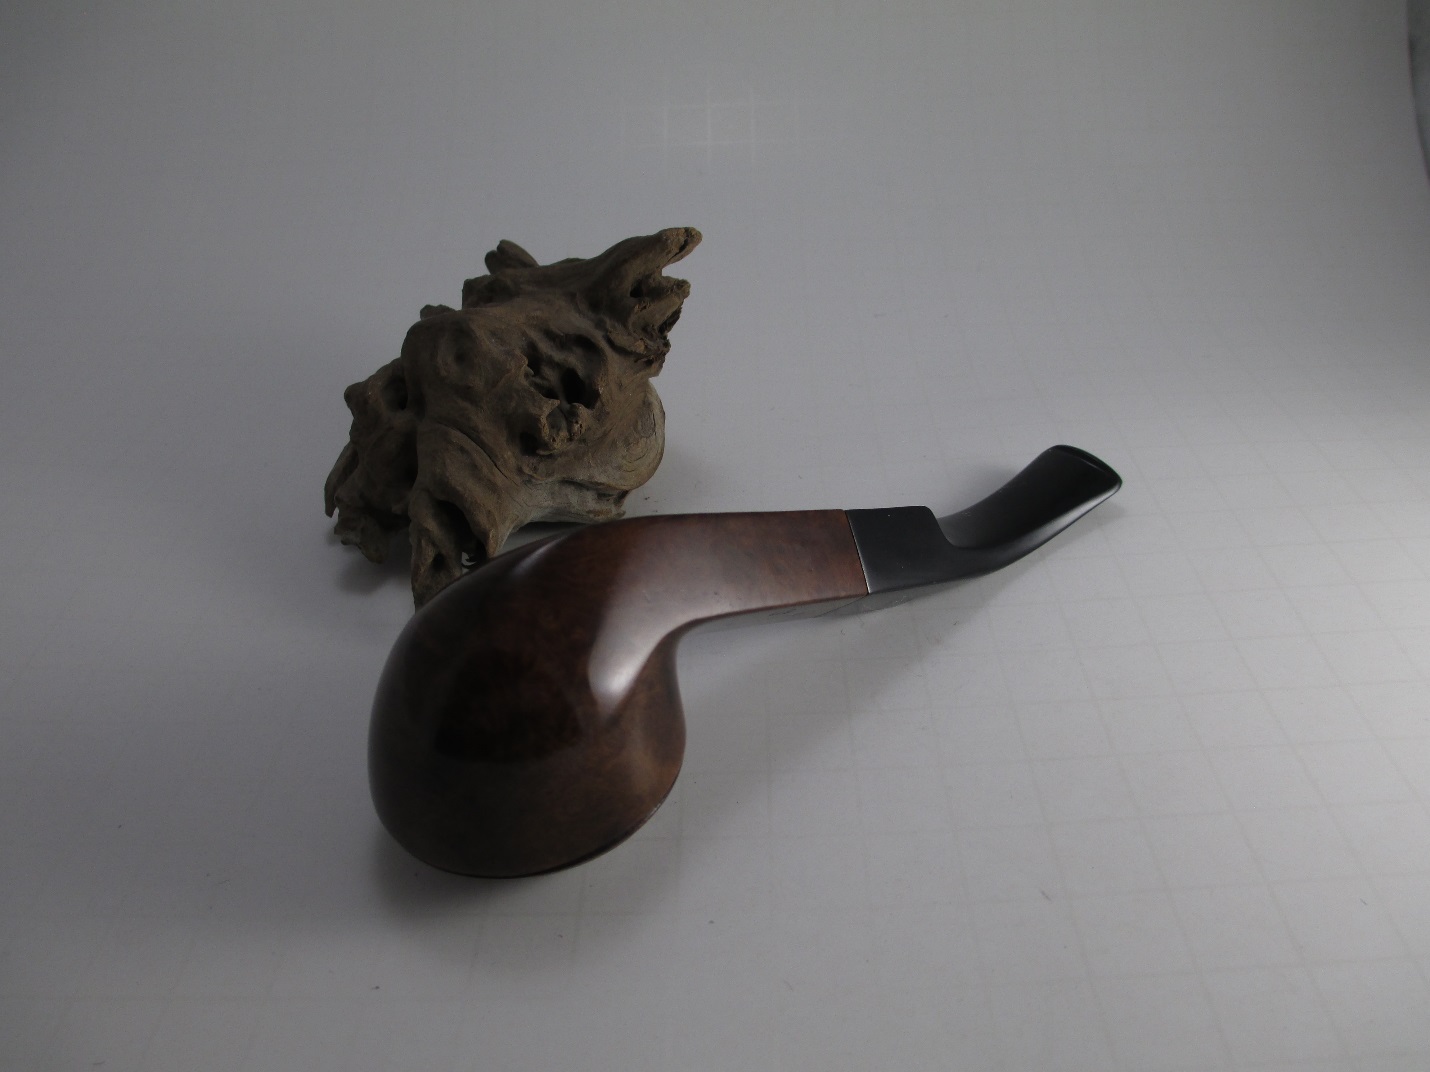
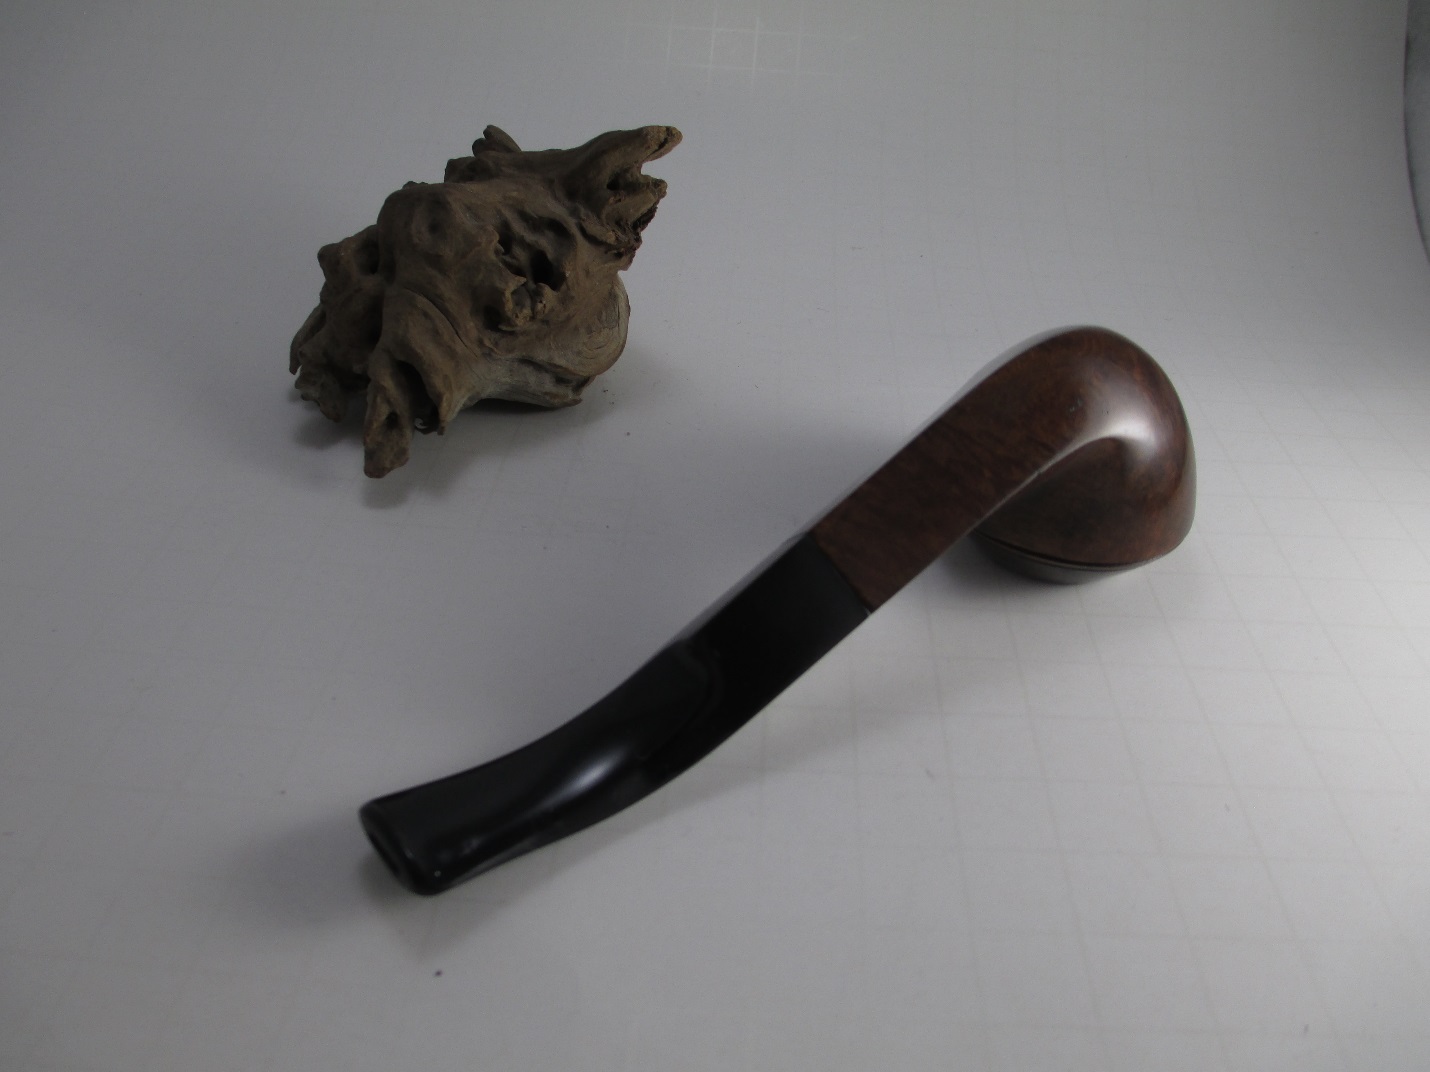
I took a felt buffing pad and loaded it with white diamond buffing compound. The results were spectacular. The rotary tool gave me more control, I didn’t have to worry about the stem flying out of my hand, and I was able to achieve a more consistent shine in the areas that are hard to get with a buffer. Not bad when you consider that I paid $19.99 for this thing at Harbor Freight Tools. I finished the bowl on the buffing wheel and here is the final result.
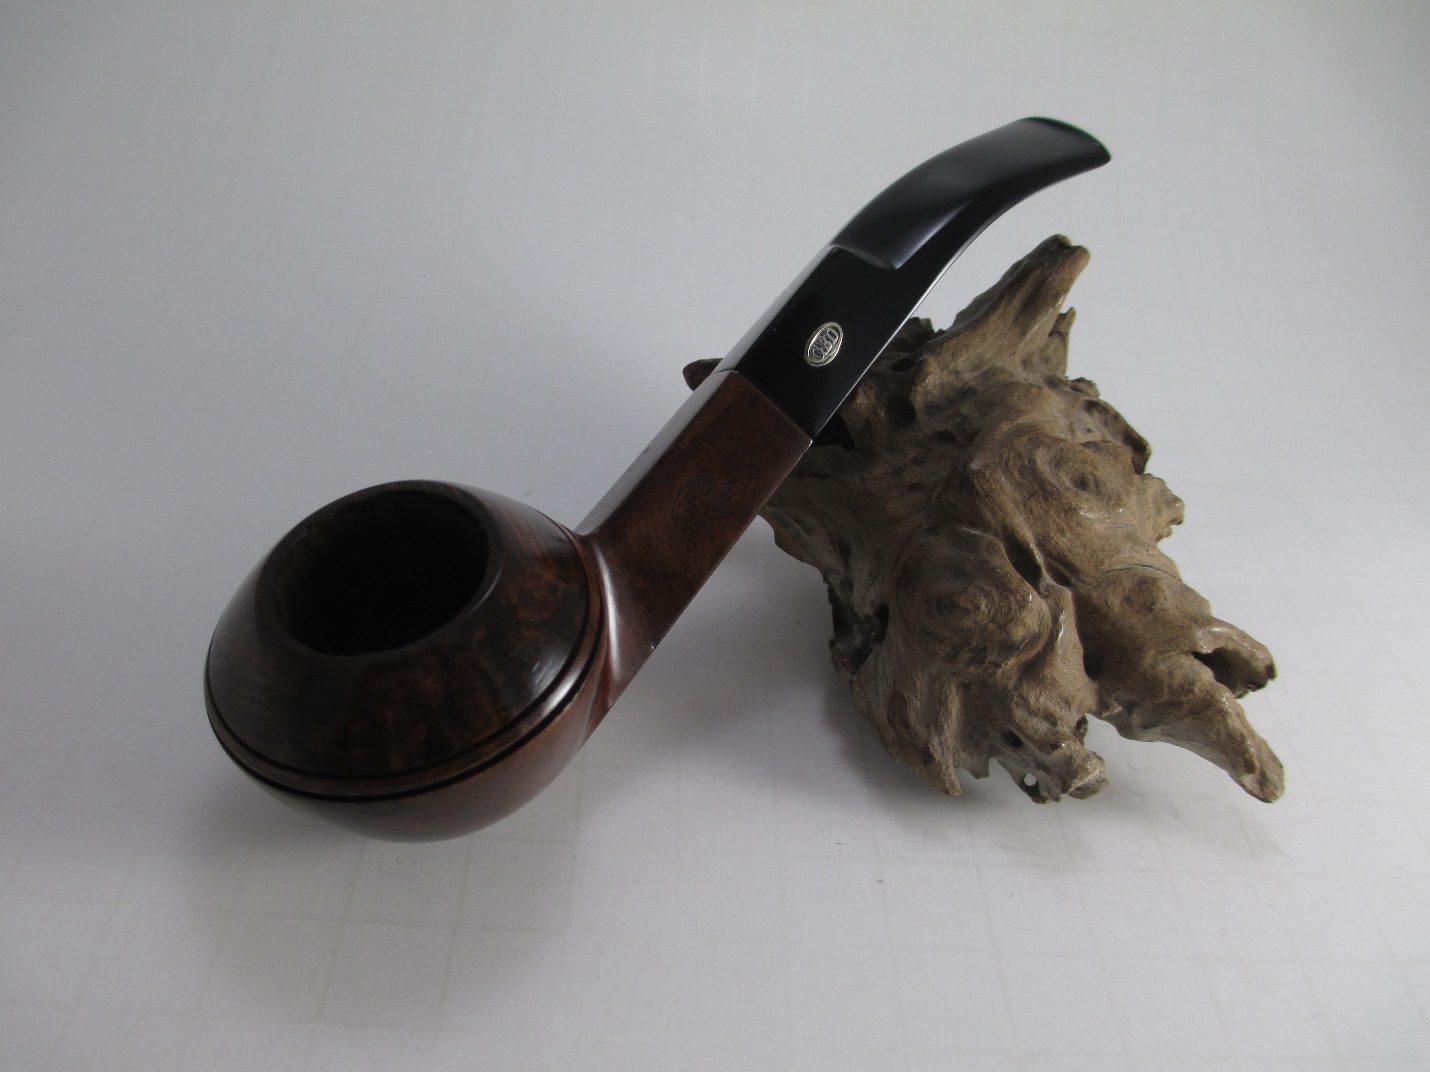
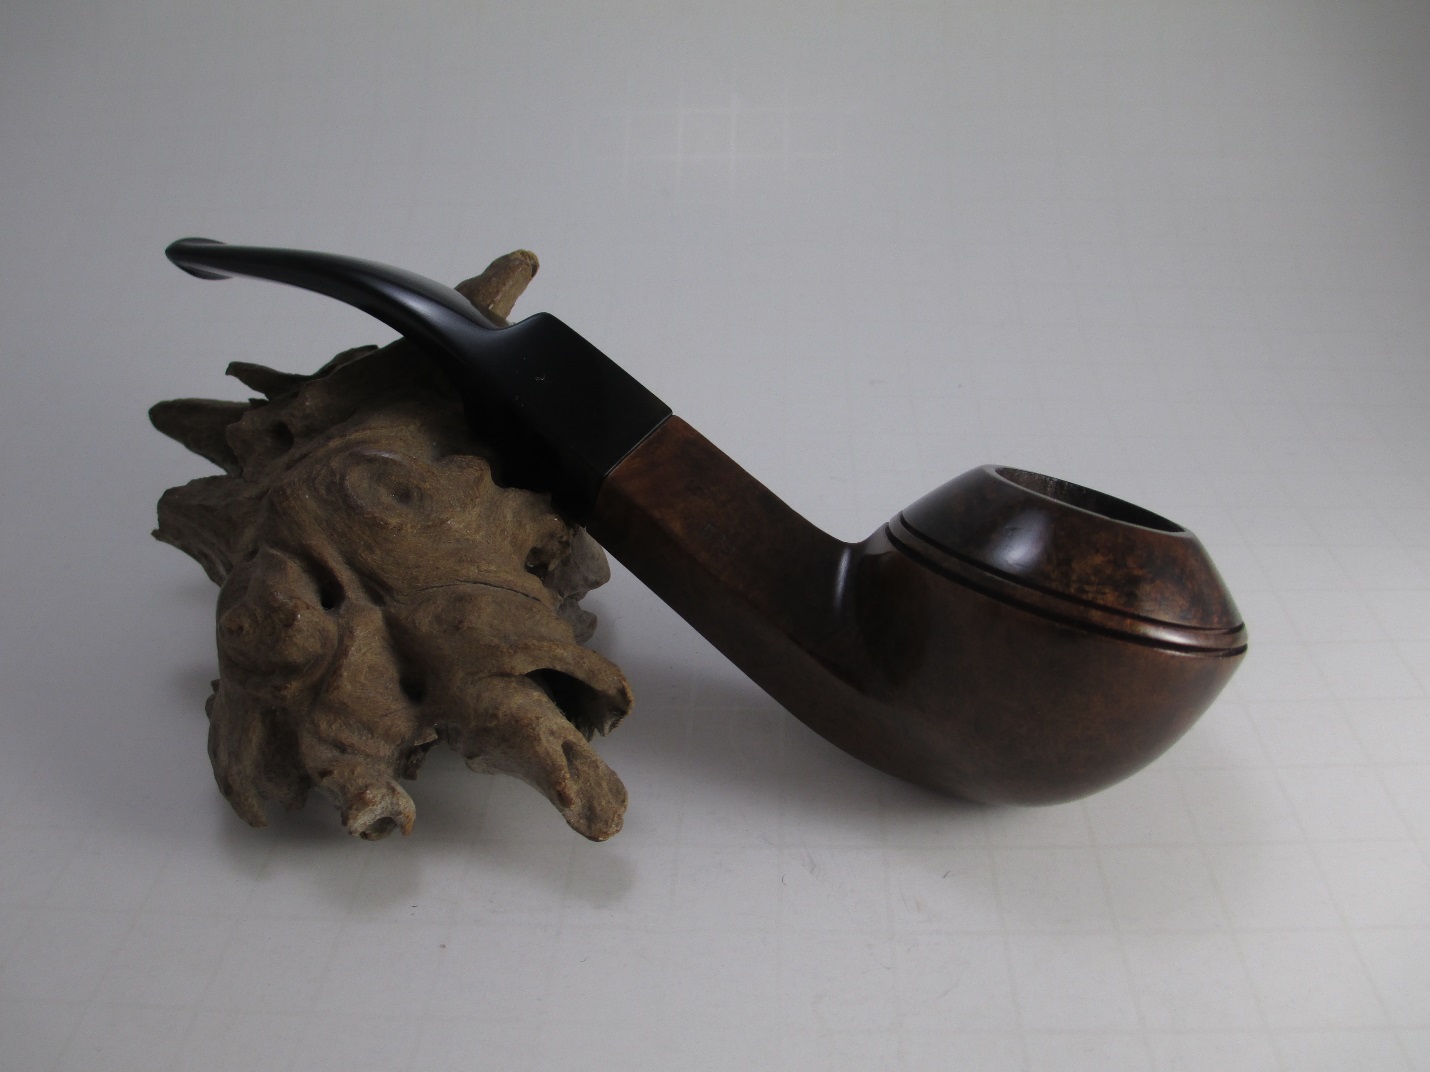