
Blog by Greg Wolford
A couple of weeks ago I received an IM from a Facebook friend; he’s a pipe collector and reseller. He attached the following photos of an acrylic stem with a hole in the underside.
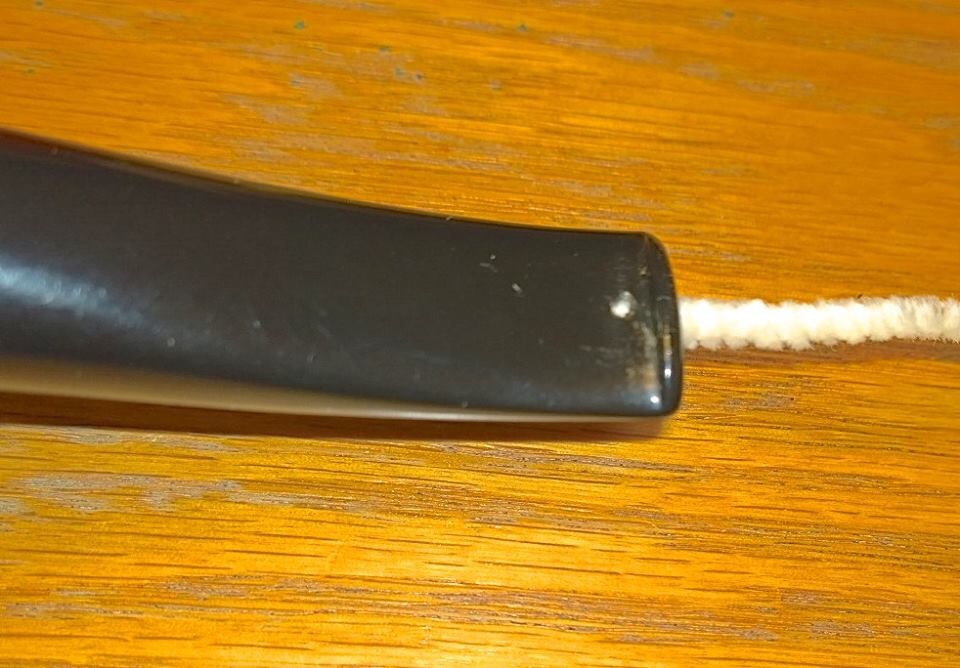
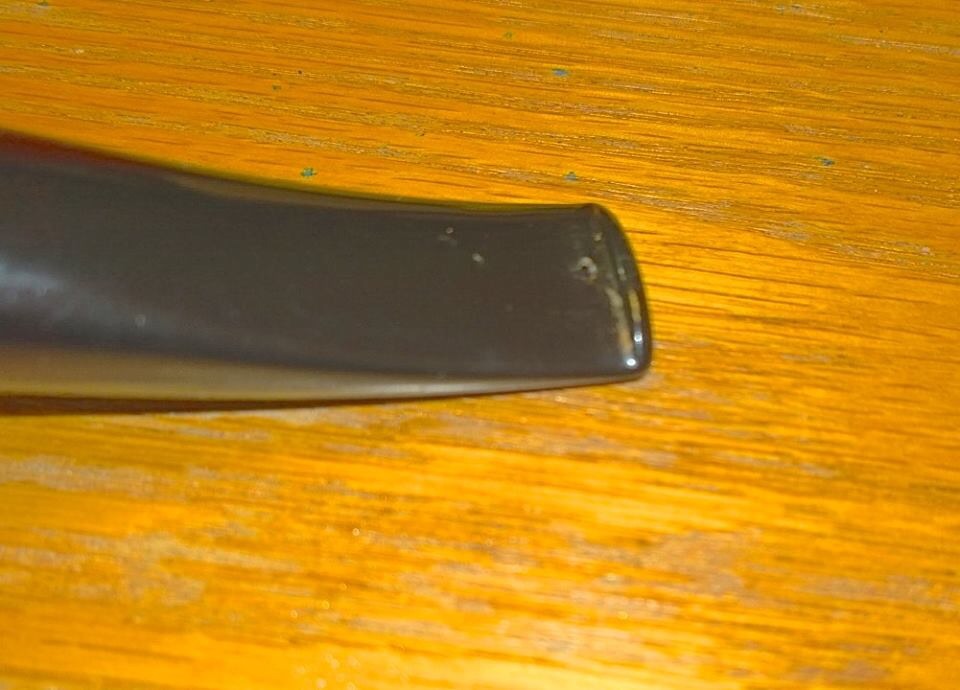
He had seen photos of some of my work bad wanted to know if I could repair this stem for him; he said the top of the stem and the stummel were pristine and this was the only problem with the pipe. I said I could fix it so he told me the stem would be in the mail in a couple of days.
A week later I found a box in the mail from a sender I didn’t recognize and I wasn’t expecting any packages so I was eager to see what was inside. When I opened the box I found a beautiful large Radice (I forget the model name and didn’t remember to photograph it) inside – with a big hole in the stem; apparently the seller sent the pipe directly to me first and, after repairing it, I would forward it to my friend.
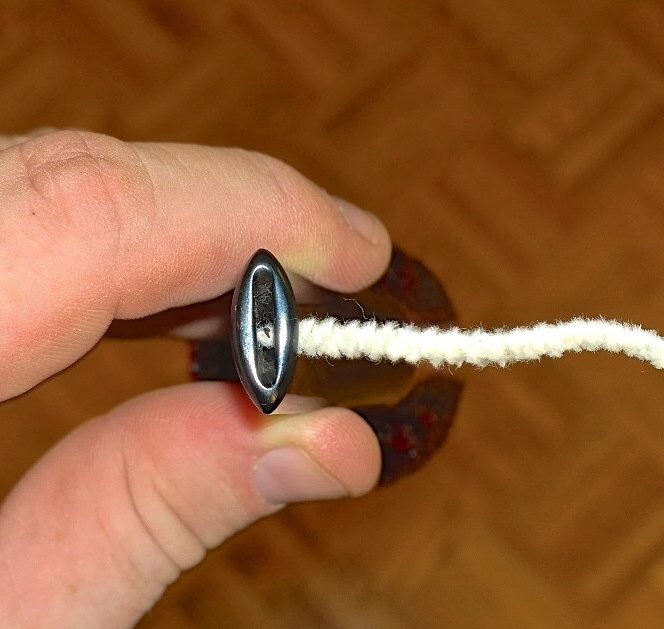
The hole was larger than it appeared in the pictures. And it was a bit “ragged”, too. So I picked it with my dental pick and smoothed it with a round needle file to have a good surface to work with. I bent a pipe cleaner to make it triple-width to fit the slot and greased it with vegetable shortening; I’ve had trouble with petroleum jelly in past not keeping the glue in place real well and have started using the shortening instead.
I began by applying a drop or two of black super glue to the hole an pd then setting it aside to cure; it was going to take several layers to fill this hole so it would be a waiting game. Later that evening I applied a few more drops and left it overnight to cure.
In the morning I found the patch had shrunken, as expected, and needed more glue. I applied two more patches that day, once in the morning and another that evening and allowed it to cure overnight again.
It was at this point I began to have some fairly dramatic vision problems due to diabetes, which I’d been recently diagnosed with. (More on that can be found here if you are inclined to read about it.) So I sent my friend a message telling him what was going on and it might be several more days before I could finish the repair. His reply was no problem, make sure I took care of me first.
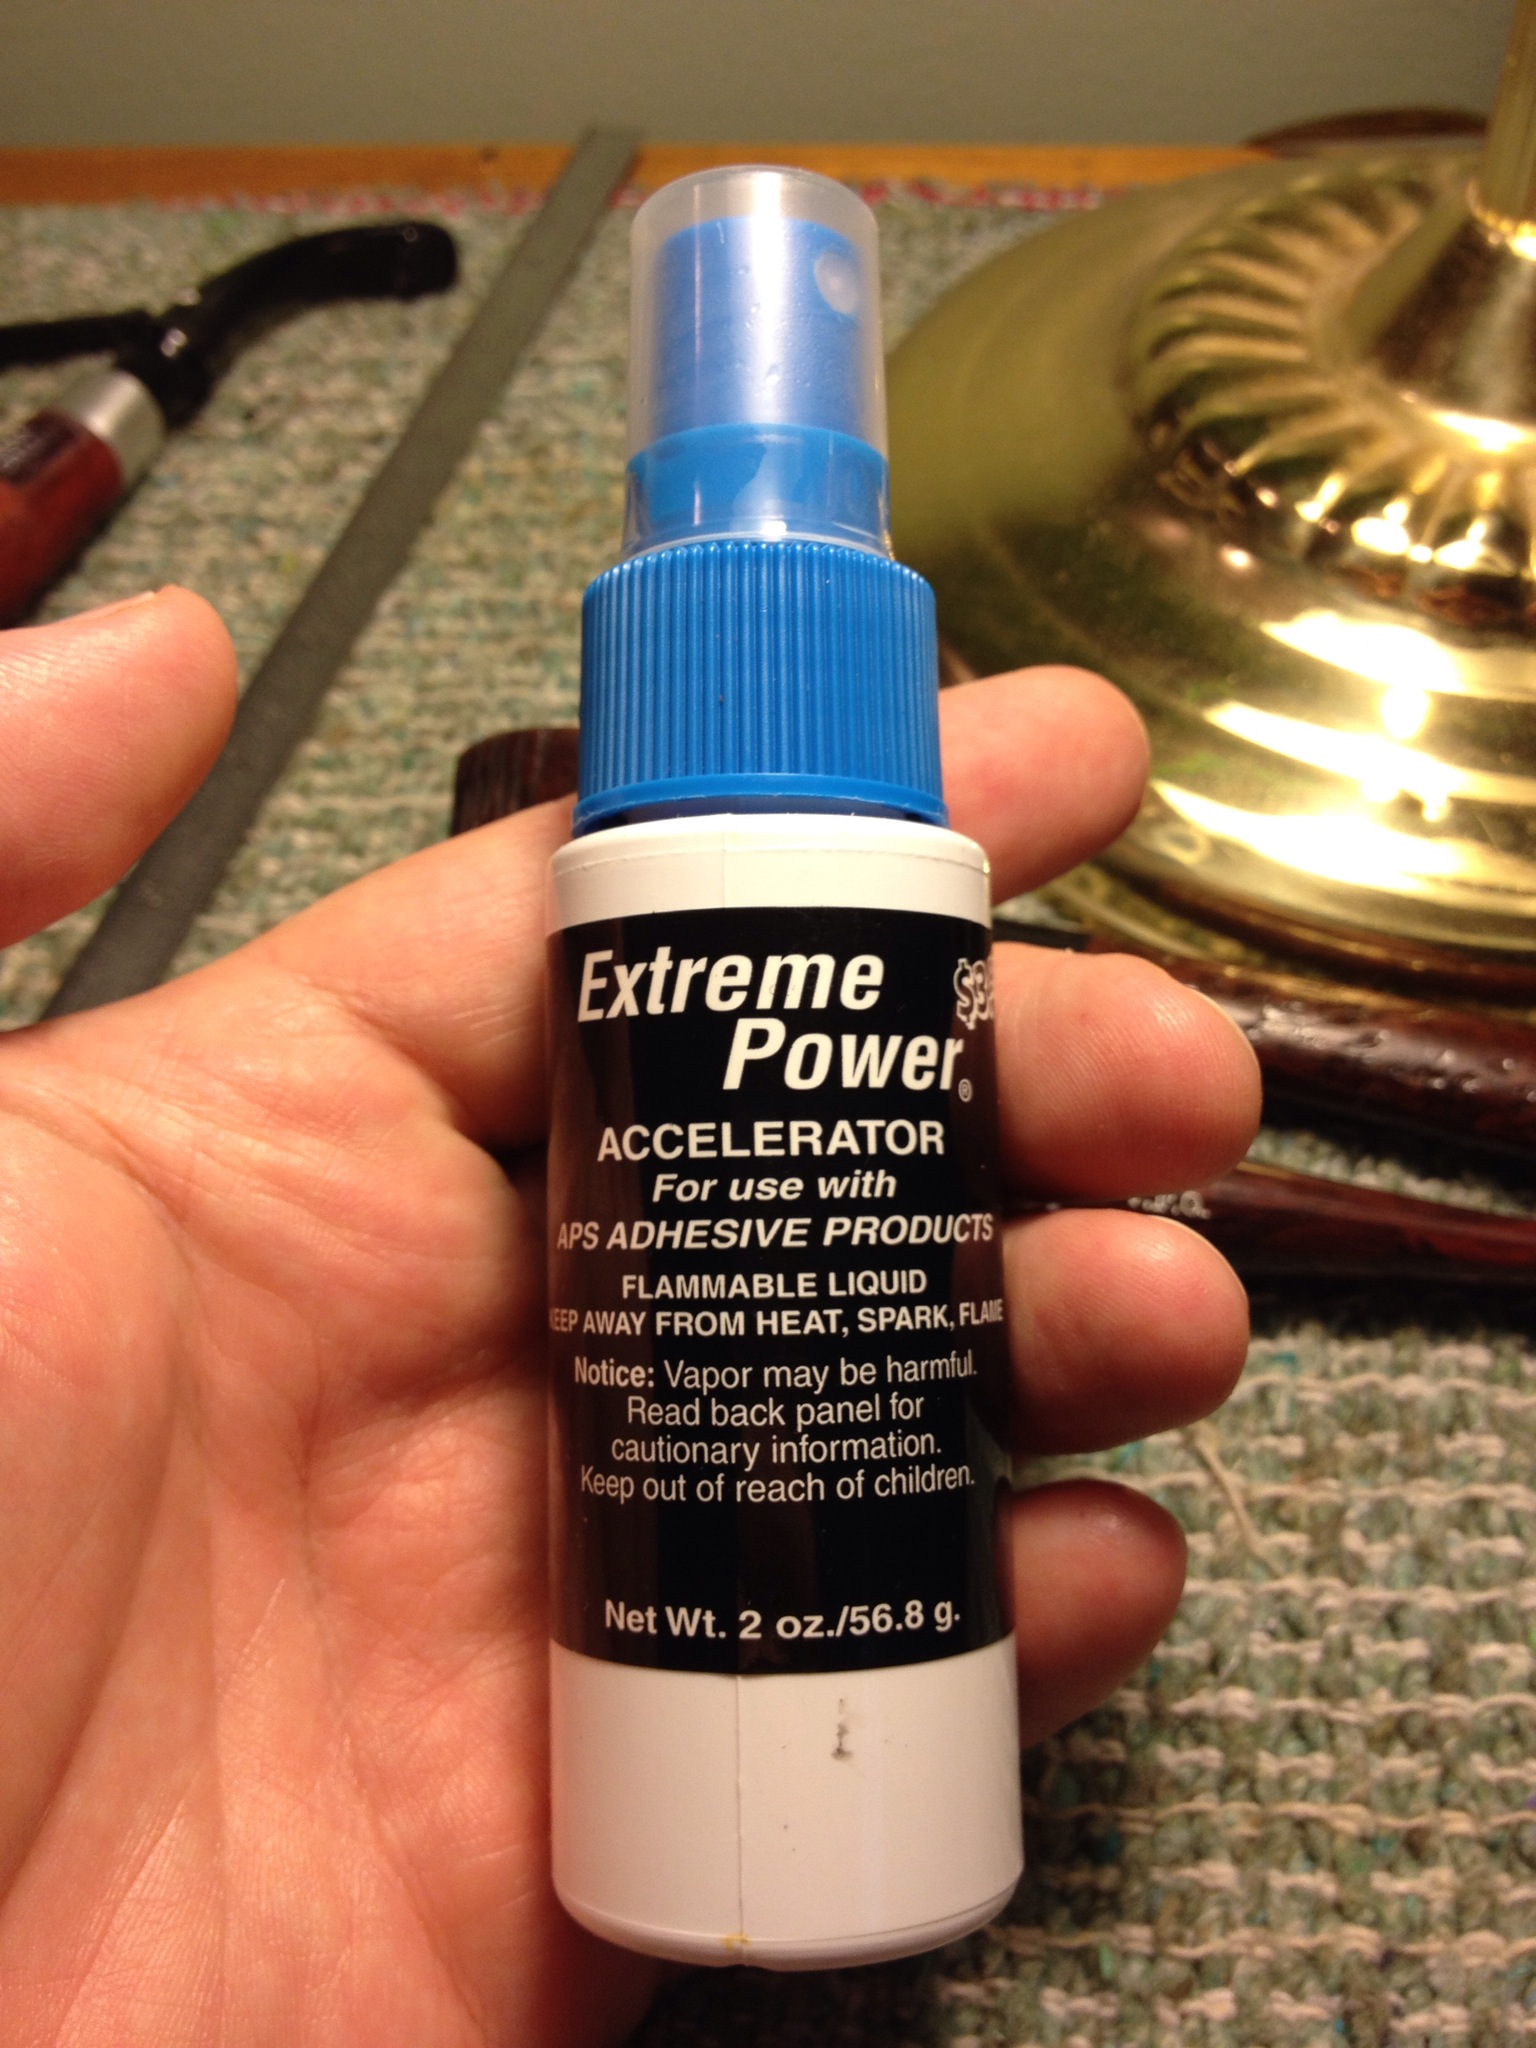
Several days later my son and I stopped into the local Hobby Lobby to pick up some new micro mesh pads. As we browsed I found a small “spray bottle” labeled adhesive accelerator; I immediately wondered what kind of adhesive it was for and began to read the label, with my son’s help, since my vision was still not clear. It was for most glues so I thought it might be a similar product to Stewart-McDonald’s super glue accelerator – but only $3.99 – so I bought it. I was now even more anxious to work on that Radice stem!
I experimented on an old stem, vulcanite, with a large hole first, not wanting to “play” with someone else’s pipe. The results were great: the super glue set up hard in about 15 minutes and it looked just like it normally would, with no adverse effects from the overspray. Next I’d try it on the Radice.
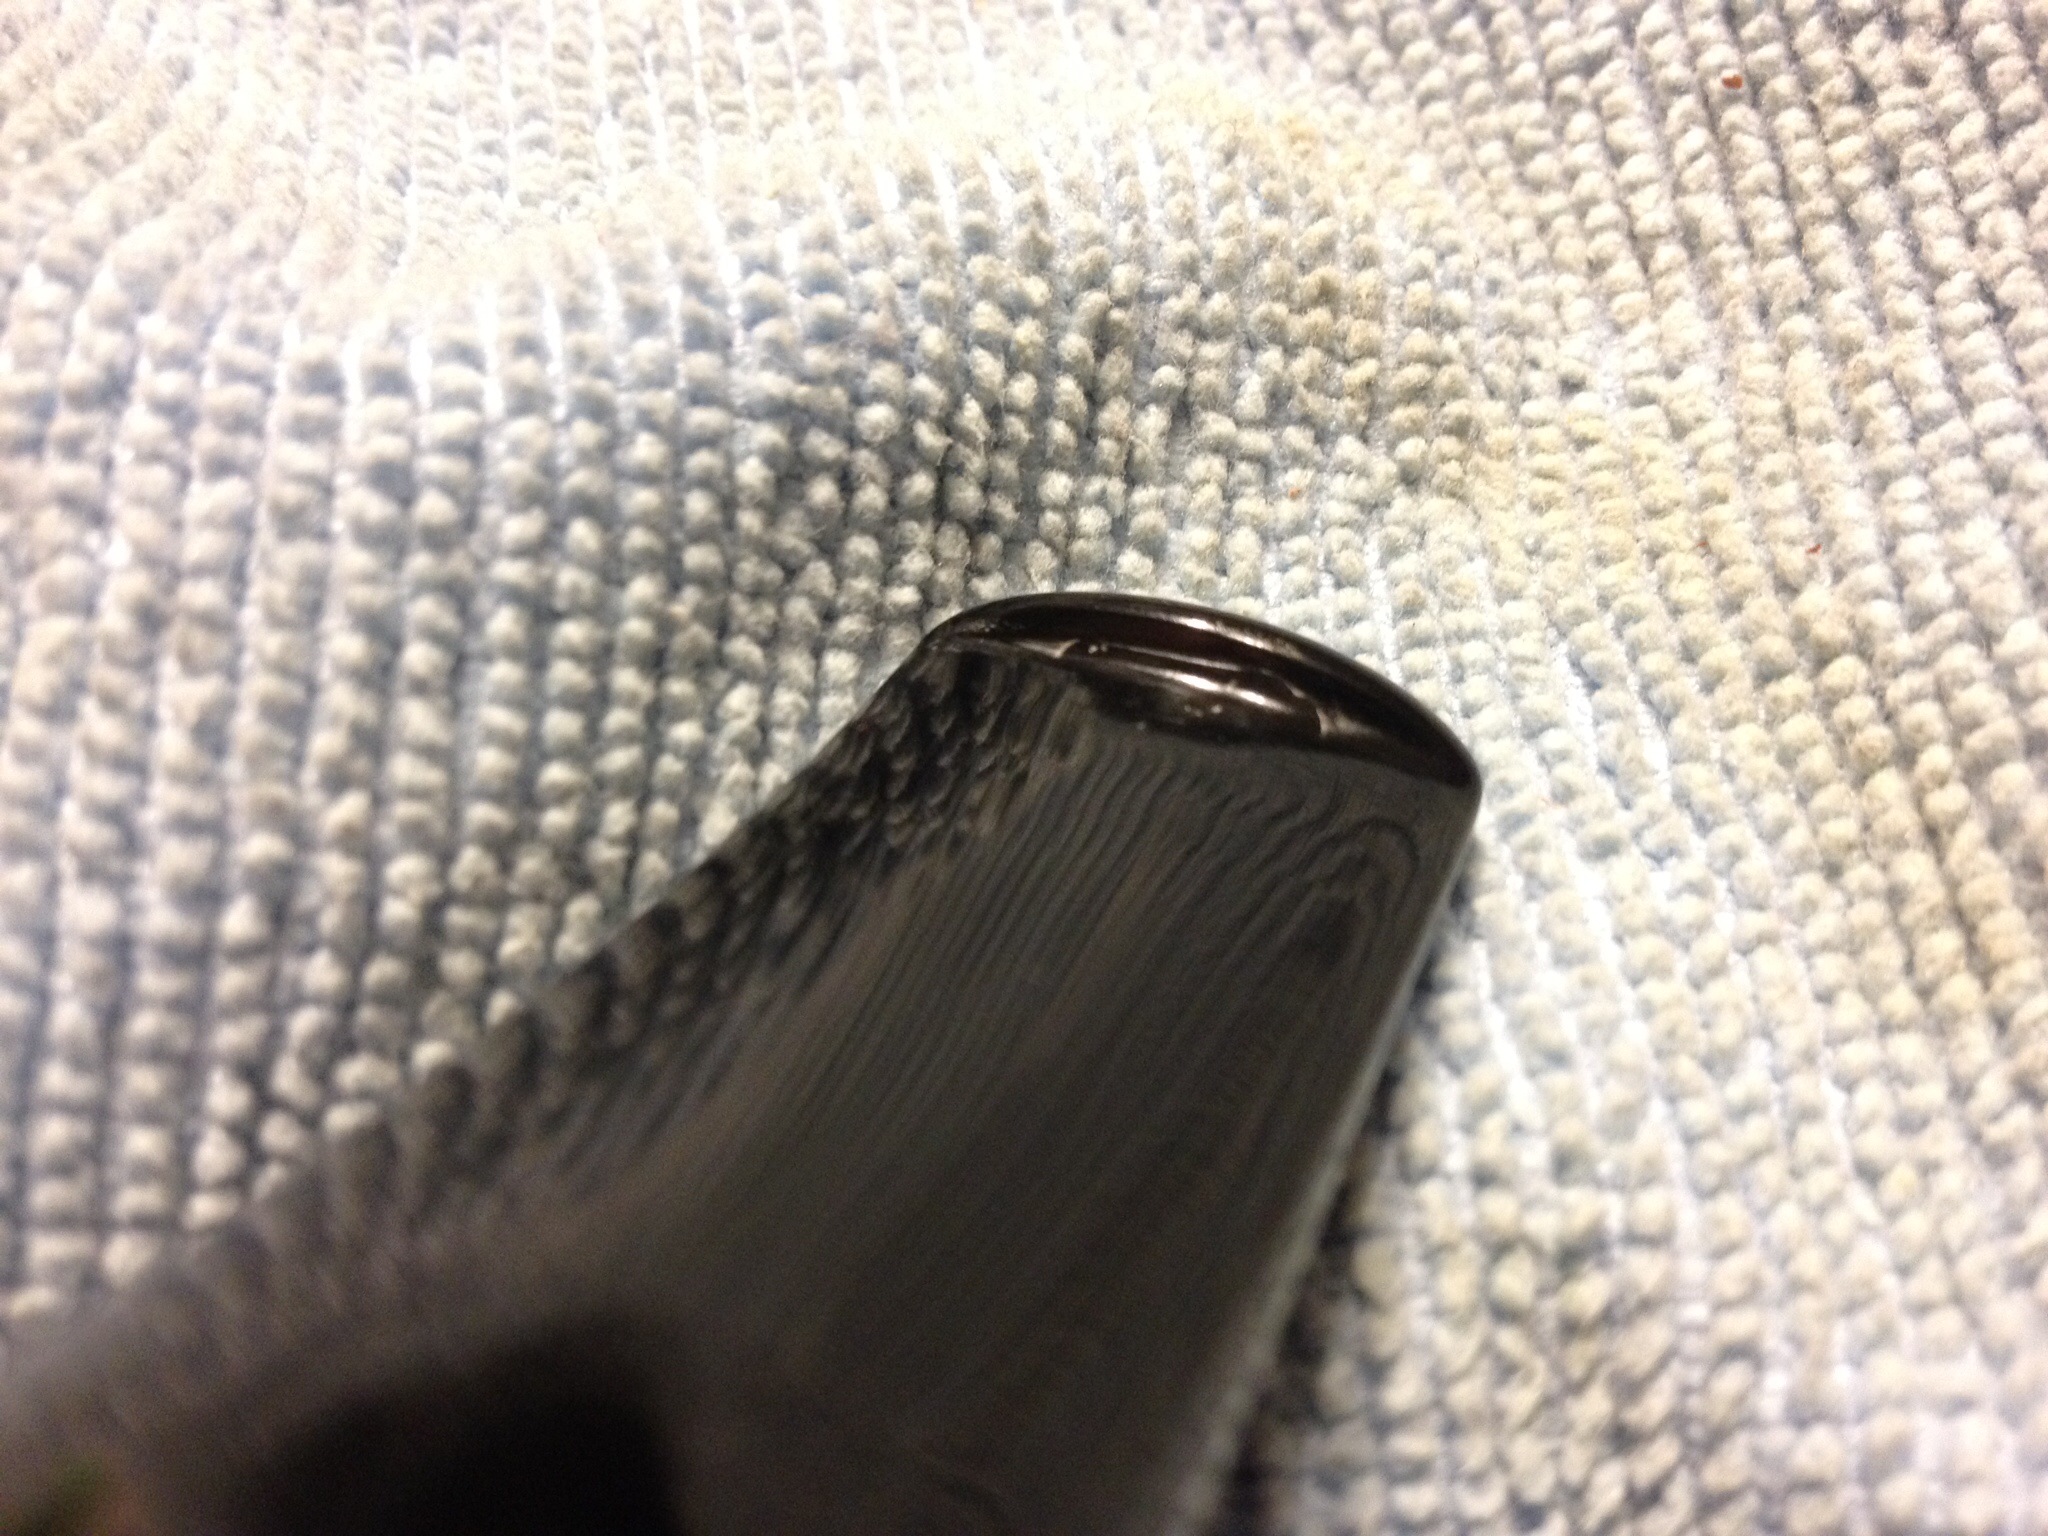
It was, indeed, a few more days before I could see well enough, long enough to work on the repair. I sprayed the patch with the accelerator, applied the final drips to the patch, sprayed it again and set it aside for 30 minutes. I then filed, sanded (220/320/400/600 grits) and wet-polished with micro mesh 1500-12,000 grits, a final polish with McGuire’s Scratch X 2.0 and hand waxed and buffed the stem with Halcyon II wax; I don’t like buffing acrylic stems, especially when they aren’t mine and are expensive! This is the final repair:
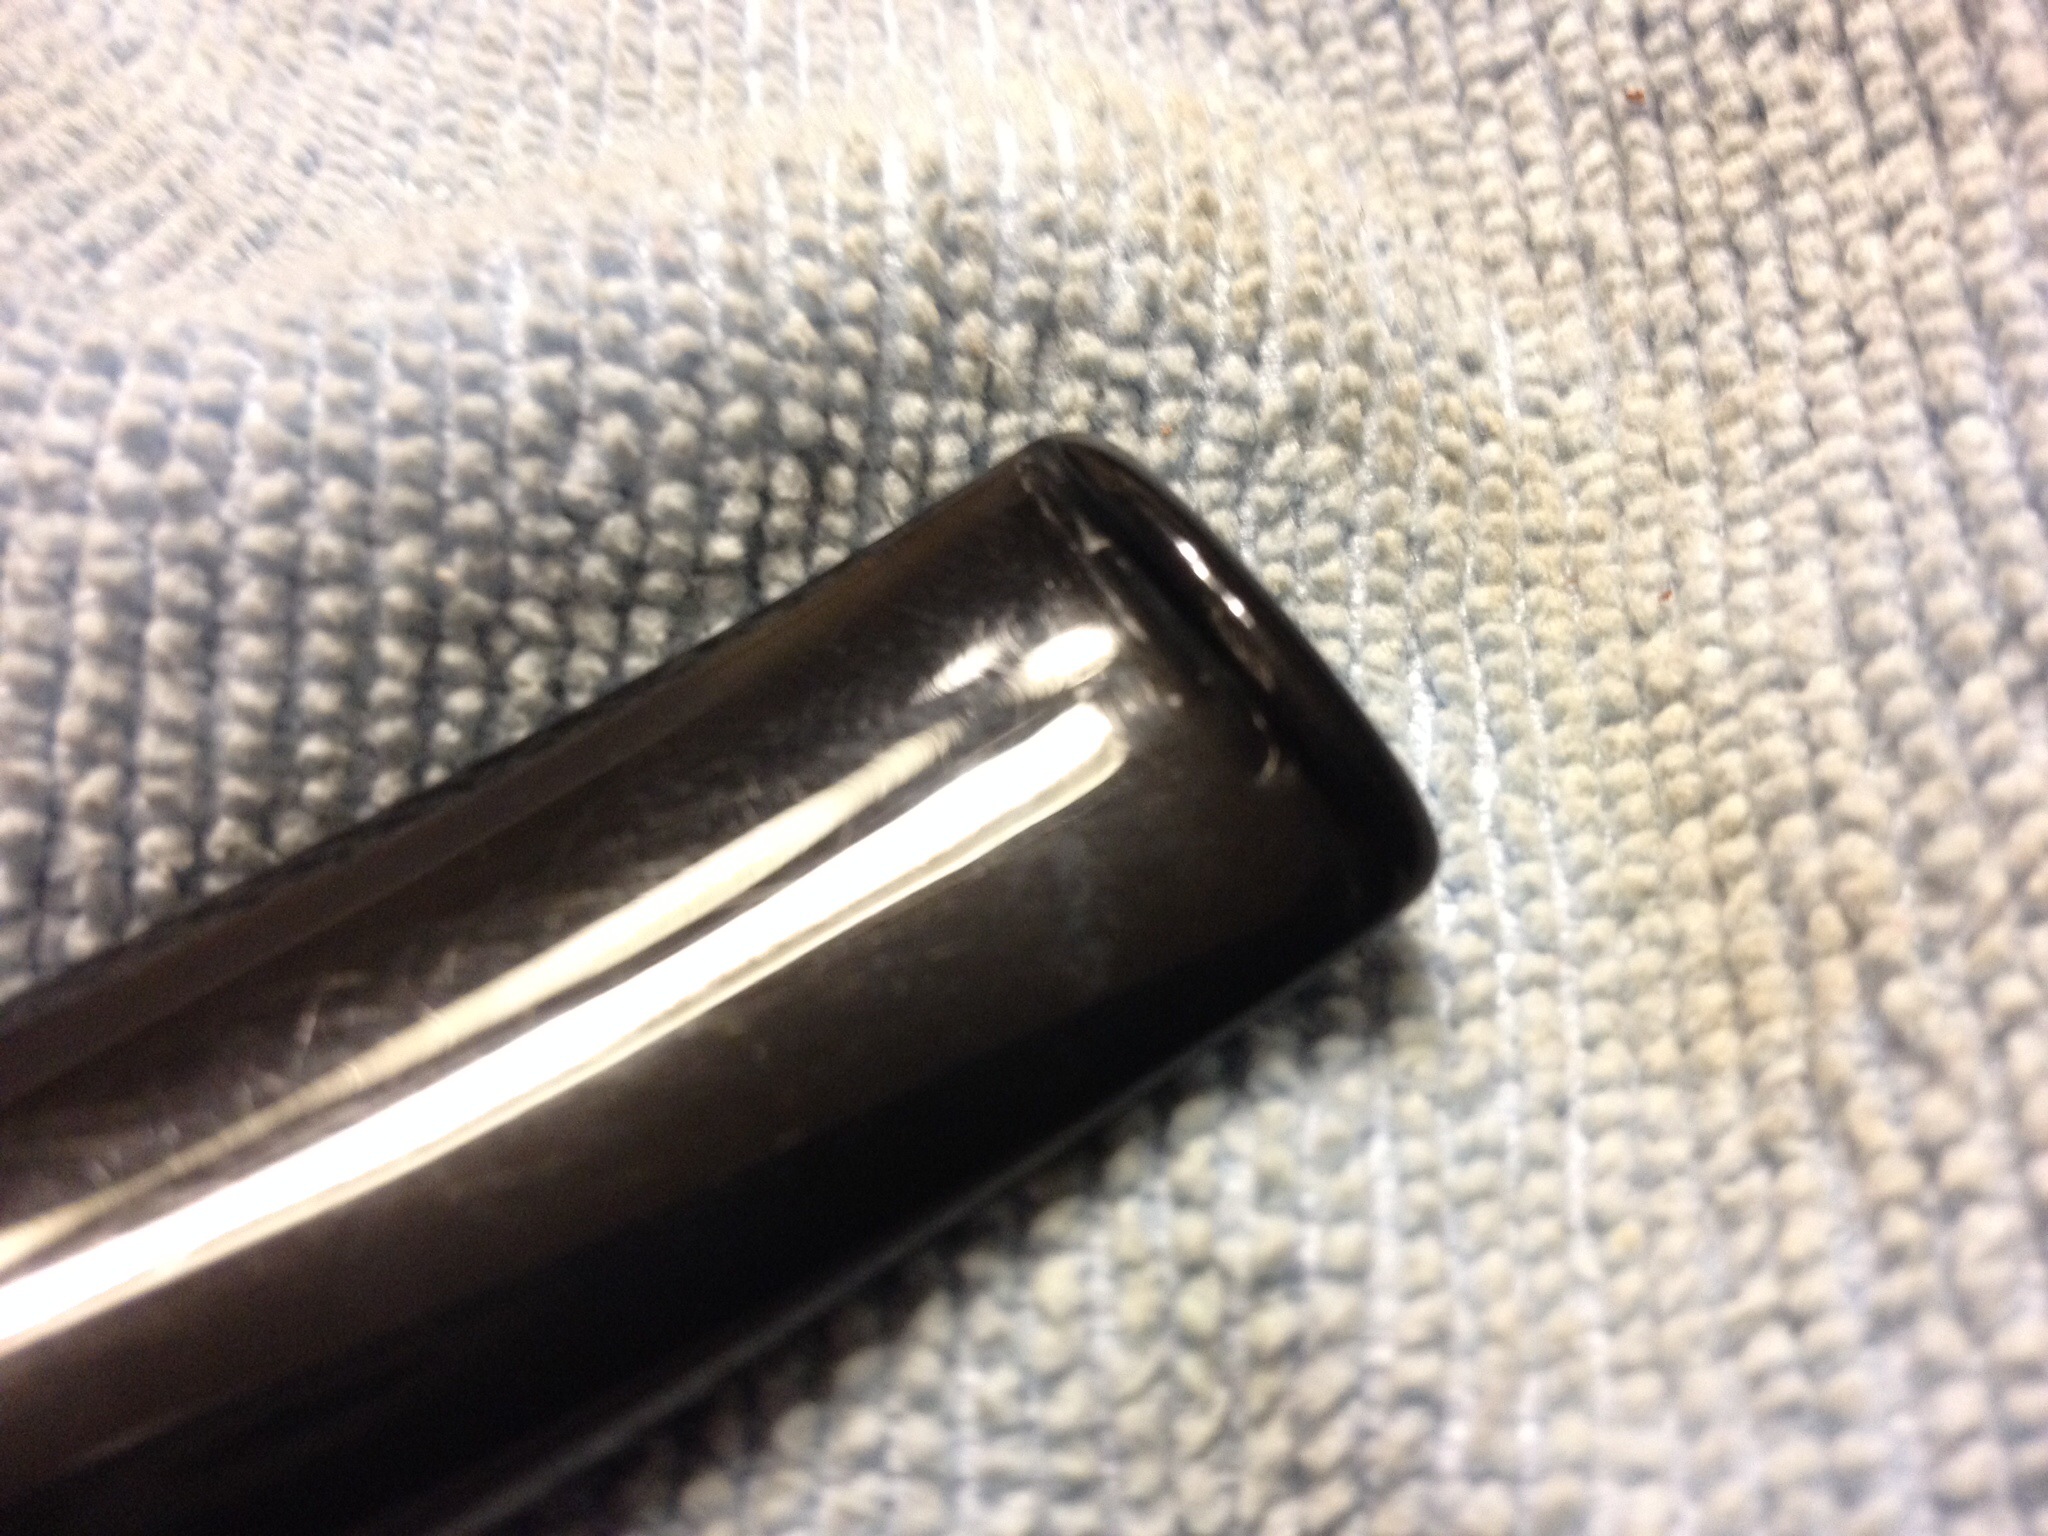
He is thrilled with the results, as am I. And I’m even happier to find a local source, and less expensive alternative, for the accelerator. If you have a Hobby Lobby nearby you, I highly recommend you grabbing a bottle and giving it a try; you’ll save yourself a lot of time and a few bucks to boot.

My thanks to each of you for your contributions on this topic. I have garnered a wealth of information, that is priceless. God bless you, Greg. Prayers and best wishes to you.
LikeLike
Thank you so very much, Dave; your kind words mean a lot, almost as much as your prayers, which mean the most.
LikeLike
Nicely done Greg. I have been experimenting with the accelerator and a medium viscosity black superglue. It has been going well. I picked up the accelerator at Hobby Lobby as well – in Washington state. I am putting it to a test now on a long thin Grabow stem that I wanted to save that had a pretty large hole in it… I want to see if it hardens enough to do a repair on that one.
LikeLike
That’ll be interesting to hear. Also be interesting to know how it blends in; is it an old vulcanite stem or newer “plastic-type” material?
LikeLike
It is an old patent ajdustomatic – great grain on it and really long old stem. So far it appears to be vulcanite. The sanding dust is brown… good sign. I have built up several layers so far, sanded them down and then applied another layer with the accelerator. Each layer the hole grows smaller. I just put the final bubble on it.
LikeLike
Well my patch of that huge hole in the Grabow stem was a failure. After curing all night the patch fell out. The hole was too big. Then a second hole opened just behind the first… this thing is a nightmare stem… may well have to cut it off and make a new button.
LikeLike
I have been tempted to try and make a “chip” of sorts to fill in the hold, superglue that in place and try to reshape it. I had one candidate but no donor stem. Have you ever tried that? (hacksaw off a similar shape piece from a good button)
LikeLike
Not tried that. Jacek wrote about that here on the blog. This stem was thin half way up – drilled too high so I could put my fingernail through it the whole distance. So I am fitting the adjustomatic end in another old stem and seeing if I can make that work. The briar is beautiful so it is worth the effort.
LikeLike
Got the adjustomatic apparatus transferred to an old KW stem that was missing the white club. I had to drill it out a little for a snug fit but it is in place, snug and adjustable! Now to clean up the new stem.
LikeLike
I thought about trying that, like the other gent Steve referred to, but haven’t had the time; I think it’ll be a time consuming project. The last few holes I’ve had good success with gorilla brand original super glue and powdered carbon; I’m surprised how well that works, for me at least.
LikeLike
Fantastic work. And, great tip on the accelerator at Hobby Lobby. Using the Black Super Glue alone has it’s limitations, but I balked at another order from Stew-Mac. $4 sounds great! I also use a heavy auto grease on my cleaner for that task. Keep us posted on the control of your diabetes.
LikeLike
Thank, Al. Hobby Lobby is becoming a great local source and don’t forget their 40% off coupon!
I’ll keep you all updated, too, on the big-D. Check out the new blog mostly just for that as well.
LikeLike
Hobby Lobby also sells the micro-mesh pad kit made by a company in Canada (I have a blog entry here on this product). It is cheaper than the Micro-mesh version and looks identical. In what area did you find the accelerator?
LikeLike
I bought a package if that micro mesh to try out but haven’t opened it yet.
The accelerator is in the same isle, hanging on the pegboard, near the model glues and paints. The brand is “Extreme Power”; I’ll add a photo to the post in a couple of minutes.
LikeLike
Got it, $2.50 With coupon! They now have the larger, Alpha Abrasive micro mesh sheets. Multi pack for $9. I pay about $4/sheet with shipping on Amazon. But the pack only had the 12000 and not the 8000 grade (did have lower The Grades). I only use the 8000 and 12000 grades, so that doesn’t work for my use.
LikeLike
I’ve not tried those larger sheets: you like them better than the smaller, foam backed ones?
LikeLike
Much better. They are more durable and last longer. I can wrap them around a popsicle stick for creases, etc.
LikeLike
Sounds like I need to check these out next time I’m by there. Thanks for the heads up, Al.
LikeLike
I just re-did a button repair on a GBD Originale. I was never very pleased with my Superglue repair. This time, I spritzed on a little of the accelerator and it was ready to shape in an hour or so. The material stayed rock solid and didn’t gum up or ball off like it did without. Thanks again for that tip!
LikeLike
That’s great, Al! And that’s what we are here for, to learn, share and help one another along.
LikeLike
Really sorry to hear of your health situation. I hope you can control it and maintain your life’s quality. The repair is great and sharing how you accomplished it is even better!
LikeLike
Thank you. My health is improving; it’ll just take time, patience and persistence. I’m glad you enjoyed the article!
LikeLike