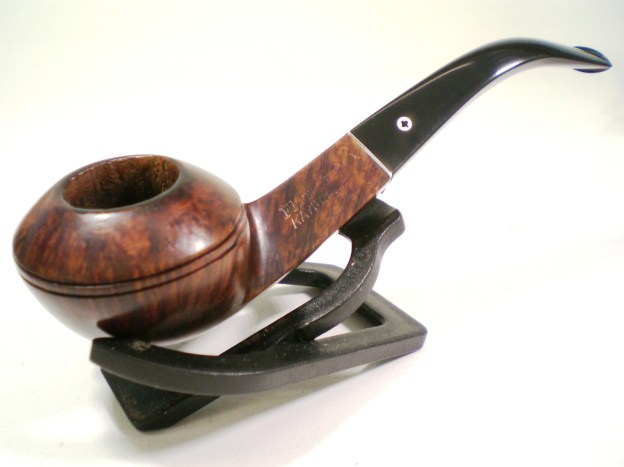
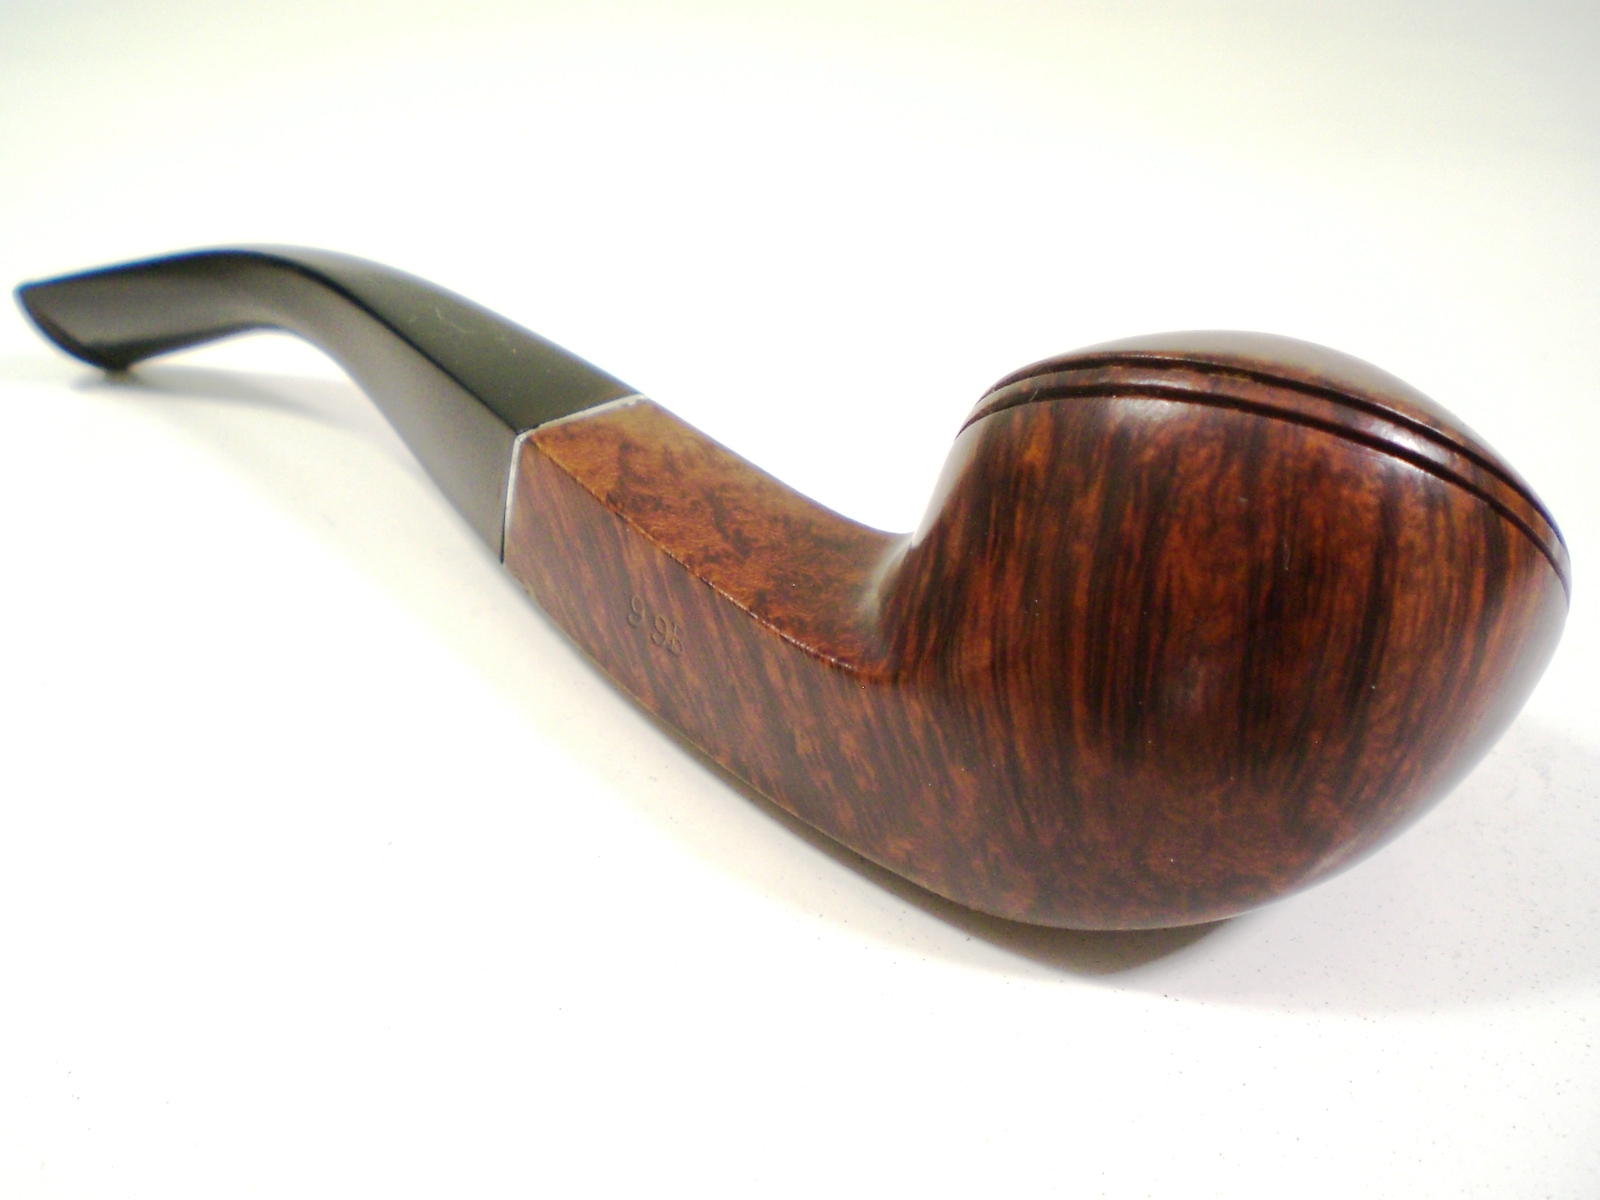
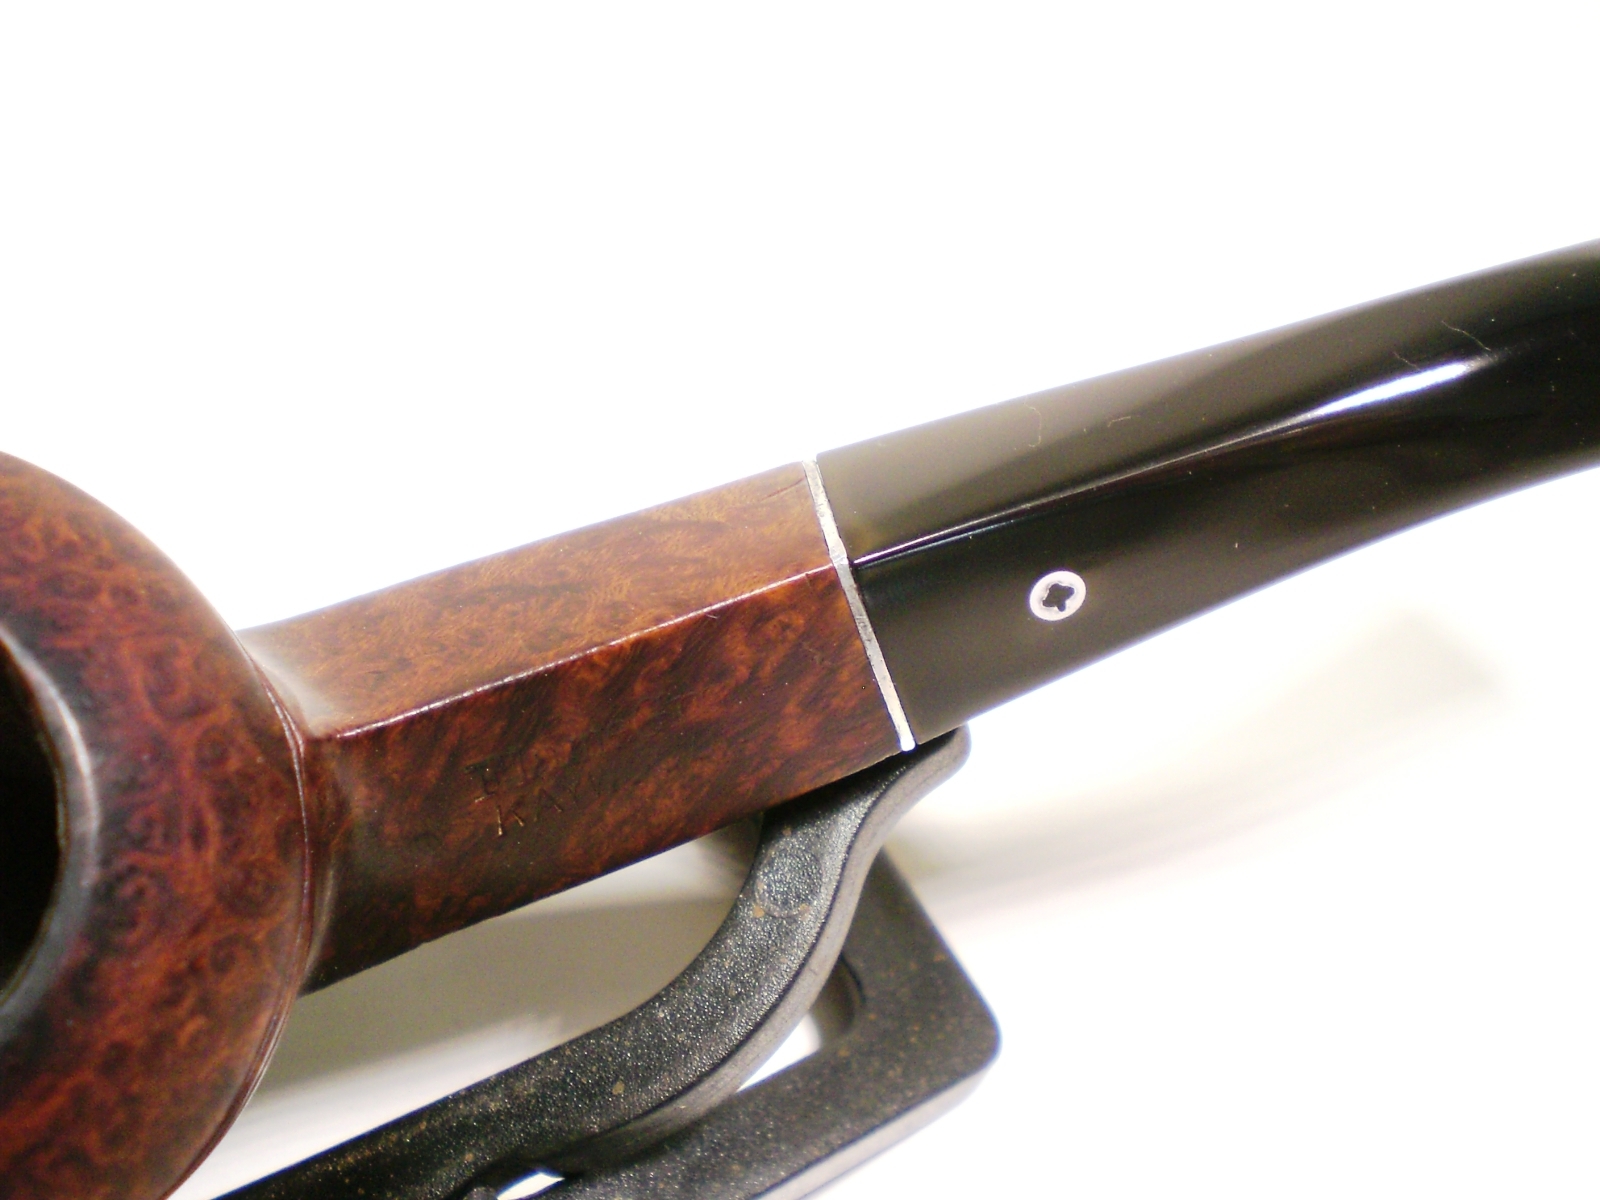
I love older Kaywoodies, with the four-hole stinger and have several Super Grain models. This is my first Flame Grain, in the tapered stem bulldog shape, 99B.
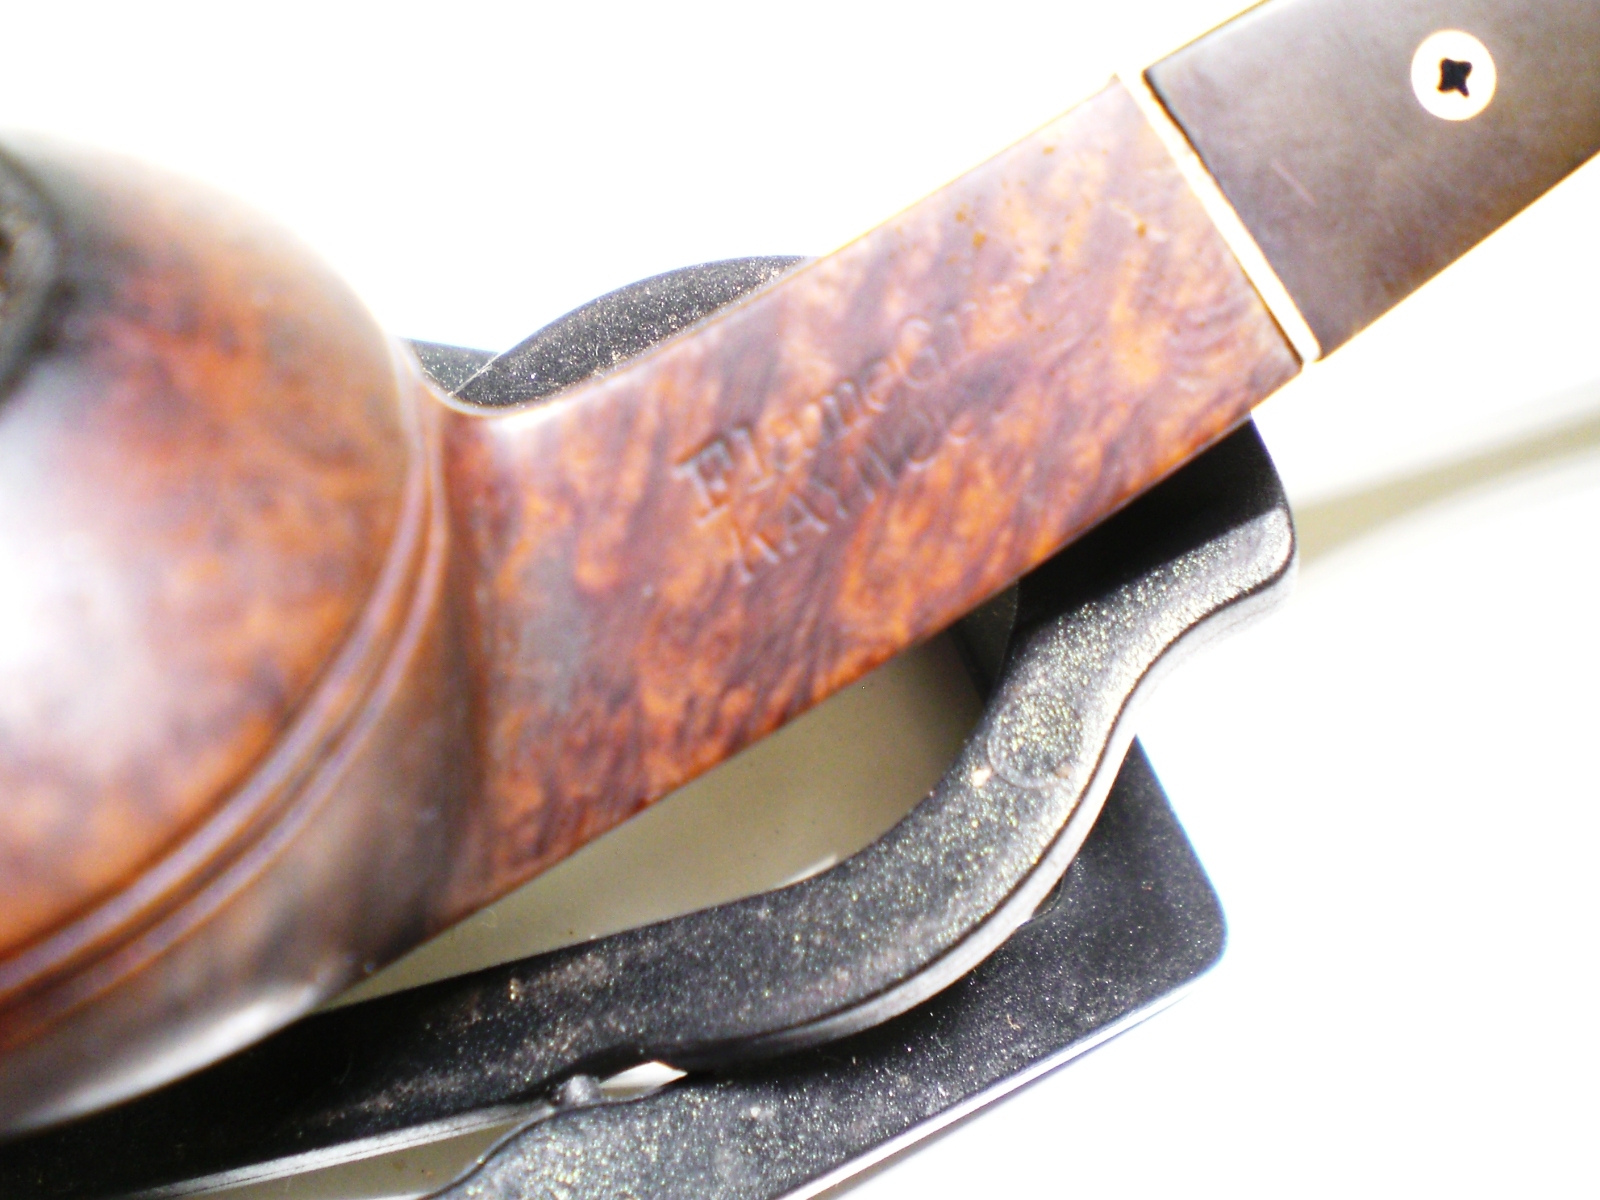
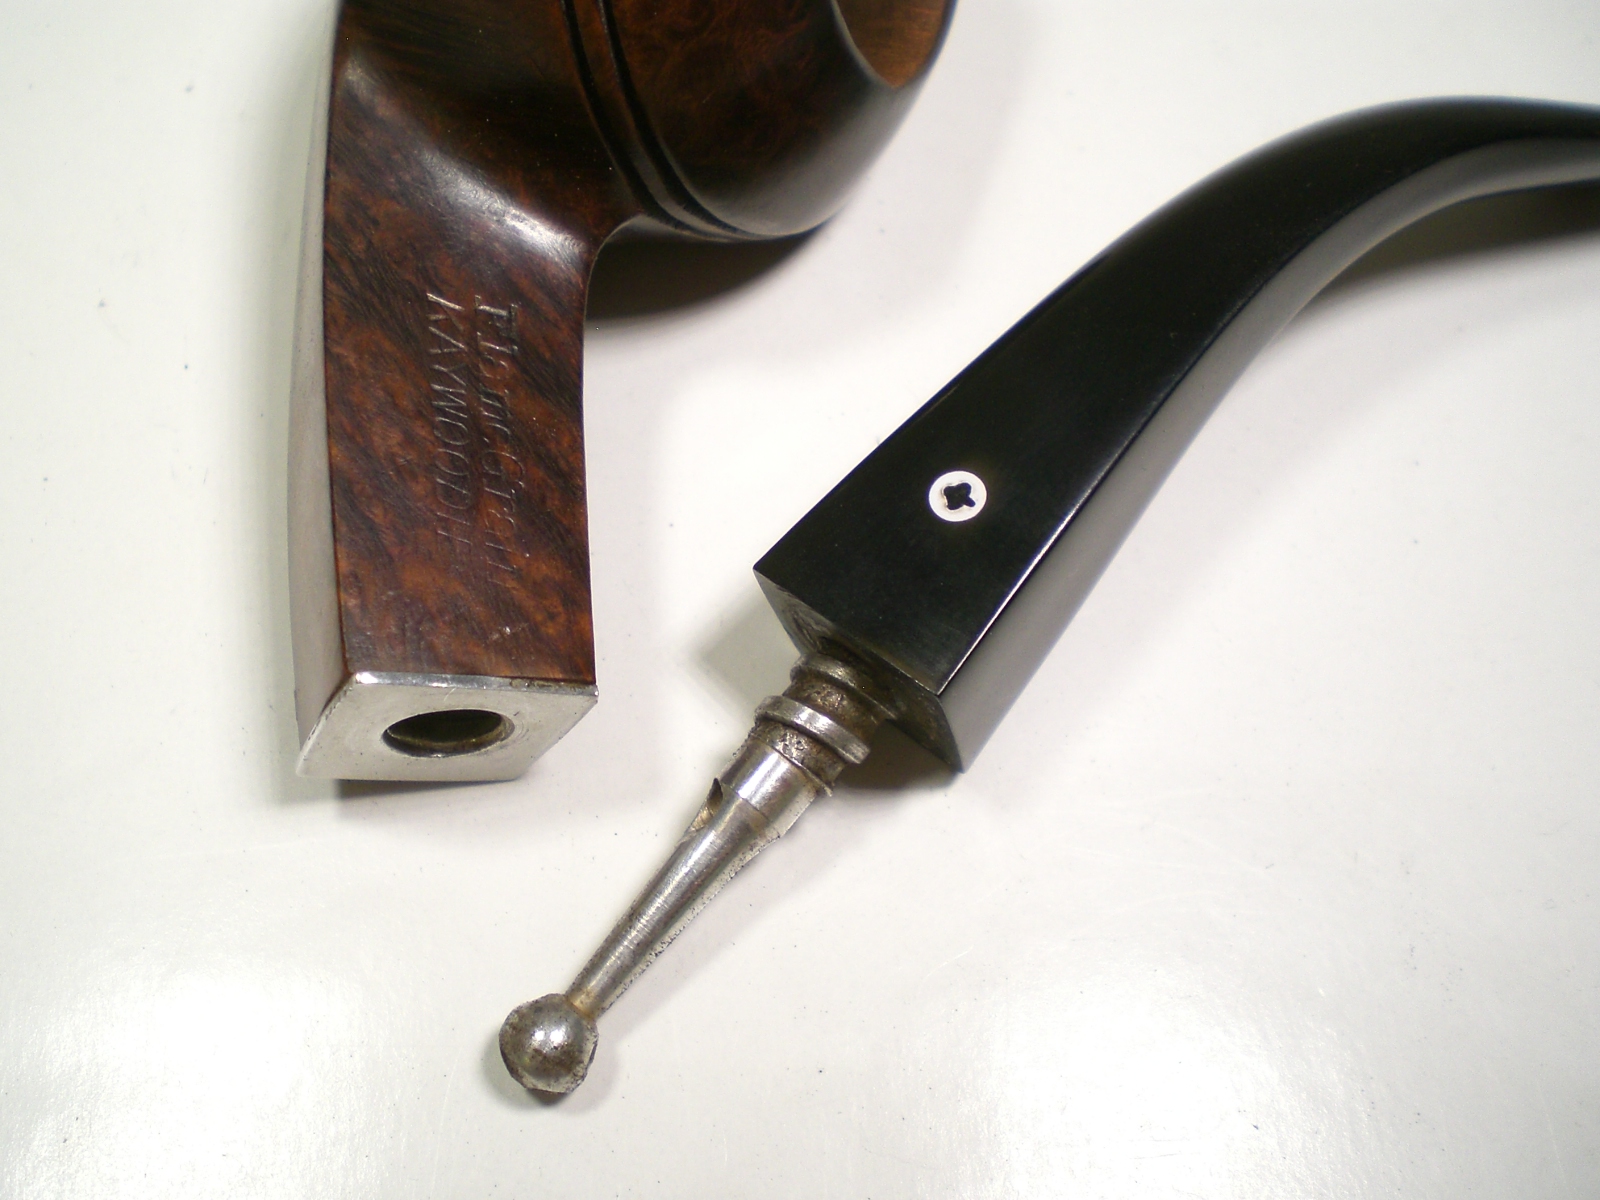
This is one of the older Flame Grains as that stamping is over Kaywoodie. The stinger is a four-hole and the Flame Grain stingers were not stamped “Drinkless”. The four hole stinger was dropped in the early 1950’s. Kaywoodie collector Tony Soderman recently posted a similarly stamped pipe on Ebay and the ad said this about the age.
“This Flame Grain dates from the LATE 1940’s. It has a 2-Digit Shape Number so it is made after 1937 but “Flame Grain” is OVER “KAYWOODIE” in the Nomenclature, and it has a LARGE BALL, 4-HOLE “STINGER” (without the word “DRINKLESS” on the shaft of the “Stinger”)!!! These features come together after World War II and prior to 1950. So it is easily dated to the LATE 1940’s!!! (Tony Soderman ad)
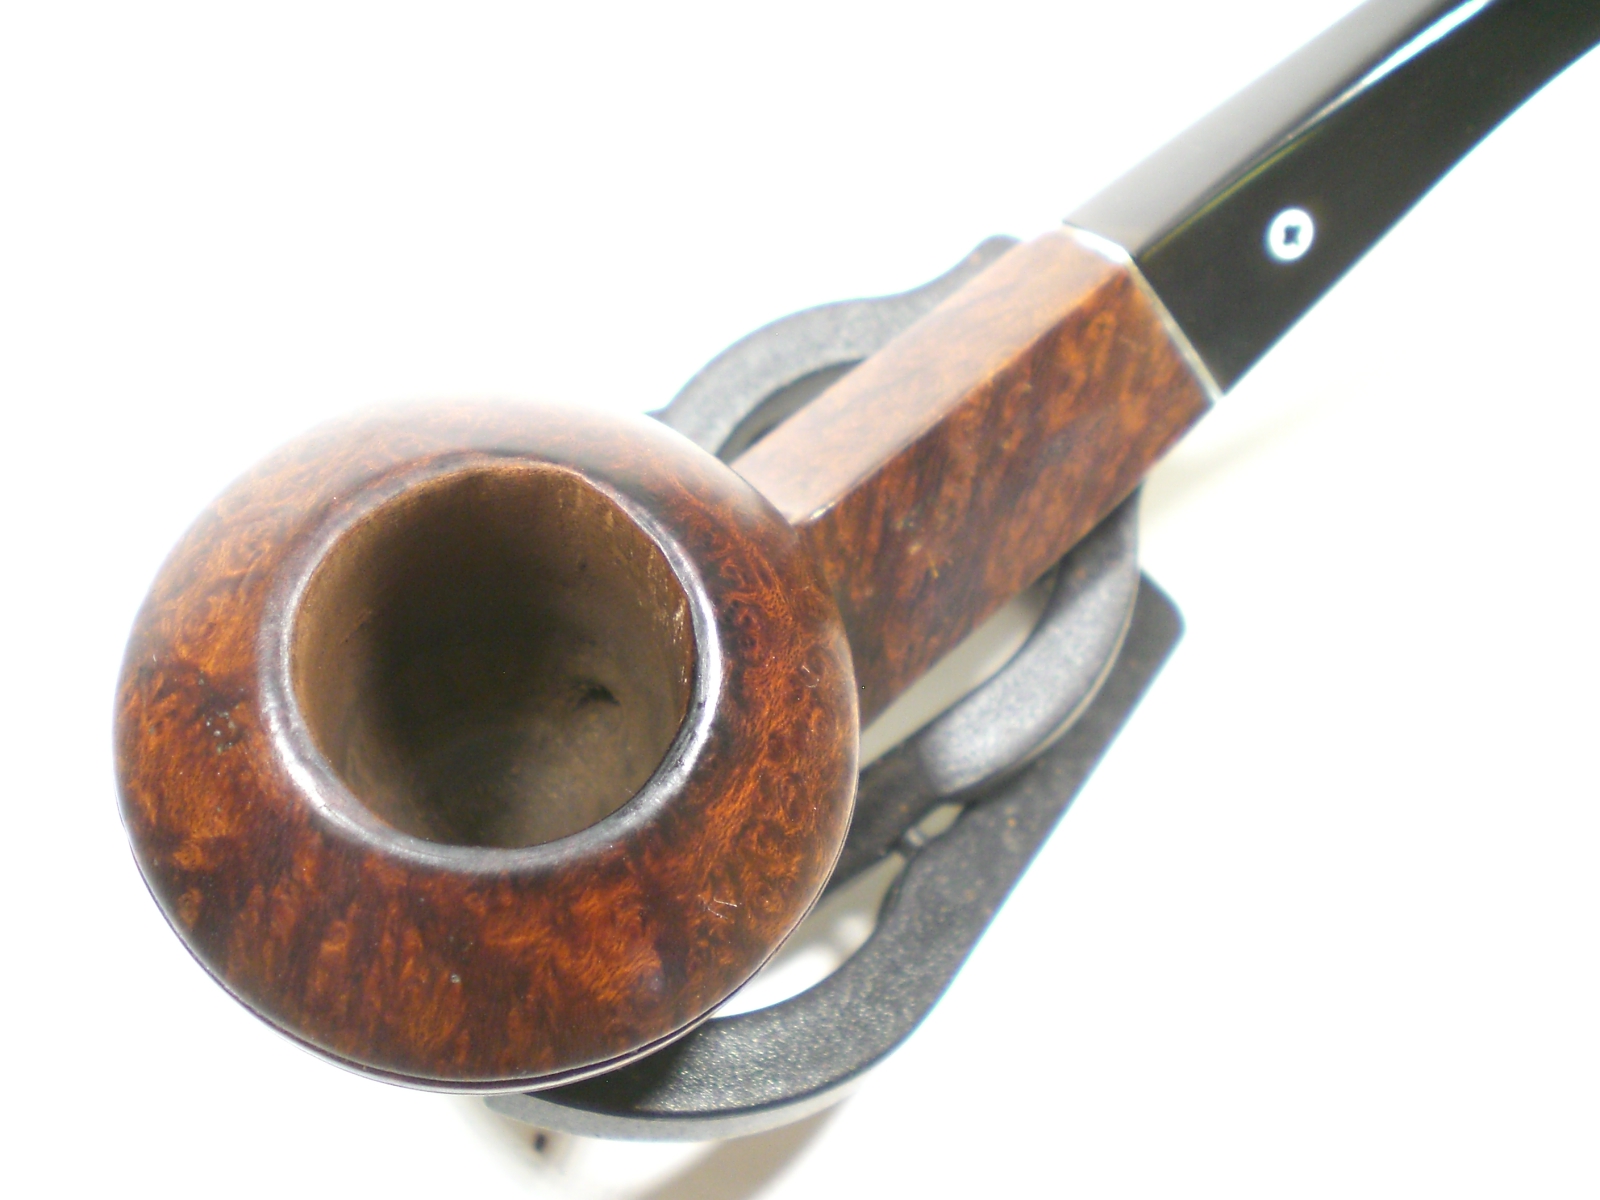
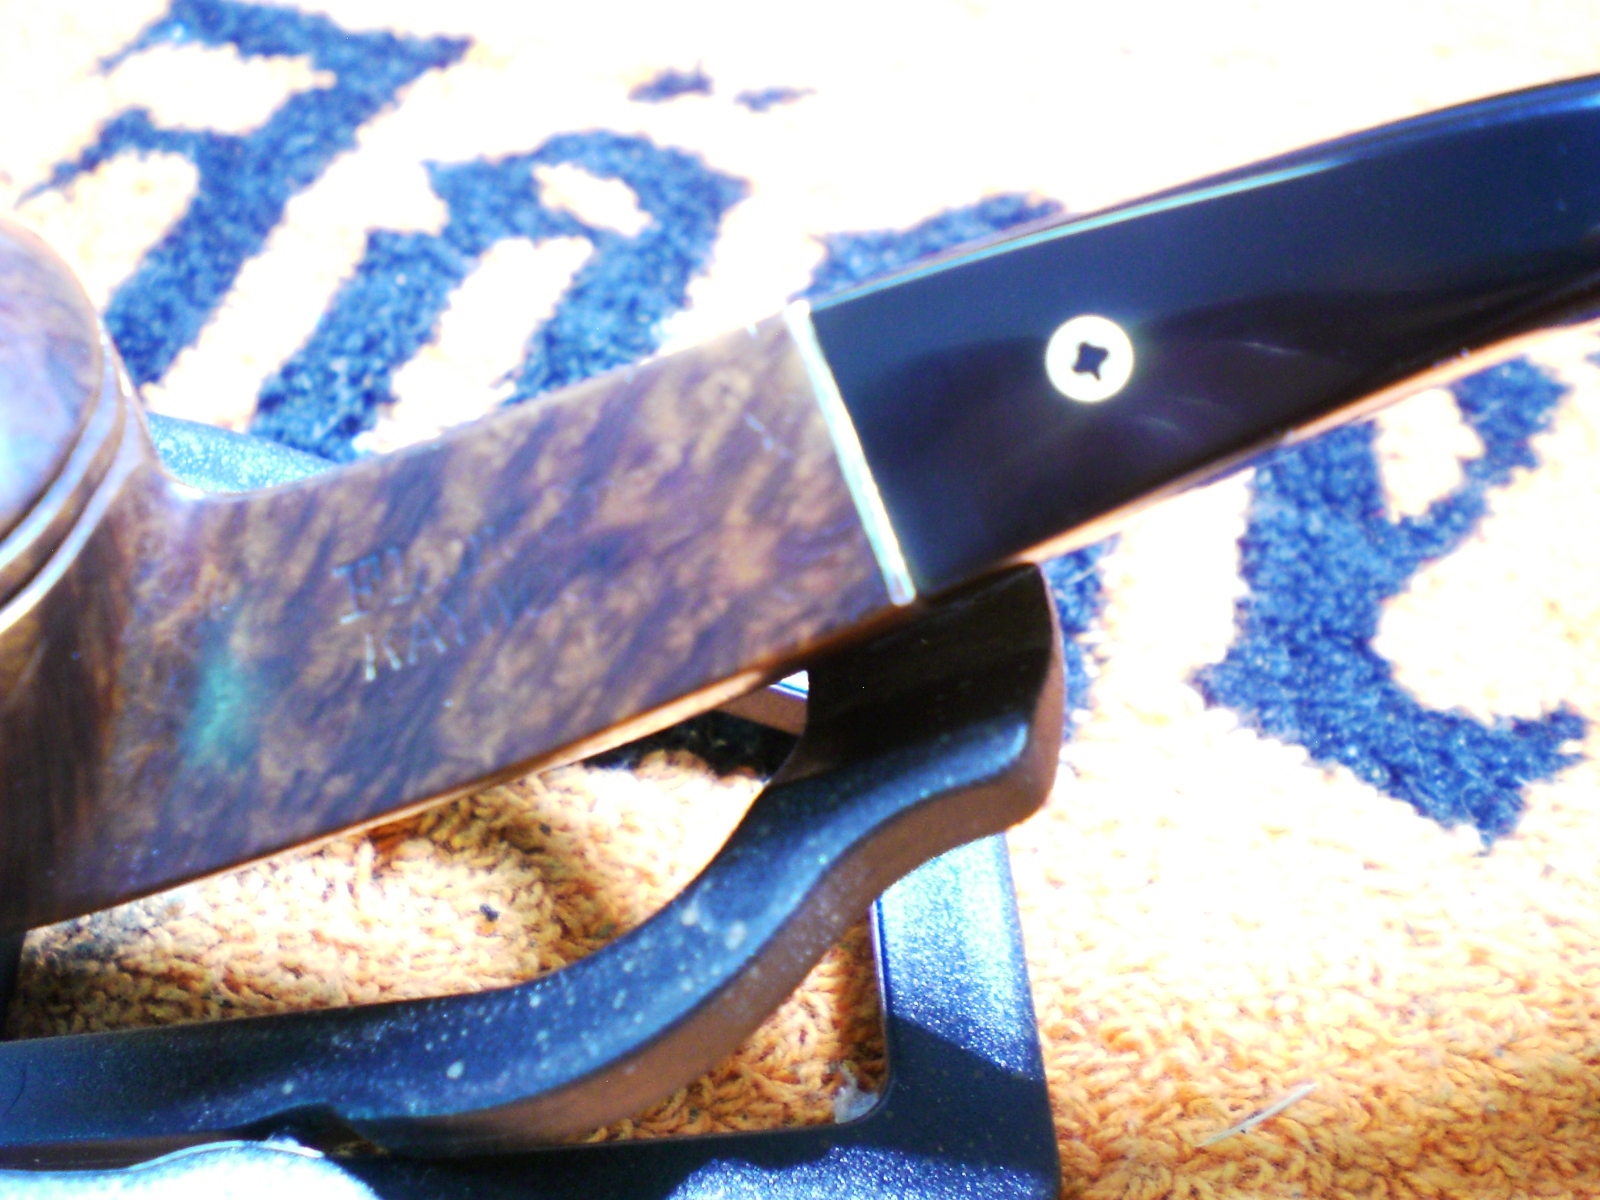
The bowl had a heavy cake and there was even some old tobacco in the bottom of the bowl. Somehow, the stem was in terrific shape, only oxidized with nary a tooth mark. Flame Grain pipes had the reverse cloverleaf logo.
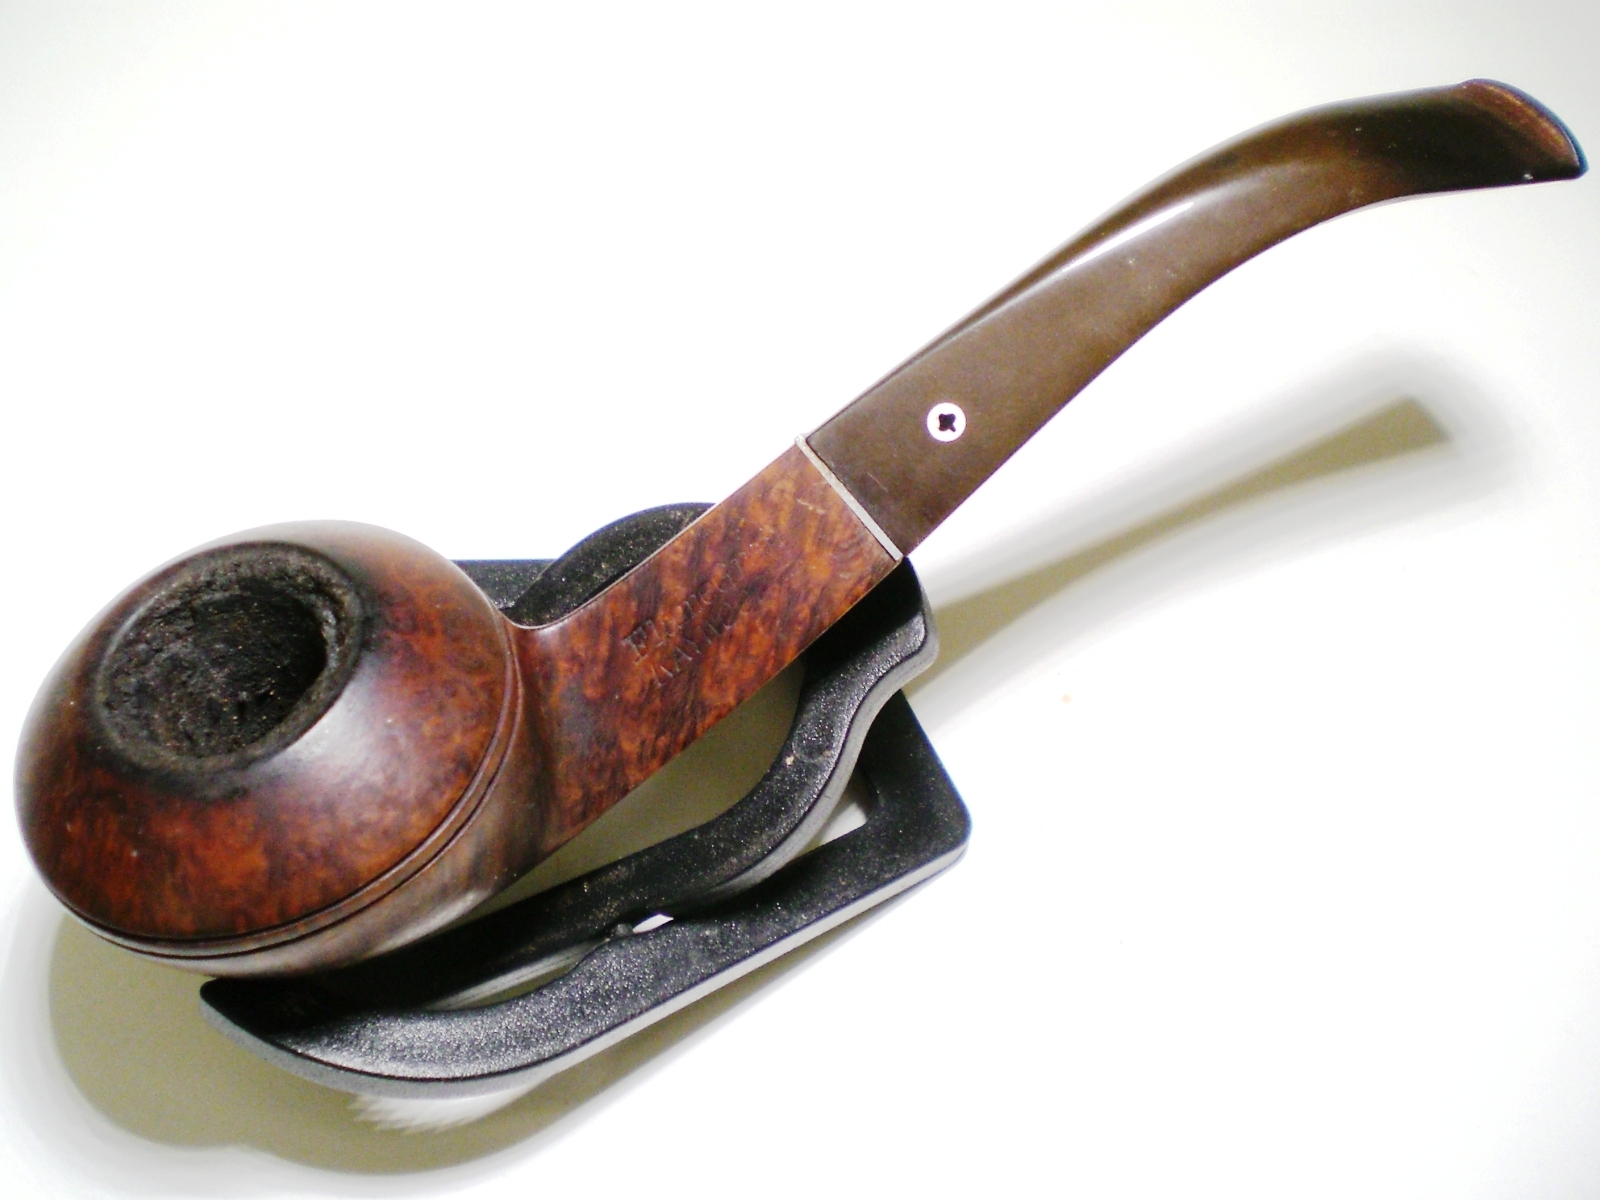

I reamed the bowl and discovered the previous owner had at some point reamed the pipe and apparently used a penknife as there were some irregular gouges inside the bowl. The rim was sightly out of round. I soaked the bowl in sea salt and alcohol. The shank was very difficult to clean and took nearly an hour with an assortment of brushes and alcohol. The four holes on the stinger ball were completely caked with build-up.
I remove the oxidation on the stem first with some 800 wet paper, than 1000, 1500 and 2000 grades. I then used the 8000 and 12000 grades of micromesh. The stem was mounted and then lightly buffed with white diamond rouge.
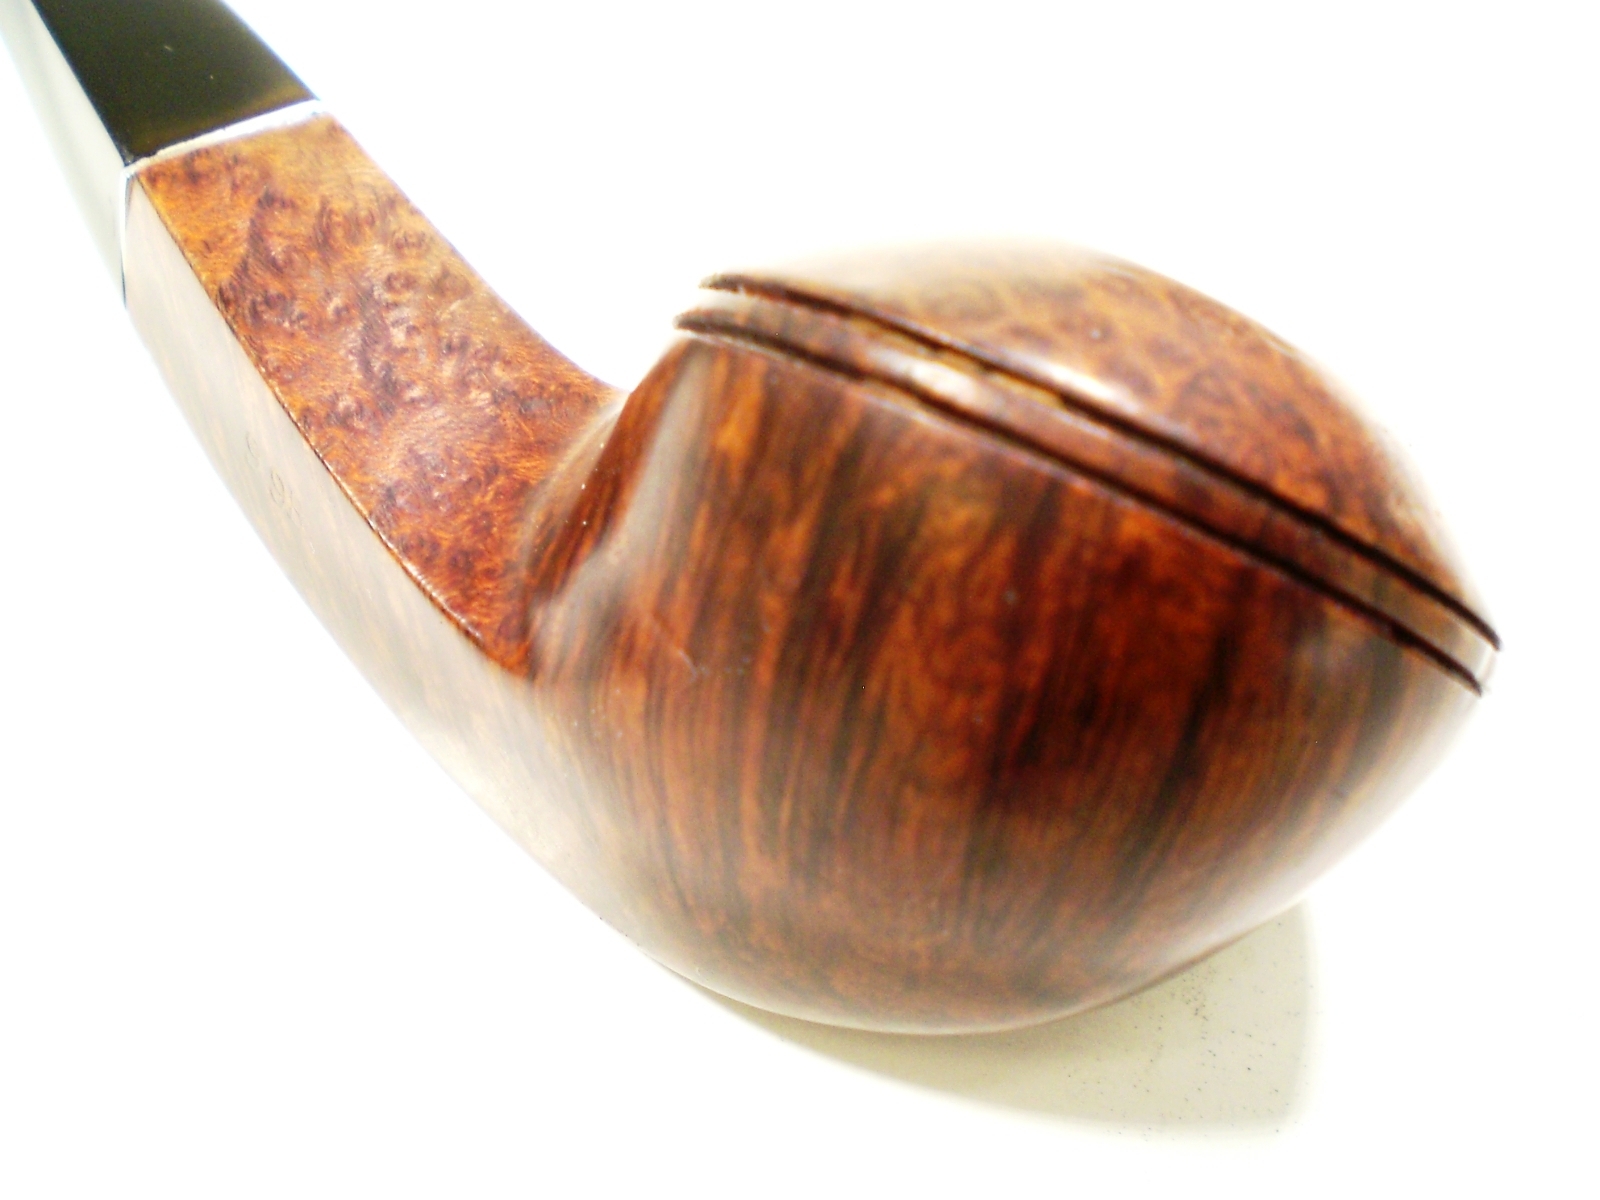
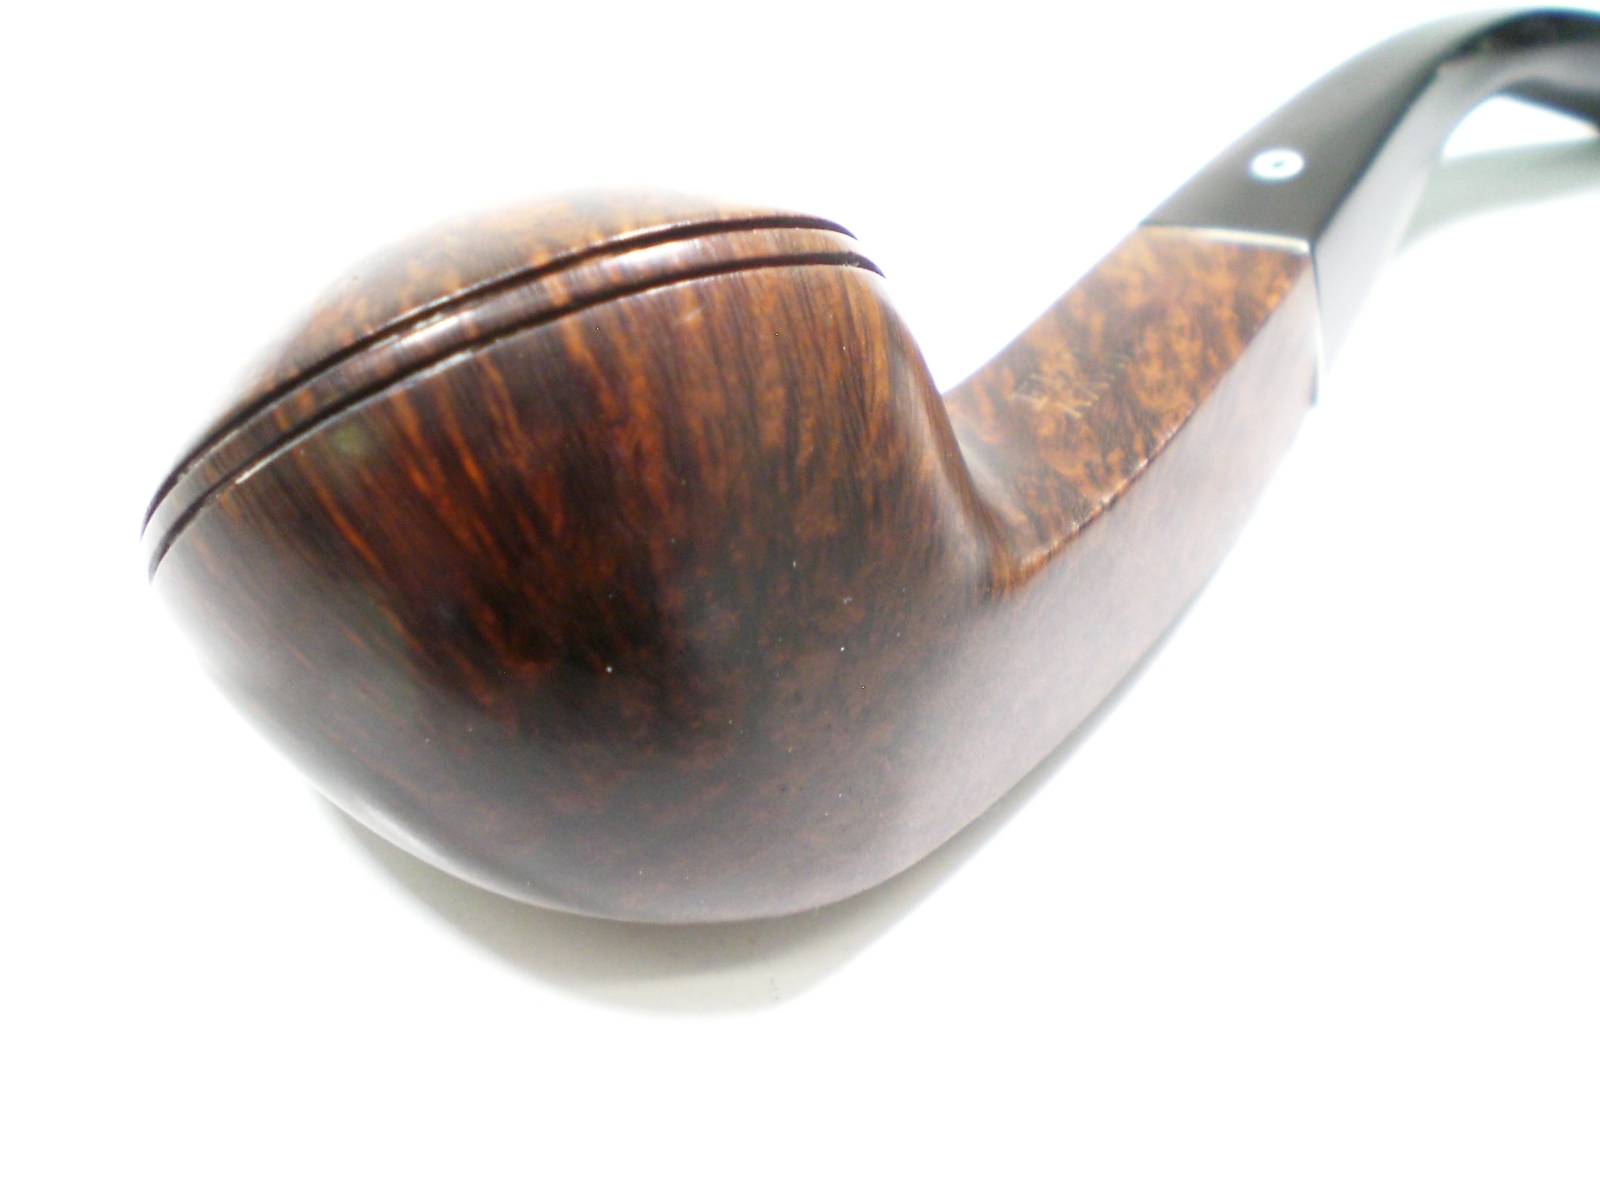
The grime revealed a very nice grain pattern and some birdseye on the bowl top. I’ll look forward to adding this one to my rack of older Kaywoodies.


Update:
This pipe had an issue with the stem fitment that I had not yet encountered on a screw-stem Kaywoodie. The stem insert was off by a few degrees. Steve suggested trying to tweak the insert using a pair of needle-nosed pliars, but I couldn’t budge it and getting a grip without damaging the briar was just about impossible. I was ready to give up, but wondered if one of the bits in a Matco screw-extractor set would remove the stem completely. I thought perhaps then I could screw it back to the correct orientation. The screw-extractor is a reverse thread so it grips and I did successfully remove the insert. Here you can see the insert partially removed and the extractor.
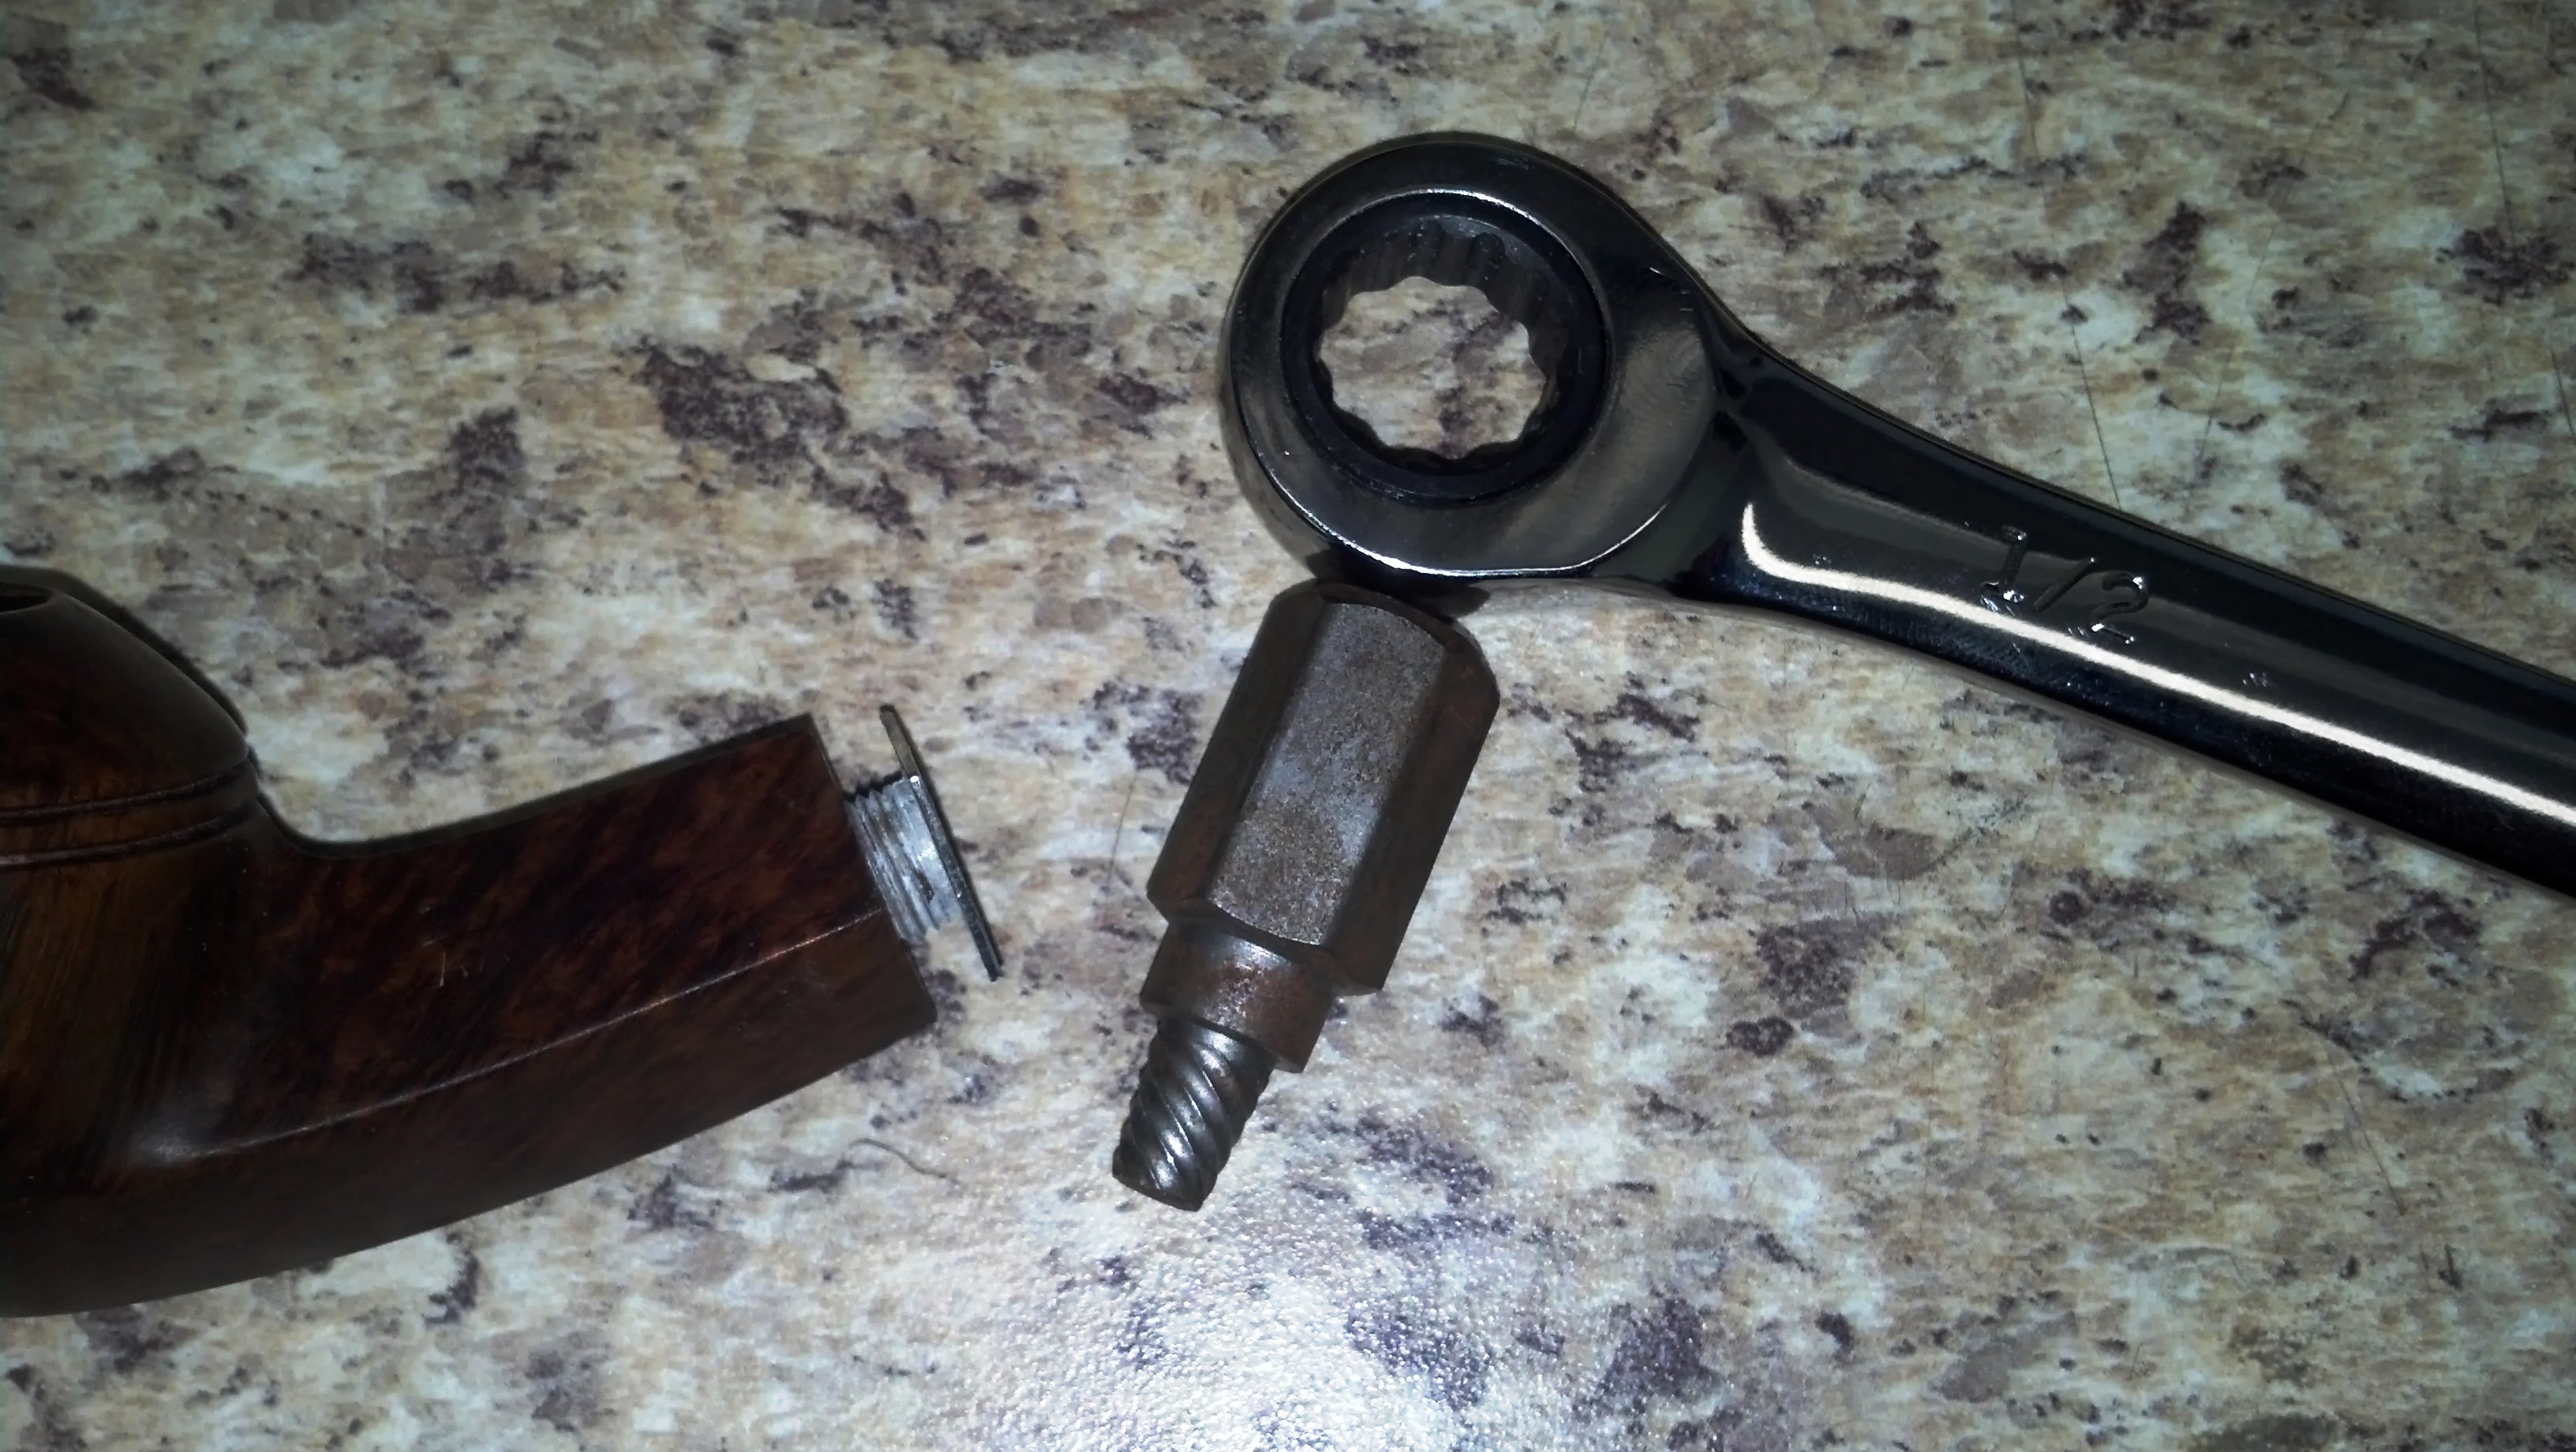
When I screwed the fine threaded insert back into the briar, it would not screw in all the way and the alignment was way off on the other side. I removed it again and cleaned the threads on the insert and in the briar (just blew out some debris). I added a little lithium grease to the first couple of threads. This allowed the insert to fully and squarely seat against the briar. This was truly nerve-wracking work but a good result.

What did you use to strip the grime without also stripping the finish?
LikeLike
A worn piece of 8000 grit micromesh
LikeLike
Great job Al and thanks for the little add on. I just tried this on a Kaywoodie I had that the piece was sticking out about the thickness of a credit card. I used the extractor to remove it completely, cleaned the threads on it and in the wood and put it back together.
LikeLike
Hey, that’s great! I paid about $75 for my Matco set, and they didn’t resolve my auto-related problem, so I was glad to put them to use on a pipe. I did not glue my insert back into place, but it seems pretty firm as long as I don’t over tighten the stem.
LikeLike
Thanks for the update Al. Well done on the repair. That last step really made it stand out.
LikeLike
Al,that is a fantastic find. You can tell that it was loved, and smoked often. You did a fine job of cleaning it up, and the results are certainly worth your effort. I’m sure the pipe will serve you well for years to come.
LikeLike
Al is the metal plate against the shank loose or canted slightly? In the last picture it does not appear to line up.
LikeLike
It is a about one degree off – is there an easy way to fix that (it is in there quite solid)
LikeLike
Al, the insert into the shank is threaded in the reverse of the threads on the tenon. I have used needle nose pliers and just put it on the edge of insert. Hold the shank with your fingers very close to the edge and carefully and slowly twist it straight – short bursts done with care so you don’t crack things…
LikeLike
Steve: I tried that, it wouldn’t budge, and just left marks on the edge of the insert. Would a little heat help? Are these pieces glued in place or threaded like a meer?
LikeLike
They are threaded so heating may well work. remember it turns the opposite direction of the stem.
LikeLike
Great work on that beauty Al. I am growing in my love of those older KWs.
LikeLike