Daily Archives: April 14, 2014

Restoring a Princely Rhodesian Medico – New Stem and New Life


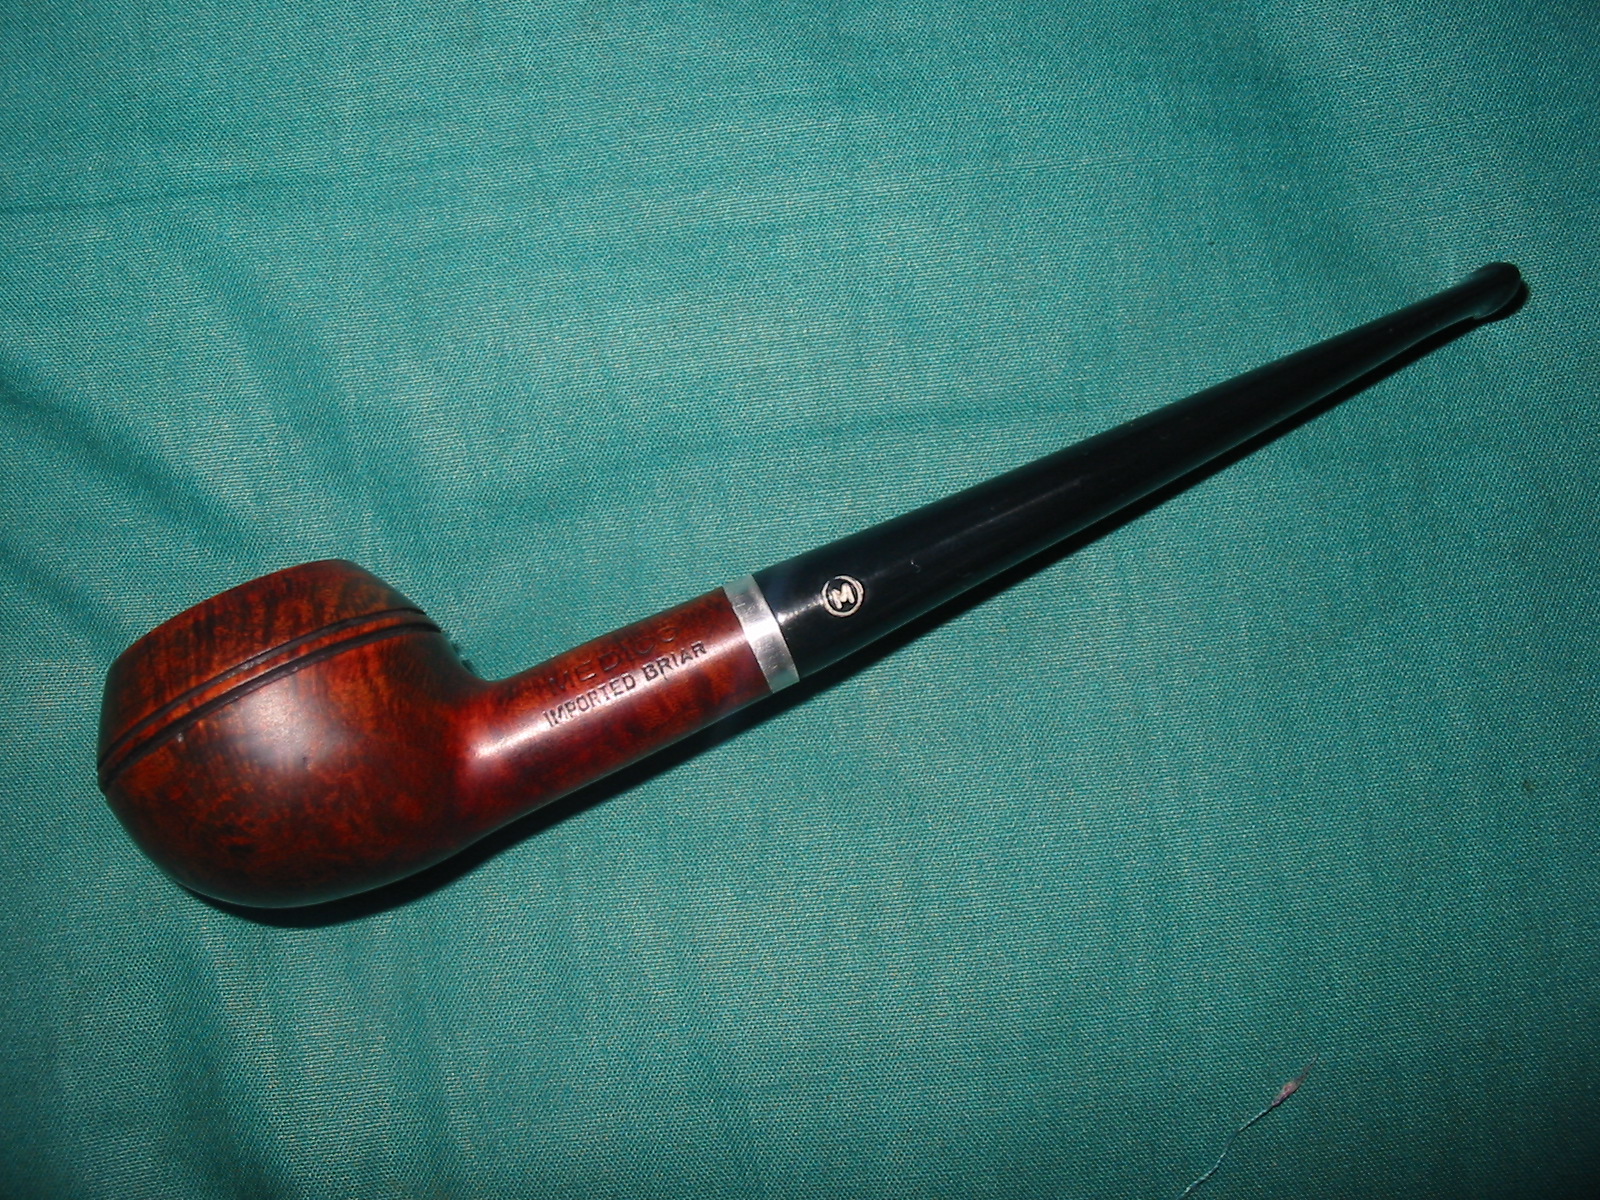
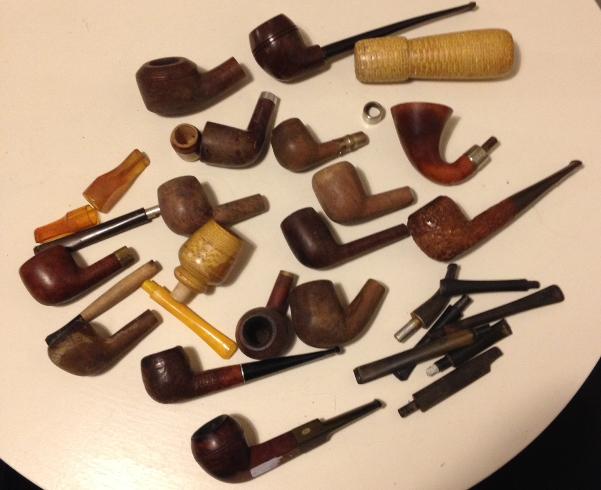
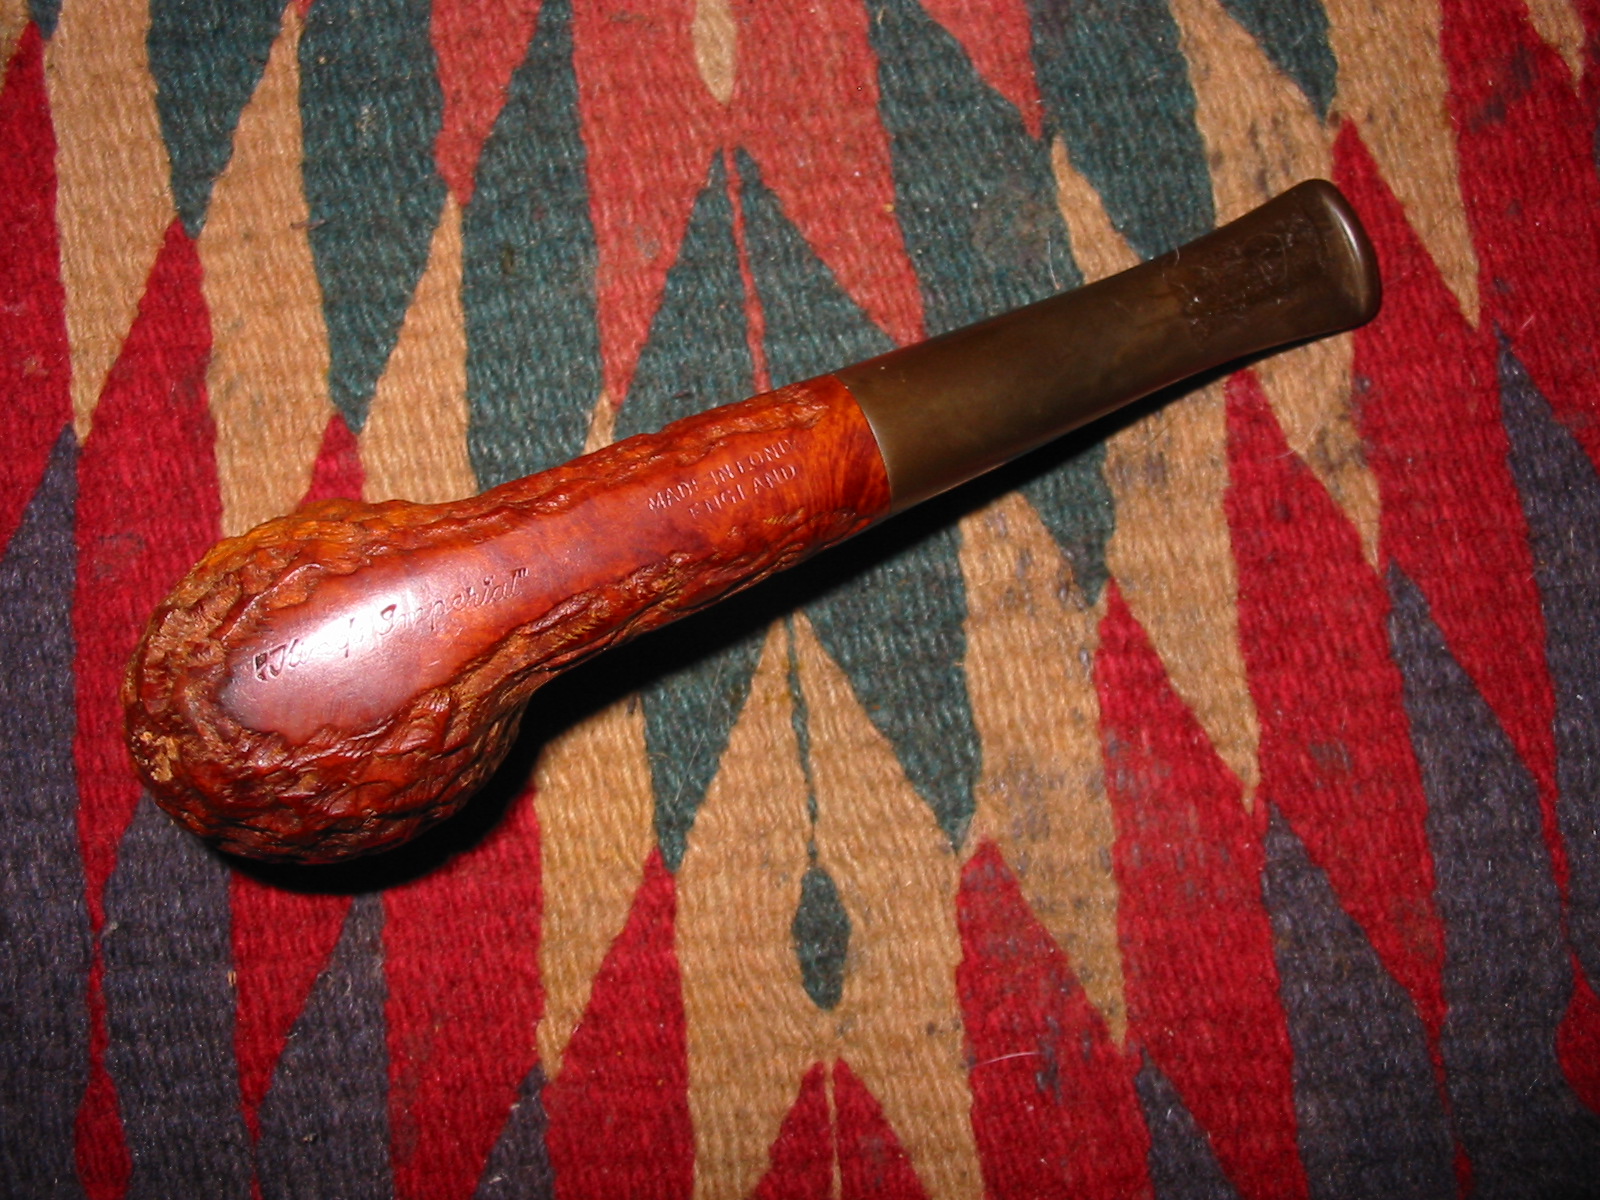
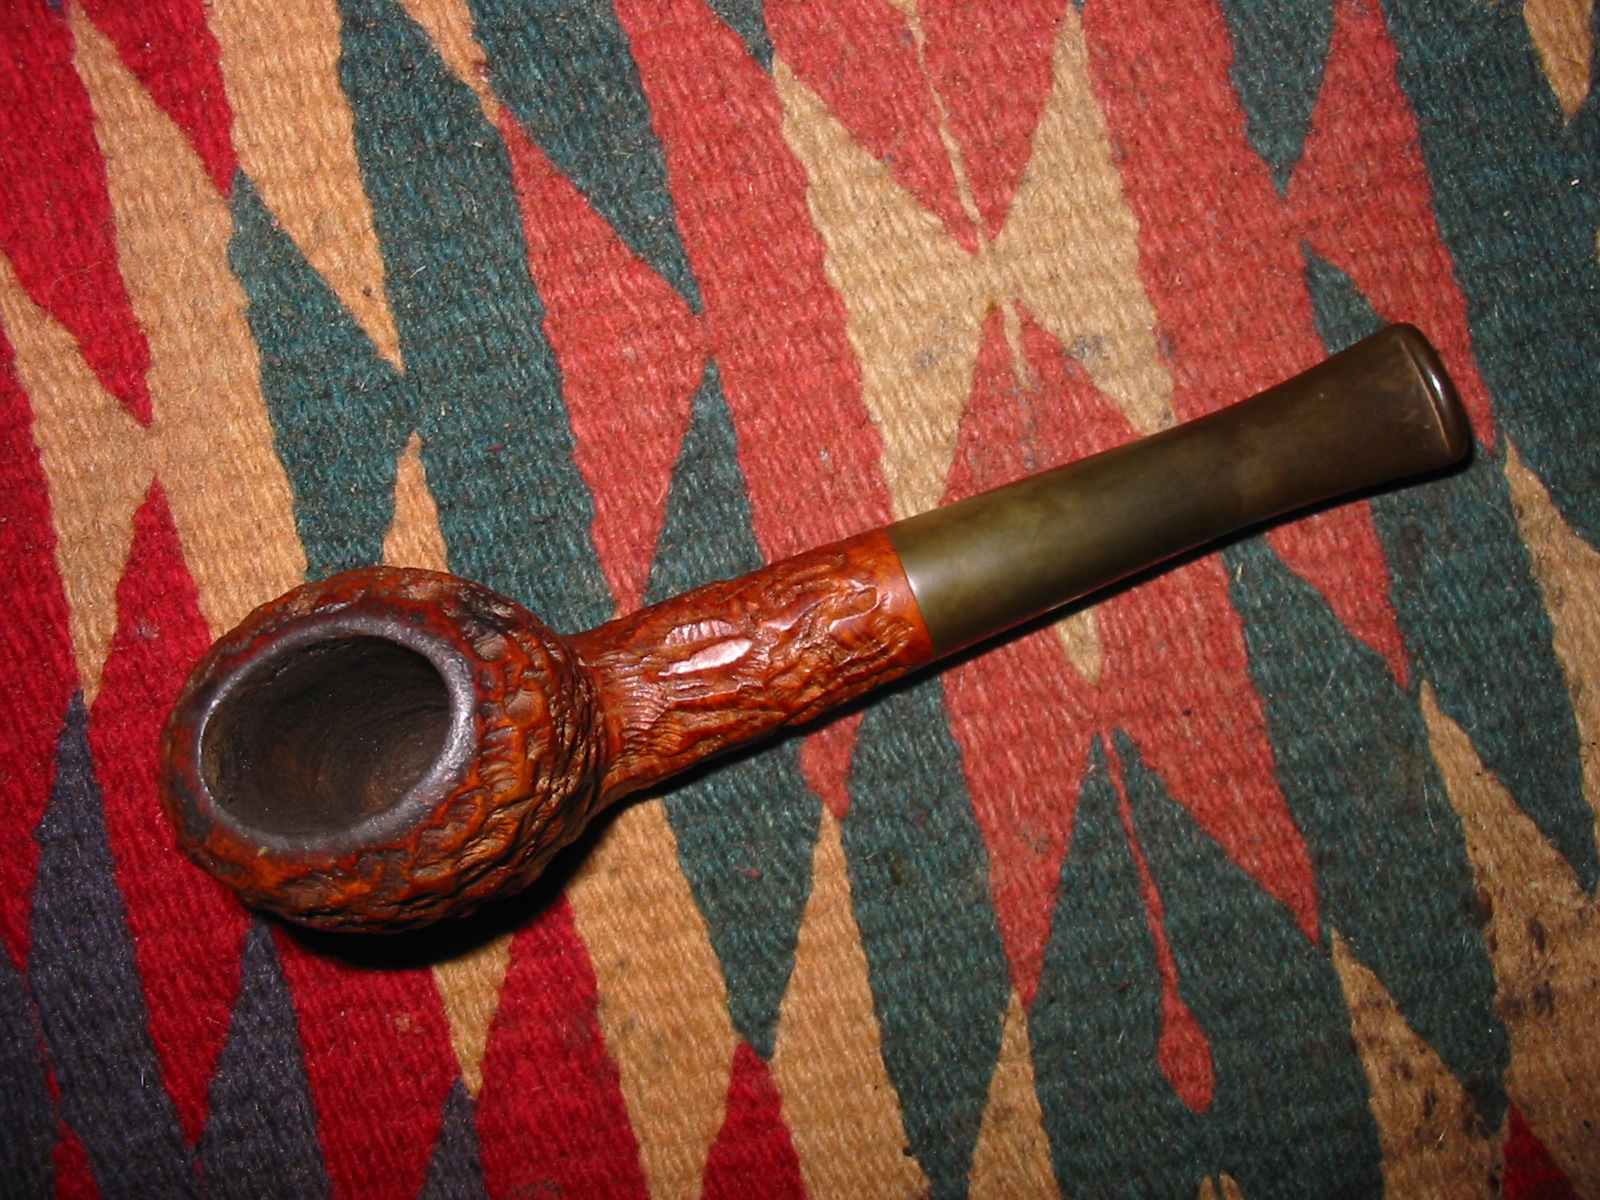
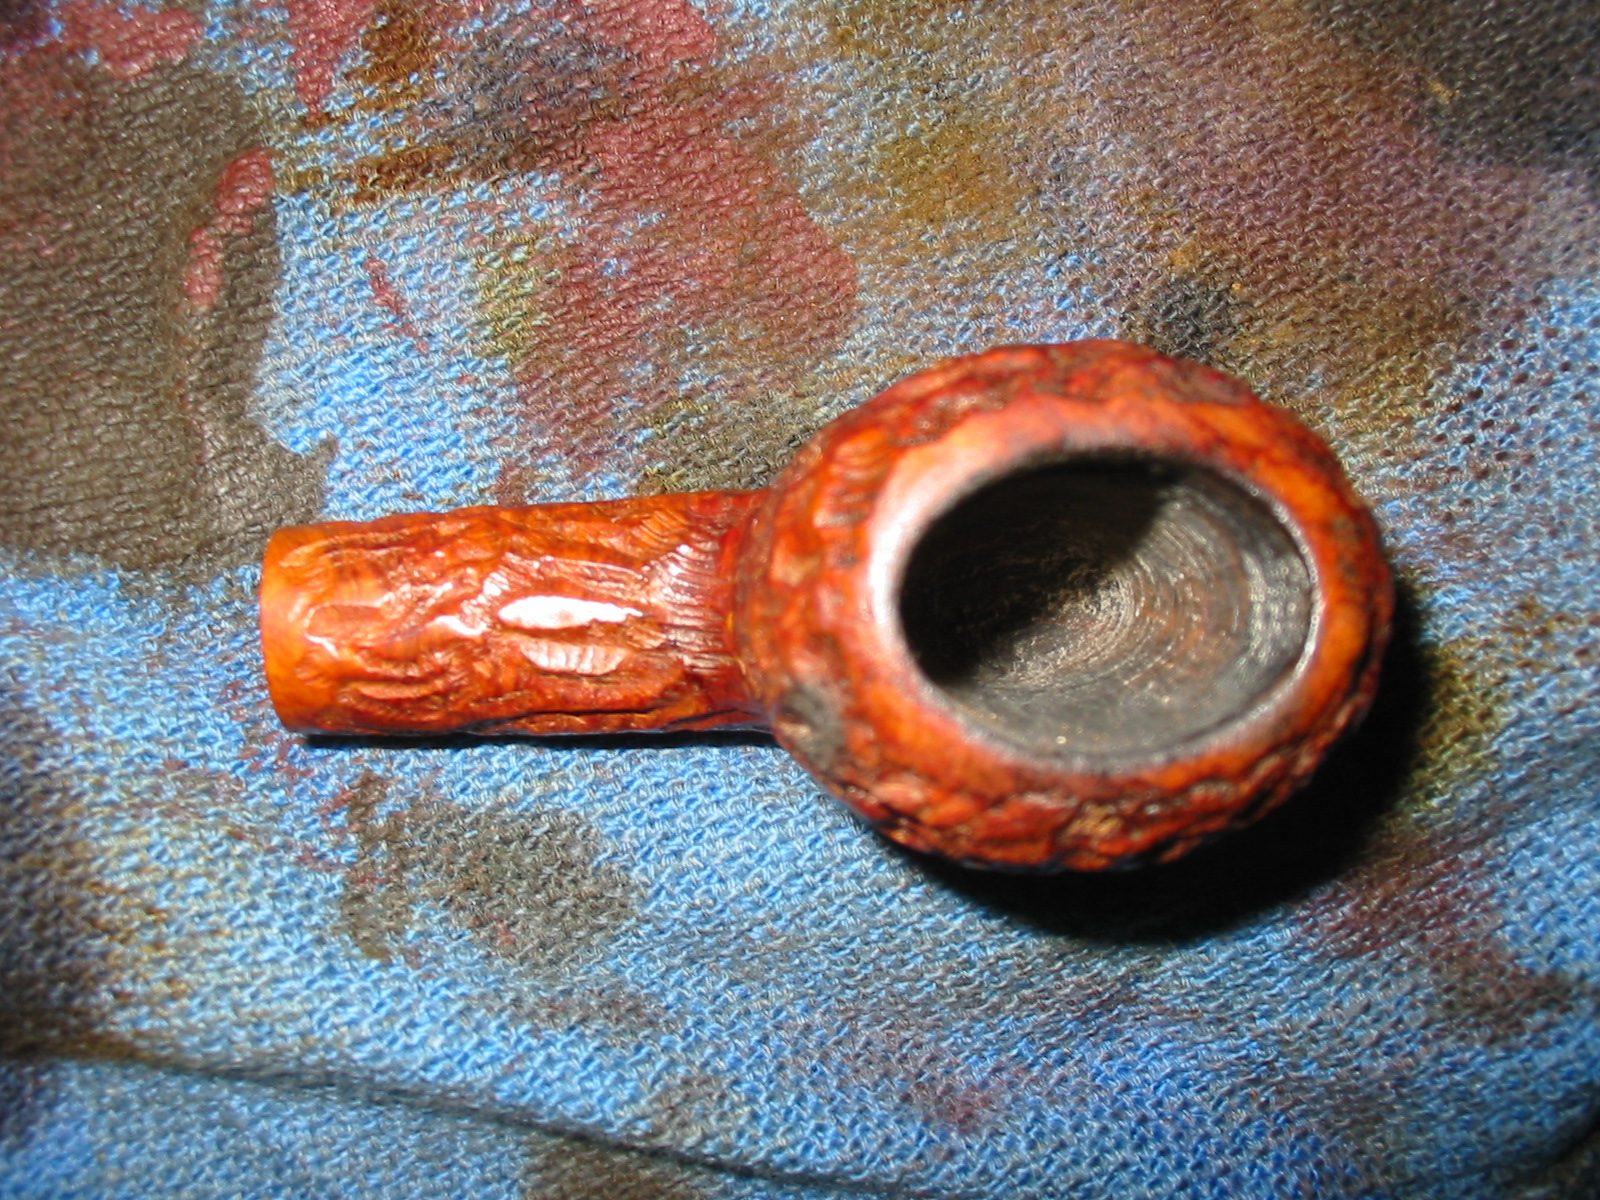
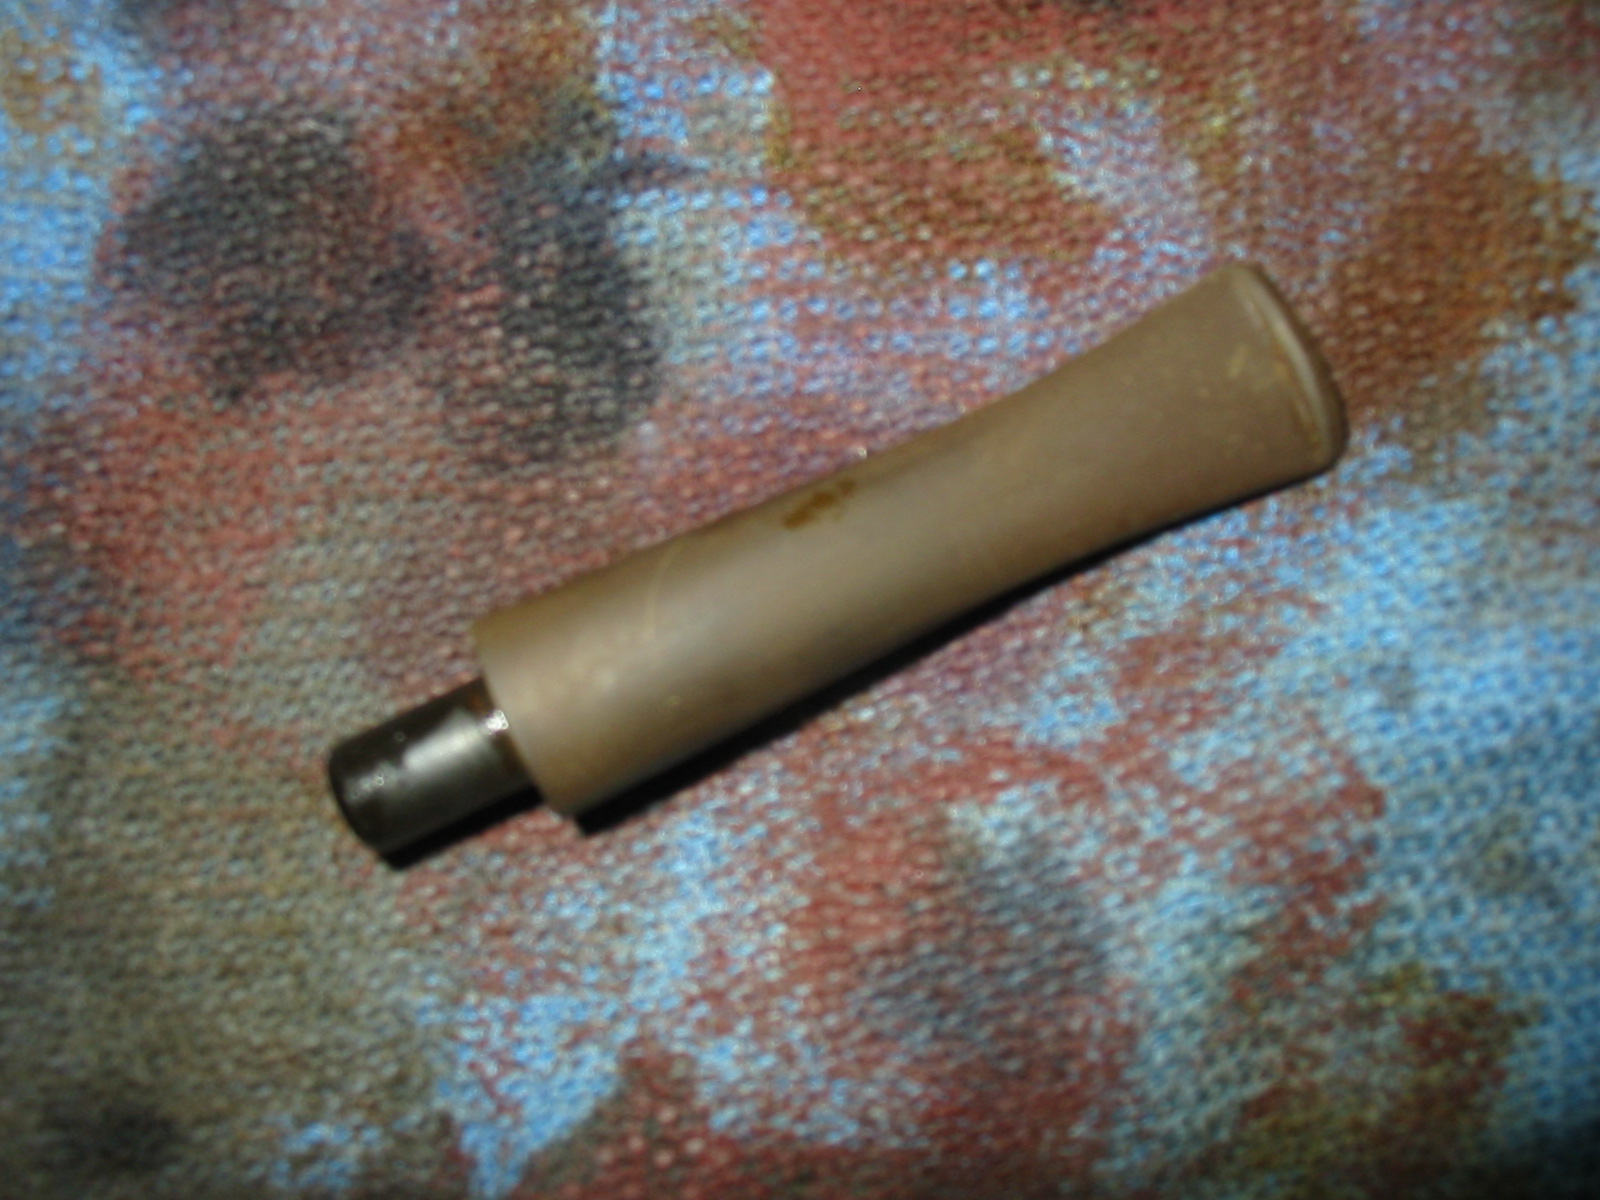
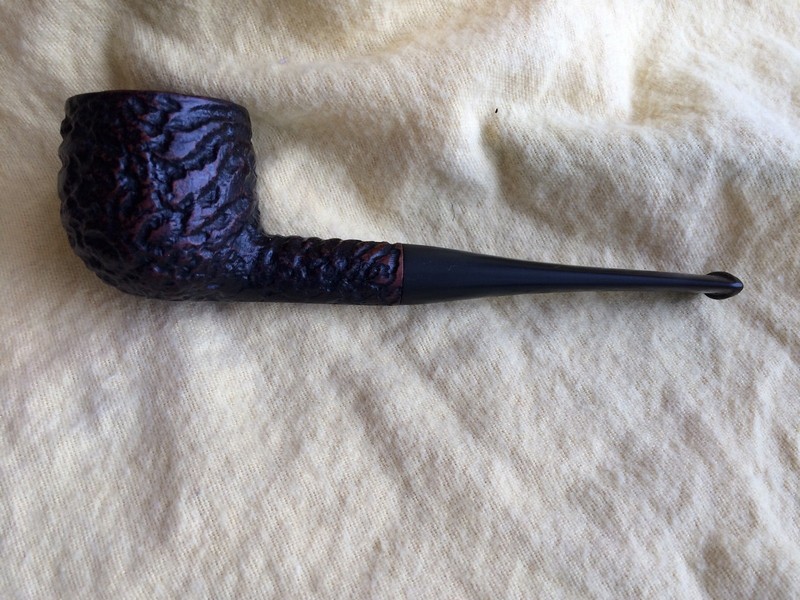
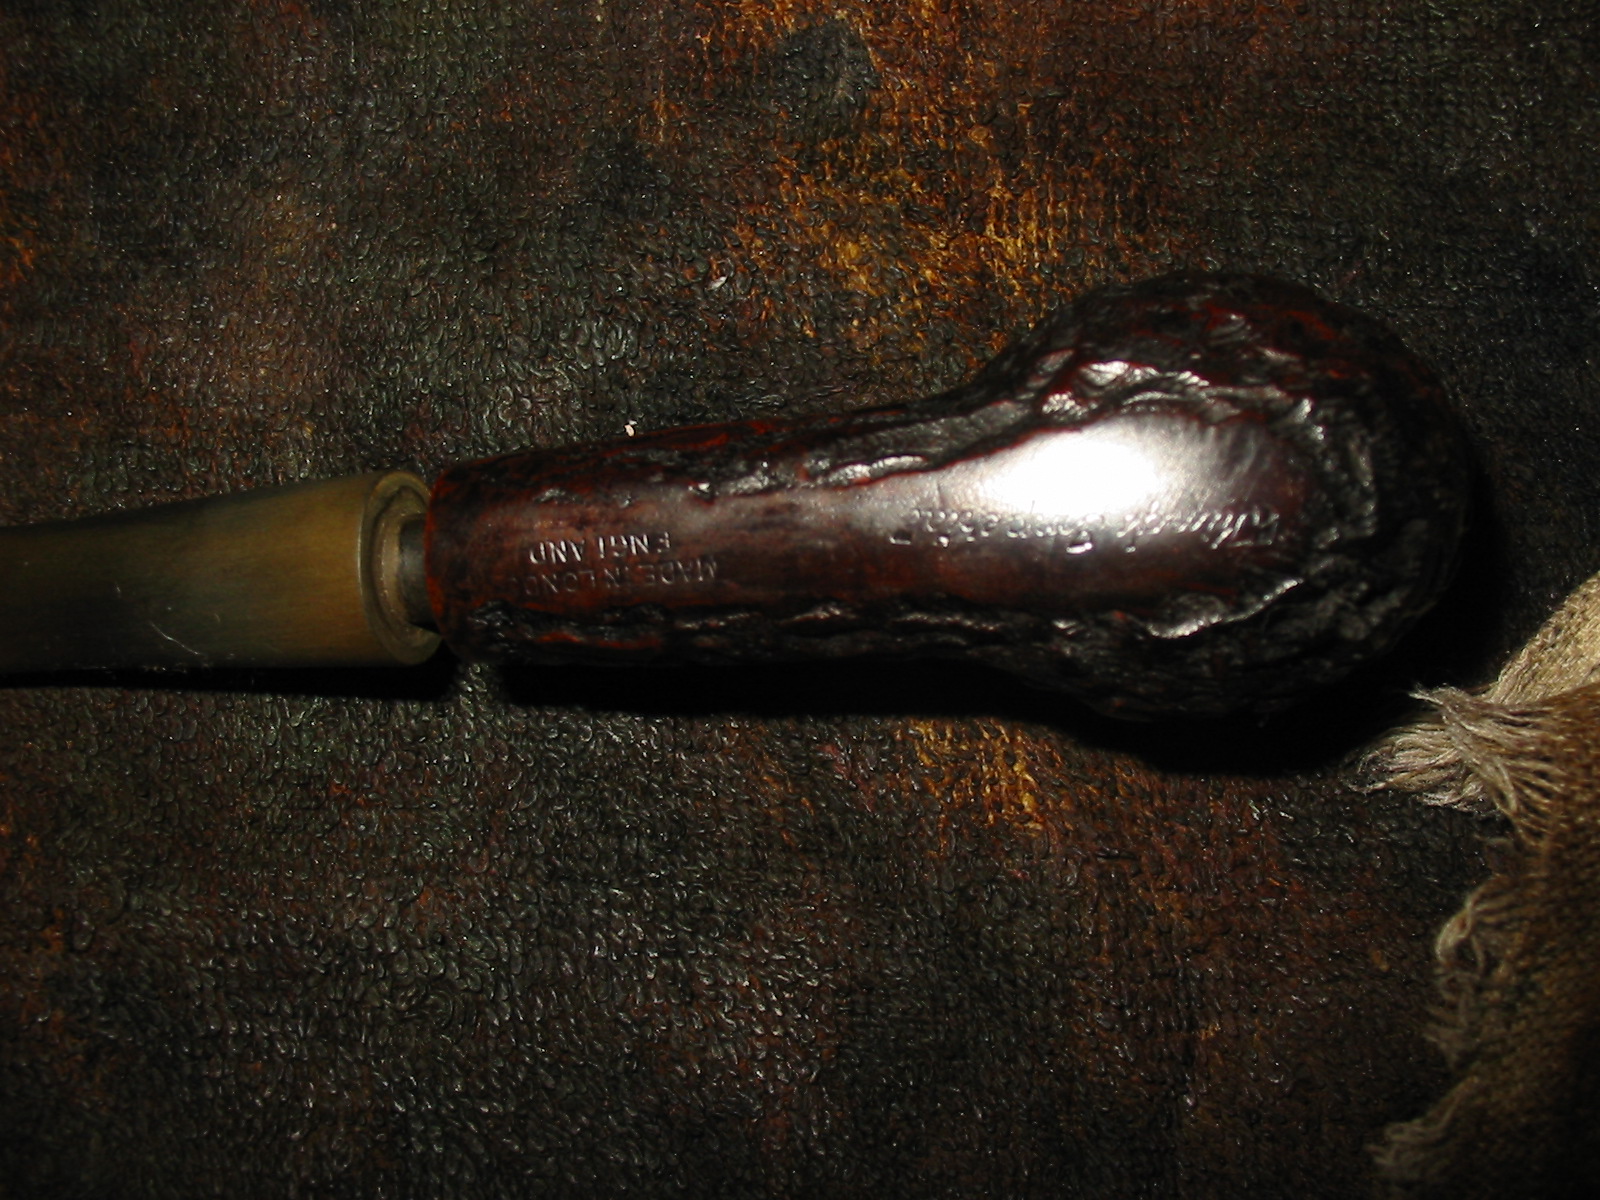
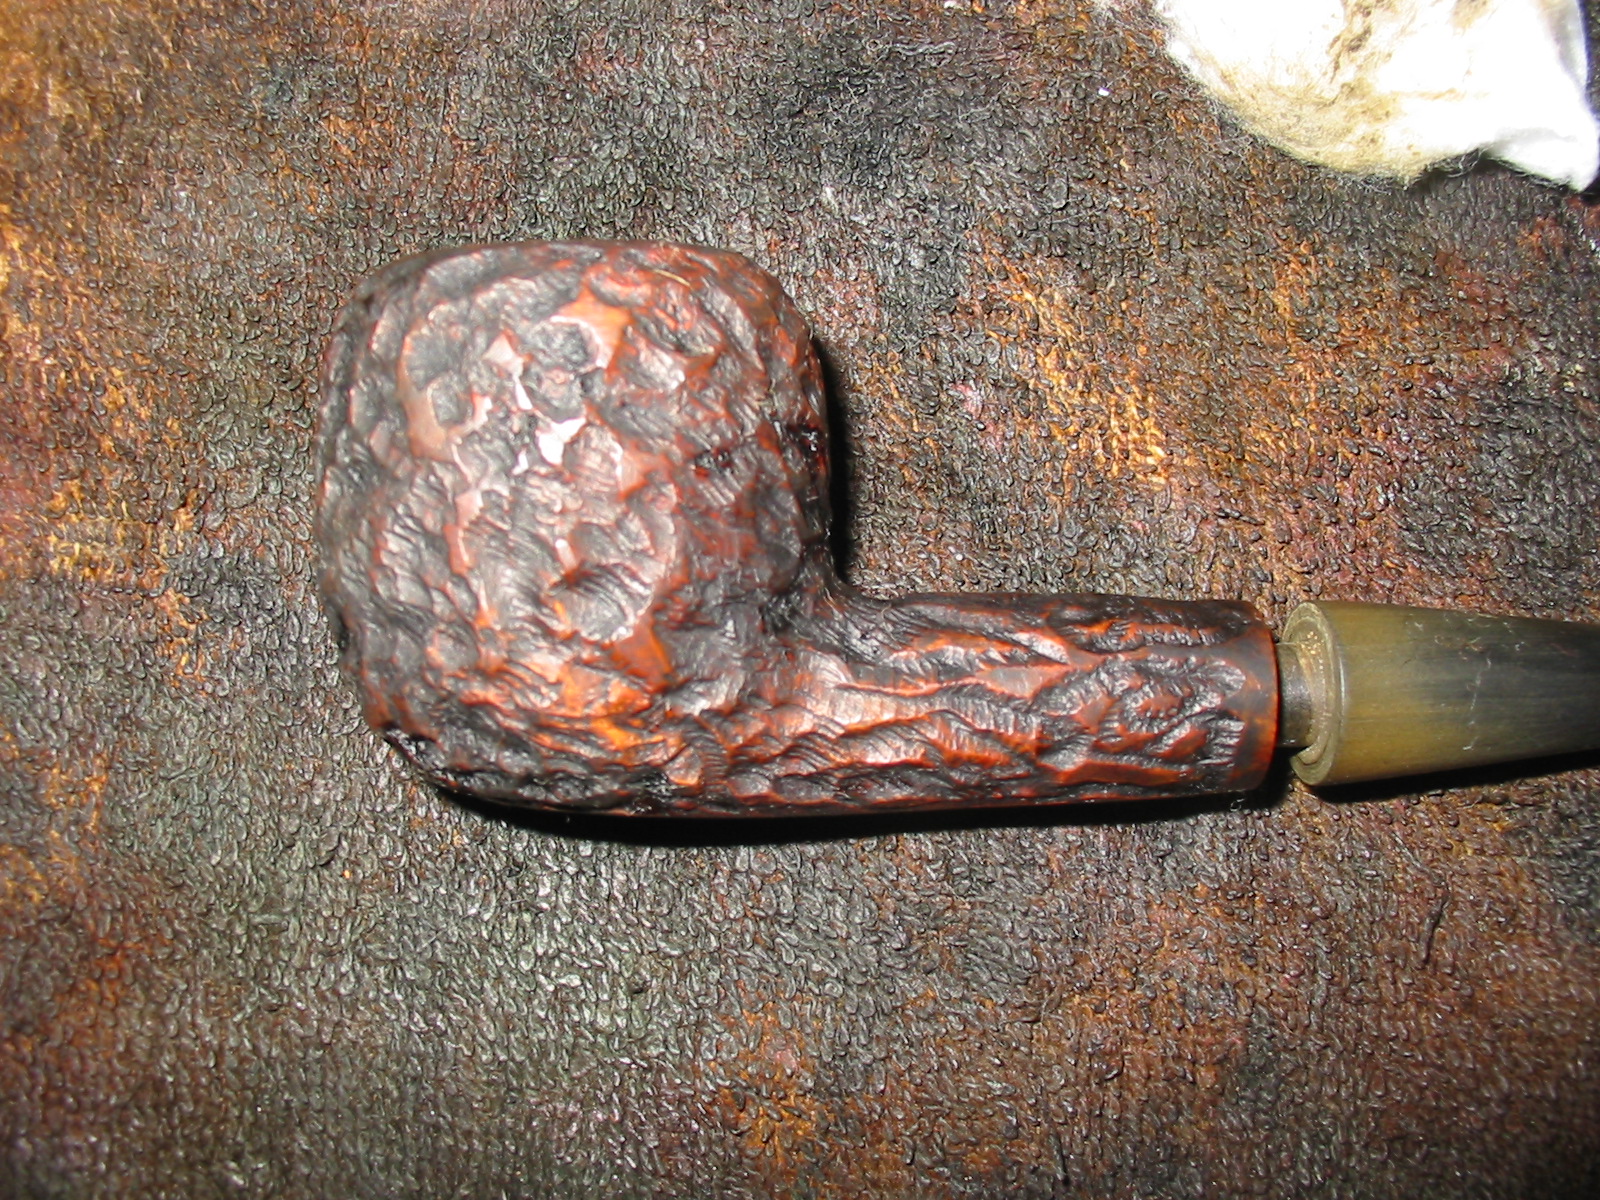
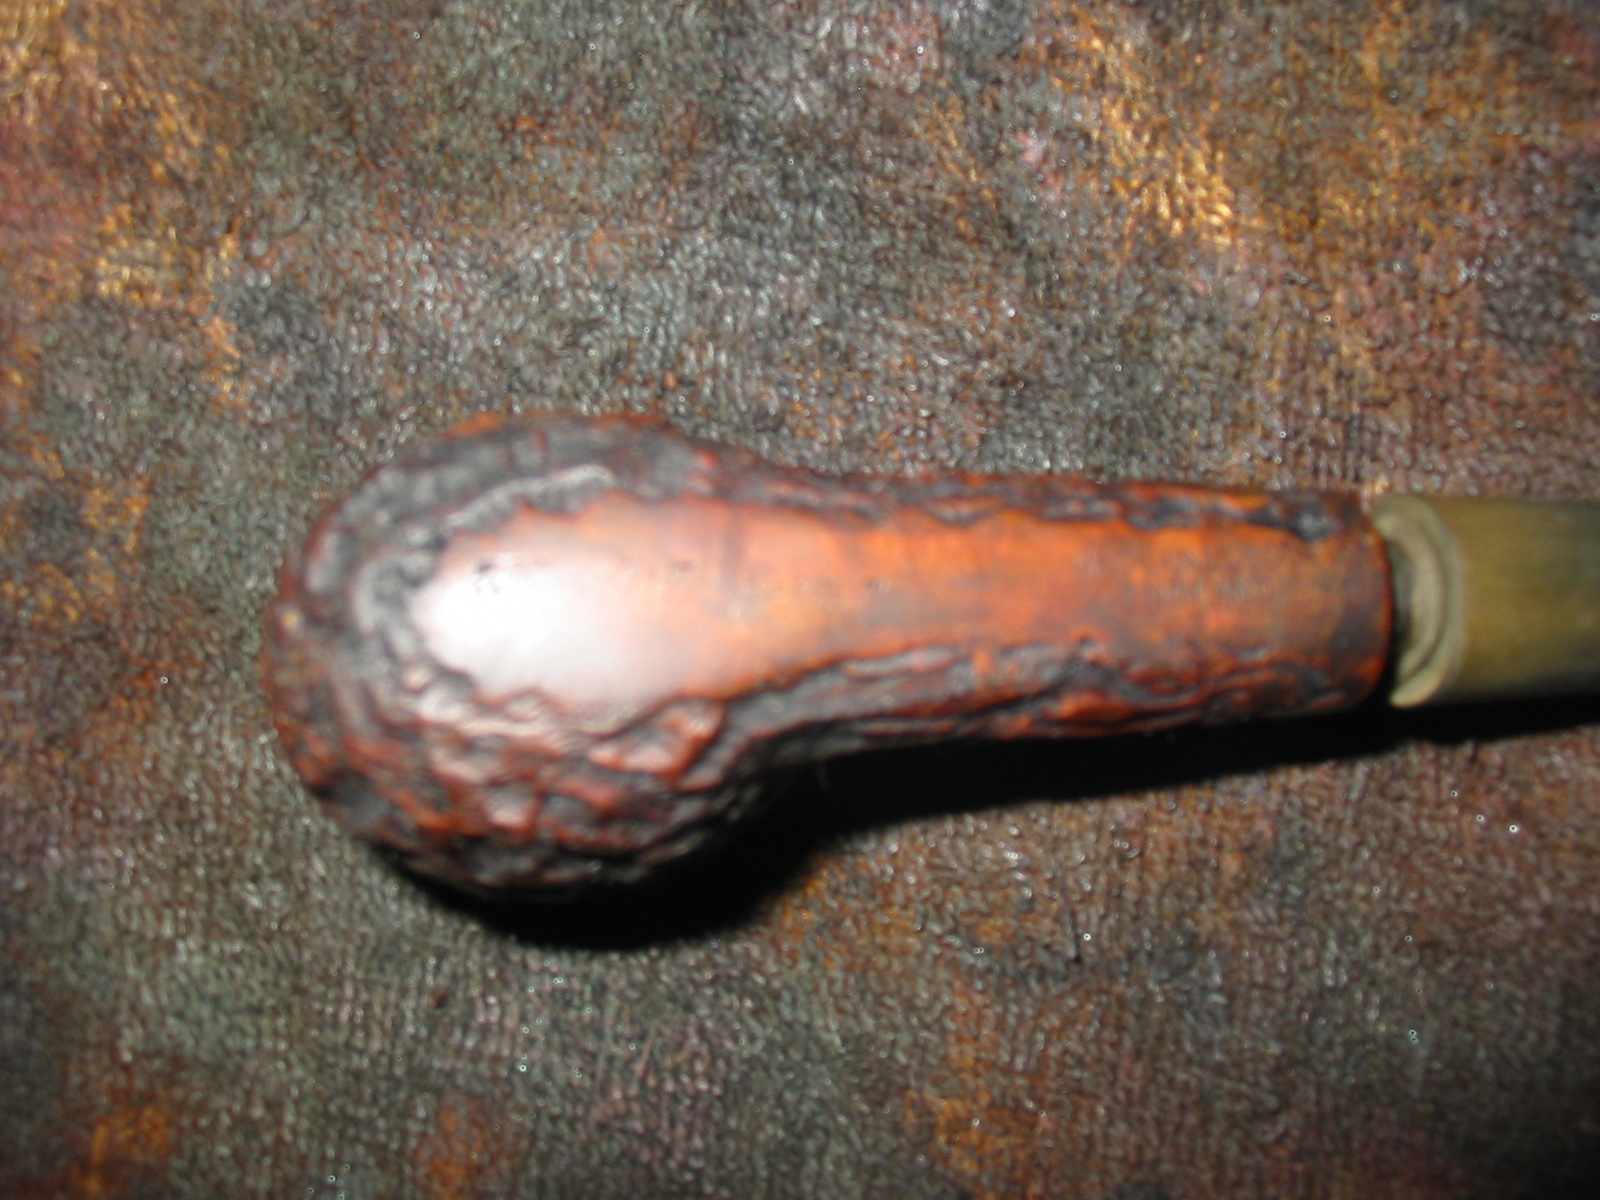
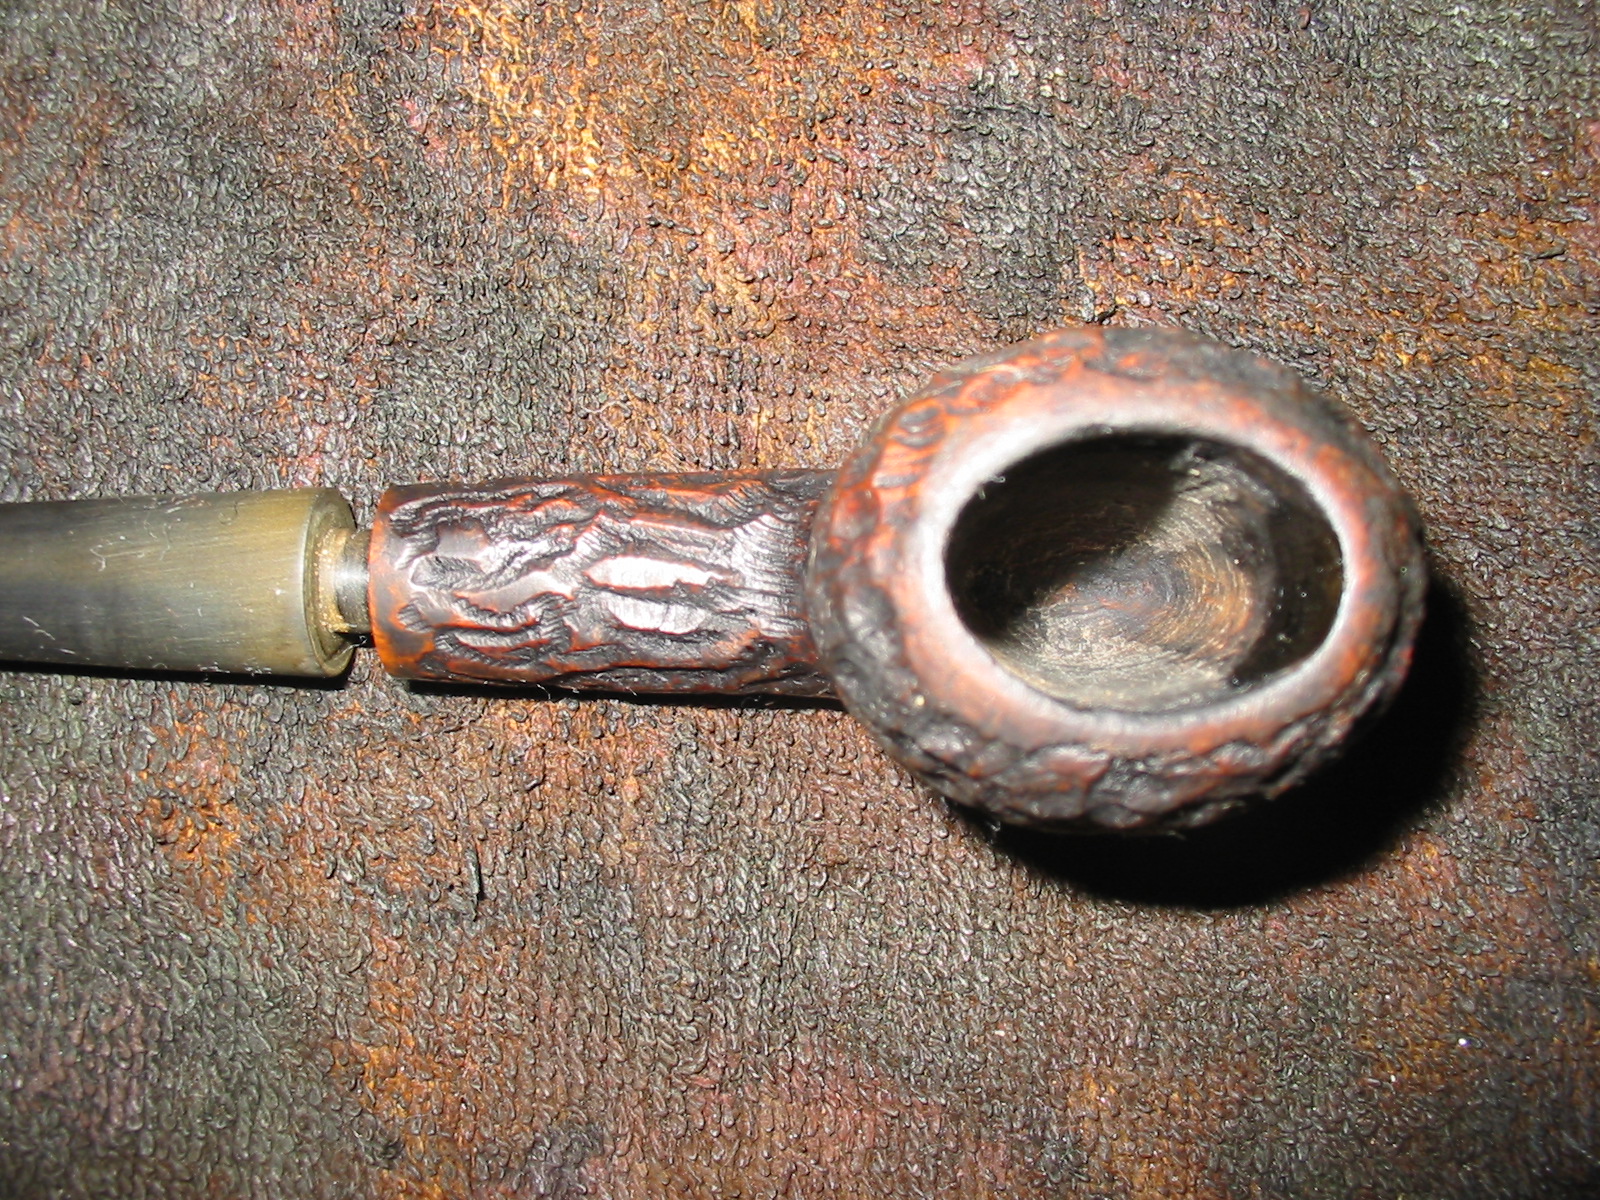
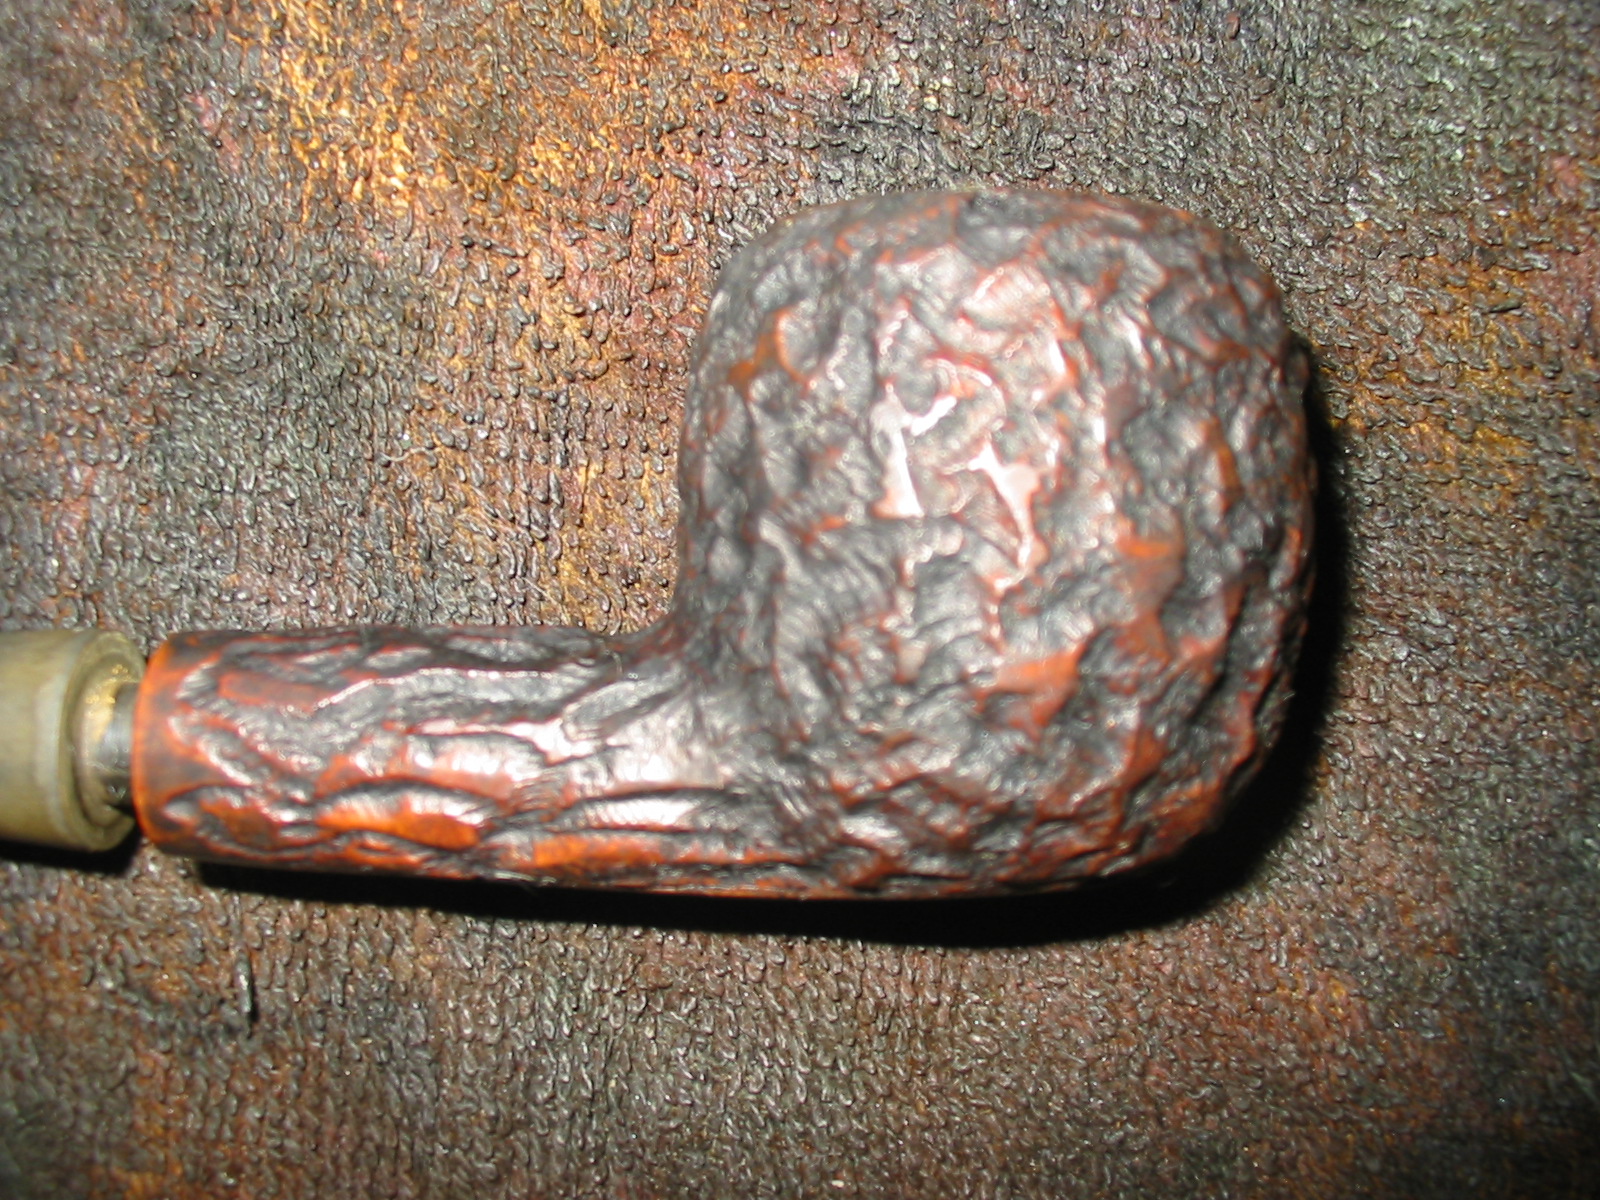
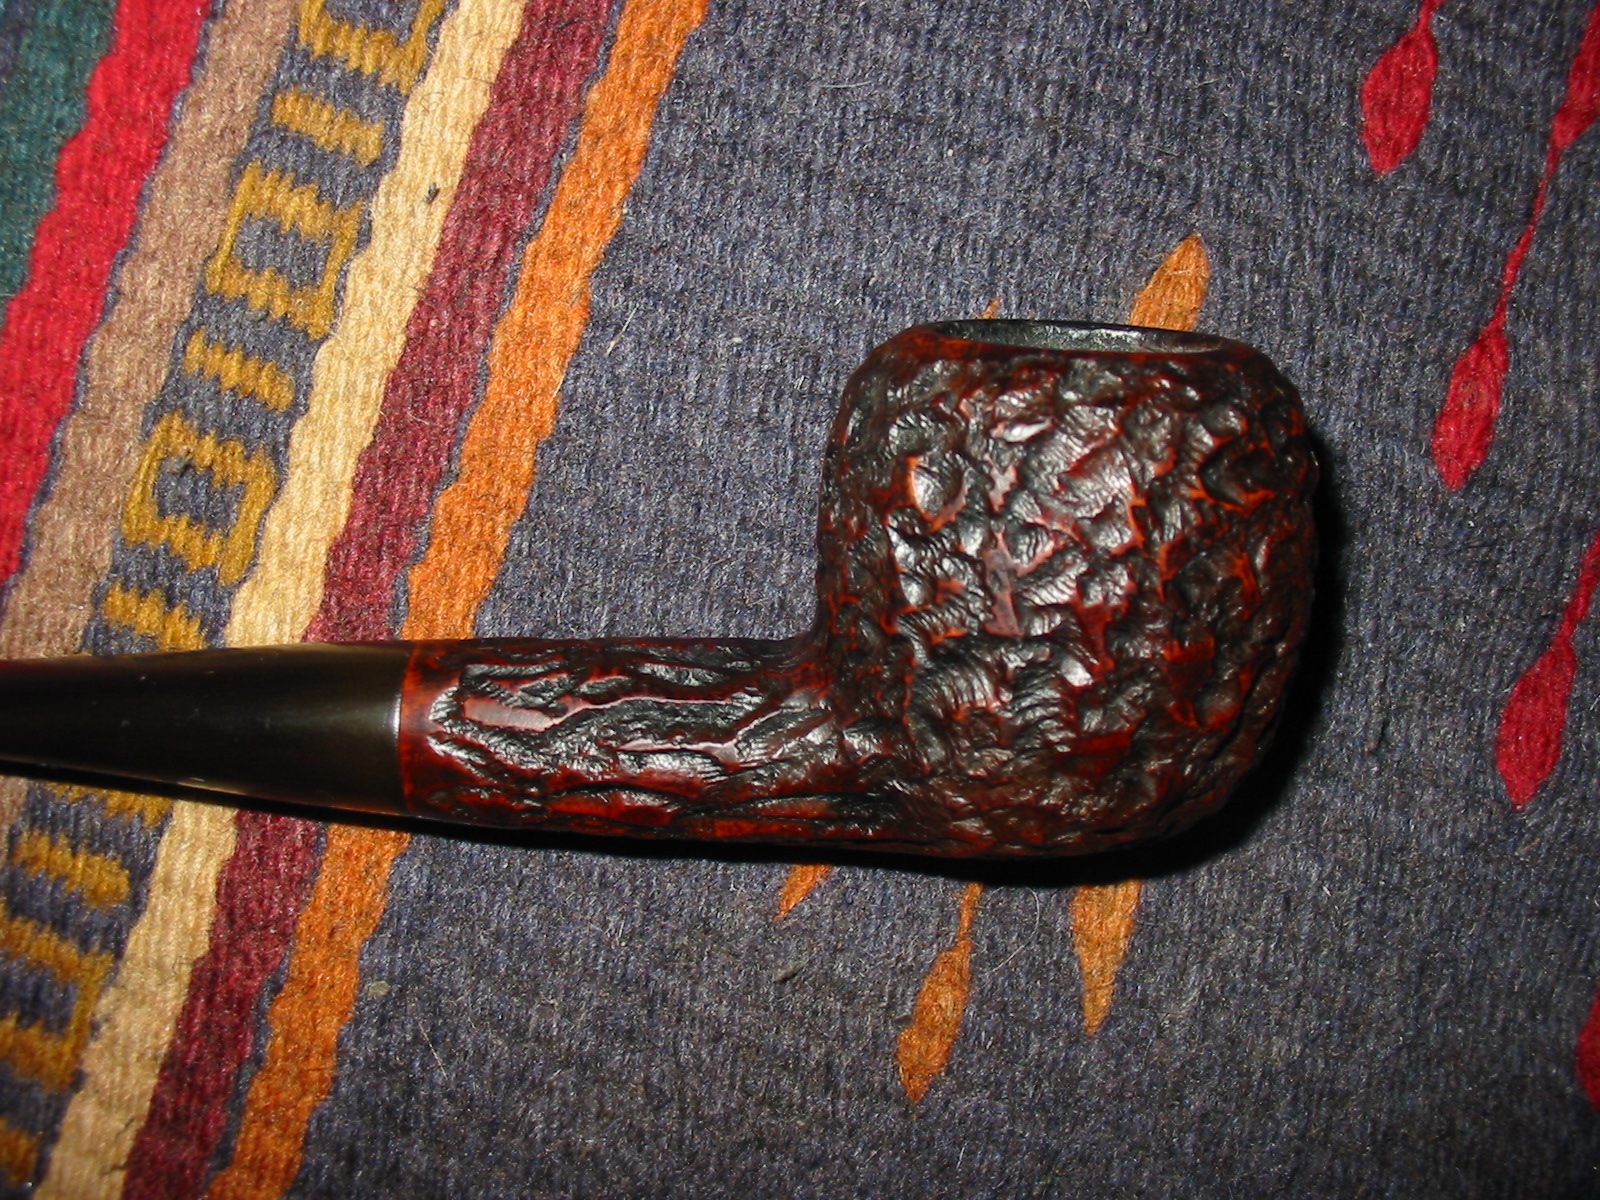
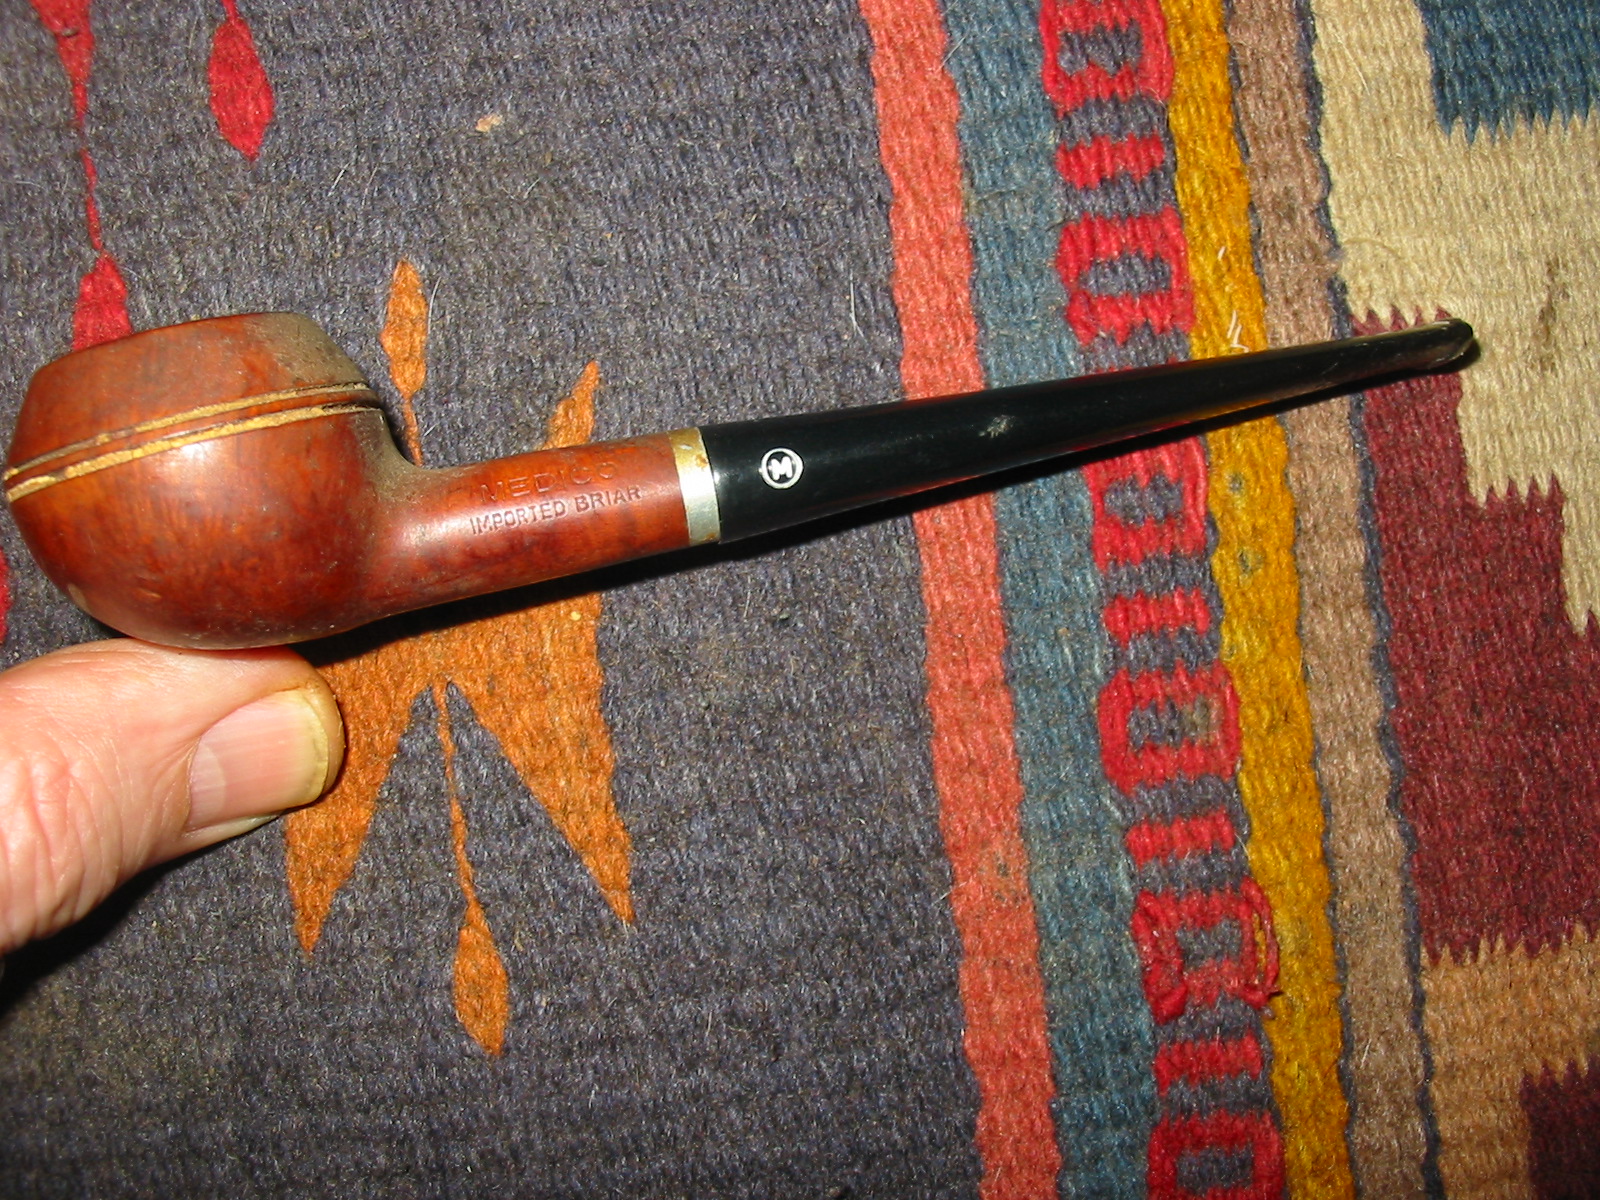
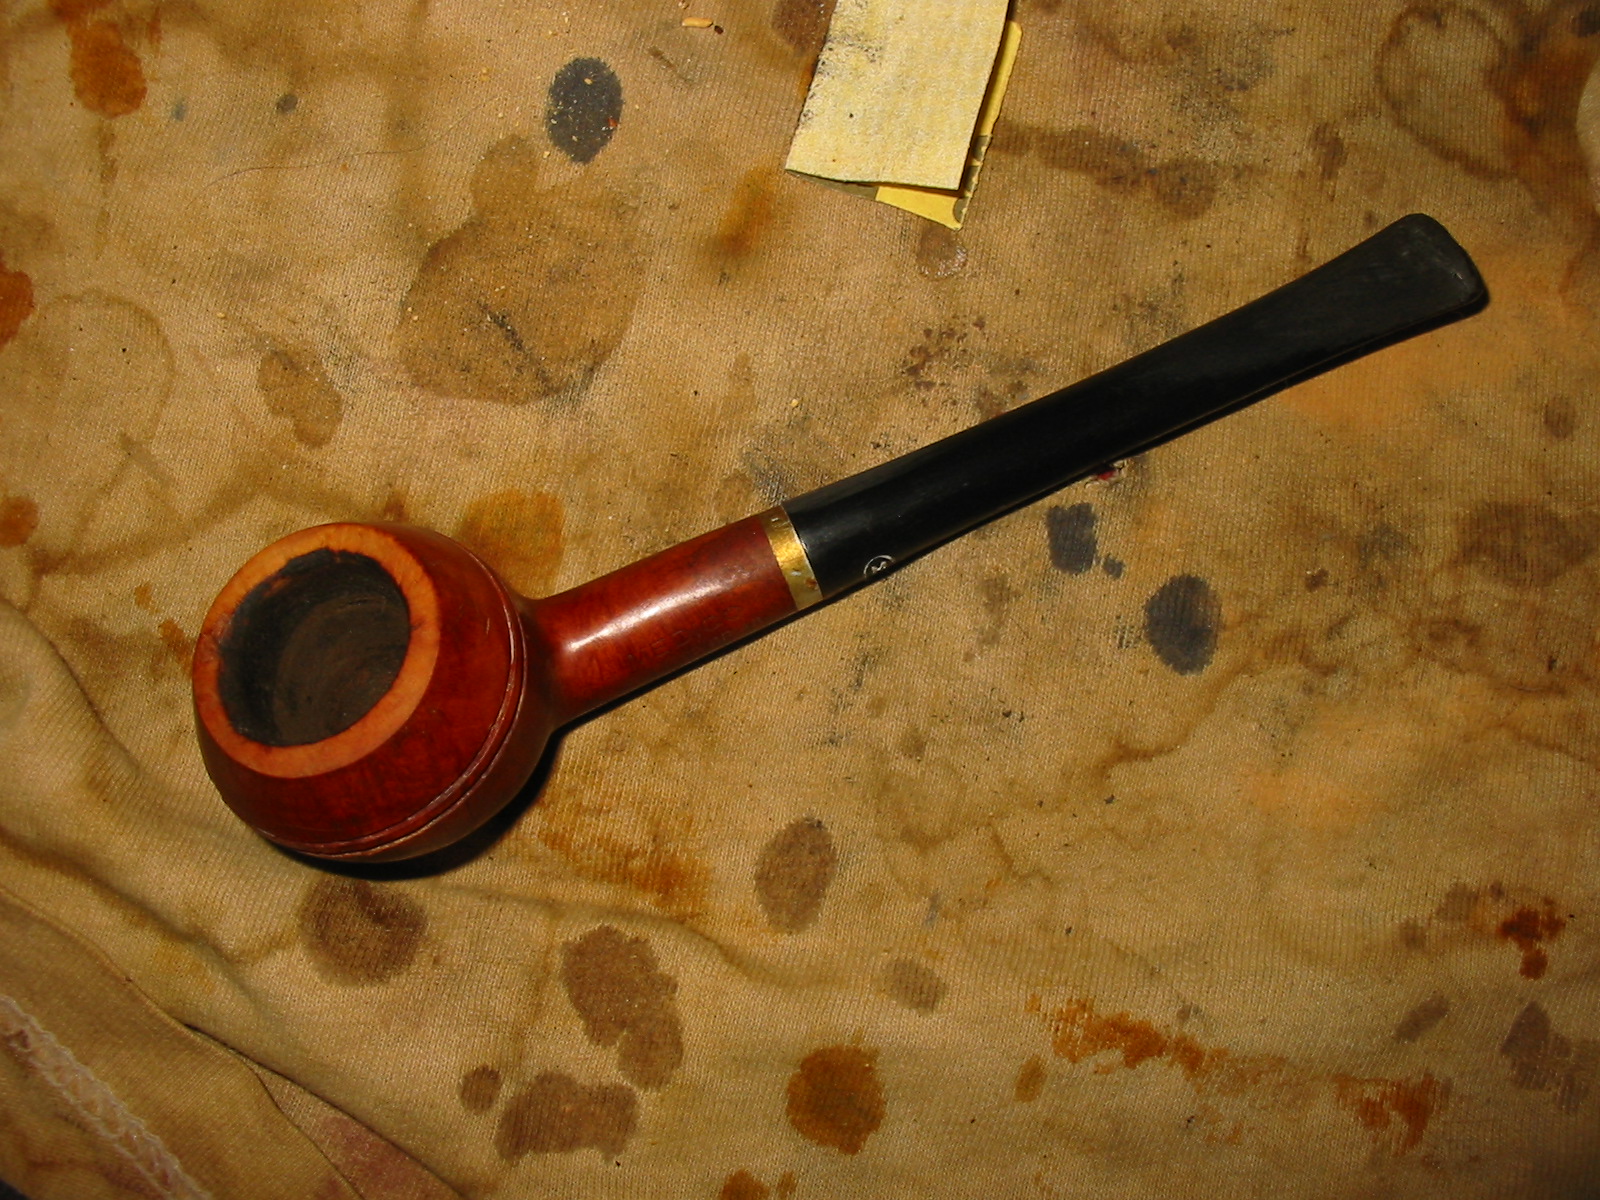
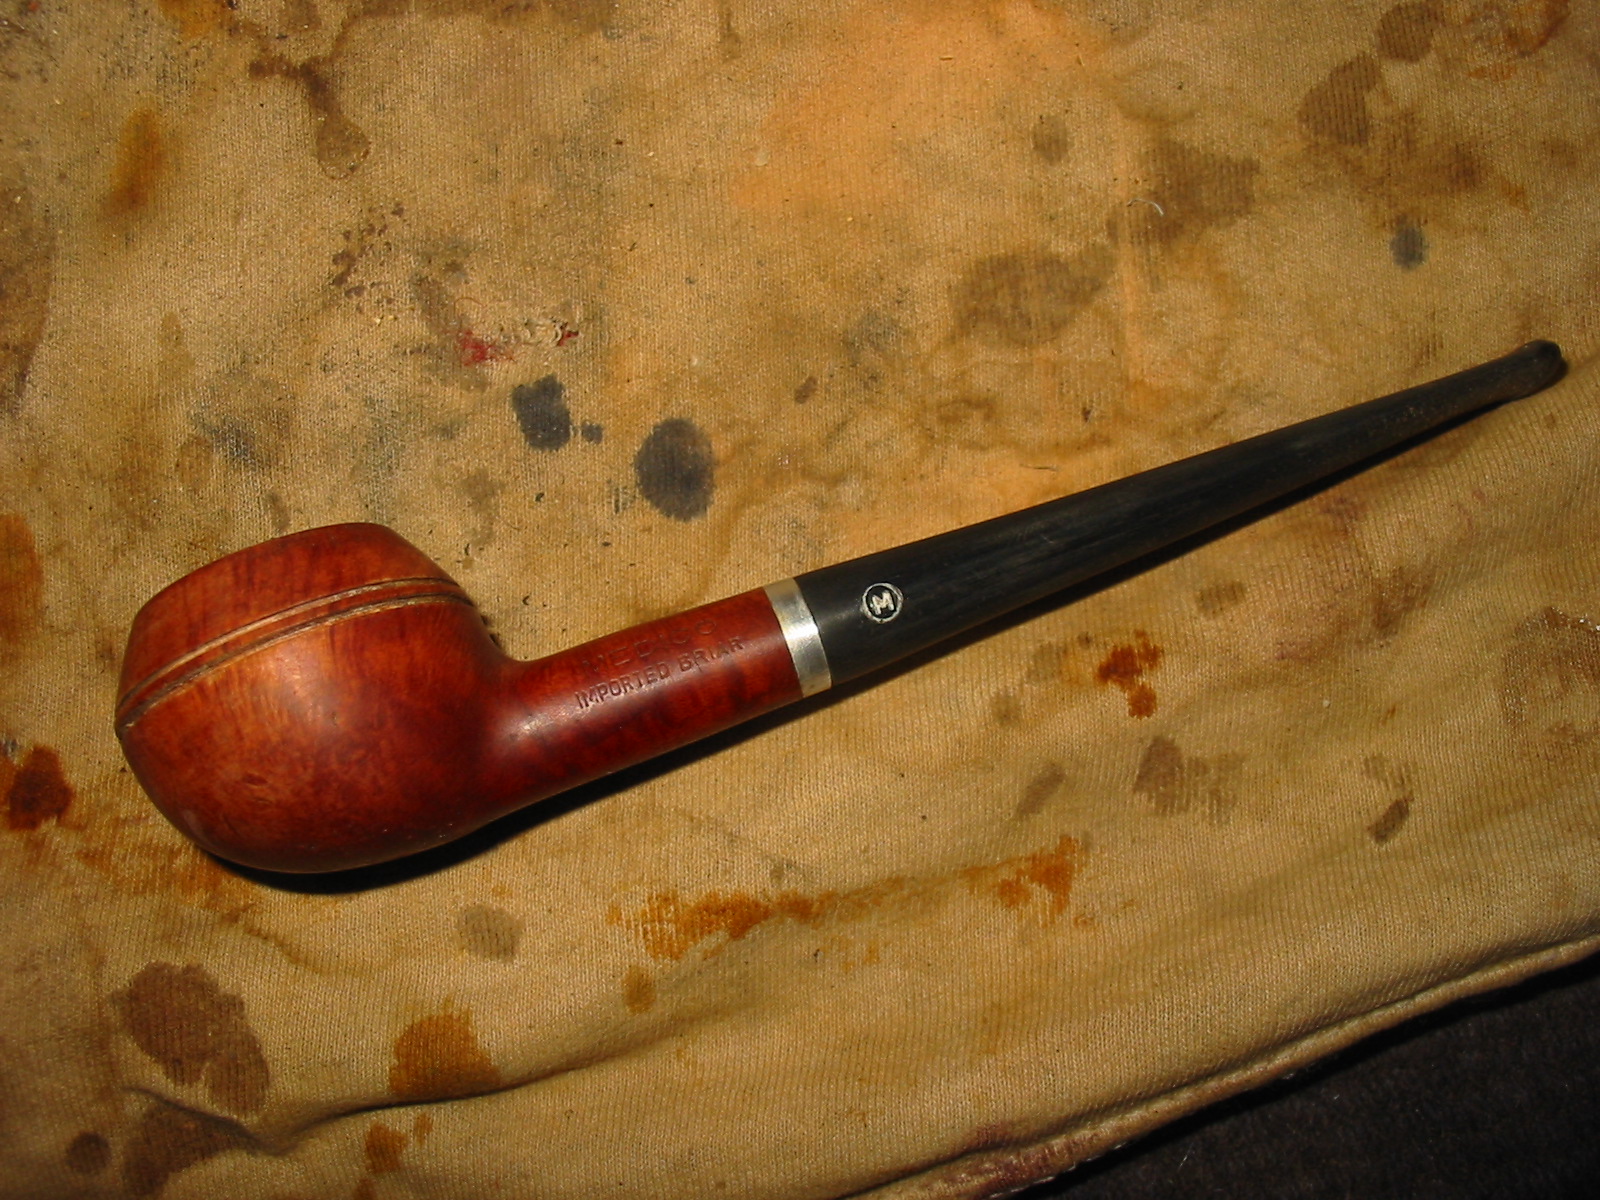
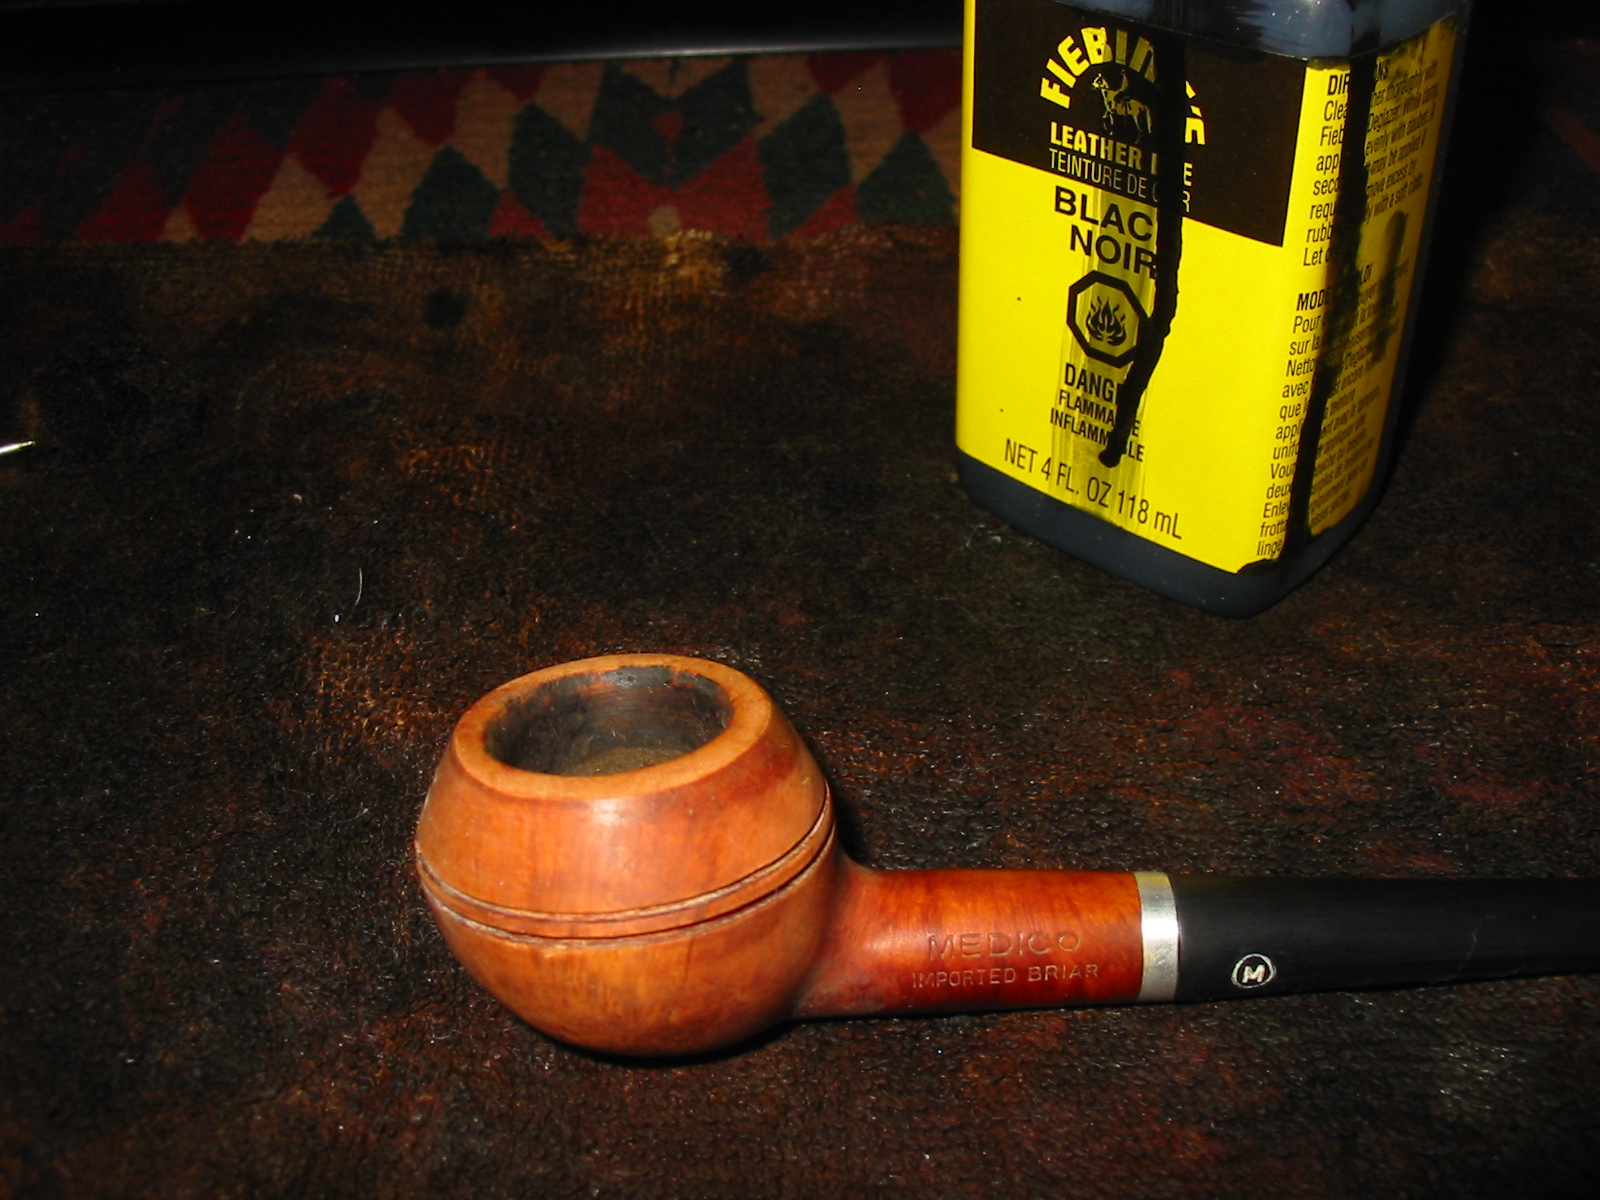
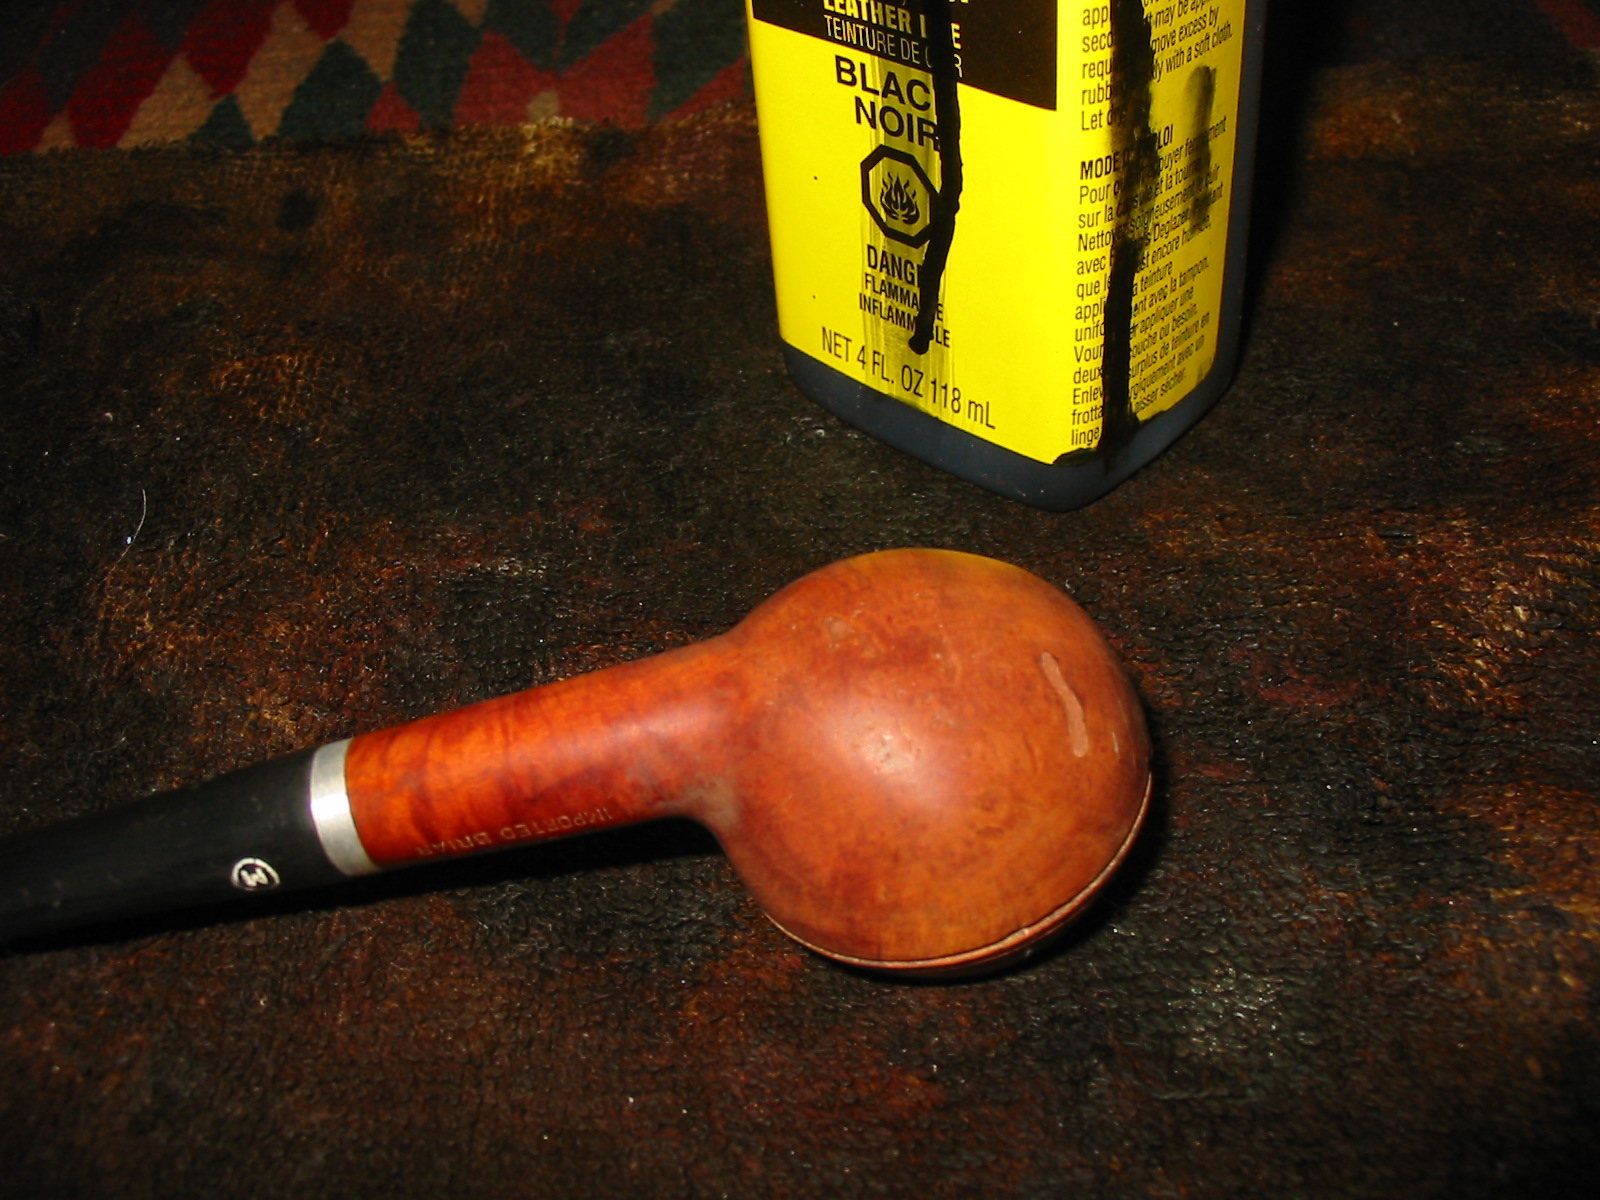
The second pipe I took out of the box of finds from the weekend antique mall score was a little Medico Prince. It is stamped Medico over Imported Briar on the left side of the shank. It had an aluminum band that was coated with a plastic coat that made it appear to be gold. This coating was peeling leaving the band looking unusable. The bowl also did not have a stem. The bowl itself had several fills on the sides and bottom, nicks around the double scored lines on the bowl and the lines themselves were filled in with hard white putty like substance. I am not sure what the purpose of the filling of the lines was but it gave the old pipe a despairing look. The rim was rough and slightly out of round. The cake was built up in the bowl and overflowing onto the rim. I looked through my stem can and found a Medico stem that had originally been on a pipe I made into a Churchwarden. It was from one of my first pipes when I came back to pipes in 1982. The stem was nylon and covered with tooth chatter and deep tooth marks. The metal tenon and the diameter of the stem were a perfect fit. I would only have to make a slight adjustment on the bottom side of the stem and the right side to make the transition smooth.
IMG_6048

IMG_6049

IMG_6050

IMG_6051

IMG_6052
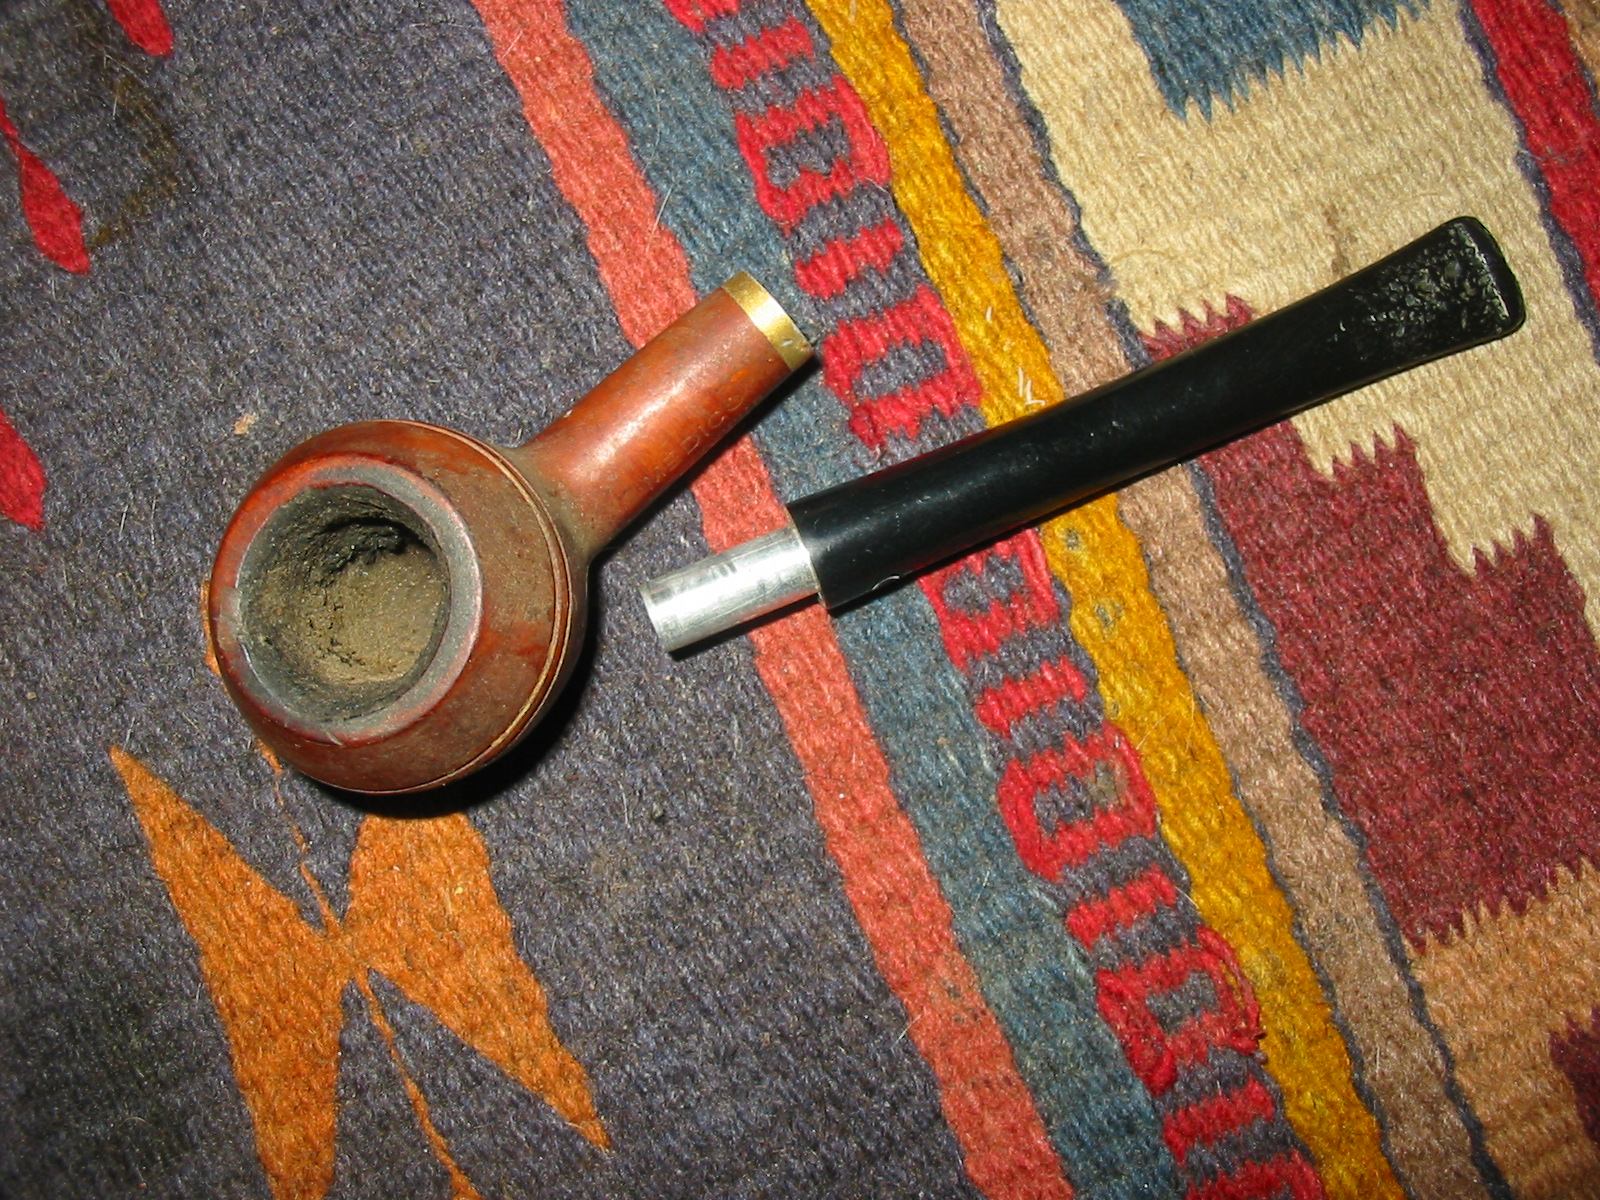
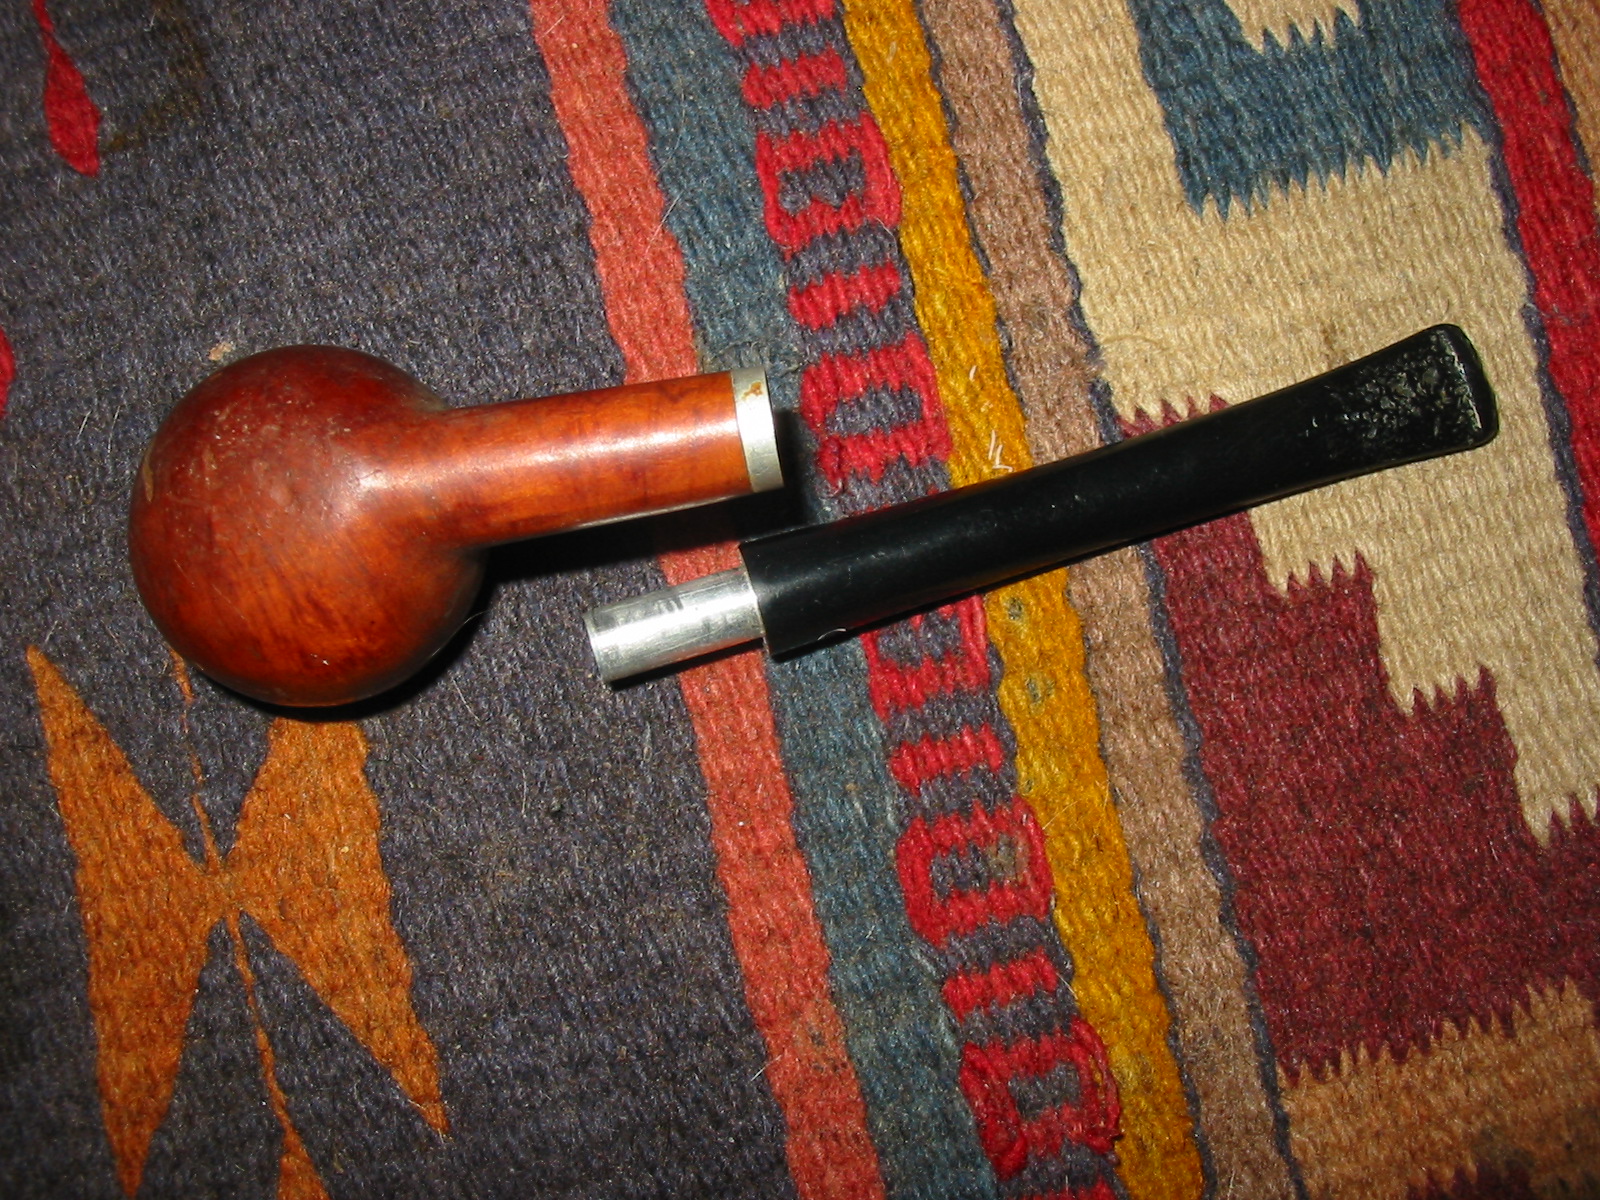
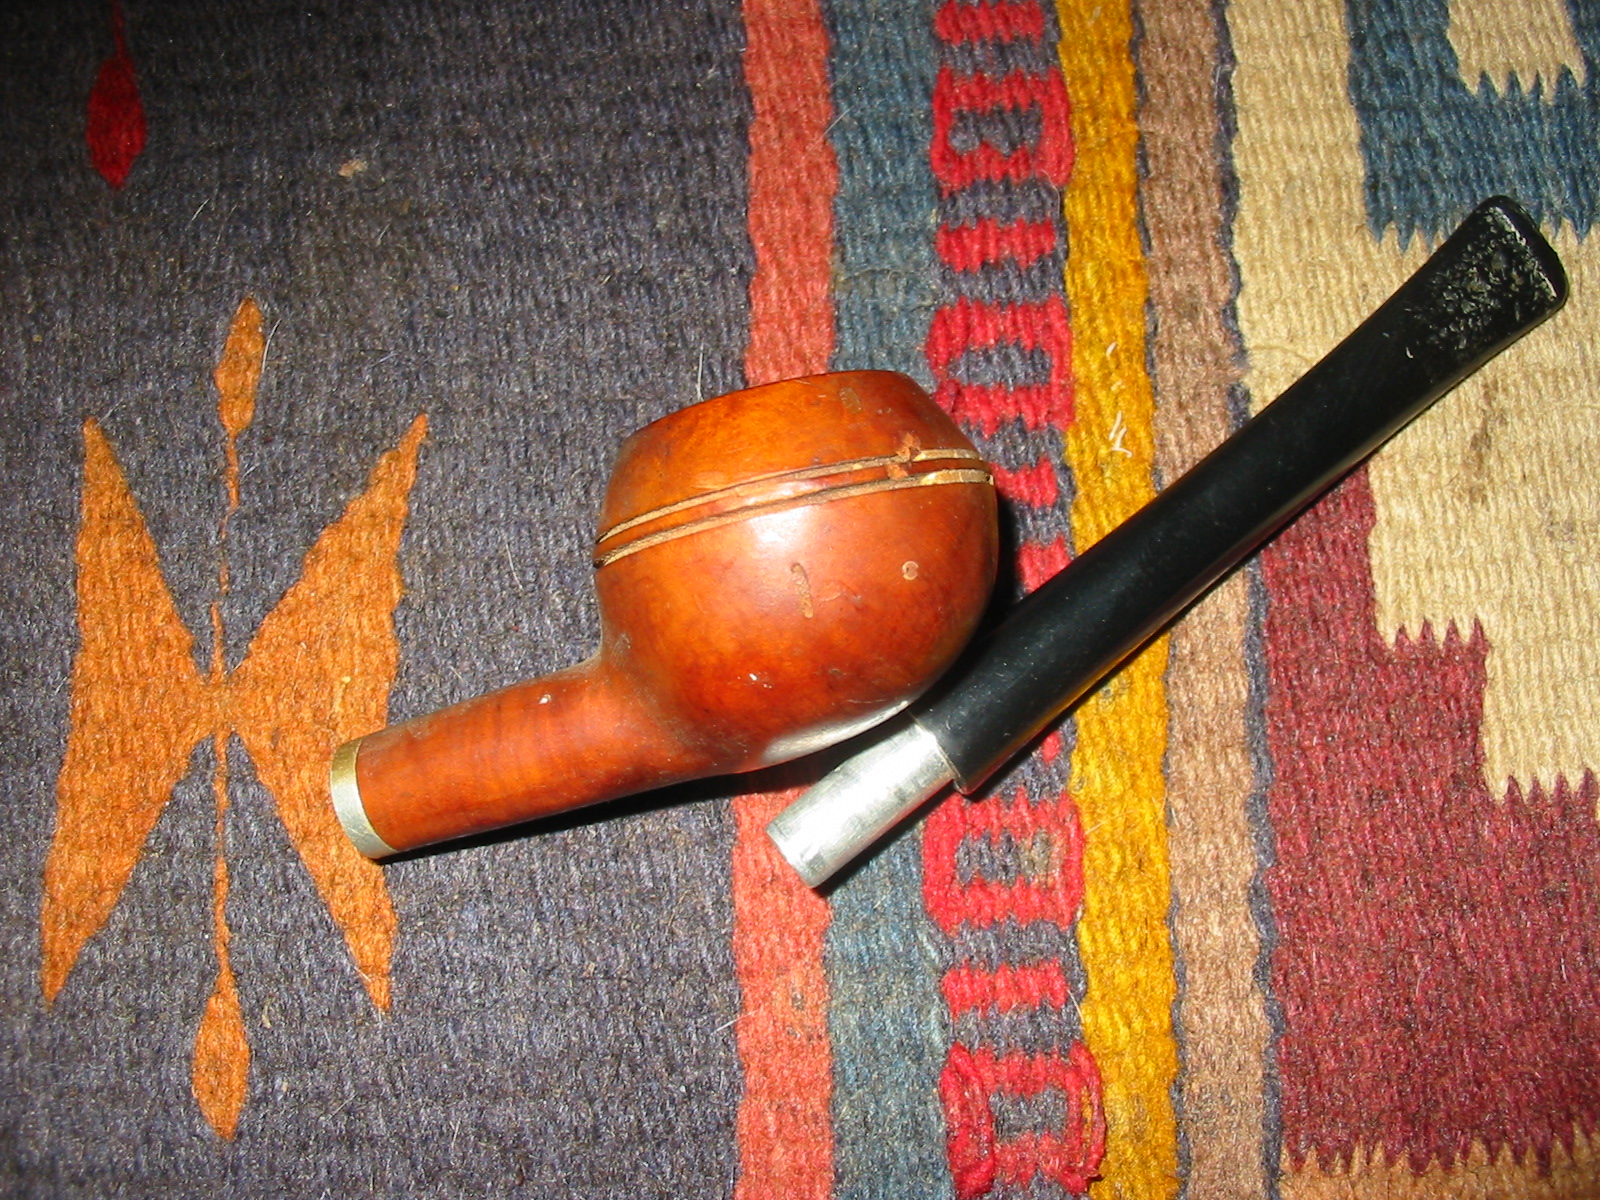
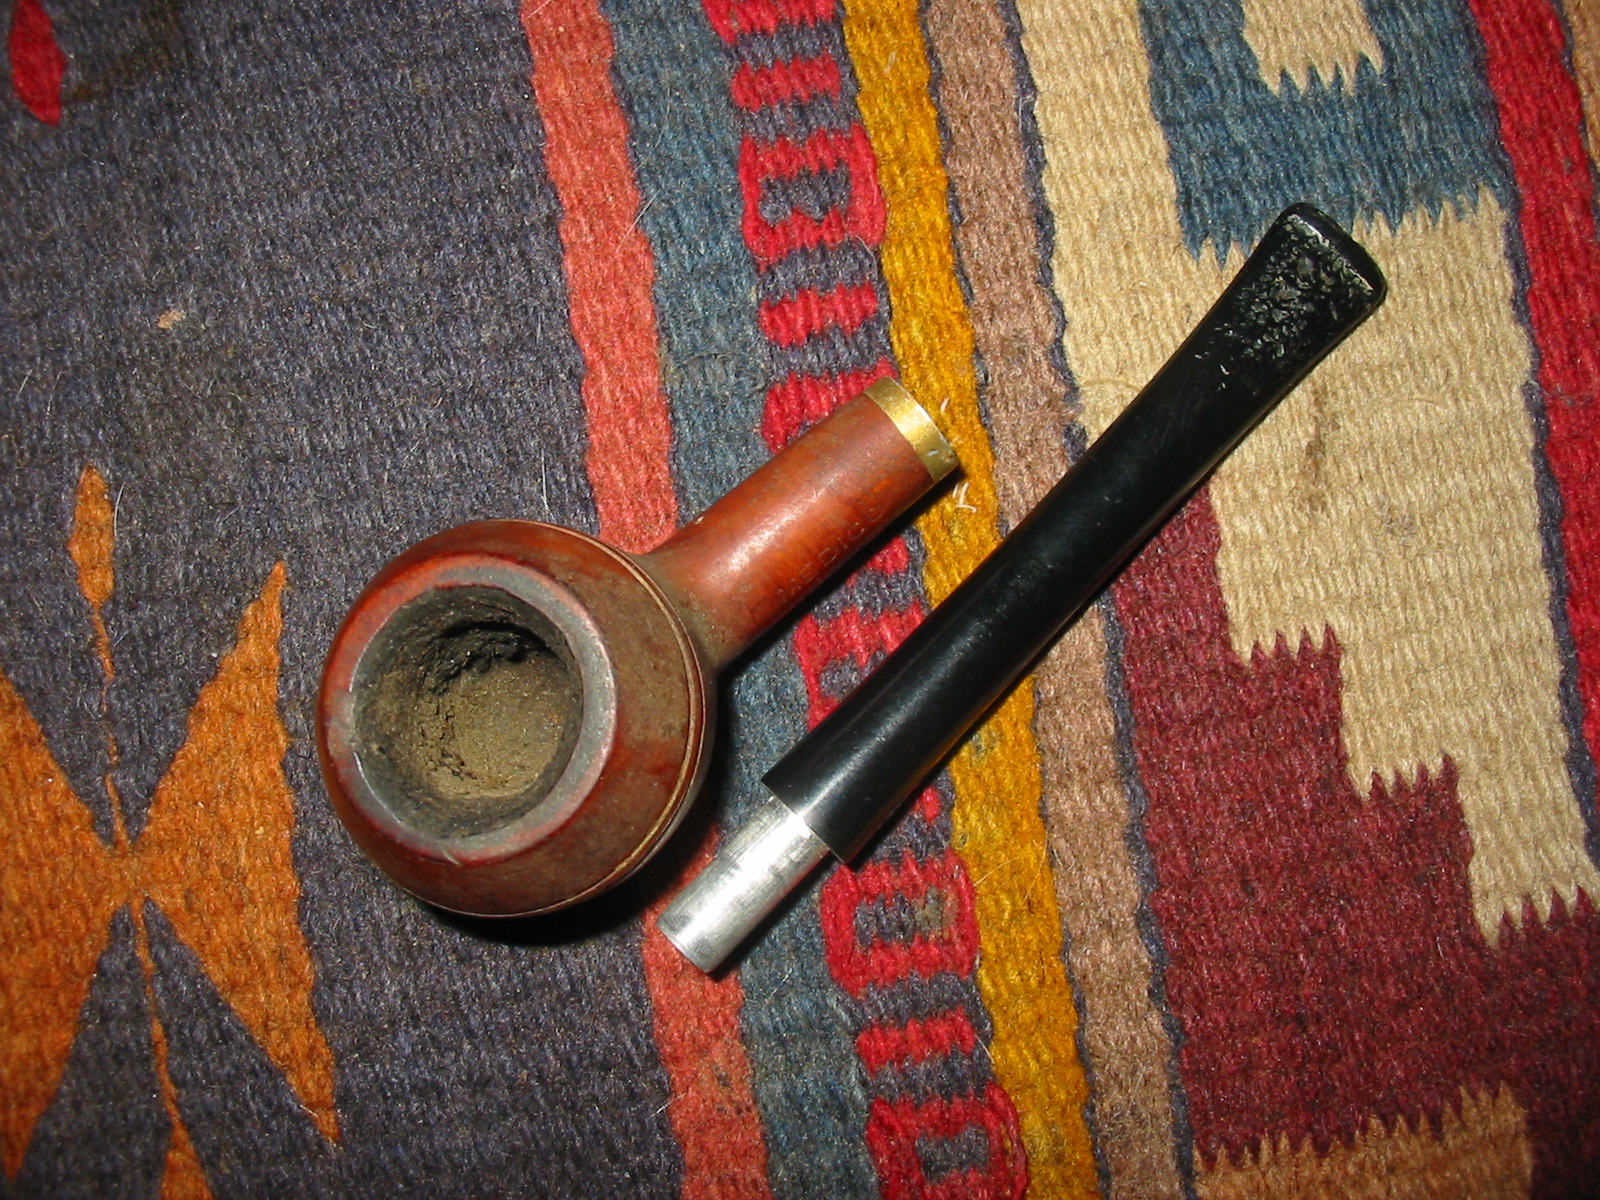
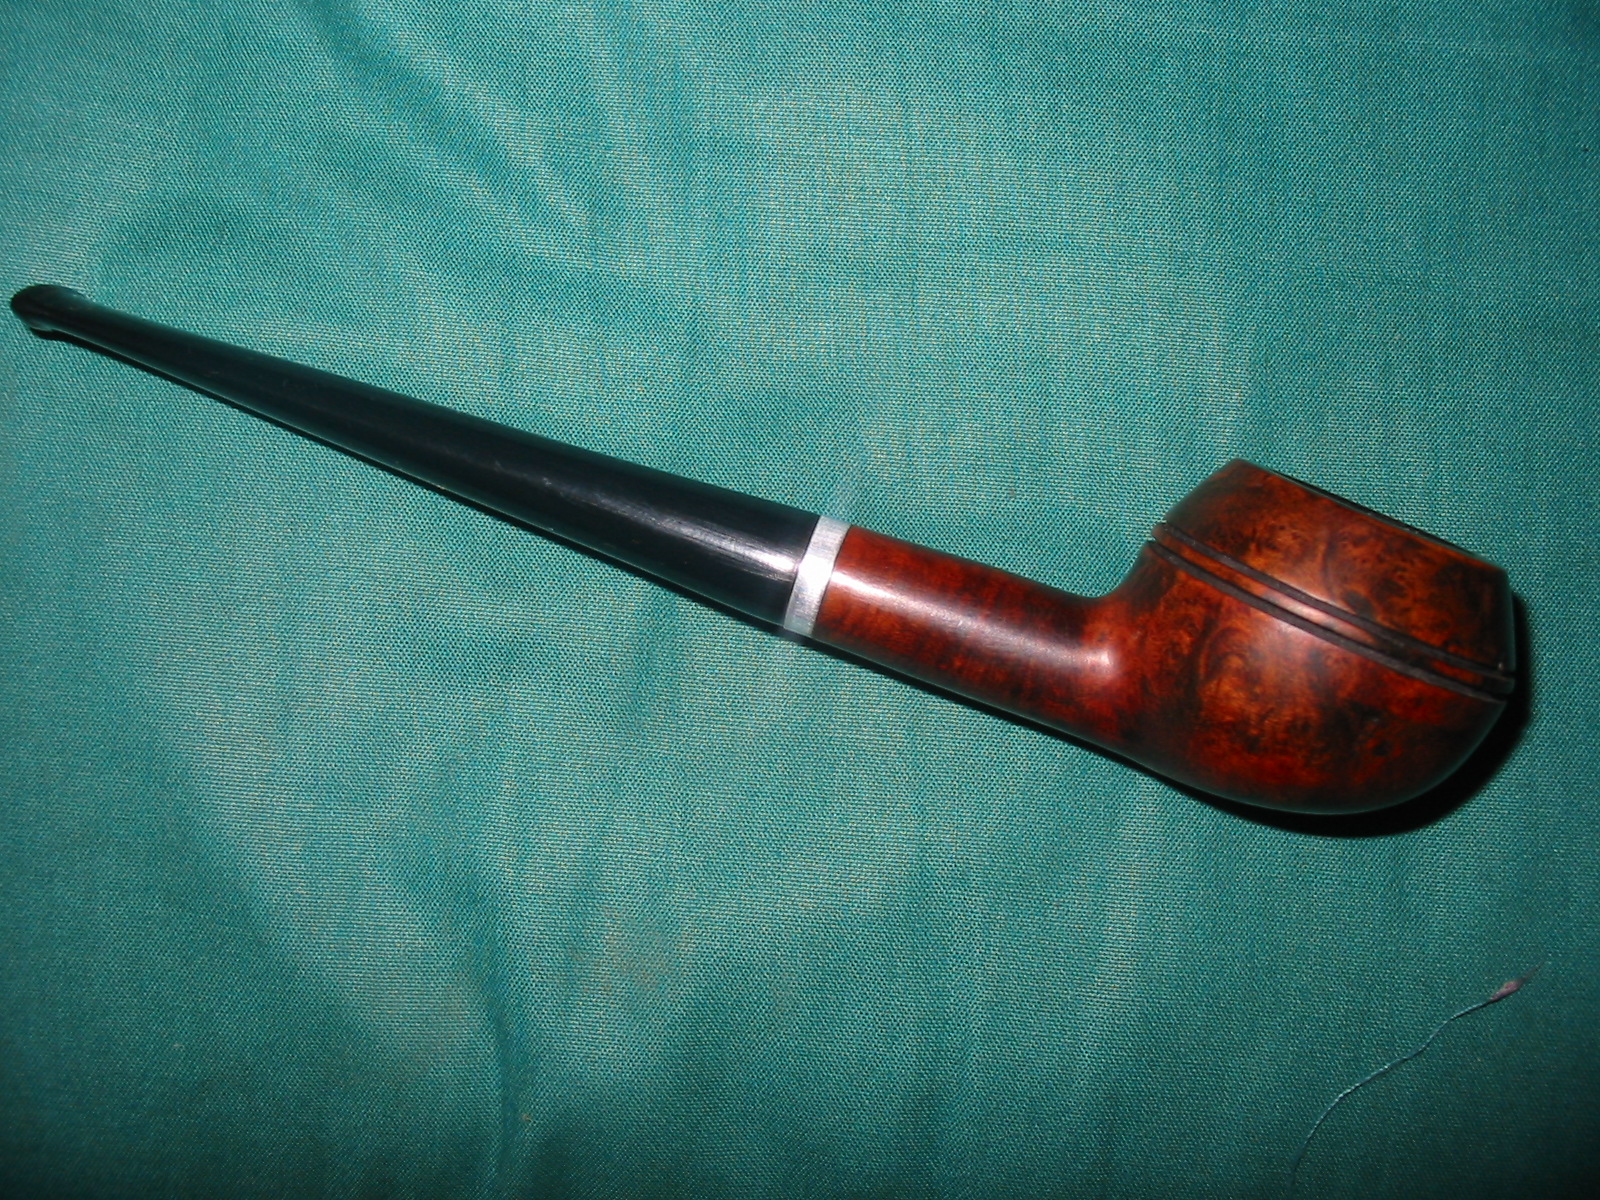
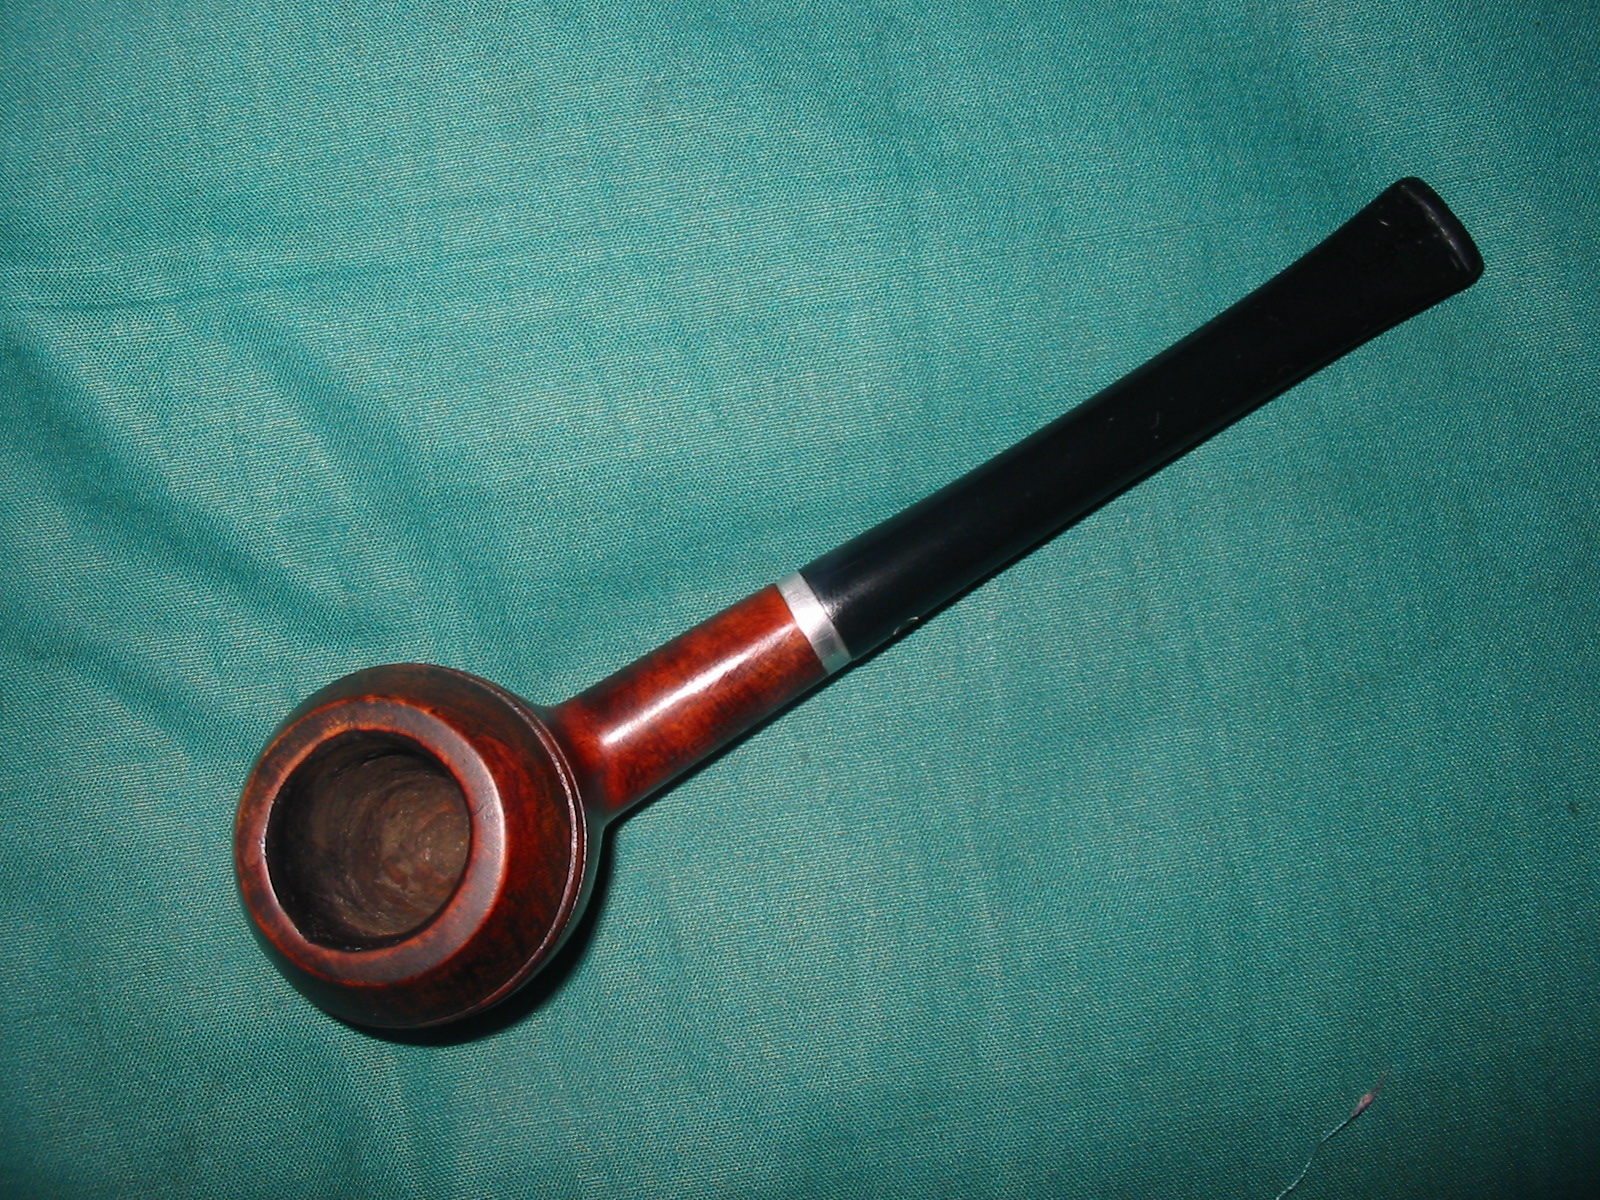
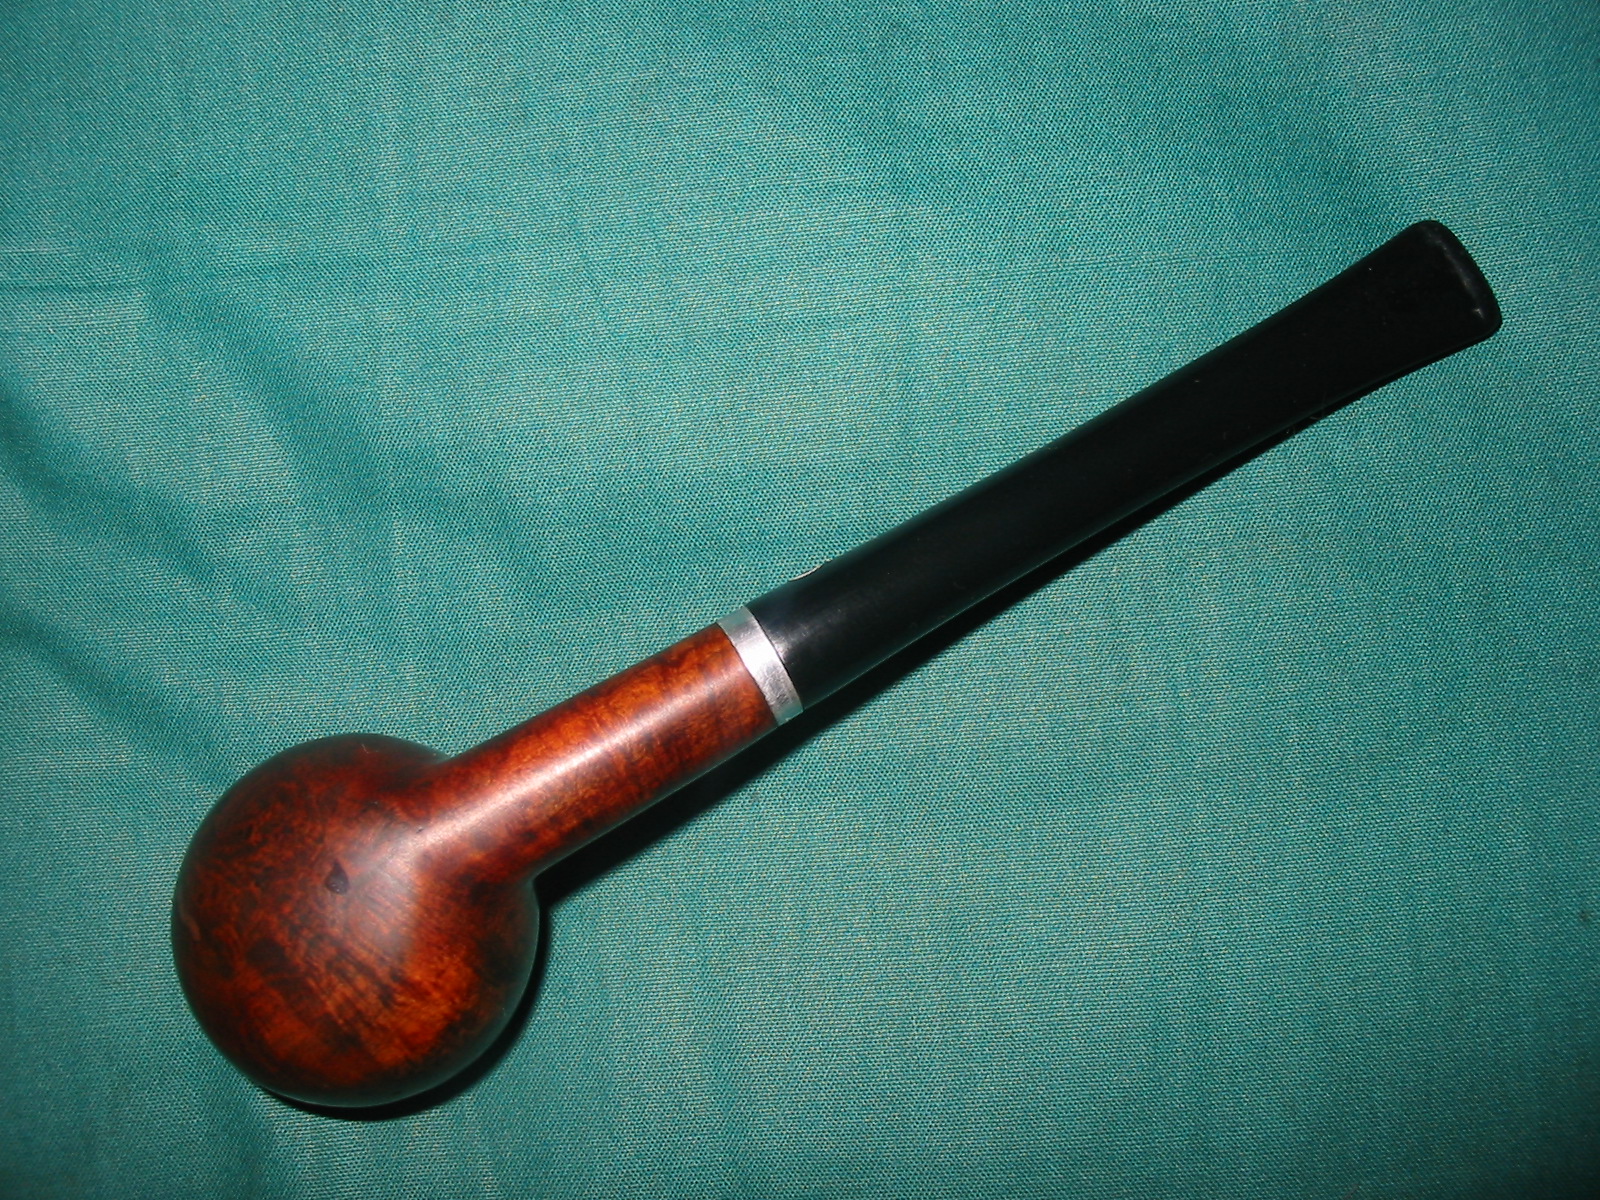
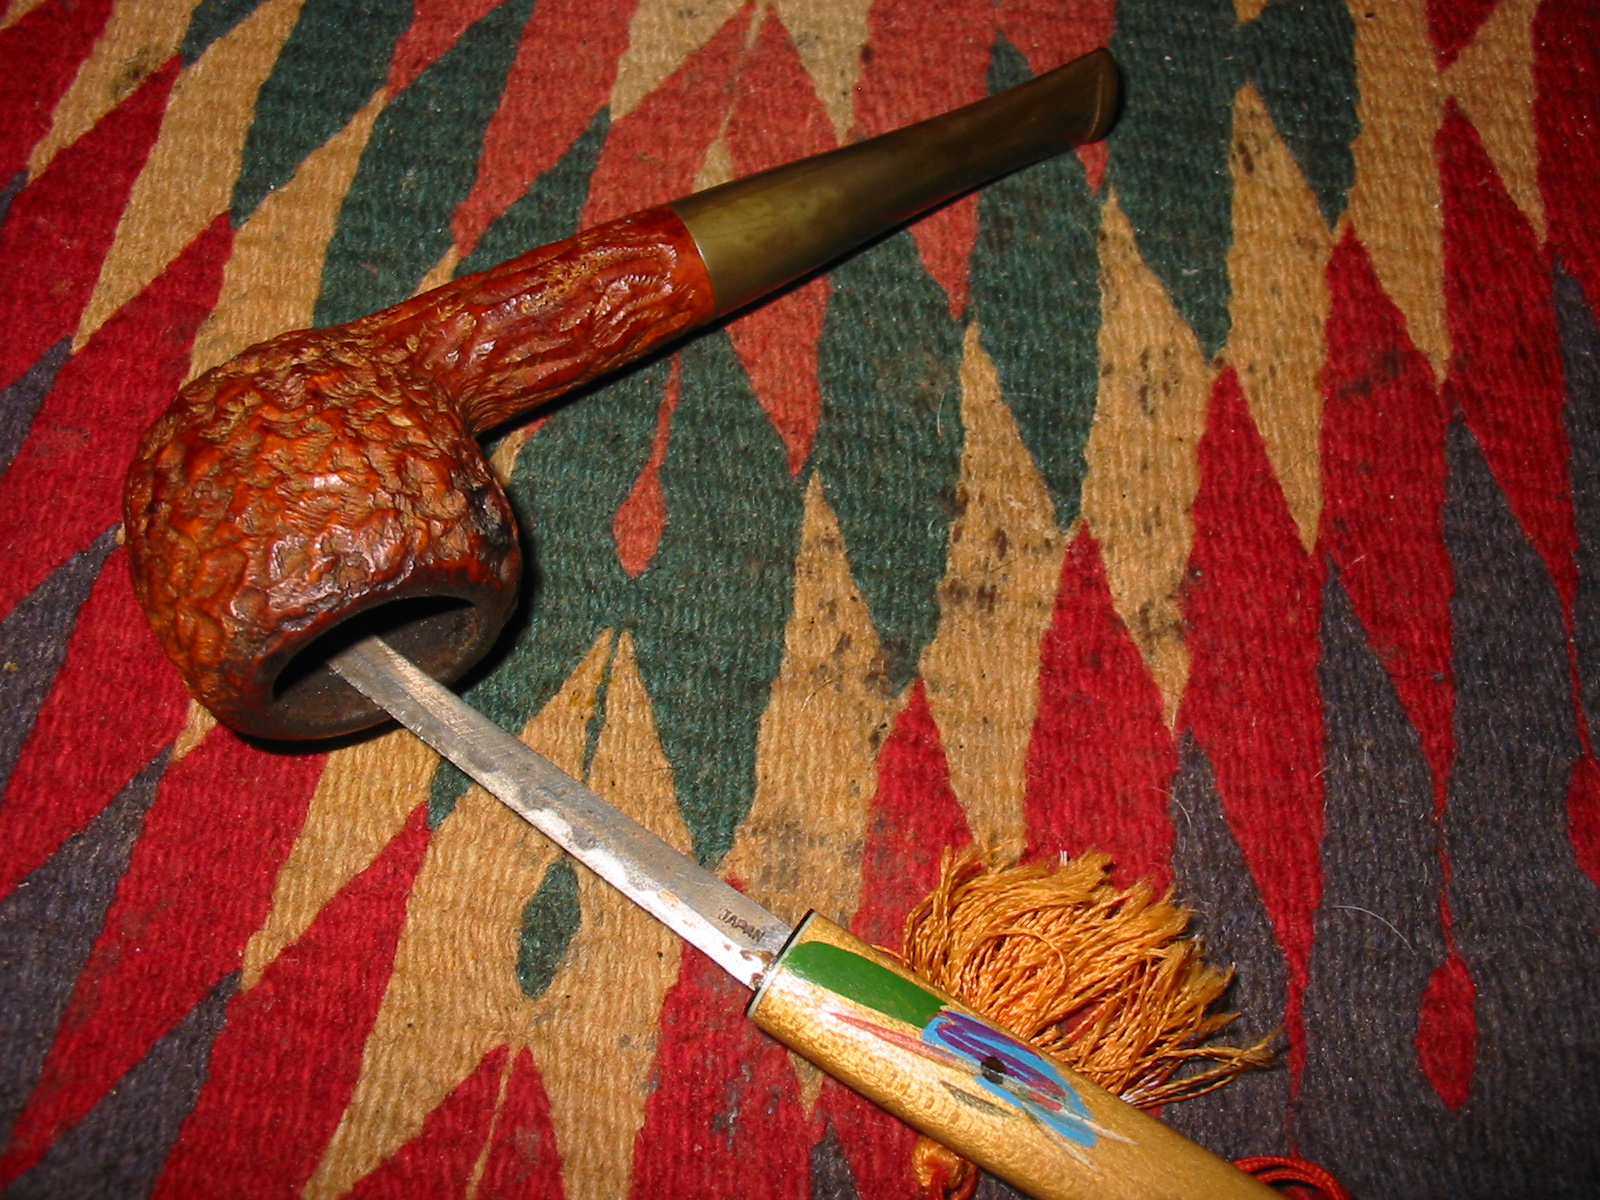
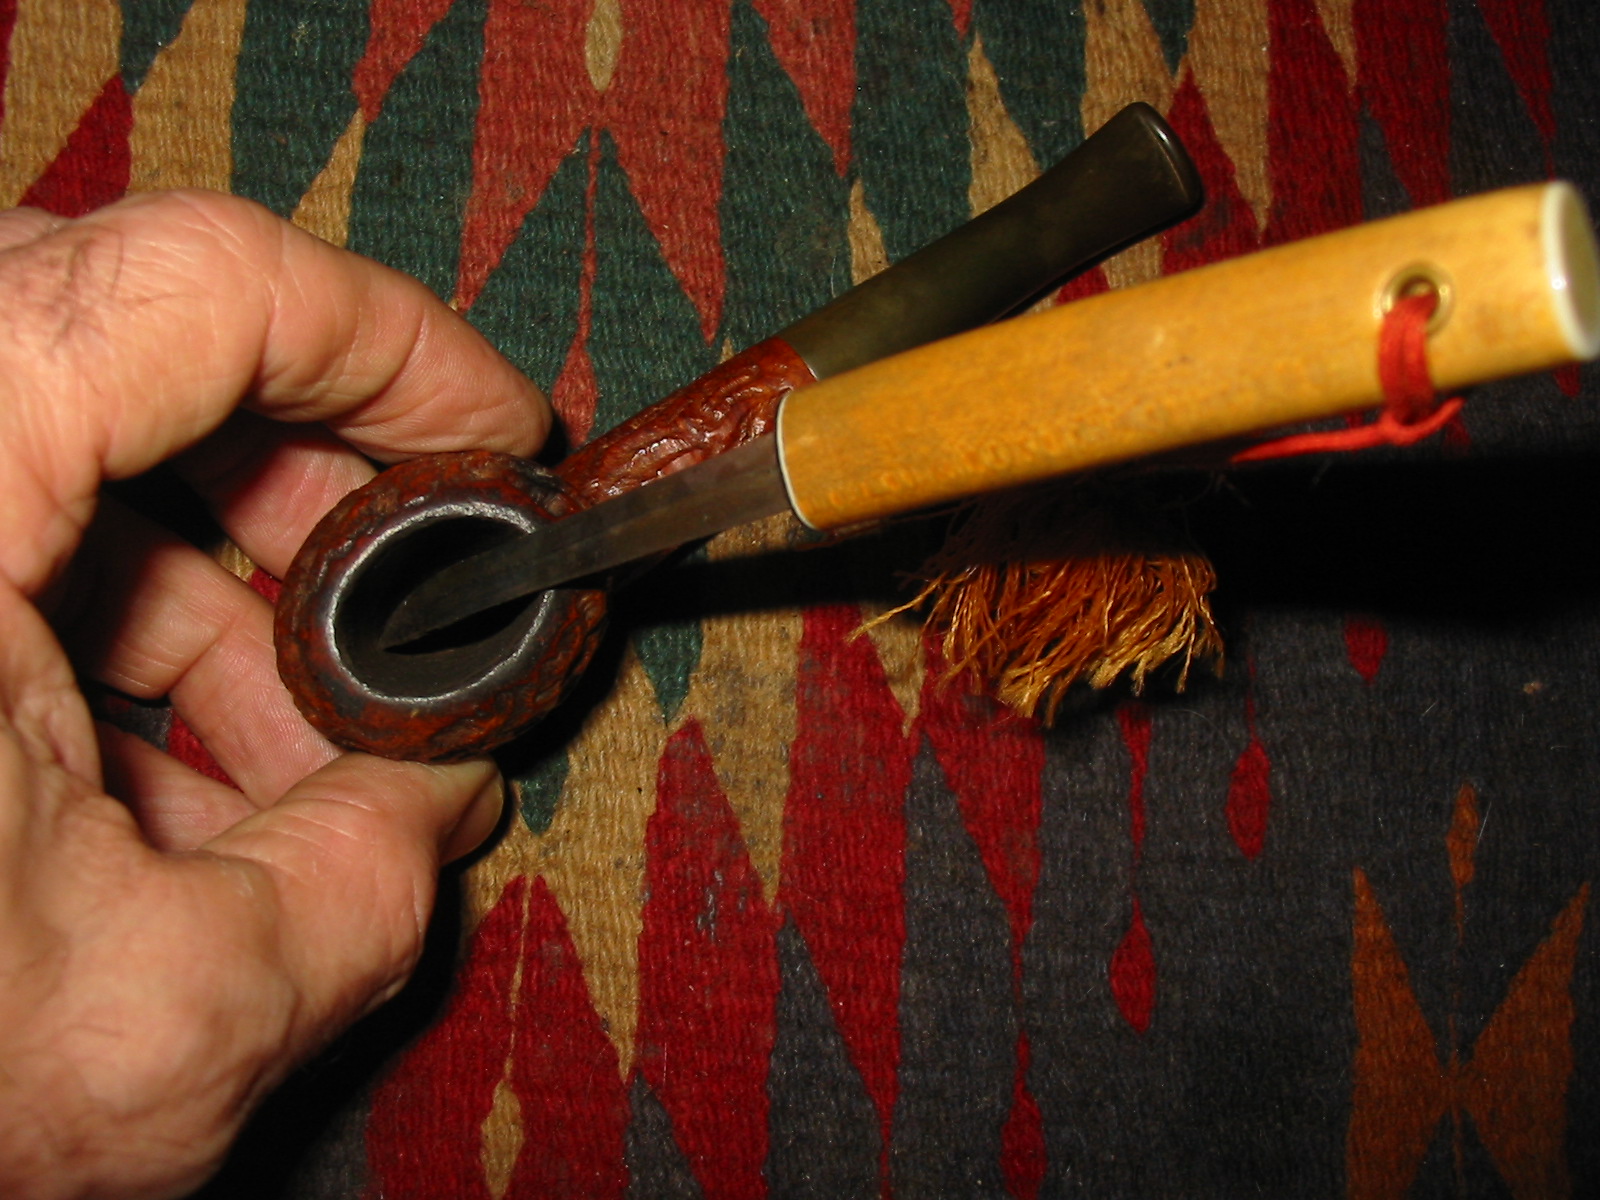
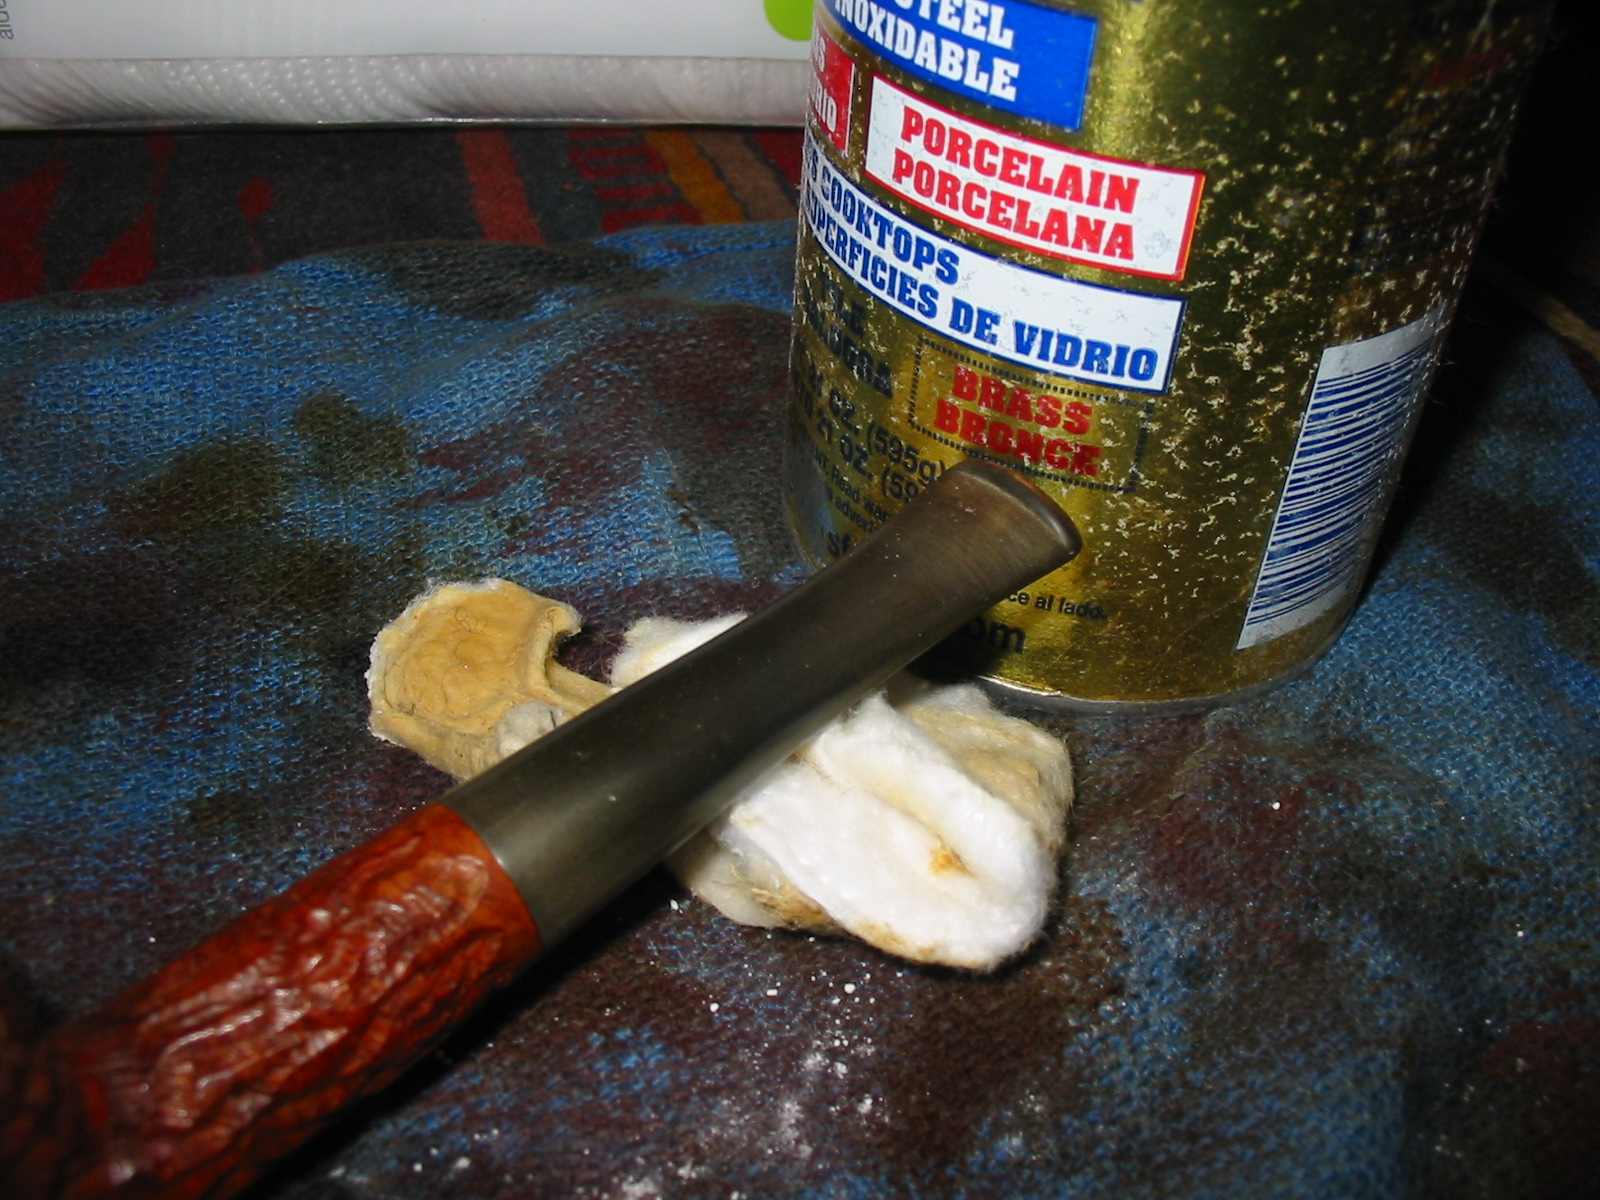
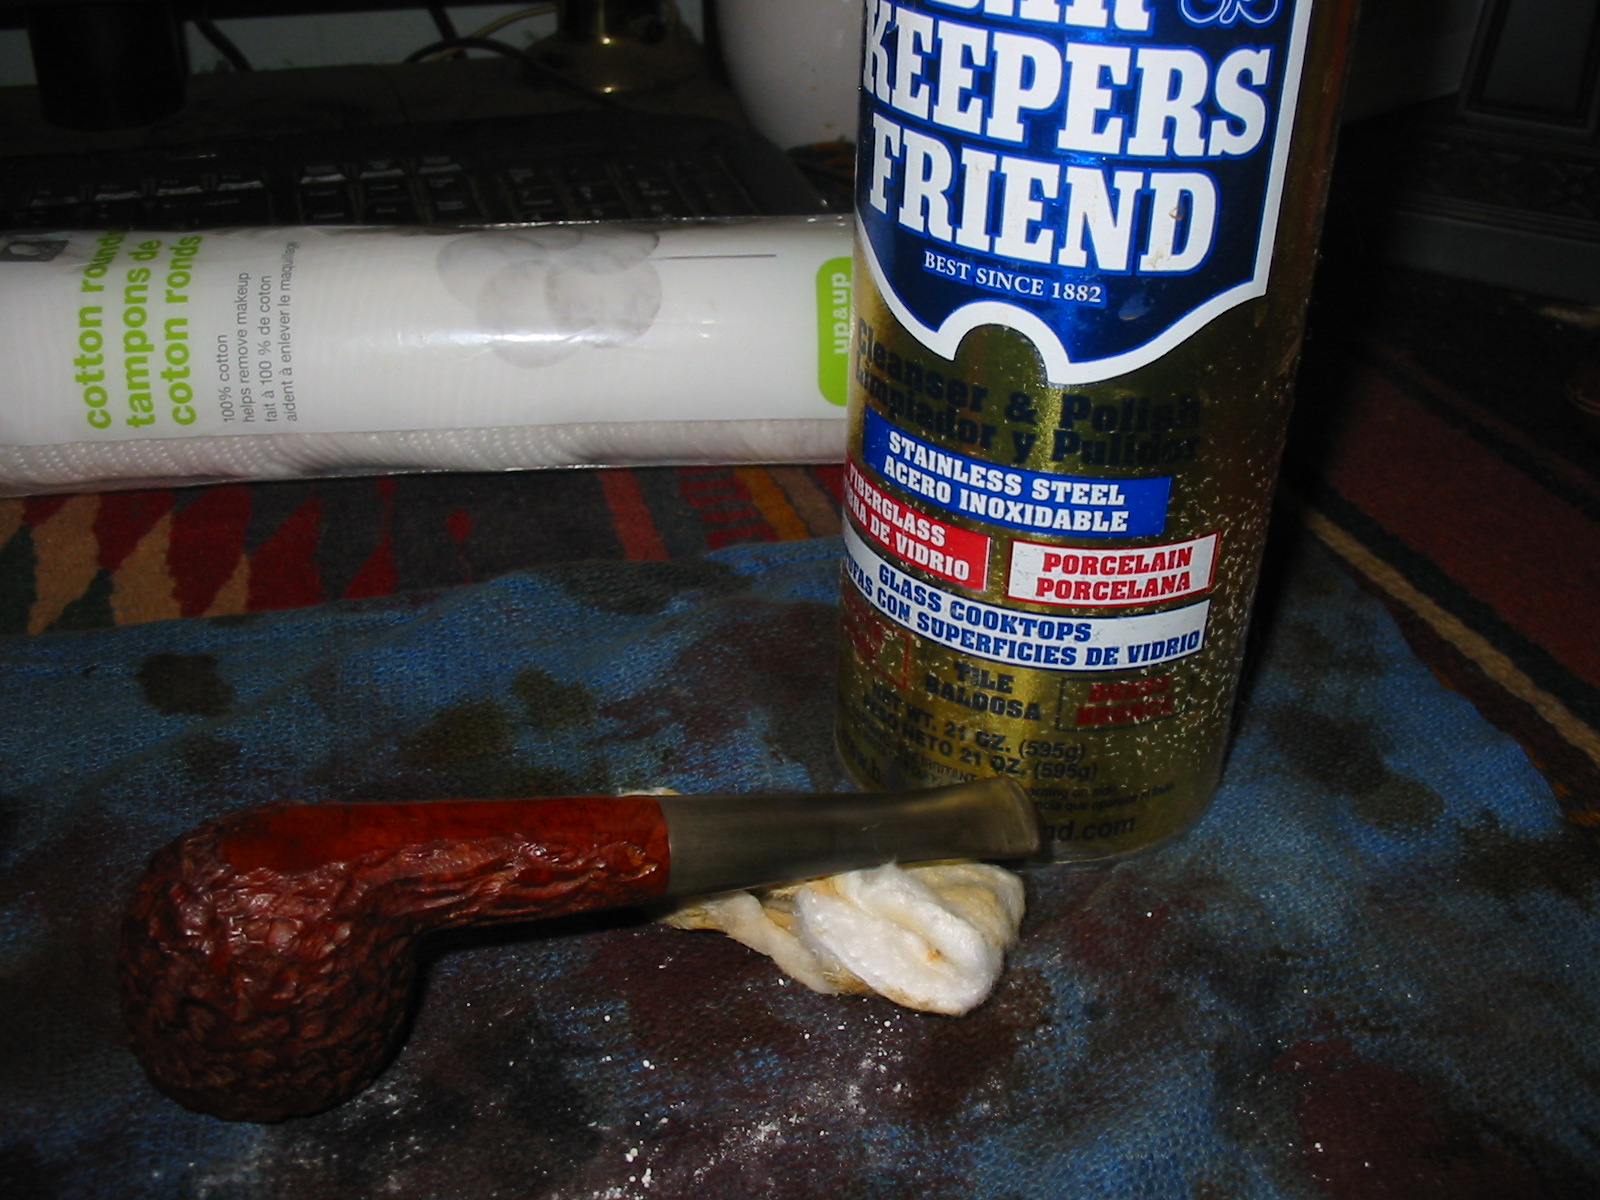
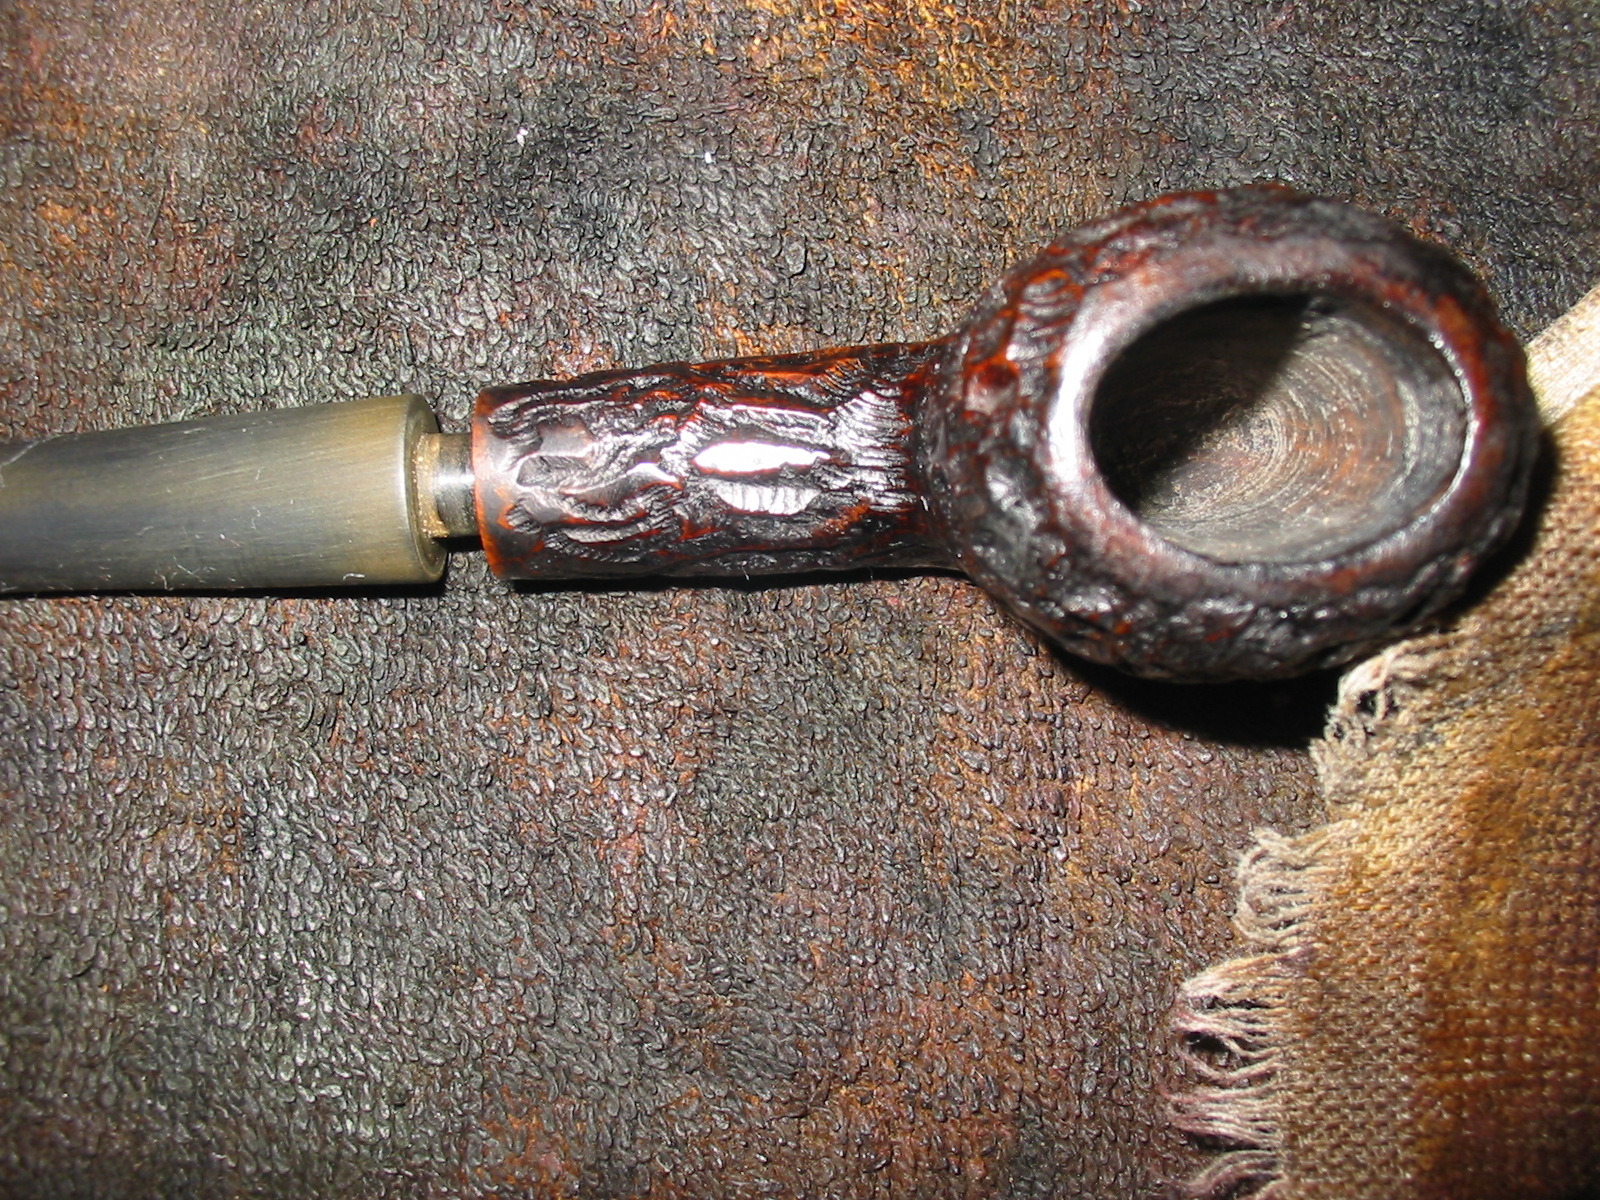
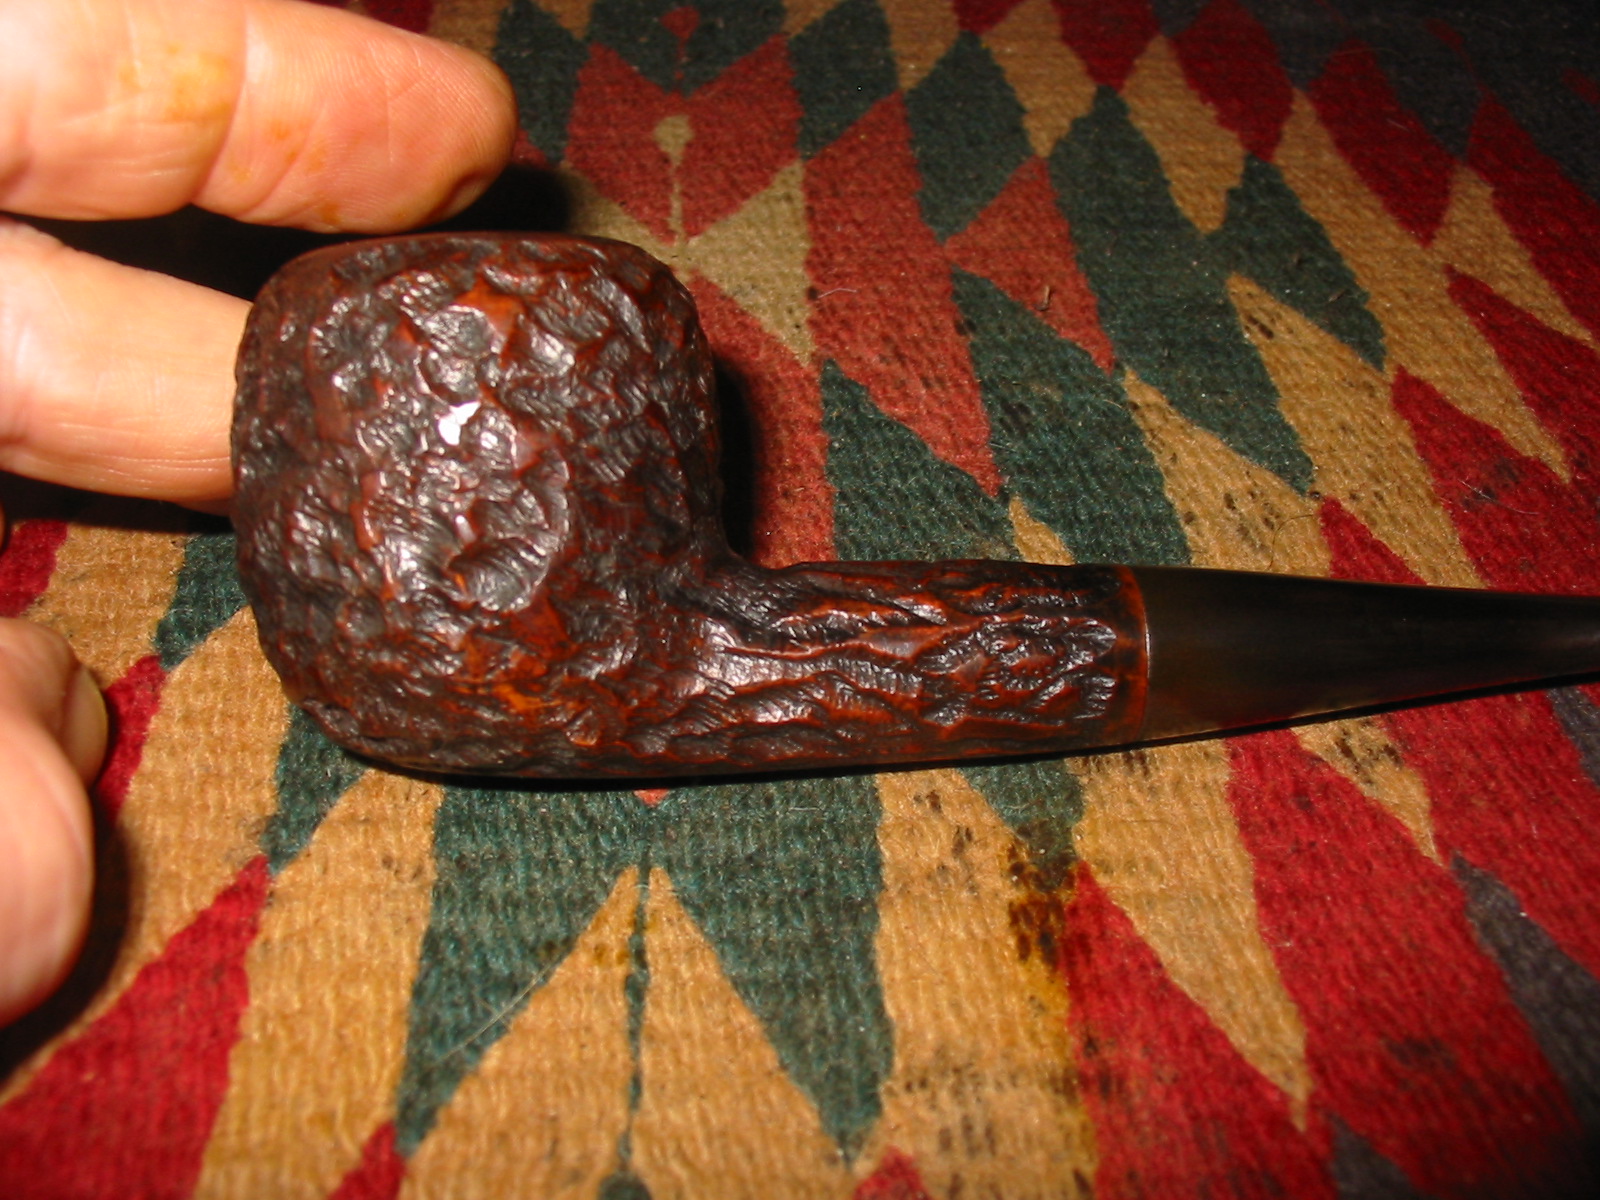
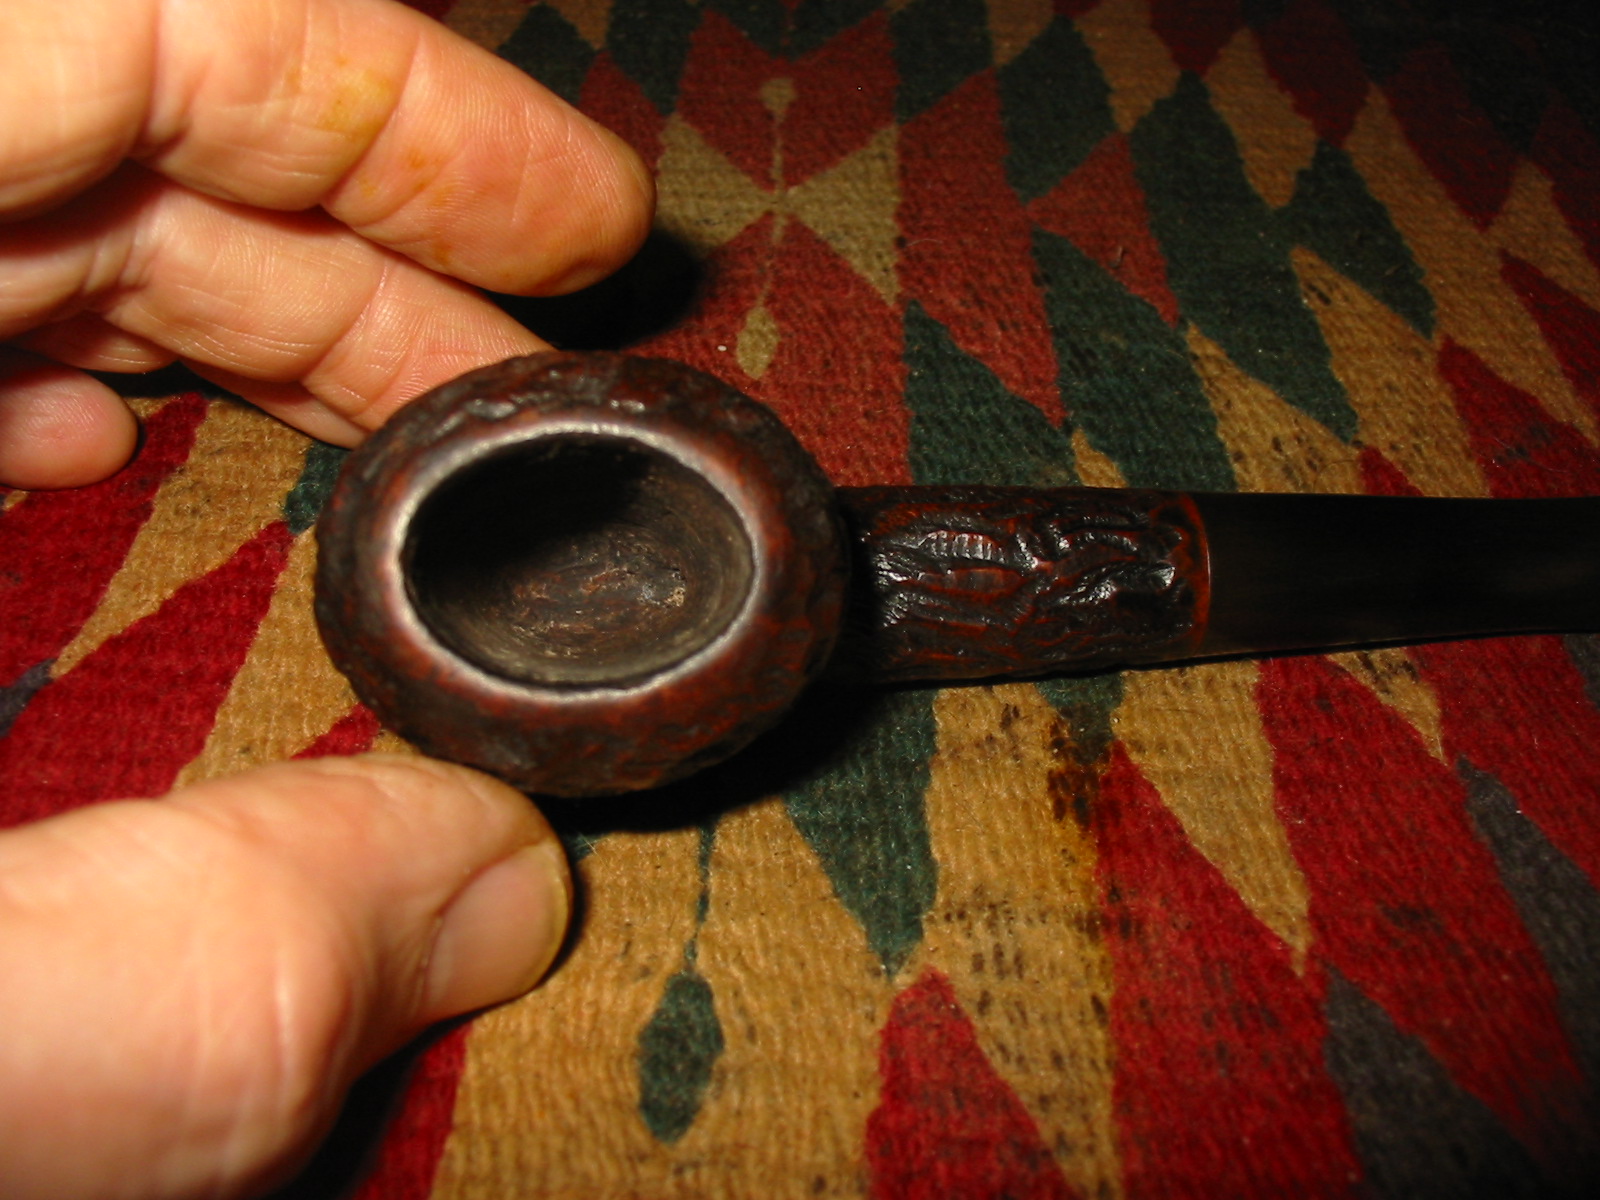
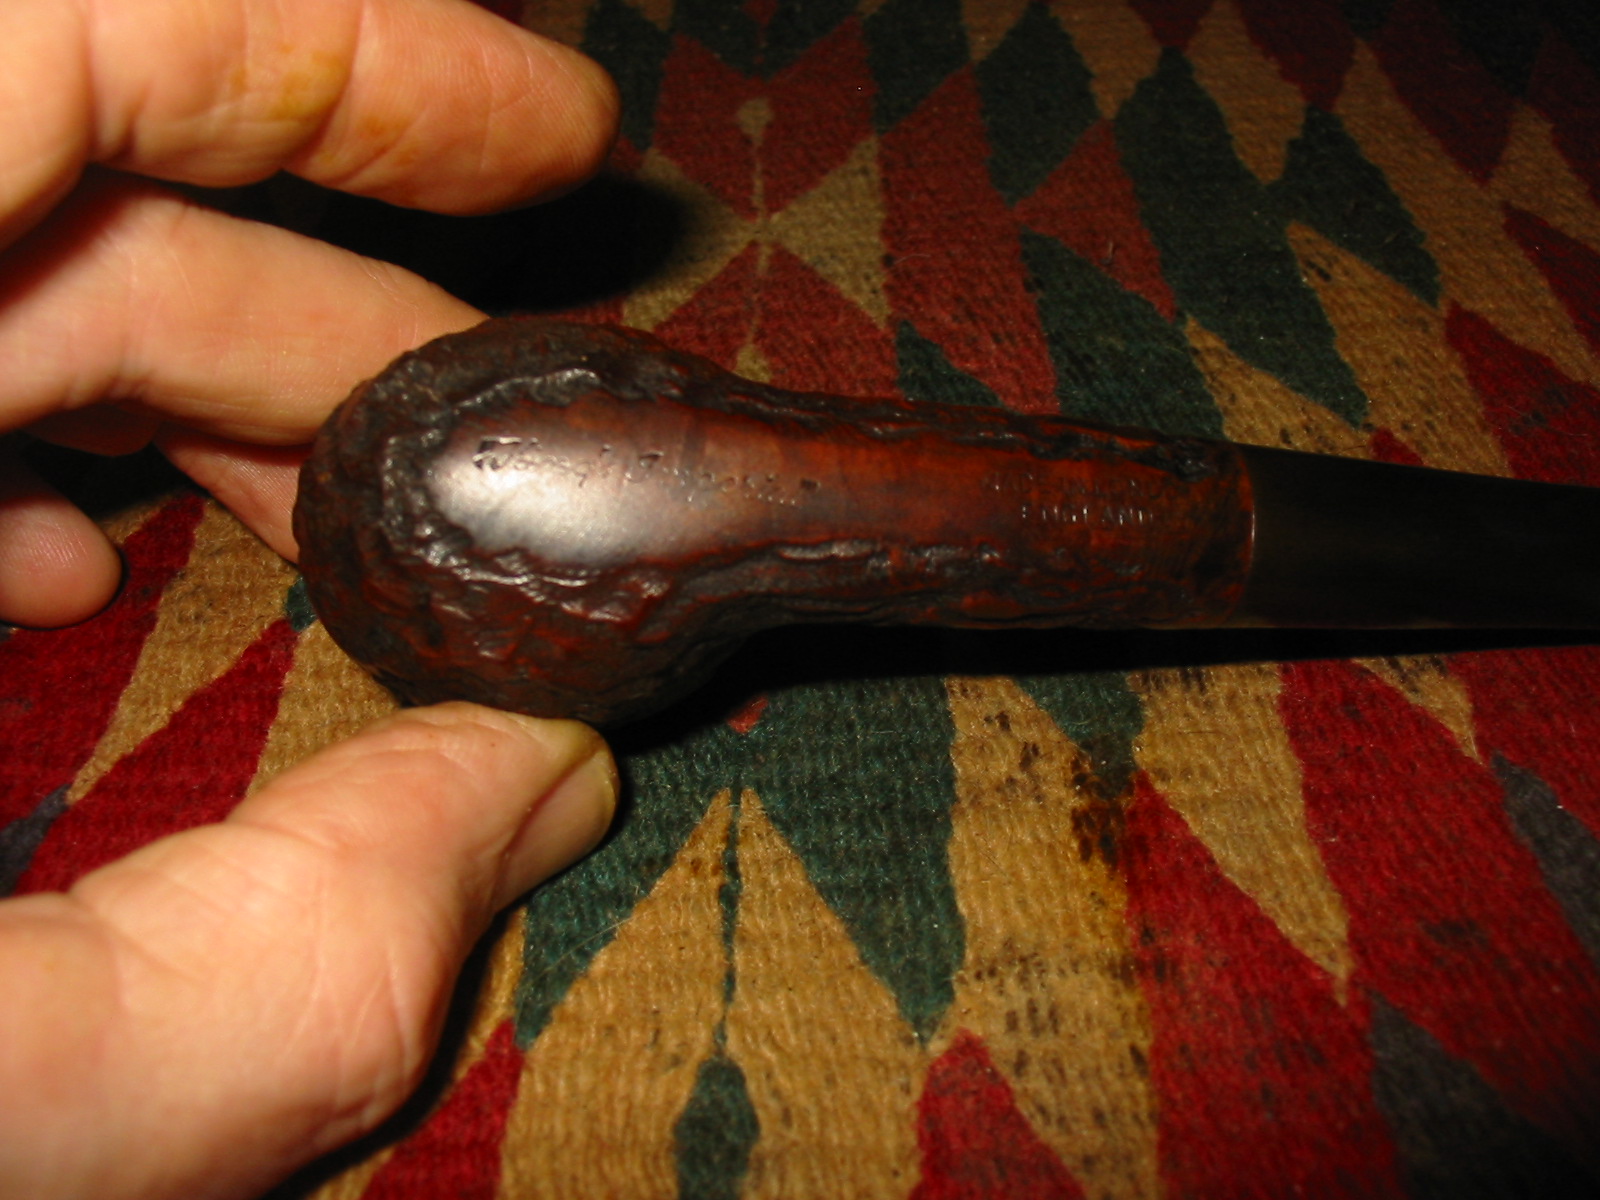
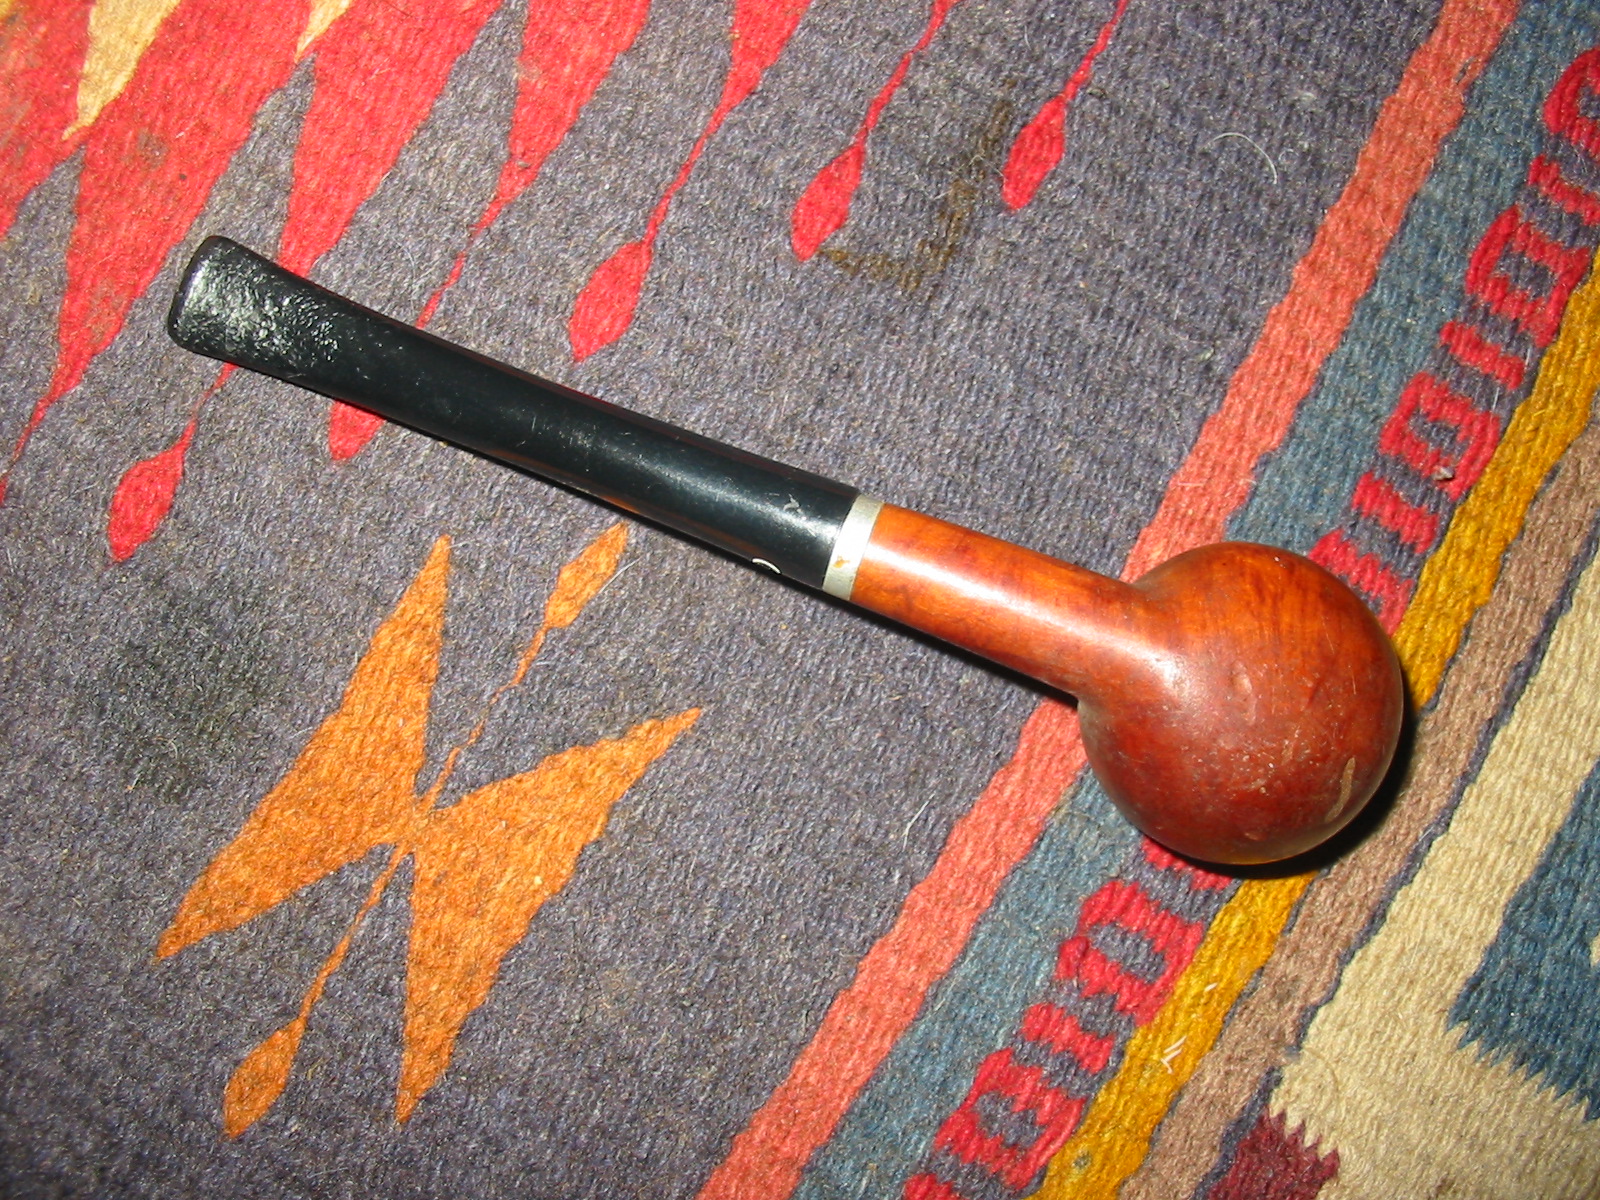
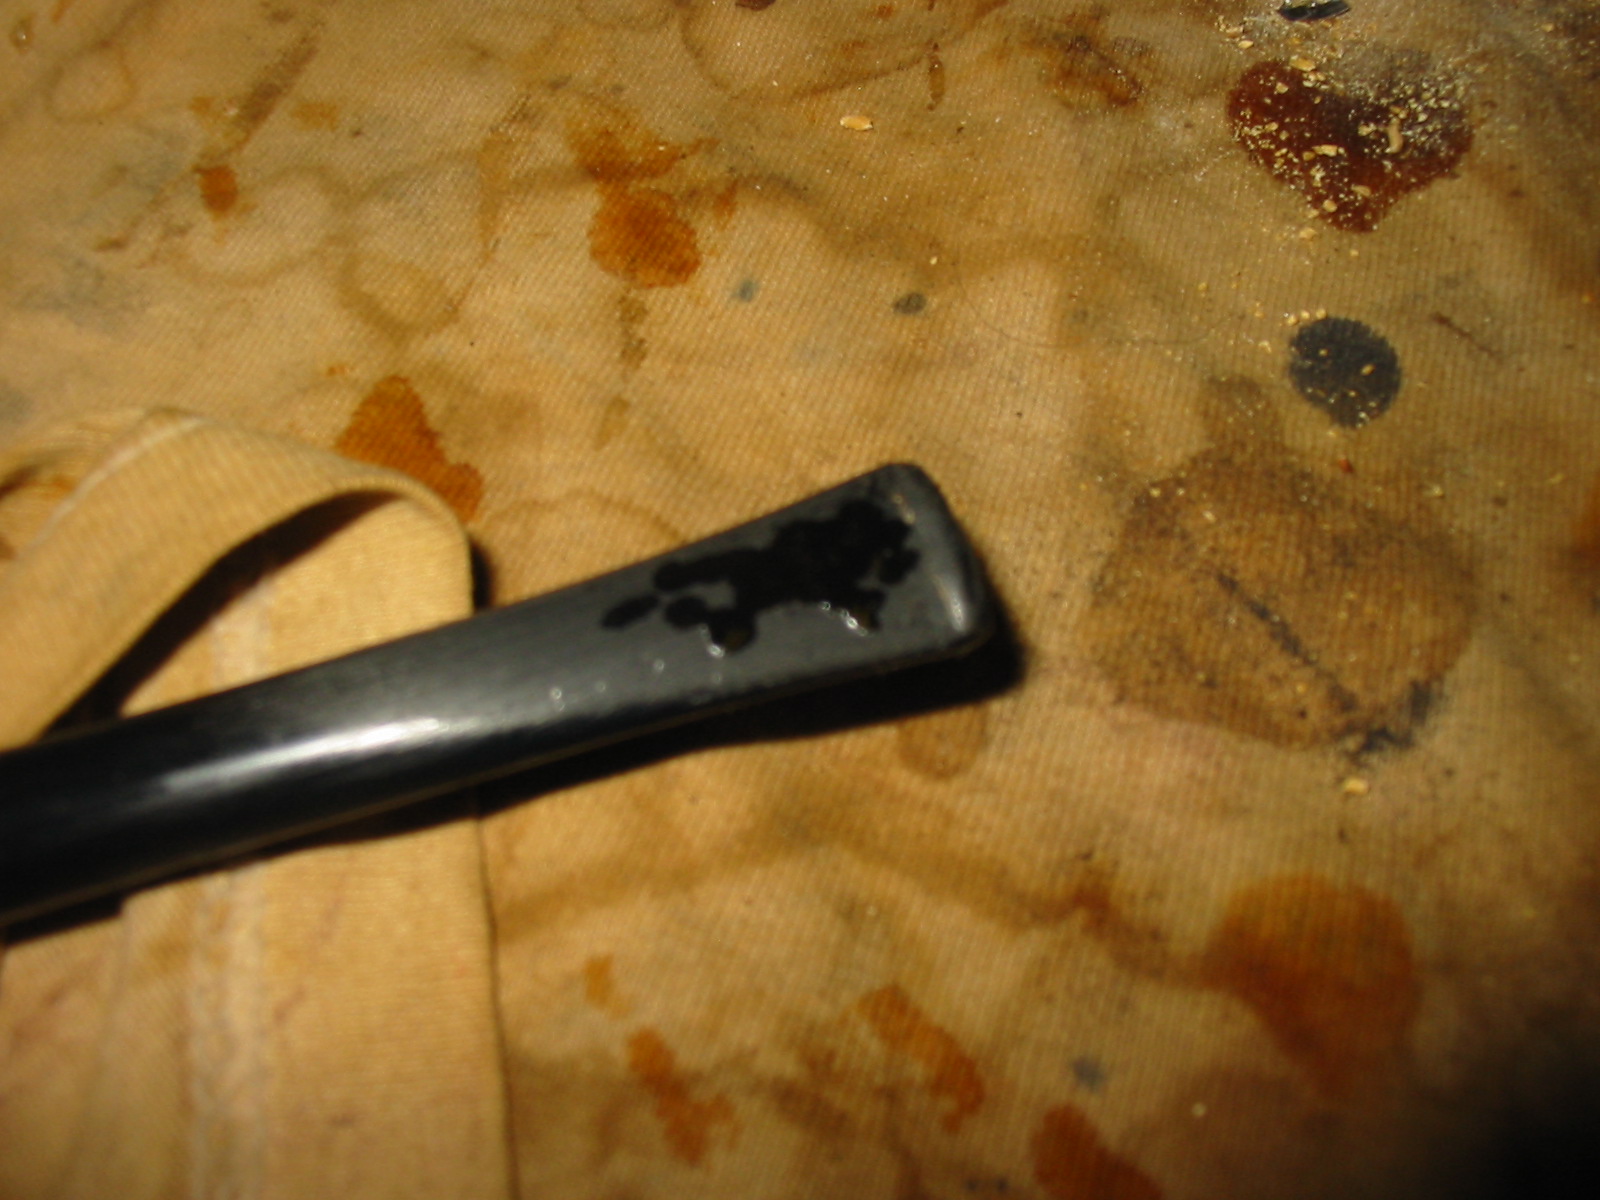
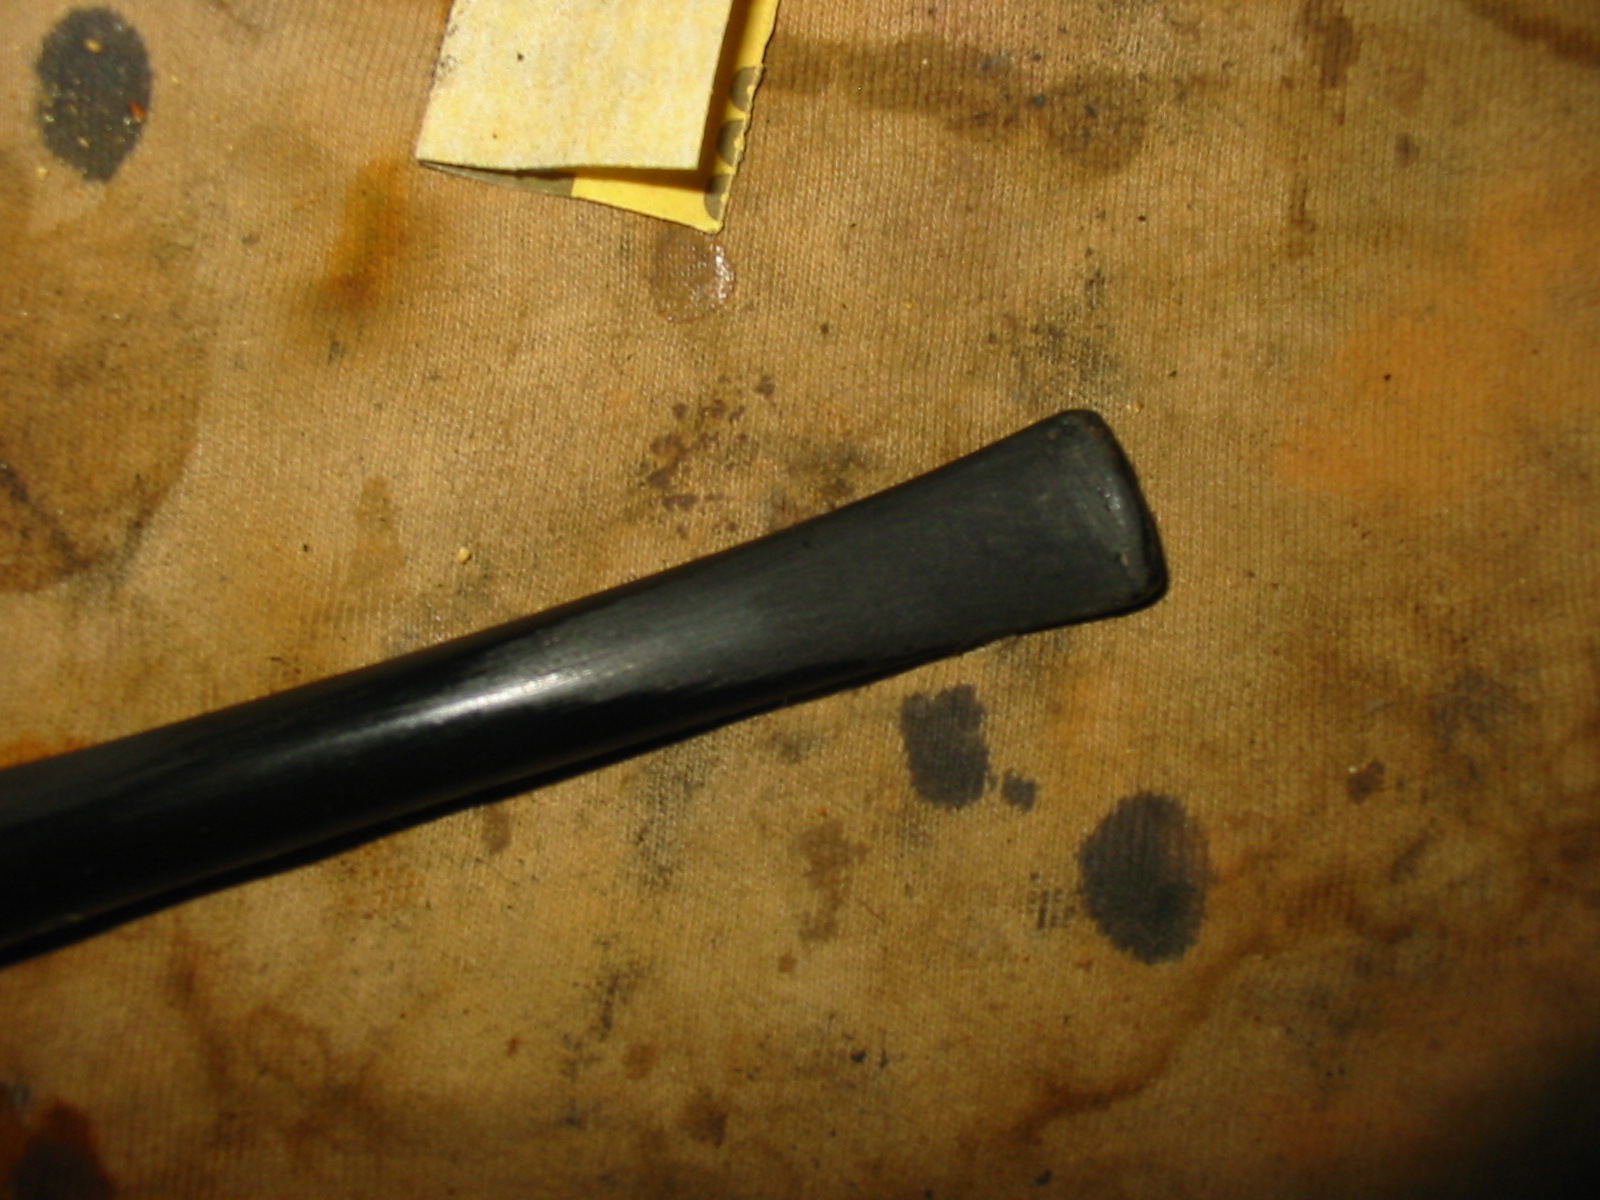
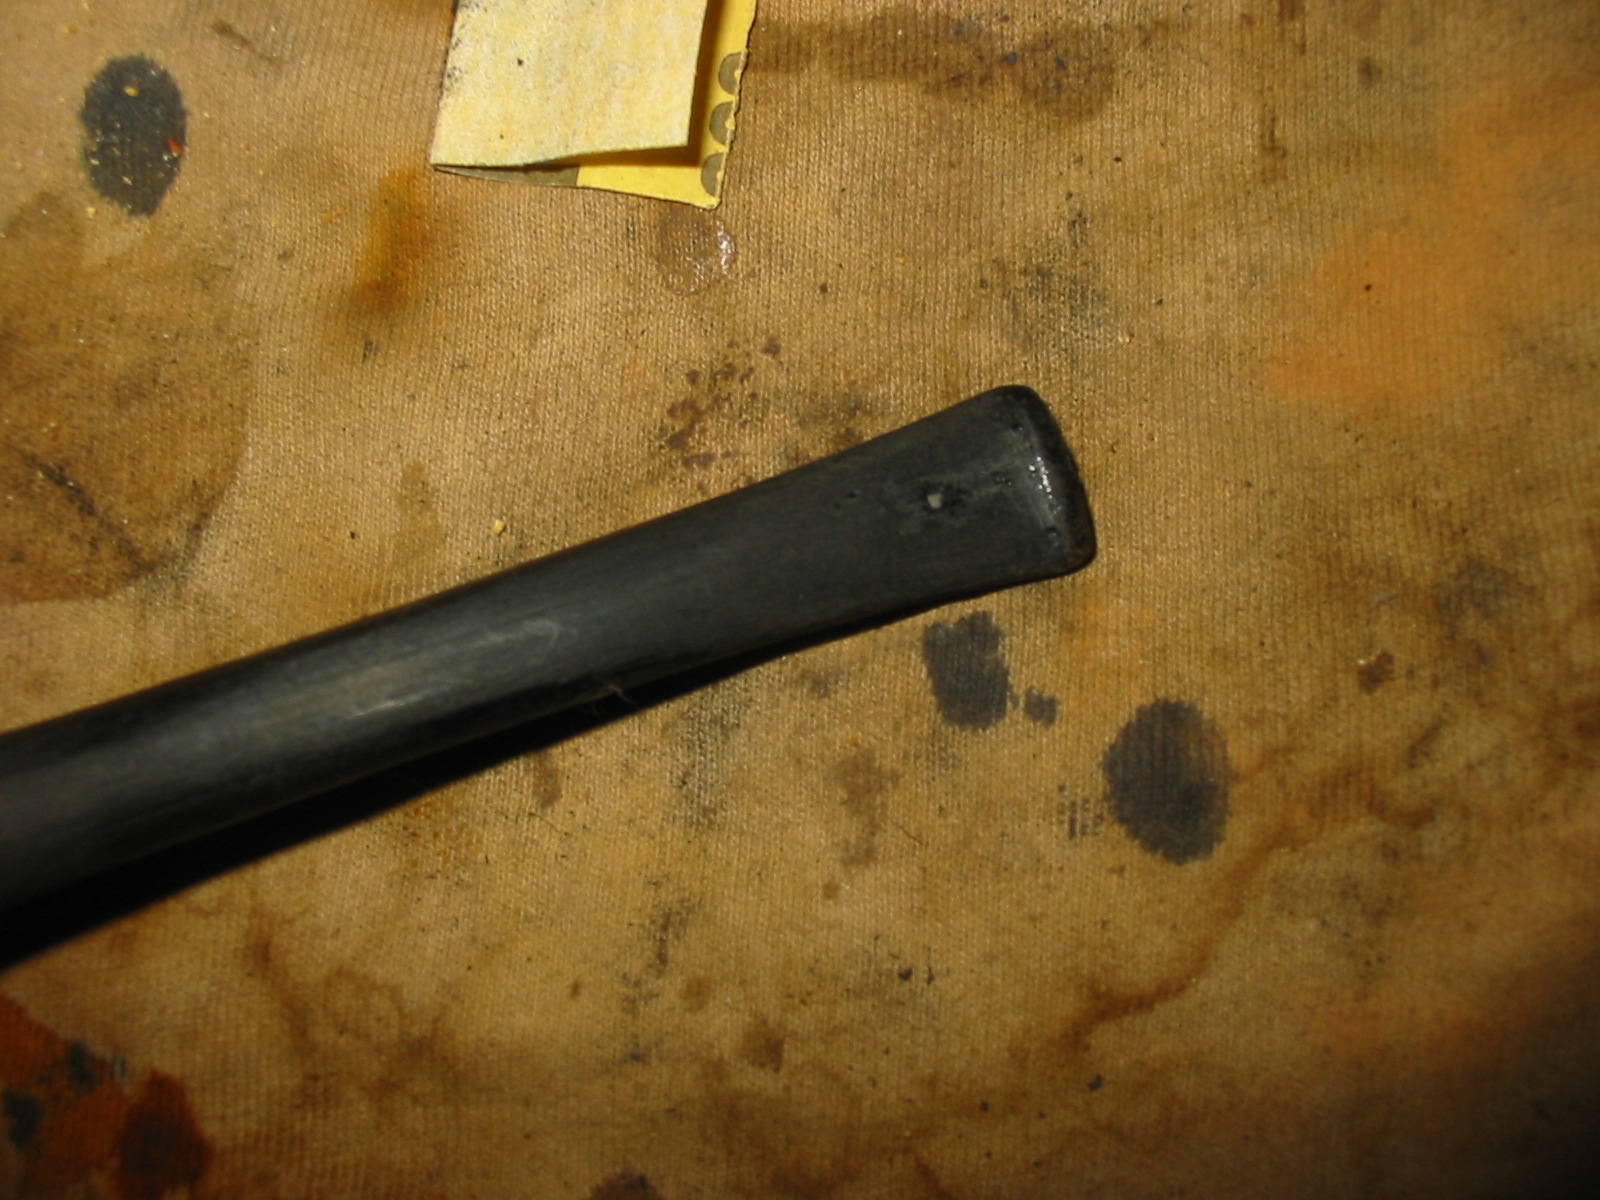
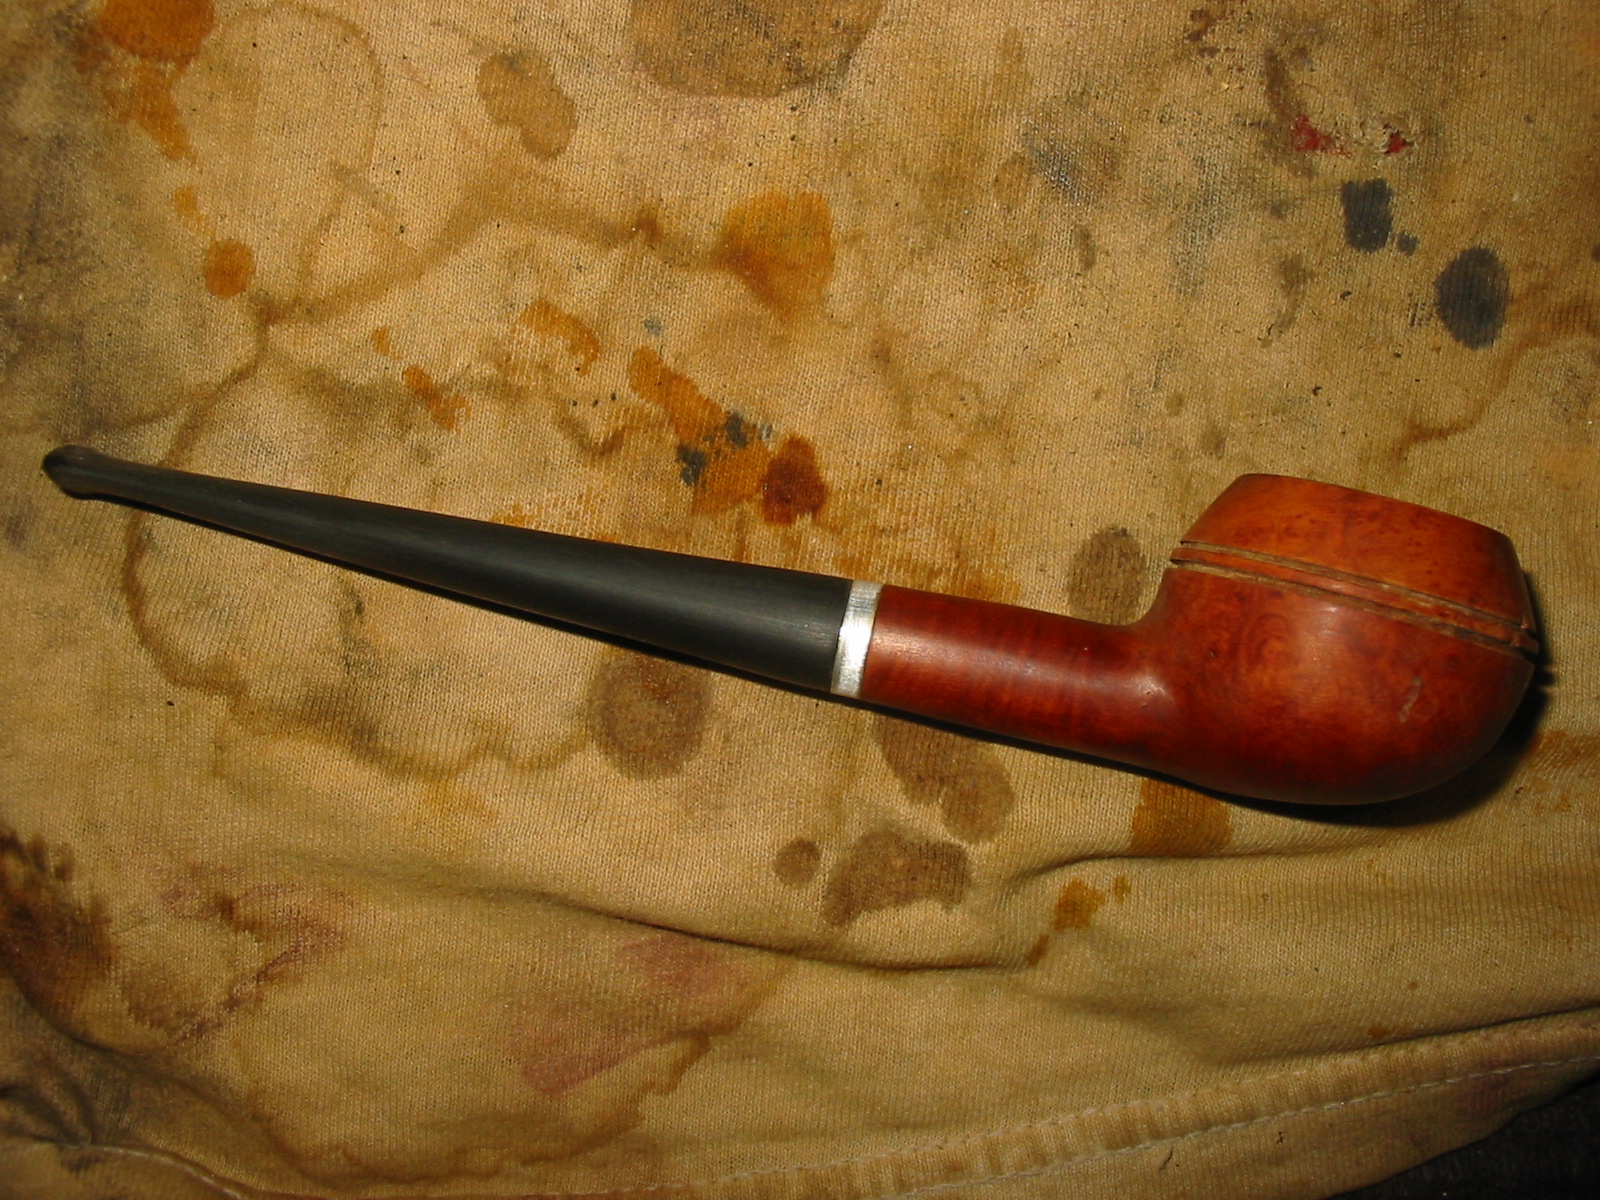
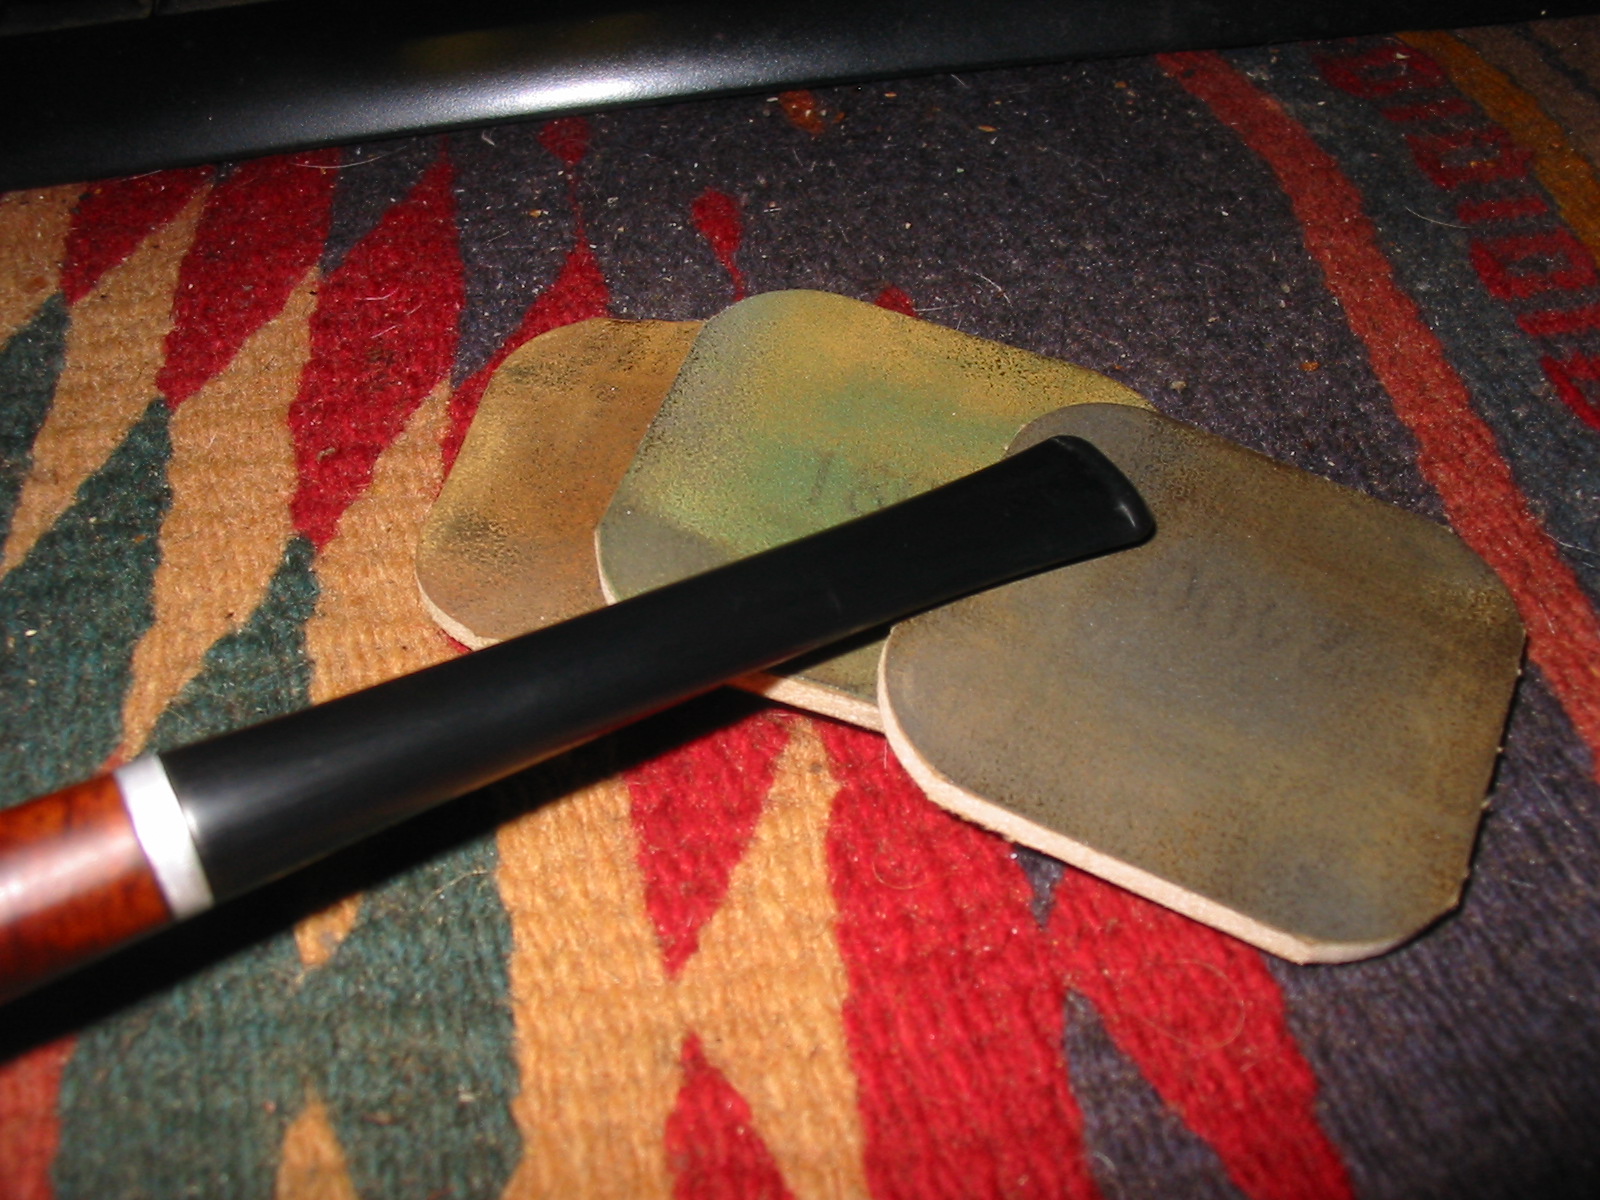
The next series of four photos show the stem in place. The tooth marks are visible on the top and bottom sides of the stem and the shank union on the bottom and right side show the need of adjustment.
IMG_6053

IMG_6054

IMG_6055

IMG_6056
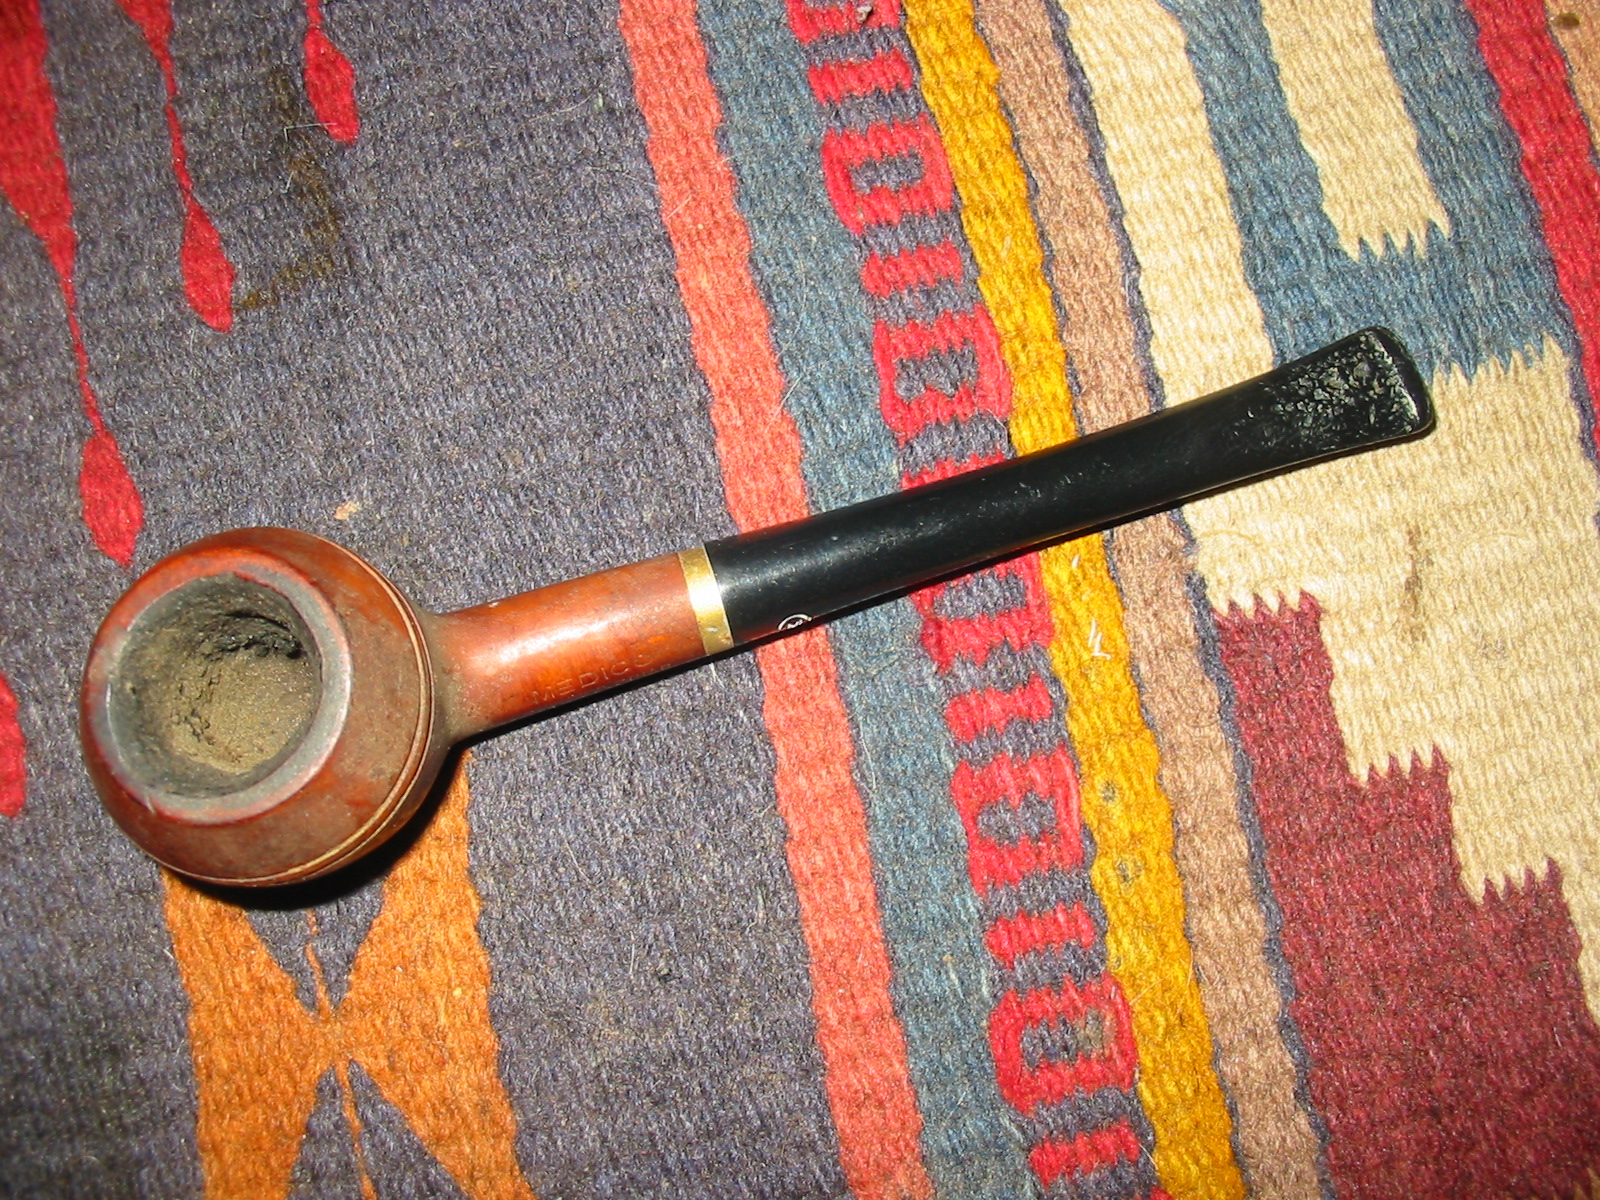
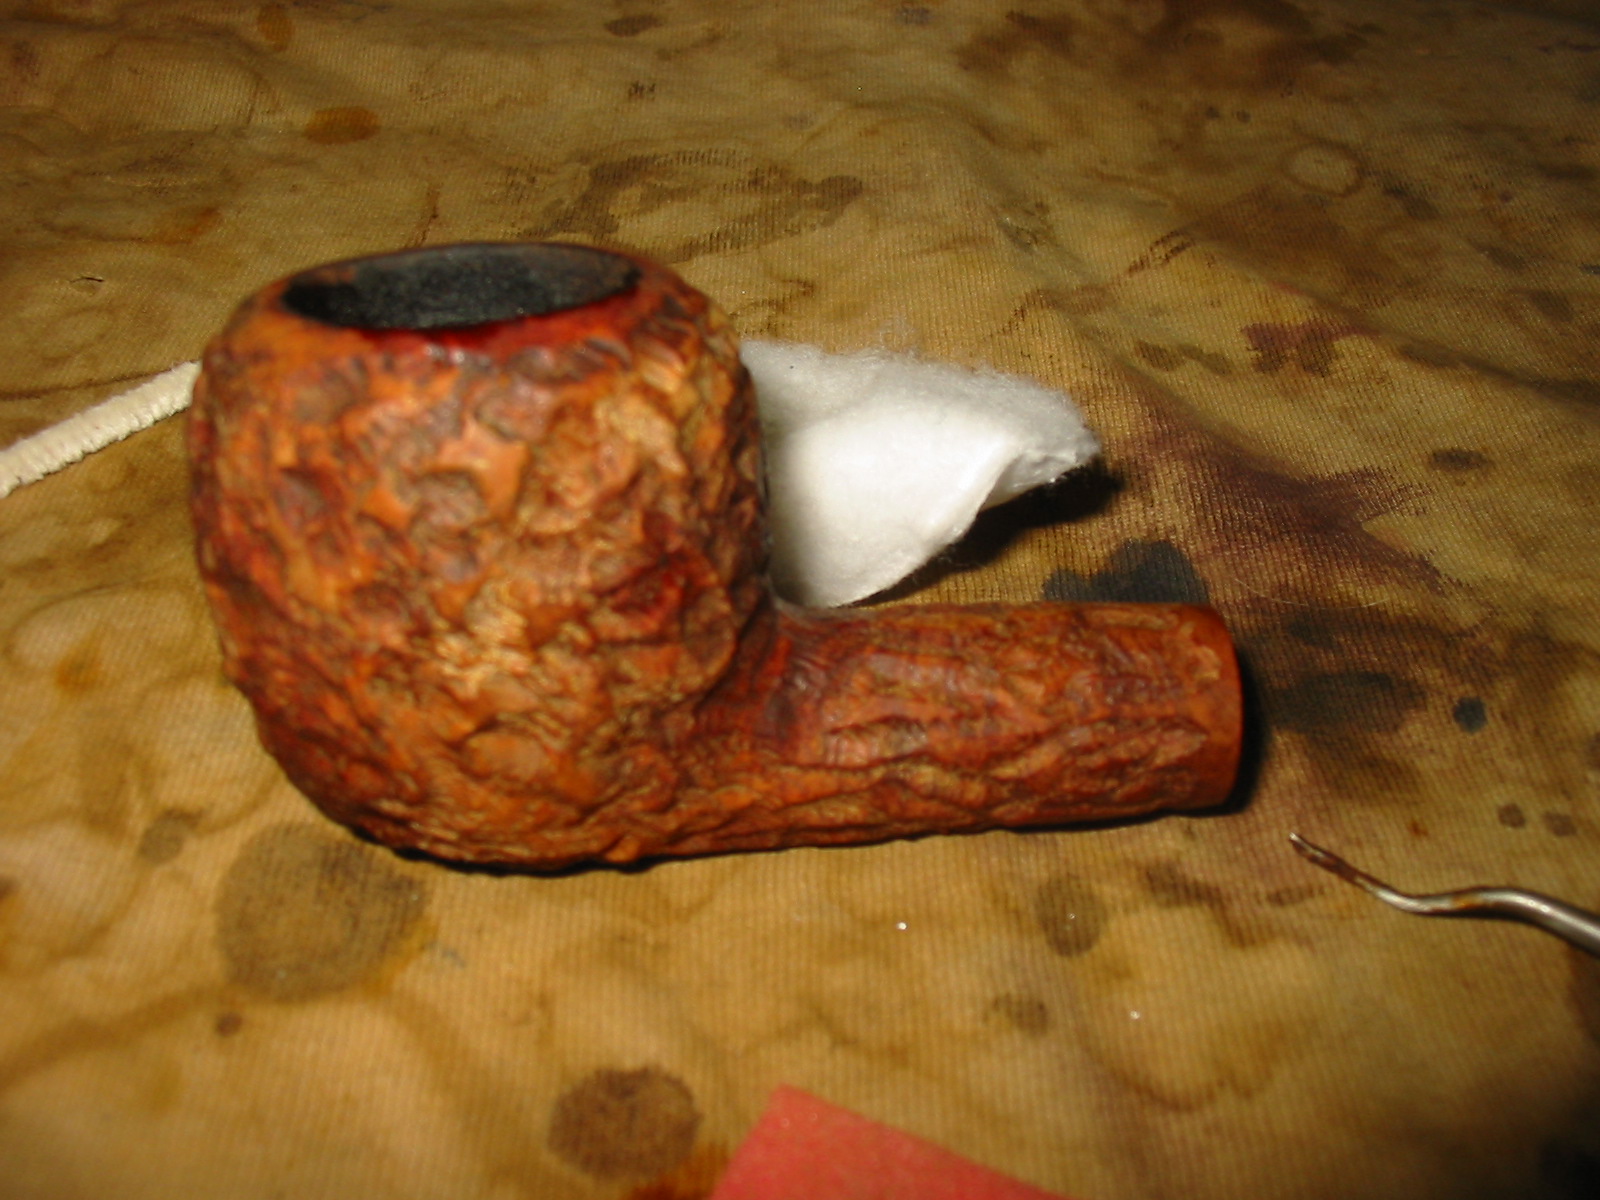
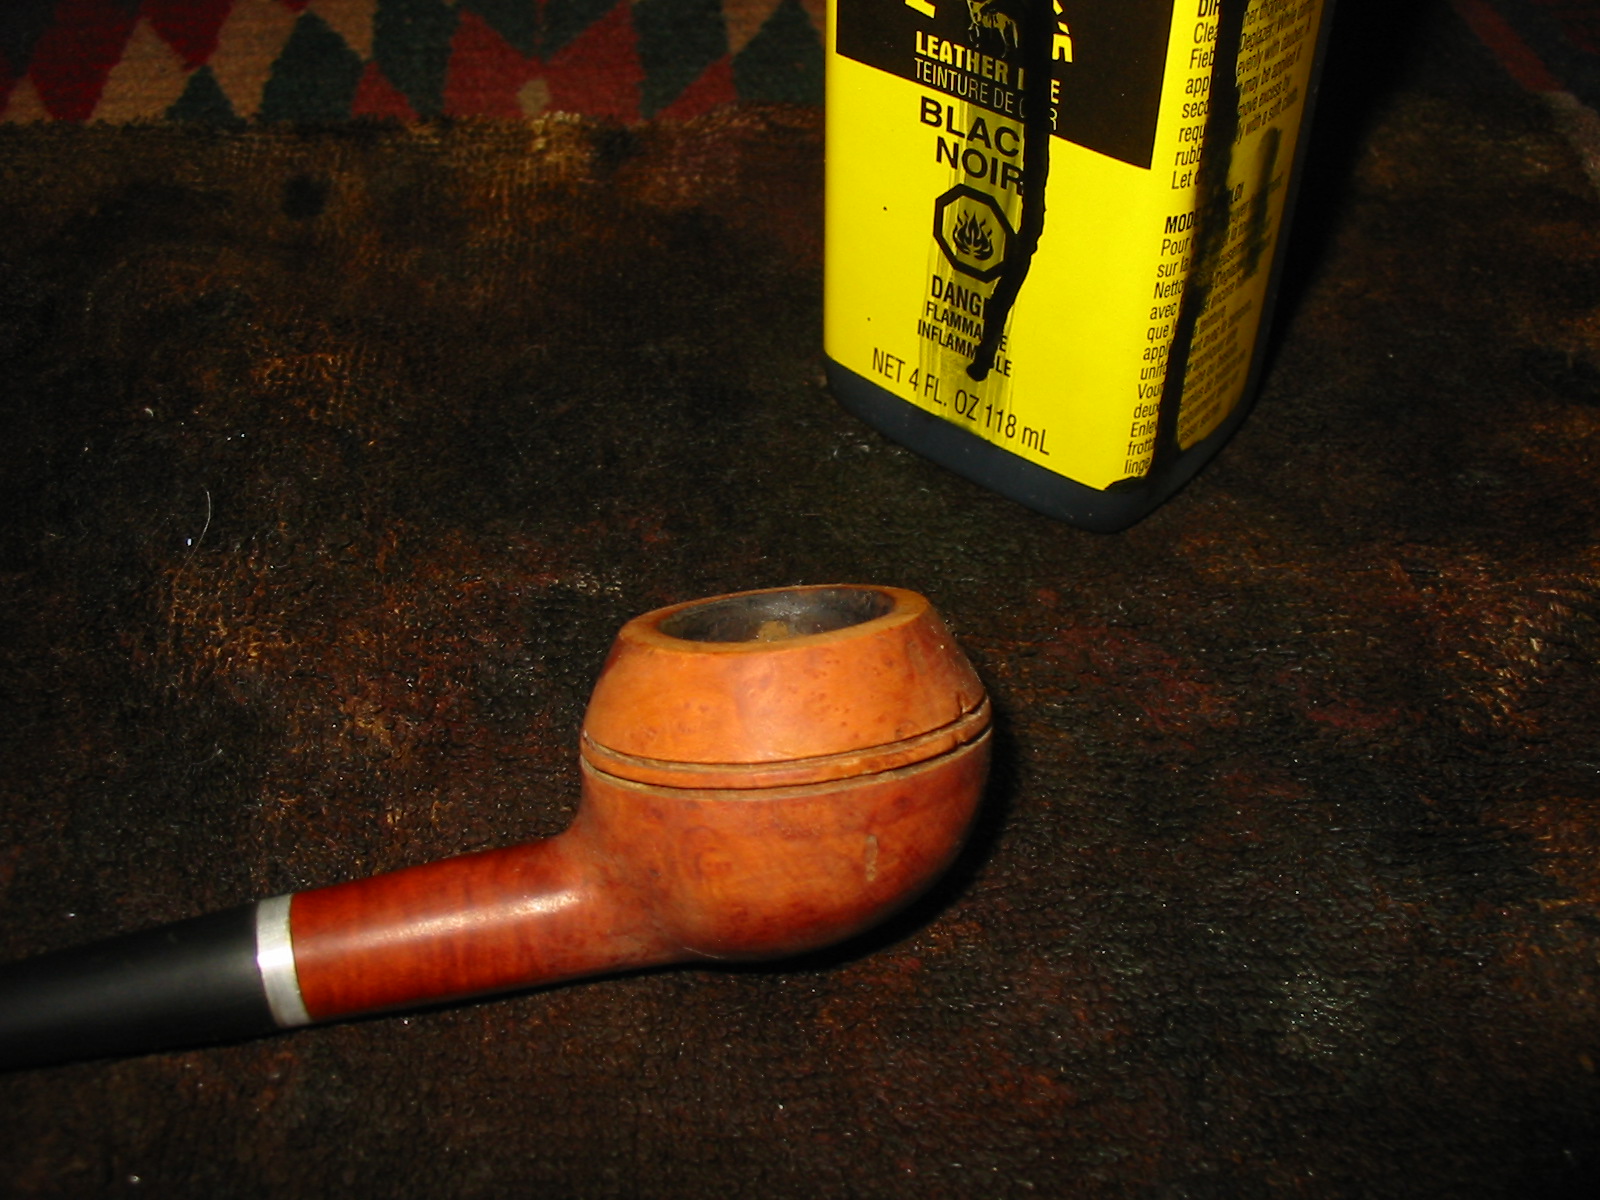
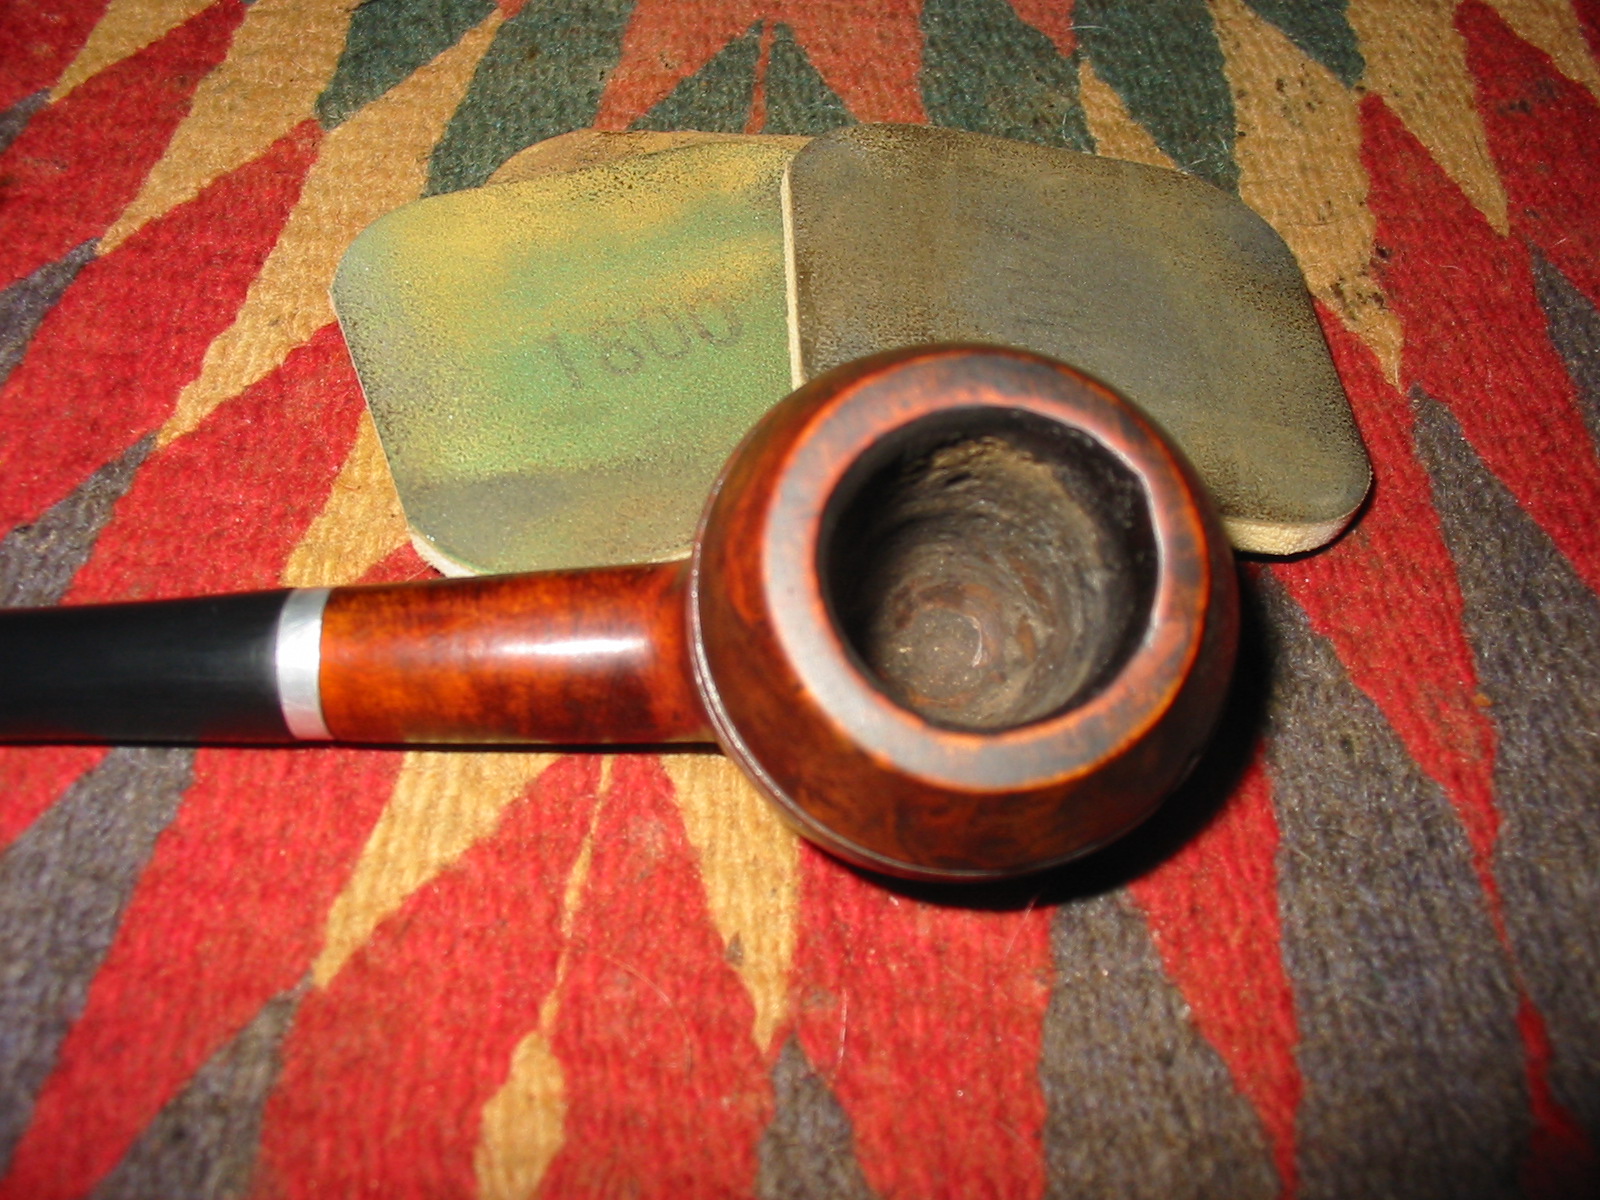
I reamed the bowl with a PipNet reamer to remove the cake so that I could work on the out of round inner edge of the rim.
IMG_6057
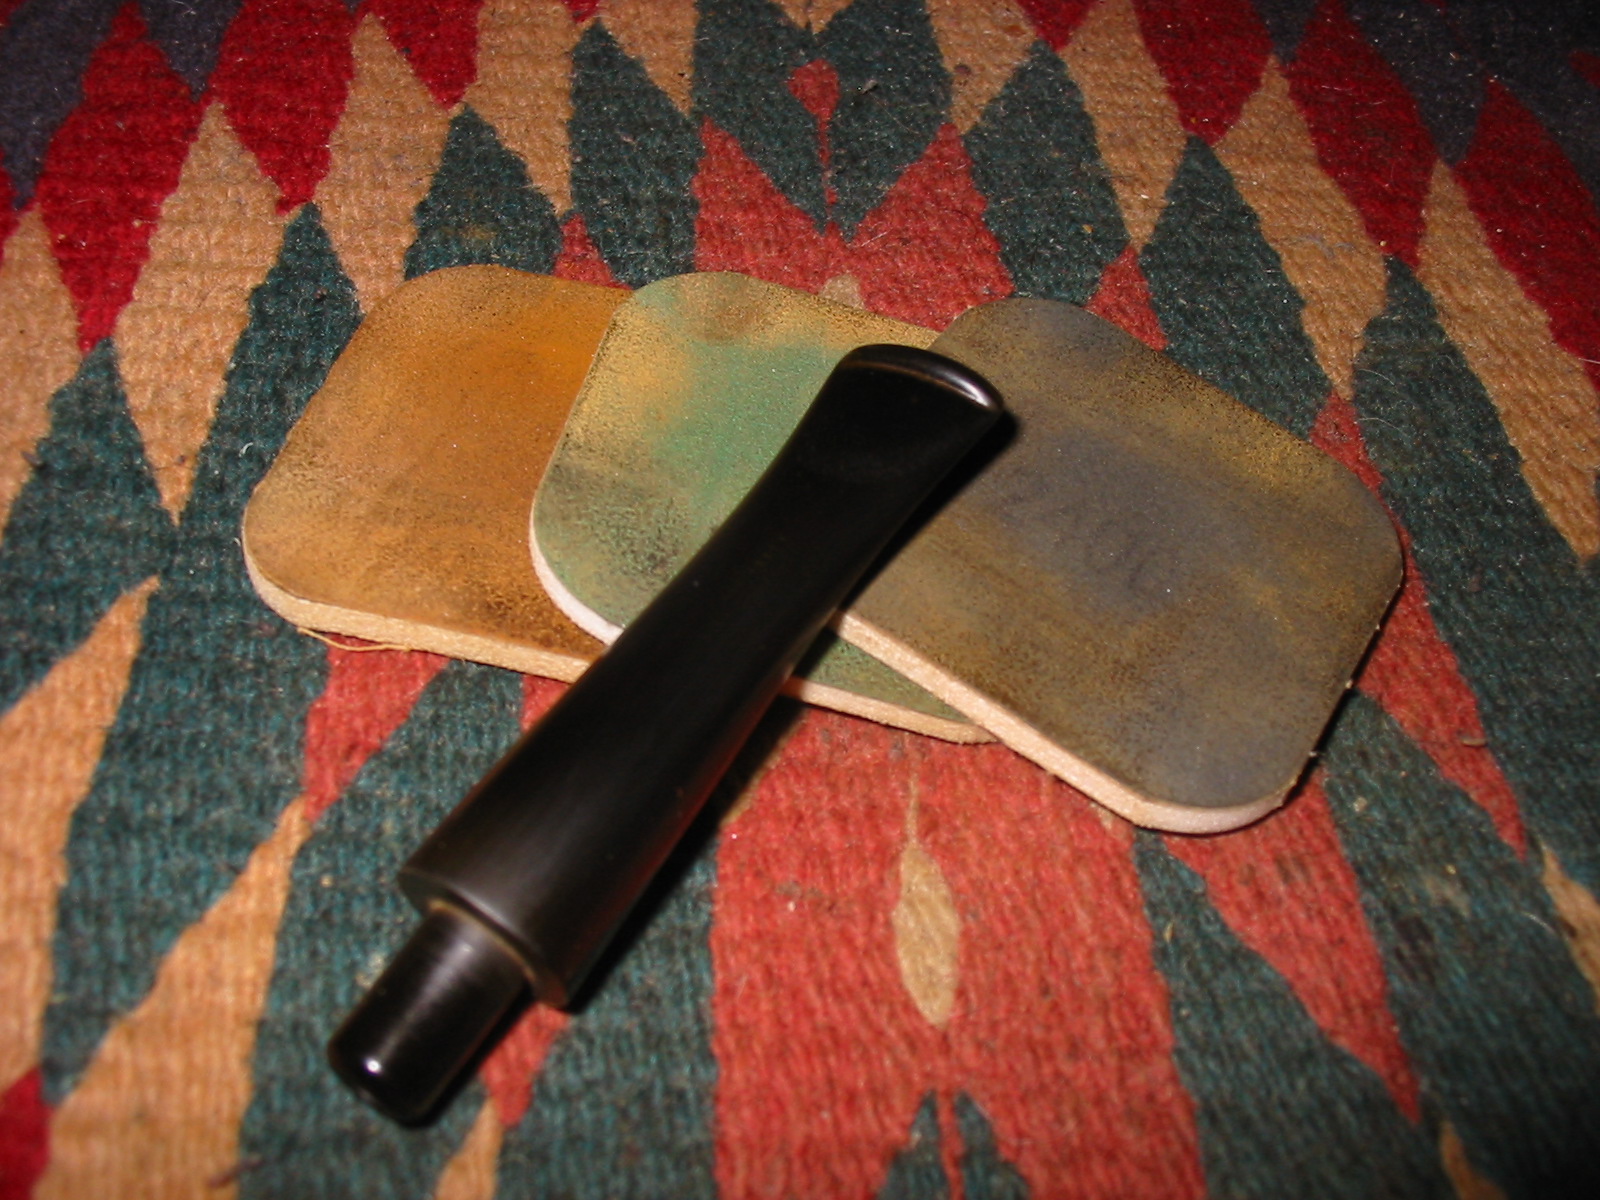
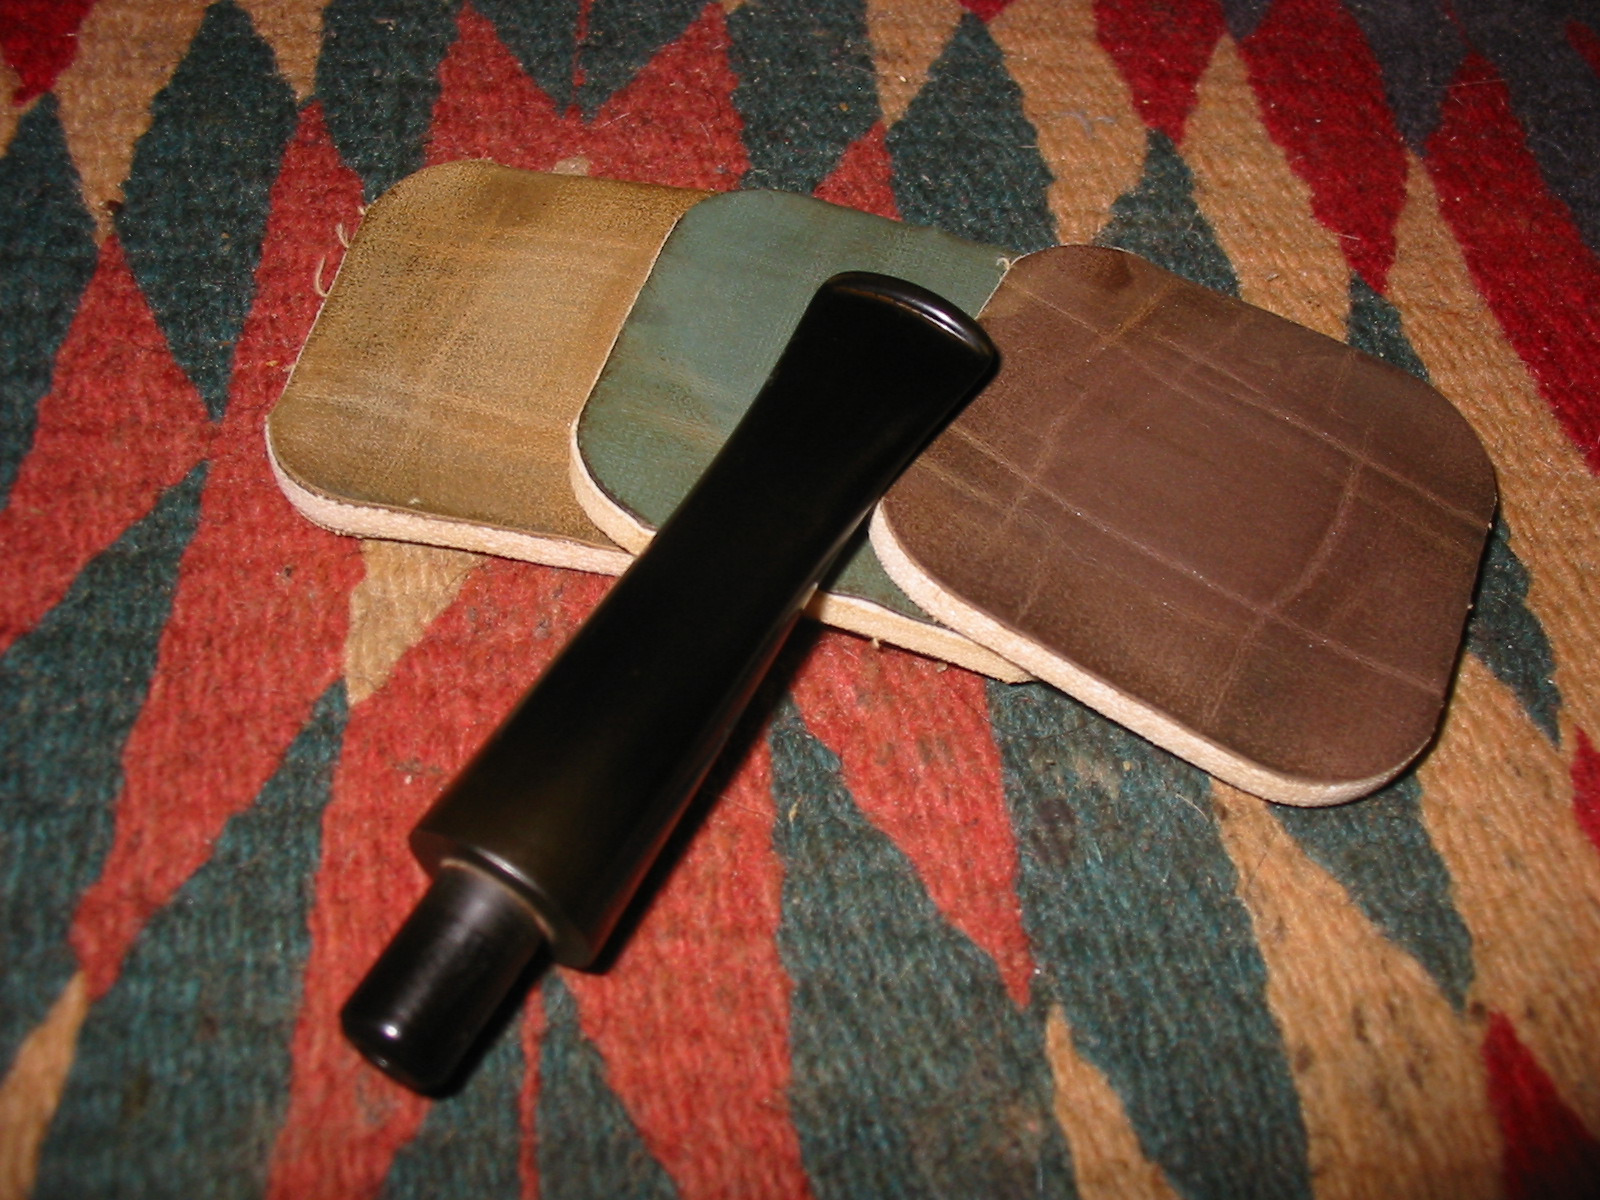
I sanded the tooth chatter on the nylon stem to remove as much of the surface chatter as possible and wiped it down with a wet cotton pad to wipe off the dust. Don’t use acetone or alcohol on nylon stems as they potentially can make a mess of the stem material. I used clear superglue to repair the deep tooth marks because heating the nylon does not raise the dents. It is yet another problem to be avoided as heating only makes the material quite soft and it easily collapses. I repaired the topside first and when it dried I repaired the underside of the stem with the super glue.
IMG_6058
When the glue dried I sanded it with 220 grit sandpaper to smooth out the surface of the stem and blend in the repairs. I sanded until the surface was smooth and the patch was flush with the stem material. I followed that by sanding with a medium and a fine grit sanding sponge to remove the scratches left behind by the sandpaper.
IMG_6062

IMG_6063
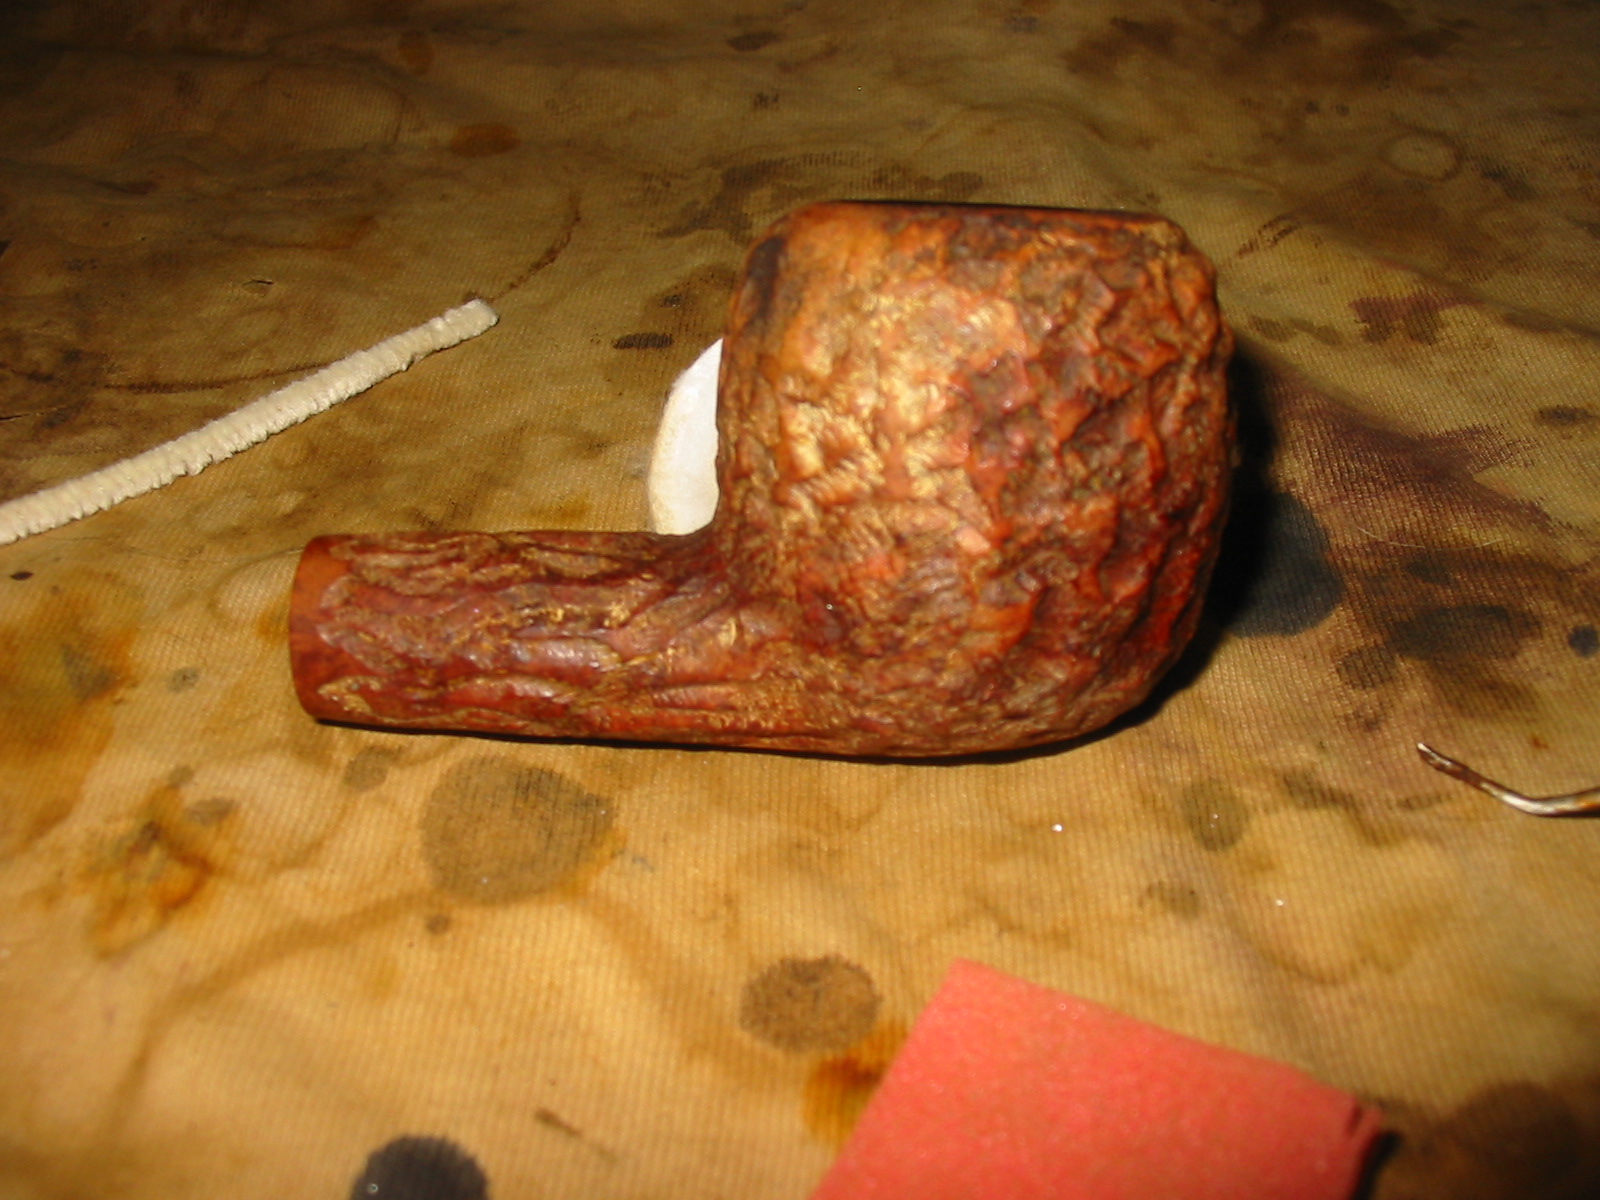
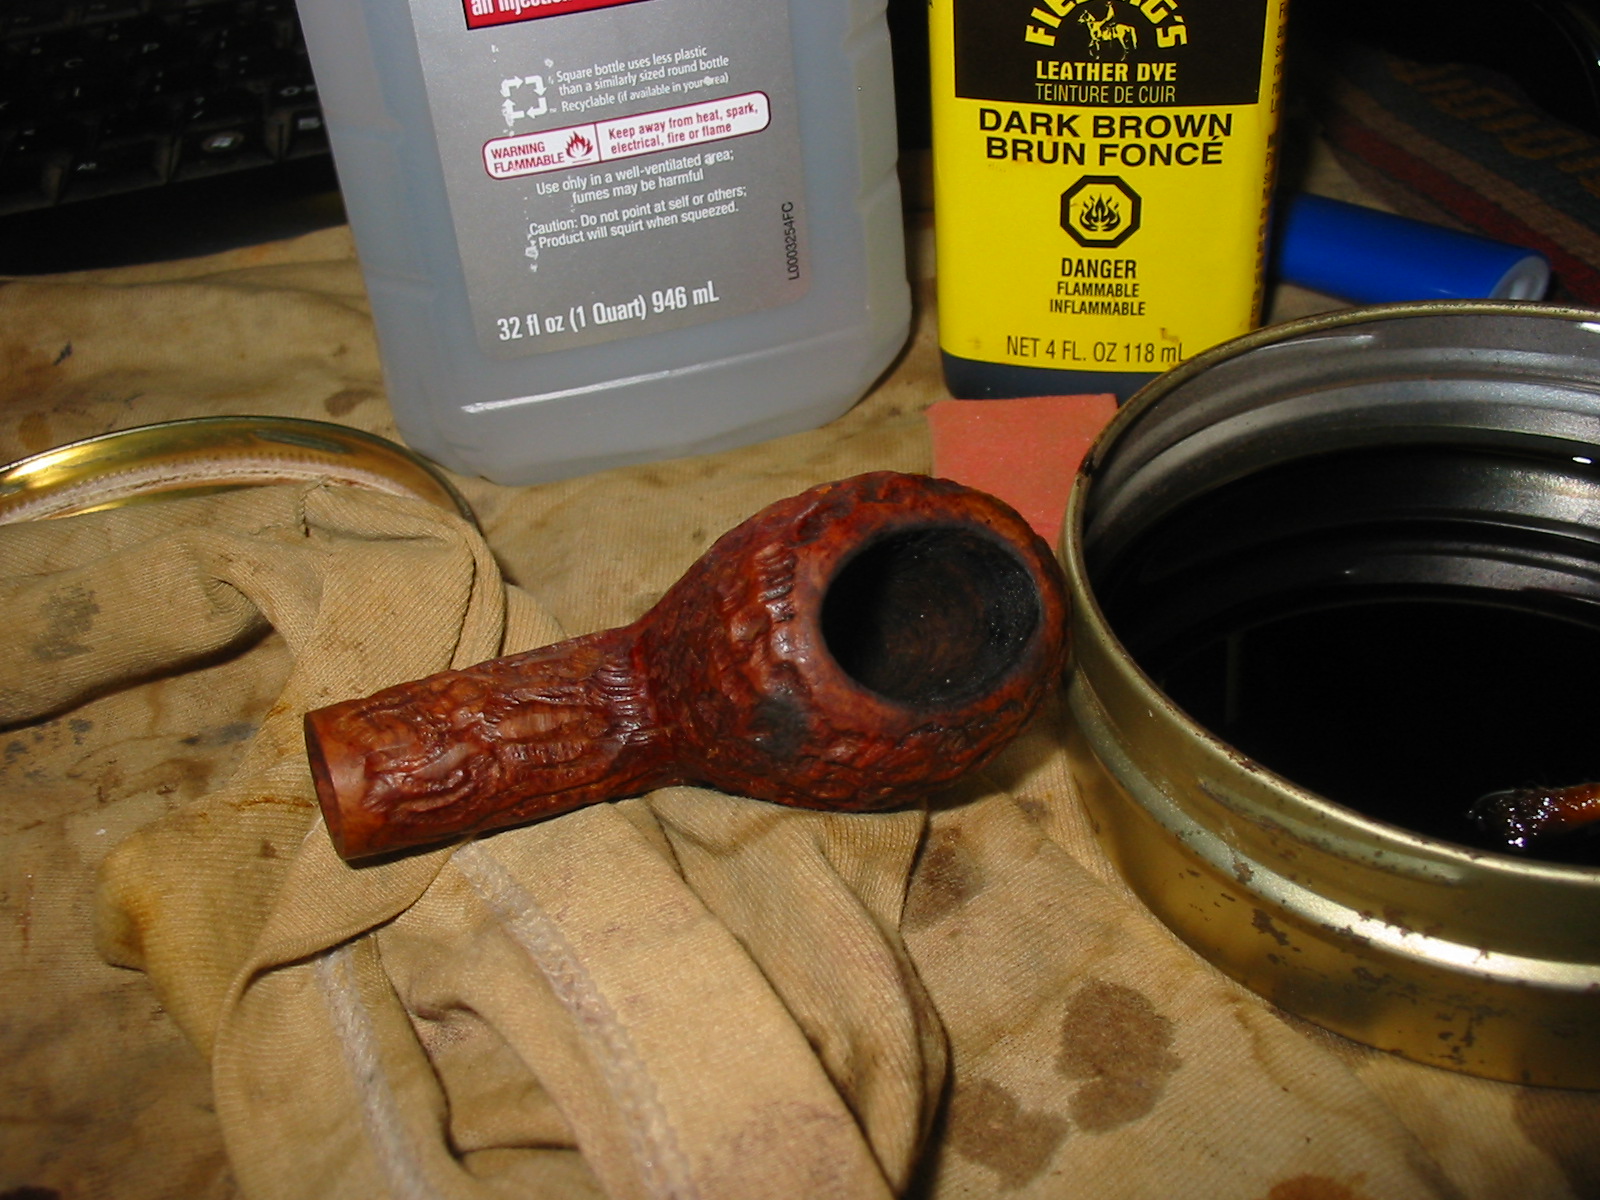
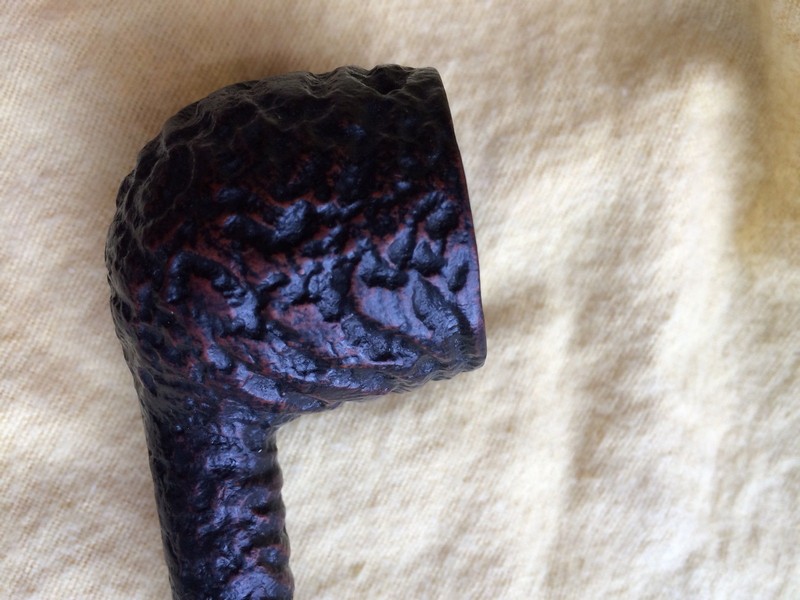
I lightly topped the rim to remove the surface damage and to remove some of the damage on the inner edge. I sanded the inner edge with a folded piece of 220 grit sandpaper to smooth out the rough edges and give it a more rounded appearance. I wiped down the bowl and rim with acetone on a cotton pad and then isopropyl on a cotton pad to remove the finish. I used a dental pick to remove the white putty like substance that filled the two parallel bands around the bowl and then wiped it down a final time with alcohol. I also removed the stem and wiped down the aluminum band to remove the plastic coating that was on it.
IMG_6061

IMG_6064

IMG_6065

IMG_6066

IMG_6068
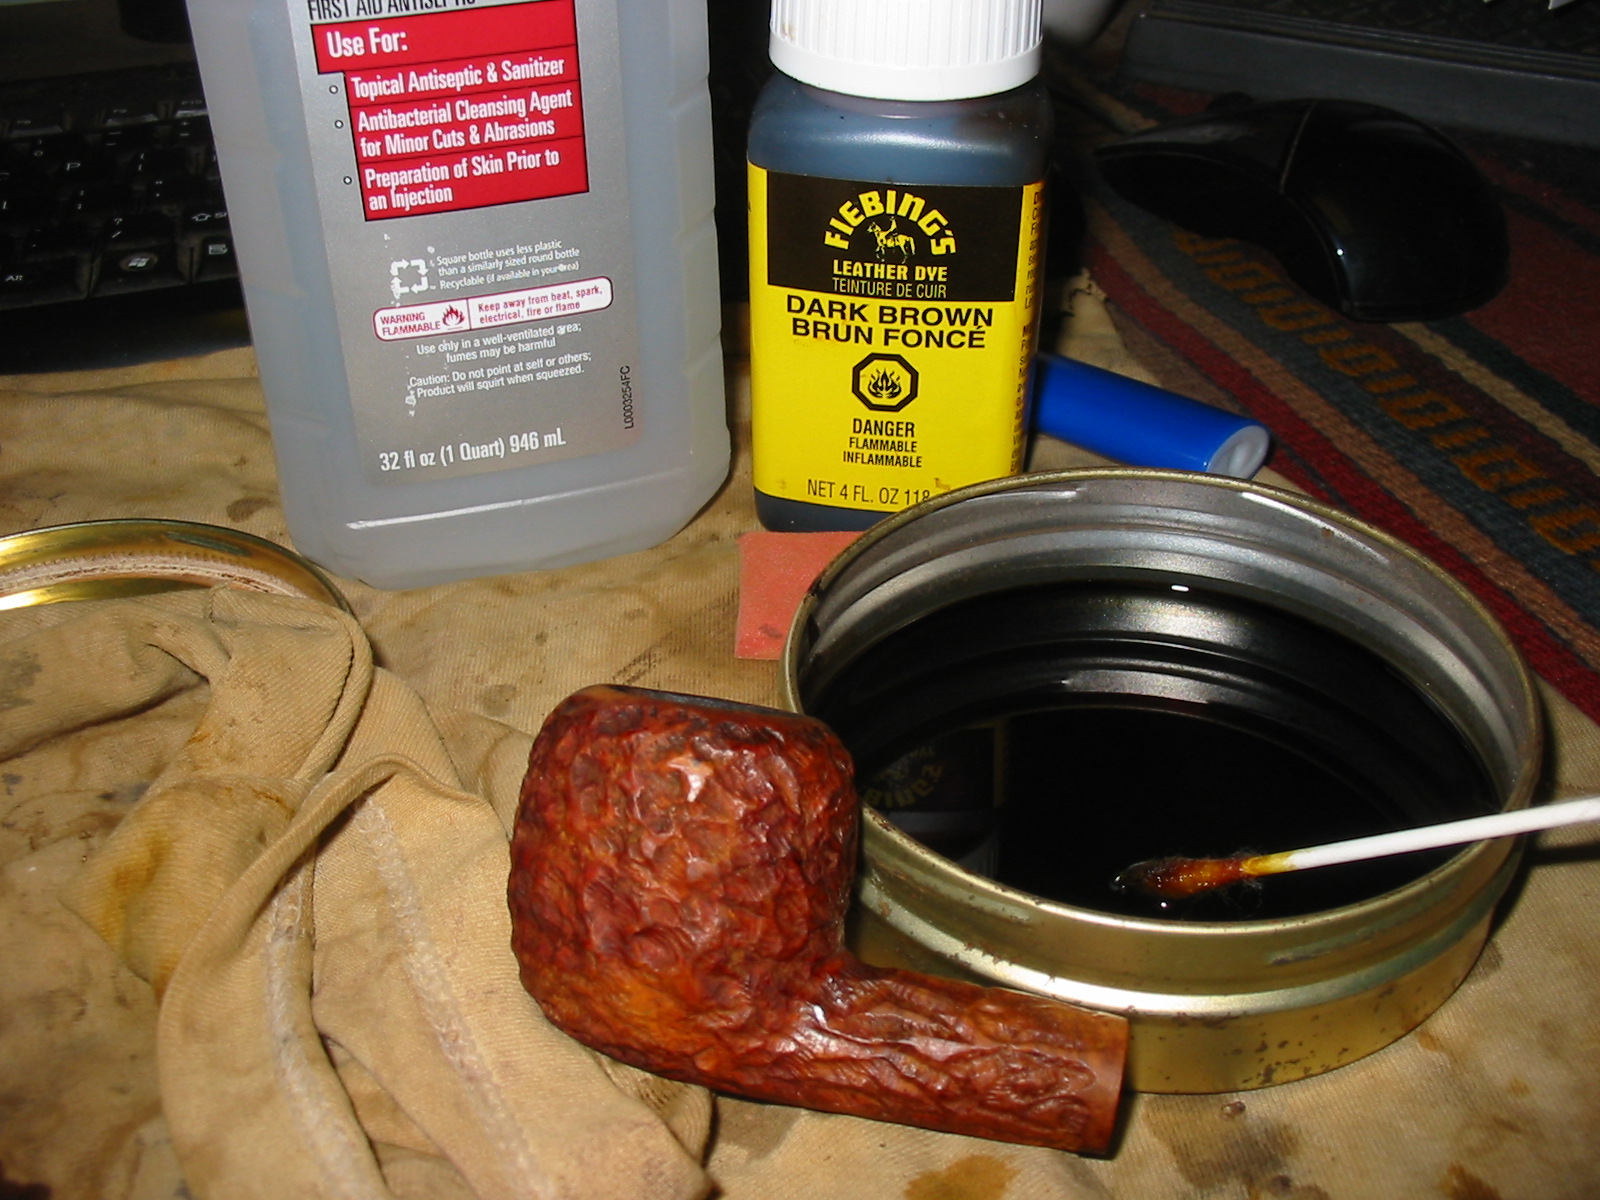
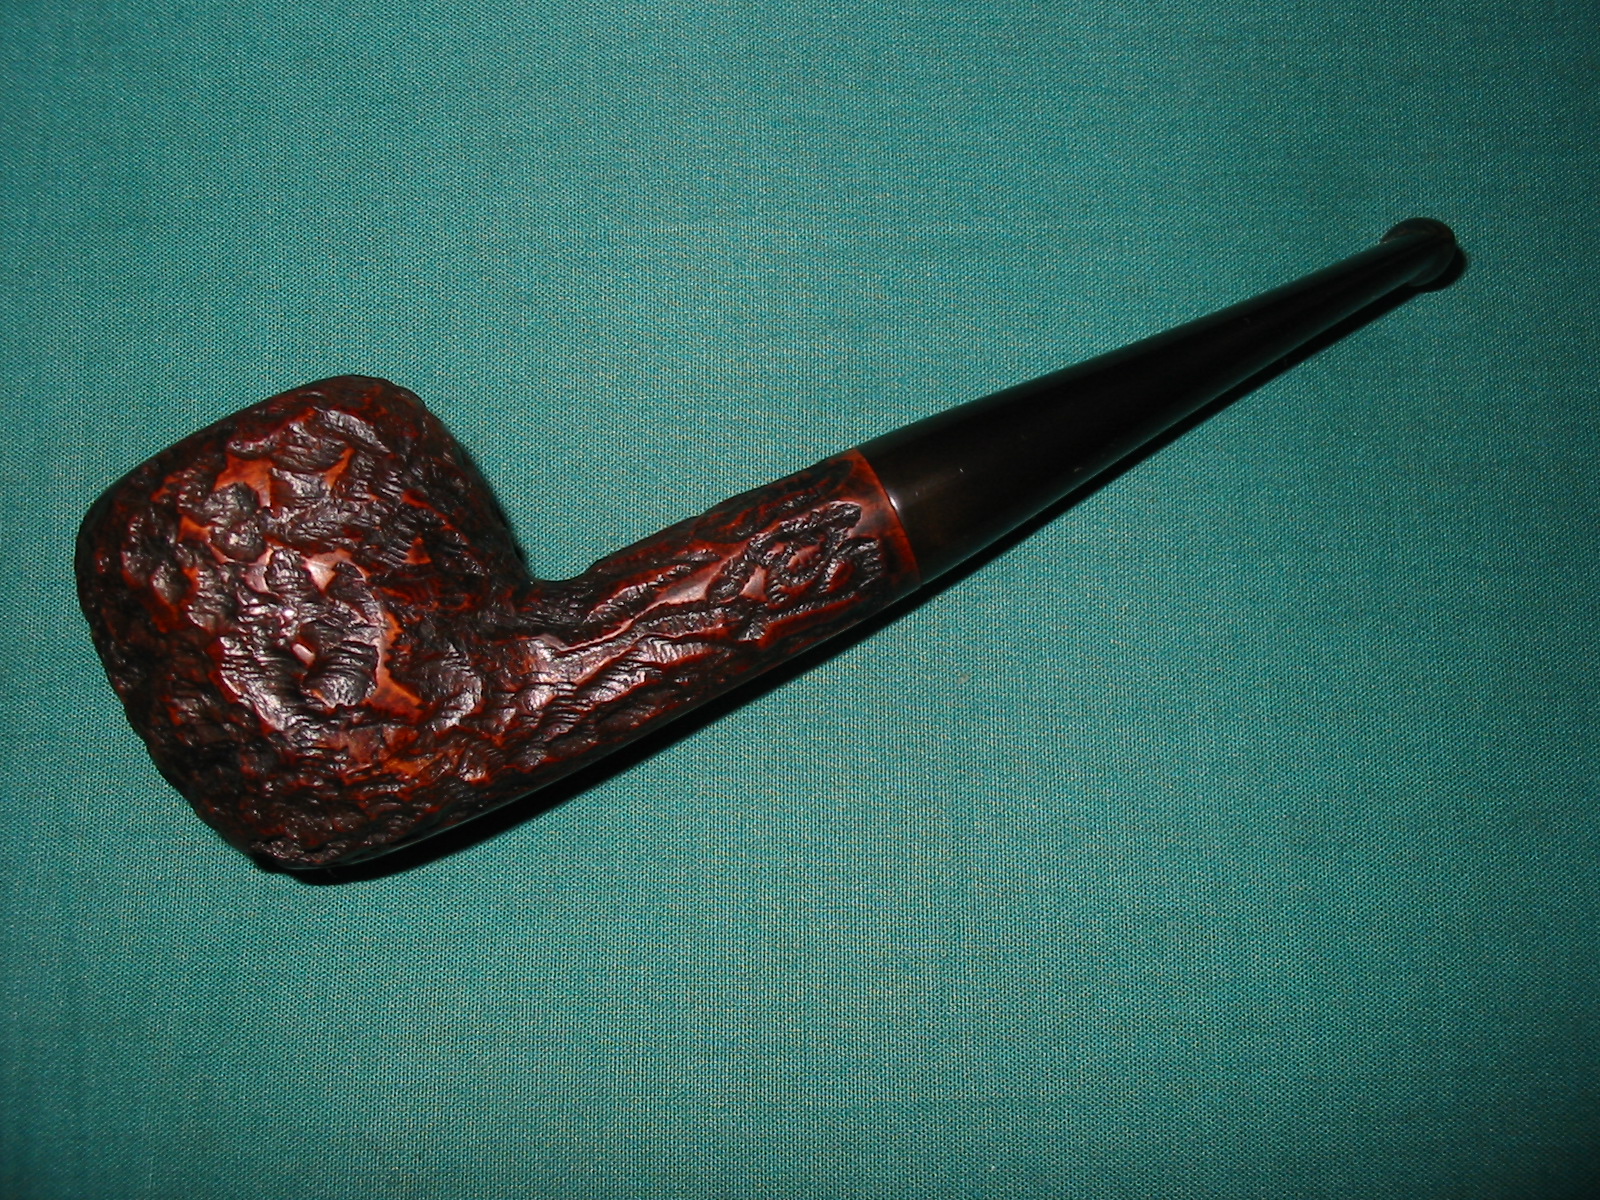
I decided to give the bowl a contrast stain. The first coat of stain was a black aniline stain. I heated the bowl and then applied the stain, flamed it, applied it and flamed it again until the stain coat was even across the bowl. My photos of the black stained bowl did not turn out do to camera failure. For some reason the flash did not work and the four photos of the black stained bowl were not visible. I applied the stain with a wool dauber and made sure that the black stain went into the parallel rings around the bowl.
IMG_6069

IMG_6070

IMG_6071
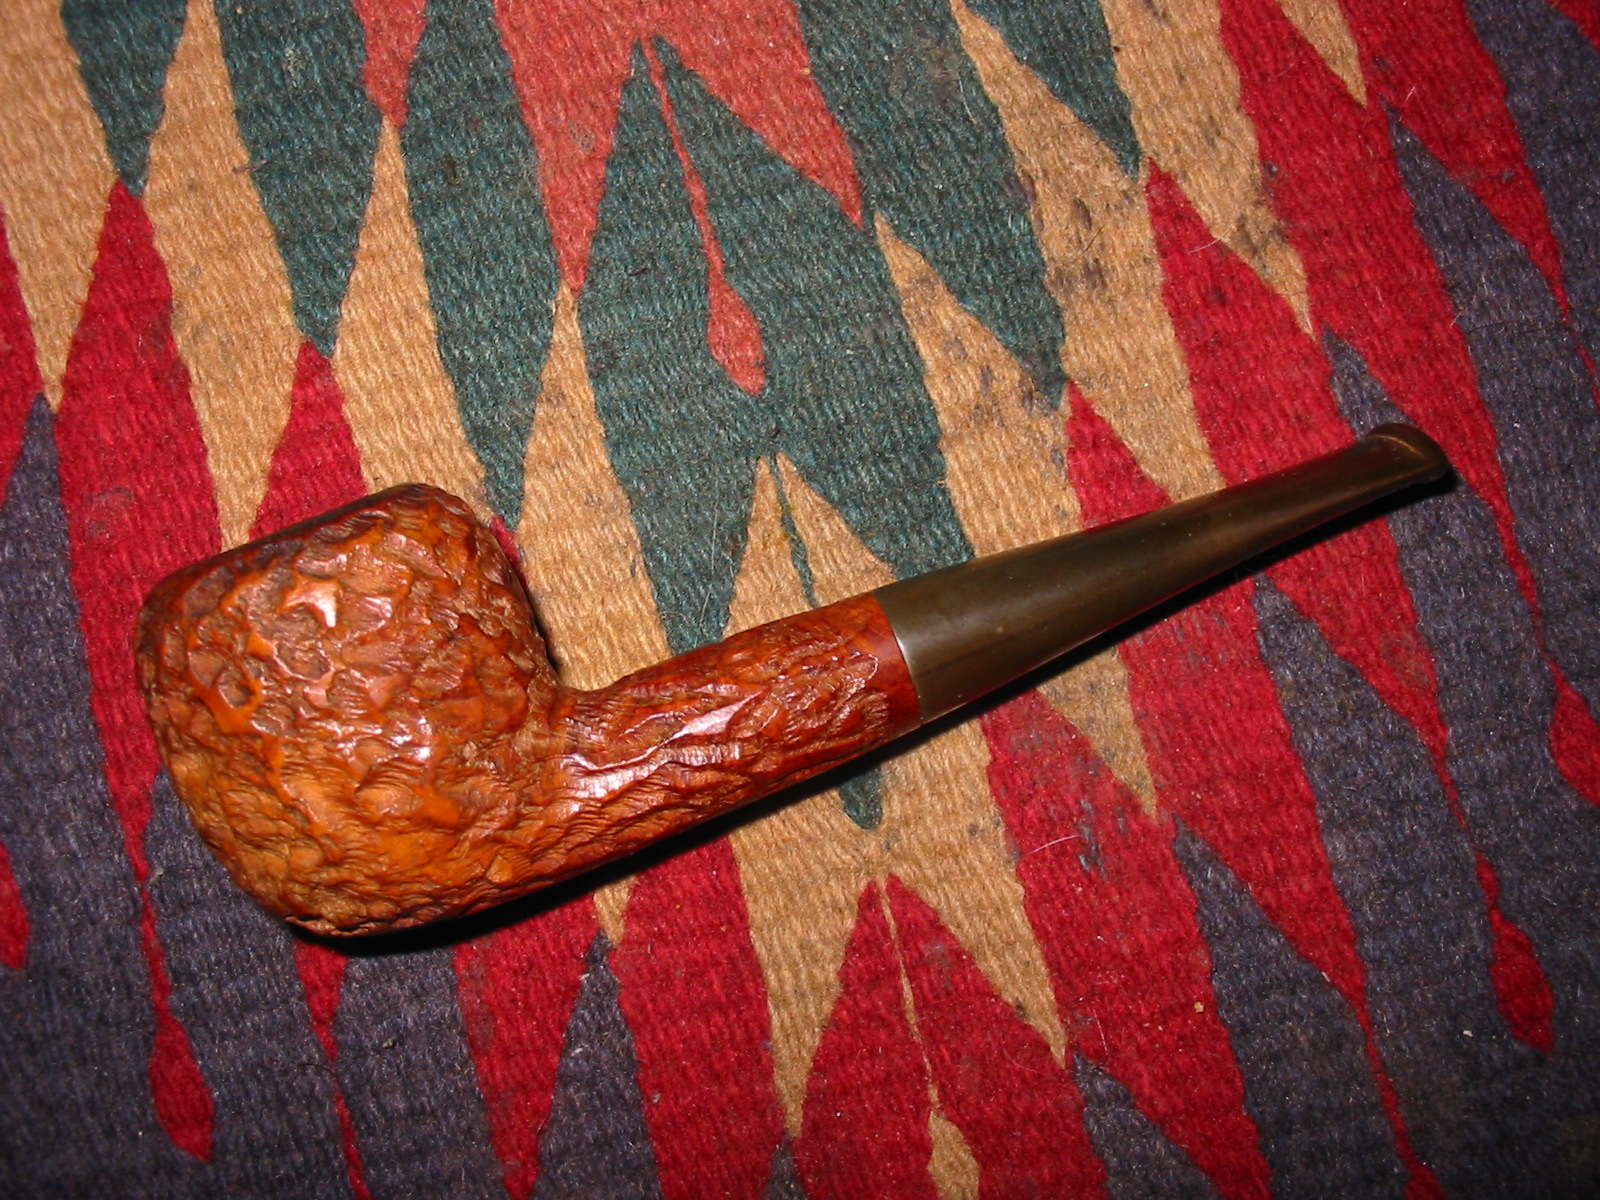
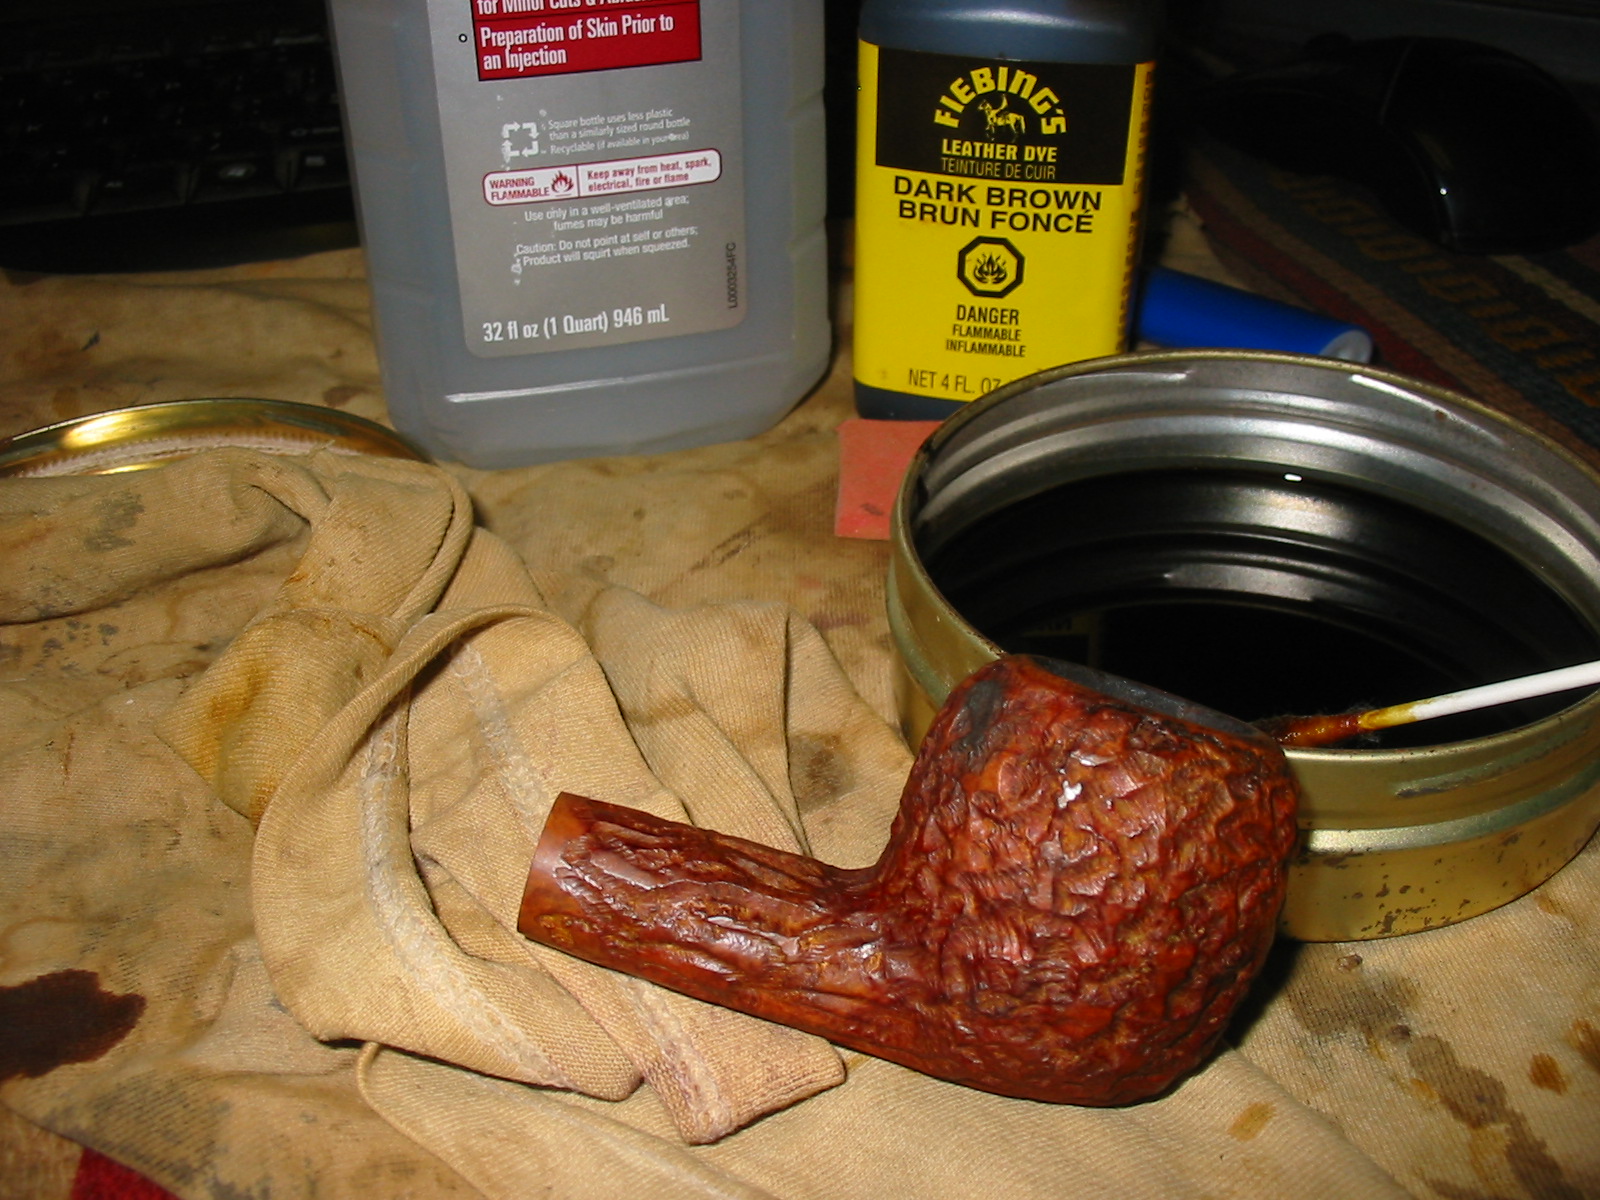
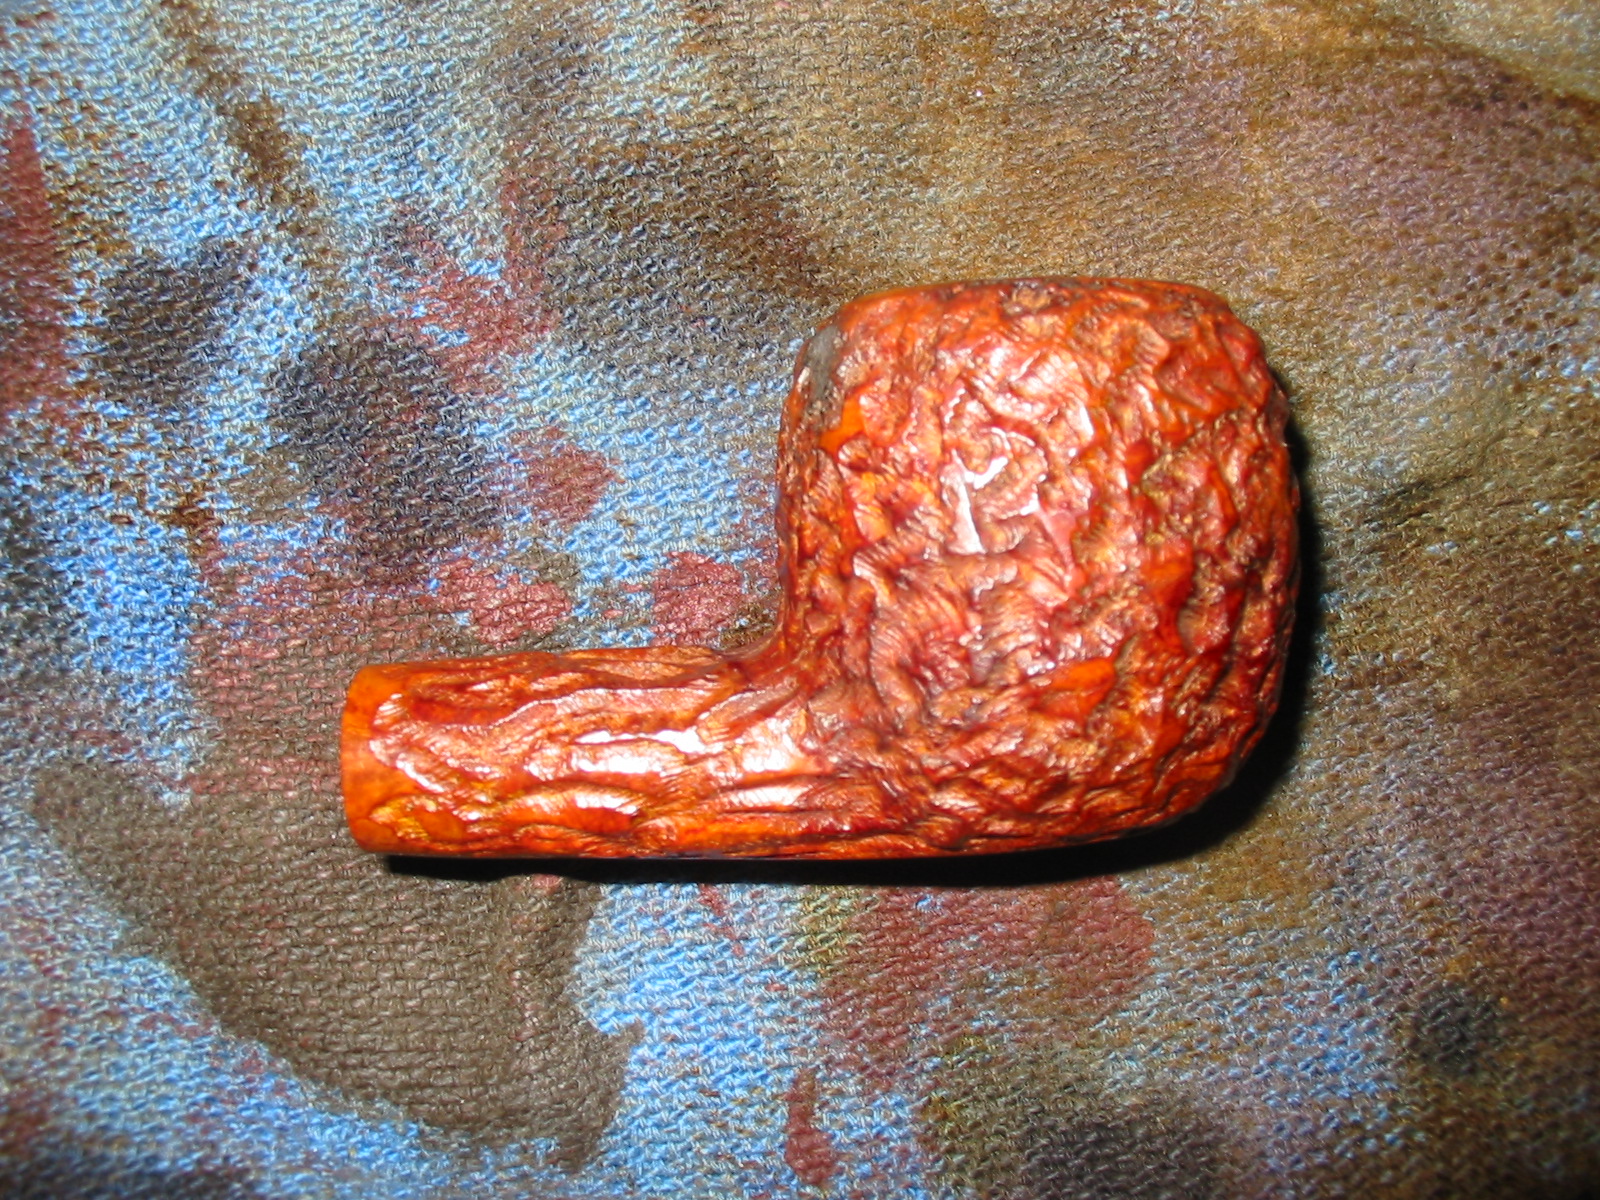
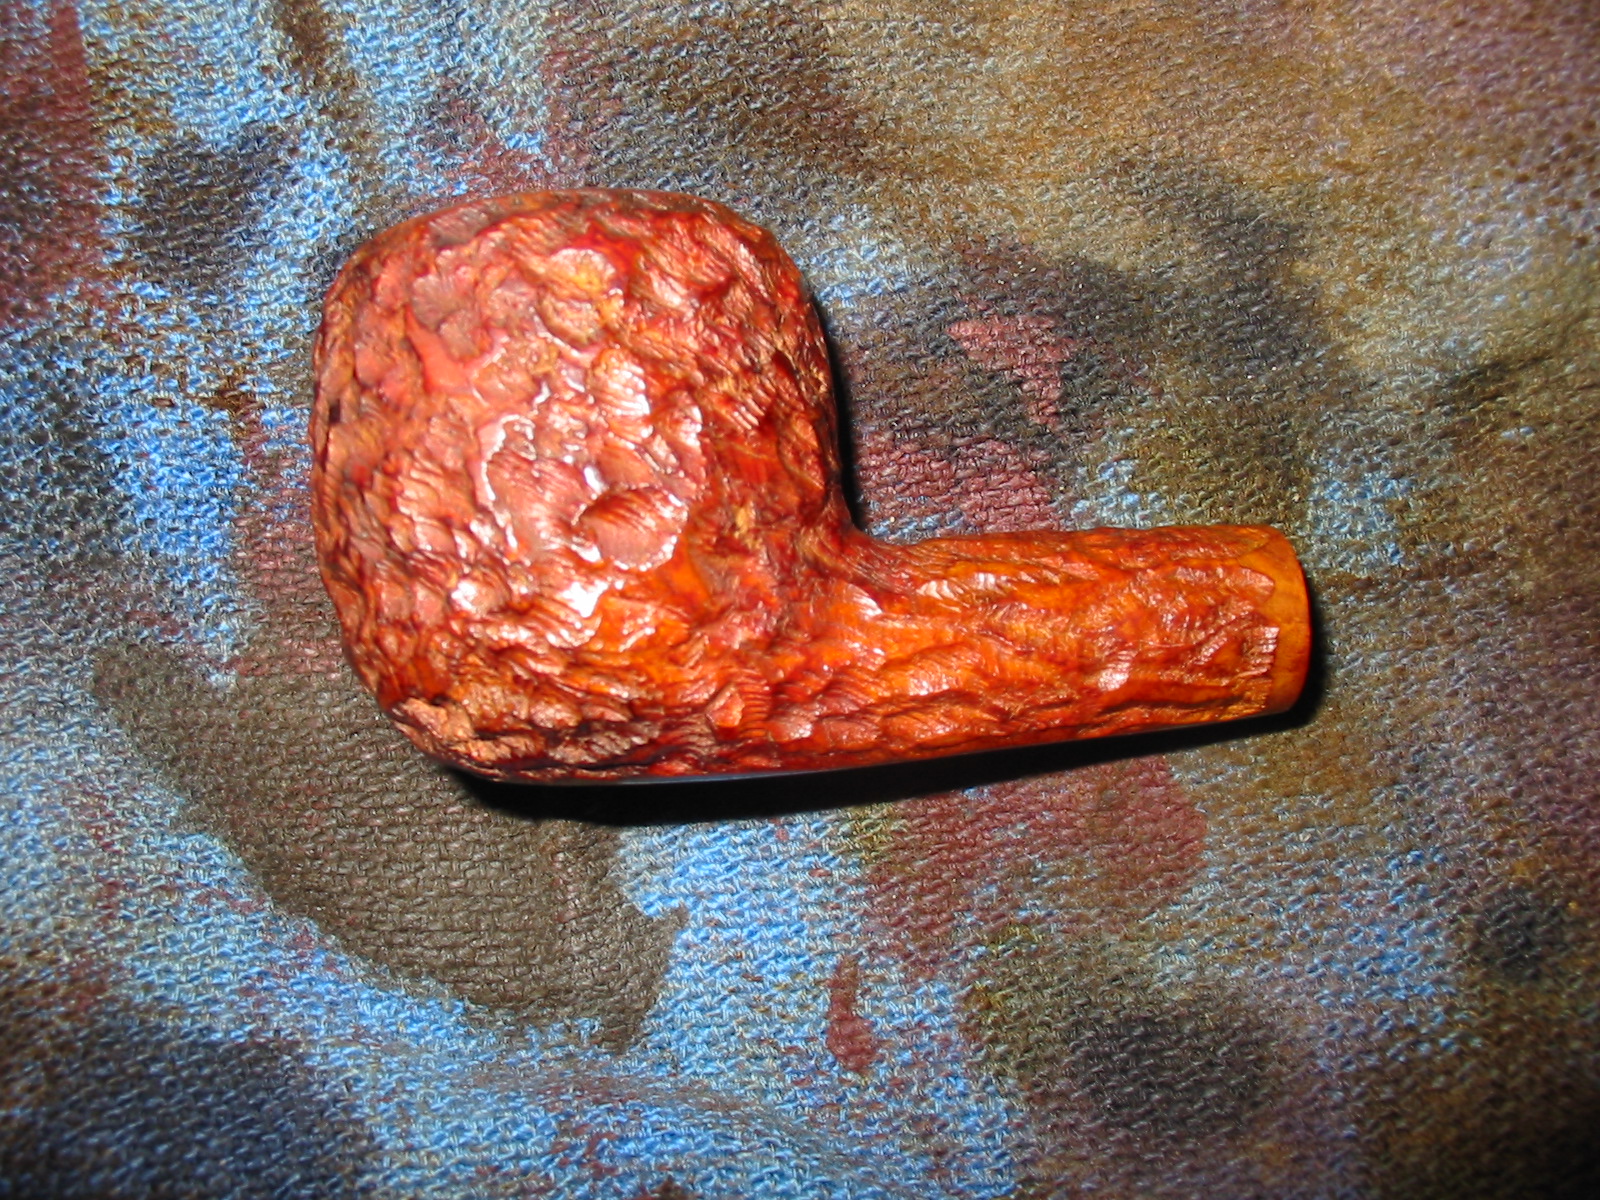
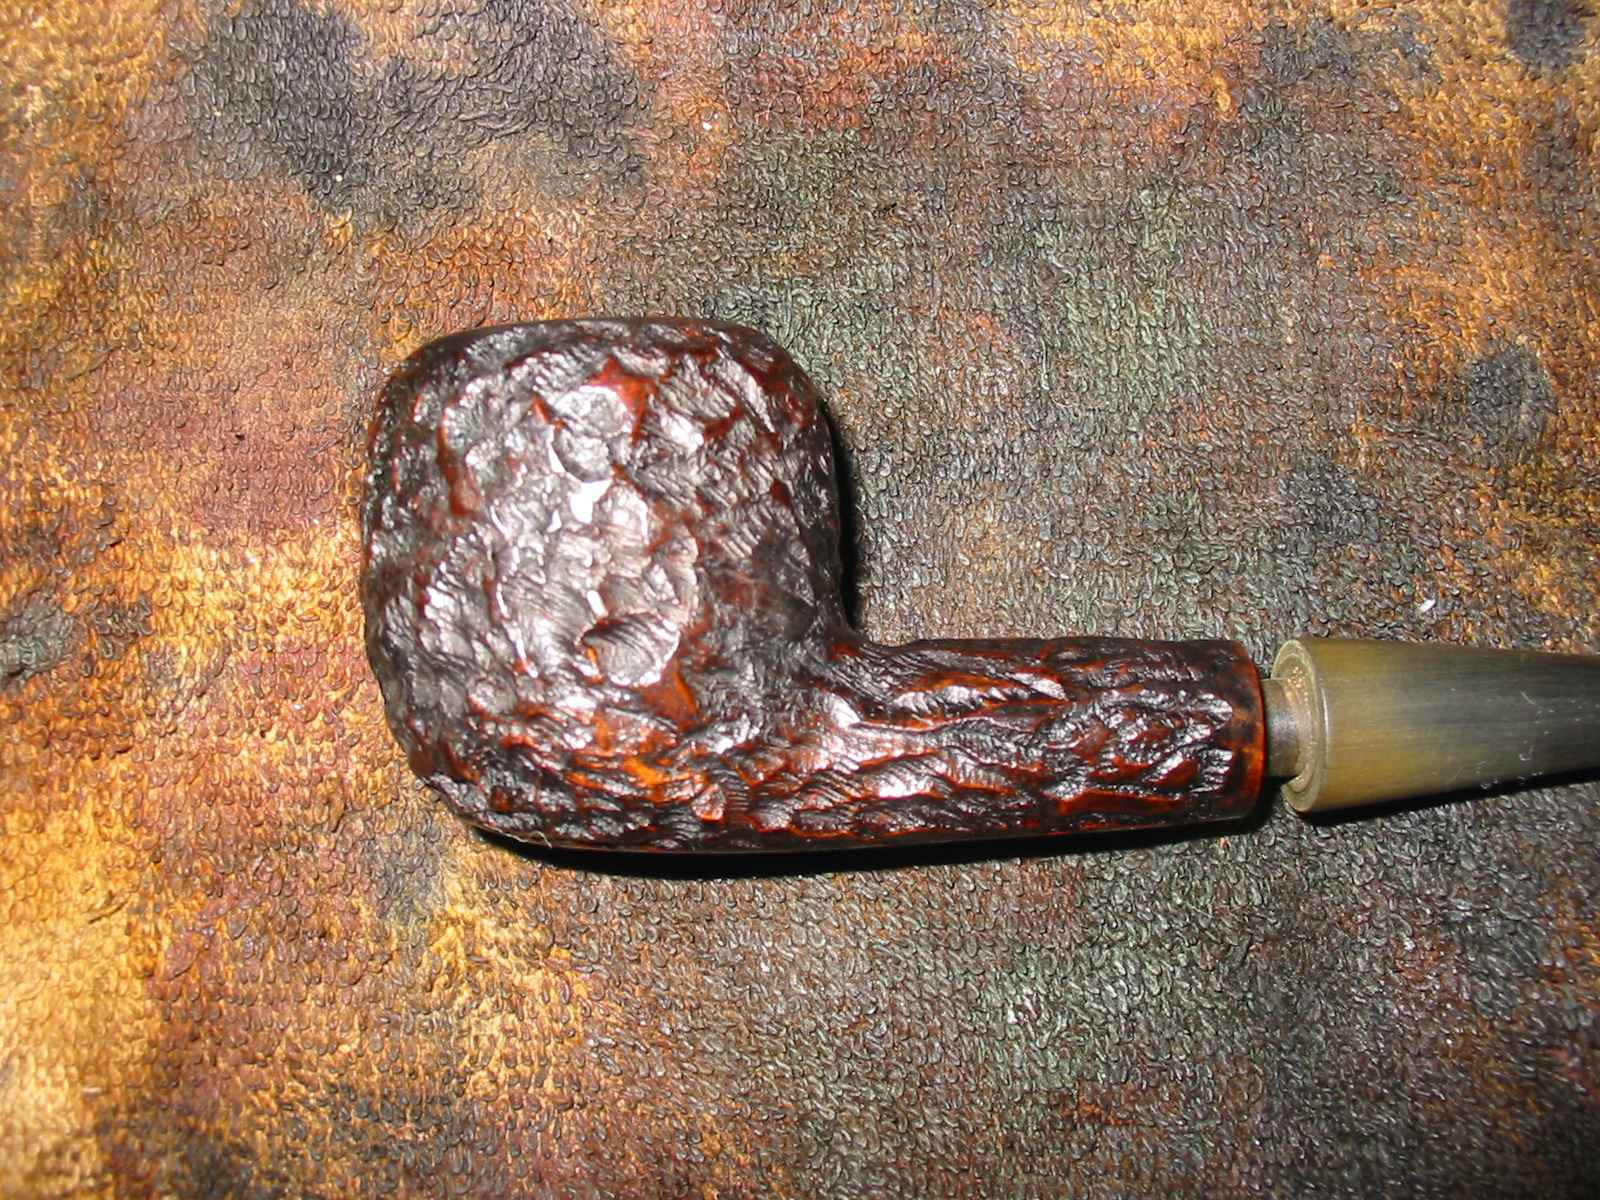
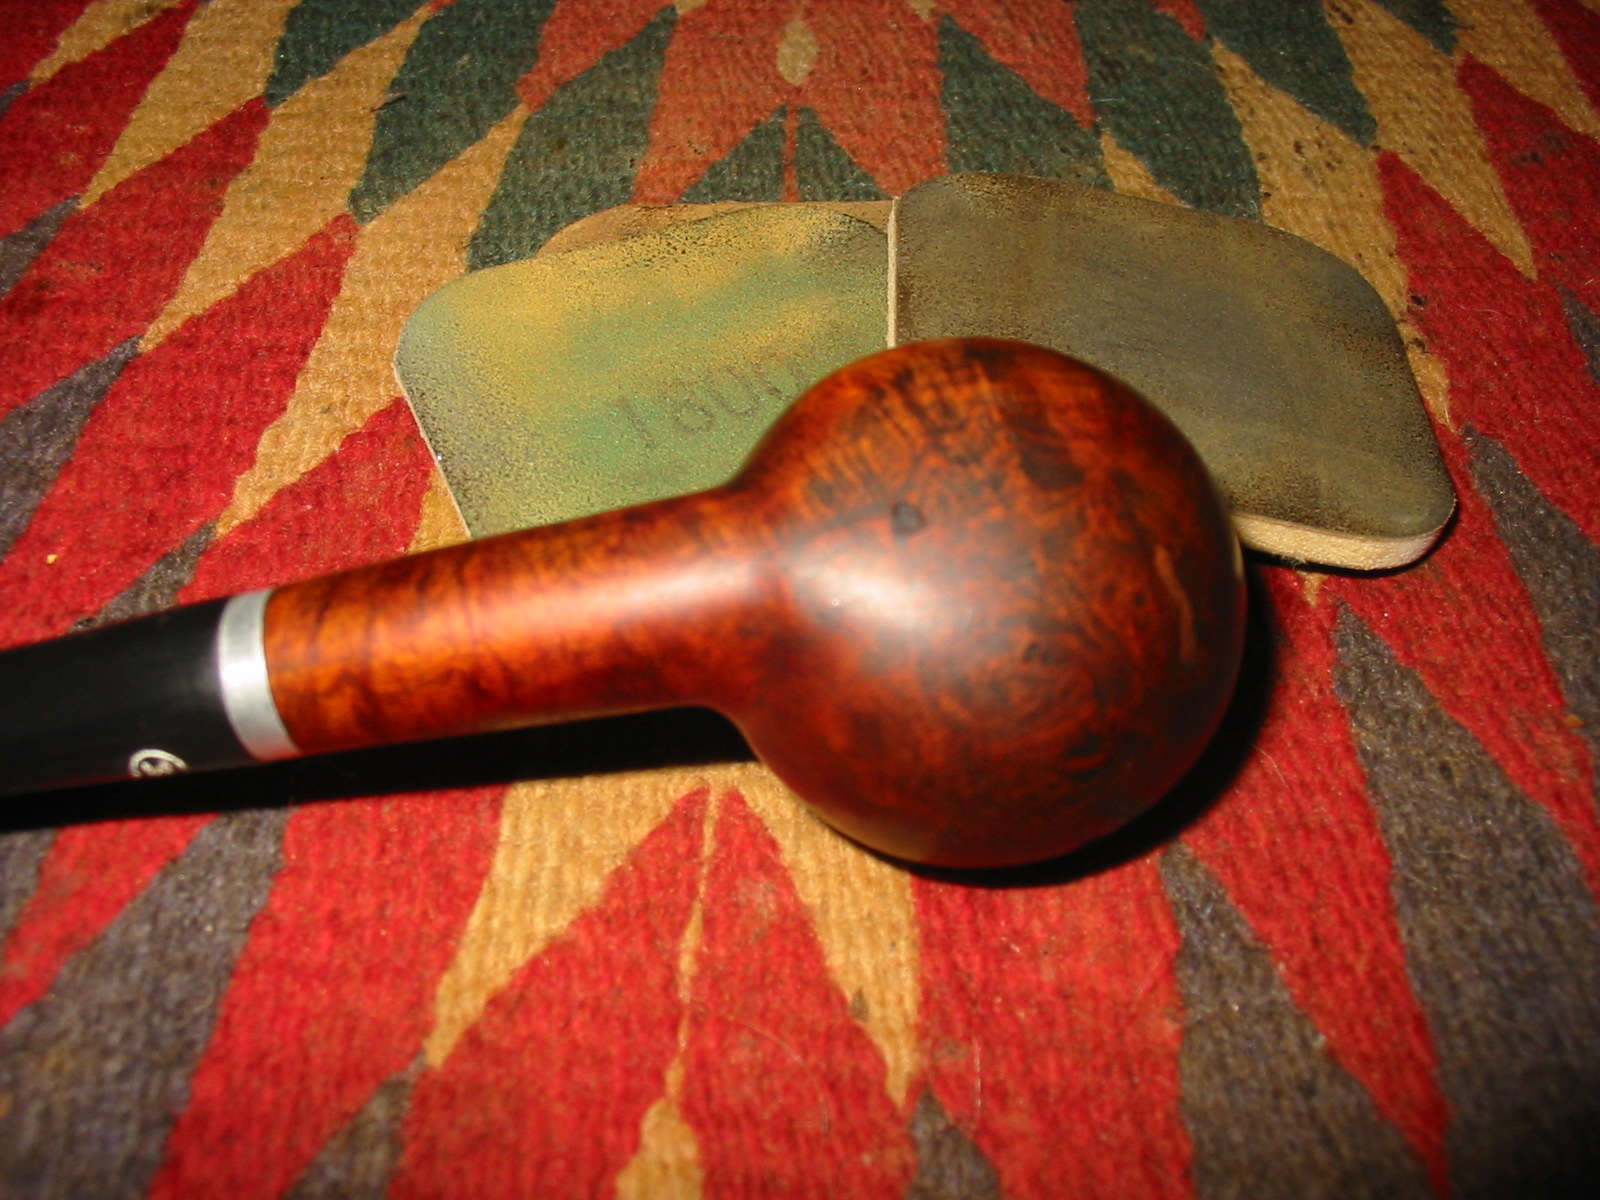
I wiped down the bowl with cotton pads and alcohol to remove the majority of the black stain and to leave it in the deep grain. I buffed the pipe with Tripoli and White Diamond and then wiped it a final time with alcohol. The finish at that point had black deep in the grain of the bowl highlighting the grain variations on the briar. It also served to provide some blending for the fills that were obvious on the bottom of the bowl. I sanded the bowl with a fine grit sanding sponge and 1500-2400 grit micromesh sanding pads to further remove the top finish. Once it was done I gave the bowl a coat of oxblood stain as a topcoat. I wanted the red stain to highlight the red of the briar and to be a contrast to the black grain on the bowl.
IMG_6072

IMG_6073
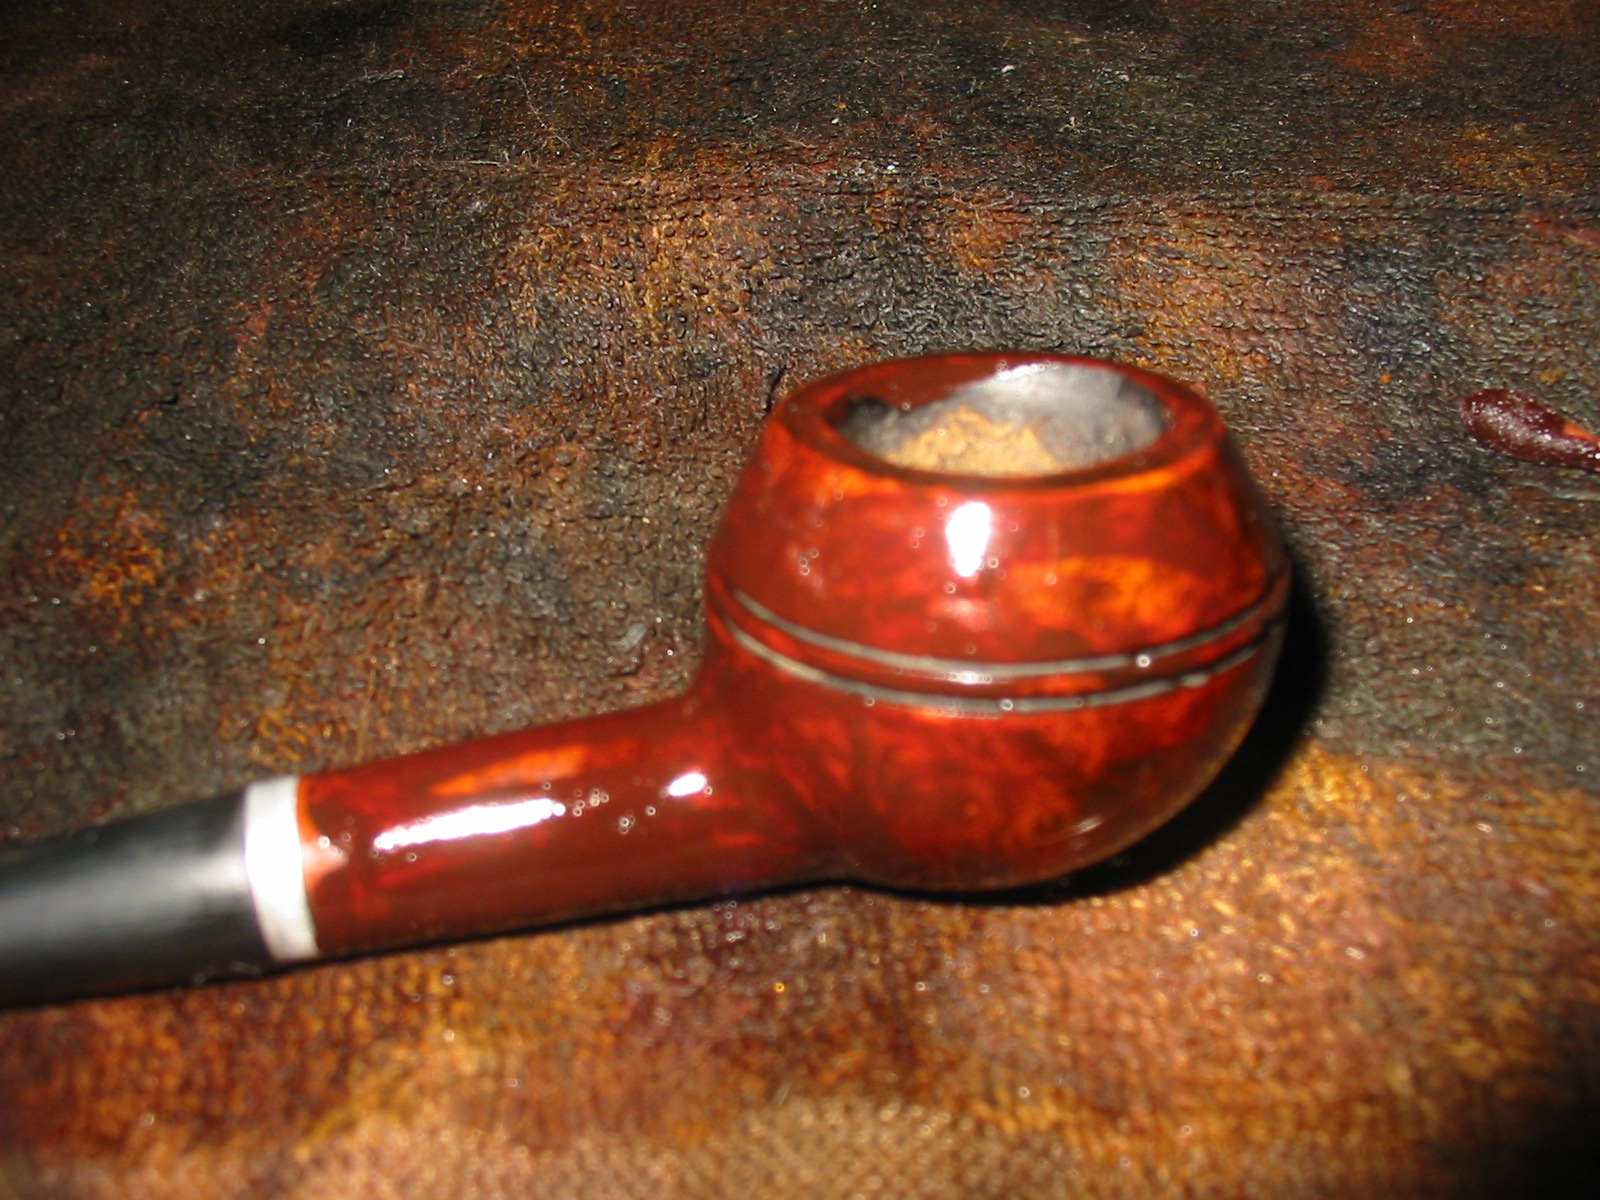
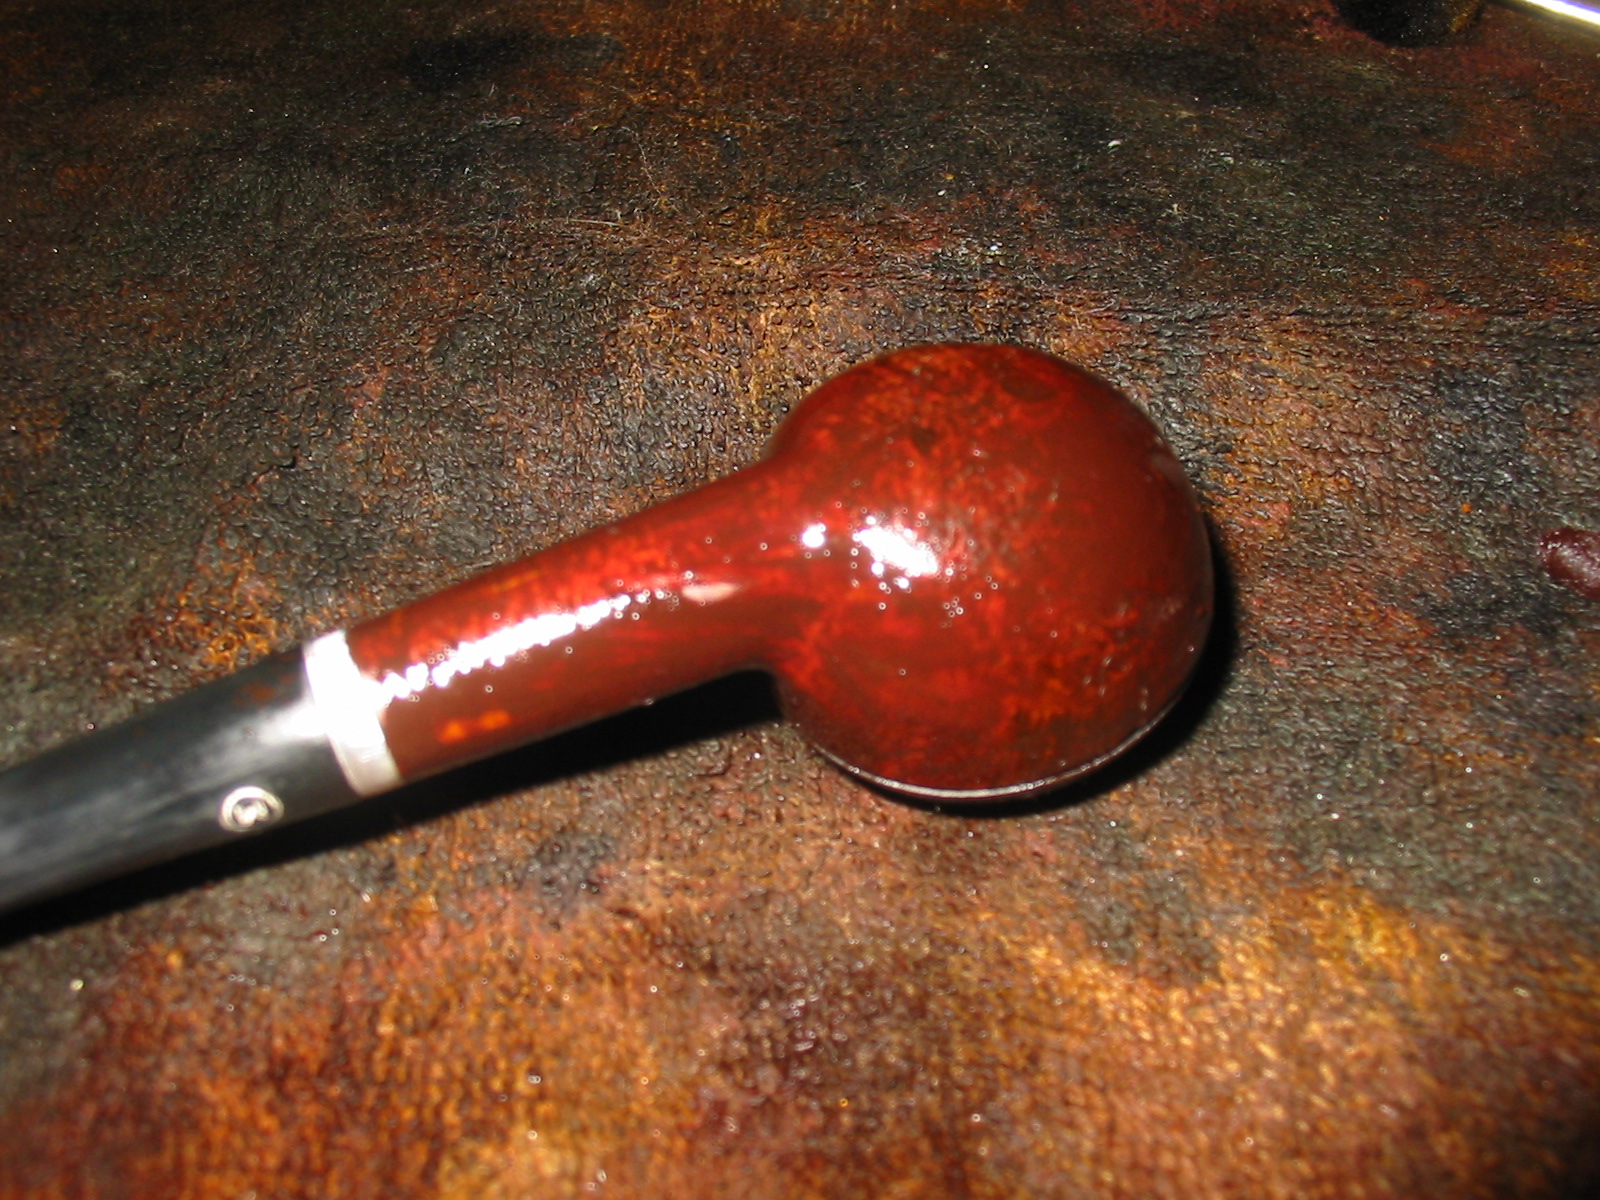
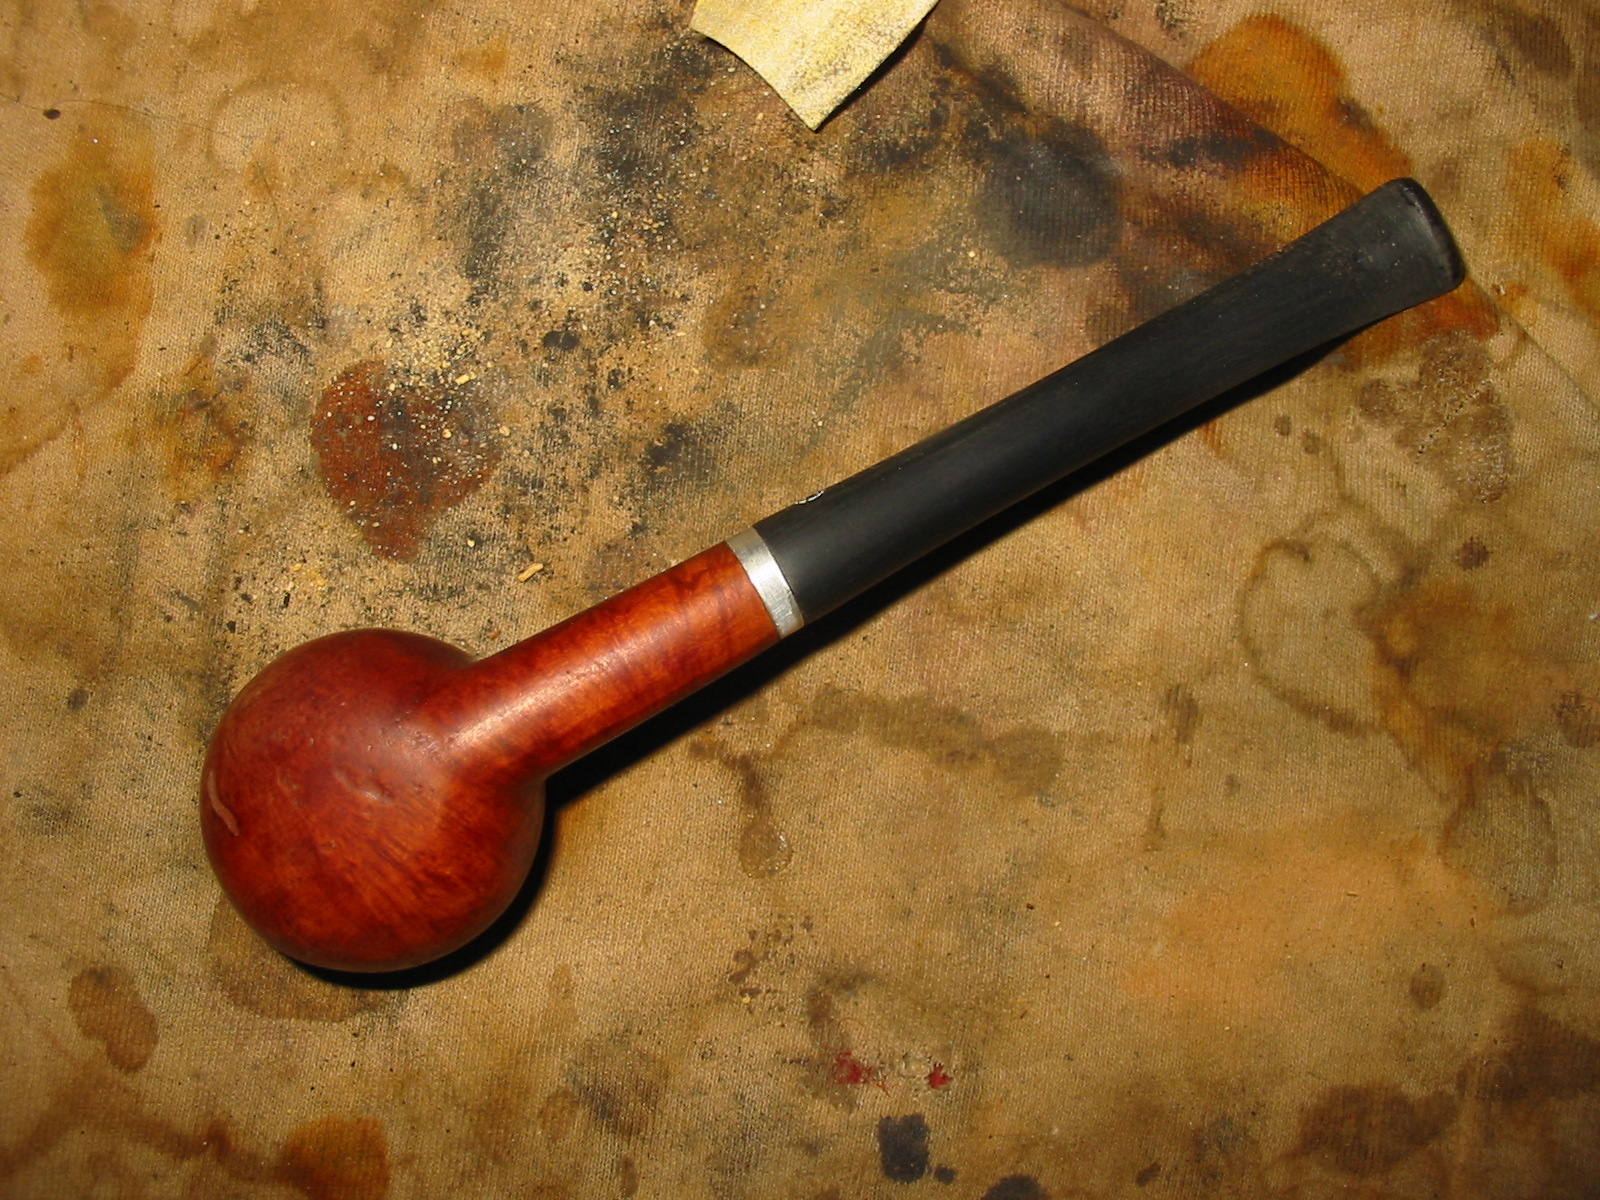
After the stain was applied I wiped it off with a rag and hand polished the bowl. The contrasting stains went a long way toward giving the pipe a great look and blending the fills into the background of the bowl.
IMG_6077

IMG_6078

IMG_6079

IMG_6080
I sanded the stem with medium and fine grit sanding sponges and then followed up that with my usual stack of micromesh sanding pads – wet sanding with 1500-2400 grit pads and dry sanding with 3200-12000 grit pads. The progressive rich blackness of the nylon is revealed with each successive set of sanding pads.
IMG_6074

IMG_6075

IMG_6081

IMG_6082
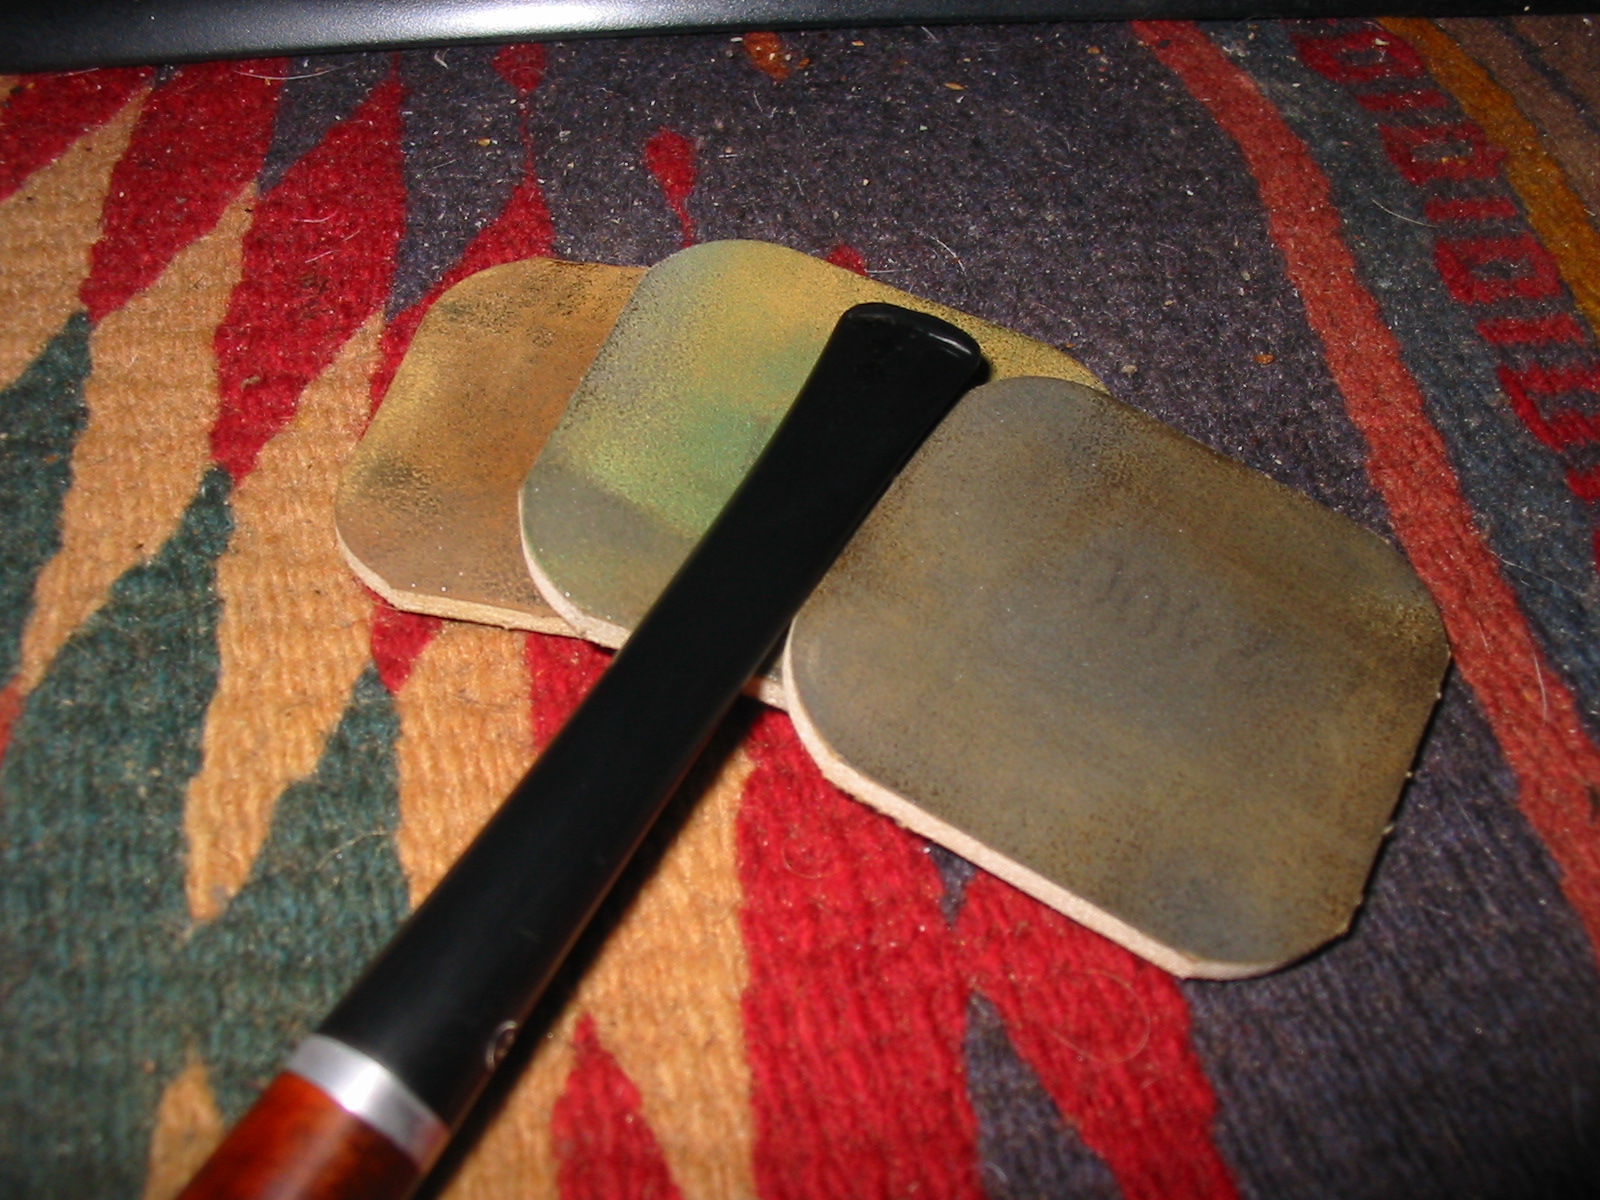
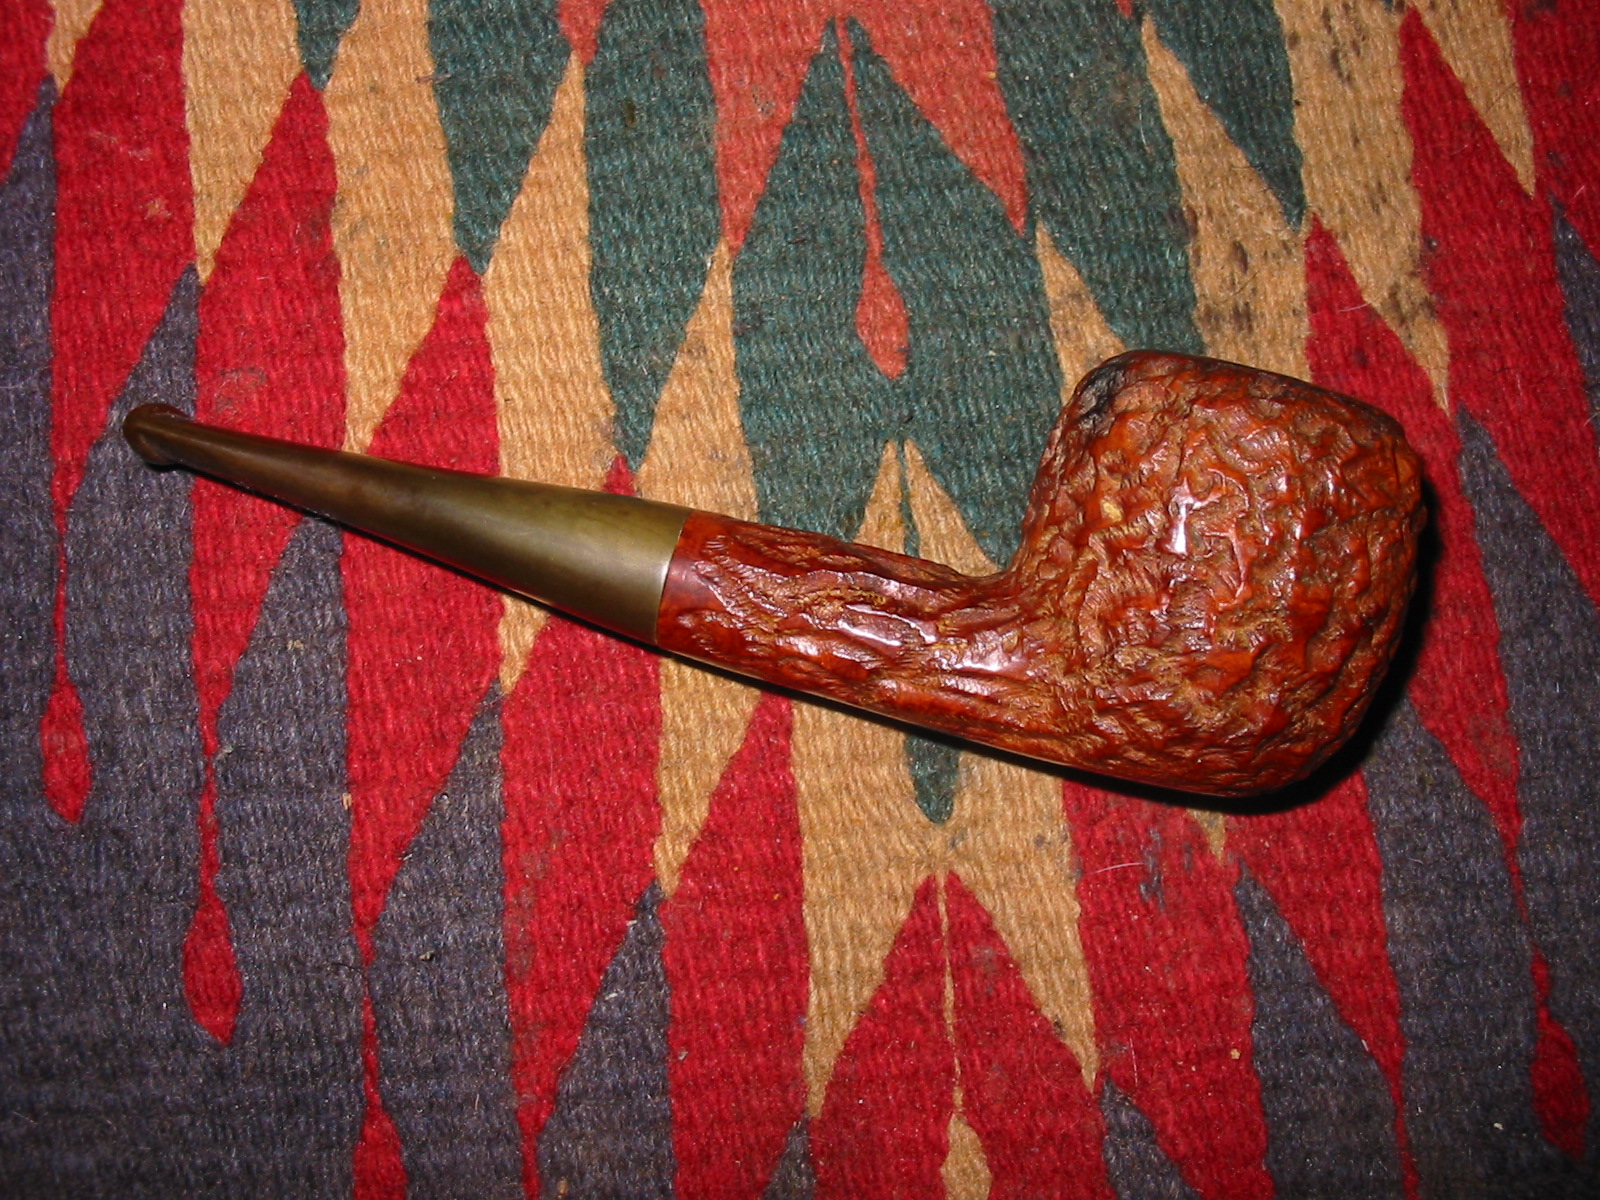
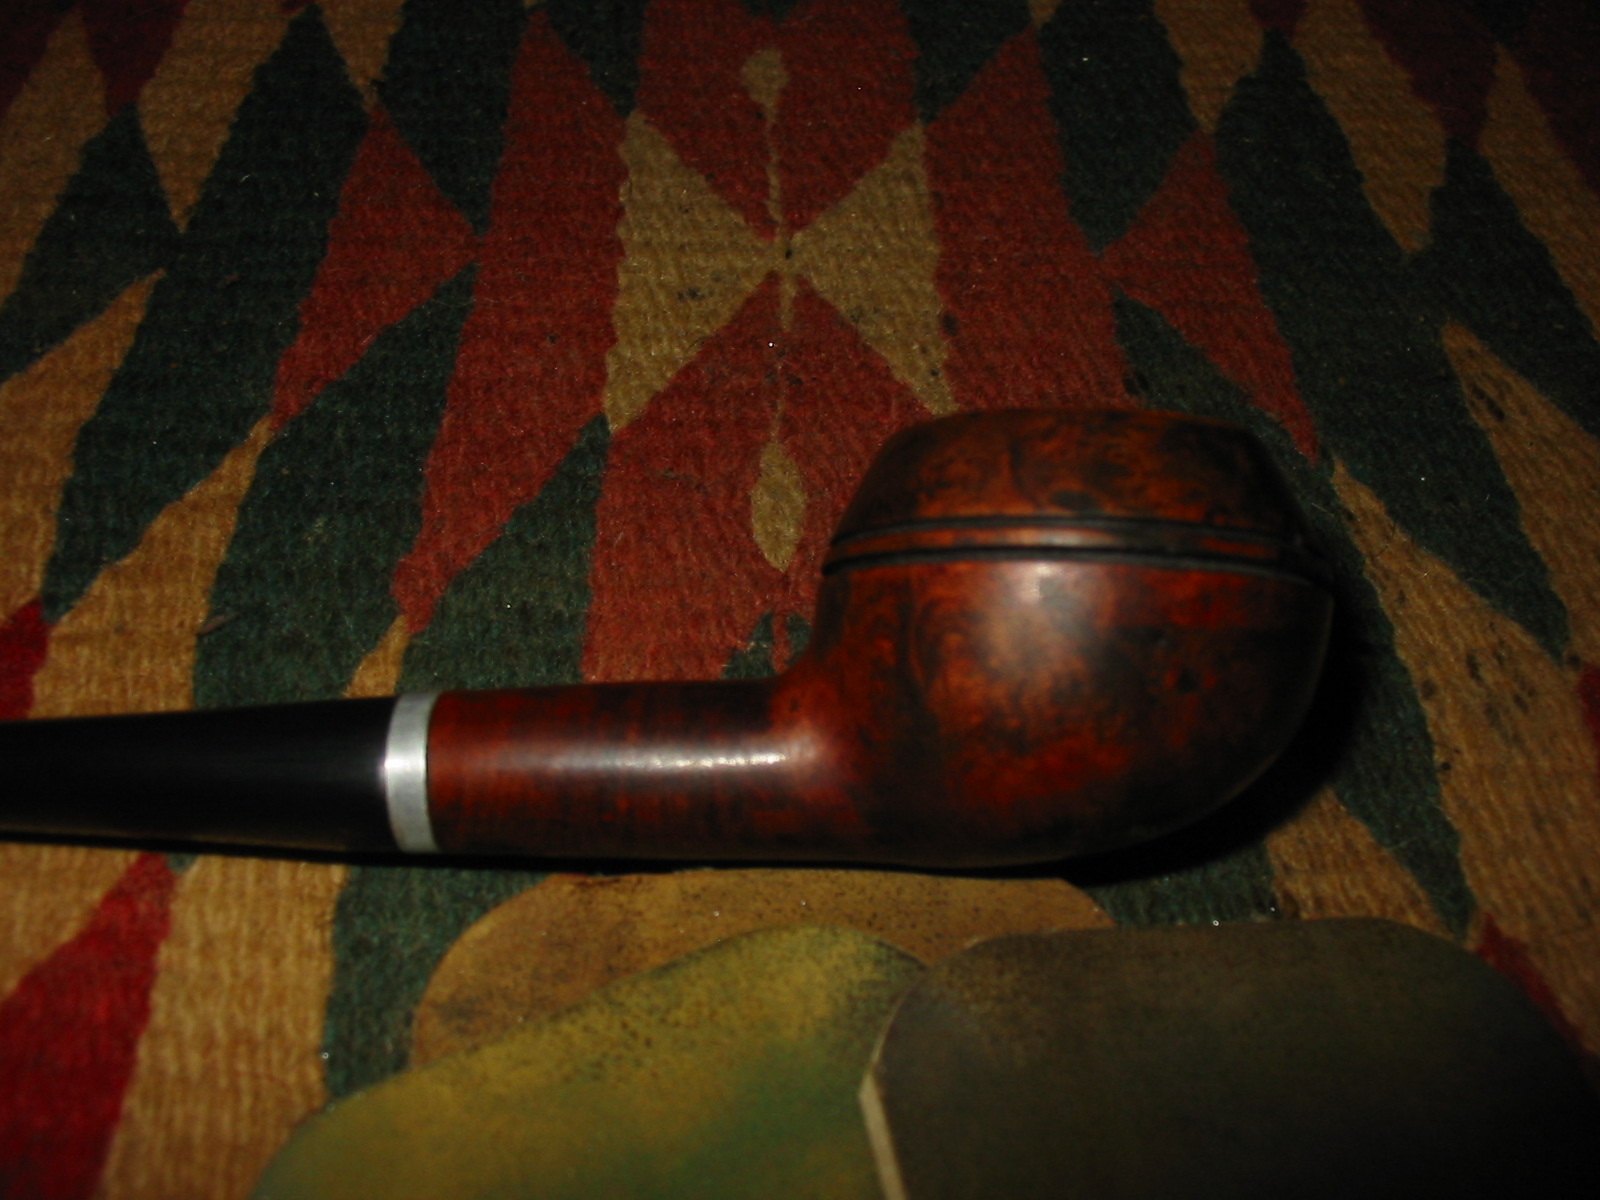
When I finished sanding I rubbed the stem down with Obsidian Oil and then gave it multiple coats of Paragon Wax and hand buffed it. I reinserted it in the shank and gave the entire pipe a light buff with White Diamond and then gave the bowl multiple coats of carnauba wax. I am very careful with nylon stems on the buffer after having several of them damaged by the heat of the wheel and having to start over. I have learned to hand buff the stems and if I am using the wheel at all with them to do it lightly and quickly. The finished pipe is pictured below. It is as good as new and ready to provide a good smoke to the next pipeman who carries on the trust.
IMG_6086

IMG_6088

IMG_6089

IMG_6090

A “King’s Imperial” Opera Pipe Reborn


Blog by Steve Laug

Looking over my latest box of pipes that I picked up at an antique mall in Edmonton, I chose to work on one that did not need to be restemmed and had a bit of a mystery attached to it. In the photo below it on the right side just above the batch of stems that were included in the purchase. It was hard to read the stamping while I was in the shop as I had forgotten to bring along a loop to examine it but I could read Made in London England stamped on the underside of the shank near the stem. It was priced at $20 which I figured it was worth in this condition so I added it to the lot.
Pipe finds2
When I got home I looked at it more closely under a magnifier and saw that the stamping read “King’s Imperial” Made in London England. The pipe was rusticated in an identifiable manner that I had seen on several pipes before so it looked promising. The finish was actually far rougher than it appears in the photos below. The stain was gone in many of the high spots and the low spots in the rustication were also pretty raw briar. There were two burn marks on the top back side and front side of the bowl that had darkened, though they were not scorched and rough. There was also a rough place on the left side bottom front of the bowl where it looked as if it had been knocked about. These marks would make it unlikely that I would be able to stain the bowl a natural tan colour. The bowl was oval both inside and outside. The rim had some scorching and darkening. It had been reamed in the centre of the oval but both ends were still caked and needed to be cleaned. The stem was oxidized and had a shallow tooth mark on the topside near the button.
IMG_5992

IMG_5993

IMG_5994

IMG_5999
I have a sharp bladed Japanese letter opener that was a gift from my grandfather that worked very well to ream the oval ends of the bowl. I proceeded to slowly scrape away the buildup of carbon and took the cake back to the bare briar.
IMG_6000

IMG_6001
After reaming the bowl I dropped the bowl into an alcohol bath to soak for an hour and then scrubbed it with a brass bristle tire brush to clean up the surface of the bowl and to scrub the burned areas on the bowl. I also put the stem into an Oxyclean bath to soften the oxidation on the vulcanite so that it would clean up more easily when removed.
IMG_6003
After an hour of soaking the alcohol bath I took the bowl out and dried it off with cotton cloths. I scrubbed it with a soft bristle tooth brush to remove any remaining grit in the grooves of the finish and then dried it off again. I wiped the bowl down with acetone on cotton pads to remove stubborn areas of the old finish. I wanted the bowl clean and free of any remnant of the old finish before I was ready to restain the briar. I sanded the rim with a fine grit sanding sponge to clean off the softened tar buildup and wiped it down with the acetone as well. I used a dental pick to pick out grime that was stubbornly remaining in the grooves of the rustication. I finished by cleaning out the inside of the bowl and shank with clean isopropyl alcohol and cotton swabs until they came out clean.
IMG_6004

IMG_6005

IMG_6006
I decided to try and stain the pipe with a light brown stain – almost tan coloured to mimic the original appearance of the bowl. I mixed one part dark brown stain with 3 parts isopropyl alcohol to make a light brown wash. I applied it to the rusticated surface with cotton swabs and flamed it once it was done. I restained it and reflamed it a second and third time to give it an even coverage.
IMG_6007

IMG_6008

IMG_6009

IMG_6010
Once it was dry I buffed it lightly with White Diamond to see where things stood. When I brought it back to the work table I took the following photos to give me a clearer picture of the look of the pipe. The burn marks were not covered and in fact seem to be highlighted by the light stain. I set the bowl aside for a while to think about what I would do with it.
IMG_6012

IMG_6013

IMG_6014

IMG_6015
With the bowl set aside I turned my attention to the stem. I took it out of the Oxyclean bath and dried it off. The next two photos show the top and bottom of the stem. The oxidation is even and soft over the surface of the stem. The Oxy does not remove oxidation on stems but merely serves to soften it. When I dried it off with the cloth that it is pictured on it took a lot of oxidation off the surface.
IMG_6017

IMG_6018
I decided to use Bar Keepers Friend on this stem. I wet the stem with a wet cotton pad and then sprinkled the surface with the powder. I scrubbed it with the wet pad and a dry pad to scour off the oxidation. The next three photos show how well the Bar Keepers Friend work to remove most of the oxidation. There were some stubborn spots around the shank and the button that would take more work, but it was definitely cleaning up well.
IMG_6019

IMG_6020

IMG_6021
My tendency in cleaning up a pipe is to work on the bowl for a bit, set it aside and work on the stem and cogitate about what I plan to do to address issues on the bowl. In this case while I worked on the stem I was thinking about how to address the darkened marks on the bowl. The light stain was not working and a darker brown would not work either. I set aside the stem and wrote a quick post on two of the forums I am part of and asked about the brand. I had not heard of the “King’s Imperial” brand before and decided to ask about it. A friend on one of them did not have information on the brand but posted a couple of photos of a Hardcastle Sandhewn pipe that he had refurbished to show similarities in the finish of my pipe. When I looked at his pipe I saw the solution to taking care of the burn marks and darkening. Here are a couple of photos of the Sandhewn pipe.
sandhewn1

sandhewn2
Hardcastle had used a contrast stain on this pipe that made the grooves of the rustication black and the high spots on the briar were brown. There was my solution staring me in the face. I set up my staining cloth and put the bowl on the cloth. I applied the black aniline stain and flamed it to set it in the grooves. Once it was dry I buffed it with Red Tripoli to highlight the high points on the rustication and remove the black stain from those areas. The photos below show the pipe after the staining and the buffing. The contrast stain worked well on the burned and darkened areas of the bowl.
IMG_6022

IMG_6023

IMG_6024

IMG_6025
The contrast was still not quite what I wanted as it was too dark for my liking. I wiped the bowl down with isopropyl alcohol on cotton pads to remove more of the black from the high spots on the bowl and shank. I also wiped down the smooth rim area as I wanted it to match the high spots on the bowl.
IMG_6026

IMG_6029

IMG_6030

IMG_6031
I took the pipe to the buffer again and buffed the bowl and stem with Tripoli and then with White Diamond to give it a shine. The contrast now was exactly what I was aiming for with the staining so I was pleased with the results.
IMG_6034

IMG_6035

IMG_6036

IMG_6039
I set the bowl aside and worked some more on the stem. I sanded it with a fine grit sanding sponge to remove the stubborn spots of oxidation at the button and the shank end. I then used my usual array of micromesh sanding pads – wet sanding with 1500-2400 grit pads and dry sanding with 3200-12000 grit pads. Each photo below shows the progressive deepening of the shine and the blackness of the vulcanite.
IMG_6041

IMG_6042

IMG_6043
I rubbed the stem down with Obsidian Oil and when it was dry buffed the pipe and the stem with White Diamond. I was careful in my buffing around the stamping on the bottom of the shank as I did not want to further damage the stamping. I applied multiple coats of carnauba wax to the bowl (lightly touching it against the buffing pad so that it would not cake up in the rustication) and the stem. The finished pipe is pictured below.
IMG_6044

IMG_6045

IMG_6046

IMG_6047
This morning while I worked on the pipe, I checked on the forums to see if there was anyone that had information on the brand. Bill, on Pipe Smokers Unleashed forum, had come across a photo online that had the same stamping but one additional line – Blakemar Briars. The stamping can be seen in the photo below. The “King’s Imperial” stamping was identical. My pipe was stamped Made in London England while this one said Made in England. The Blakemar Briars was the addition that gave the first clue.
T2eC16hy4FIZzOrmvBSc3d8PQ60_57
After reading this I sent an email to Mike Billington at Blakemar Briars to ask about the brand. He replied with the following email.

Hi Steve
It is possible that the “King’s Imperial” pipe was made here, it depends on the age to some extent. My Uncle used to make pipes for John Redman Ltd during the 60’s and 70’s and early 80’s and I continued to do so until the early nineties. The King’s Imperial range was one of John Redmans pipe ranges during that time, but Redmans also had them made by other pipe makers; they also did some pipe making “in house”- so while it is possible that the pipe was made here, it is not definite. From around 1992 until 2005 (I think), Redman’s brands were taken over by Gerald Grudgings of Loughborough in Leicestershire and during that time any Kings Imperial produced were definitely made here.

My memories only go back to the early 70’s but if you send a photo, I can tell you if it seems familiar to me

thanks
Mike

I immediately sent him photos of the pipe as it was when I found it, showing the stamping on the bowl. I am waiting to hear back from him. But I found it interesting to learn that John Redman Ltd had Blakemar Briars make pipes for them during the 60’s, 70’s and 80’s and into the early 90’s. To find out that King’s Imperial was a range of Redman pipes during that time was also invaluable. Some of the other historical notes of interest in Mike’s email were that Redman’s had others making pipes for them and that they also did pipe making in house. I am hoping that Mike can remember and give a bit of certainty to the dating on this old opera pipe. I will update this post as I gather new information.