Daily Archives: January 10, 2014

Topping and Refinishing an Evident Super Billiard


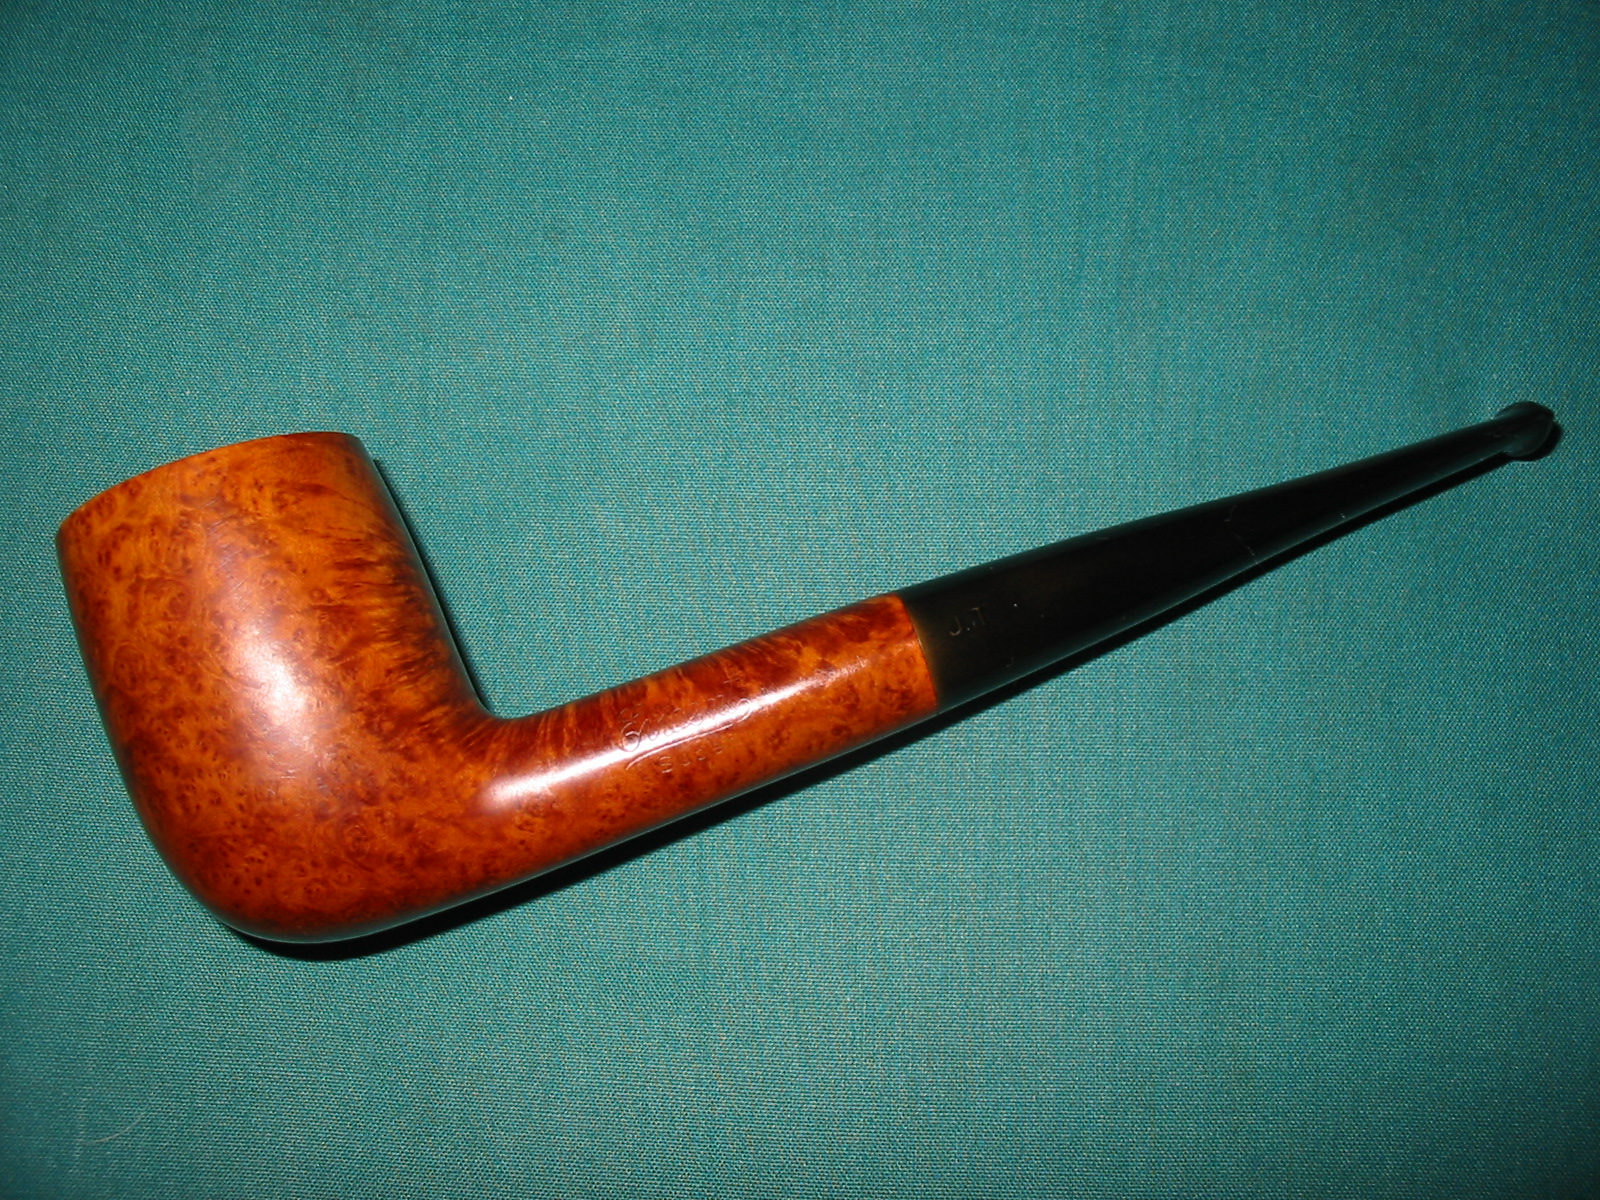
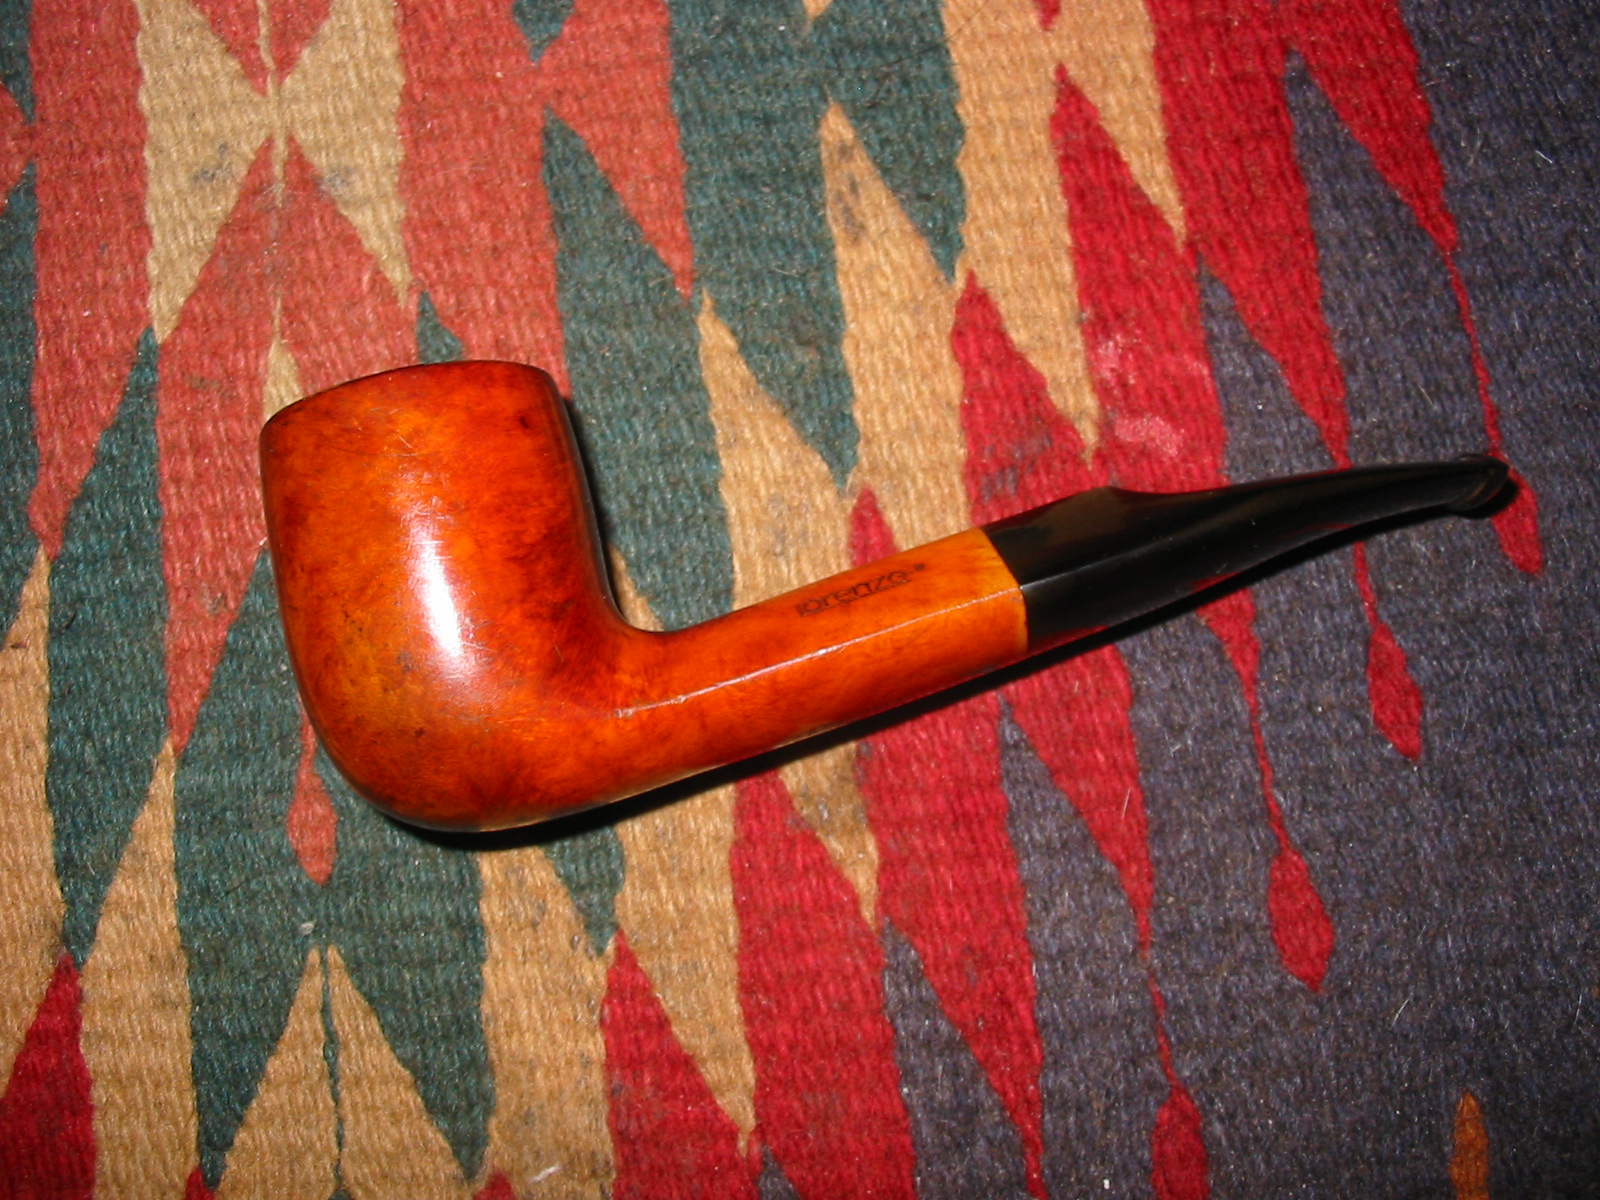
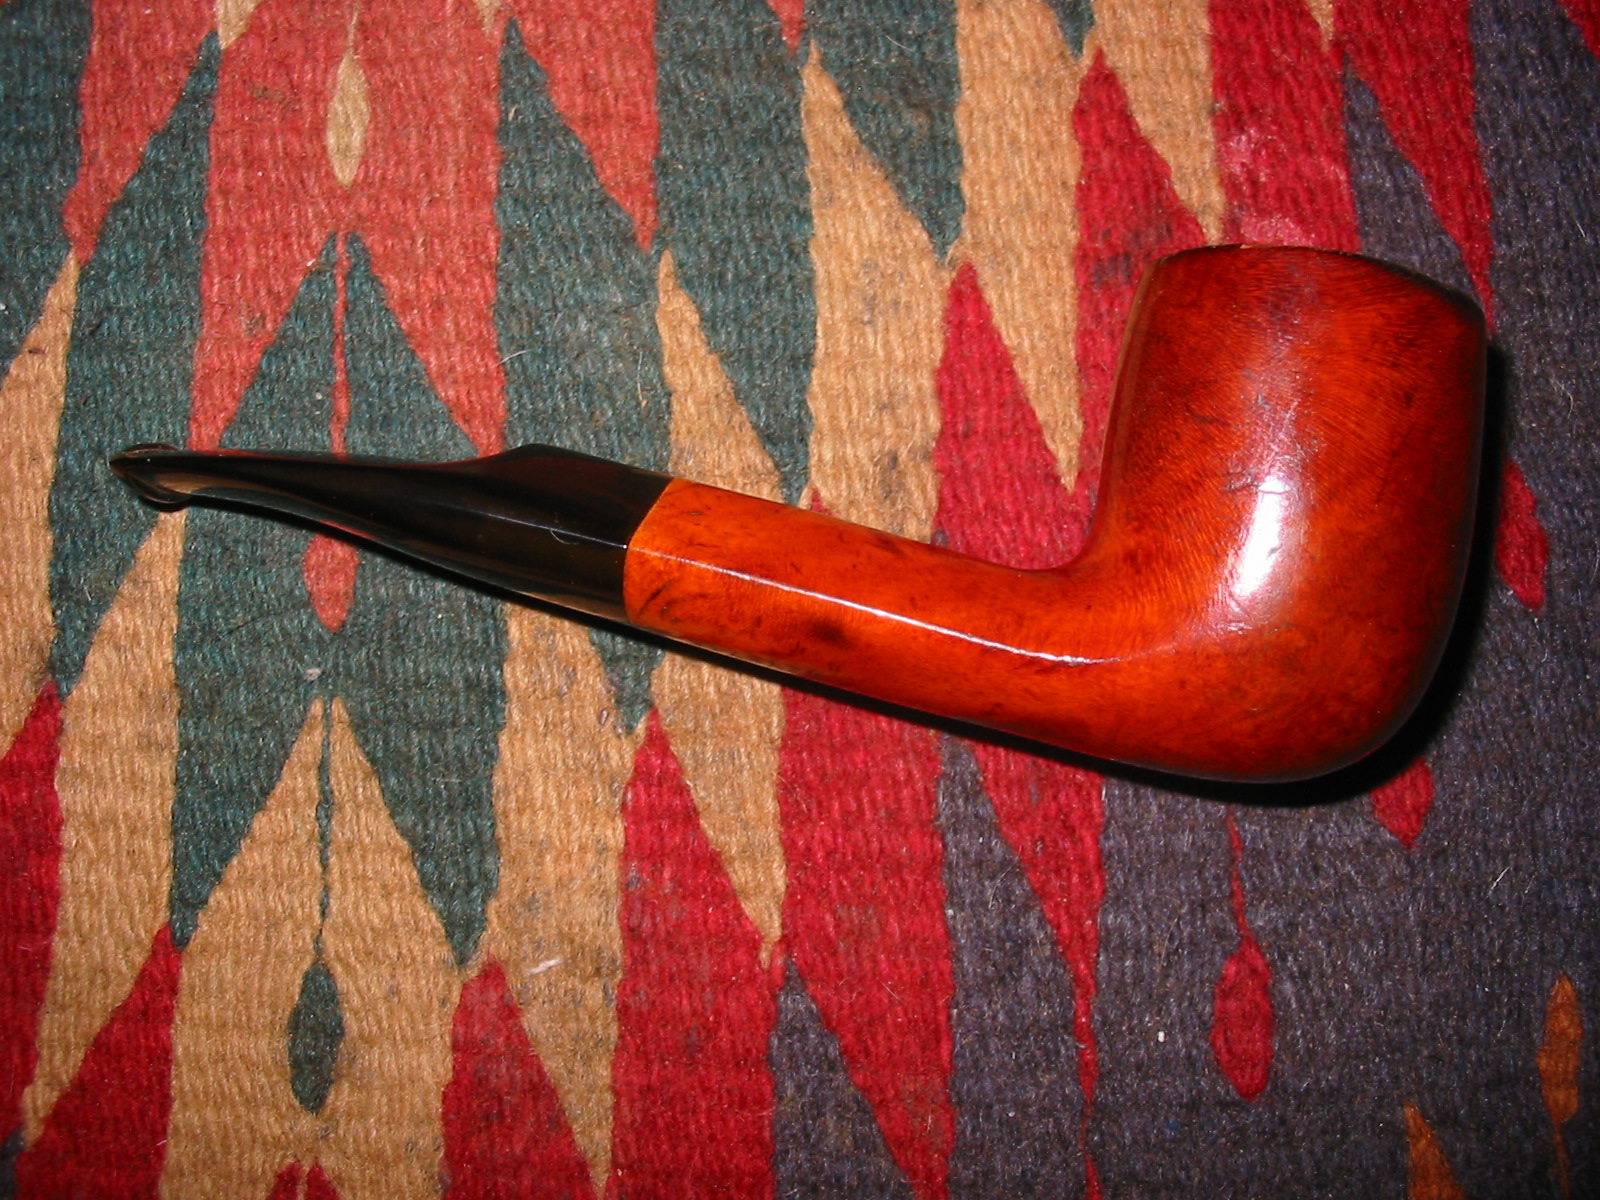
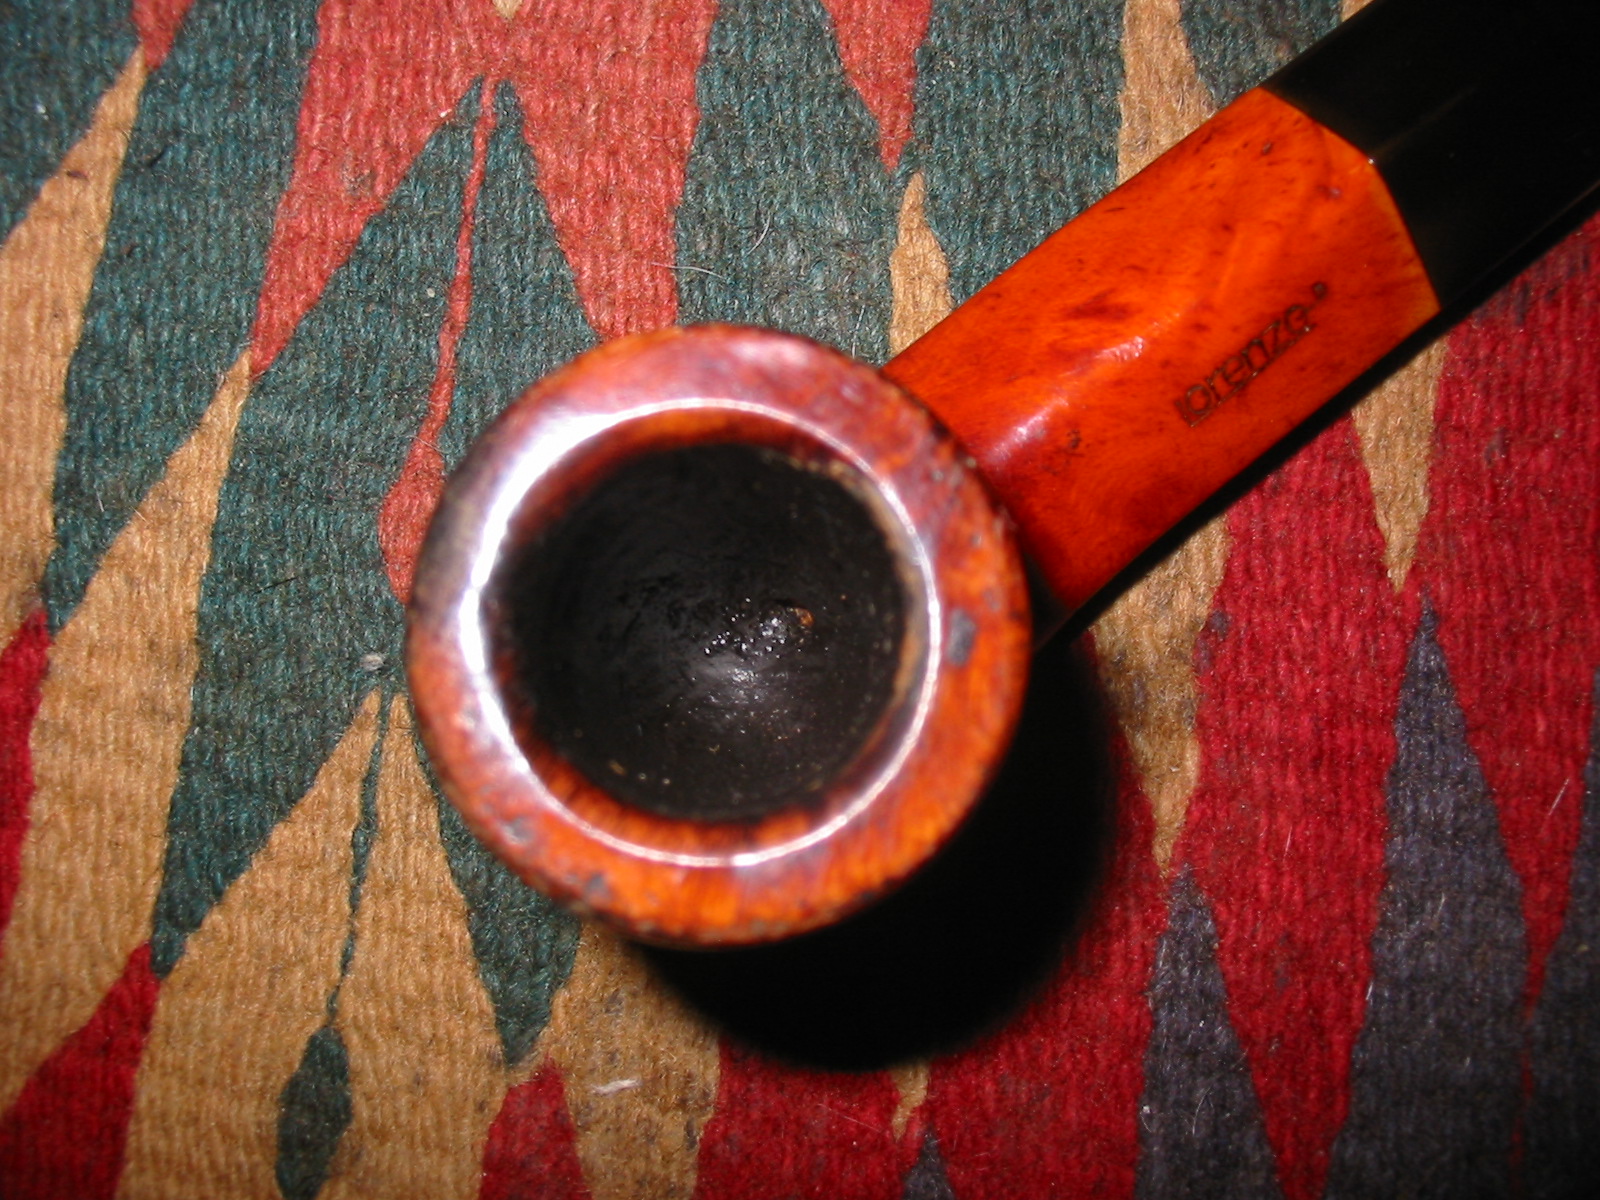
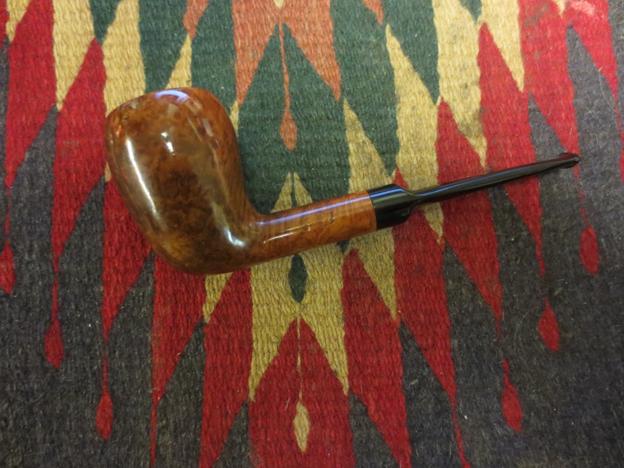
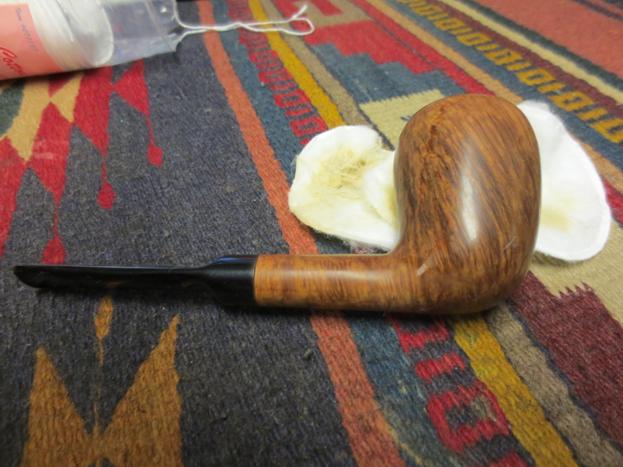
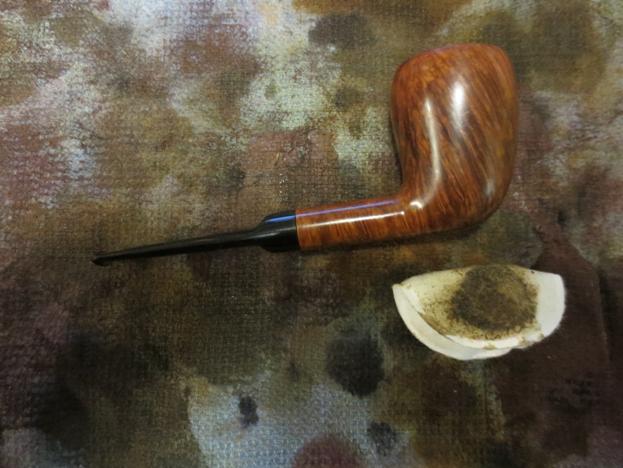
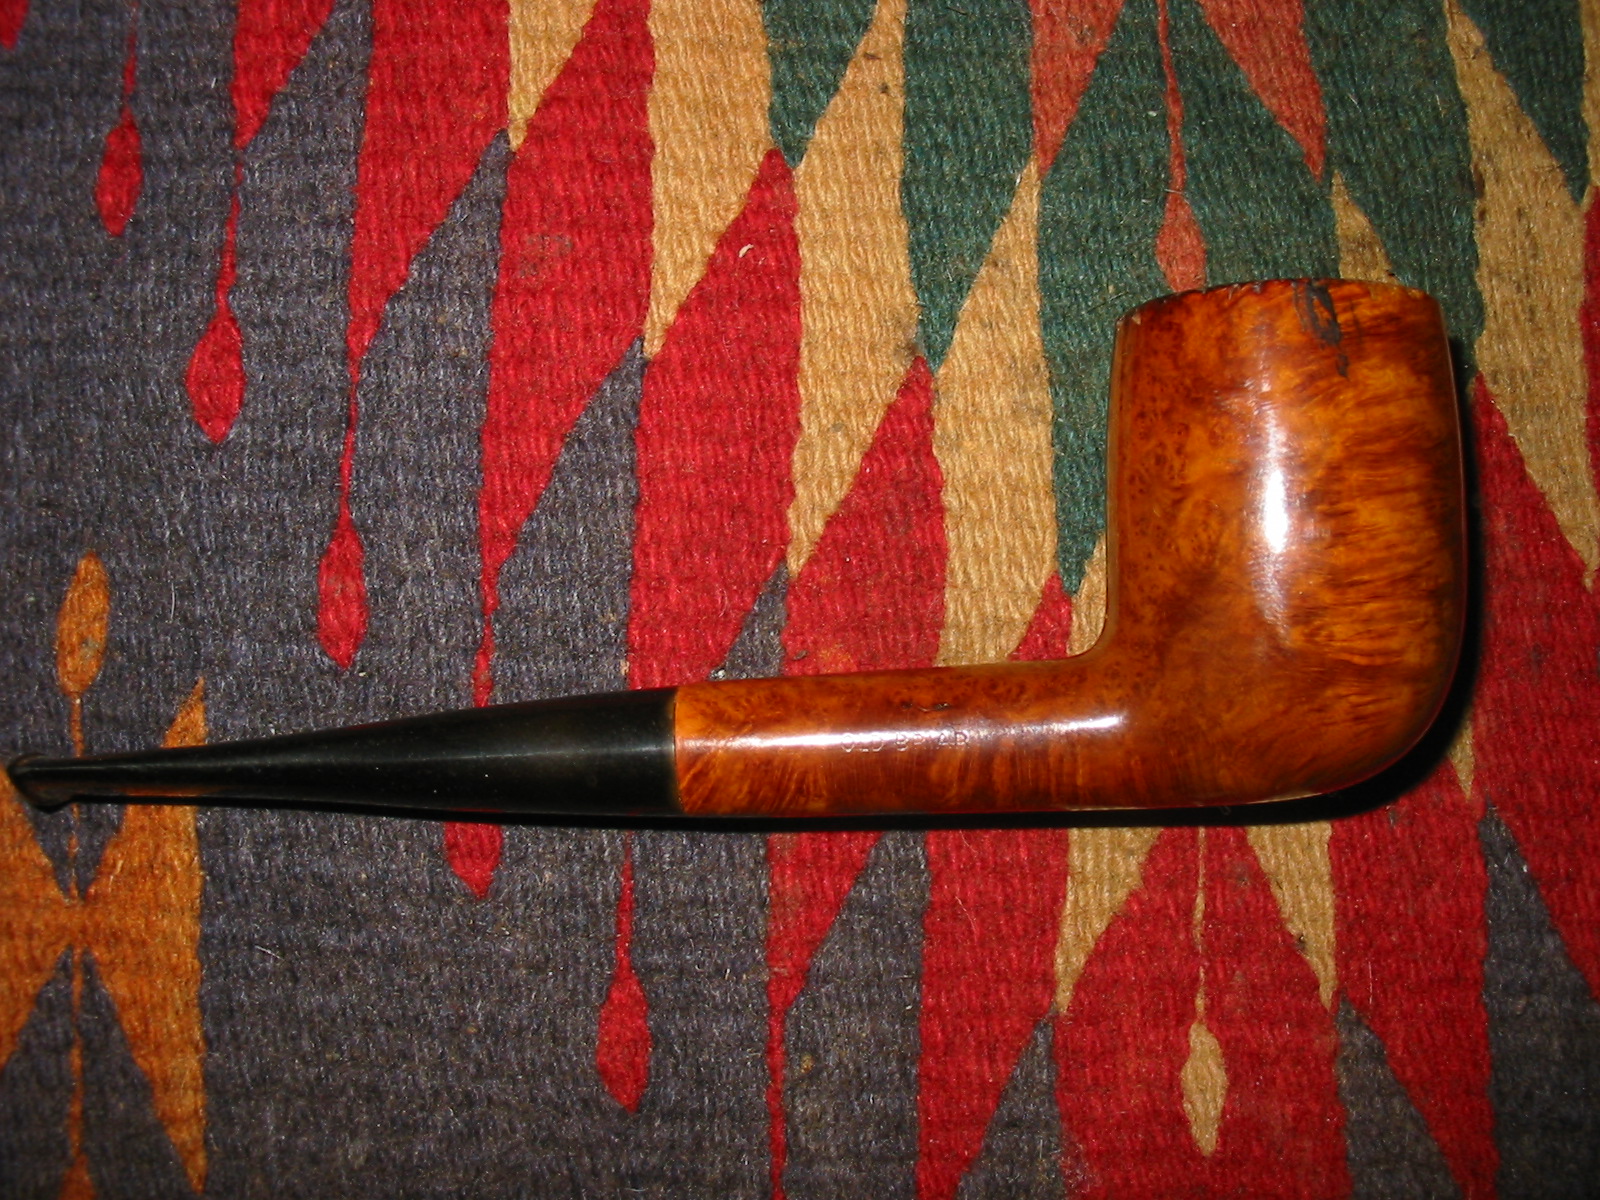
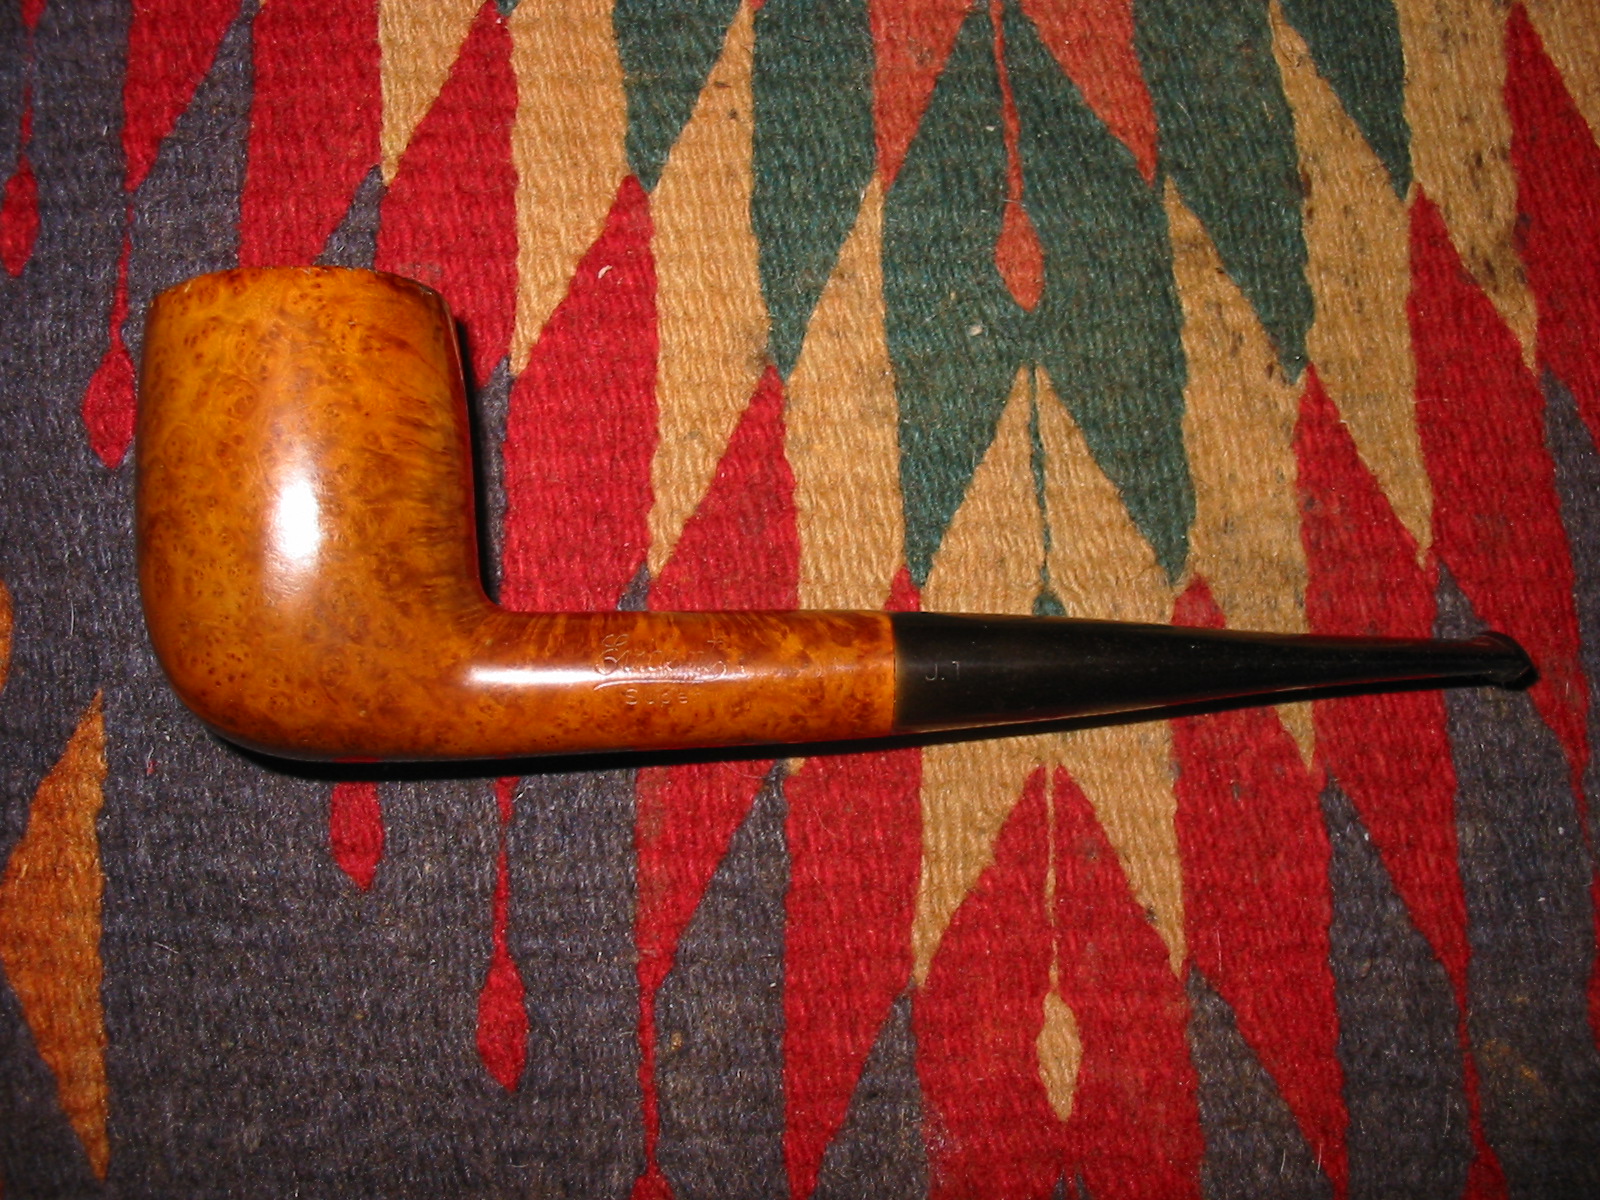
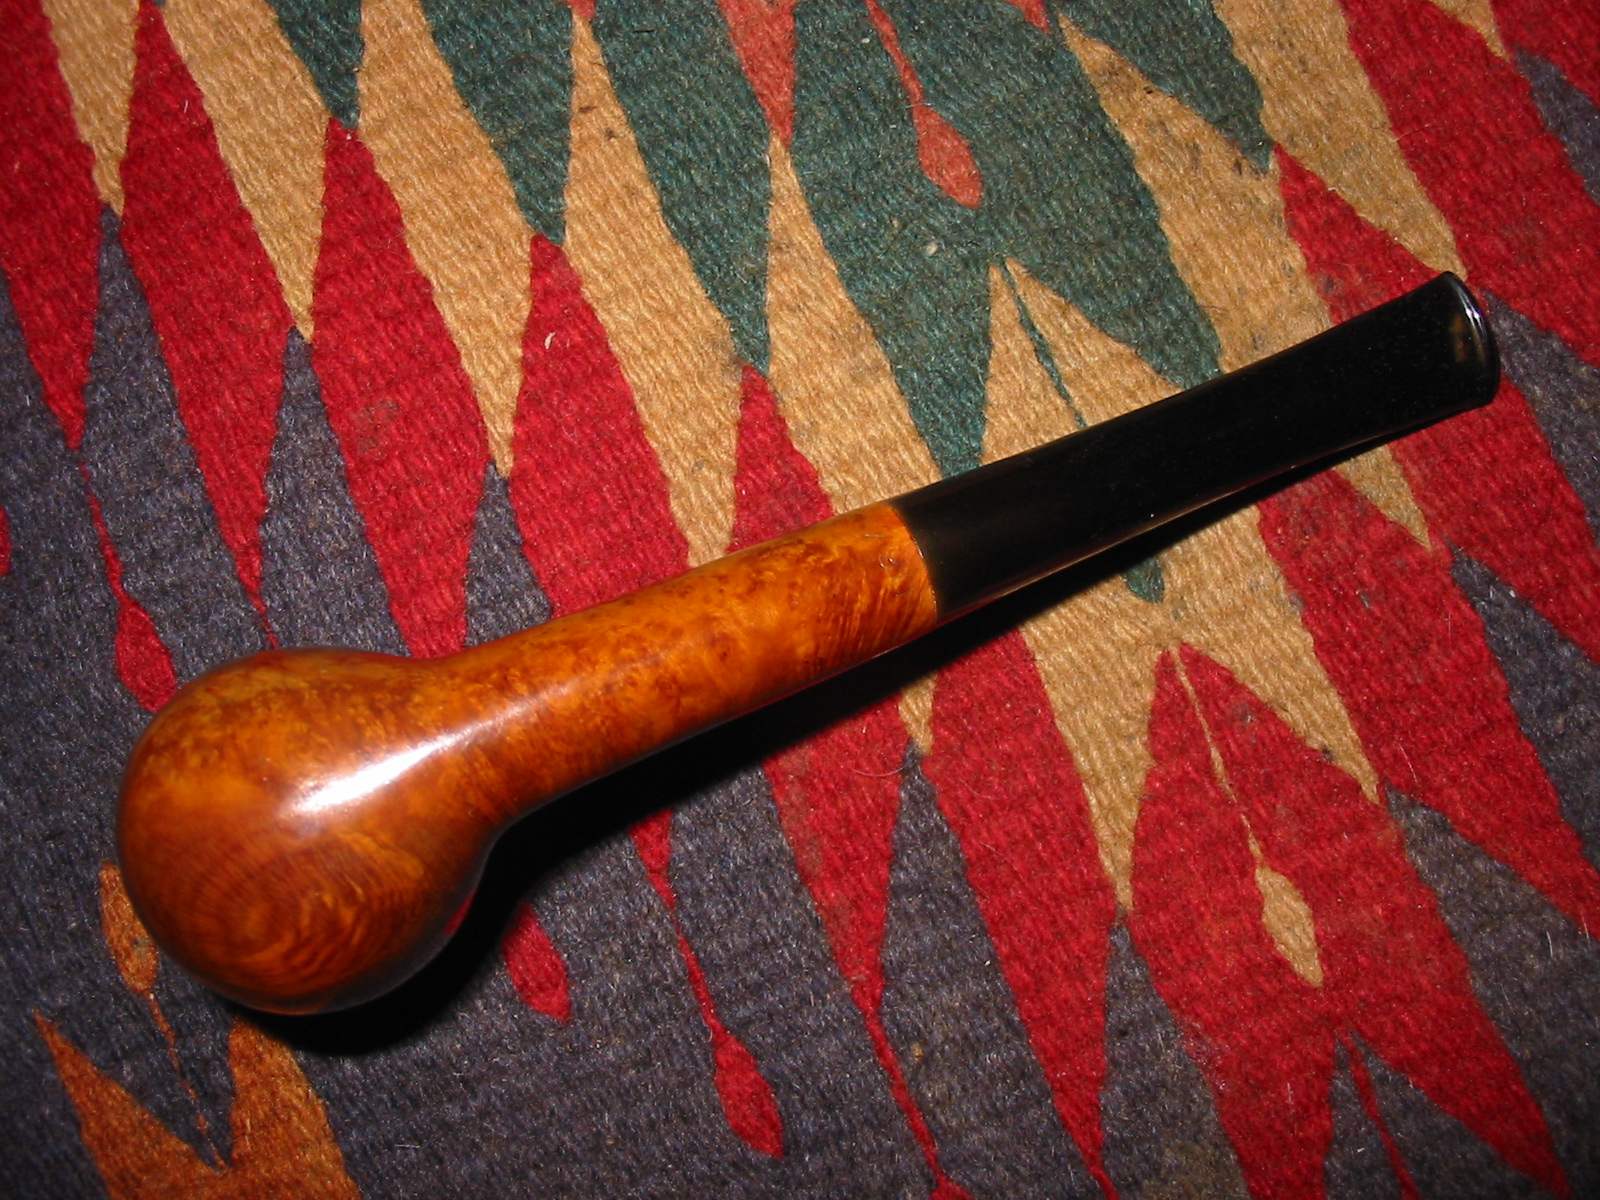
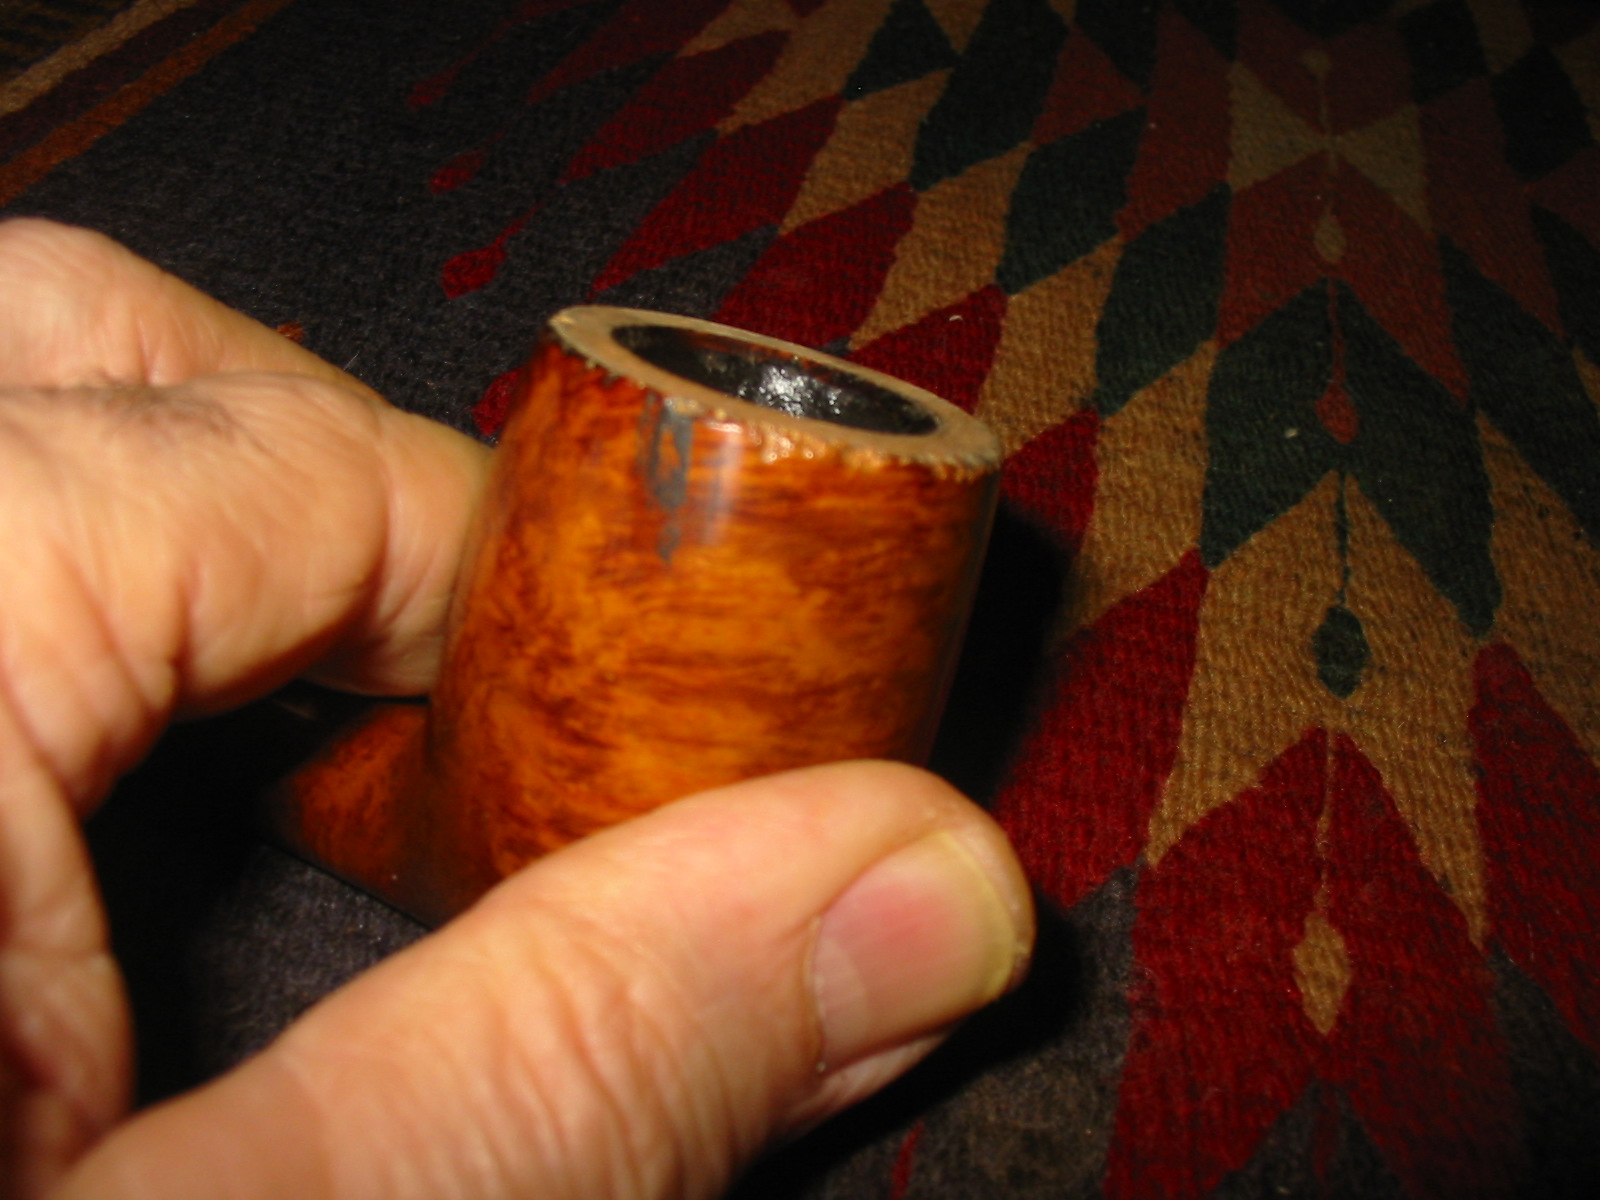
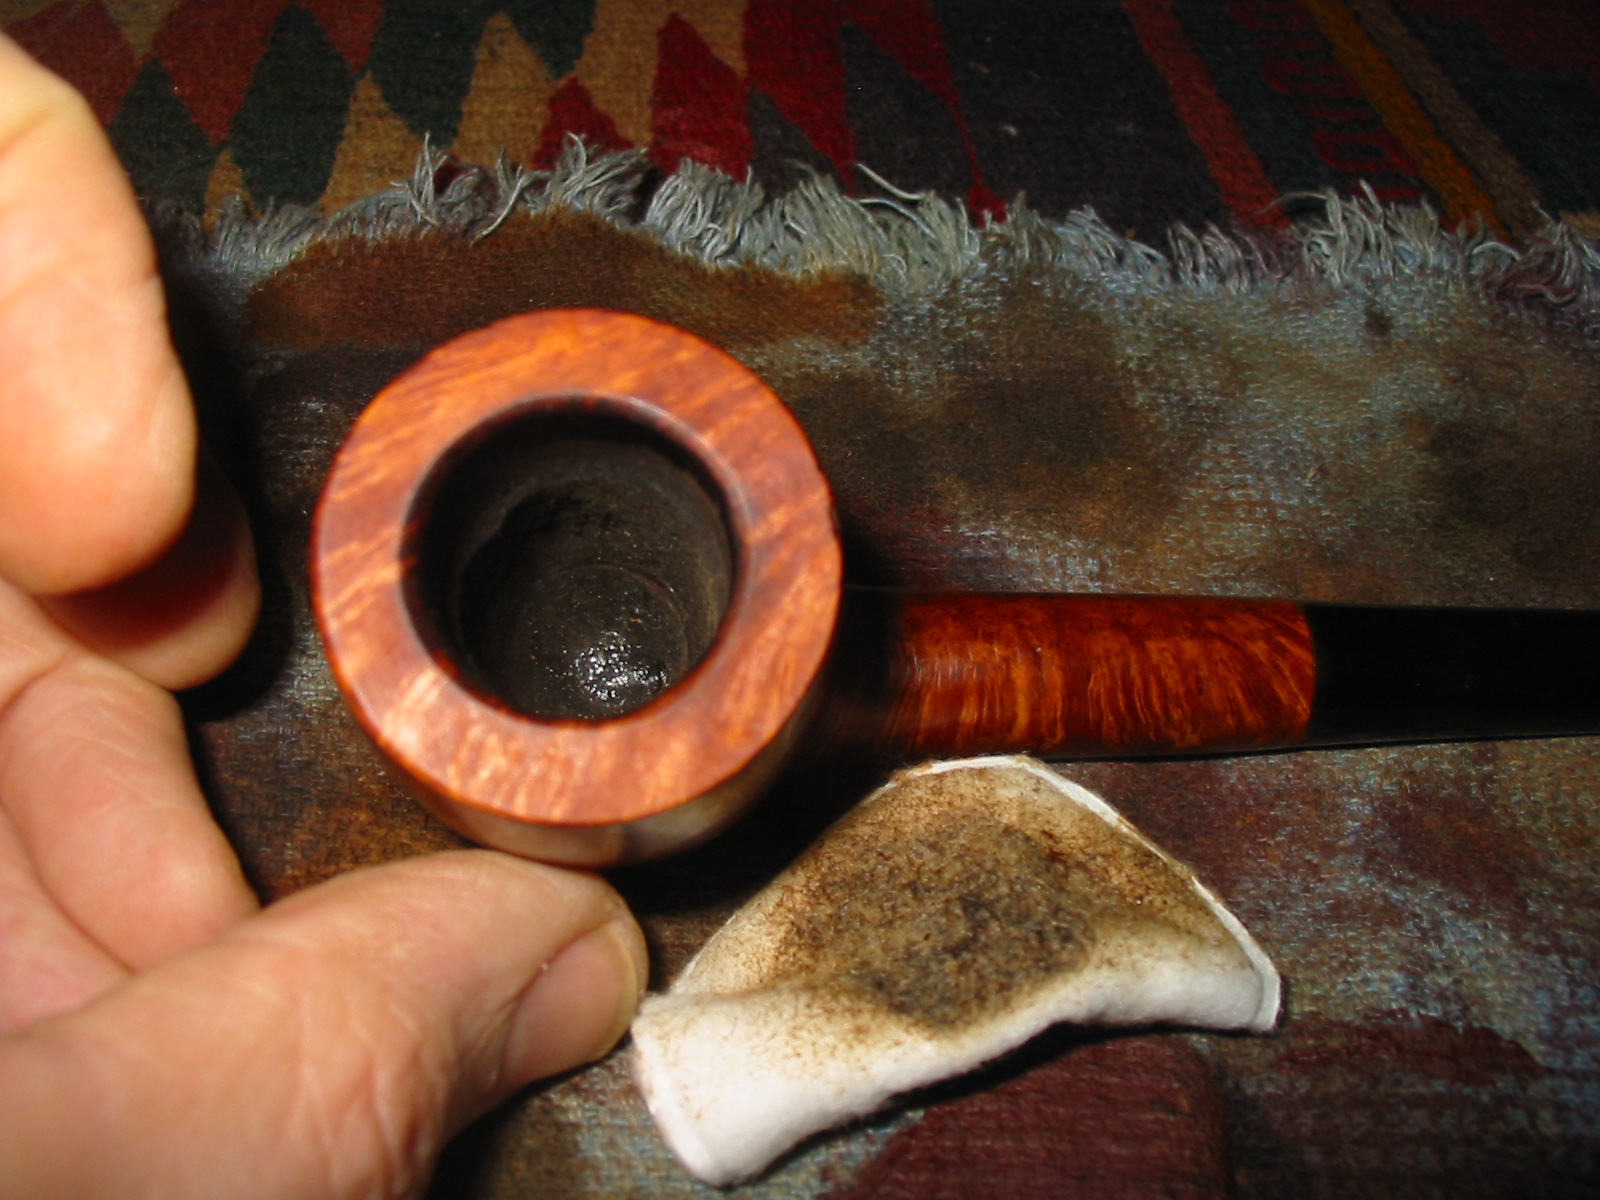
This is yet another of the pipes from the lot of Vancouver Pipe Club pipes that I have been working on. This is not a brand that I have ever heard of and I cannot find any information on the web regarding it. If anyone reading this has any information on the brand please leave a comment and give us a few clues. The pipe is stamped on the left side of the shank Evident in script over Super in block print. On the right side of the shank it is stamped Old Briar. On the underside of the shank next to the stem it is stamped 760. The finish was covered with the standard varnish and the bowl coated with the black rubberized bowl coating. The rim was in very rough shape – the inner bevel was in good shape with minor nicks to it but the outer edge of the bowl had been hammered all around the top. There was also spillage from the bowl coating on the side of the bowl on the back and right side. The stem was clean other than some very minimal tooth chatter near the button. It seems to have a light stamp on the left side – the letters J.T.
IMG_4146

IMG_4147

IMG_4148

IMG_4149

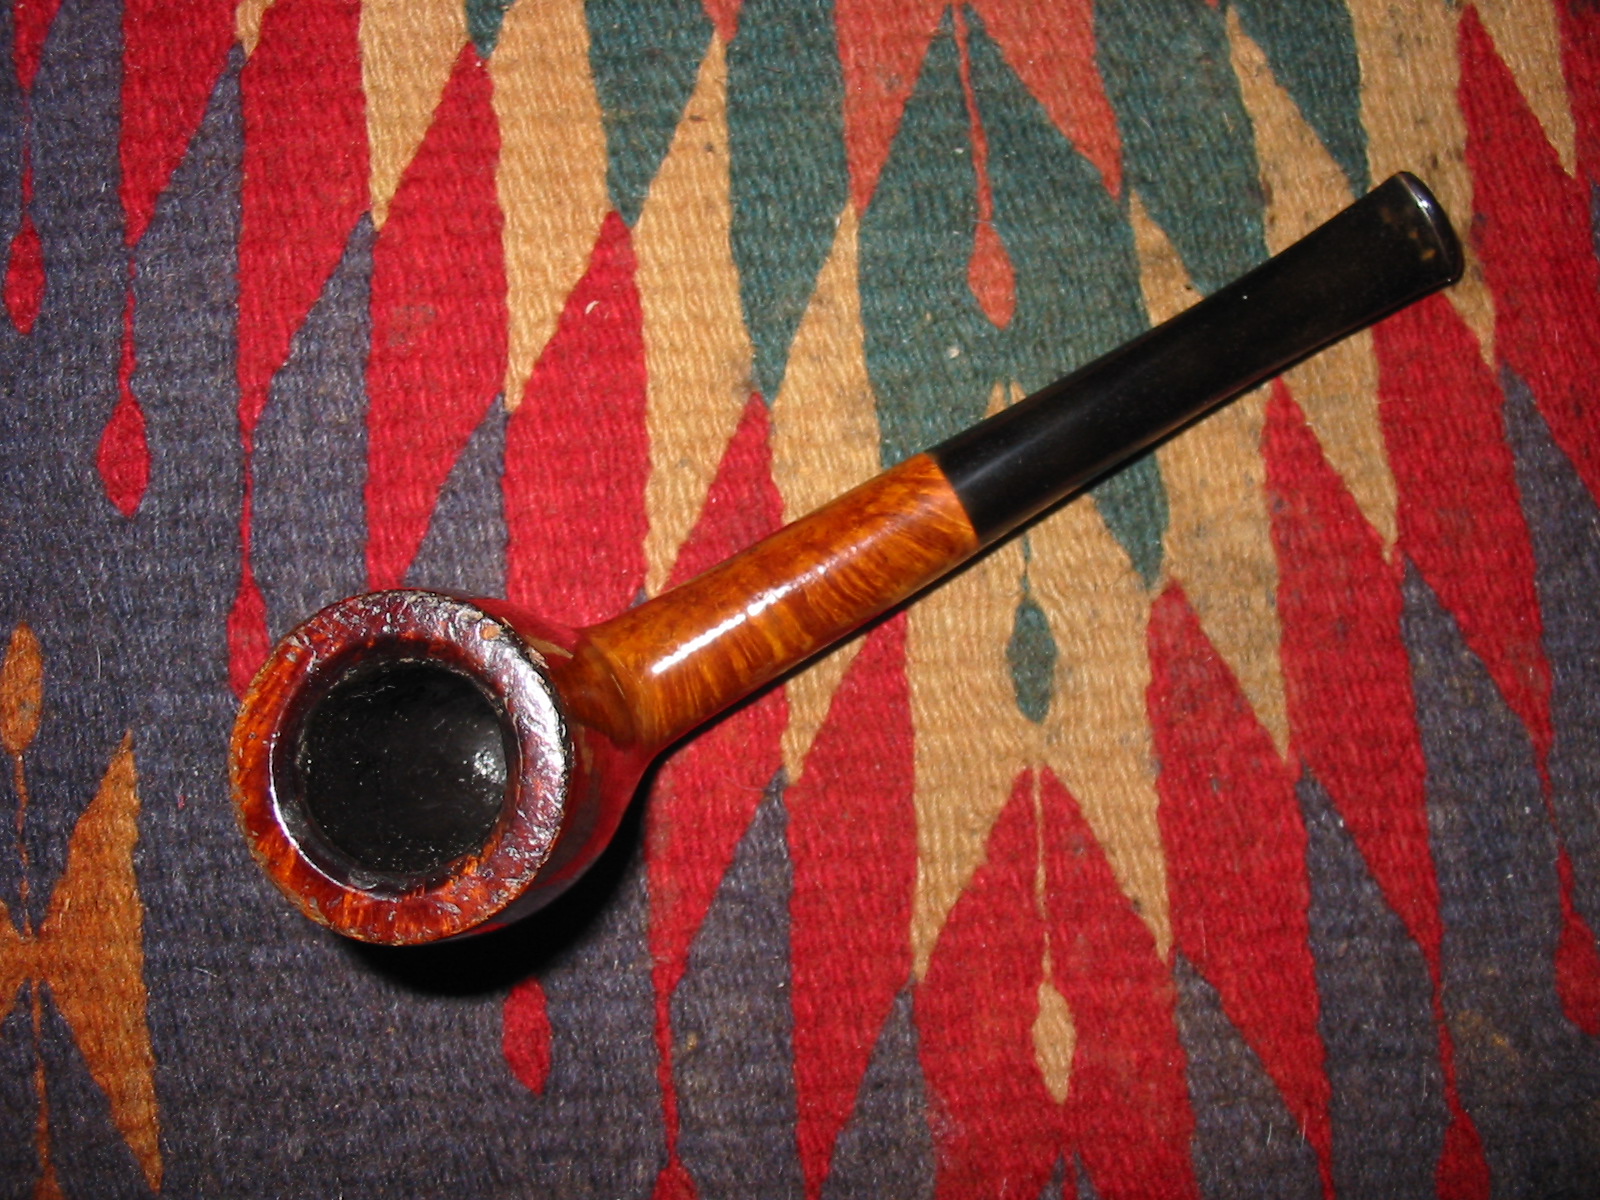
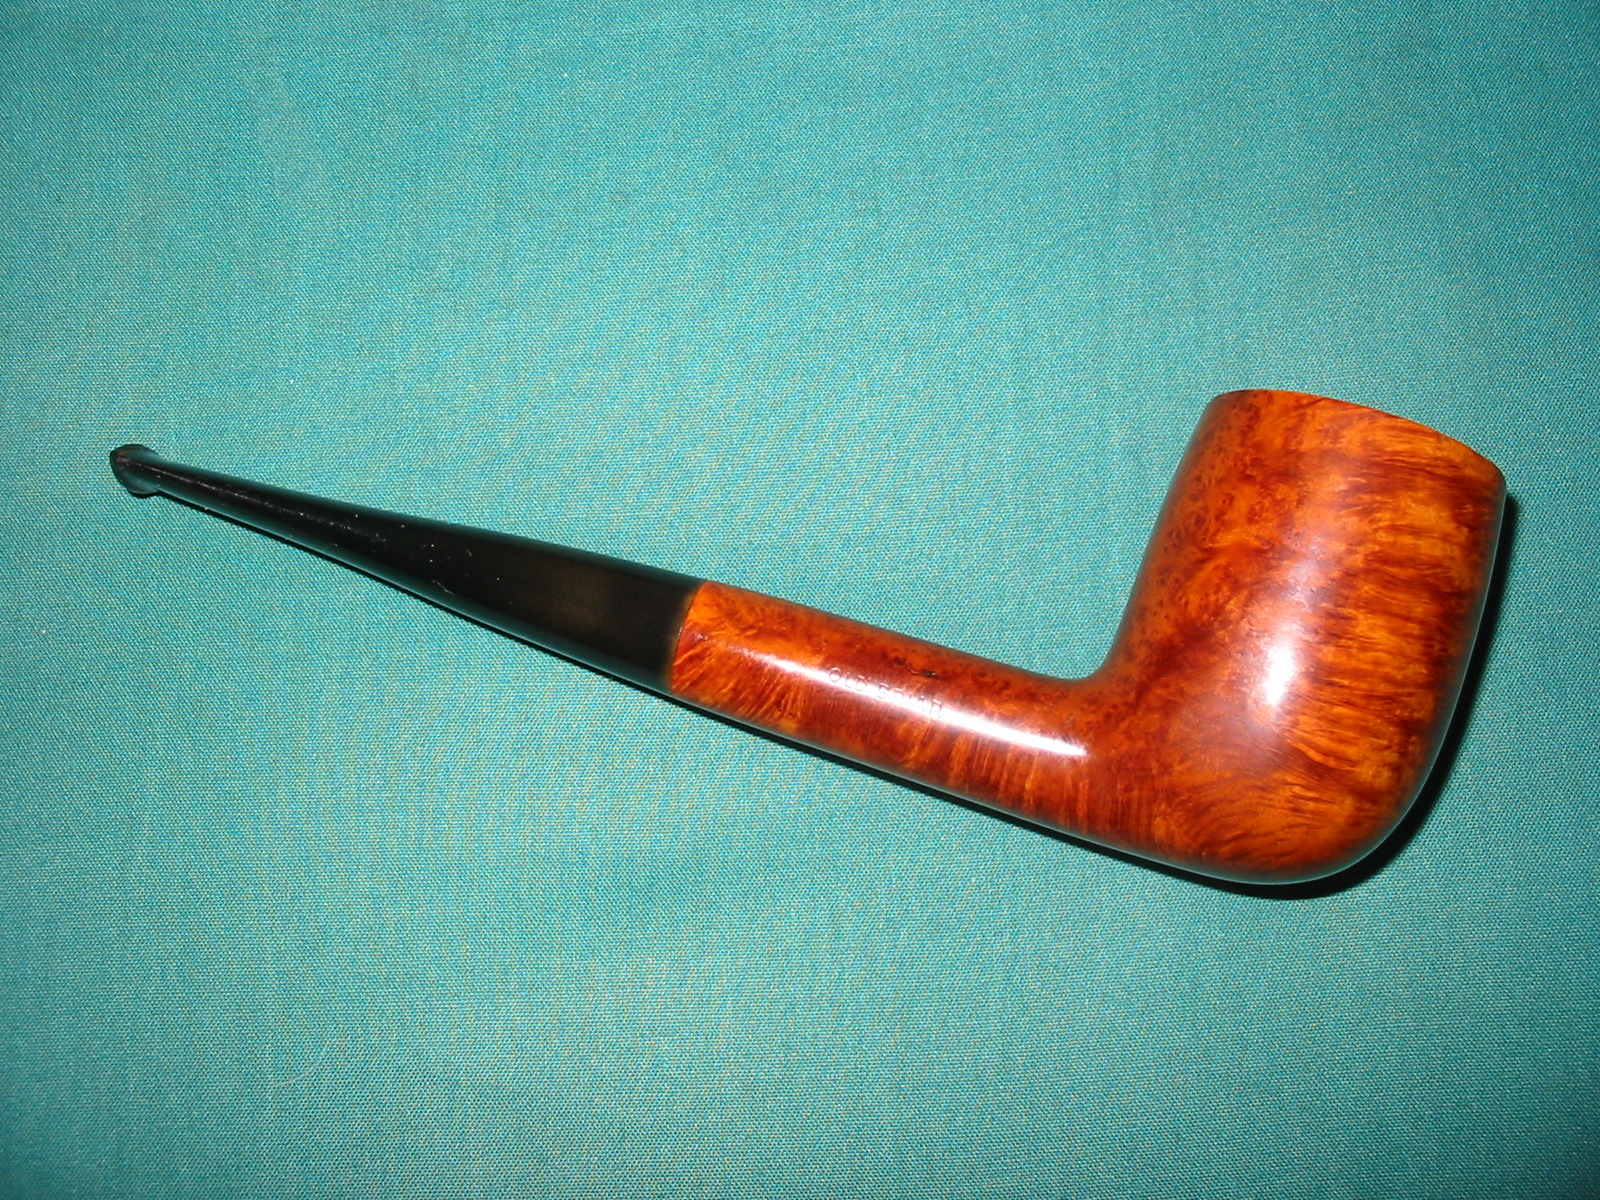
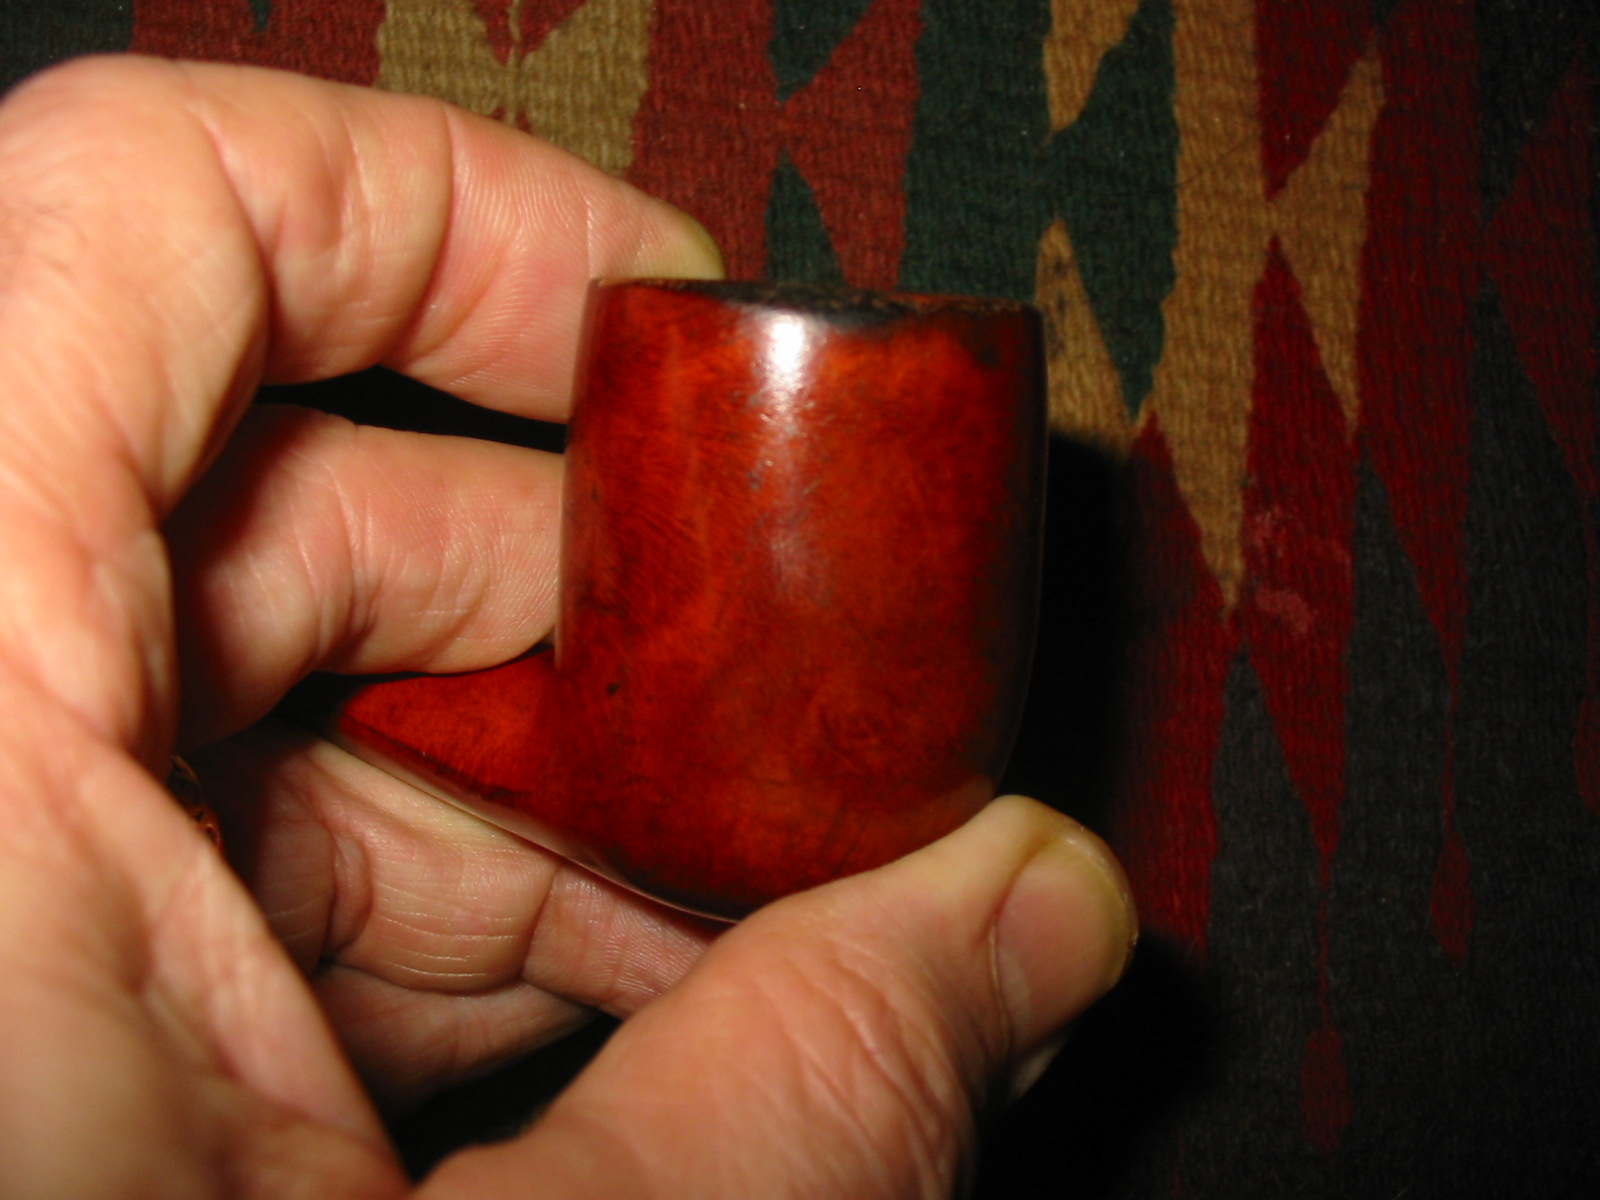
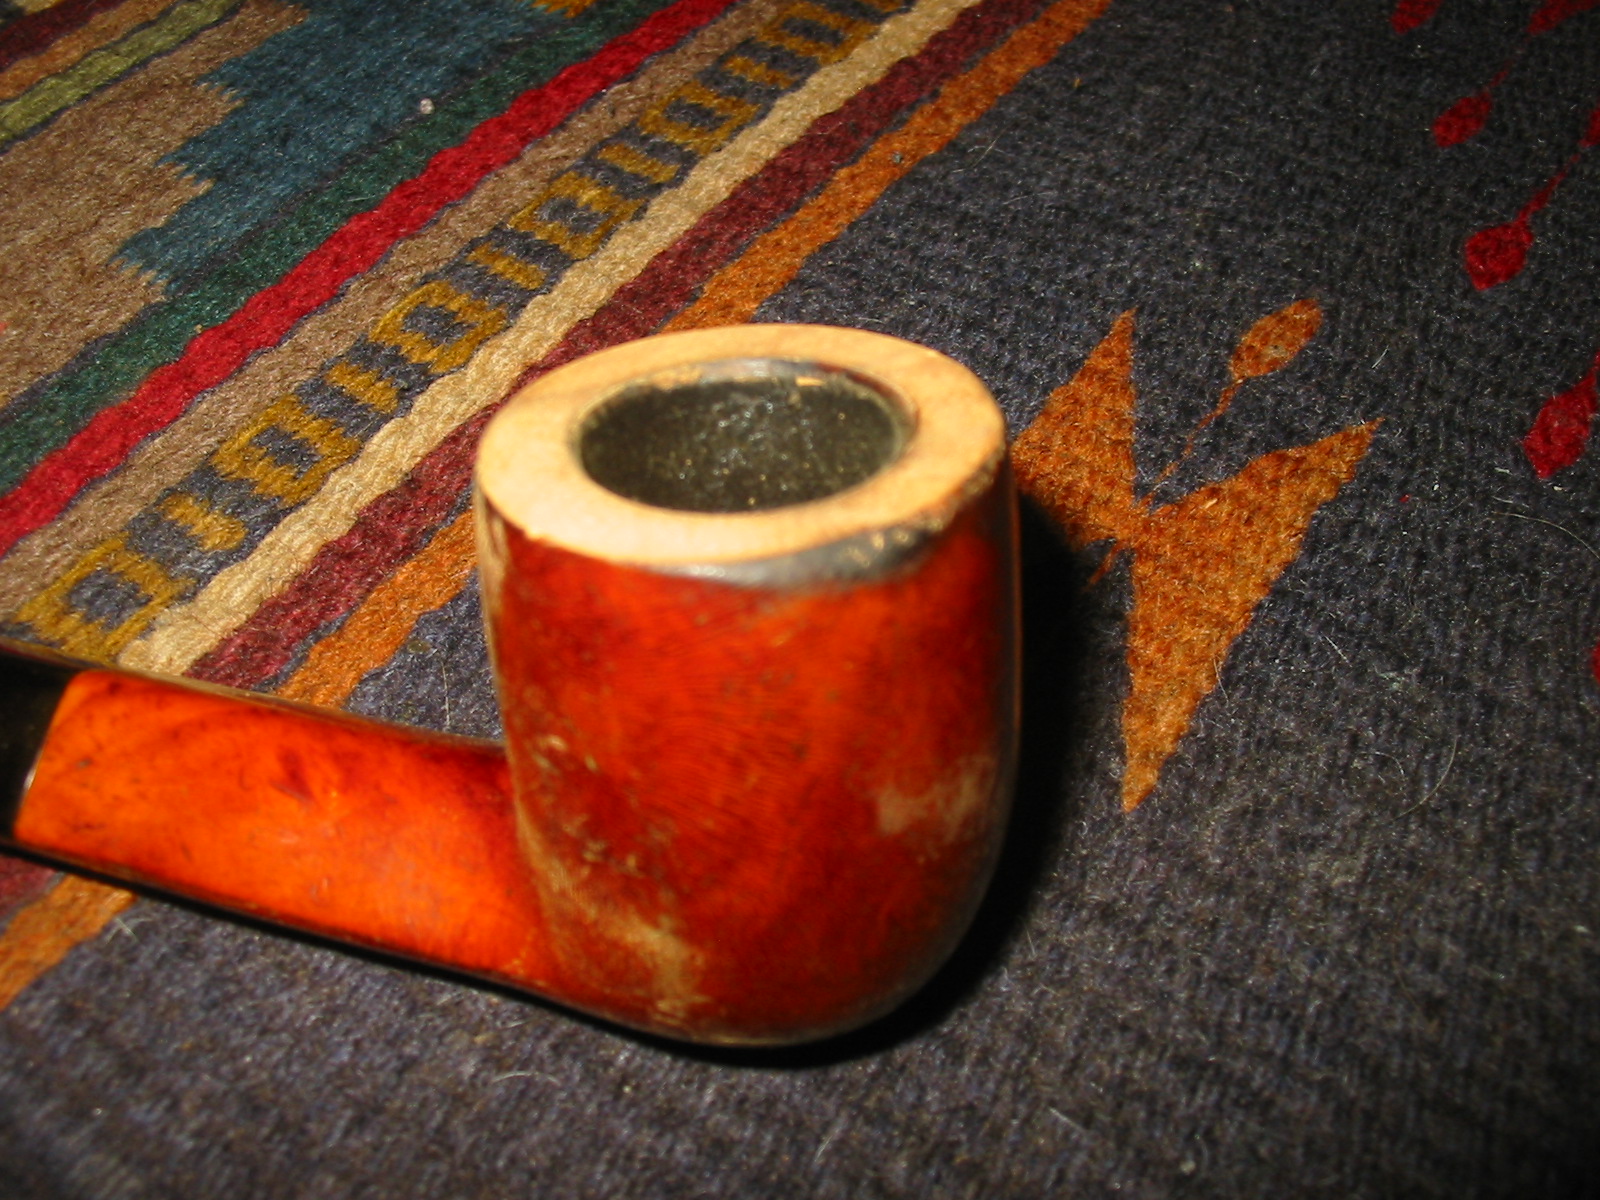
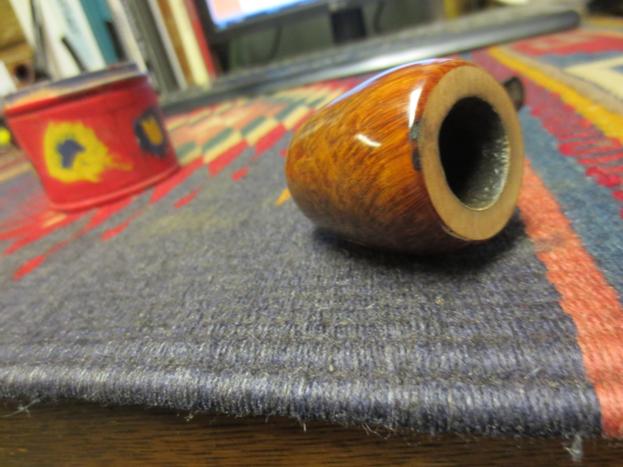
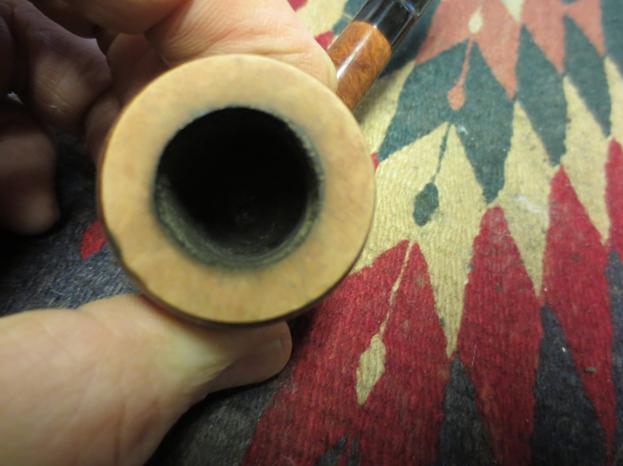
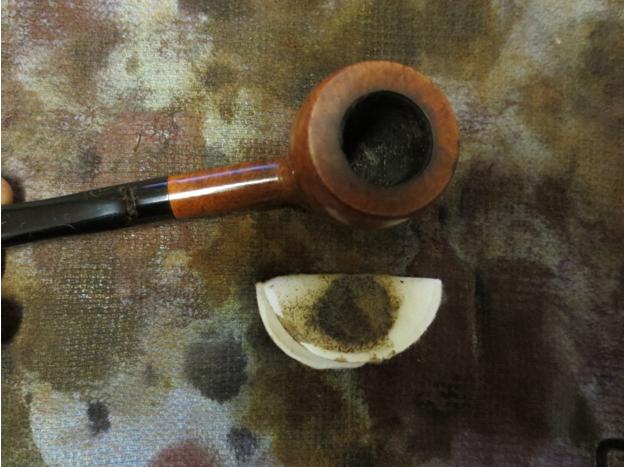
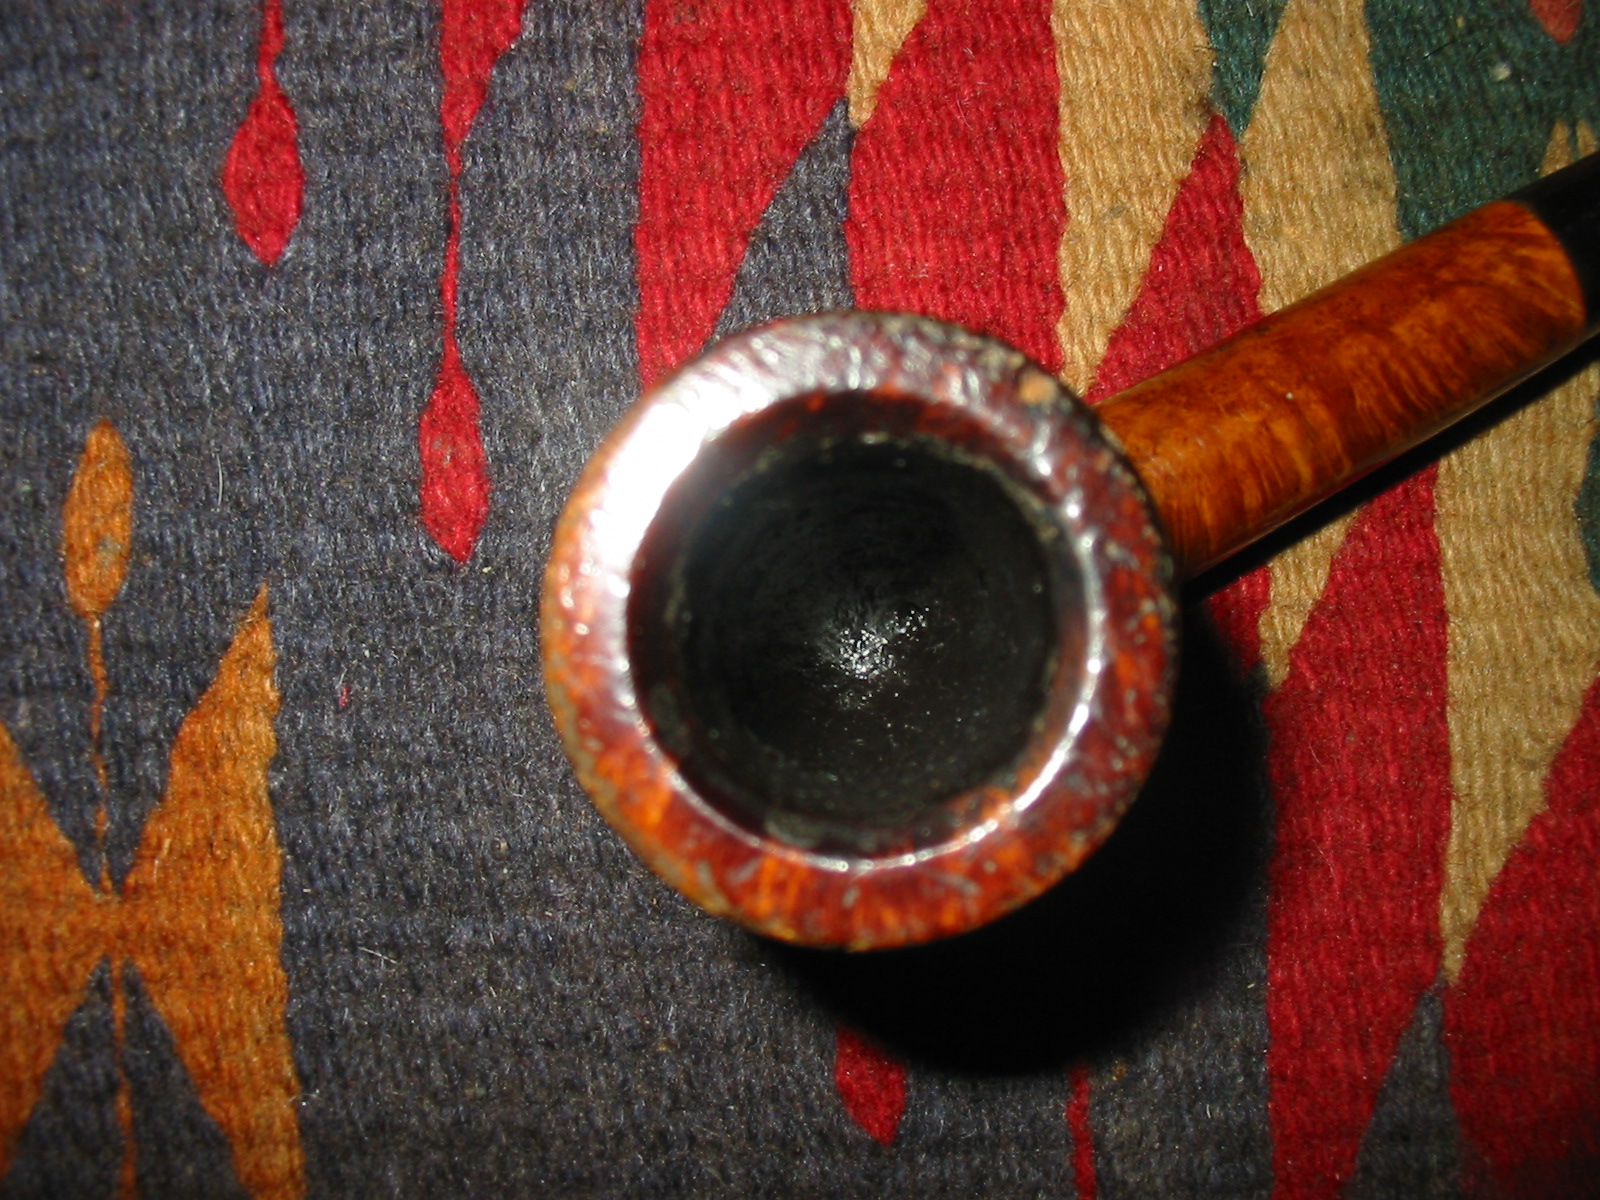
I took some close up photos of the rim and edges of the bowl before and during the time I was topping it to give a clear picture of the damage that had been done to this pipe. The first photo below is a close up of the rim. It was an absolute mess and the edges of the bowl was hammered and broken.
IMG_4150

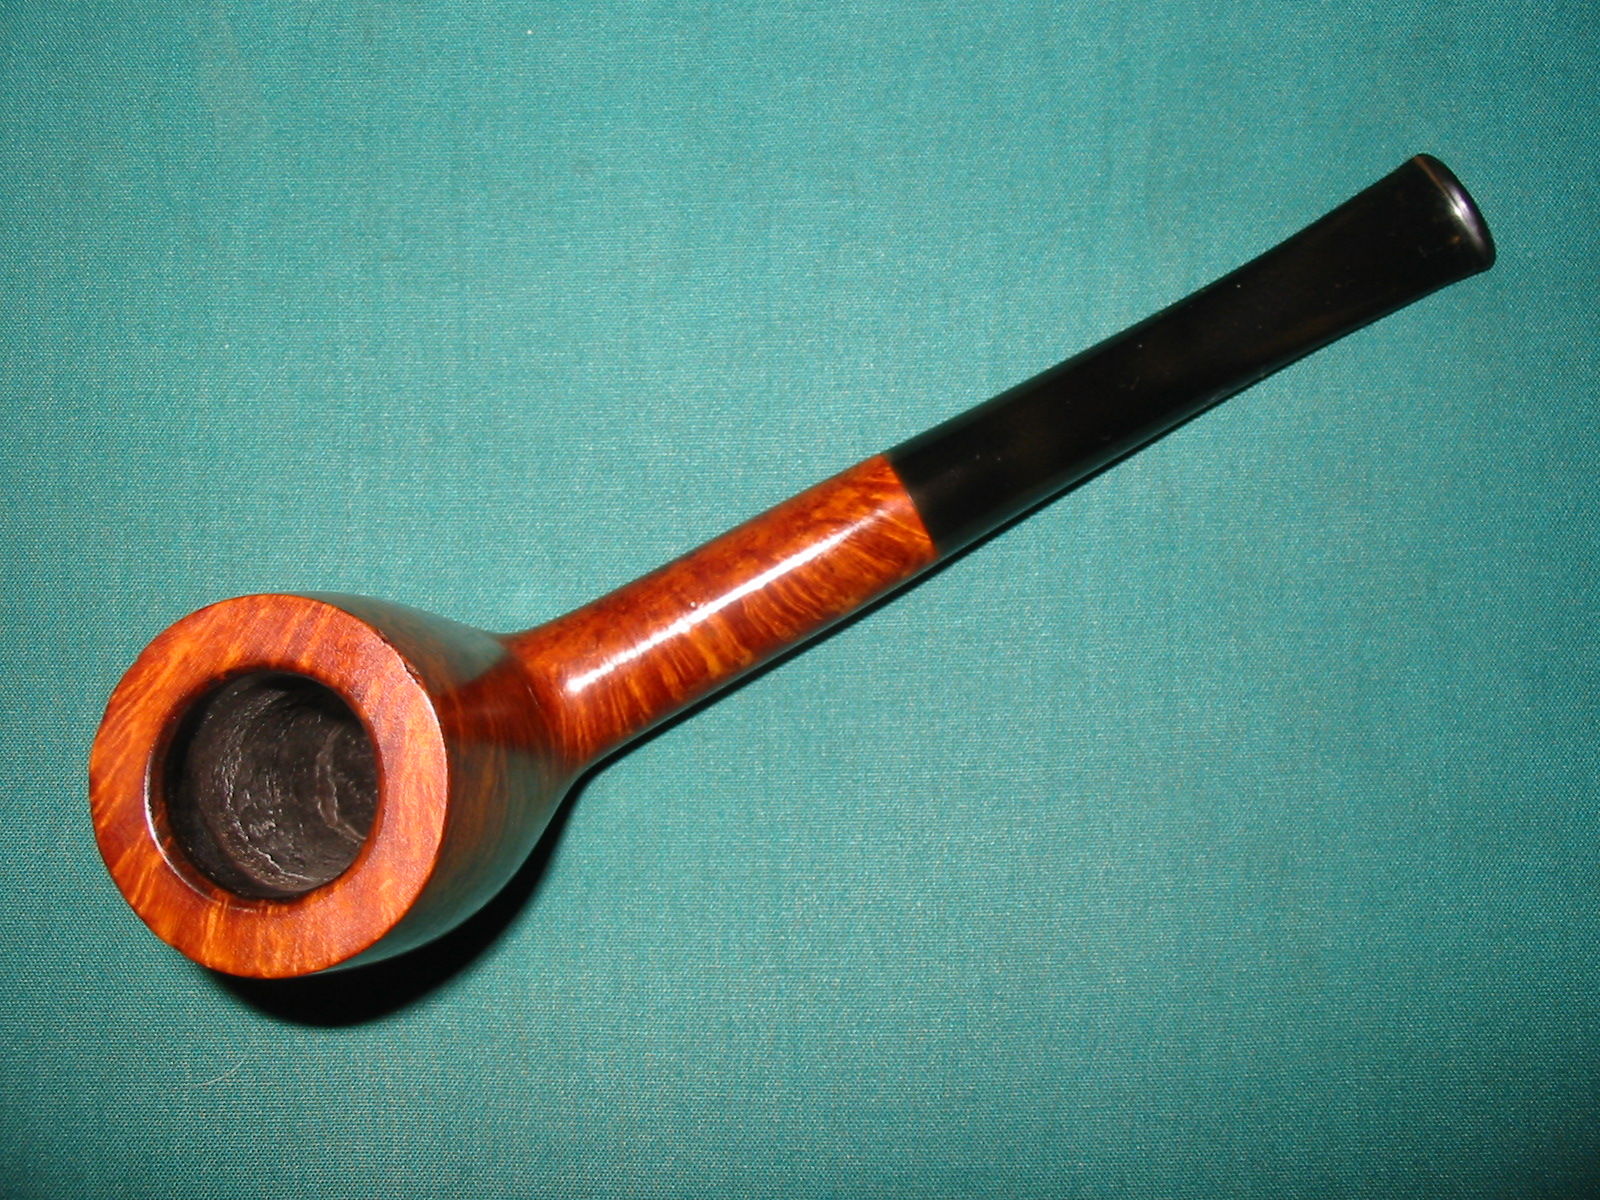
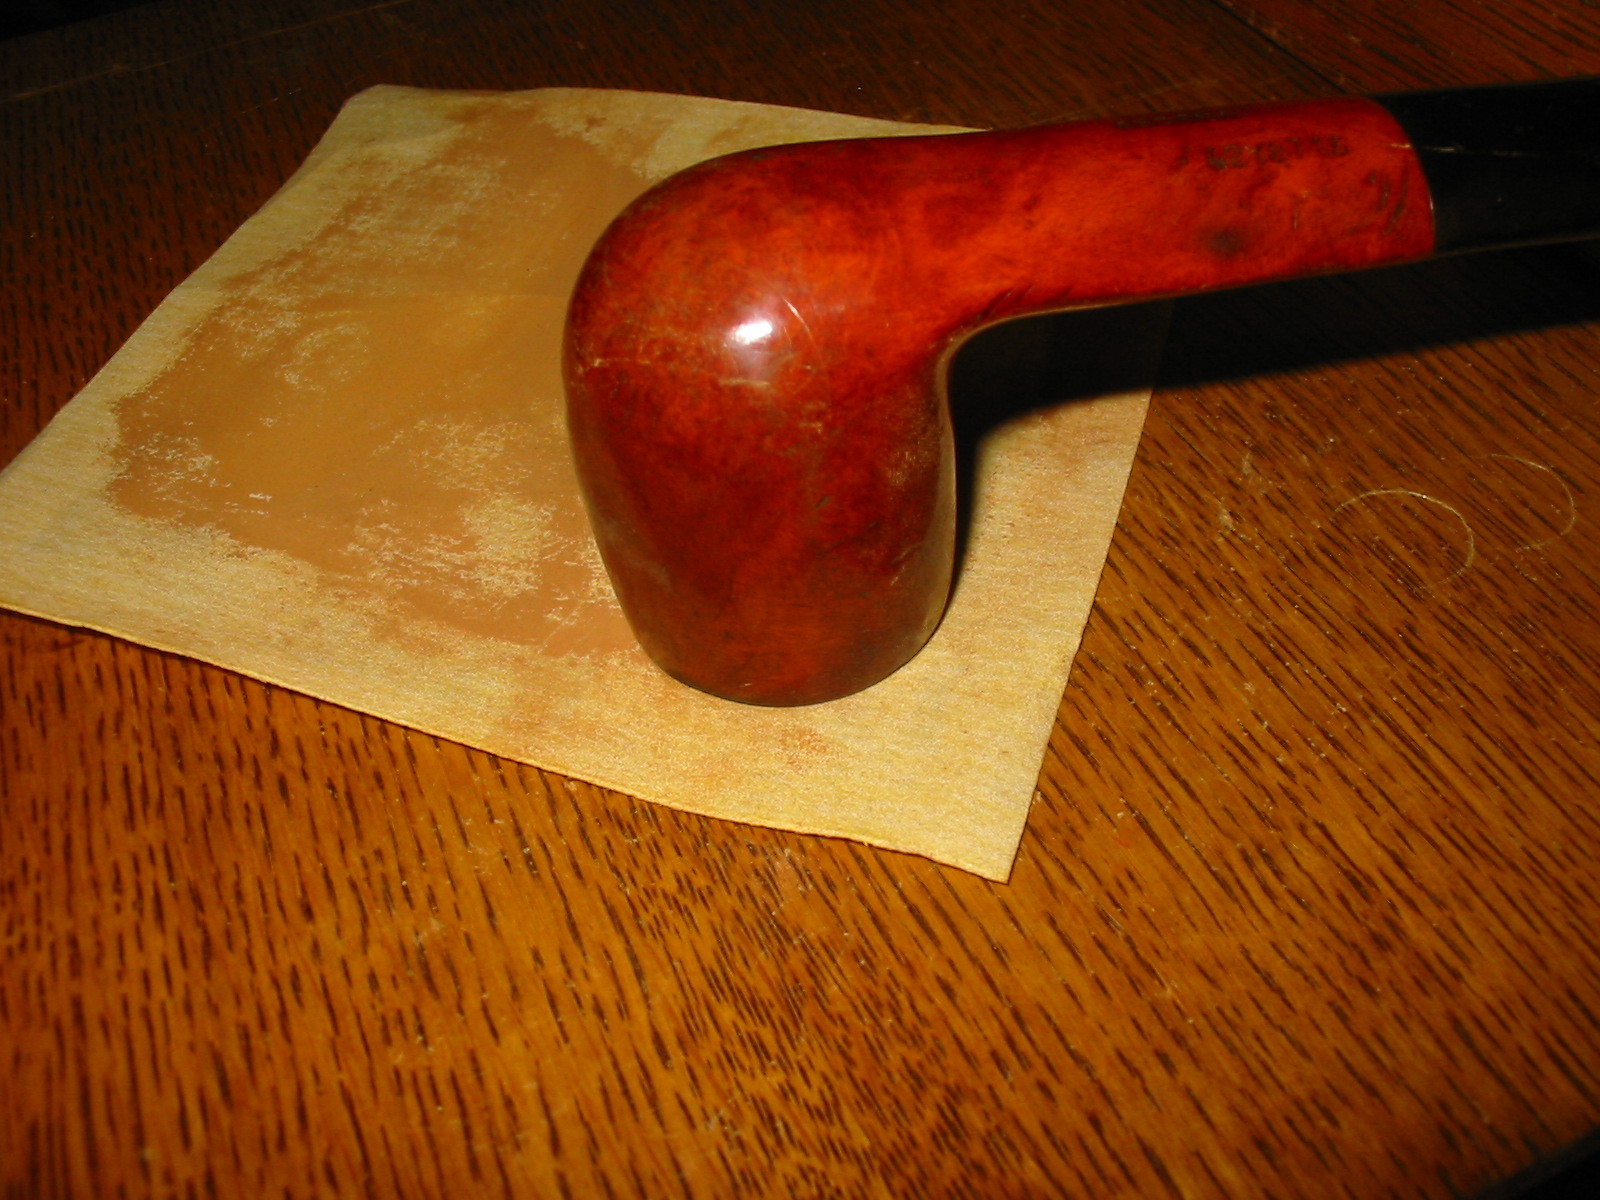
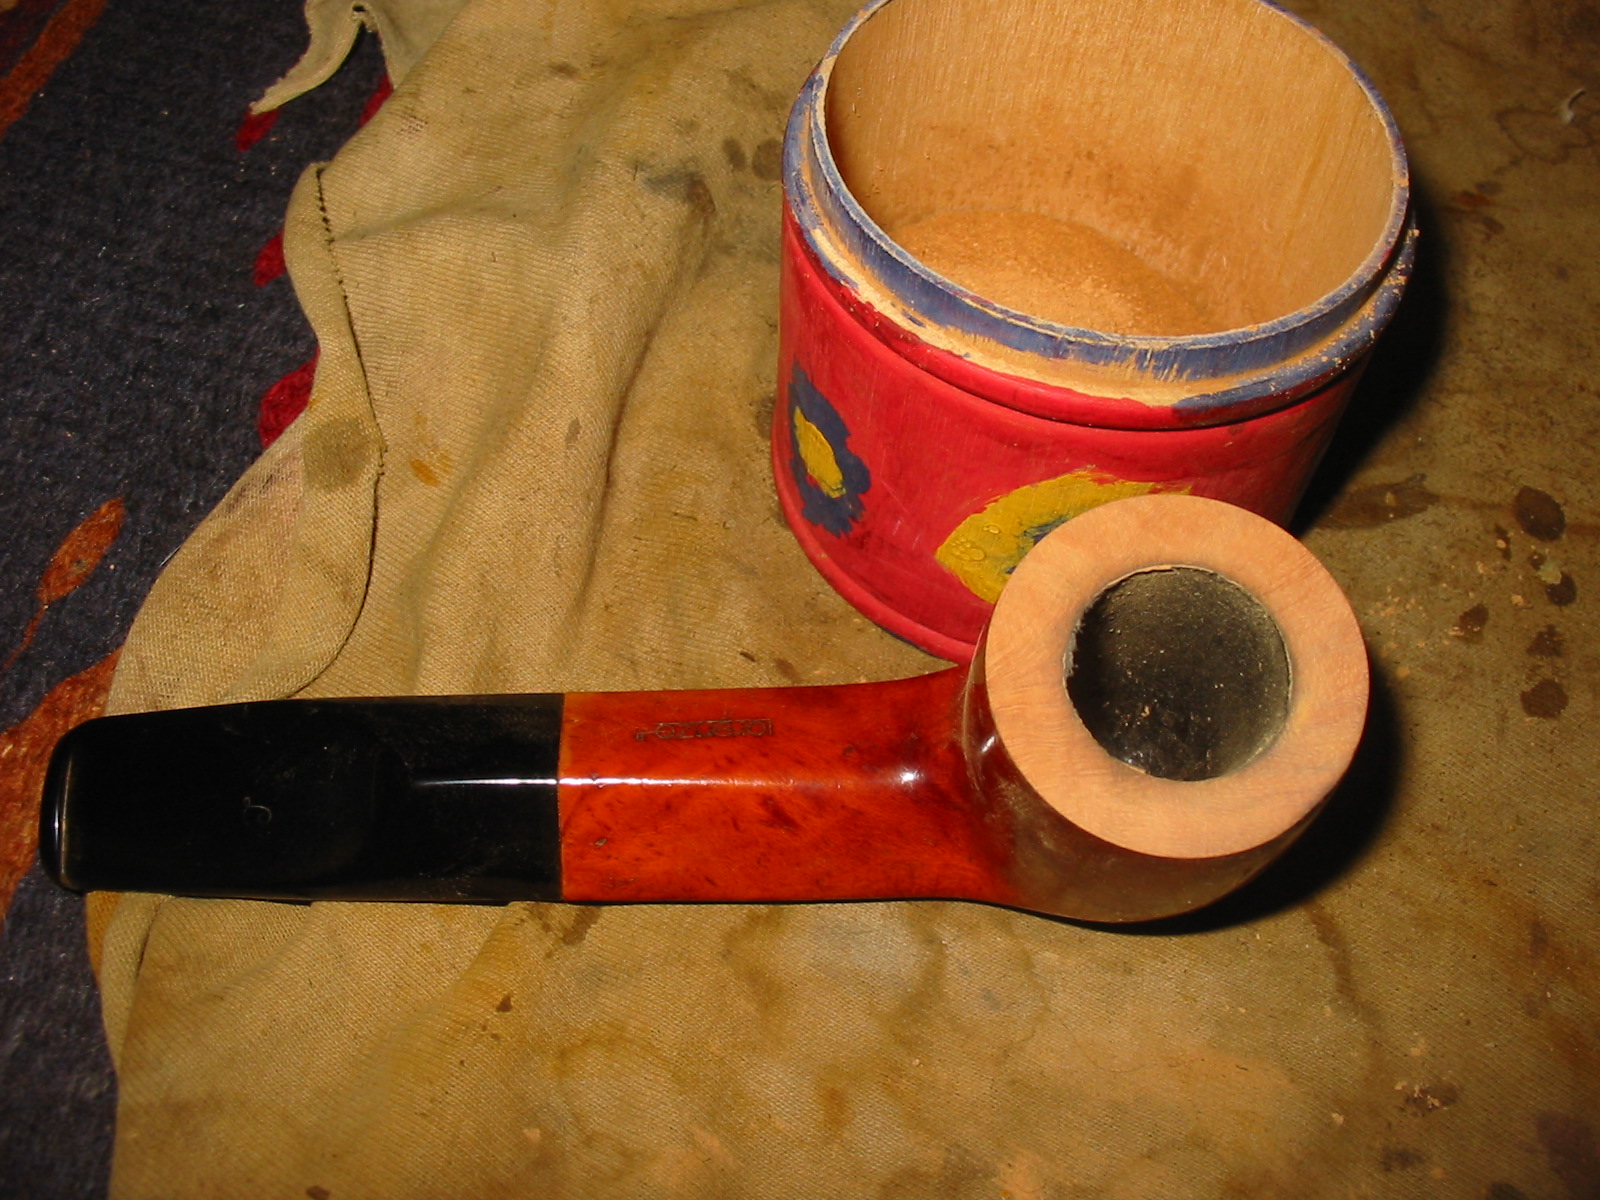
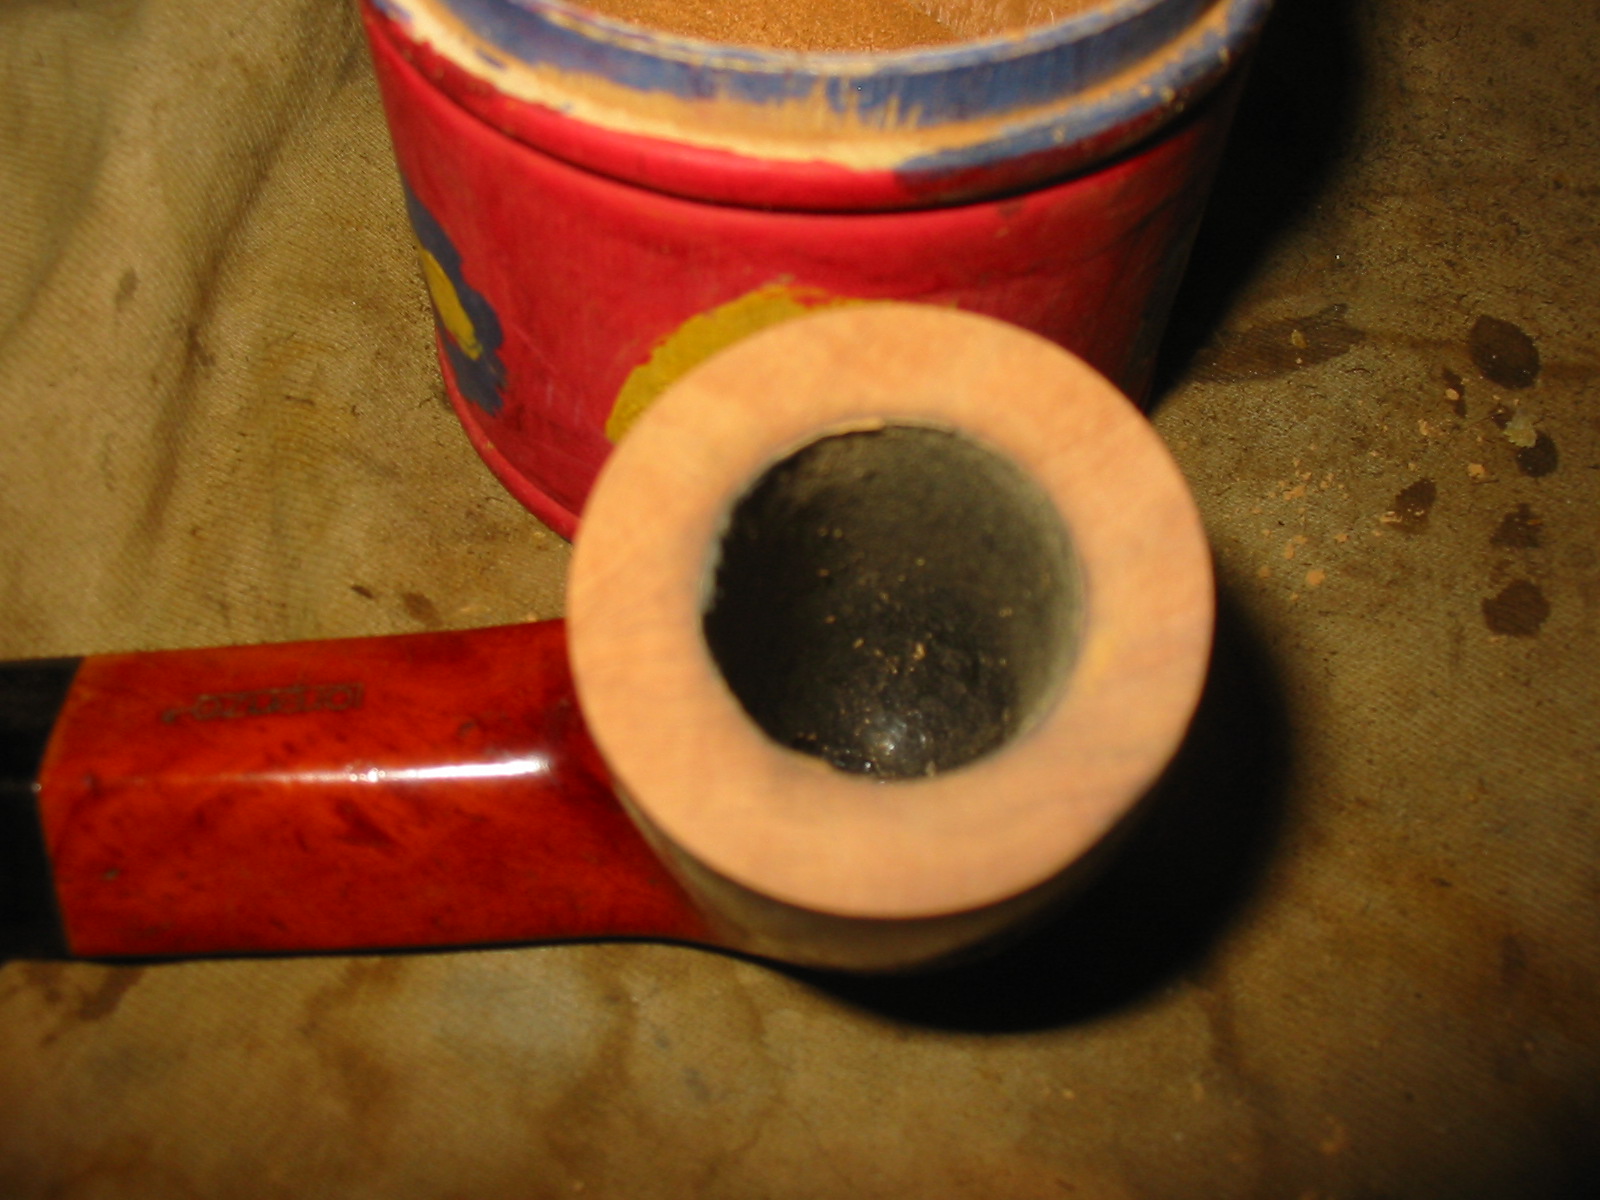
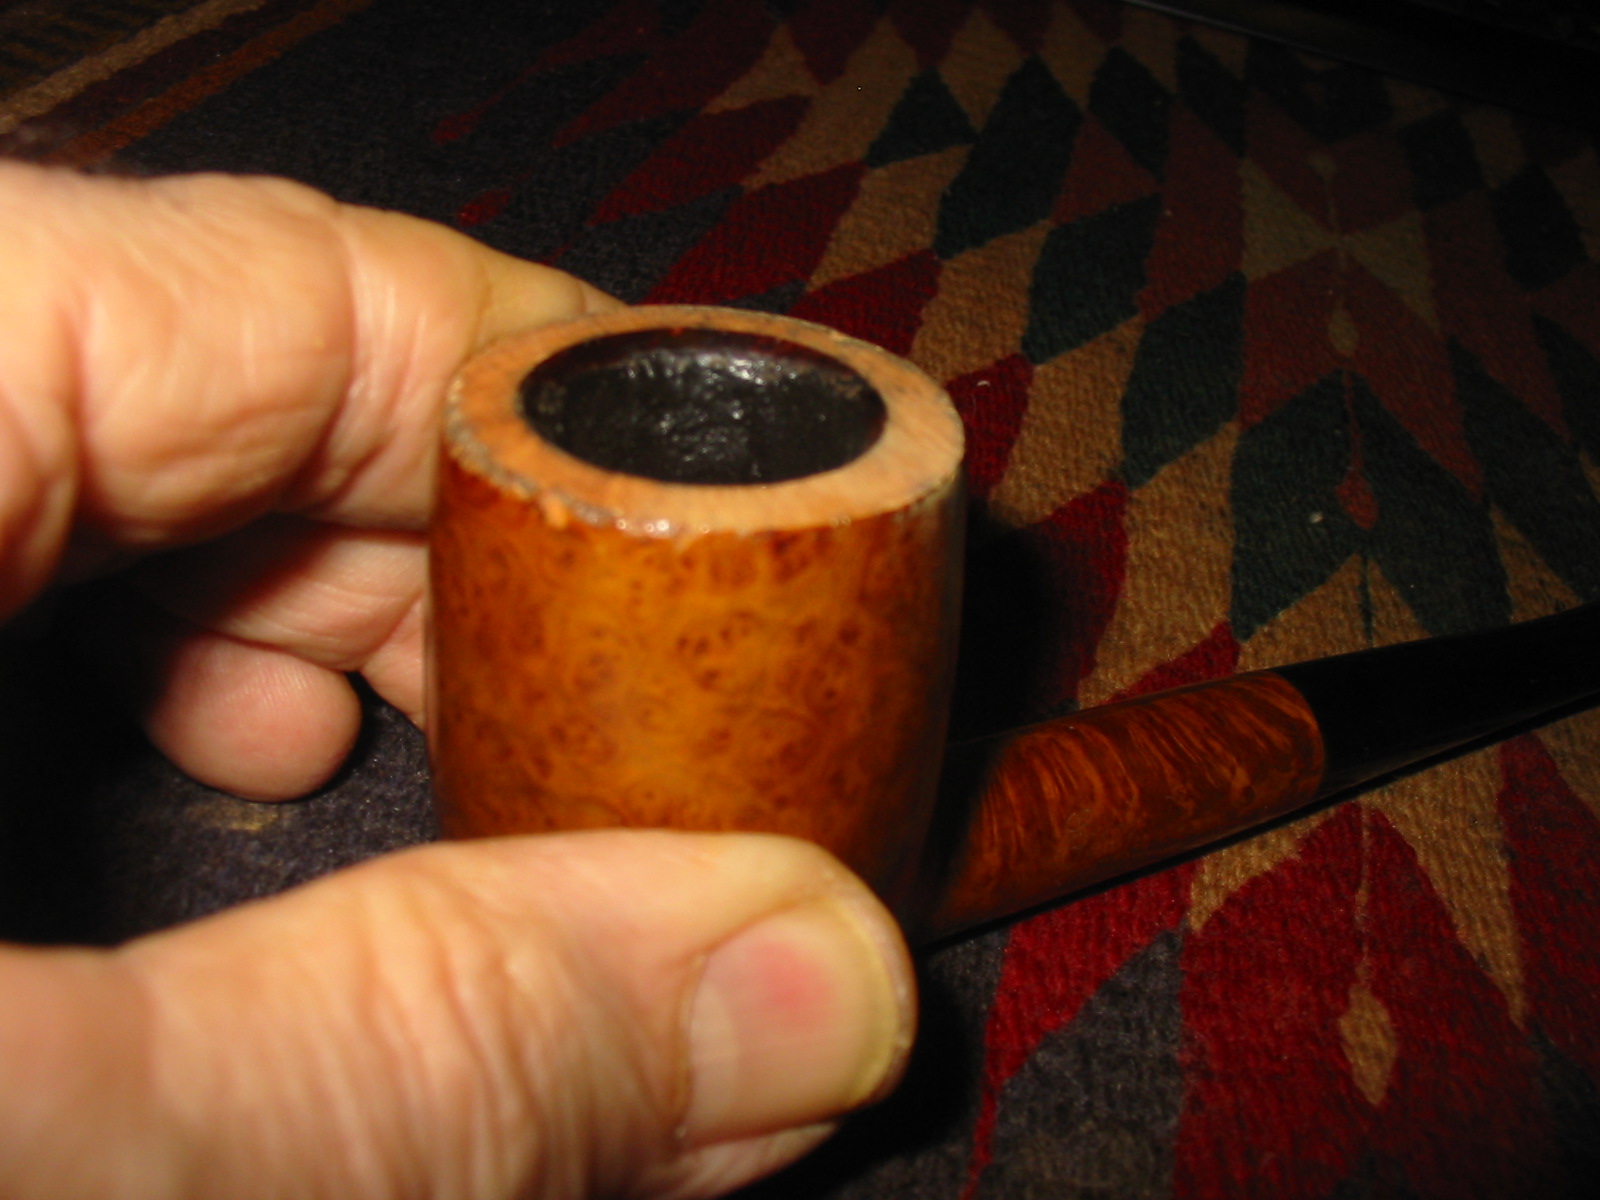
I set up my topping board and sandpaper and began the process of topping the bowl. I took some photos after I first started to show clearly the edge damage.
IMG_4153

IMG_4154

IMG_4155

IMG_4156

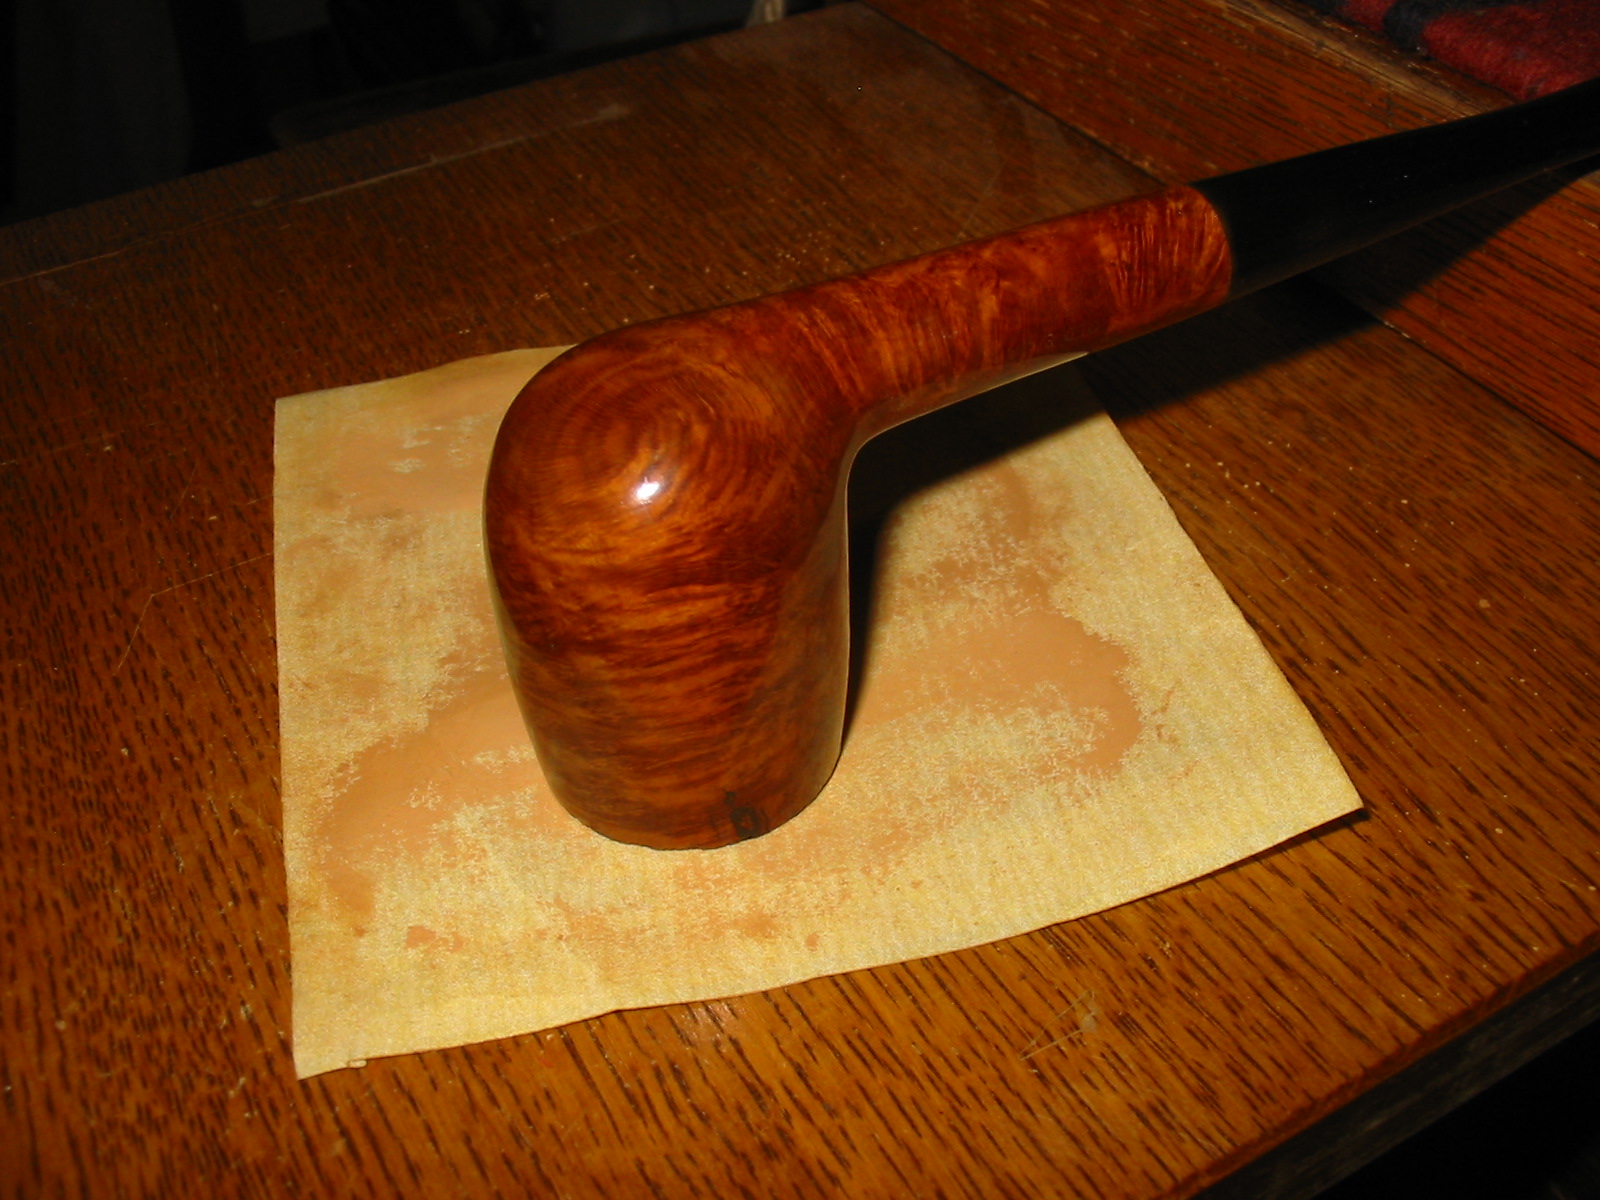
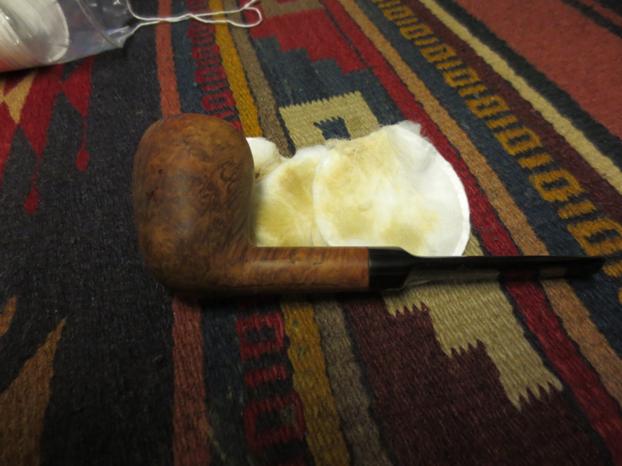
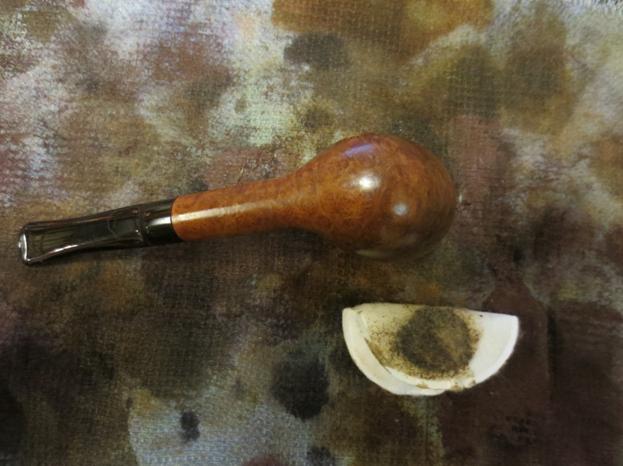
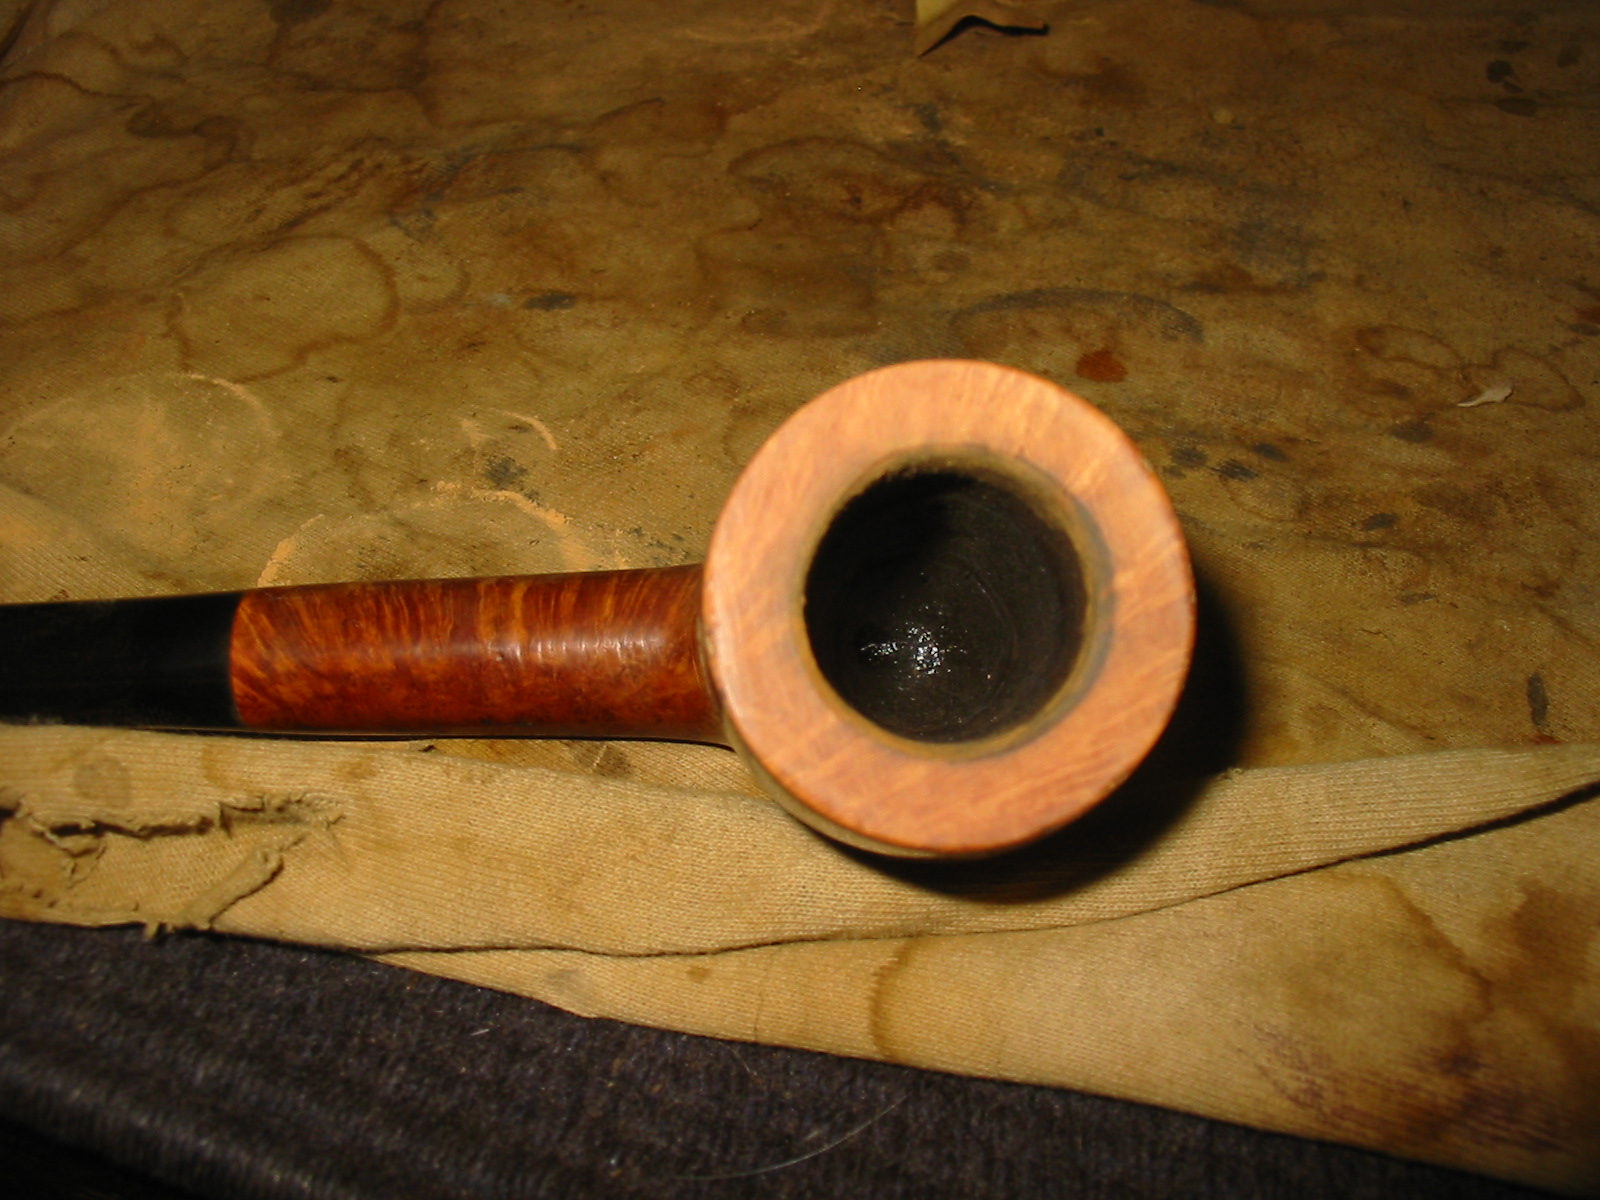
I topped the bowl until the majority of the rim damage was gone. I then used a folded piece of sandpaper to re-bevel the inner edge of the rim. I used a sanding block to smooth out the rough edges that remained after topping the bowl. I decided that if I were to top the bowl to totally remove all of the damage it would change the profile too dramatically so I took the majority of the damage down and then lightly rounded the outer edge of the bowl with the sanding block.
IMG_4157

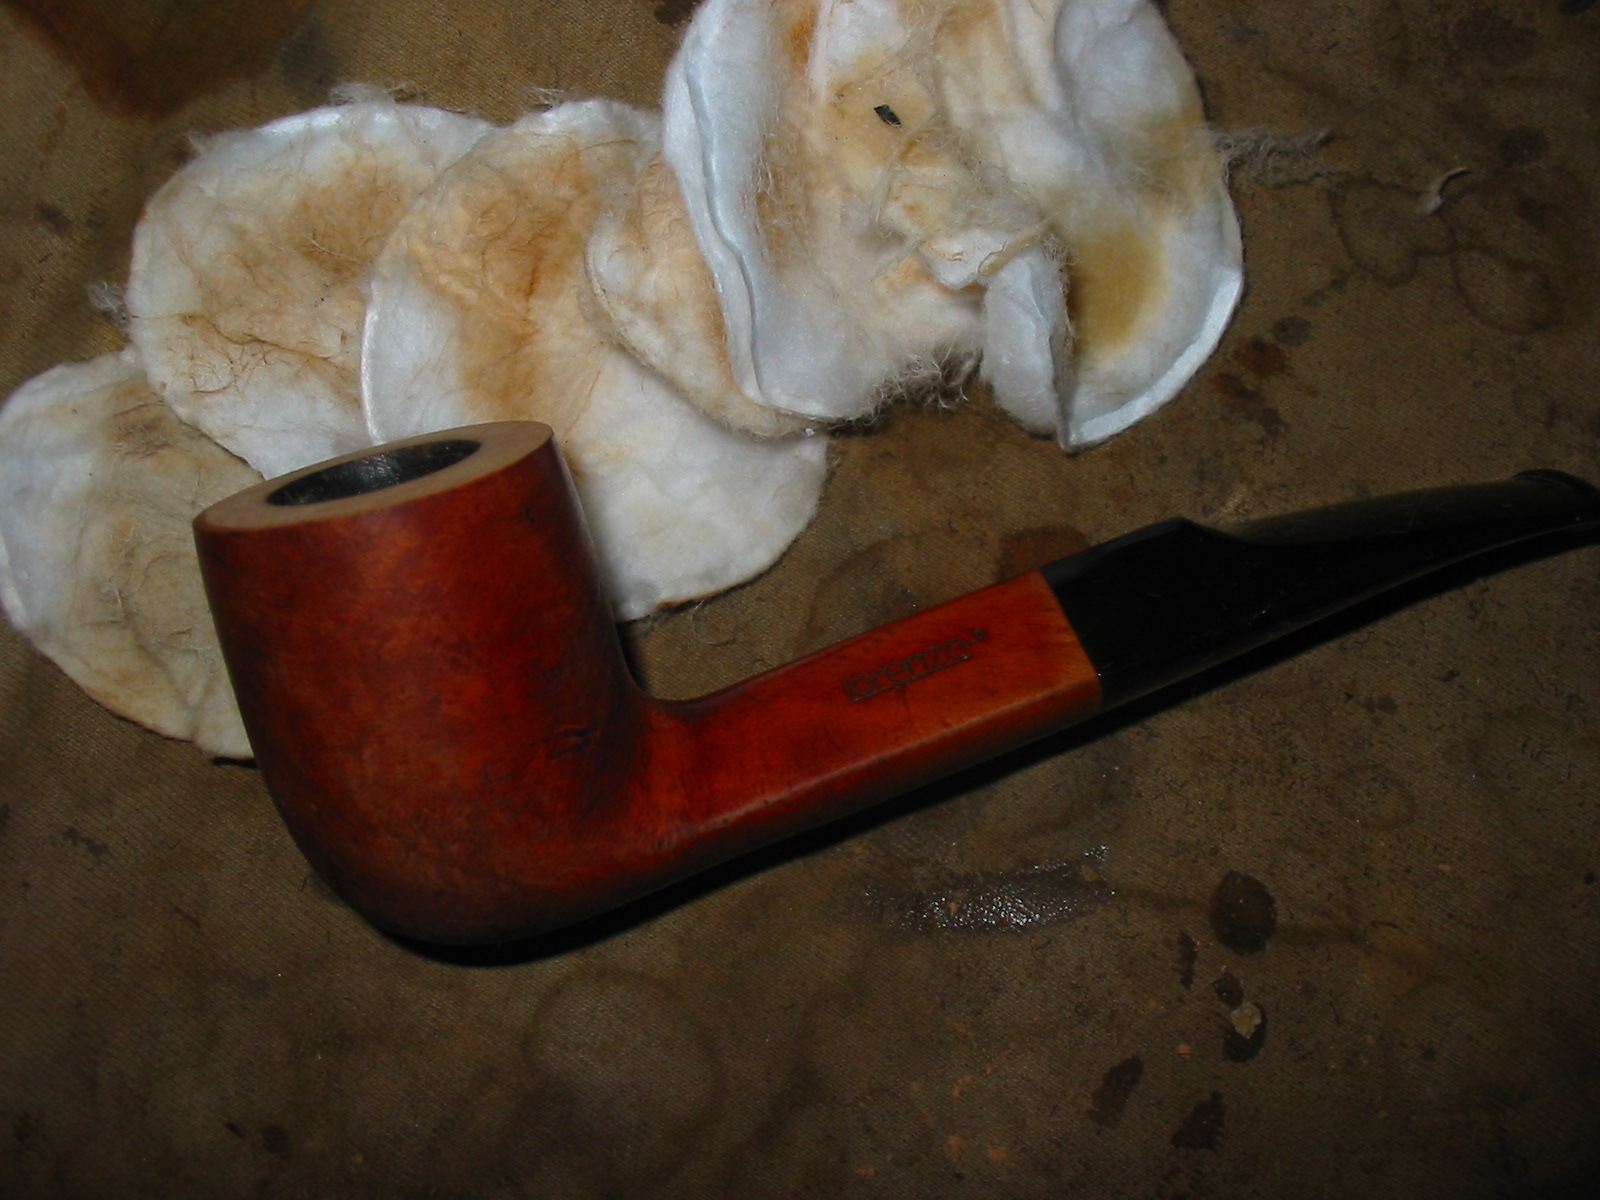
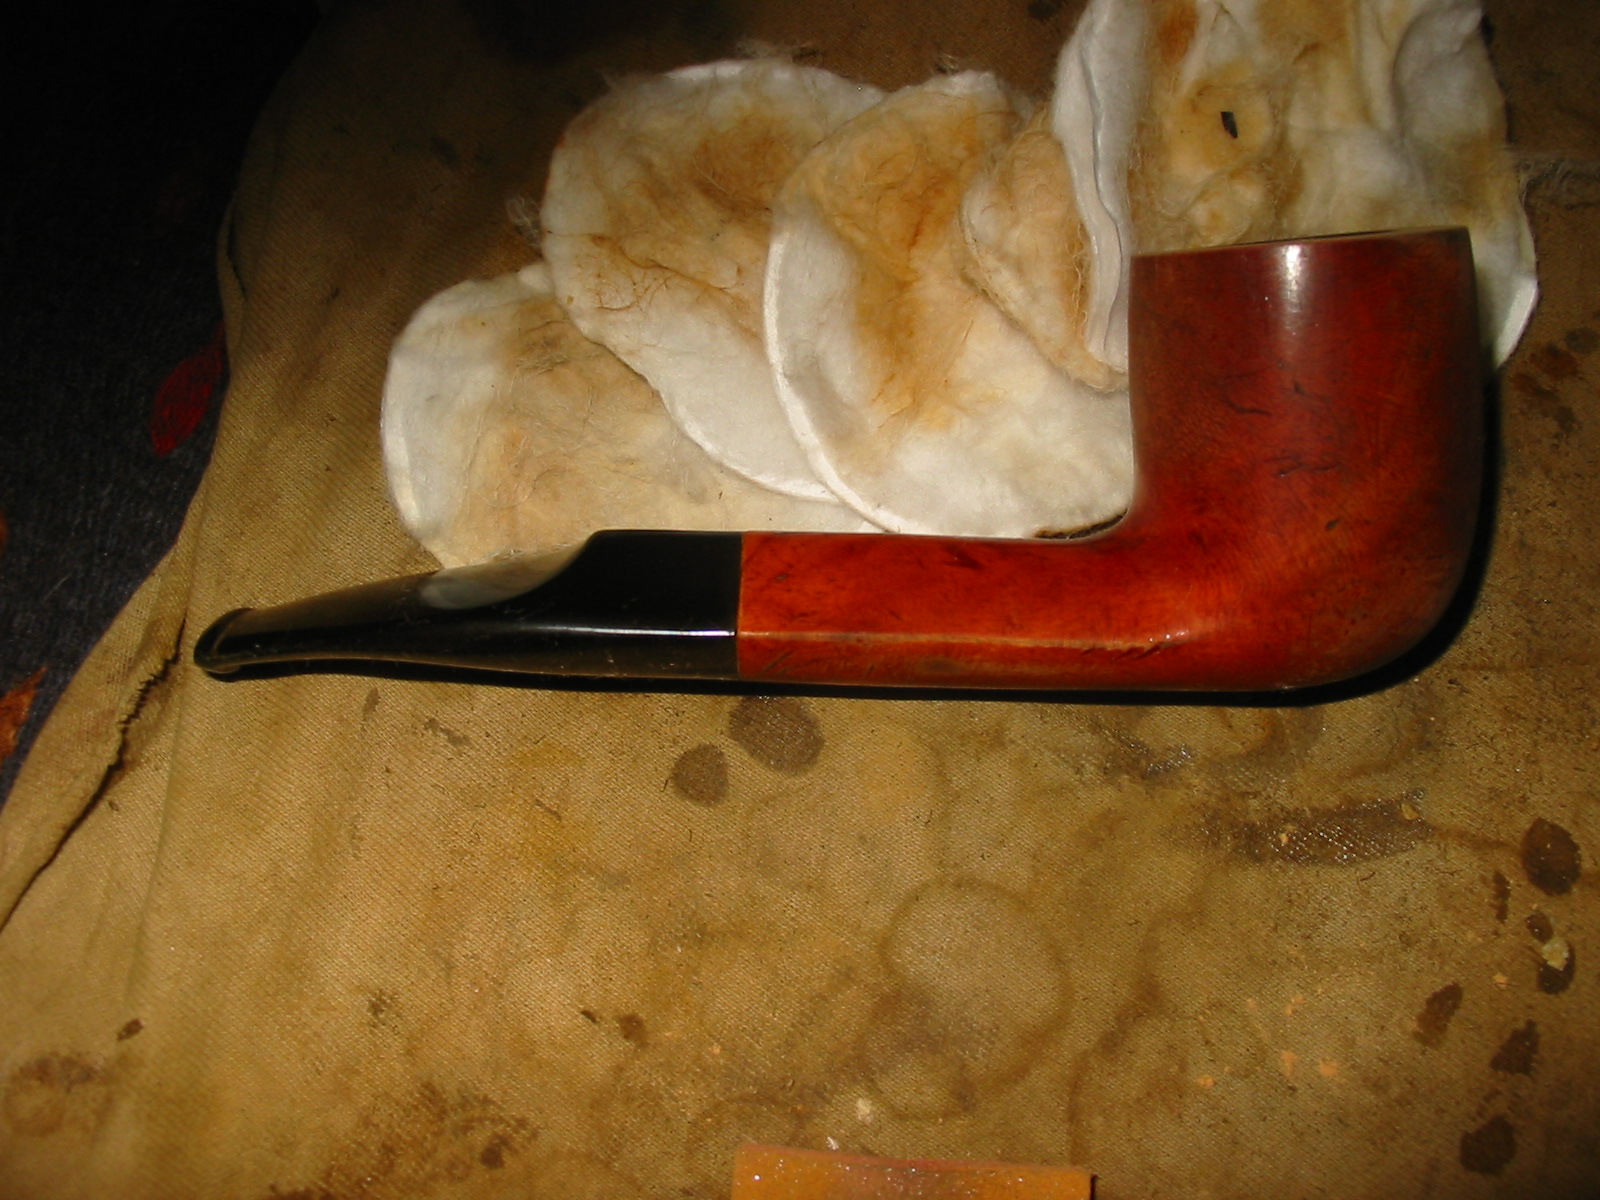
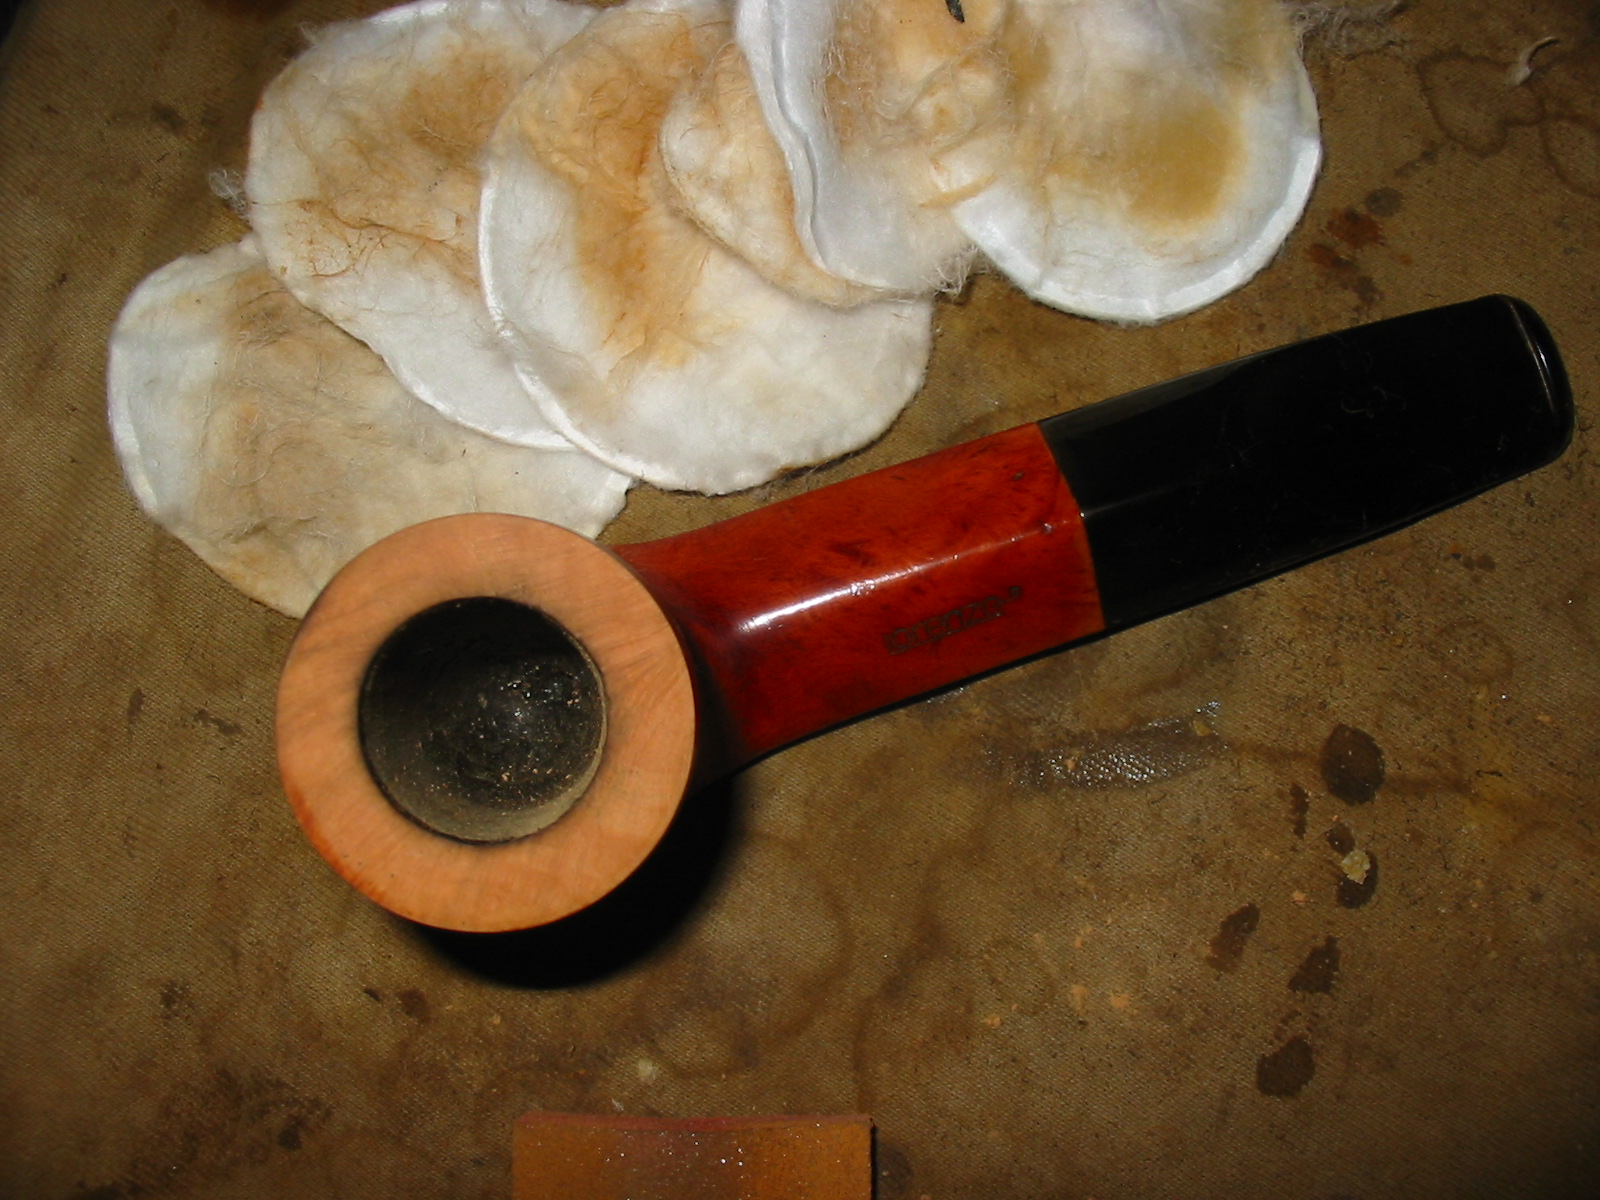
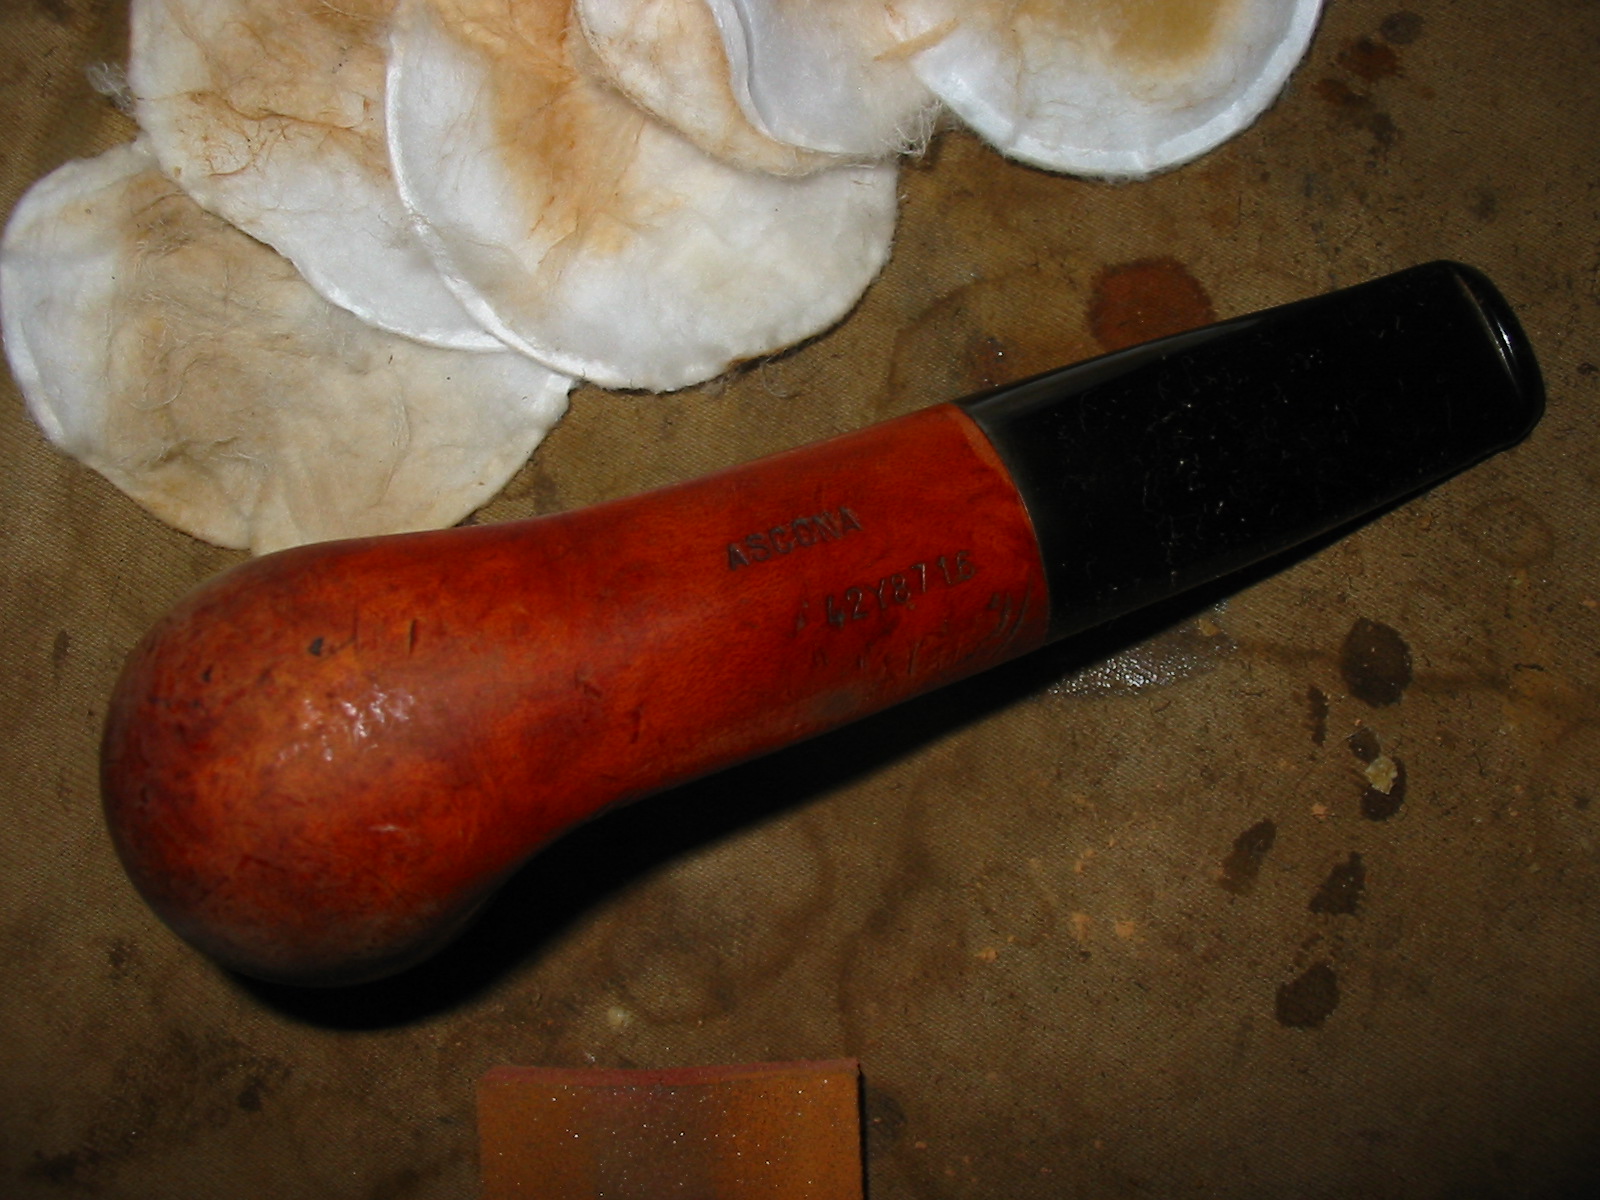
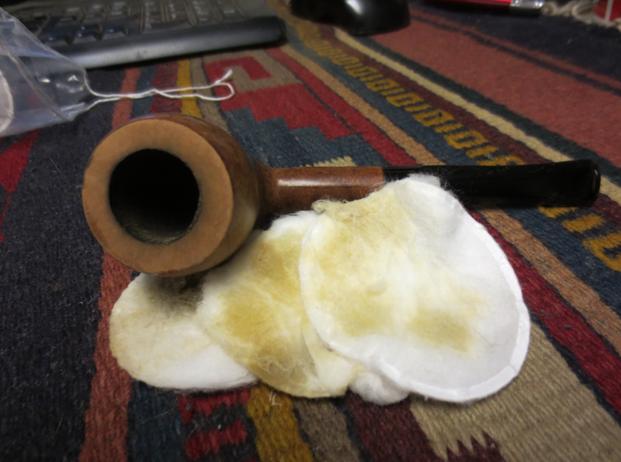
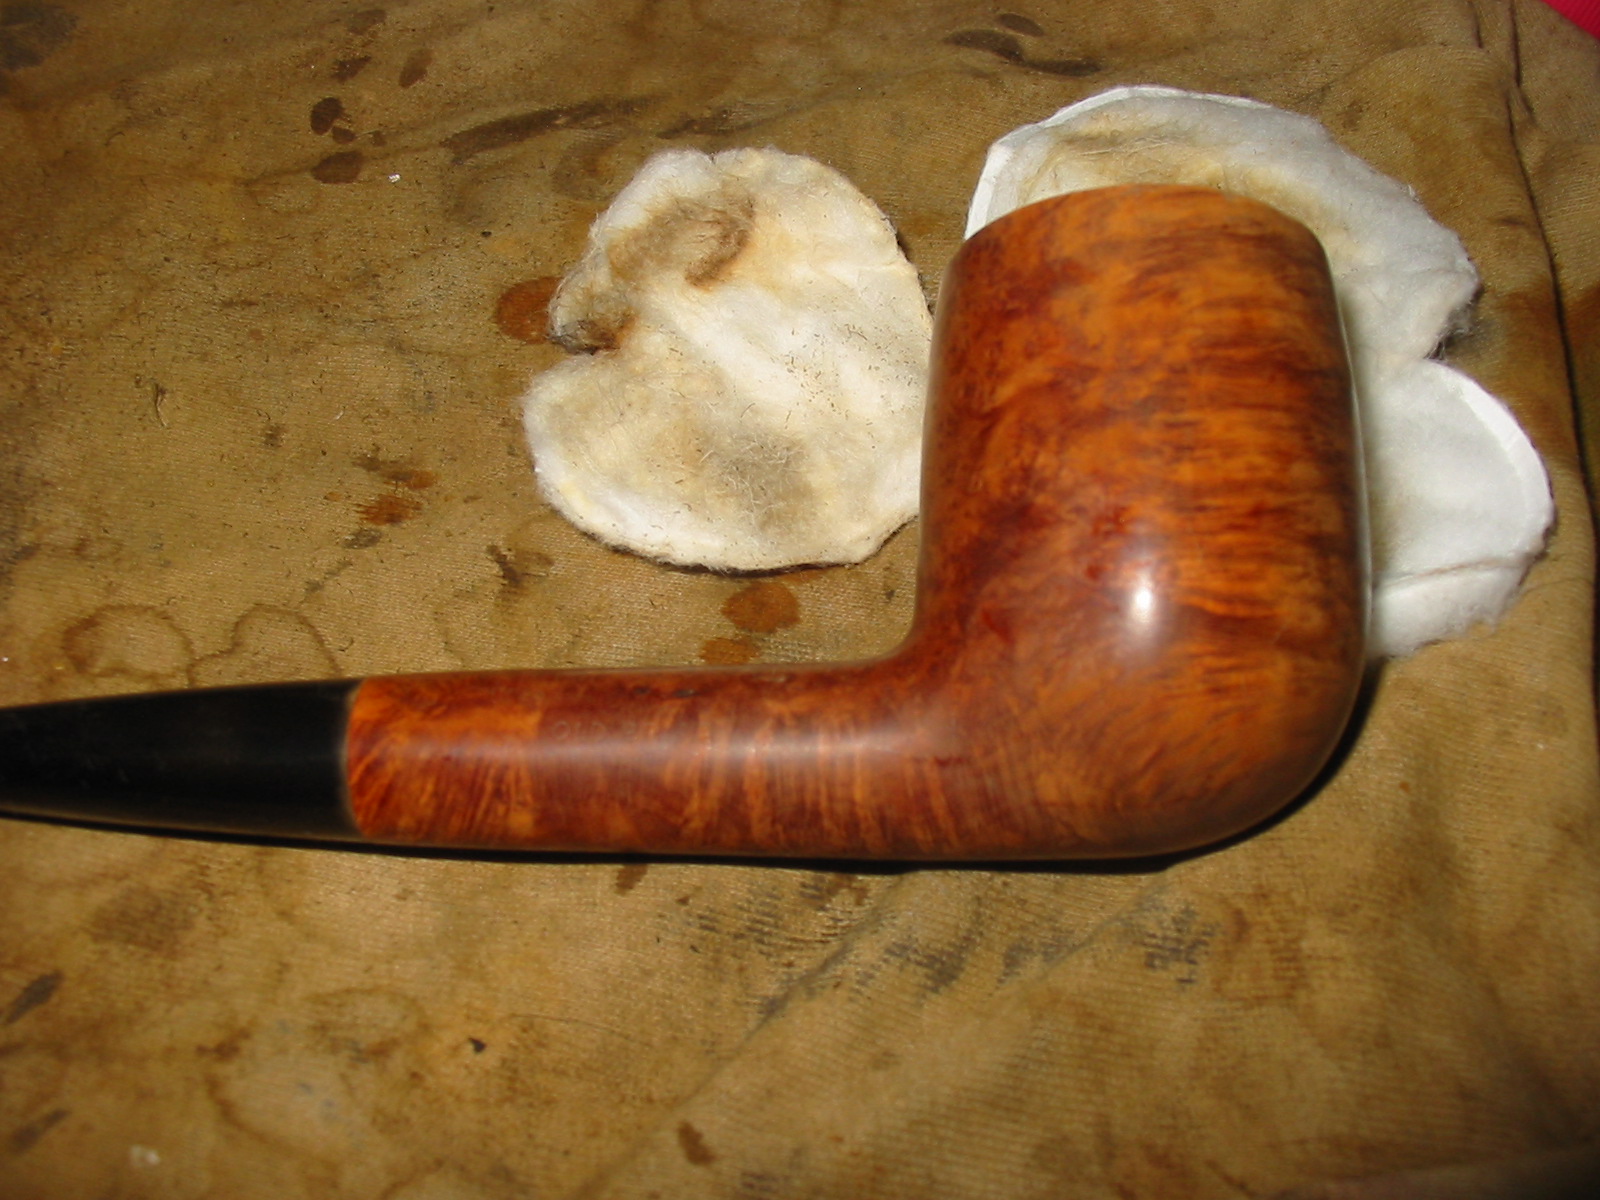
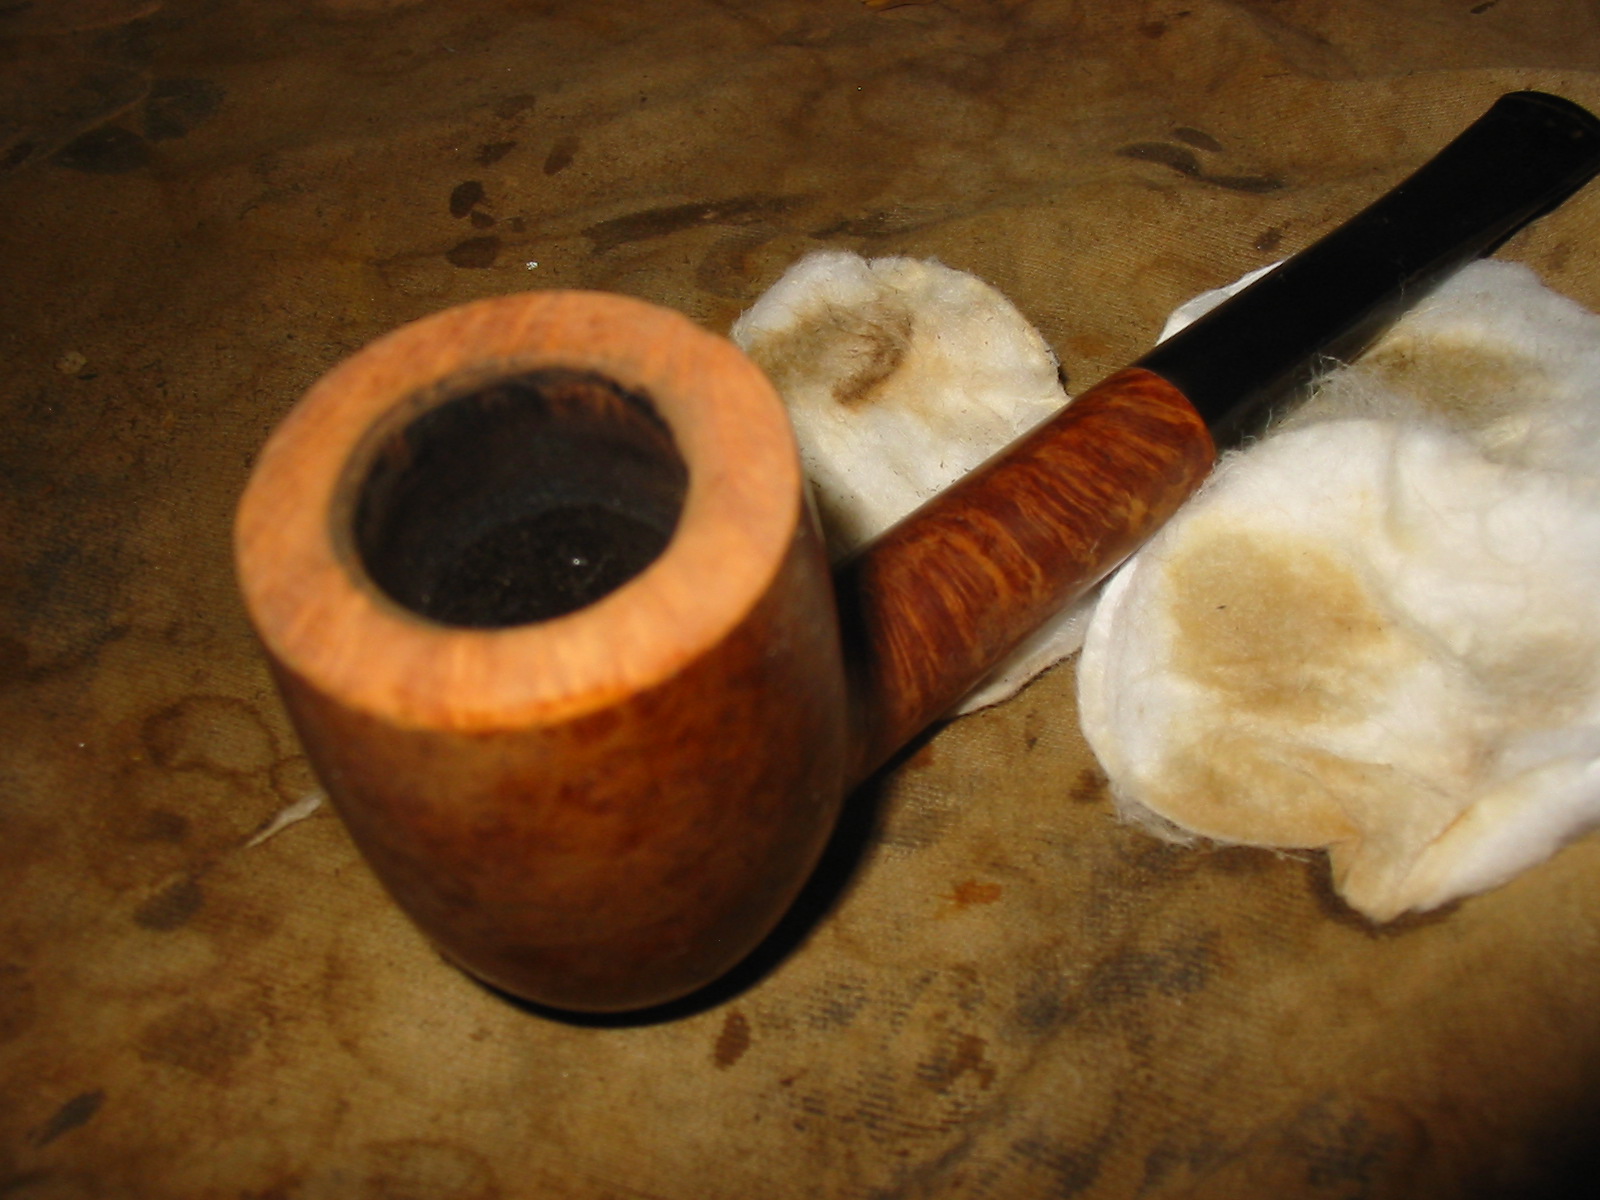
I wiped the bowl down with acetone on cotton pads to remove the varnish, bowl coating spillage and old stain. I reamed the pipe with the PipNet reamer to remove the black bowl coating and cleaned up the inside of the bowl with some Everclear.
IMG_4158

IMG_4159

IMG_4160

IMG_4161

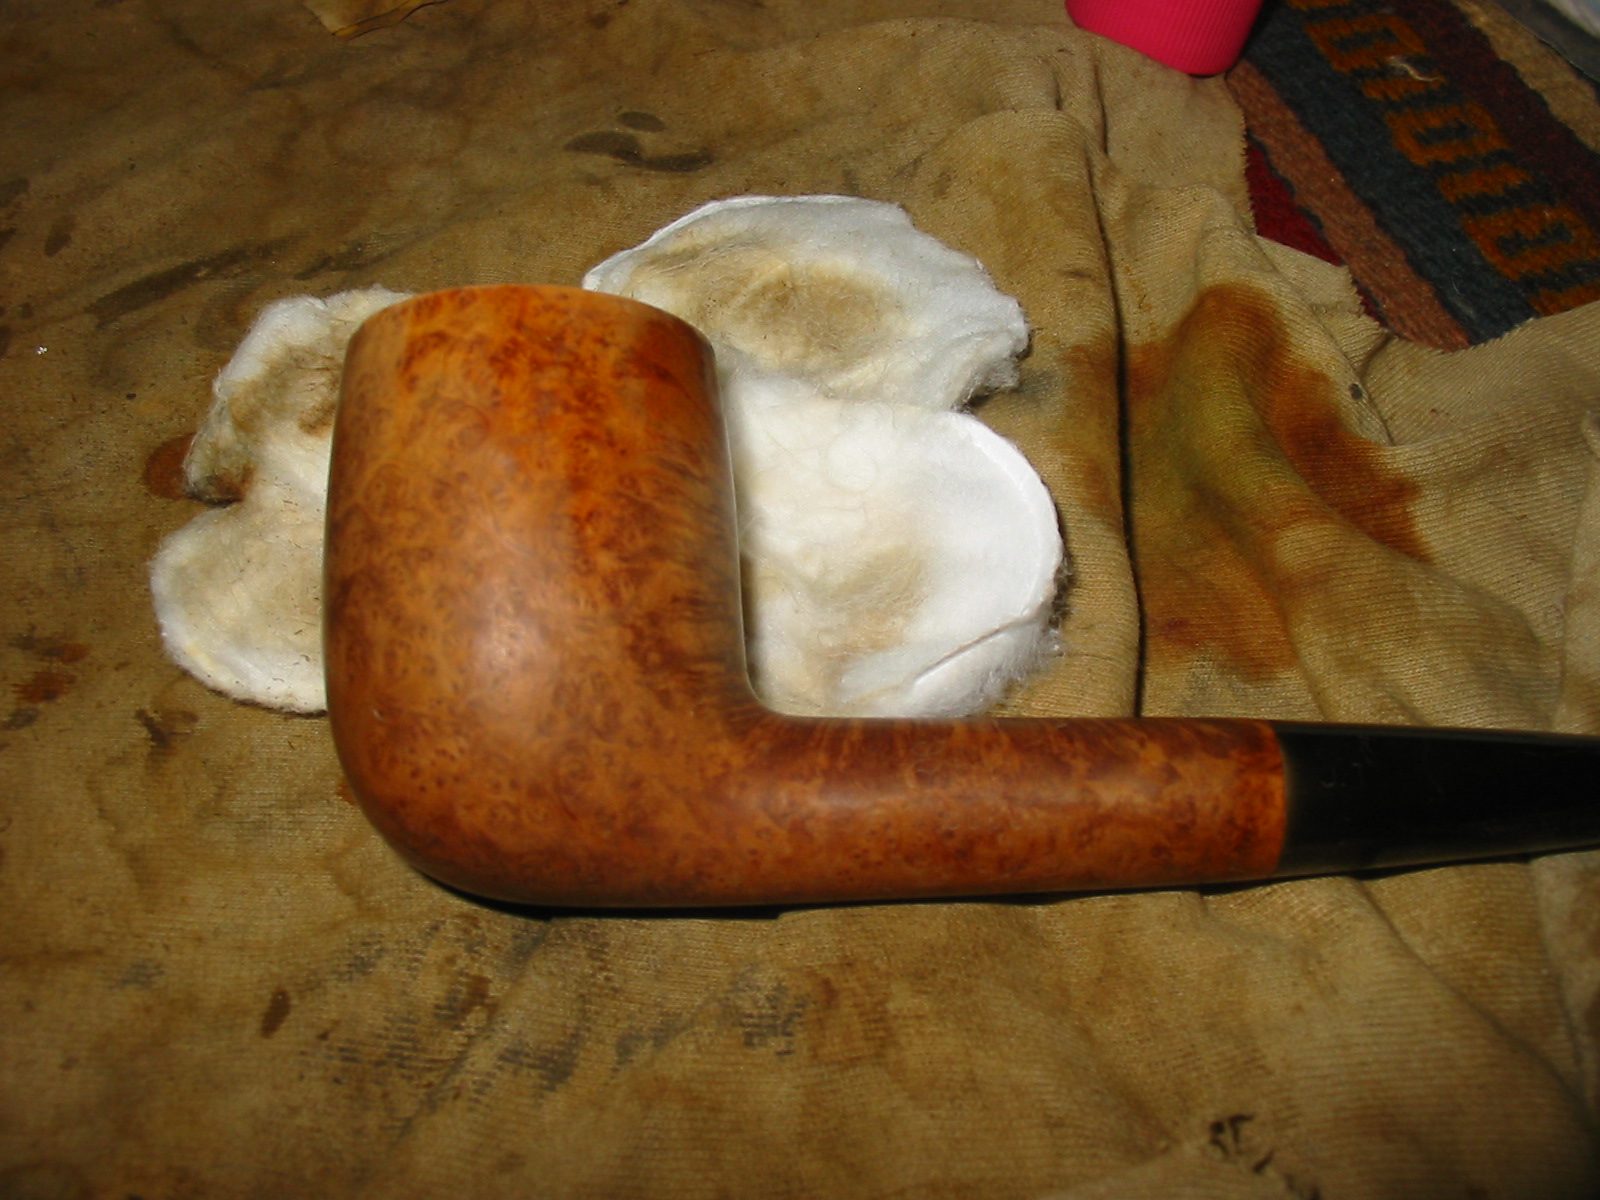
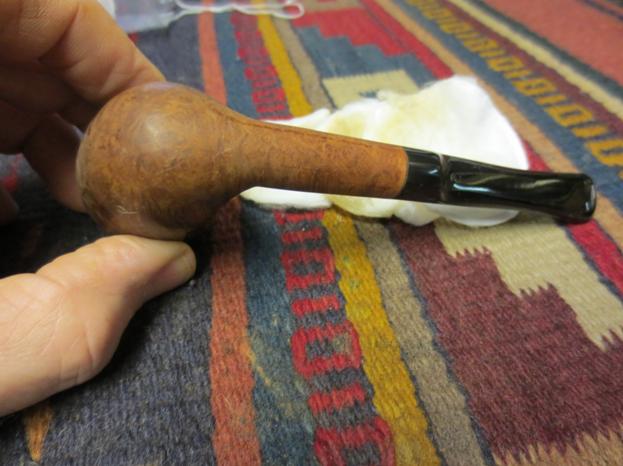
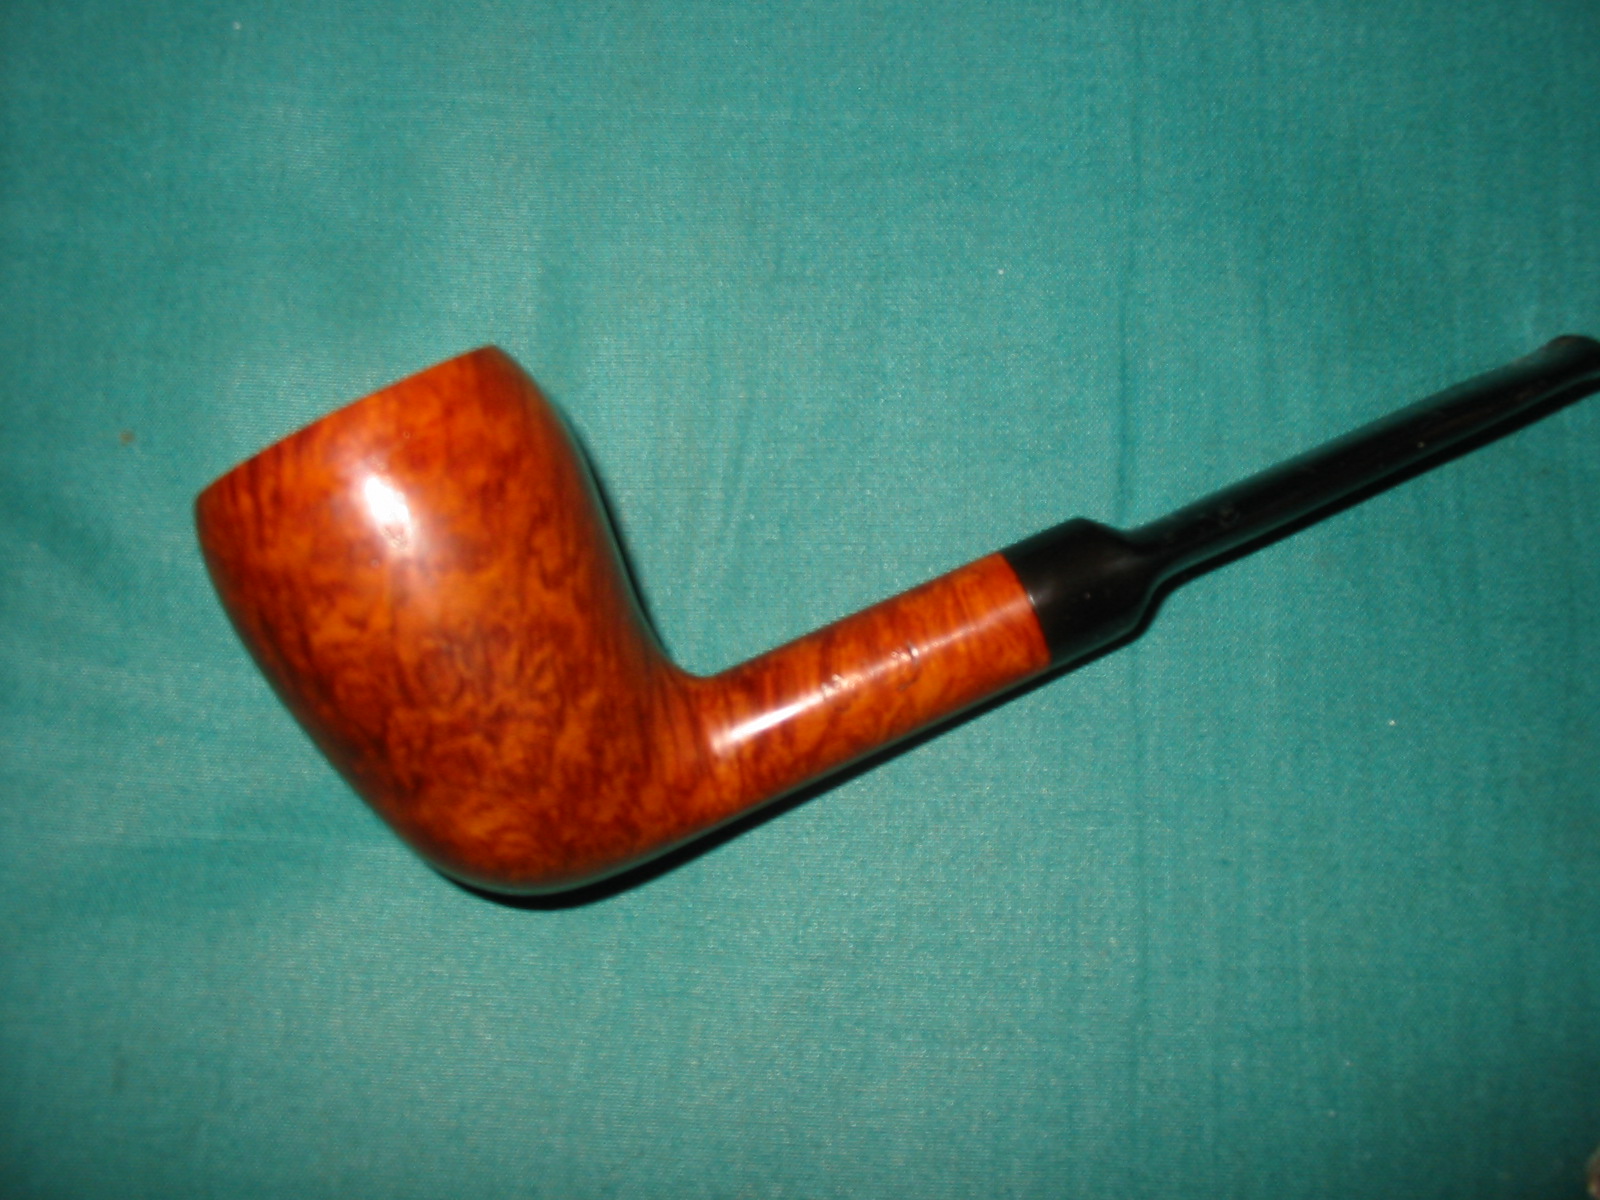
As mentioned before I have been using a MinWax Medium Walnut stain as it is quick and easy to use on these pipes that I am working through for the club. It does a great job, the colour matches the old original stain quite well and it is a simple application – rub on and off. Each successive coat adds depth and richness to the final colour.
IMG_4162

IMG_4163

IMG_4164

IMG_4165

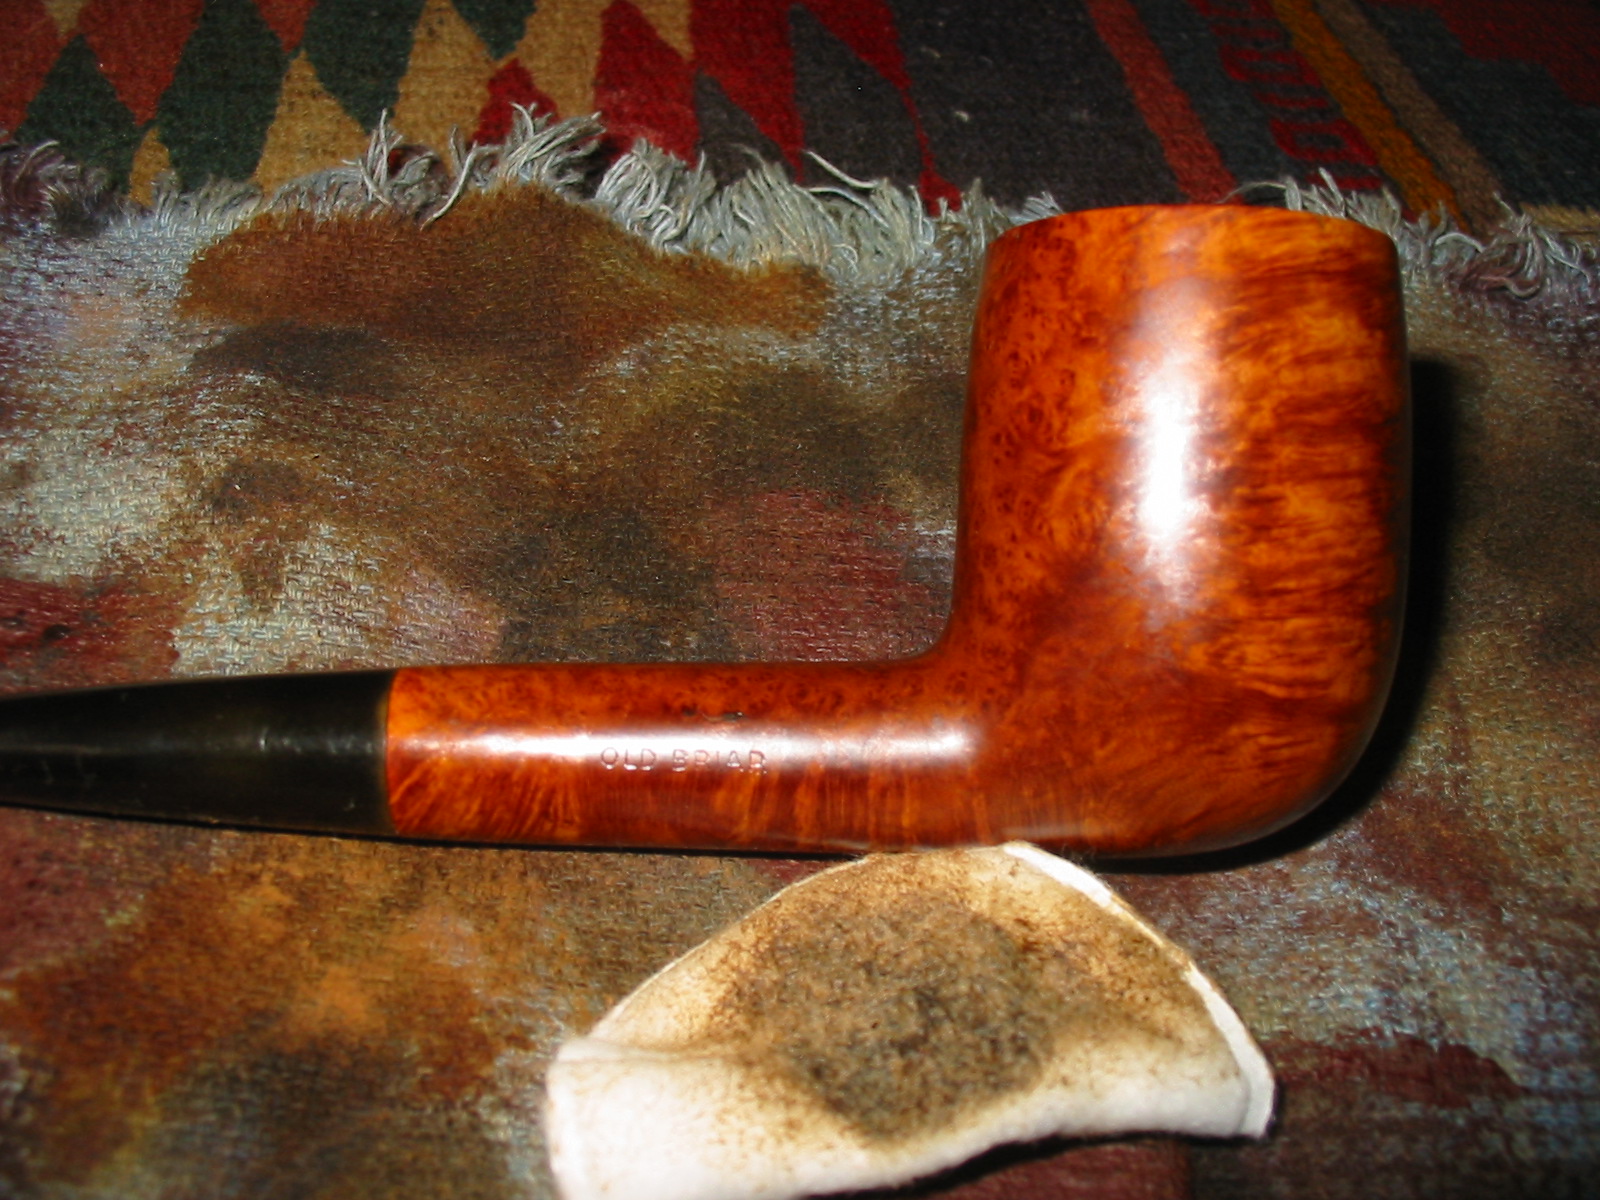
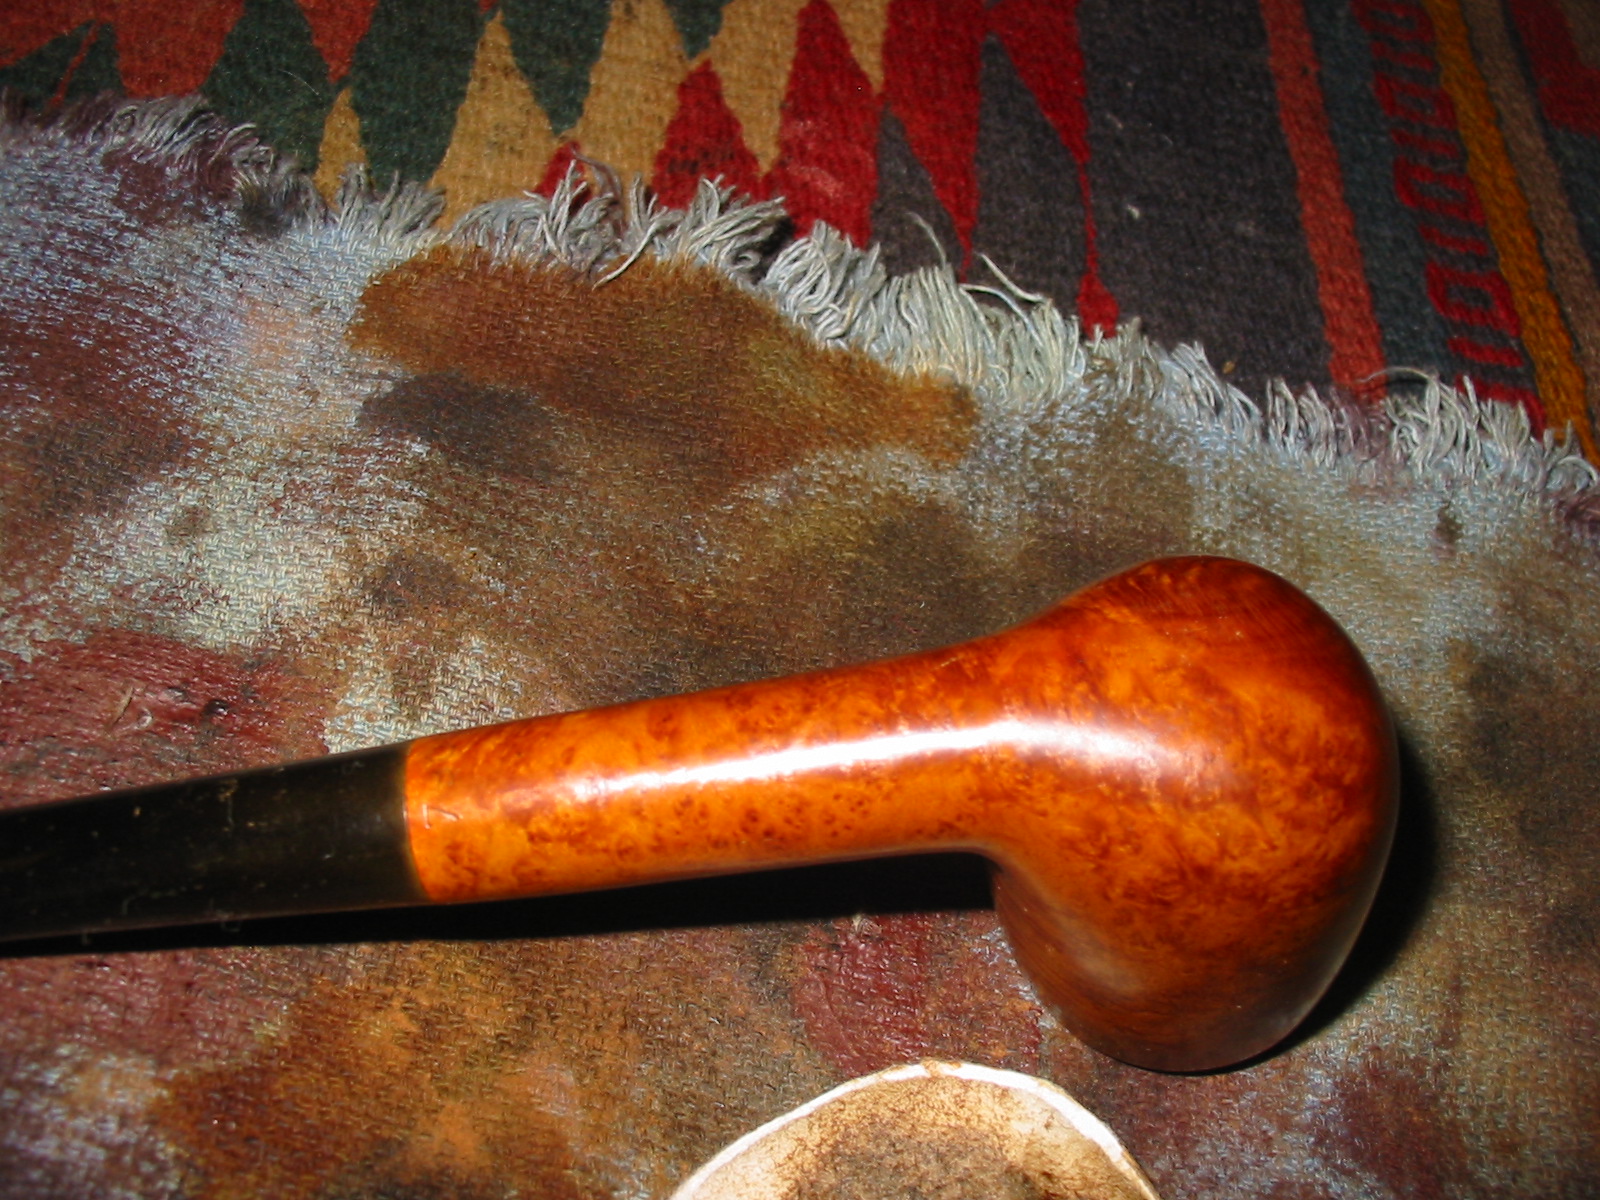
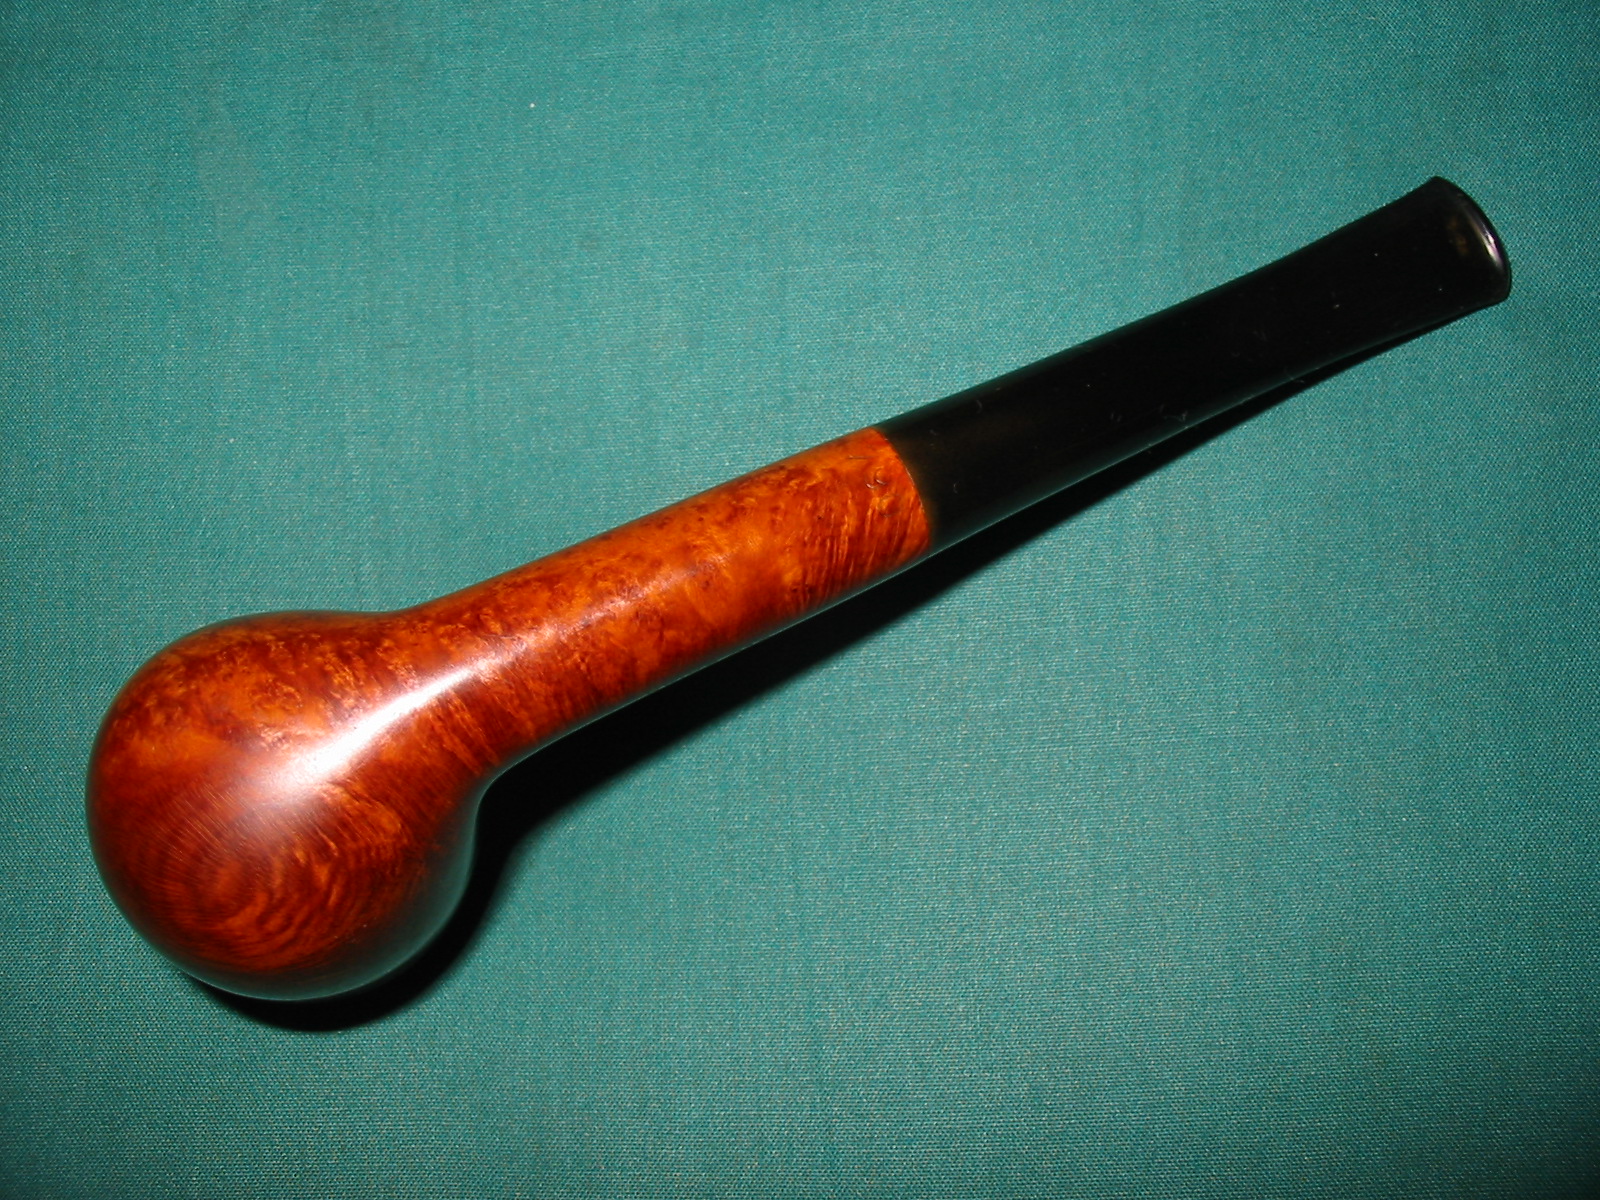
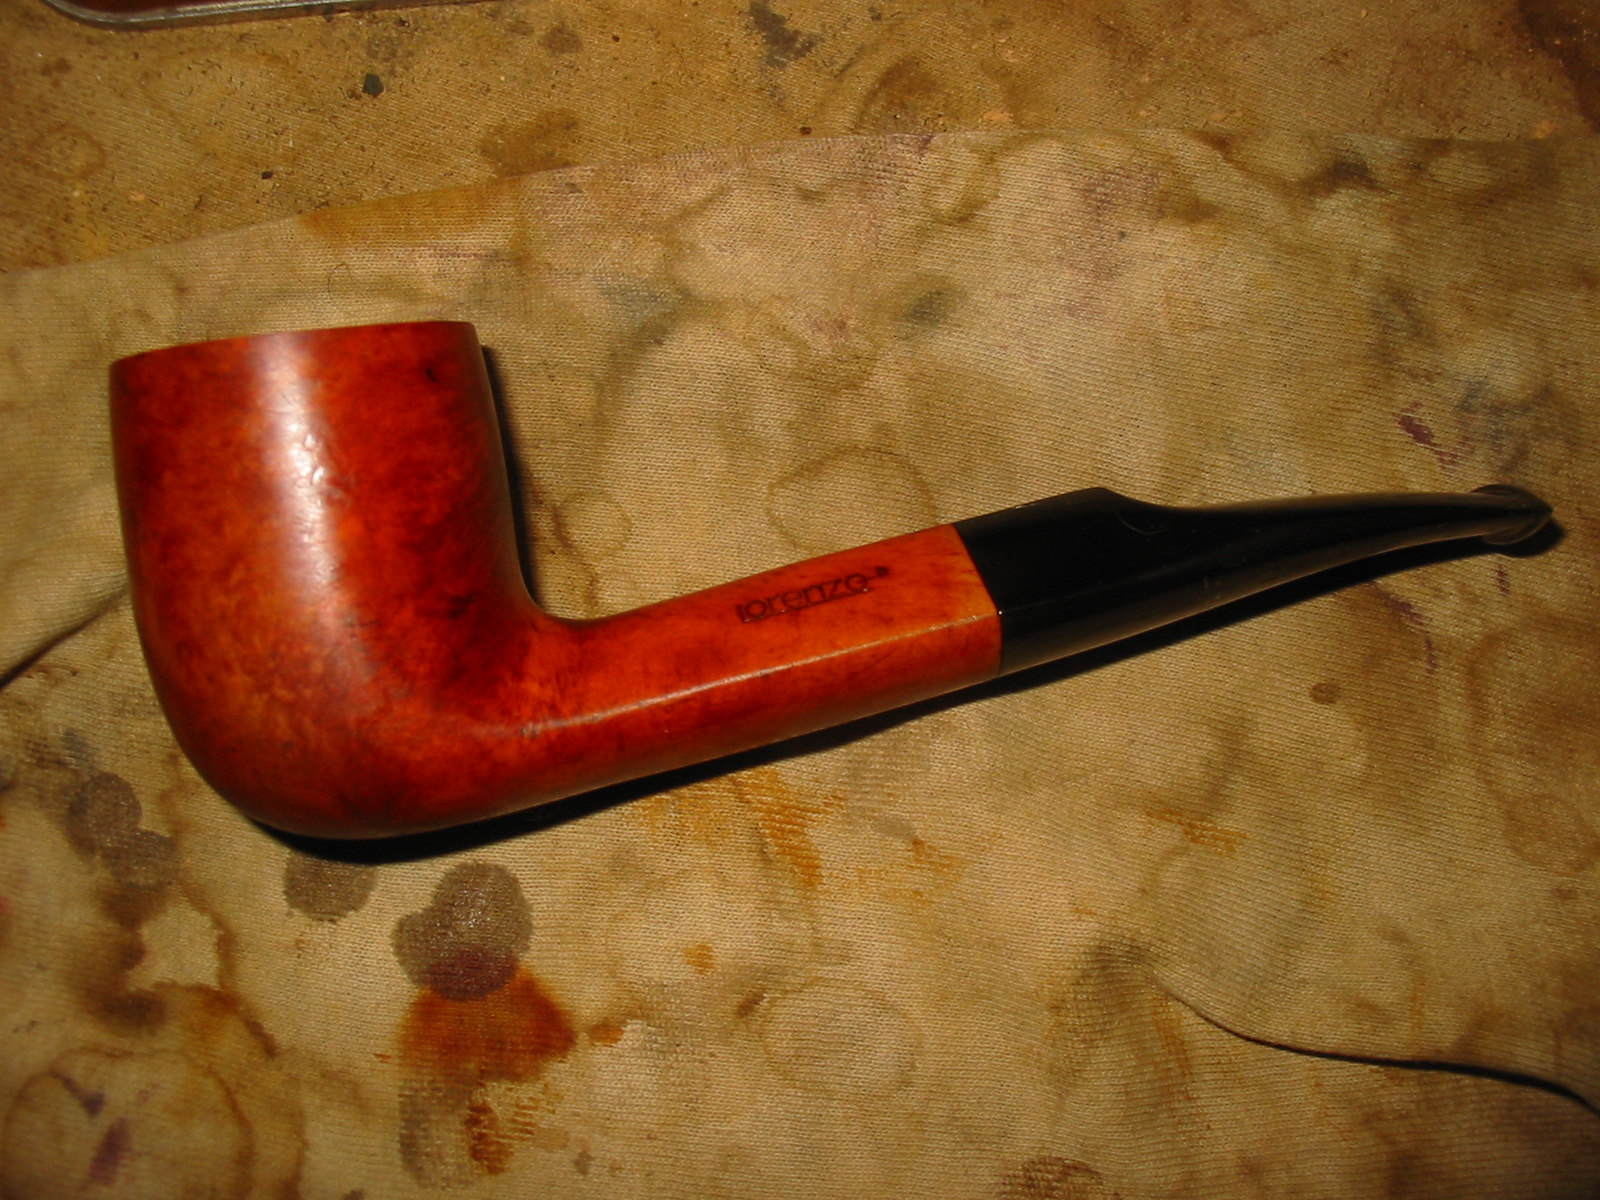
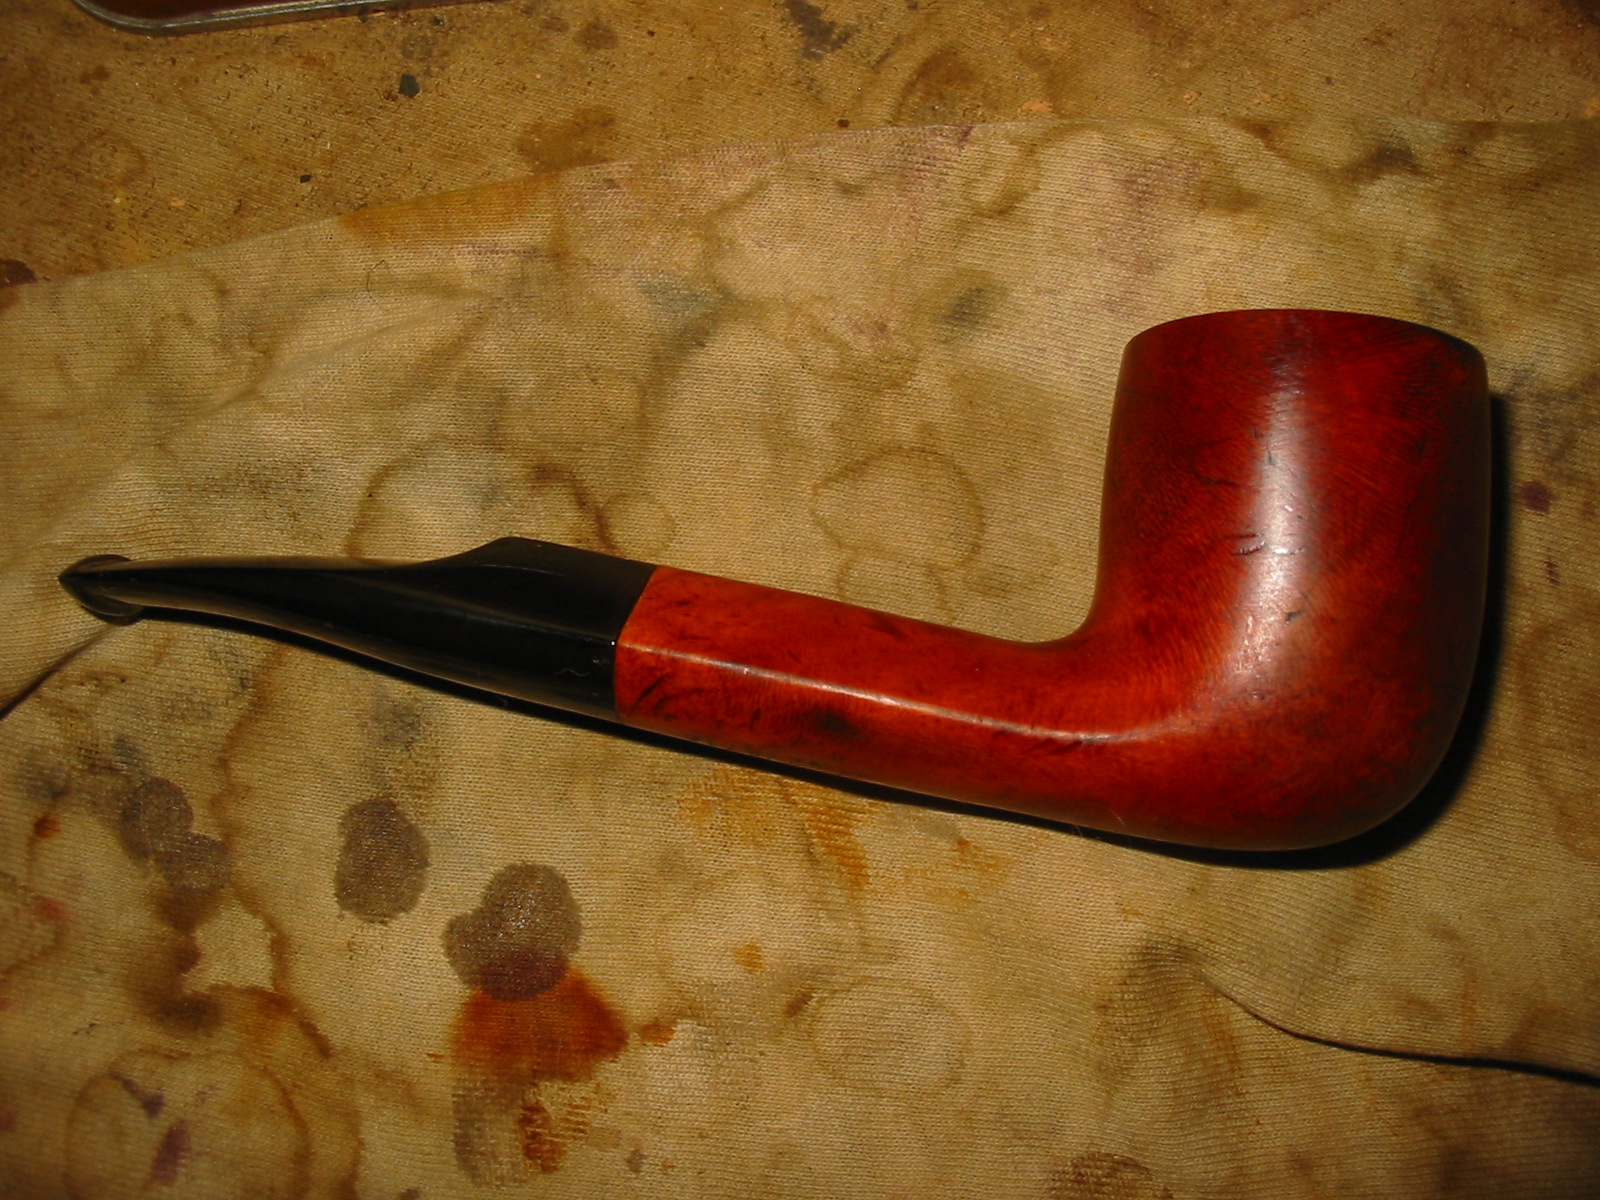
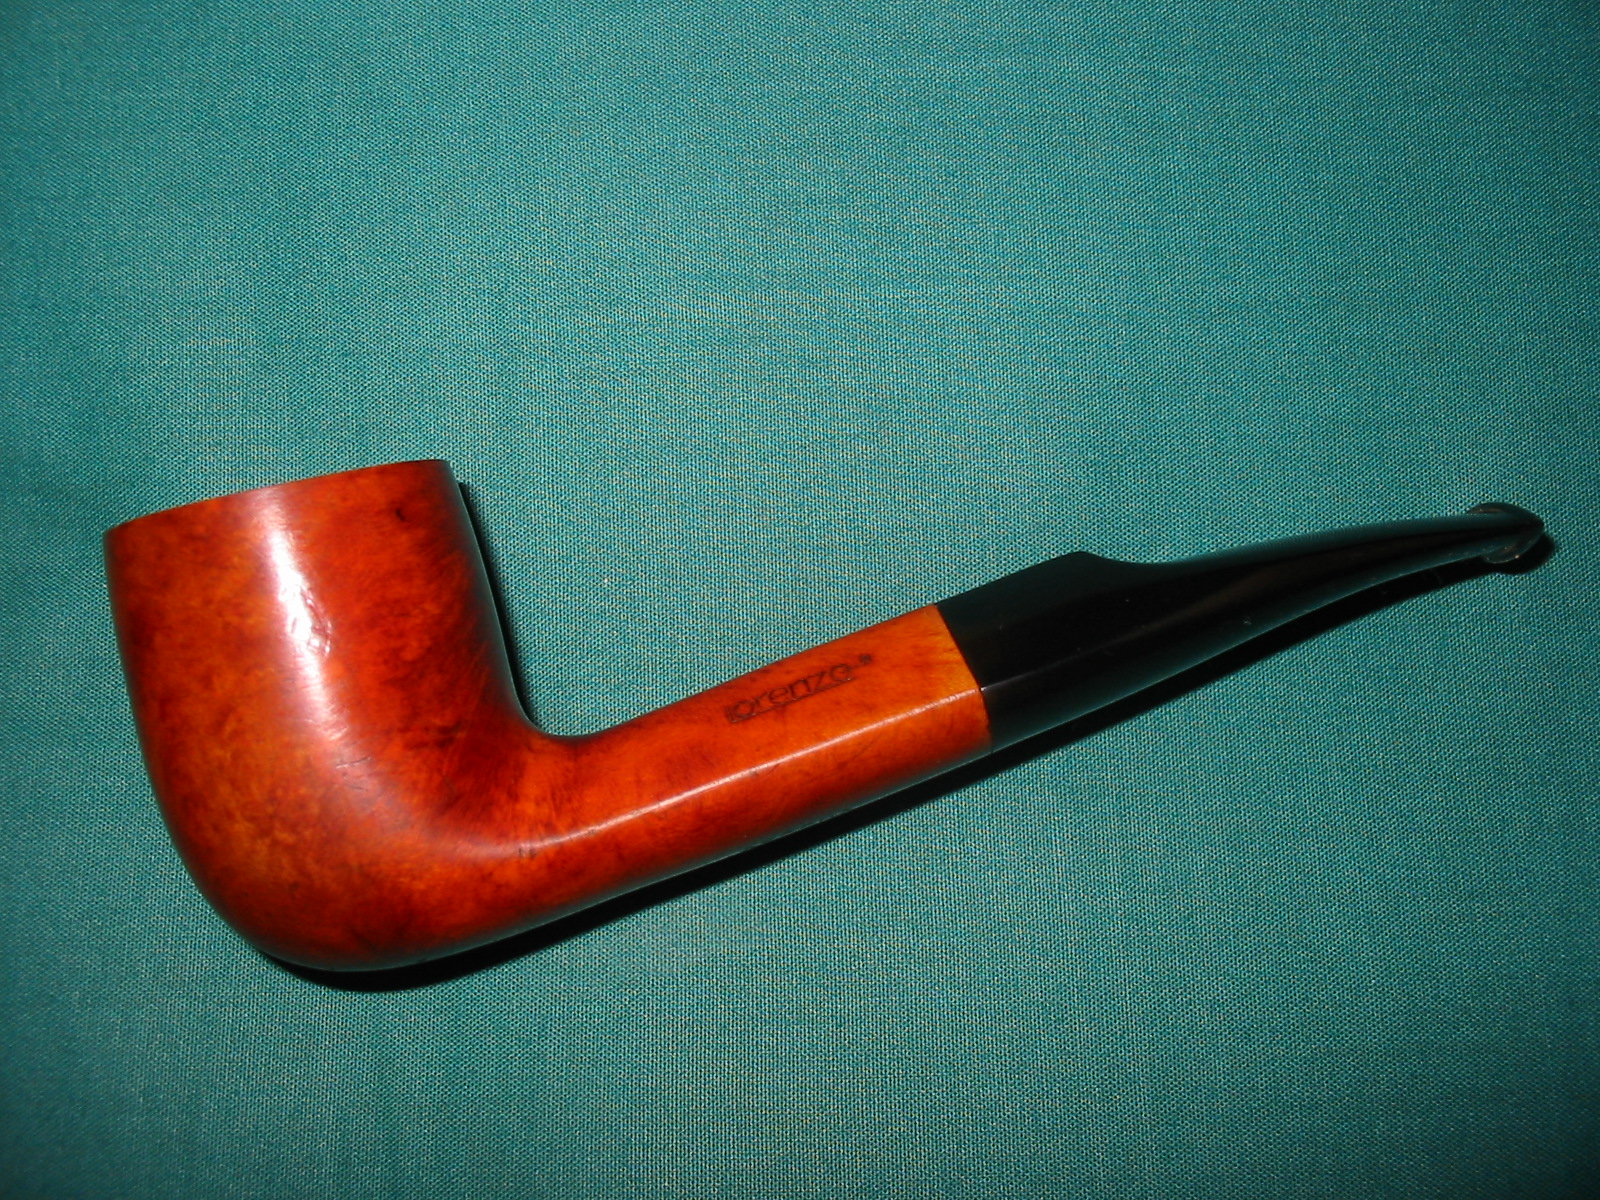
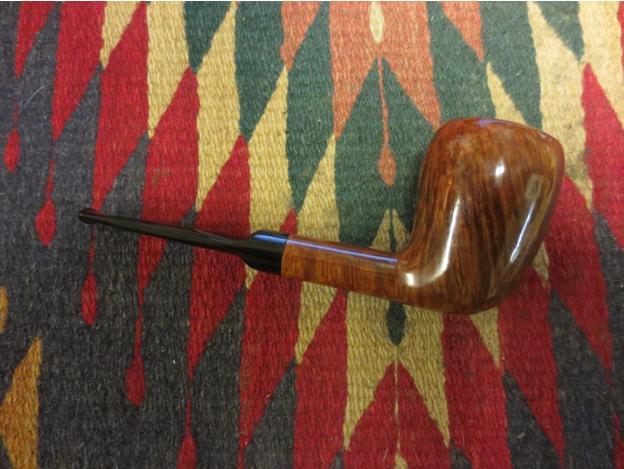
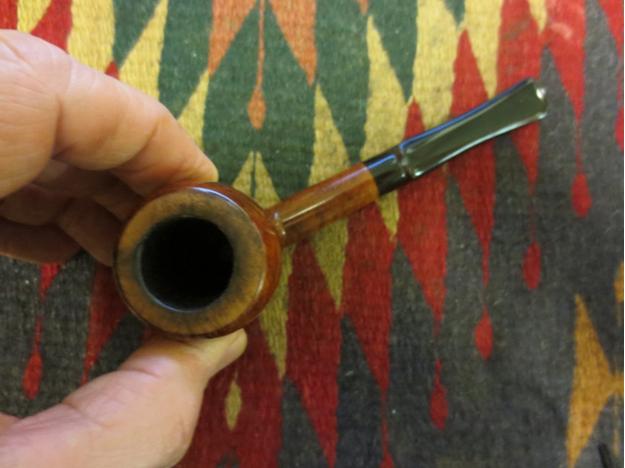
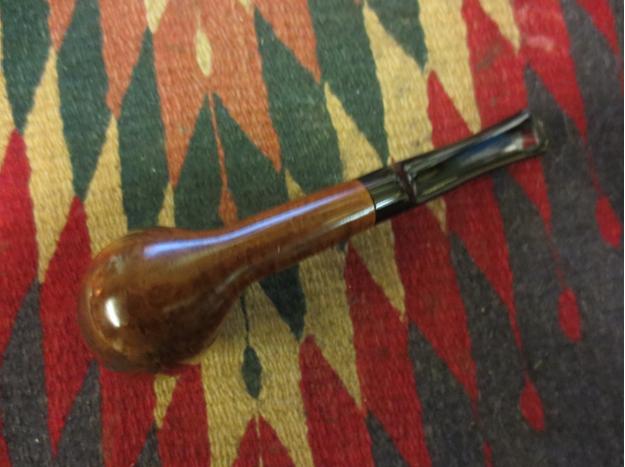
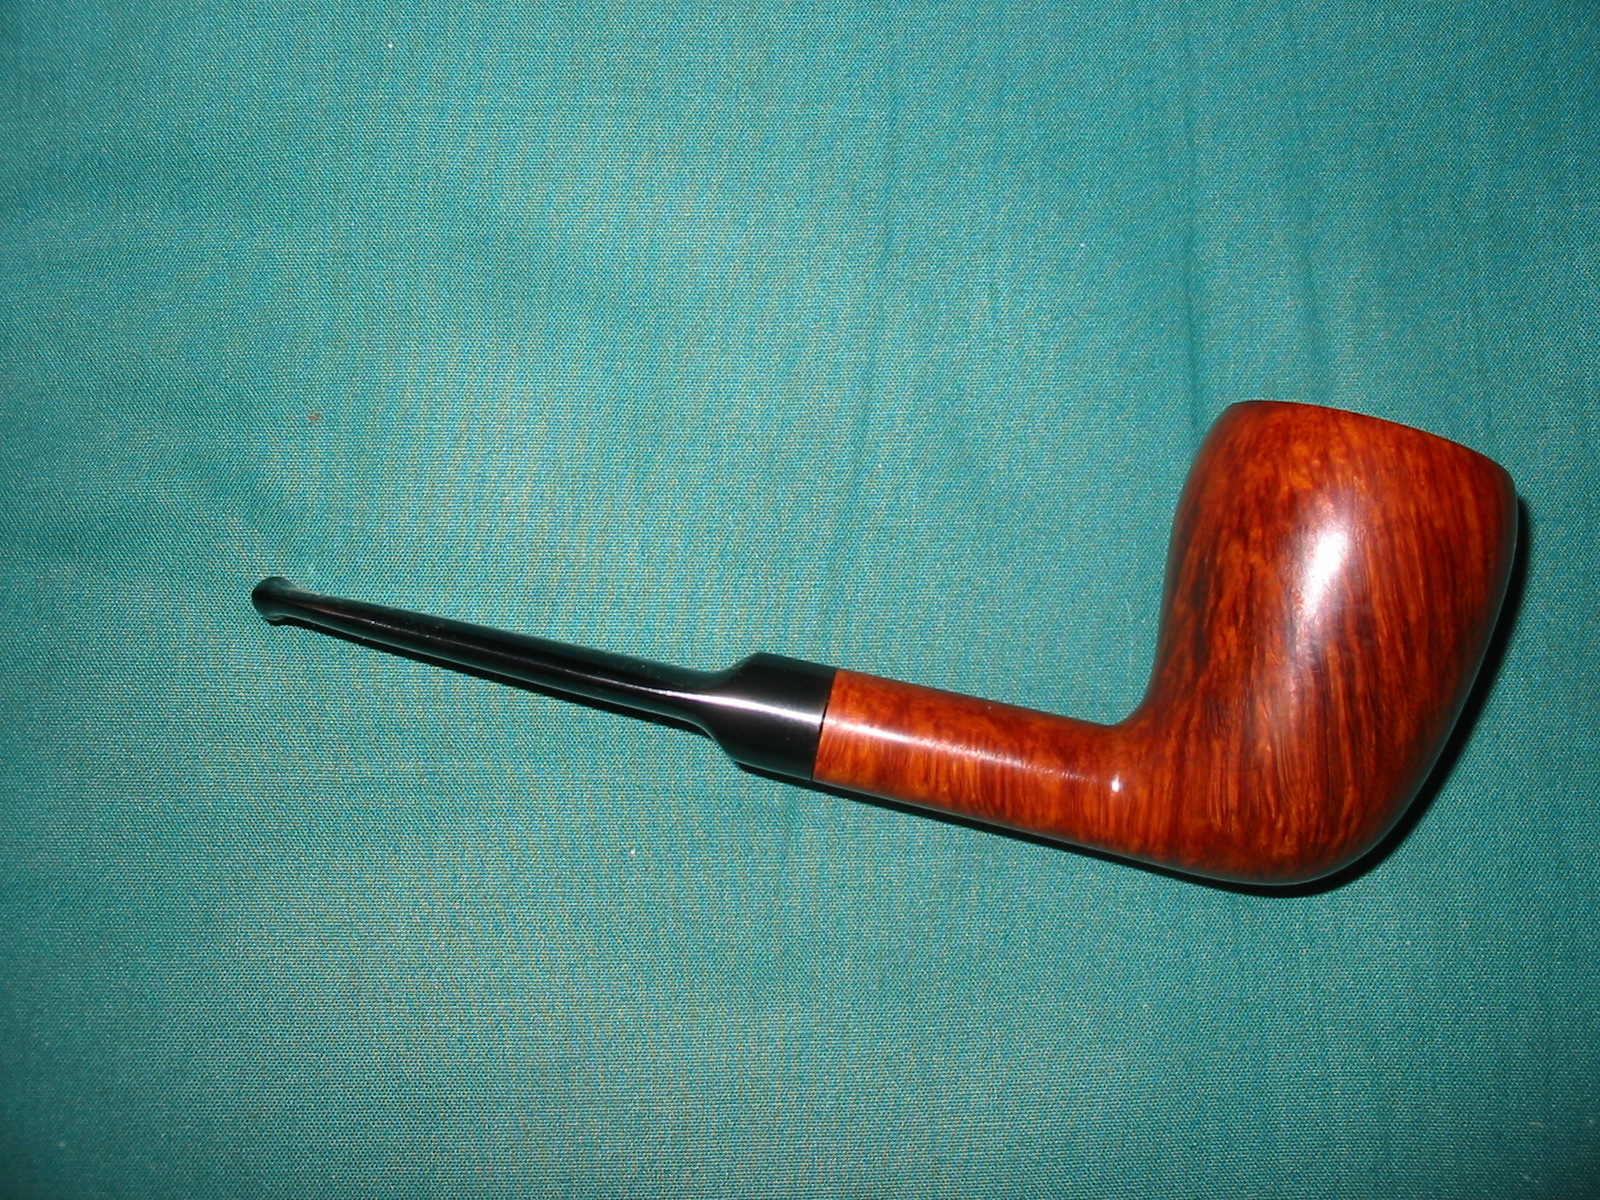
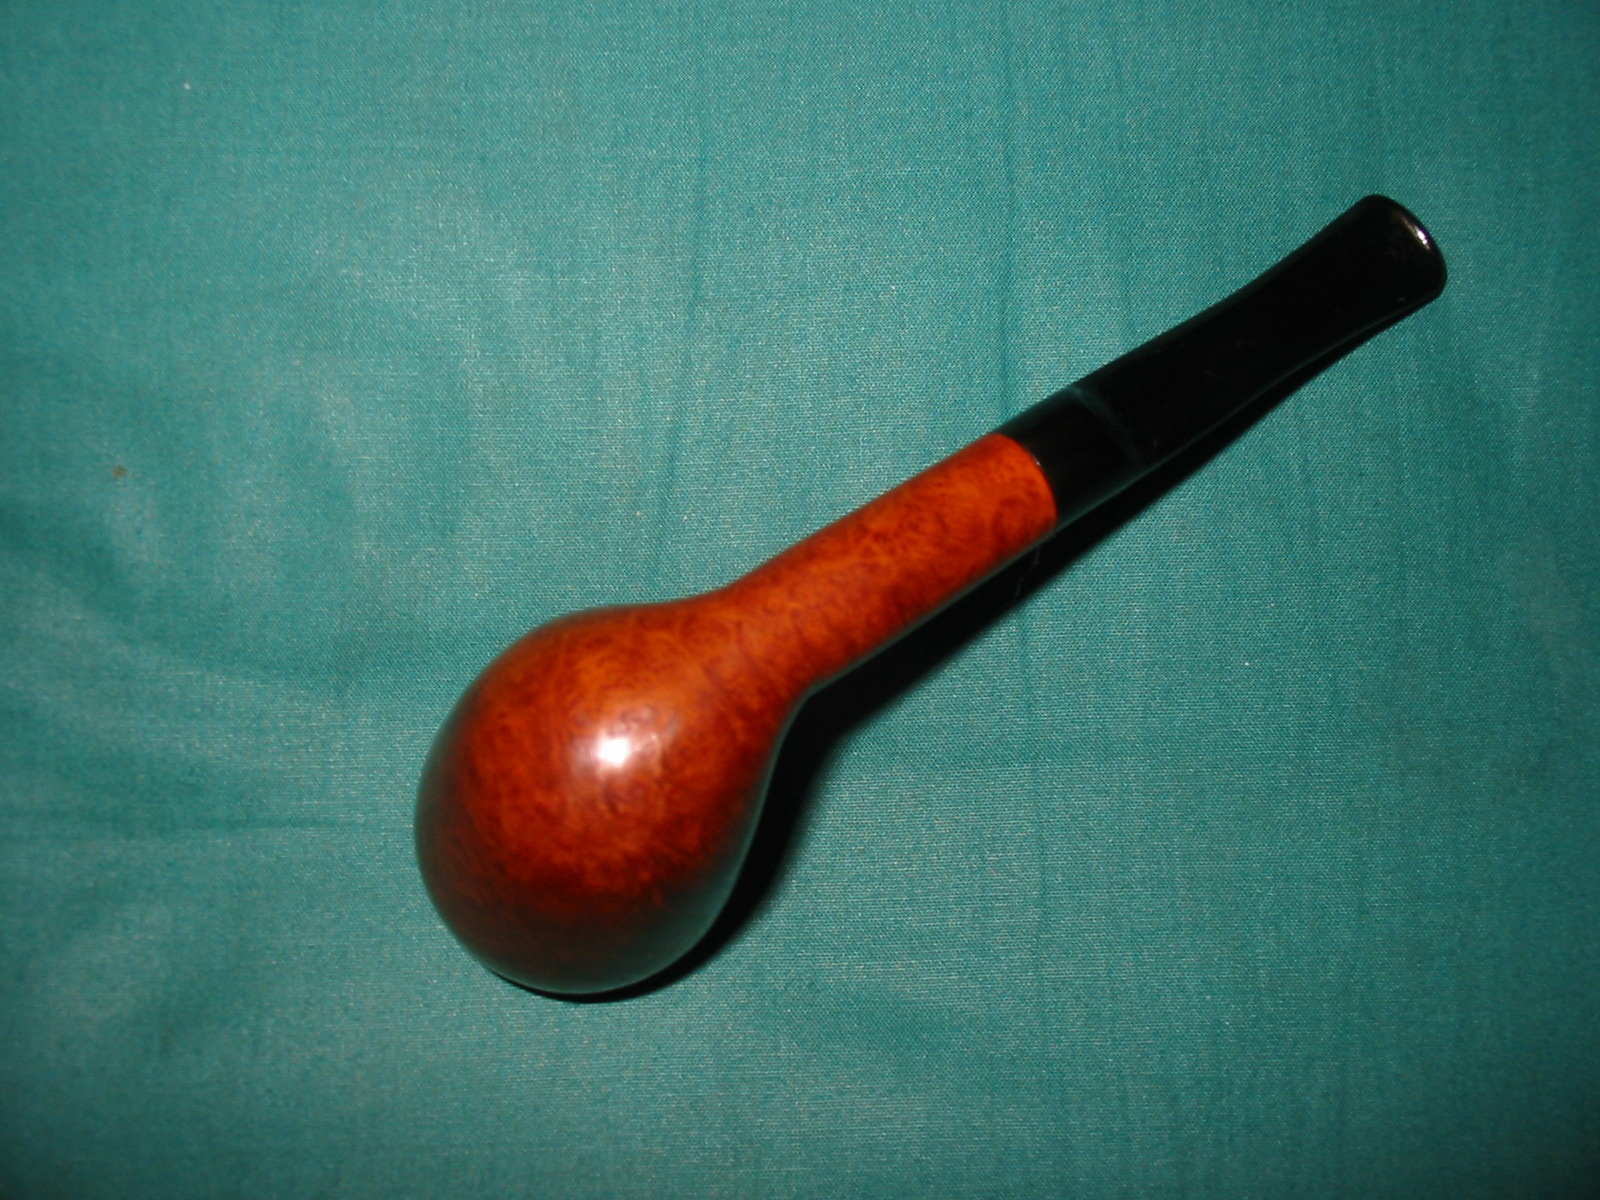
I sanded the tooth chatter on the stem to remove it and sanded it with micromesh sanding pads to polish the stem. I took the pipe to the buffer and buffed the bowl and stem with red Tripoli and then White Diamond. Once I had finished I rubbed the stem down with Obsidian Oil and rubbed it into the vulcanite. I buffed the stem and bowl one last time with White Diamond and then gave it multiple coats of carnauba wax. I finished with a soft flannel buff on the wheel. The finished pipe is shown in the photos below. It is ready to join the other finished pipes in the box of pipes for the Pipe Club. I look forward to seeing what they do with the lot.
IMG_4167

IMG_4169

IMG_4170

IMG_4171

Topping and Restaining a Lorenzo Ascona


Blog by Steve Laug

Yet another pipe from the Vancouver Pipe Club donation was this triangular shanked Lorenzo. It is stamped on the left side of the top of the shank Lorenzo and on the bottom of the shank it is stamped Ascona over a series of numbers and letters – 42Y8716. I have no idea what the numbers mean and have been unable to find any information on them. Over the years I have had quite a few old Lorenzo’s but they always seem to find new homes as they tend to be too large to my liking. This one is a bit different – it is probably a group 4 sized bowl with a large triangular shank and saddle stem. The stem was in very good shape and still bears the cursive L logo stamped on the blade of the stem. The bowl was in very rough shape. There was a coat of varnish on the pipe and the bowl had the usual black rubbery bowl coating. The finish was an orange stain that was breaking up under the varnish and leaving light spots in the finish. The rim was beat up and all the outer edges of the bowl either were scarred or burned. The briar under the varnish is quite scratched and there are dents in the briar. I did not take the time to remove any of those other than the ones that came out through my cursory sanding of the bowl. The marks that remain are like character reminders and I decided to leave them. IMG_4125 IMG_4126 IMG_4127 IMG_4128 The close up photo below, of the top of the pipe shows the damaged rim -the rough outer edges of the bowl and the burn marks. The second photo below shows the burn damage on the side of the bowl below the edge of the rim. IMG_4124 IMG_4129 I set up my normal topping tools – a flat board and a piece of 220 grit sandpaper and began to work on the top of the bowl. I wanted to remove as much of the damage as possible and sharpen the edges of the bowl. I wanted to reduce the burn damage on the front right side of the outer rim in the process as well. IMG_4131 IMG_4130 IMG_4132 IMG_4133 I wiped the bowl down with acetone on cotton pads to remove the varnish and the spotty orange stain coat. IMG_4134 IMG_4135 IMG_4136 IMG_4137 I stained it with two MinWax stains – I used a Medium Walnut first followed by a Red Mahogany stain. I wanted a reddish hue to the pipe that was thinned and lightened by the walnut stain. Once I had finished staining it I buffed the bowl with red Tripoli to smooth out the remaining scratches and even out the stain coat. IMG_4138 IMG_4139 IMG_4141 I rubbed the stem down with Obsidian Oil and when it was dry buffed the pipe one more time with White Diamond. I finished the refinishing by giving the pipe multiple coats of carnauba wax and buffing it with a clean flannel buff. The finished pipe is pictured below. It is ready to go back with the others that have been prepared for the Club to use as they choose. IMG_4142 IMG_4143 IMG_4144 IMG_4145

Topped and Refinished a Valby Acorn


This is another one that is from the Vancouver Pipe Club lot of donated pipes. The stamping on this one is quite faint. It looks to me to be Valby. Some of the letters in the stamp over lap making it harder to read. The rim had been topped but not finished. There were still burn marks remaining on the outer edge of the rim. As with the others in this lot the finish was coated with varnish making it perpetually shiny. The rim had some as well but it was still in rough shape. The bowl had been coated with the same black bowl coating. I decided to rework the topping job, remove as many of the burn marks on the front edge of the bowl as possible and refinish the pipe. The stem was in great shape and showed no oxidation or tooth marks.
Valley1

Valley2

Valley3

Valley4

I took the photo below to show the state of the rim. The photo does not do justice to the unfinished nature of the topping. The burn marks are visible in the second photo below on the front edge of the rim both inside and outside. The rest of the rim had scratches from the previous topping and the finish was dull.
Valley5

Valley7

I topped the bowl on the flat board and sandpaper until I had removed the burned portion of the rim and had evened out the top surface. The topping from before had not taken off enough of the damaged portion to be even across the surface.
Valley6

Valley8

I wiped the bowl and rim down with acetone on a cotton pad to remove the varnish coat and the finish so that I could restain and get a good even coat of stain.
Valley9

Valley10

Valley11

Valley12

I restained the pipe with MinWax Medium Walnut stain – rubbed it on and off repeatedly until I had a good even coverage on the pipe.
Valley13

Valley14

Valley15

Valley16

When I had finished with the staining, I took it to the buffer and buffed with White Diamond to smooth out the finish and give it a shine. I chose the stain I did because of the transparency and how well it matched the original stain. I gave the pipe and stem multiple coats of carnauba wax and finish with a soft flannel buff. The finished pipe is shown below and is ready to go back in the box for the Pipe Club to sell.
Valley17

Valley18

Valley19

Valley20