Daily Archives: January 8, 2014

Cleaning up a Partner Deluxe Fine Briar Lumberman 129


Blog by Steve Laug

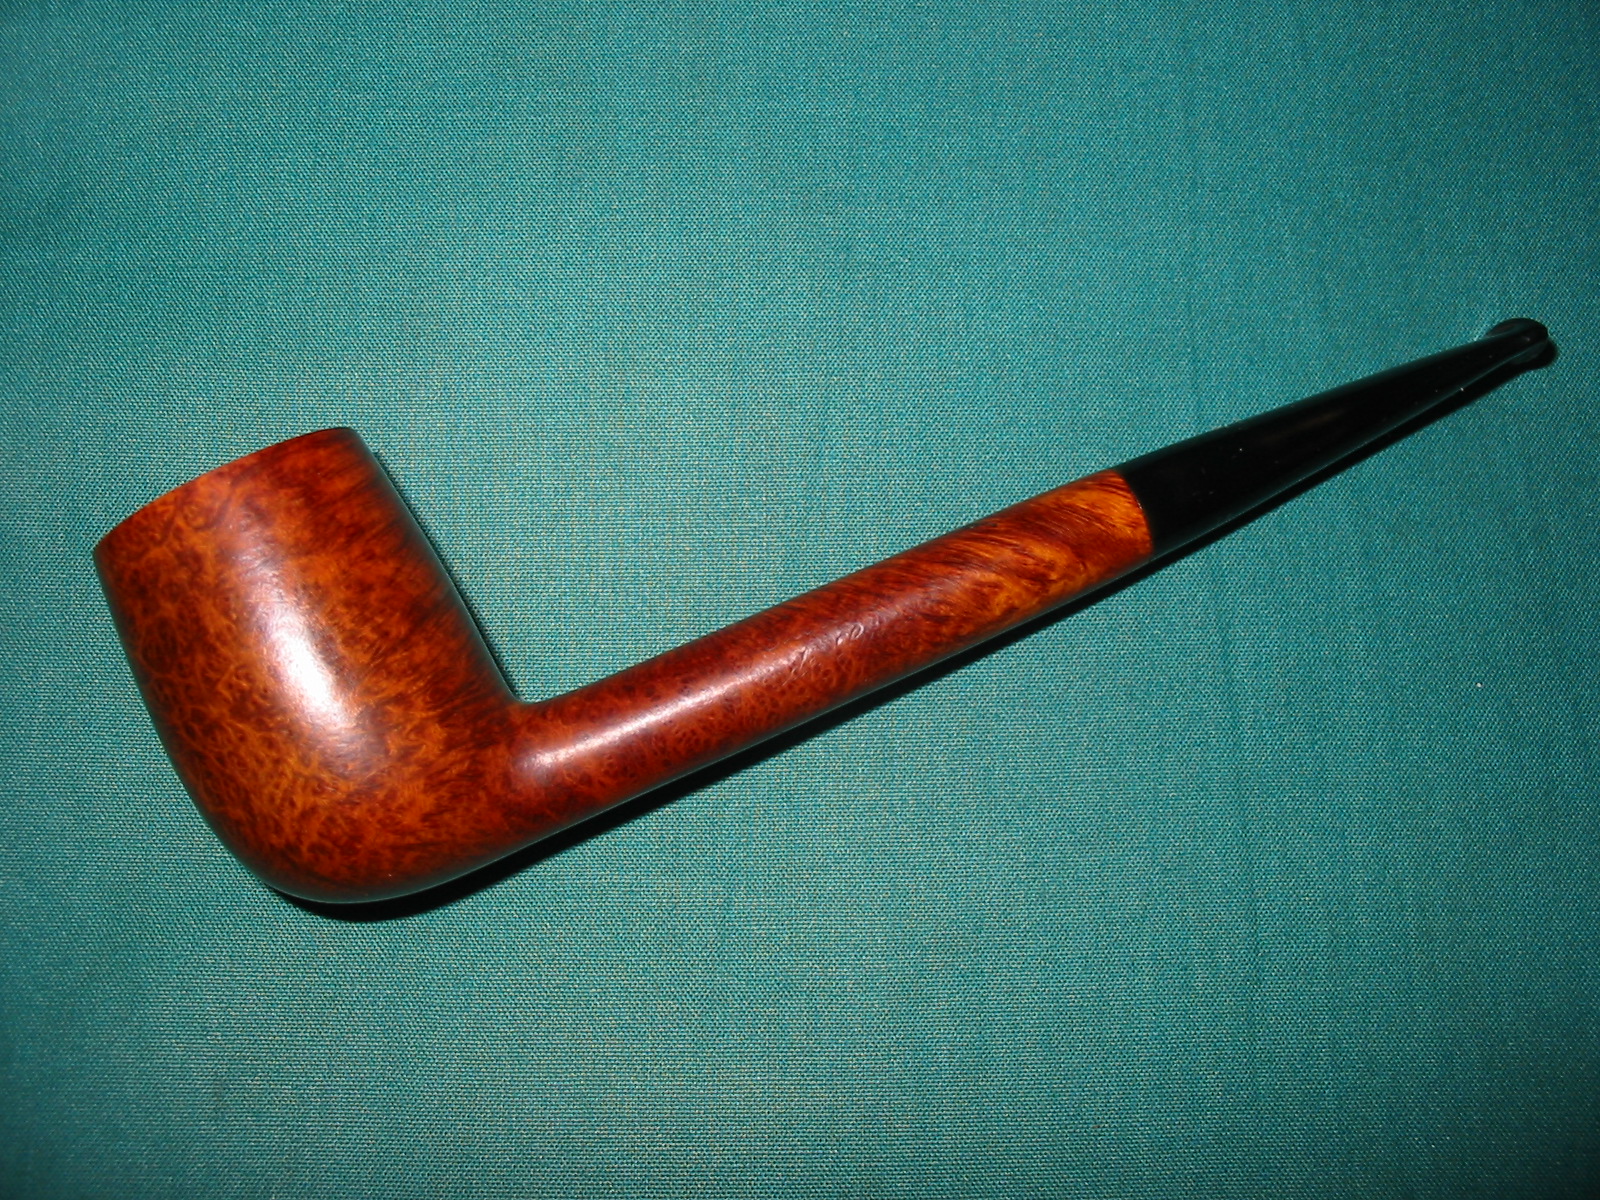
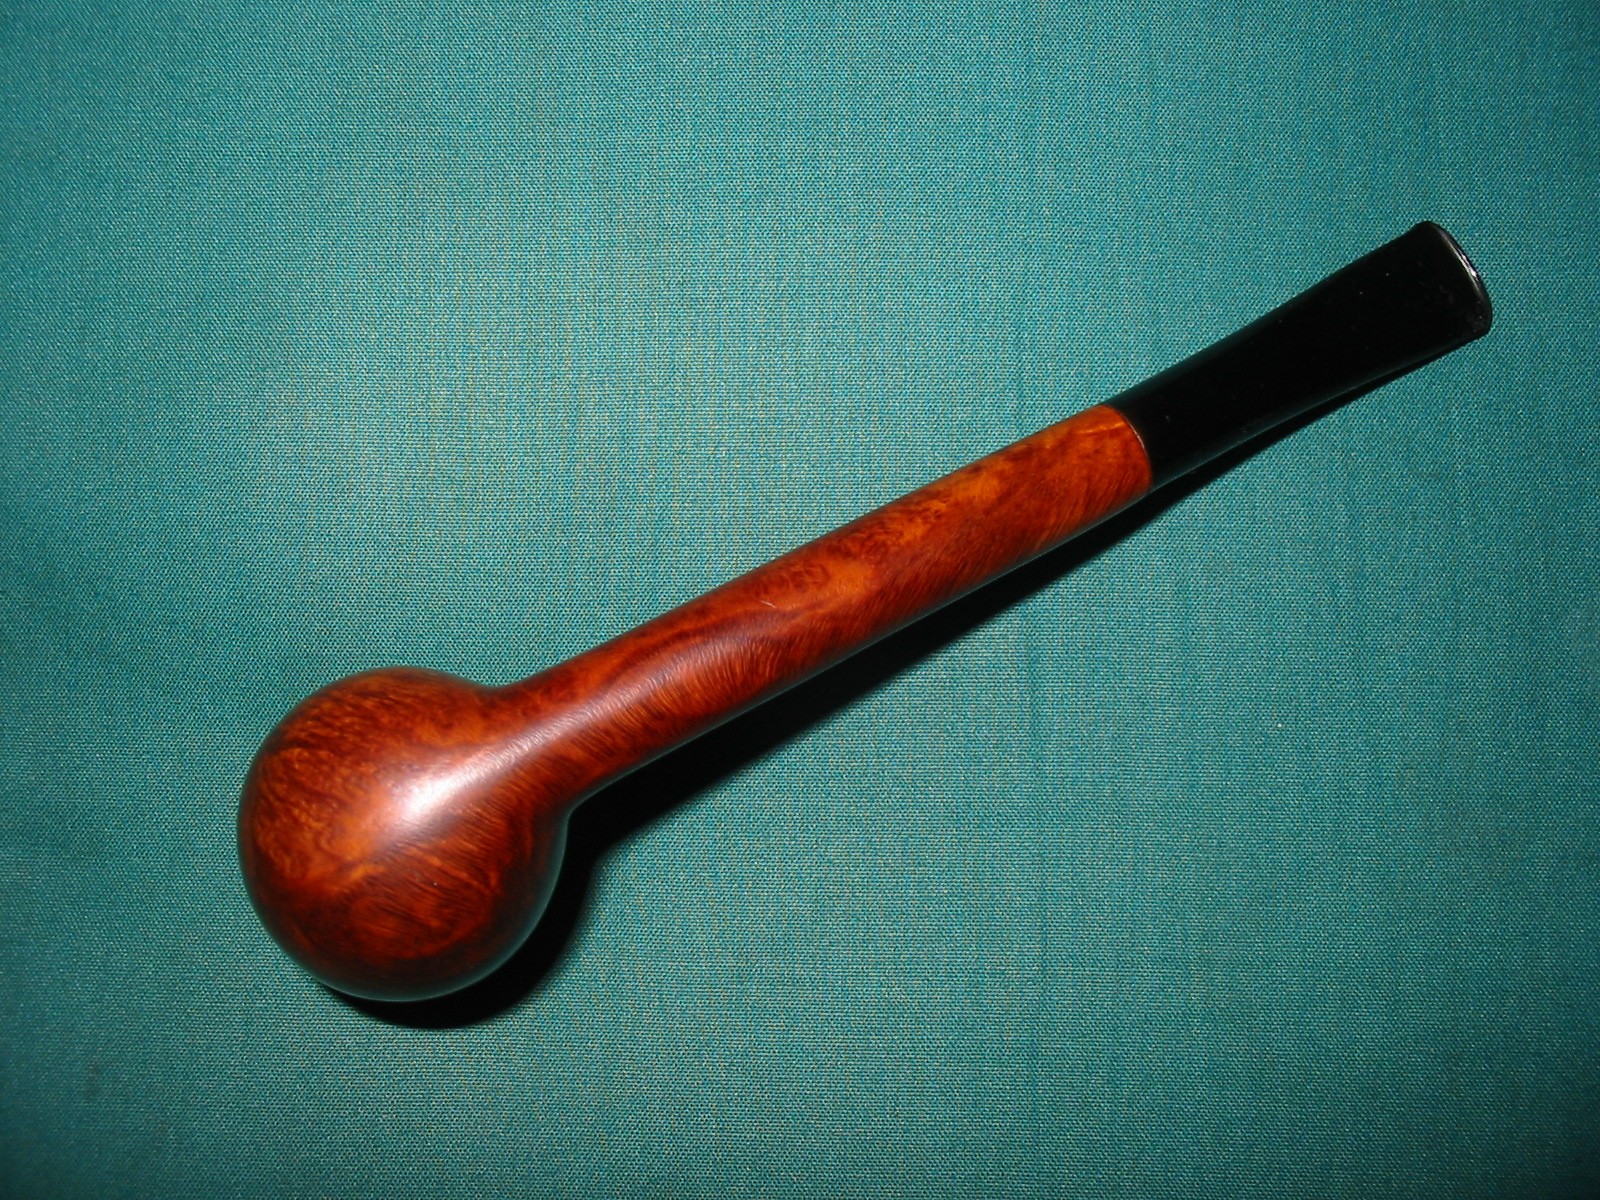
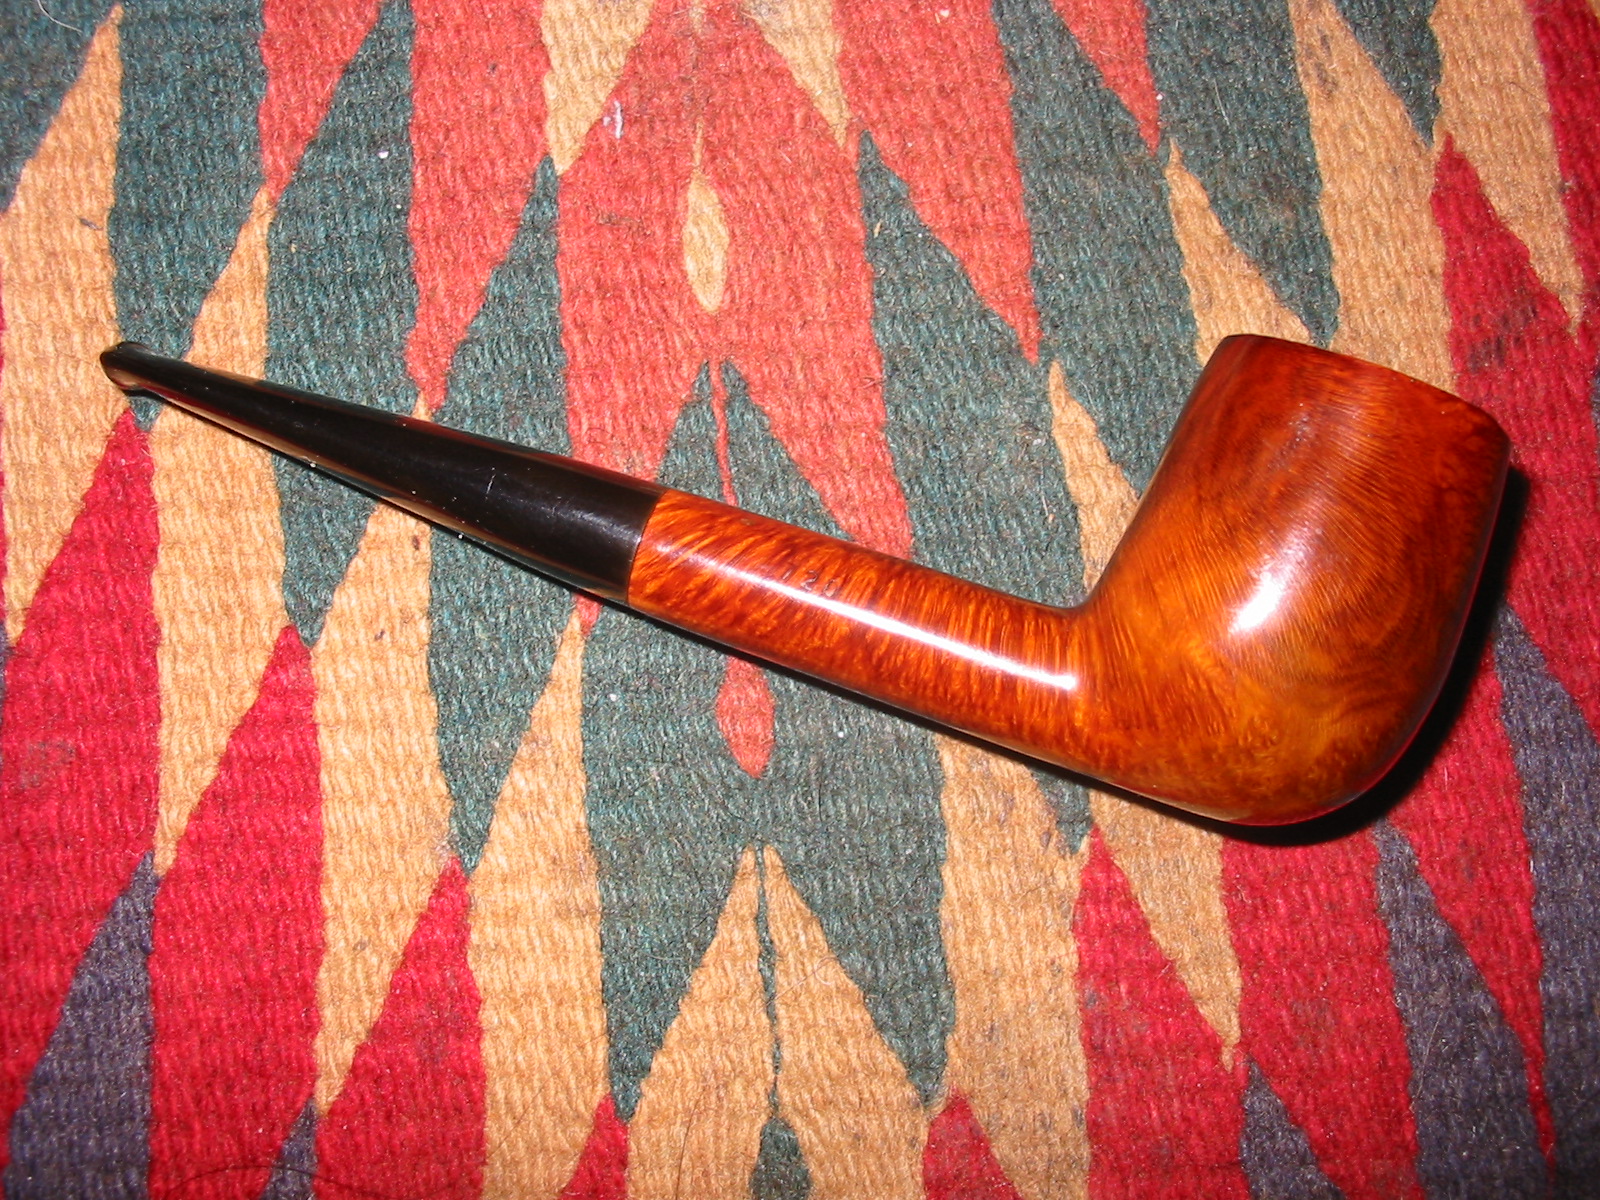
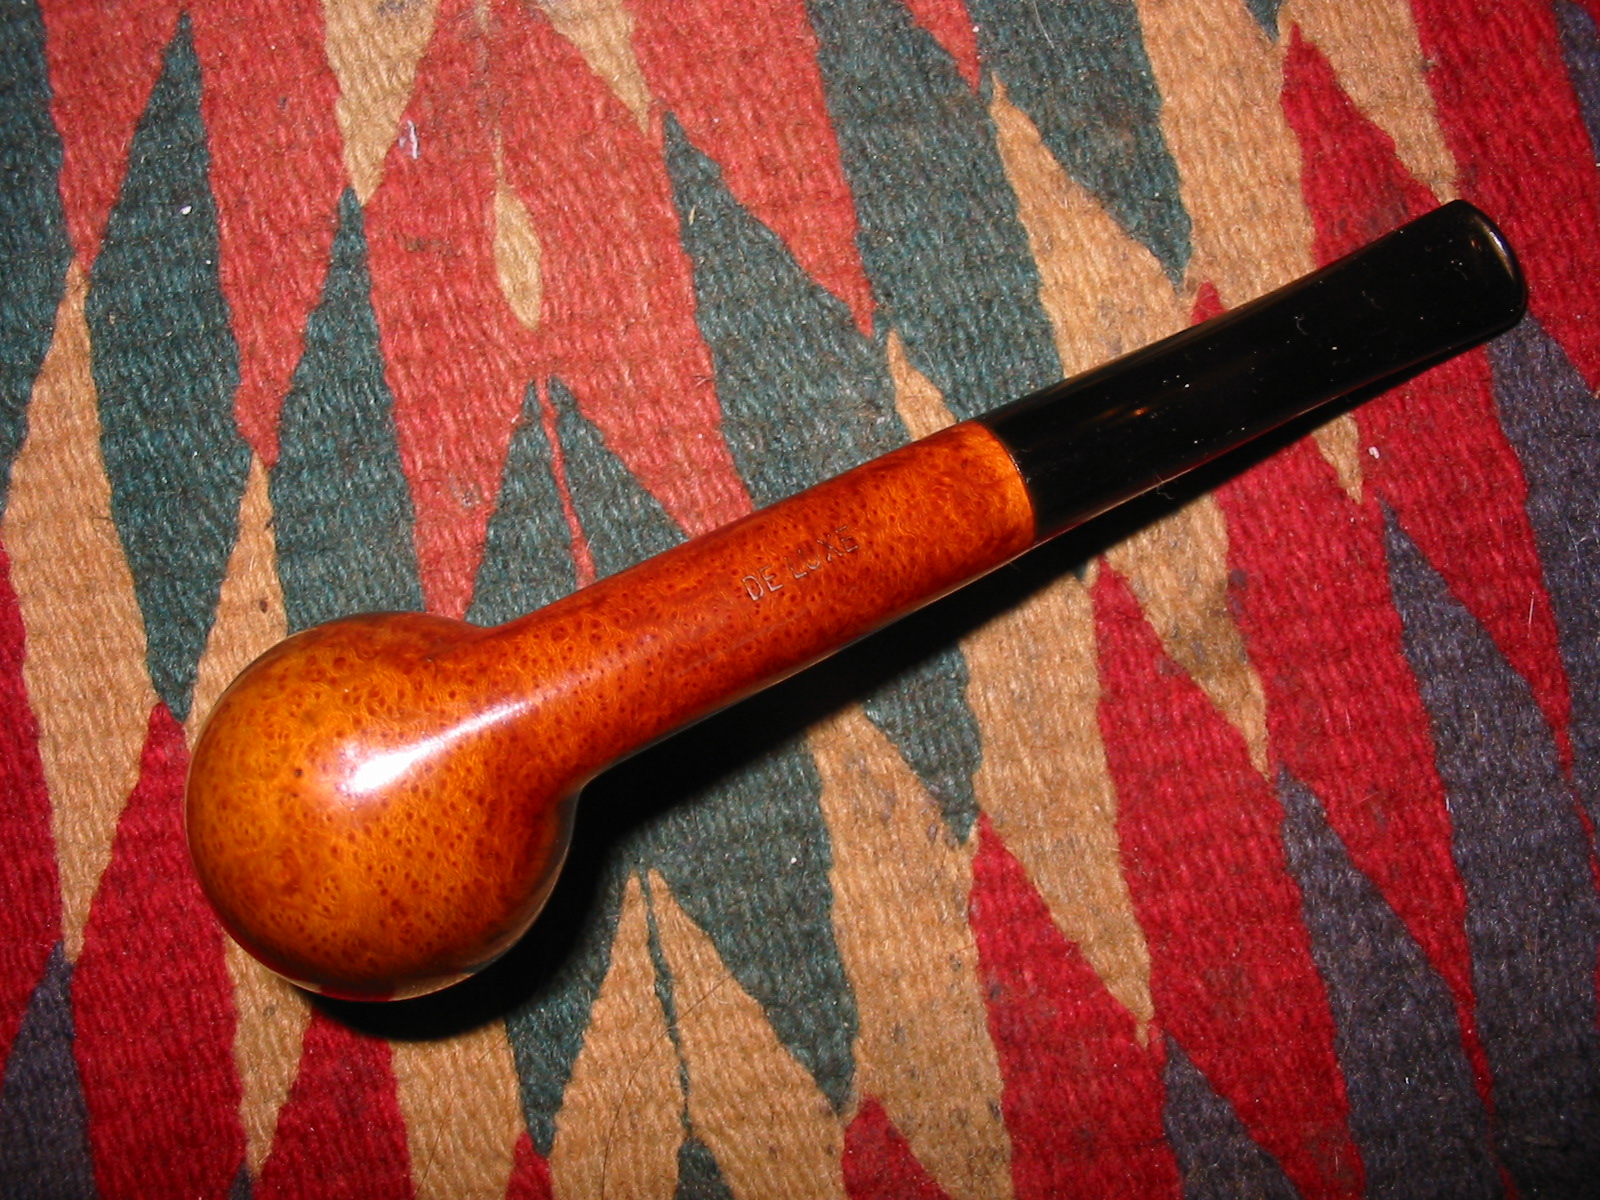
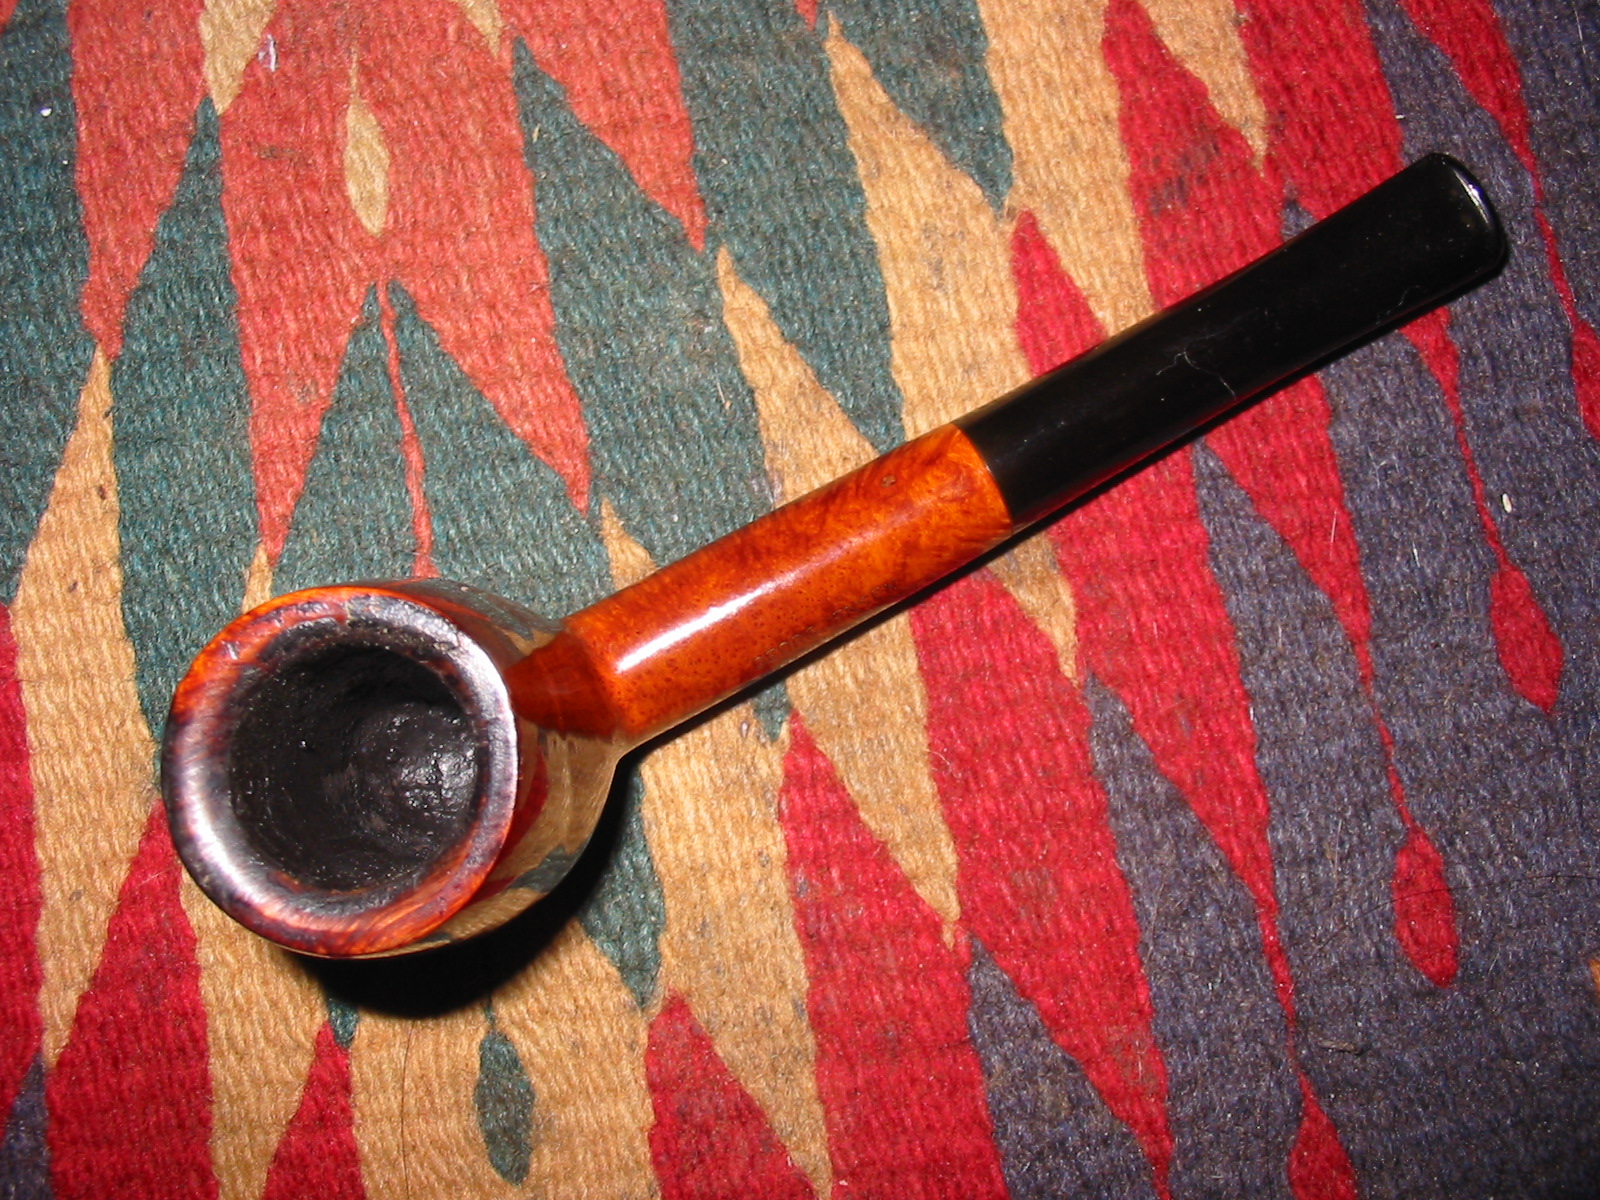
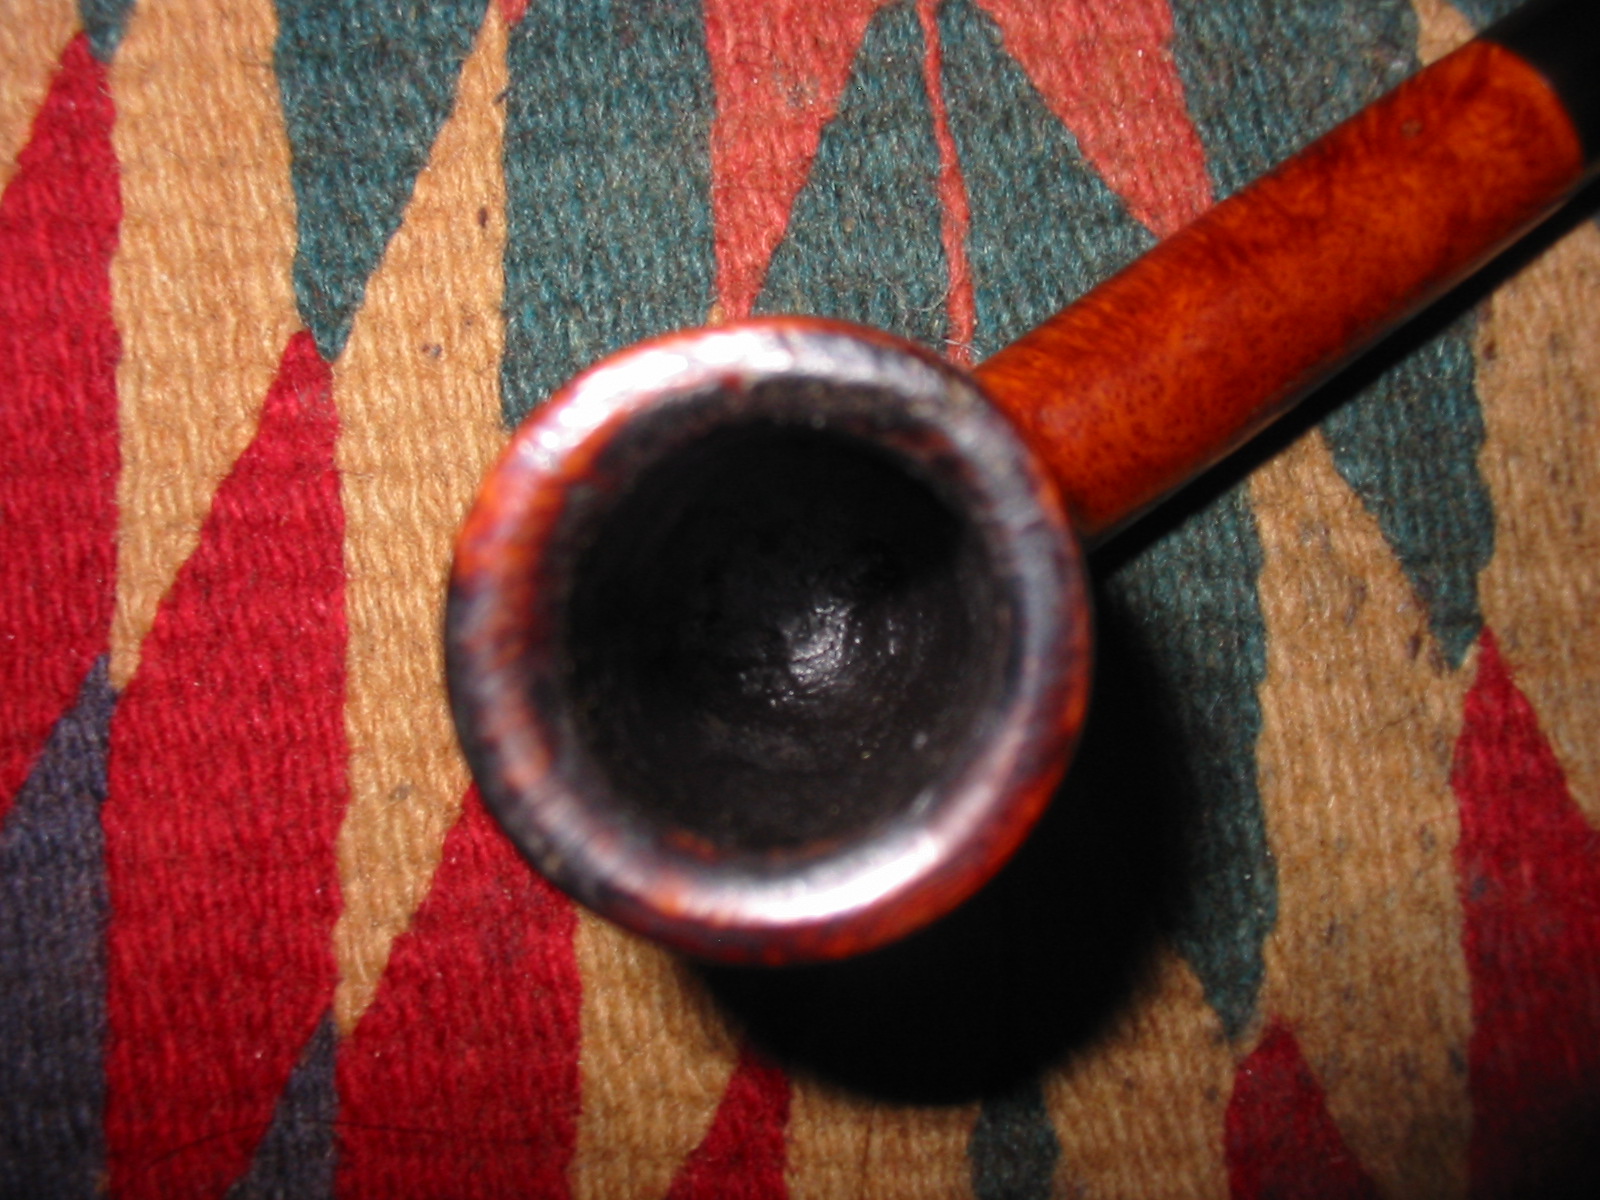
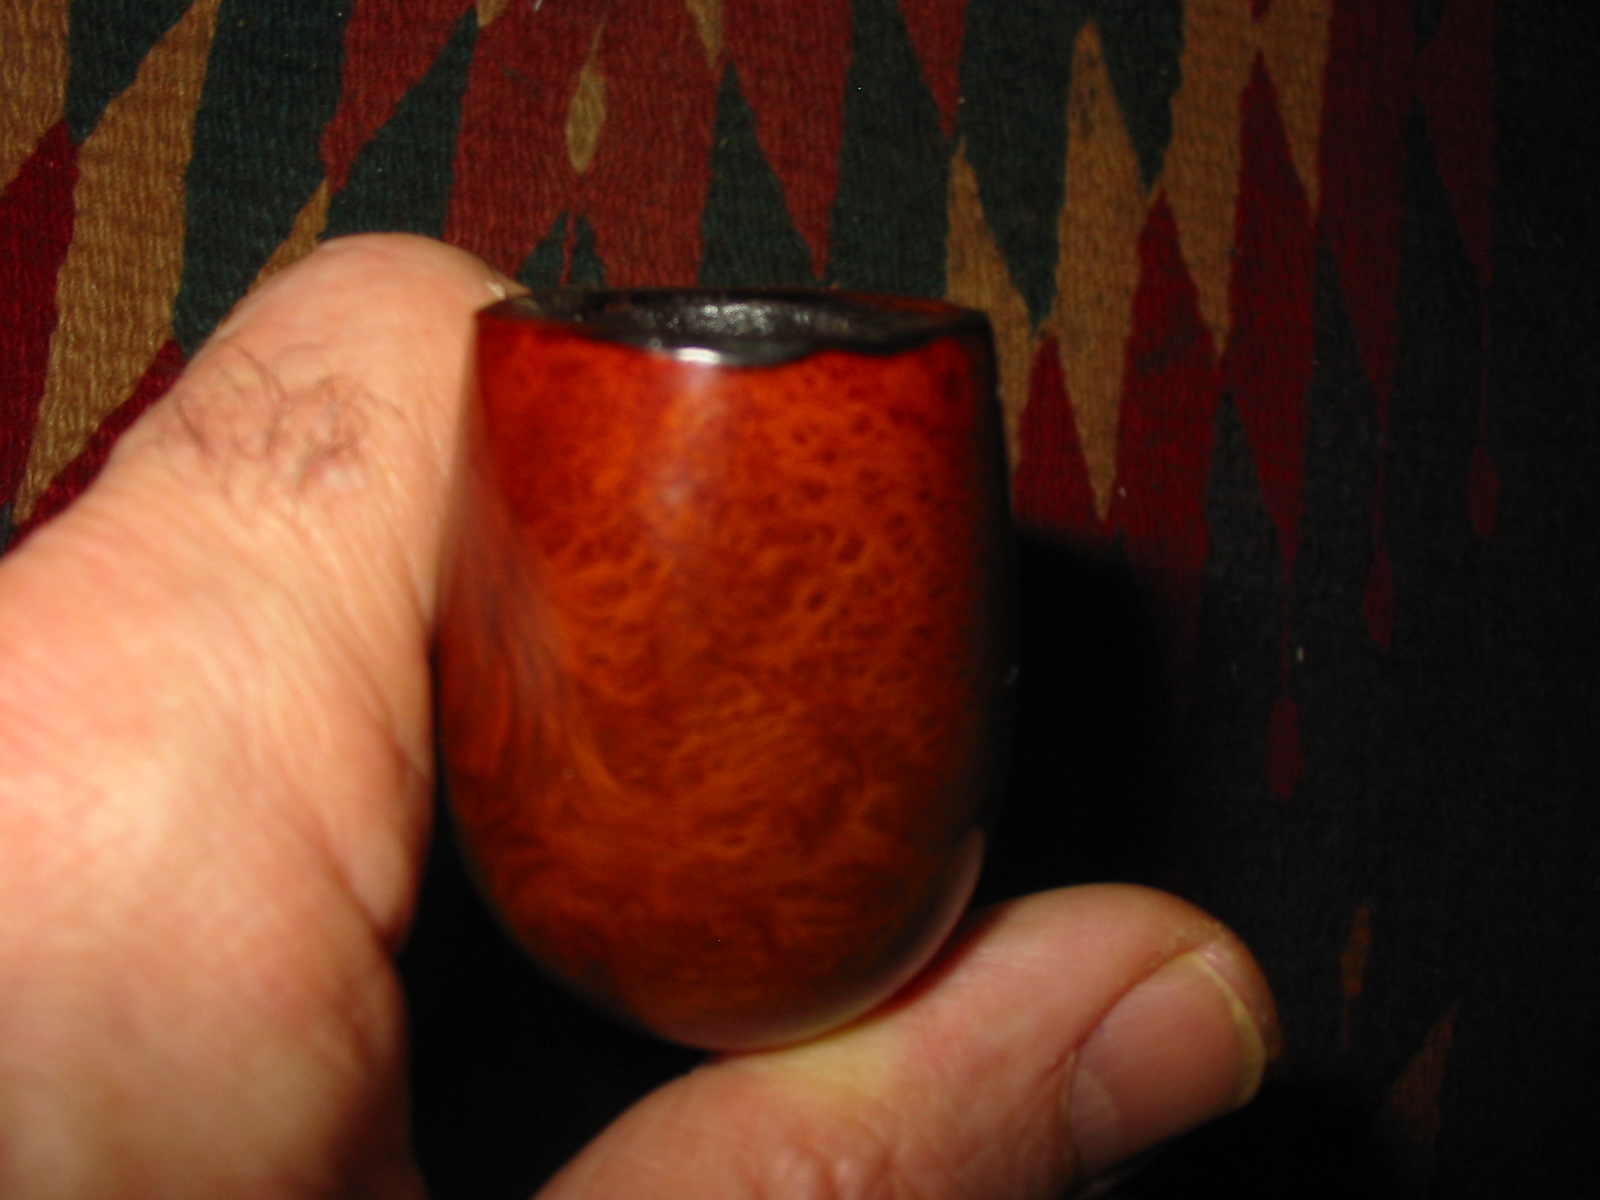
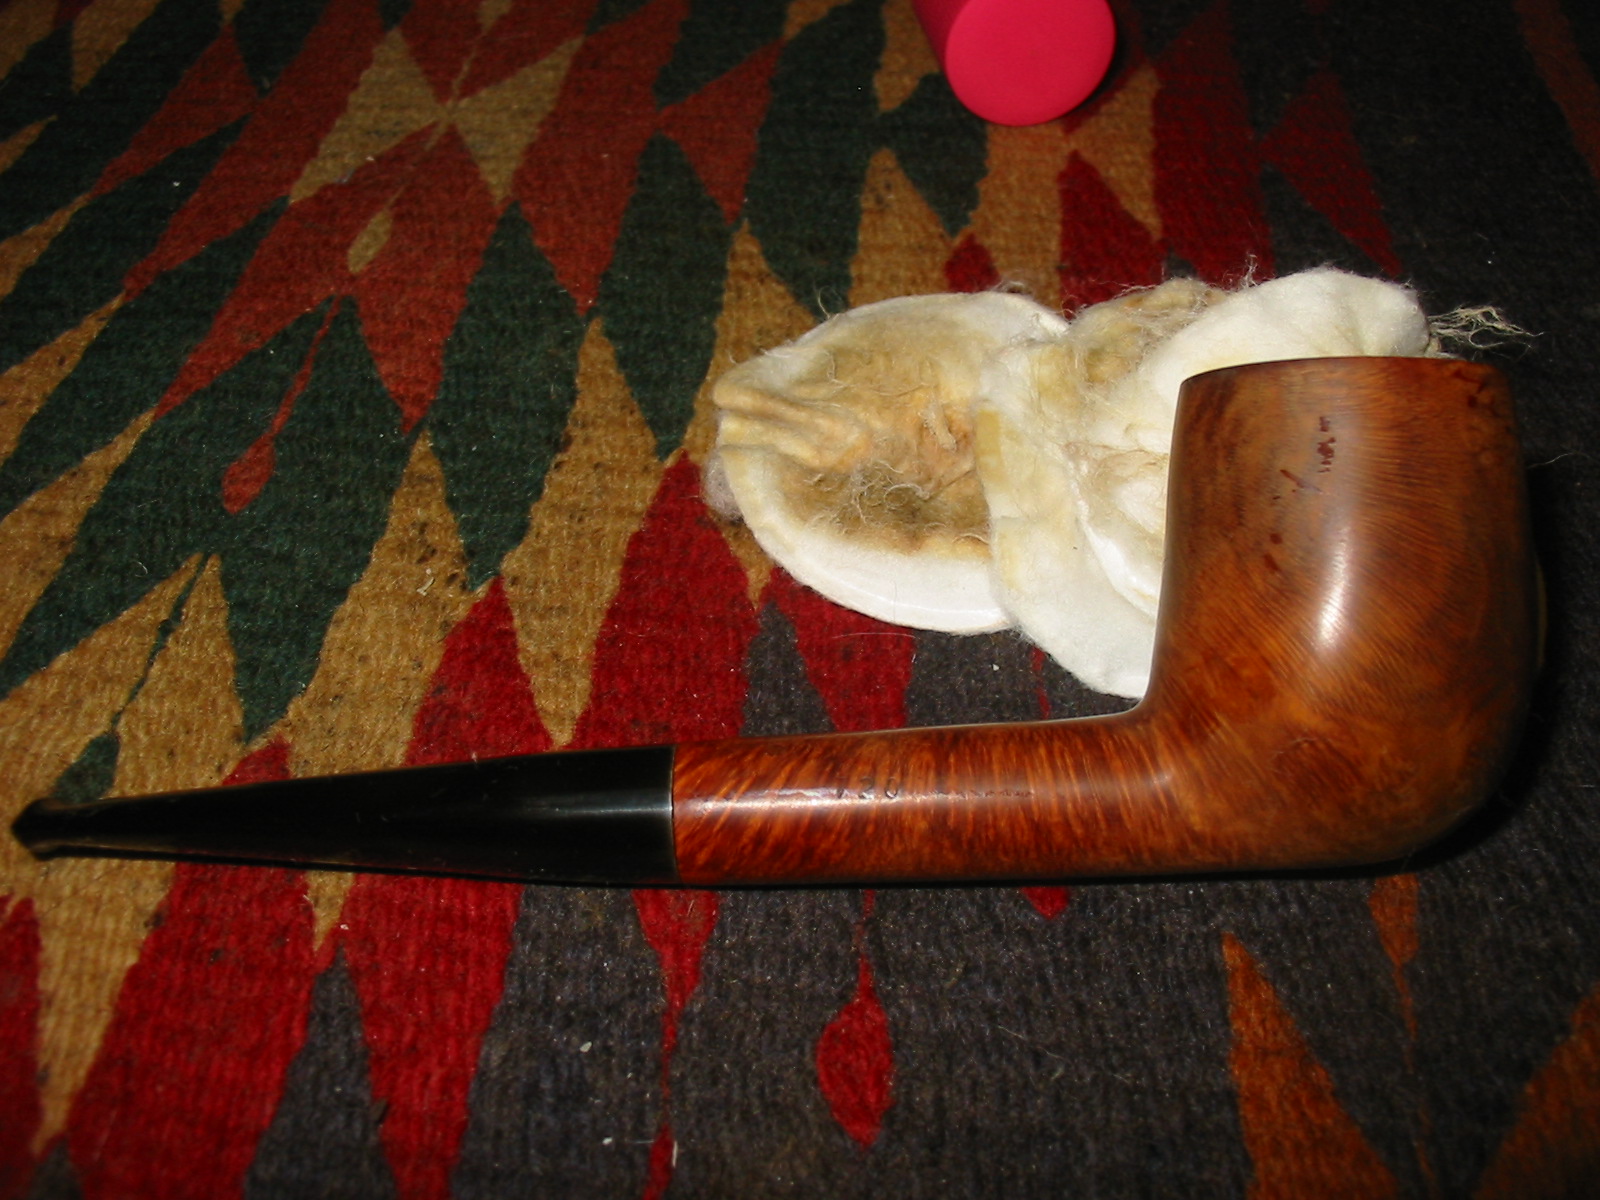
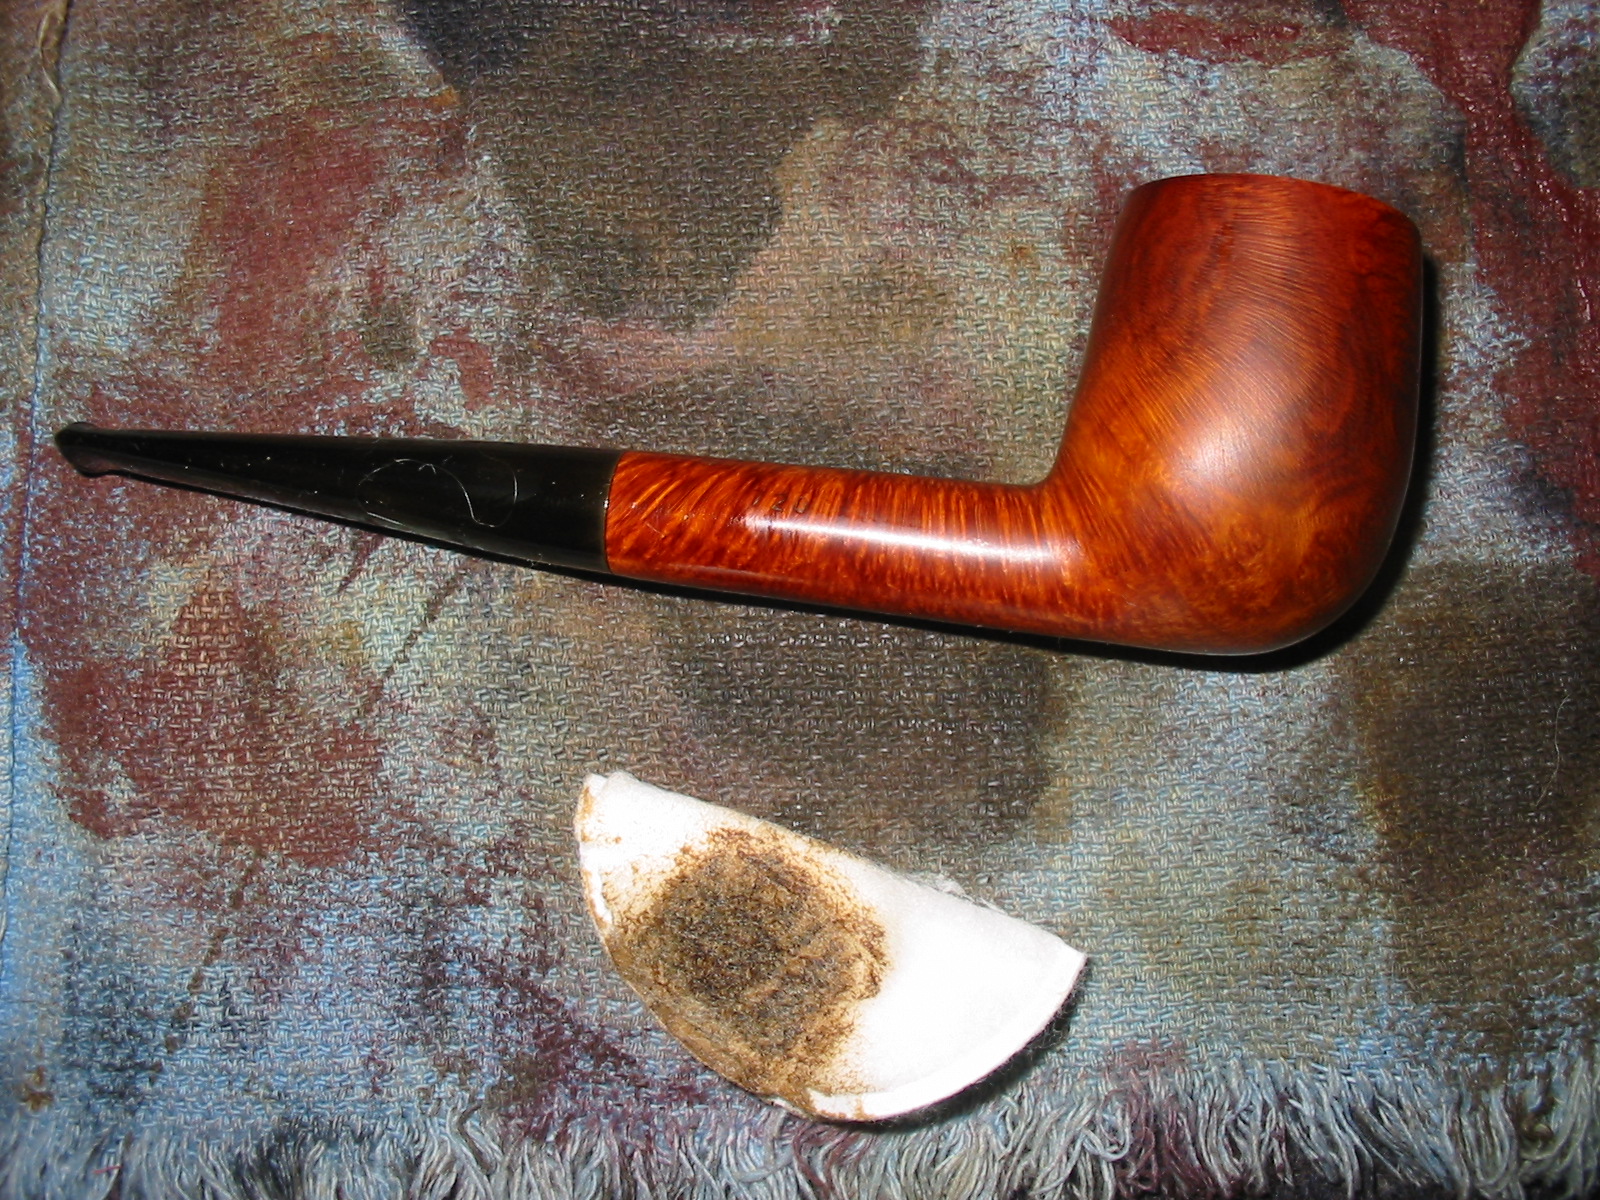
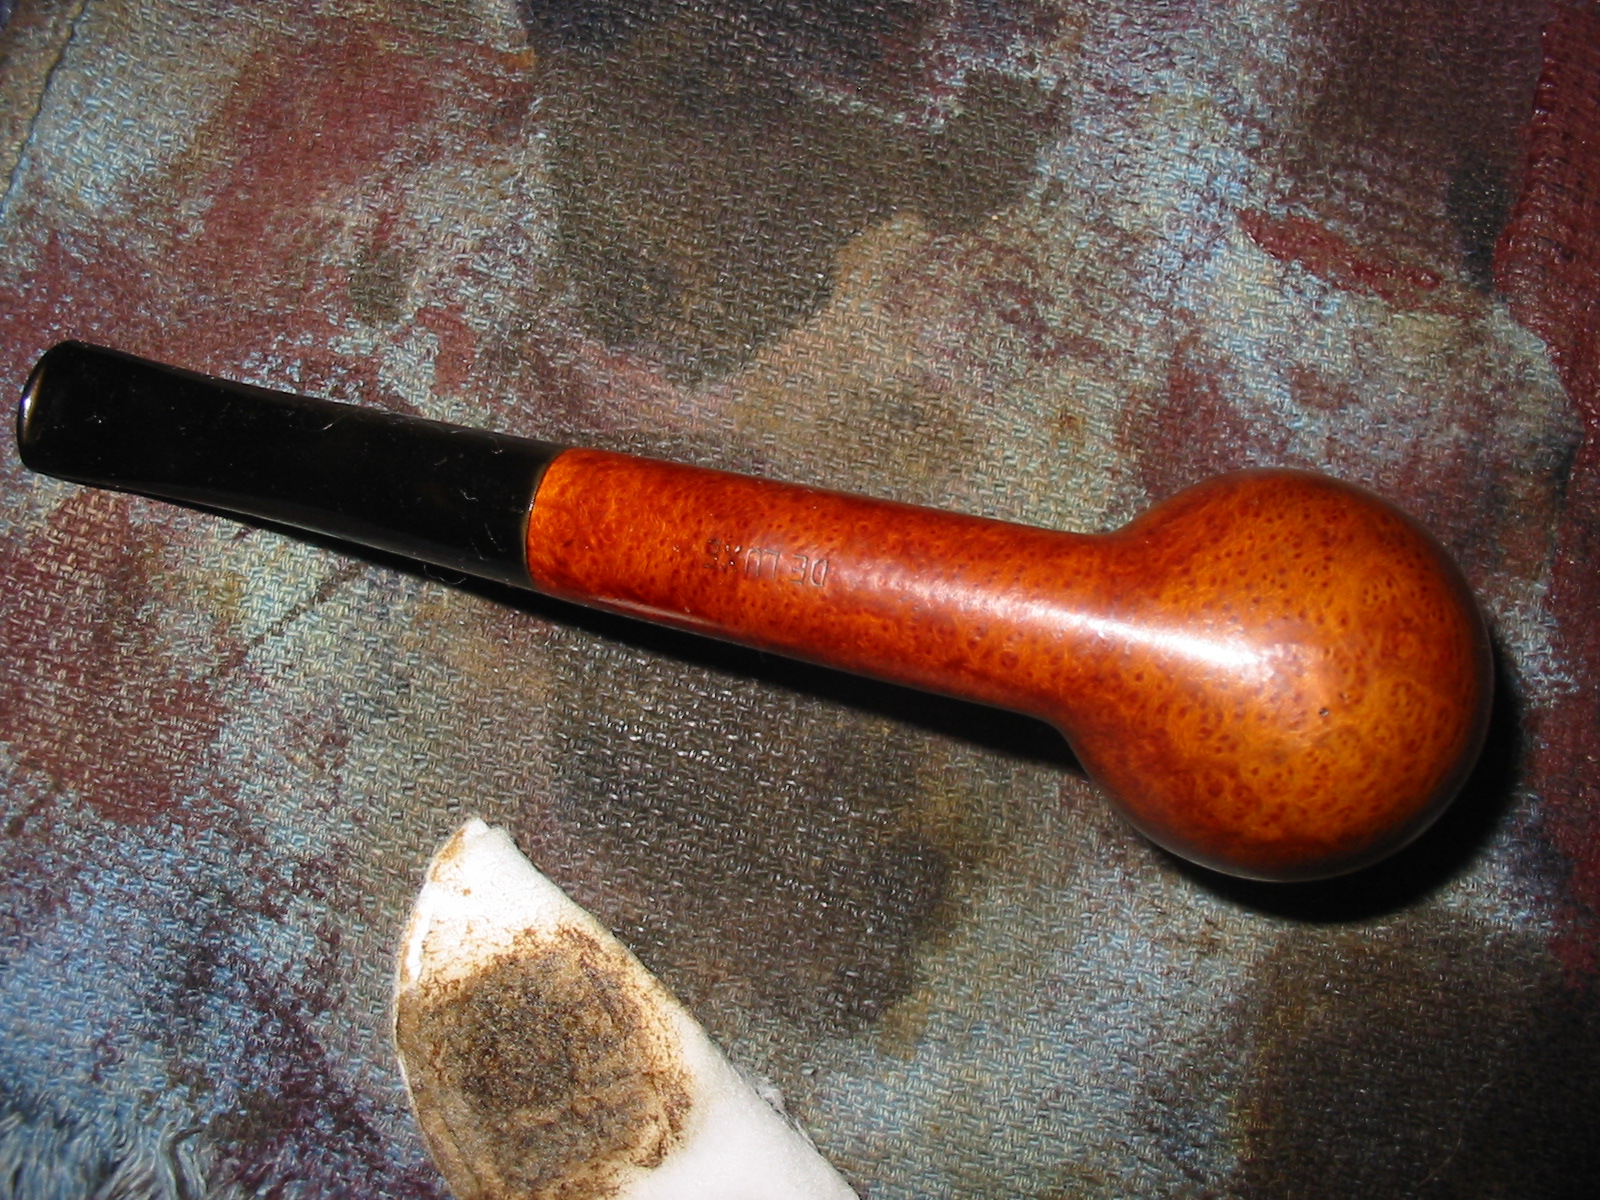
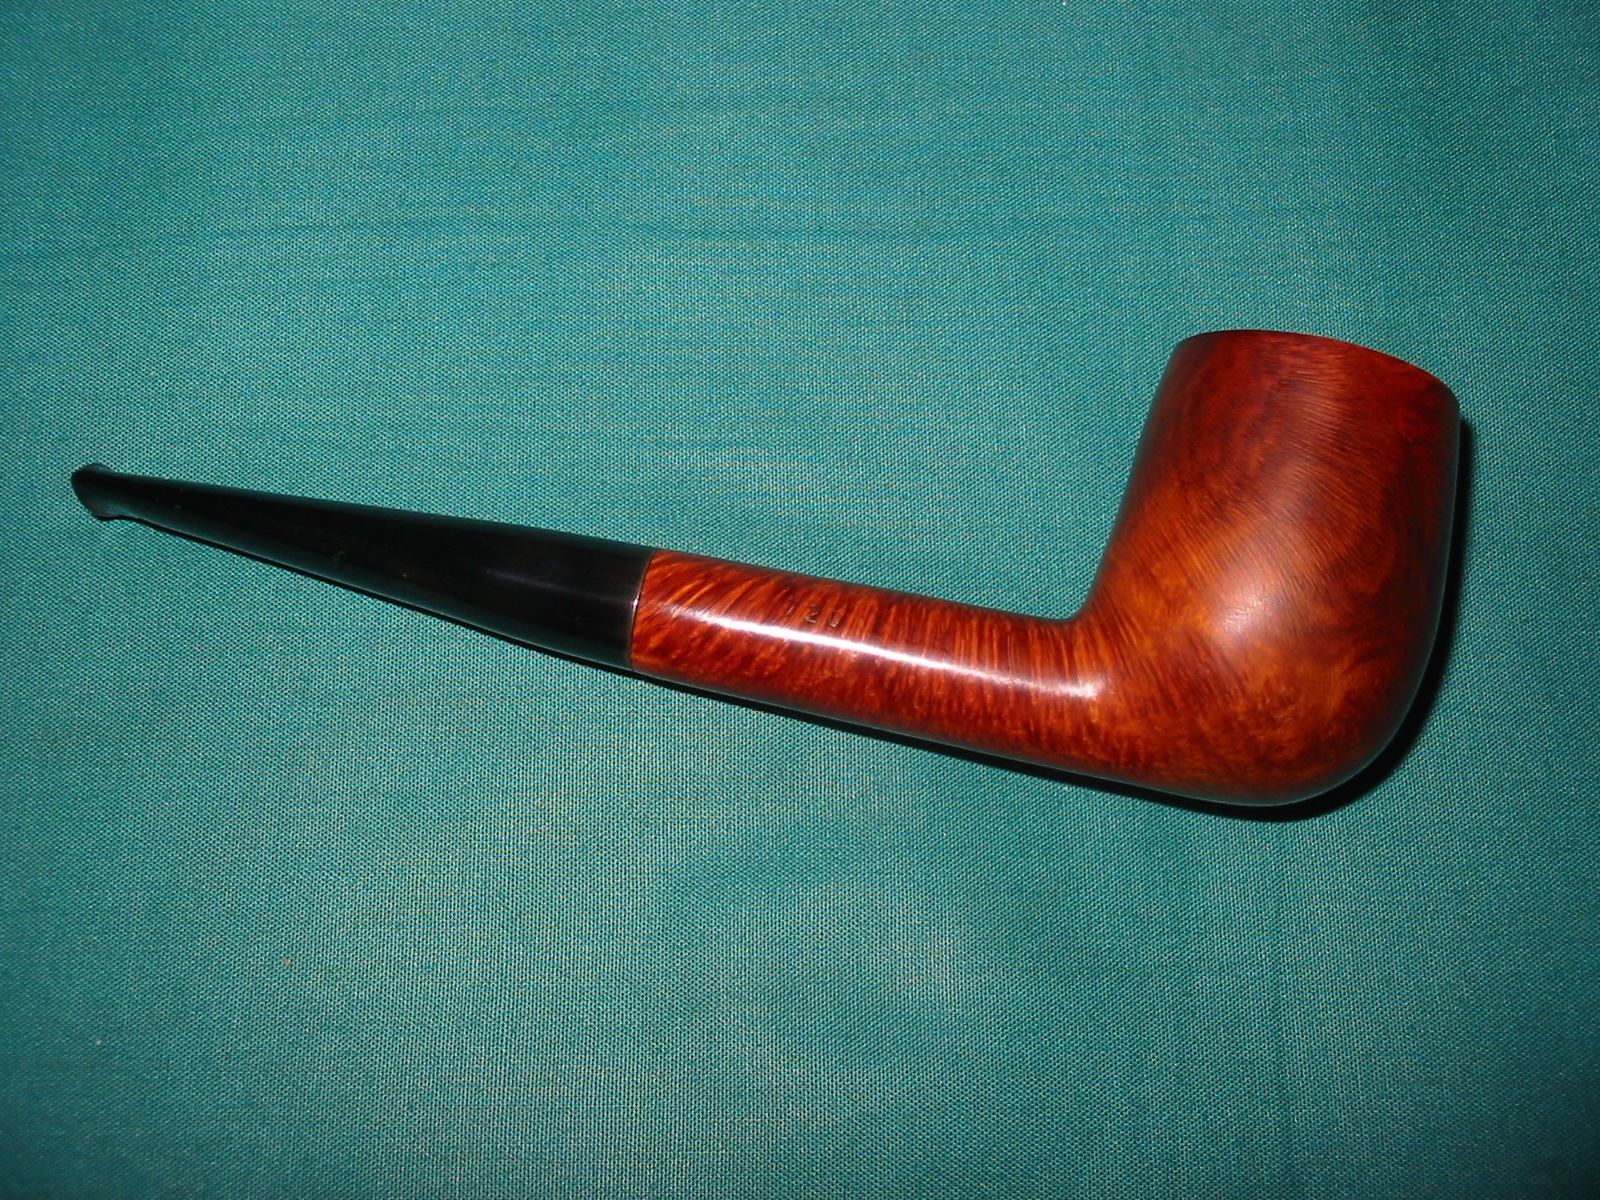
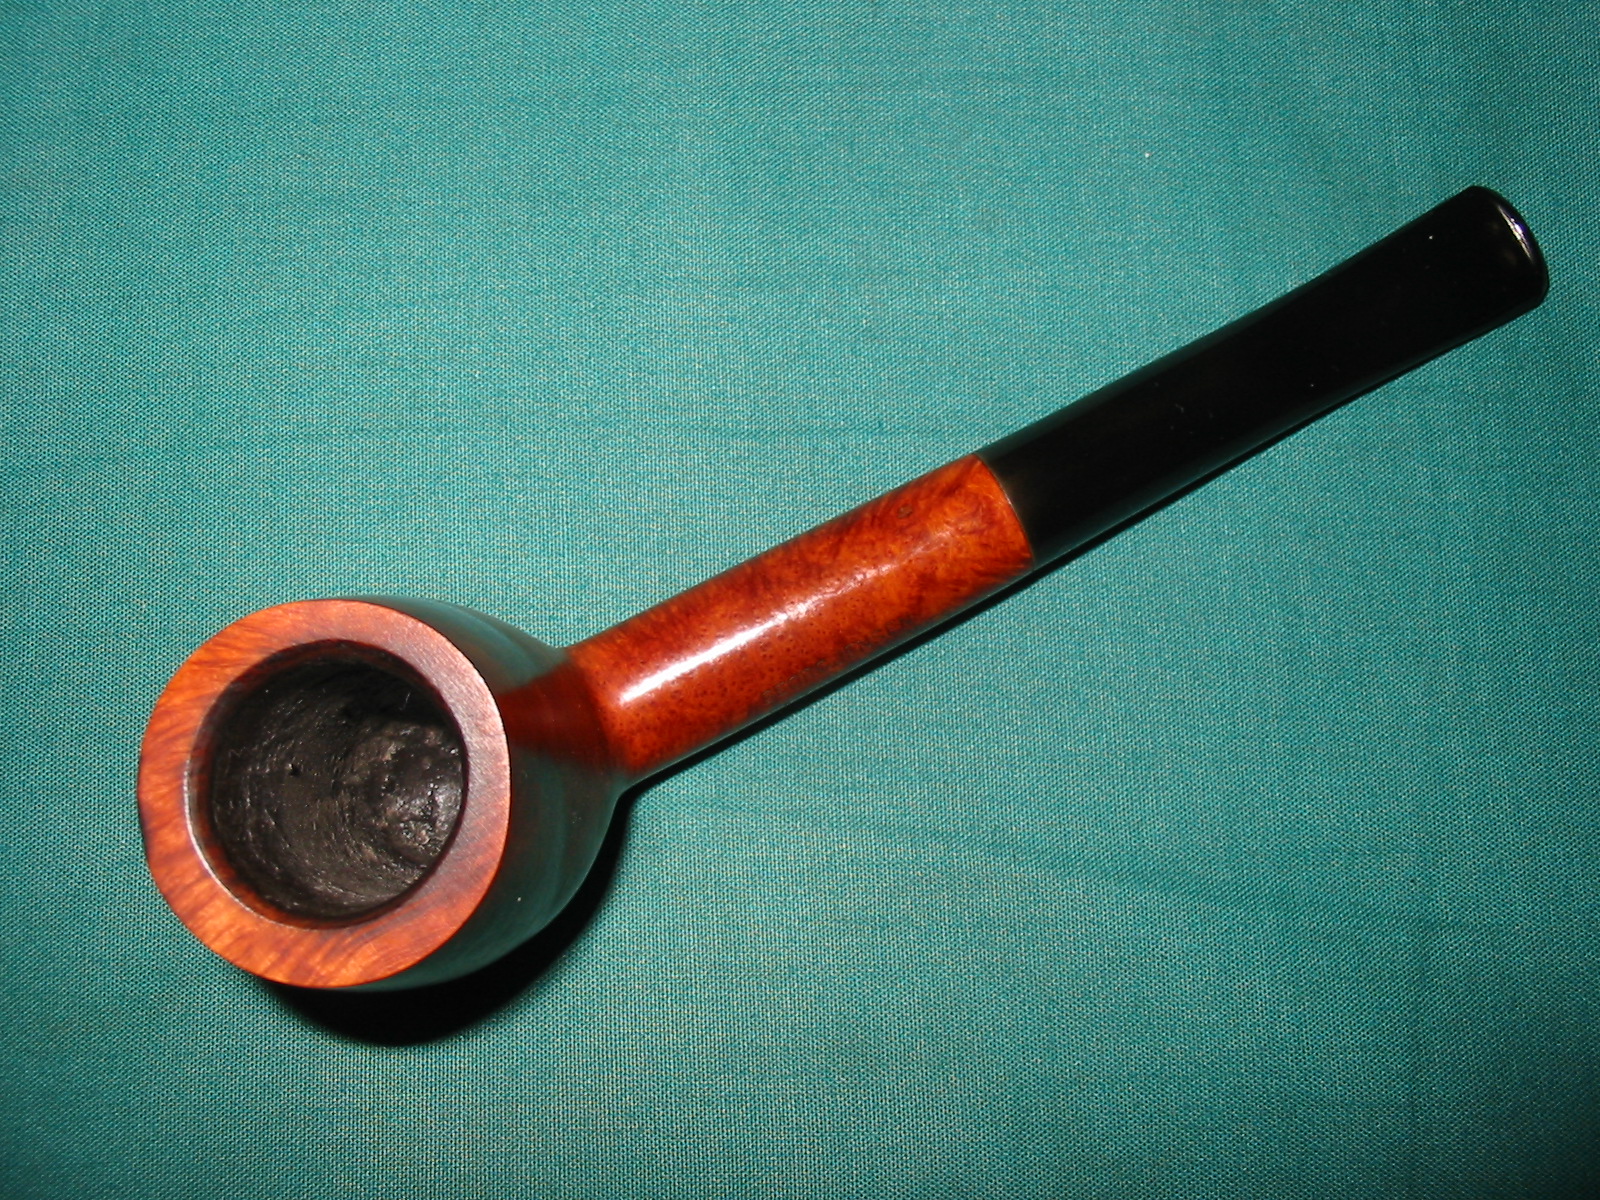
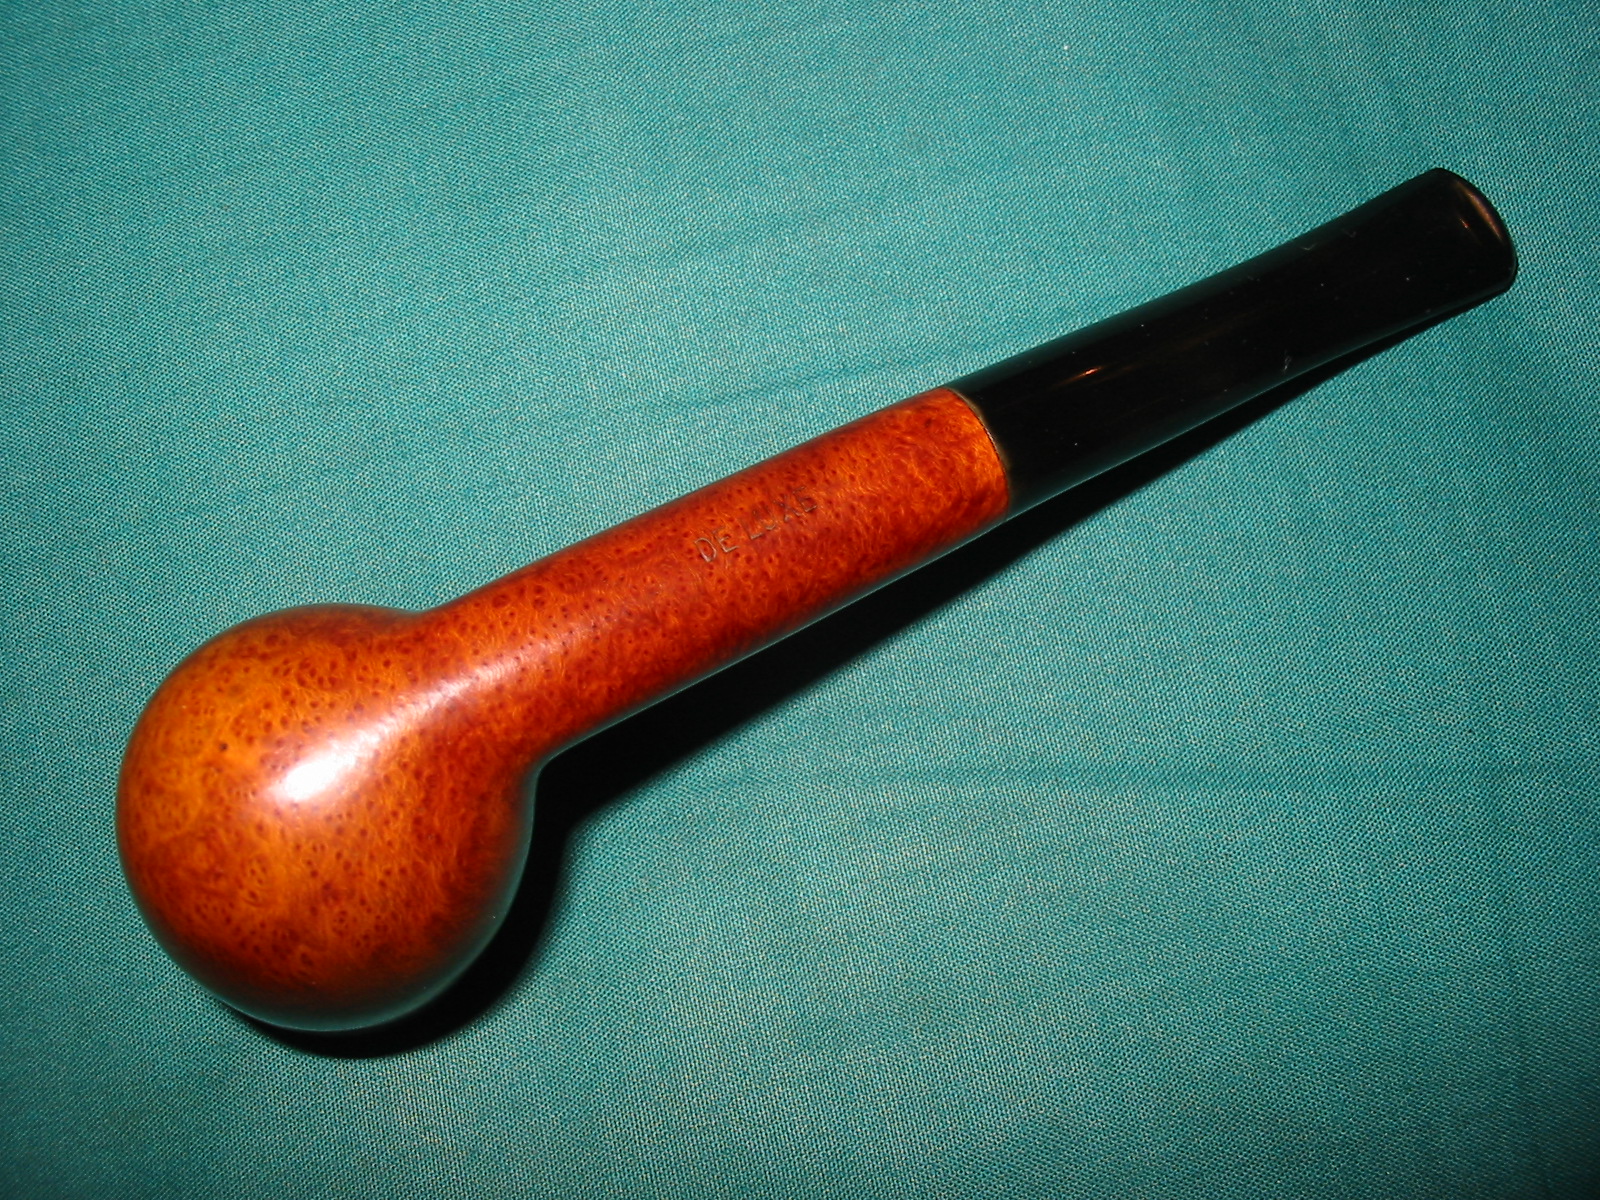
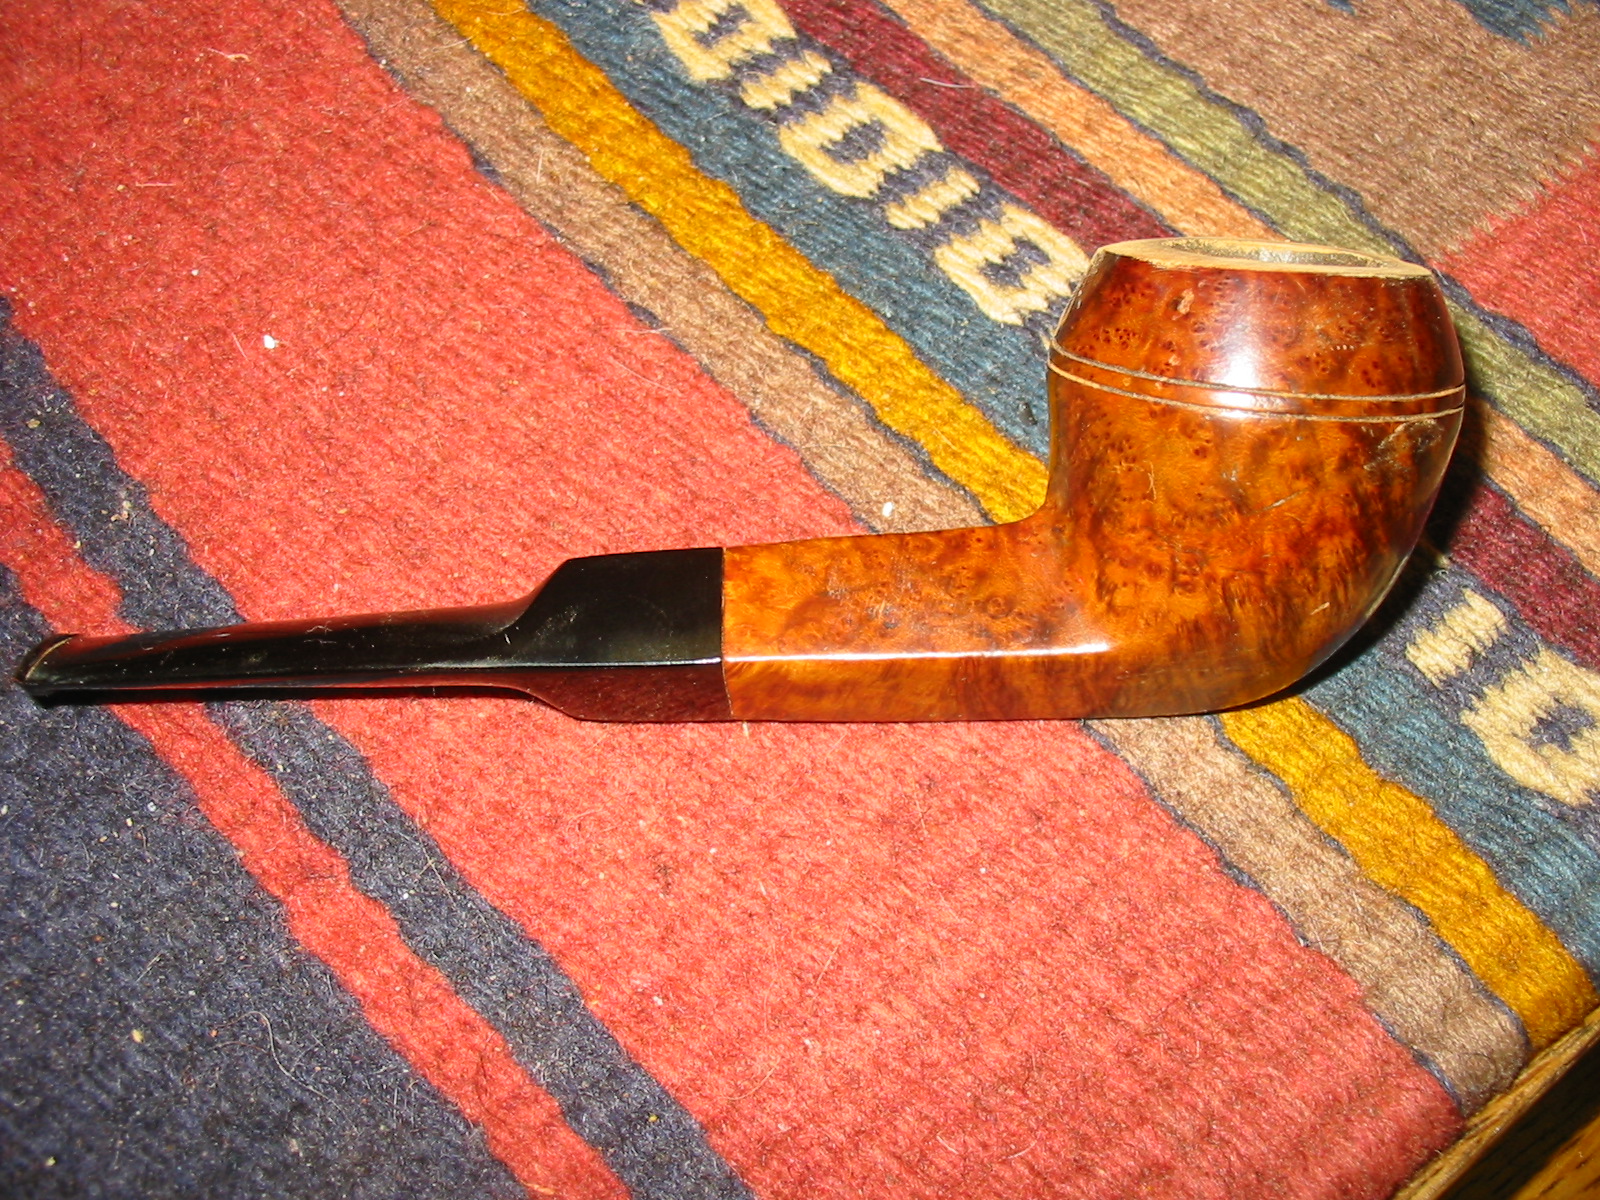
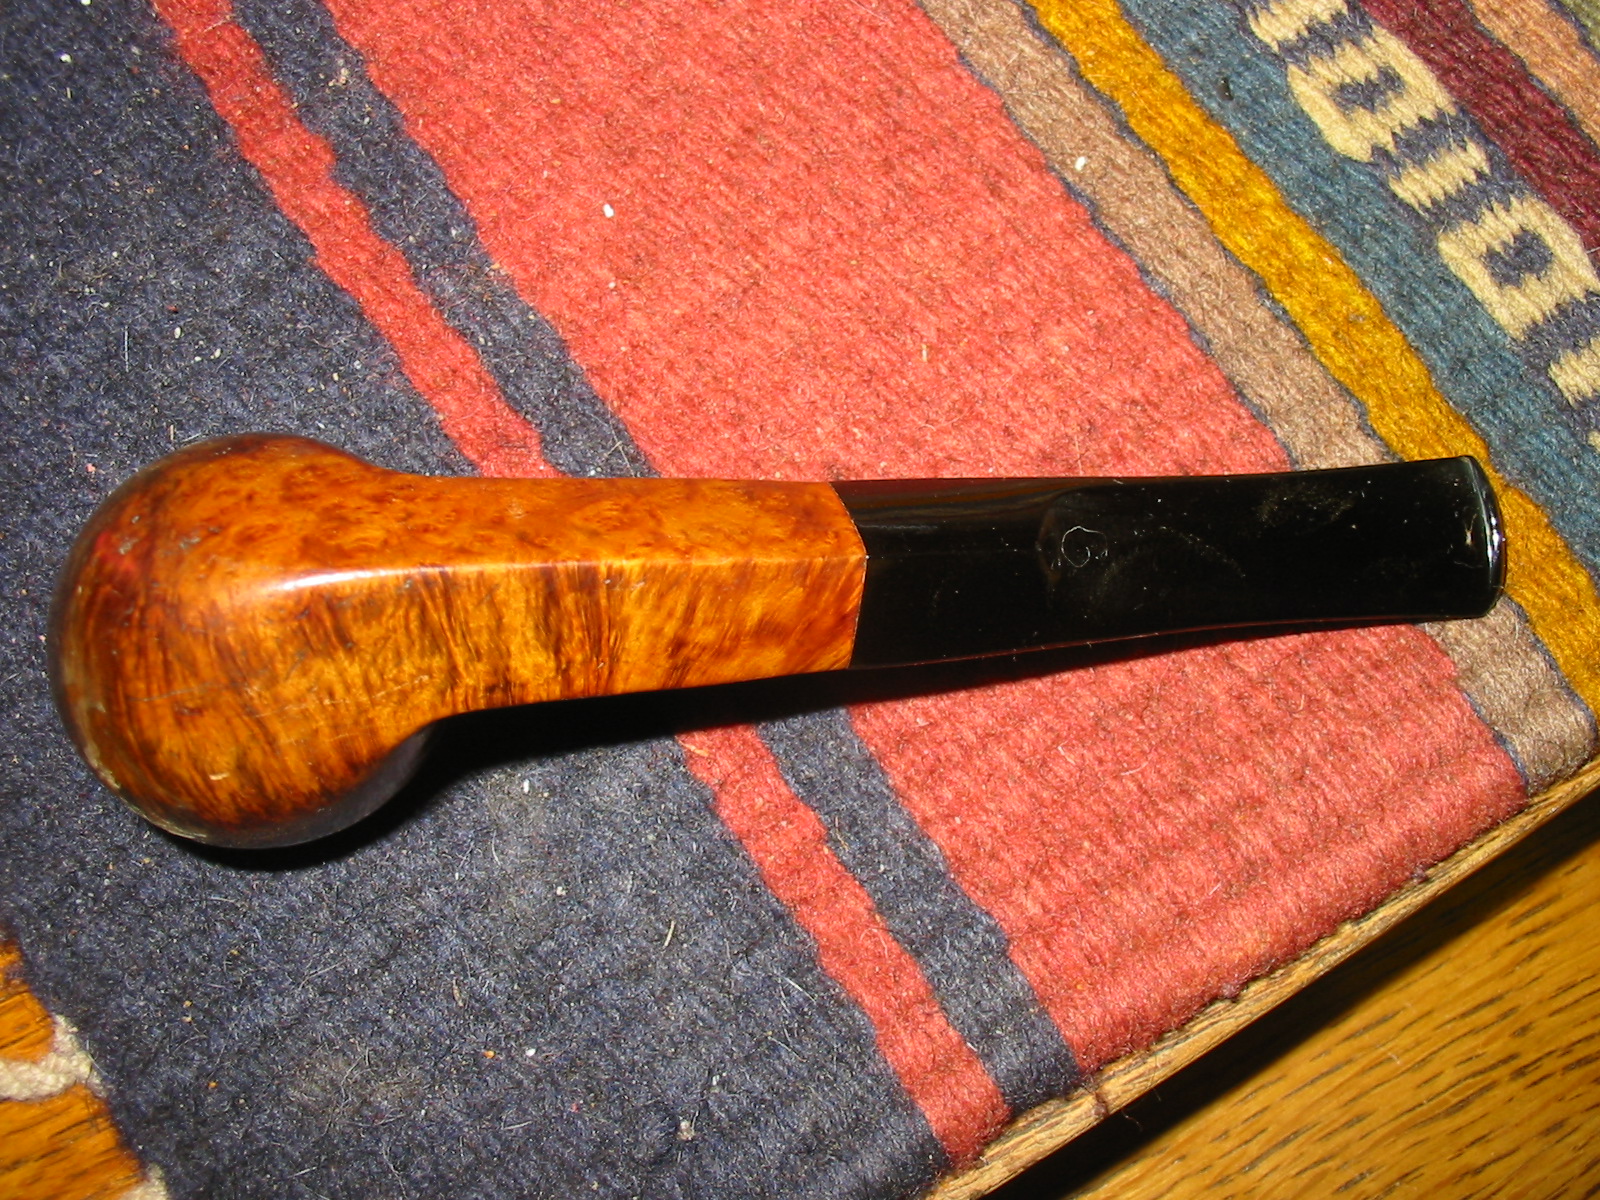
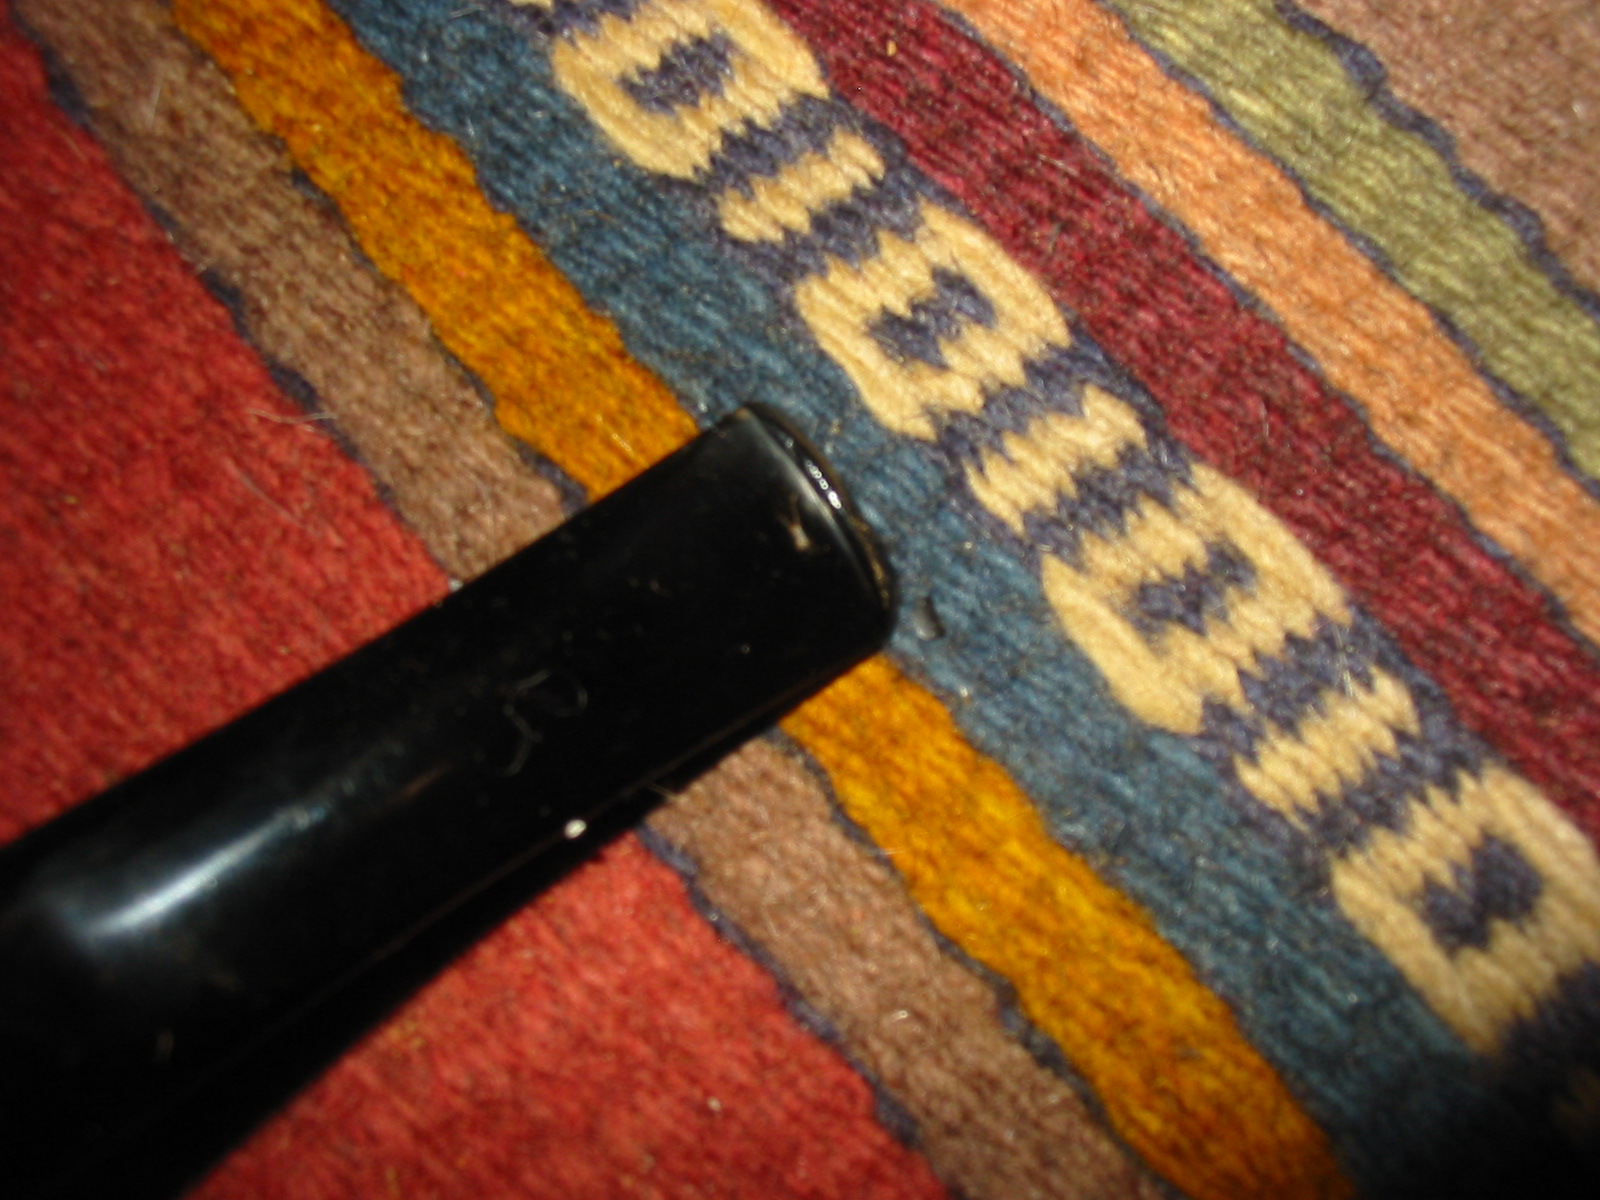
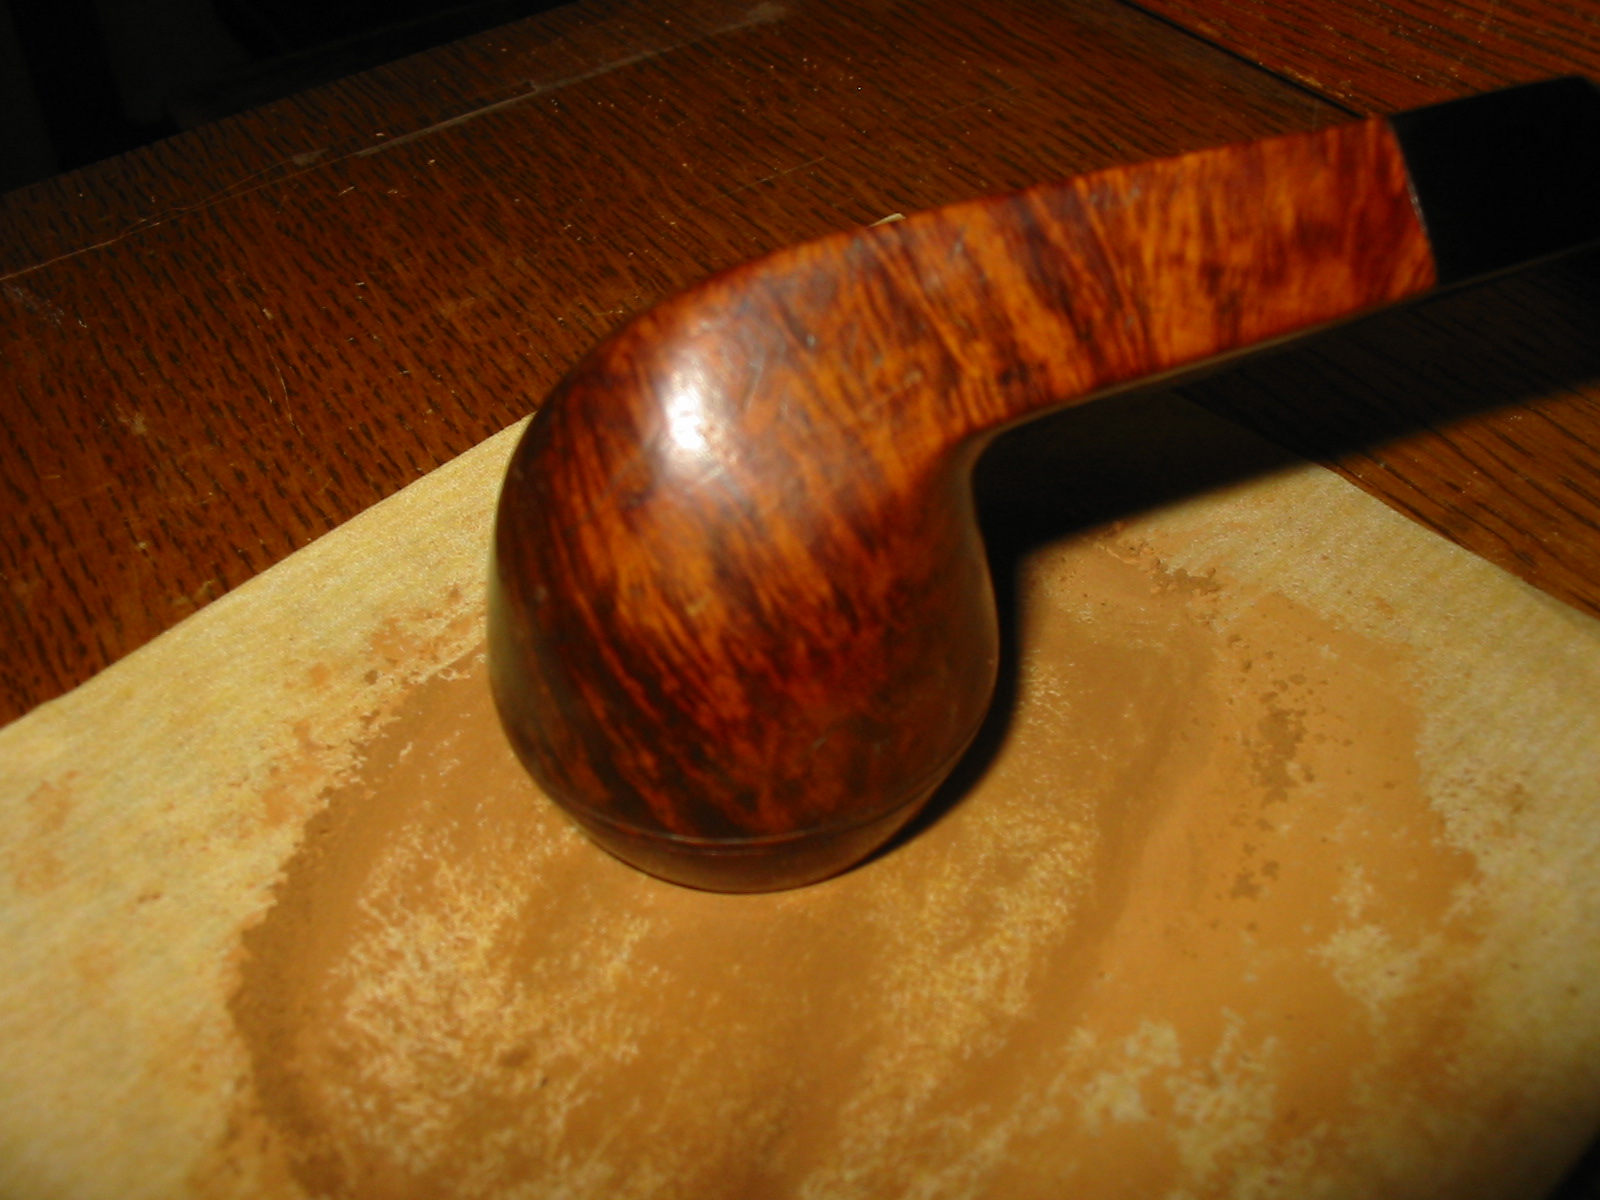
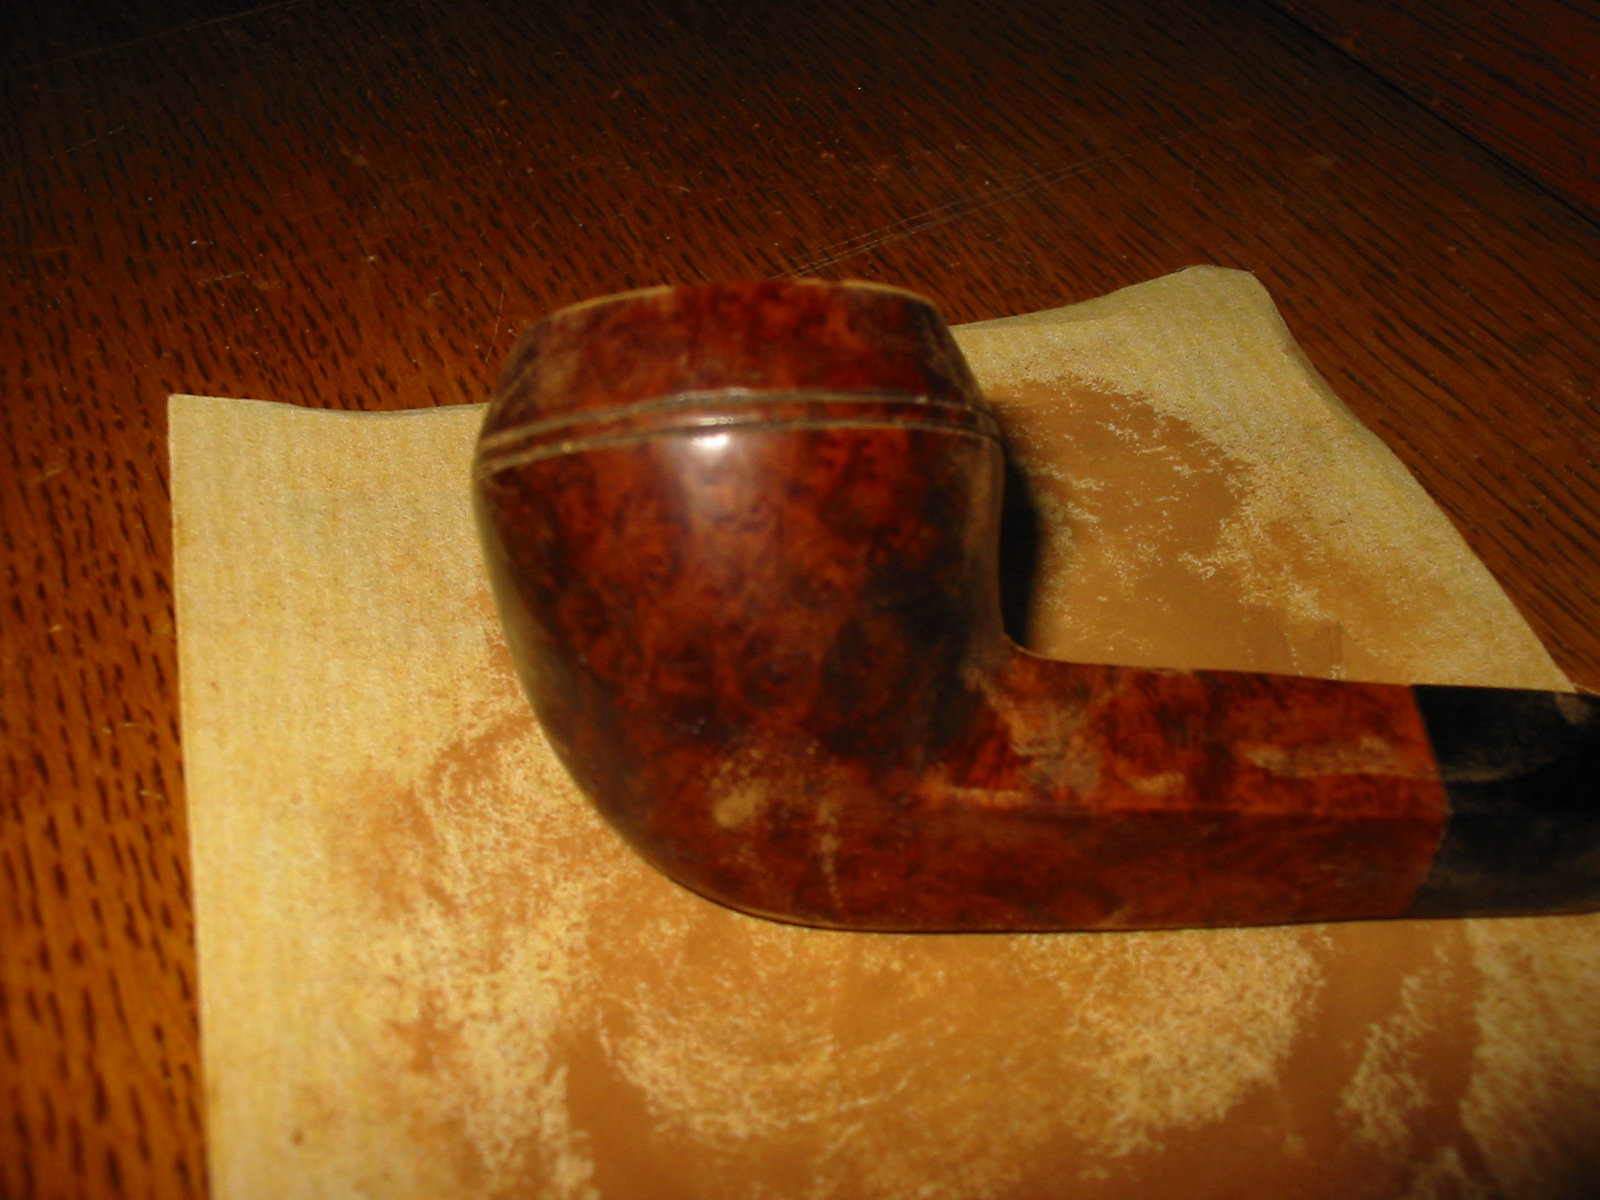
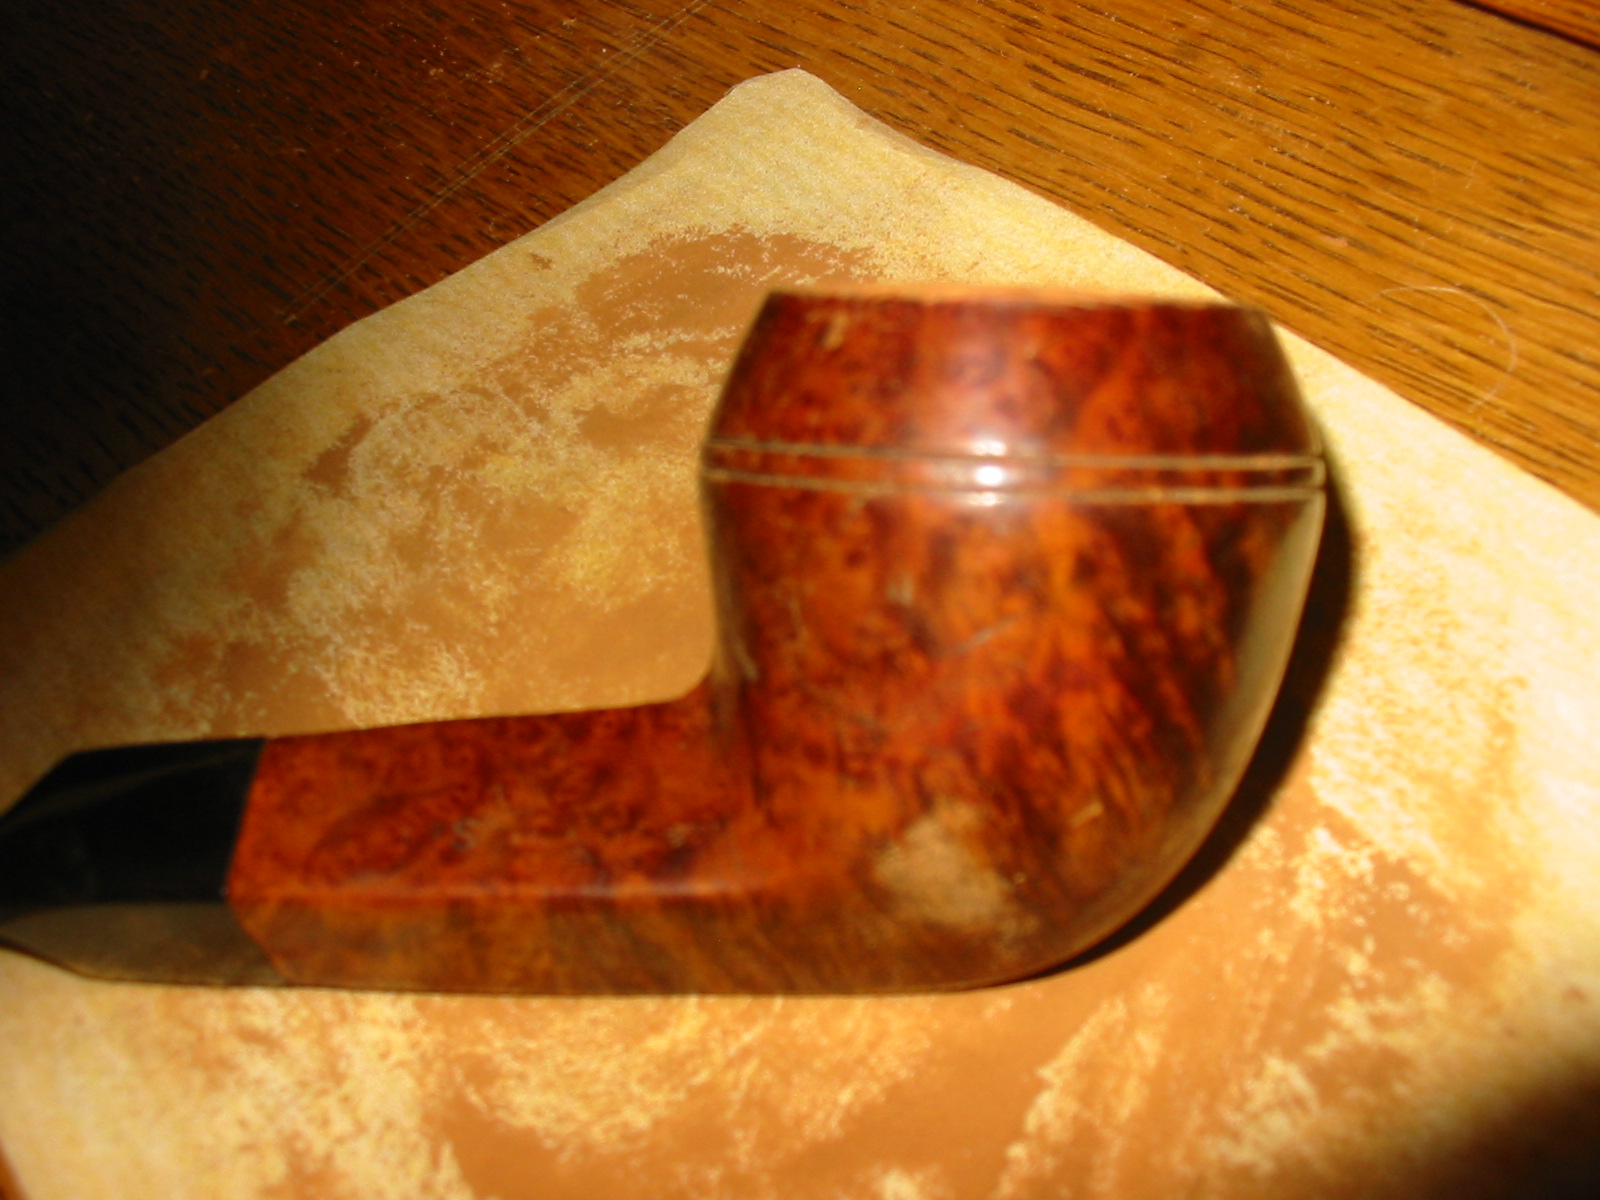
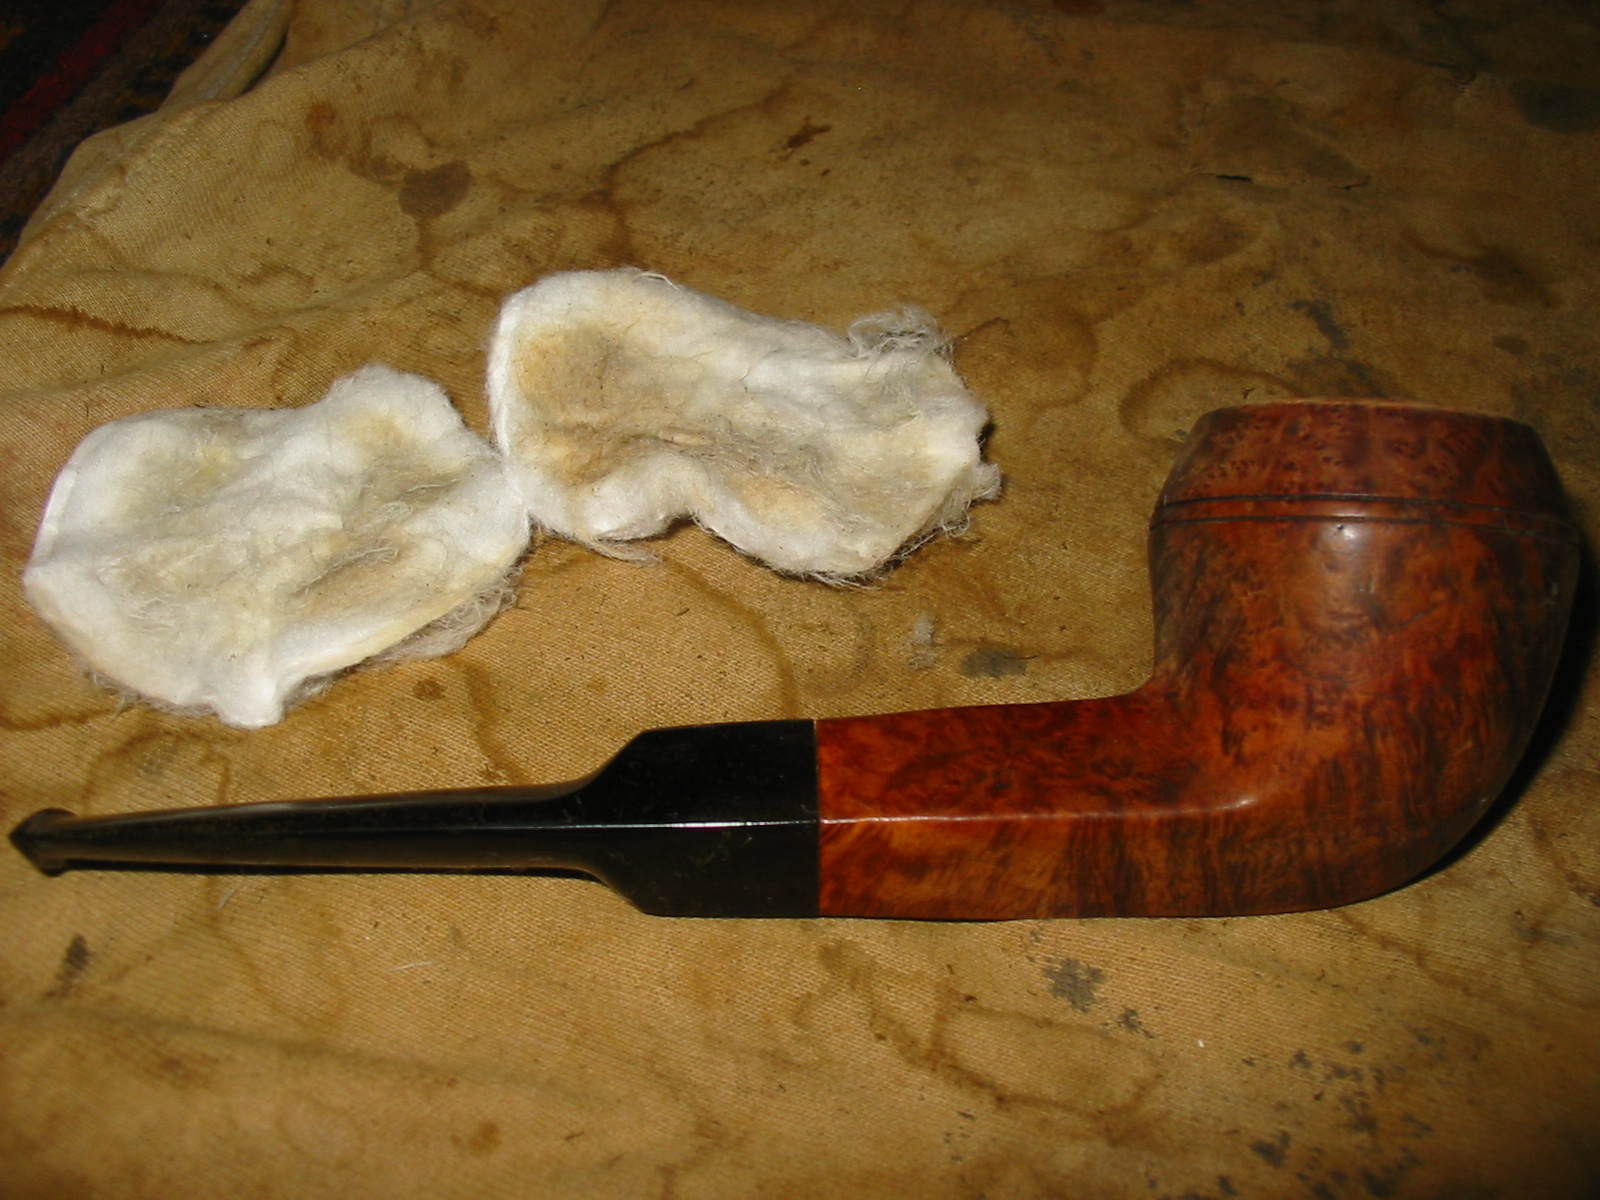
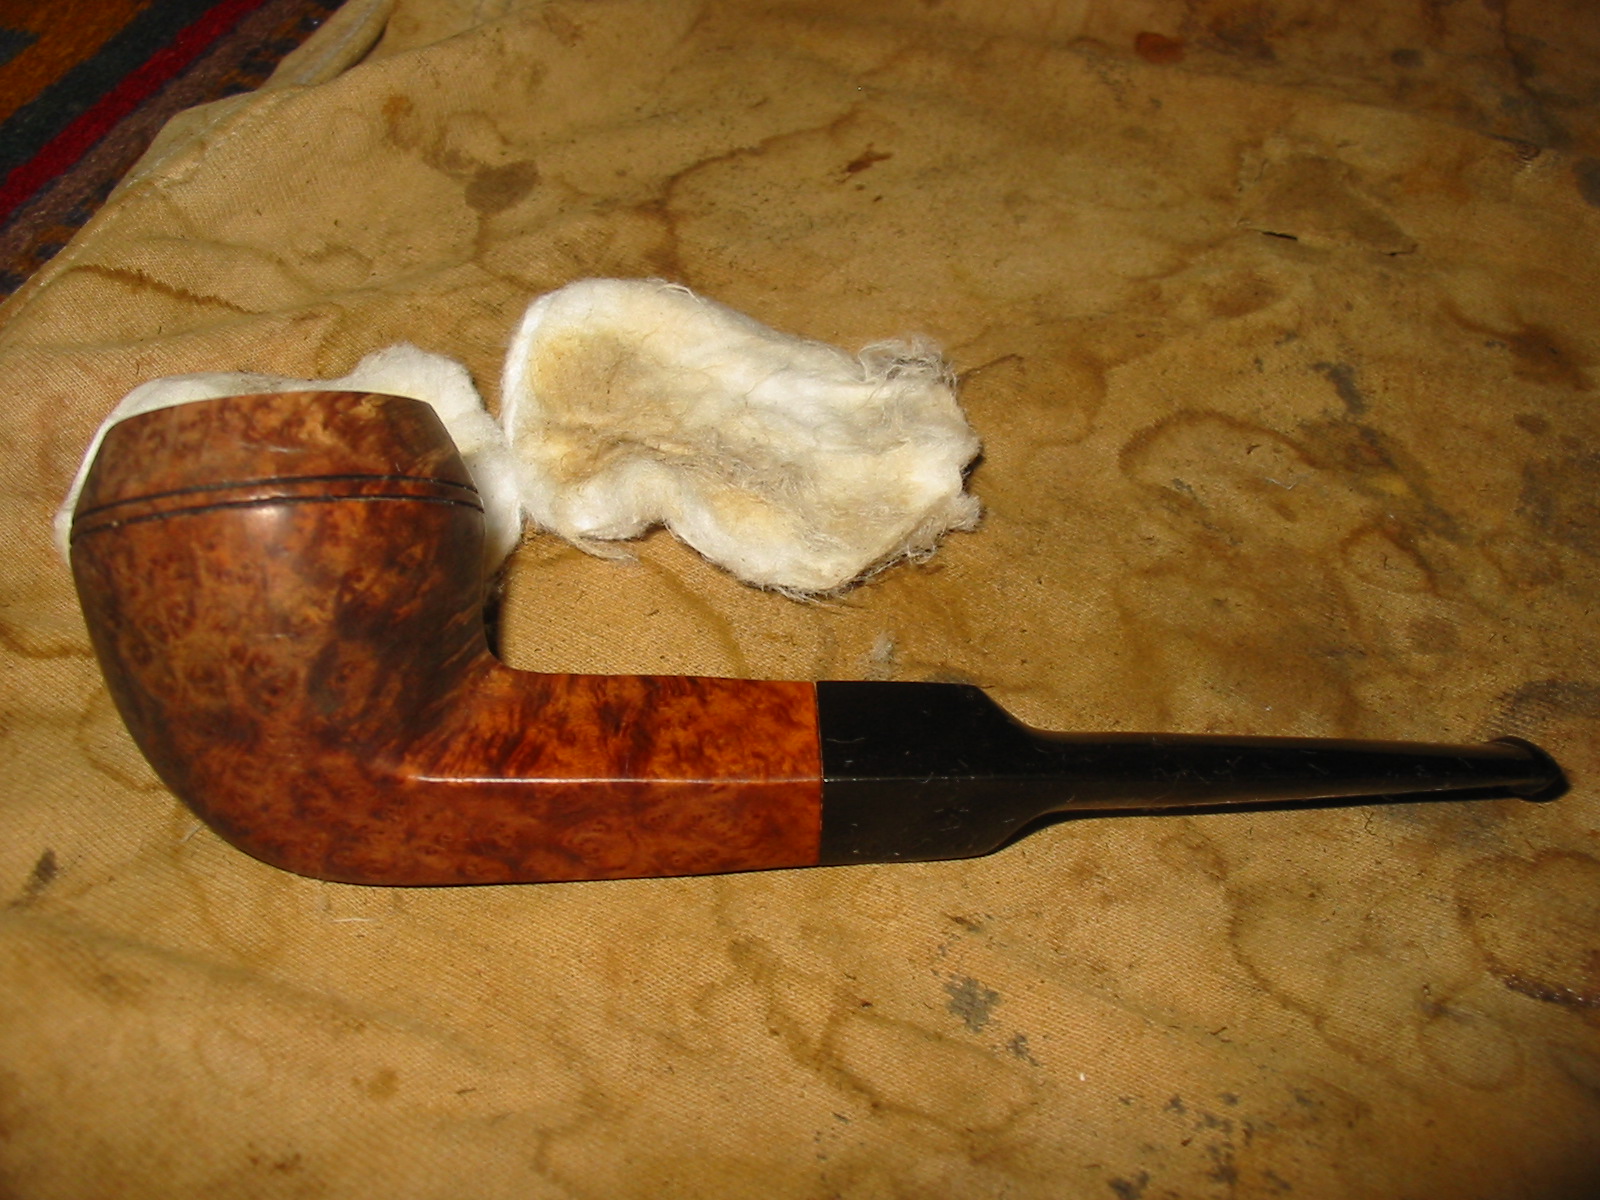
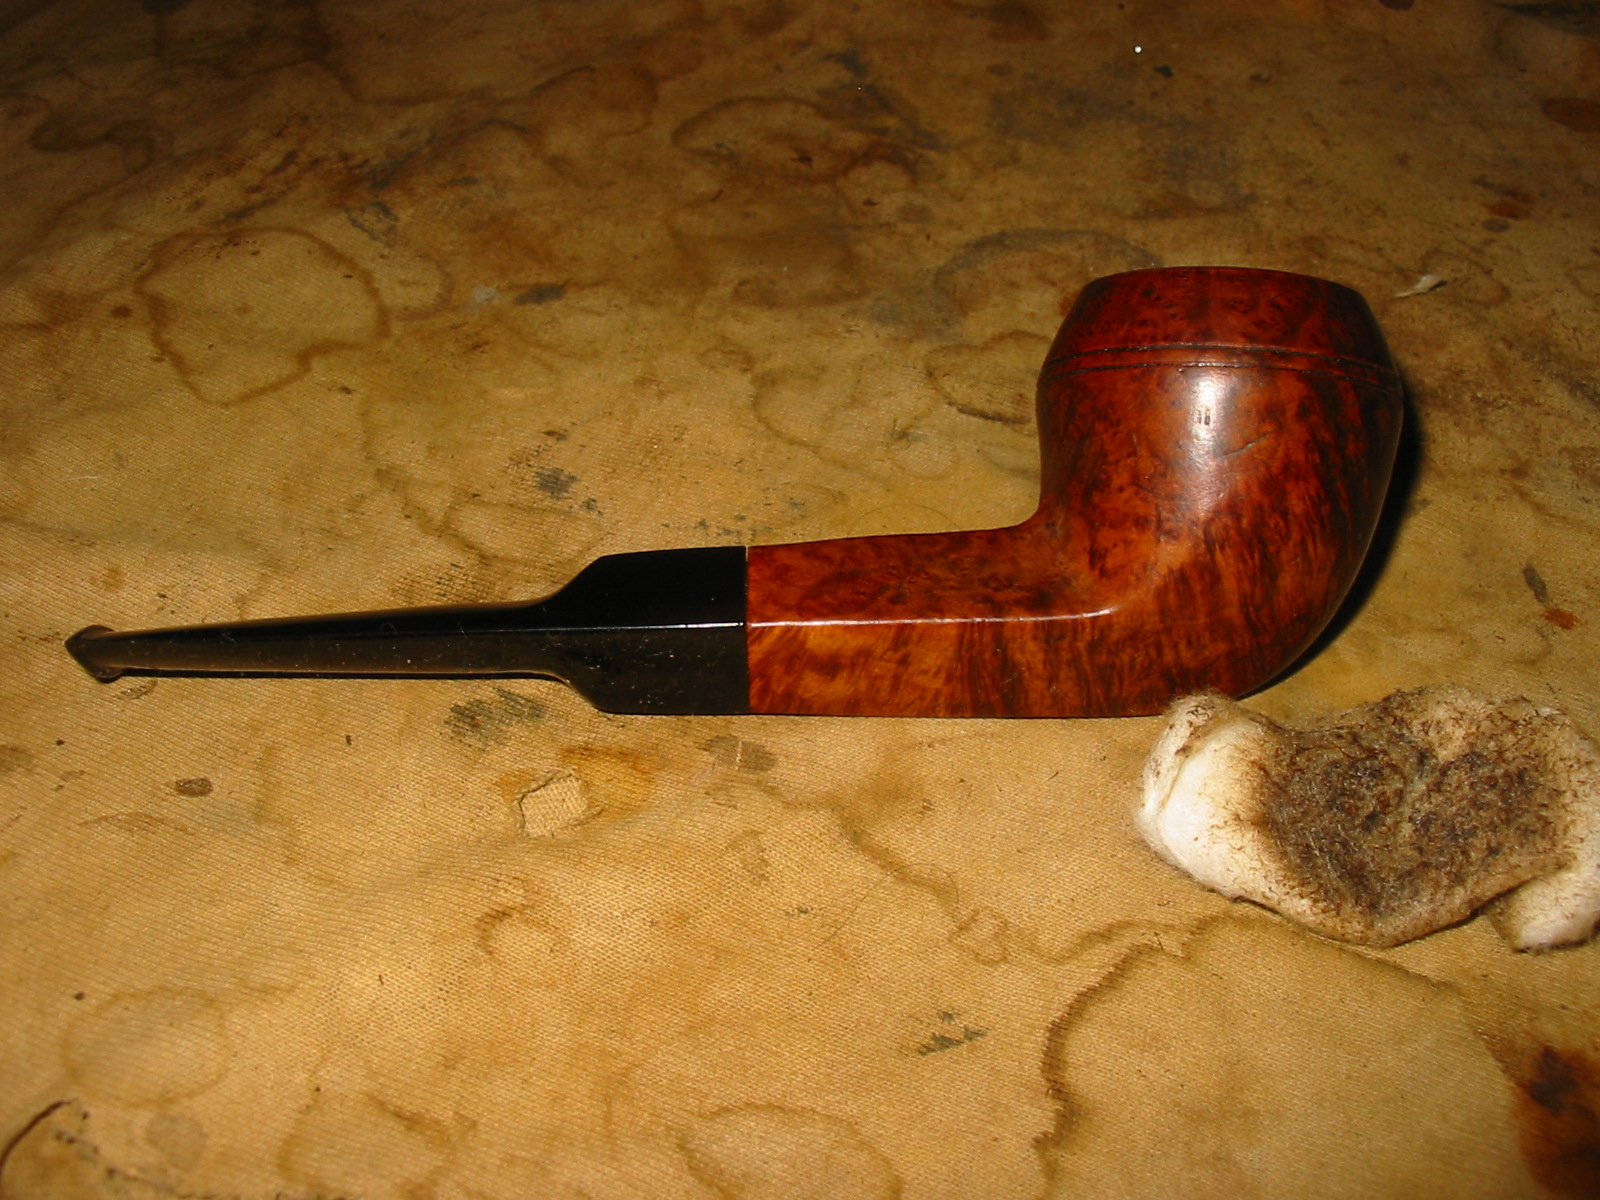
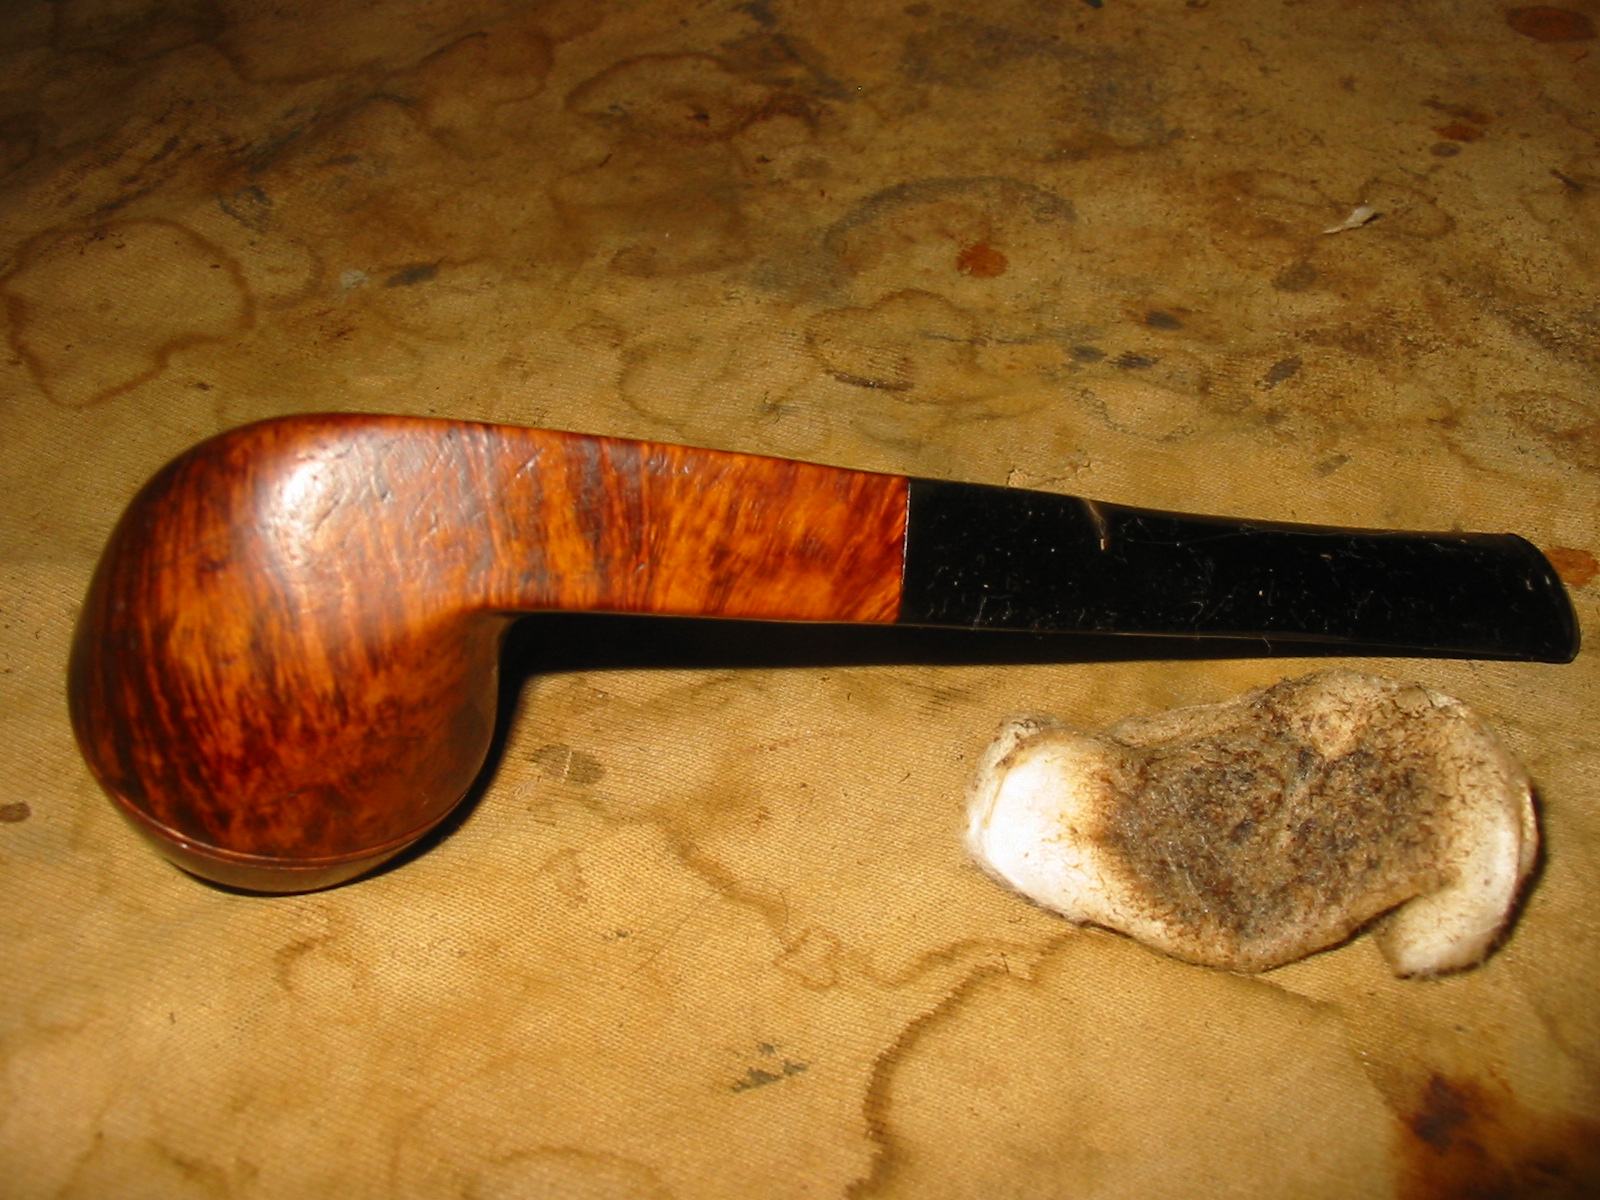
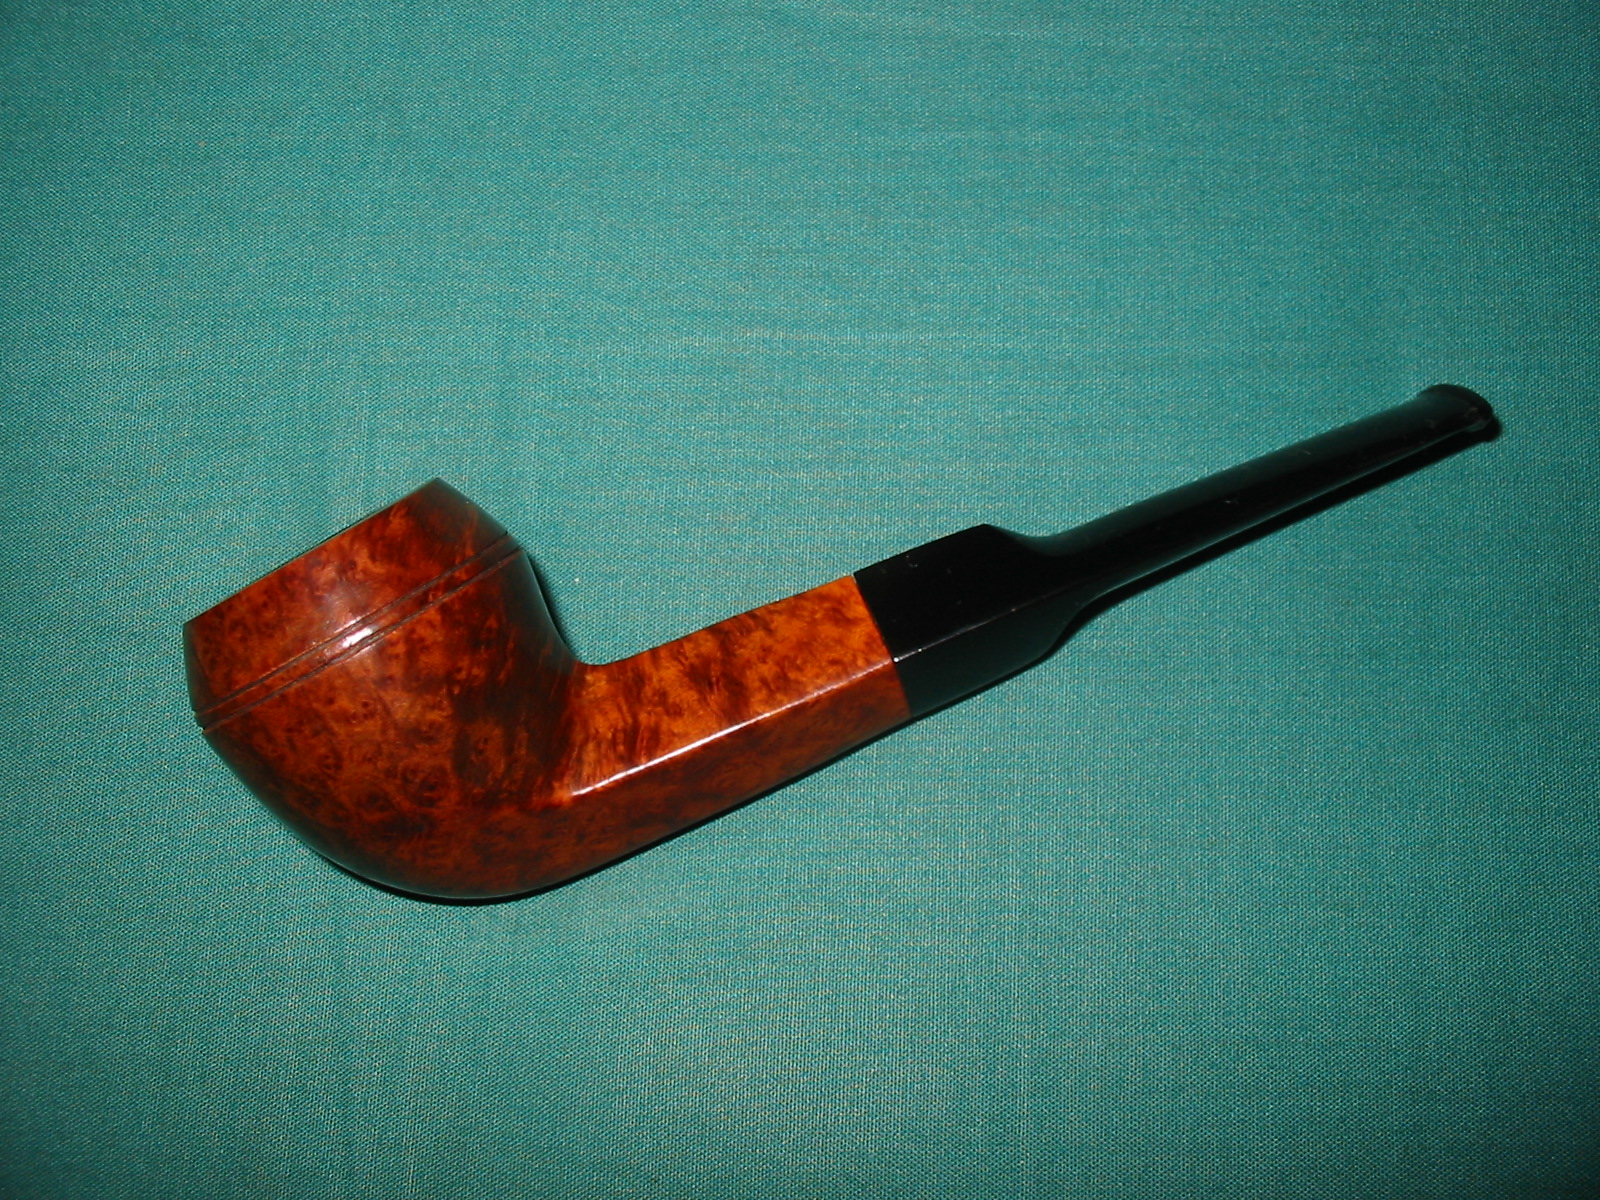
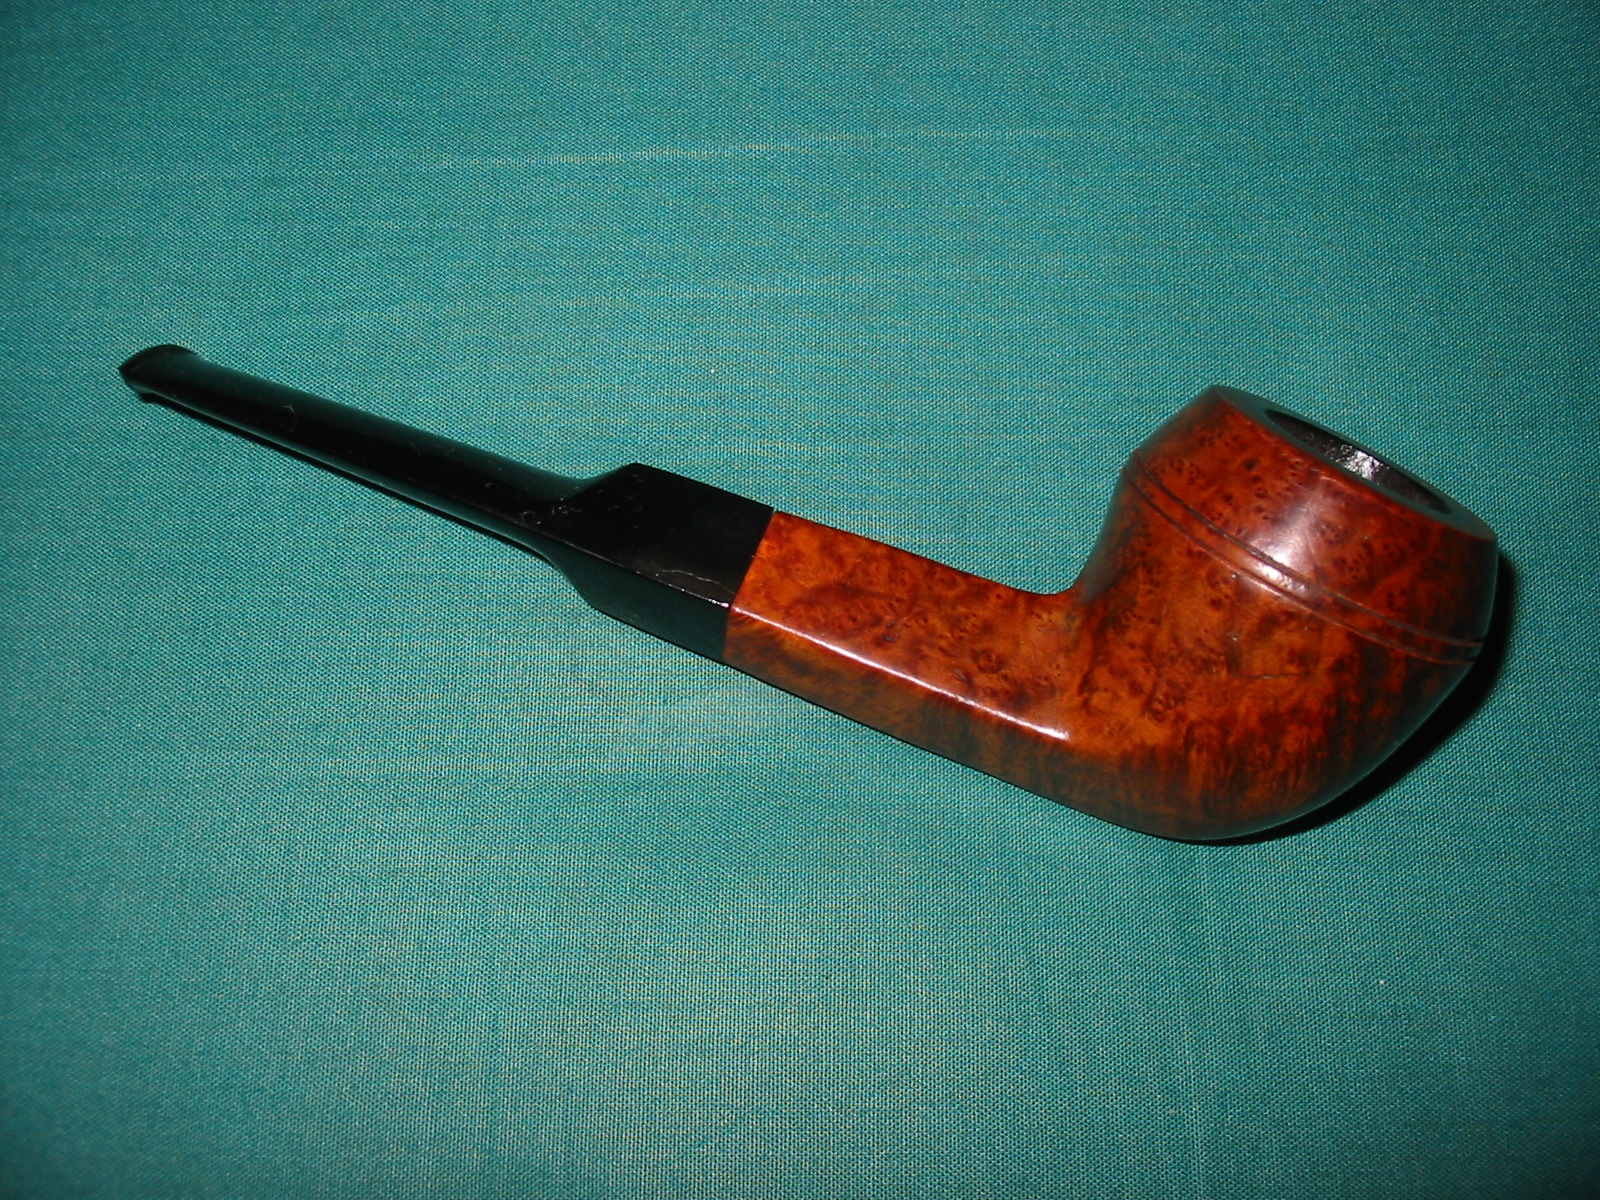
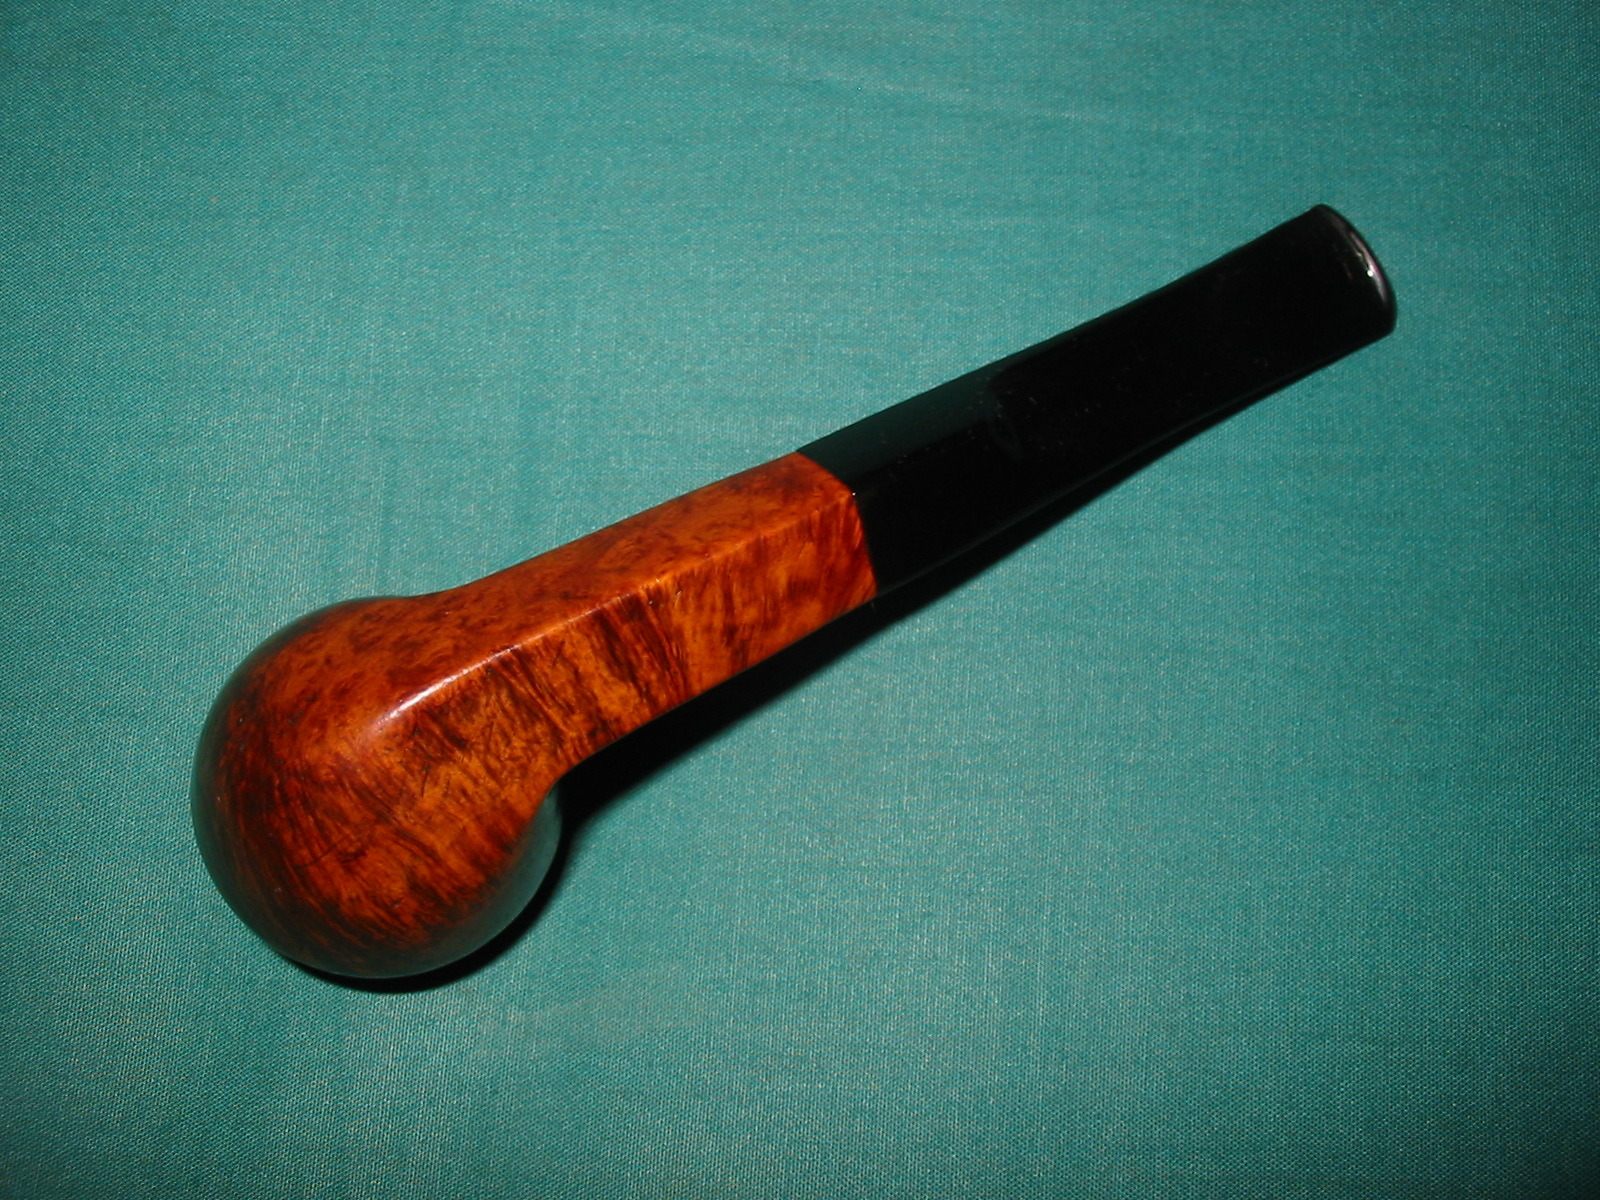
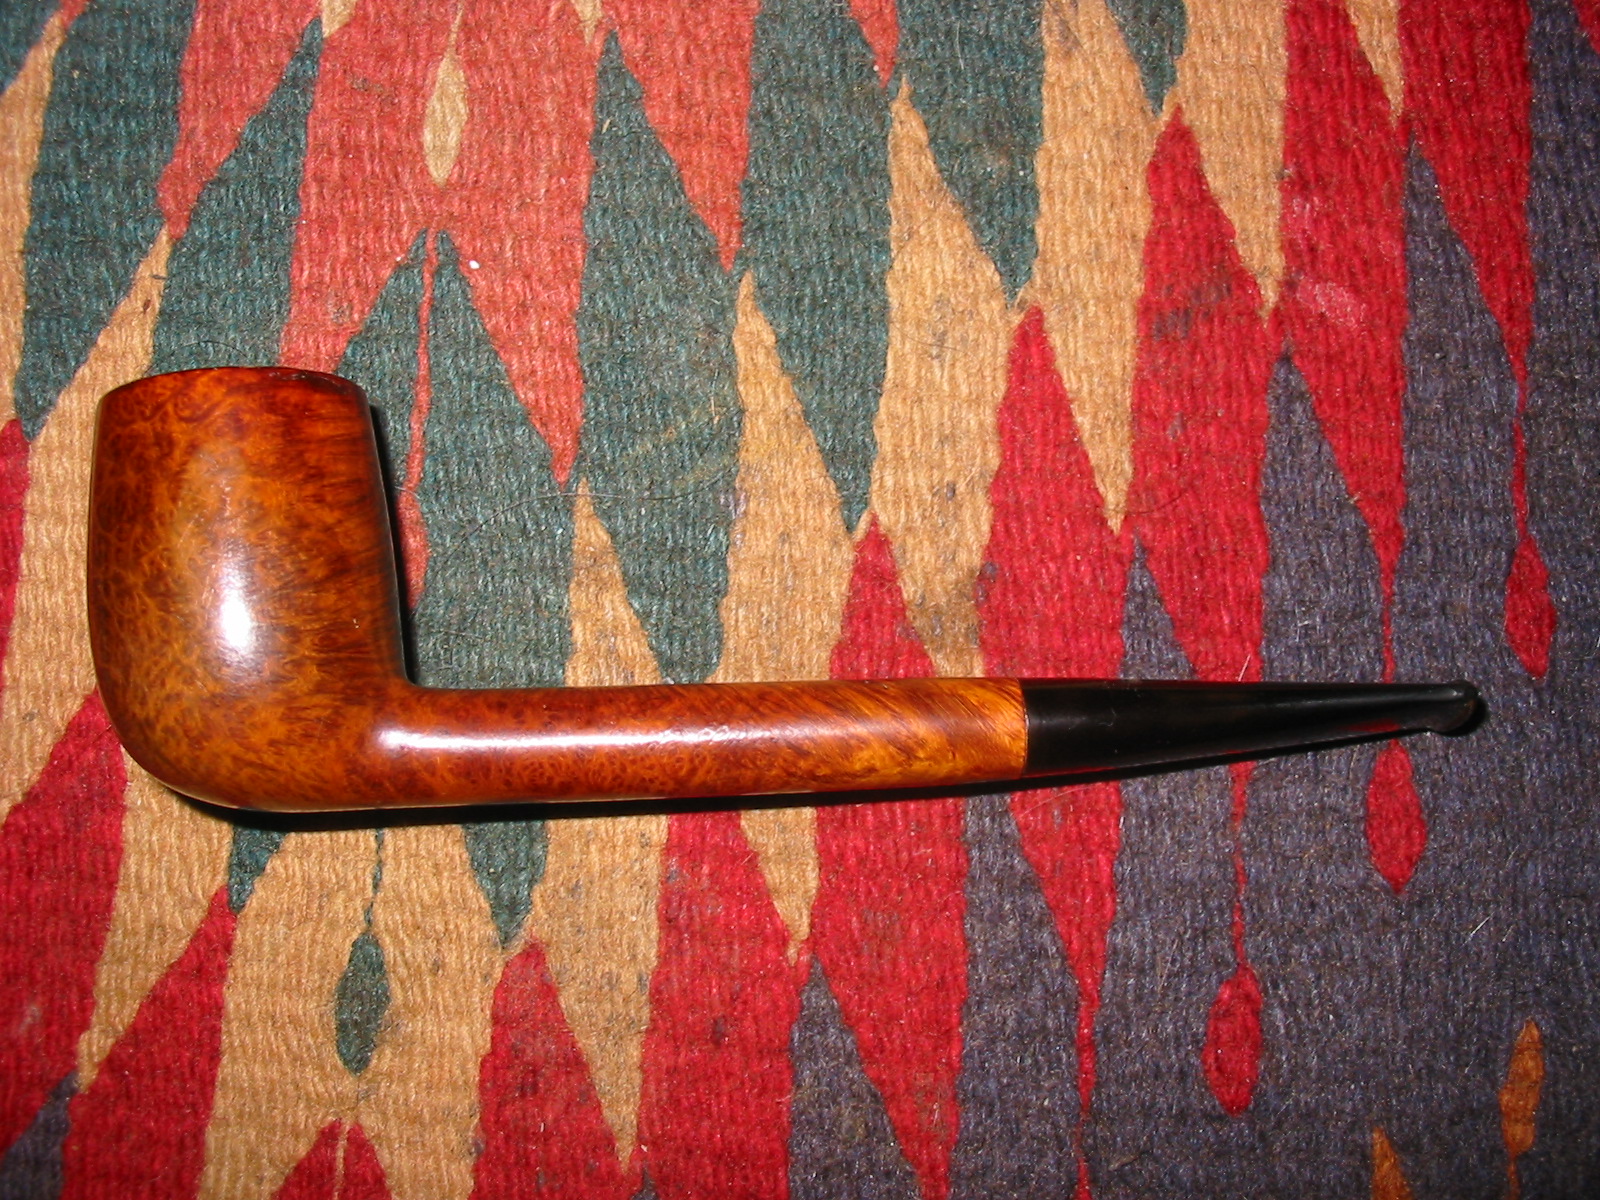
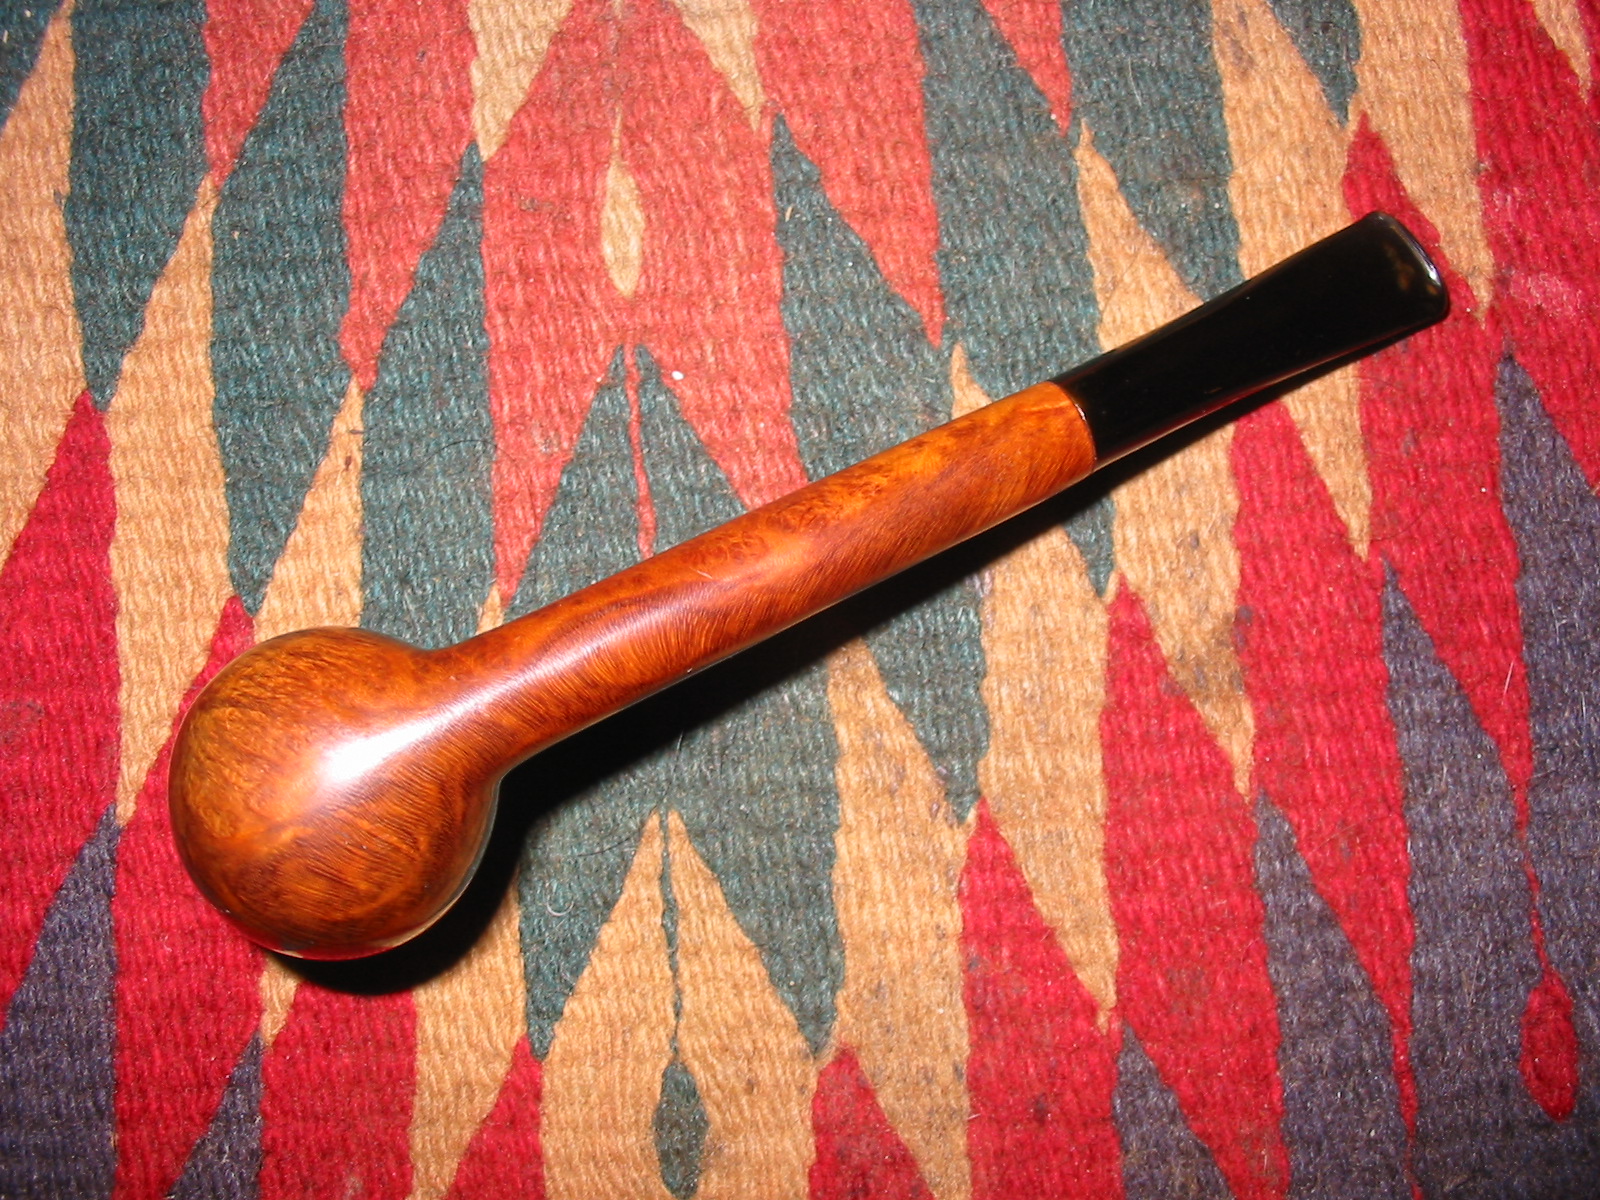
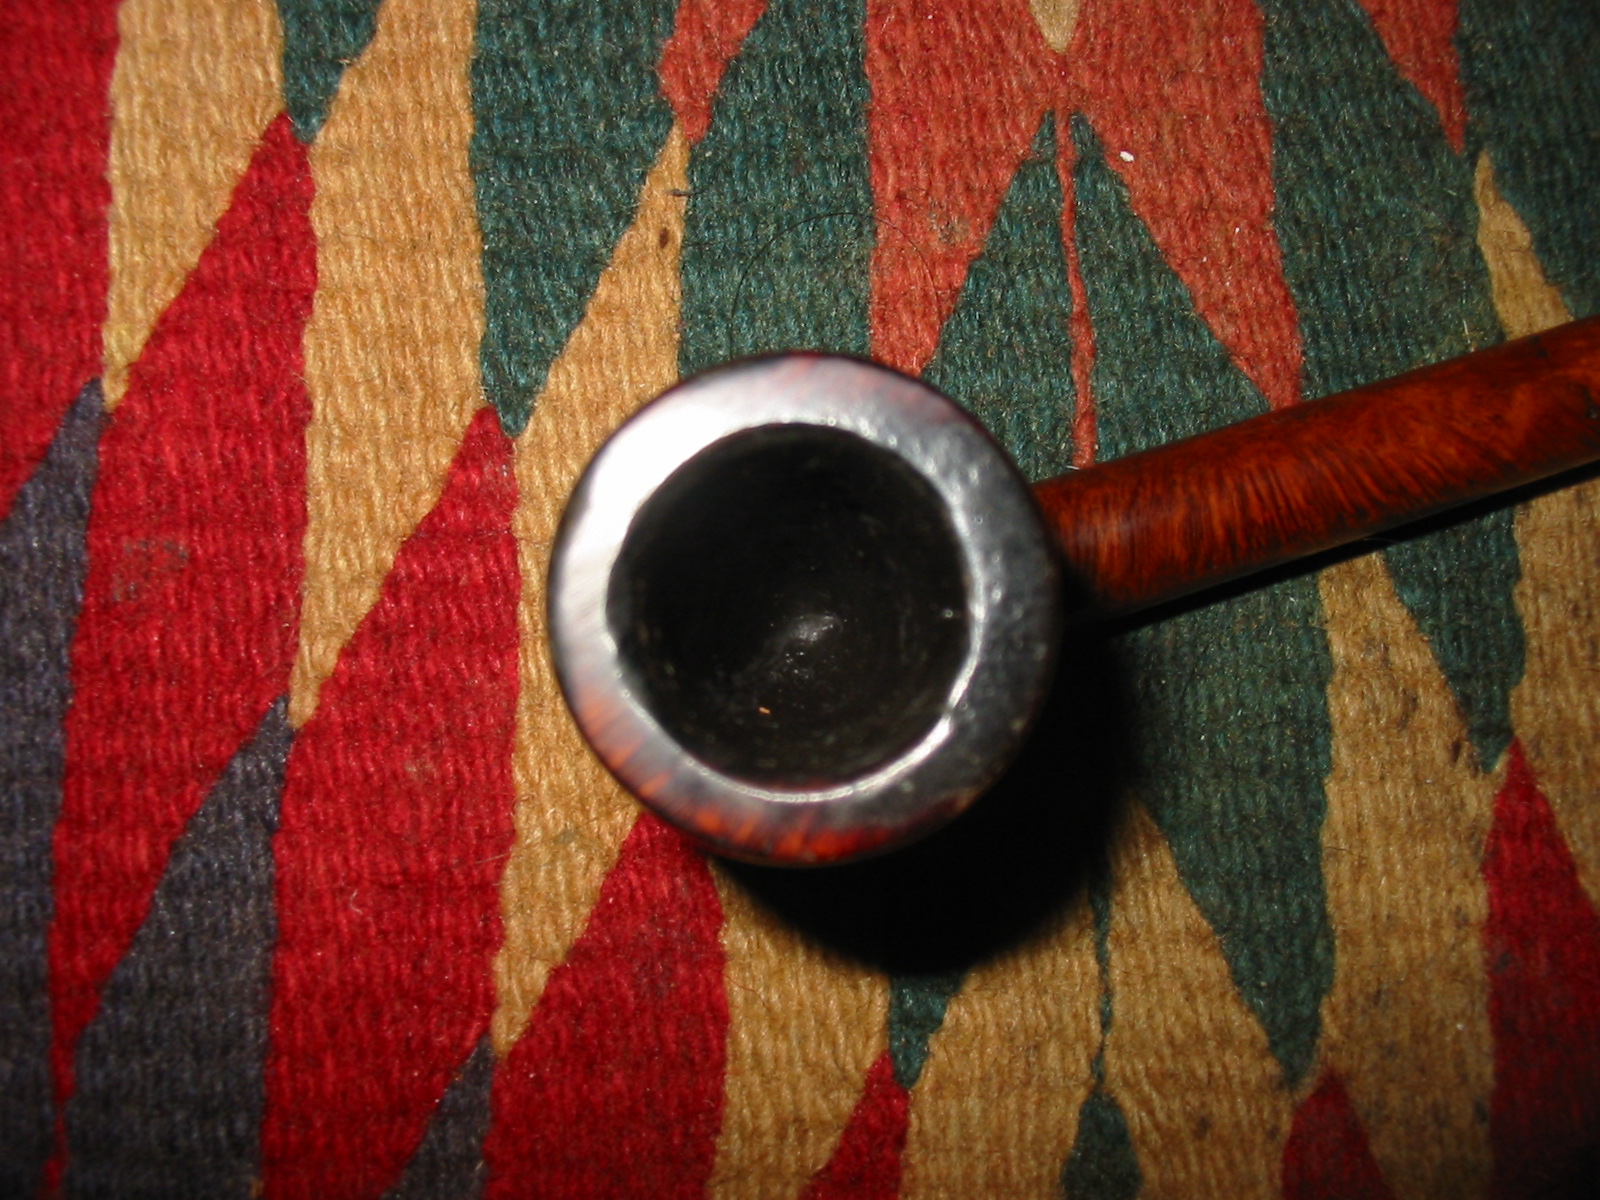
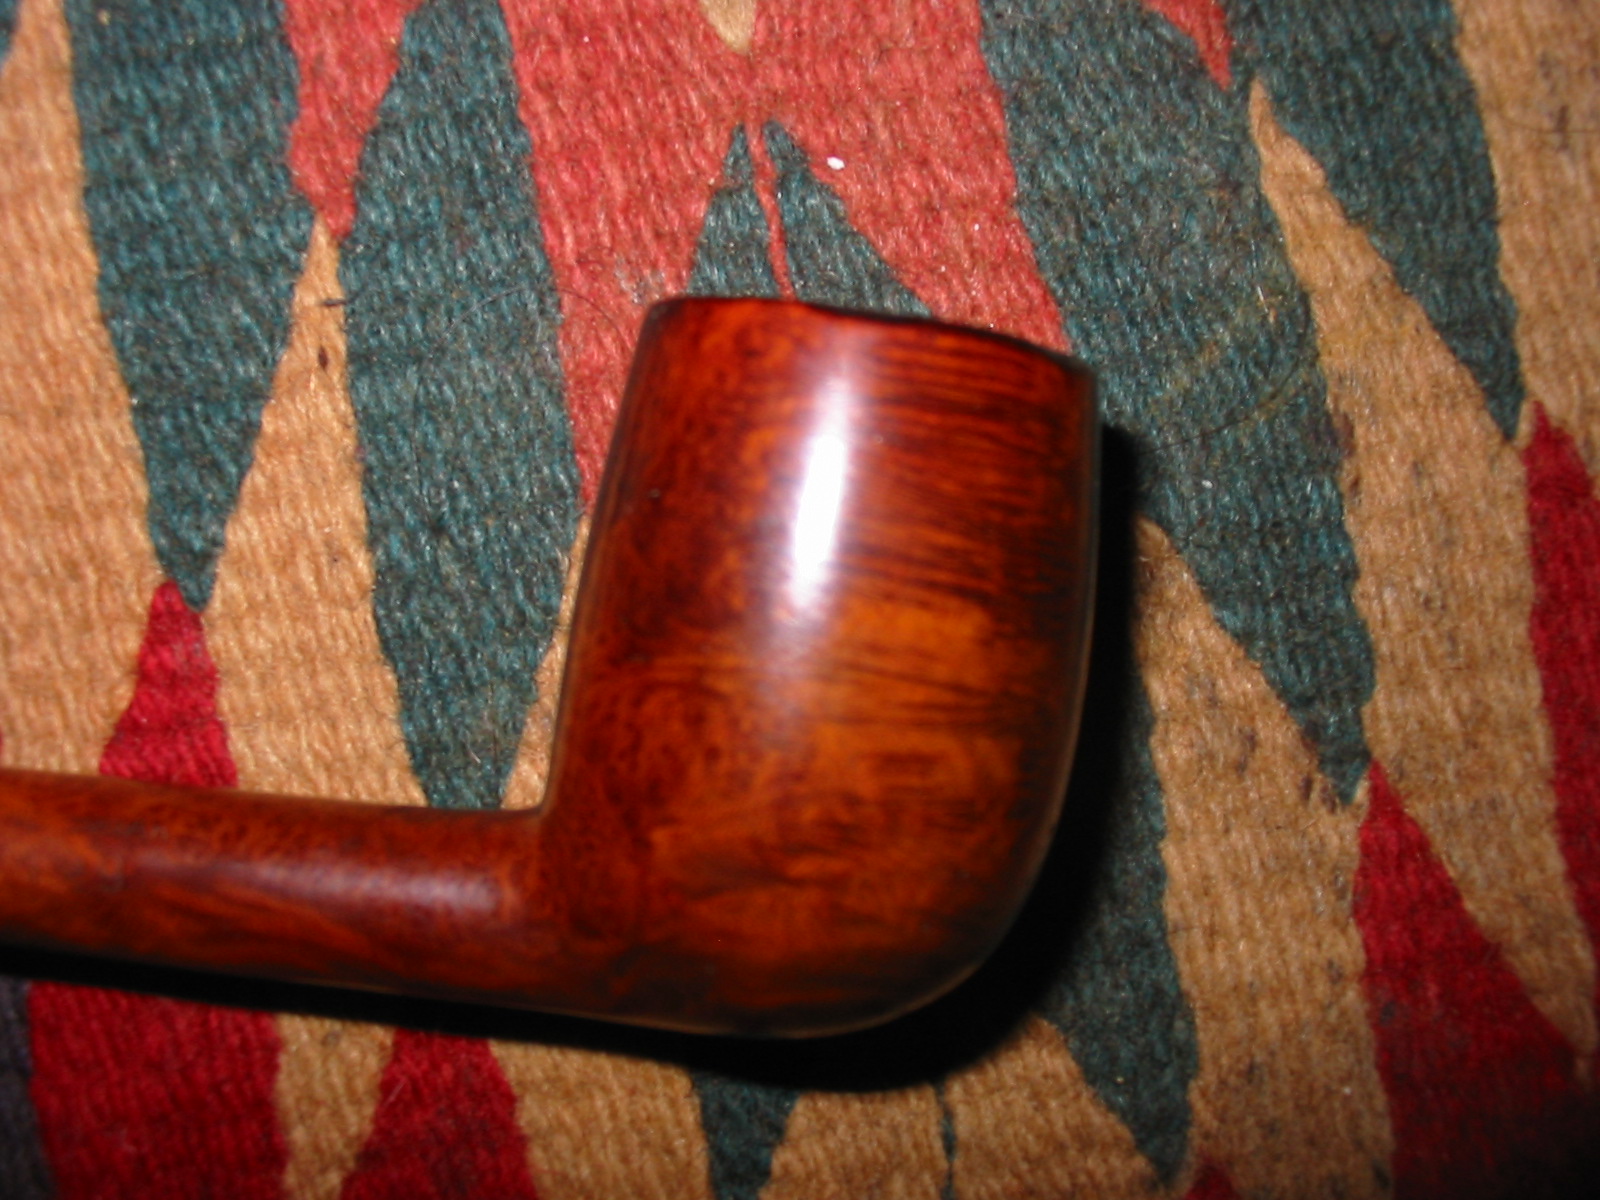
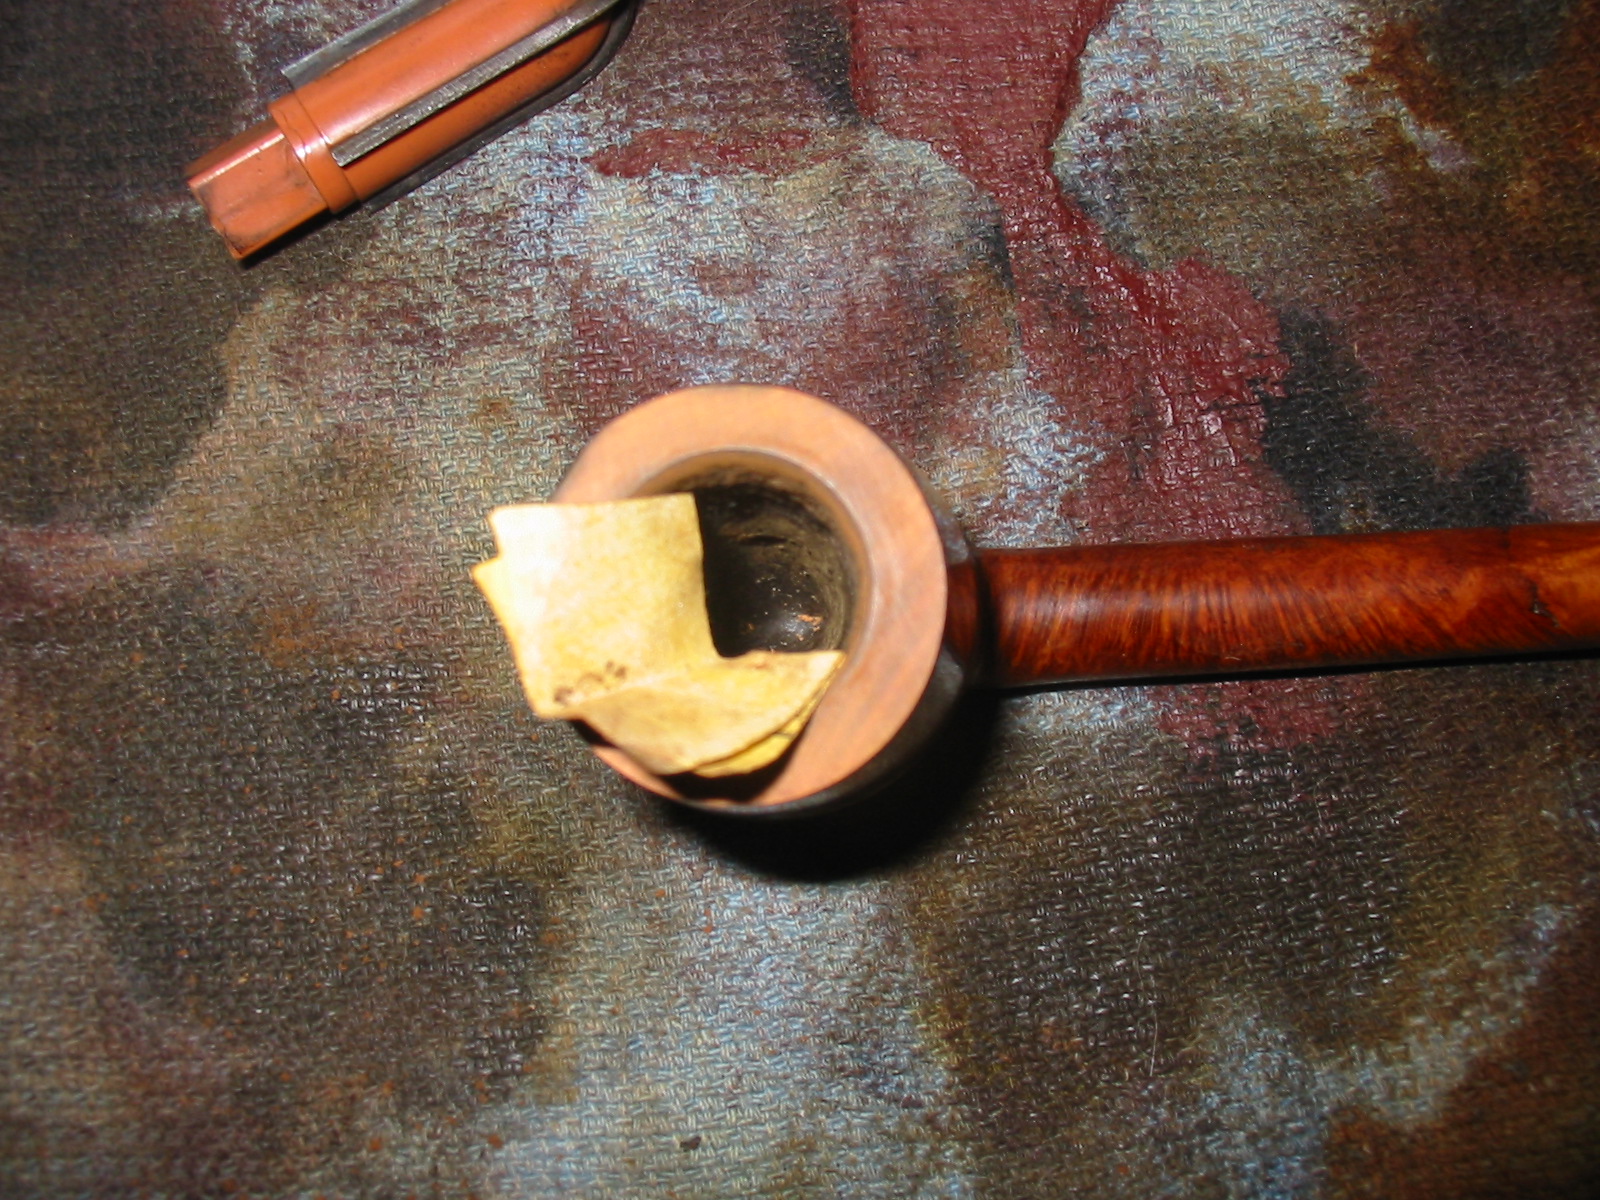
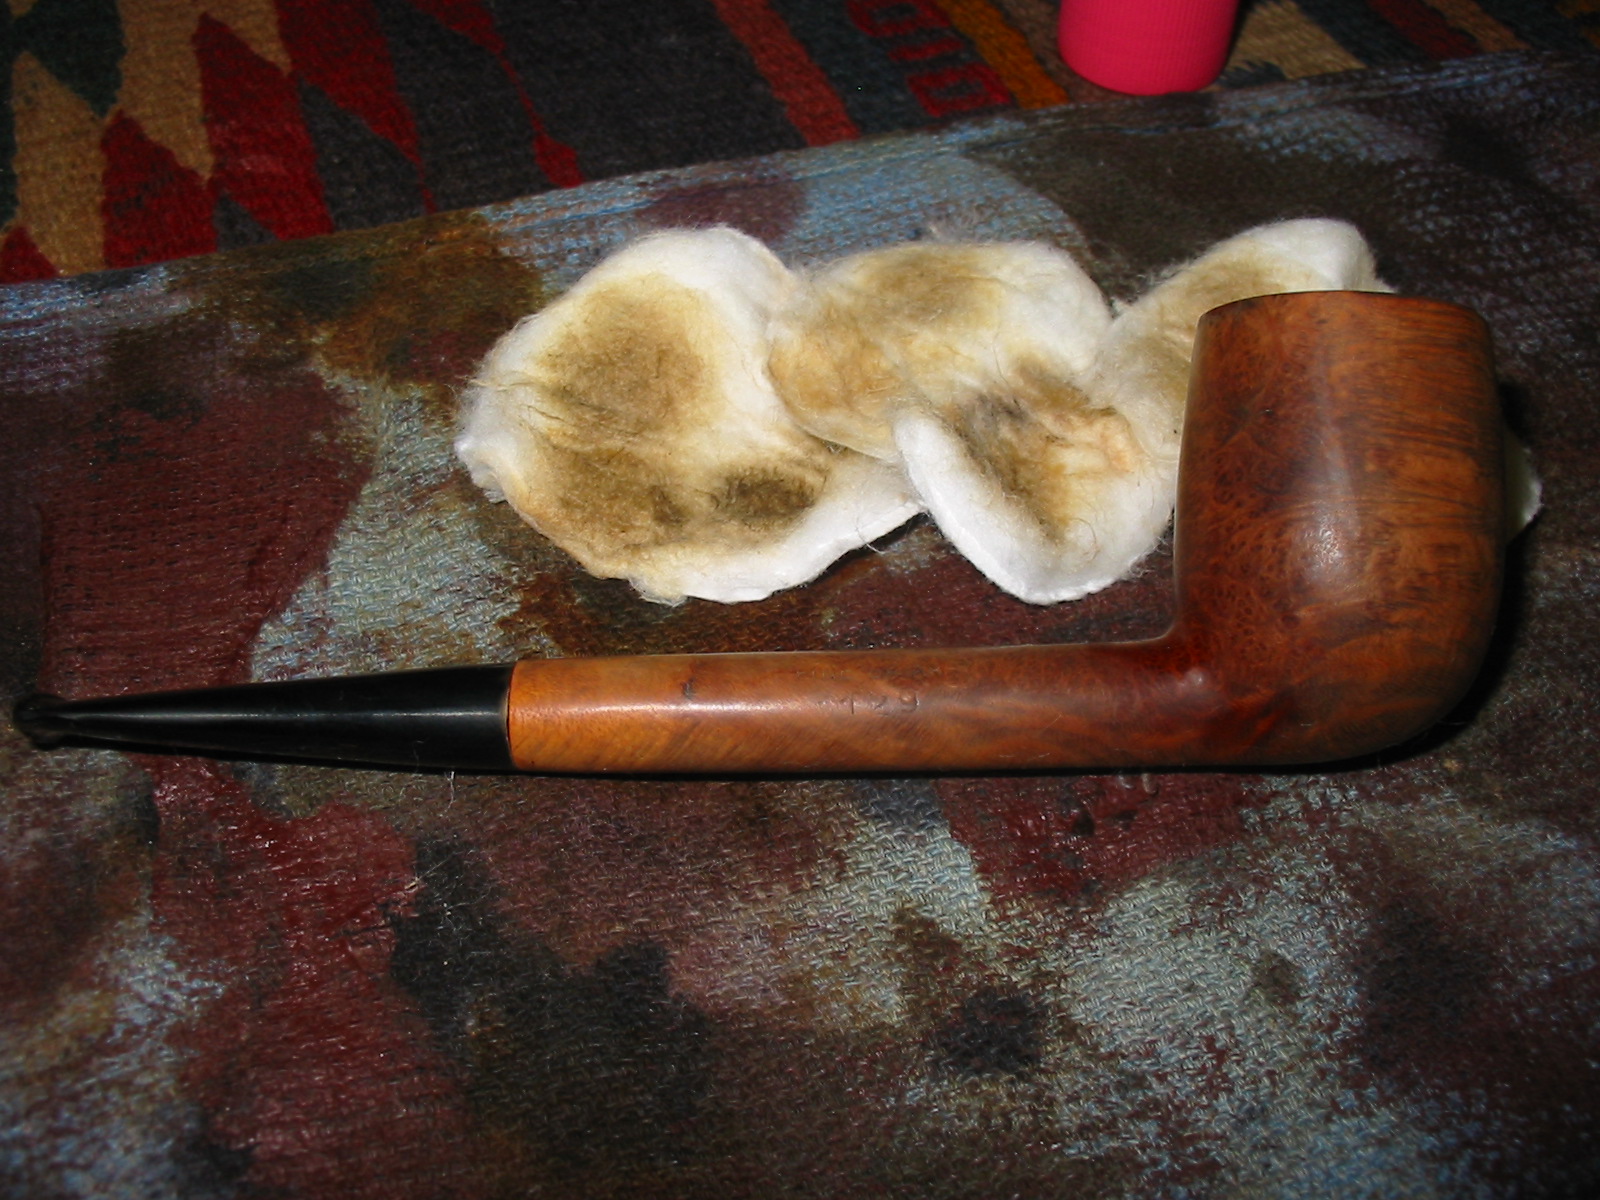
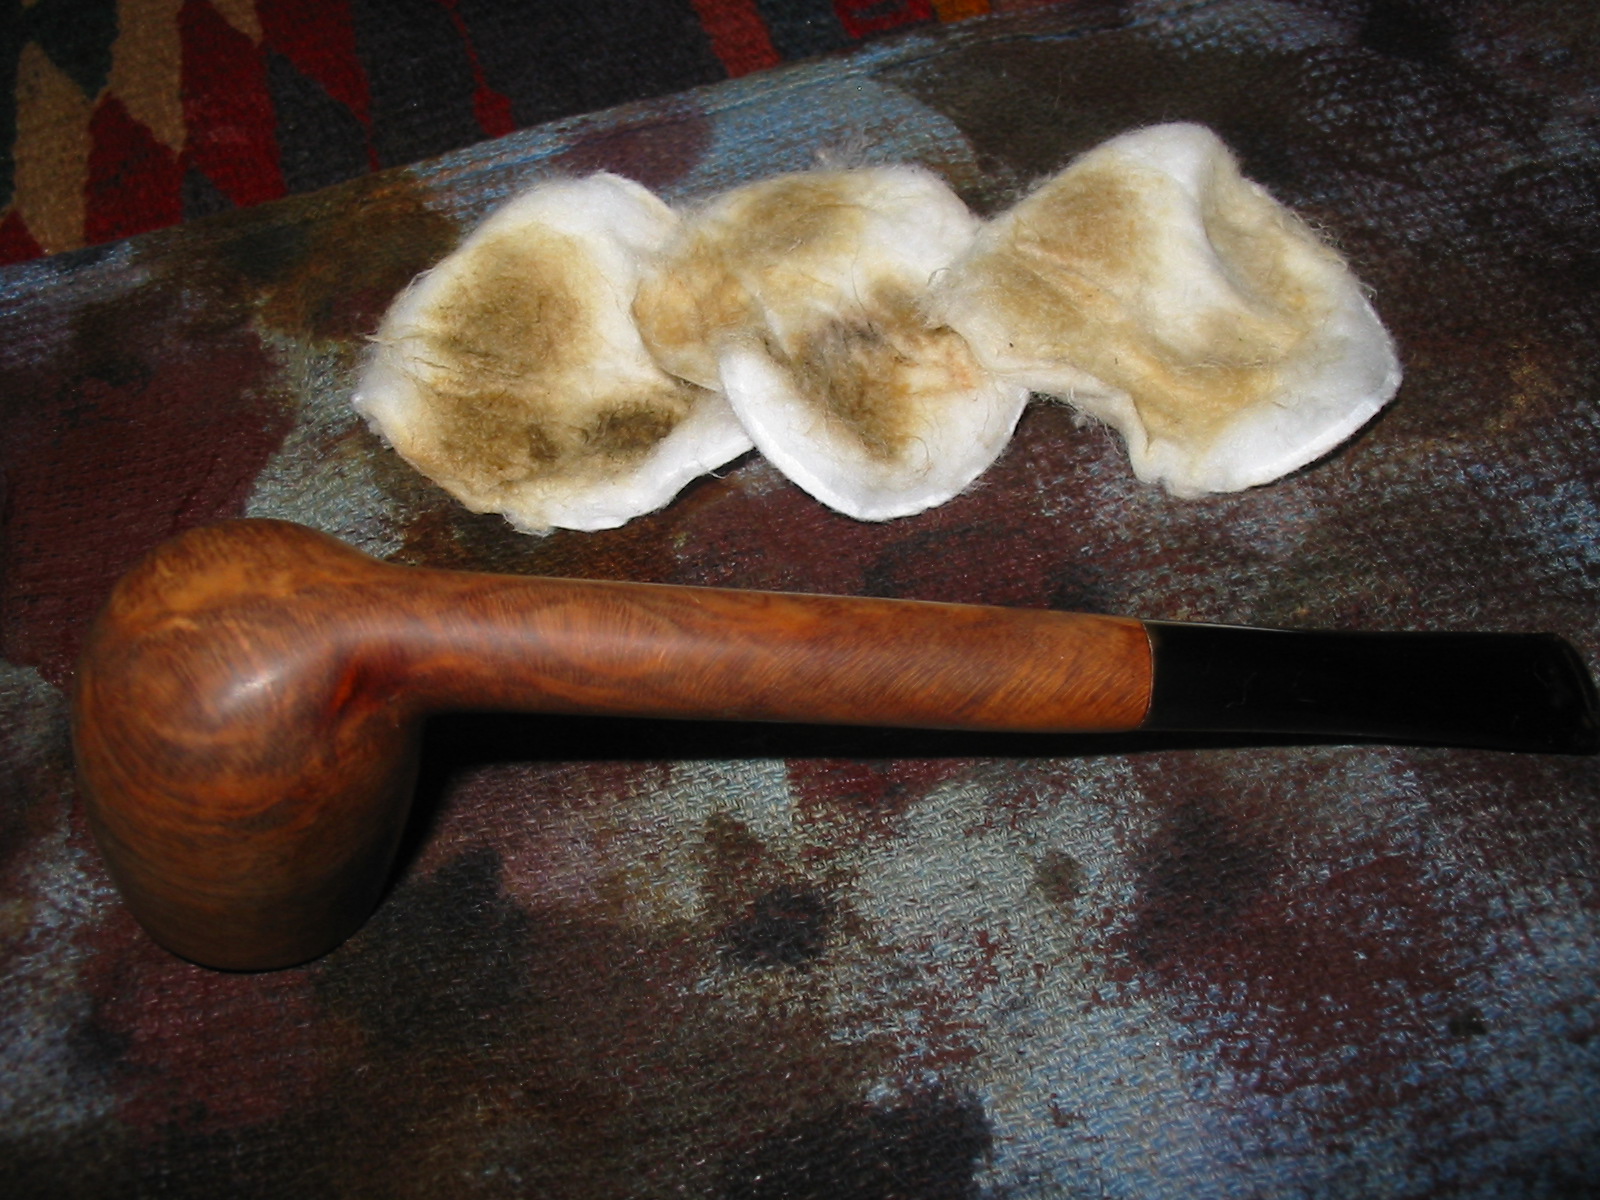
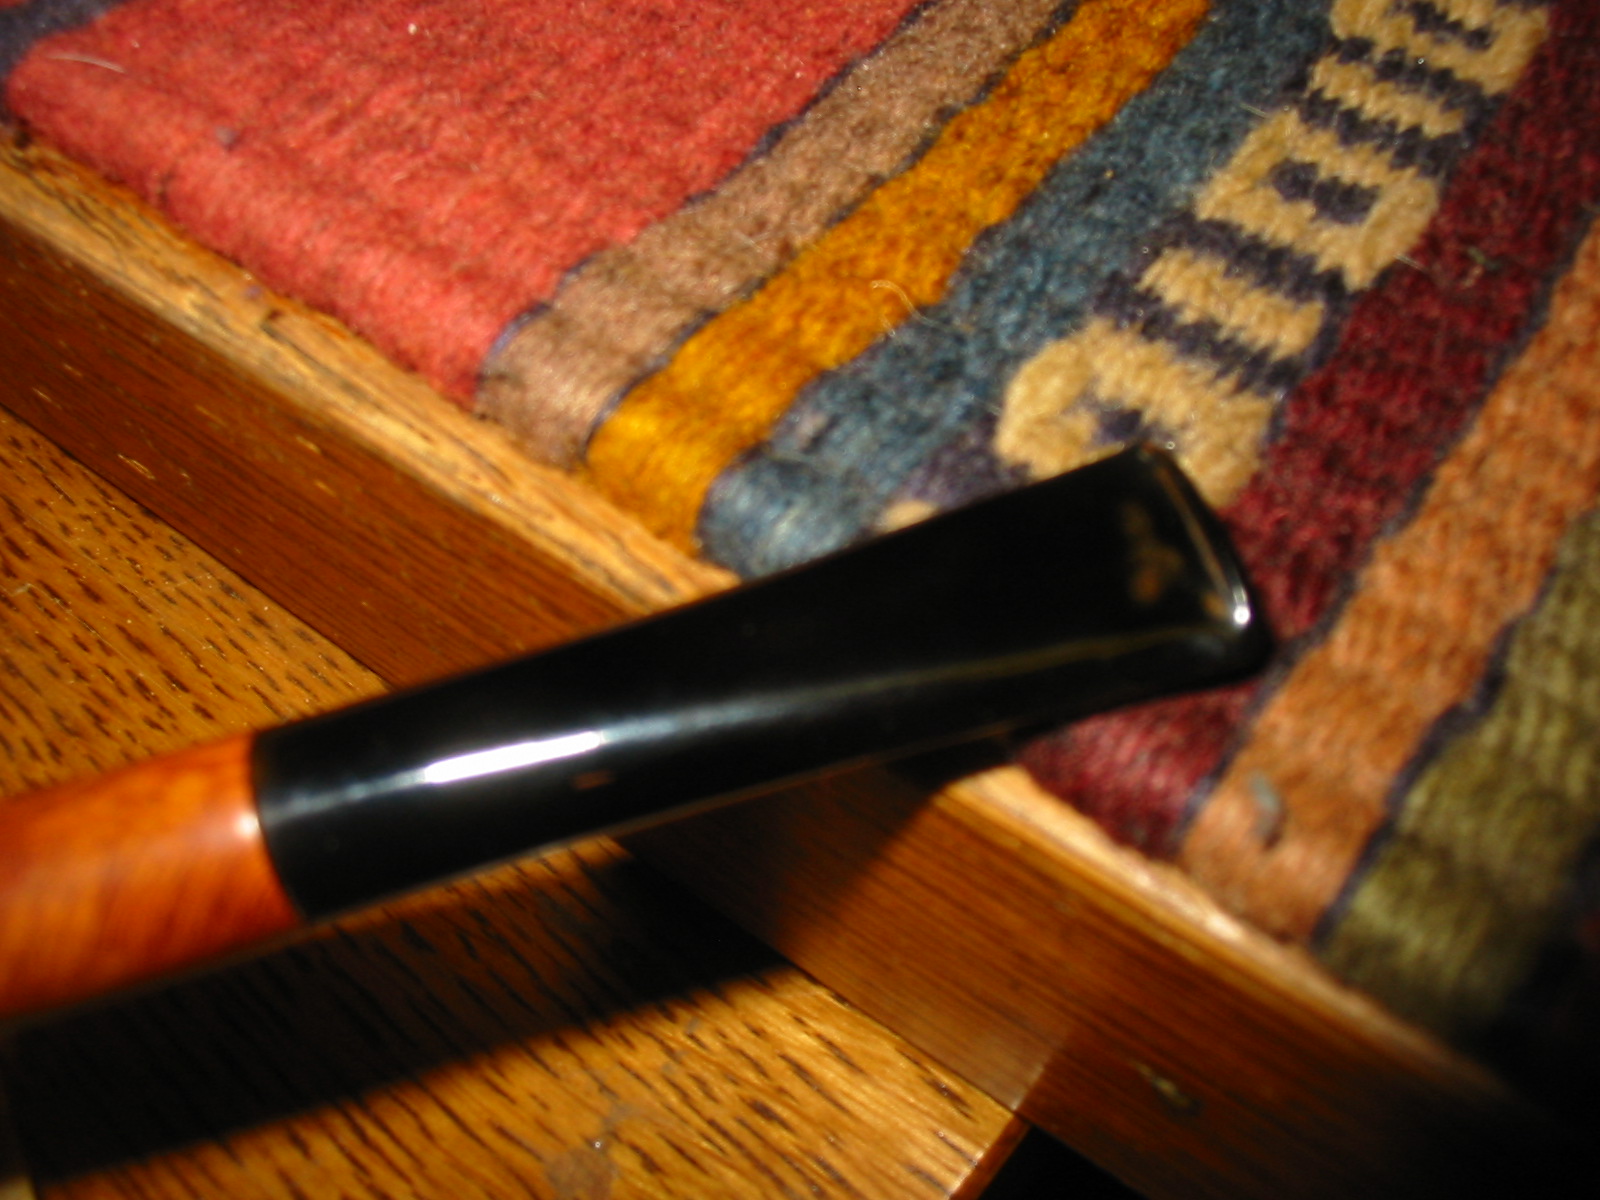
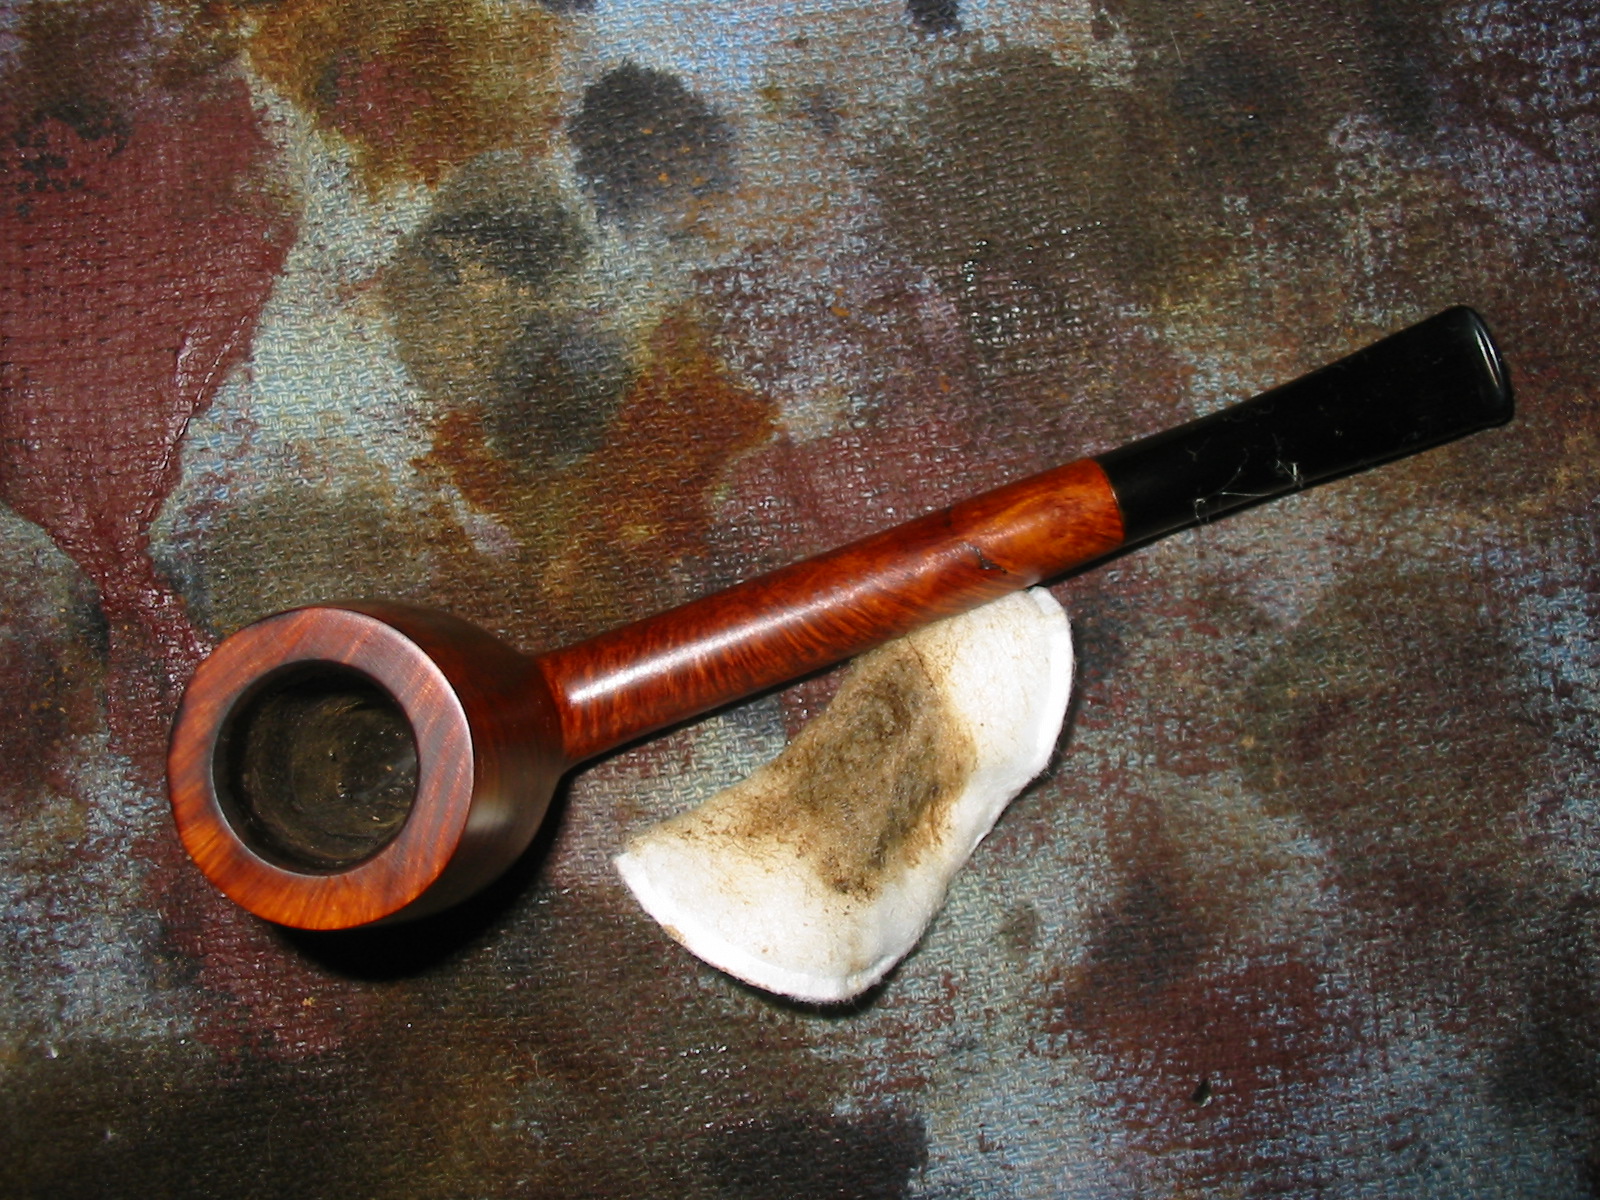
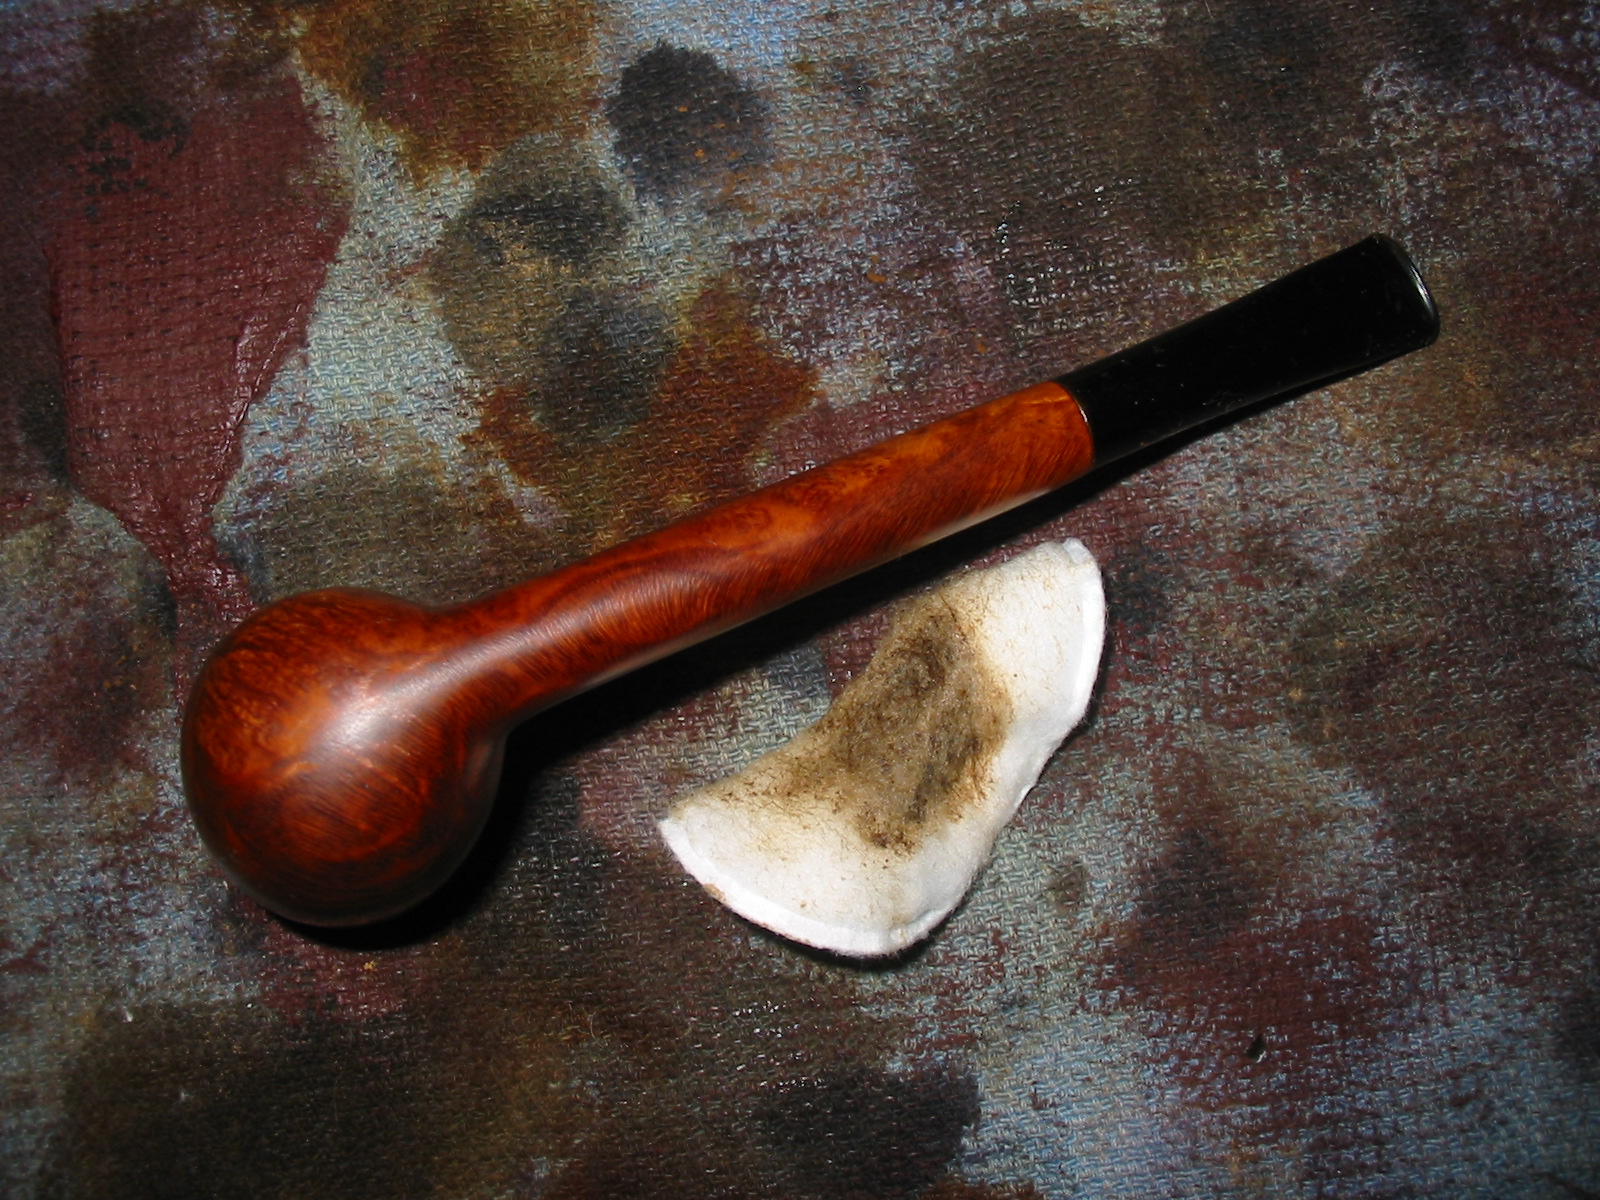
The next little pipe that I reworked for Vancouver Pipe Club donation of pipes is a nice lumberman. It is stamped on the left side of the shank Partner over De Luxe and on the right side it is stamped Fine Briar over 129. Further research has led me to information that this pipe was made by Savinelli. The shape number matches the number for a pipe shaped like this one. The finish was spotty with light and dark areas around the bowl and shank. The top of the rim had damage on the flat surface and burn marks all the way around the outer and inner edge of the bowl. The outer edge was rough to the touch. The grain was a nice combination of birdseye and cross grain. There were two repaired fills on the top of the shank. The stem had one tooth mark on the underside of the stem and there was tooth chatter on the top side of the stem.
IMG_4070

IMG_4074

IMG_4076

IMG_4077

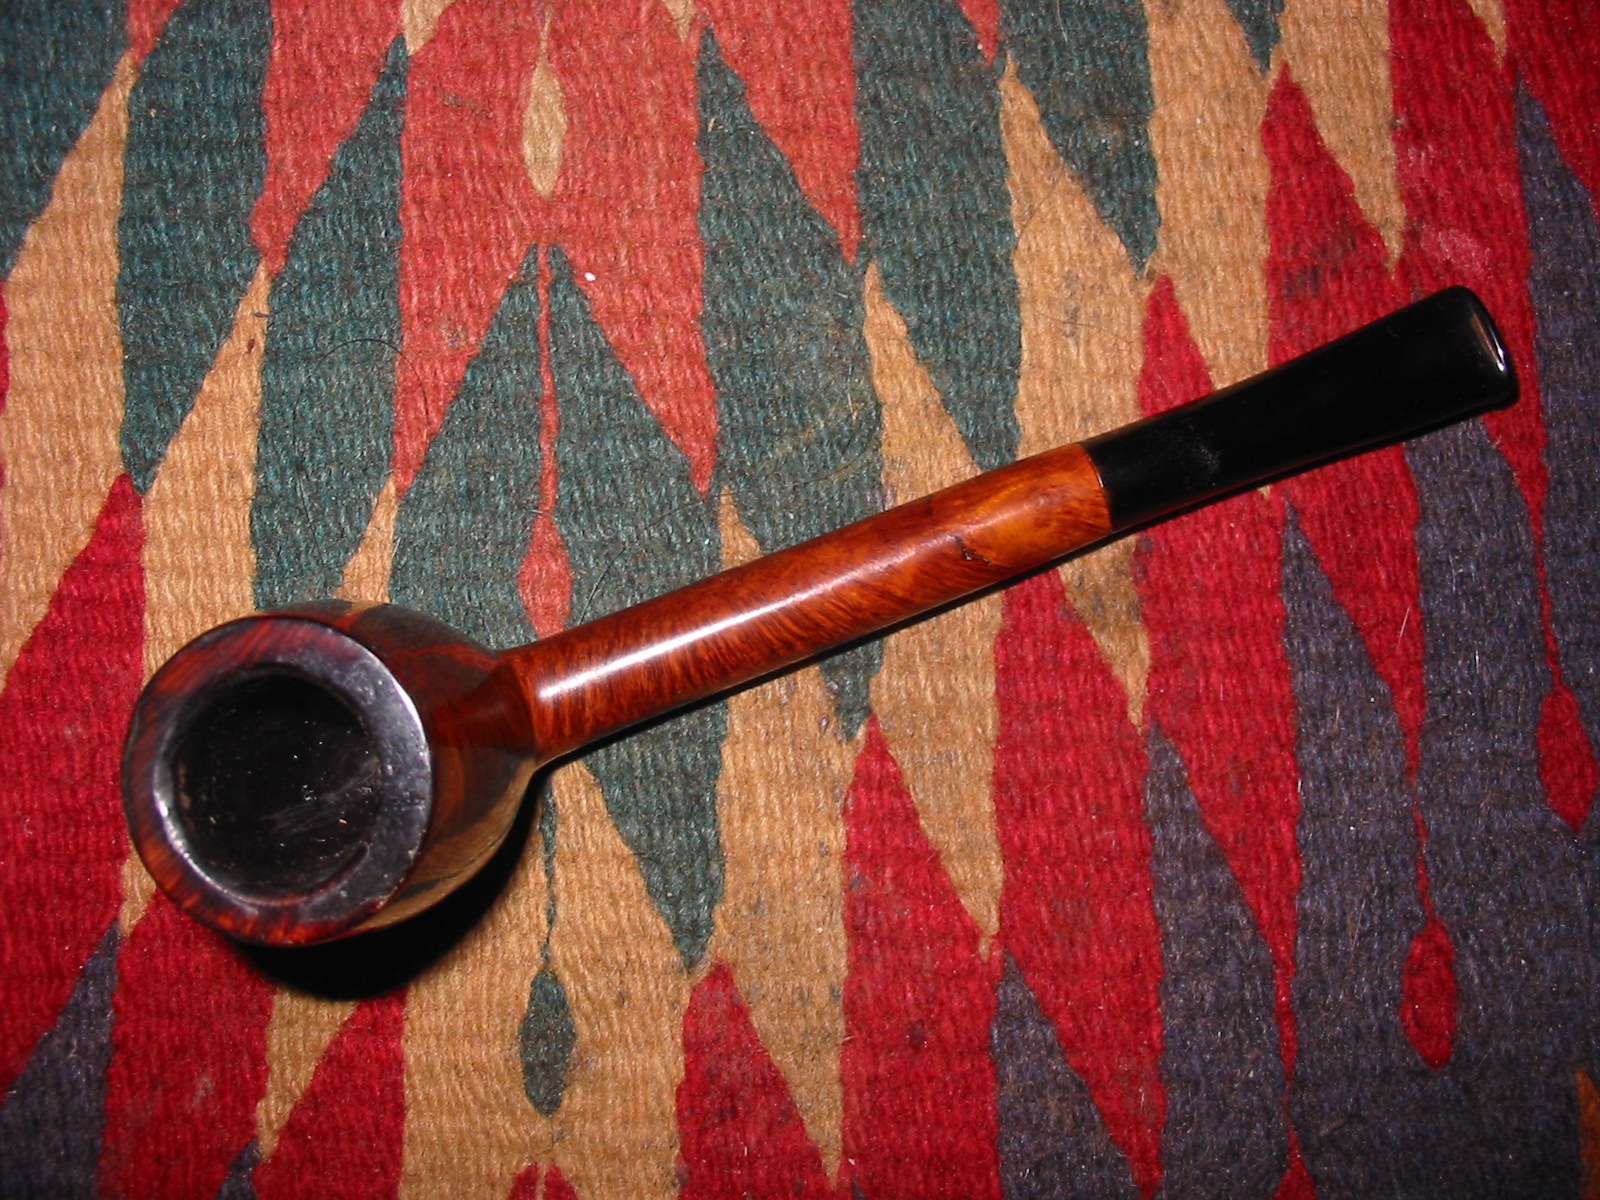
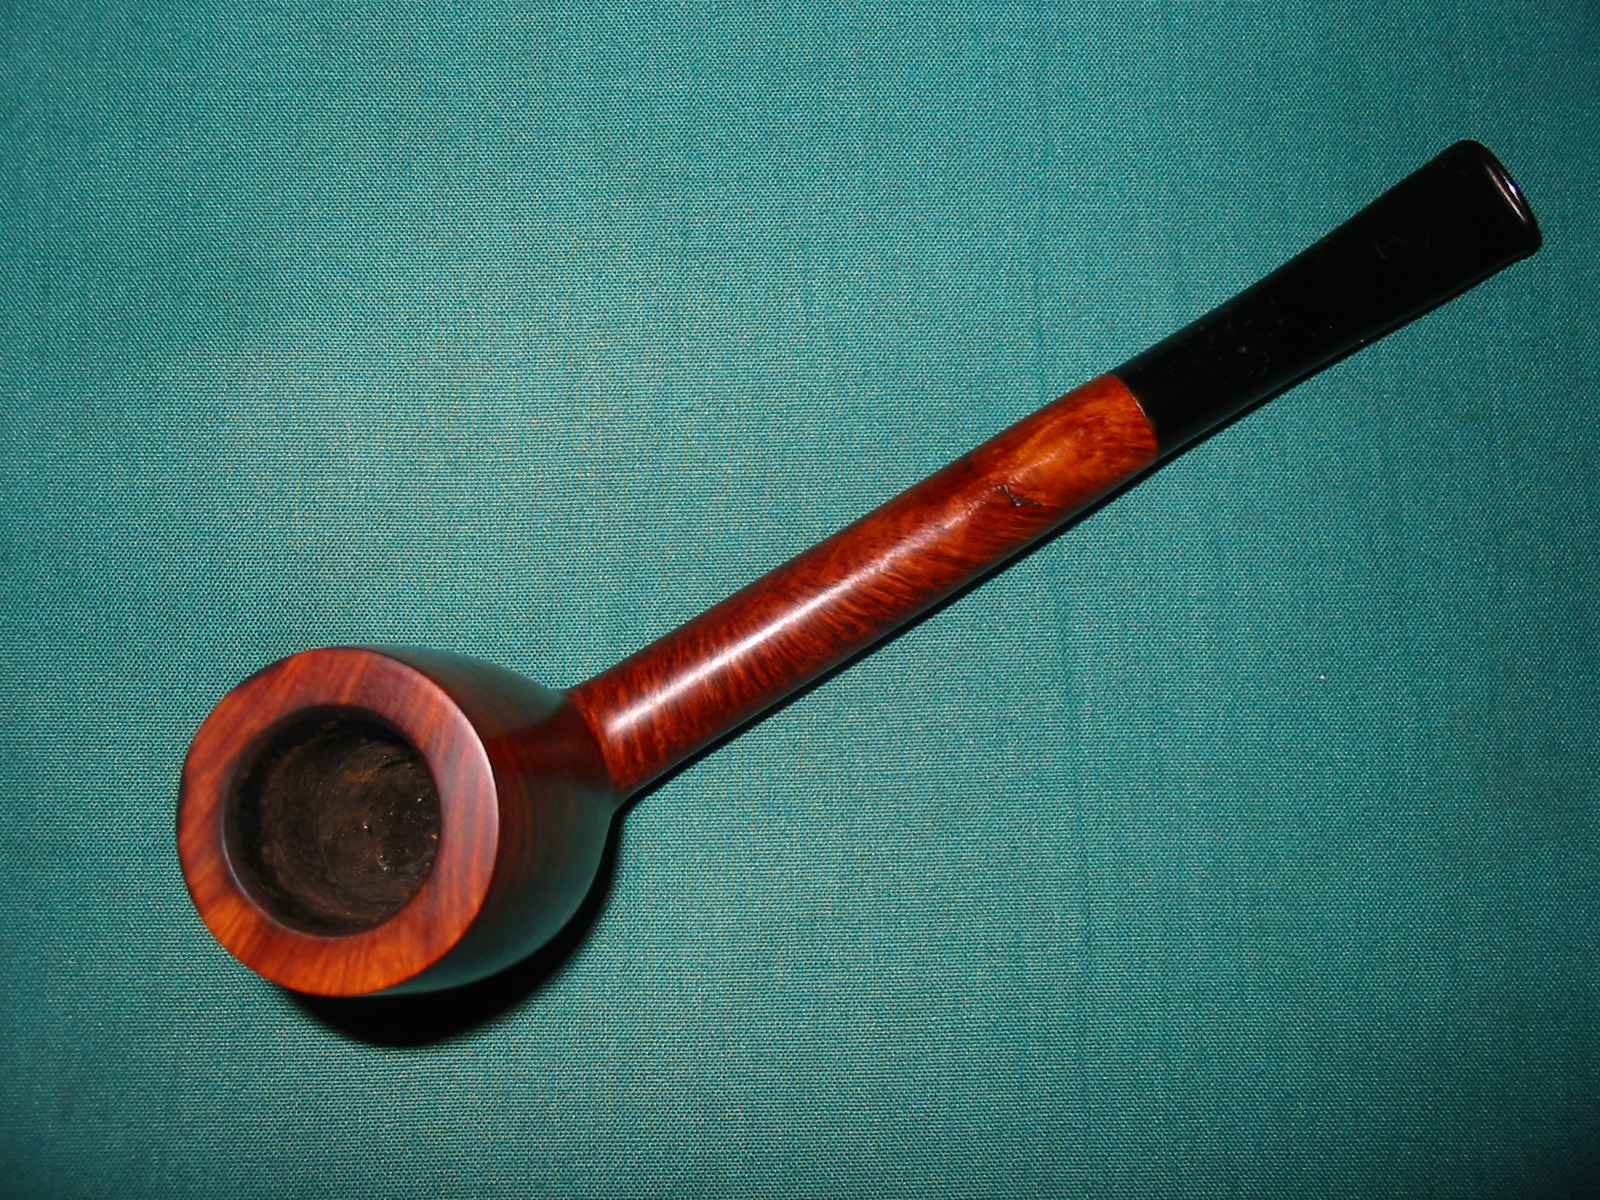
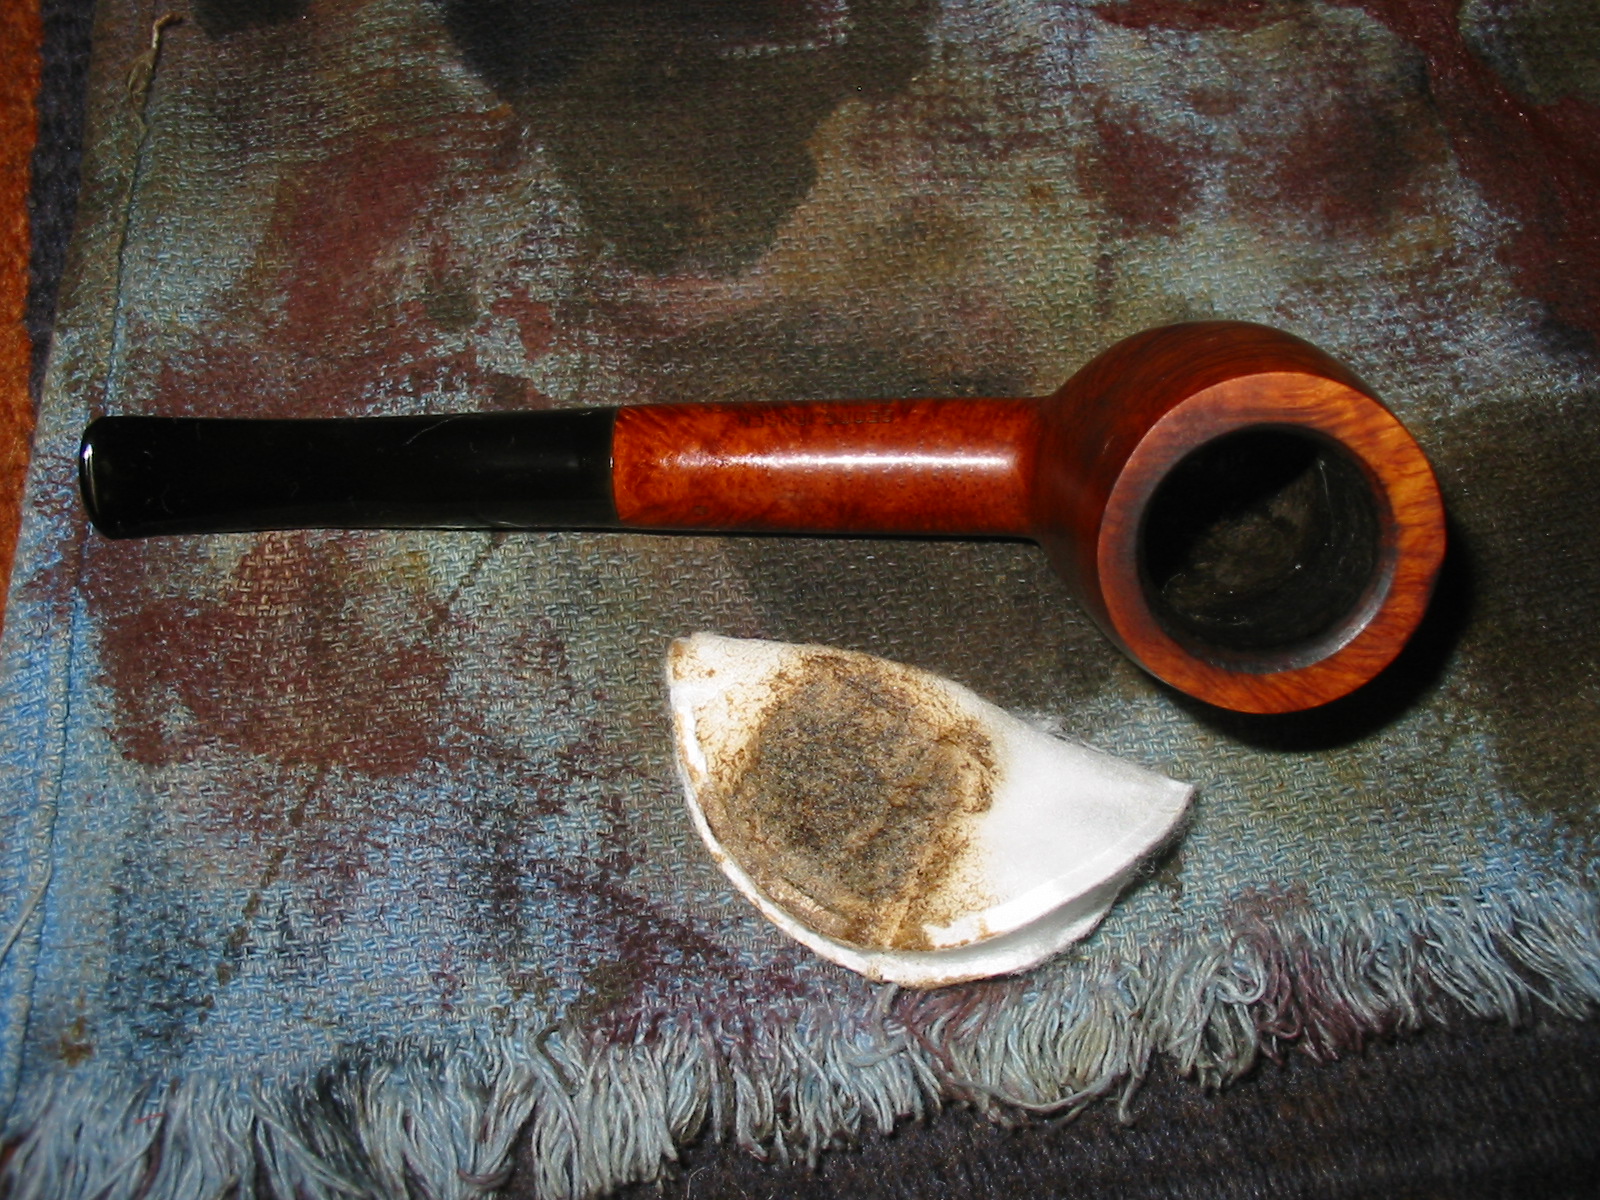
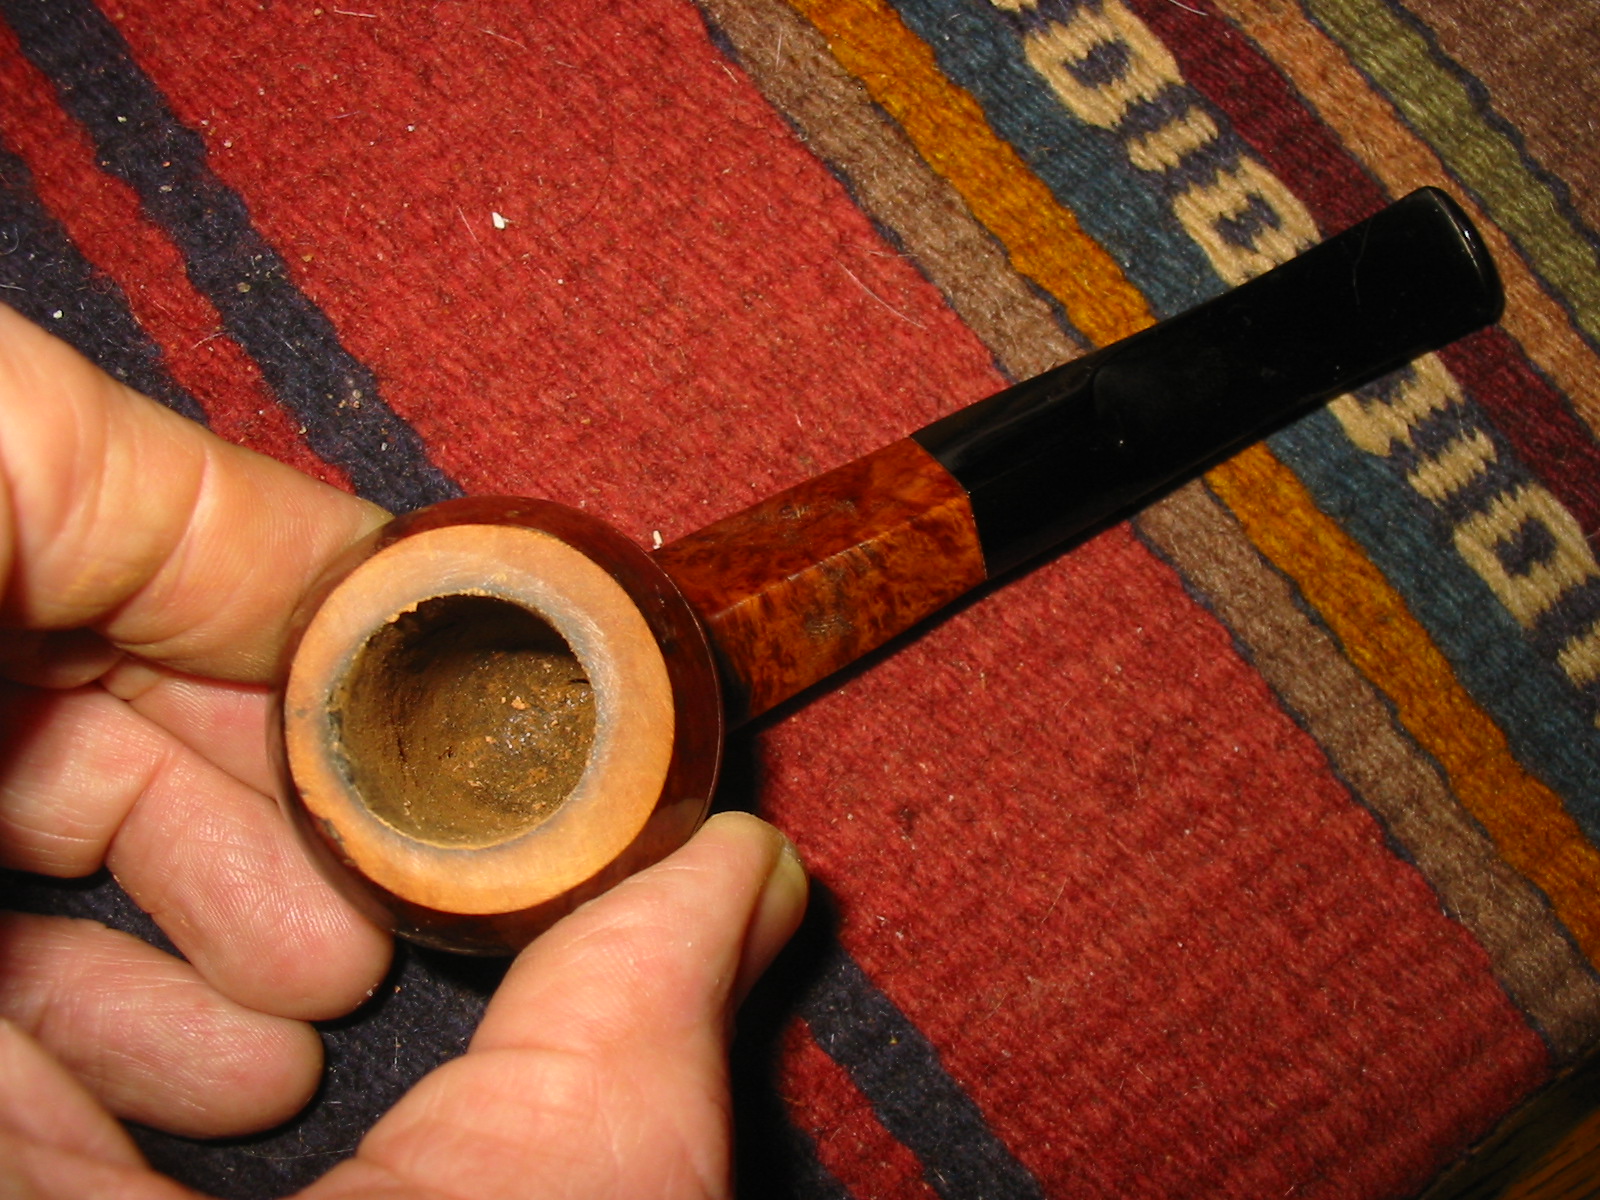
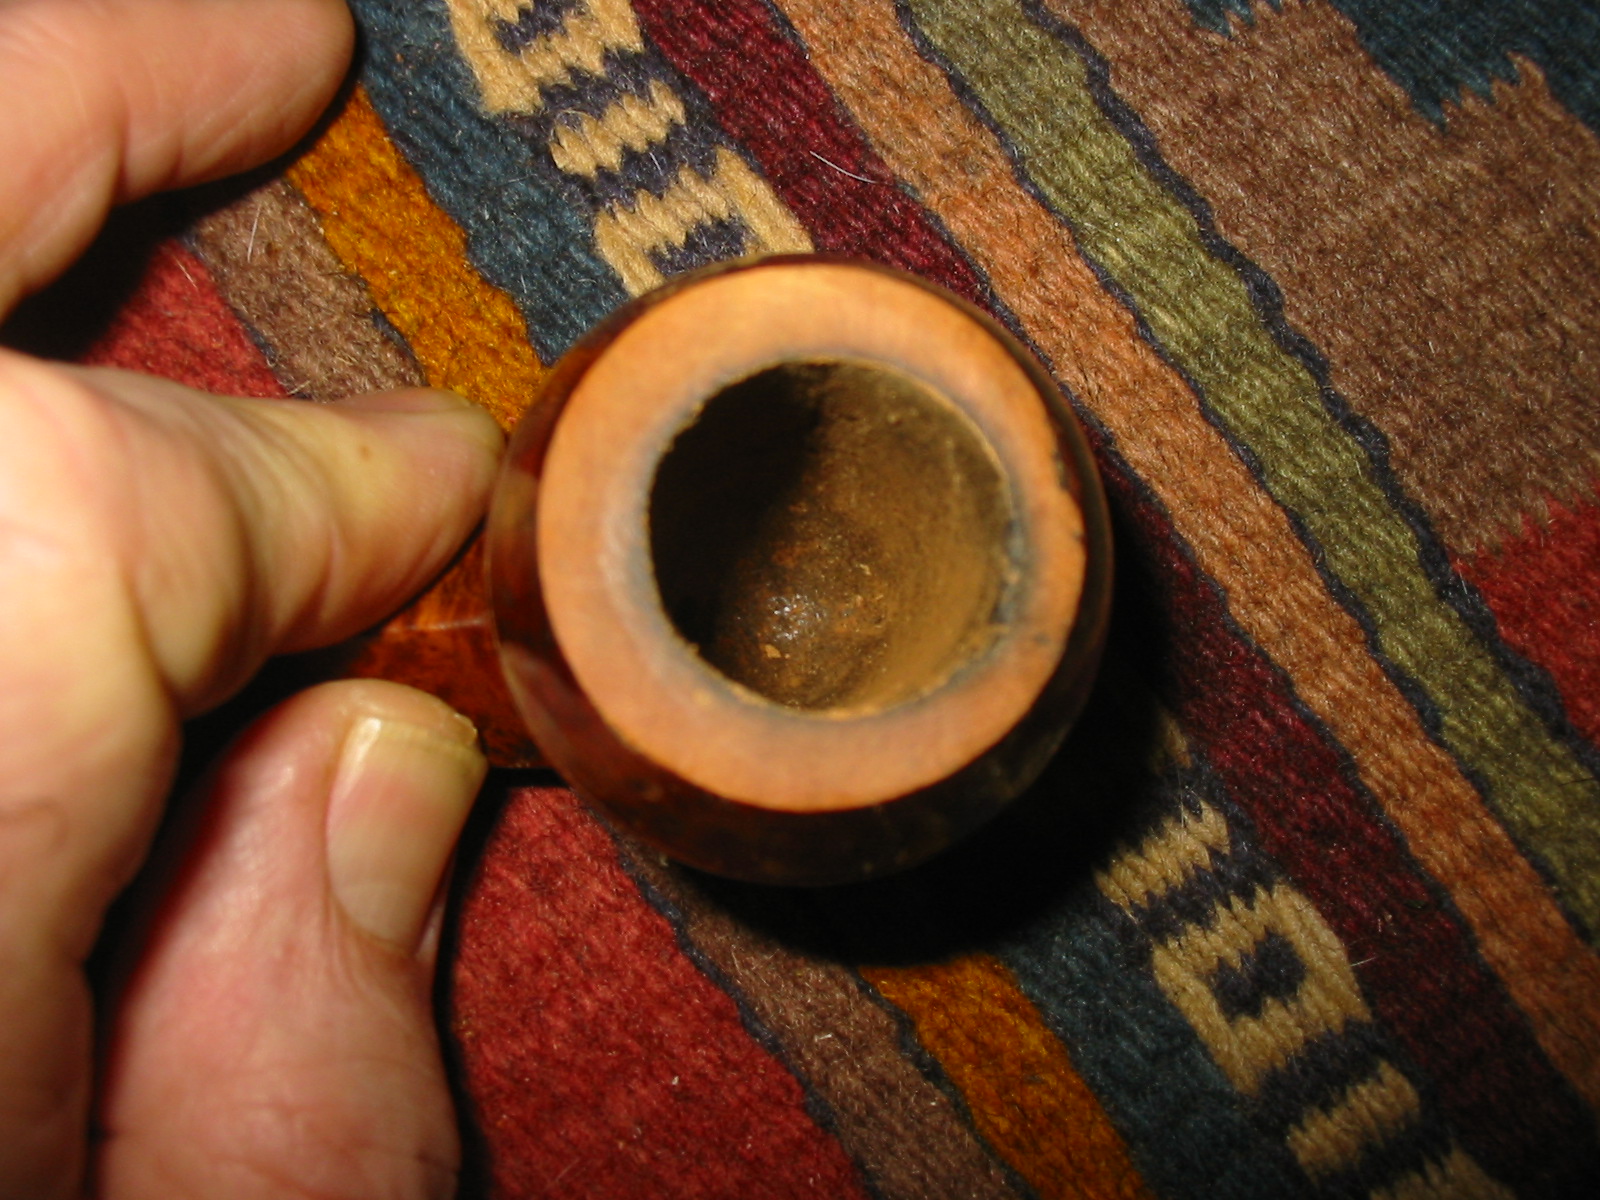
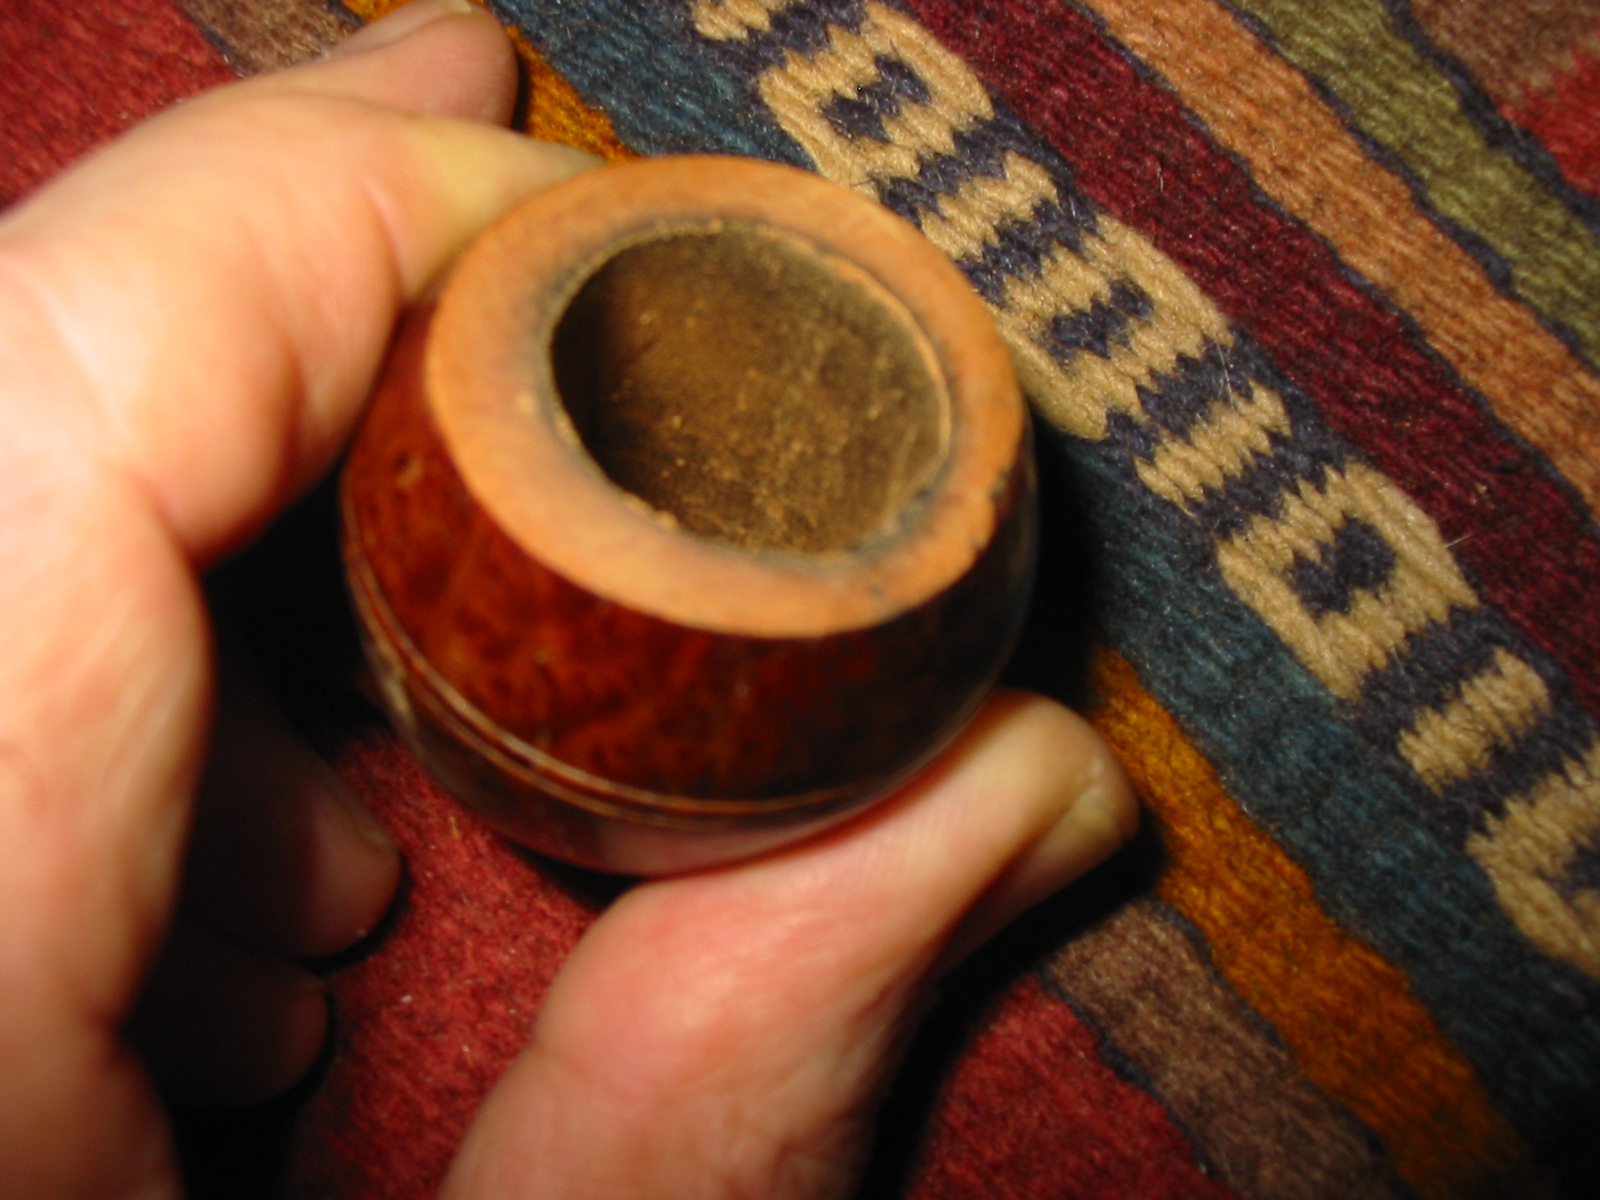
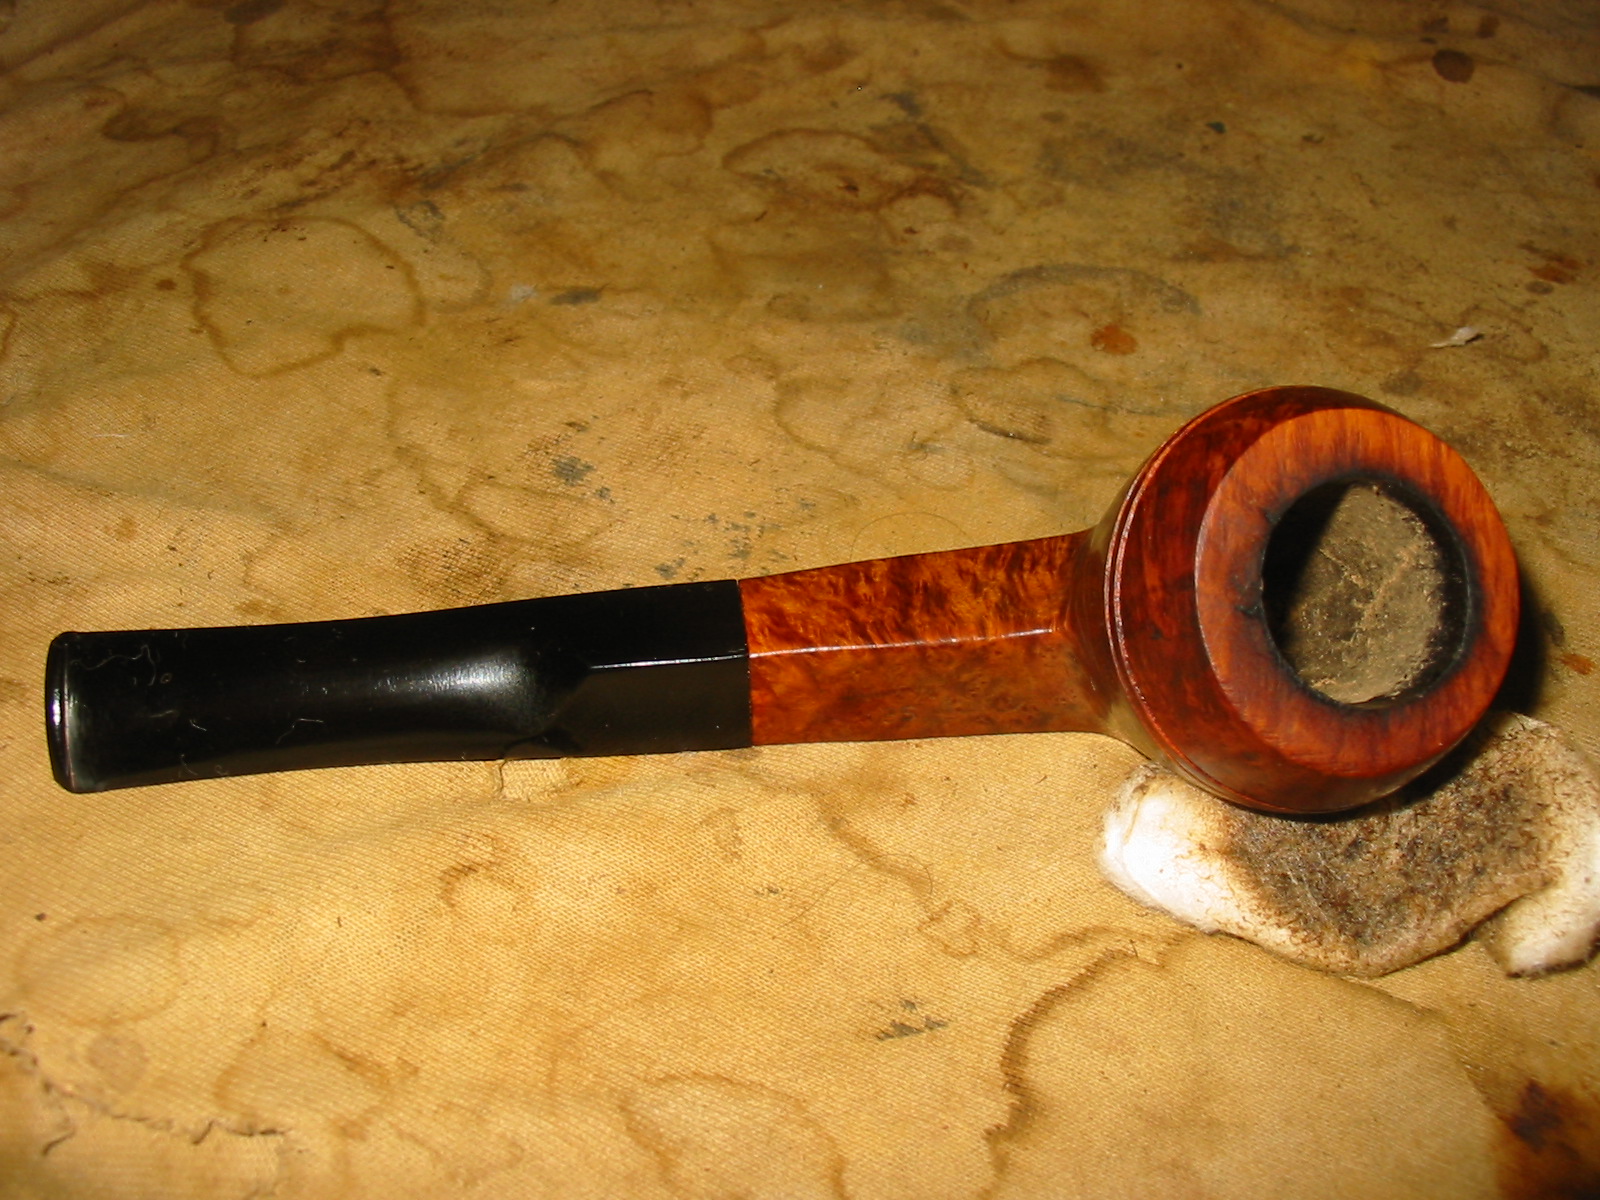
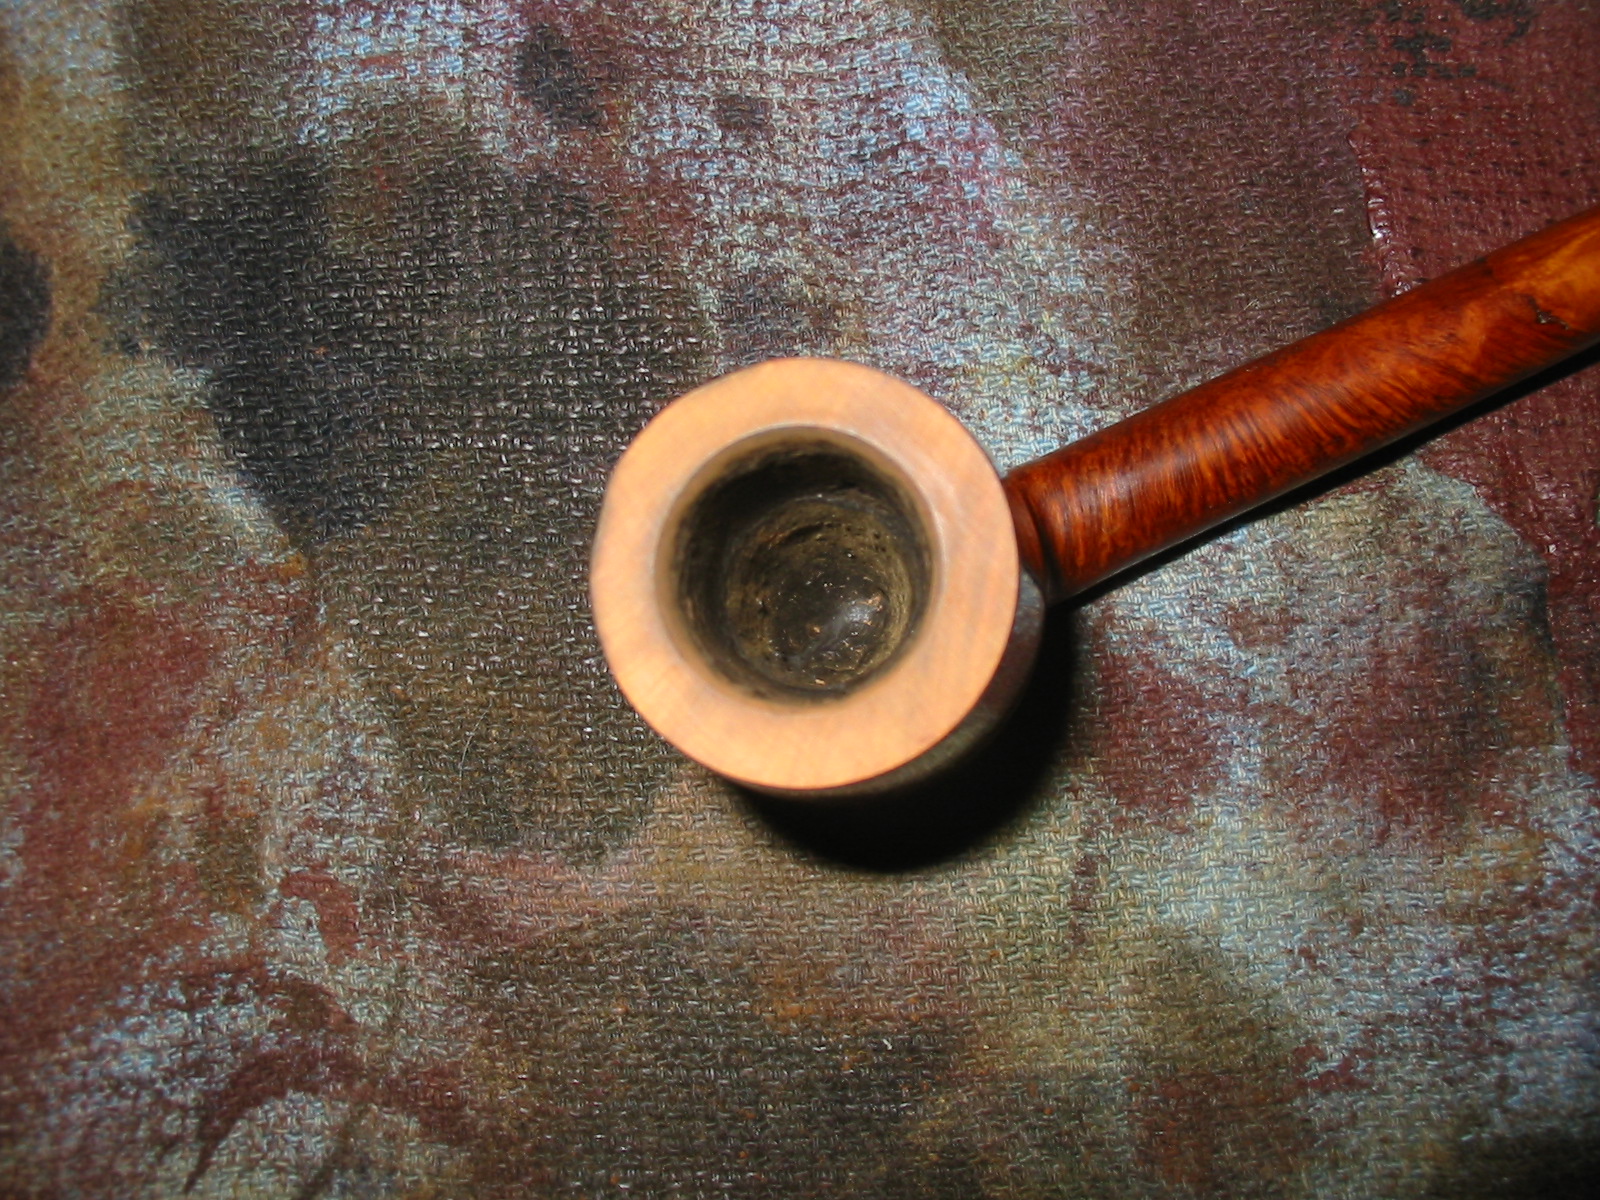
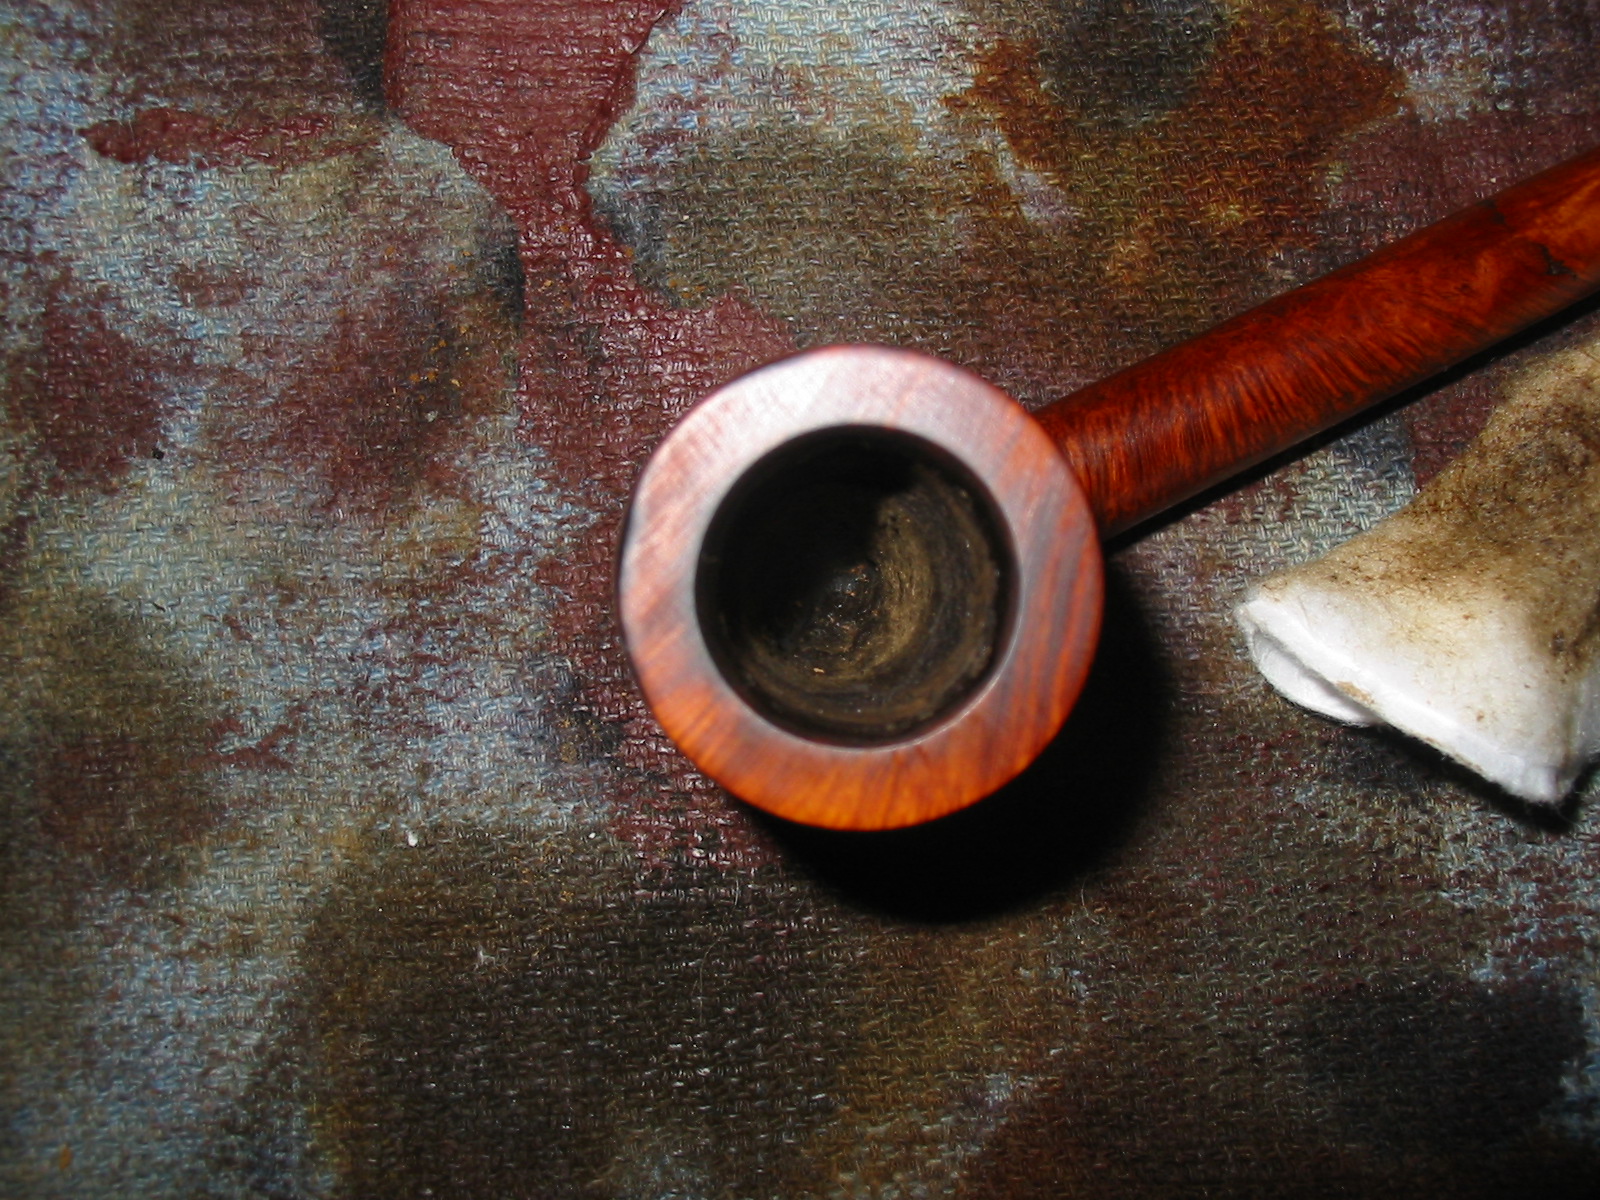
The first photo below is a close up of the rim to show the damage to the surface of the rim and the inner and outer edges. The second photo below shows the burn marks around the outer edge of the bowl.
IMG_4078

IMG_4079

I topped the bowl using the method I have written about previously to remove the damage to the rim surface and edges. I used a folded piece of sandpaper to bevel the inner edge of the bowl and smooth out the damage and minimize it in the bowl.
IMG_4080

IMG_4082

IMG_4084

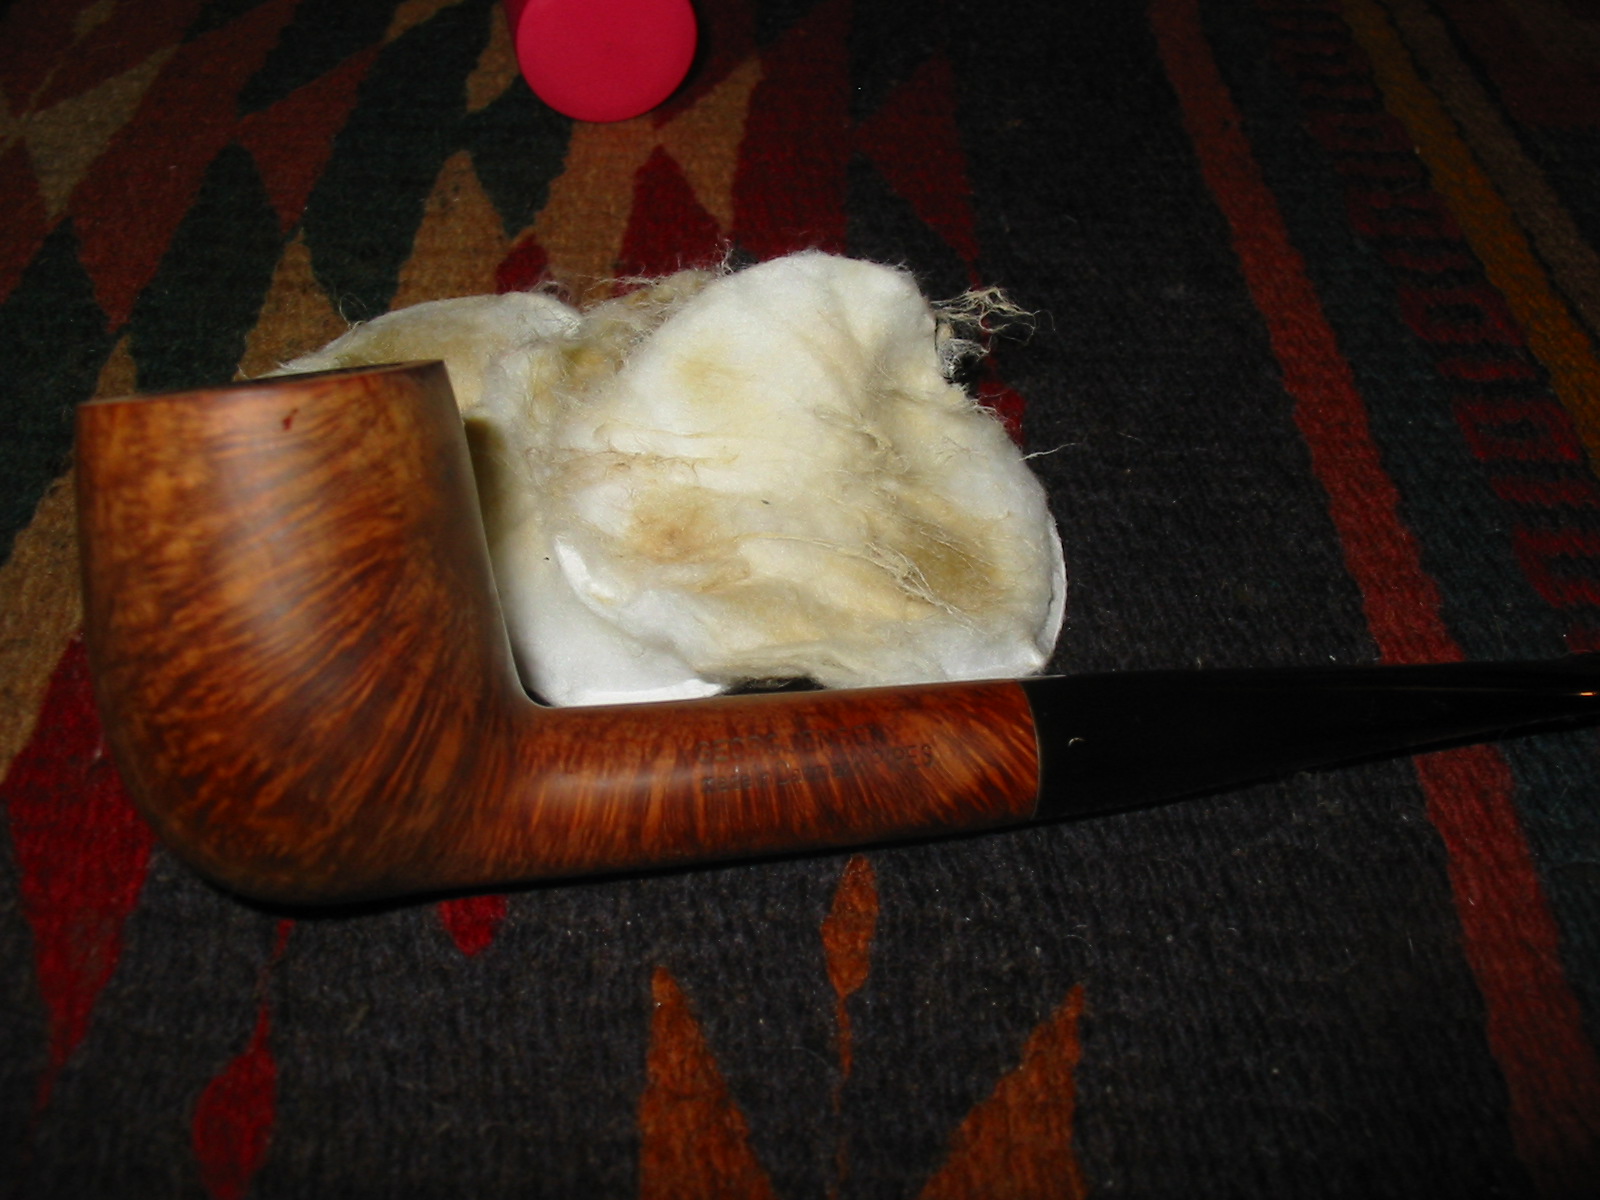
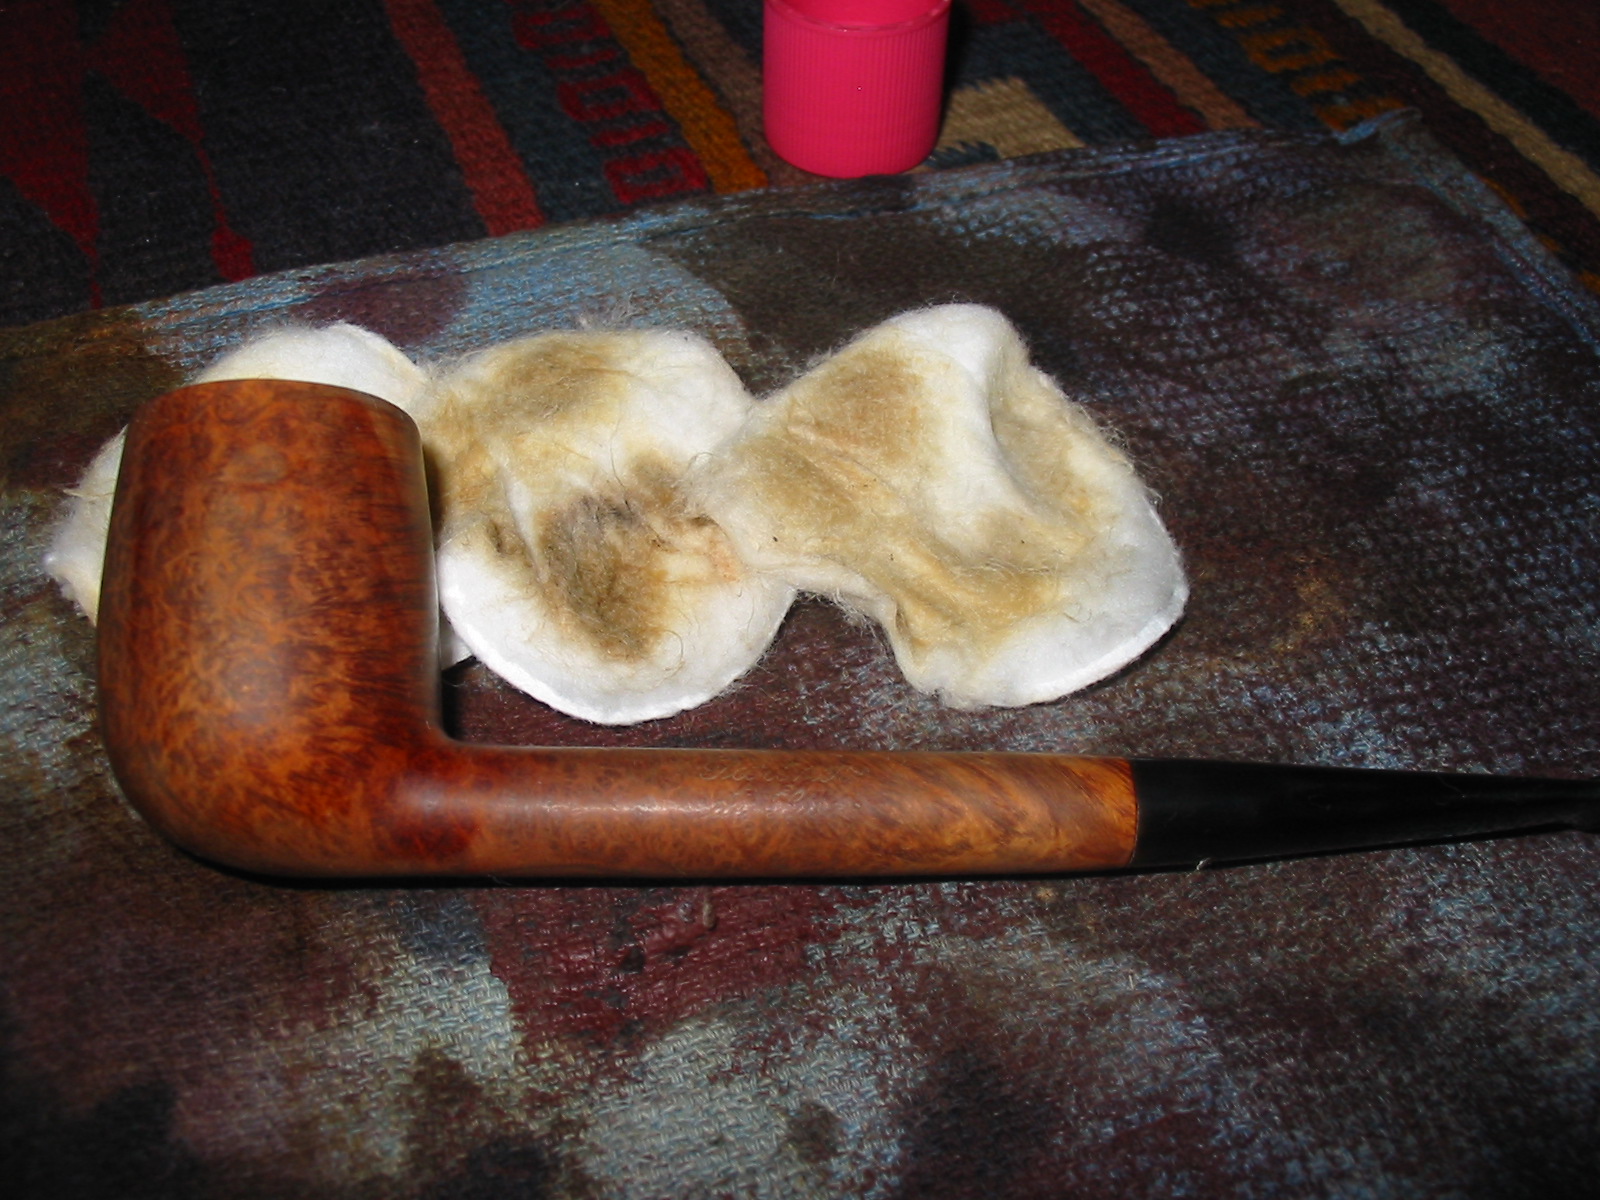
I wiped the bowl down with acetone on cotton pads until I had removed the varnish coat and the stain as much as possible. It always makes matching the freshly topped rim with the rest of the pipe if the briar is as neutral as possible.
IMG_4086

IMG_4087

IMG_4088

IMG_4090

IMG_4092

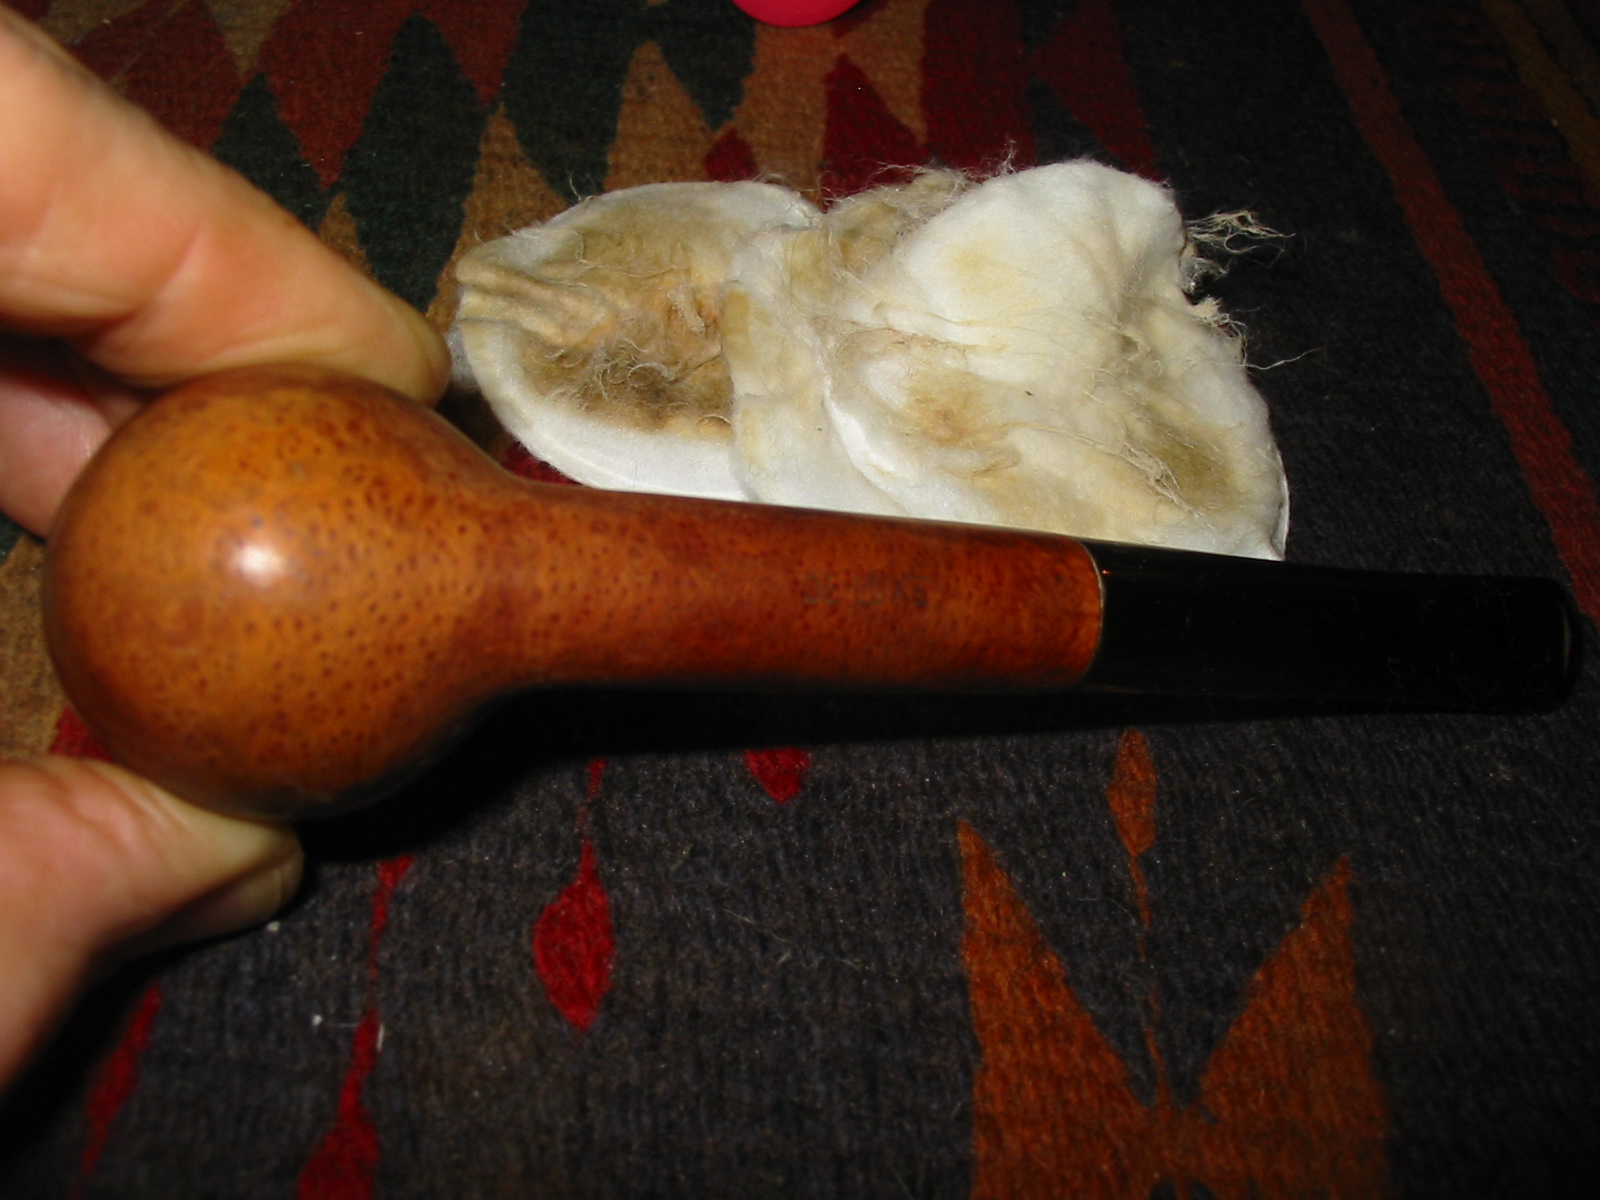
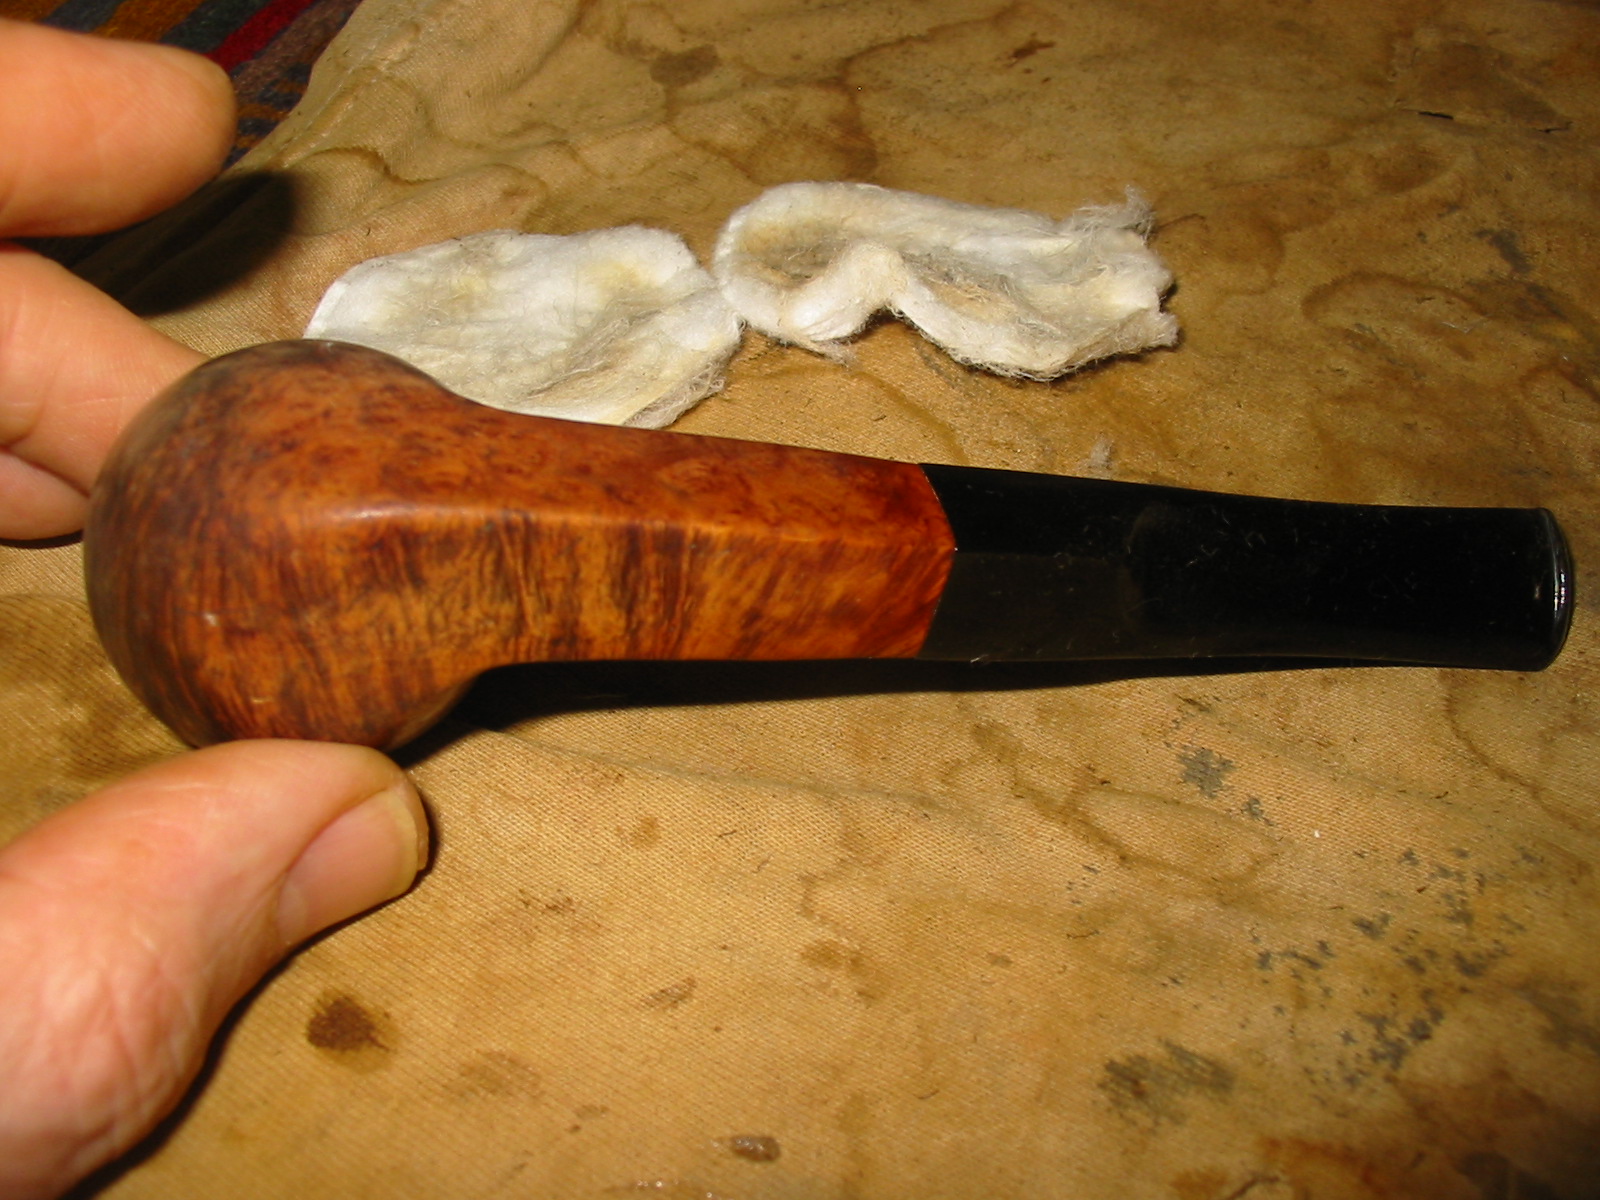
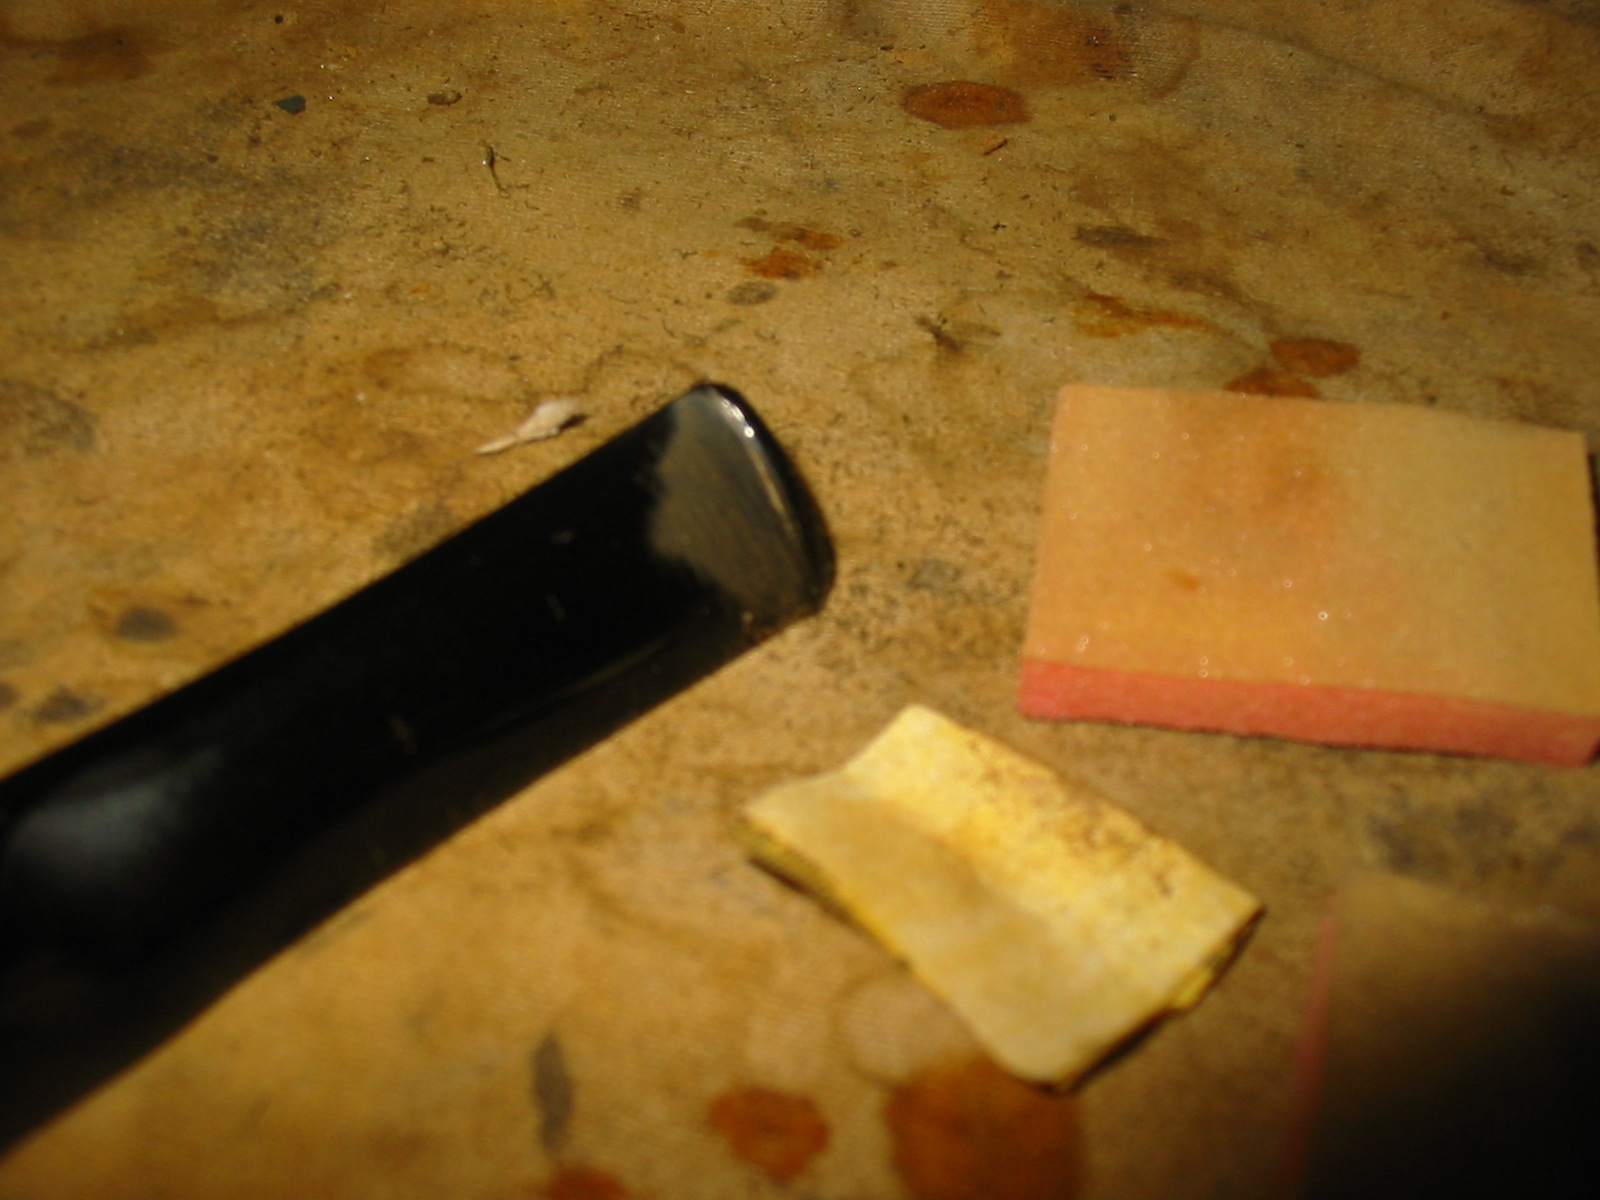
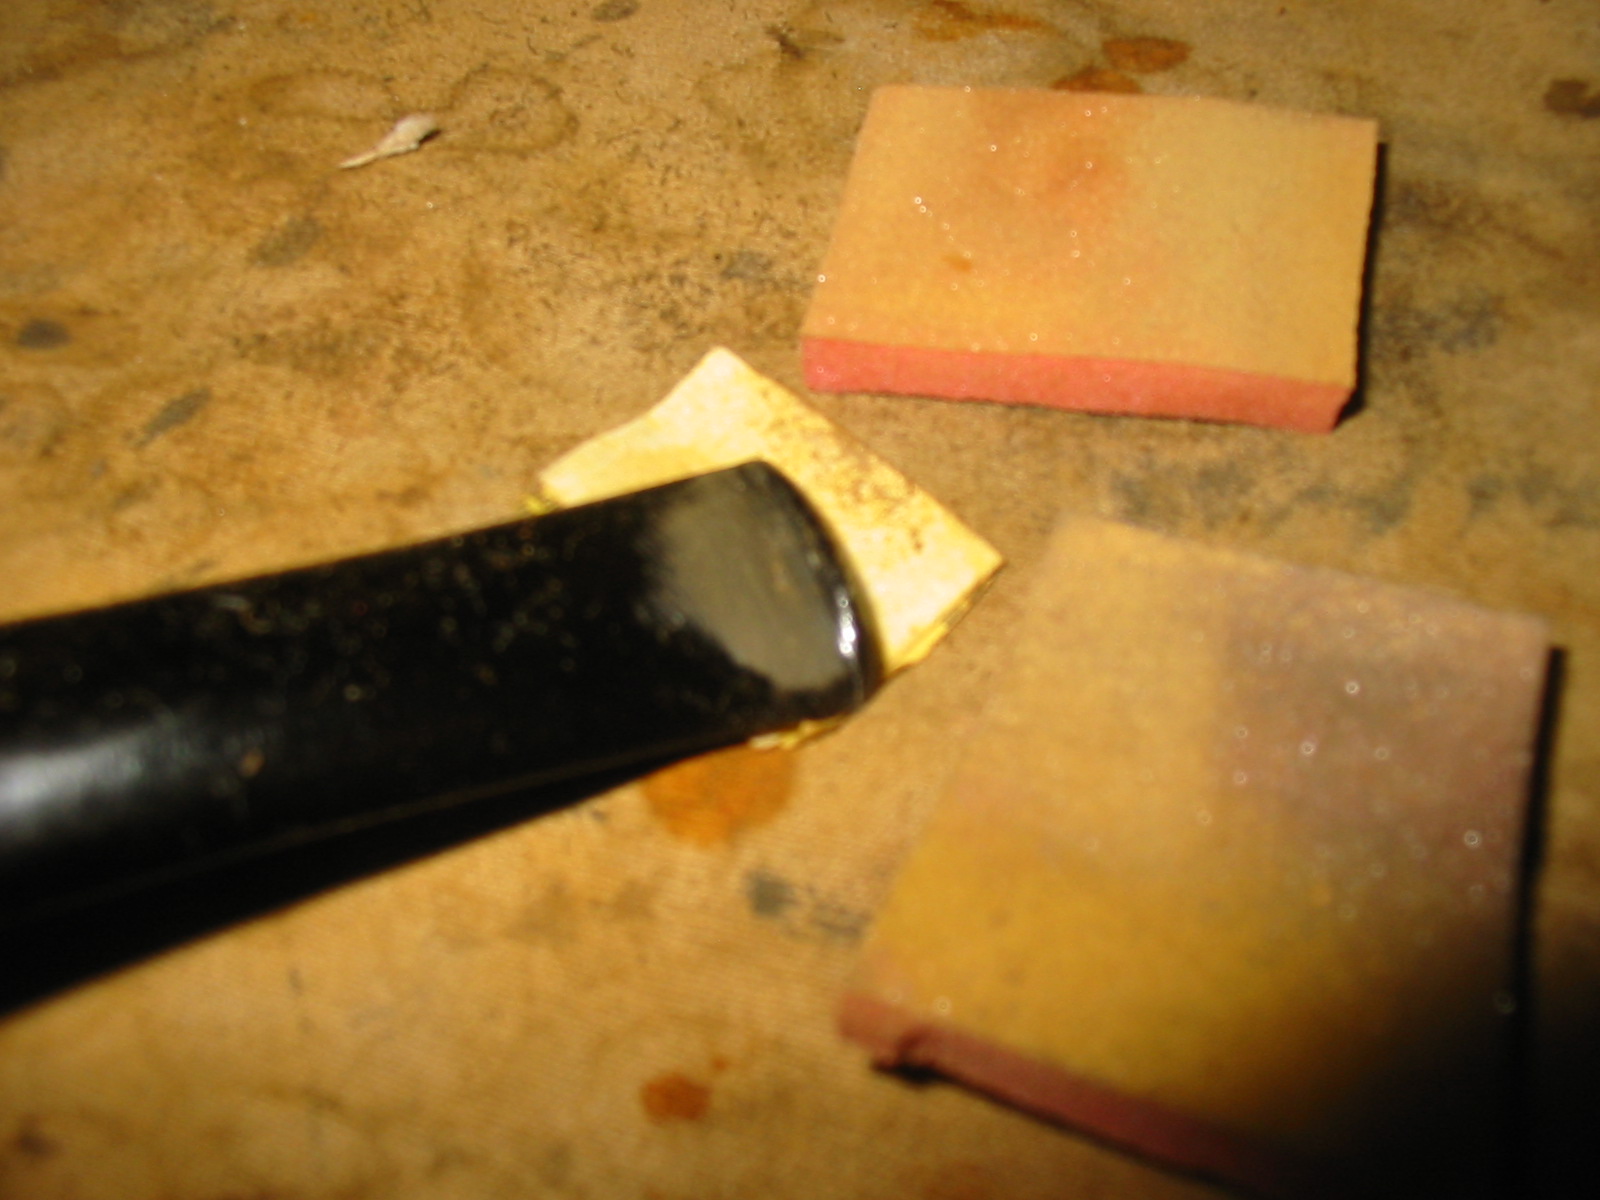
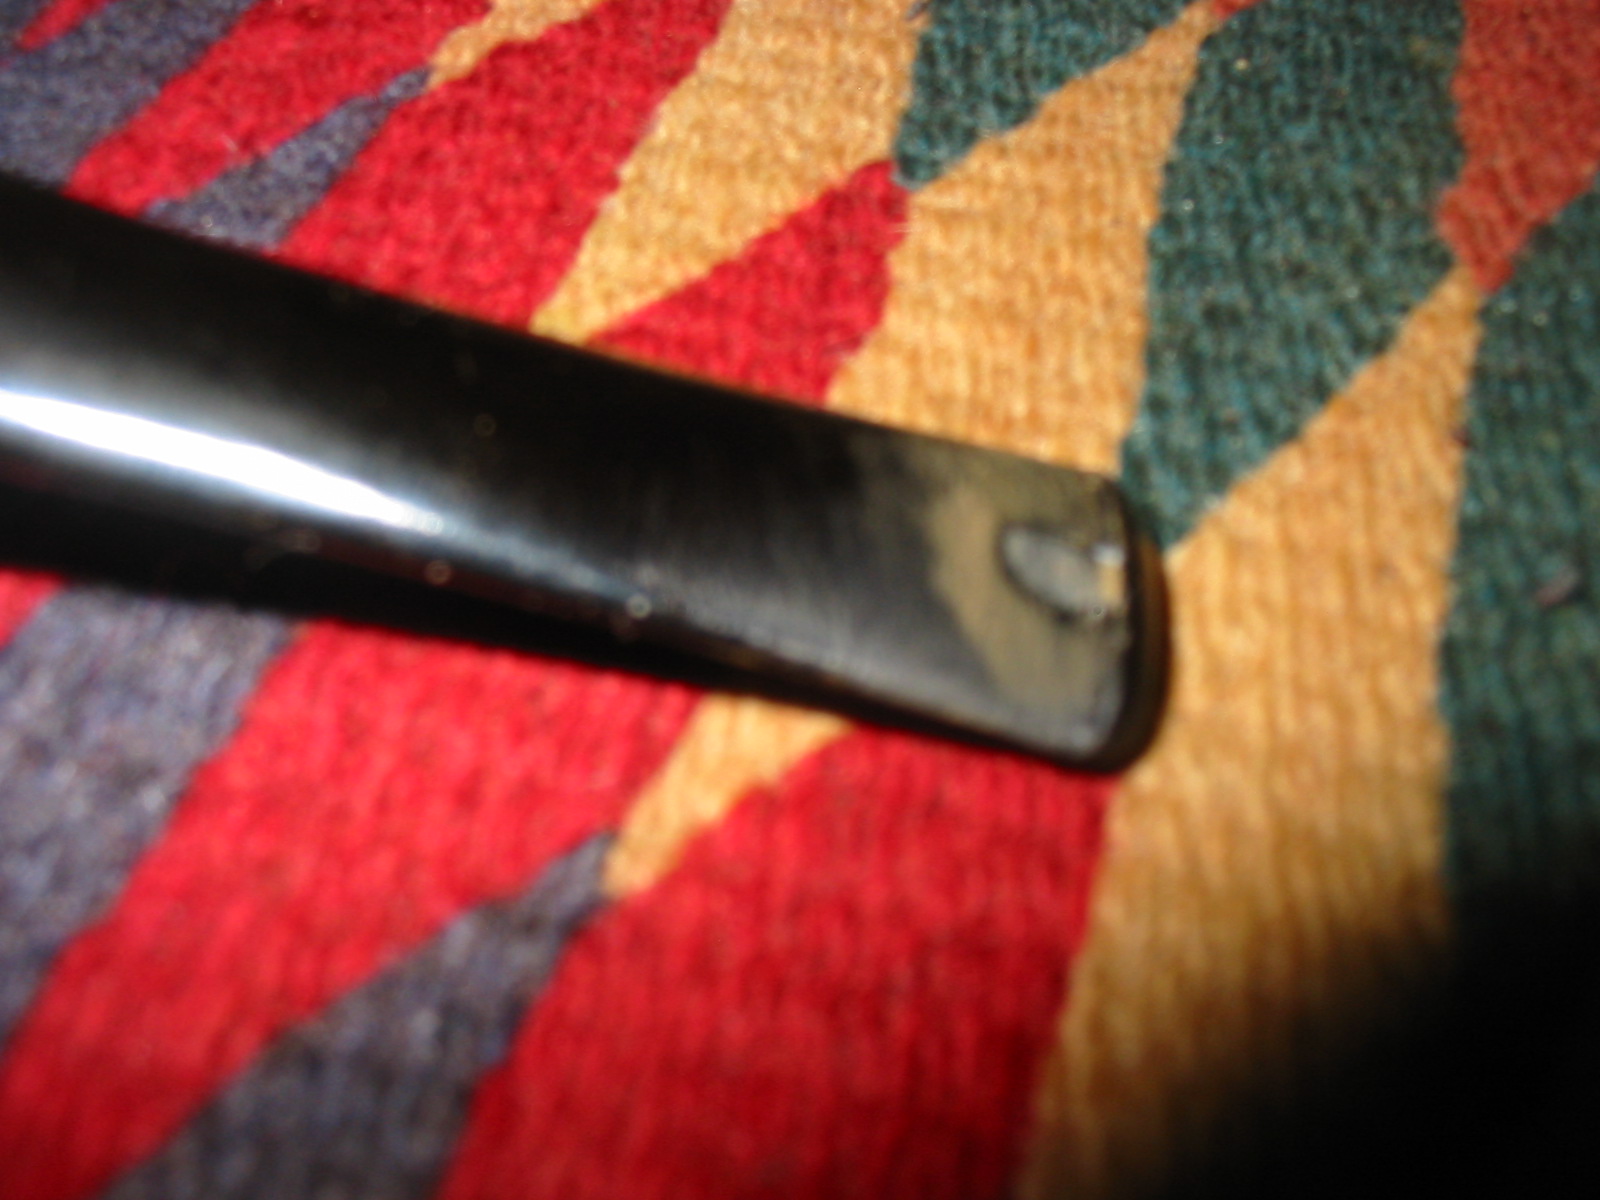
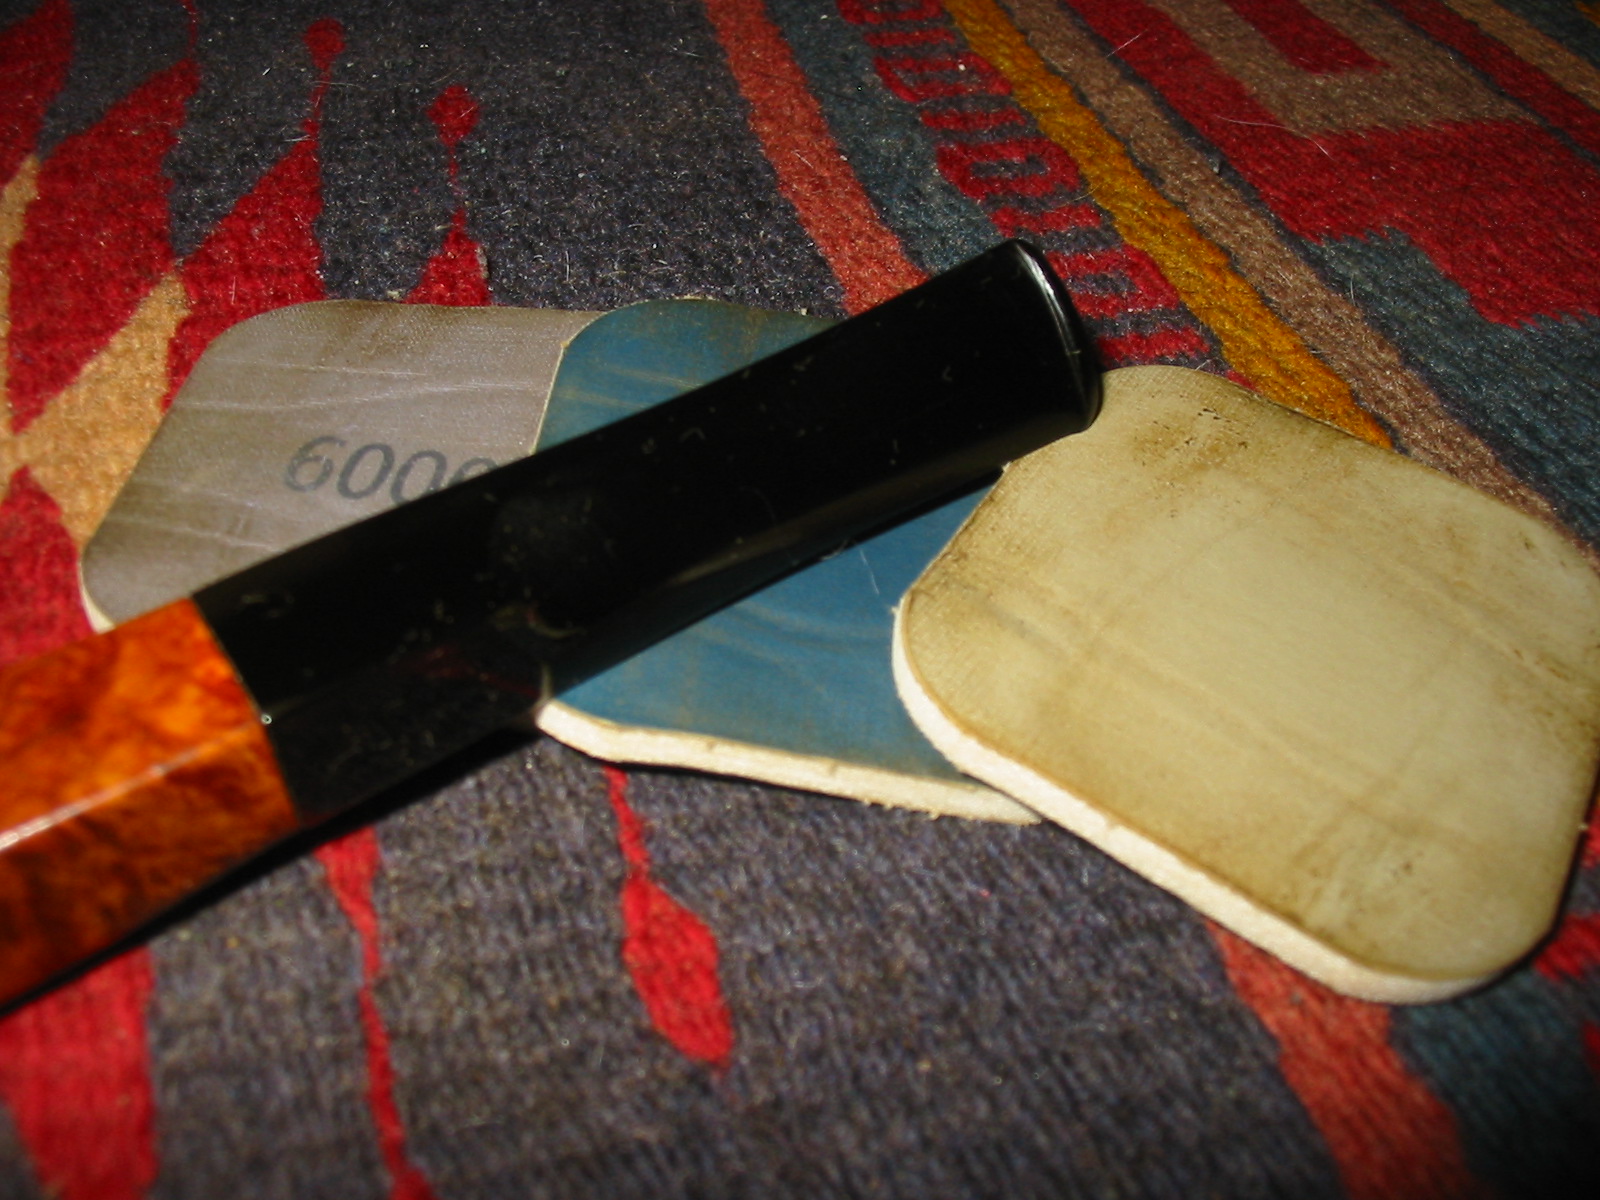
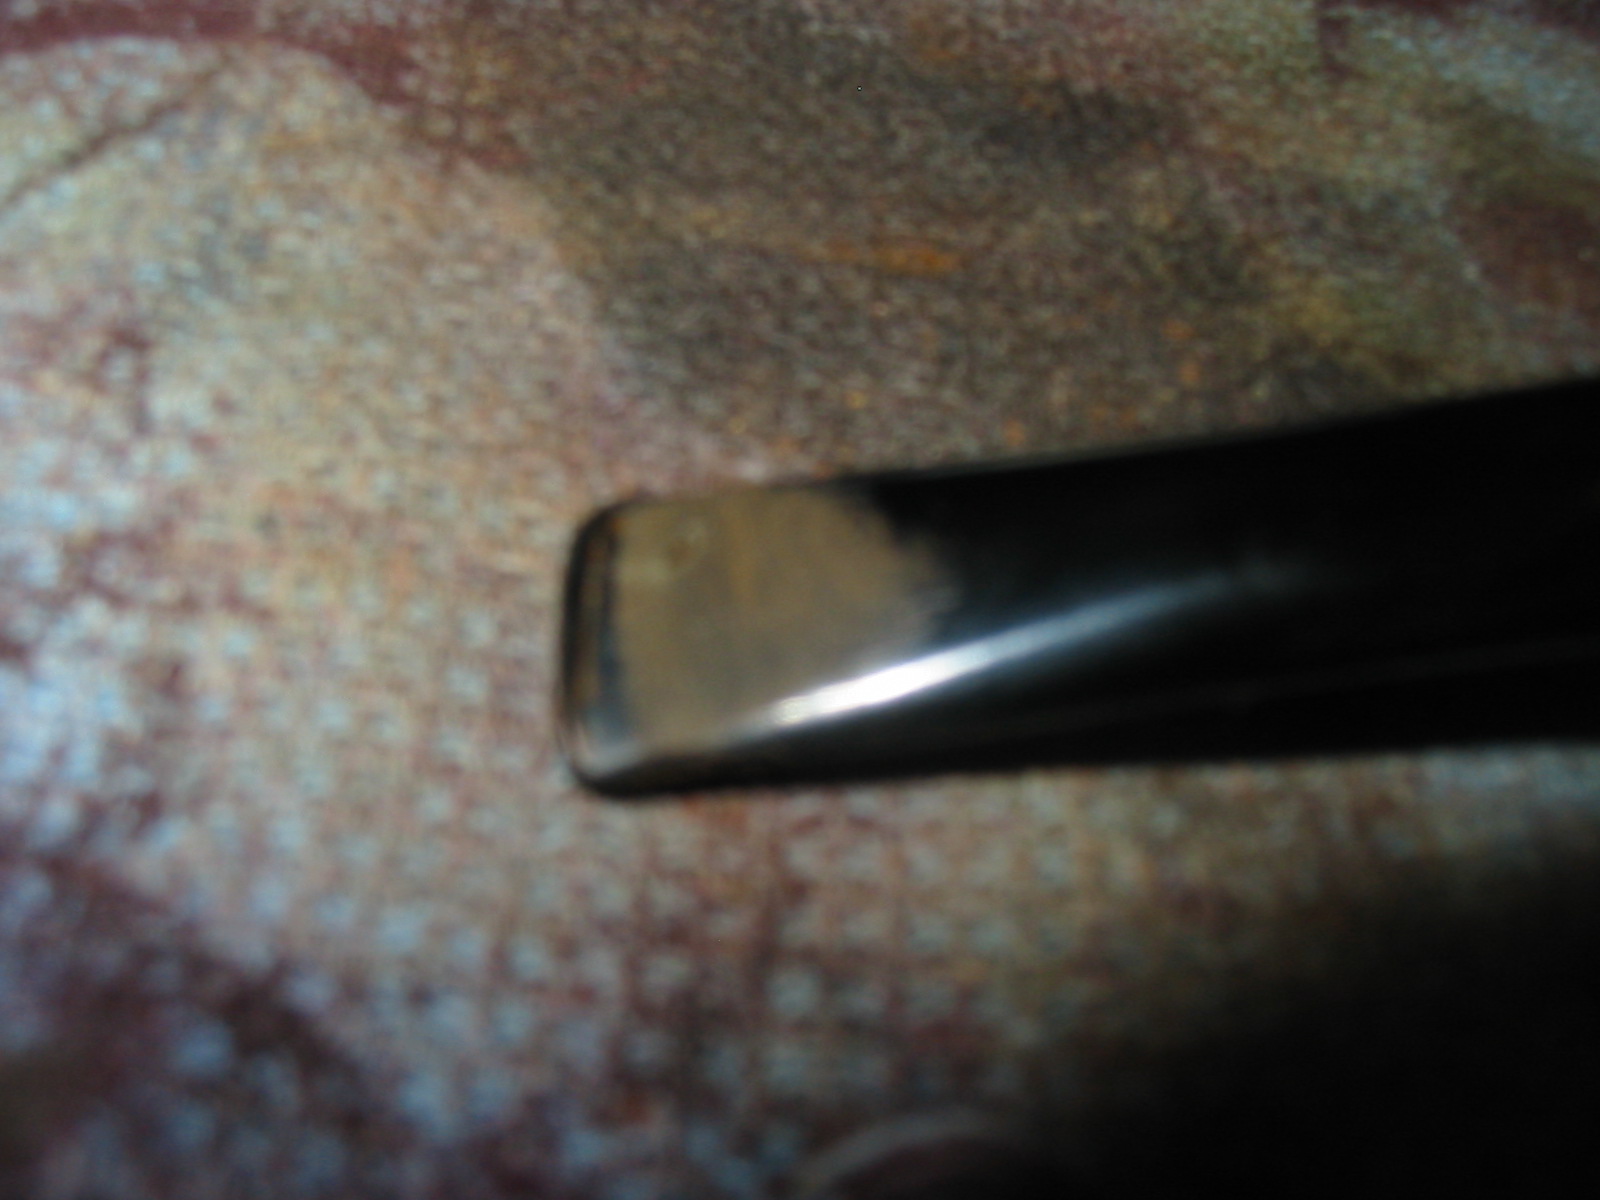
The tooth mark on the bottom of the stem and the tooth chatter on the top of the stem needed to be sanded. The first photo below shows the damage on the bottom of the stem next to the button. I sanded both surfaces with 220 grit sandpaper and then with a medium grit sanding sponge until the tooth chatter was gone and the tooth mark was minimized.
IMG_4081

IMG_4091

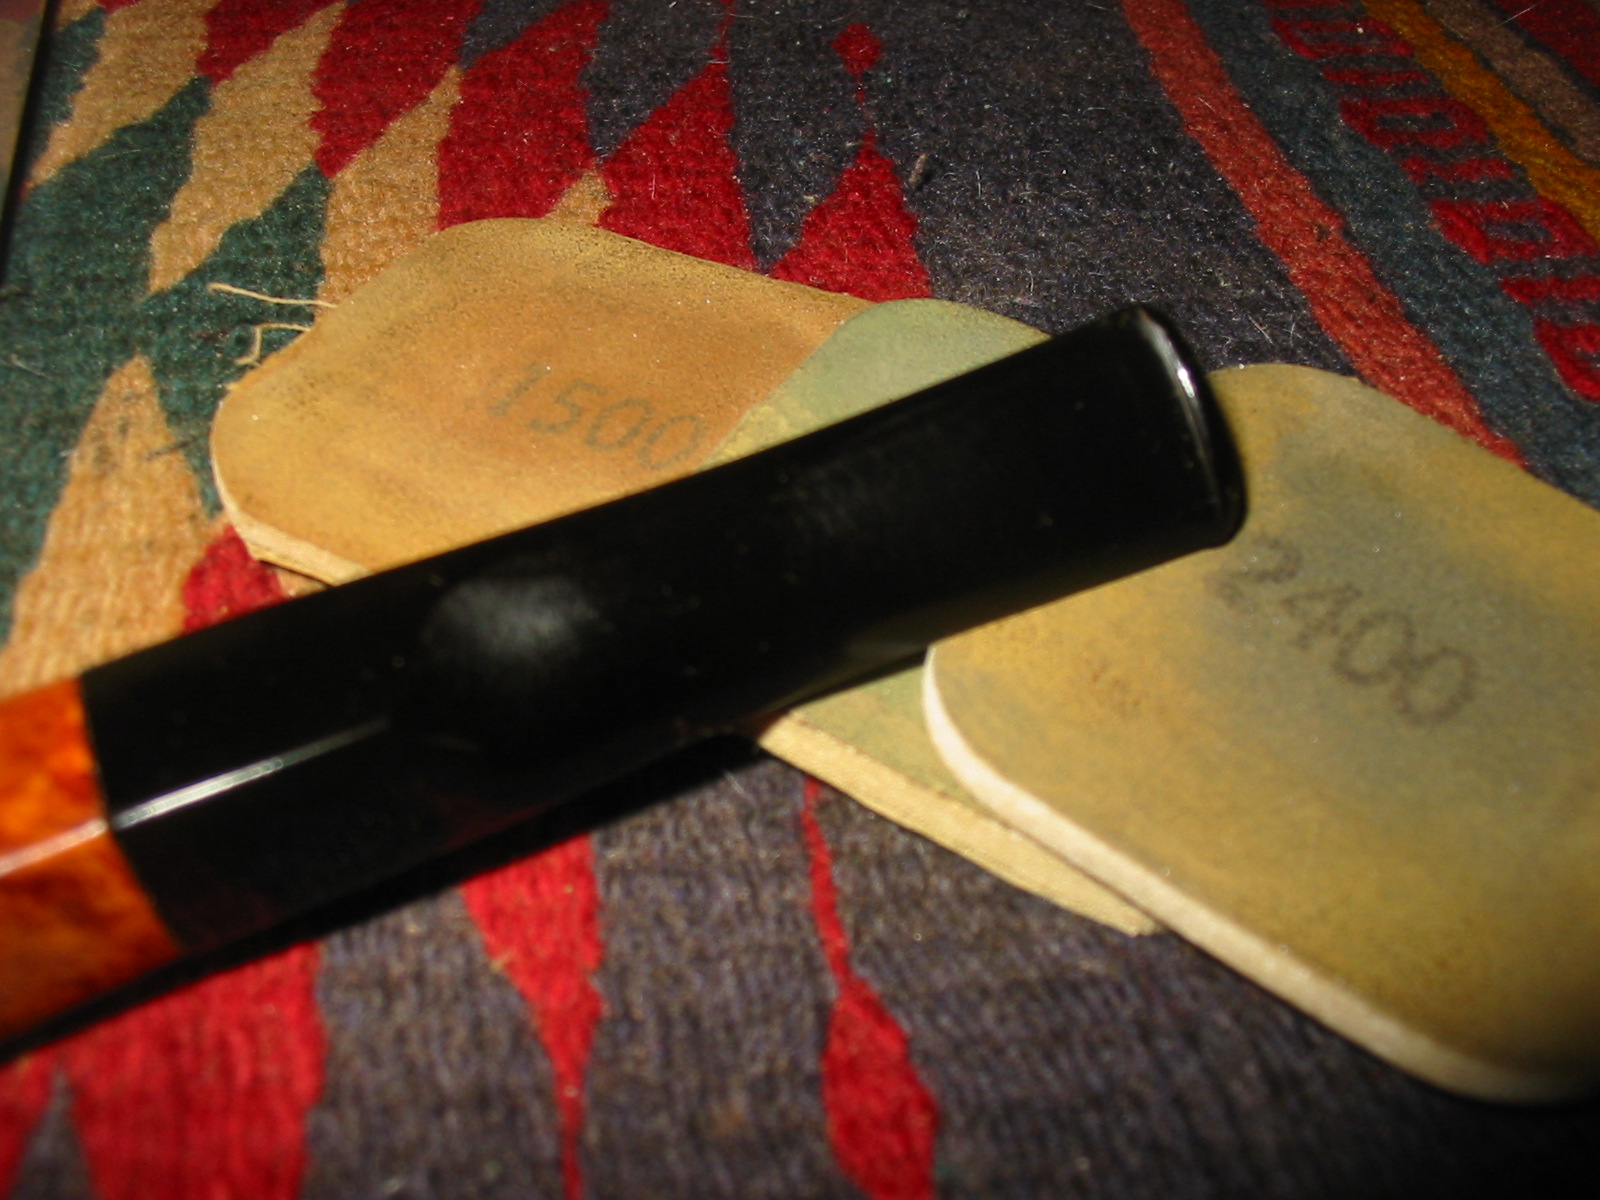
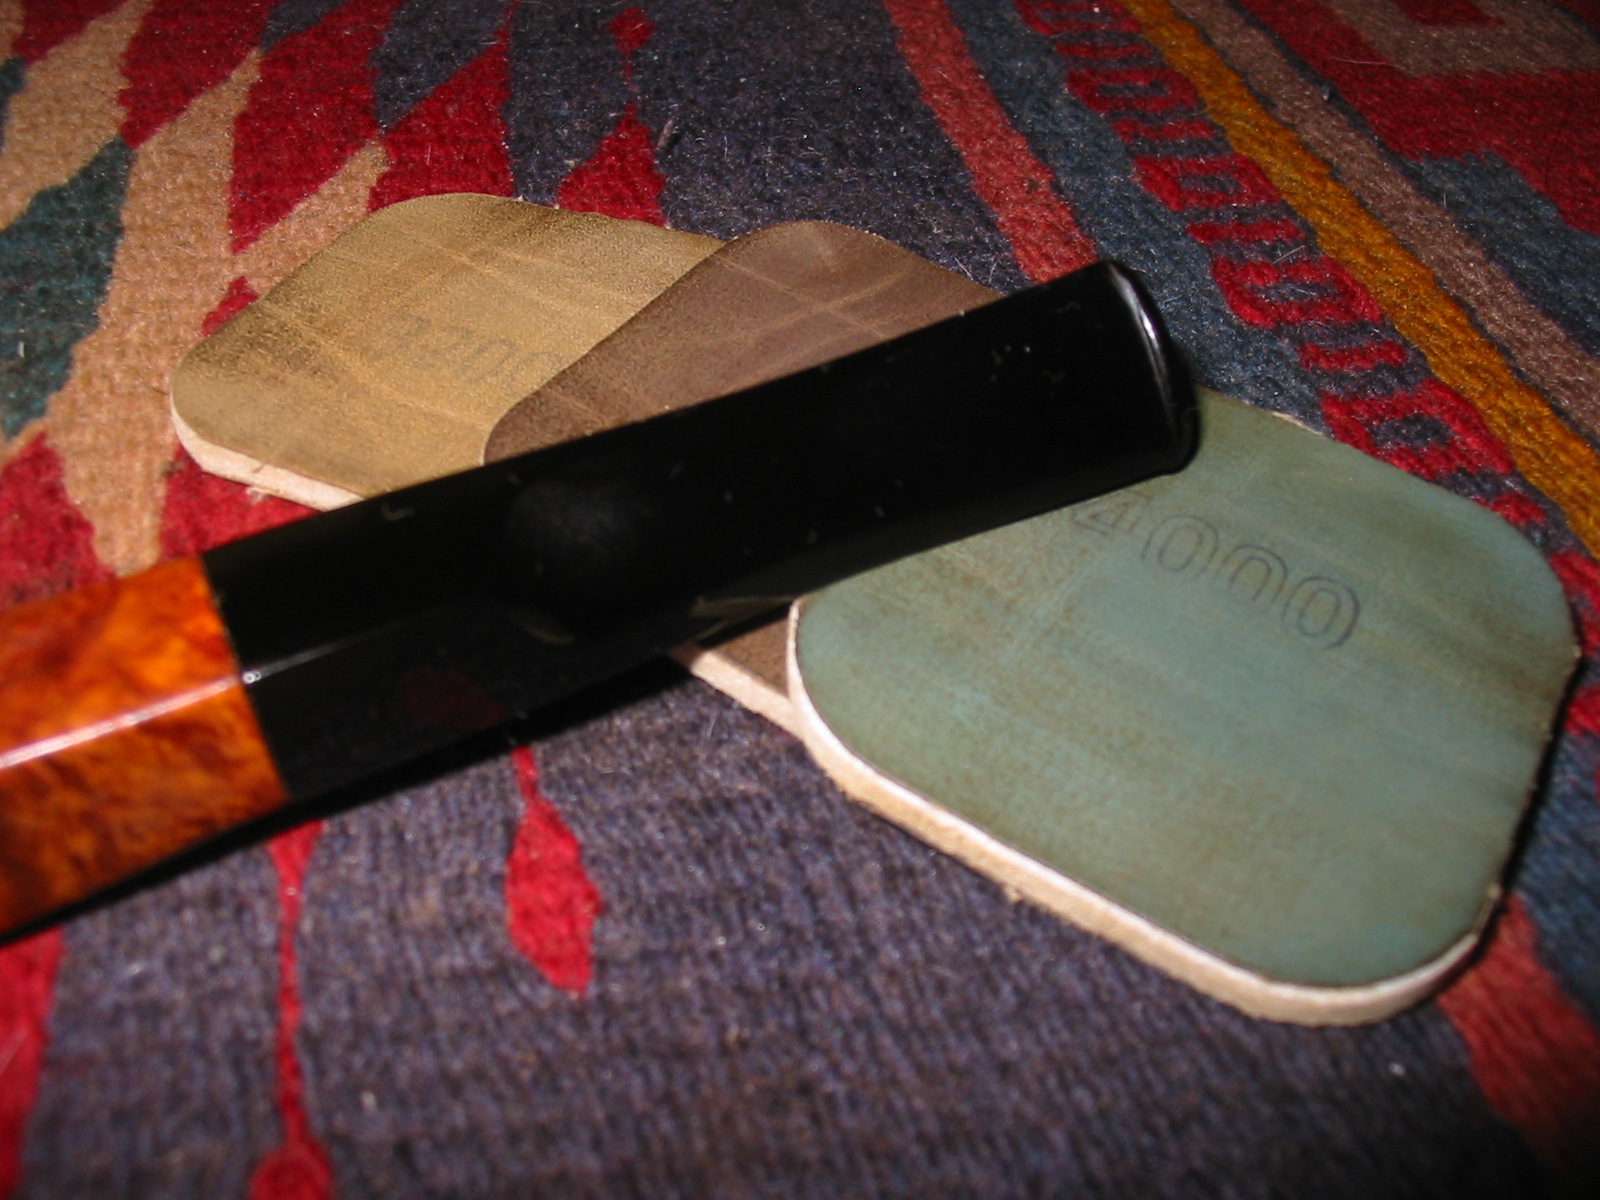
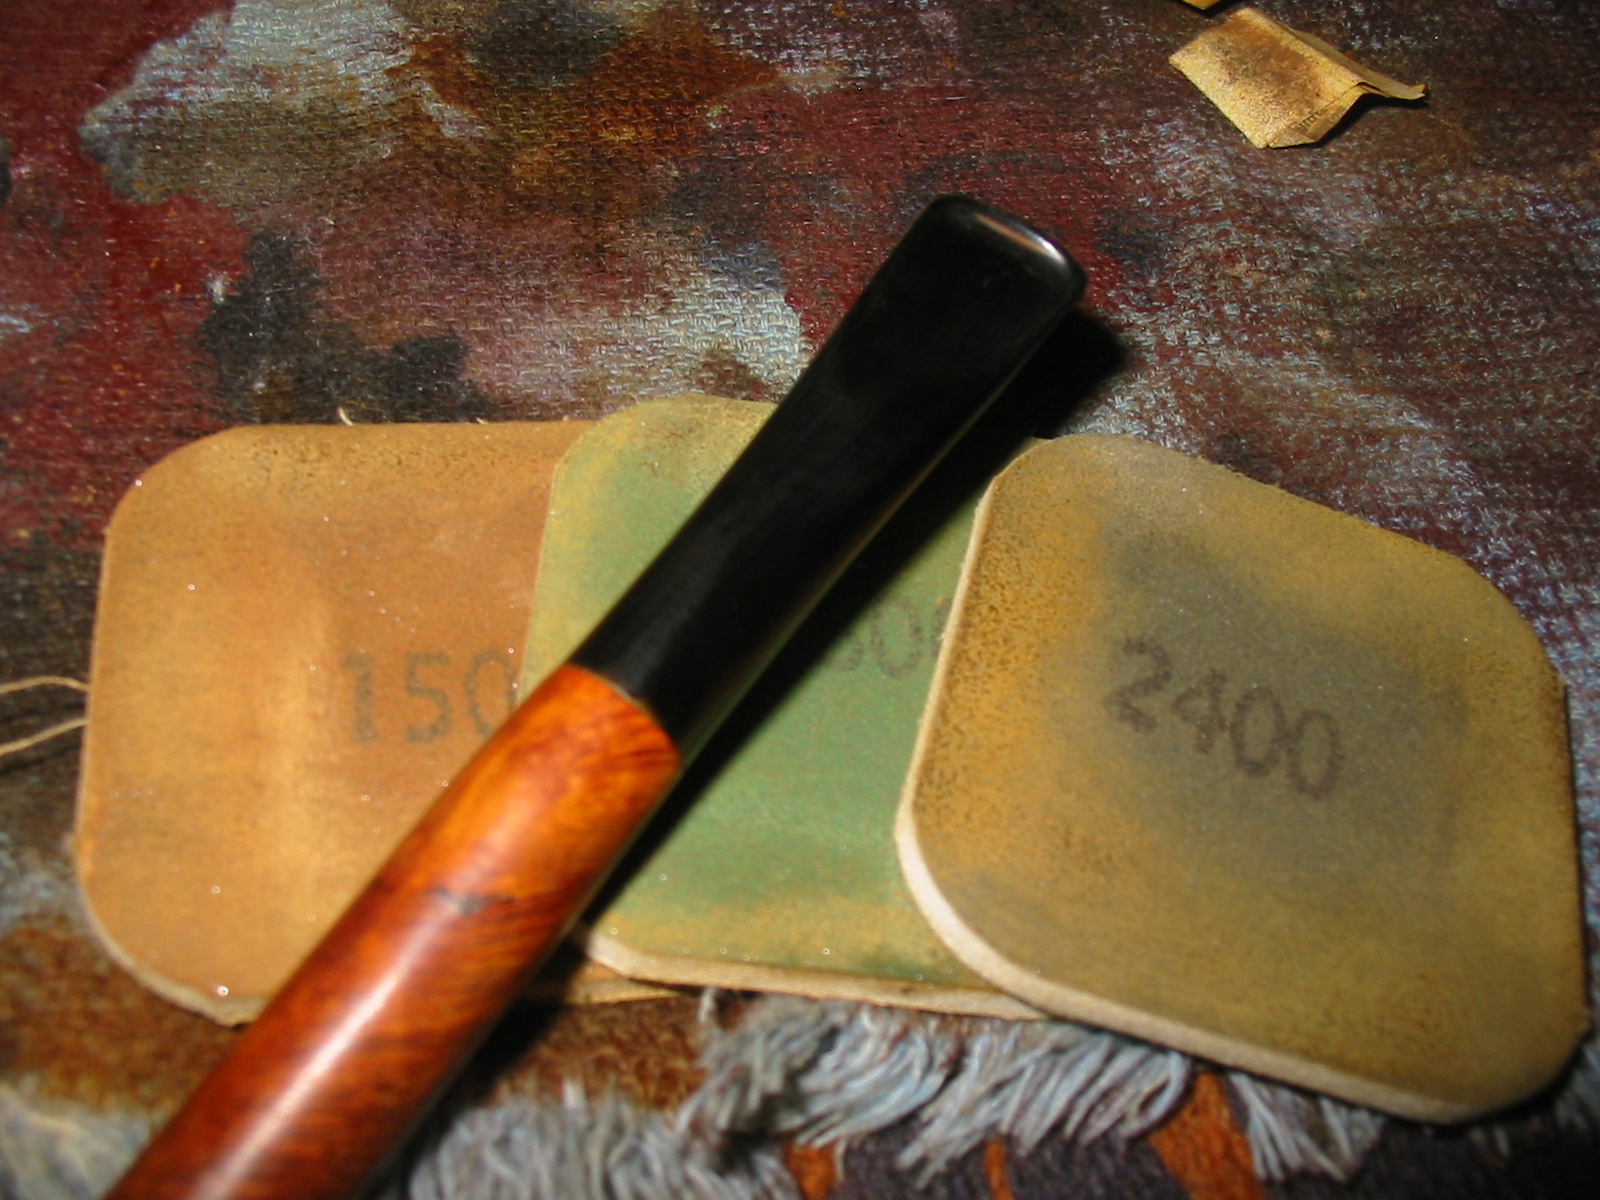
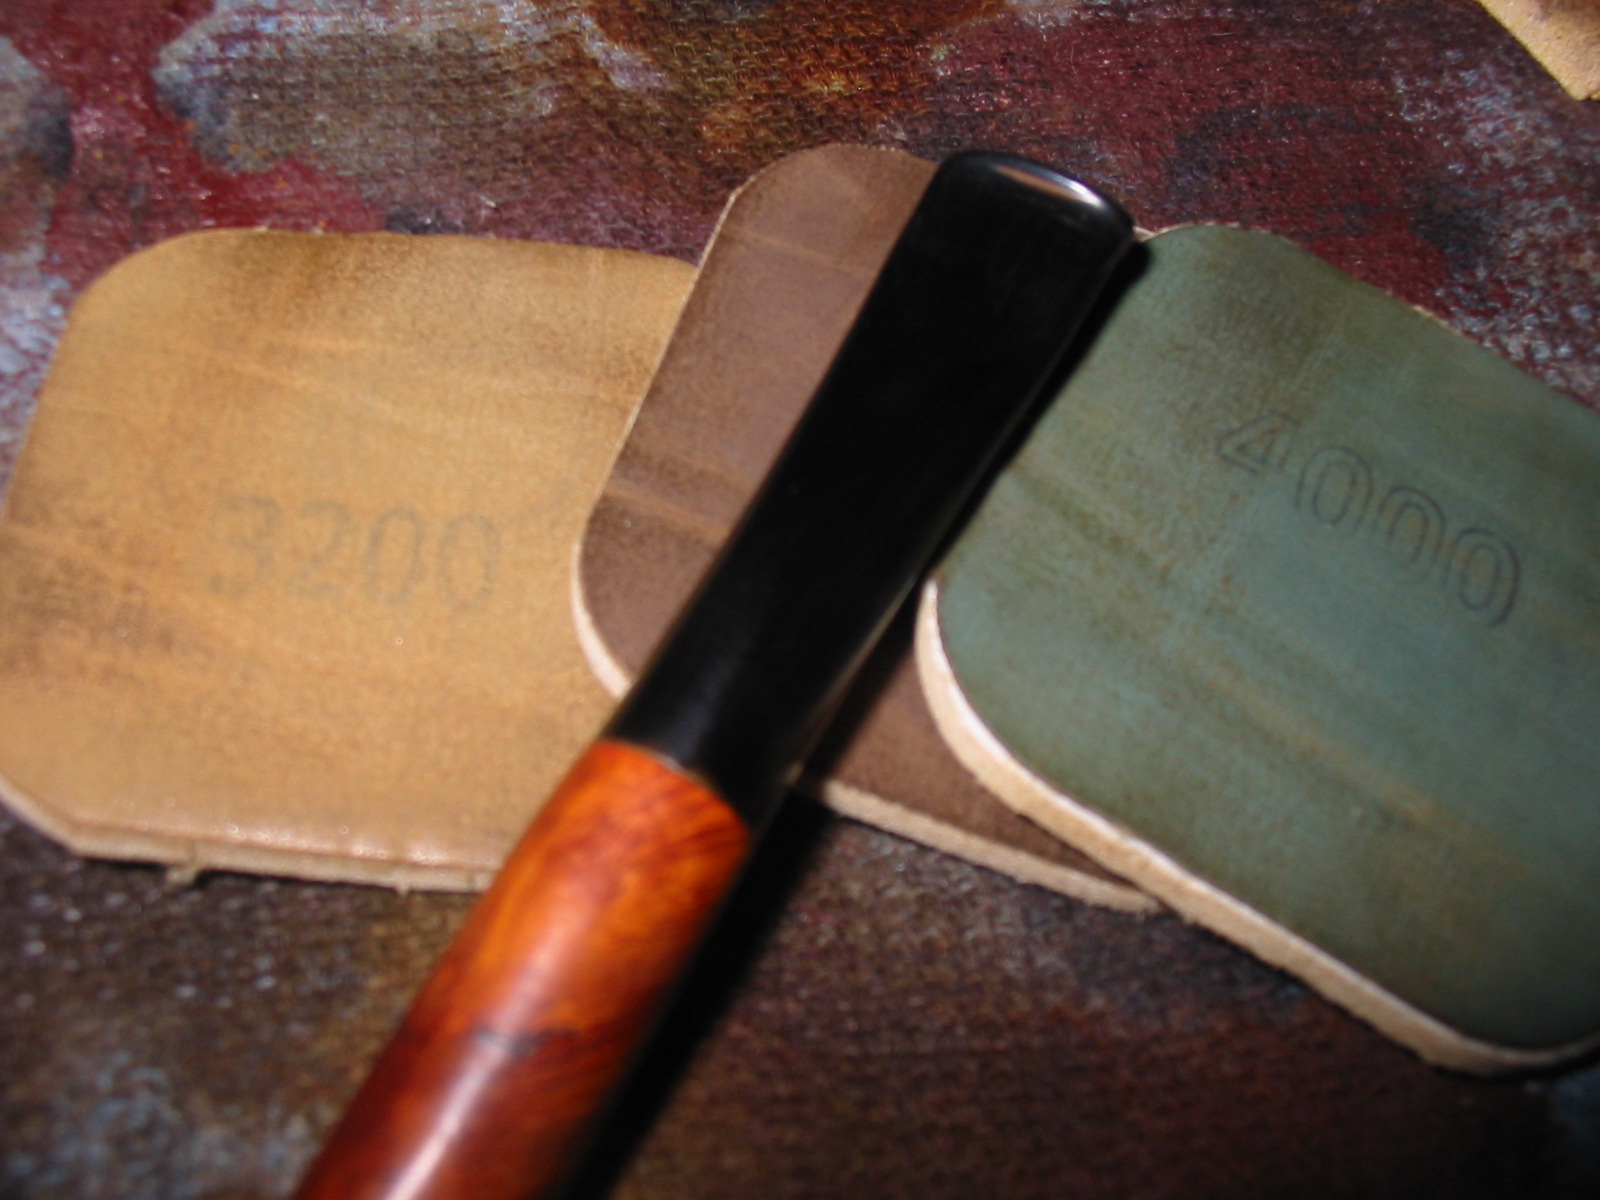
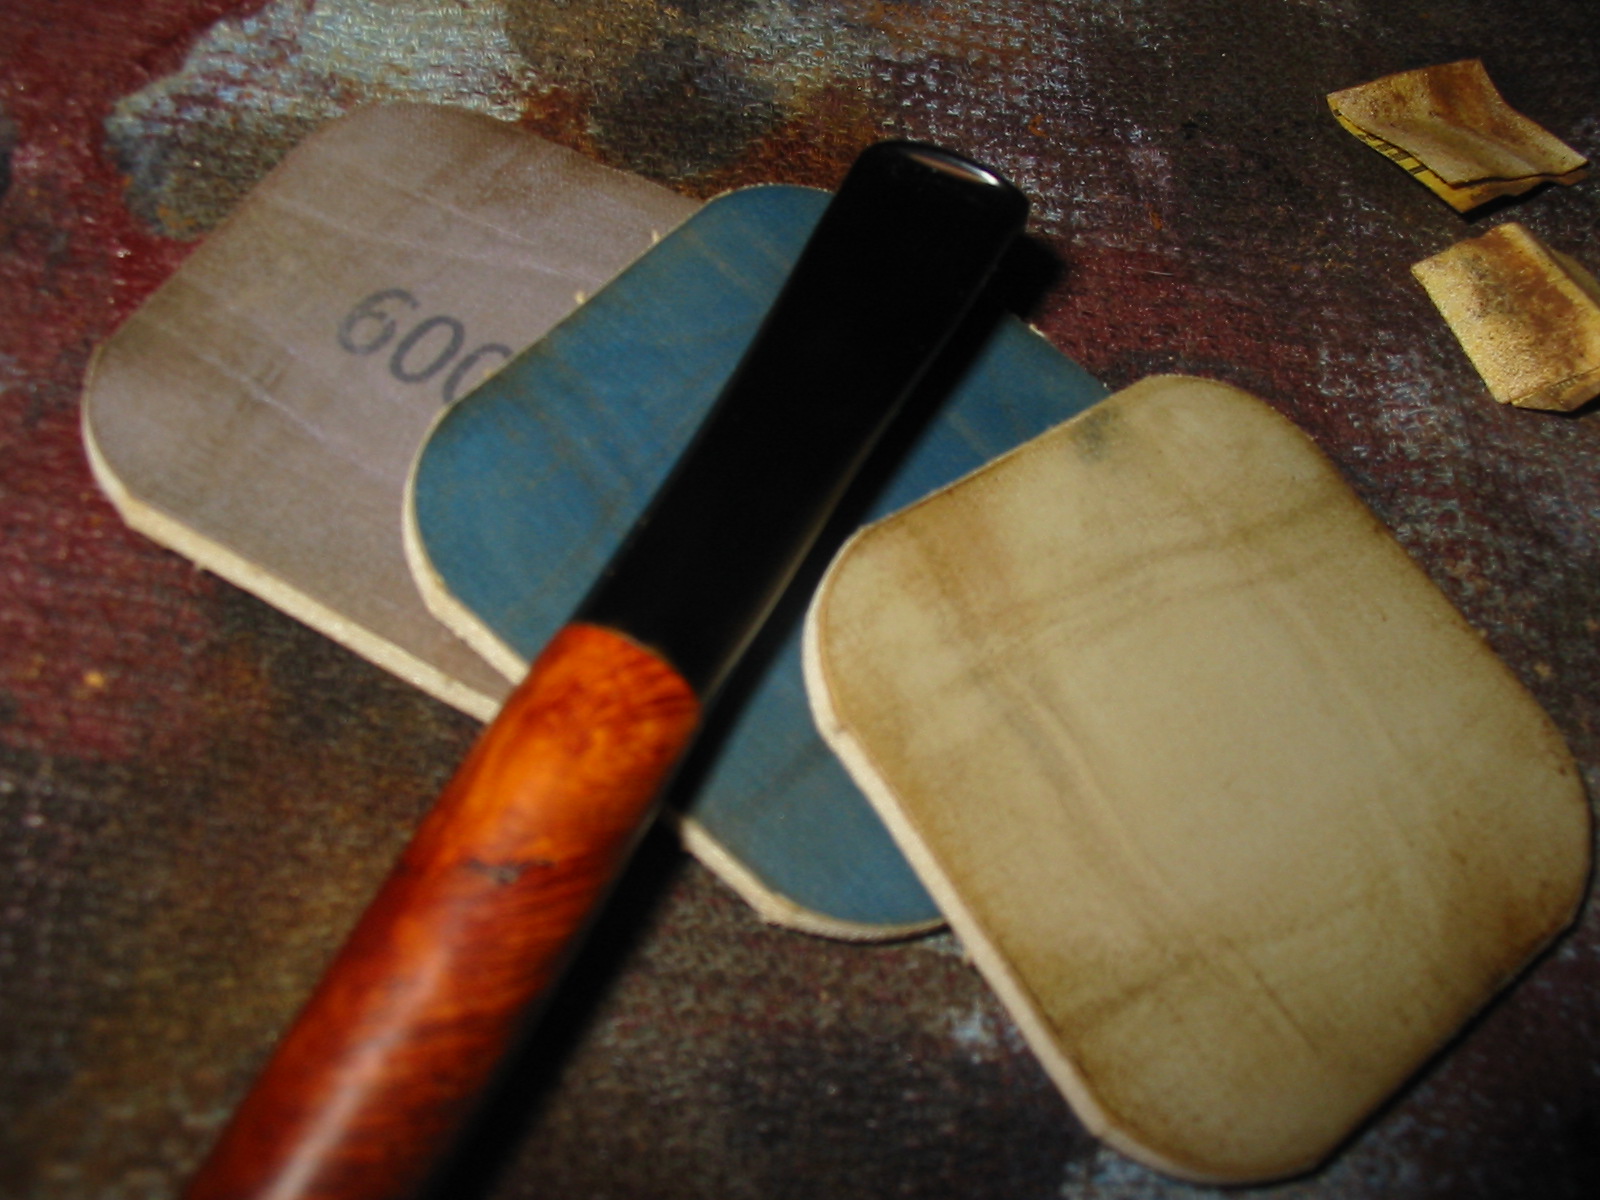
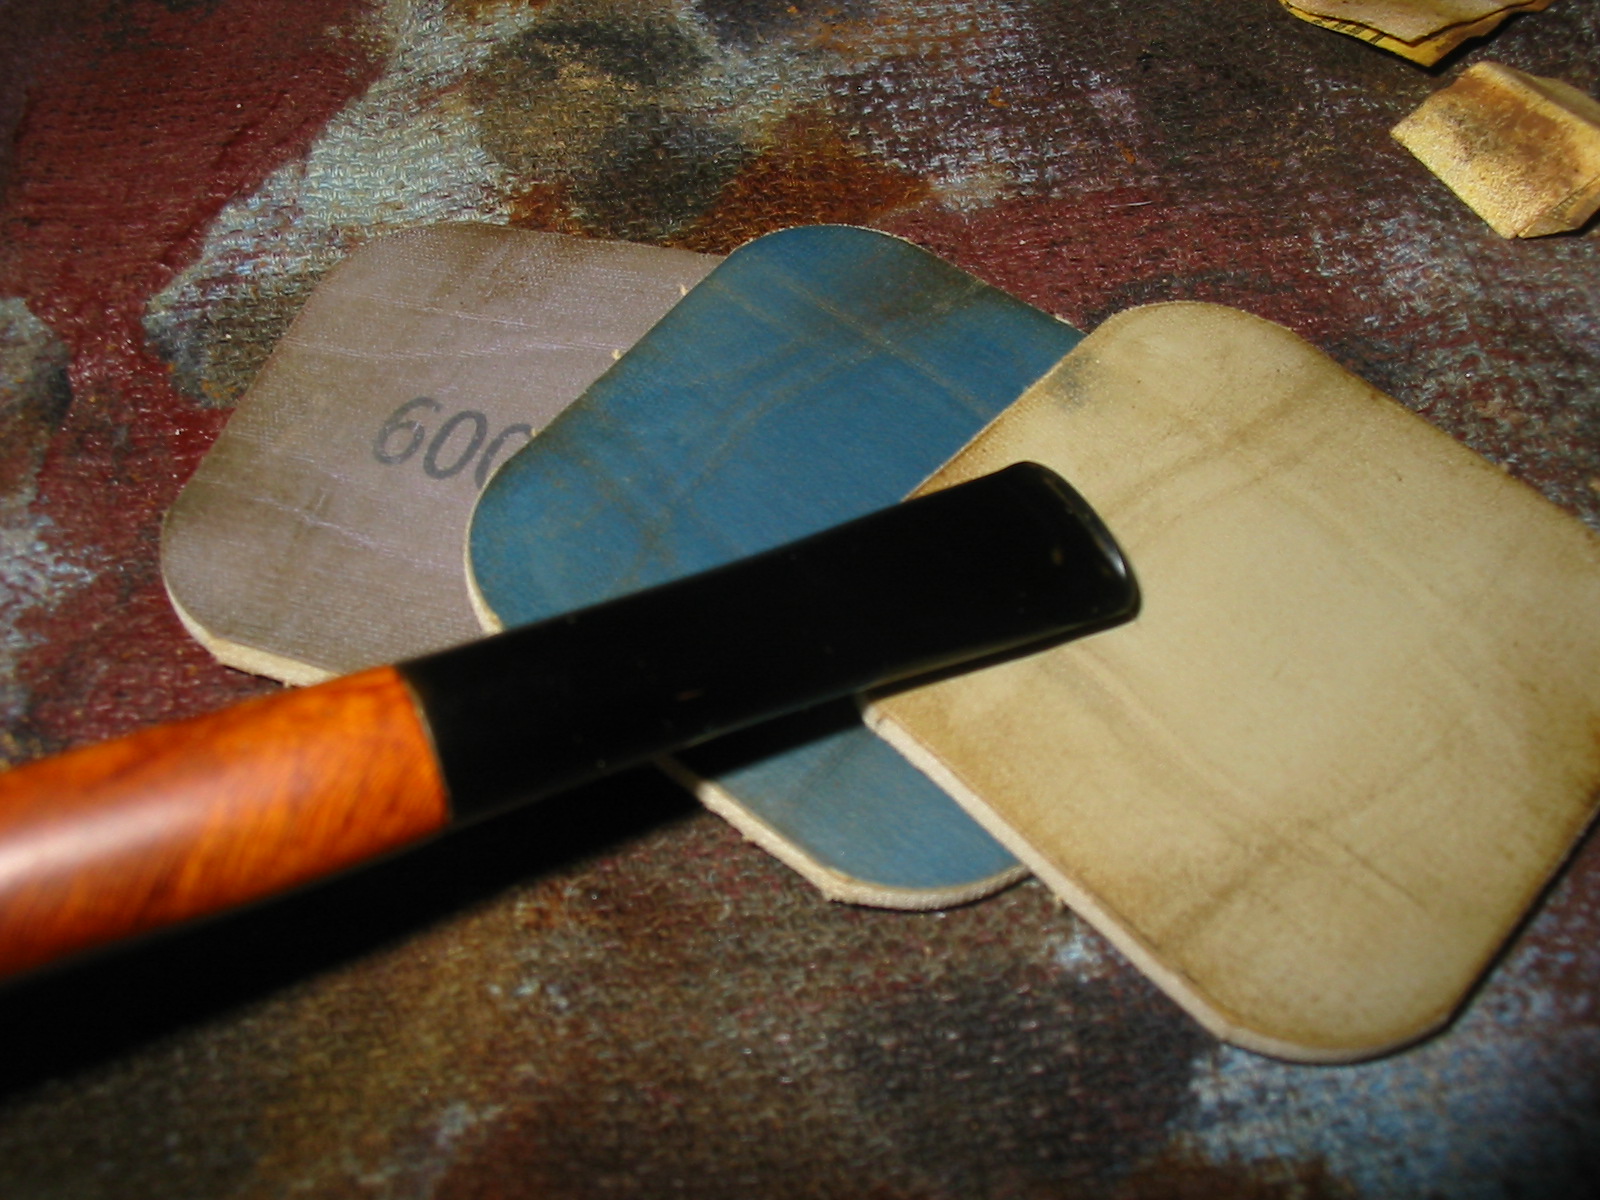
I continued to sand the stem with my usual array of micromesh sanding pads – wet sanding with 1500-2400 grit pads and dry sanding with 3200-12,000 grit pads.
IMG_4093

IMG_4094

IMG_4095

IMG_4096

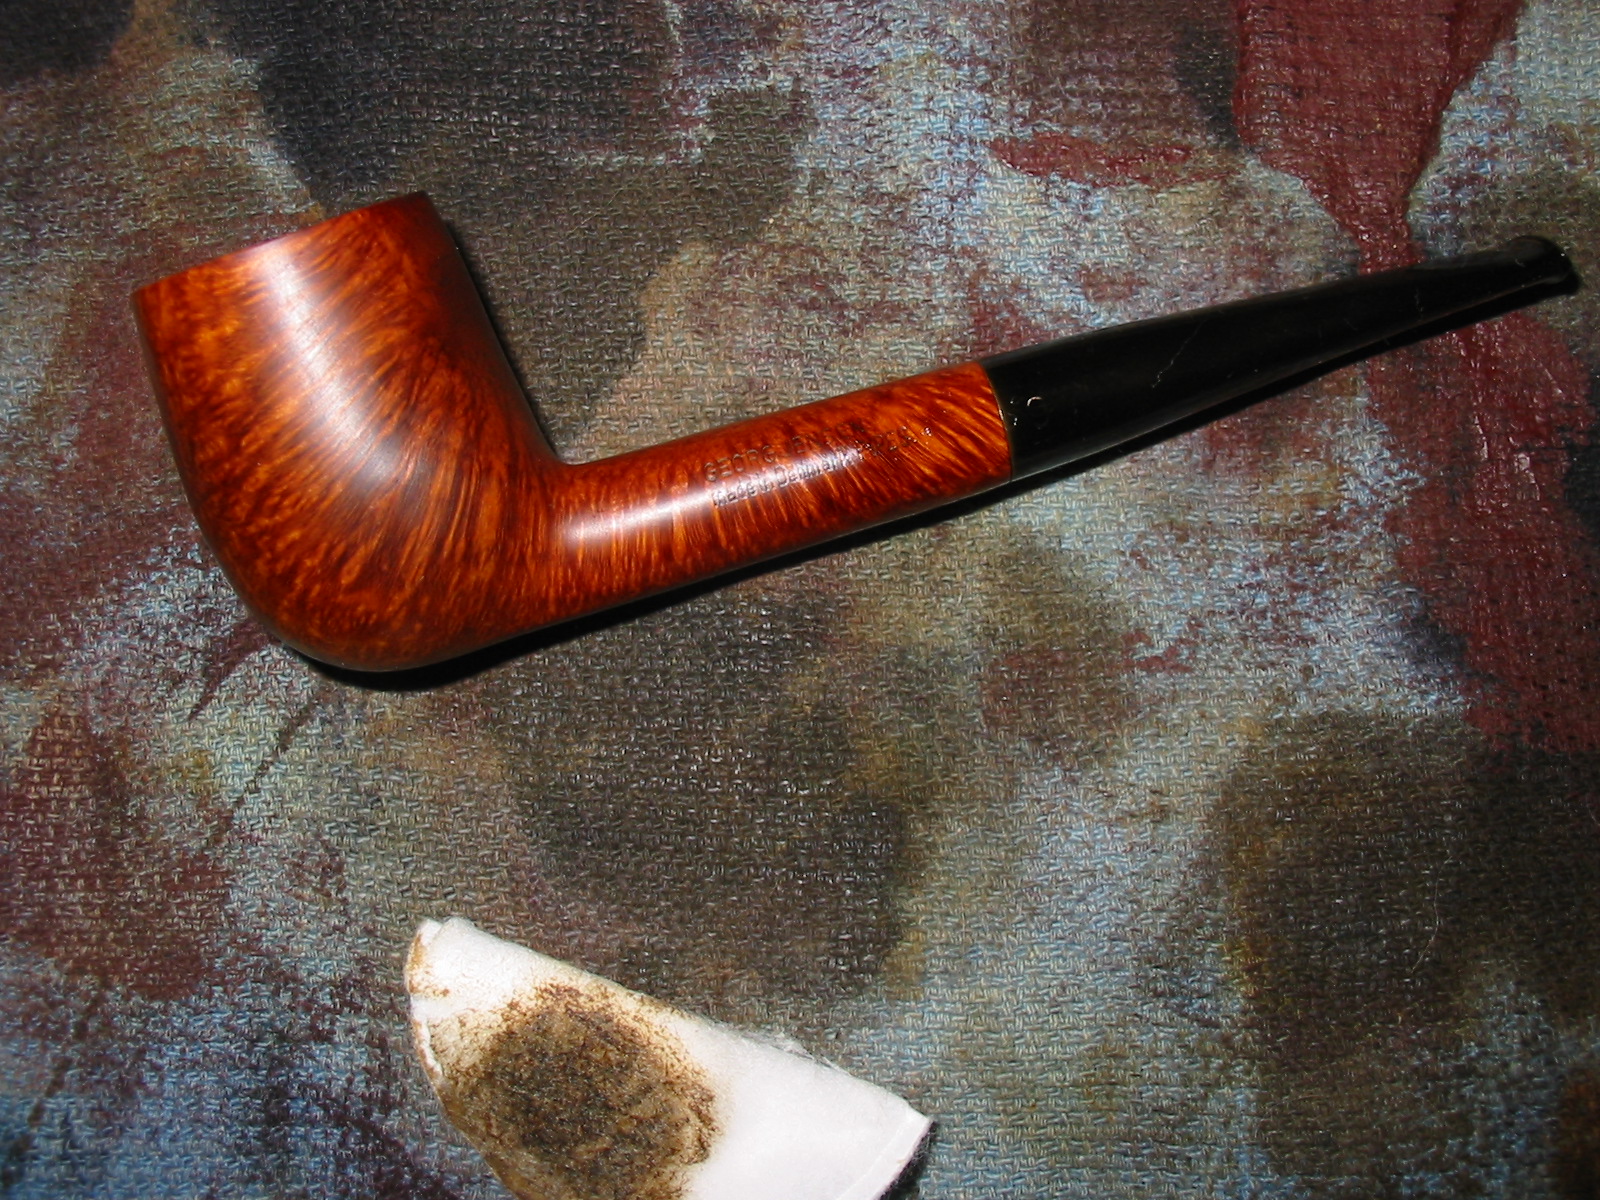
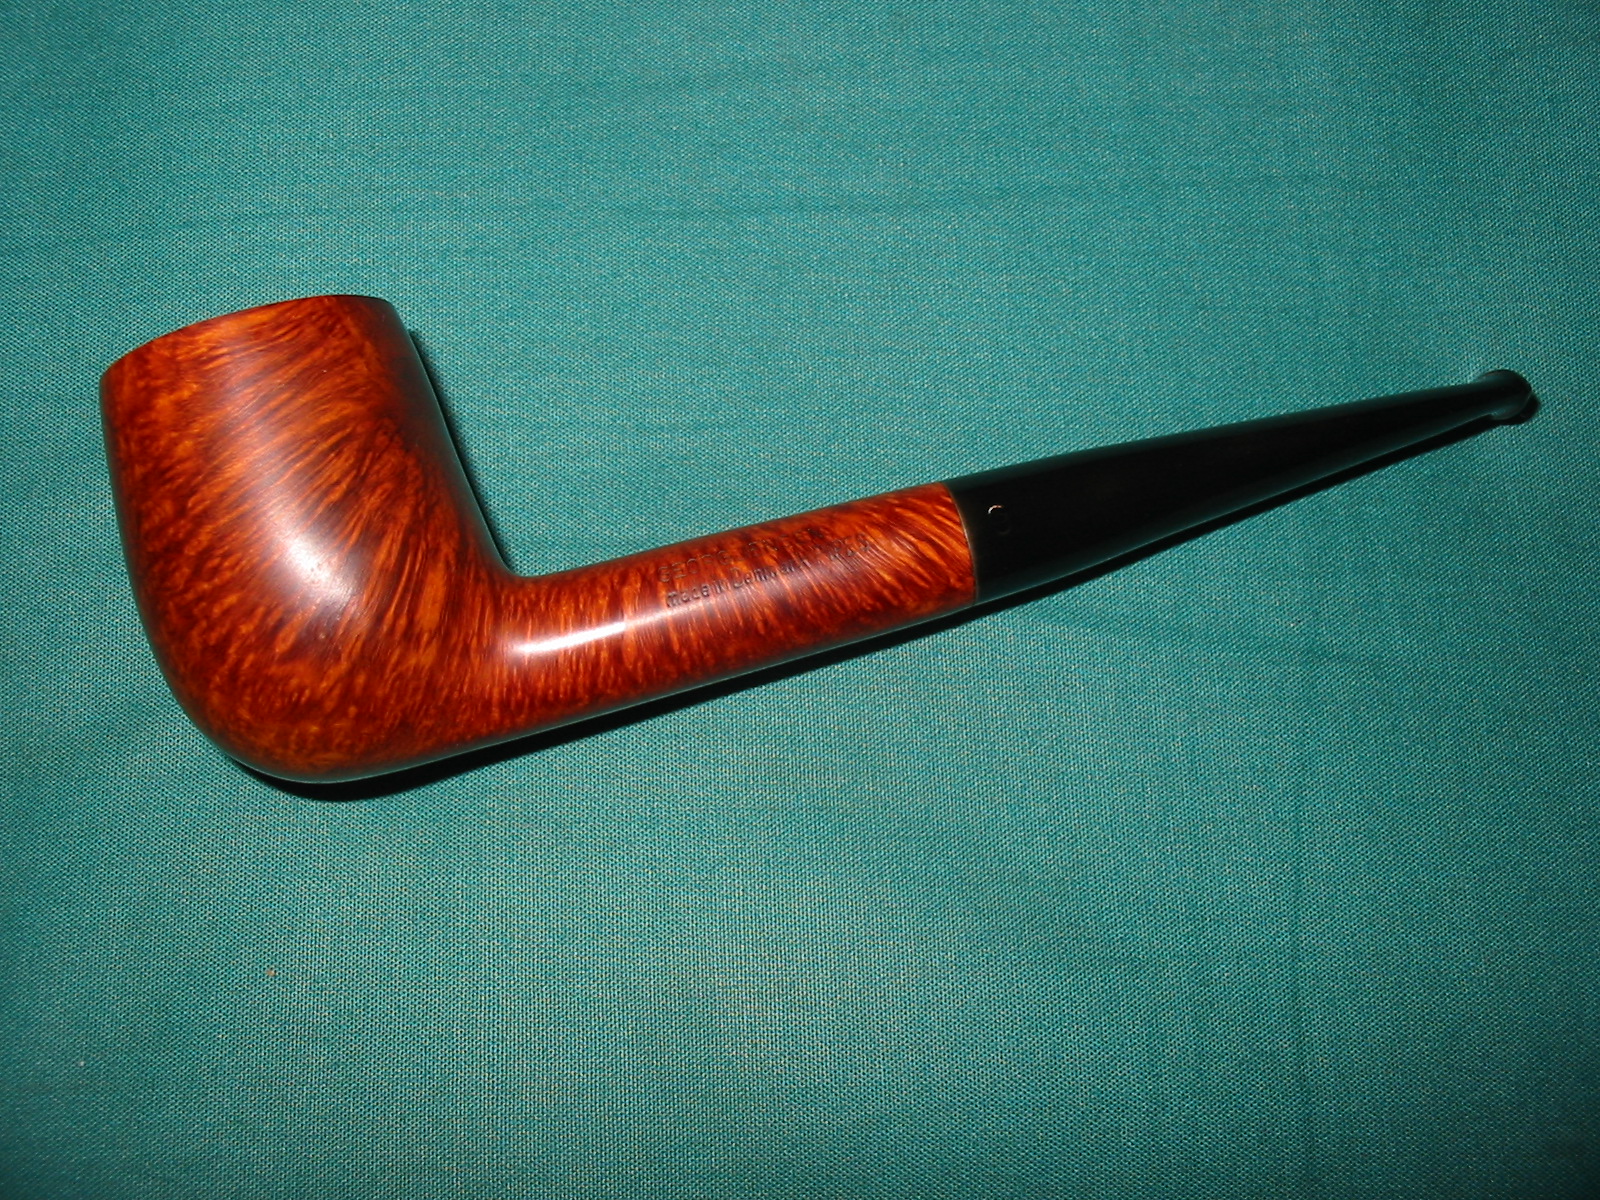
I rubbed the stem down with Obsidian Oil and then buffed the stem with White Diamond. I took the pipe back to the work table and restained the bowl and shank with MinWax Medium Walnut stain to bring life back to the briar. I stained the light areas on the rim and at the shank stem junction multiple times until they matched the rest of the pipe.
IMG_4097

IMG_4099

IMG_4101

IMG_4102

IMG_4103

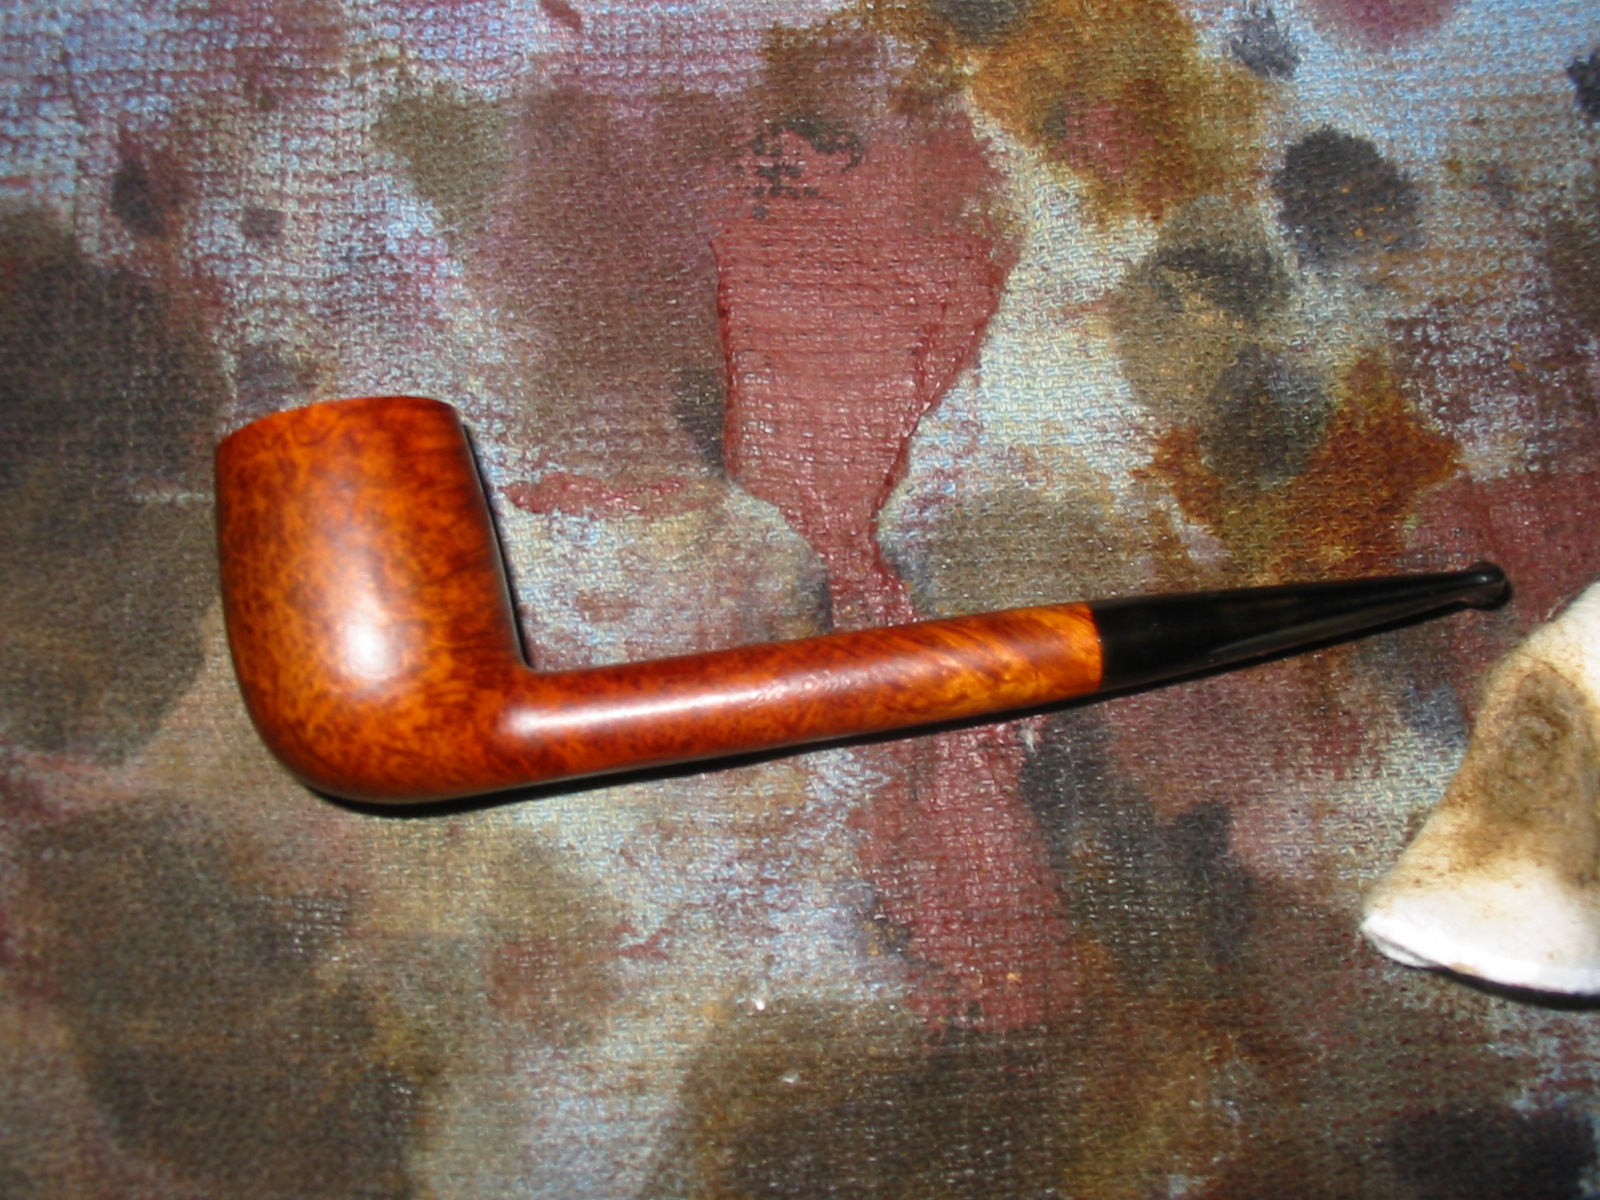
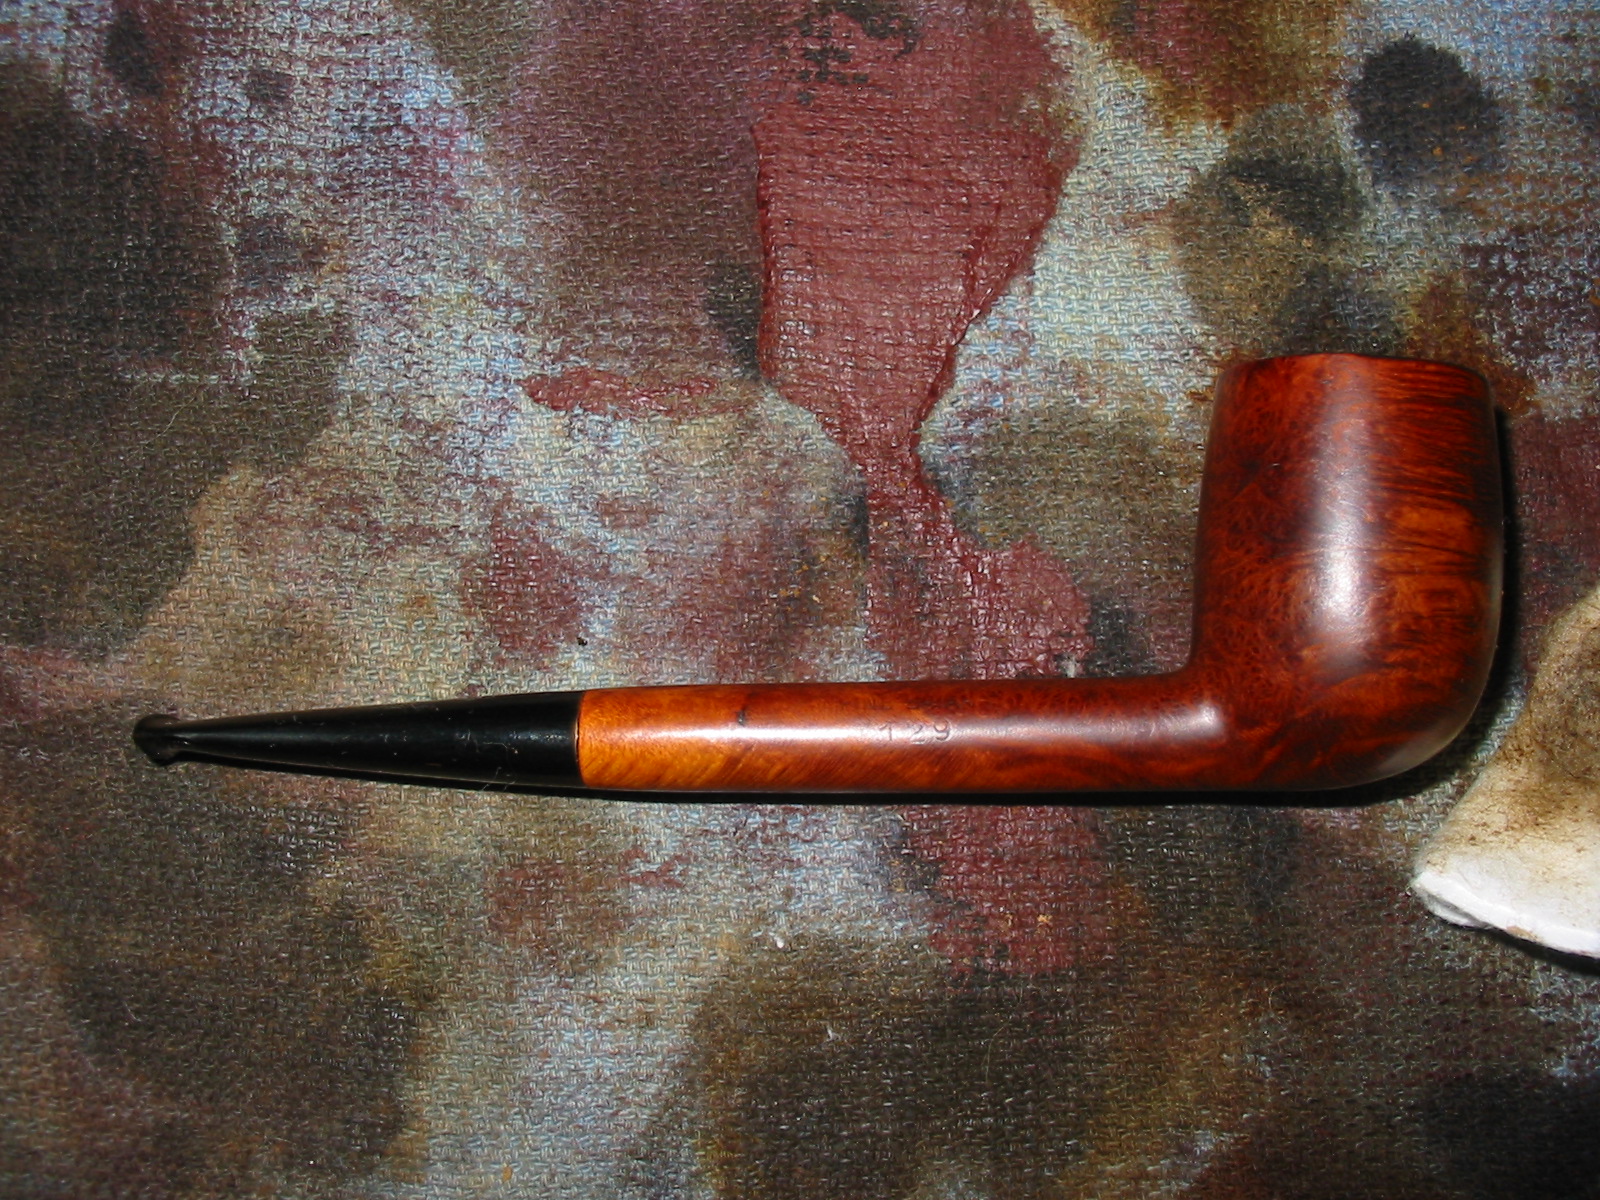
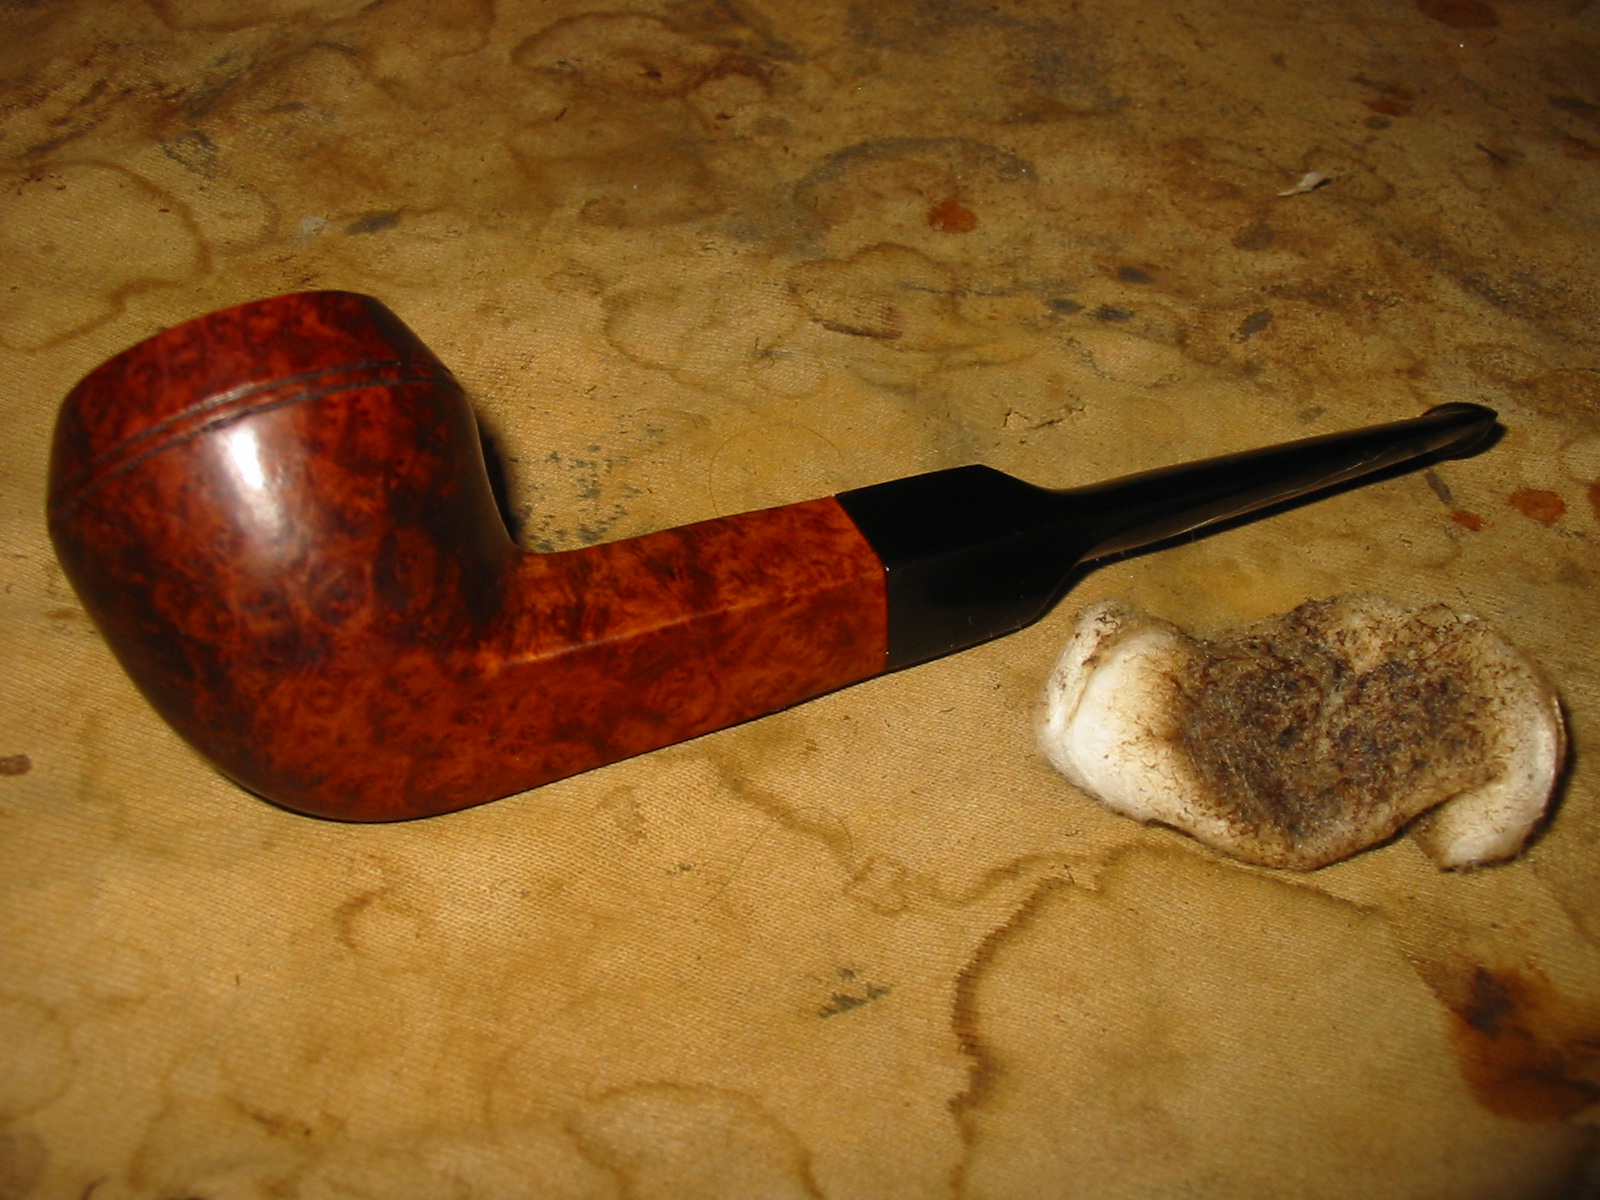
I buffed the pipe and stem with White Diamond a final time to remove any remaining scratch marks and then gave the pipe multiple coats of carnauba wax to protect and give it a shine. The finished pipe is shown below. It joins the others I have refurbished for the Vancouver Pipe Club box of donated pipes.
IMG_4104

IMG_4105

IMG_4107

IMG_4109

Cleaned and Topped A Georg Jensen Pipes Deluxe Billiard Shape 720


This particular pipe is another one that will go to the Vancouver Pipe Club. It was a pretty easy clean up in that only the bowl rim was a mess. Everything else was in ok shape. It is a billiard with great grain on the left side and bottom of the bowl and top and bottom of the shank. The grain on the right side and the back were lousy. There were also several fills on the poorly grained sides of the bowl. The finish was not in too bad shape though it too had been given a coat of varnish. The inside of the bowl had a black bowl coating that I think was applied to protect the thin back wall of the bowl. The top rim was in rough shape on the inside edge and had burn marks on the sides and front of the outer edge. The stem was in great shape with no damage at all. It is stamped on the left side of the bowl Georg Jensen over Made in Denmark Pipes. On the right side it is stamped 720 in the middle of the shank. On the underside of the shank it is stamped Deluxe.
IMG_4044

IMG_4045

IMG_4048

The next series of three photos show the damage to the rim. The first one is a top view of the bowls showing the overall damage. The second is a close up photo of the rim. The third photo shows the burn damage to the front outer edge of the bowl.
IMG_4046

IMG_4050

IMG_4052

I topped the bowl in my usual manner, sanded it with a medium grit sanding sponge and wet sanded it with a 1500 grit micromesh sanding pad. I wiped down the bowl and rim with acetone on a cotton pad to remove the varnish and the finish. I sanded the inner bevel of the rim with a folded piece of sandpaper to smooth out the damage to the edge and to rework that bevel to give it a clean and renewed look.
IMG_4054

IMG_4055

IMG_4057

IMG_4059

I restained the bowl with MinWax Medium Walnut stain and rubbed it on and off until I had the blend of colours I wanted to highlight the grain patterns. I buffed the pipe and stem with White Diamond to polish the scratches.
IMG_4061

IMG_4062

IMG_4063

IMG_4064

There were some light spots on the shank and the bowl that took more coats of stain than the rest of the pipe so I retouched them and then polished the pipe and stem with multiple coats of carnauba wax. I finished by buffing it with a clean flannel buff to polish it. The photos of the finished pipe are below. It is ready to send back to the Pipe Club and provide someone with a great looking pipe for their collection.
IMG_4065

IMG_4066

IMG_4067

IMG_4069

Reworking a Poorly Done Topping Job on a Bulldog of Unknown Make


This poor old bulldog came in the pipes that were donated to the Vancouver Pipe Club and I decided to work on it and see if I could repair some of the damage that had been done when someone tried to top it in the past. The rim looked as if whoever topped it tried to do it by hand and not on a flat board. Because of that the surface of the rim was wavy with high and low spots and the outer edge was lower than the inner edge in several places. The top was also at a slight angle as the sanding had not been done on a flat surface.

The first two photos below show the damage to the rim from the side profile. Note the wavy surface of the rim. The third photo shows some damage on the underside of the stem next to the button and the fourth photo shows the rim from the top view. In that photo the bowl appears to be seriously out of round and the front edge seems thinner than the rest of the bowl. This is a bit of an illusion due to the poorly executed sanding on the rim. The way the bowl had been sanded left the front of the bowl lower than the back of the bowl thus creating the appearance of a thin wall. The stamping on it had been buffed out on the left side of the shank and on the right side I could still see very faintly London England over 403S. I am uncertain of the maker. I checked the Comoy’s shape number chart, the GBD and the Orlik shape number charts and there is no such number. Perhaps other may have some idea of the maker.
IMG_3999

IMG_4000

IMG_4001

IMG_4002

I took a two close up photos of the top of the rim to show the damage more clearly. There was also significant burn damage to the front inner edge of the rim. Fortunately this damage was only surface and a retopping would take care of most of it.
IMG_4004

IMG_4005

I also took a close up photo of the end of the stem next to the button to show the tooth marks on the underside next to the button.
IMG_4006

I set up my topping board and sandpaper to work on the rim and repair the damage. It took care to keep the high point of the bowl flat against the surface of the paper and sand until the rim flattened out. This took more time than usual as I had to continually check to see if the rounded spots, low dips and angle sanding of the rim surface were being removed. I also wanted to remove the burn damage as much as possible. The next five photos show the process and the results of the sanding. The profile views show the repair of the outer edge to a flat straight surface with a sharp edge. The top view shows the more even distribution of the thickness of the wall and the removed burned area on the front of the bowl.
IMG_4008

IMG_4010

IMG_4011

IMG_4014

I wiped the bowl down with acetone on cotton pads to remove the varnish and the remaining finish on the bowl so that it would be easier to match the colour of the bowl and the newly topped rim.
IMG_4015

IMG_4016

IMG_4017

IMG_4018

I sanded the rim with a fine grit sandpaper and wet sanded with a 1500 grit micromesh sanding pad to remove scratches and prepare the rim for staining. I stained the bowl and rim with MinWax Medium Walnut Stain and rubbed it on to the pipe and rubbed it off until I had achieved the colour and coverage that I wanted.
IMG_4019

IMG_4020

IMG_4021

IMG_4022

I sanded the damaged areas on the topside and the underside of the stem near the button to remove the tooth marks. I started with 220 grit sandpaper and then a medium grit sanding sponge to repair the tooth damage.
IMG_4023

IMG_4024

The mark on the underside was deep and once I had sanded and cleaned it I put a drop of super glue on it to build up the divot. Once it was dry I sanded it again with 220 grit sandpaper and the sanding sponge to blend it into the surface of the stem.
IMG_4027

IMG_4029

IMG_4030

I used my usual array of micromesh sanding pads to polish the stem repair – wet sanding with 1500-2400 grit sanding pads and then dry sanding with 3200-12,000 grit pads. I buffed the stem with red Tripoli and White Diamond and then rubbed it down with Obsidian Oil. When it was dry I rubbed the stem down and reinserted it in the pipe.
IMG_4031

IMG_4033

IMG_4036

I buffed the pipe and stem with White Diamond and then gave it multiple coats of carnauba wax. I finished the buffing with a clean flannel buff to give it a shine. The finished pipe is pictured below. It is ready to go back to the Pipe Club and will make someone a nice pipe.
IMG_4038

IMG_4039

IMG_4040

IMG_4041