Blog by AJ Verstraten
It is with pleasure that I post AJ’s second post on rebornpipes. AJ is known to the online community as Bananabox-Ninja.
Greetings, today a small post about the use of black super glue on a few pipes I had previously cleaned and refurbished; before I found Rebornpipes. This did give me a small problem as I did not extensively take pictures of the process as I had no reason to share the process at that moment and as such I am missing a few ‘before’ pictures.
The pipes I revisited for this project were:
– 11 Wahl Filtro
– Lorenzo Elba
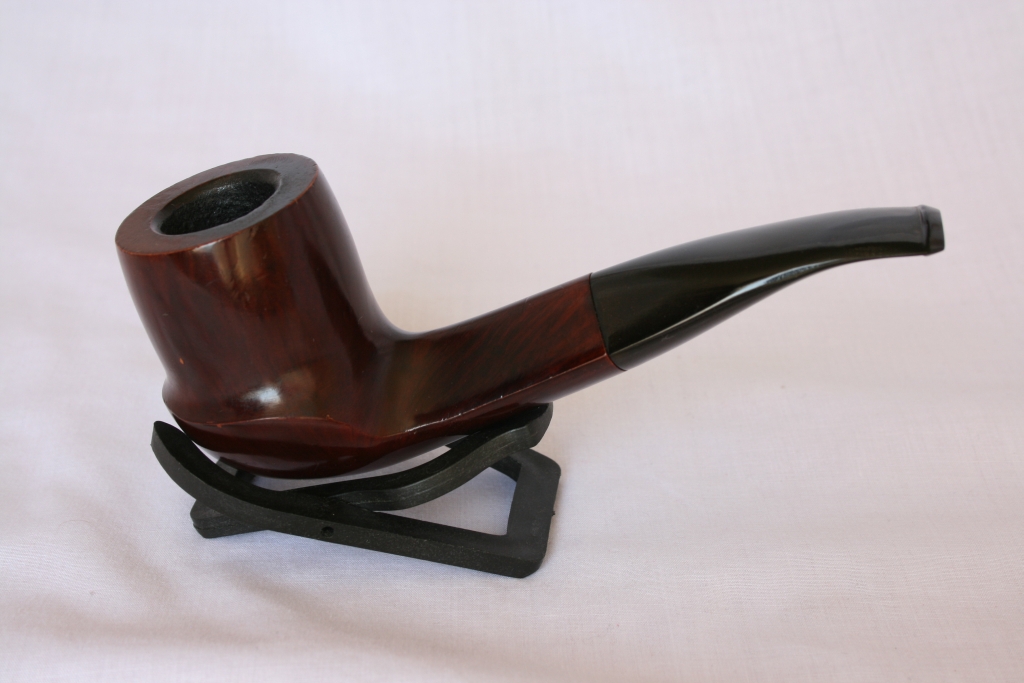
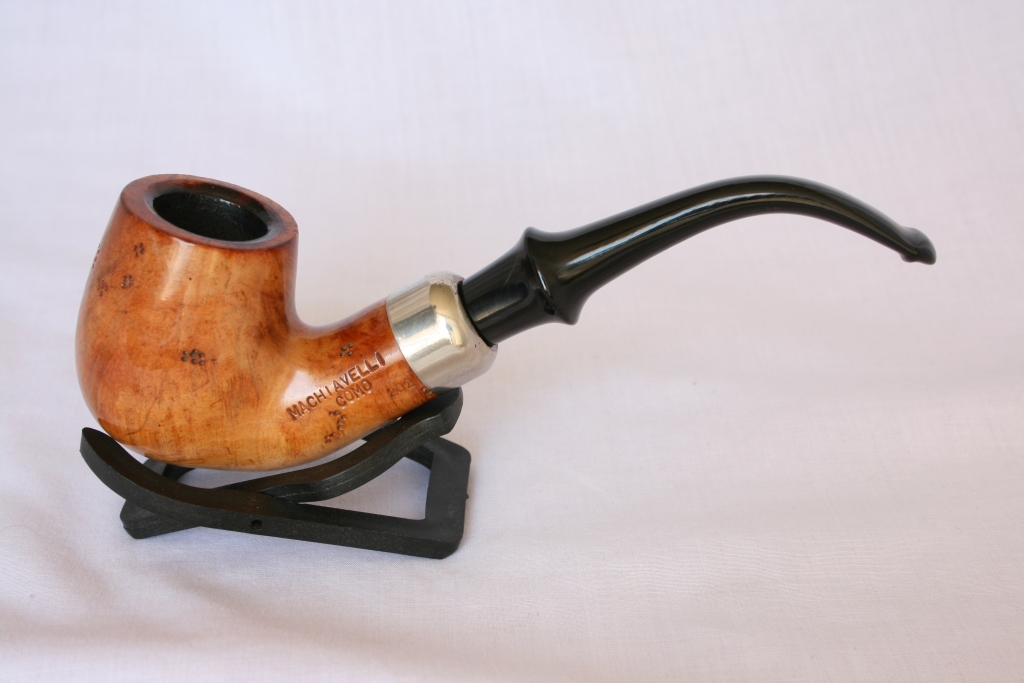
– Machiavelli Como
– BBB Medina
– Spitfire by Lorenzo Riviera
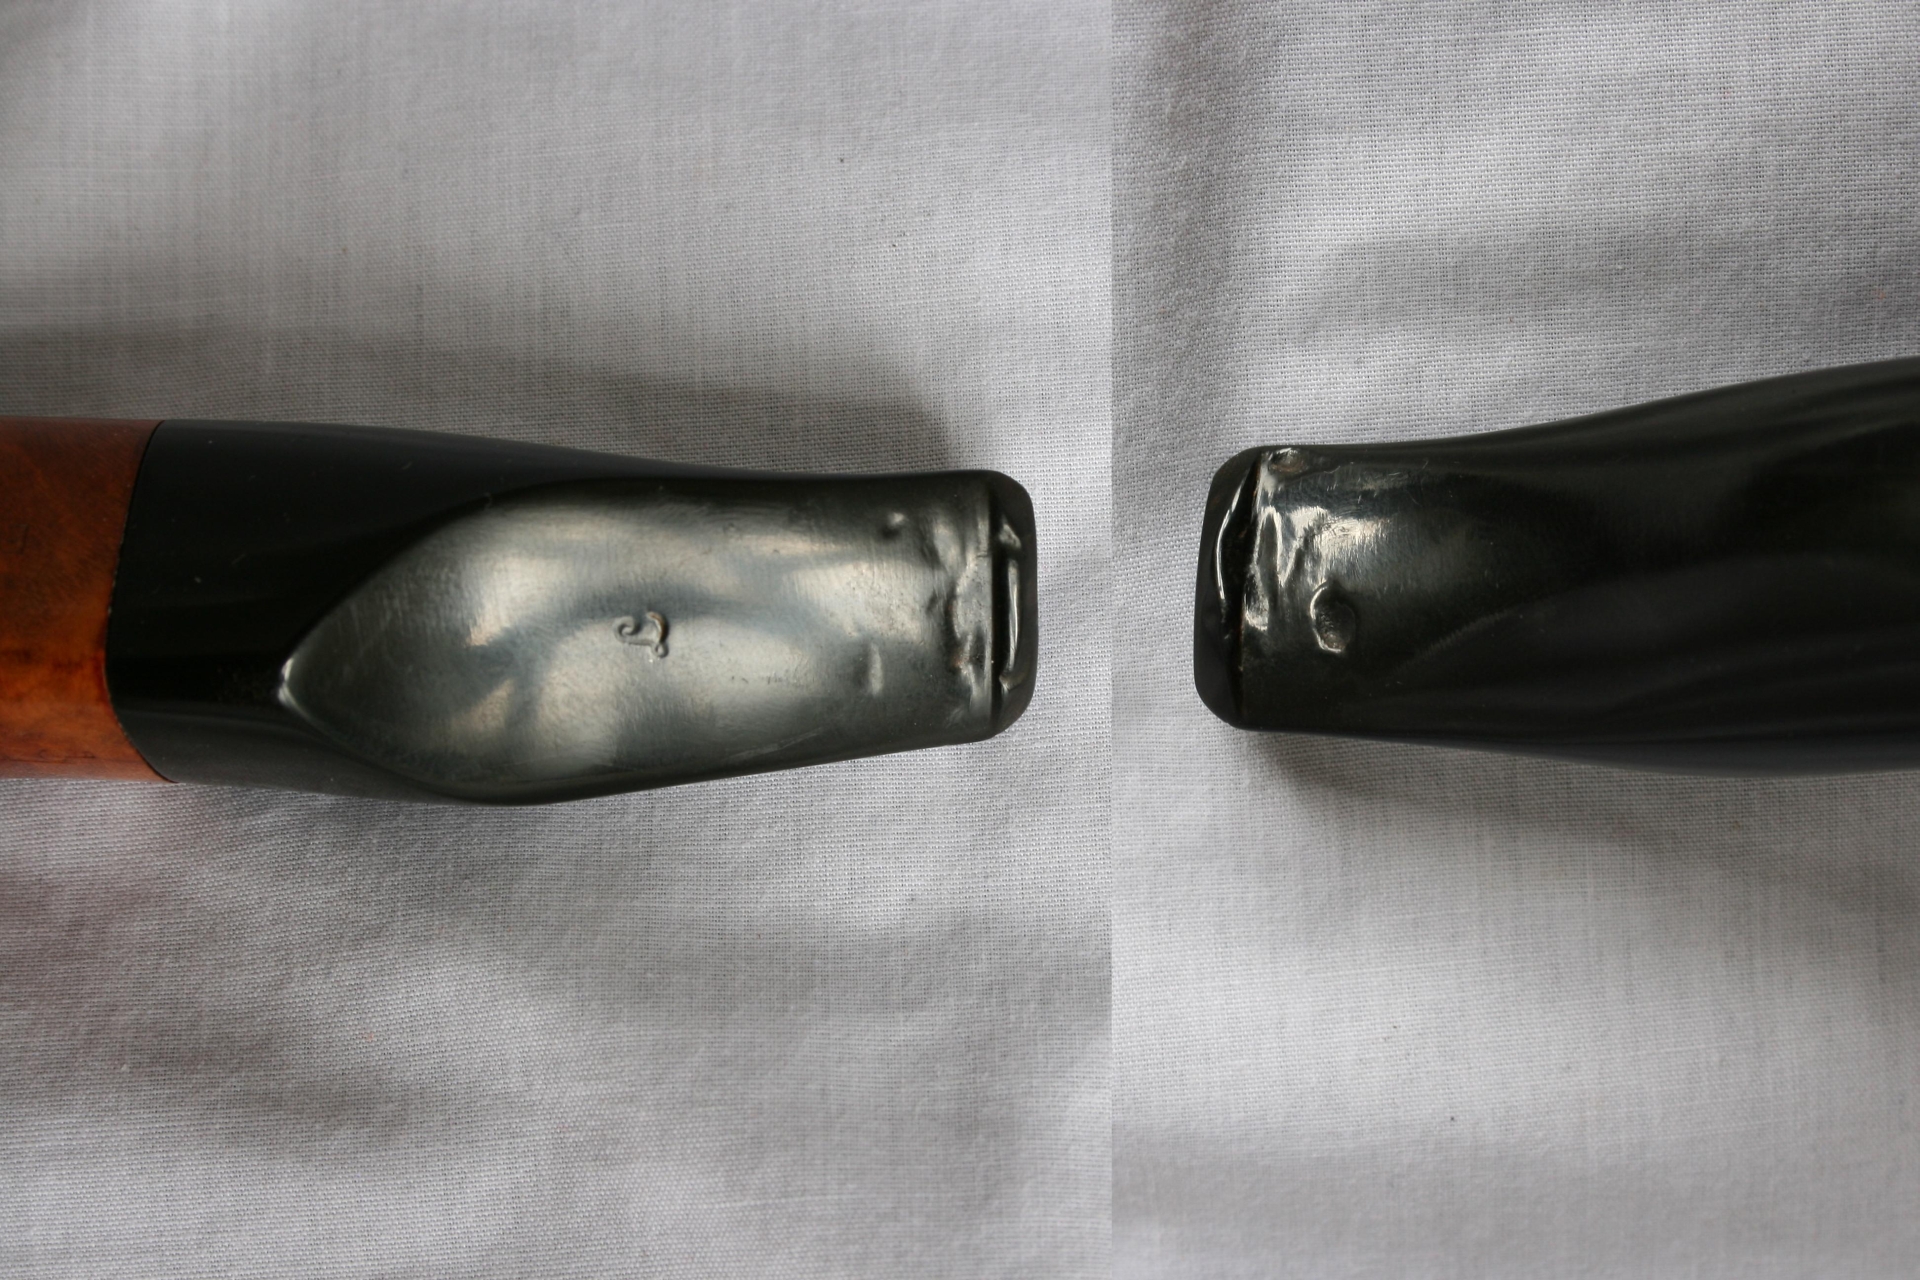
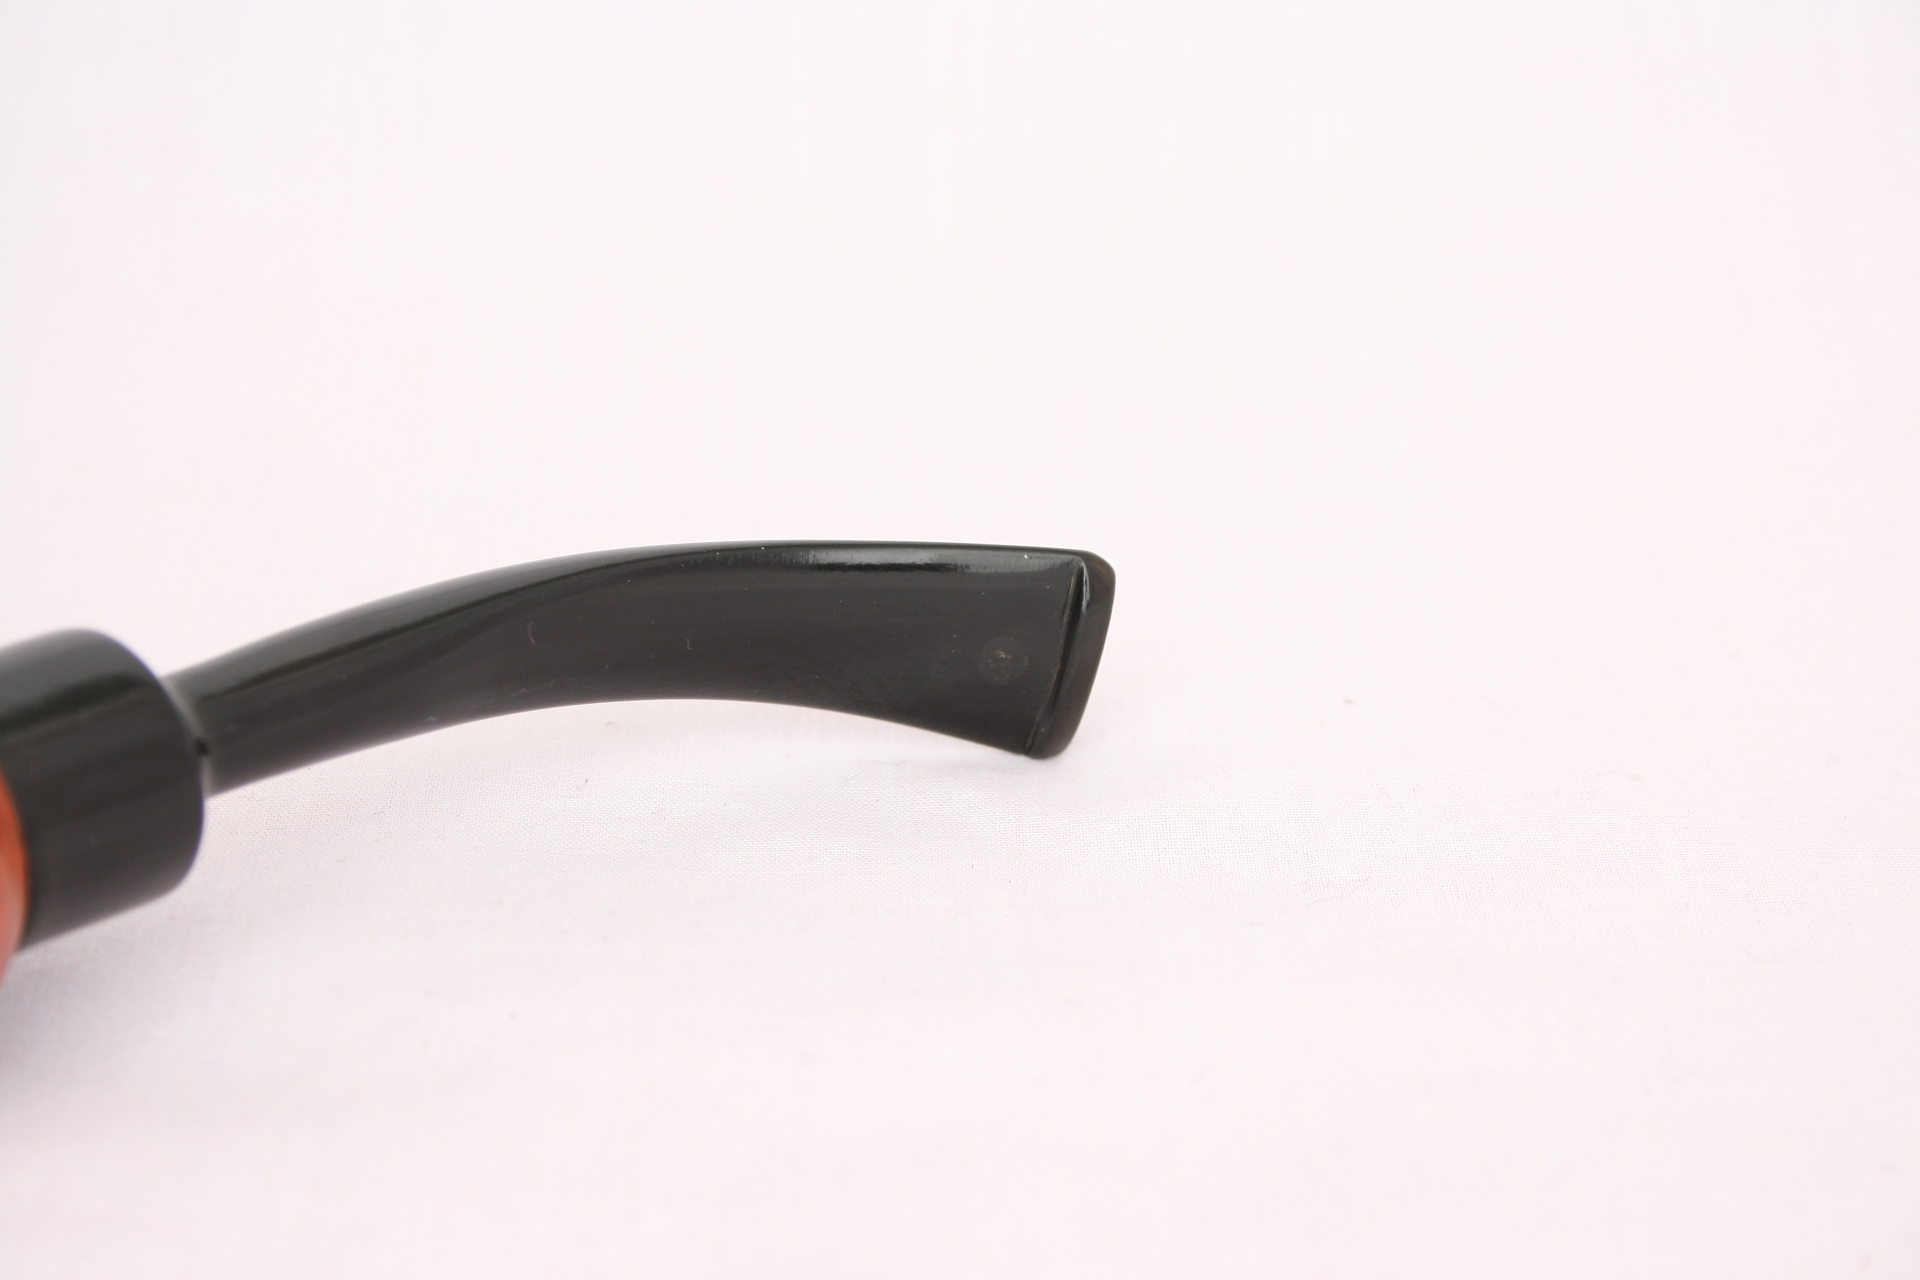
All of them had bite marks on the mouthpiece and the Riviera had even been bitten clean through.
Lorenzo is a good Italian brand that is quite popular in Germany. The BBB Medina is an old English made pipe that has a good reputation here in the Dutchlands. The Wahl and the Machiavelli pipes are a mystery to me. I can find some eBay listings for them but I cannot pinpoint their true origin.
First up the pictures I did have of the before process.
BBB Medina

Lorenzo Elba
11 Wahl

As these pipes had already been waxed I first removed the wax layer using my motor, water and grinding wheel. This only took a few moments, after which I used a cotton swab and some alcohol to really clean the surface of the mouthpiece.
The following steps I repeated a few times as I found I was a little impatient in the drying process, I advise to let the glue set for a night just to be sure it is dry to the core.
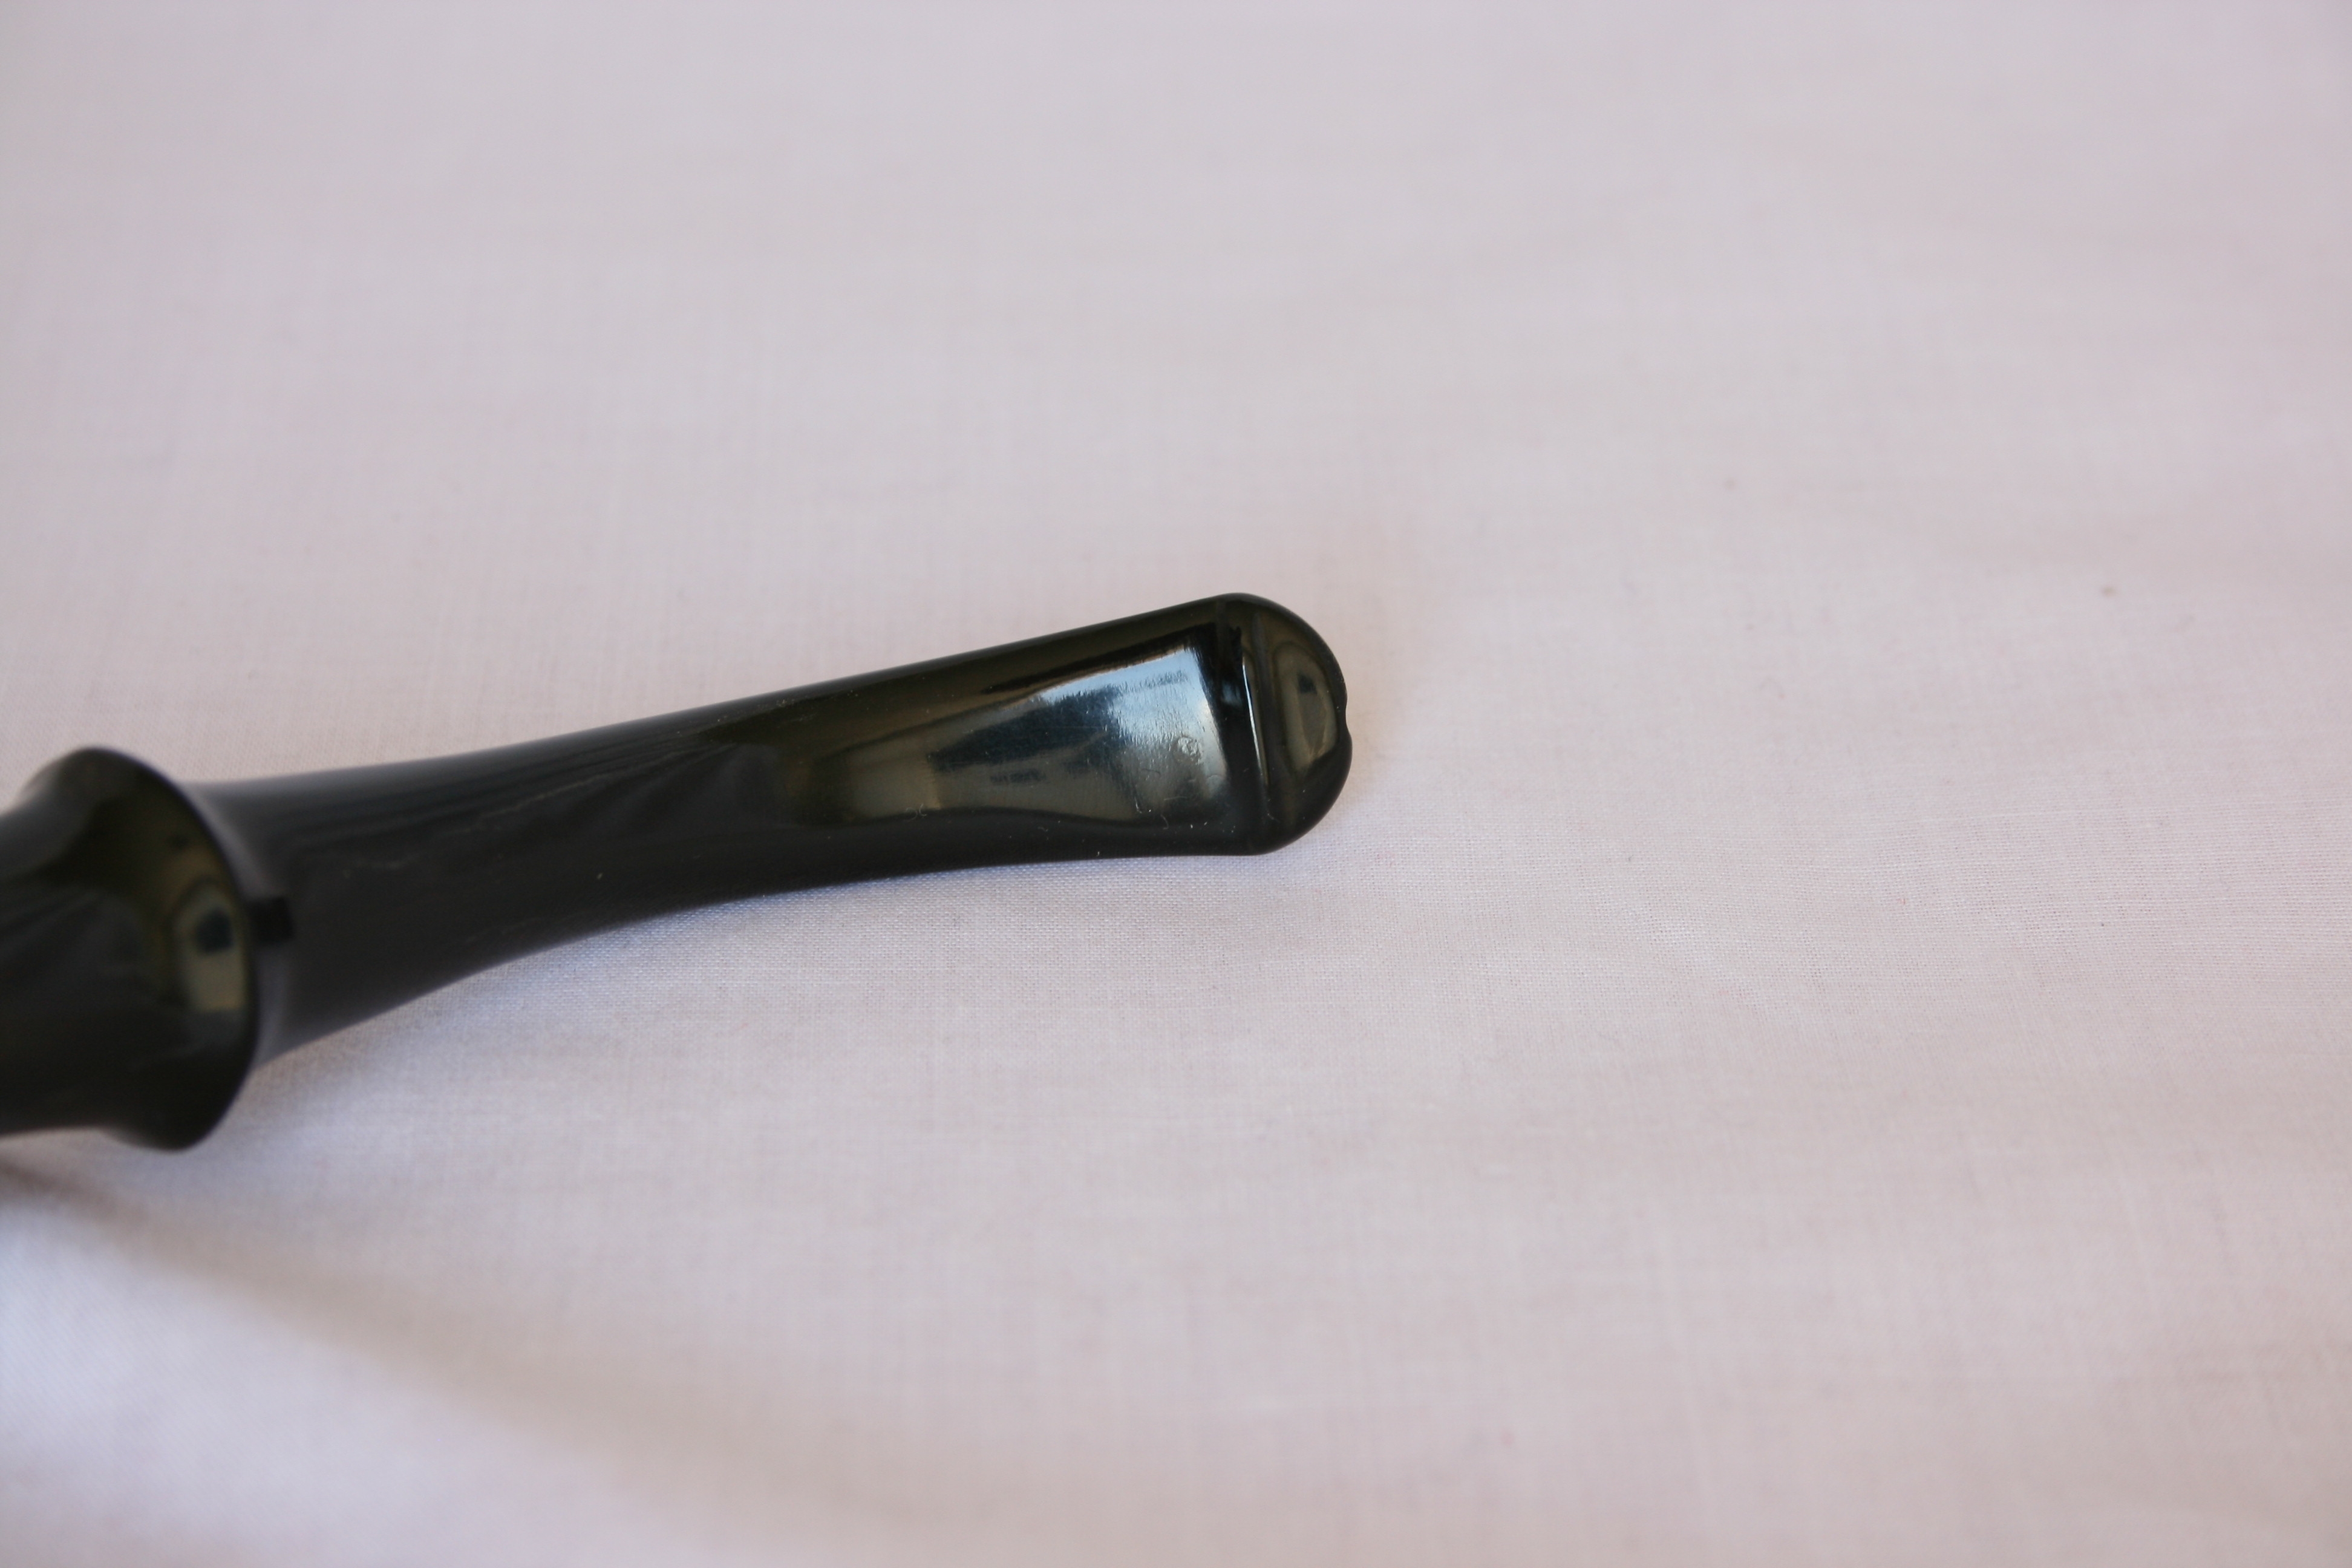
Using a piece of cardboard dipped in Vaseline (sorry no pictures) I closed the hole in the Riviera mouthpiece and with cotton swabs and toothpicks applied the glue to the bite marks on all the other mouthpieces.
When the glue had dried I used 600 and 1000 grit sanding paper wrapped around a model file to sand off the excess glue and smooth the mouthpiece.
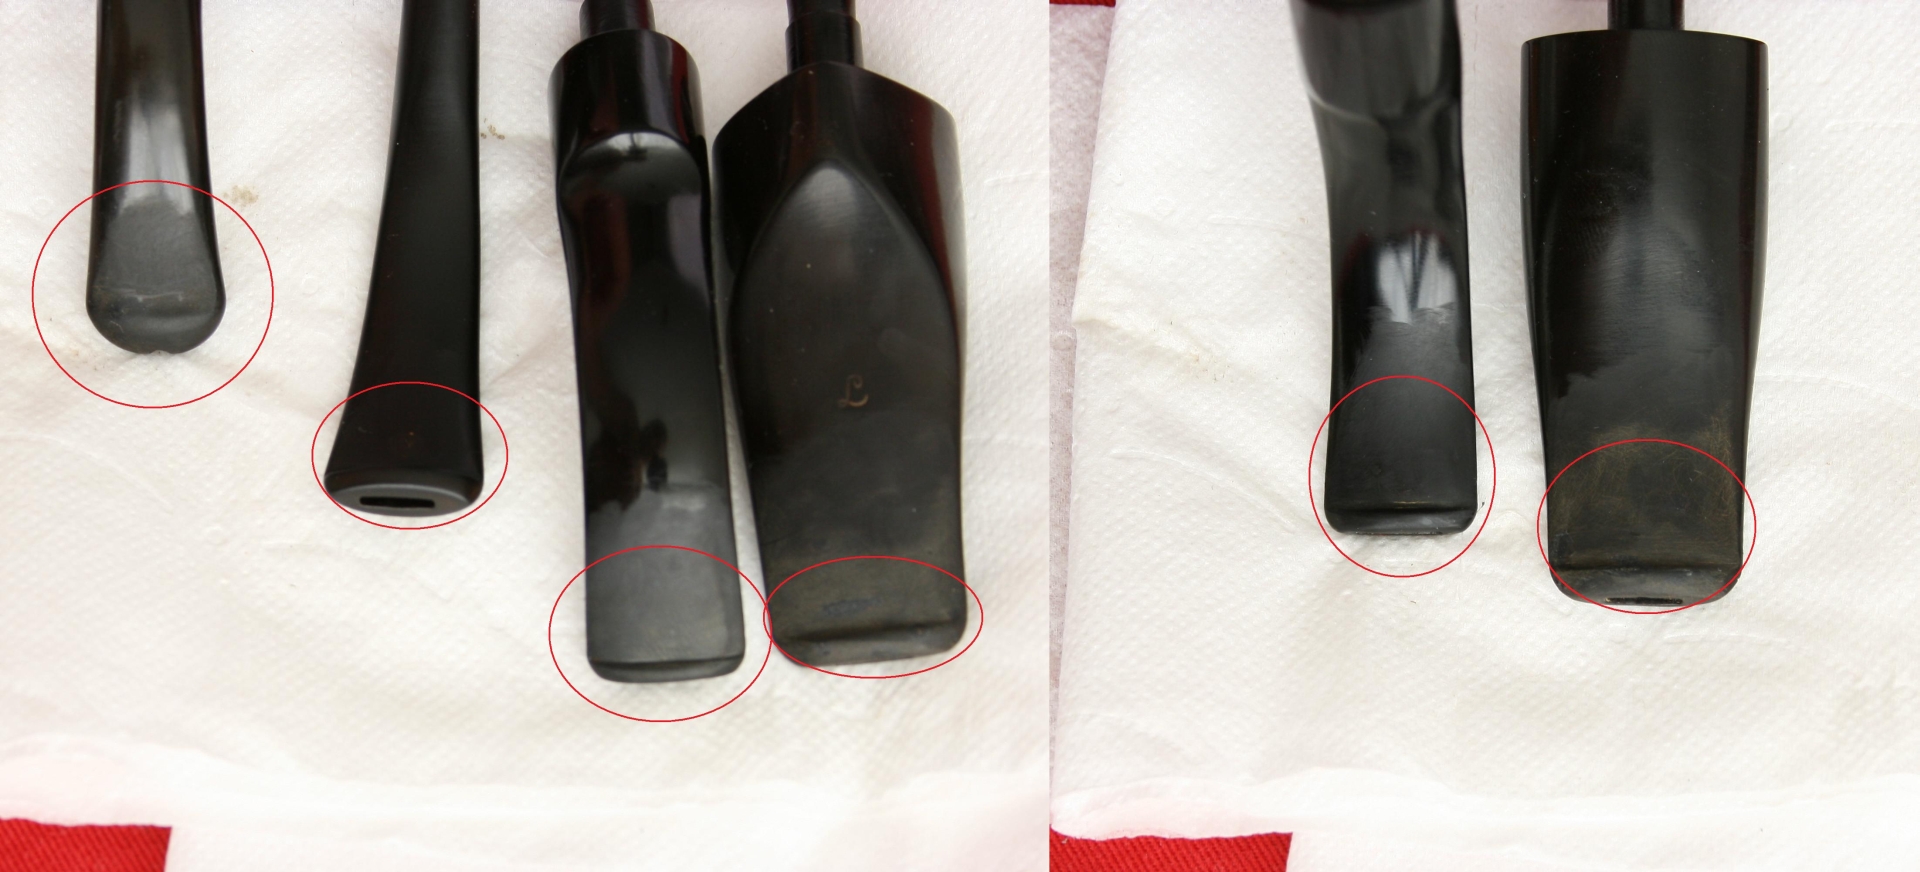
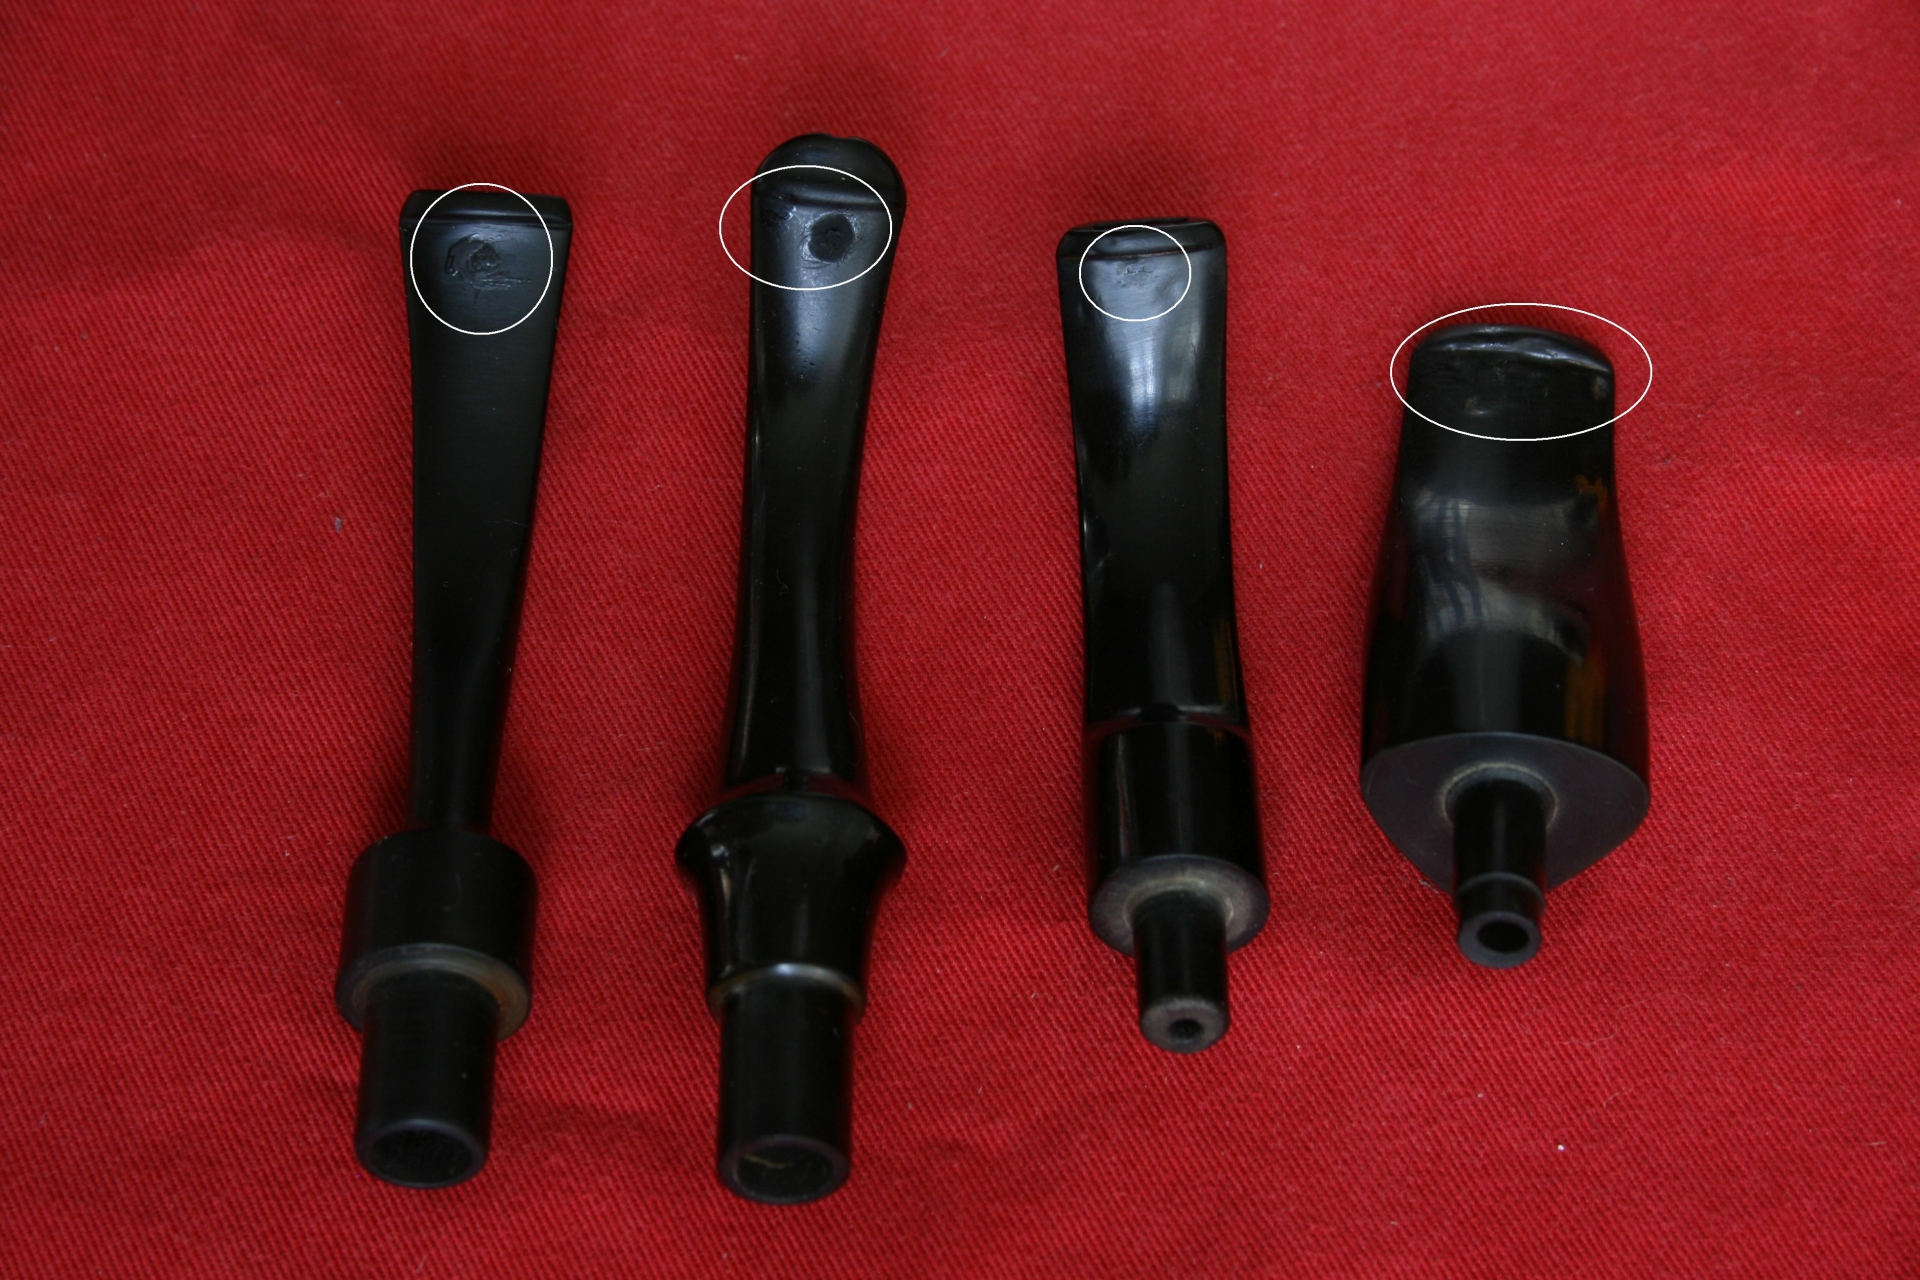
I checked the smoothness using my mouth and tongue and although in all cases it felt smooth I noticed that in taking the pictures of the finished product the glue spots are visible. This bothered me, like when I sand a round shoulder or edge on the stem. A casual observer will not notice this, but I know it is there and it will bother me. However I decided against re-sanding them in the hopes of getting them perfect. Because in the end it is my lips and tongue that are handling the mouthpiece the most, not my eyes
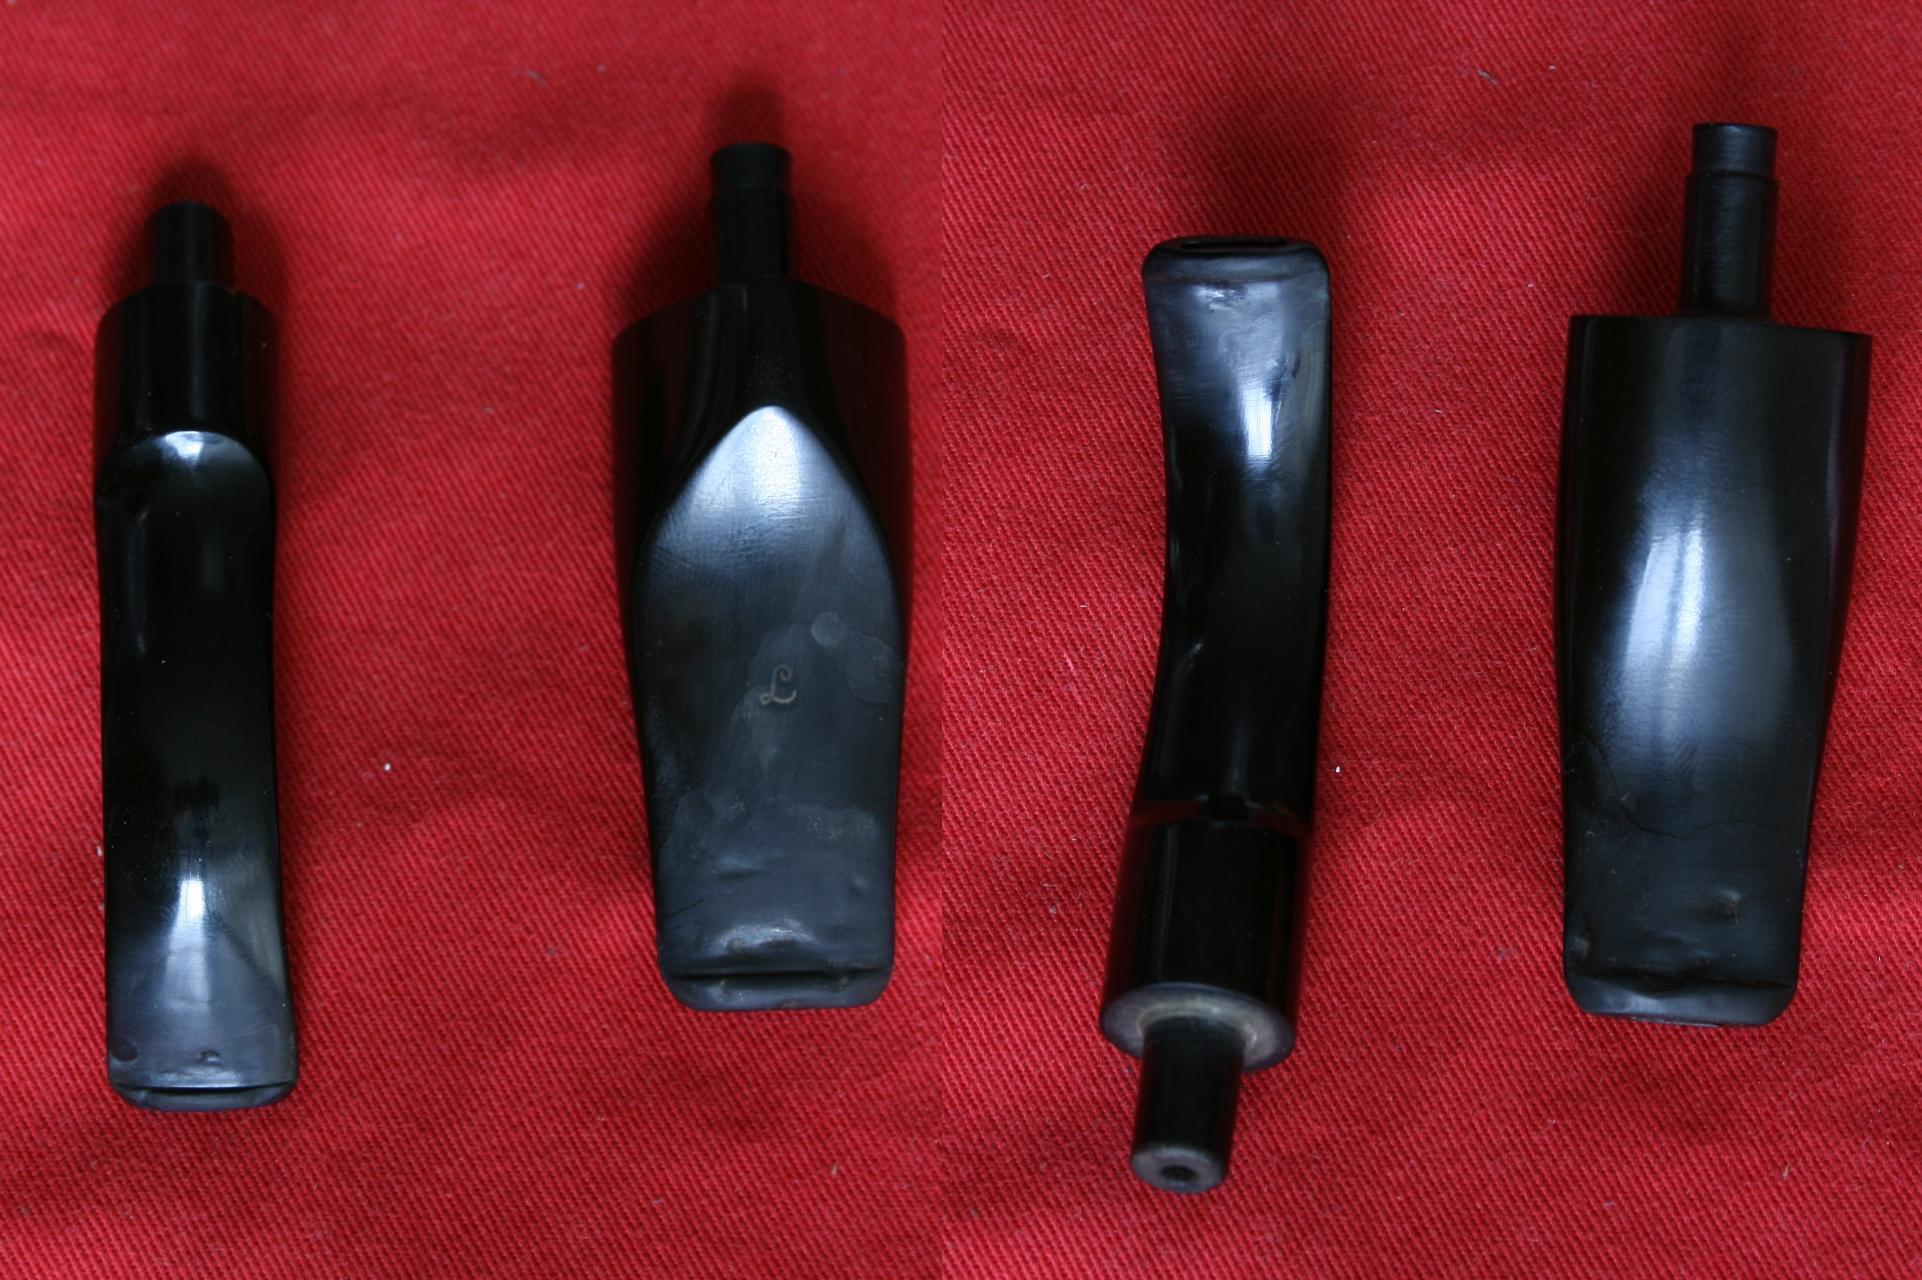
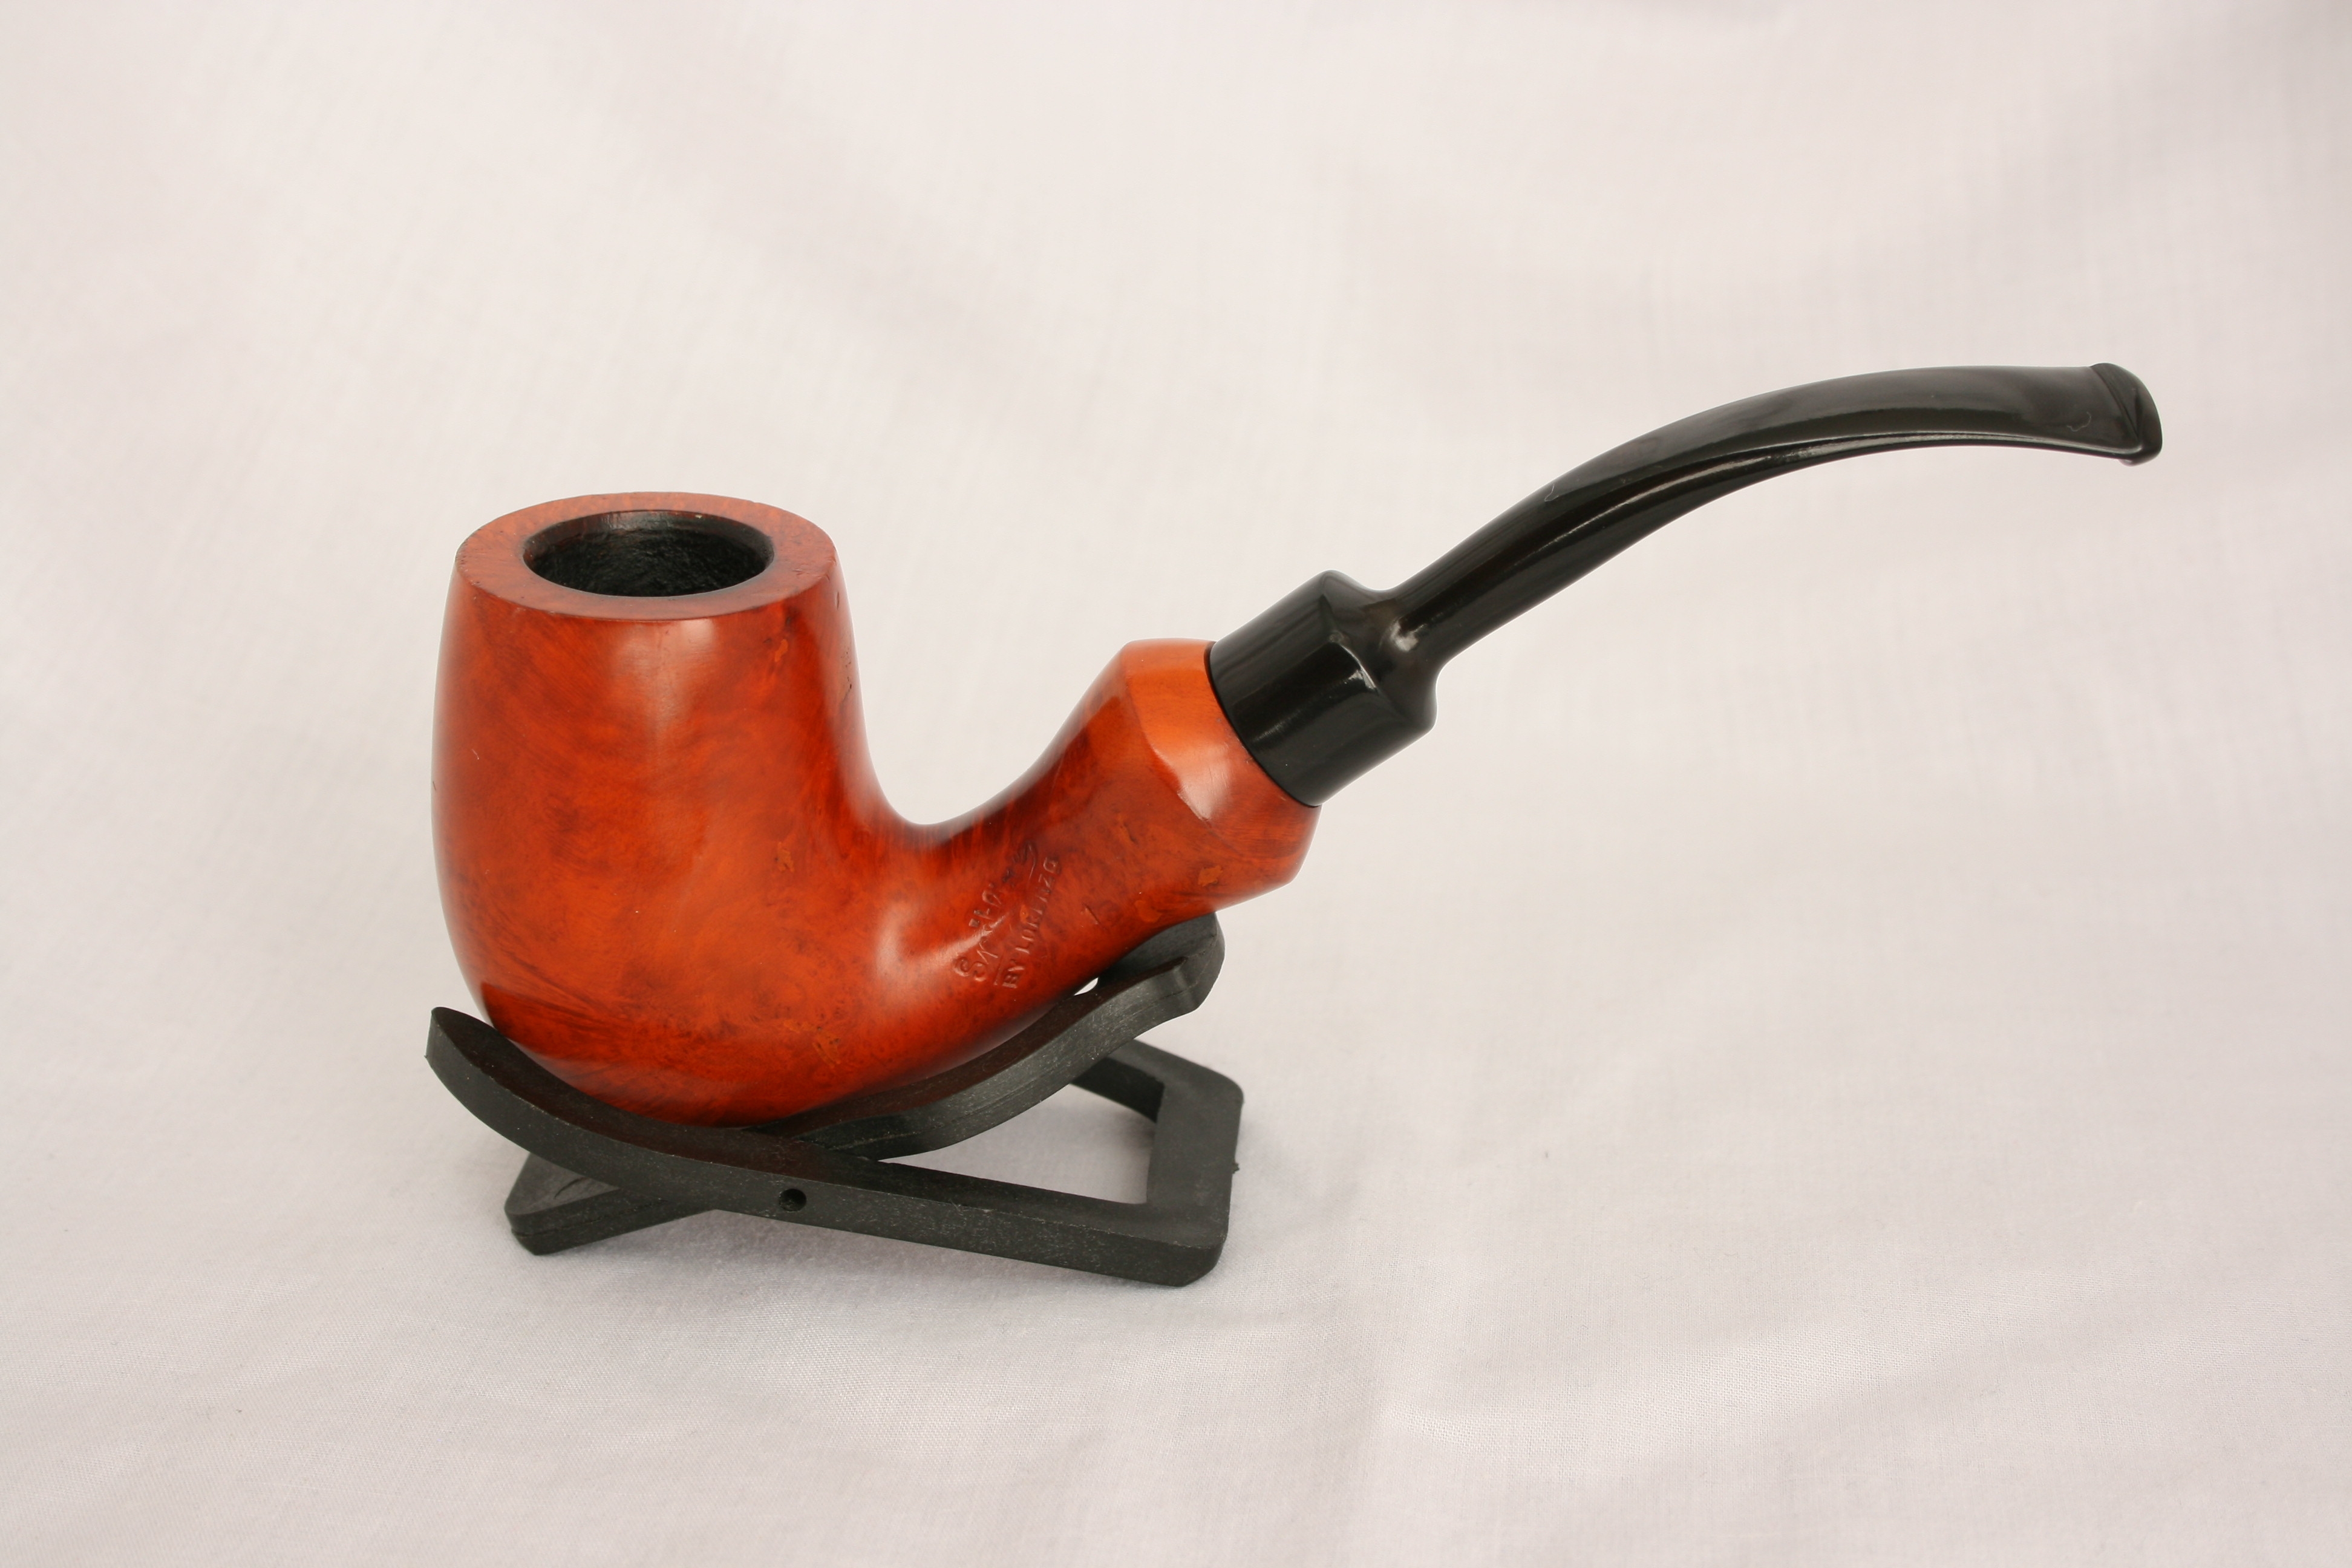
To finalize this short post here are the finished mouthpieces, pipes and the tools I used for this project.
11 Wahl Filtro

Lorenzo Elba

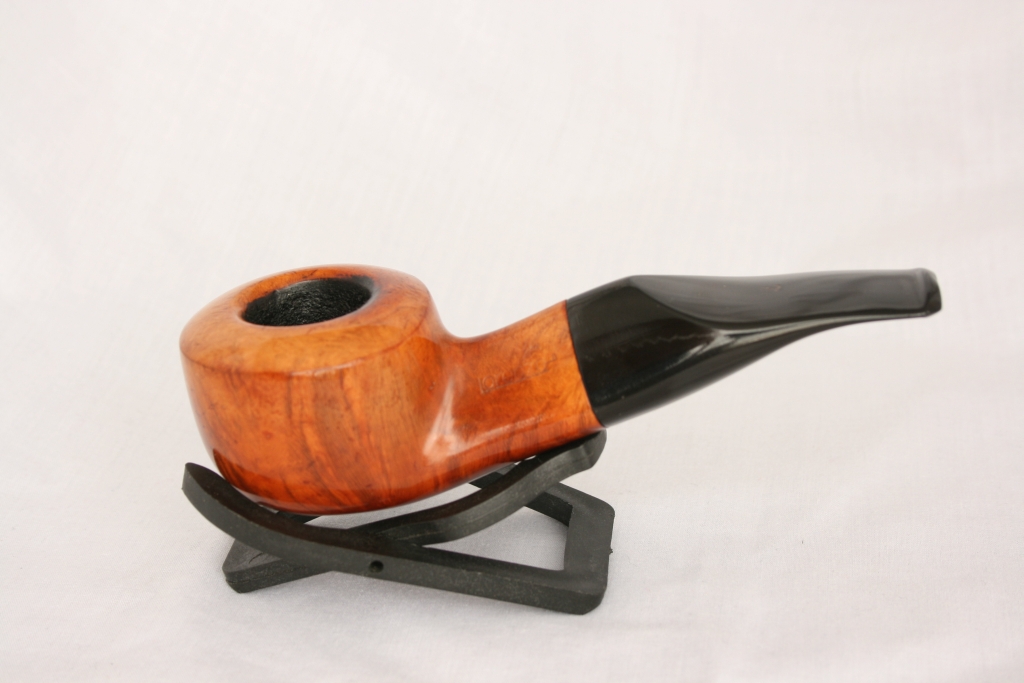
Machiavelli Como
BBB Medina


Spitfire by Lorenzo Riviera
Tools used during this project


Hello
What supperglue do you use?
LikeLike
I purchased it online from Stewart macdonald. It is readily available there.
LikeLike
Great article. How did you achieve such a nice finishing shine? They look as if they just left the factory. Love the Lorenzo Elba pipe BTW.
LikeLike
Thank you, the Elba is indeed a nice pipe to smoke. It is unsuited to walk with due to it’s weight and ‘firmness’ but that makes it a great pipe to have in a conversation where you take out of your mouth once in a while. 🙂
Regarding the finish: you’ll notice in the last picture there are four polishing wheels.
Each has the polish paste and wax next to it, the wheels come from PIMO and the wax and paste from Dan Pipe in Germany.
From left to right: Sewn Muslin Buff/Carnauba wax, Muslin Buff/Pre-polish(brown), Muslin Buff/High gloss paste (white) and the Flannel Buff.
The order of polishing is: Brown, White, Wax and a final buff.
I set my electric motor to around 1350-1500 RPM.
LikeLike
I’m working on a trio of stems with bite marks now, all acrylic. (using the black Stew-Mac superglue) The glue seems to pucker-down, leaving a small crevase on each fill. I try to get it all covered in one shot, that practice seems to avoid that issue. This was my first job on a acrylic stem (vs. vulcanite).
LikeLike
Al, is the acrylic stem black?
LikeLike
Two of the three are. One is Cumberland colored acrylic. The black glue blended in on the Cumberland stem a lot better than I had imagined. These stems had a lot of just minor, shallow dents, that proved more challenging then a good deep, craggy dent. I ended up using only my plastic polish vs white diamond for the final buff. It seemed to blend the fill better.
LikeLike
The puckering I noticed too. I countered this by using less glue and fill the hole slowly instead of in one go. Mainly because the glue in the core of the blob doesn’t harden that well and when you sand it you remove the softer core very, very easily leaving the crevasse you describe.
The glue blends better in an acrylic mouthpiece, I think it is because it is more of a plastic as opposed to Vulcanite which is more a rubber.
LikeLike
BBN, do you sand the glue between layers?
LikeLike
Yes I do.
LikeLike
I do as well.
LikeLike
Bingo, I’ll try smaller applications. I usually let the glue dry for 24 hours.
LikeLike
Great post, BBN. We’ve talked about this last Sunday at the meeting and I never have heard about this method. Fortunately I don’t have many toothmarks on my pipes (careful smoker?) but defintely will keep your excellent way of repairing such marks in mind. Best regards and keep up the good work.
LikeLike
Thanks Paul!
Knowing your brand of pipes I’m not surprised 😉 Yours are mainly acrylic and since it is harder than vulcanite it’s more resistant to bitemarks. HOWEVER I have refurbished a Porsche Design pipe with an acrylic mouthpiece you would think a dog chewed on it. I think I showed you the finished result on Sunday.
LikeLike
Great job! Question: On the bite through, did you use just black super glue? Build it up in layers over several days? I patched one hole with glue and stem dust. It came out beautiful but failed shortly after. It crumbled into powder. I’m wondering about the ratio of glue to dust? Another poster used 2 part epoxy as a base, then layered glue as usual. Thoughts?
LikeLike
Mark, I don’t mix any dust into the superglue. I just do straight superglue and build it up over several days. I have done it on pinhole bite throughs and larger ones as well. Never anything as large as the one you did on that pipe. I think AJ just used the superglue alone as well.
LikeLike
Thanks!
Answer: I used pure superglue in layers, but take it slow the glue needs to dry through and through. I have no experience with epoxy and powder, although I can imagine epoxy isn’t a bad choice.
LikeLike
Thanks for the article and pictures. I am amazed at the results you achieved with these stems. I will be trying this on several of my pipes in the near future.
LikeLike
You’re welcome and good luck!
Just take your time and don’t rush it.
LikeLike
Stem work is often underrated, but it sure makes a good pipe look great. Good work!
LikeLike
Thank you, you are right. But let’s be honest the bowl is usually the first thing you see. 🙂
LikeLike