Over the past few years I have carved more than 30 pipes and then re-carved many of them several times over as I grew to understand more of what I should be looking for in a pipe. It was also during this time period that I lost my apprehension of removing too much briar and the reworked pipes became more streamlined and lighter in weight. Much of what I have learned about what makes a good pipe has come from having worked on 400-500 pipes during the same time period. Some of these remain in my own collection, many have been given away to new pipe smokers and more recently some have been sold. I may have worked on more than 400-500 pipes over the years but I’ve not kept any records. I only have the pictures of some of them and a cupboard full of the ones I have kept for my collection by which to estimate. Since I’ve had experience with these different aspects of working with briar I thought it would be good to take some time to consider and write about which of the two draws most of my attention and interest and why that is so.
I can honestly say that I enjoy the creativity involved in designing and carving a new pipe. Taking a block of briar and drawing out a pipe shape on the block before drilling it is enjoyable. The scent of fresh briar as the drill cuts the chamber and airway has a wonderful room note to me. I enjoy the sweet scent of the briar dust. It is an amazing process to bring out the shape that was hidden within the briar as layer after layer of briar becomes chips and dust under the saw and the sanding drum. The fine repetitive details of sanding and shaping with papers, sanders, files and knives is part of the mystique for me in bringing a shape out of the block. The progressive use of increasing grits of sandpaper and micromesh pads to remove the scratches and marks of the carving is pleasing in that it has a very specific end in sight. The mixing of stains, staining and the buffing/polishing process is also something that feeds my sense of creativity and lends itself to experiments and fine-tuning. The final pleasure is that incredible first bowl of tobacco in a pipe of your own creation. In my normal daytime job of working with people I rarely see things completed so this is one of the reasons that carving a new pipe intrigues and gives me pleasure. Those are just a few of the things about pipe carving that I enjoy. I will continue to putter away at the process for the rest of my life.
As a novice at carving a pipe I have to say that when I’ve finished carving a pipe, I feel a lot like I did when I was a young kindergarten student bringing home my masterpieces for the admiration of my parents. I expectantly waited to hear them declare me a modern day Rembrandt or Picasso (of course that never happened but I kept bringing them home to be displayed on the gallery of the refrigerator). I want to hear how great they are to assuage my own sense of seeing that there is still something lacking in them. I look back at some of those early pipes and blush at the primitive sense of craftsmanship that went into them, even after the second or third reshaping. I know I am not there yet in making that truly beautiful pipe that causes me to know that I am a carver! But I am finally getting to where I like the look of what I make. I know that I still have a long way to go. I am not even close to Mr. Medico let alone the likes of a Bo Nordh.
Even as I re-read what I have written about the carving of a new pipe, I know that I still would much rather repair or refurbish old pipes than create new ones. I have been thinking about it a lot while I work on pipes and go through my pipe cupboard. I have talked with other folks who make their living doing pipe repair and others who, like me, do it as a hobby. I have asked them about their repair and refurbishing work. We have batted around a lot of different ideas and topics from methods to processes and tools, but the conversation always comes back to these central questions: what is it about repairing pipes that keeps us intrigued and continuously working on old briar?; what is it about the process that attracts us to that particular hobby and practice?; and why do we enjoy reworking, refurbishing, re-stemming old briar more than we do carving new briar?
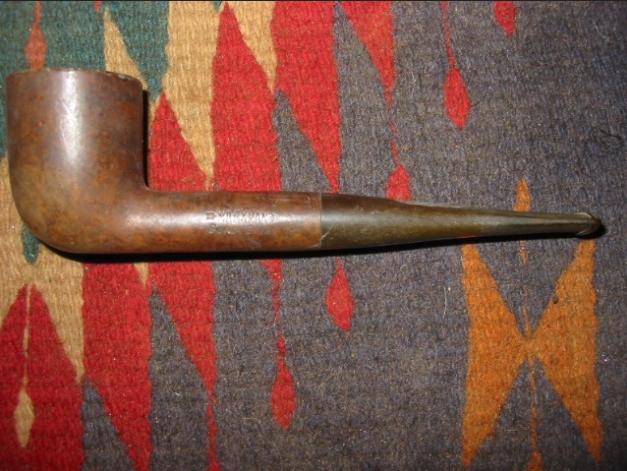
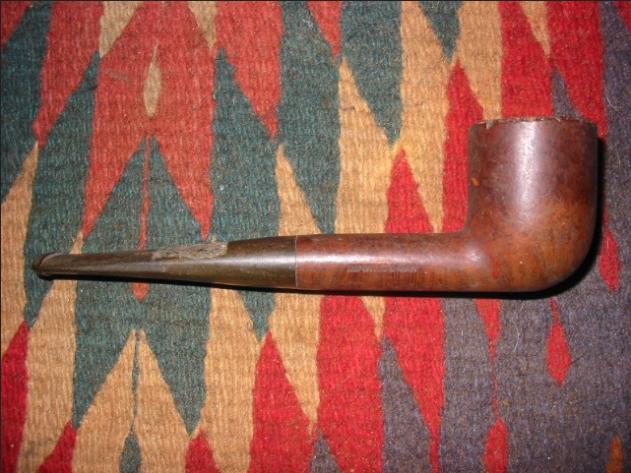
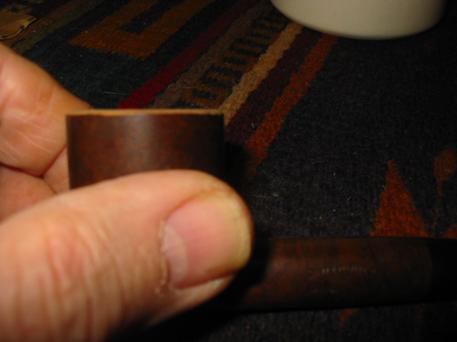
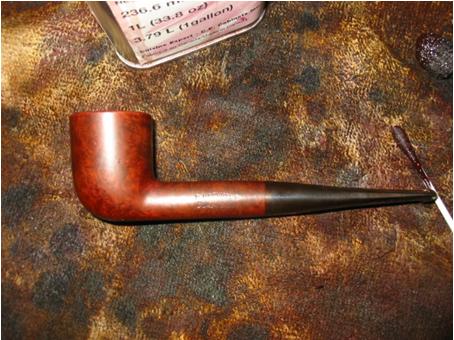
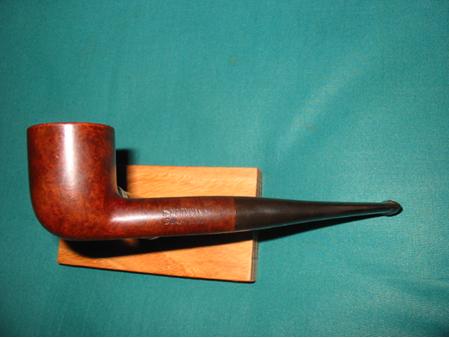
When I have an old pipe in my hand to repair or refurbish it presents a variety of challenges in that one project. Contrary to when it was crafted as a unit I now have the task of matching new work to old. To make a new stem that matches what appears to be a round shank that in reality is not round is generally the case with every pipe I re-stem. The minute shaping and cutting away of the diameter of the tenon and stem to fit a shank that is not truly round is one of those challenges. It really cannot be done on a centre point lathe as nothing truly is round. For example, I re-stemmed an old English pipe that to the naked eye appeared to have a round cylindrical shank. In examining it more carefully I found that it was not round. One side was heavier than the other. The measurements of the radius to different points on the circumference of the shank are all different. To craft a stem for this old pipe was all hand work. It can be shaped to a point with tools but all the fitting had to be done by hand. I love that challenge. I always am working for that seamless looking junction of stem and shank. Honestly, there are times I’ve achieved it better than others.
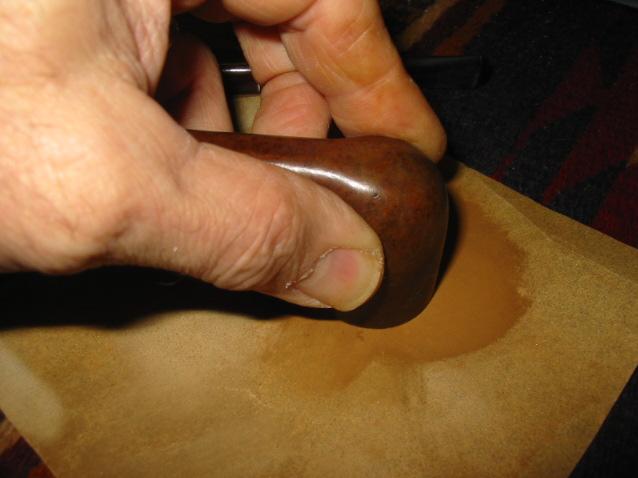
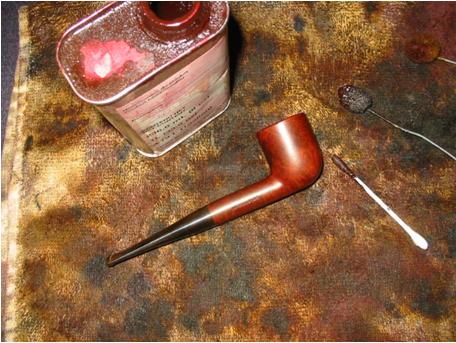
Once the stem is fit to the shank there is still much work that needs to be done to the stem before it is finished. The shaping of the angles of the plane of the stem needs to be done to reflect the flow of the shank and bowl. The button has to be shaped and thinned for comfort. The slot in the end of the stem needs to be opened to give a better airflow. If I am trying to match an original stem then research needs to be done online to find a pattern of the stem to try to duplicate. When that pattern is not available then I am free to creatively shape the stem. All of this is done before the sanding and polishing of the stem to get a glossy smooth surface. To me this is also a challenge. I am always seeking new tools, papers and micromesh products that will facilitate the work. There are always minute scratches that have to be worked over, seams on precast stems that need to be removed, and shaping that needs to be done with rod stock and hand cut stems. Whether working with Vulcanite, Lucite or Horn I have found that many of the same tools and products are used but different tactics are employed to get the final look that is desired.
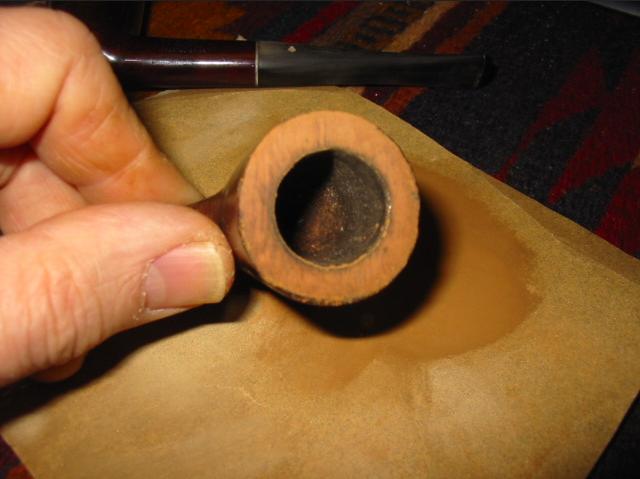
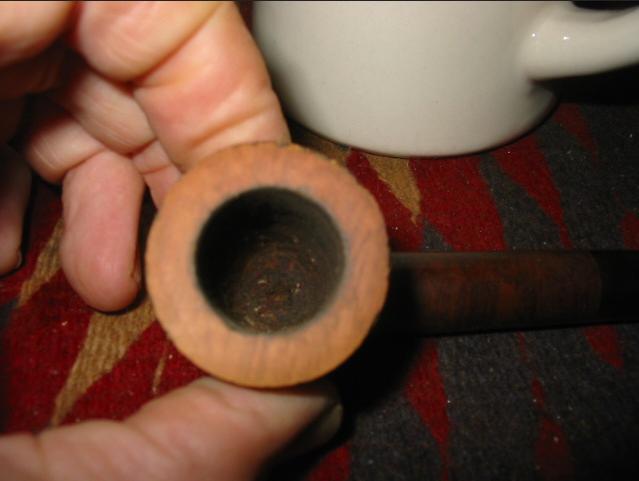
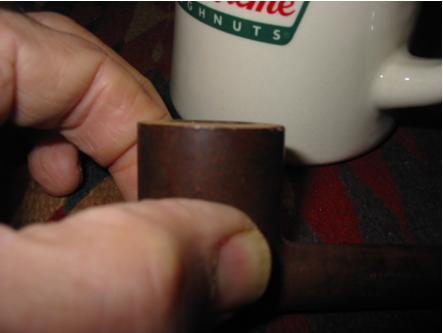
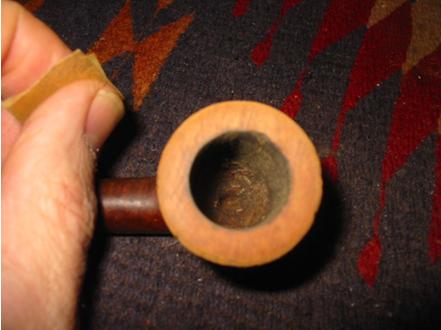
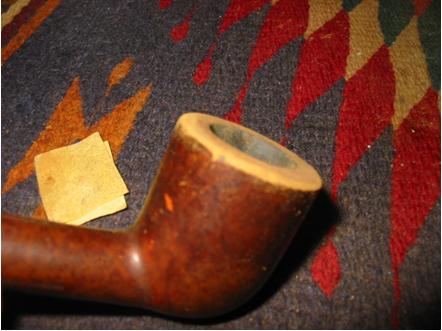
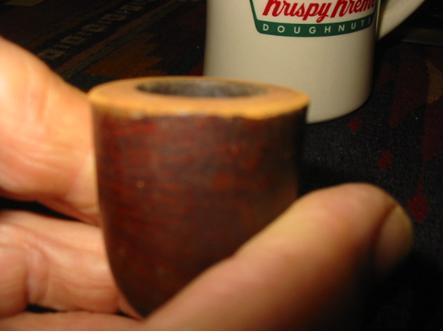
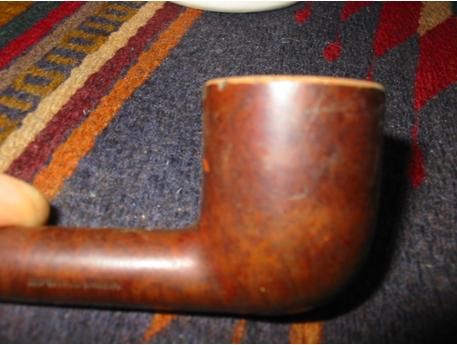
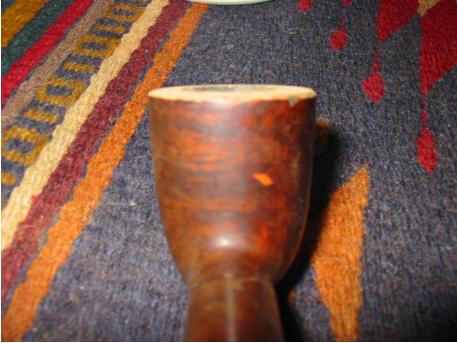
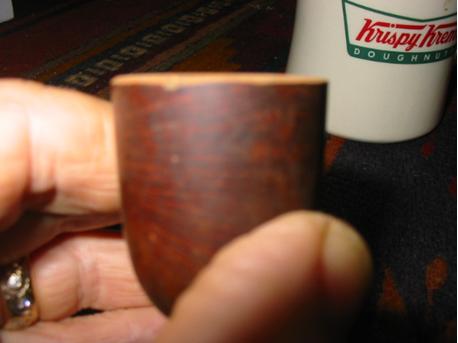
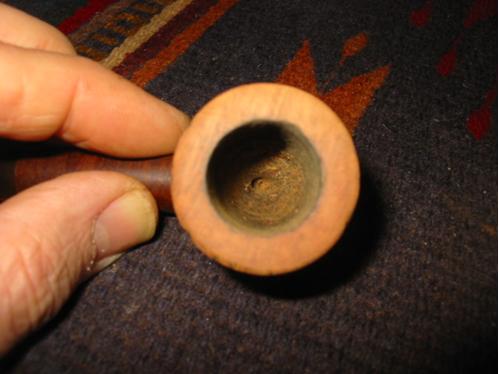
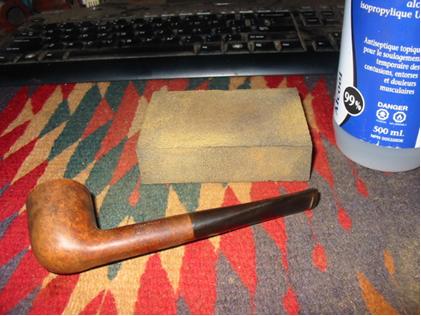
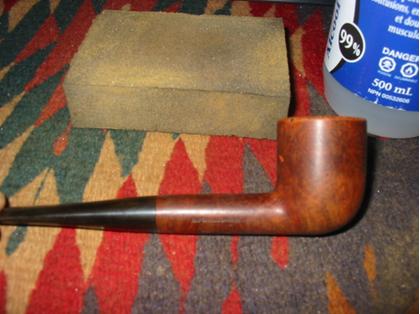
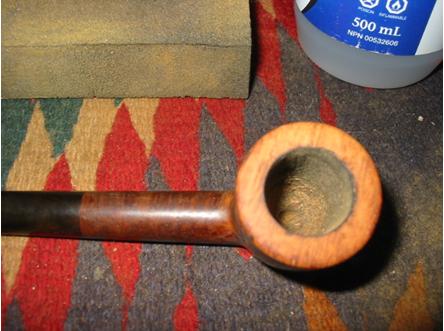
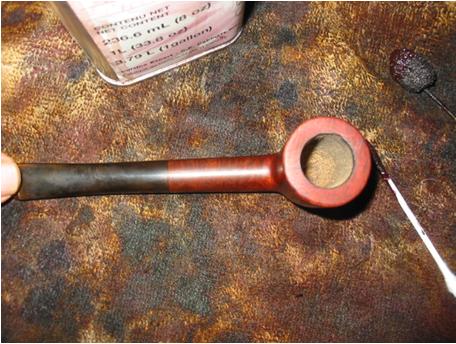
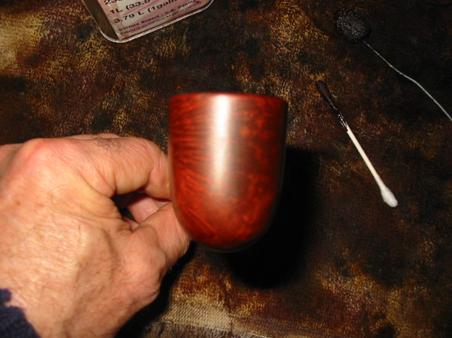
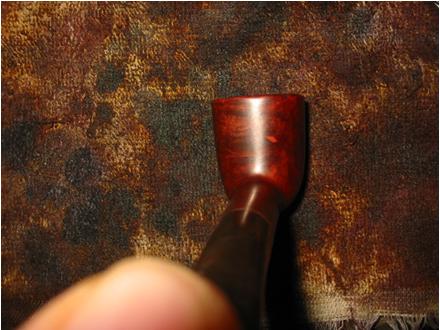
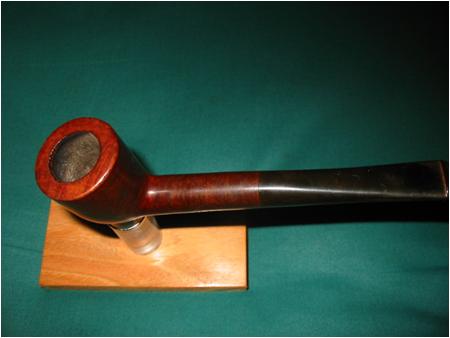
With the stem work finished, I turn my attention to the bowl and shank as there are repairs that must be done to them. I find that on these old timers the rim has often been damaged and is very rough. None of the sharp edges of the surface remain and it looks as if the pipe had been used to drive in nails or hang pictures. When deciding how to best handle the rim damage it is important to study the angle and surface of the rim. Only then can you decide regarding the need for topping or not, how much to top, how to maintain the integrity of the original shape or how to create a new shape out of the ghost that remains. Each of these steps contributes to the pleasure I derive from refurbishing these old timers.
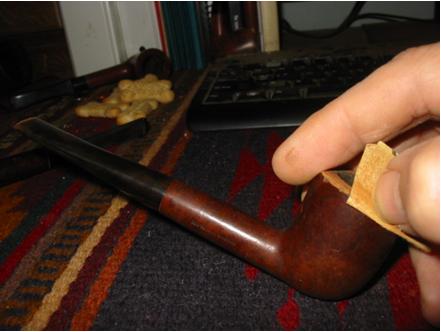
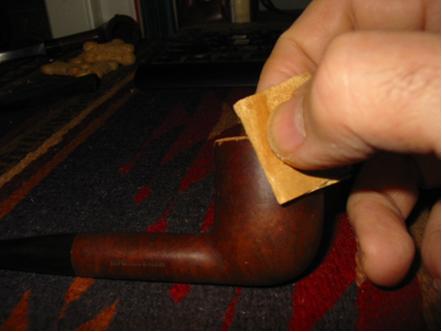
Another aspect of the draw of rejuvenating old pipes is the creative use of tools and papers and wedges. It always seems that necessity is the motivation for crafting new and different ways to use a tool or a process. This keeps the work incredibly interesting to me. I have reworked drill bits and screw drivers, sanding blocks and pads, all to the purpose of allowing more intricate access to the nooks and crannies of the pipes. I have employed dental picks and bent them at different angles to use in the stem and button as well as in the mortise itself. I have worked old doweling to use as sanding blocks inside of bowls. I have learned to maneuver the sanding drums on my hand held Dremel to work down the diameters of the stems and tenons as well as using them inside a pipe bowl to smooth out the cake. I have been able to experiment with the speeds to arrive at the optimal speeds to use for various aspects of the work.
The parts of the refurbishing picture include all the hidden and not so hidden stories that are attached to these old timers. Some of the ones I work on I know something of the history behind, but with others it is only an educated guess based on care of the pipe or lack of it, smells of the tobacco smoked in the bowl or the remnants still in the pipe. Yet each one belonged to some pipe smoker who took delight in firing up a bowl in his pipe. These all come together for me and cause to me visit the bench more frequently as a refurbisher rather than a carver. Refurbishing old briar involves a very different set of skills and abilities than those used in carving a new pipe from a fresh block of briar. While both take skill and patience, to me refurbishing and restoring an old pipe is more engaging. While all the pipes I work on take the same basic skills each presents unique challenges that push my abilities and skills in new ways.
Those are my thoughts for now… I am sure that the longer I work on old pipes the more these thoughts will mature and grow. Now off for a bowl of some good Virginia in an old restored Sasieni Liverpool.