Blog by Andrew Selking
In my quest to corner the market on pre-war Yello Bole pipes, I snagged this nice little oval shank Dublin. It’s between a group one and group two size, my smallest reamer head only fits about half way into the bowl. The best part is the pipe had not suffered serious abuse. It had some tar on the rim, along with a few nicks and a small tooth mark on the back of the stem. Here is what it looked like when I got it.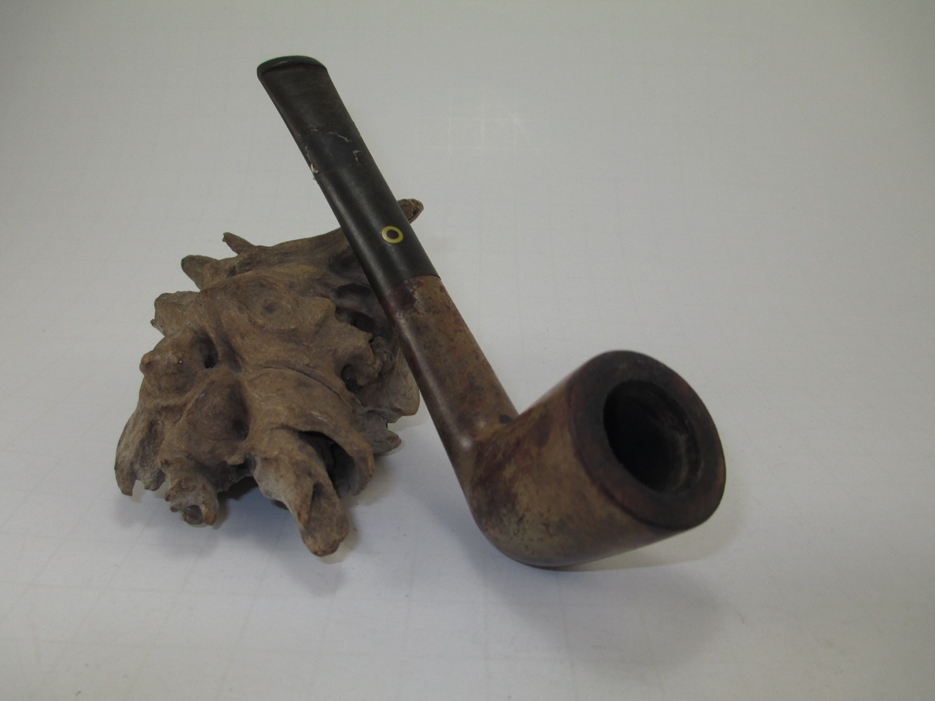 You will notice the varnish, in a lot of cases a finish like that is to cover up imperfections in the briar. So it was with a little trepidation that I dropped the bowl into the alcohol bath.
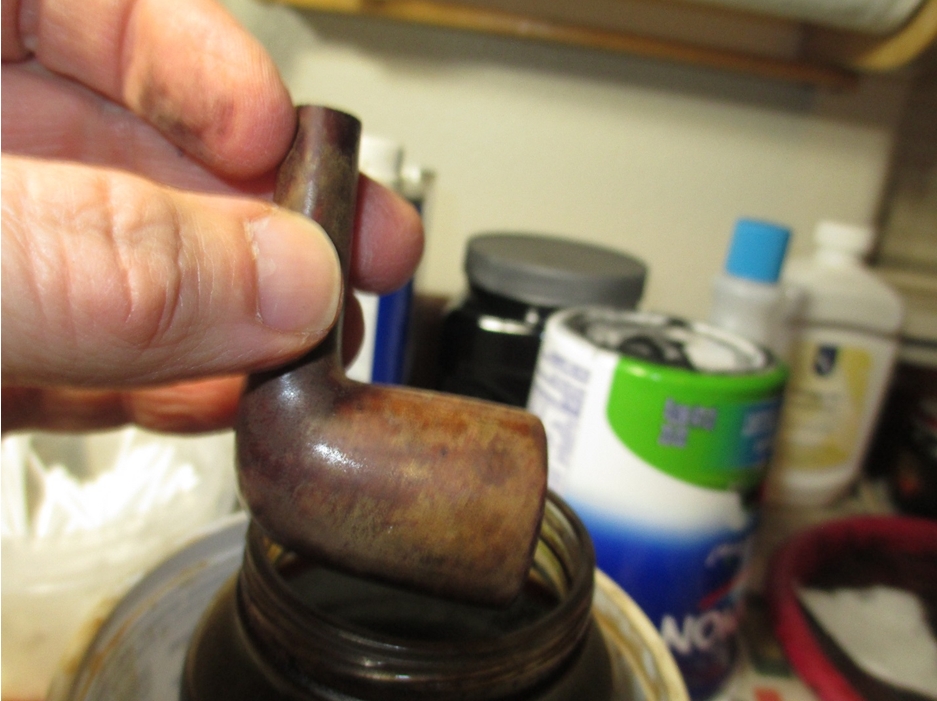 While the bowl marinated, I soaked the stem in Oxyclean. Next I reamed the bowl. As I mentioned earlier the reamer head didn’t fit all the way down, so I carefully removed the remaining cake with a small pen knife (which you can see in the corner of the picture) and a dental pick.
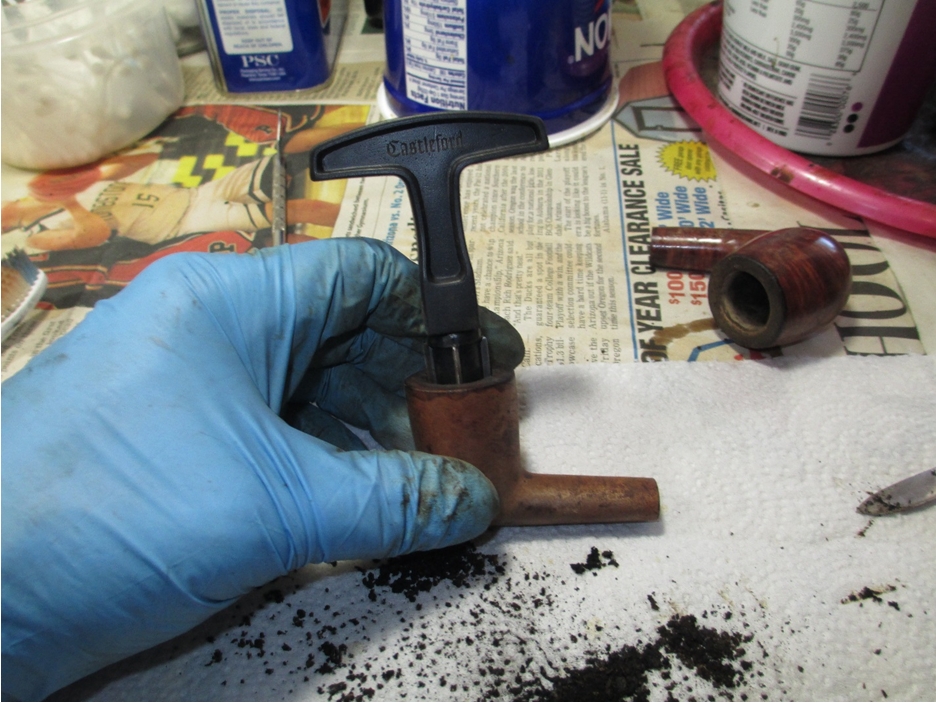 Next up the retort. Judging from the stinger I didn’t expect a dirty pipe.
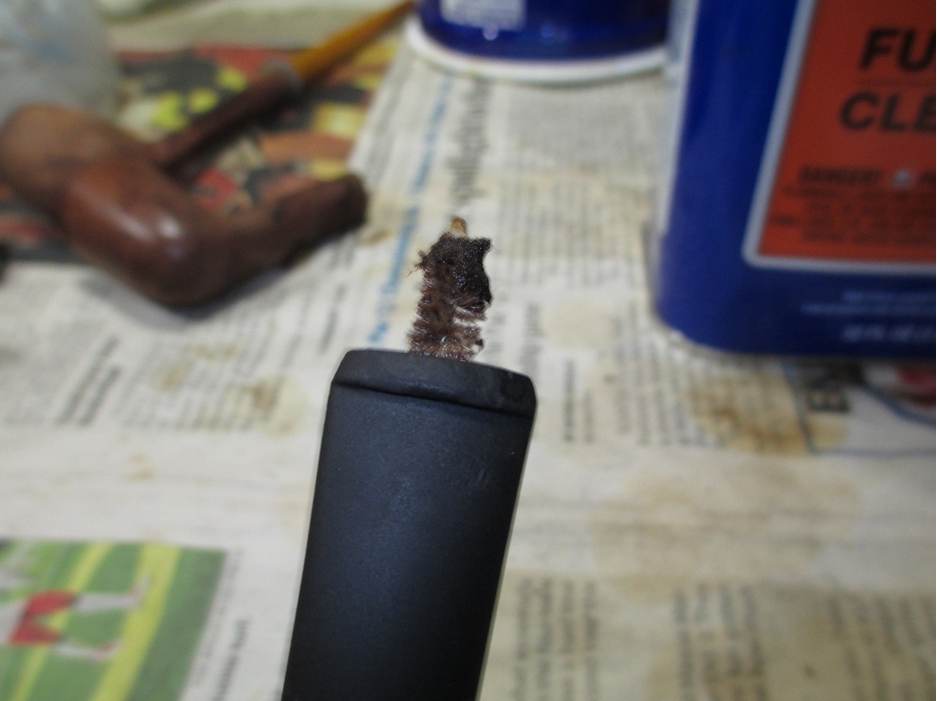

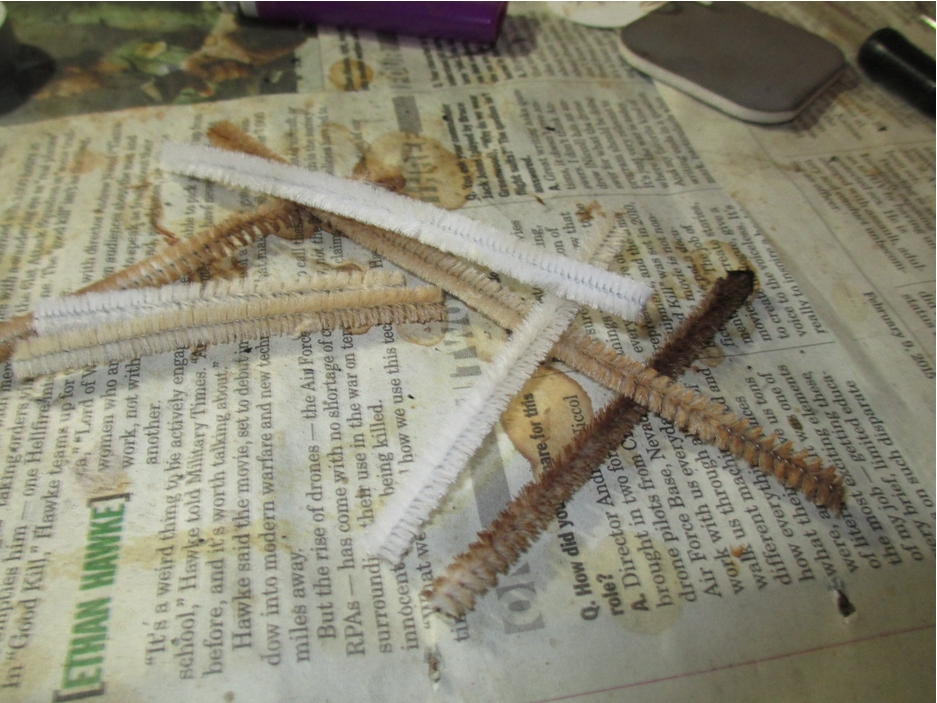
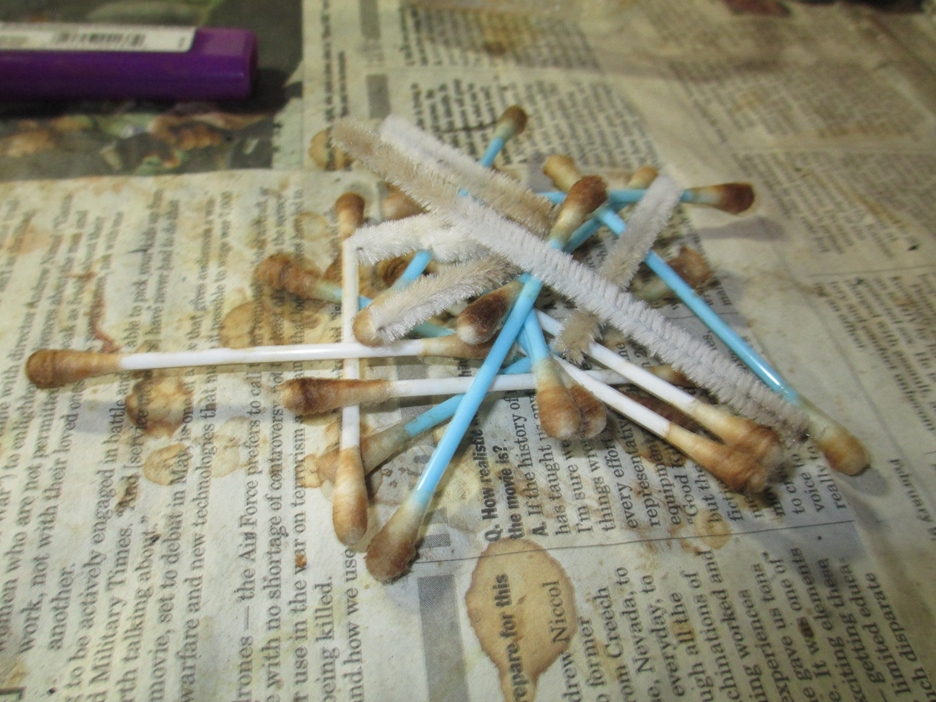 The stem was a little dirtier, but a second retort cleared it up nicely.
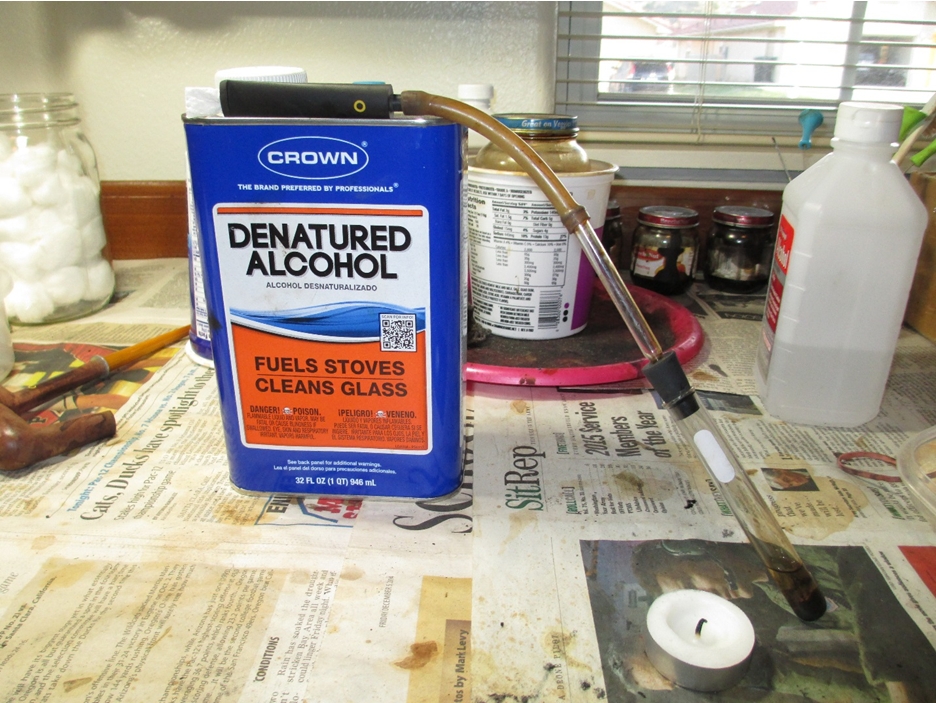
 With the internals sorted, I could now see what lurked under the varnish. I used 0000 grit steel wool and acetone to remove the tar on the rim and the varnish.
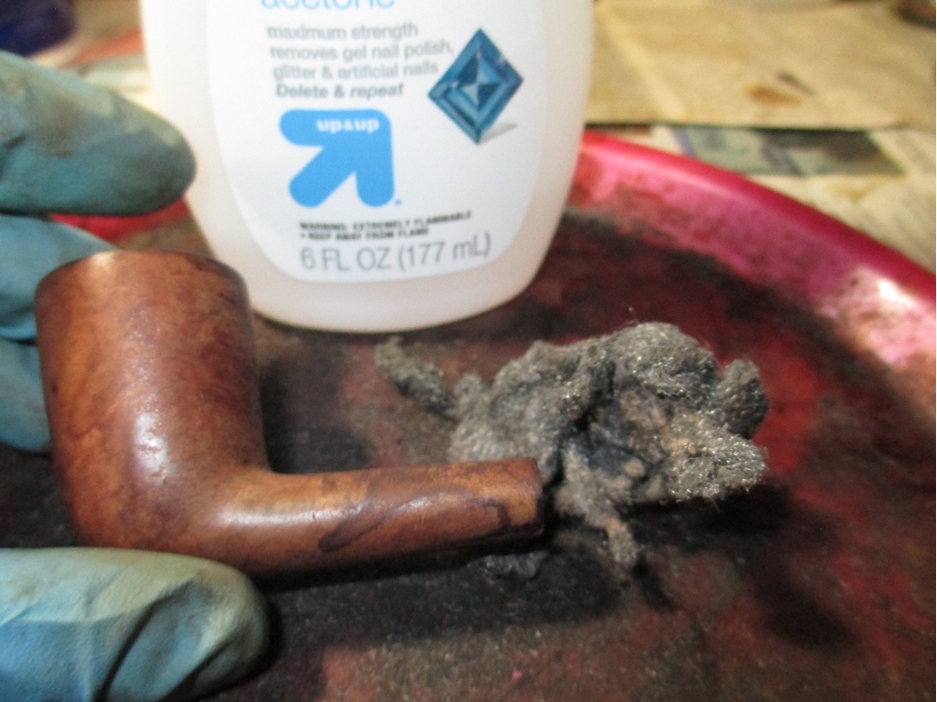 I was pleased to only find a single fill.
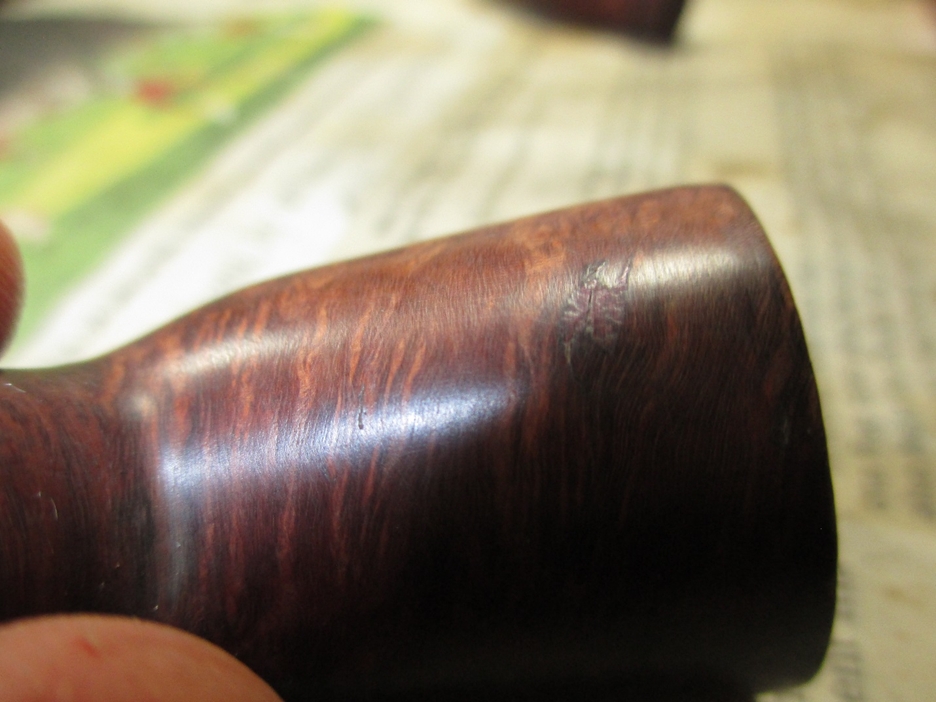 It was the pink putty though, and I hate pink putty, so it had to go.
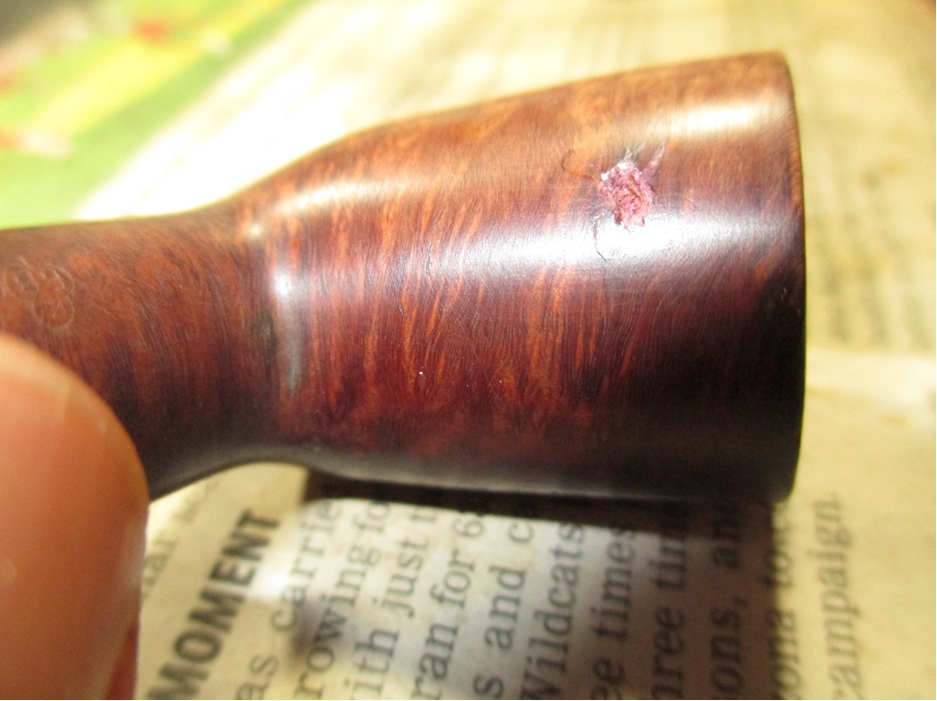 I’ve tried as many different techniques for fixing fills as I can think of. My current technique is to use a push pin to spread a small amount of CA glue into the hole, next I pack it full of briar dust, followed by a drop of CA, followed by a drop of accelerator. The nice thing about using accelerator is you can work the repair right after drying off any remaining accelerator. Here is what the repair looked like before sanding.
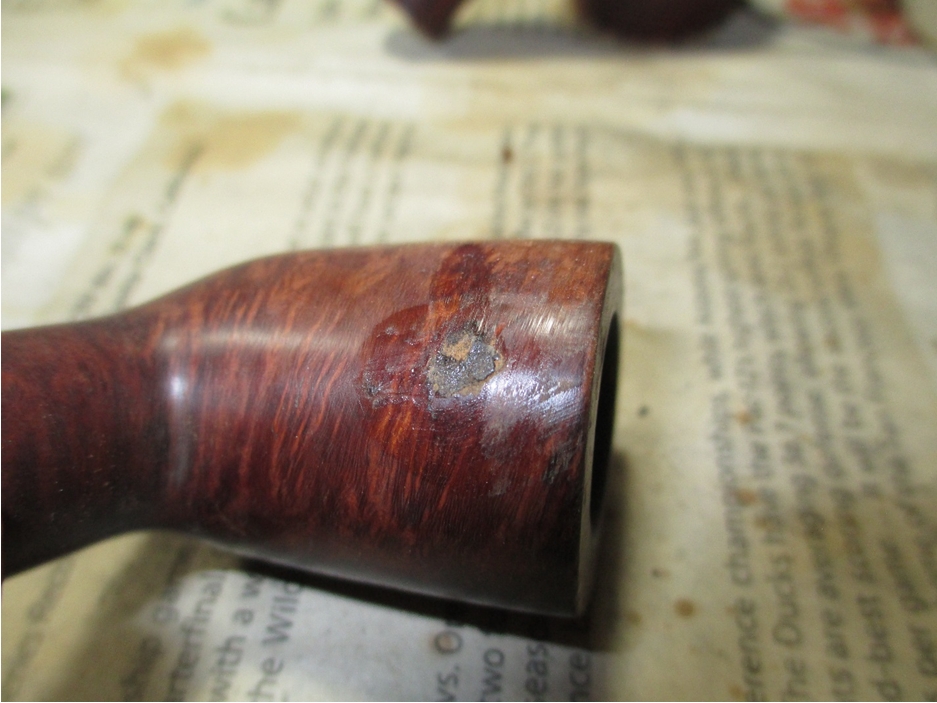 Next I tackled the oxidation on the stem. I used 400 grit wet/dry with water followed by 1500, 1800, and 2400 grit micro mesh pads with water. I always hold a washer over the tenon to prevent rounding the shoulders of the stem. Here is the stem after removing oxidation.
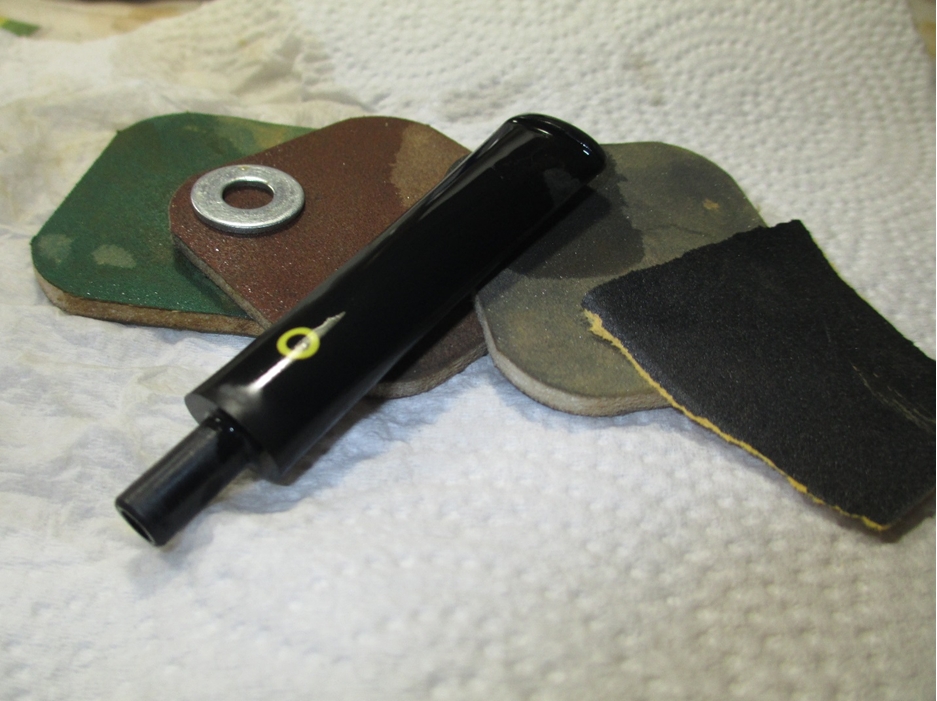 I still had the tooth mark on the bottom of the stem to fix, so I mixed up some clear CA and finely ground charcoal dust and applied it with my push pin. You may notice the yogurt container, I use that to mix the glue and charcoal. When it gets too dirty I throw it away and get a new one.
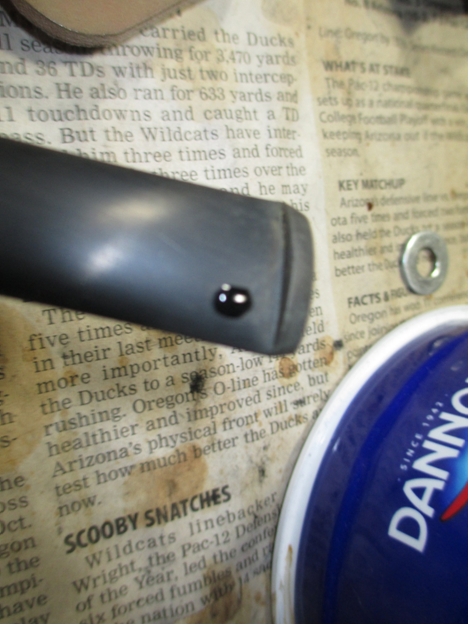 I used 400 grit sand paper to shape the fill, followed by 1500-2400 grit micro mesh. I usually don’t use water when sanding down fills. I removed the top coat of finish on the bowl with a progression of 1500 to 2400 grit micro mesh pads. Next I used 3200 to 12,000 grit micro mesh pads to polish the entire pipe. You will again notice the washer on the stem. Here is the pipe ready for final polish.
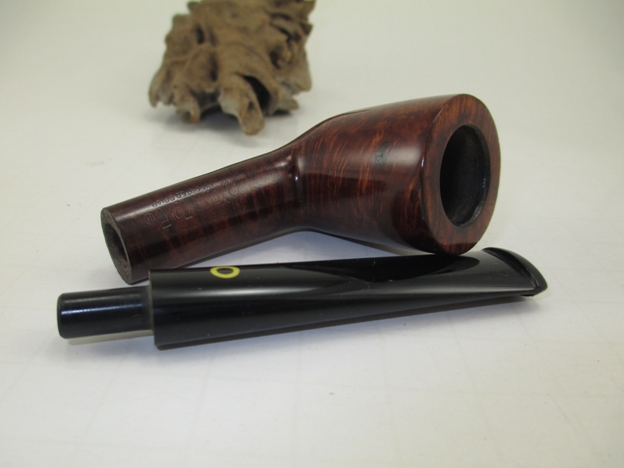
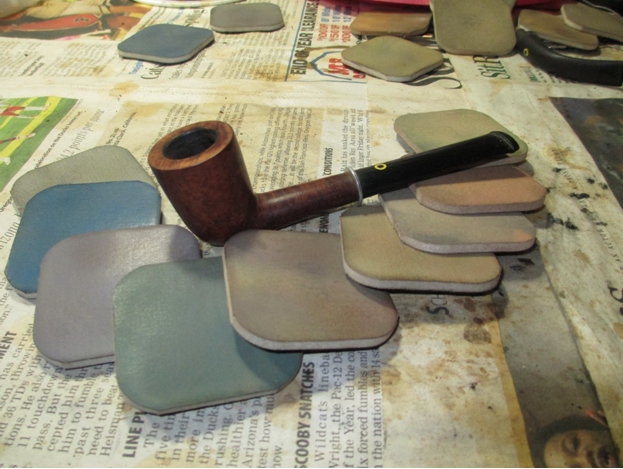 I used my rotary tool with white diamond and carnauba wax on the stem.
 I took the bowl to the buffer and used white diamond and carnauba wax on it as well. Just a word of caution when using a buffer, hold onto whatever you’re buffing with both hands.
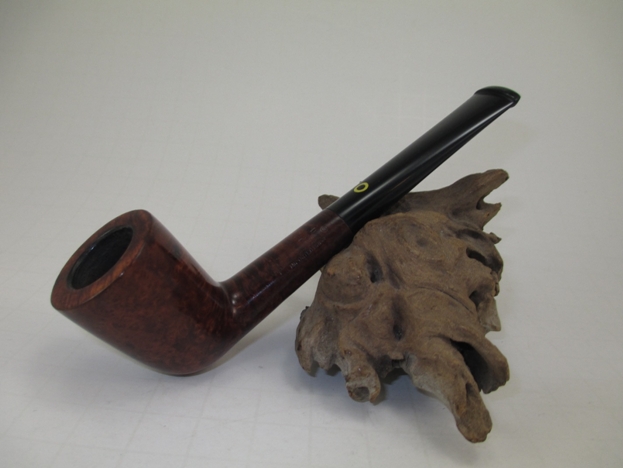
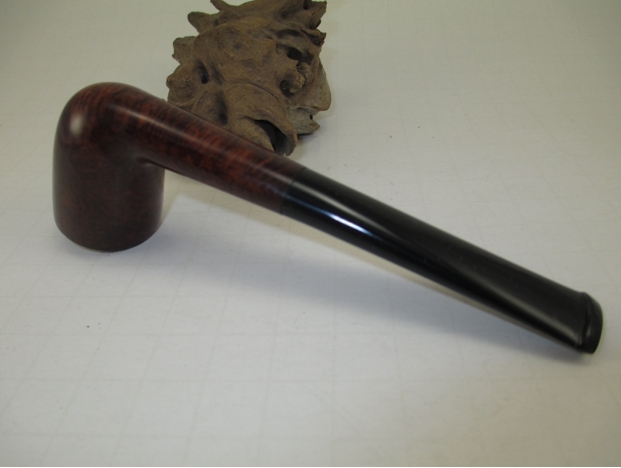
Here is the final result. Thanks for looking.