Blog by Steve Laug
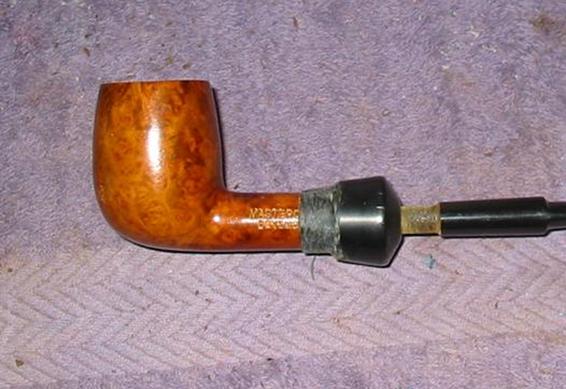
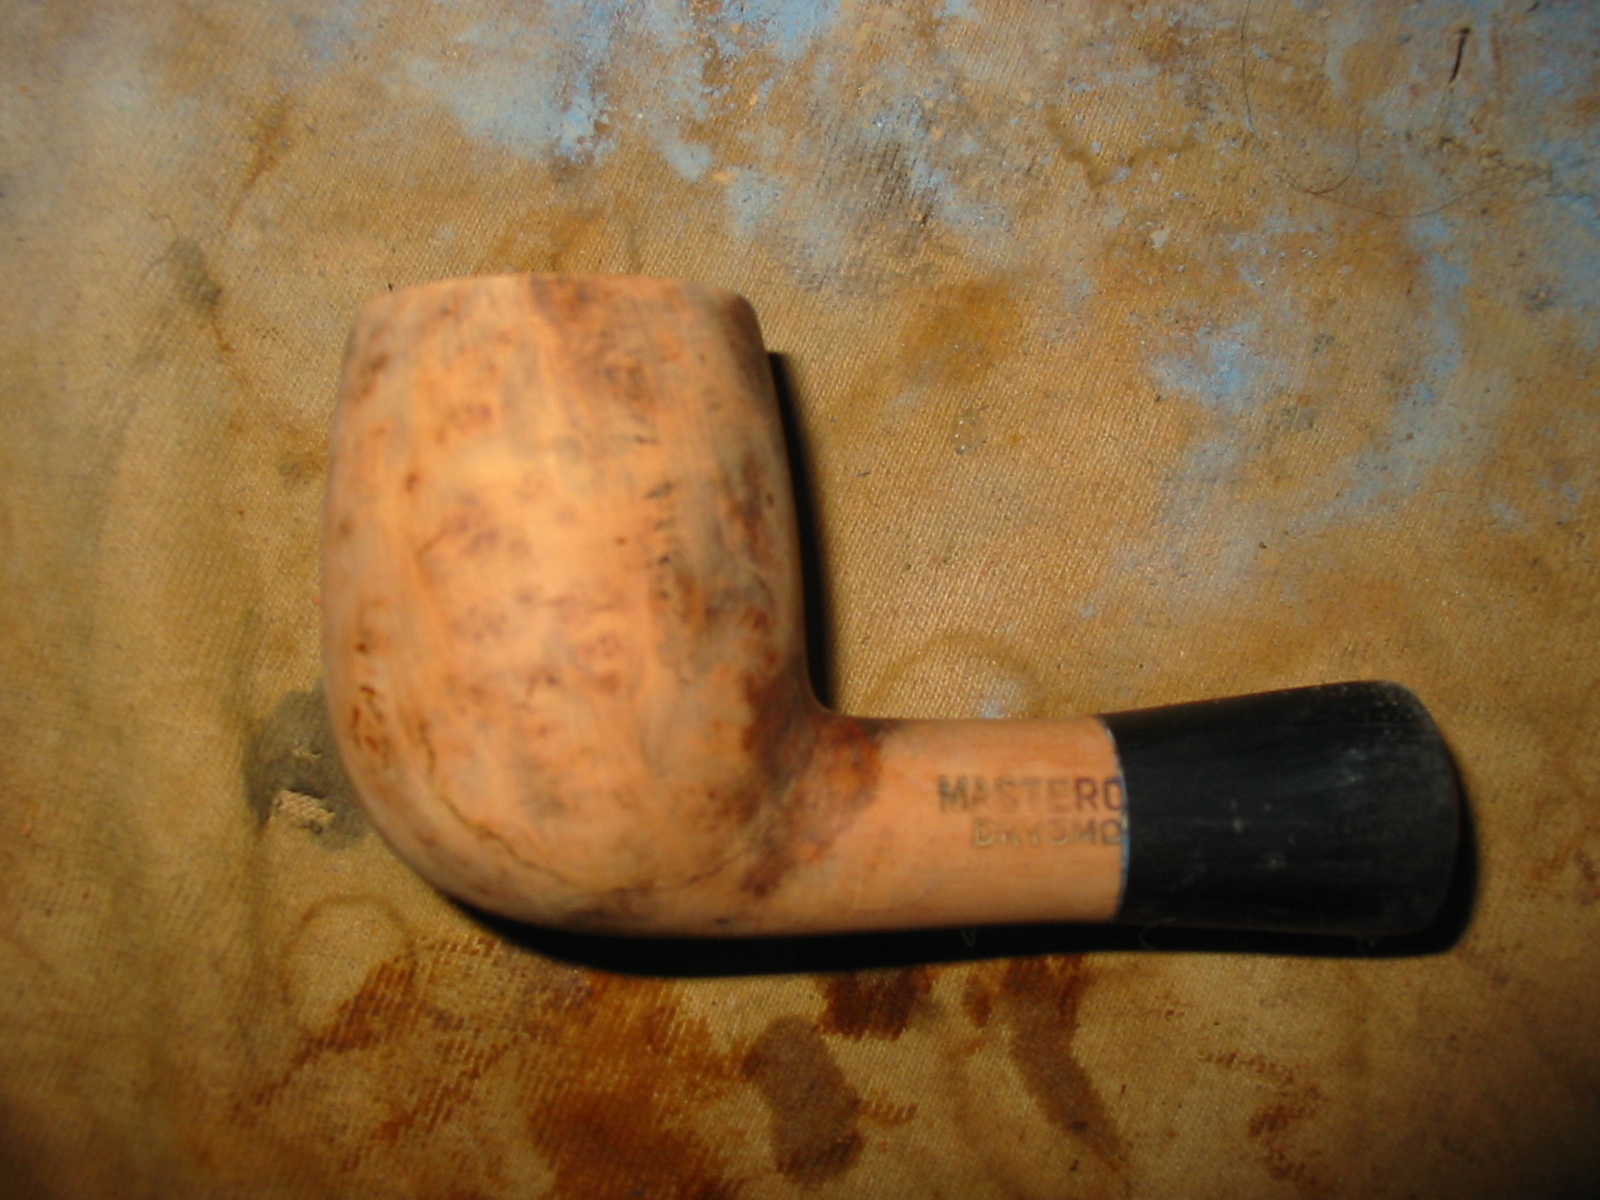
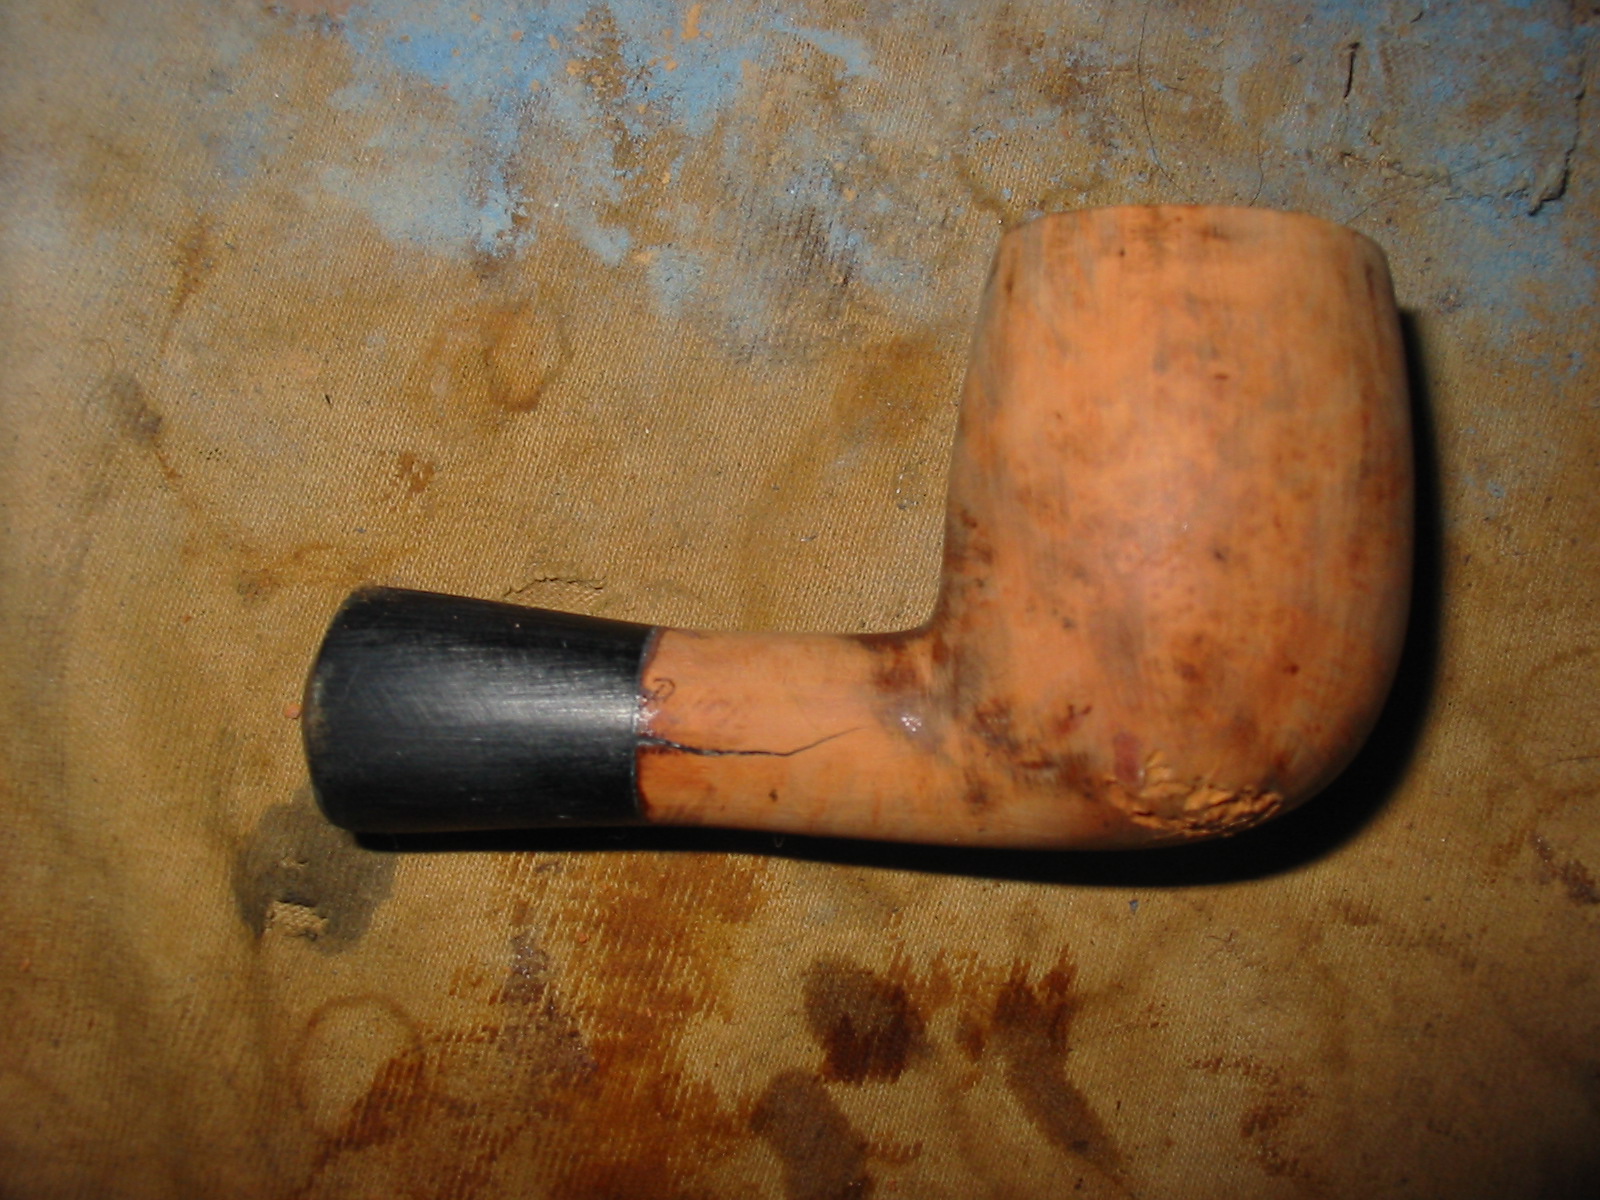
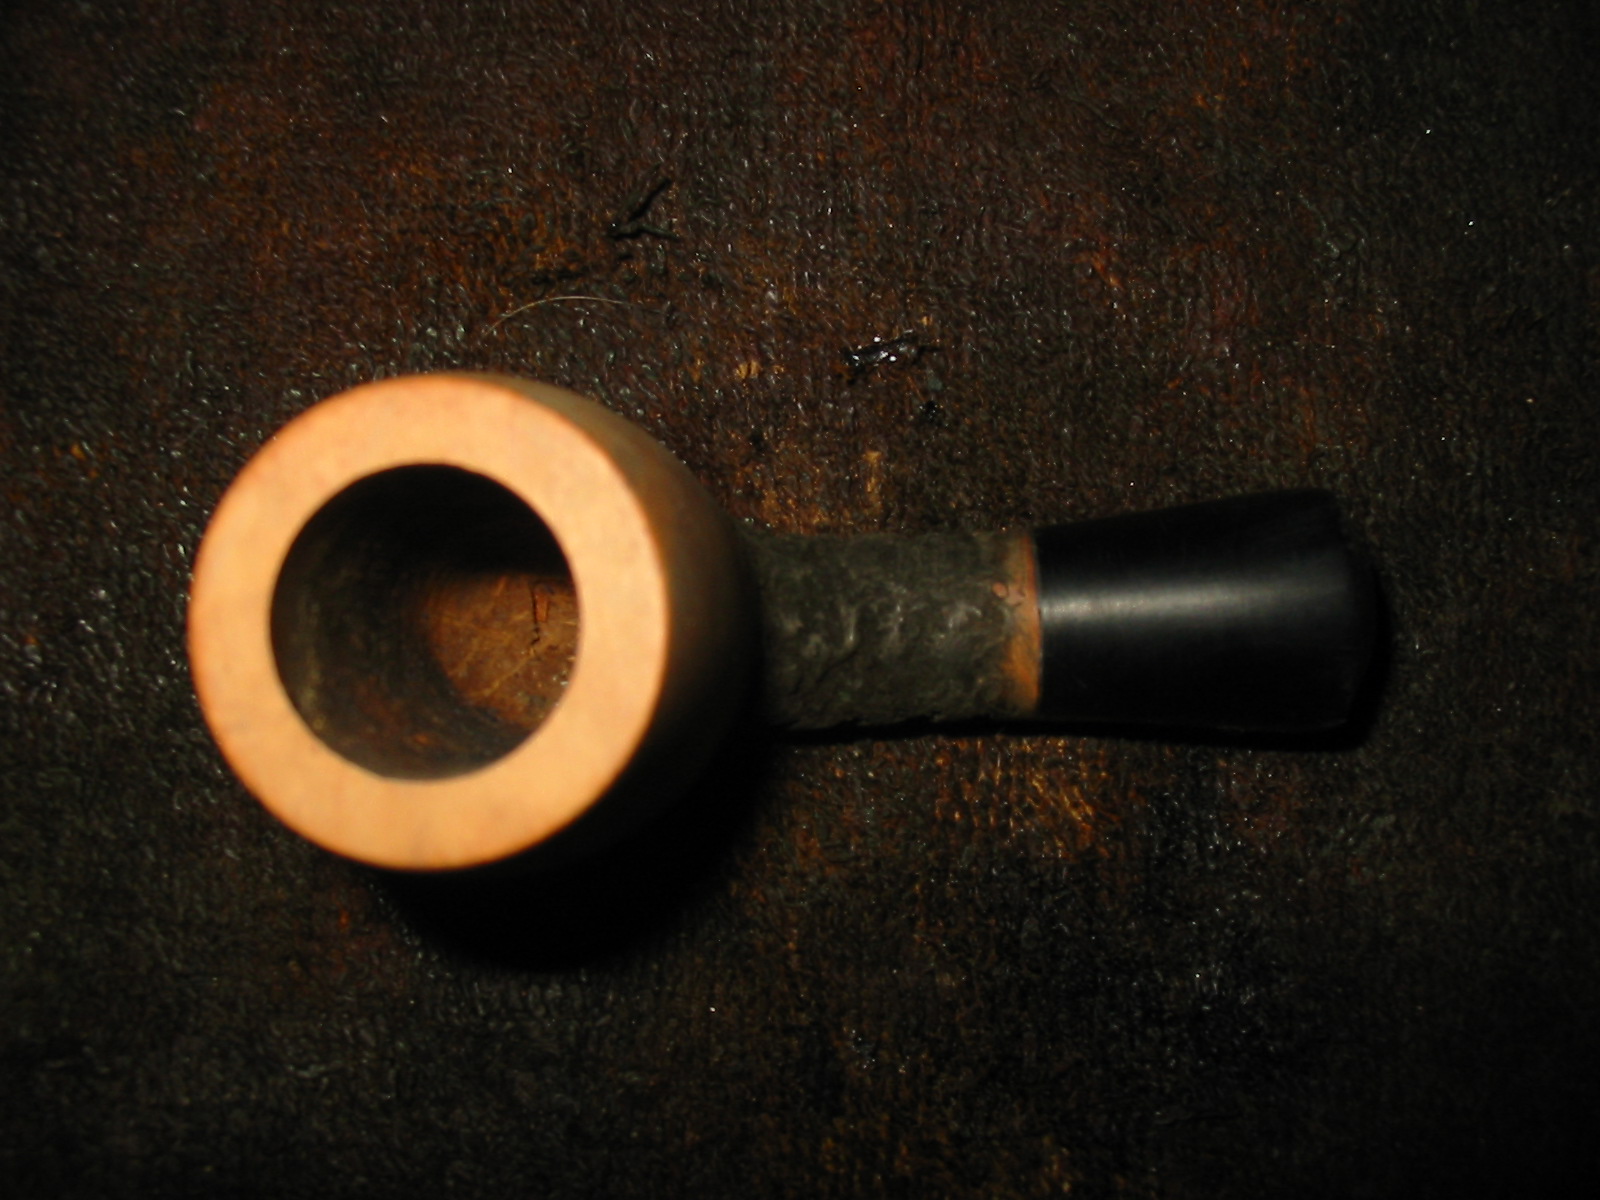
One of the pipe bowls I was recently gifted was an unsmoked Mastercraft Drysmoke bowl that had the shank cut back to half of its original length. The cutback was done poorly – crooked cut with a dull saw. It had cut right through the stamping on both sides of the shank and was crooked.
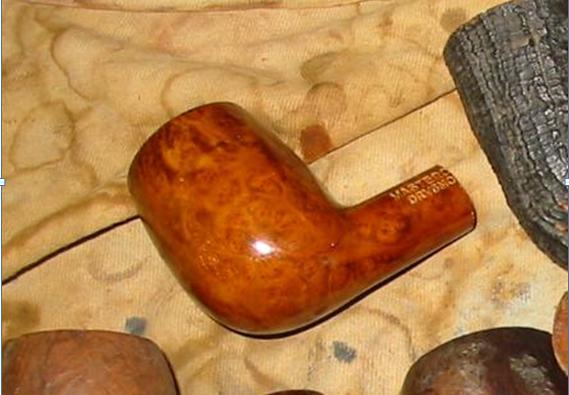
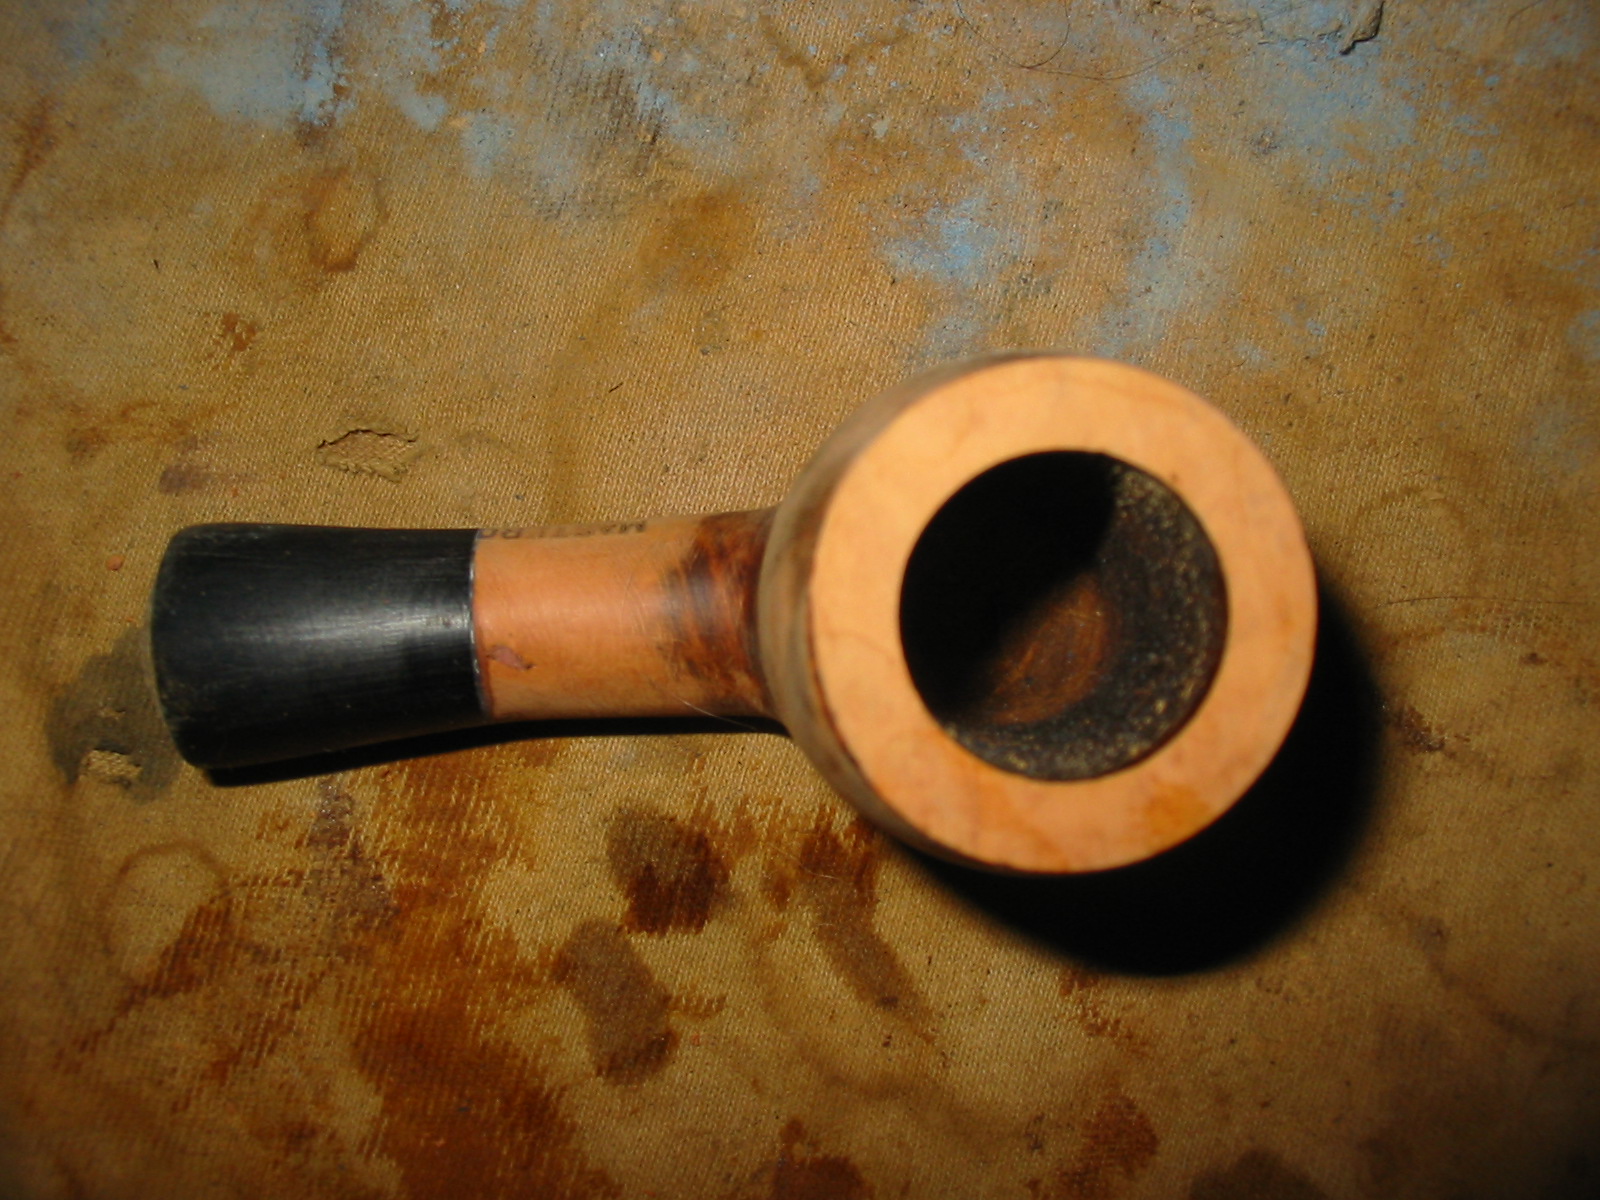
The bowl had a very heavy coat of urethane on it as well. There was some nice grain on part of the bowl but the bottom had some hack marks where it looked like the saw had jumped. I took some time to look it over and try to figure out what I was going to do with it. I was not sure and looked at the end of the cut off. I knew I would have to face the end of the shank to even things up no matter what I did with it. I could easily have just drilled the mortise large and cut a new stem for it. It would have ended up a short shank billiard and that would have been fine. However in the midst of the review I decided that it was time to learn something new. I have always wanted to learn how to do shank extensions so I figured this was a great candidate for my schooling. I flattened the end of the shank squaring it like I do when topping a bowl. I had an old vulcanite shank extension I scavenged somewhere. I had played around with it and sanded away part of the end that faced on the shank of the pipe before I threw it in my parts box. It was a mess as it was but it might just work. I also had some white Delrin tenon material that would work well. I had already turned it almost to the correct size with my Dremel and sanding drum. Maybe these parts would all come together and help me craft something different. What the heck it was worth a try and I would learn a lot in the process.
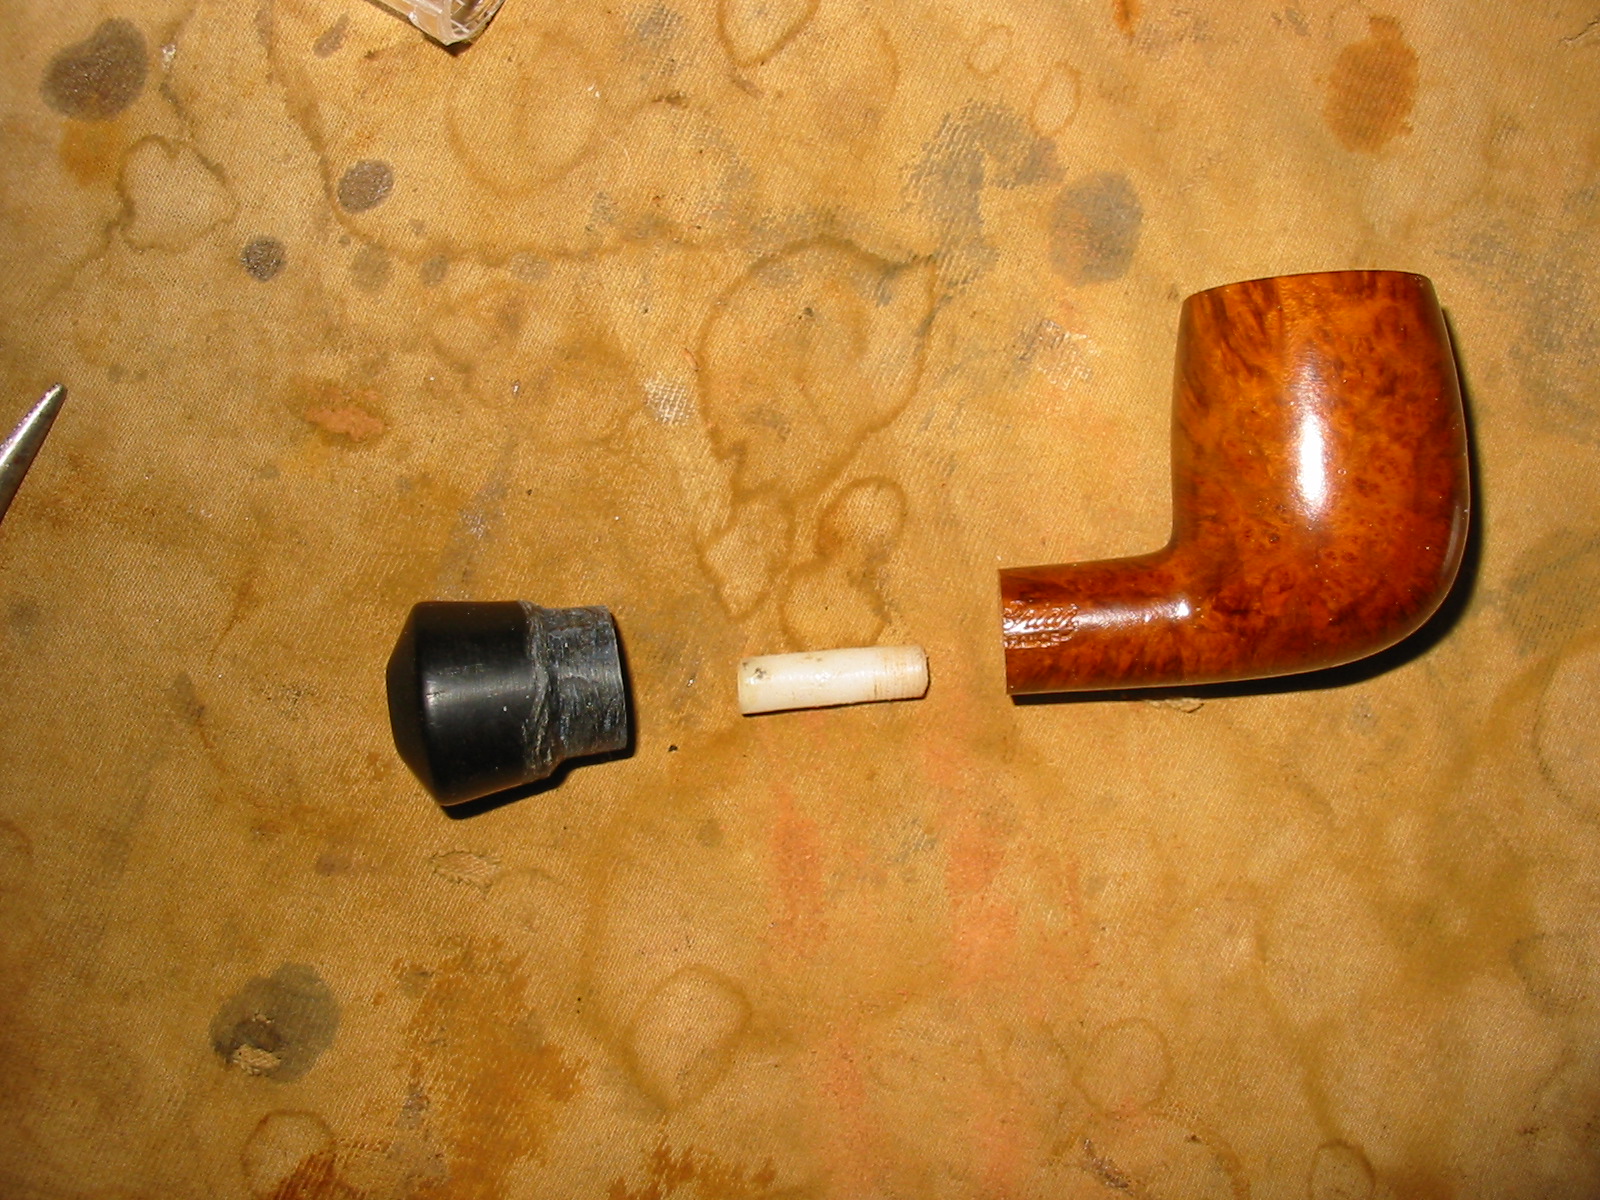
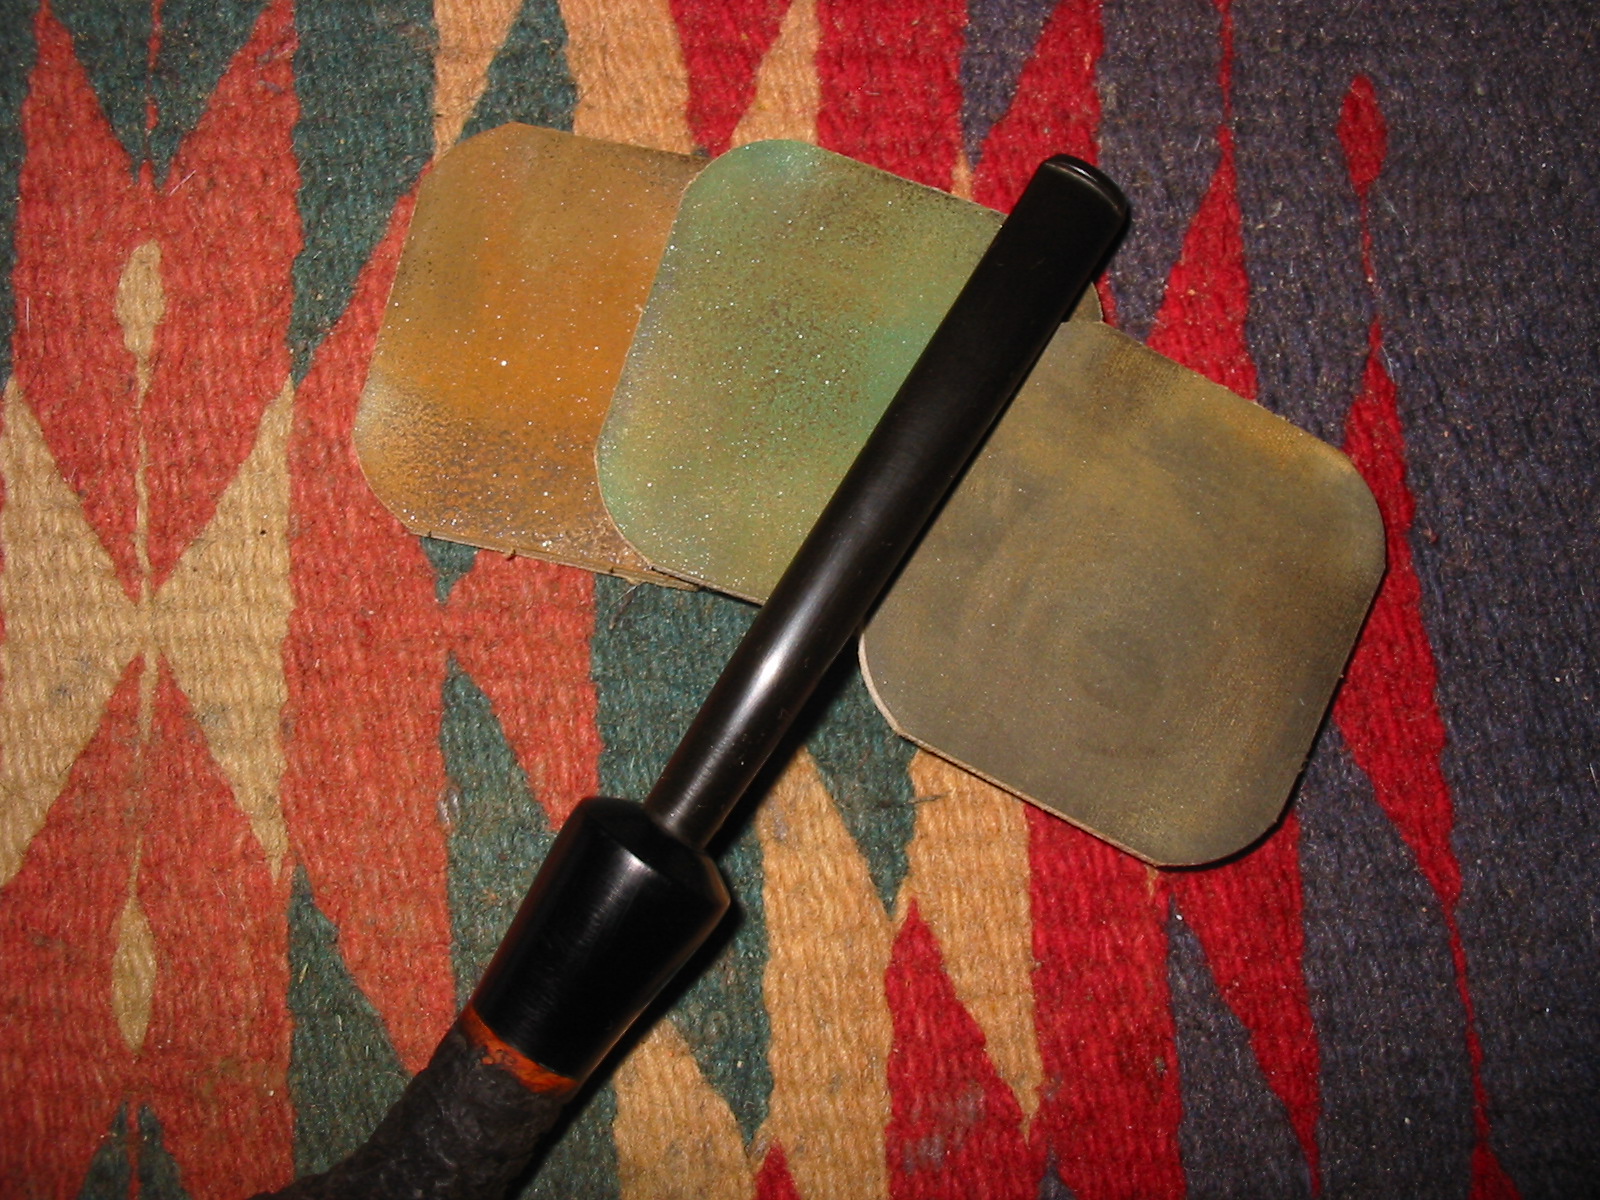
The photo above shows all the parts laid out for the connection. I faced the end of the shank using a sanding board in the same manner I used to top a bowl rim. It took a bit of work and focus to get it flattened out and perfectly horizontal. (Oh to have a lathe to do this kind of thing.) I used the Dremel with the sanding drum to fine tune the diameter of the Delrin so that it would fit well in both the end of the cut of shank and the vulcanite extension. I wanted the two parts to face smoothly against each other. I put it together to make sure I had the fit right
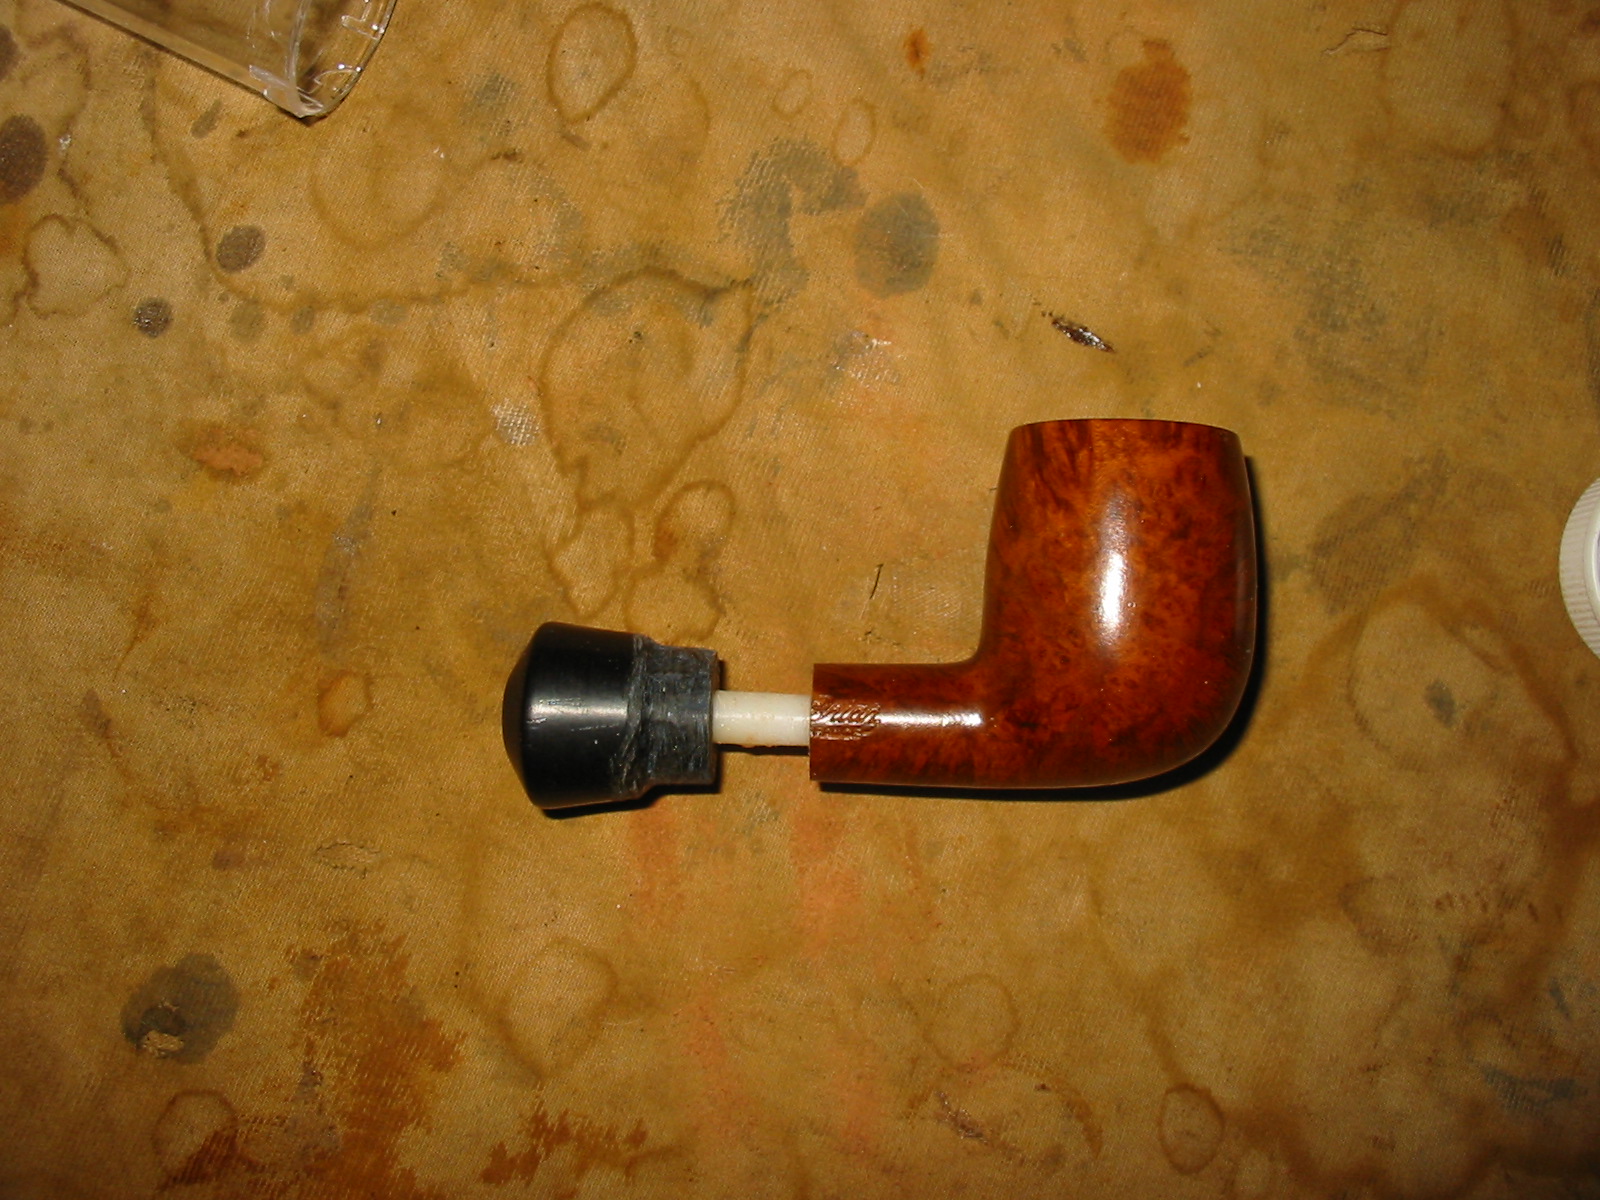
I put glue on the end of the tenon and pressed it into the shank and then repeated the process and pressed the extension in place. The fit against each other was exactly what I wanted. I ran some superglue in the joint between the two materials and when it dried I would sand it down. I had an old stem that had the right tenon size and inserted it to have a look. I wanted to see what the newly glued shank extension would look like with a stem in place. The joint looked good and a stick bit stem would work well when I got to that point in the process.
I removed the excess material of the extension with the Dremel and sanding drum and a lot of hand sanding with 220 grit sandpaper. I wanted to make the extension slightly flared and the transition between the shank and the extension smooth and seamless. I was going for a taper back from the bowl to the end of the shank. I also wiped the bowl down with acetone on cotton pads to remove the urethane finish. It was a tough go so I sanded the bowl and shank. I decided to not worry about sanding the partial stamping that was left on the shank as it was no longer a Mastercraft pipe at this point.
In the process of adding the Delrin I noticed that there was a crack in the shank on the right side of the pipe. It was present before I inserted the tenon, but the insert opened it up. I dripped some super glue in the crack before I put the Delrin insert in place. I knew that the insertion of the tube in the shank from the cut end to the end of the airway would give strength to the repair and also remove the pressure on the shank. I also knew that there would no more stress on the crack once the extension and tube was in place. After sanding the shank and extension I did some cosmetic work on the crack and filled it with superglue and briar dust. Once it was dry I sanded that area of the shank until it was smooth.
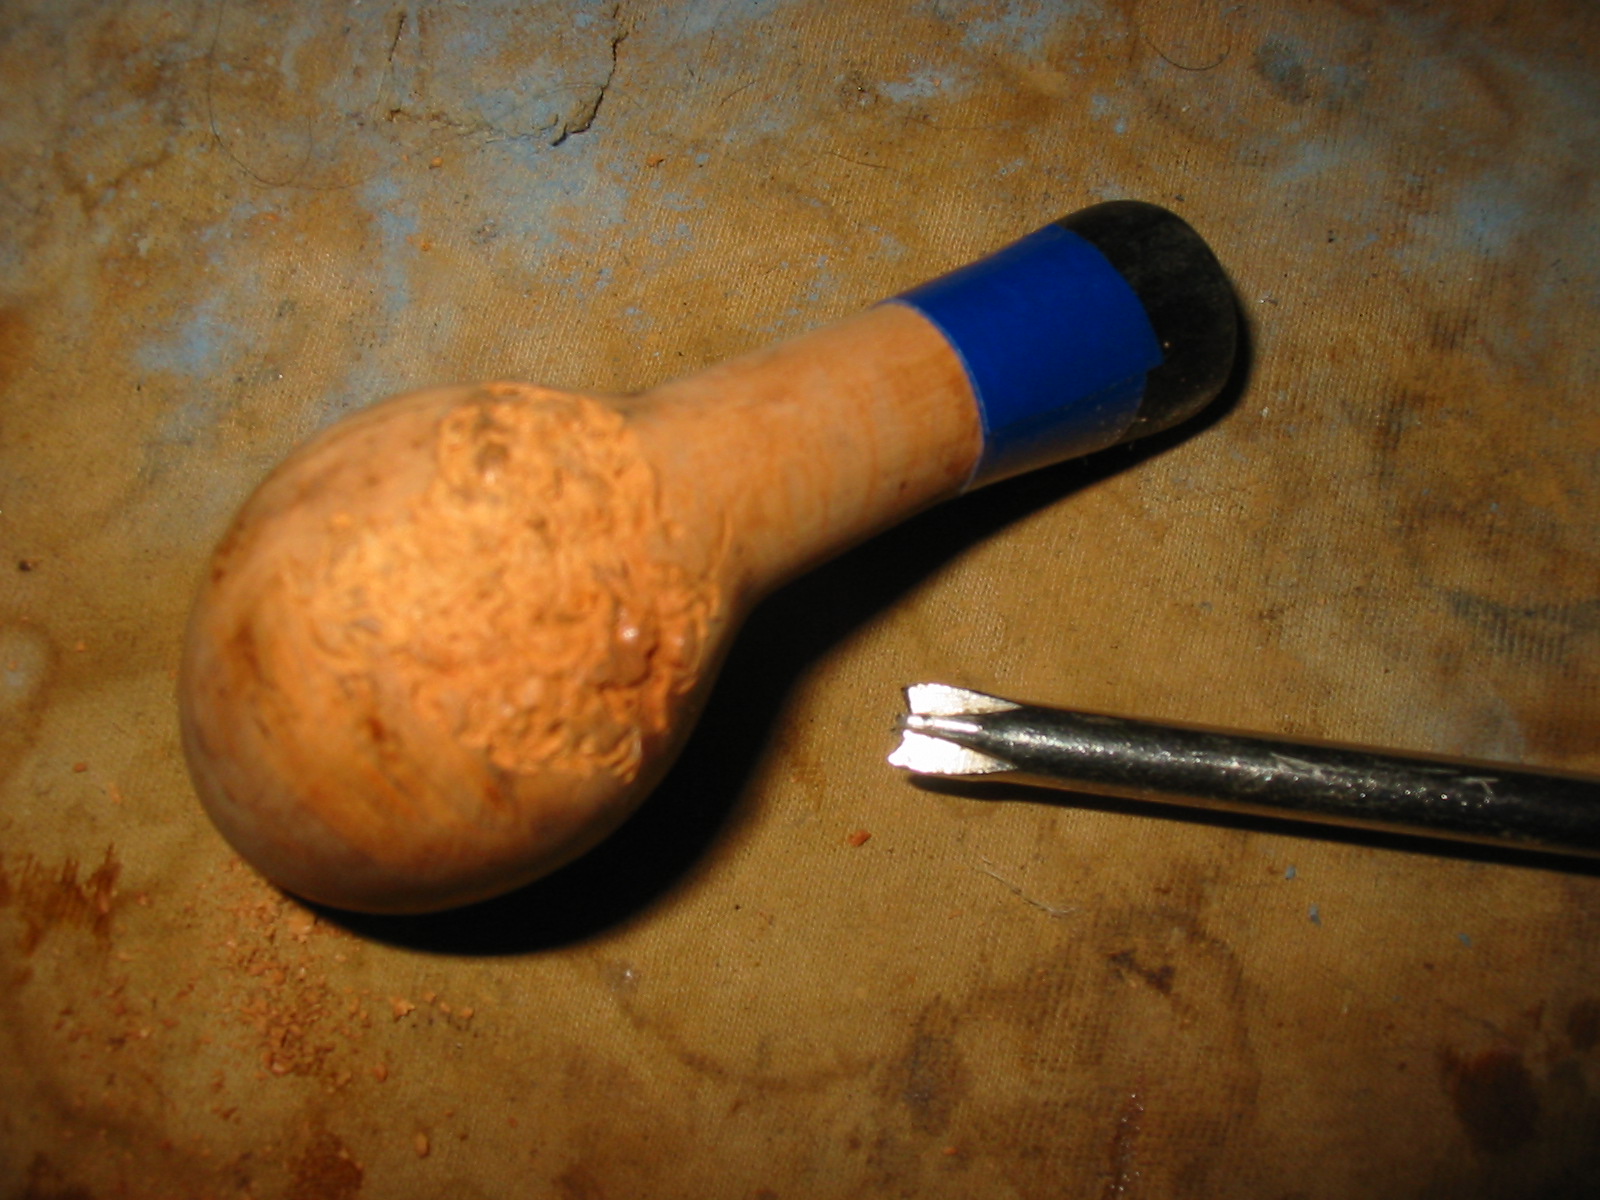
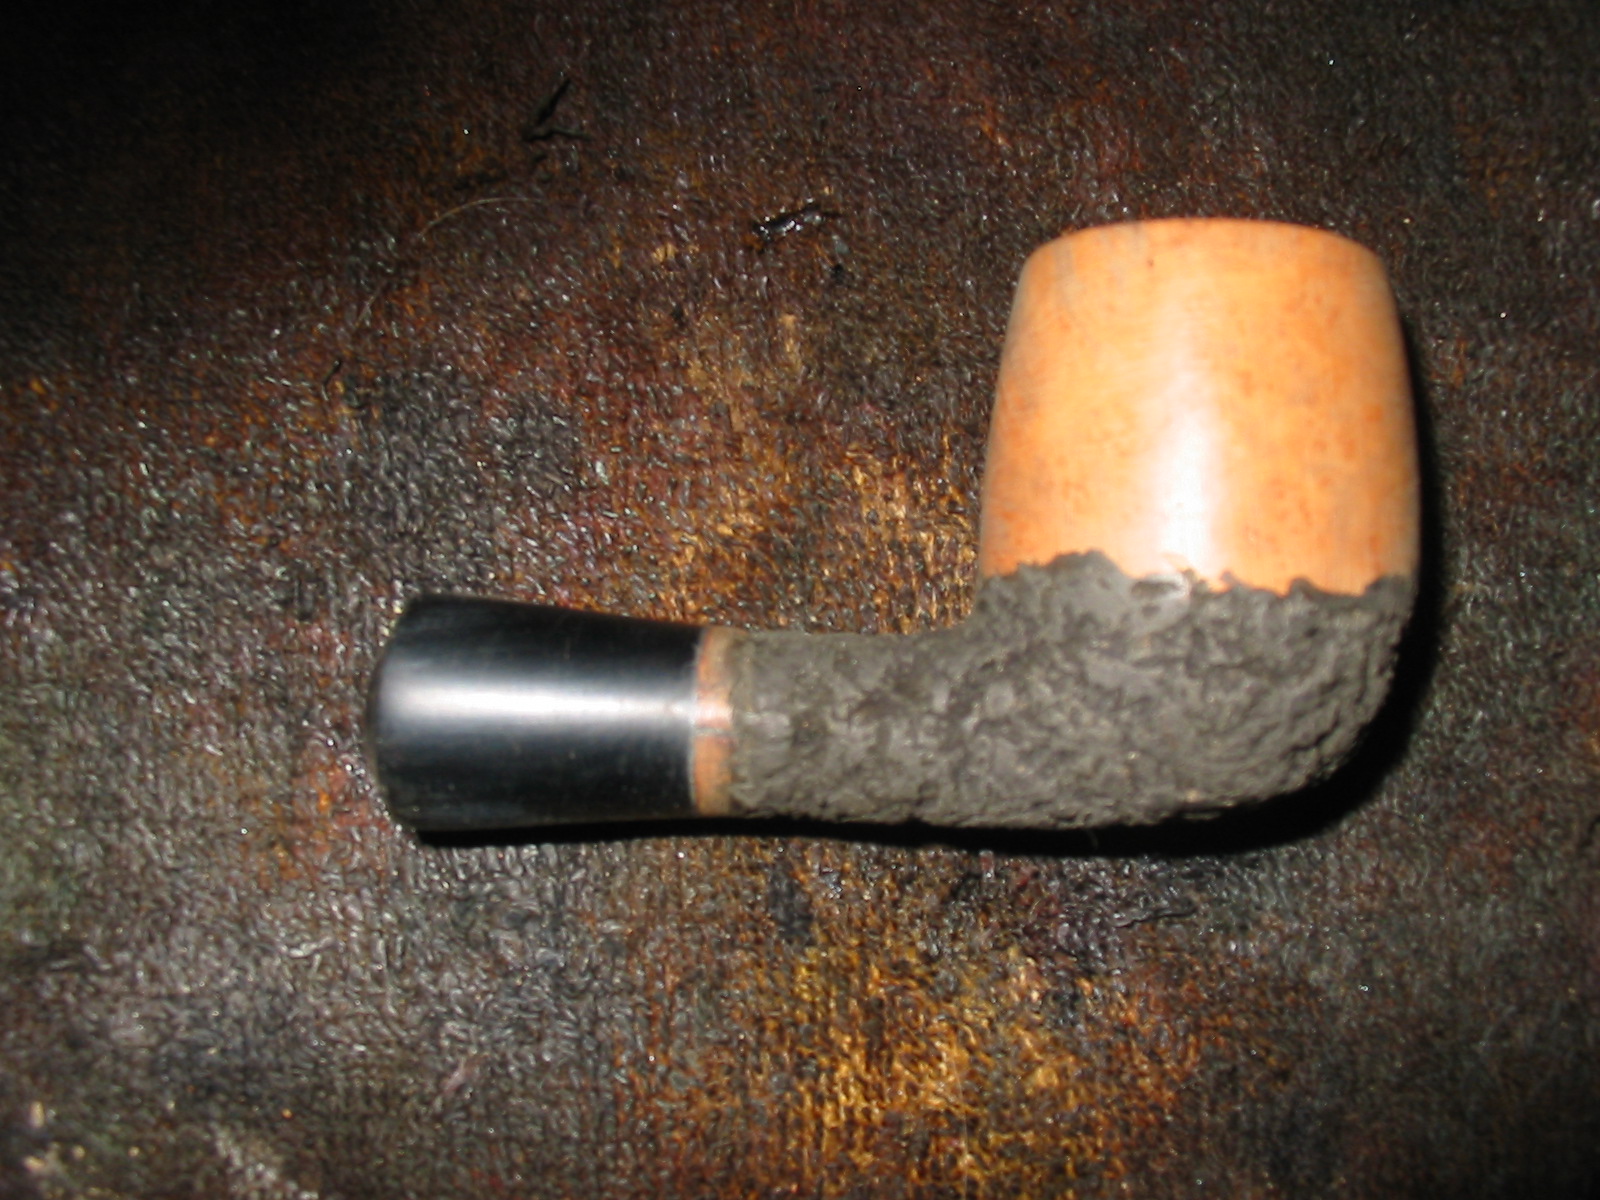
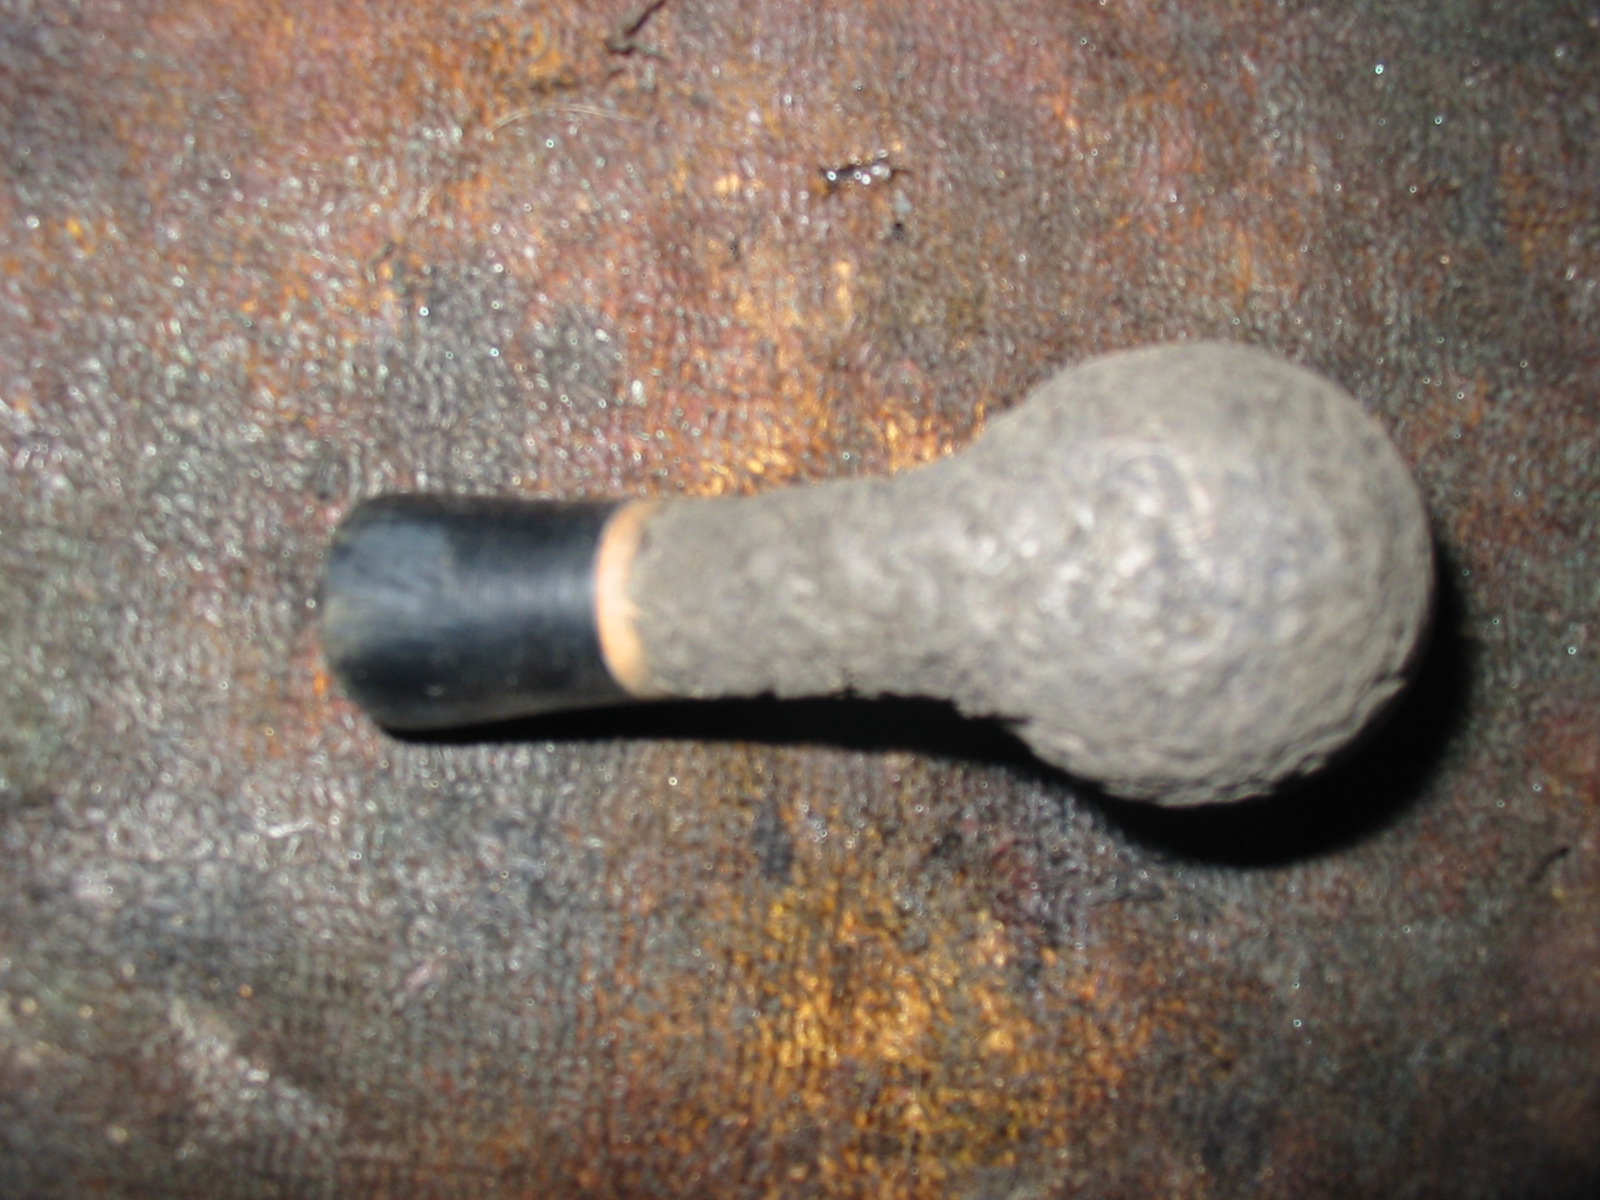
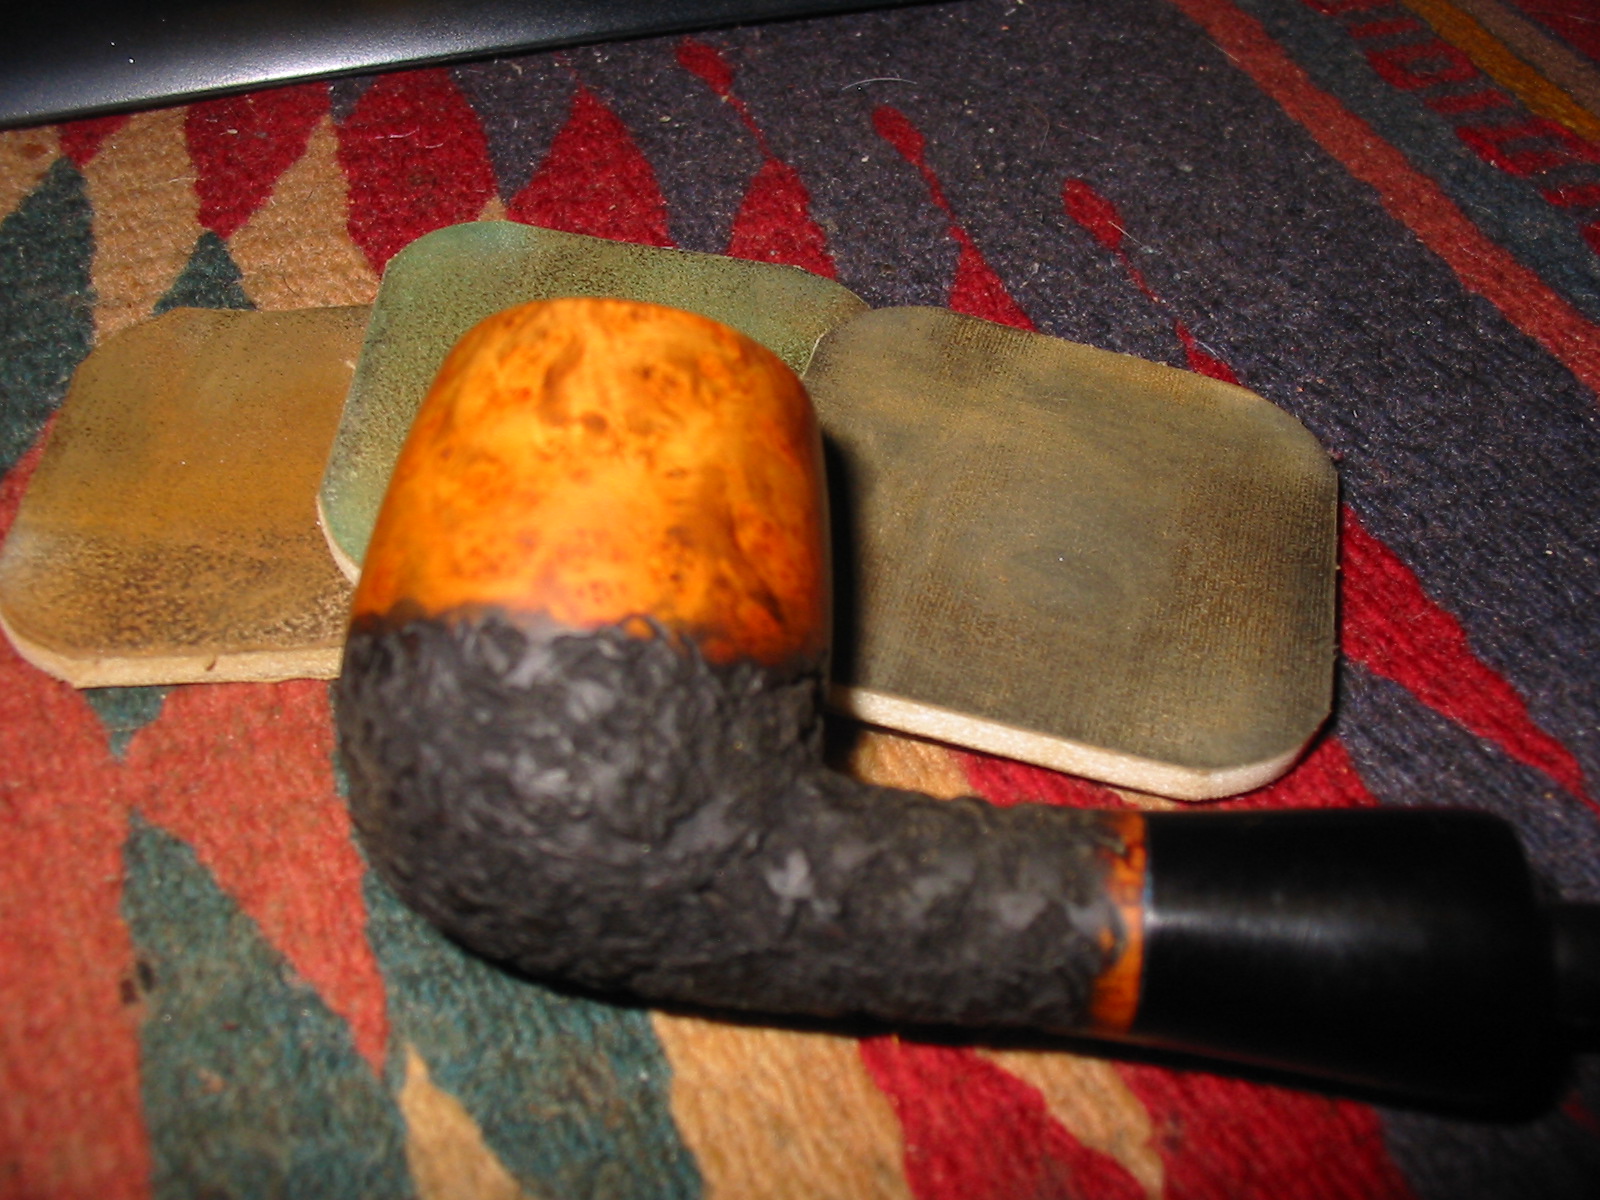
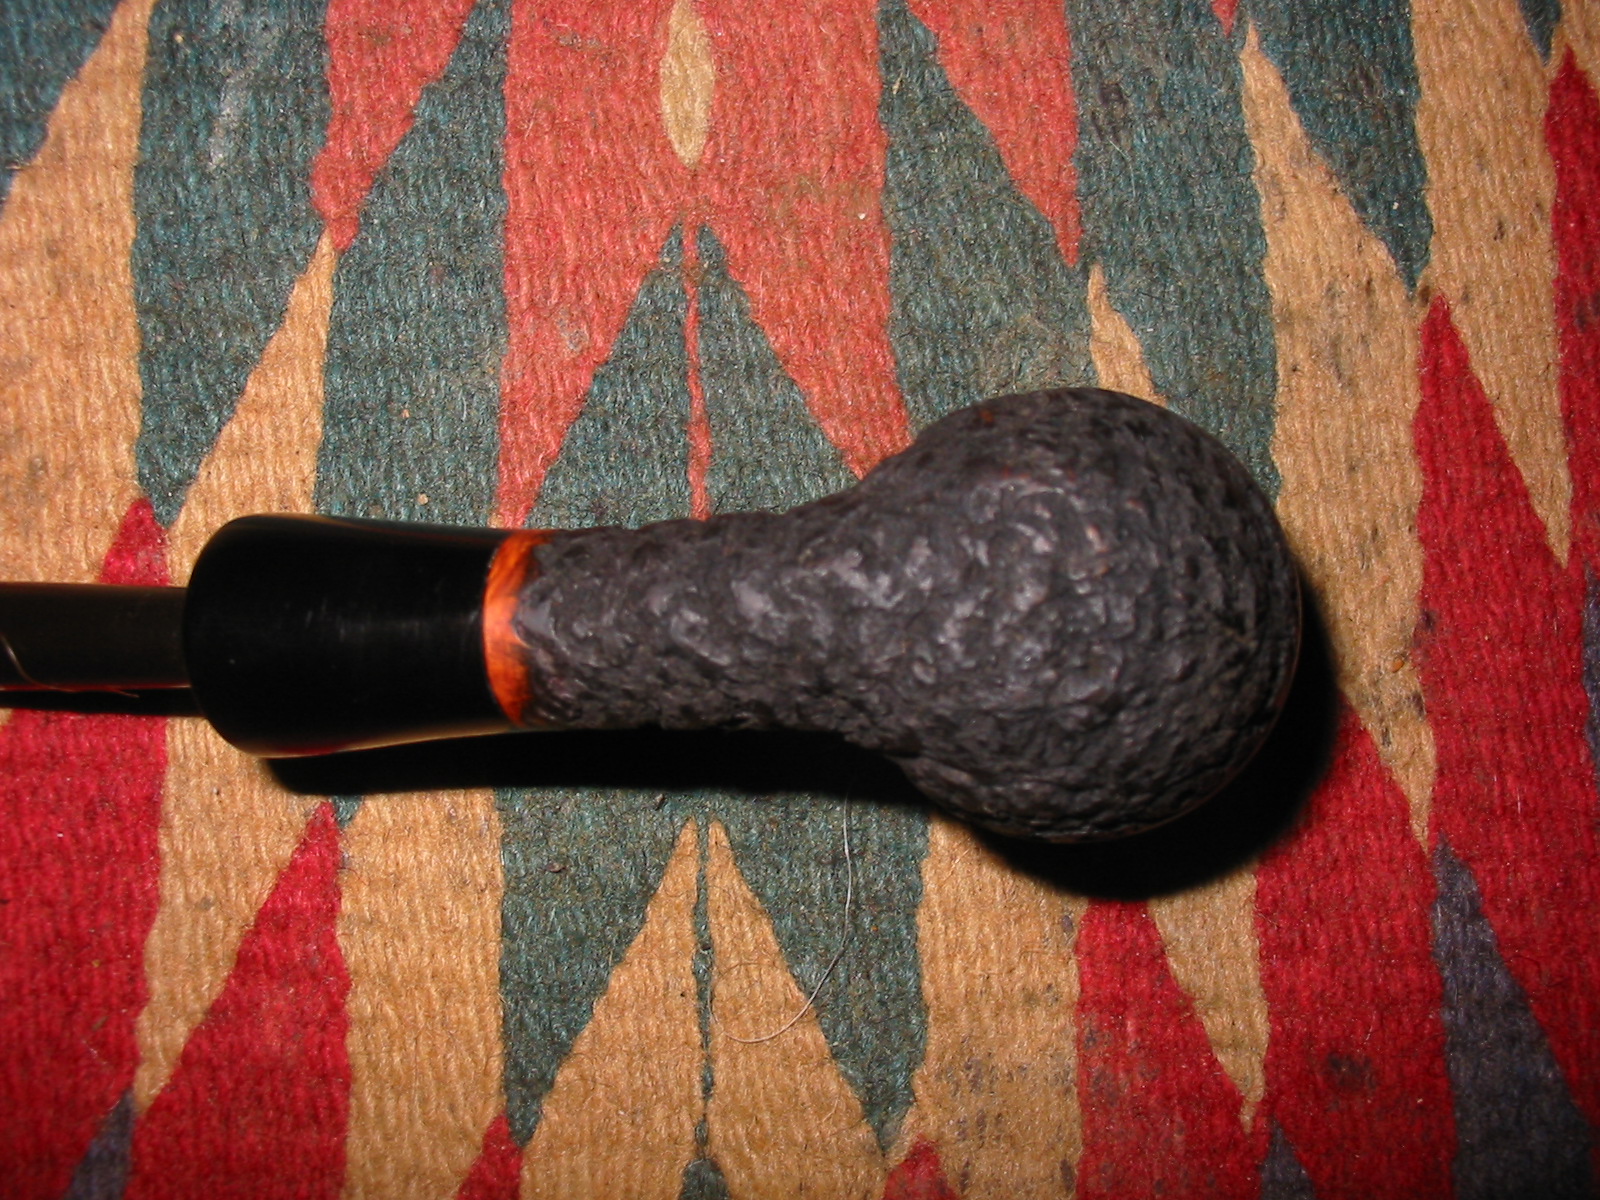
With the crack and repair being very visible and knowing that it would not disappear in the stain I decided to rusticate the shank and the bowl bottom. I did not worry about the visibility of the repair as the entire pipe is a repair job. I have been reading a lot about John Calich and his use of rustication and smooth finishes in the same pipe and the contrast stains to highlight the transition between finishes so I decided to try that out with this bowl. I wanted a thin band of smooth briar around the joint so I taped off the area and did the rustication with my modified Philips screwdriver. I rusticated the shank and the bottom of the bowl. I used a brass bristle tire brush to go over the rustication and knock off the rough areas. I buffed it with red Tripoli to further smooth out the rustication slightly.
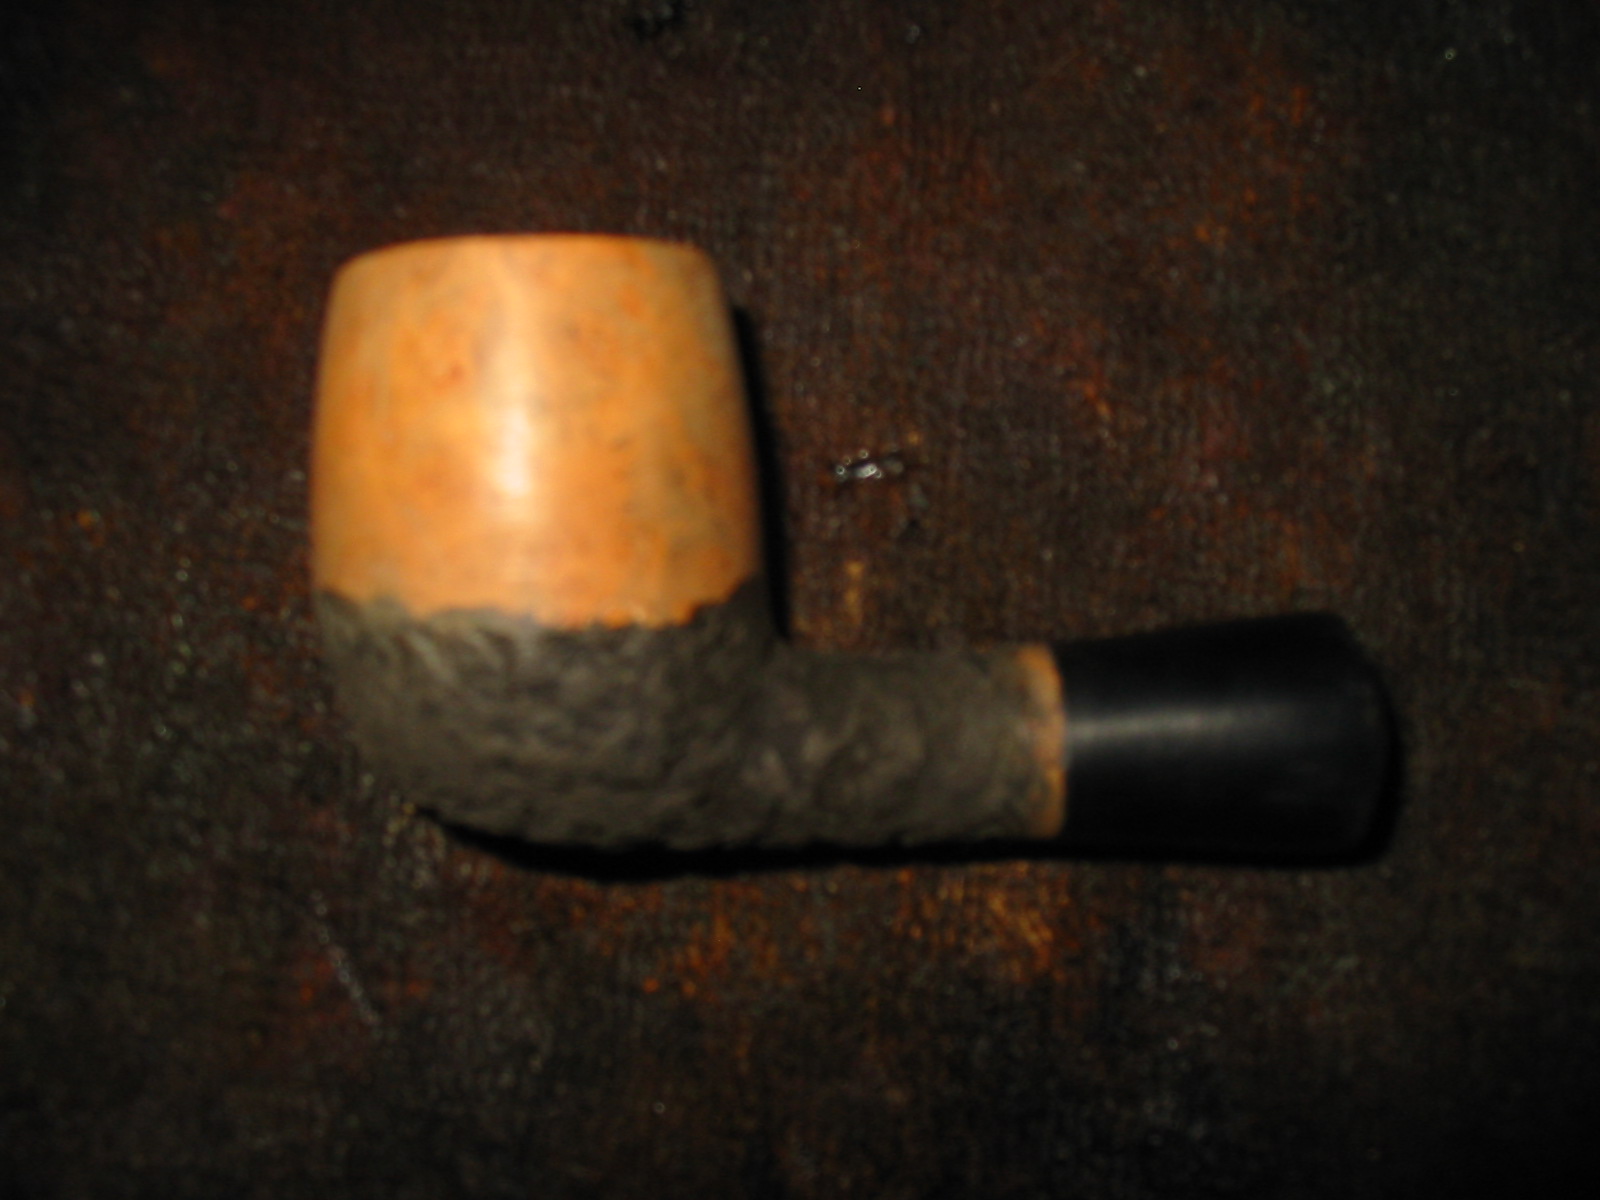
I stained the bowl bottom with black aniline stain and flamed it. I repeated the staining and flaming until I had a good even coverage on the rusticated portion of the bowl. I cleaned up the smooth areas next to the stained rustication with sandpaper to remove the slight bleed from the black stain. I wiped those areas down with acetone on a cotton swab to clean the transition areas.
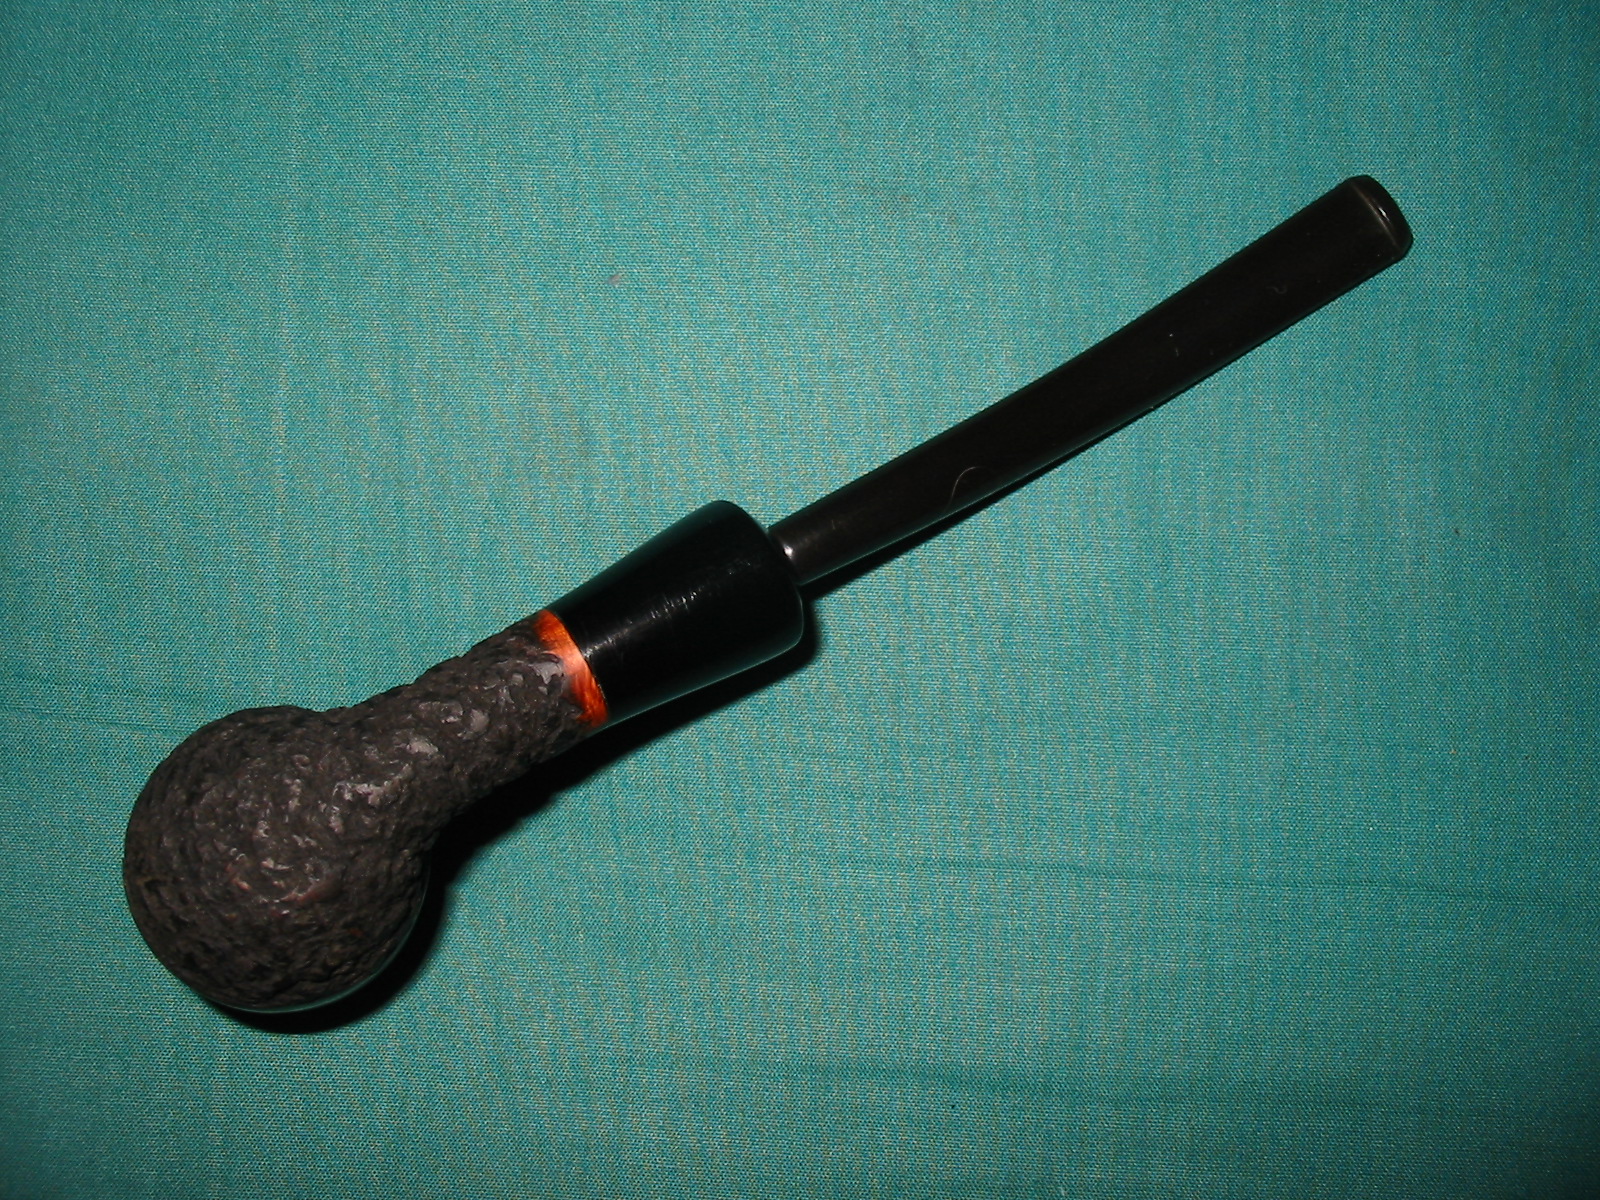
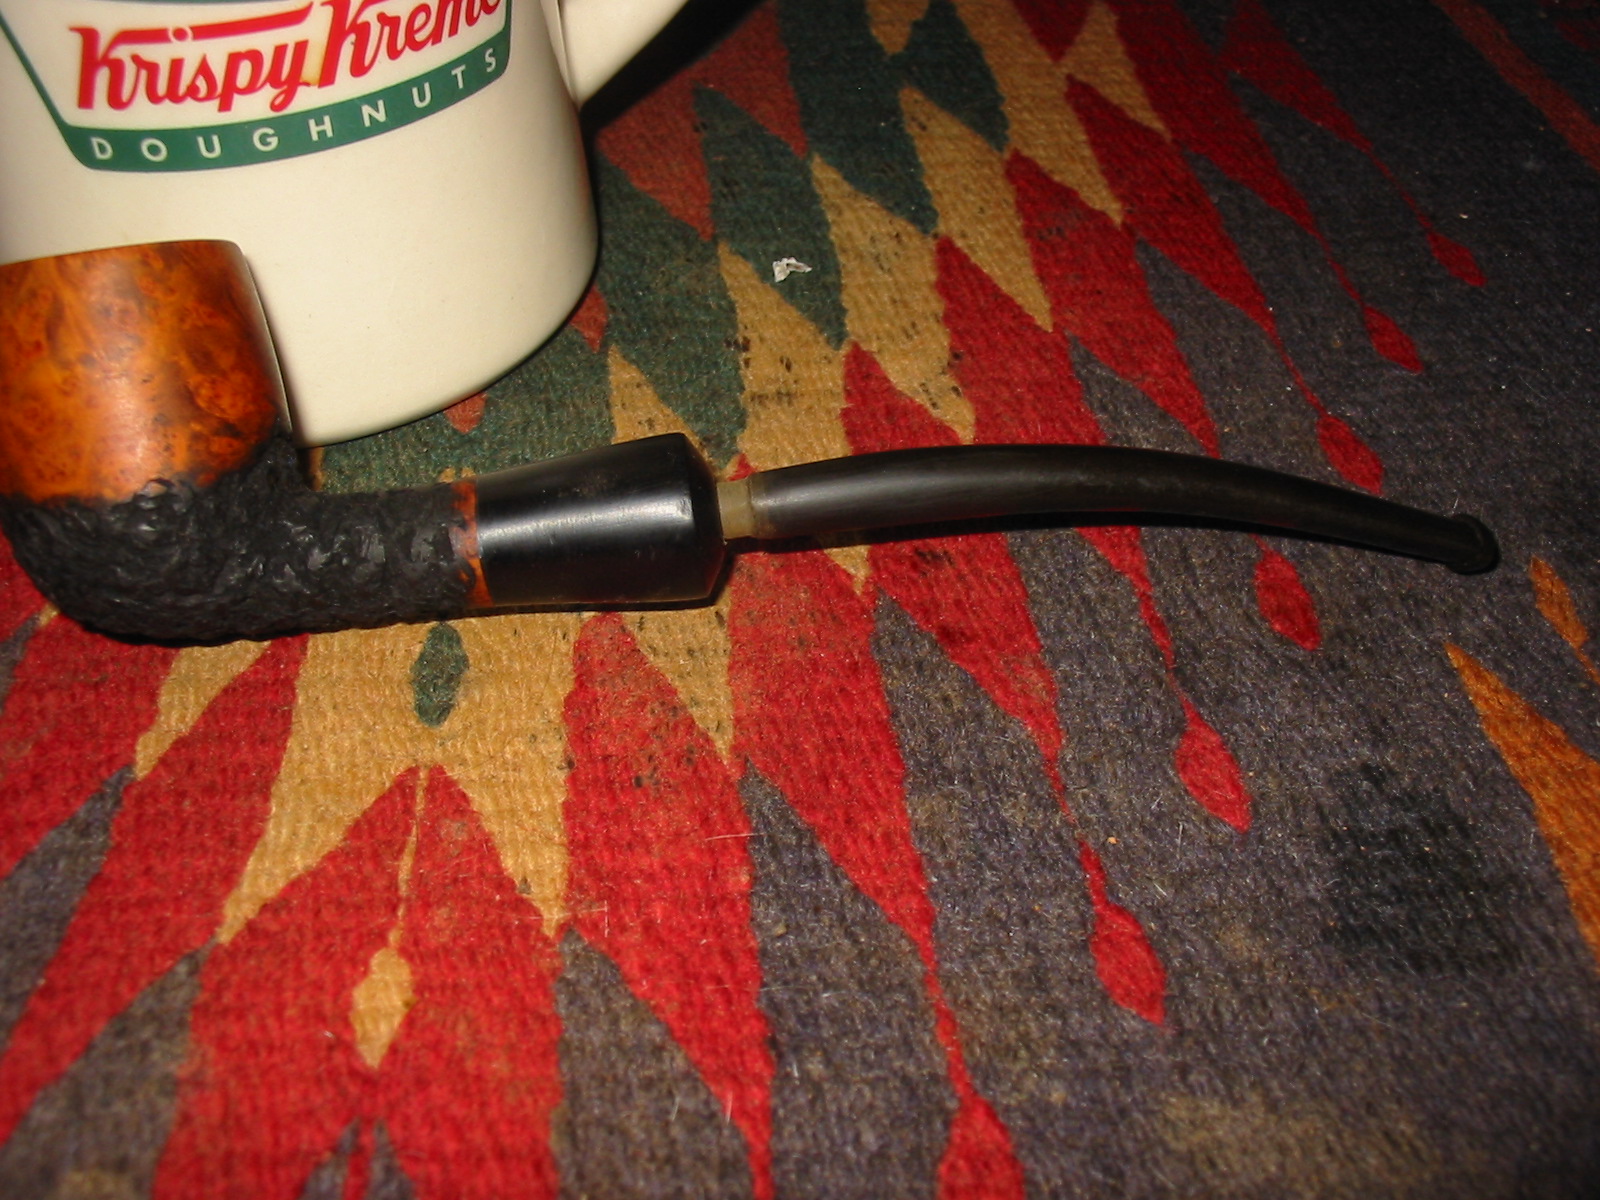
I found the stem I wanted to use in my can of stems. It was a slender military bit with a slight taper. I liked the look of the stem. I put it in place for the next photos. It is not stuck deeply enough into the mortise because of the taper to the end of the stem. It will need to be turned down slightly to get a good snug fit deep in the mortise.


Before going to bed last evening I rubbed down the bowl and stem with Olive oil. I wanted it to penetrate the vulcanite extension, stem and the bowl (smooth and rusticated portions) to give a bit more life to the rubber and the briar. This morning when I got up I worked on the end of the stem to get a deeper fit into the mortise. I used the PIMO tenon turning tool adjusted as small as possible and turned the first inch of the stem to get a tenon. I sanded it with 220 grit sandpaper to bring it down to the diameter of the inside of the mortise. The next two photos show the stem sanded enough to go half way into the mortise. It would take a lot more sanding before it sat against the end of the mortise.

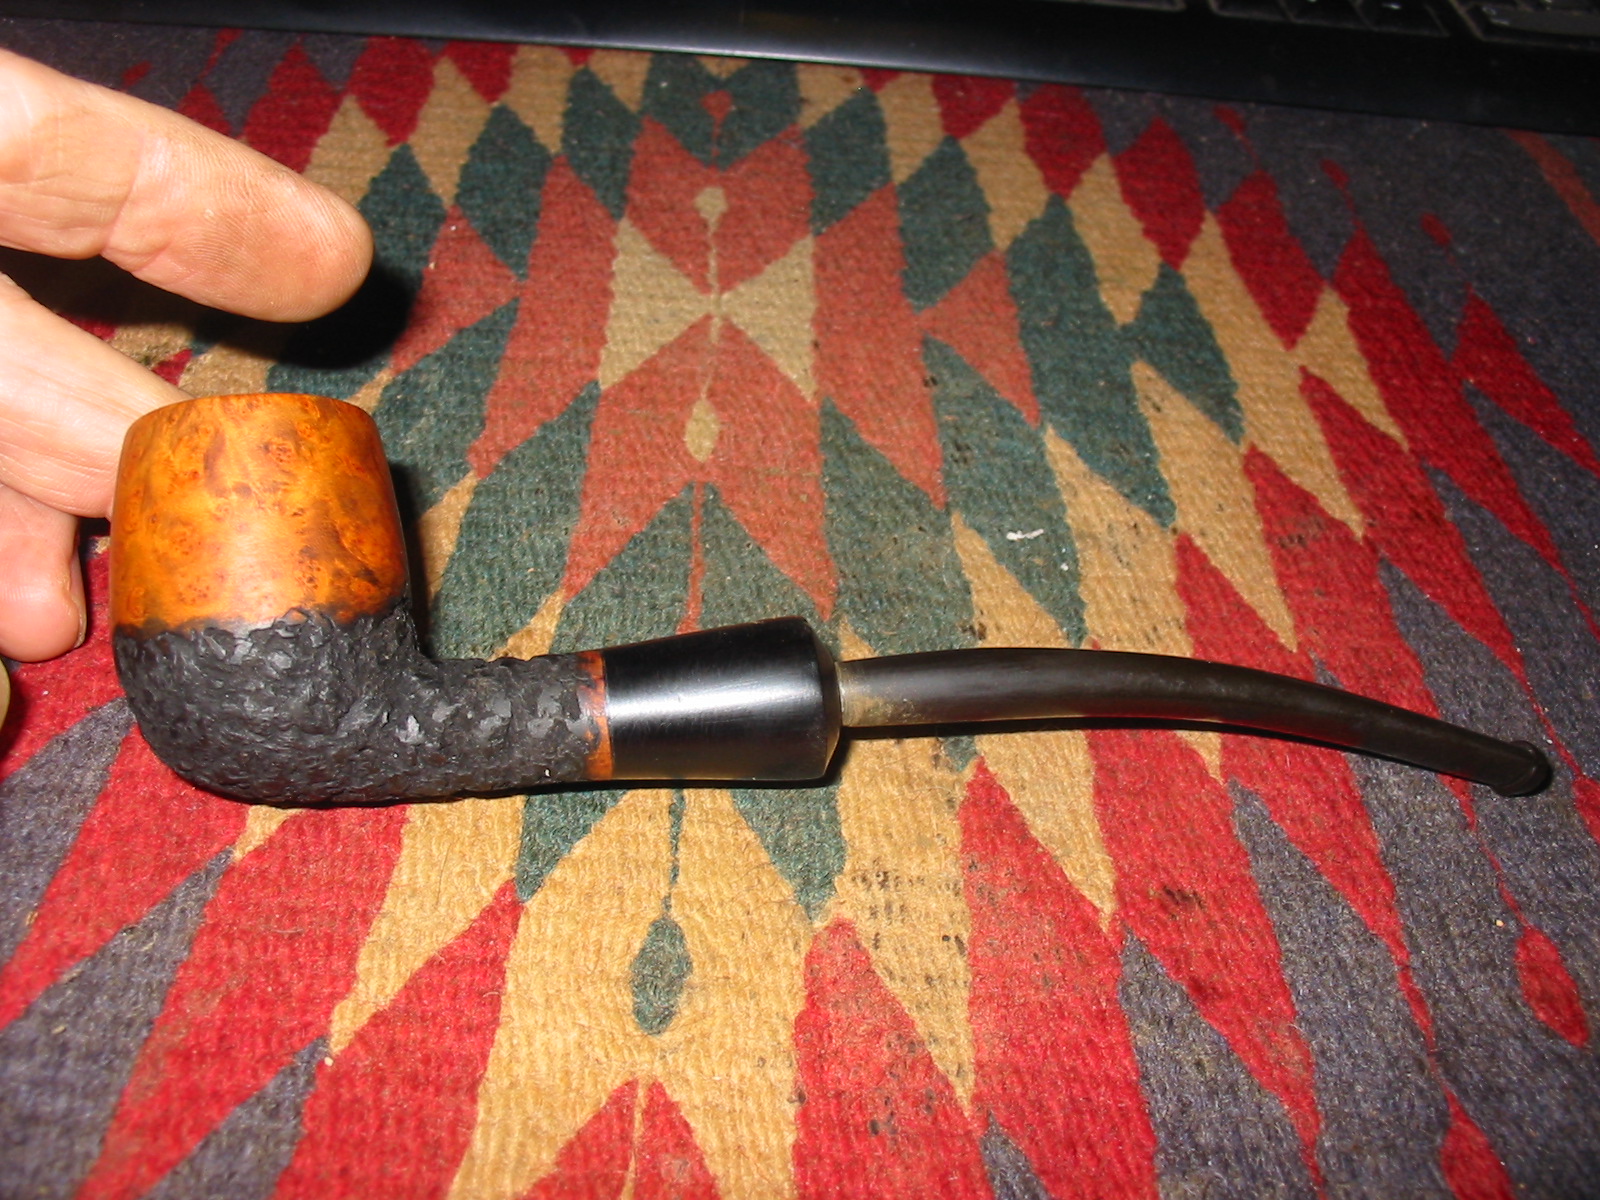
Ah progress! Got the stem fit right – it is snug and deep in the mortise now. I sanded the tenon until it fit well. I also sanded the transition from the end of the tenon to the taper on the rest of the stem. I wanted the fit against the shank extension to be snug without the edges of the tenon showing when the stem was in place. This pipe has turned out to be a great lesson for me in the school of pipe repair up to this point. I am looking forward to “graduating” from this project at this point.
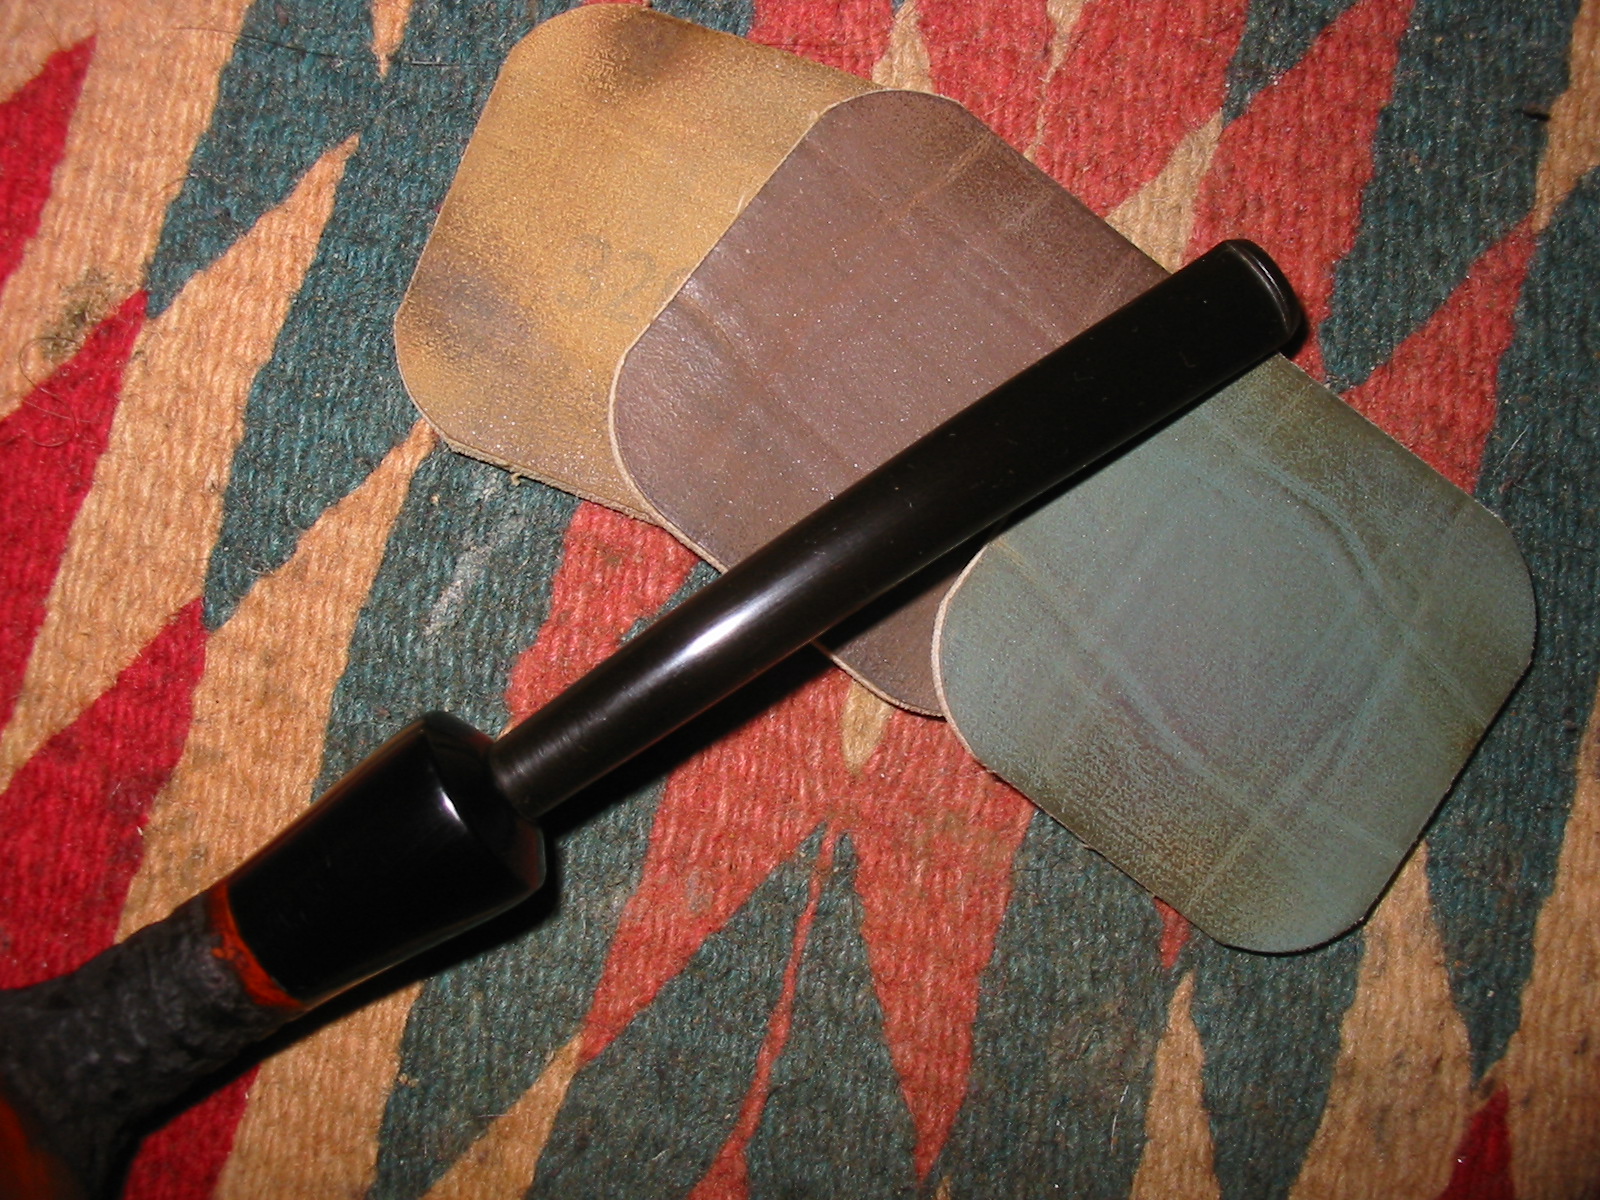
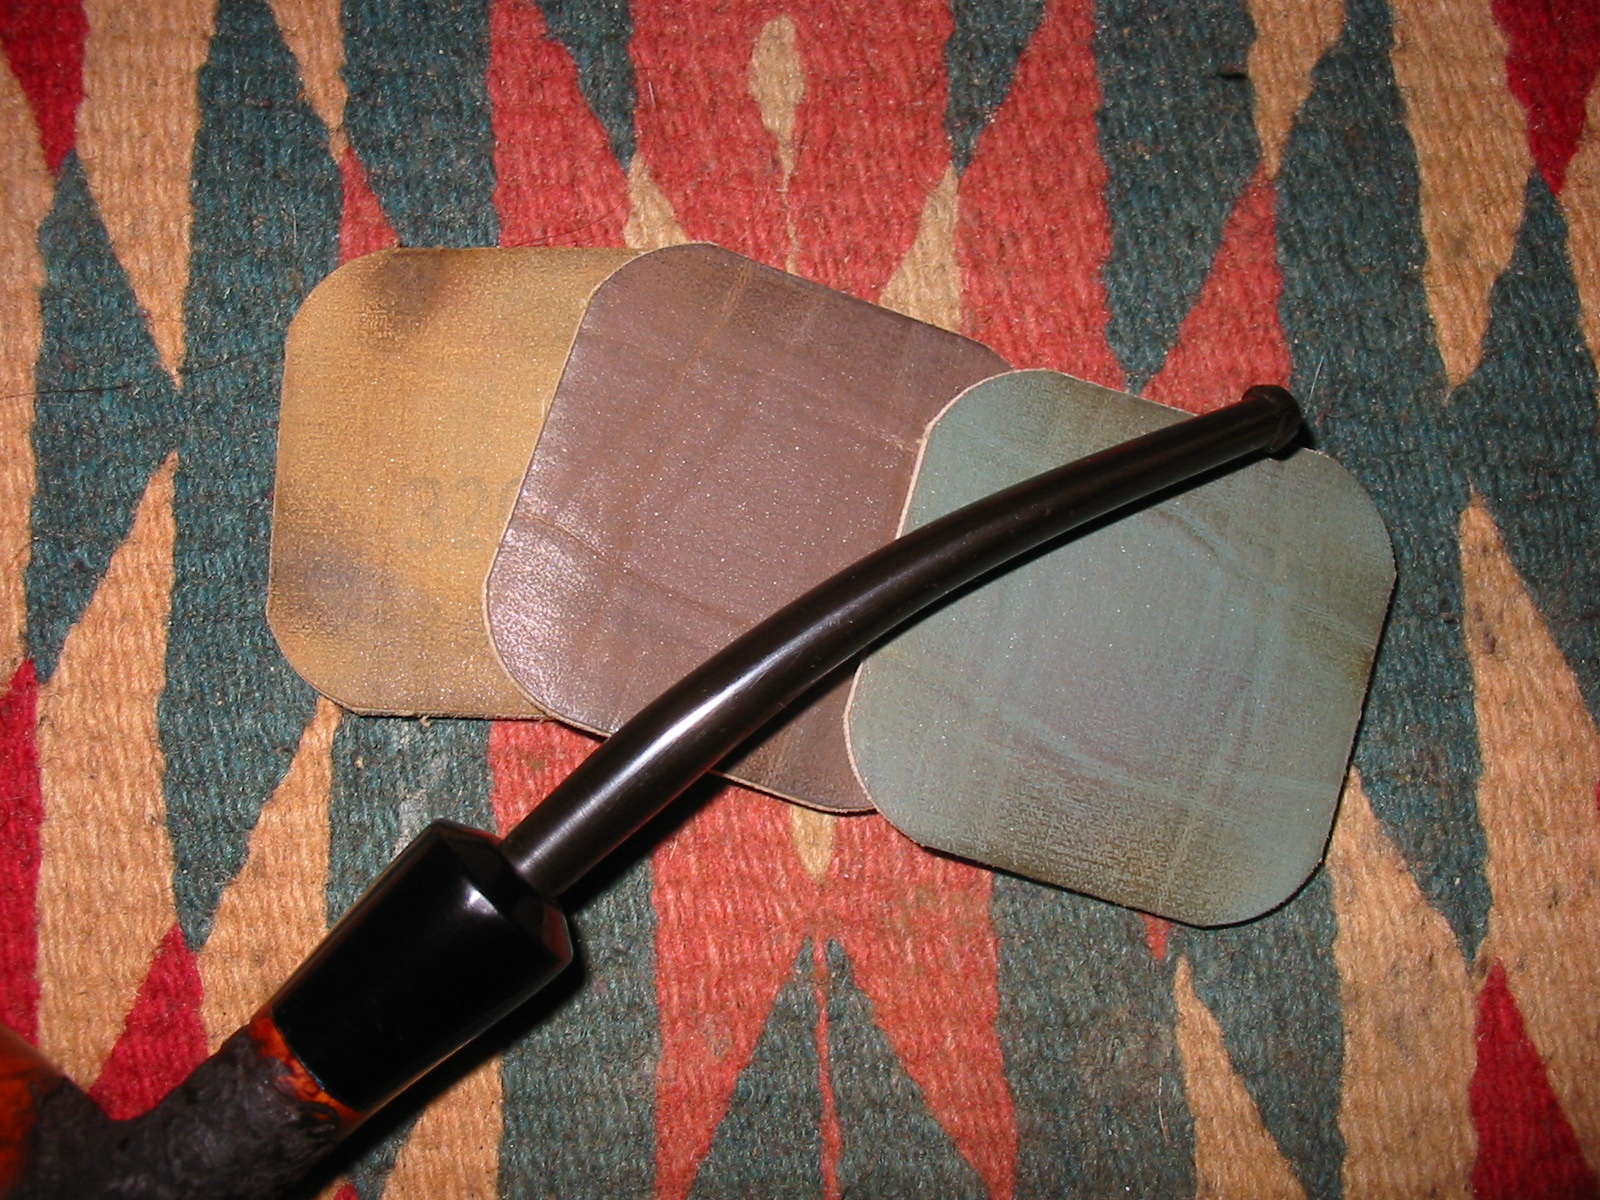
I sanded the bowl, the smooth band at the union of the extension and the briar and the vulcanite of the stem and extension with micromesh sanding pads. I wet sanded with 1500-2400 grit pads to remove any scratches in the briar and the shank extension from sanding with the fine grit sanding sponges. The photos below show the bowl and stem after I had sanded them with the early grits of micromesh. I wiped down the bowl and the stem with a cotton cloth and then rubbed Obsidian Oil into the vulcanite extension and stem.

I stained the smooth parts of the bowl and shank with a cherry stain using a cotton swab and wiped it off with a soft cloth. I hand buffed the bowl and shank with a shoe brush to give it a quick polish.
Once that was finished I continued to sand the stem with the micromesh sanding pads. I had already wet sanded the extension and the stem with the earlier grits of pad so now it was time to dry sand them with the remaining pads – 3200-12,000 grit.

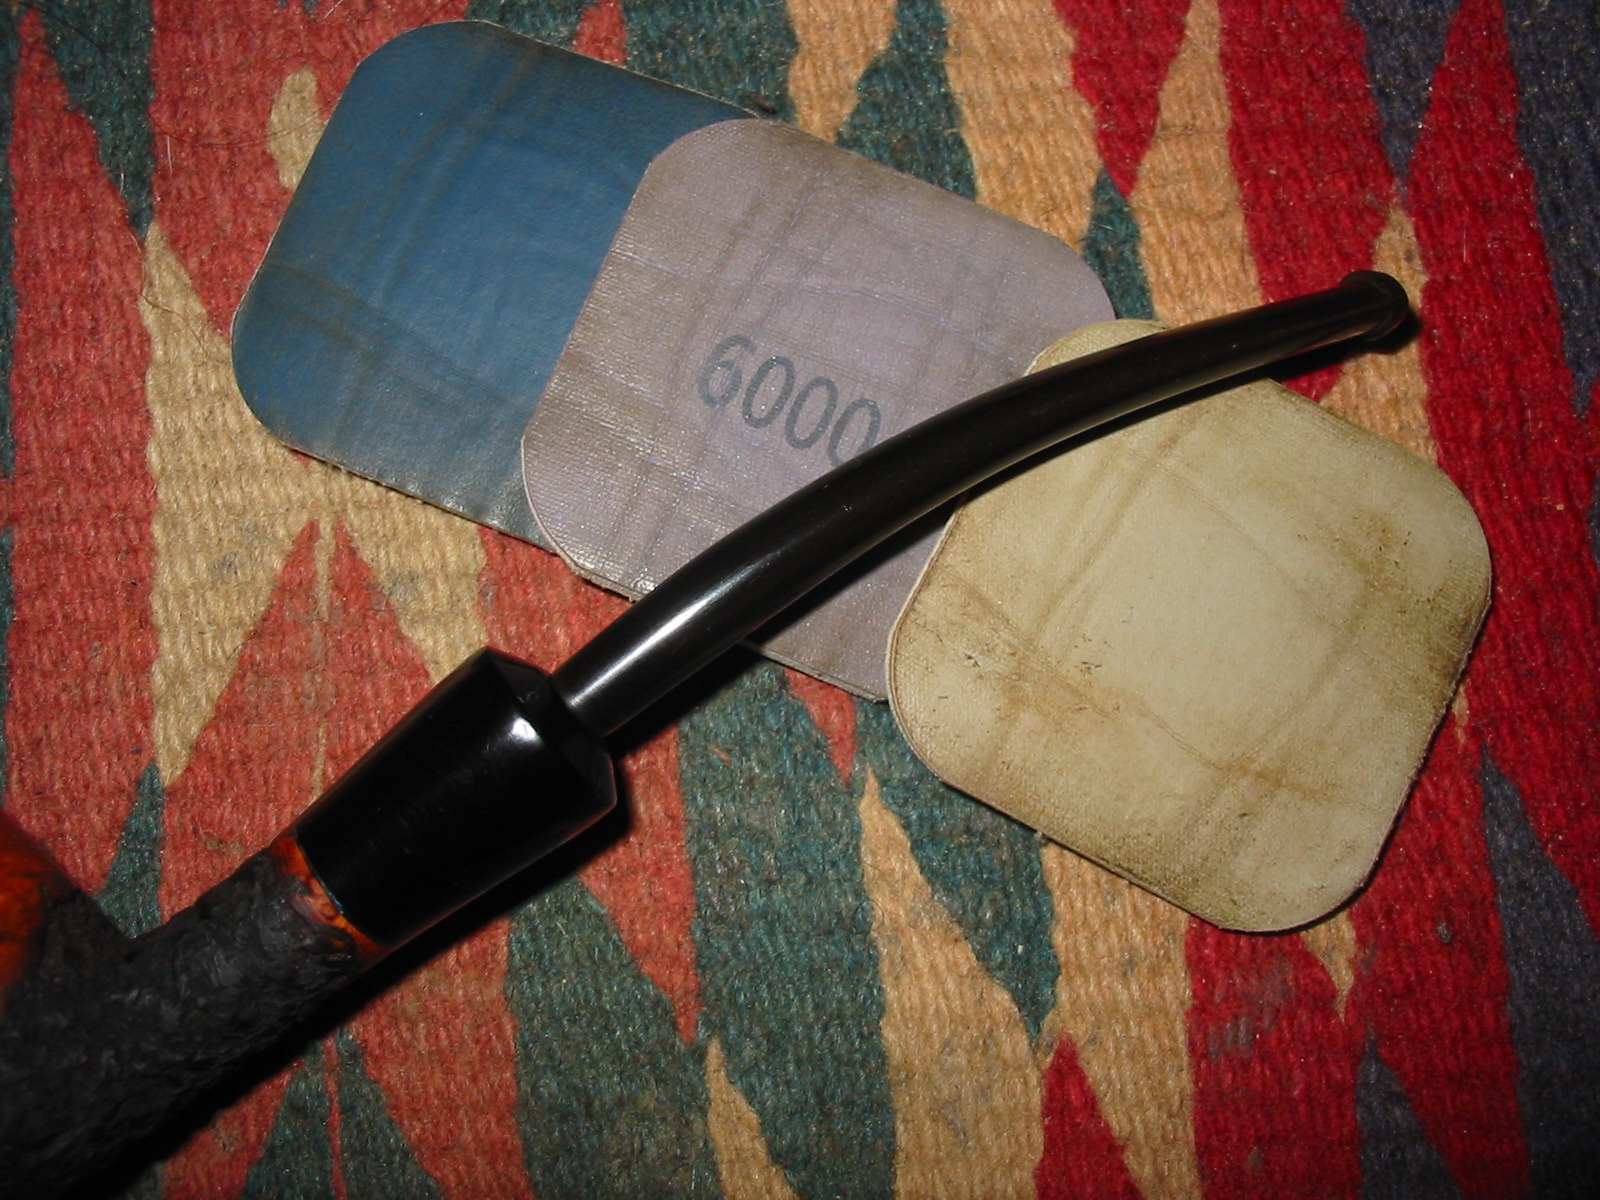
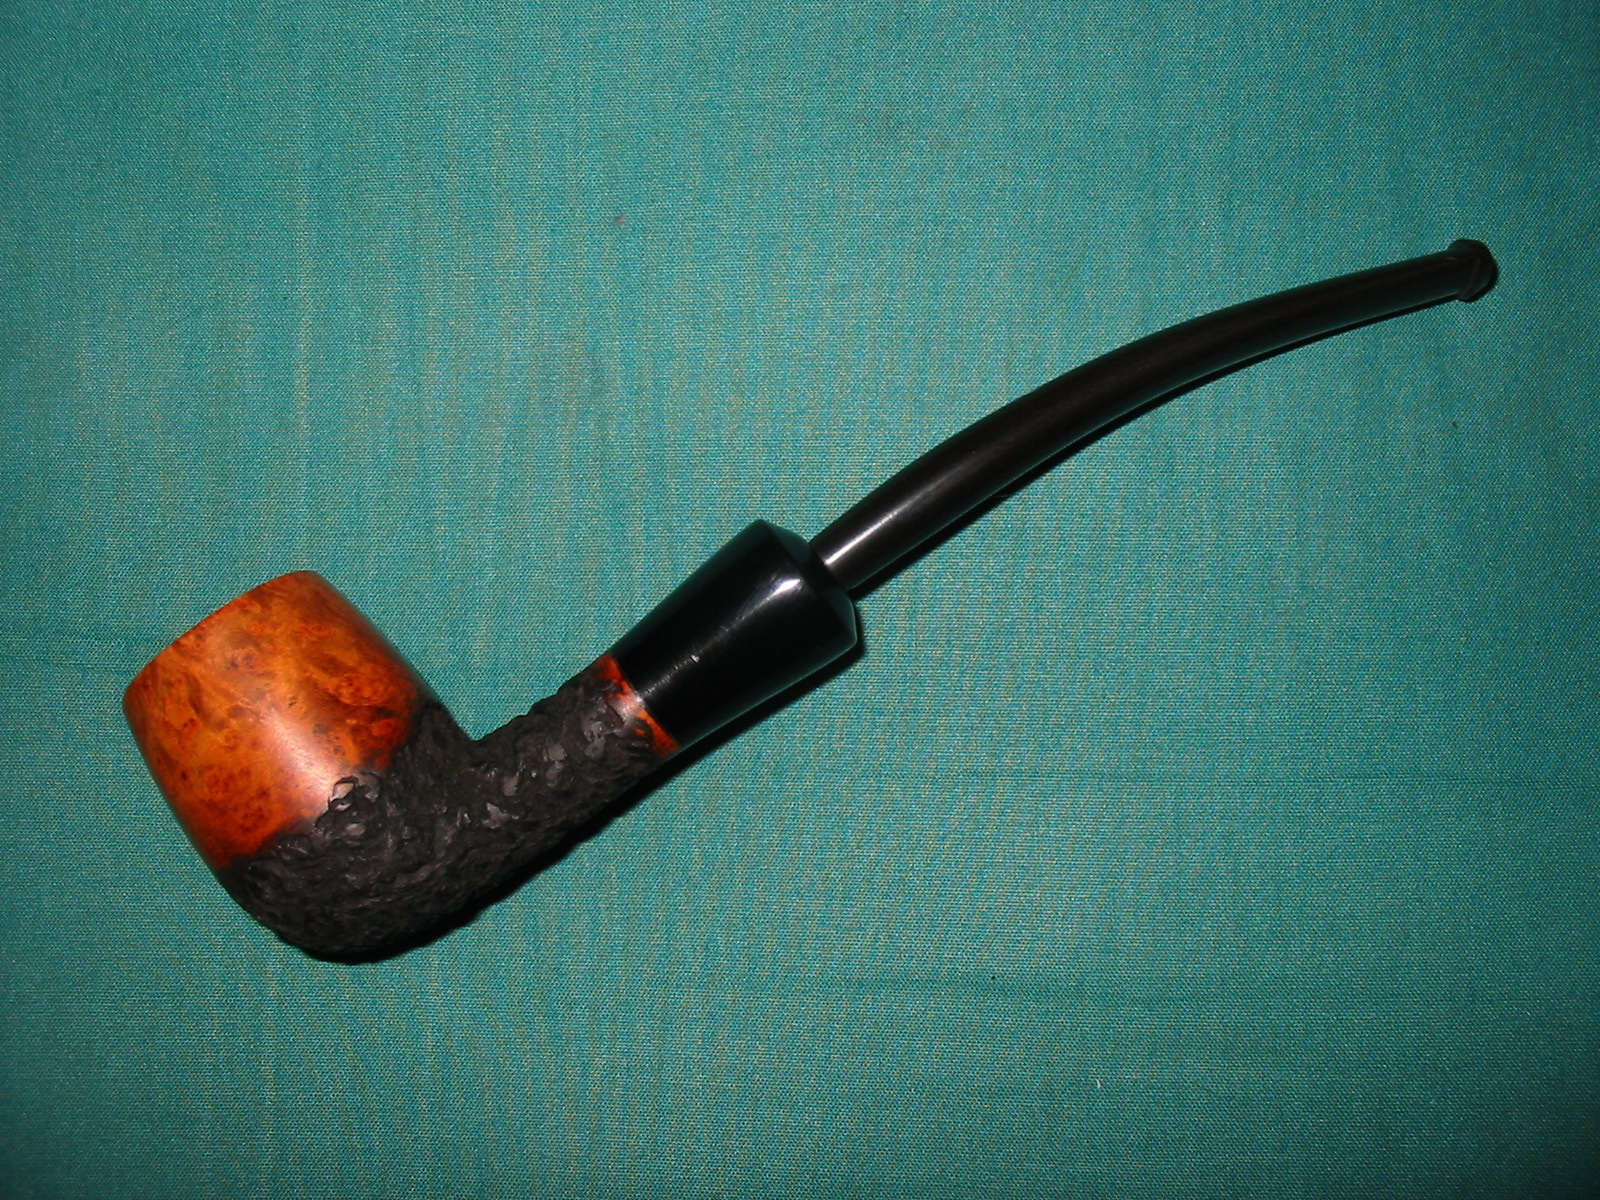
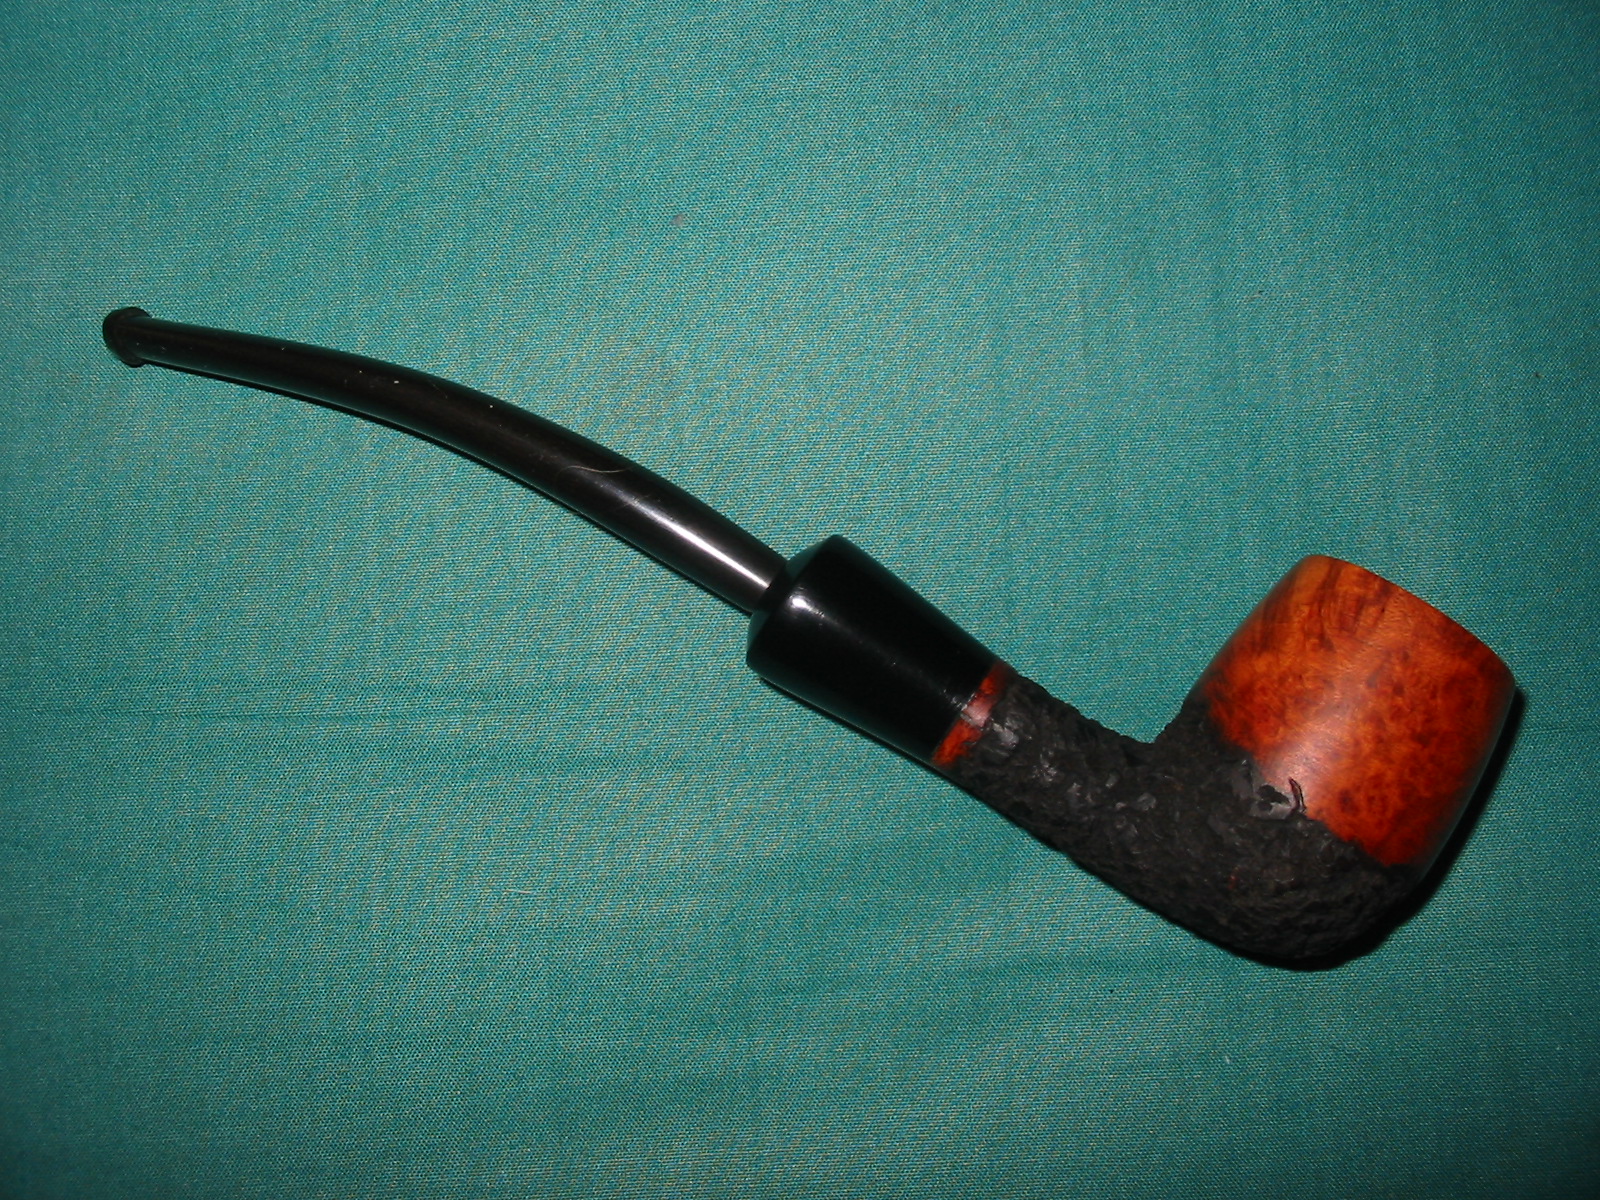
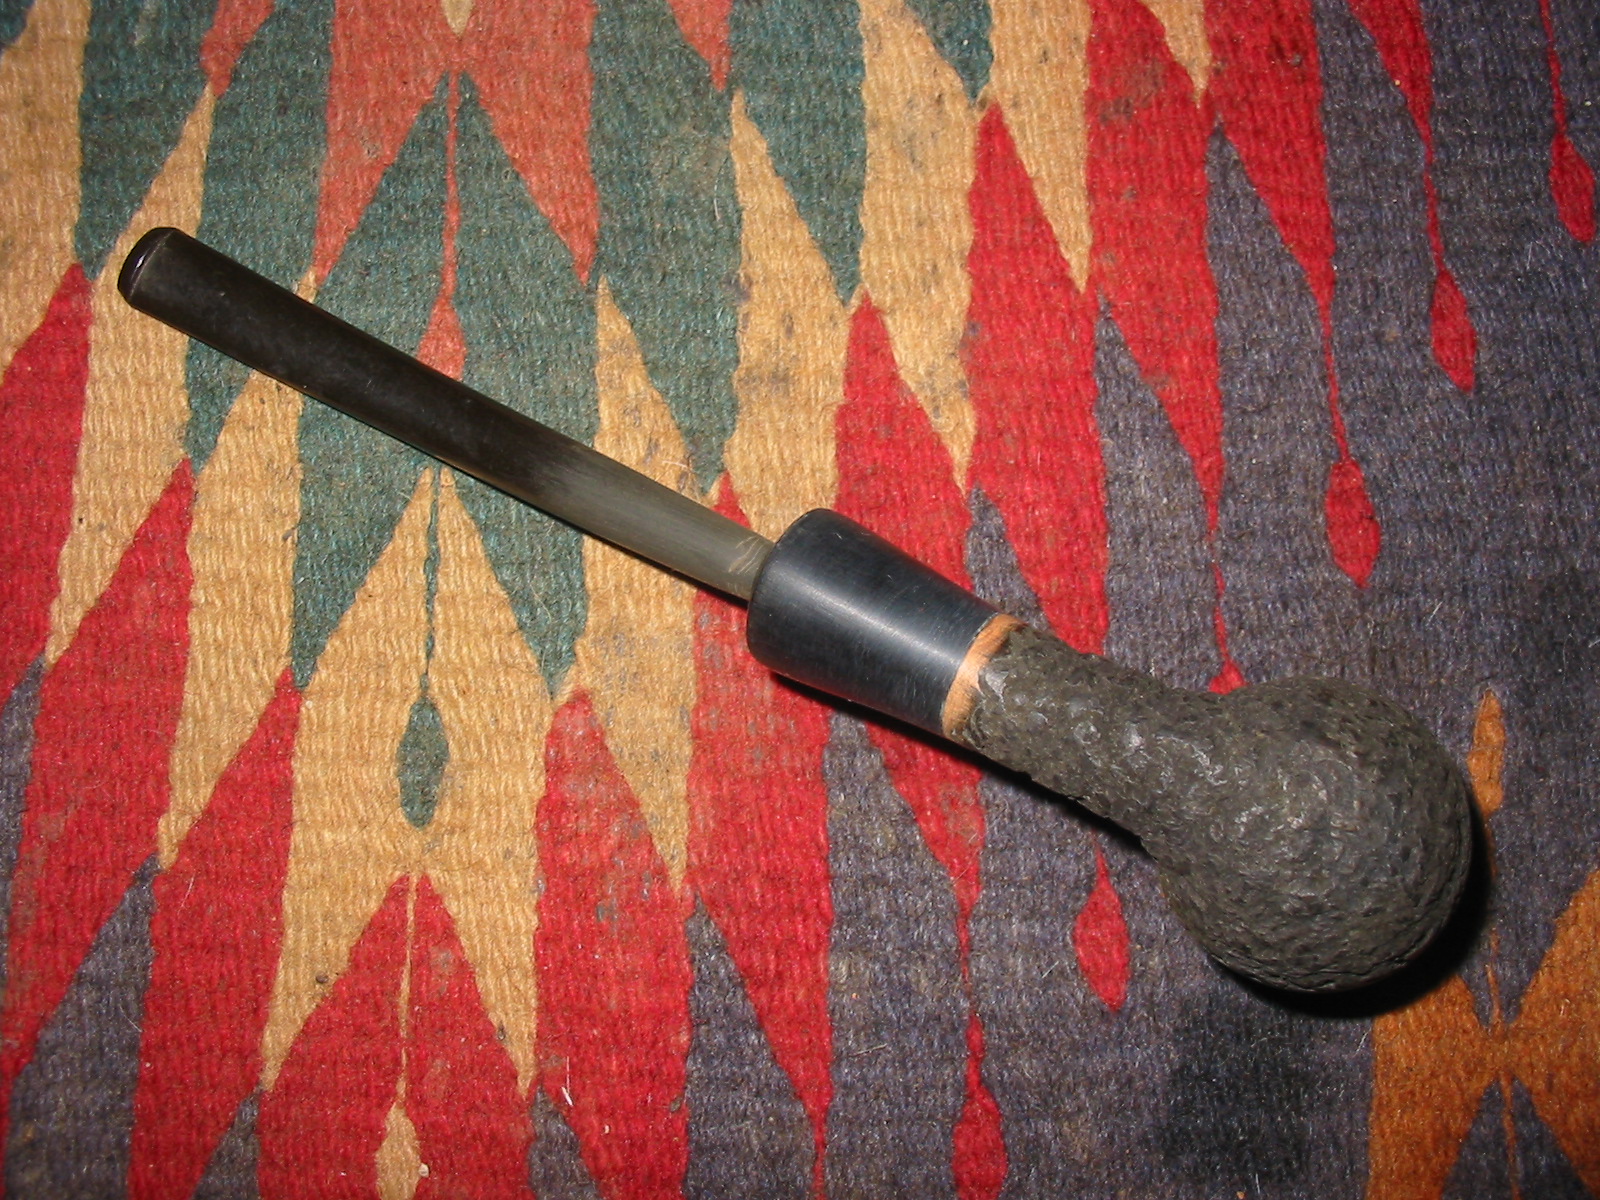
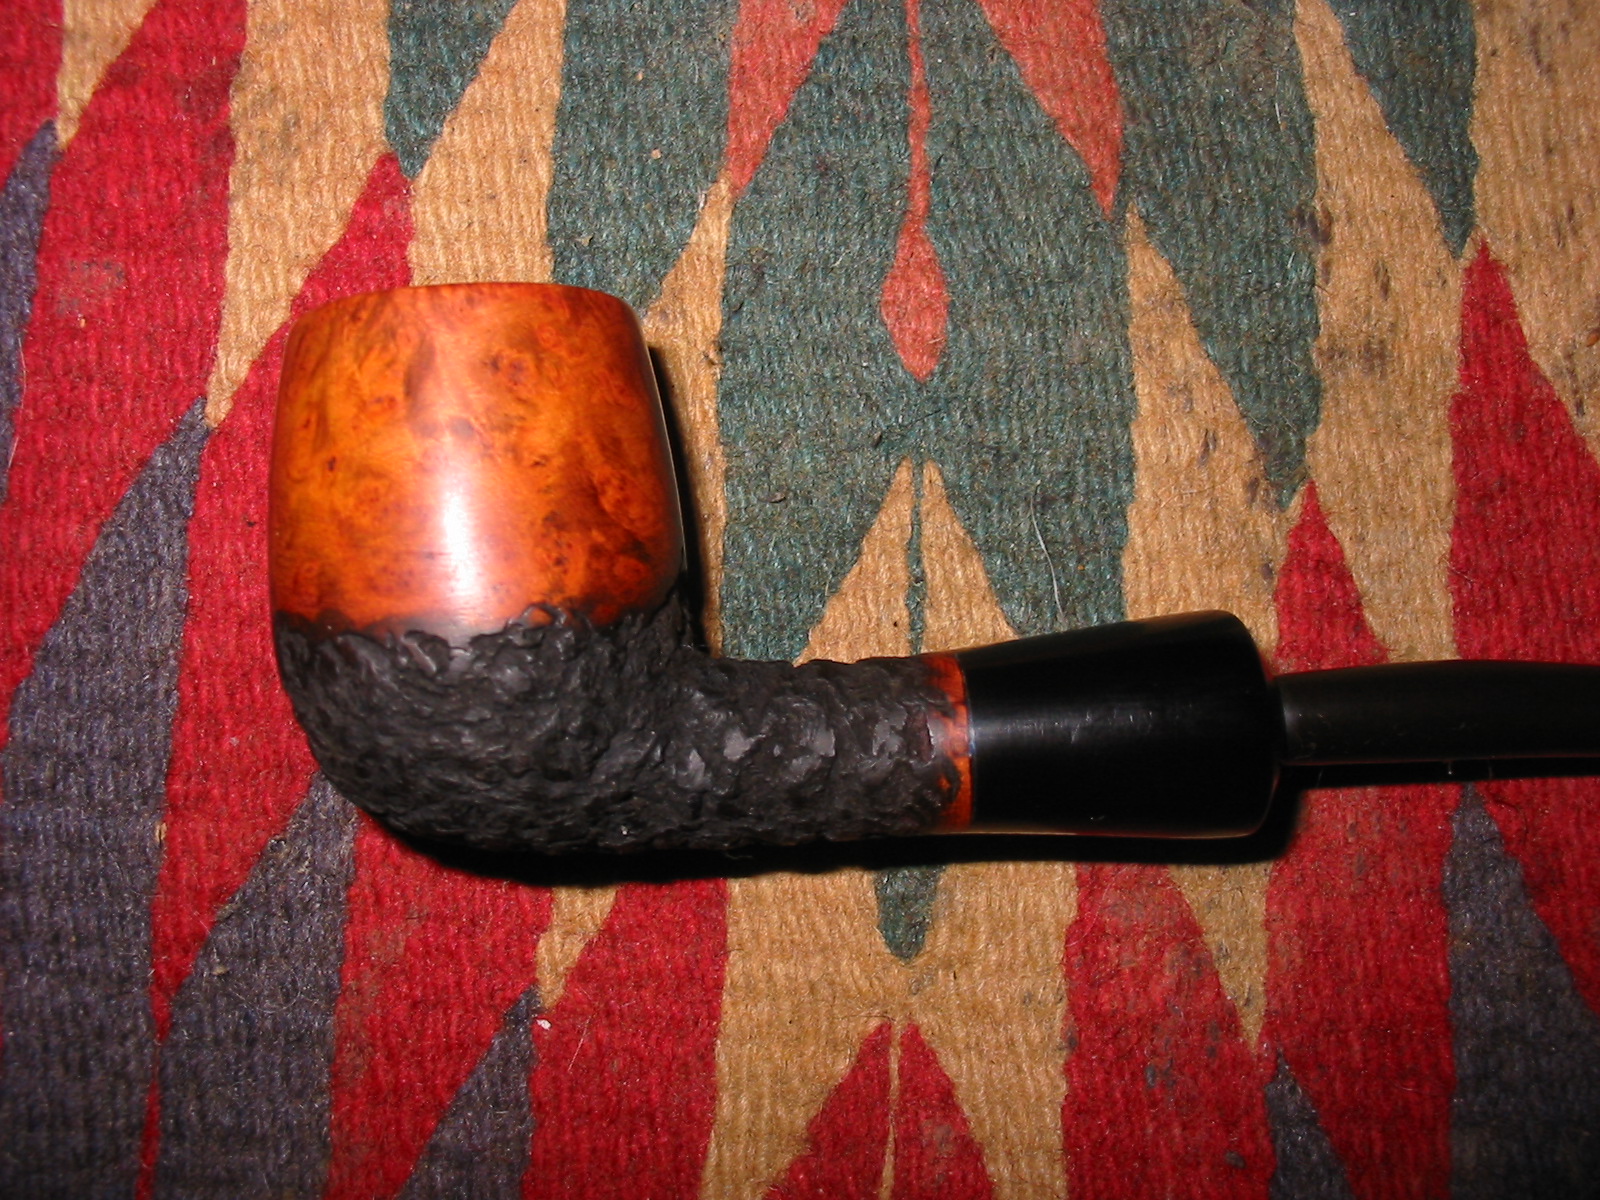
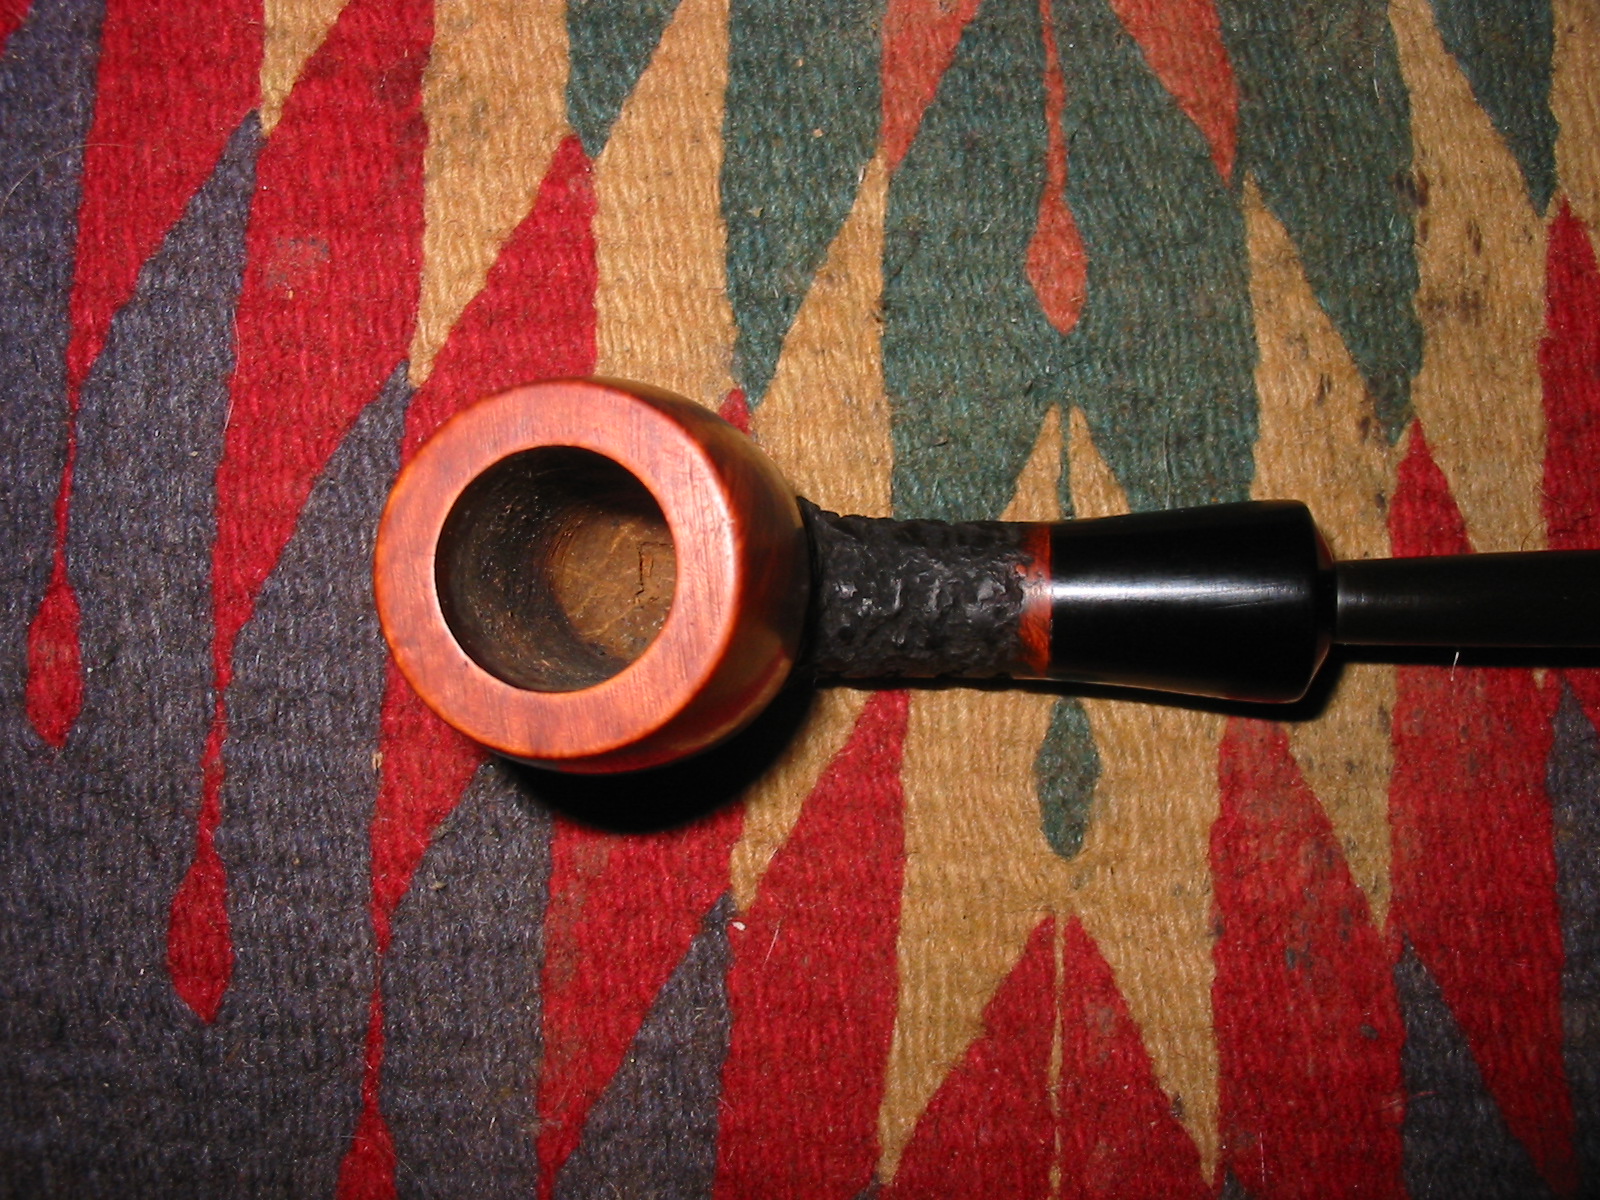
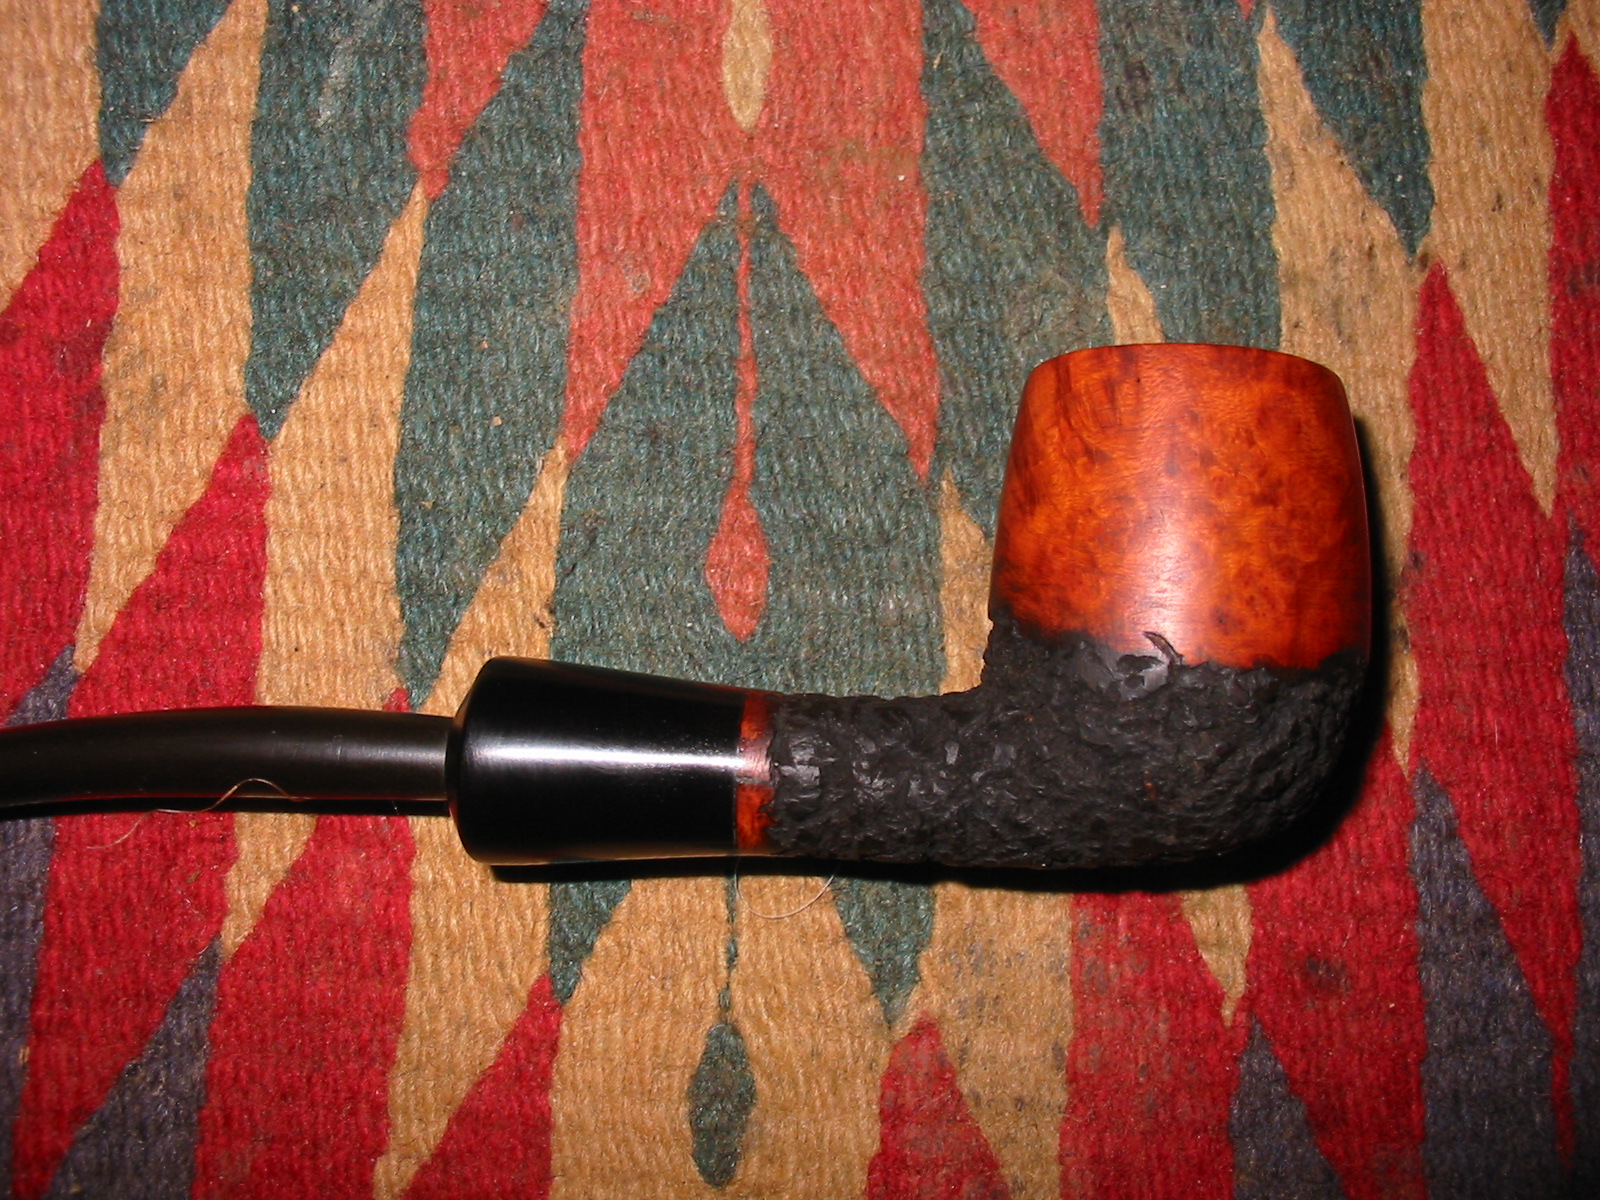
When I finished sanding with the micromesh sanding pads I rubbed the vulcanite extension and stem down with Obsidian Oil and when it was dry gave the stem, extension and smooth portions of the pipe a buff with White Diamond. I gave the smooth areas of the pipe and the vulcanite multiple coats of carnauba wax. I buffed with a soft flannel buff to give it a shine. The finished pipe is shown in the photos below. It has come a long way from the cut off bowl that I started with in the beginning of this restoration. I think rather than restoring this one I have actually repurposed a bowl – a phoenix rising from the ashes. Now I have another new pipe to fire up and try out later today.