Blog by Steve Laug
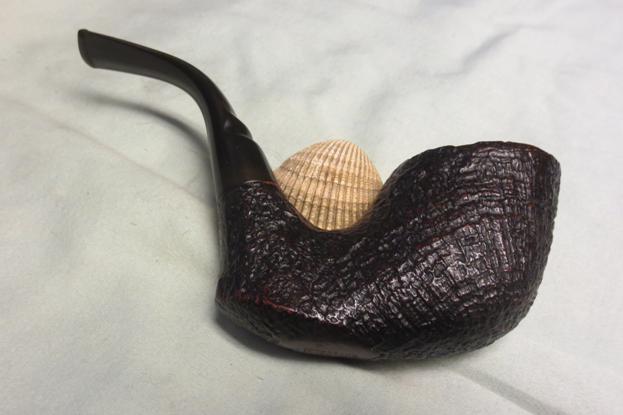
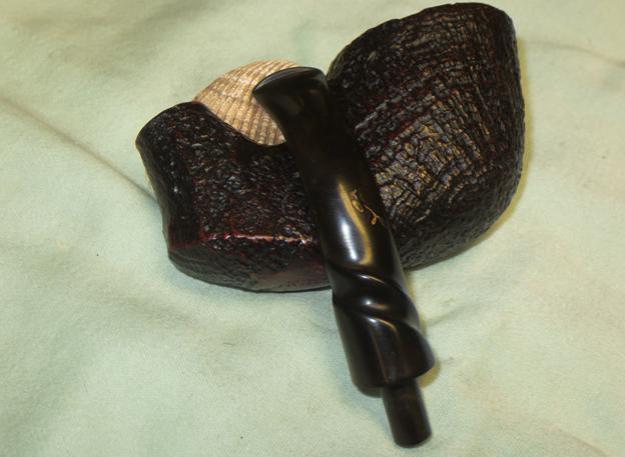
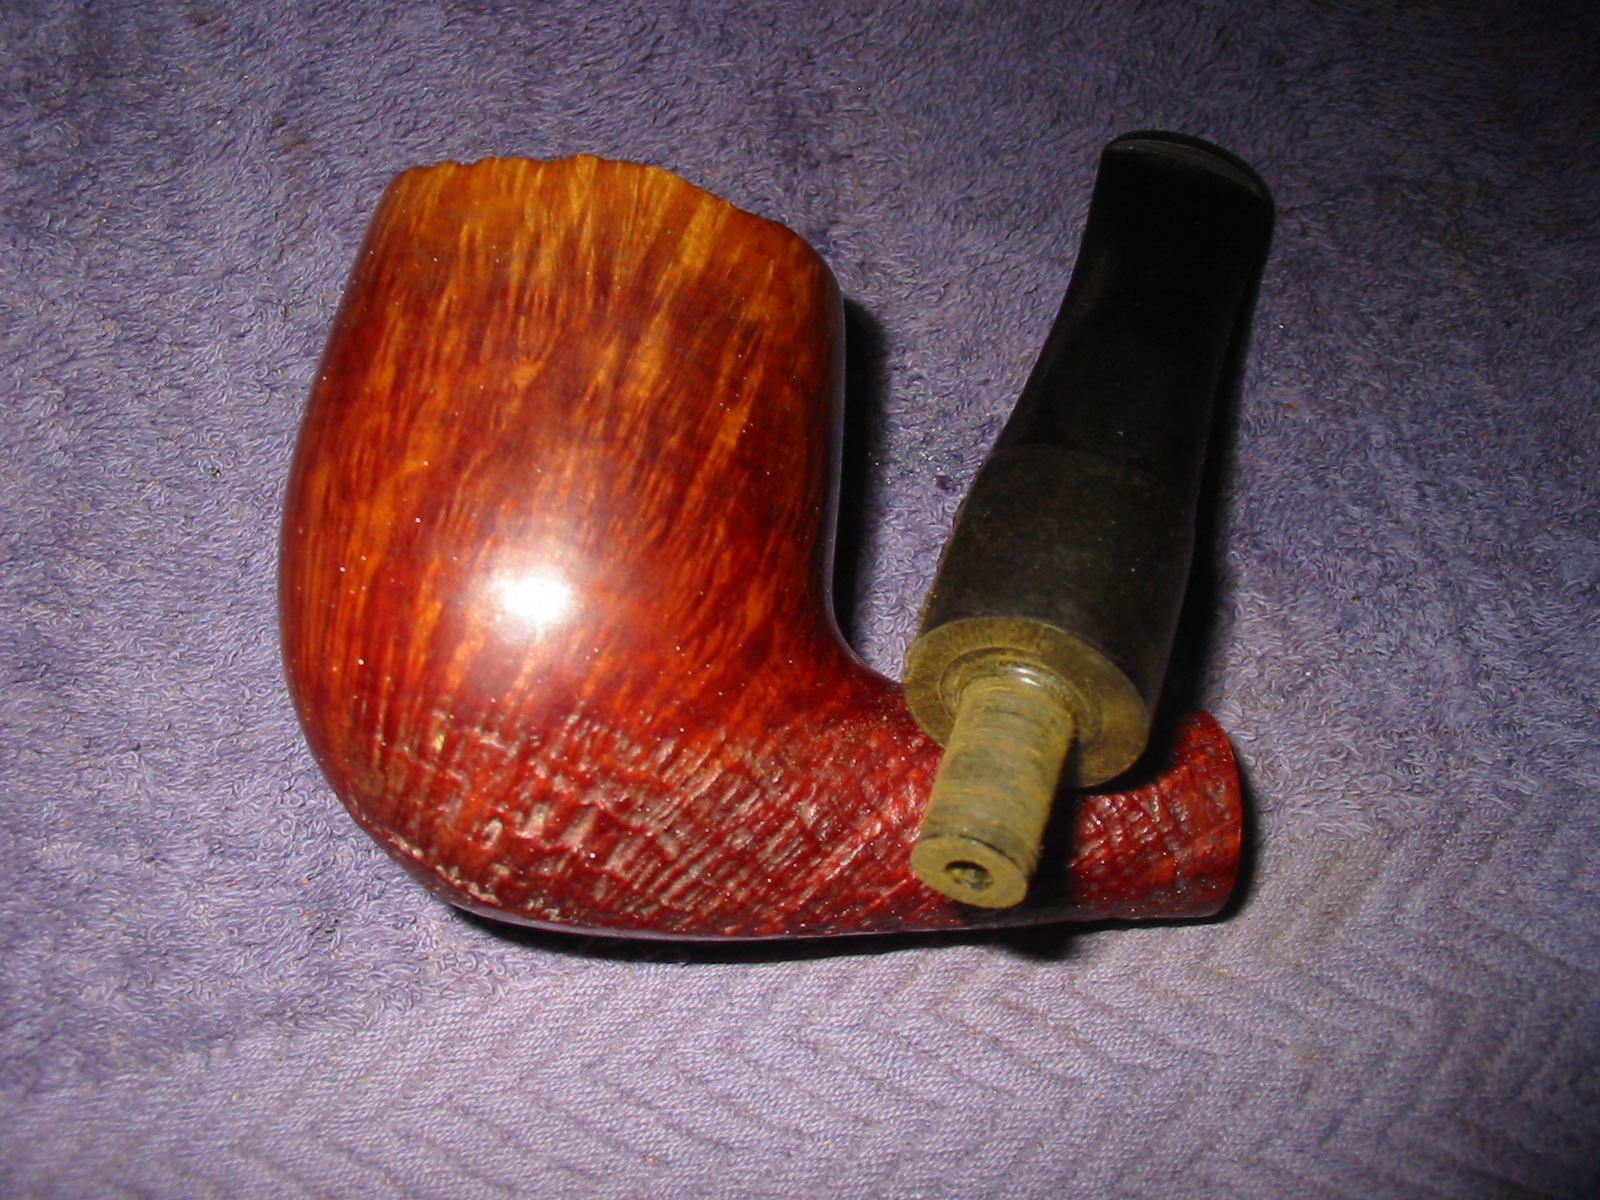
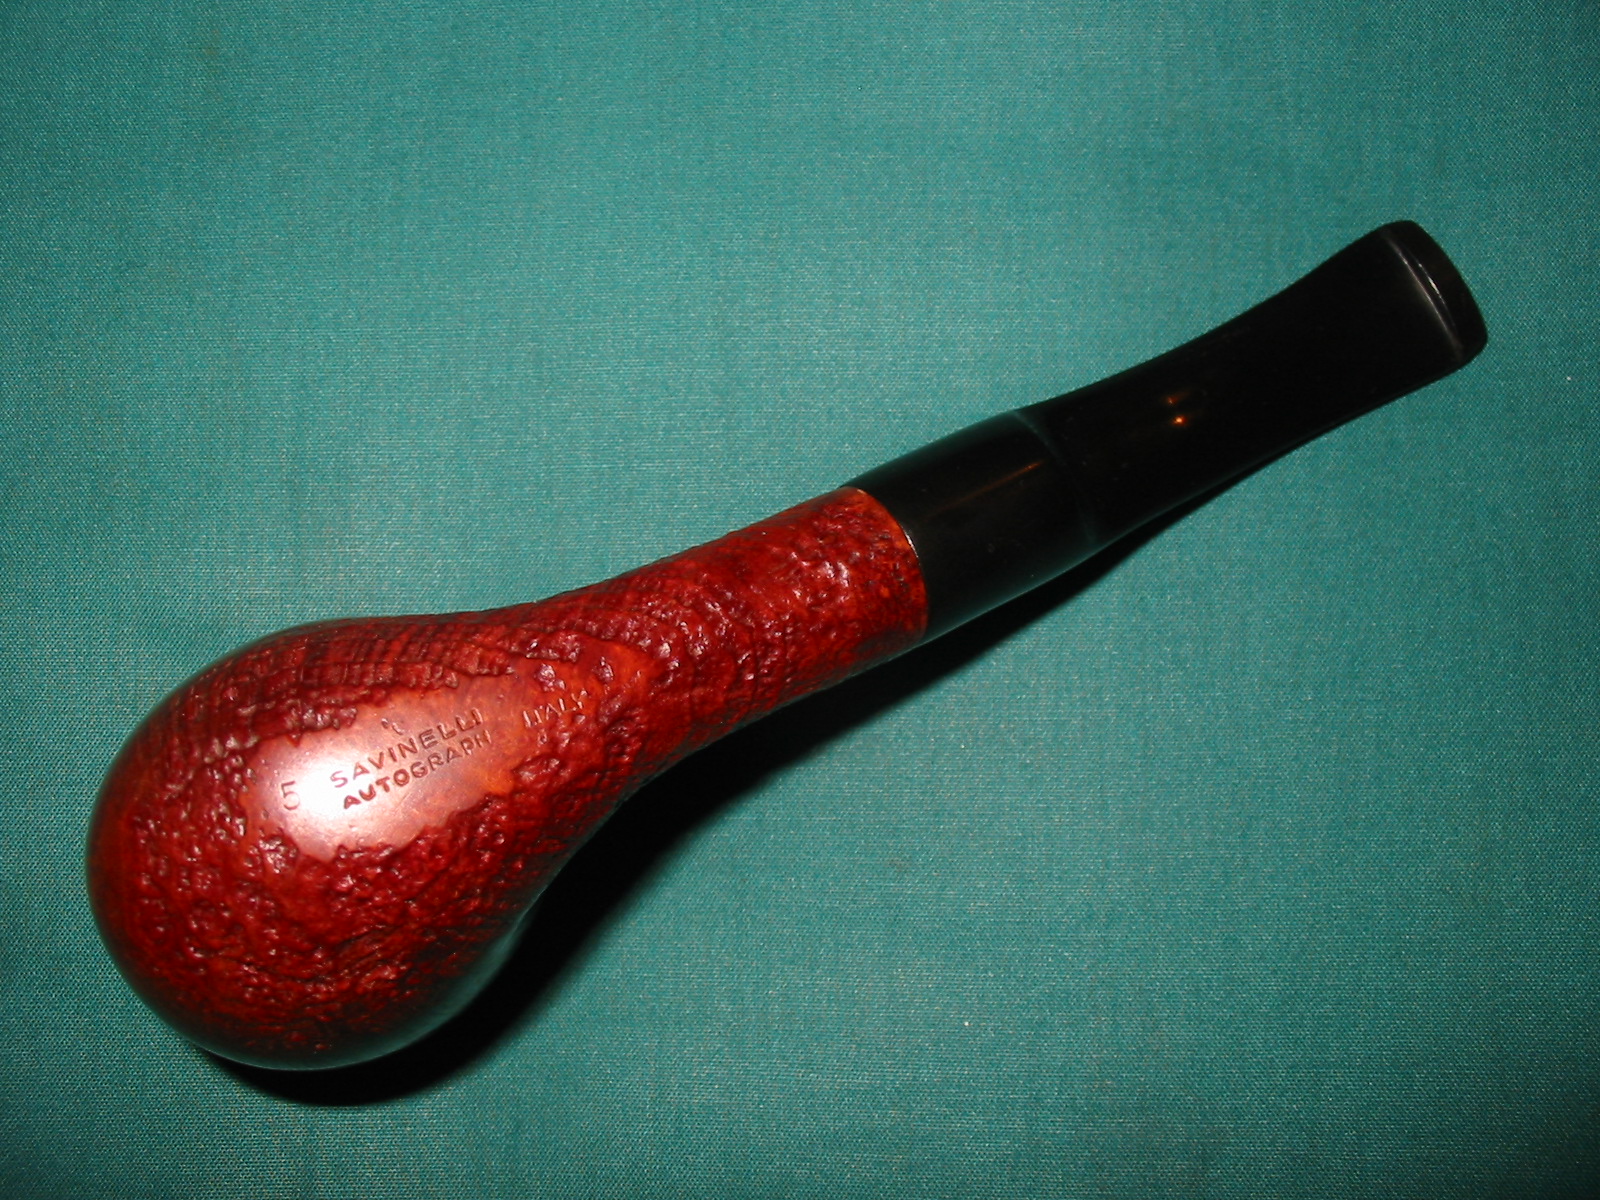
My brother found this Savinelli Autograph on a trip through Nebraska. He picked it up in an antique shop. It was in very good shape with a light cake in the bowl. It is a large pipe that is sandblasted on three sides of the bowl and the shank. The sandblast finish was very clean and the smooth portion was also smooth and undamaged. The Pipes and Cigars website http://www.pipesandcigars.com/pipes/73592/savinelli-autograph-pipes/ says that:
“Savinelli Autographs are as individual as your fingerprints. Each is the dream of an expert pipe maker realized in briar and personally selected by Giancarlo Savinelli. Every Autograph is 100% ‘Hand made’ using only the highest grade of Sardinian and Corsican Briar Plateau blocks. Well grained briar, worthy of becoming an Autograph is rare and therefore, these beautiful masterpieces are very limited and coveted by pipe smokers worldwide. Truly an achievement to be treasured, Autographs are available in smooth, paneled, sandblasted brown or black.” The Autograph my brother found is a paneled version.
On the Savinelli website it says this about the Autographs:
“This rare, unique and irreplaceable pipe is shaped from the raw material following the grain and the “fiammatura” (“flame”), which Mother Nature has put at our disposal, according to the artistic mood of our master craftsmen. The wood is natural and the shape is unique for each piece. The name “Autograph” was created from the handwritten signature of Achille Savinelli Senior printed on the mouthpiece.”
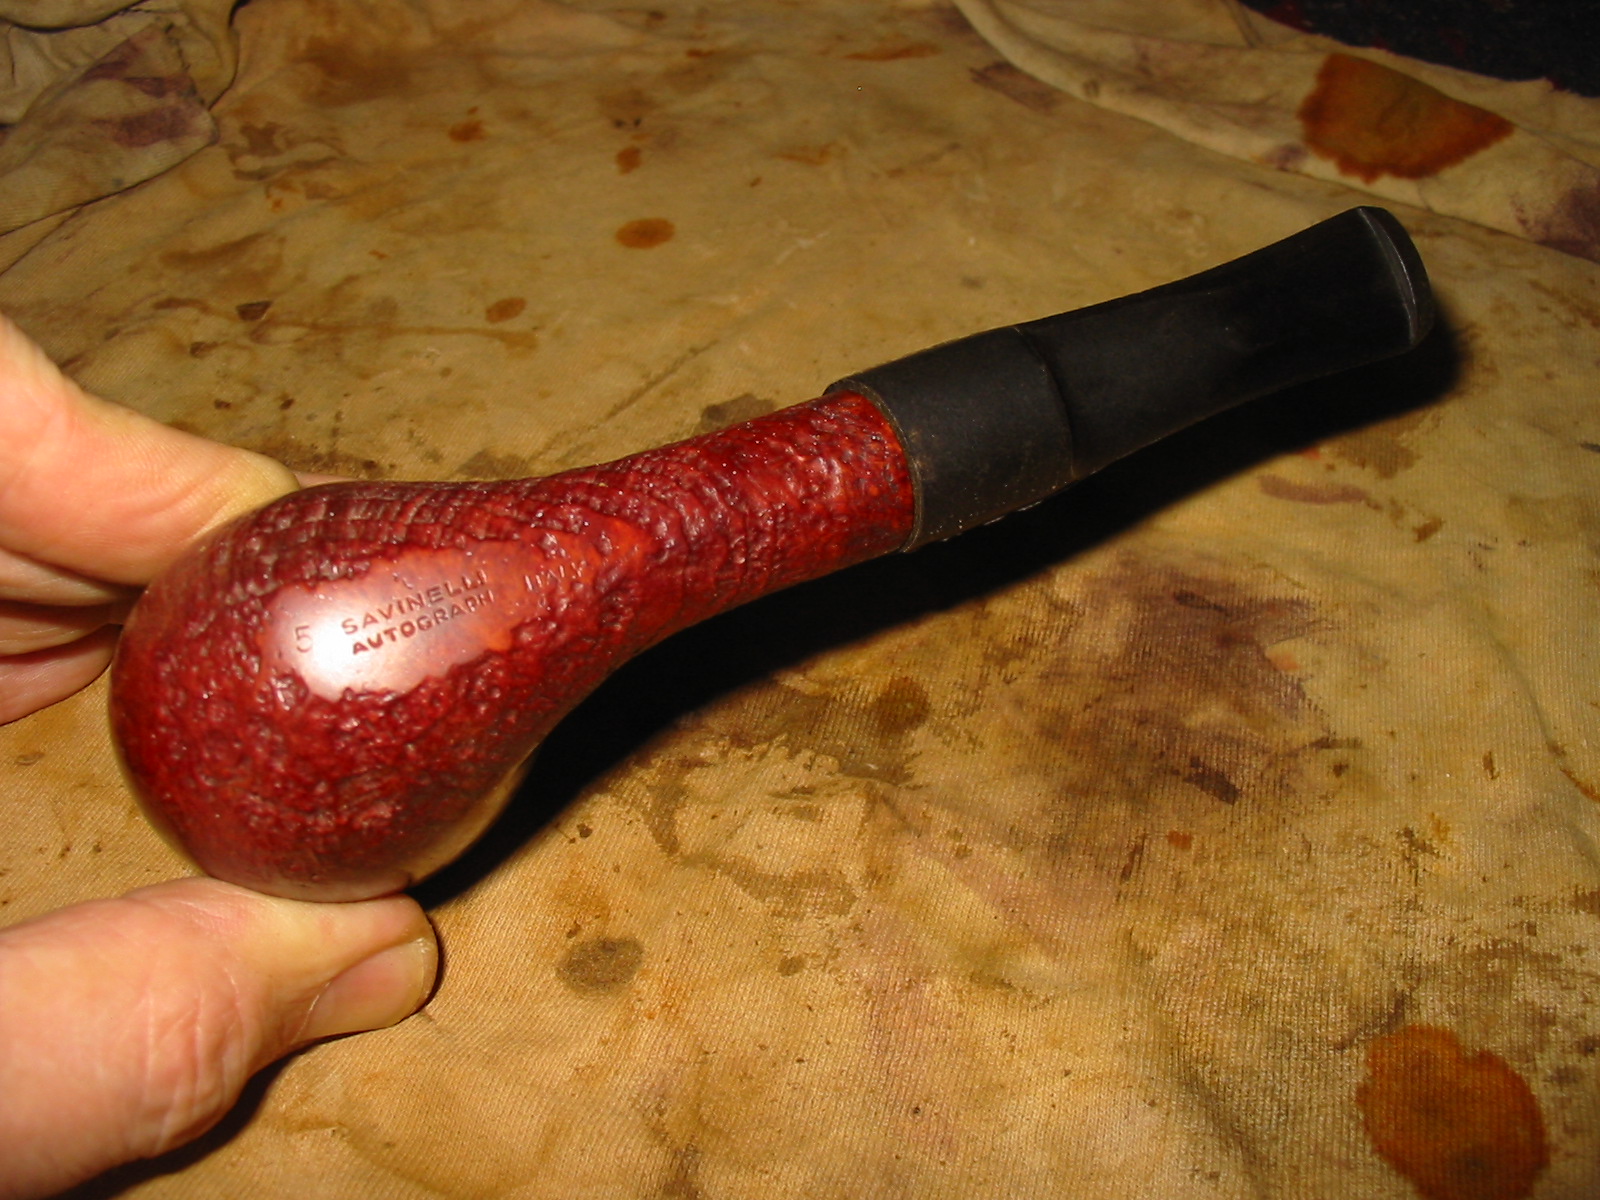
“These pipes are graded according to very strict parameters: the 0 (zero) category goes from 000, an outstanding masterpiece, to 00 and then 0. The grading then goes down to 8, 6, 5, 4 and 3.” The one my brother found is stamped with a 4 thus it is a 4 Grade pipe.
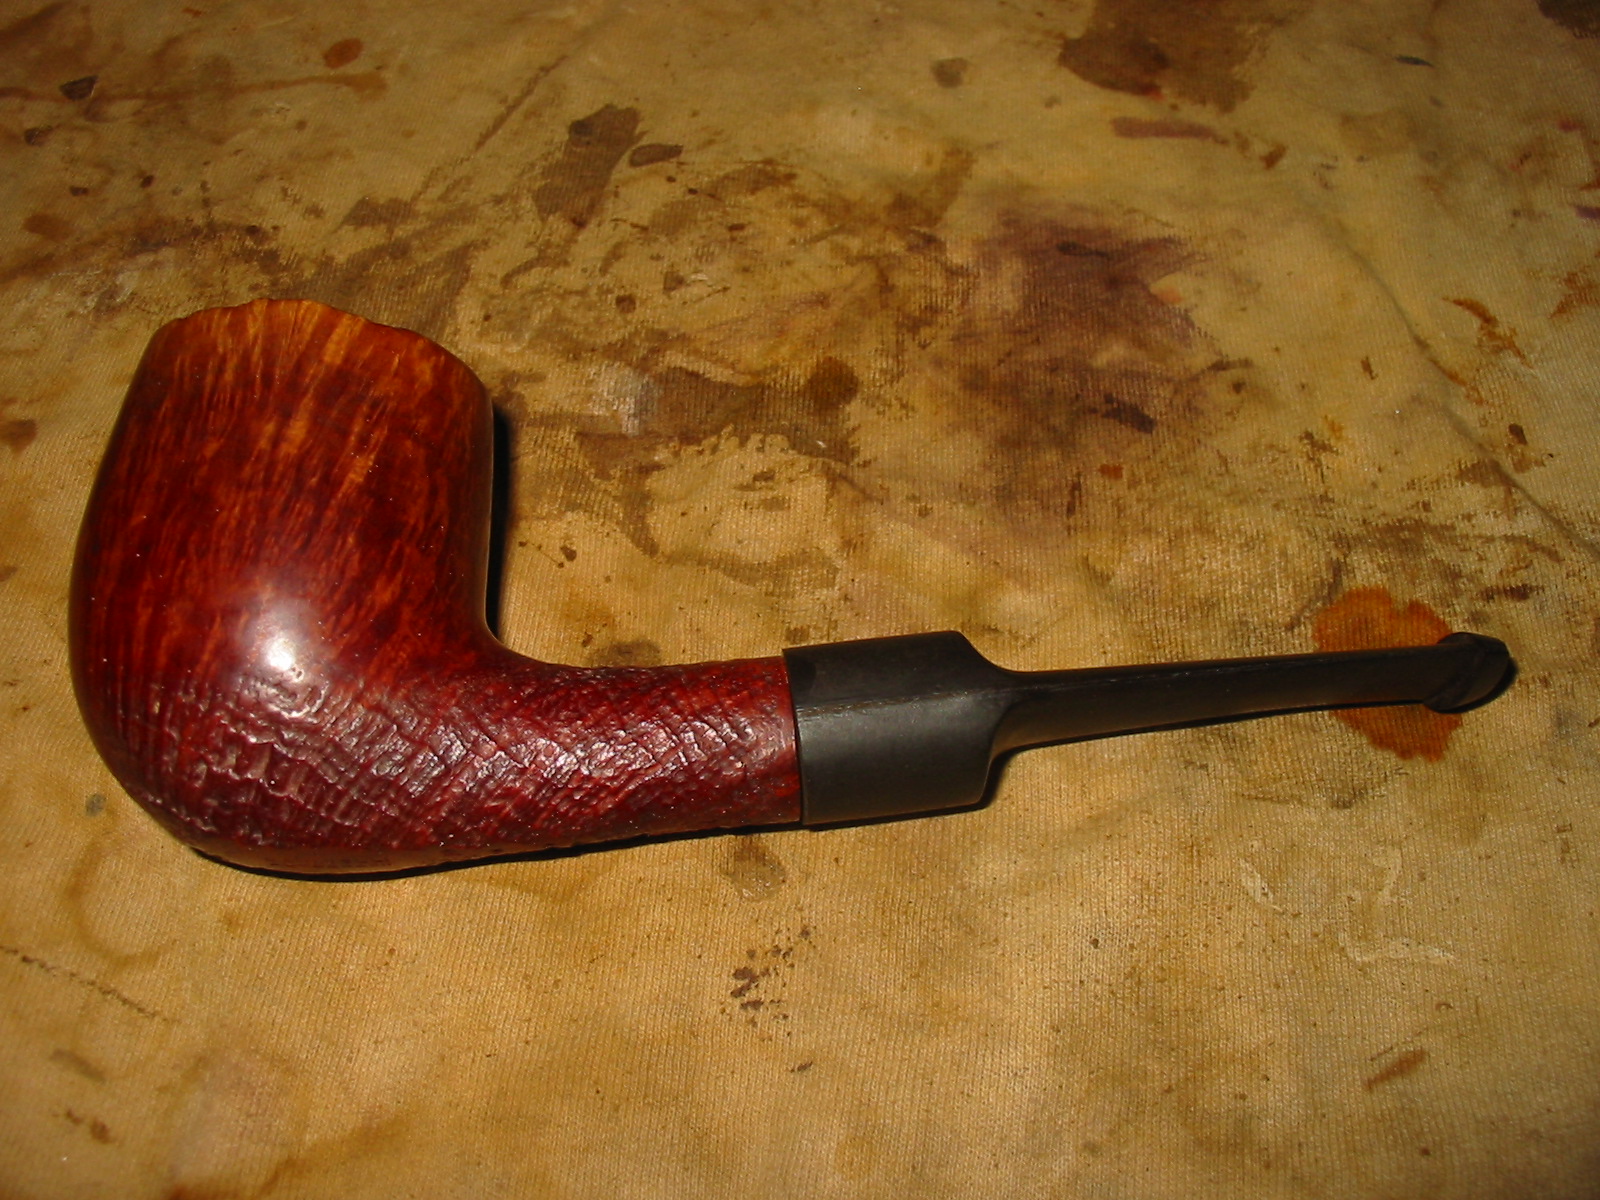
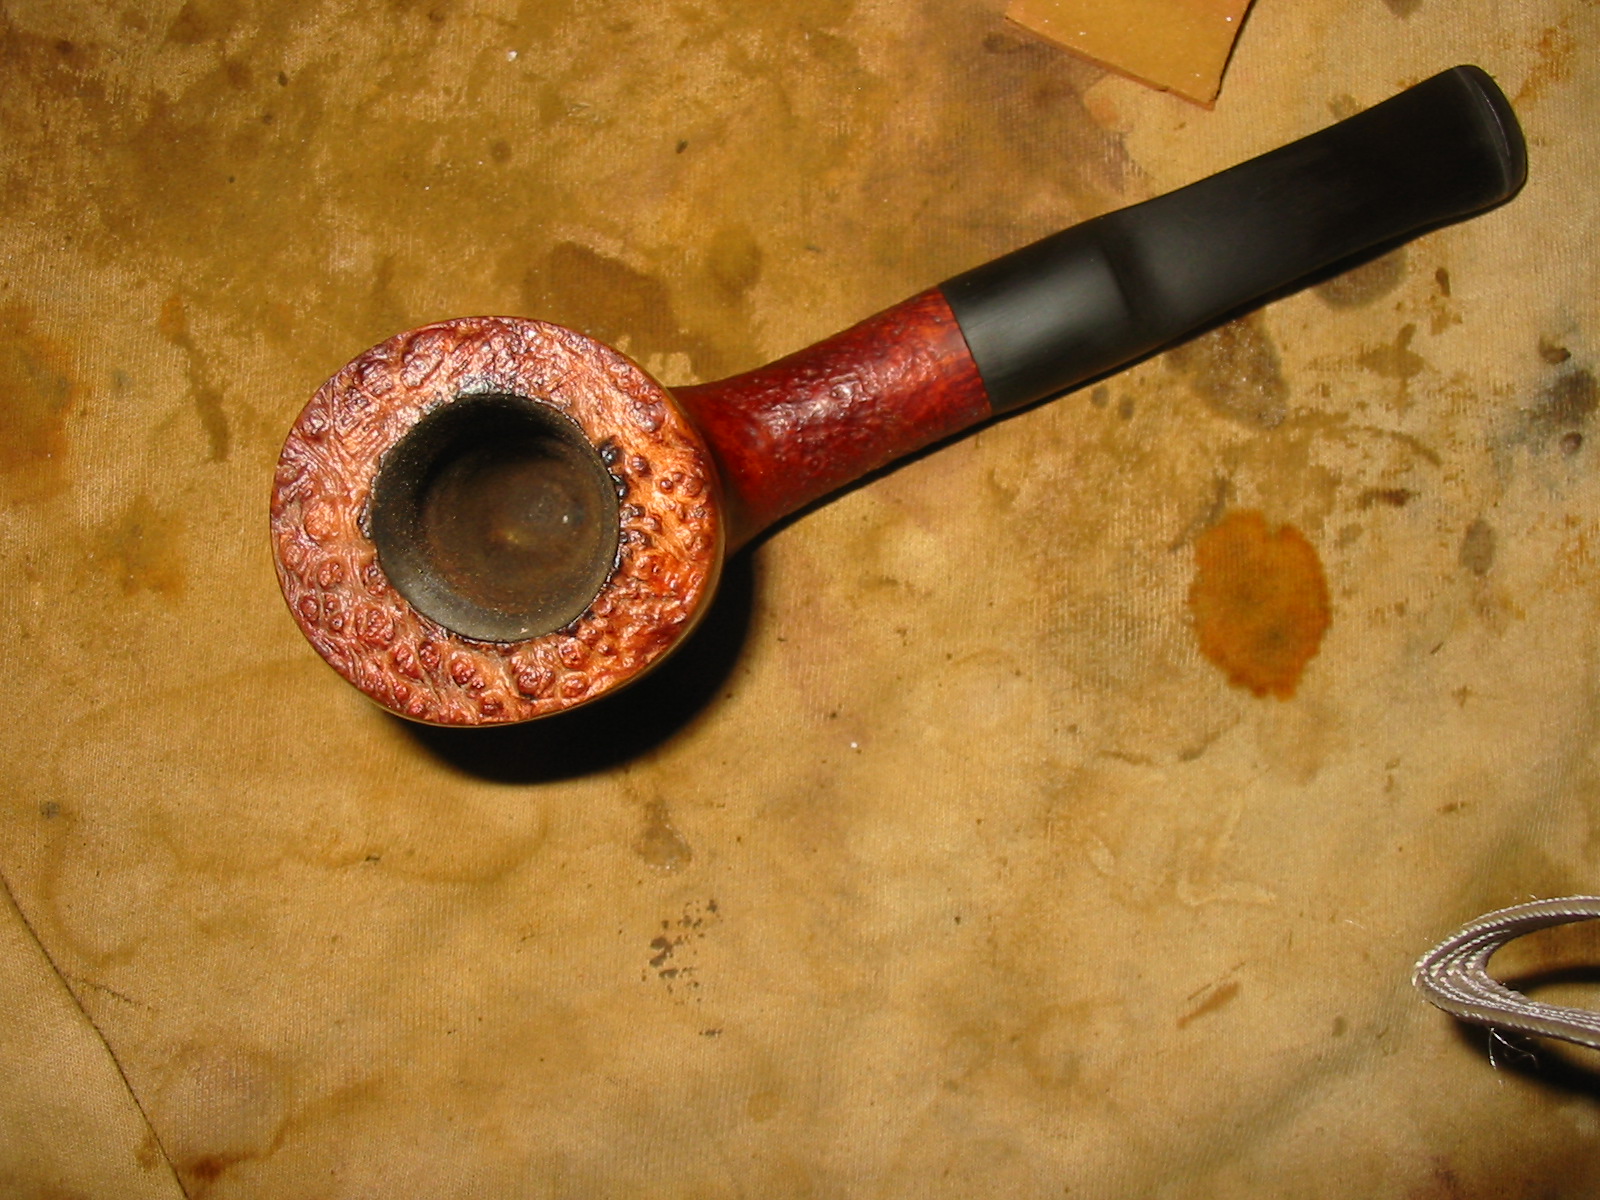
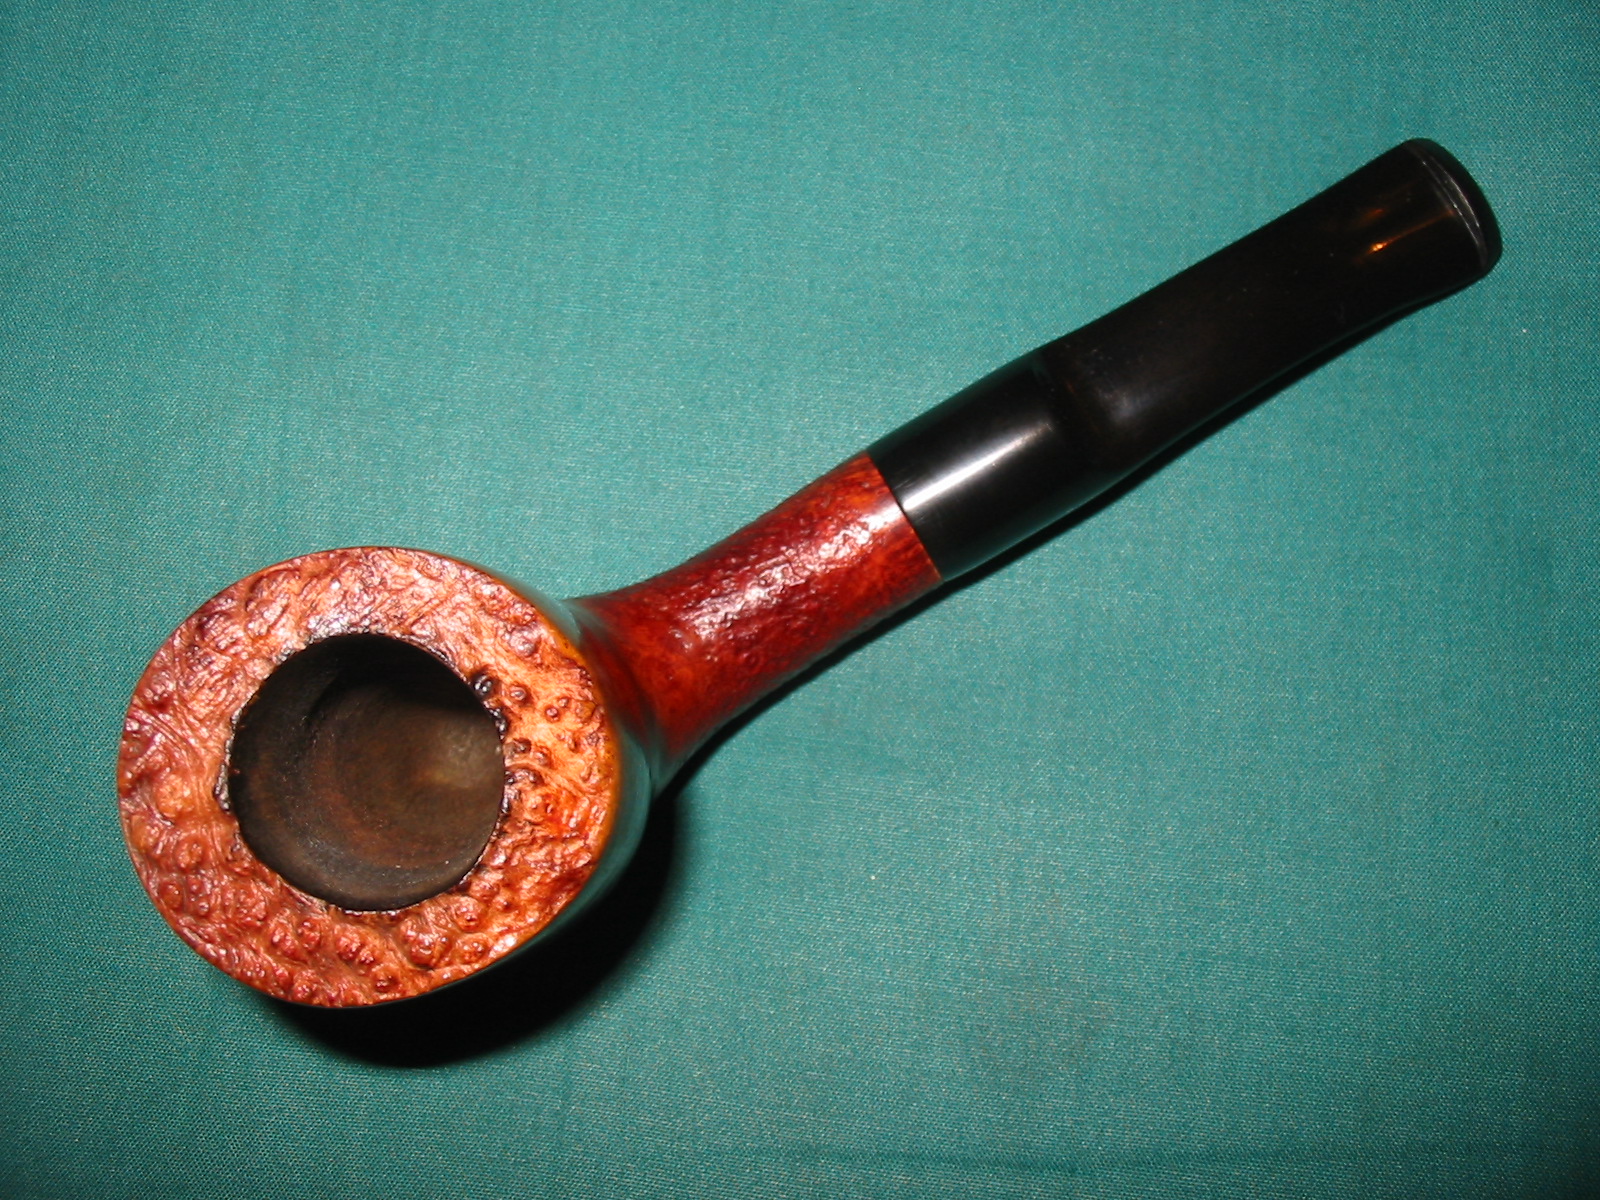
The Savinelli website went on to confirm that the Autograph are available as ‘Panel’ pipes which have both a smooth and a sandblasted part or are completely sandblasted. http://www.savinelli.it/en/autograph-liscia The rim was dirty but undamaged. The inner and out edge was in perfect shape. The stem was oxidized and had some tooth marks on the top and bottom sides near the button.
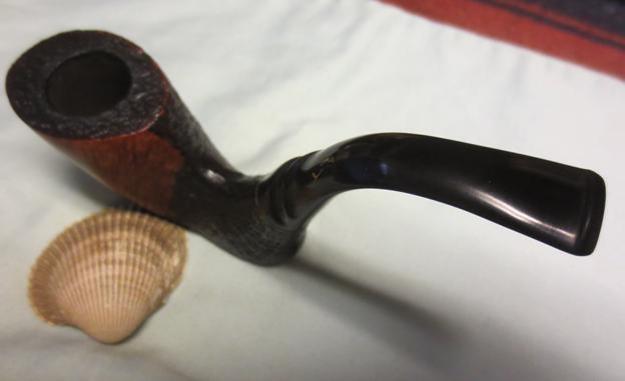
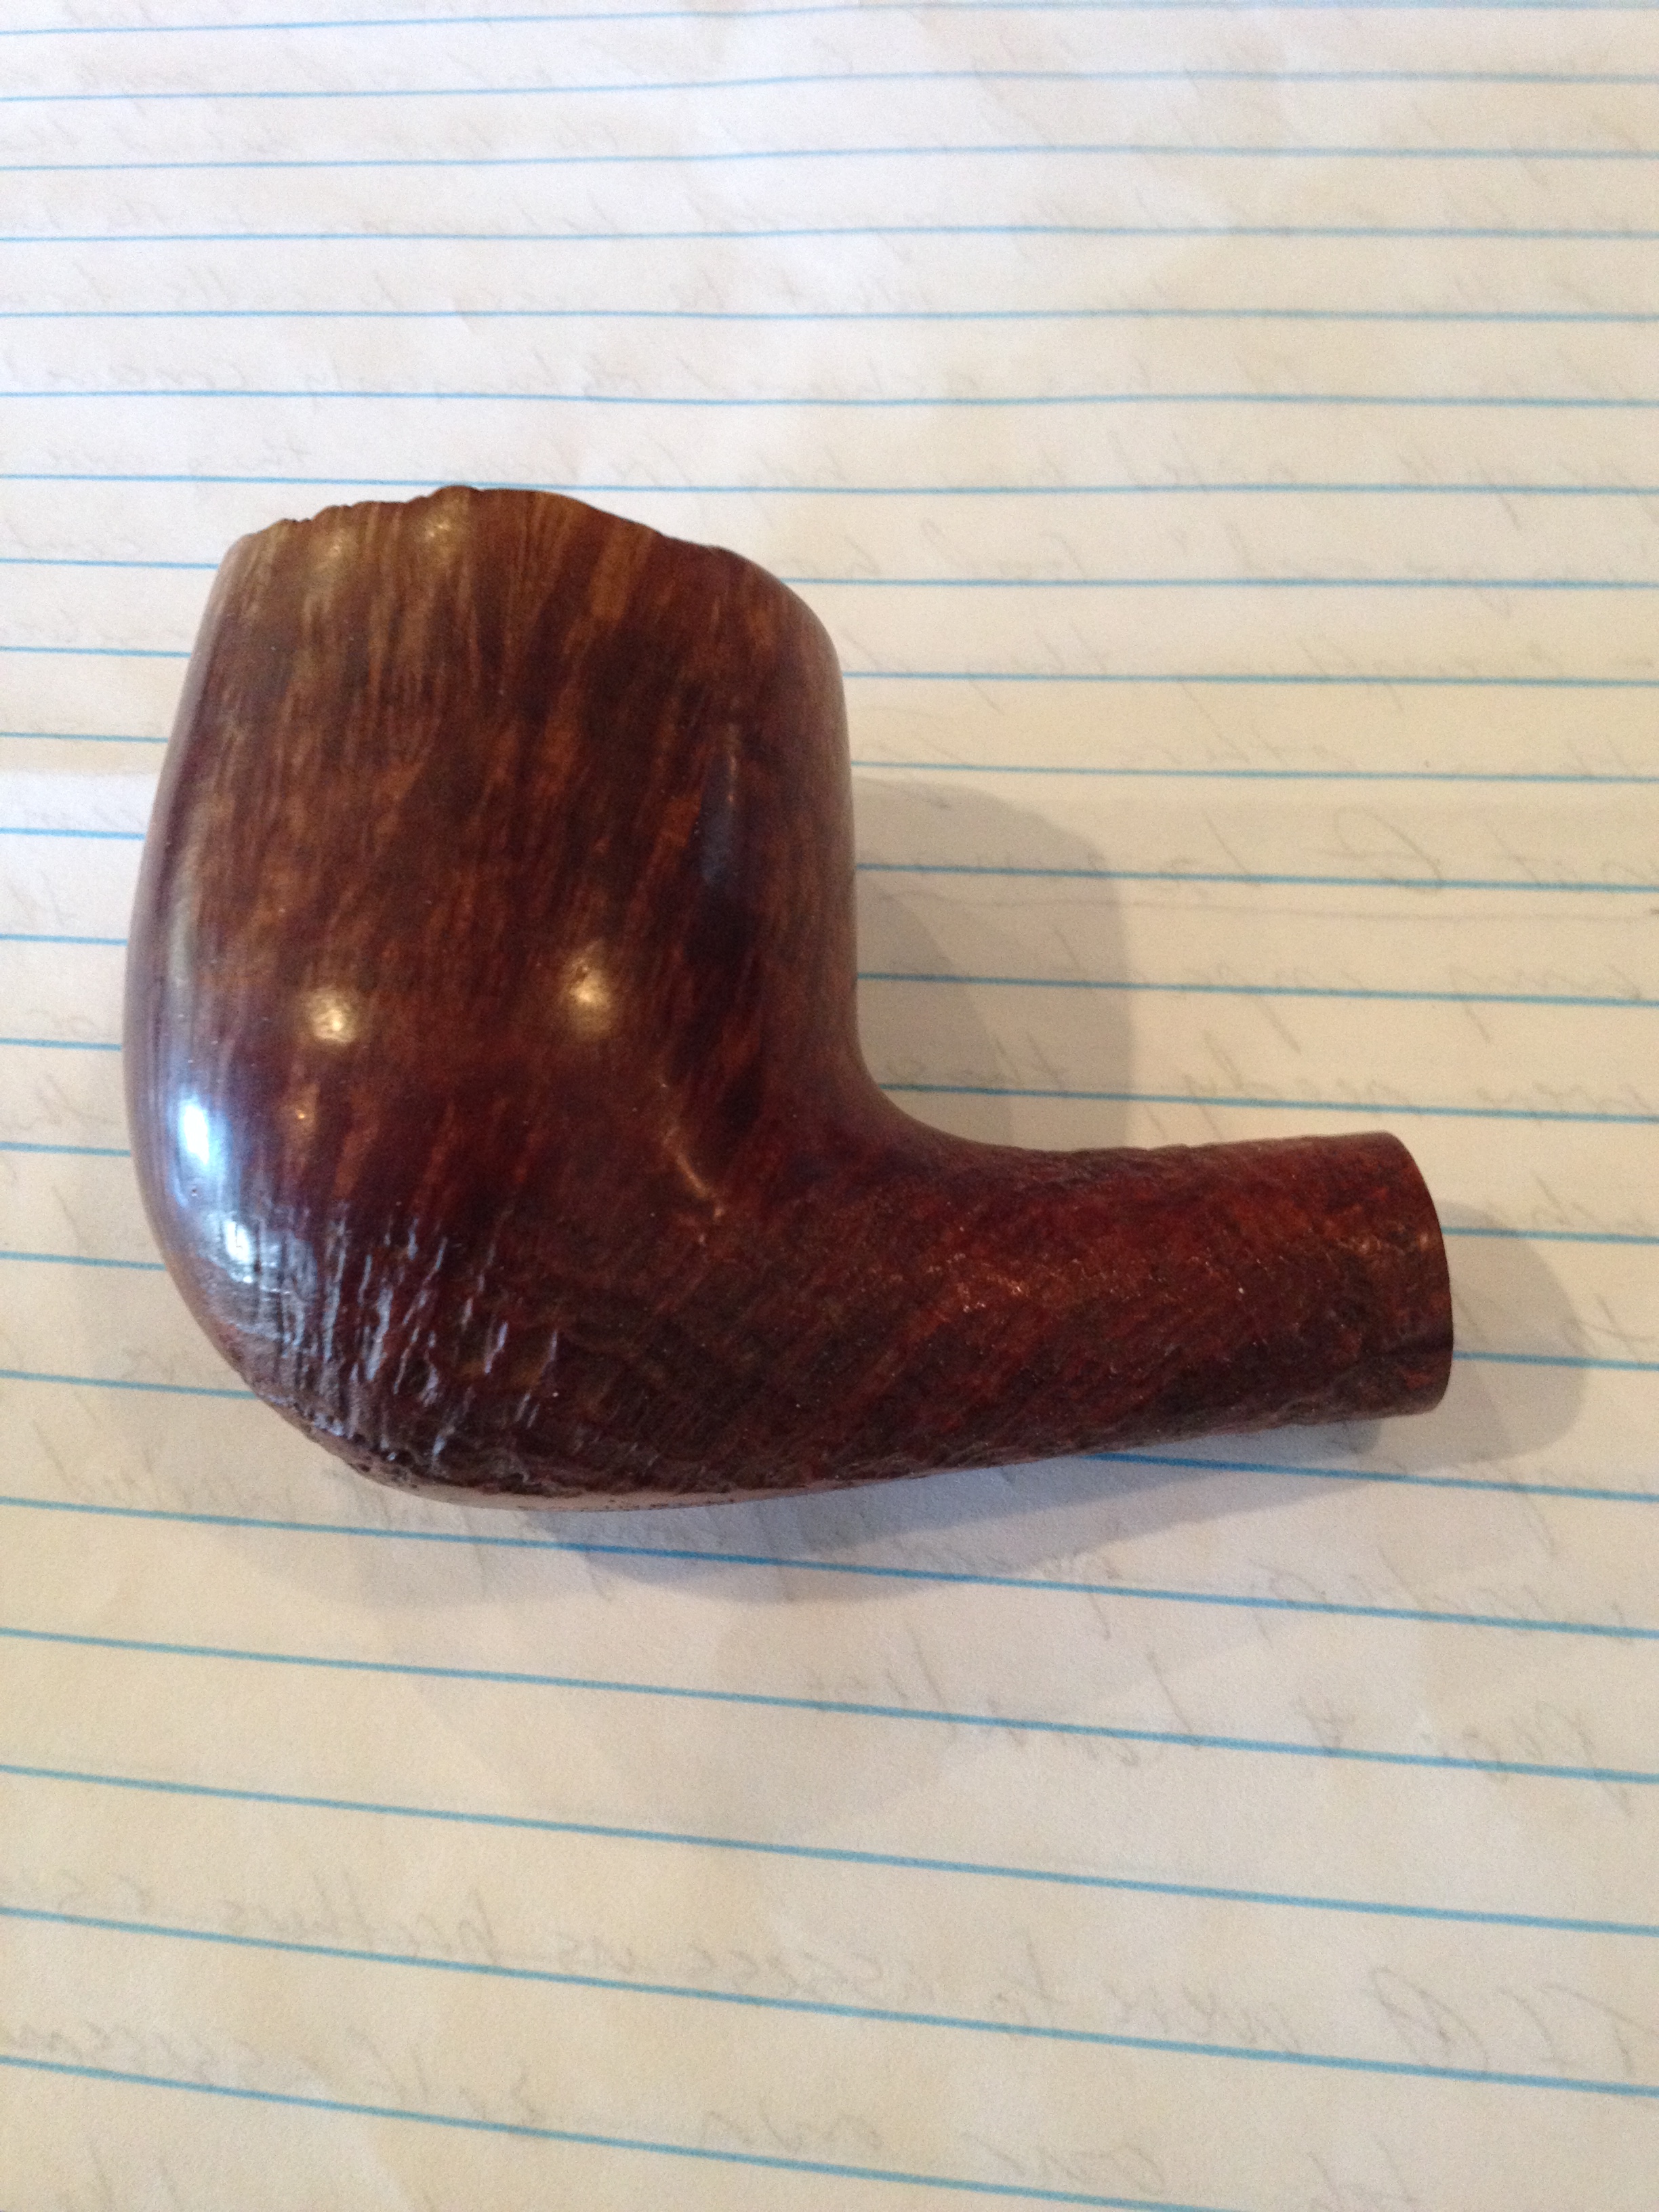
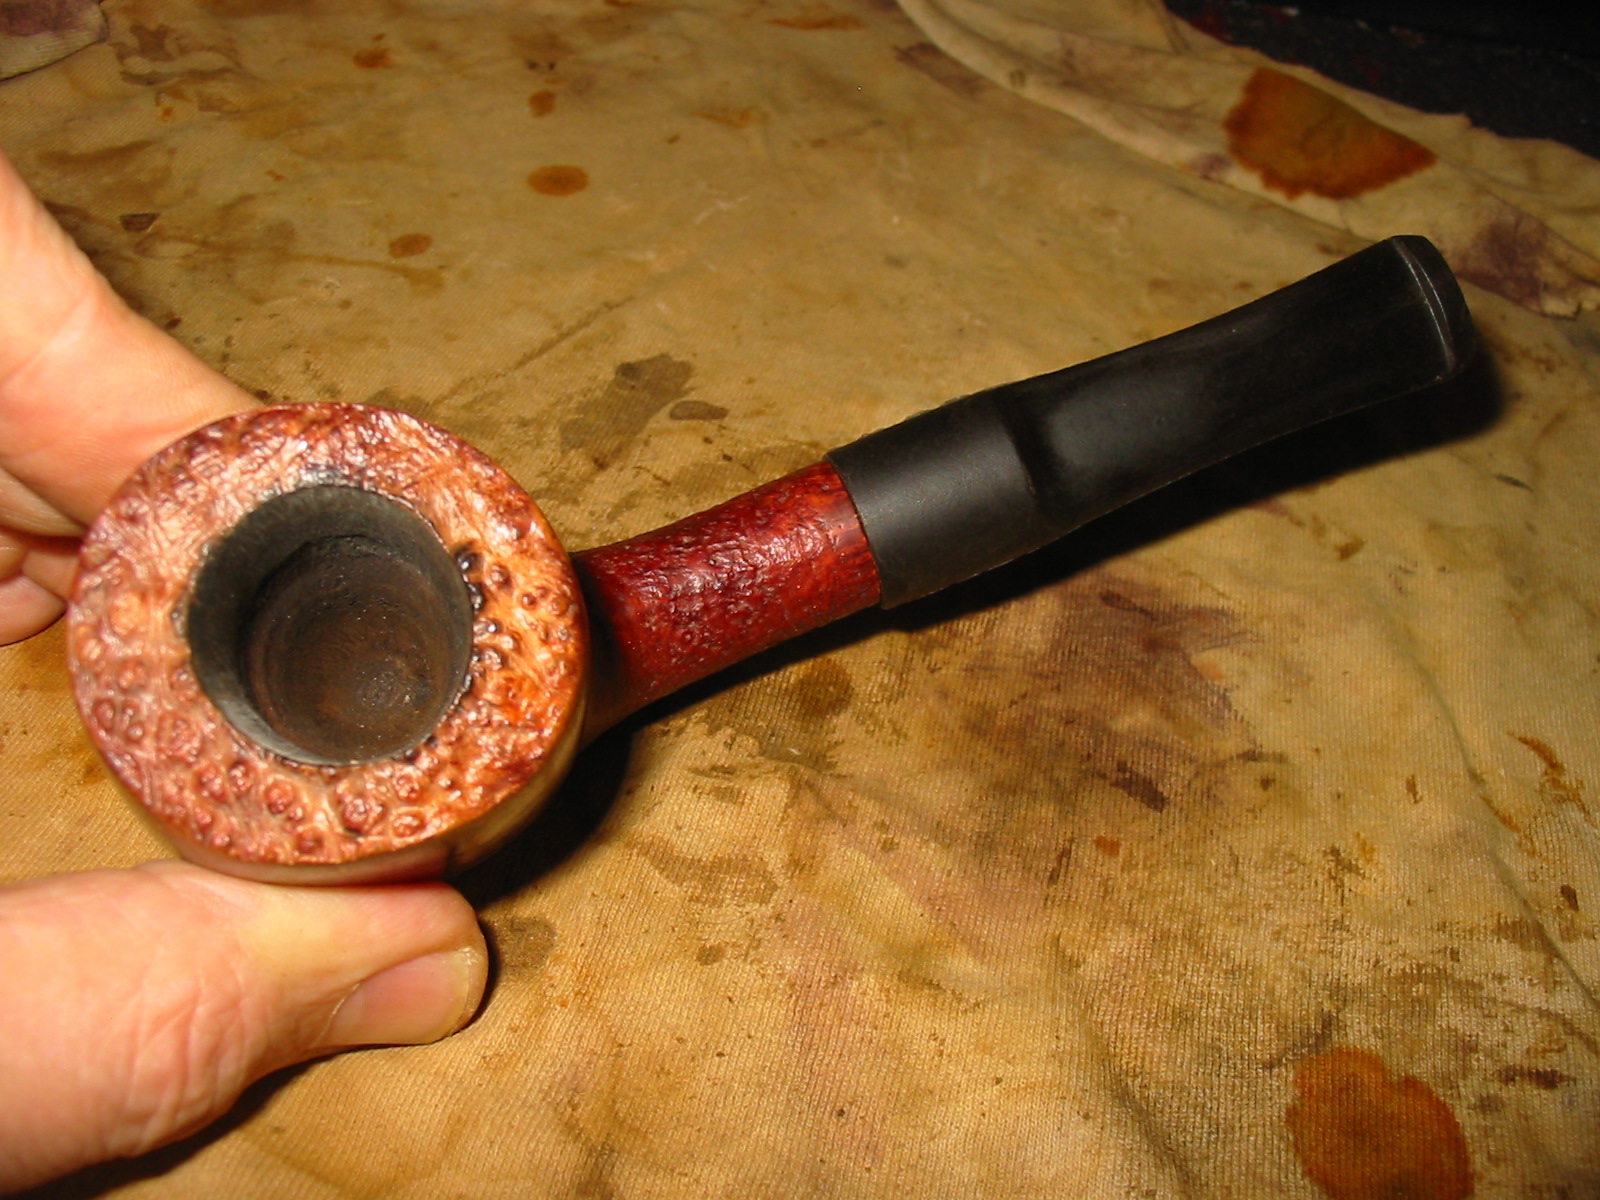
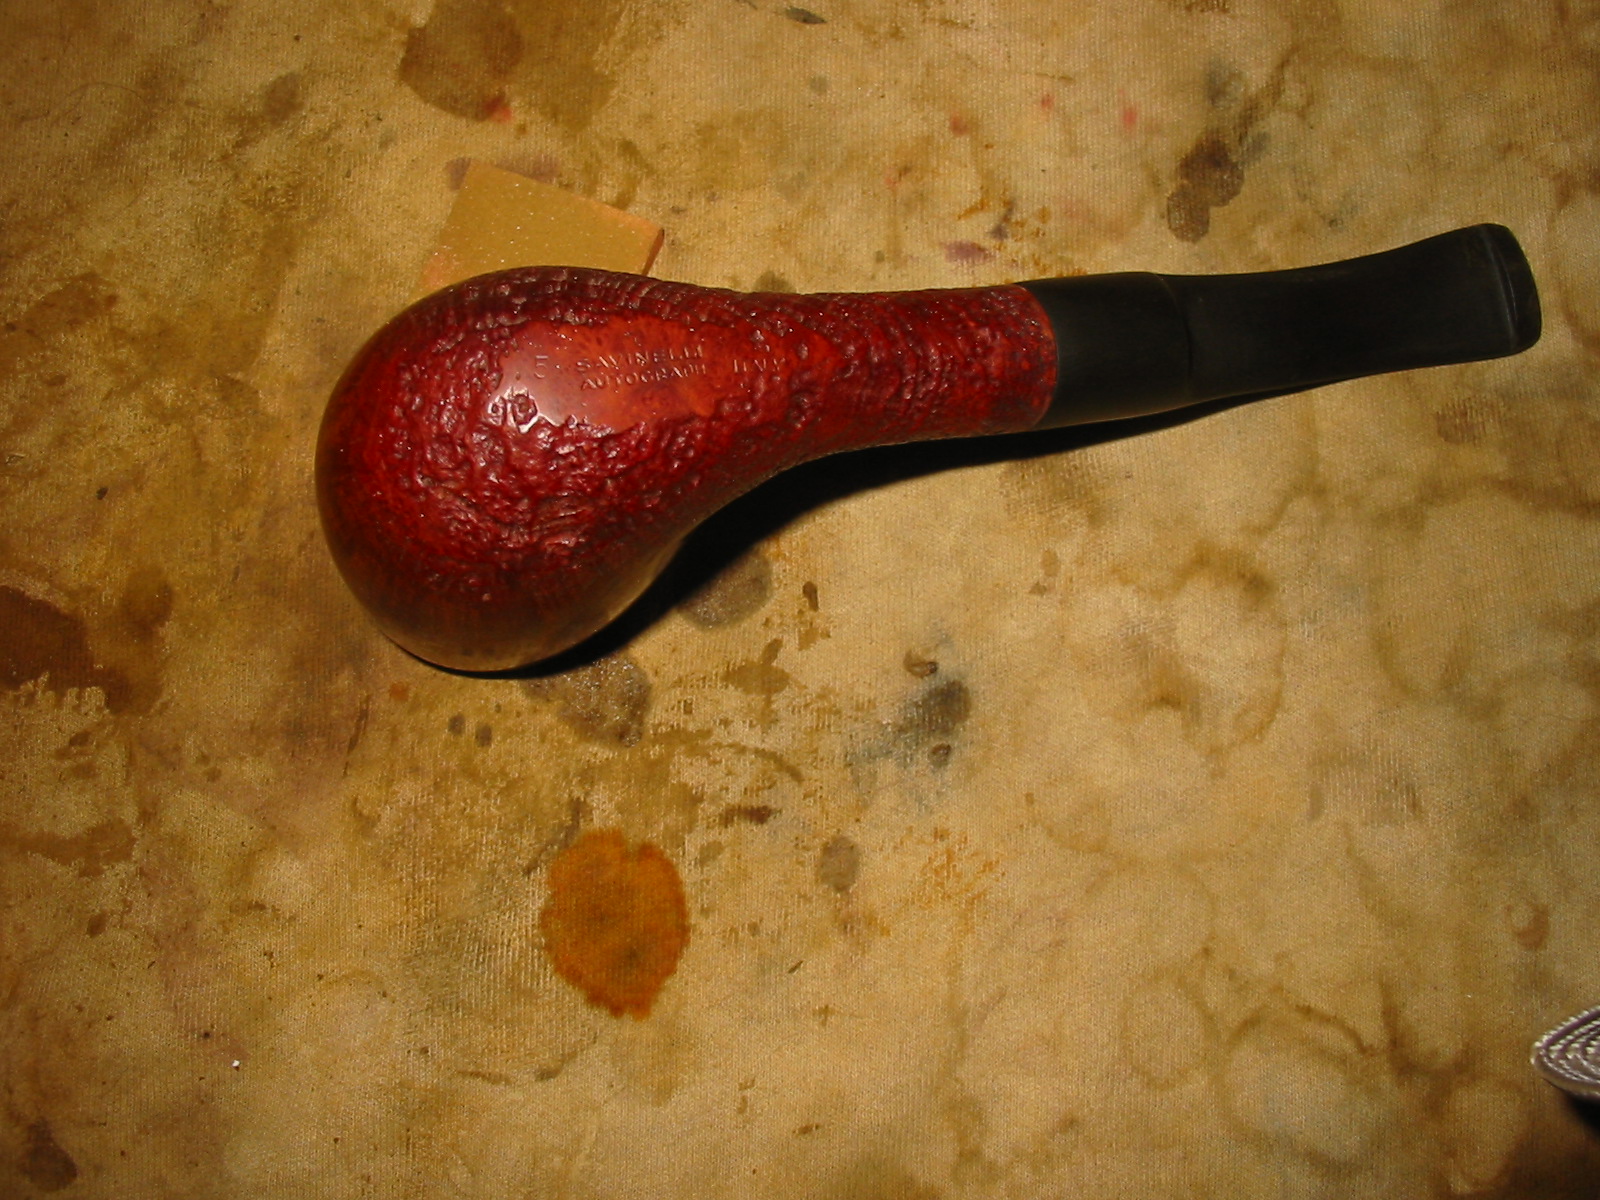
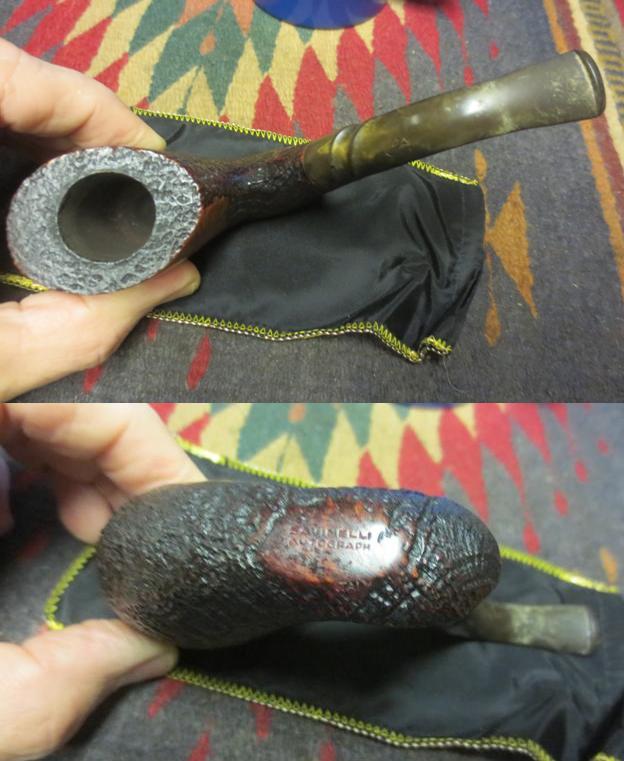
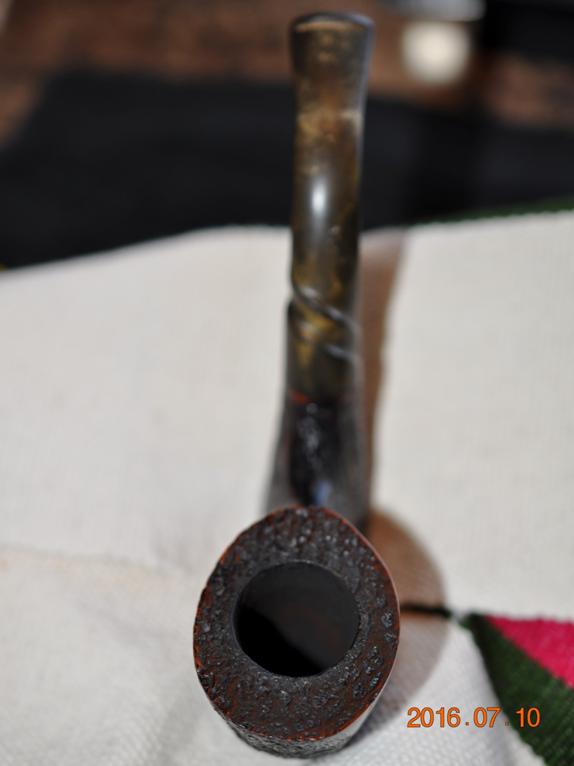 There was a smooth spot on the underside of the bowl and shank that is stamped Savinelli Autograph over the number 4 over Italy. The finish was a little dirty on the bottom of the shank and would need to be scrubbed off. The first photo below shows the underside of the bowl and the shank. The second photo shows the stamping on the pipe. The third photo shows the state of the stem.
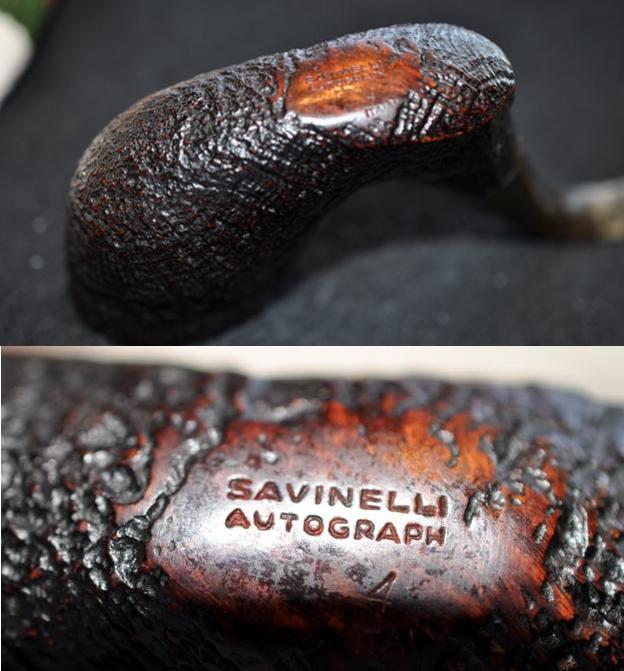
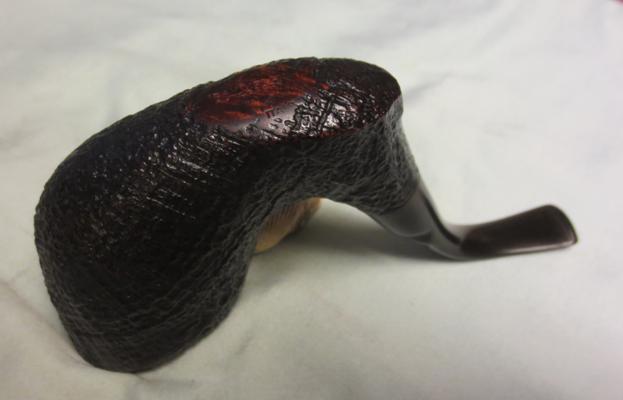
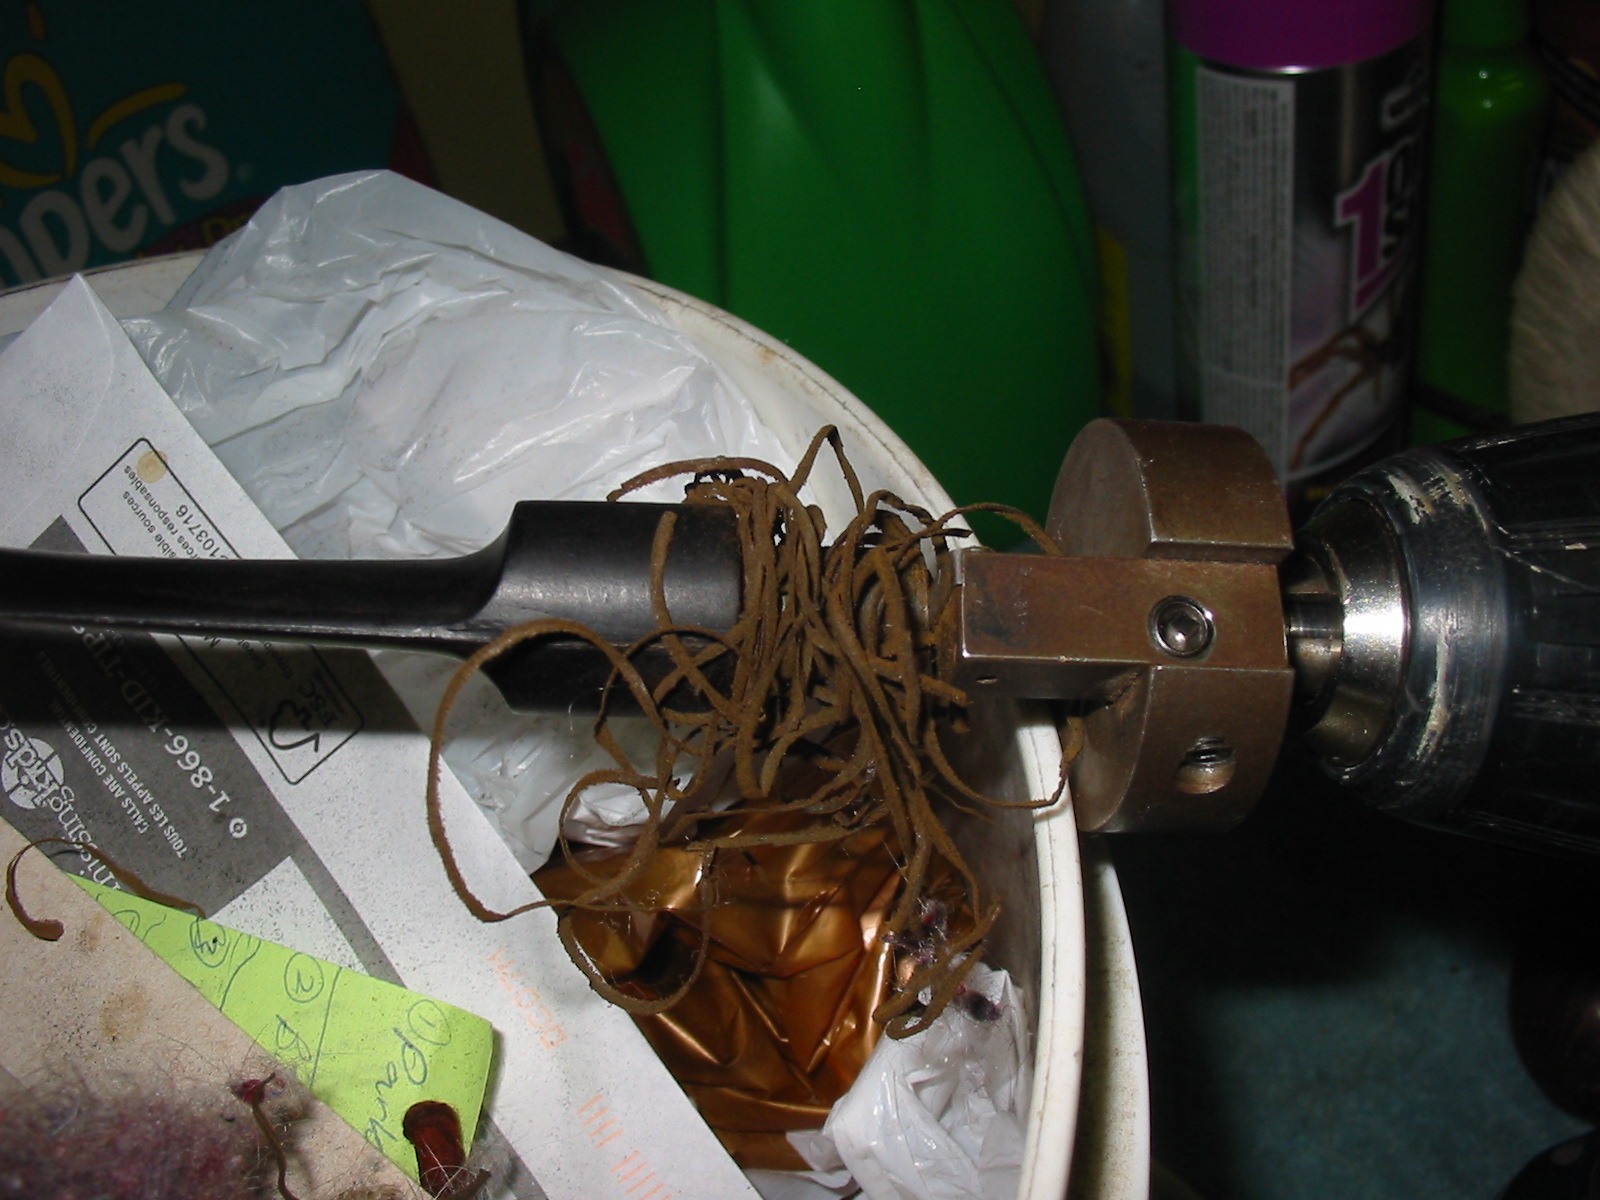
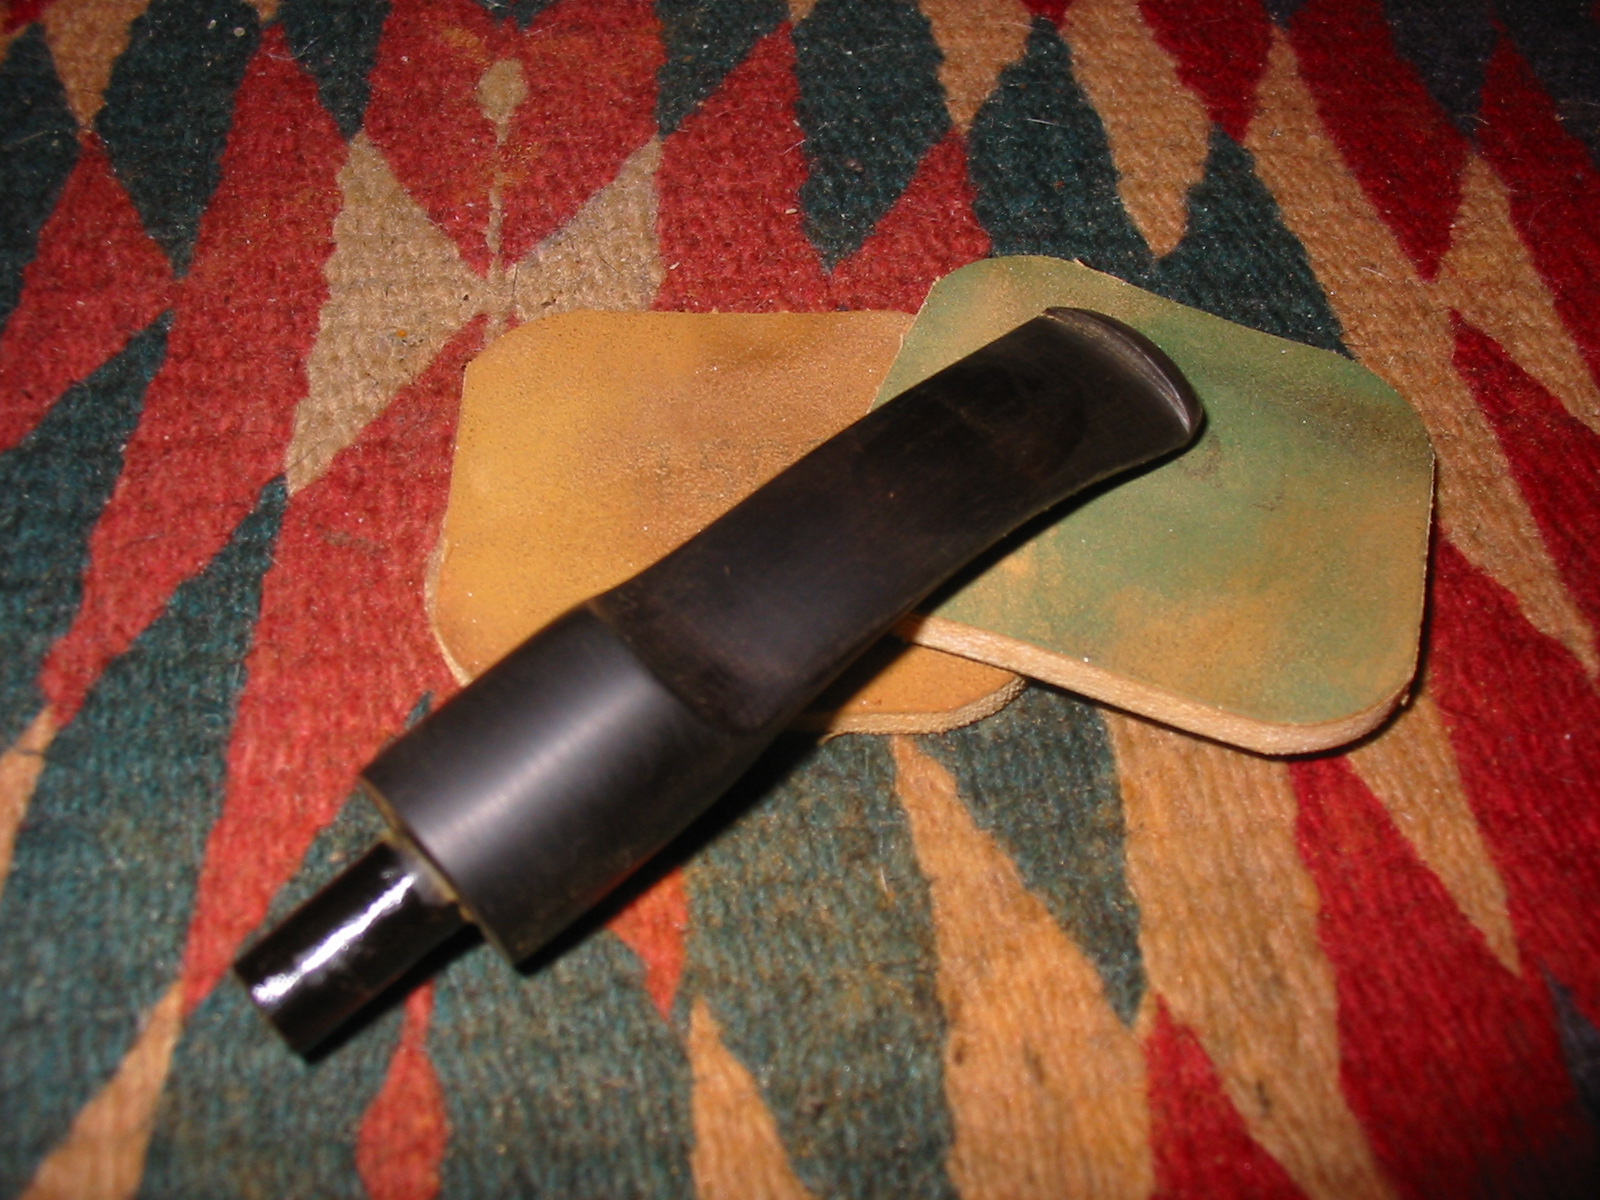
 My brother is doing all of the initial cleanup work for me. He reamed the bowl and cleaned up the rim and the shank. He scrubbed out the internals in the shank and the stem. He scrubbed the stem with Murphy’s Oil Soap to remove the stickiness and some of the surface grime on the stem. When I received the pipe it was in very good shape. The finish was very clean. The bowl and the rim were cleaned. The stem had some oxidation and there were tooth marks on the top and underside of the stem.
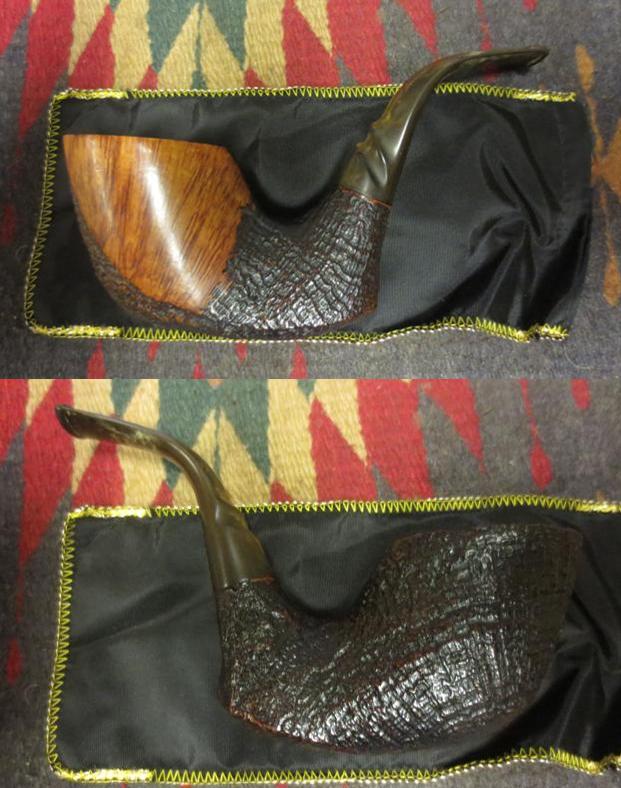
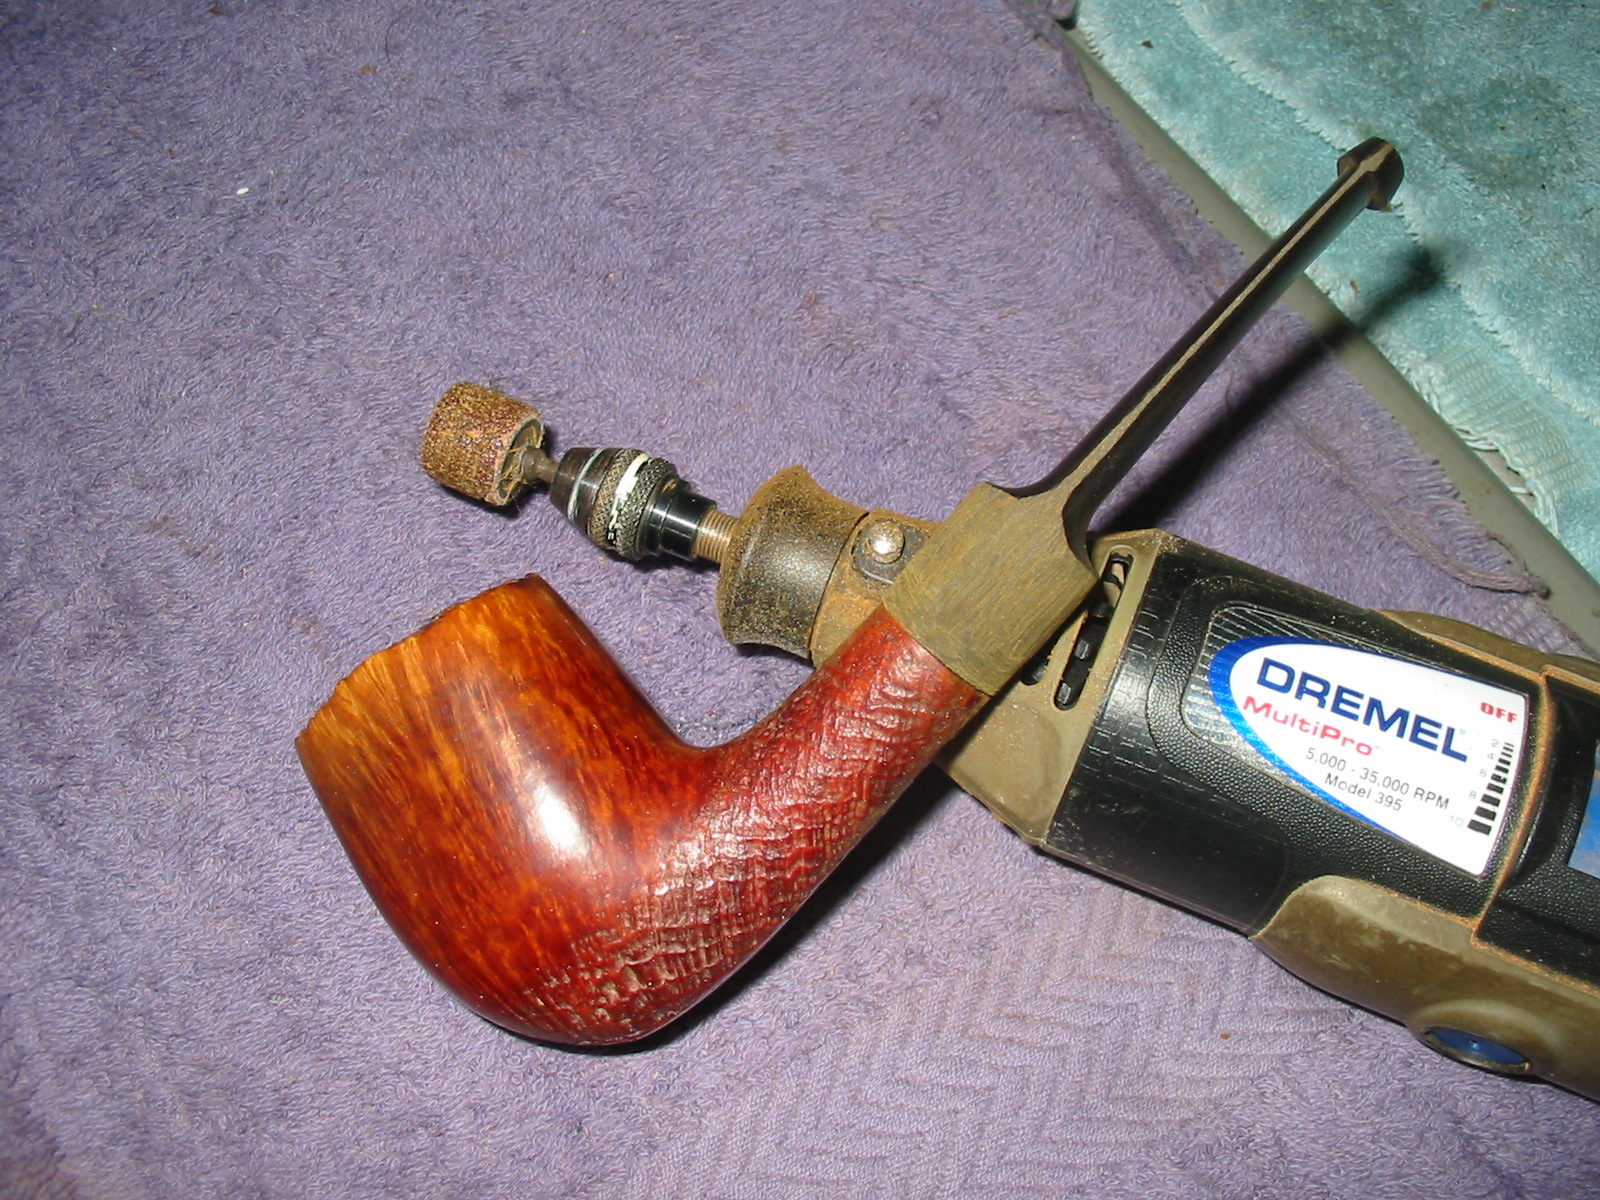
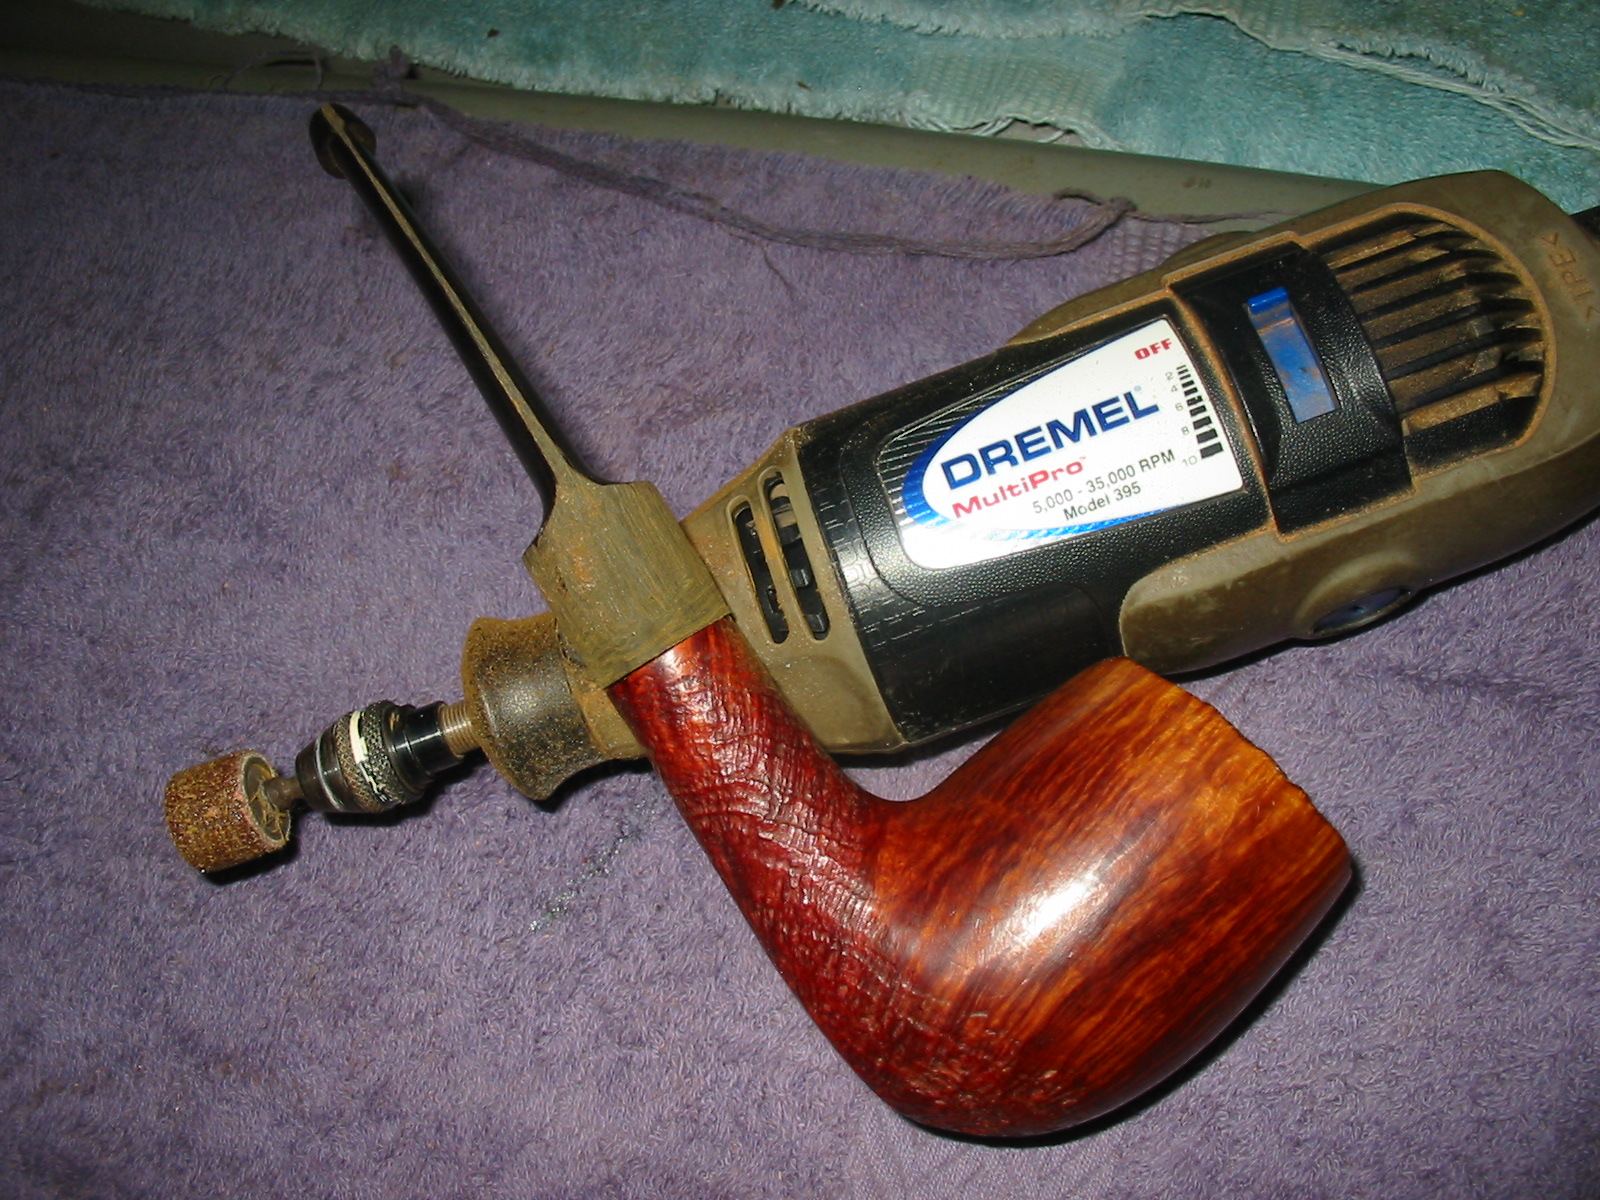
 I took a close up photo of the rim to give a clear view of the cleanup Jeff had done for me. He is doing some excellent work preparing the pipes before I get them. I can’t thank him enough as it saves me a lot of time and work.
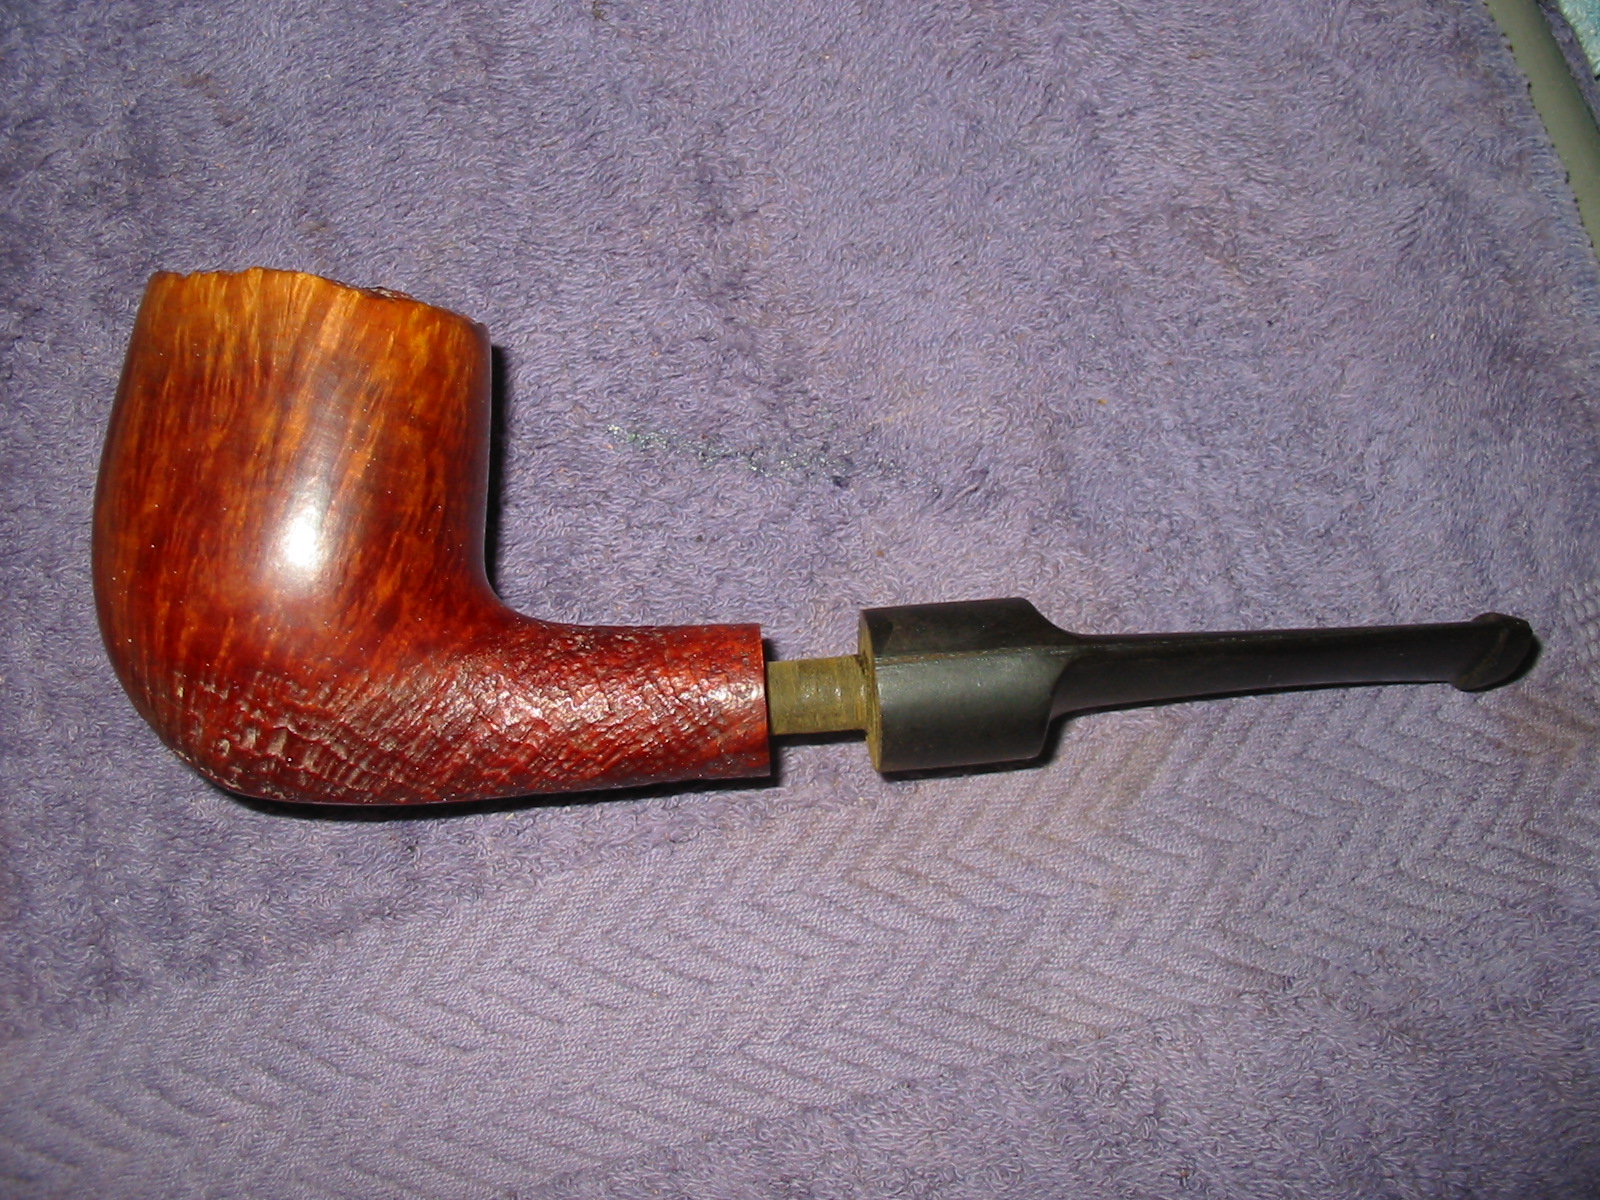
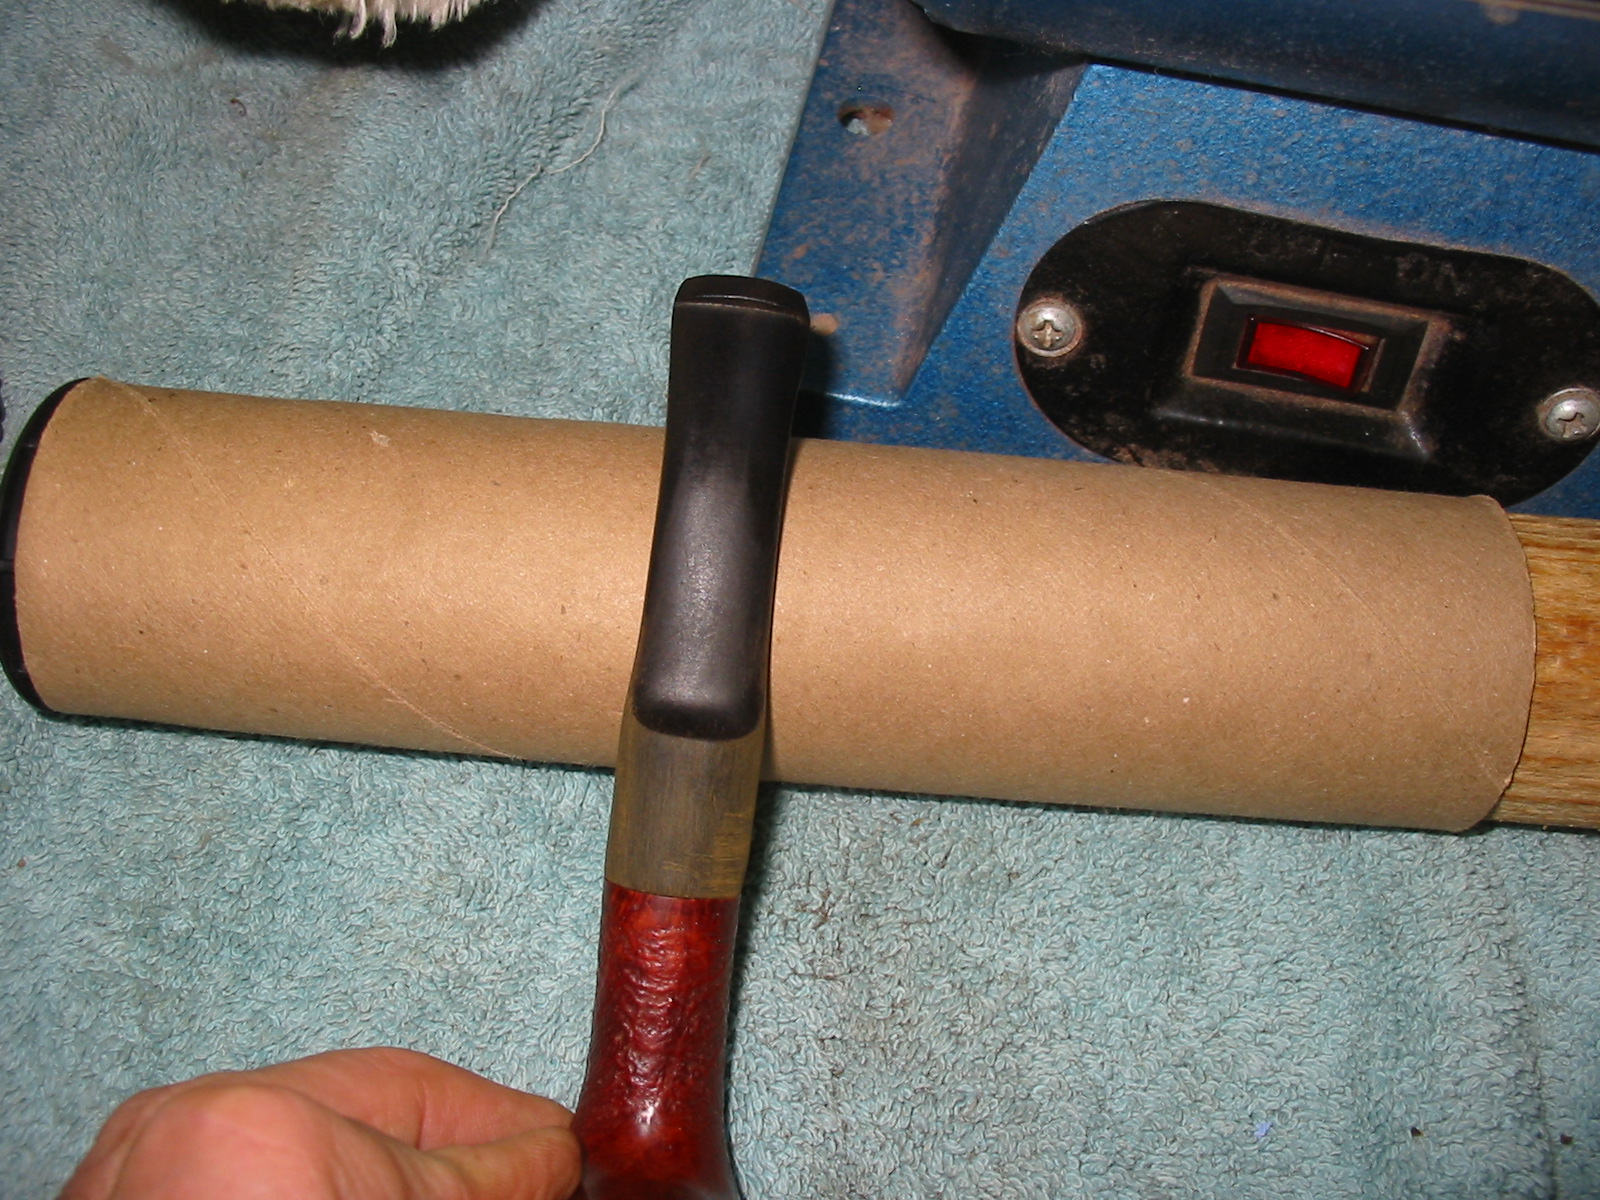
 I quickly swabbed out the mortise and airways in the shank and in the stem with pipe cleaners, cotton swabs and alcohol. It did not take too much work to clear out the sanding dust and debris from my work on the pipe.
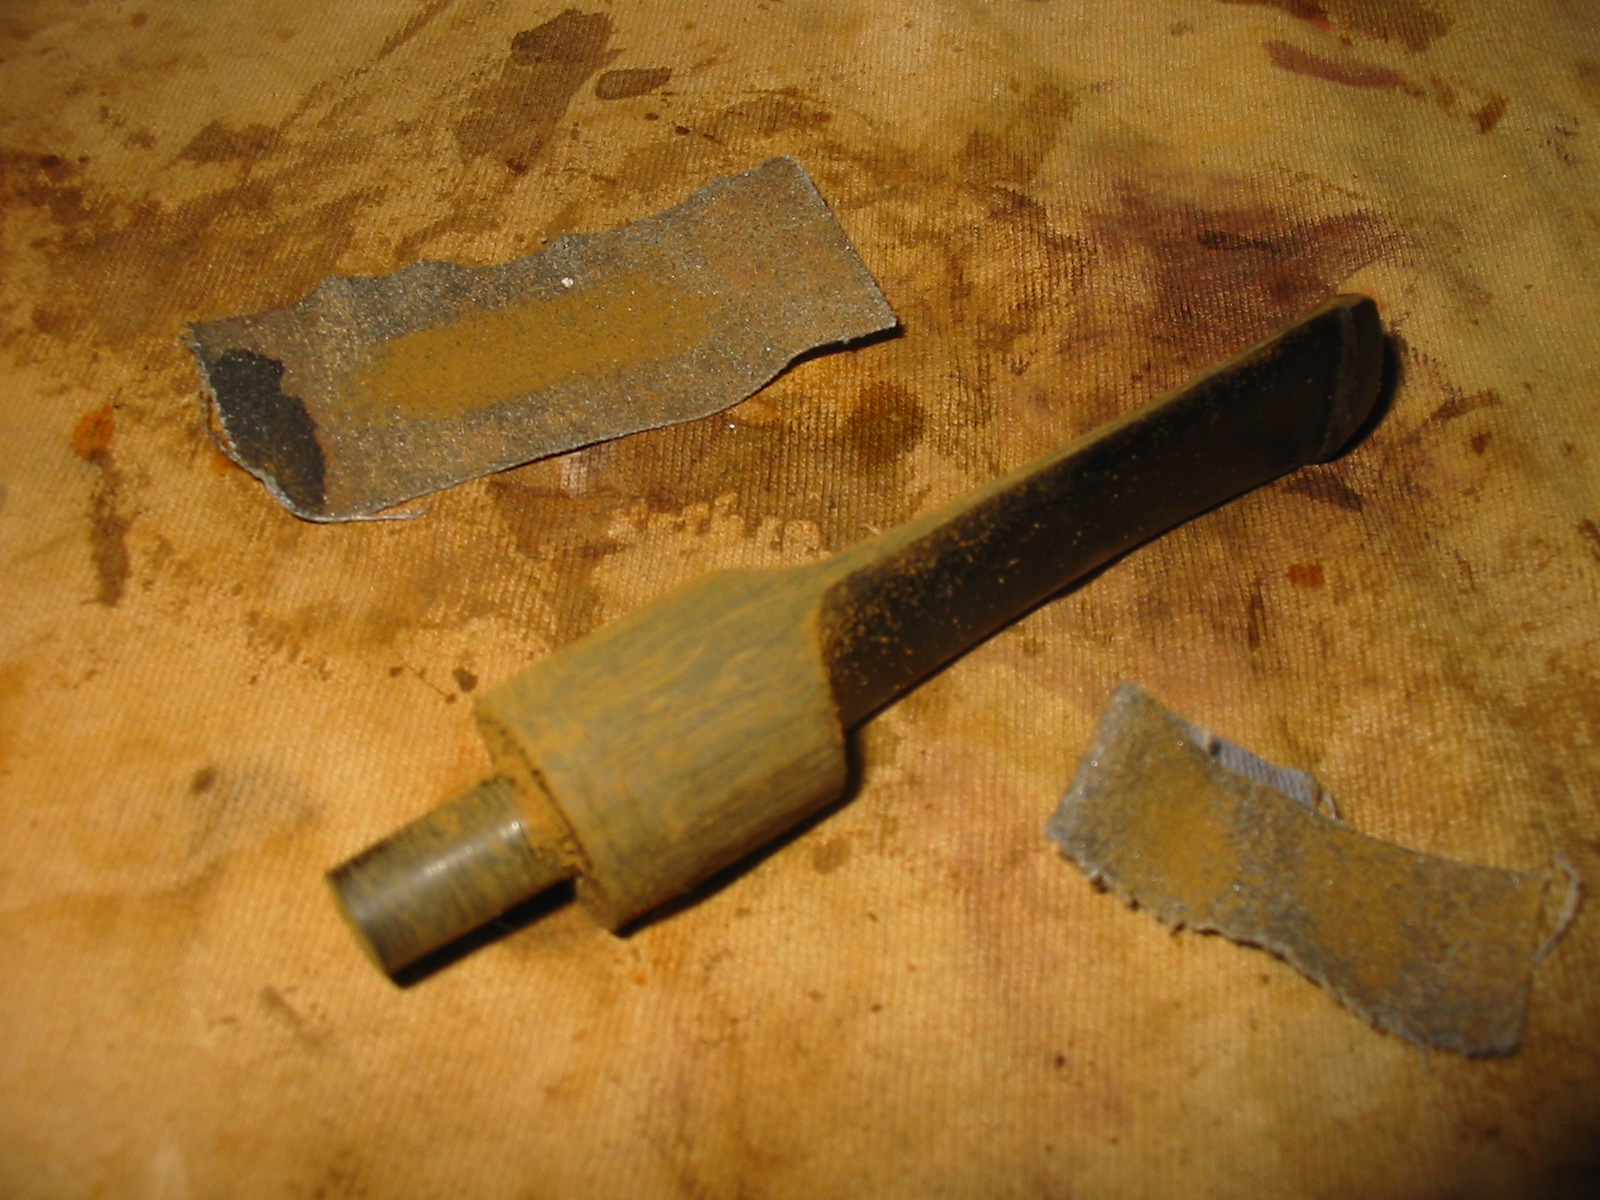
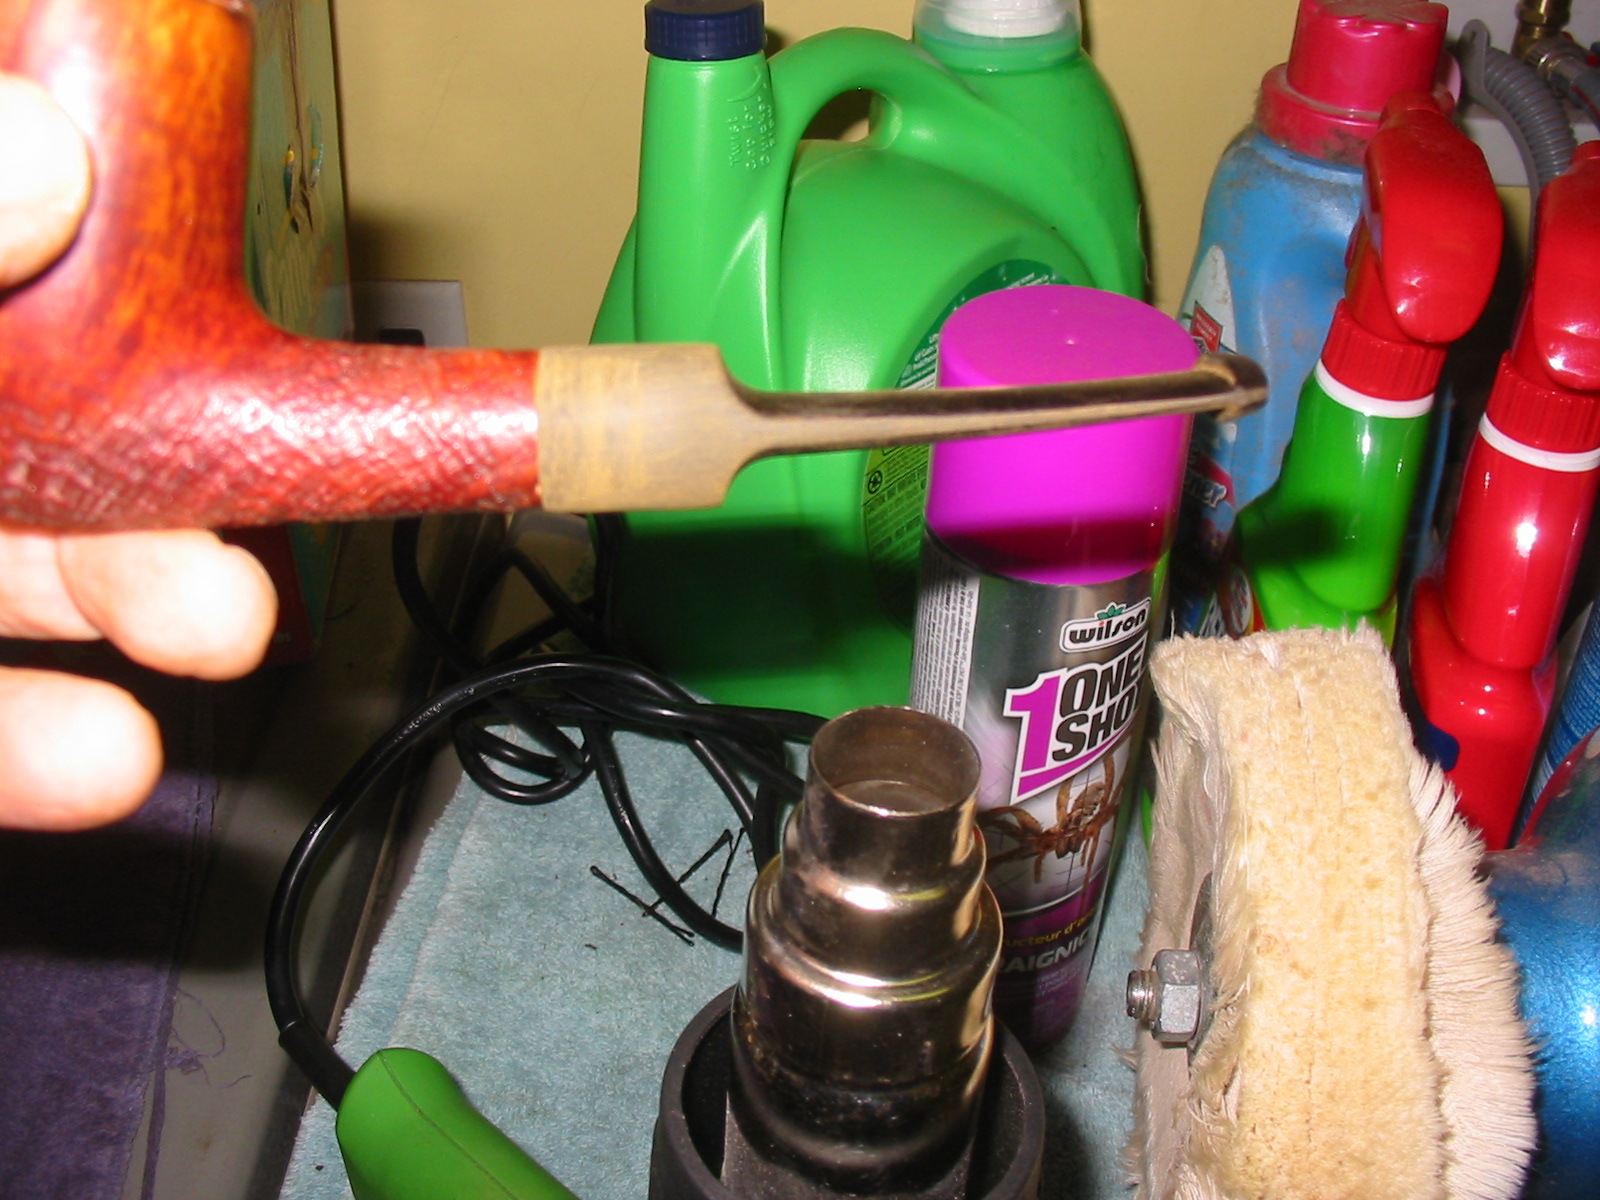
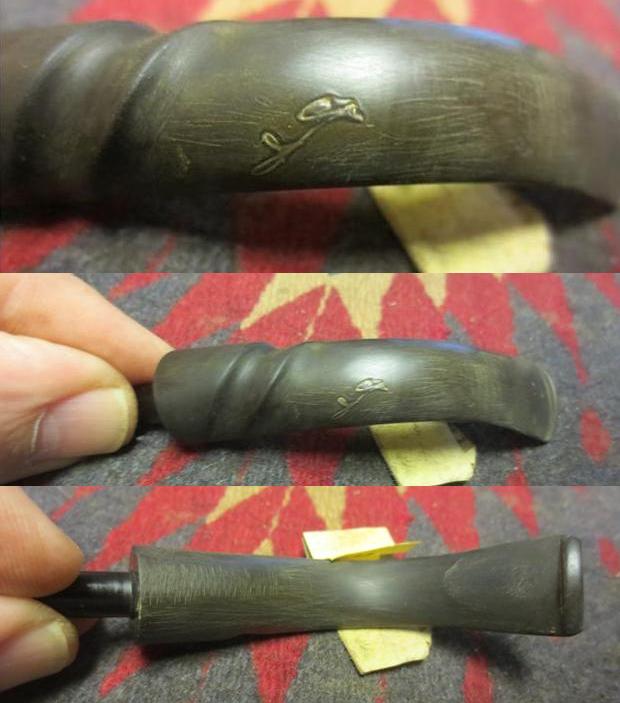
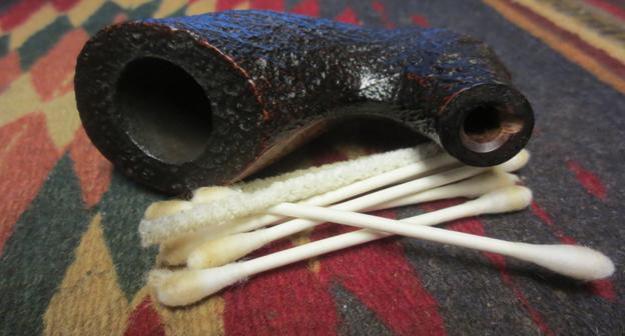 The stem had the autograph of Achille Savinelli Senior printed on the mouthpiece. It was faded and worn and the gold colour in the stamp had disappeared. I cleaned off the oxidation with 220 grit sandpaper being careful around the autograph. I rubbed it down with some Obsidian Oil and used Rub n’ Buff Antique Gold to fill in stamped area on the stem. I rubbed it in place with a soft cloth.
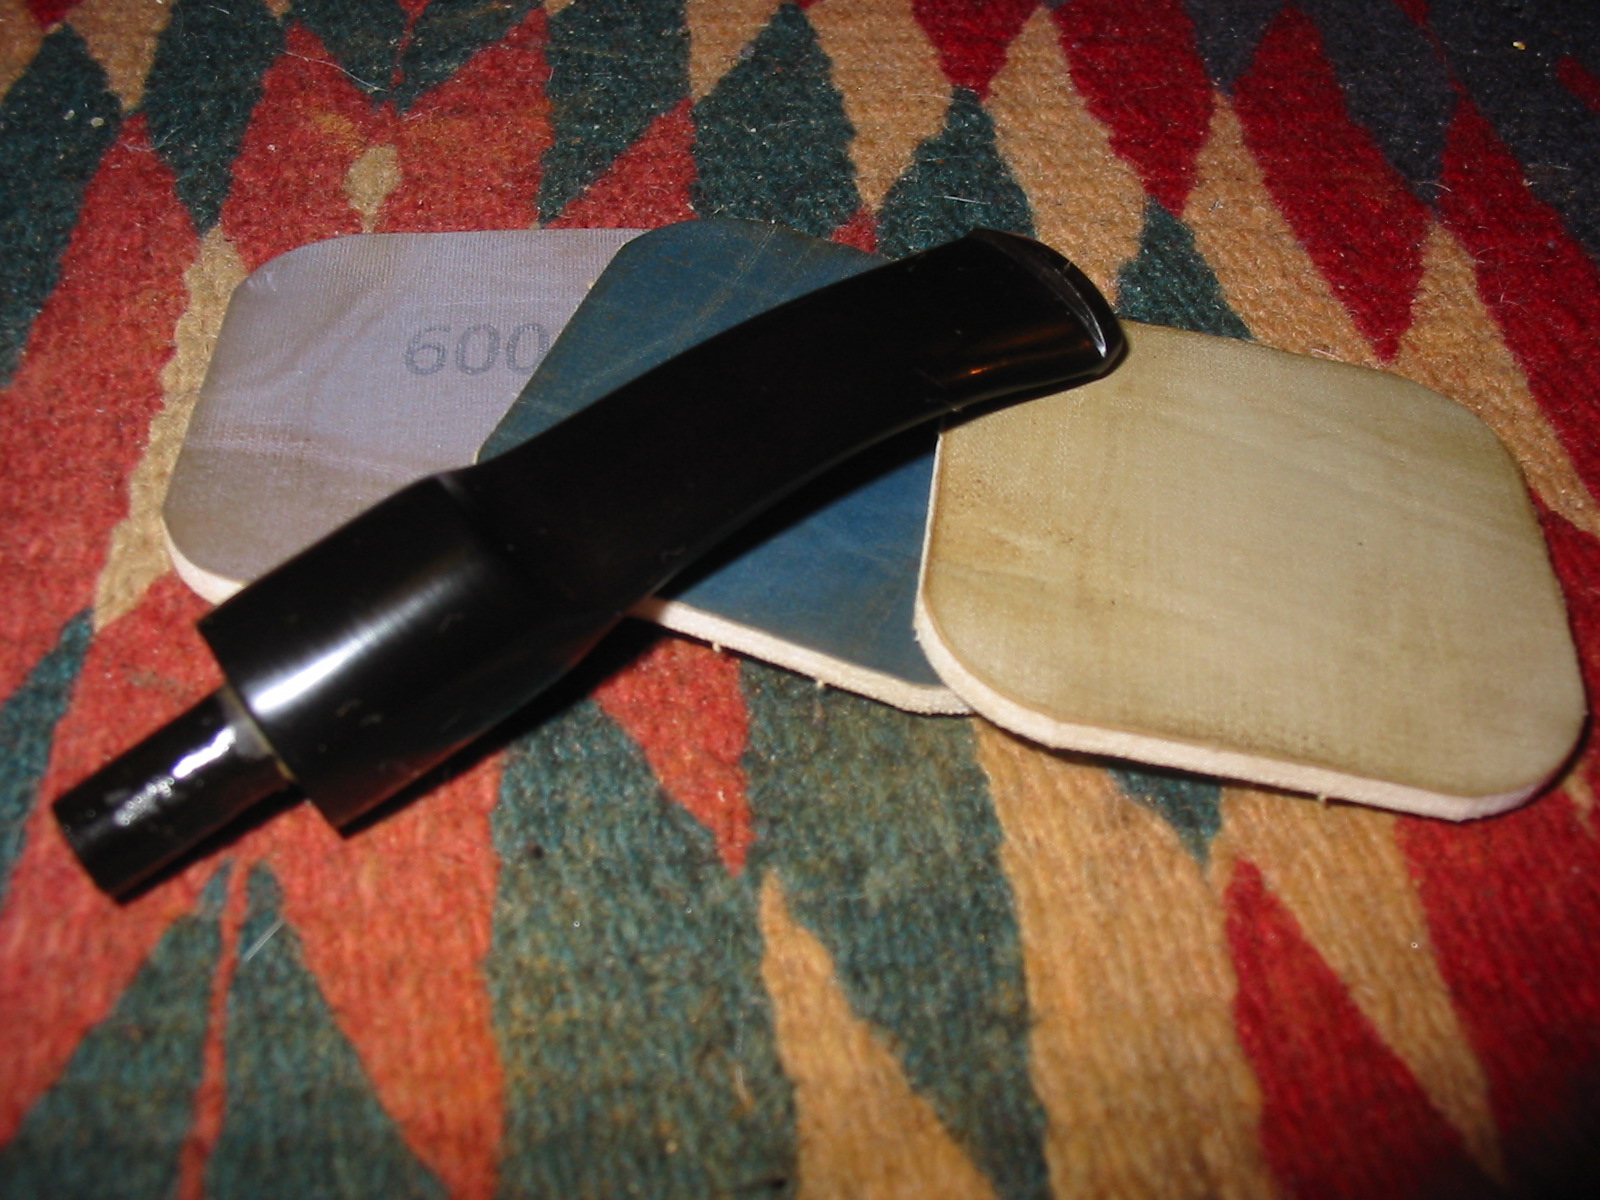
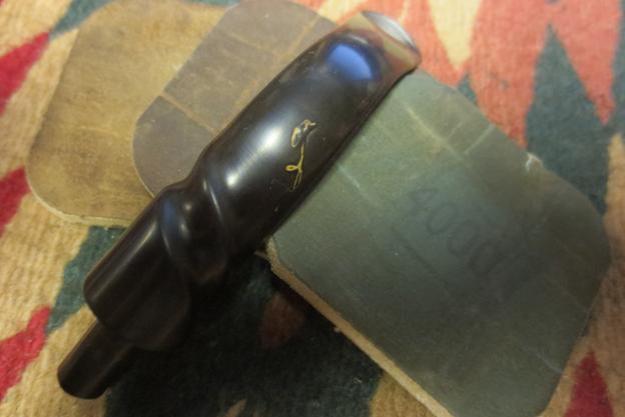
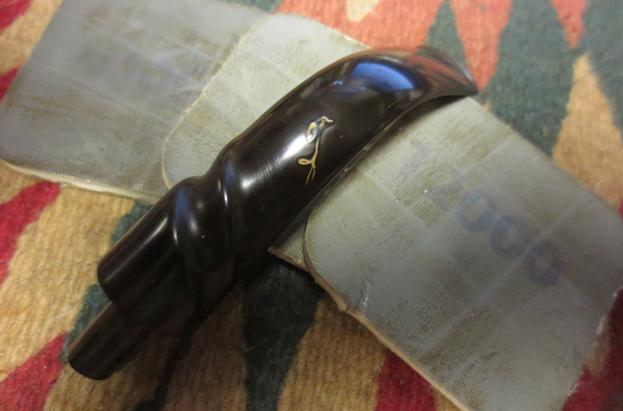
 I was able to sand out the tooth chatter on the underside of the stem with the 220 grit sandpaper. There were several deeper tooth marks on the top side. I patched them with a drop of black super glue. I let it harden over night and sanded it smooth to blend into the surface of the stem.
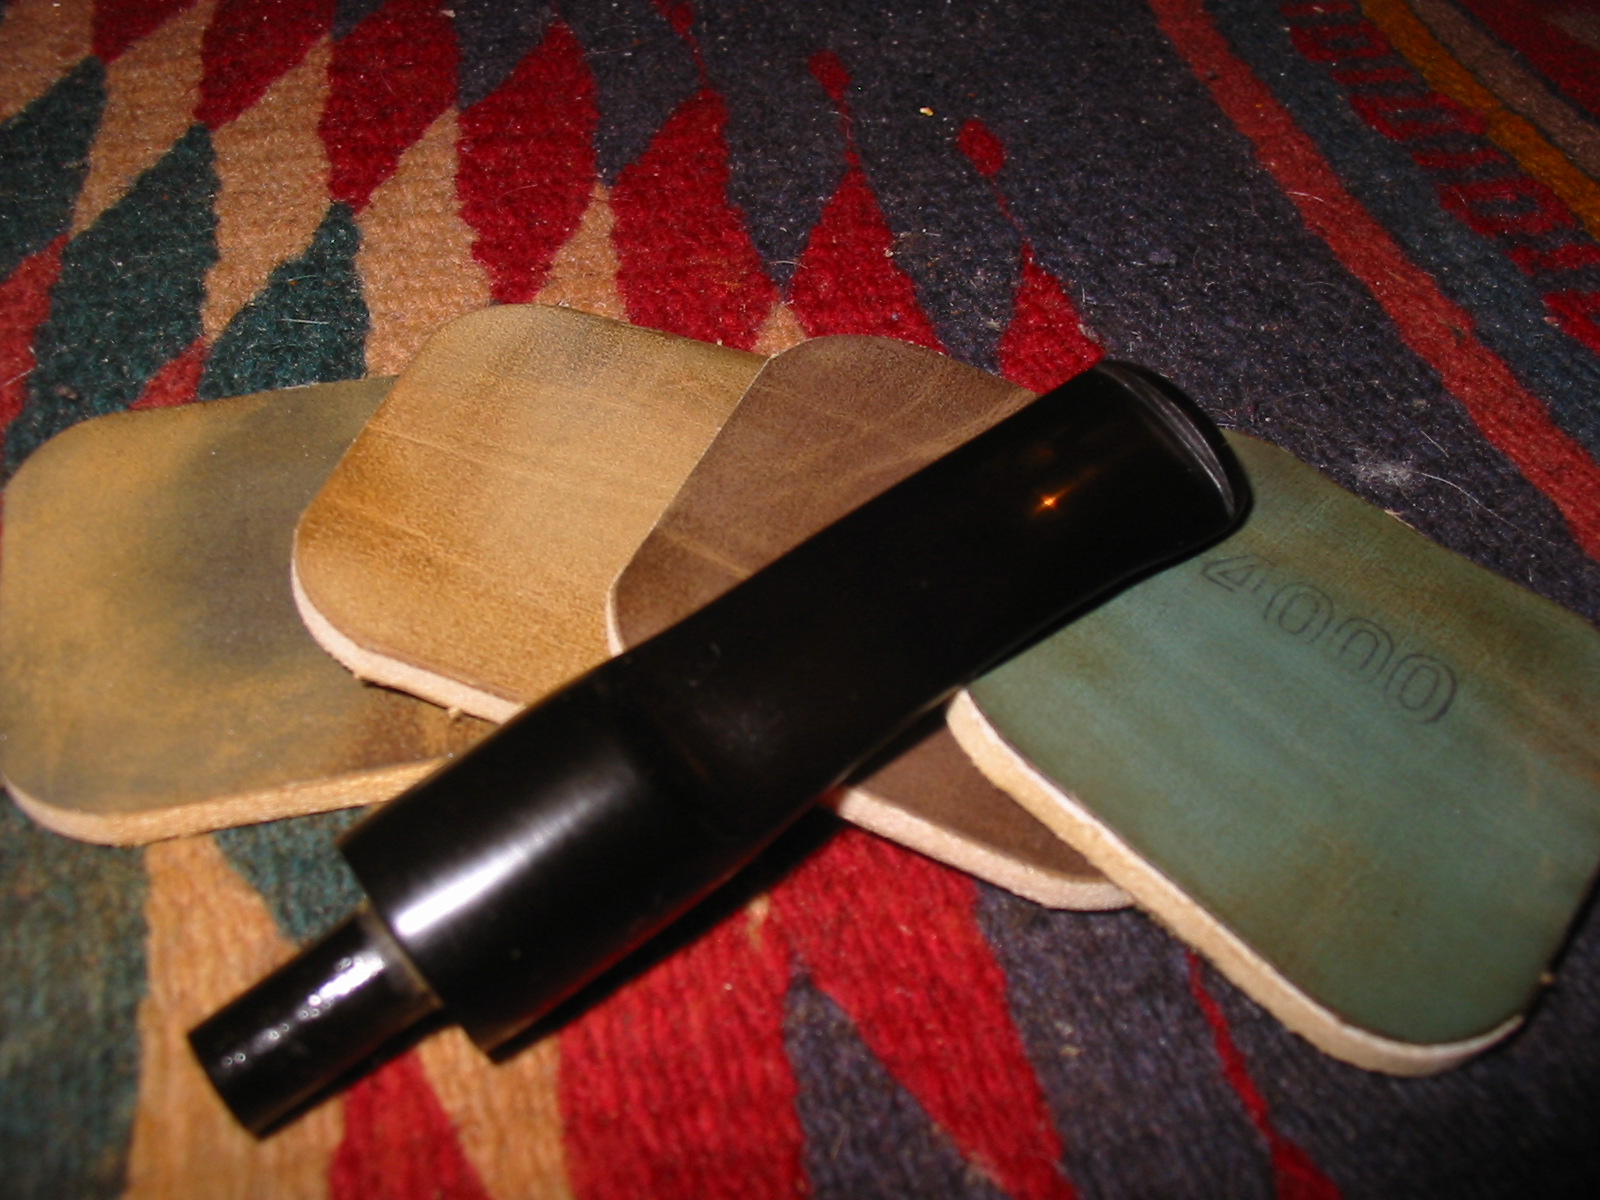
 With the stem cleaned and repaired I just needed to polish it. I wet sanded it with 1500-2400 grit micromesh sanding pads to begin to polish it and remove the remaining oxidation. I worked carefully around the signature so as not to damage it. I rubbed the stem down with Obsidian Oil. I dry sanded it with 3200-12000 grit pads using the Obsidian Oil between each set of three pads. I gave it a final rubdown and let it day.
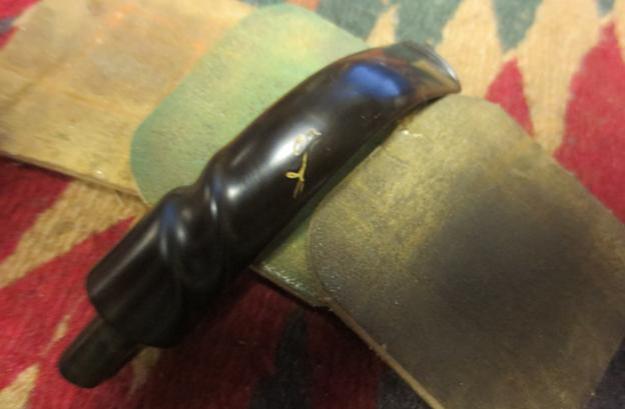
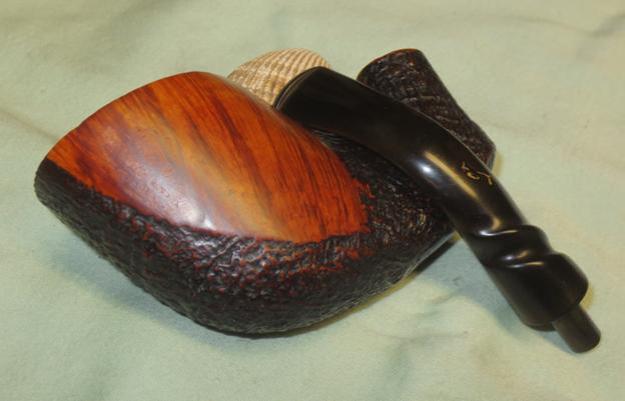
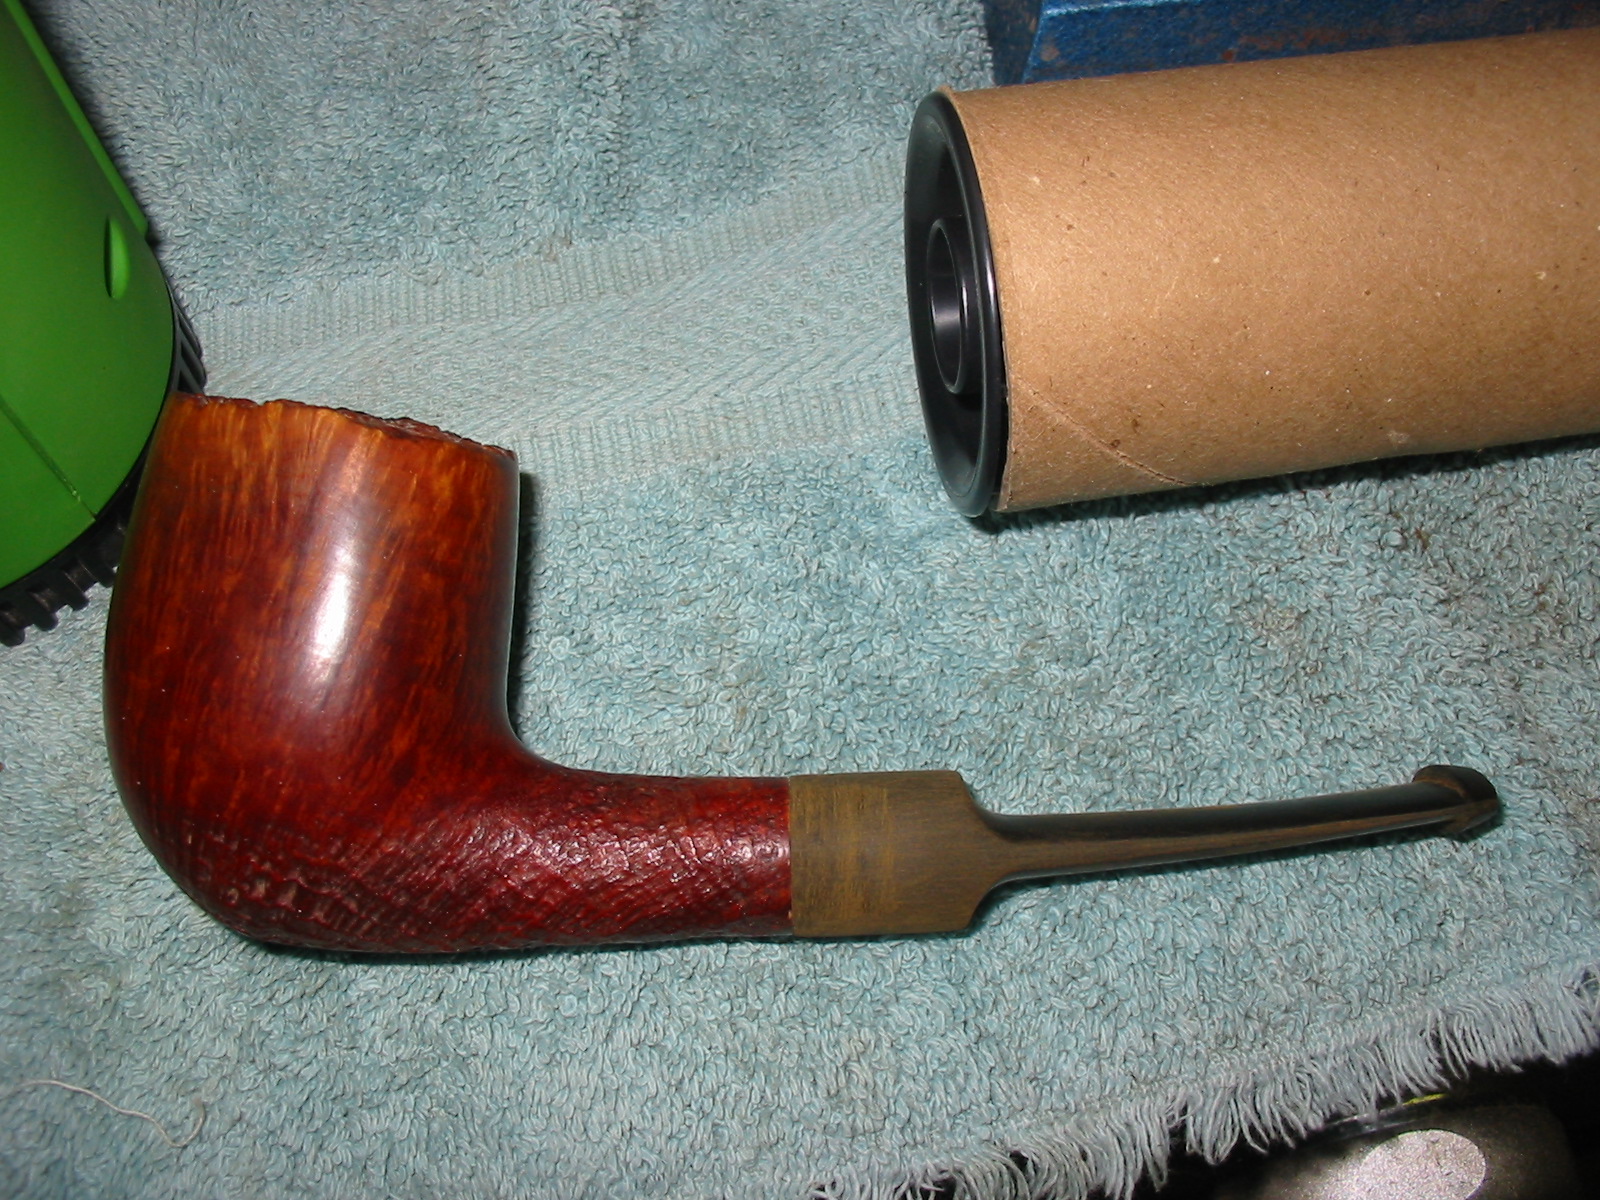
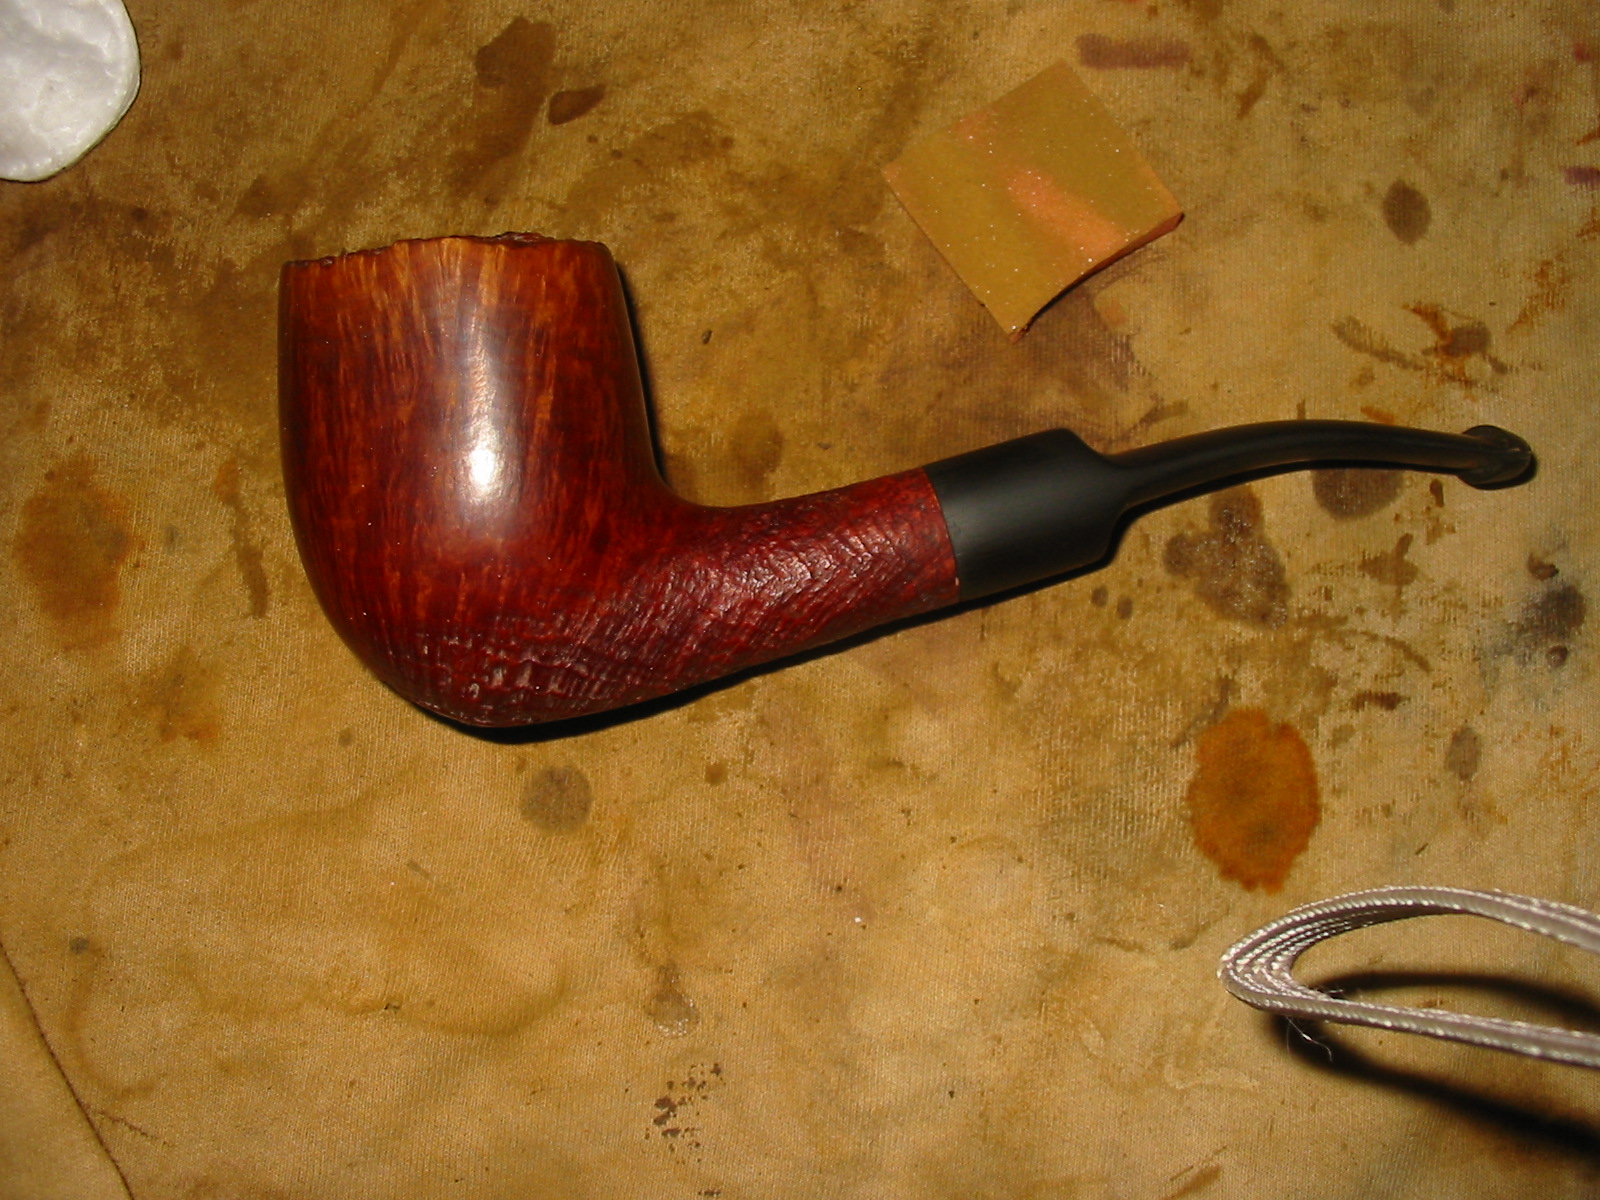
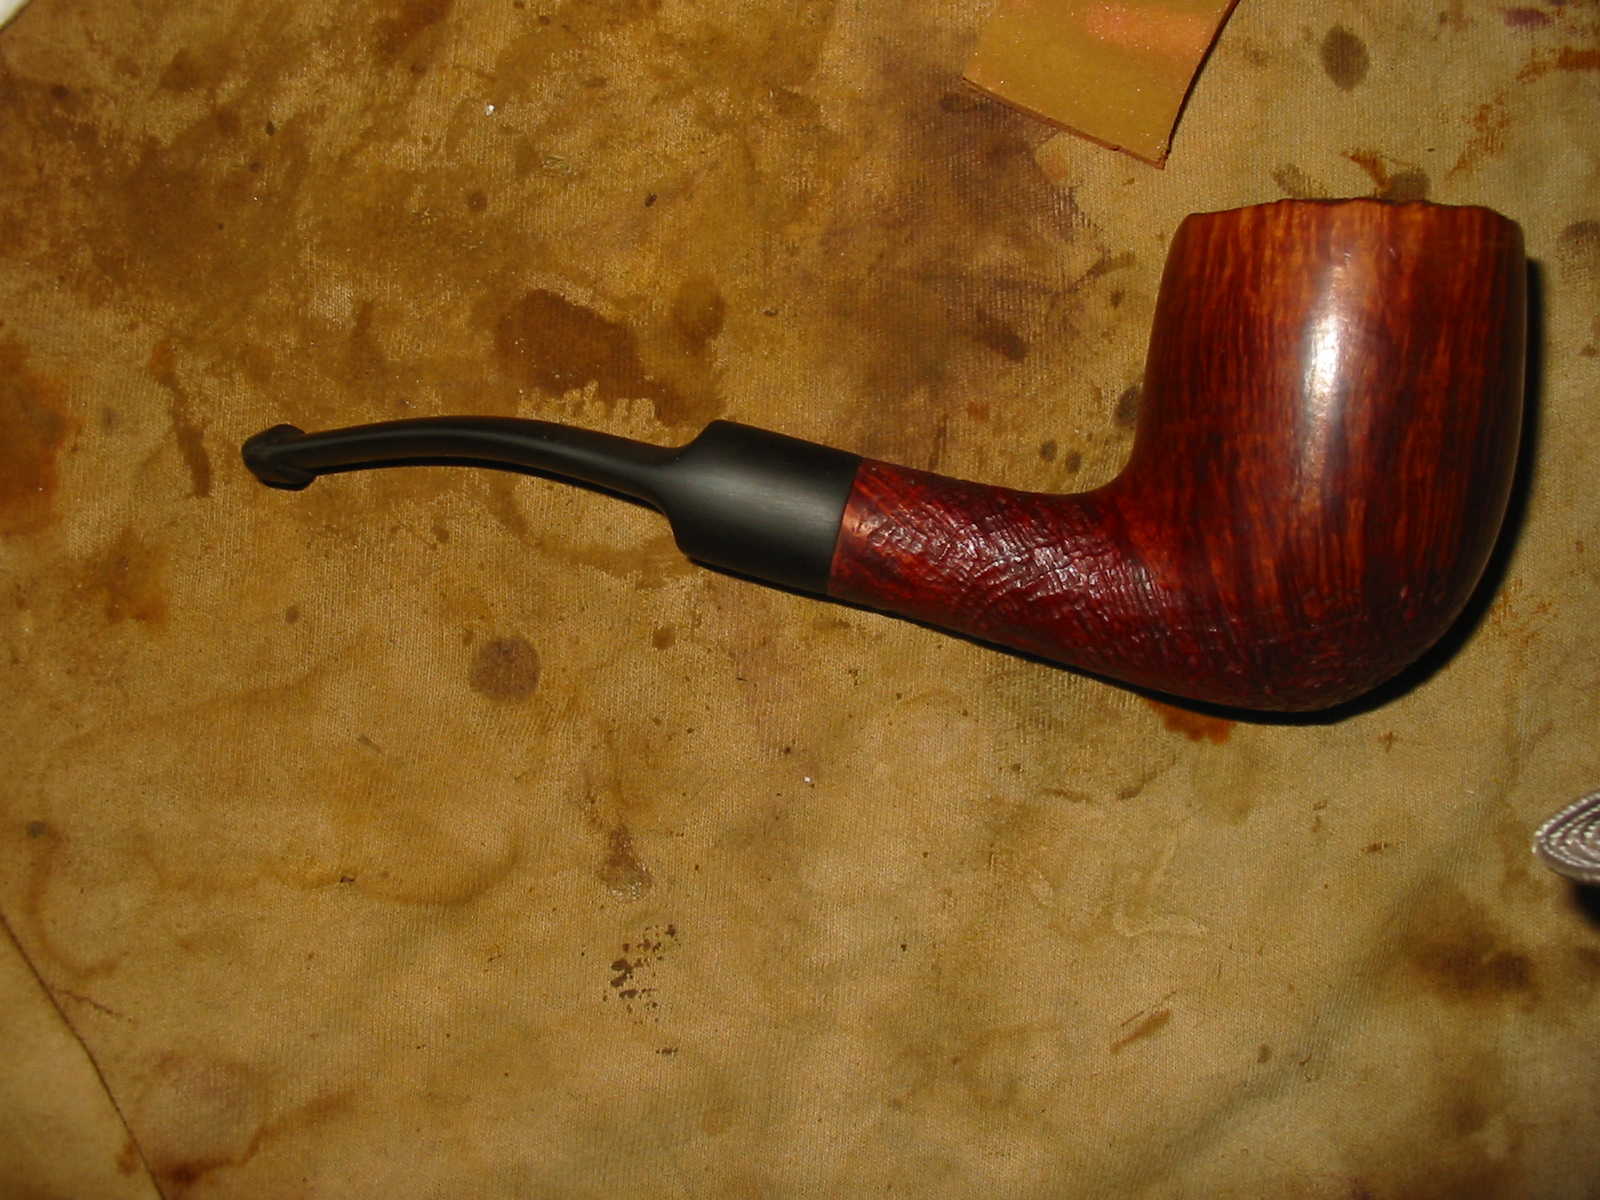
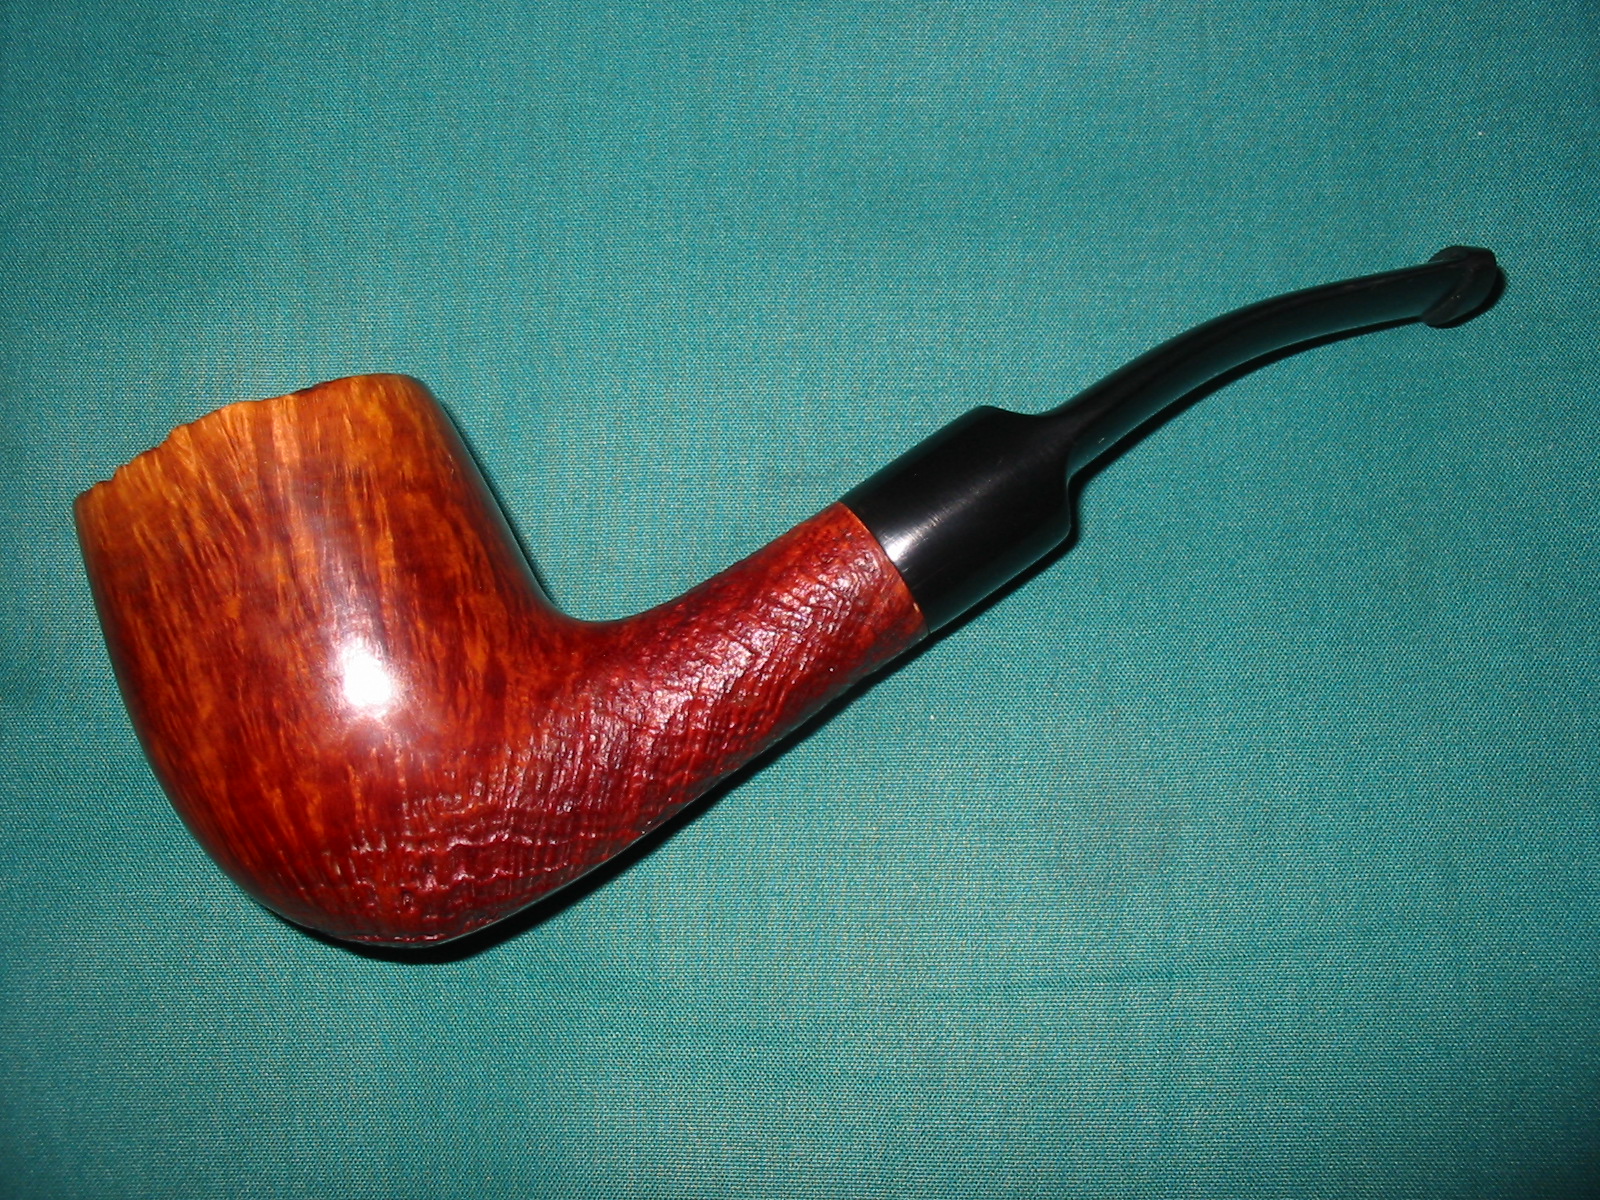
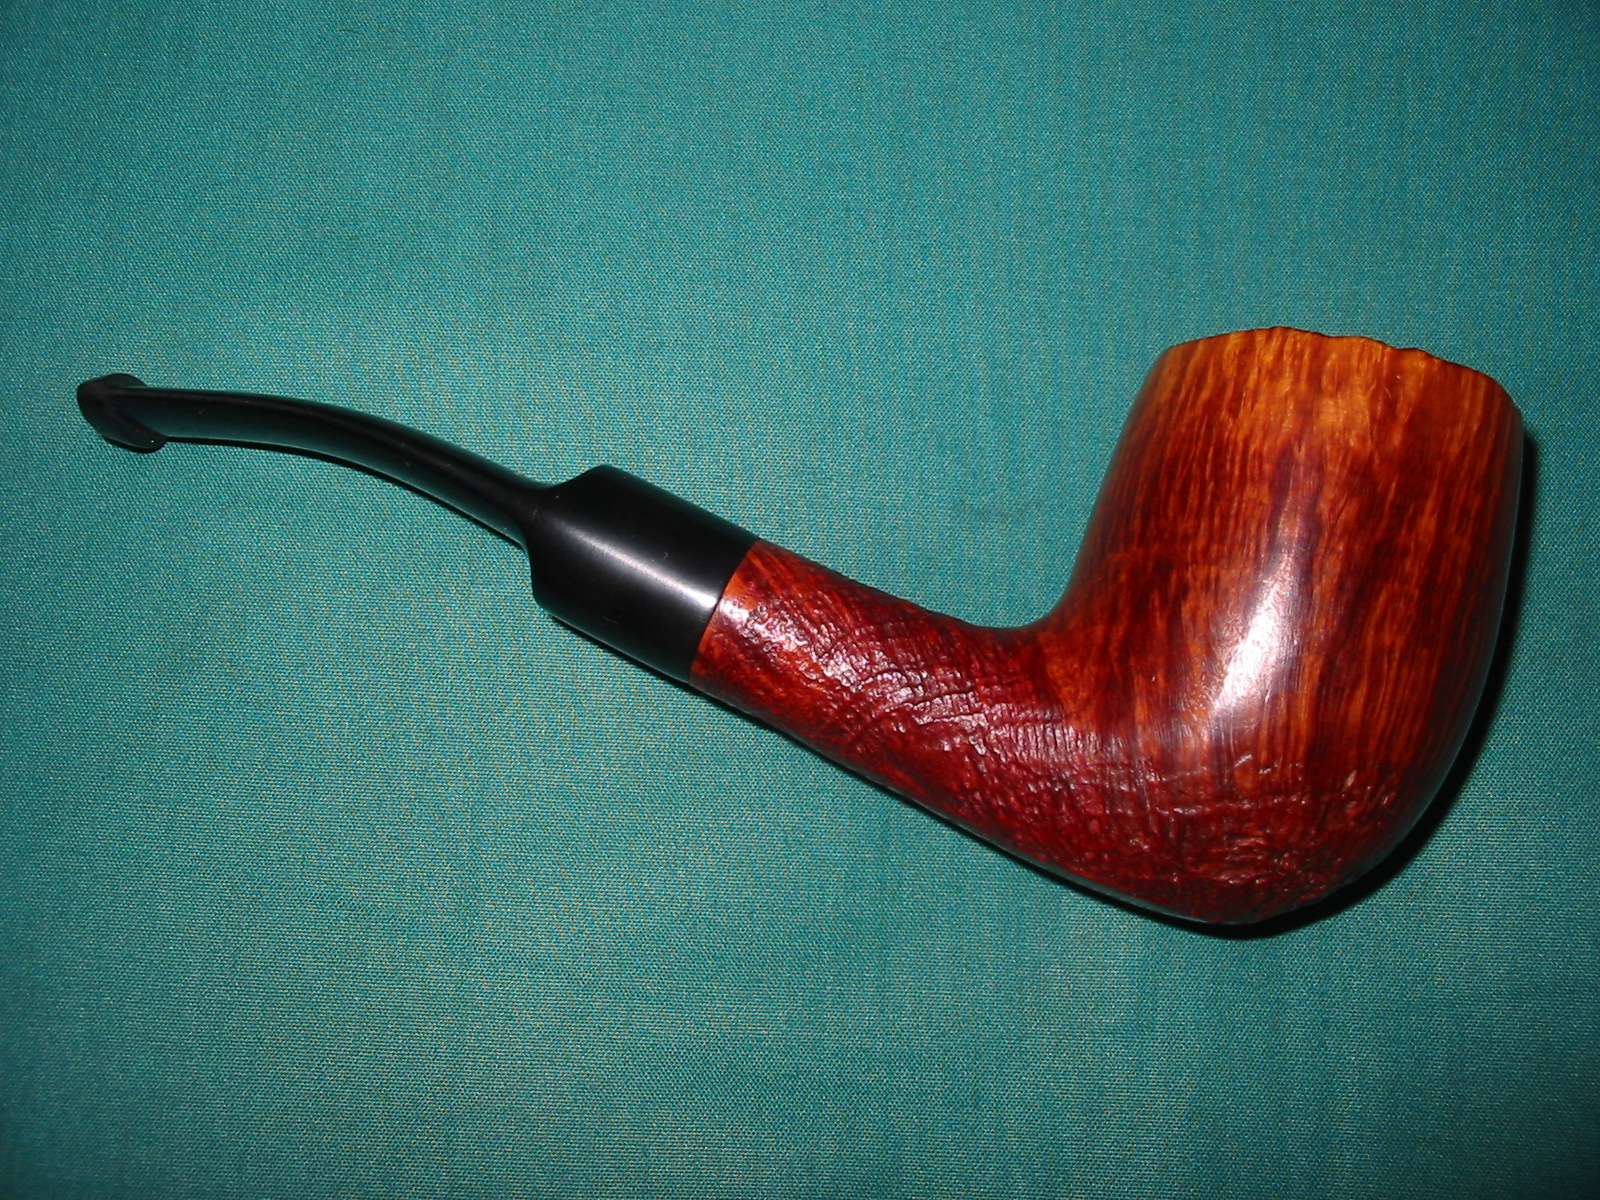
 I buffed the stem with Blue Diamond on the buffing wheel and gave the stem multiple coats of carnauba wax. I hand waxed the bowl with Conservator’s Wax and buffed the bowl and stem with a clean buffing pad. I hand buffed the pipe with a microfibre cloth to deepen the shine. The finished Autograph is shown in the photos below. It is a unique and stunning pipe made in a shape that is unique to this particular pipe. The combination of smooth and sandblast finish works well on this panel version of the Autograph. The finished pipe is shown in the photos below. If any of you are interested in adding this one to your rack let me know. I am sure we can make a deal. Thanks for looking.