You have no idea how tempted I am to start this little story off with “It was a dark and stormy night”, but I just can’t bring myself to do it. Especially since it was a lovely sunny July Saturday morning when this little adventure found start. But first a little history lesson little Jedi; I end up travelling a little with my job and often find myself in the Norfolk, Virginia area with absolutely nothing to do on Saturdays, or weekends in particular for that matter. Found the nearest tobacco shop I have, found the furtherest tobacco shop I have, and all those in between. So here’s my plan to stay out of the hotel room for a day knowing that the sanctuary of Emersons near Greenbrier Road will still be there for my evening visit. So, since even I can’t spend an entire day in a tobacco shop, if I had a job there I could, but since I don’t, just imagine the day-after tongue bite that would have caused me all sorts of discomfort had I not made other plans.
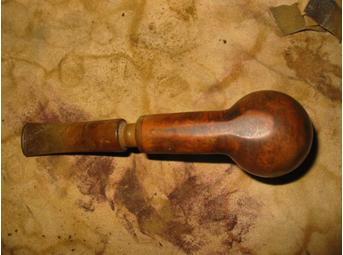
So what does a sprite young man do? He takes advantage of the scheduled rendezvous with his co-worker, whose name just happens to be Dani; his name will come up again, hence the gratuitous mention. Anyway, Dani, who happens to be in the exact same predicament, and I meet up in the coffee shop and I, explorerer extraordinaire, suggest a day trip to Colonial Williamsburg. Along the way we can visit some of the antique stores… I mean this is Virginia. Pipes are my thing, but I would really like to find an antique tobacco plug cutter…. And since Virginia grows tobacco, where better to look than in a Virginia antique mall located near a Colonial Village, we’re talking old stuff, very old stuff. At least that was my thought.
So off we head, down what should have been a trip down memory lane of Tobacciana. I mean we walked the isles of two gigantic antique warehouses, and I actually found 3 or 4 plug cutters, not priced within any range of money I was willing to part with, but at least they were there. I got to touch them, mission accomplished. We ended up almost playing NASCAR with each other as we cruised the aisles, looking at “stuff”. I was at least 3 stalls ahead when Dani informed me of two bags of old pipes behind a corner bookshelf. Since my search for plug cutters wasn’t panning out in my favor, I thought, what the heck and walked over to view the stash. And there they were, resting ever so peacefully in zip lock bags. Dani saw a bag of broken, ugly, neglected pipes.. I on the other hand, was breathtaken by the unpolished jewels that were there staring me in the face. I think I even heard angels singing. As I stood there rubbing my hands in the same fashion as Smeagol, delicately holding each one in my hands, stroking them ever so gently, and I even think I called one of them My Precious.
I grabbed the bag of five pipes and fell solemnly behind Dani as he made his way through the rest of the warehouse. I think we might have stopped at a stall or two, but I only recall the cashier telling me the price and my pulling out a wad of singles to gladly pay her. Laying each bill on the counter.. One Dollar…. Two Dollars… Three Dollars… and so the count went on until I had paid her in full. I might have even skipped out the front door to the car, only to become a little distraught as the realization hit that it would be at least another two weeks before I would get any workshop time….. What to do? What to say!
Fast forward two weeks and I’m back at home sitting in my basement workshop. Now being a pipe maker and not a pipe restorer I was facing a conundrum, as there are so many blocks of beautiful briar laying around just waiting, begging actually, to have the artistic pipe extracted ever so gently from the rough briar block. Fix, Make, Make, Fix, which should come first? Well since I had promised Steve Laug that I’d write a story of my foray into his realm of the universe, I left my rough cut briar blocks be..for a while.
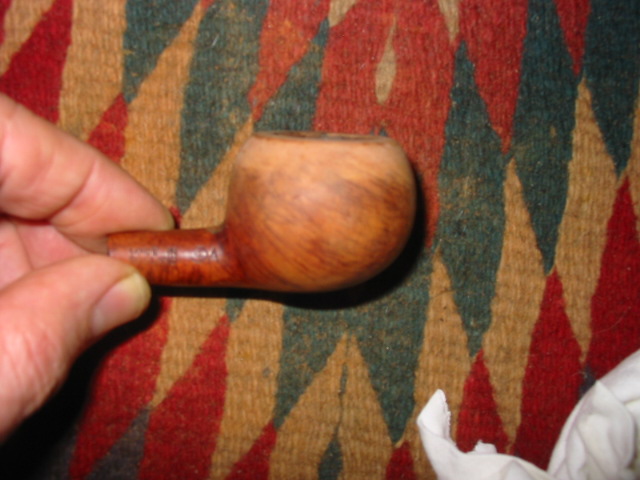
Five beauties from yesteryear is what I picked up that Saturday in Virginia. A Ladd’s bent bulldog, a Lee bent bulldog, a Kaywoodie bulldog, a Kaywoodie Superior Grain Apple and a Yello-Bole Danish; and of the five laying on the table, my initial inspection deemed that the bent bulldogs would make great shop pipes. The one burning question I had was where do I start? There was really no drilling required, no shaping, no contemplation on how to pull a smoking instrument from raw material, so what am I supposed to do with all the fancy smancy power tools I’ve invested so much time in modifying? In order to explain the process a little more, I thought I’d devote a paragraph to the individual pipes, or at least attempt at doing something like that. But check out the picture, Sasquatches thick headed brother must have owned these. All the buttons are almost chewed off, the cake is so thick that I have no idea how anybody could receive any joy from smoking the instruments, and upon pulling them apart, ohhhh my gosh.. the stench, the smell, the tar, the buildup,… If you’ve ever sanded ebonite, you garner an understanding of the sulfuric bouquet that making a handcut mouthpiece creates.. these “Old Timers” surpassed even my love of sulfur.

Paragraph, schmerigraph, I can’t write an entire paragraph for each pipe. I mean really, what is so hard about restoring a pipe. I’d end up having 5 duplicate paragraphs explaining nearly the exact same thing for each pipe. So I decided against the Novel approach and chose the actually describe the repair aspect of the exercise.
So I reached into the recesses of my shop where the pipes were stored and pulled out the bent bulldogs and seeing that there wasn’t a shape that I was really going to return in its pristine state, decided to sand where I could, and of course remove electrical tape where it had been applied. Once all the digs were sanded down and out, I was astounded by how my meticulous application of pipe making skills could be applied to restoration.. Sanding is good right? Oh, yea I forgot to mention the two hours I spent carefully reaming the living daylights out of these gems, and yes more sanding inside the bowls. I think Tim the Toolman Taylor coined the phrase..or sound, “UHRRRRUHHRRUHRRR”. Back to nature for you guys I say. 
Figure 1 Ladd’s Bent Bulldog

Figure 2. Lee Bent Bulldog
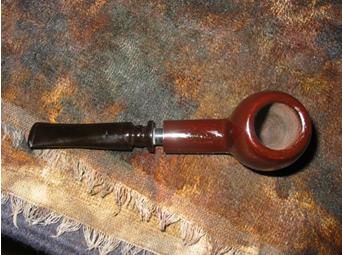
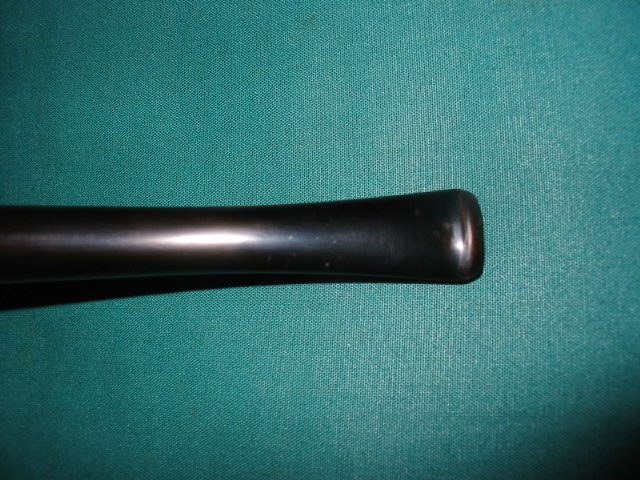
Five clean bowls. Two clean stummels. Mouthpieces, not a single useable device in sight. So I set off making two mouthpieces that would adorn the briar bulldogs of yesteryear. Mortises sorted and standardized for a 7mm tenon. Sure I had to do a little hand drilling..more tools.. it was a good day. Unfortunately, when I twisted in my carefully created mouthpieces all I hear is a sound that is so foul to a man’s ears that I cringed partly in shame, partly in disgust, and partly in astonishment. Cccrrrrrraaaaaack! I looked around to see if somebody had snuck into my workshop and tripped over the cables adorning my floor. But there I was, alone, with a stummel that had split from the end of the shank halfway toward the bowl. So much for a workshop pipe, but then there is still one more.
Same routine as the last, the pipe is carefully prepared for my artisan mouthpiece and again. Cccrrrrrraaaaaack! I looked at the stummel in a state of pure amazement, as it too had split from end to about midway down the shank. So I’m thinking great, some pipemaker you are. You can’t even repair a simple stummel. This was about the time I really started looking at all those briar blocks just begging for me to help them become a man’s (or woman’s) best friend in moments of quite solitude. Did I drill a block? No, not just yet… but almost. I did the second best thing. I went upstairs and packed one of my old durables with a great tasting tobacco and smoked it while watching some mind numbing show on TV about some subject I couldn’t even remember the next day. 
Figure 3. SplitShanks
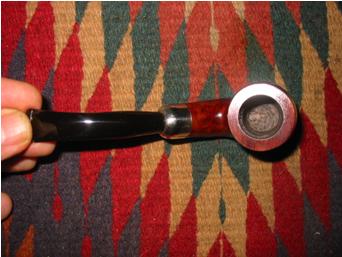
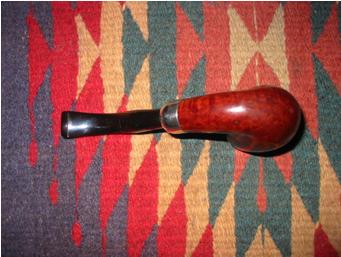
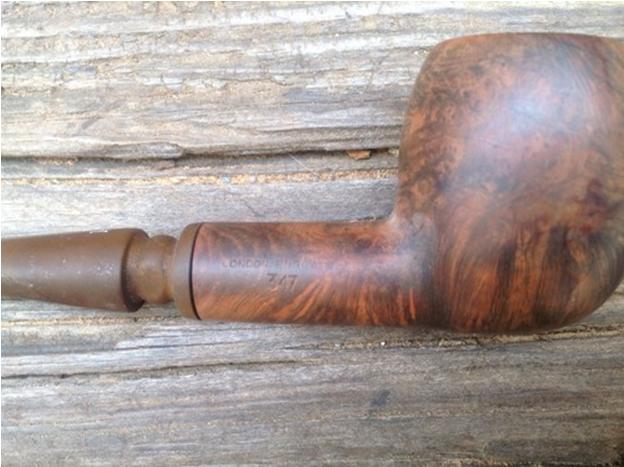
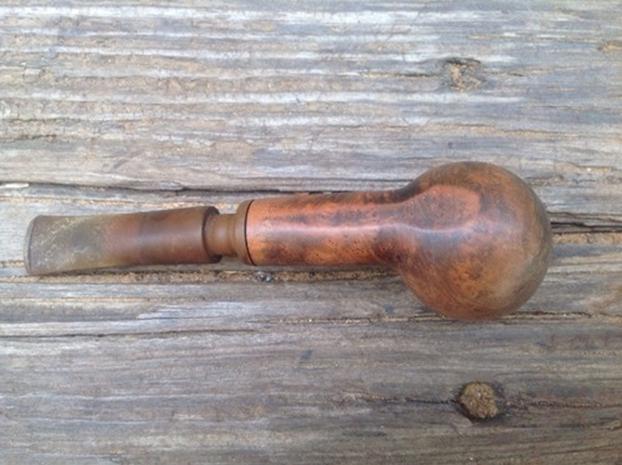
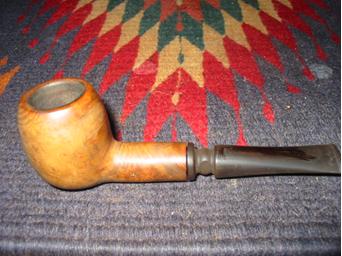
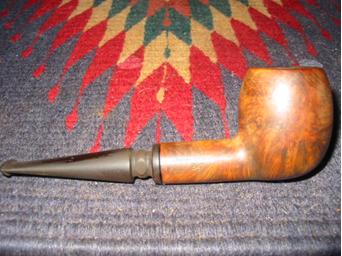
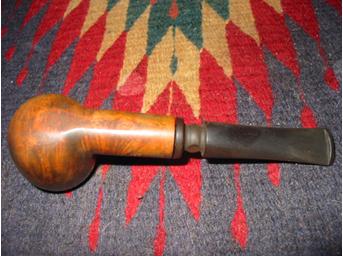
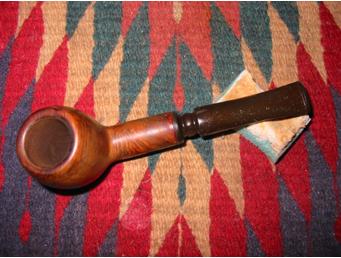
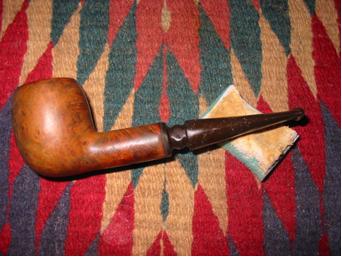
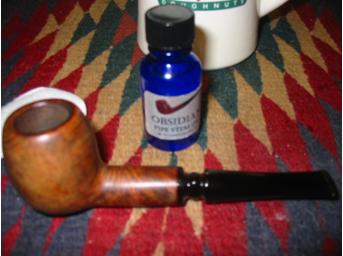
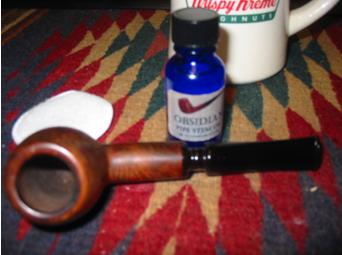
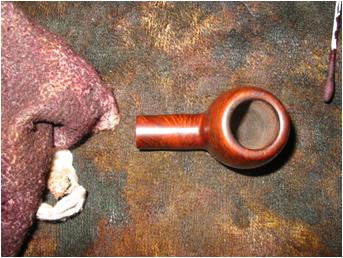
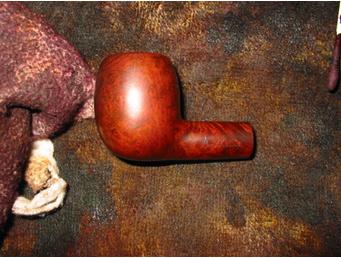
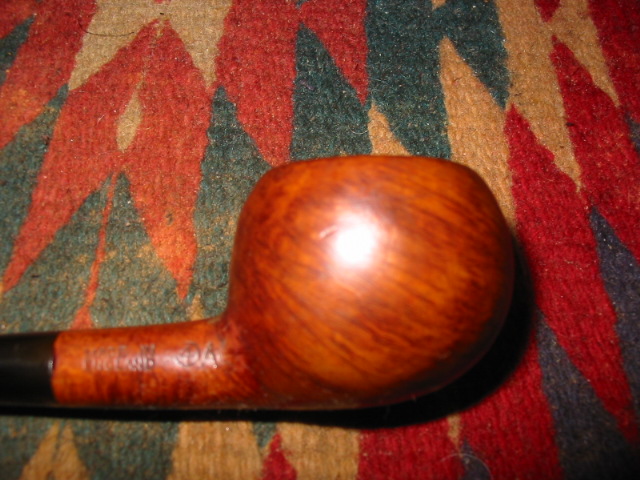
But the next day would come, did come, and what a day it was indeed. The Kaywoodie Bulldog and the Yello-Bole Dublin from the 50’s were the next two in the lineup. Great instruments from a time gone by. The only thing that was really wrong with them is that they: 1) had no mouthpieces; remember Sasquatches thick headed brother, and 2) had these metal things stuck in them. There was no tenon per se; I mean who makes a pipe without a tenon. Integrated tenon, Delrin tenon… no where in sight, but more aluminum than even I knew what to do with. How in the world was I supposed to fix a mortise when it has a screw in drool catching device (Kaywoodie) and a aluminum looking tongue thingy sticking out (Yello-Bole) of it where a tenon should be. I can’t make these things, but I can repurpose them.
Heat gun! Yea, I’ll heat these puppies up and just pull or untwist these monstrosities out. And low and behold it worked. Power Tools, they’re your friend I tell you… your friend! These things I can reset into a raw material that needs SHAAPPINNNG. Elation, joy, and pure ecstasy ensued. Easy part here.. figure out the diameter, drill, glue and Viola ready to shape. There really isn’t a great point to pontificate on here. Old mouthpieces were looked at, copied and made, but they were missing one integral part that the originals had. The emblems. I looked down and say my hacksaw just laying there begging to be used after such a long time of non-use.
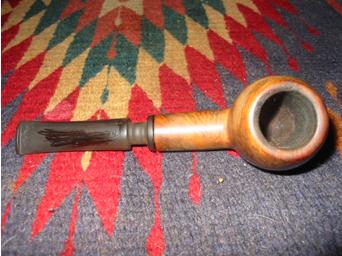
First I attacked the Kaywoodie and cut out a square portion around the emblem out, repeat for the Yello-Bole. Chucked them in my lathe and with masterful skill got the Kaywoodie emblem to pop out of its abused resting place. At this point I’m feeling pretty good and figured I could do the same for the Yello-Bole. Cut out the square, mount in my chuck, and turn the piece down to the yellow circle. It was to my horror, or as the Dreaded Pirate Roberts would say “To the Pain”, that I watched the yellow dot disintegrate as I tried to free it from its resting place. Man that bites. 
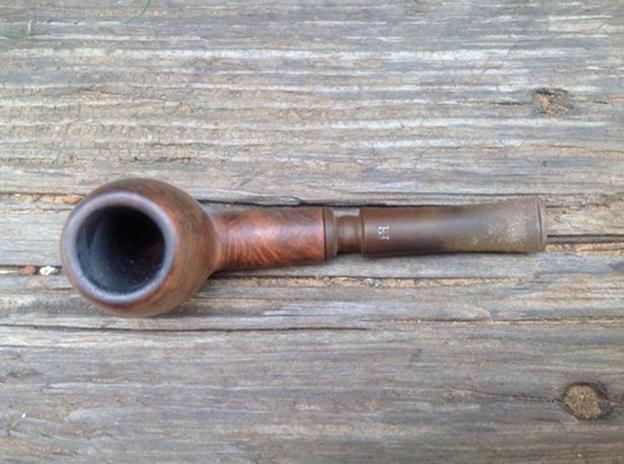
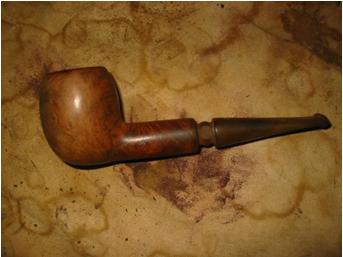
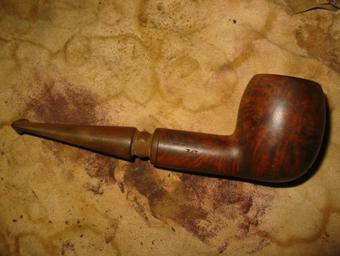
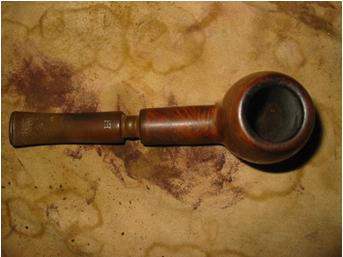
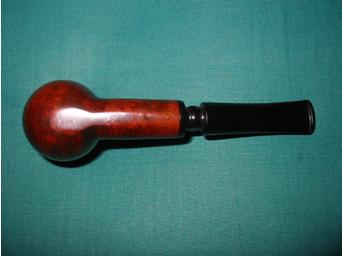
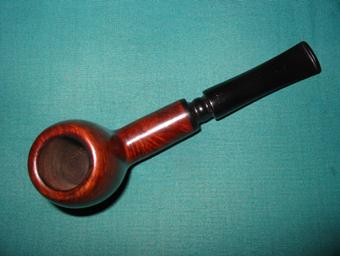
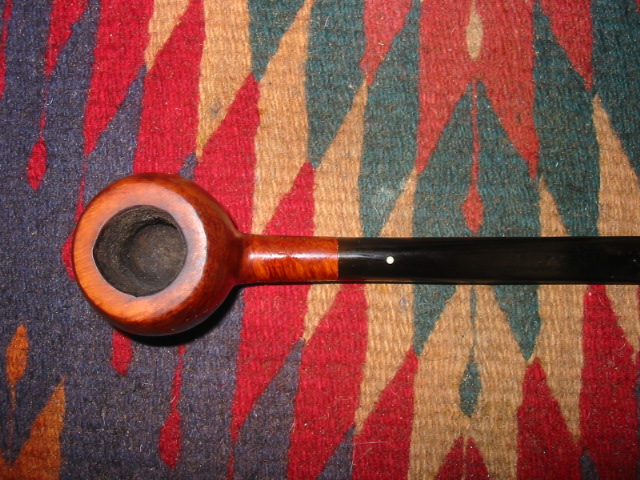
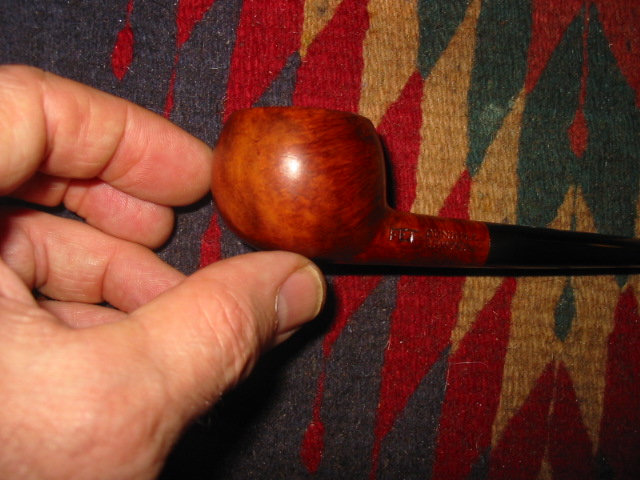
Figure 4. Kaywoodie Bulldog

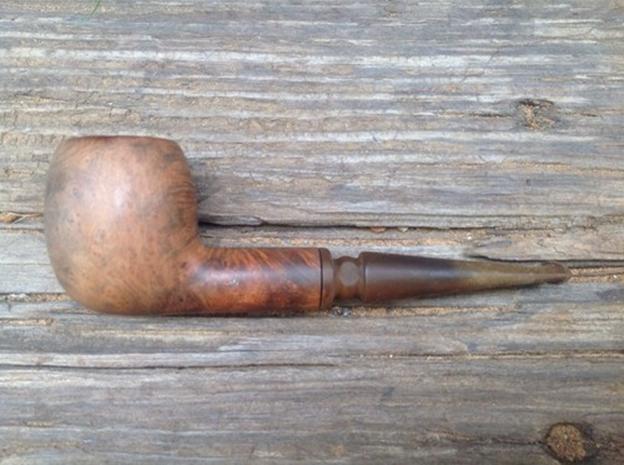
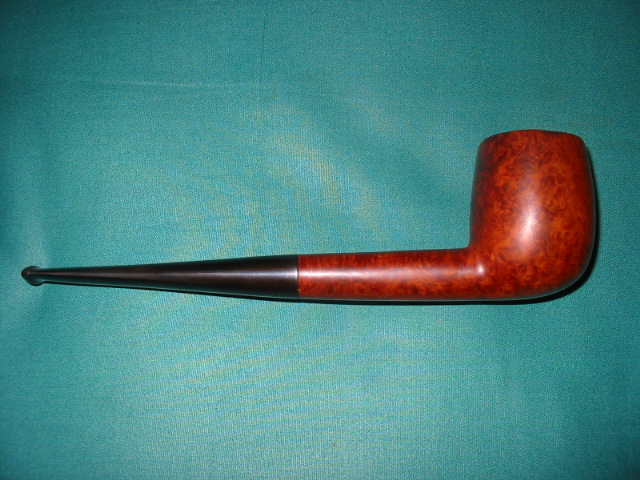
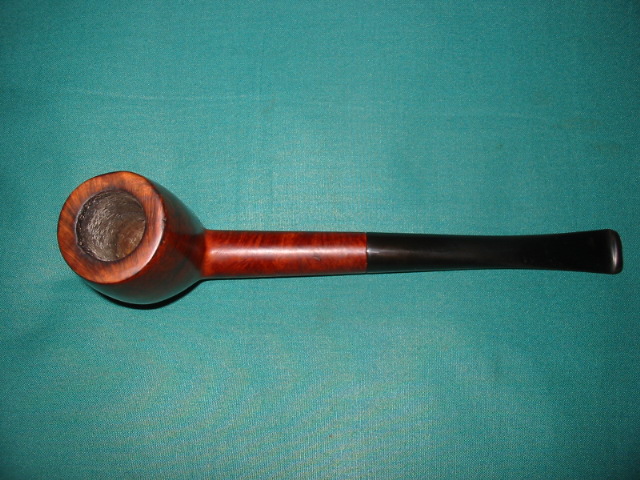
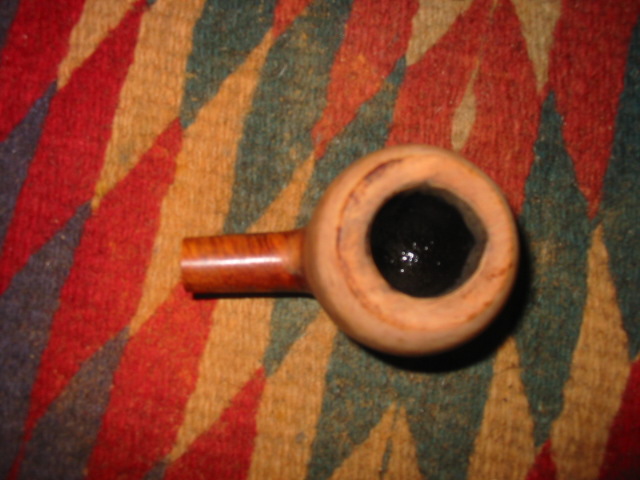
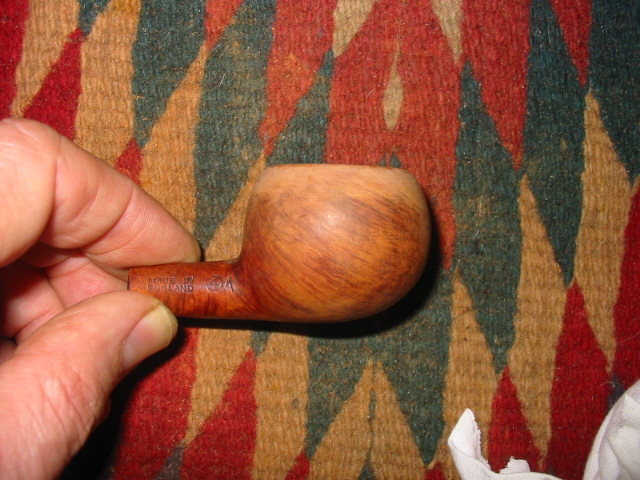
Figure 5. Yello-Bole Danish
So what does a maker do? He longingly looks at his briar block again. Picks up a pencil and starts drawing on the blocks. Two designs anxiously awaiting and two “Old-Timers” saying.. “Hey I’m still here young fella, and you ain’t done yet”. I ended up giving in to peer pressure and carefully figured out what the diameter of the Kaywoodie clover was.. drilled a hole in the mouthpiece where the emblem would set, mixed up my epoxy, and carefully placed the emblem in predetermined location. YES! I think I patted myself on the back about this time and since I was feeling so good decided to attack the Kaywoodie Premium Briar apple.

Figure 6. Mouthpeice Workings
The mouthpiece wasn’t really all that ruined. So I cut off the chewed up part and started reshaping a new button. And that is where the fun really stopped, and the briar blocks started screaming to me. I had to muster all my strength at this point as I was just about ready to throw the pipe across the room. I actually sanded into the airway. Now I have to cut a new stem! No, now I get to cut a stem. Yea, that’s it.. same shape, same emblem extraction exercise and same delicate placement in the proper place… well someday.
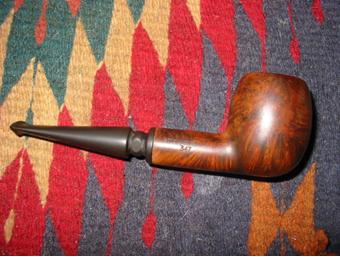
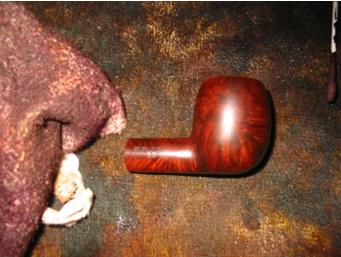
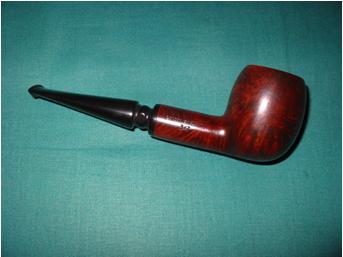
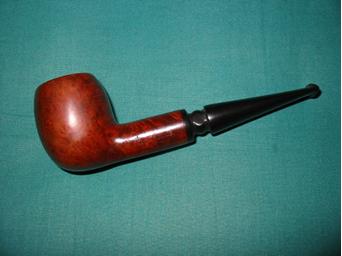
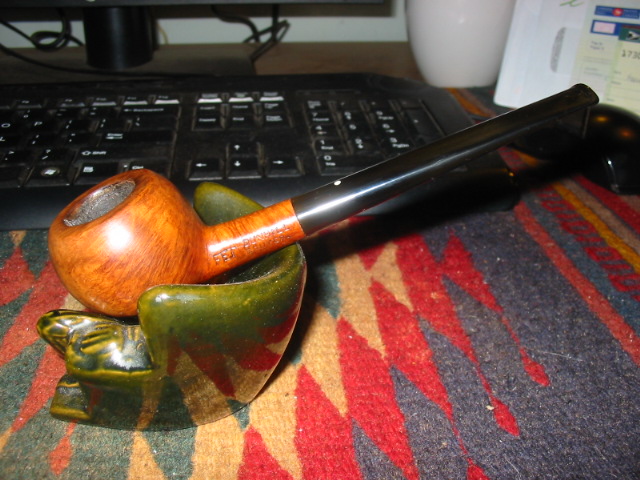
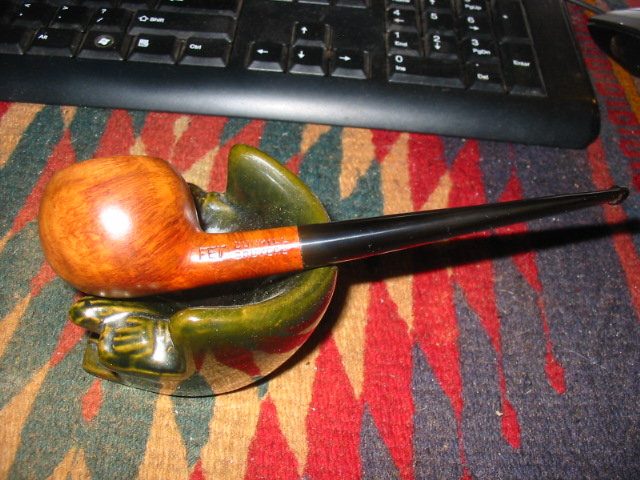
Here is where the story comes to an end. The Kaywoodie bulldog and Yello-Bole pipes are done. They have newly created artistically designed shiny new mouthpieces. One looks original, while the other is unfortunately missing the emblem. Good enough for now.
The 1955 Kaywoodie is mine. I didn’t have a bulldog yet, and the opportunity to have something made in the 50’s is just calling to me. The 1950-60’s Yello-Bole will be sold, someday to somebody that will appreciate it. Dublin isn’t really my shape, or at least doesn’t call out to me with the same longing voice as the bulldog does. Please don’t take my comment wrong, as it is a preference thing. Seriously though, I will say that I truly admire the works of Steve and Co. who devote their time to restoring old(er) pipes. It is a labor of love, the same labor of love that most makers enjoy. It takes time, determination, and an eye for aesthetics. I can only hope that most restorers don’t end up with mouthpieces so chewed up they can’t be fixed. My foray into the world of restoration was a fun time. Will I do it again? Probably, I mean I still have to make a mouthpiece for the Kaywoodie Apple. Just not today; and probably not tomorrow. There are two block of briar that somehow got pencil marks and drill points marked all over them. They’ll see a band saw in about two days and most definitely will feel various grits of sandpaper rubbing across them as their shapes are extracted.
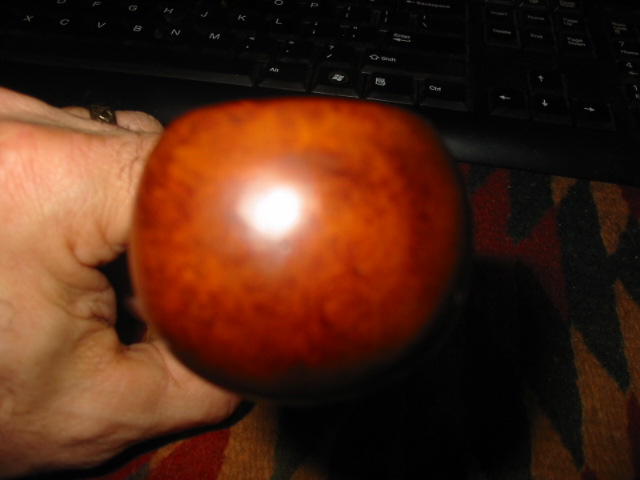
Enjoy the before and after pictures below, smoke in peace, and take care of your pipes. Someday your son or daughter will cherish the memory you leave to them once you’re no longer there. Oh yea, resistance was futile so I included is a picture of the Quail Egg I made for myself during this process. As for the bent bulldogs, they’re destined to receive either bamboo or horn shank extensions/replacements. I really had a hard time thinking about getting rid of them, as they still will make great shop pipes. The Kaywoodie apple will also get a new stem… someday.
James (of JSEC Pipes http://jsecpipes.com/

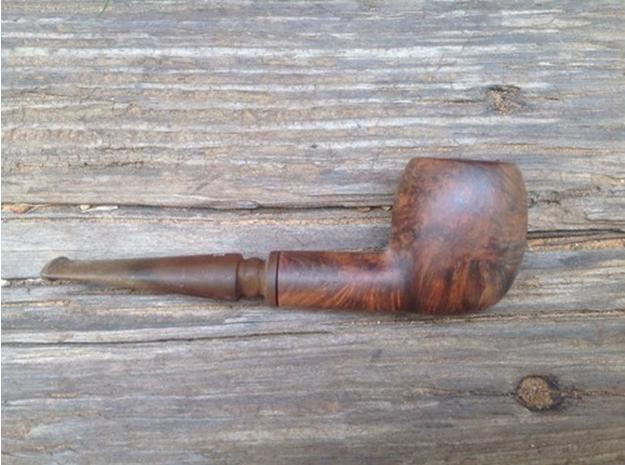
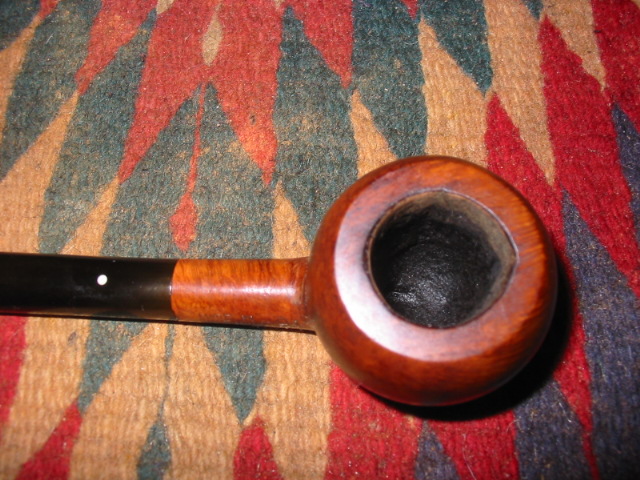
Figure 7. Finished and Restored

Figure 8. Kaywoodie Bulldog

Figure 9. Yello-Bole Danish

Figure 10. Kaywoodie Bulldog

Figure 11. Yello-Bole Danish

And the pipe that resulted for Briar calling my name