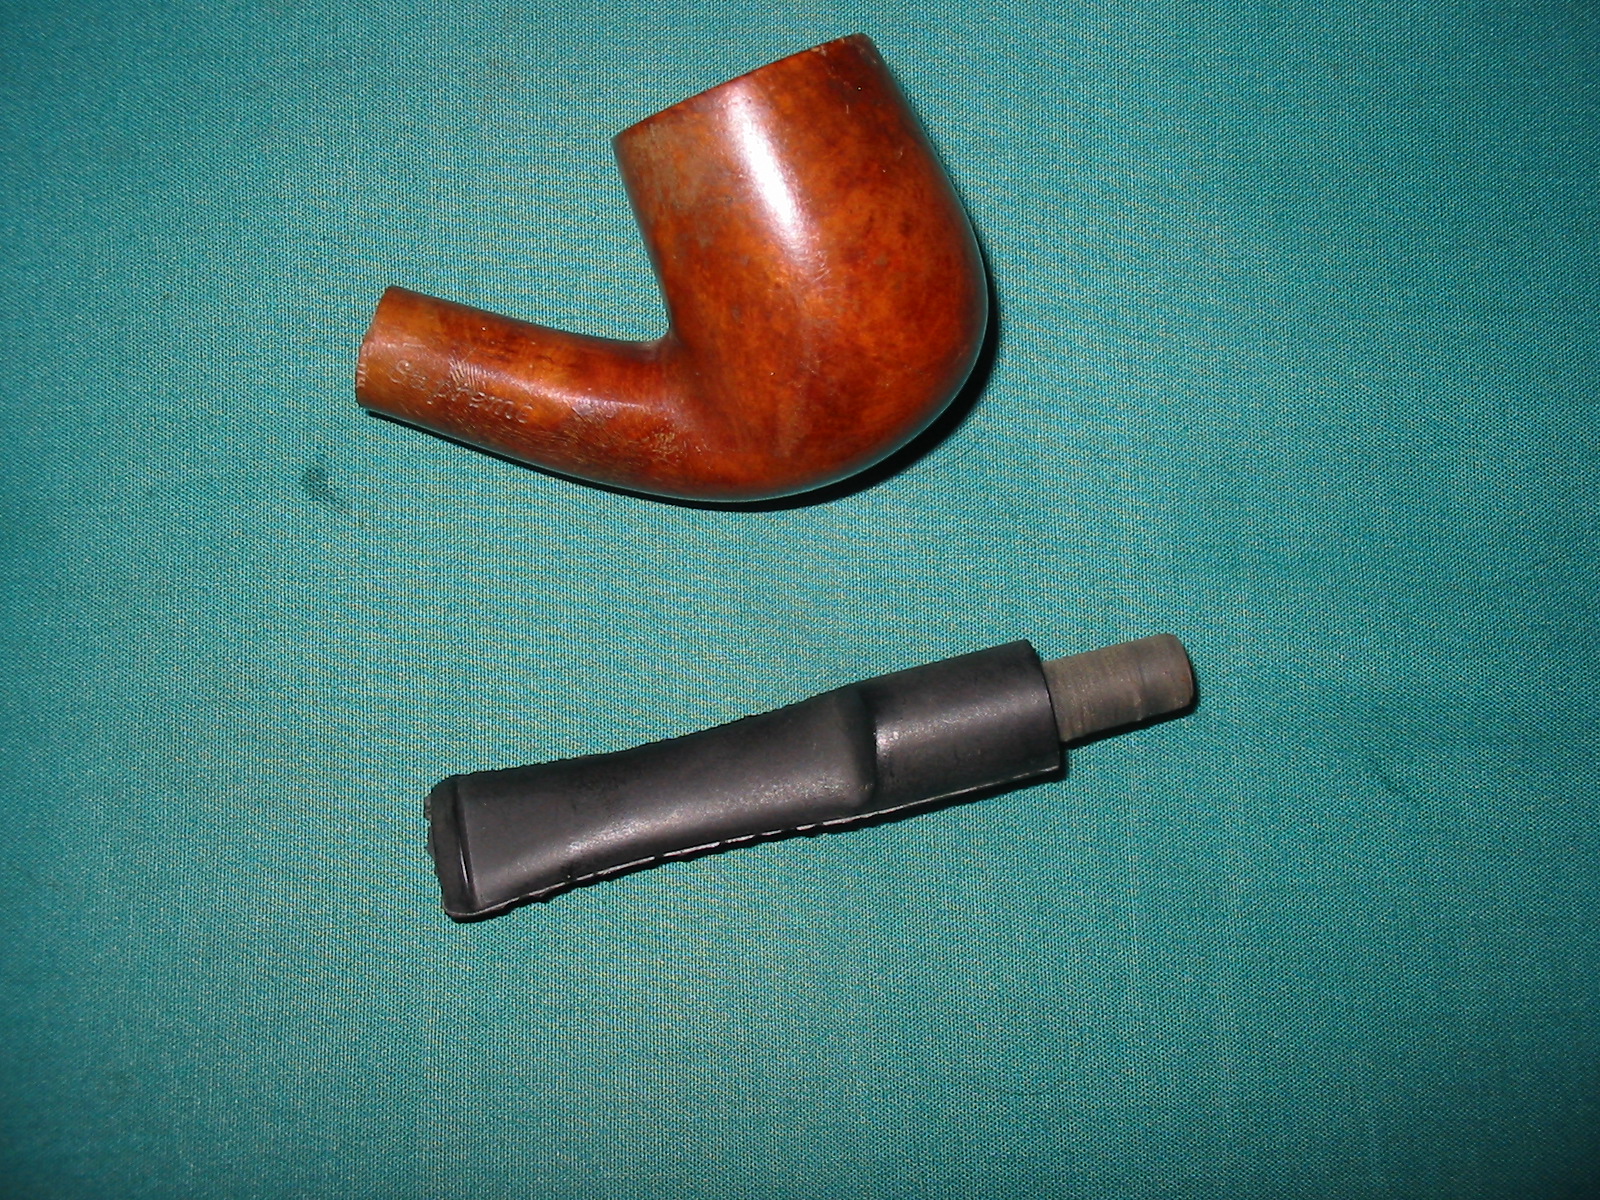
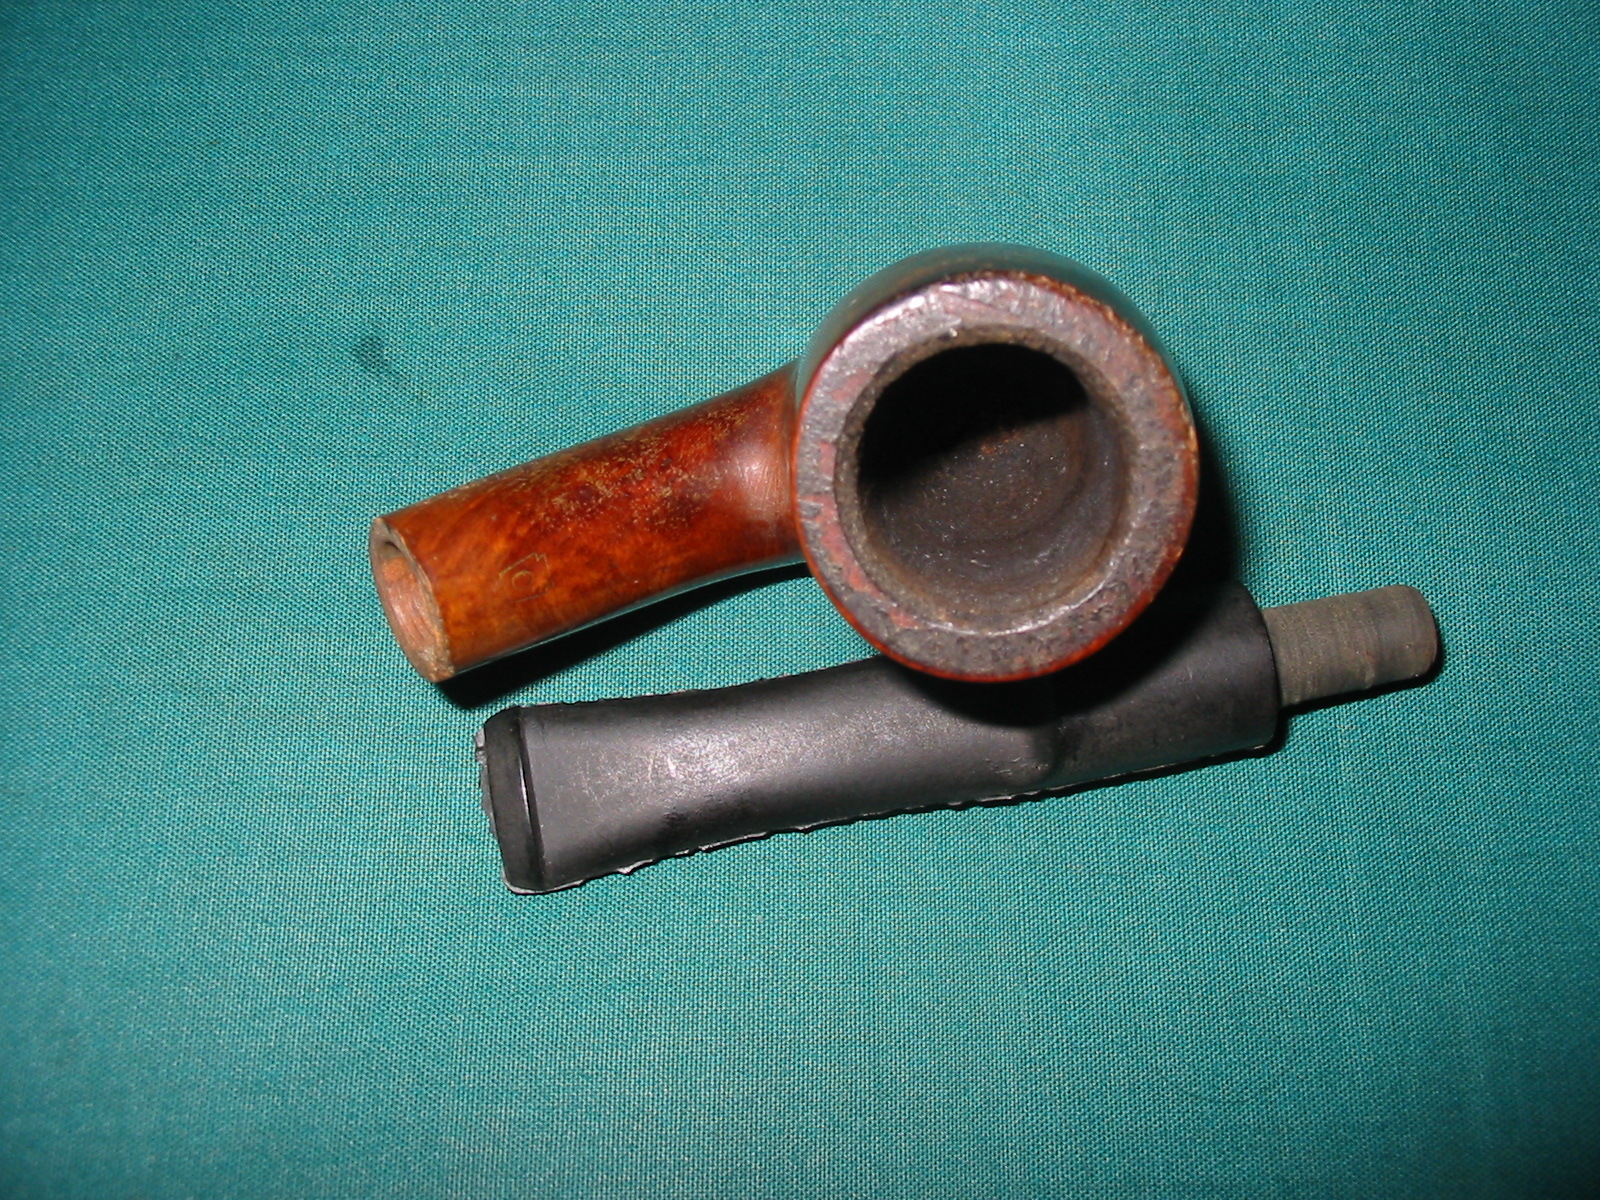
I picked this old timer up in an antique shop near Vancouver, quite a few years ago now. When I got it the bowl was almost black and dirty. The rim had a good 1/8 inch of grime and tar built up so that it looked like a plateau top. The finish was so opaque that you could not see the grain through it. The stem was dirty and to be honest with you all, when I got it I had no idea it was a horn stem. I worked hard to get the oxidation off it and all I got was more of the brown tones coming through. There was tooth chatter on the top and bottom of the stem. The chatter was kind of white coloured. I asked several guys about the stem and they also did not even think about a horn stem. I had the pipe in my collection for about 5 years or more before it dawned on me that it was a horn stem.
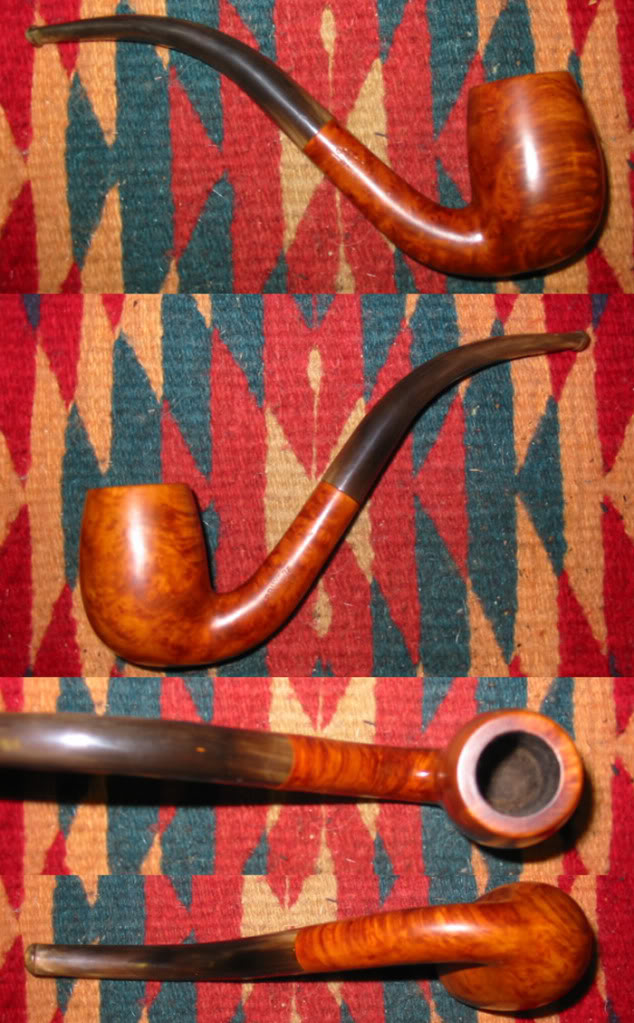
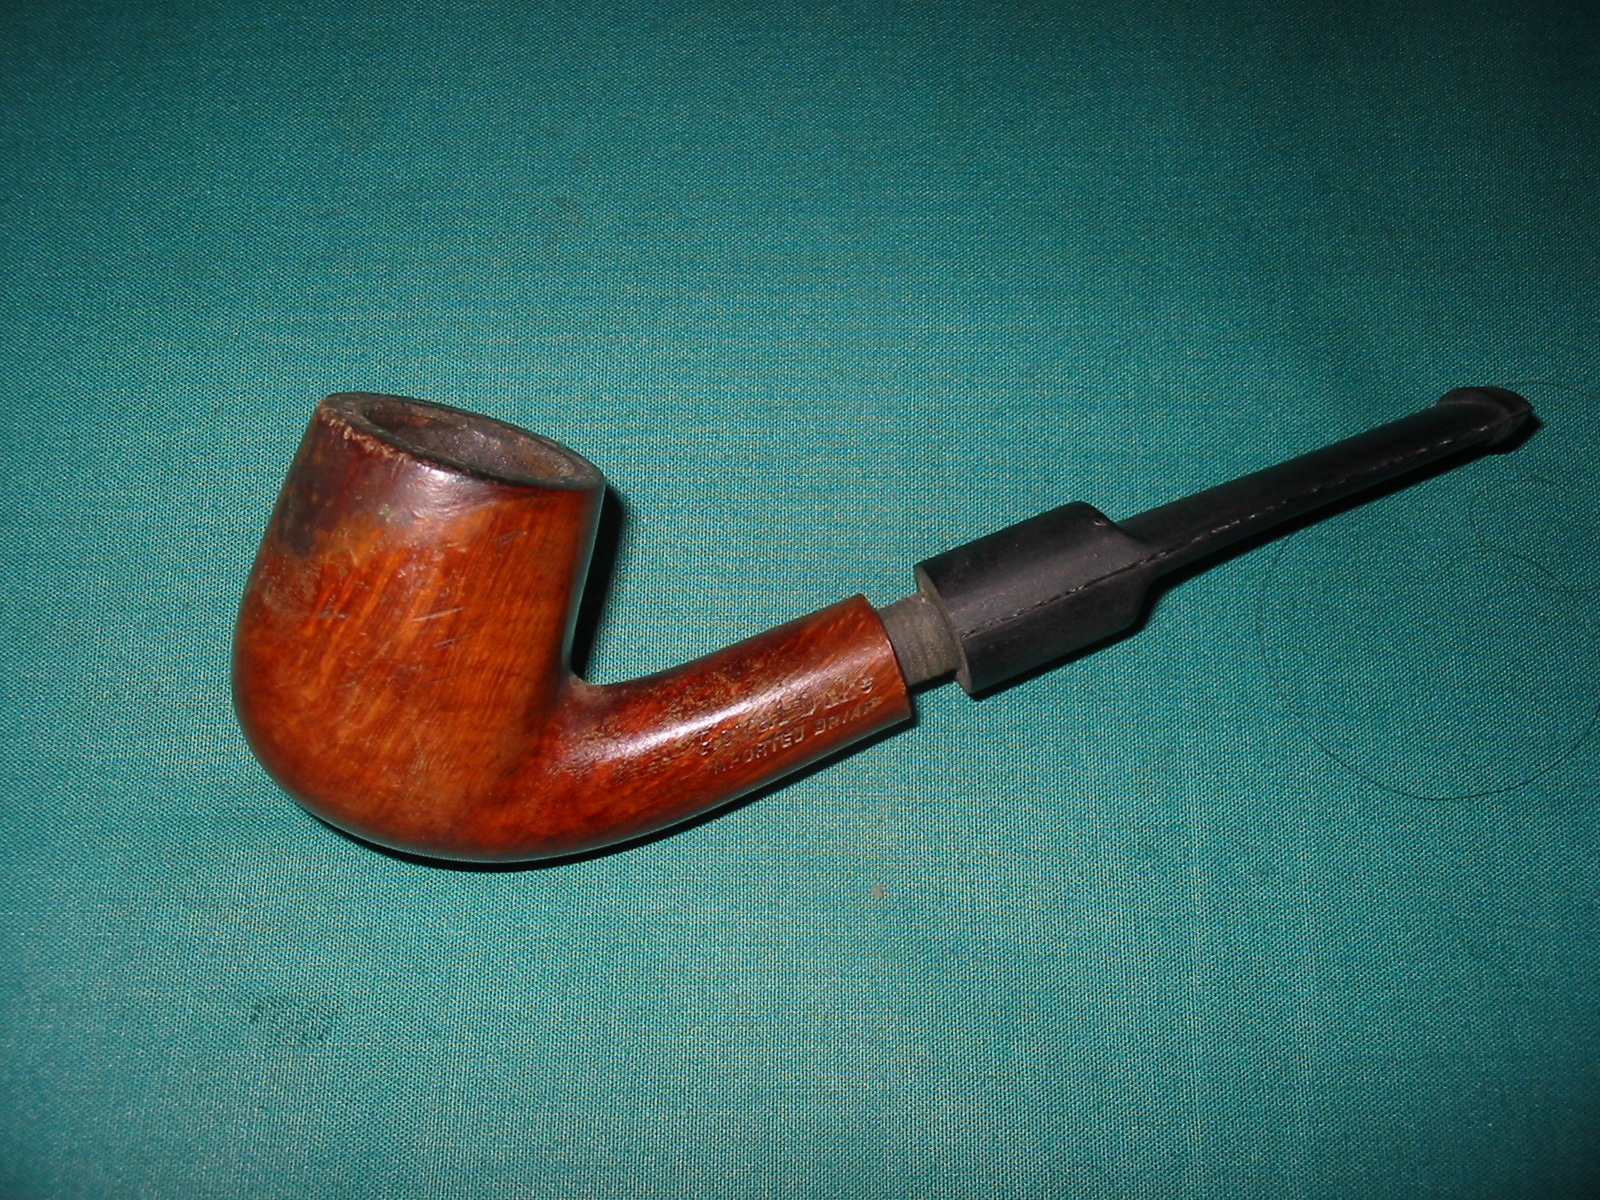
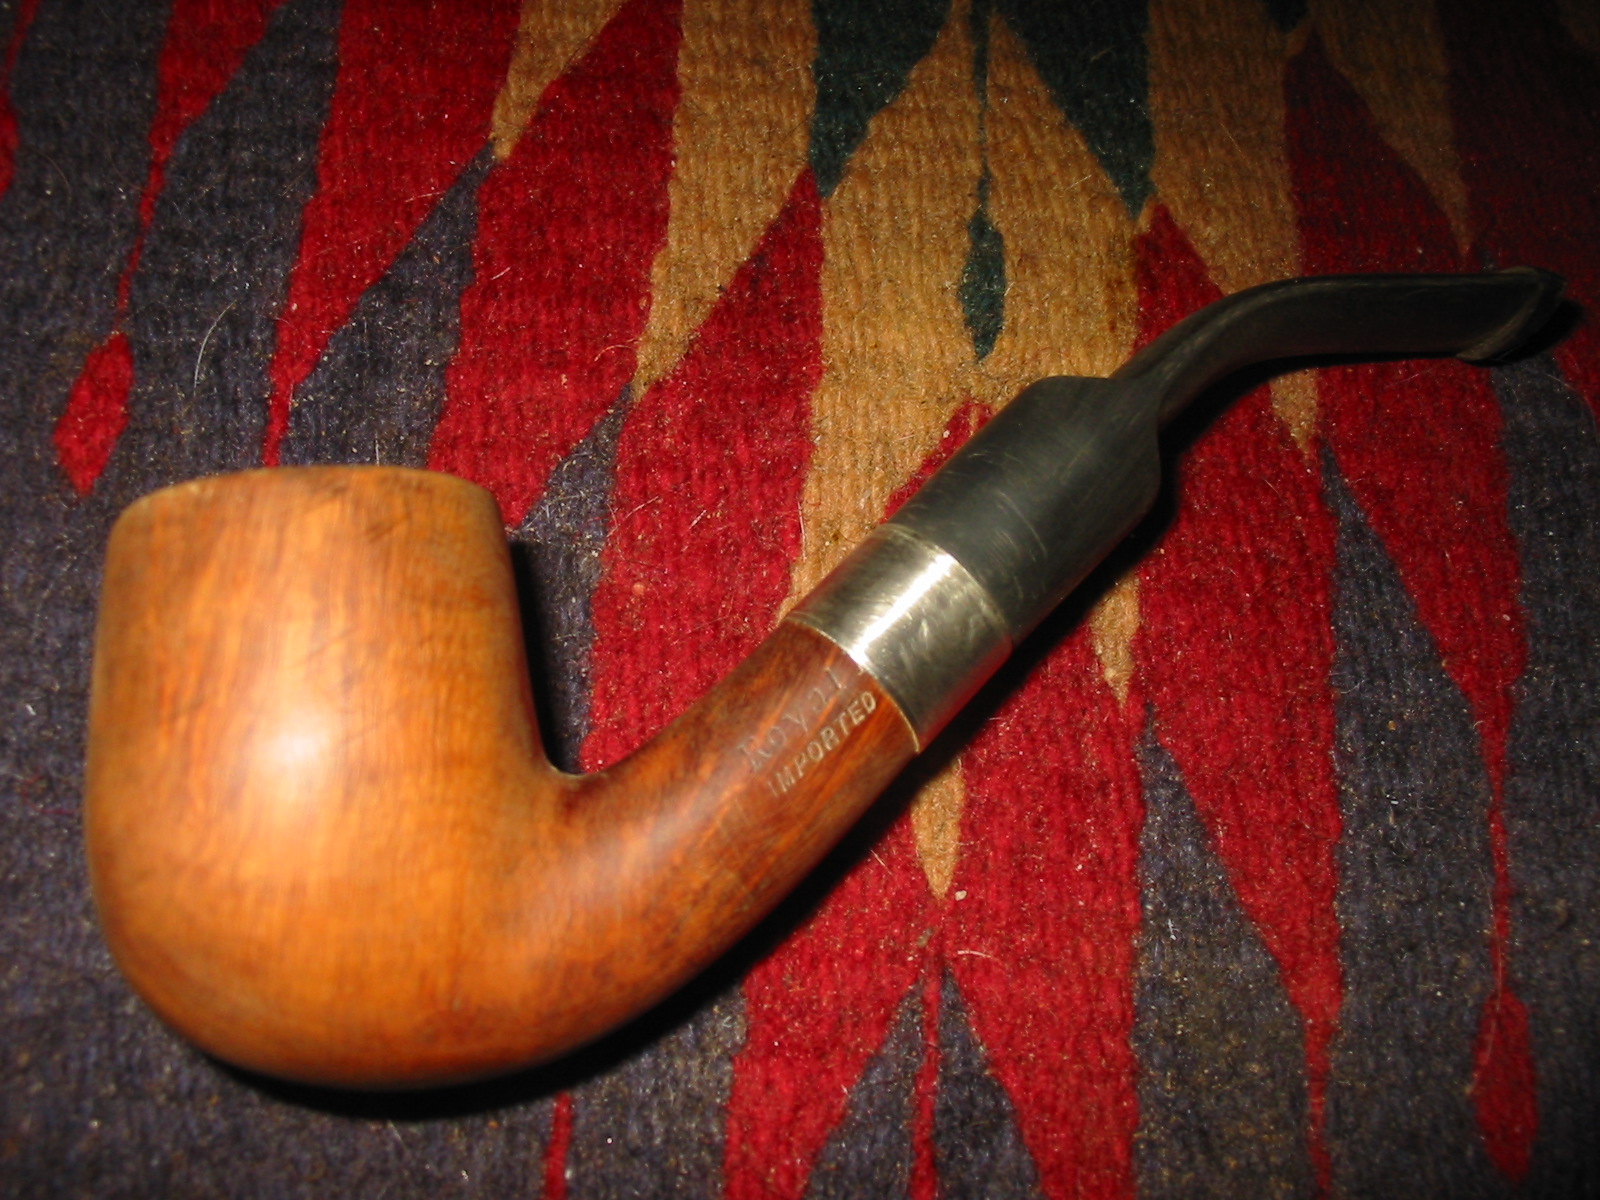
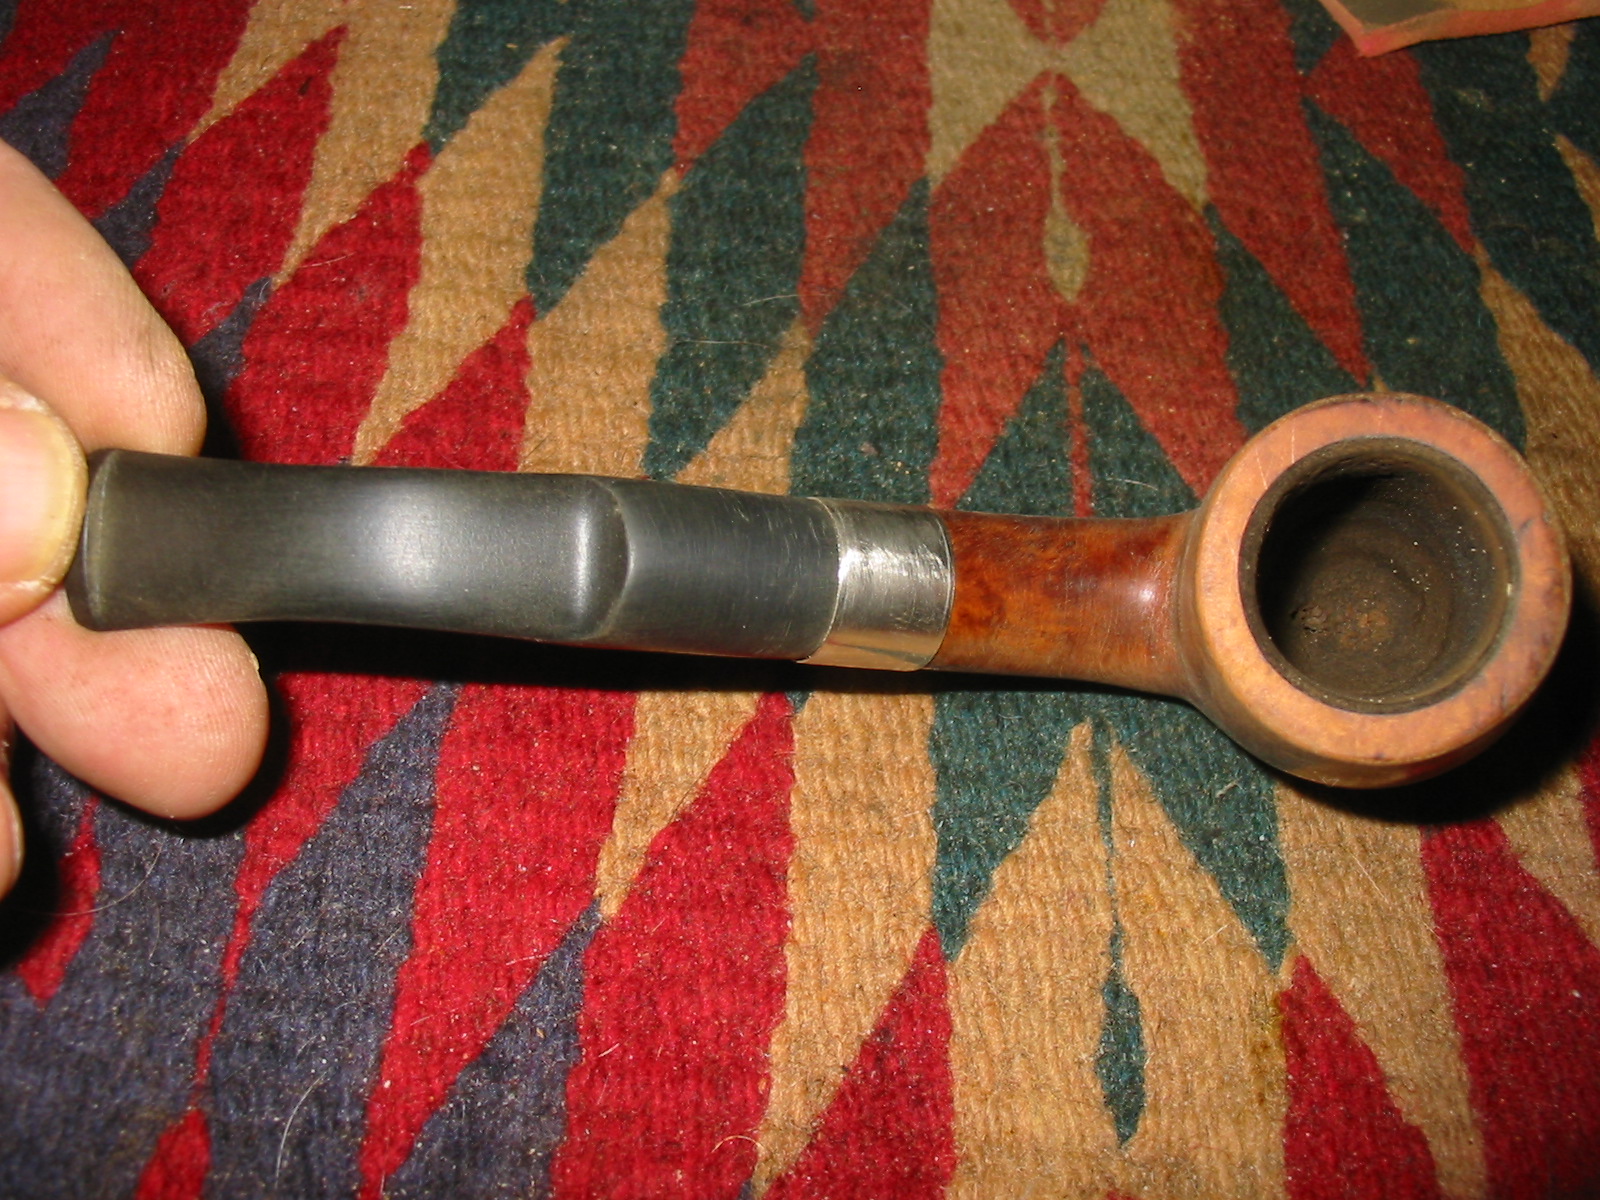
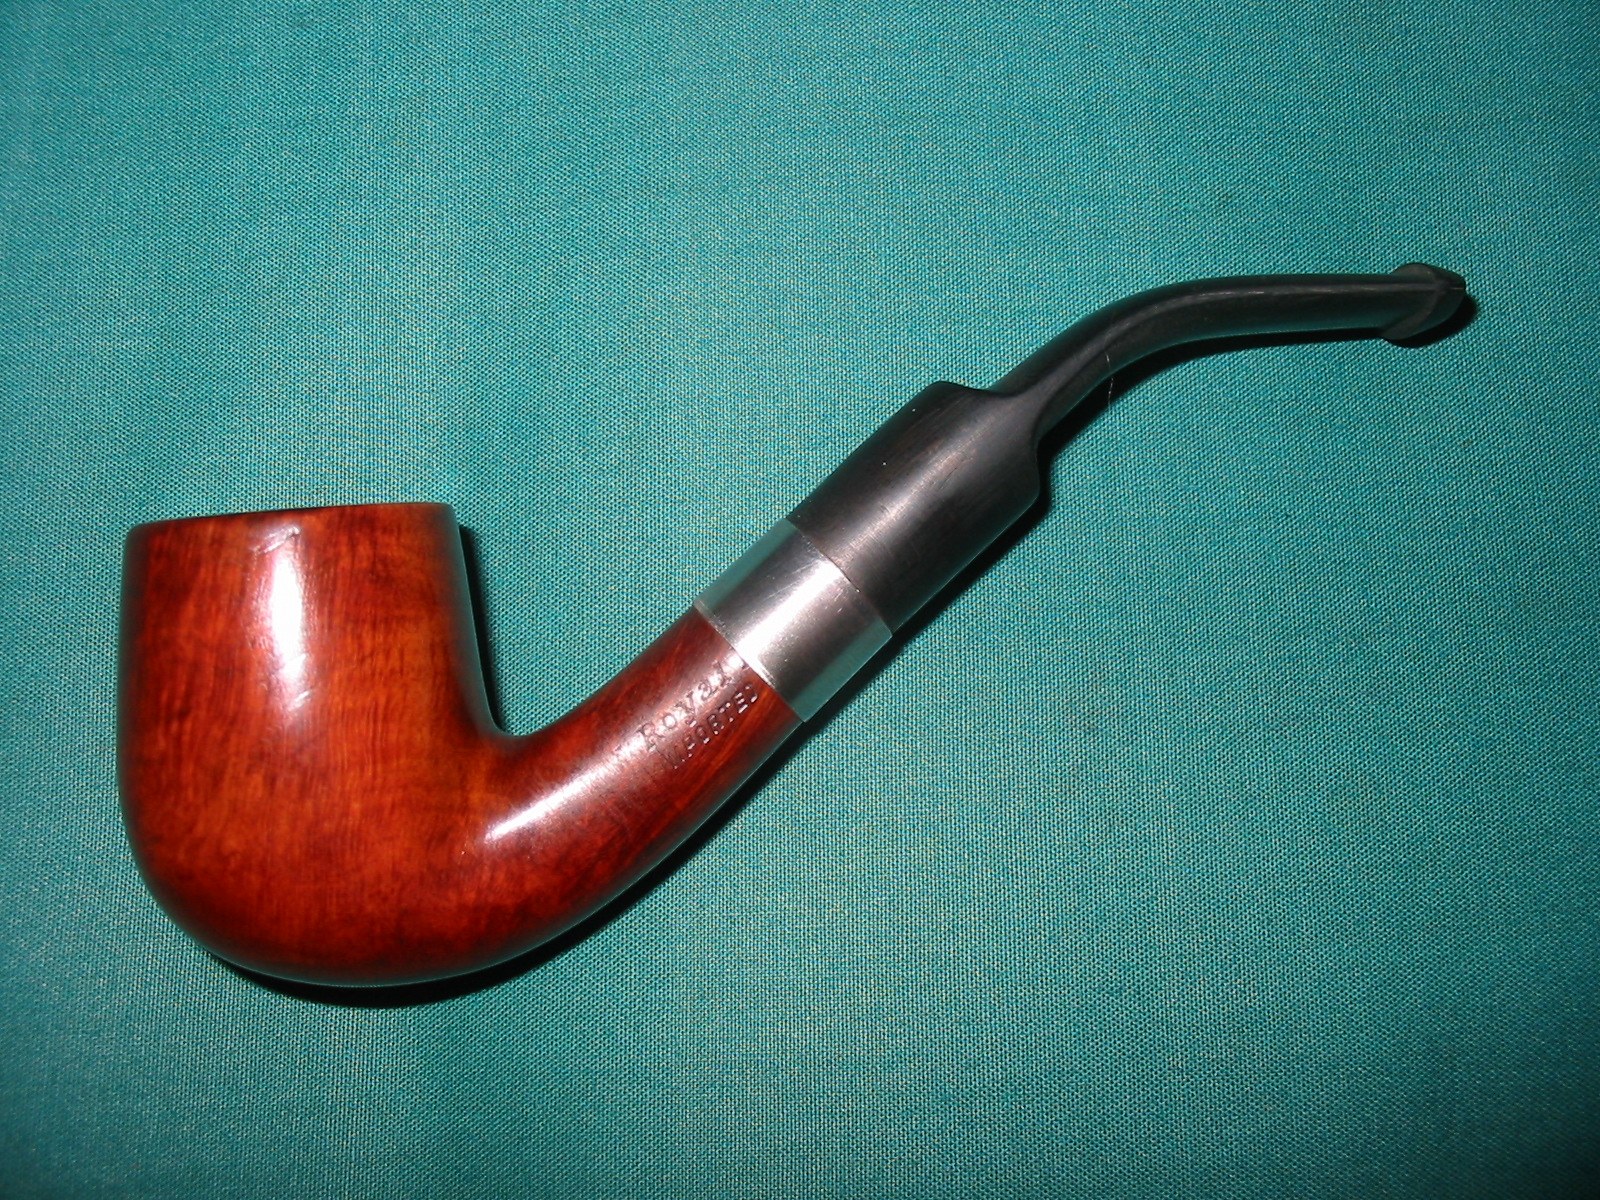
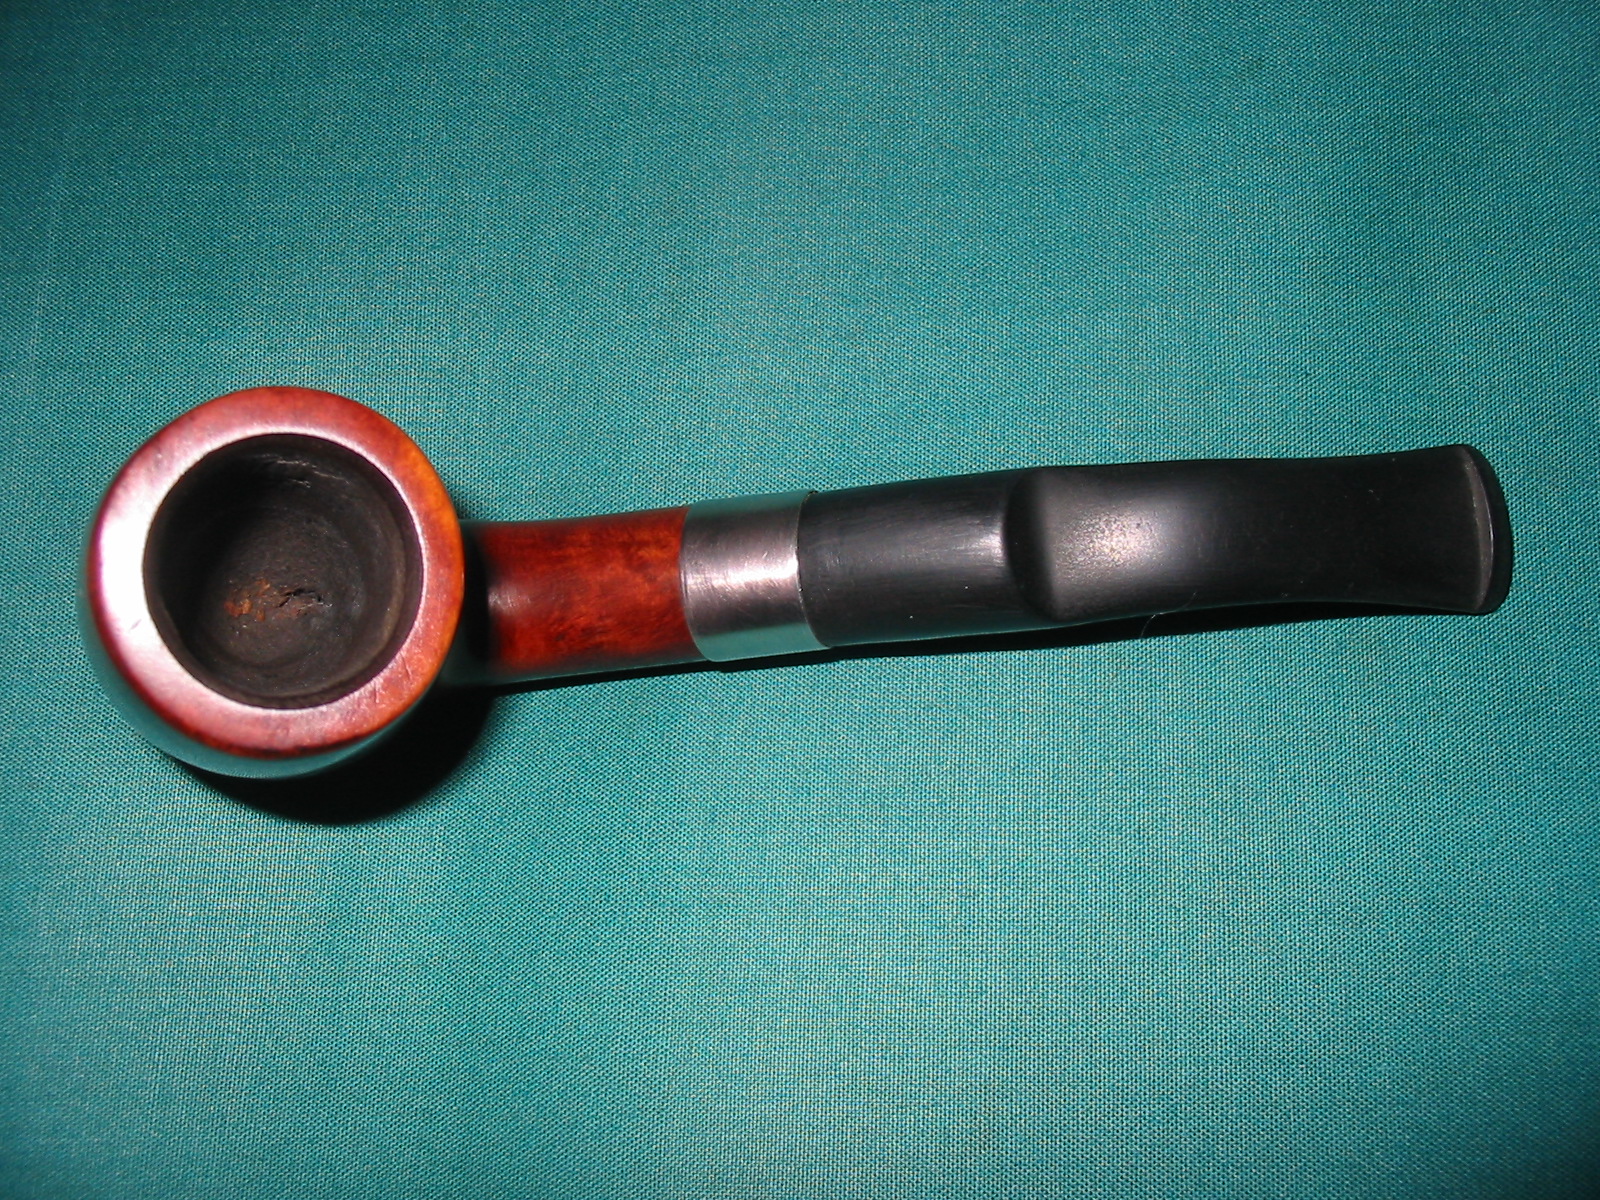
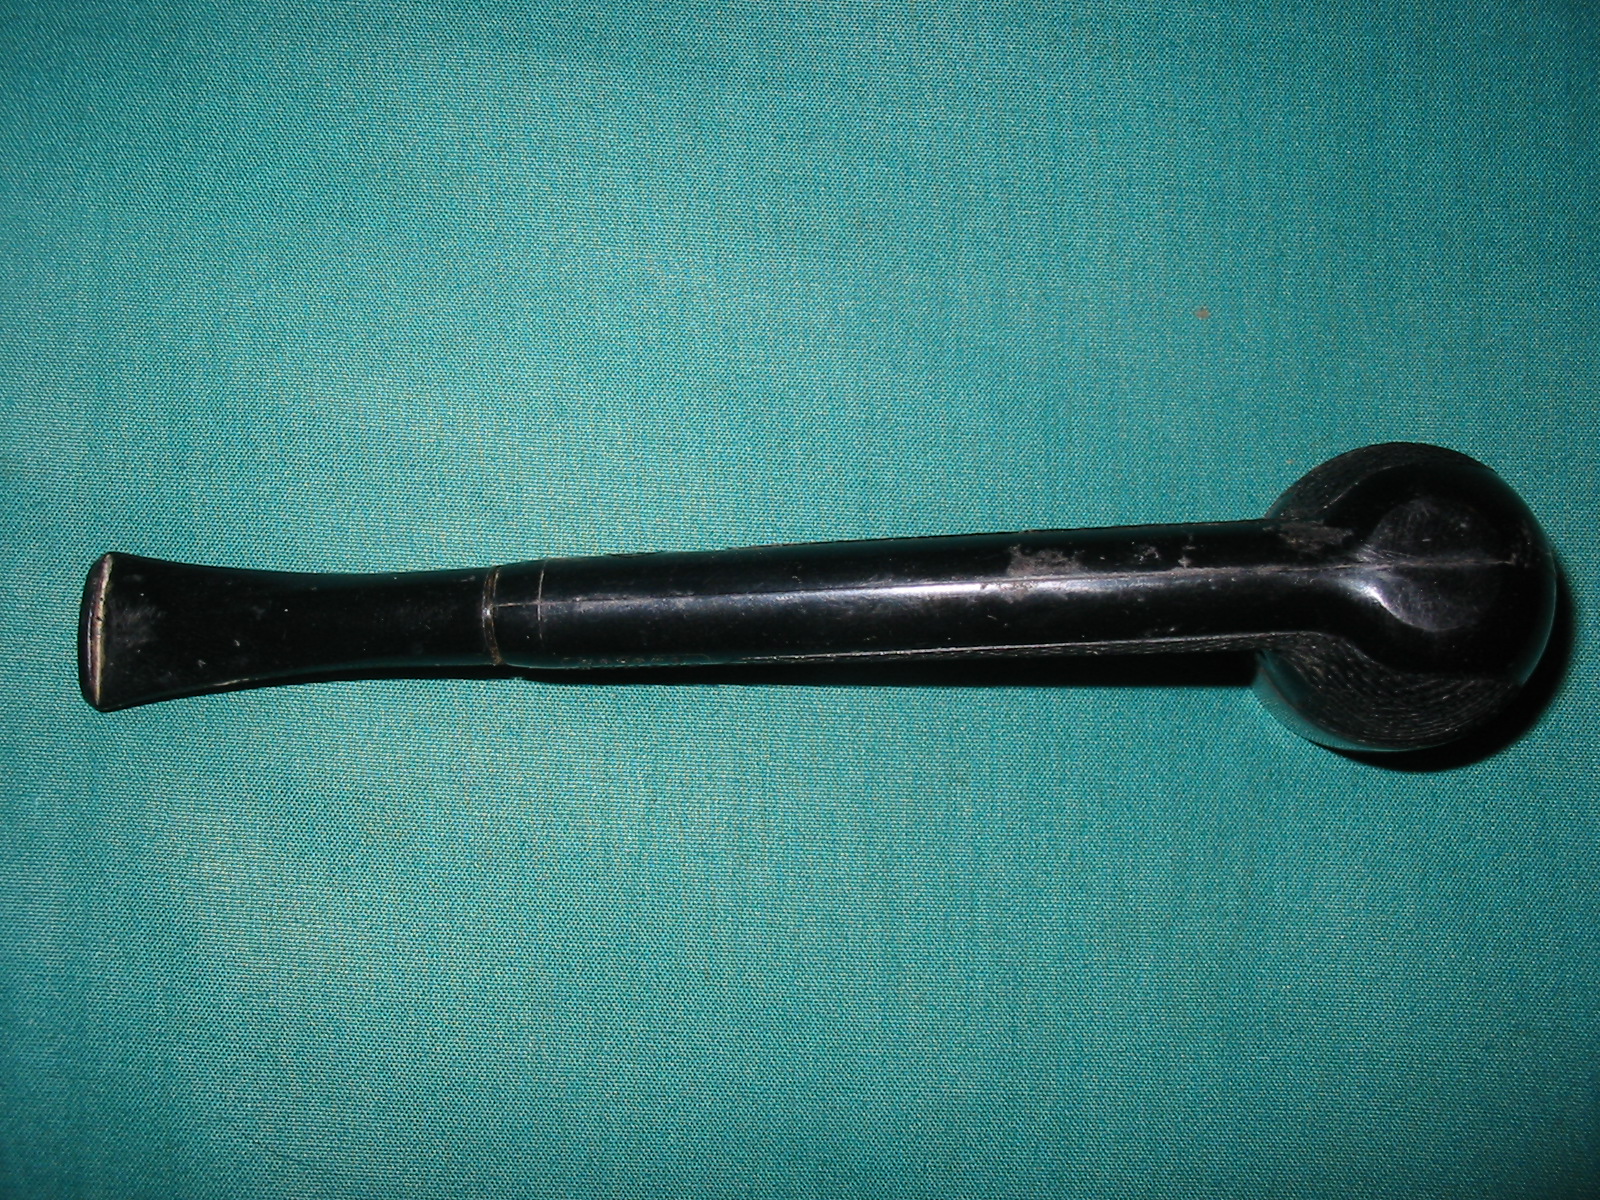
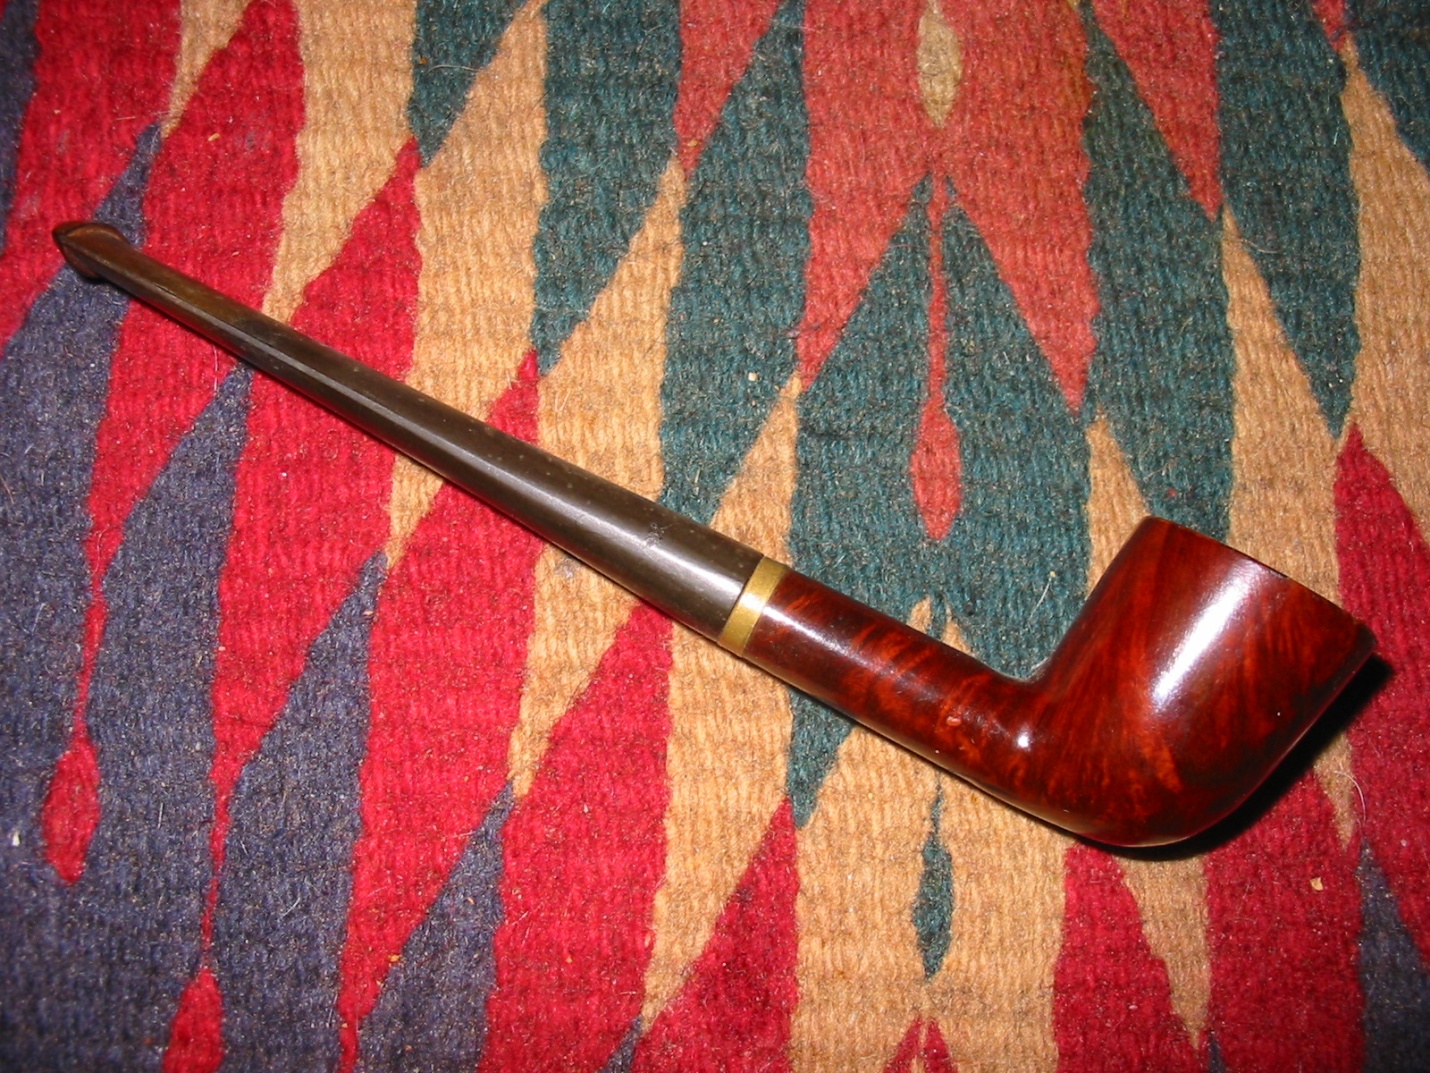
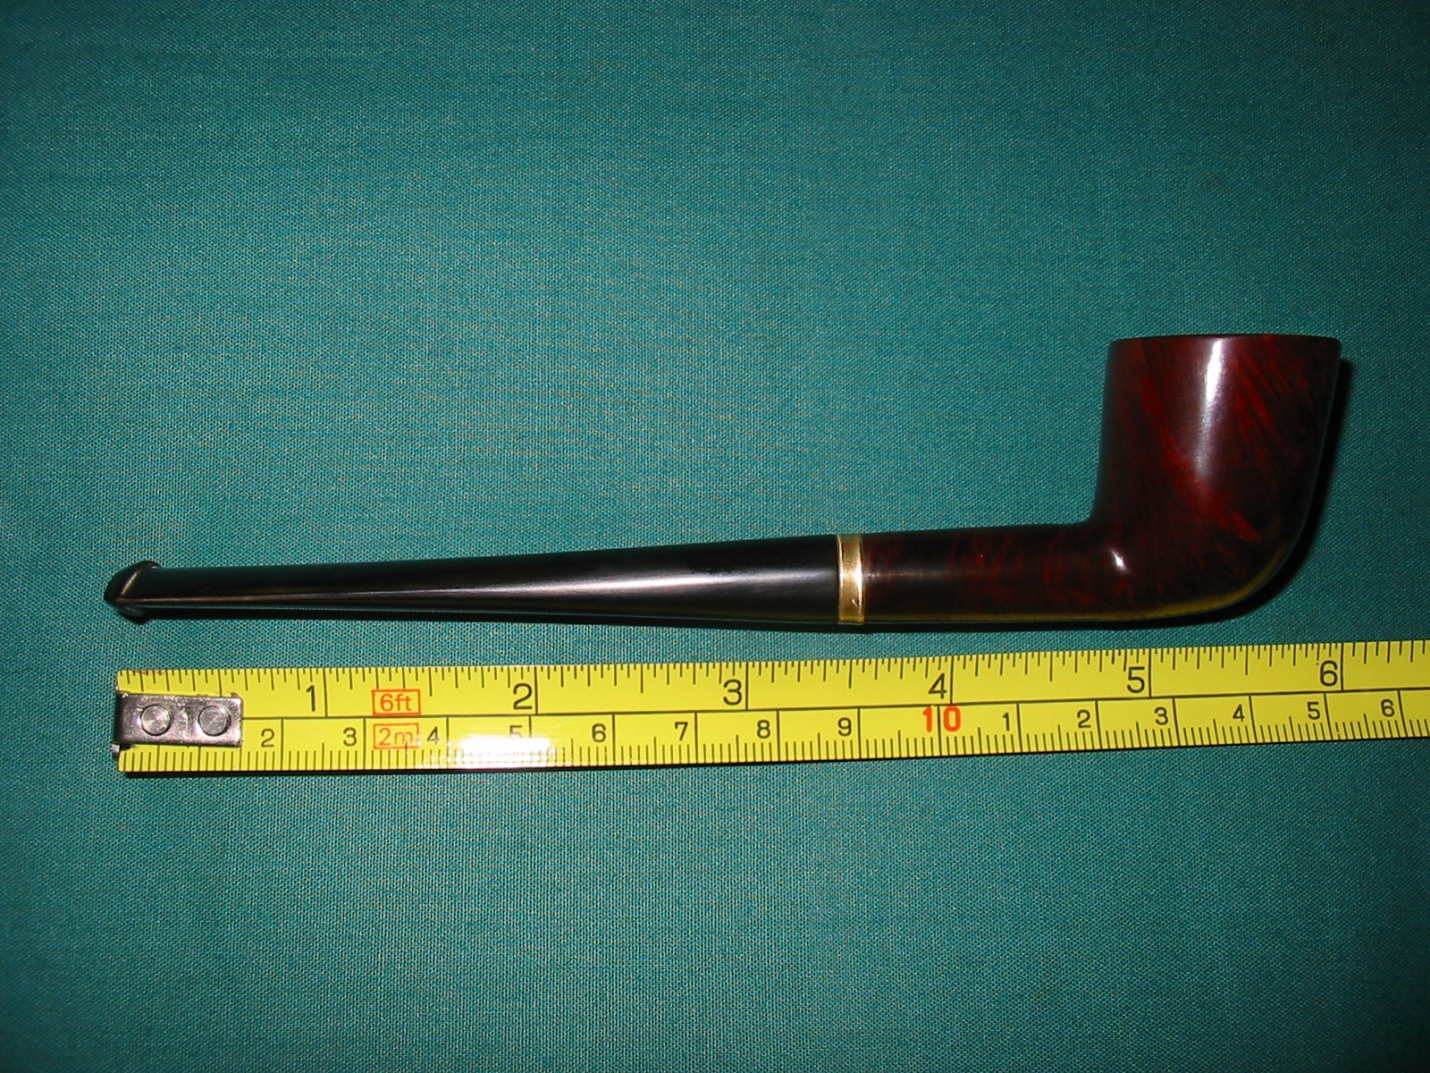
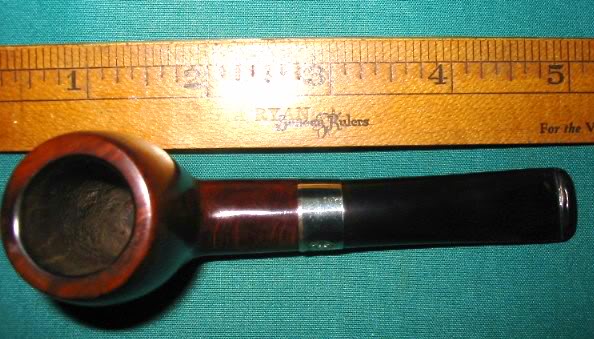
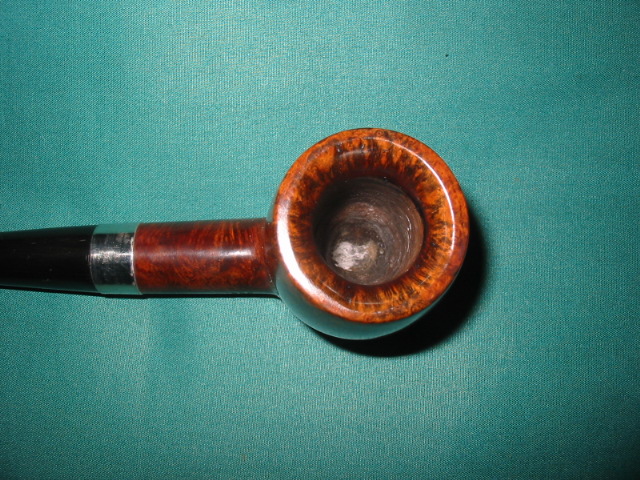
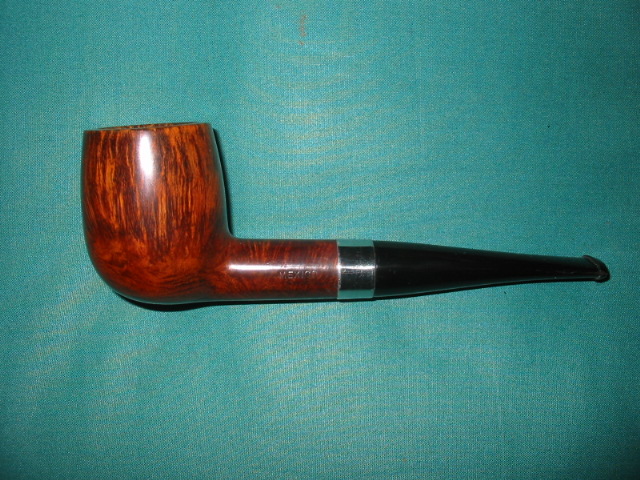
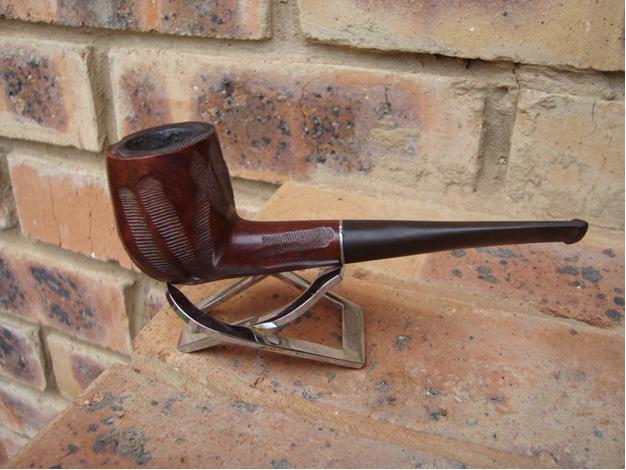
This is a big pipe and it is elegant. It is 8 inches long and the bowl is a little over 2 inches tall. It is stamped on the left side of the shank Bruyere in an arch over Garantie. On the right side it is stamped St. Claude in script over Bruyere. Once I stripped it down there are a few visible fills in the briar but they blend in quite well surprisingly – no pink putty on this one. I cleaned the rim meticulously by hand with warm soapy water on a damp paper towel. I scrubbed it until it was clean. I then sanded the bowl to remove the varnish coat and grime. I had not learned many of the tricks I use now so it was one of the first old timers that I refurbished. I wiped the bowl down with Isopropyl alcohol once I had sanded the majority of the finish coat off the pipe. It took quite a bit of time to carefully wipe away the finish around the stamping without damaging that. The bowl was finally cleaned and smooth – I remember sanding it with 1200 wet dry sandpaper to finish. Then I stained it with a medium brown wood stain – I have no idea if it was an alcohol stain, it well could have been Watco Danish Oil for all I know!
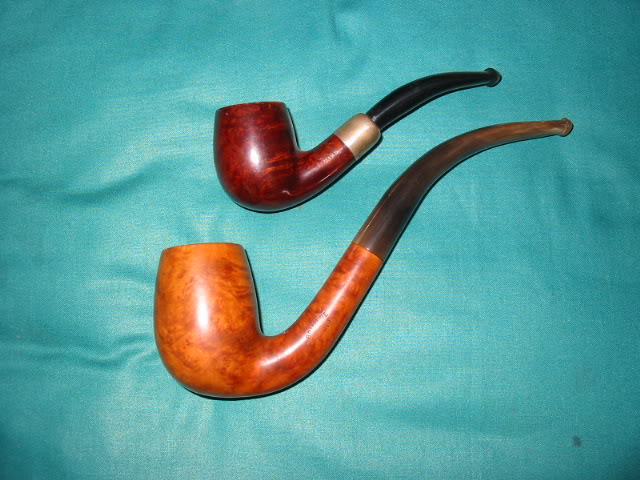
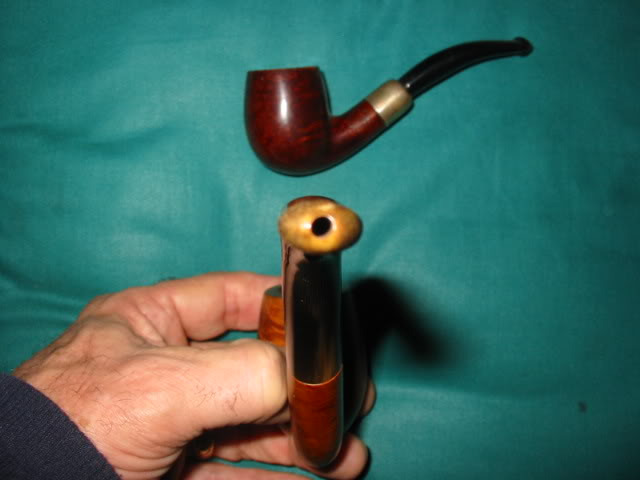
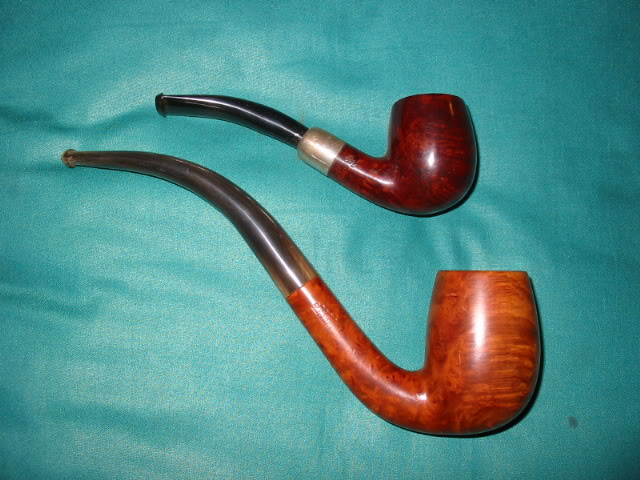
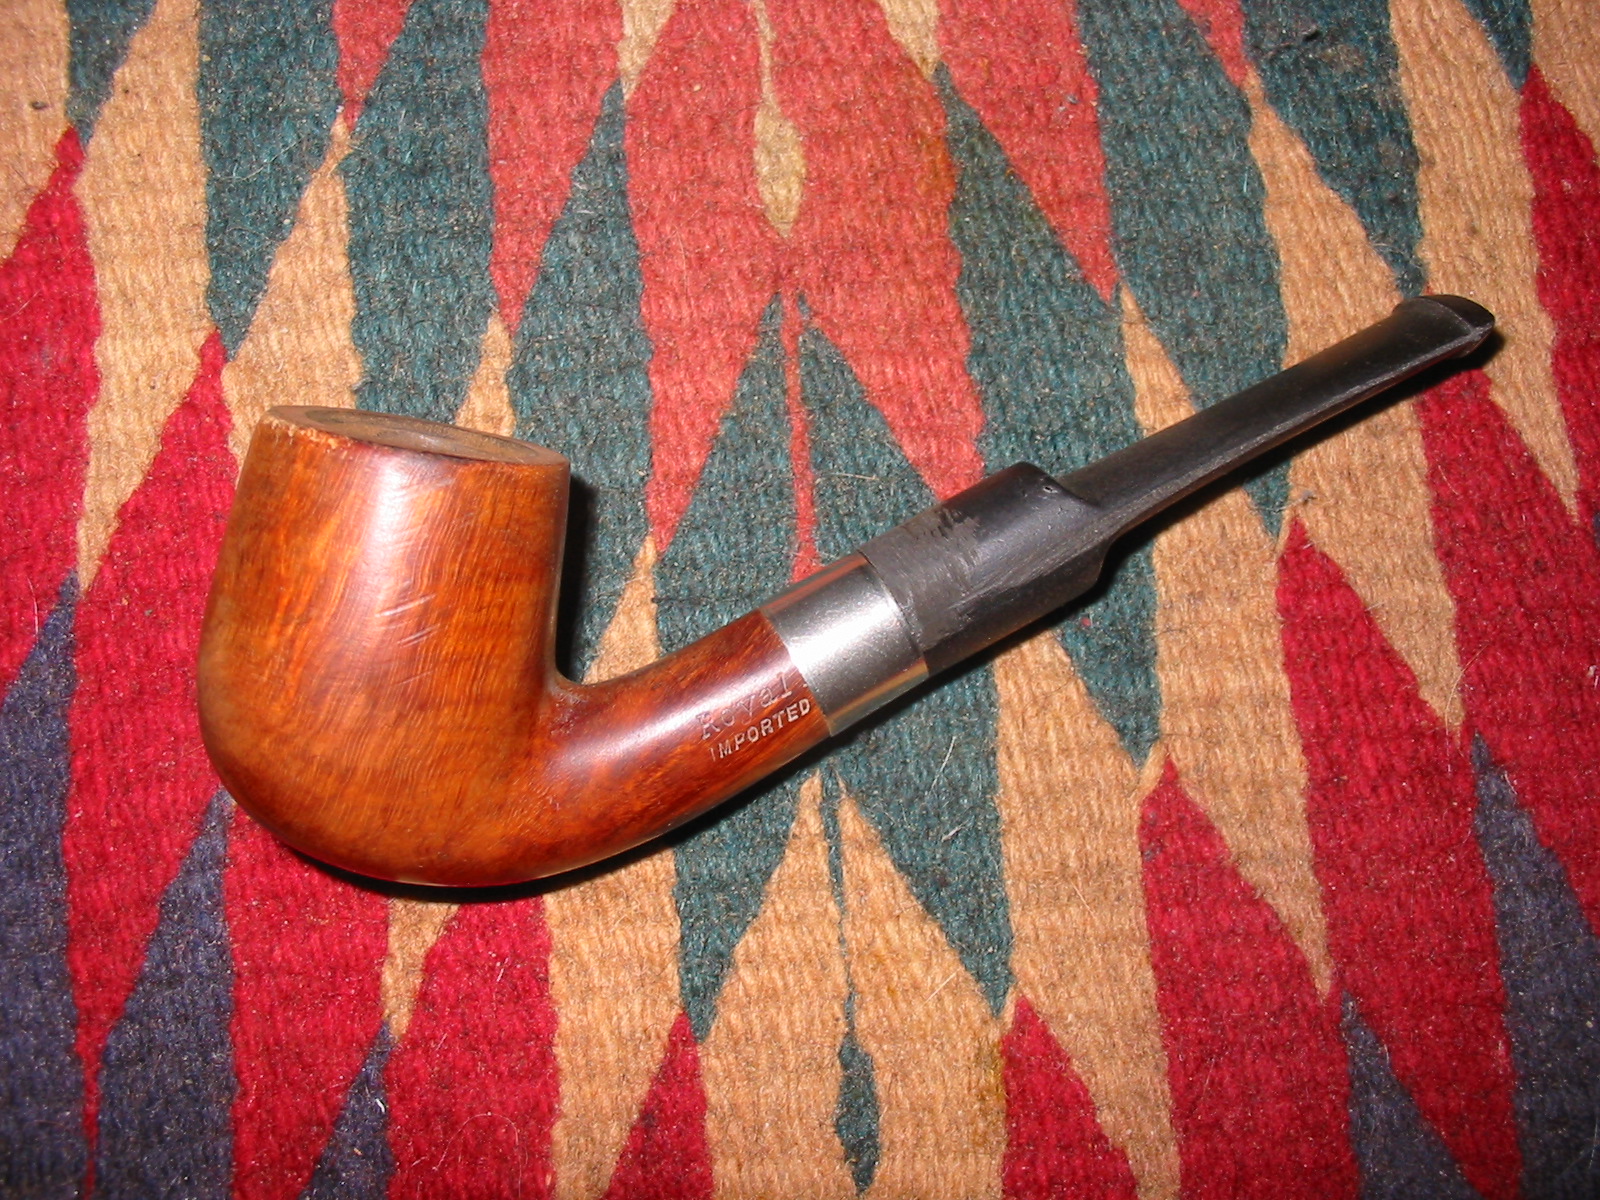
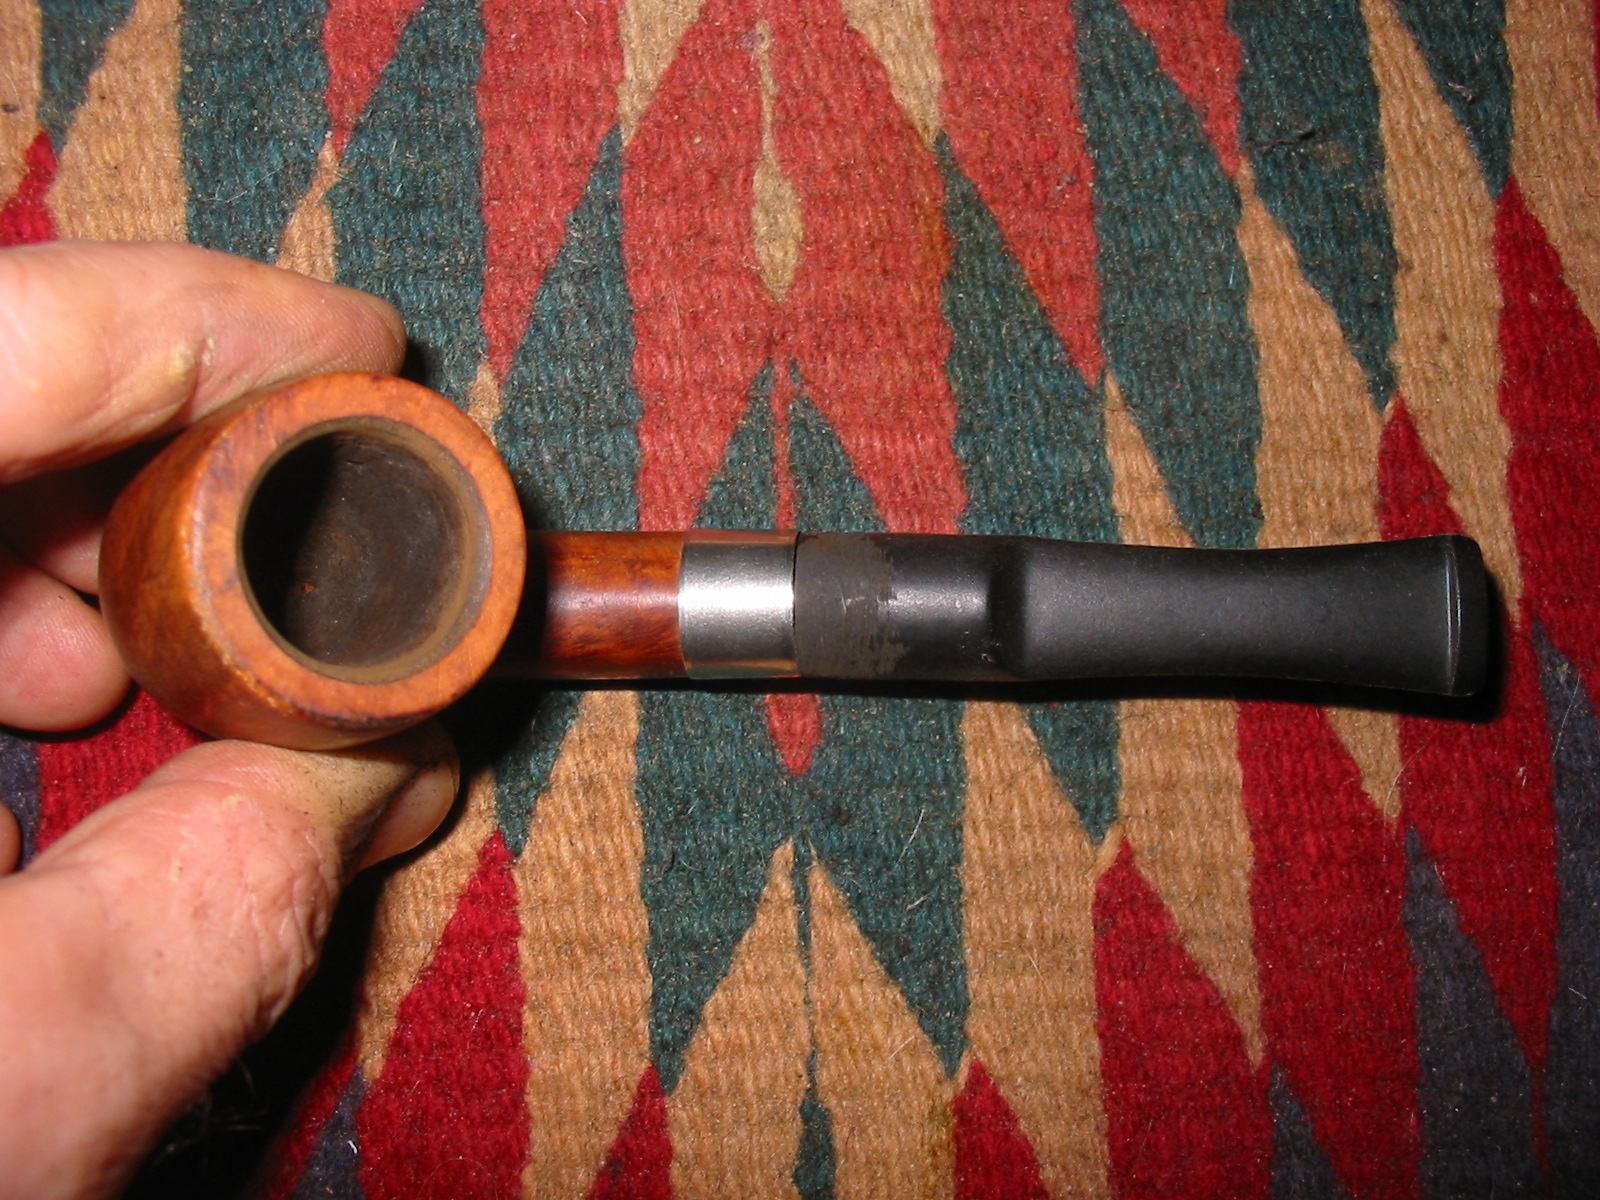
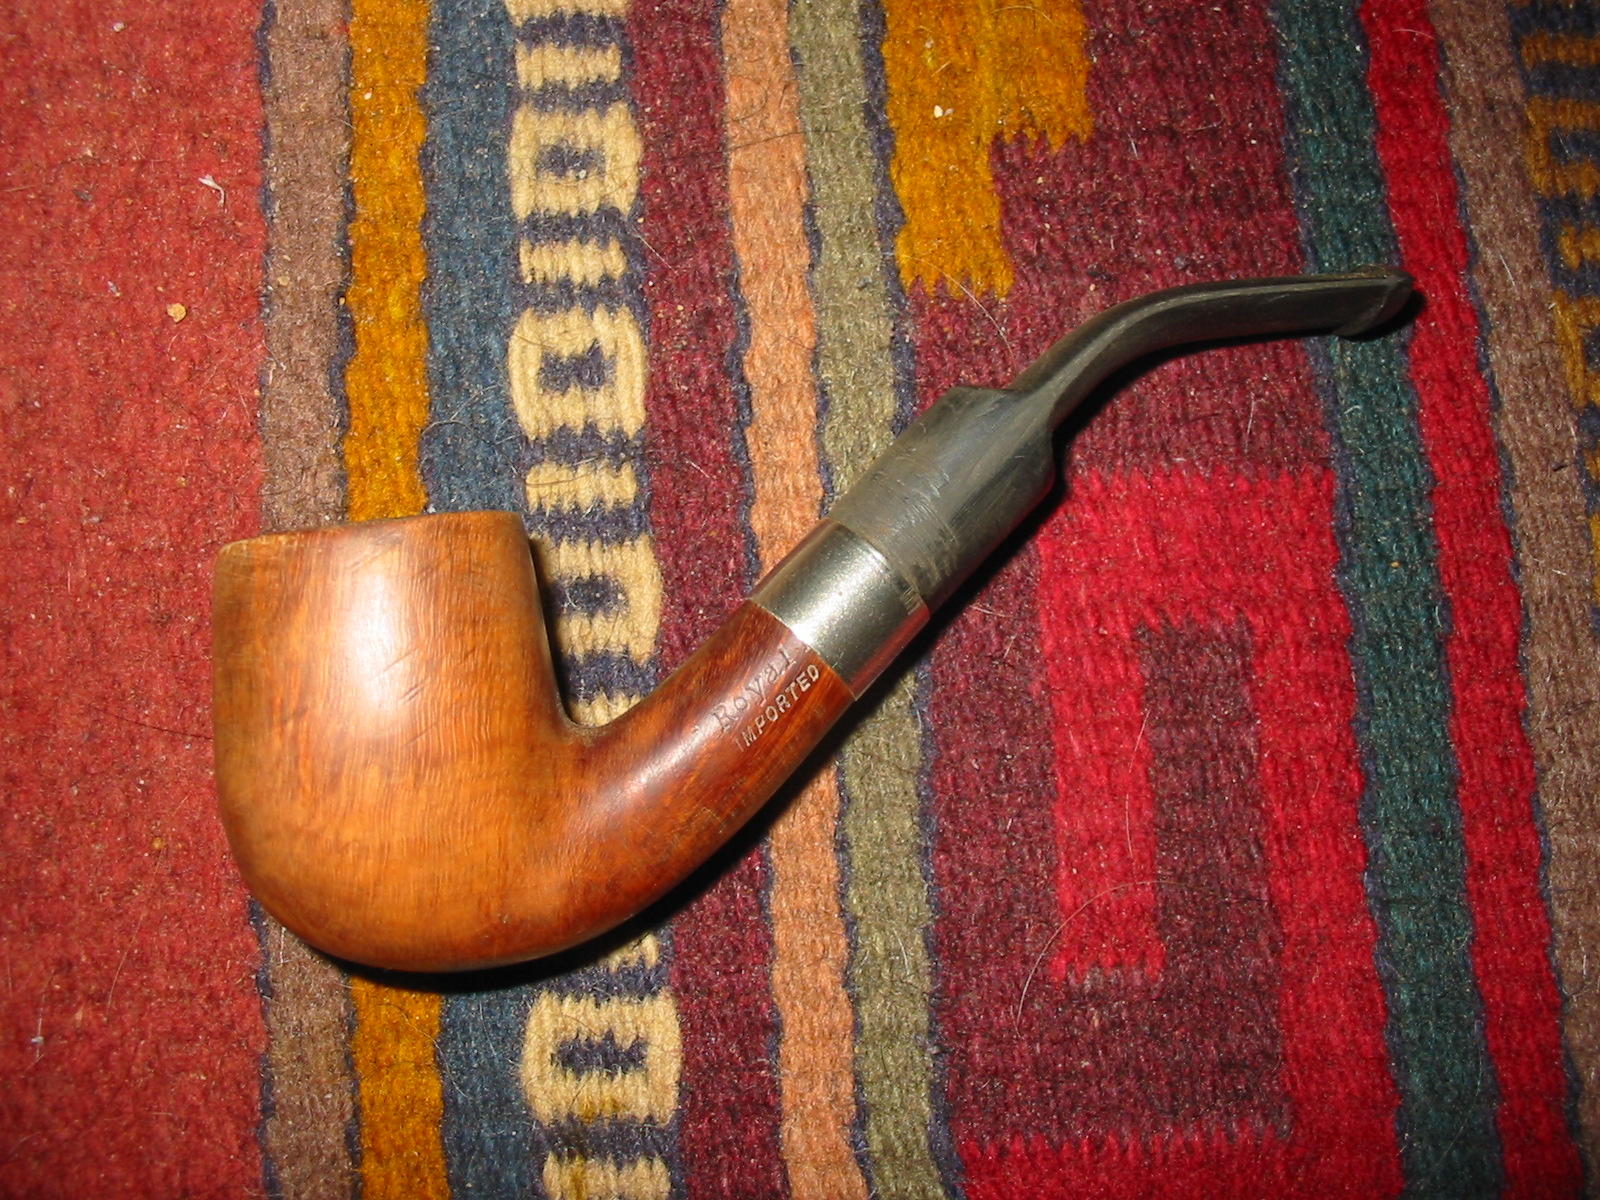
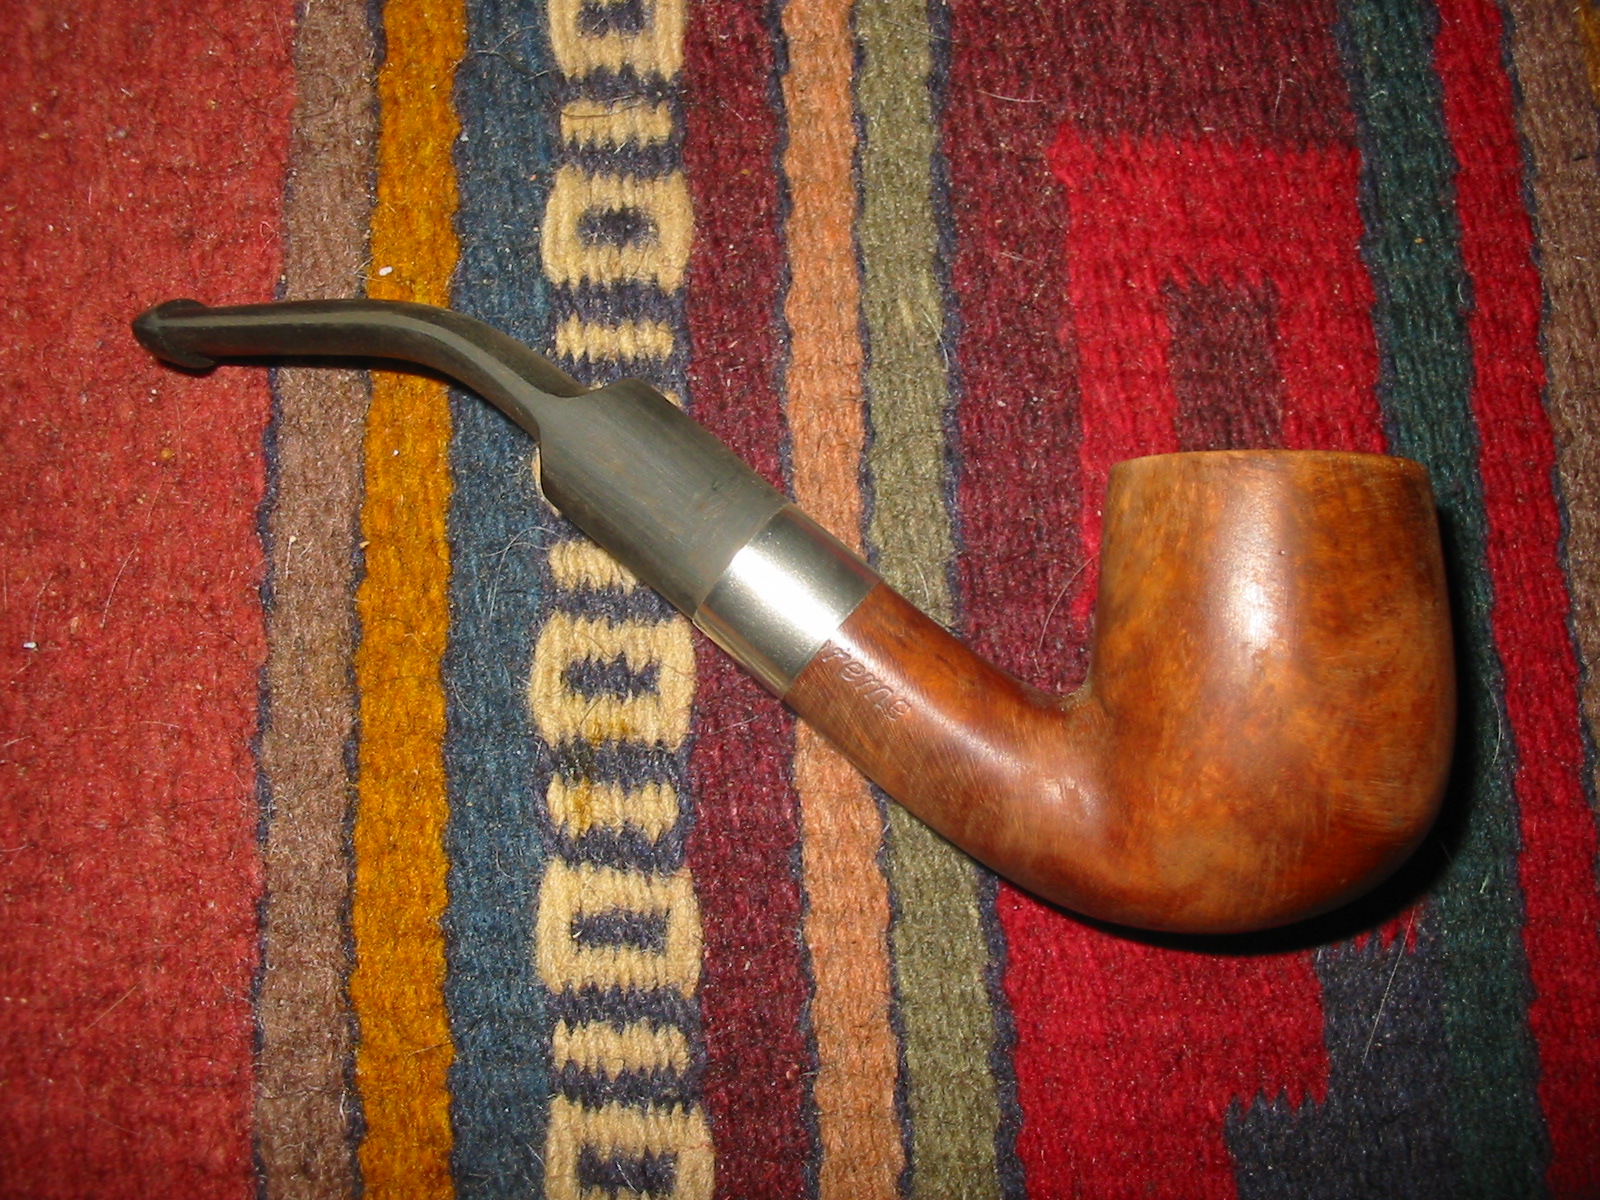
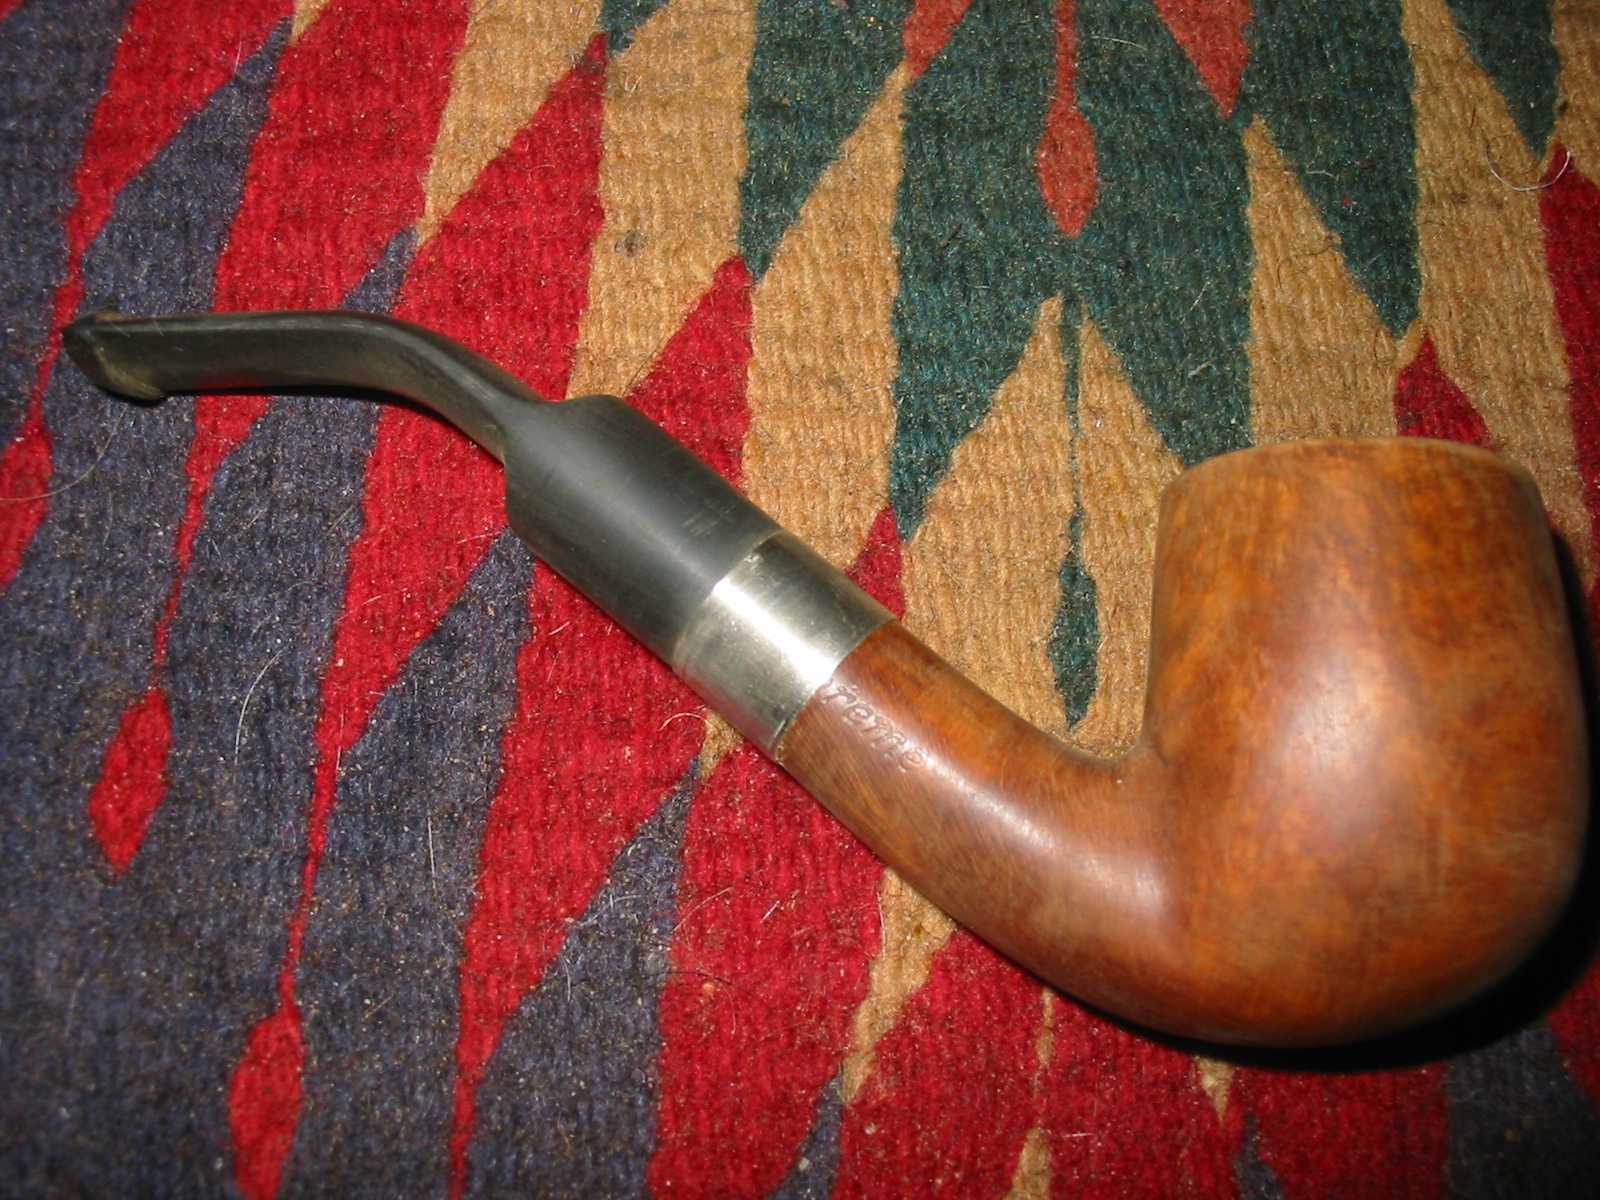
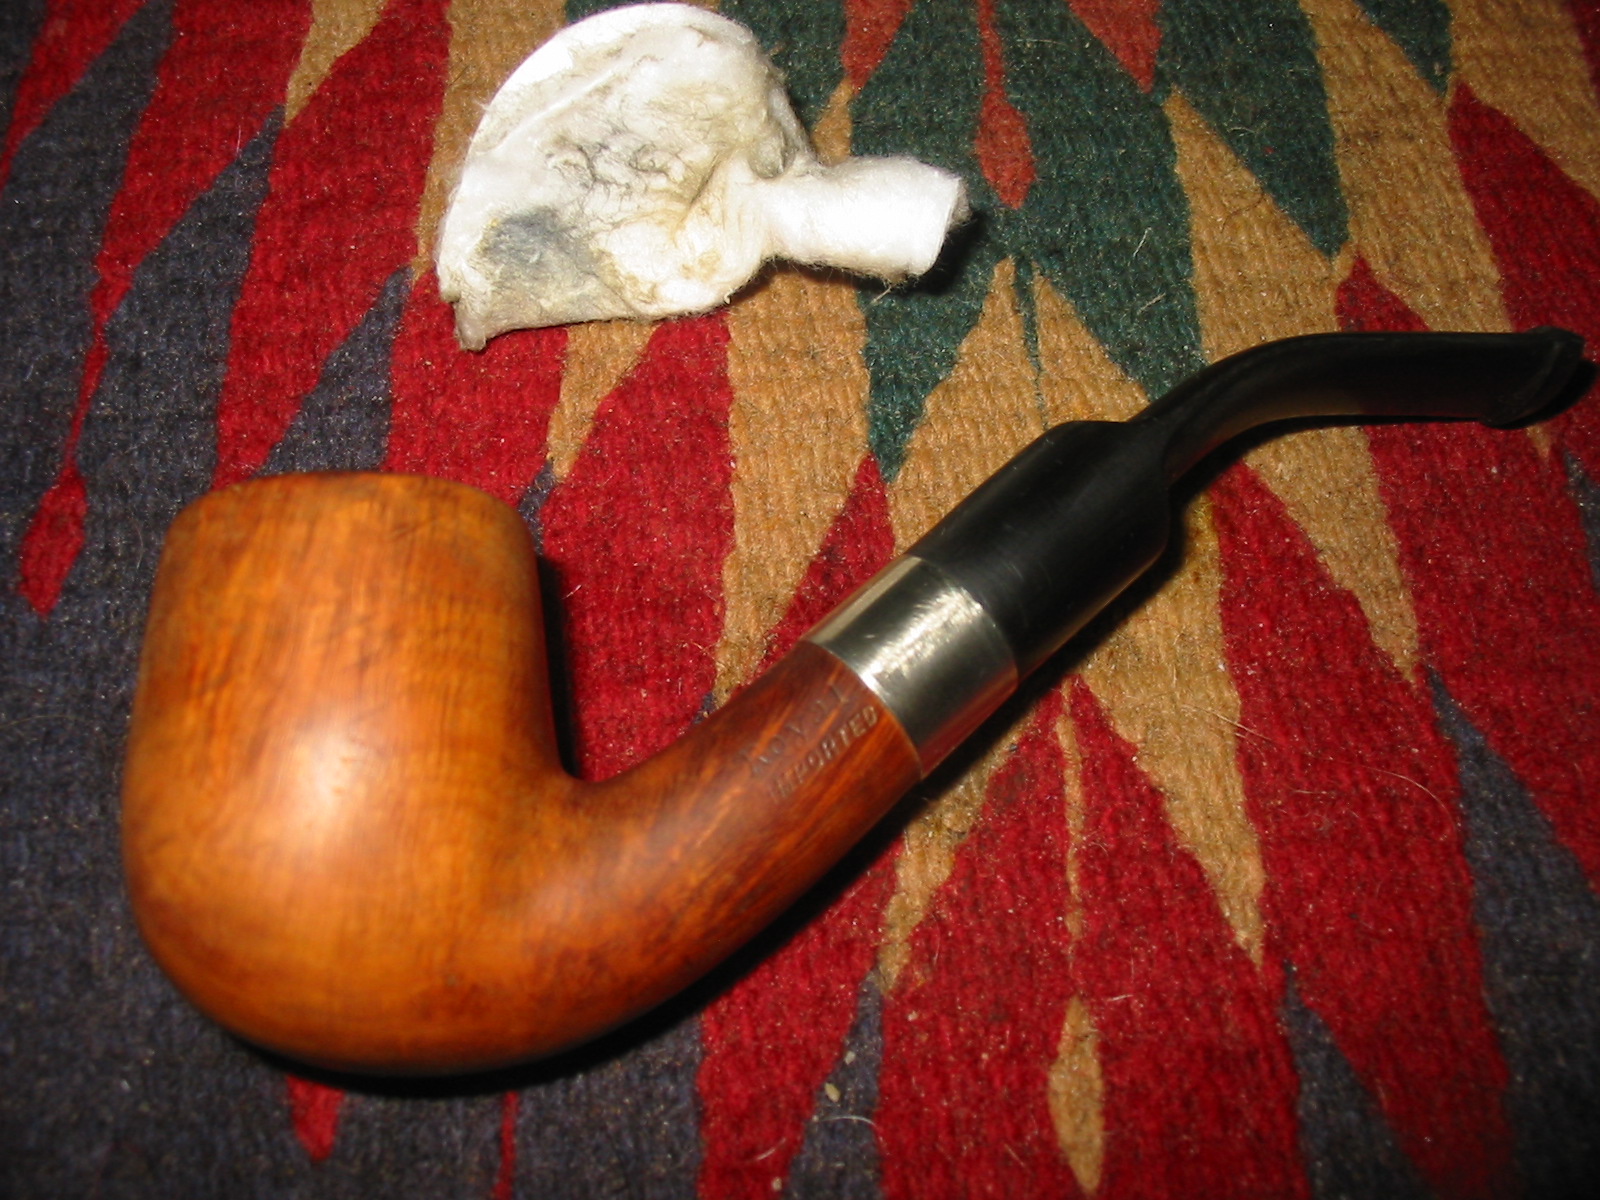
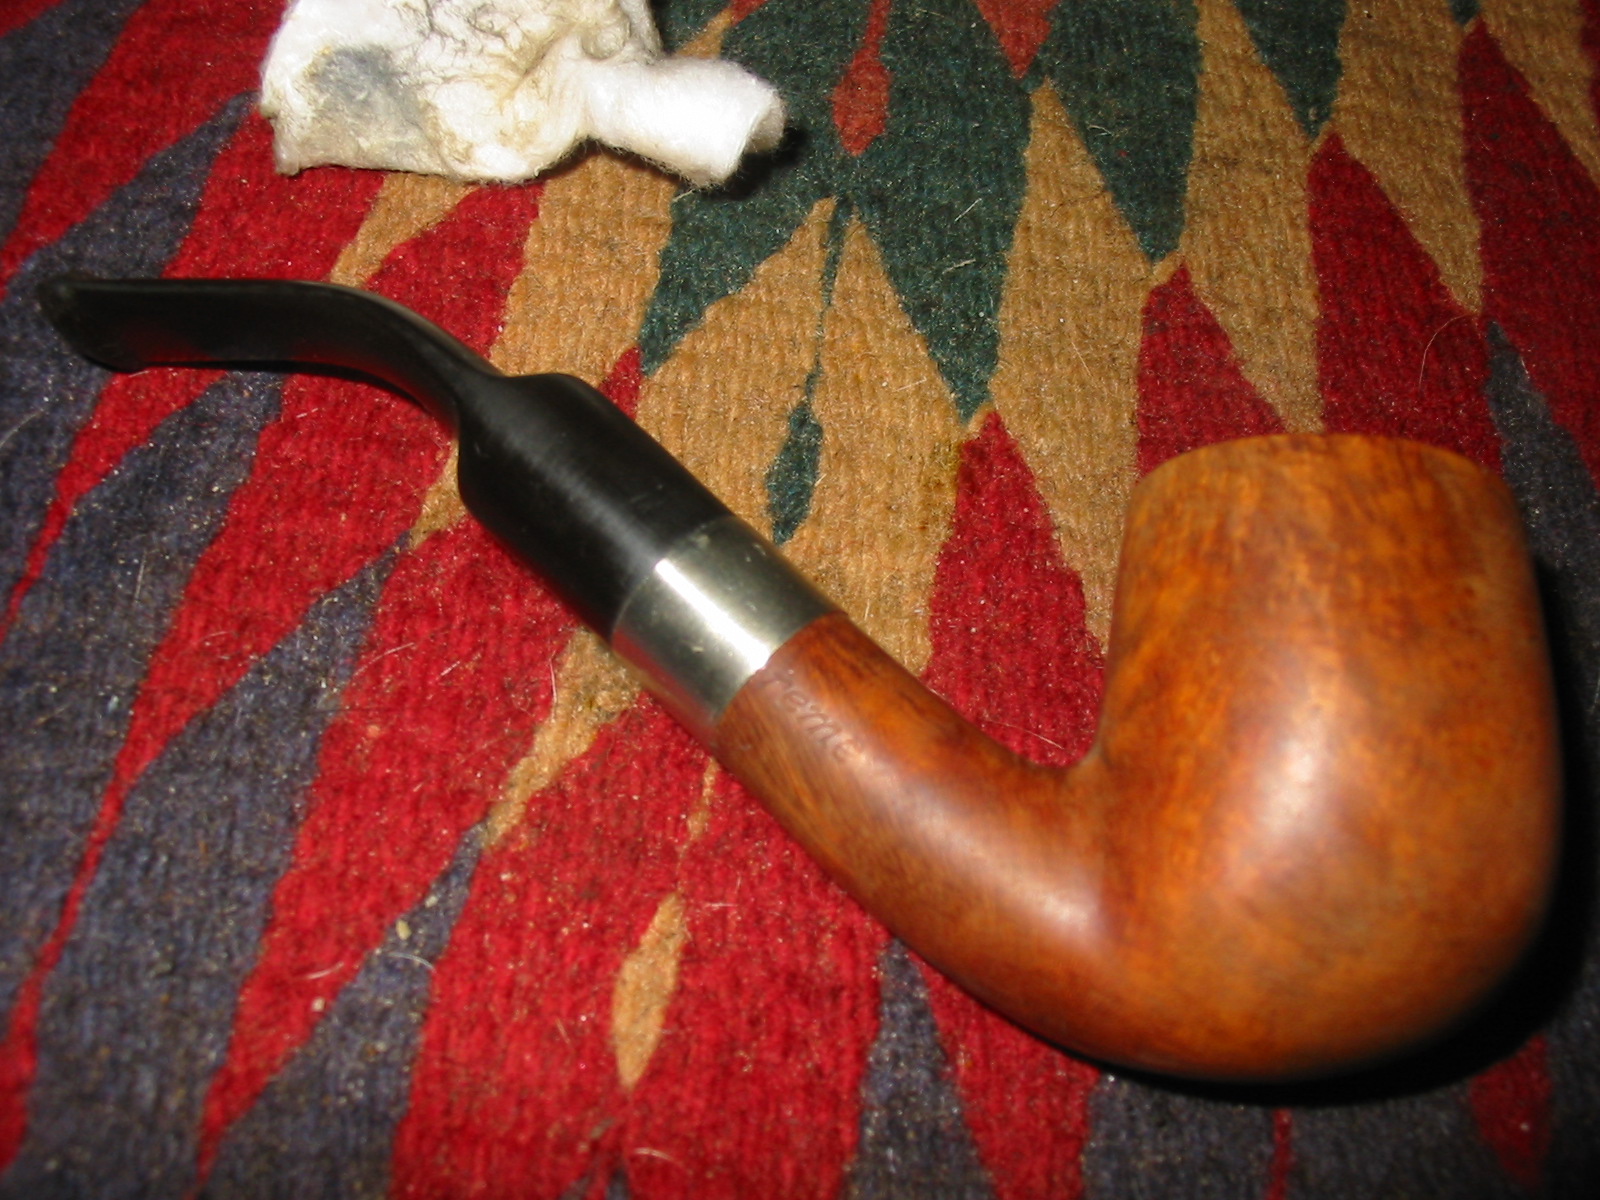
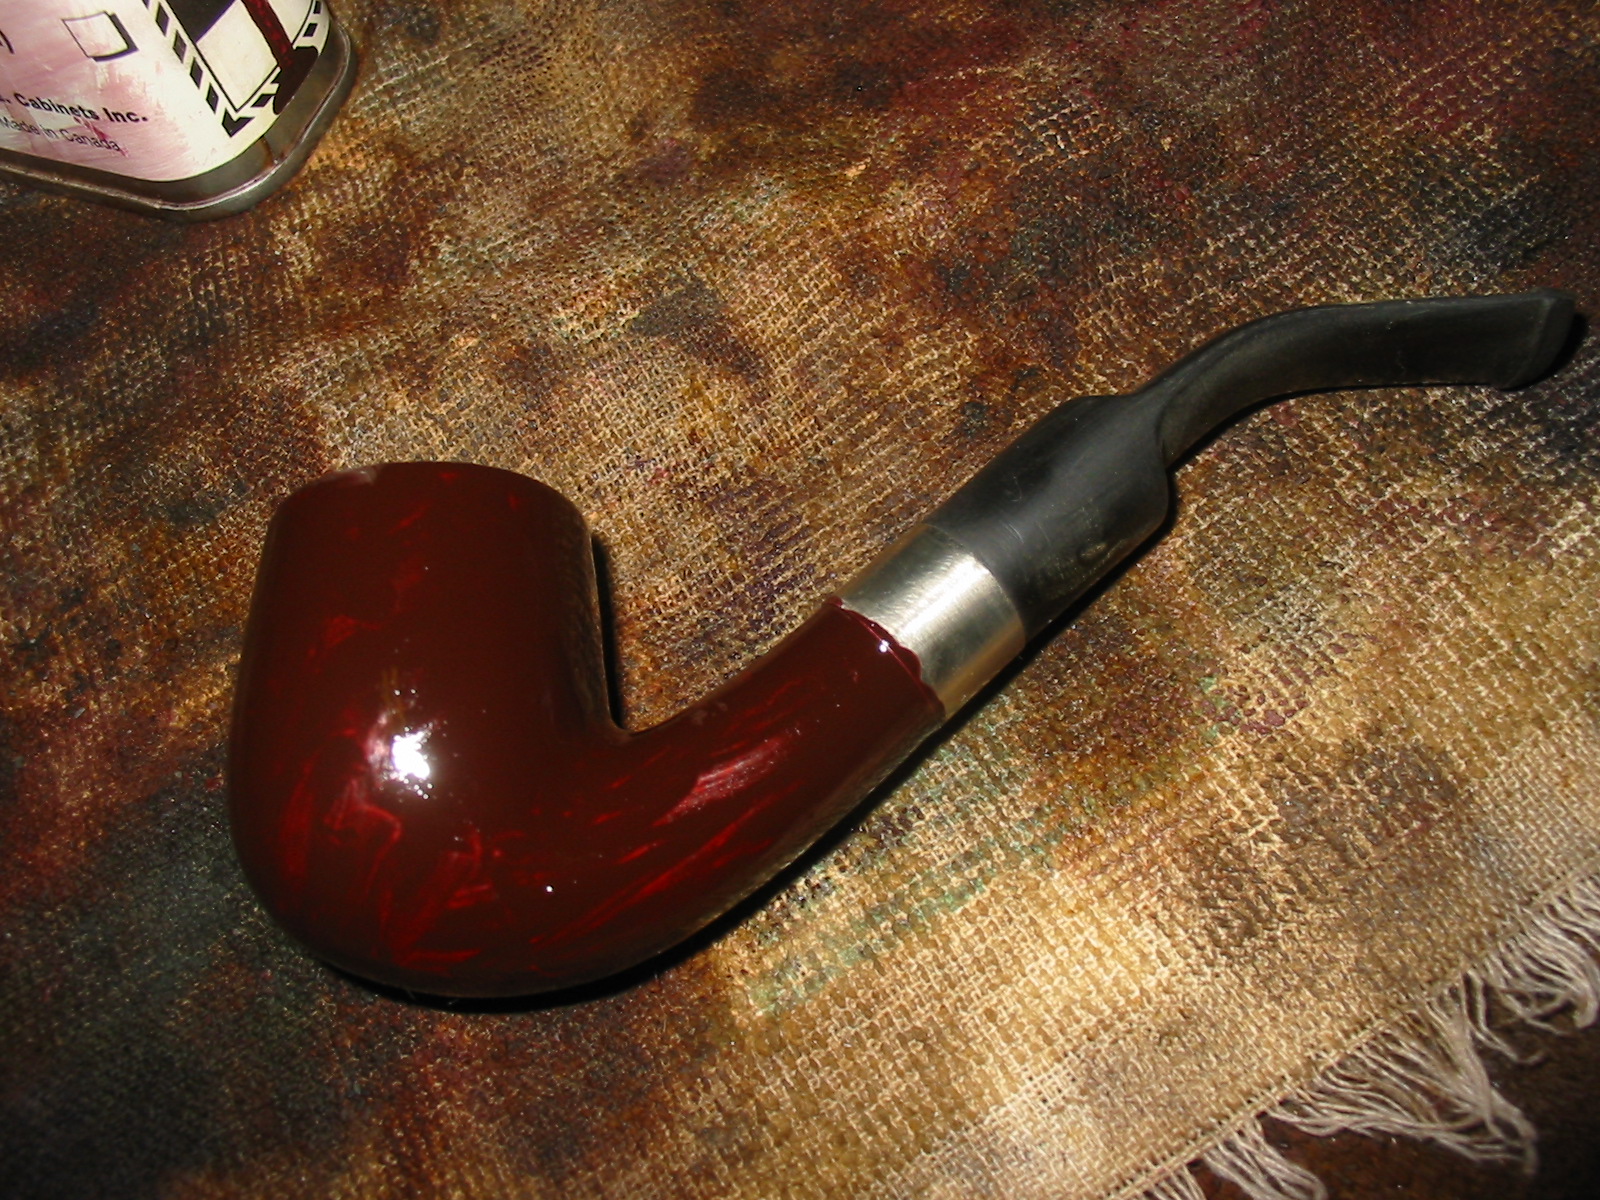
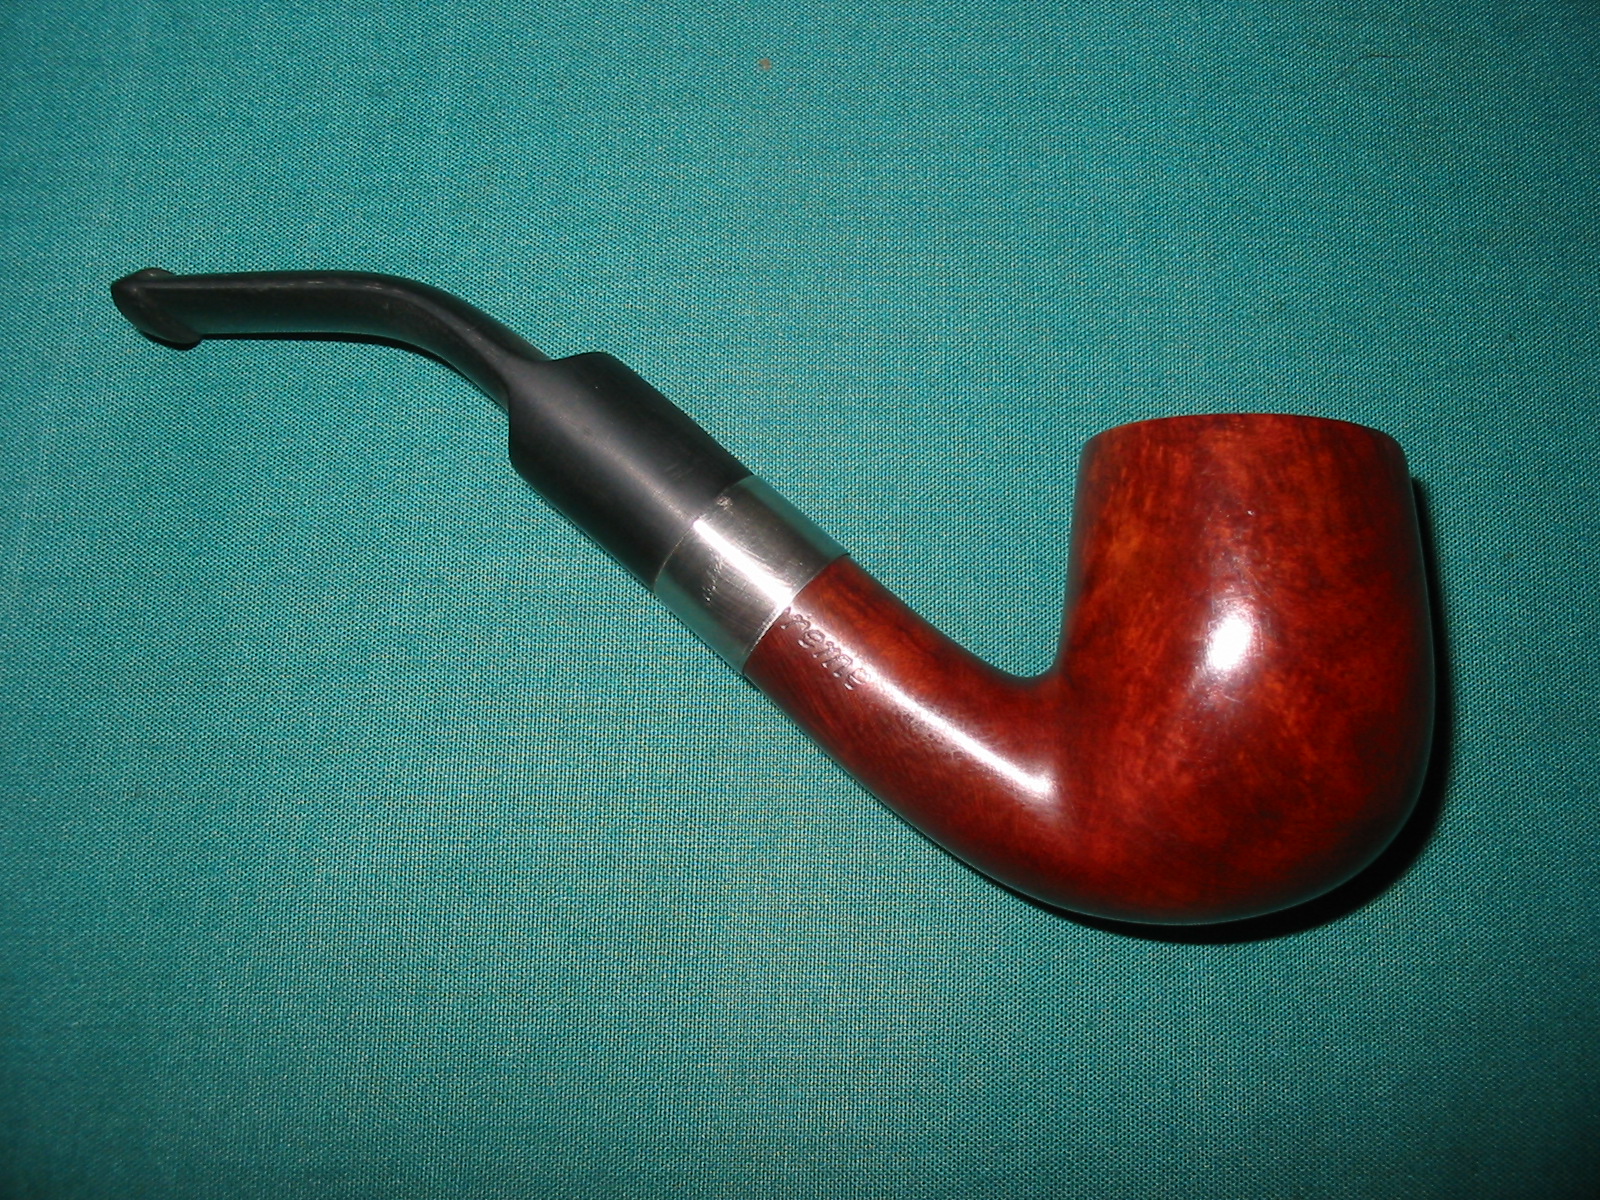
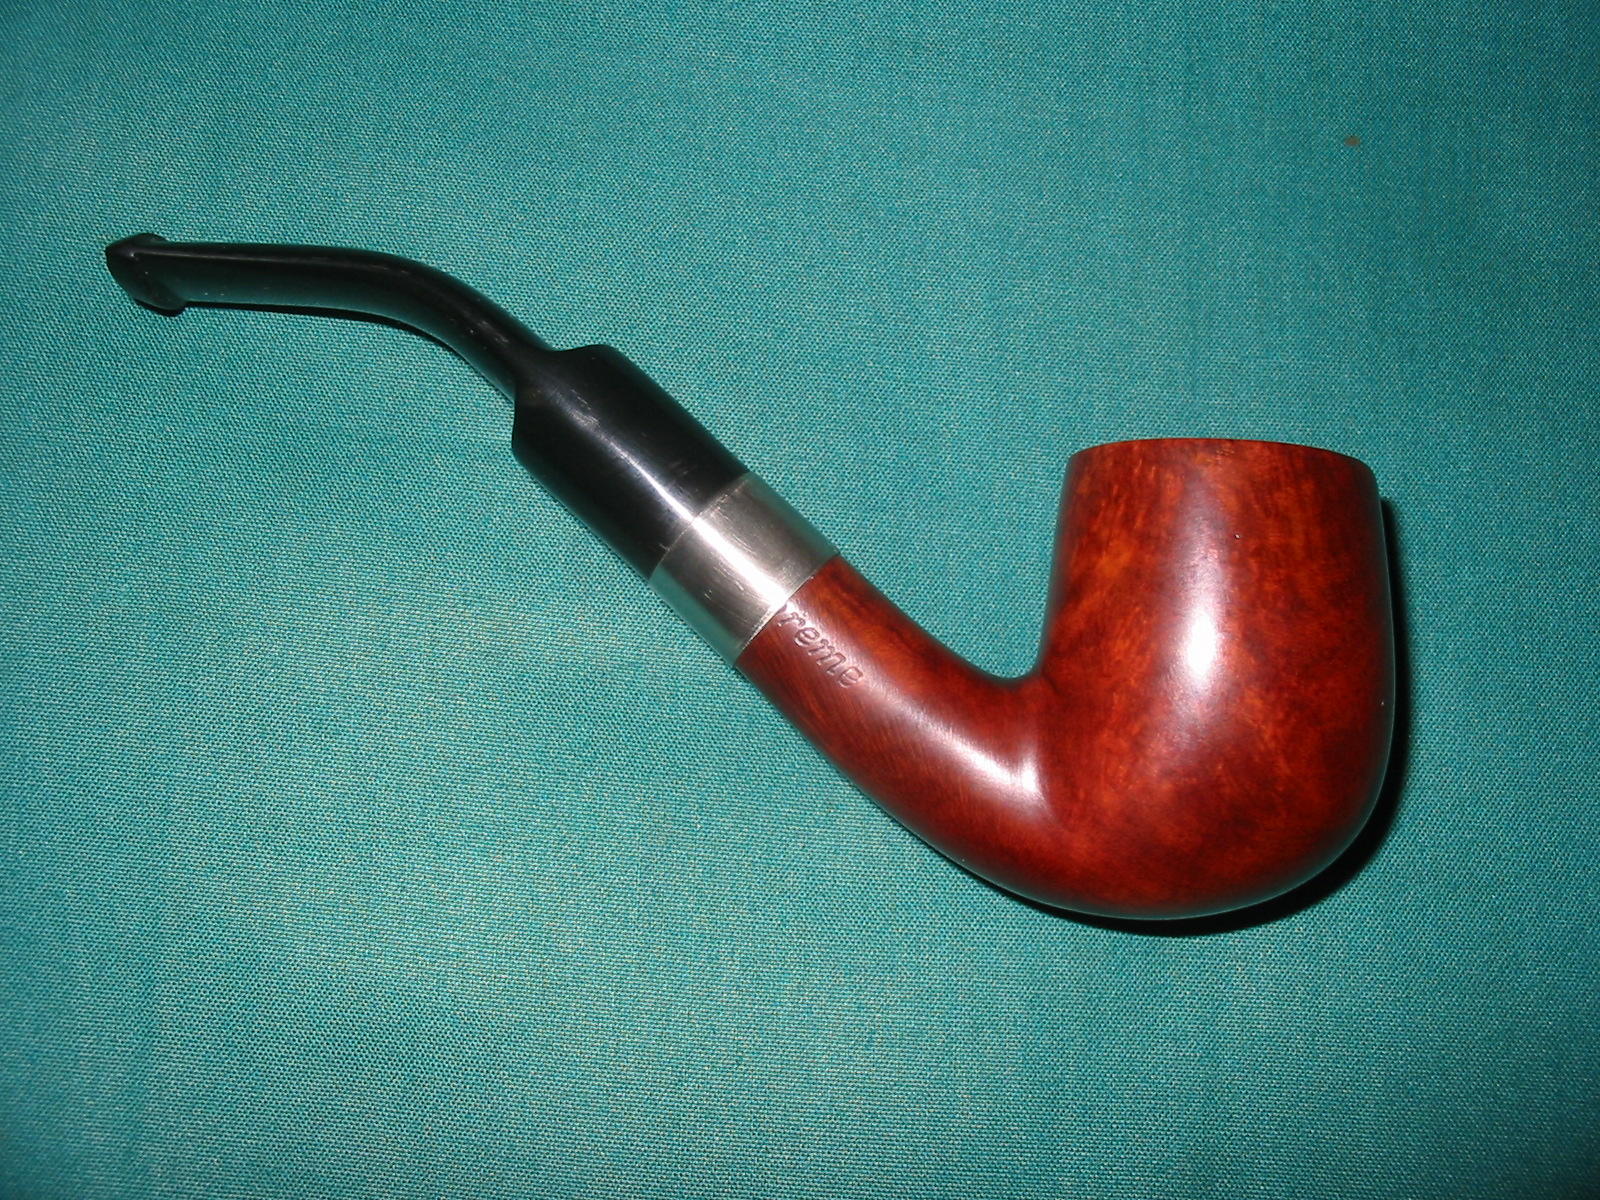
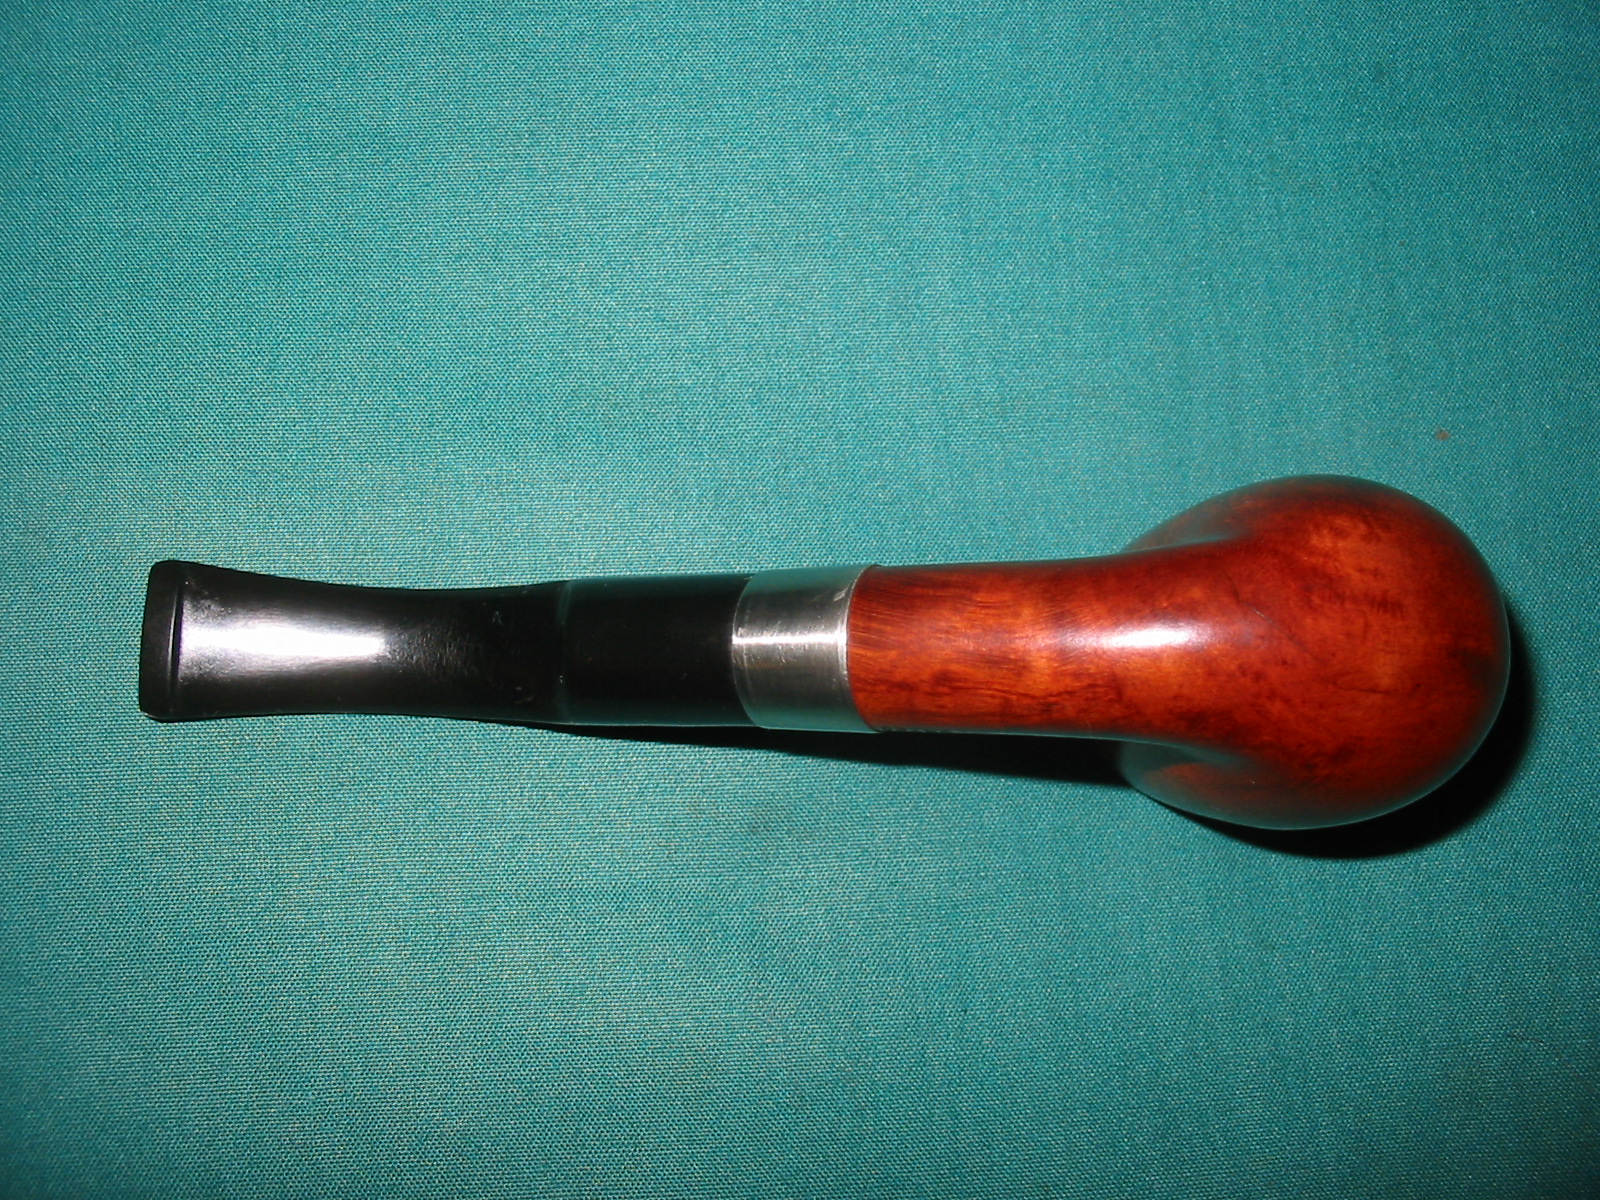
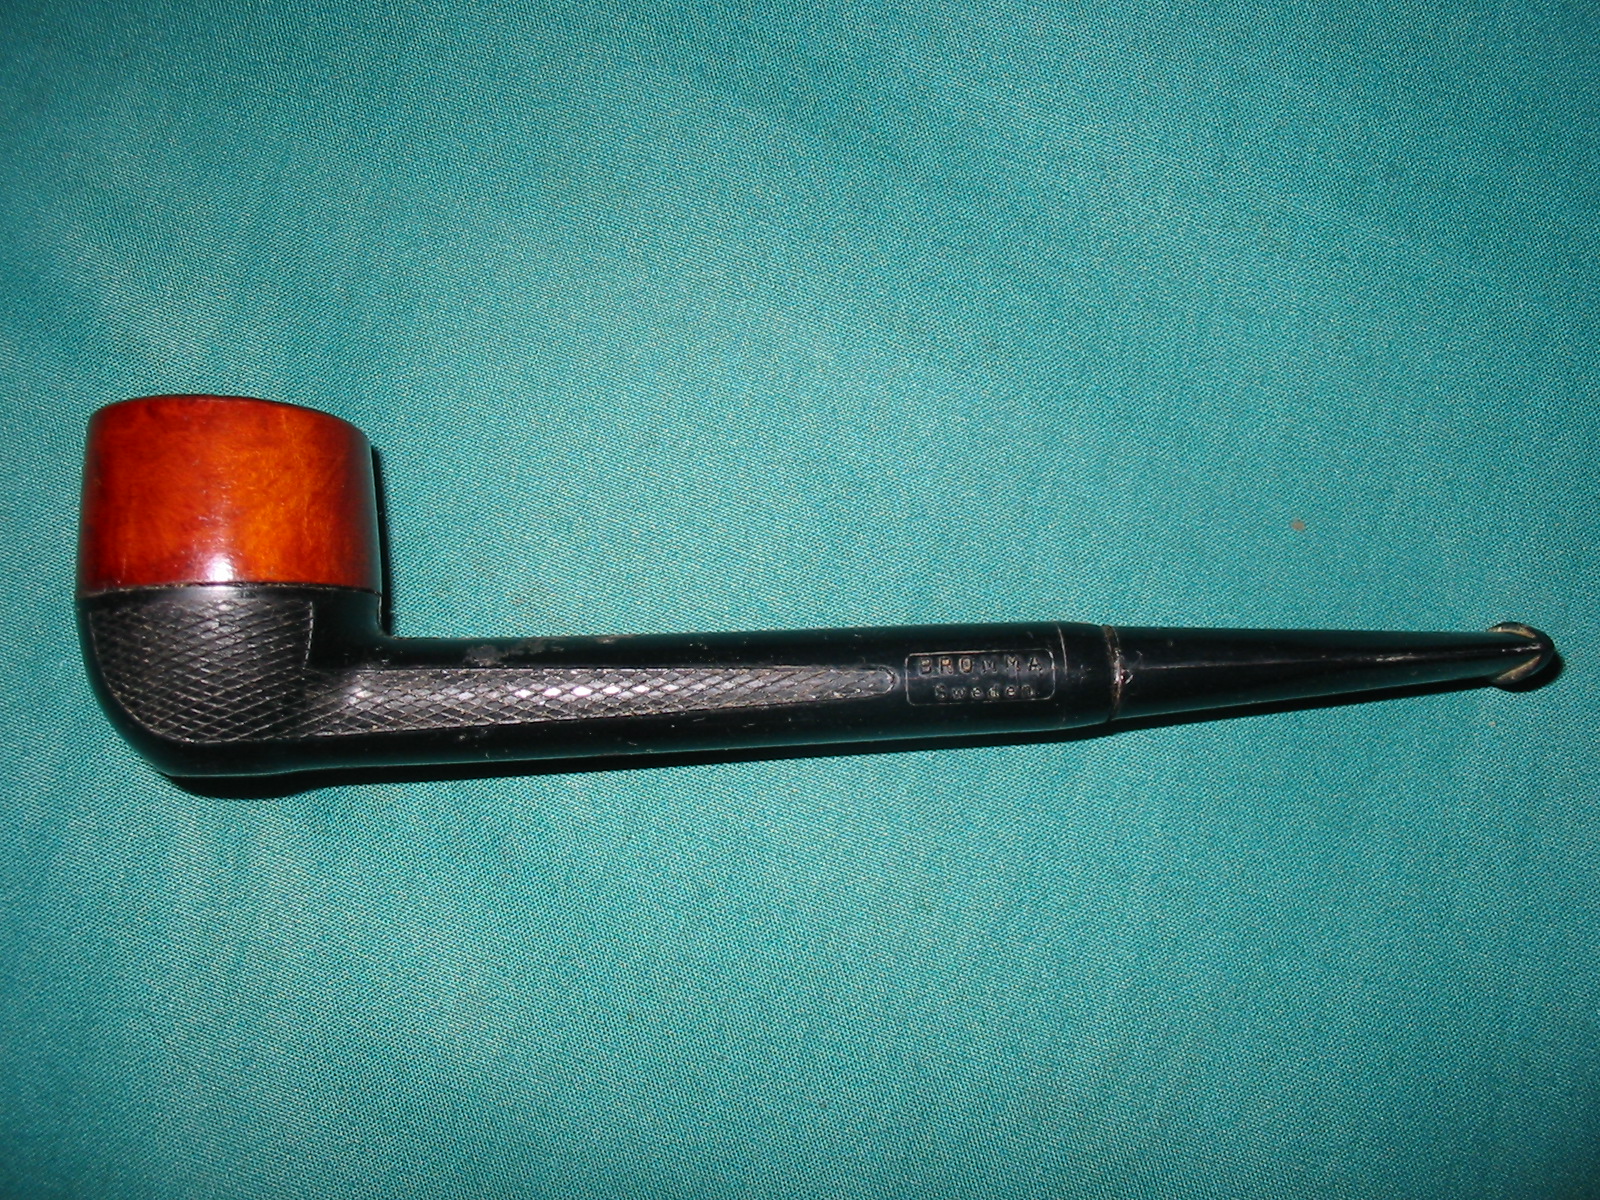
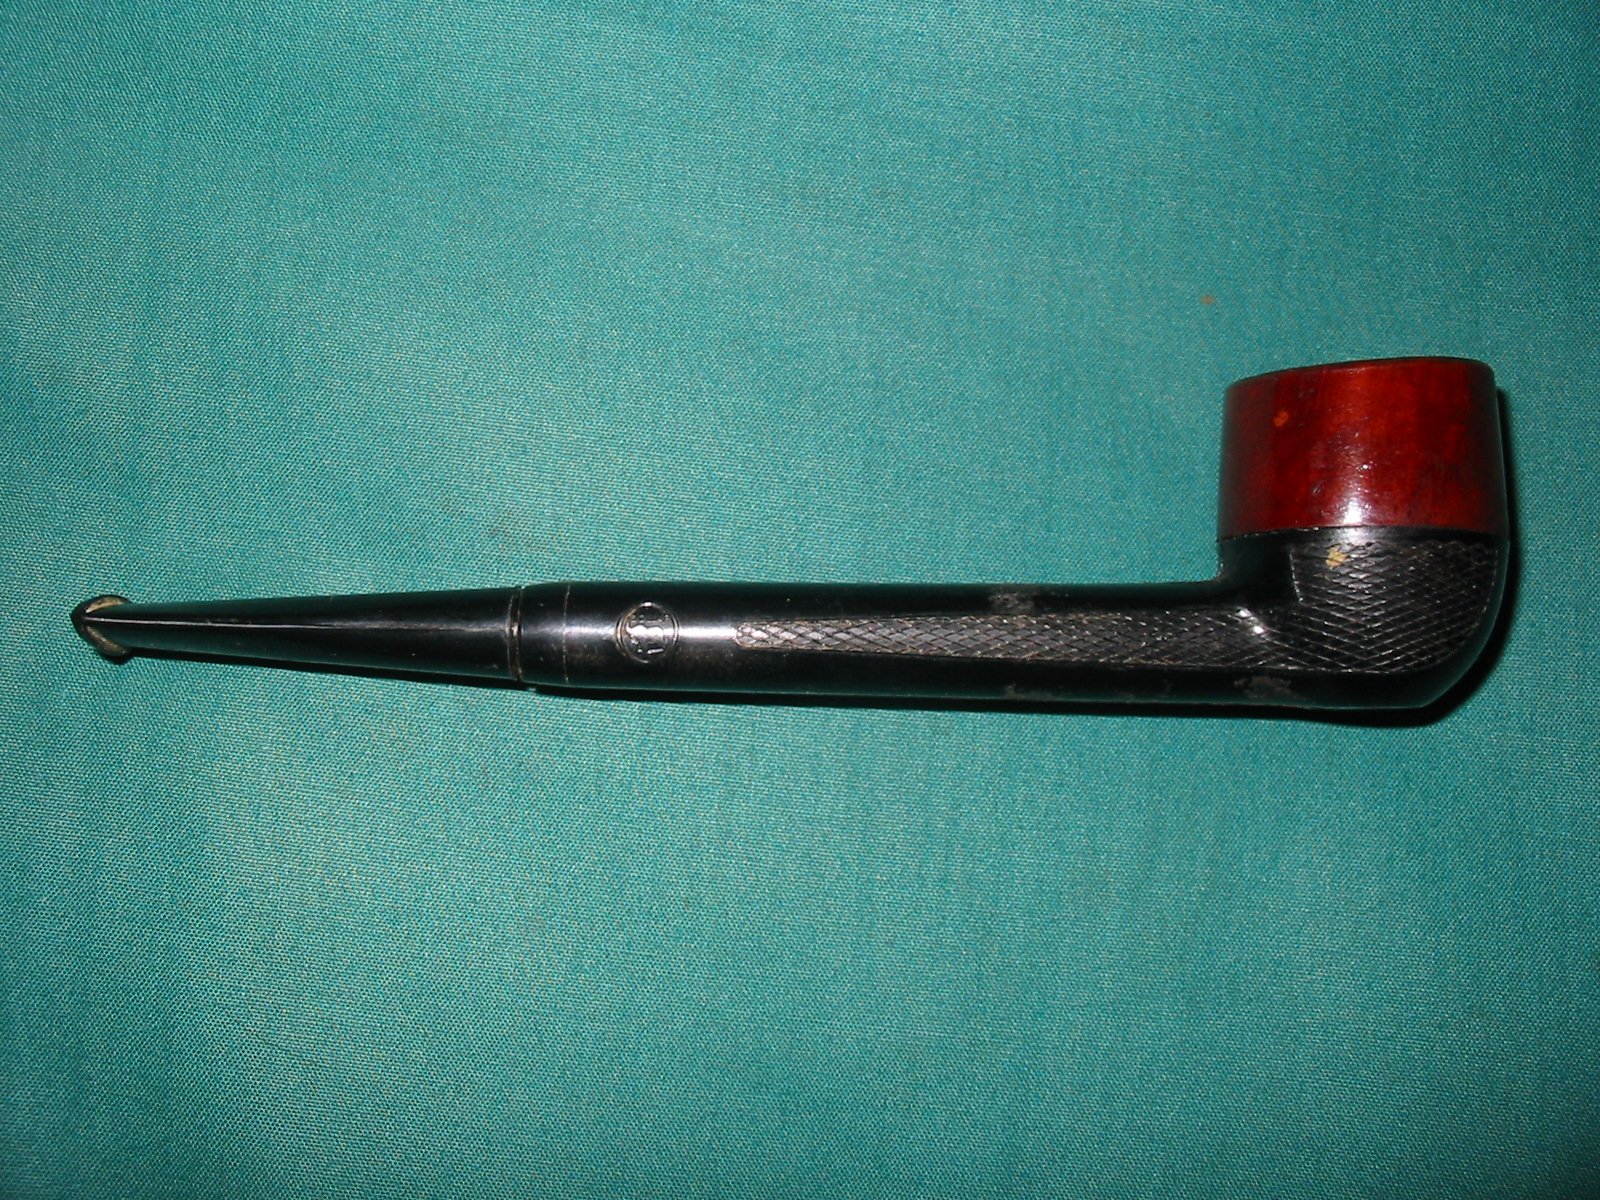
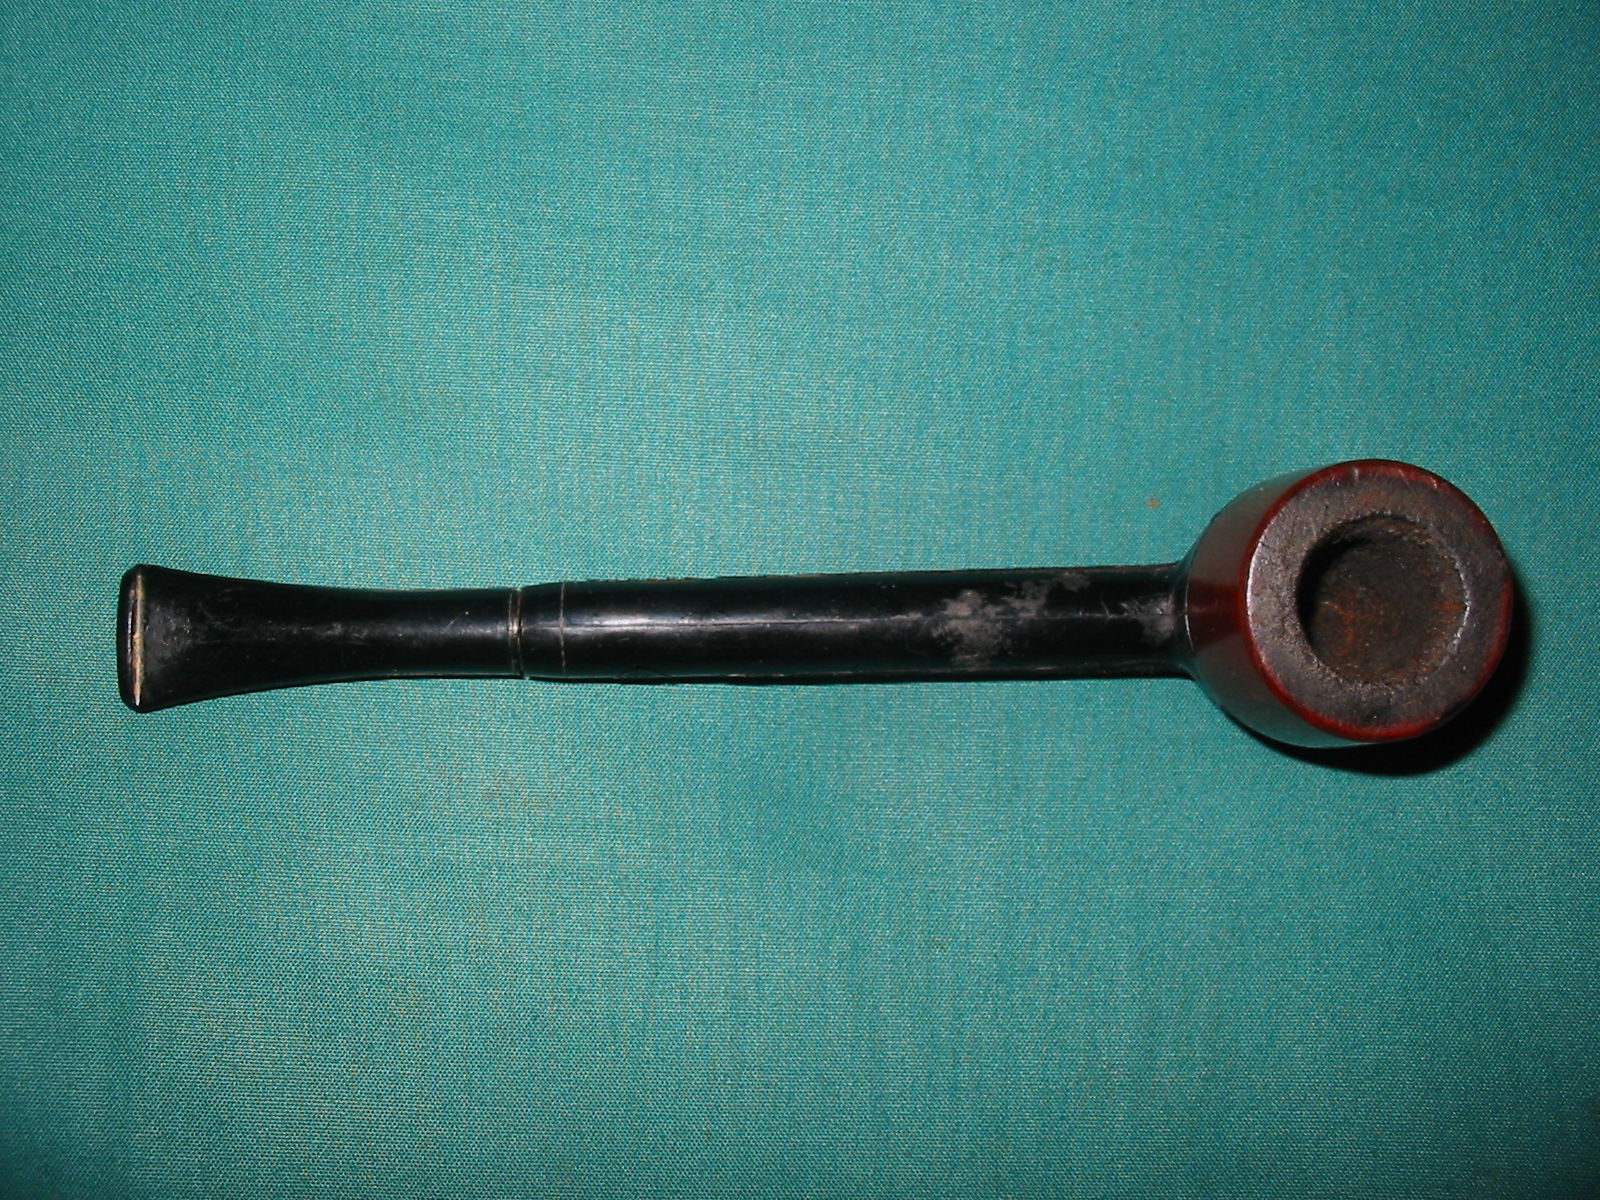
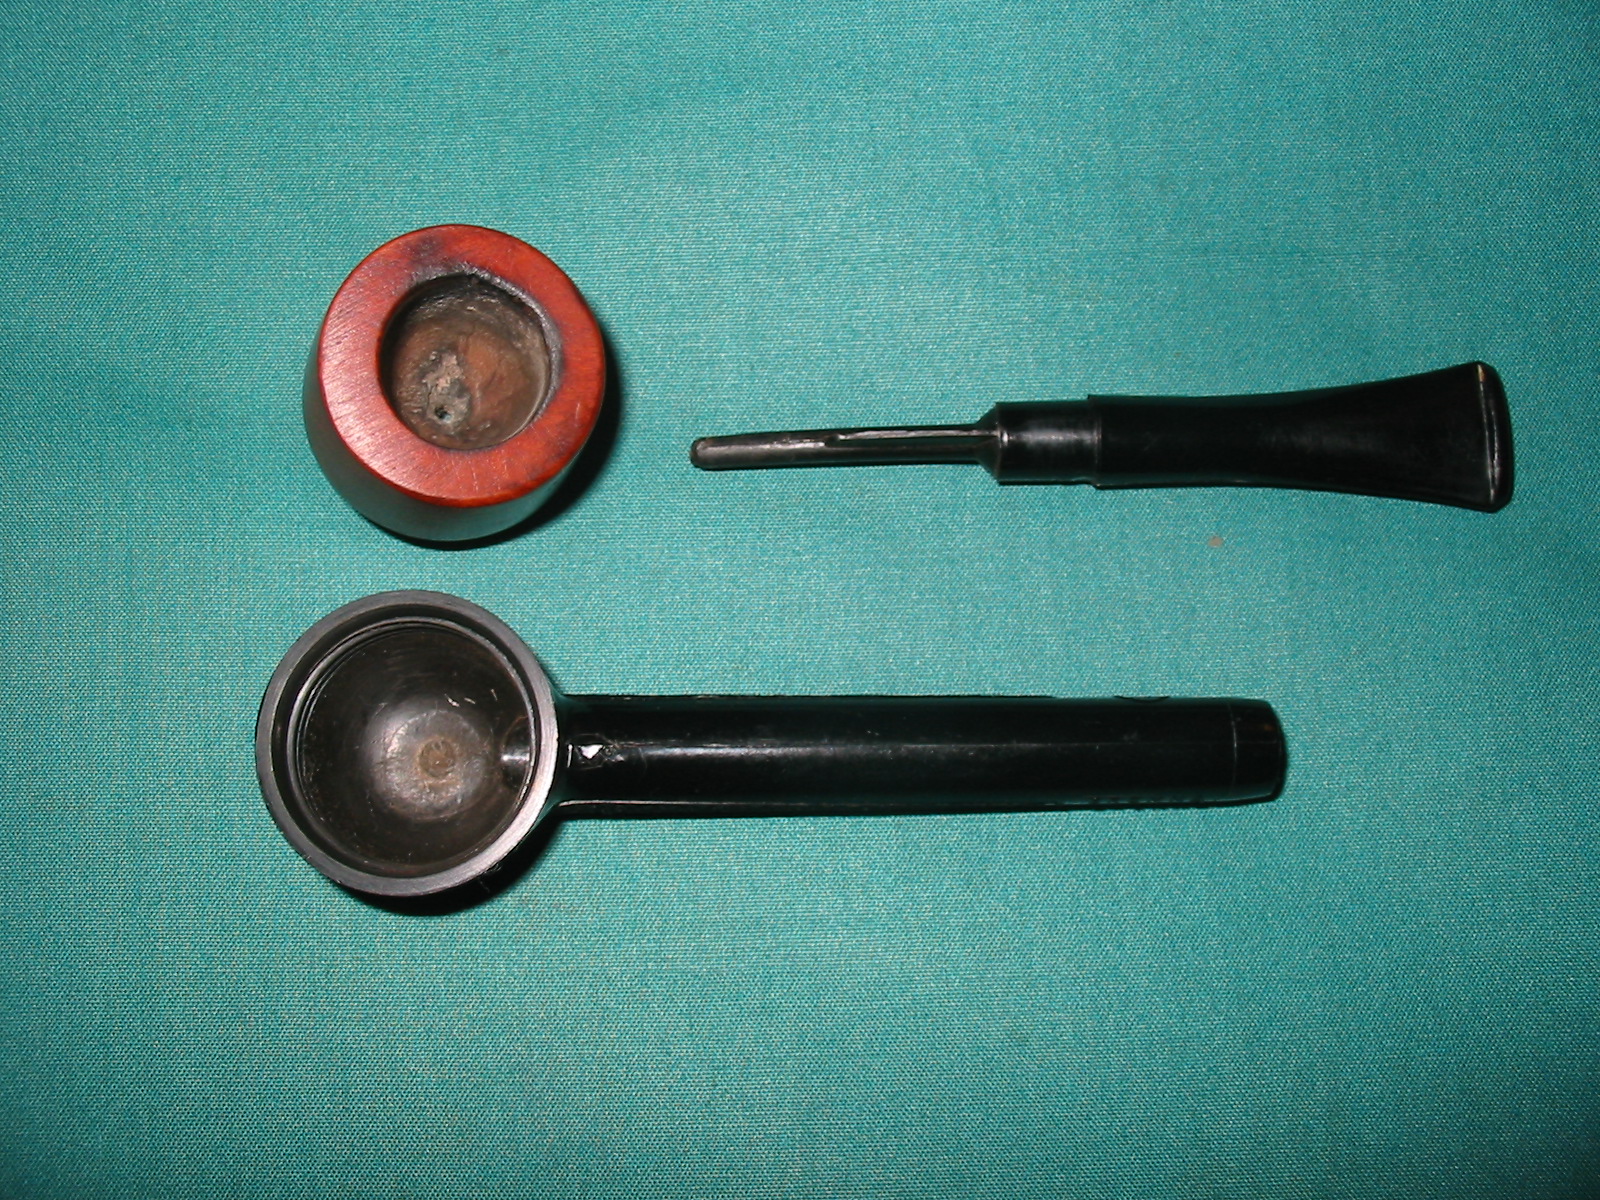
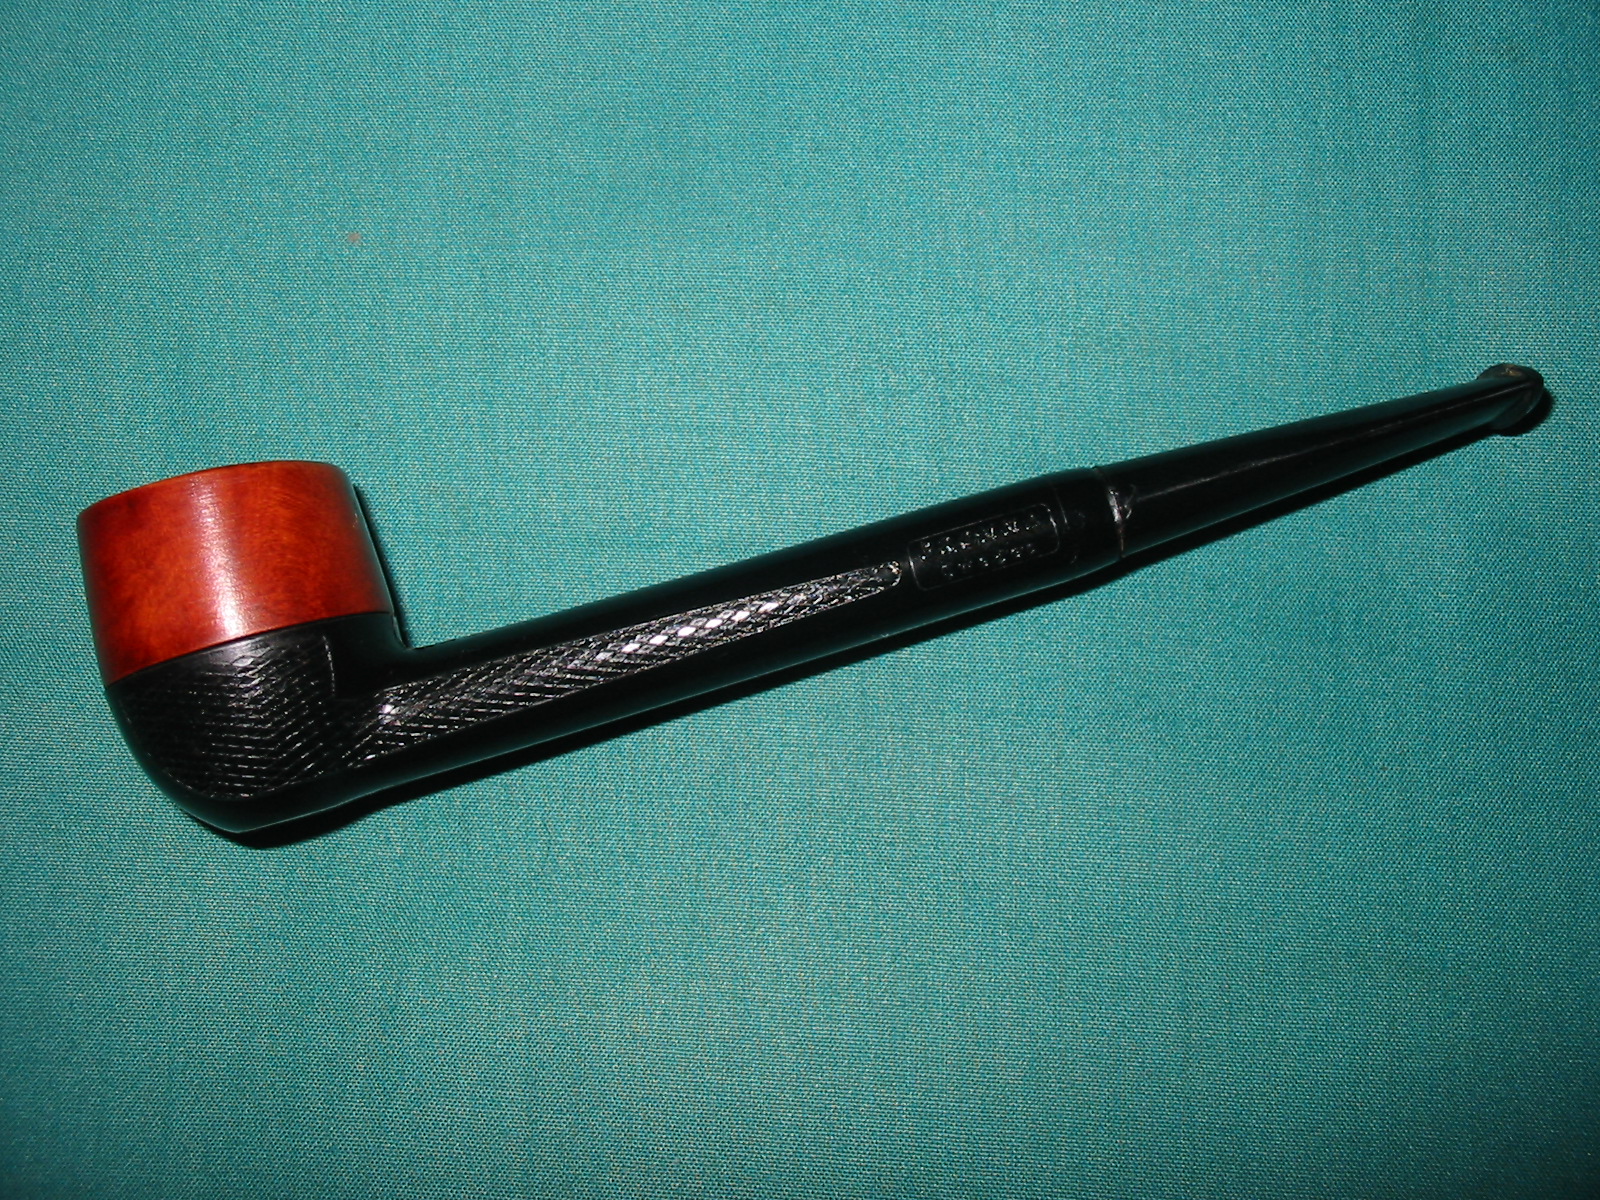
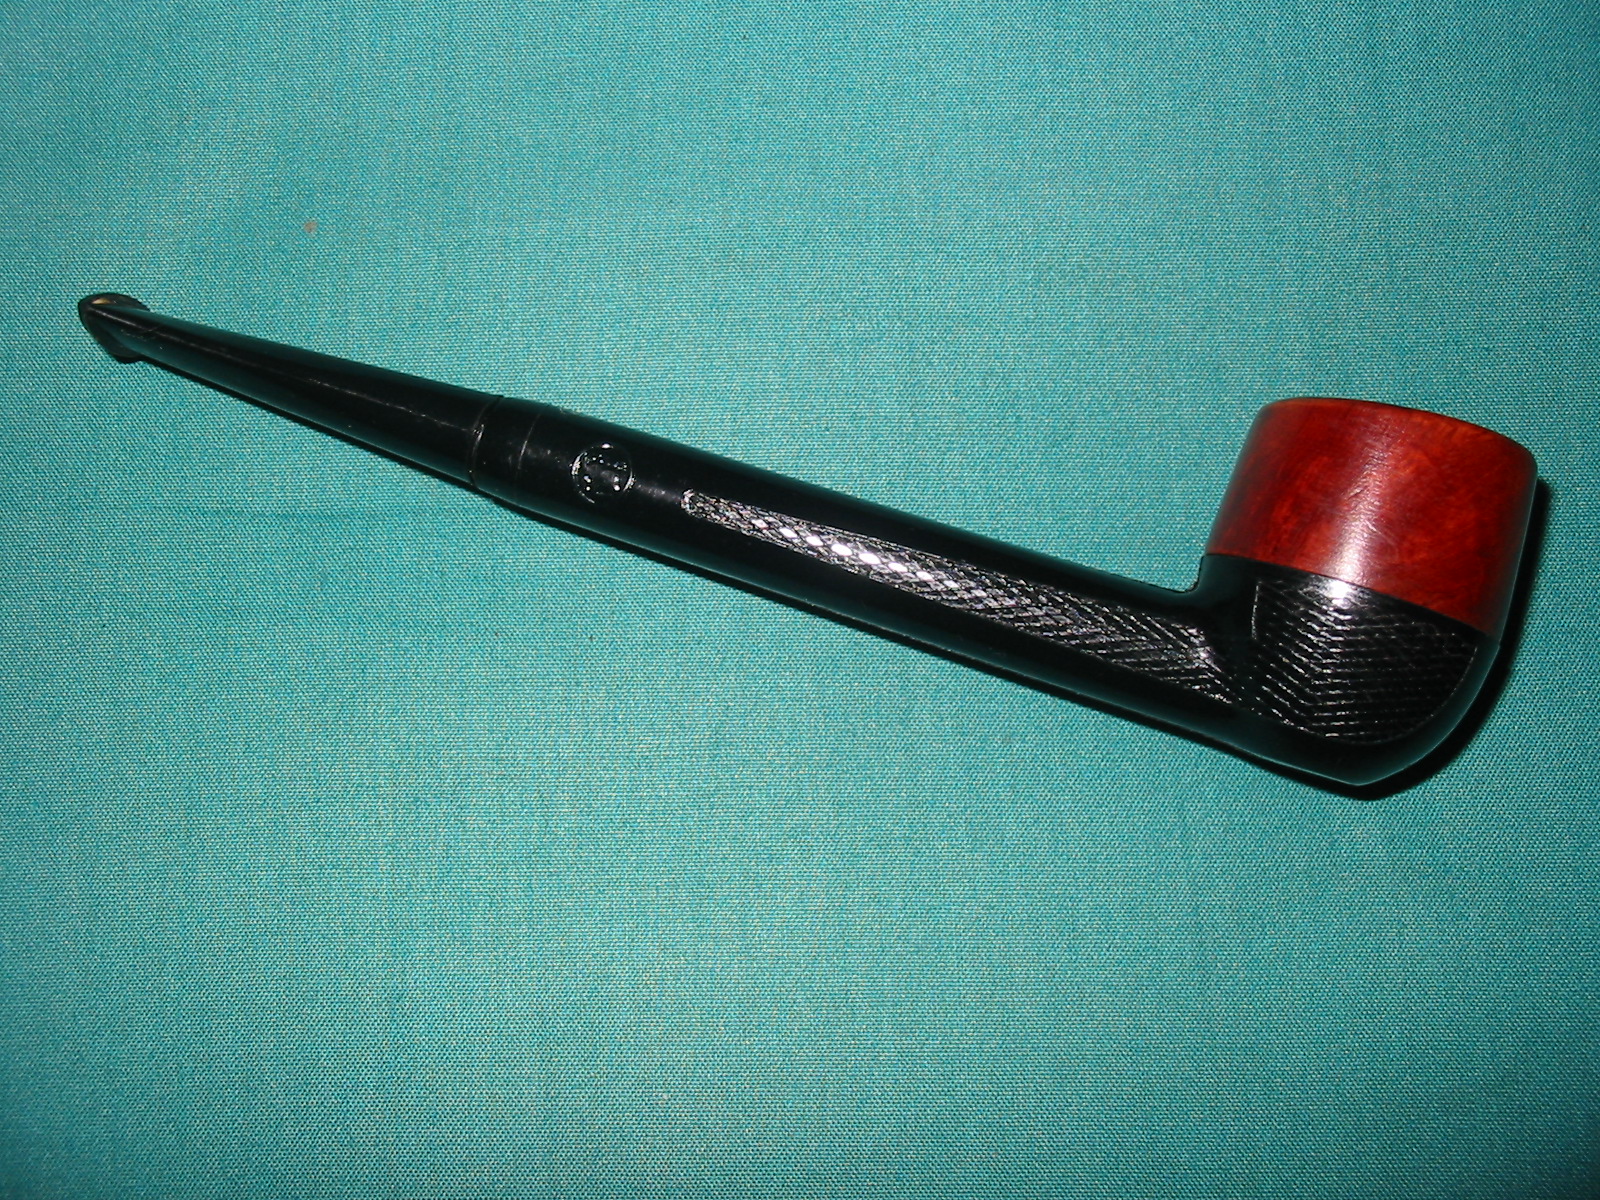
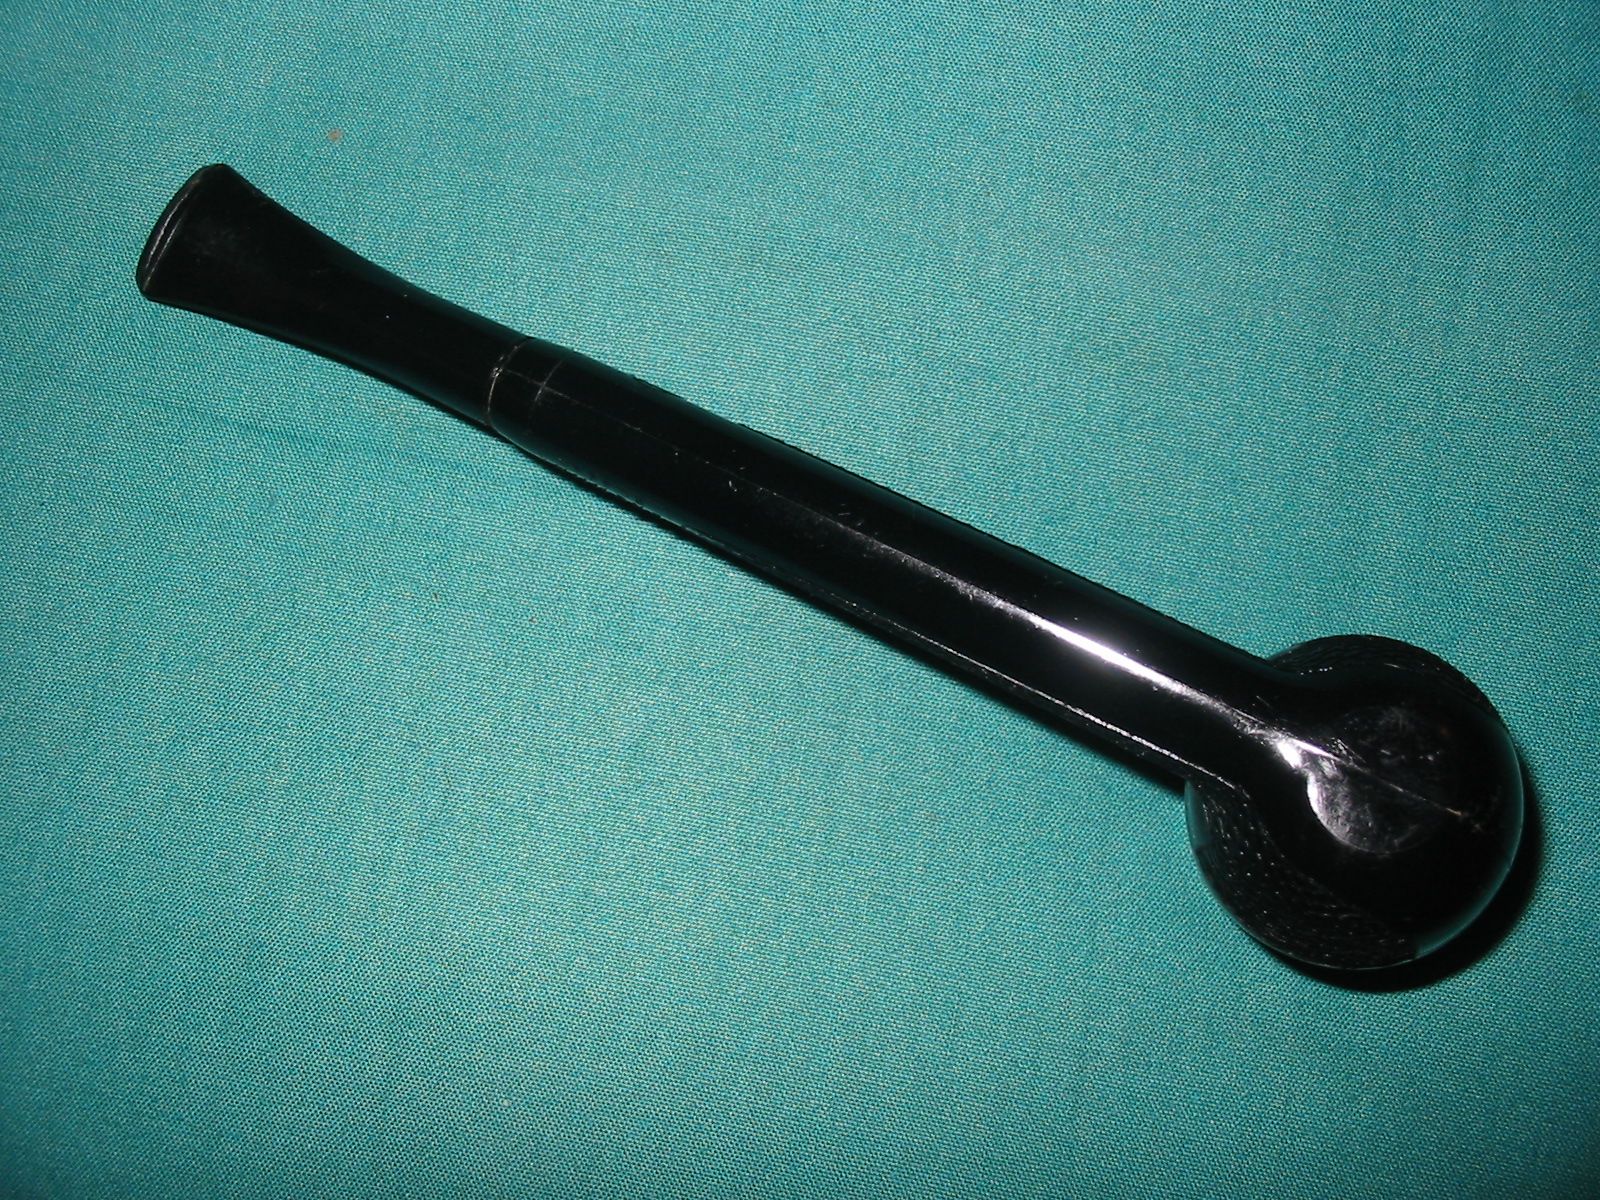
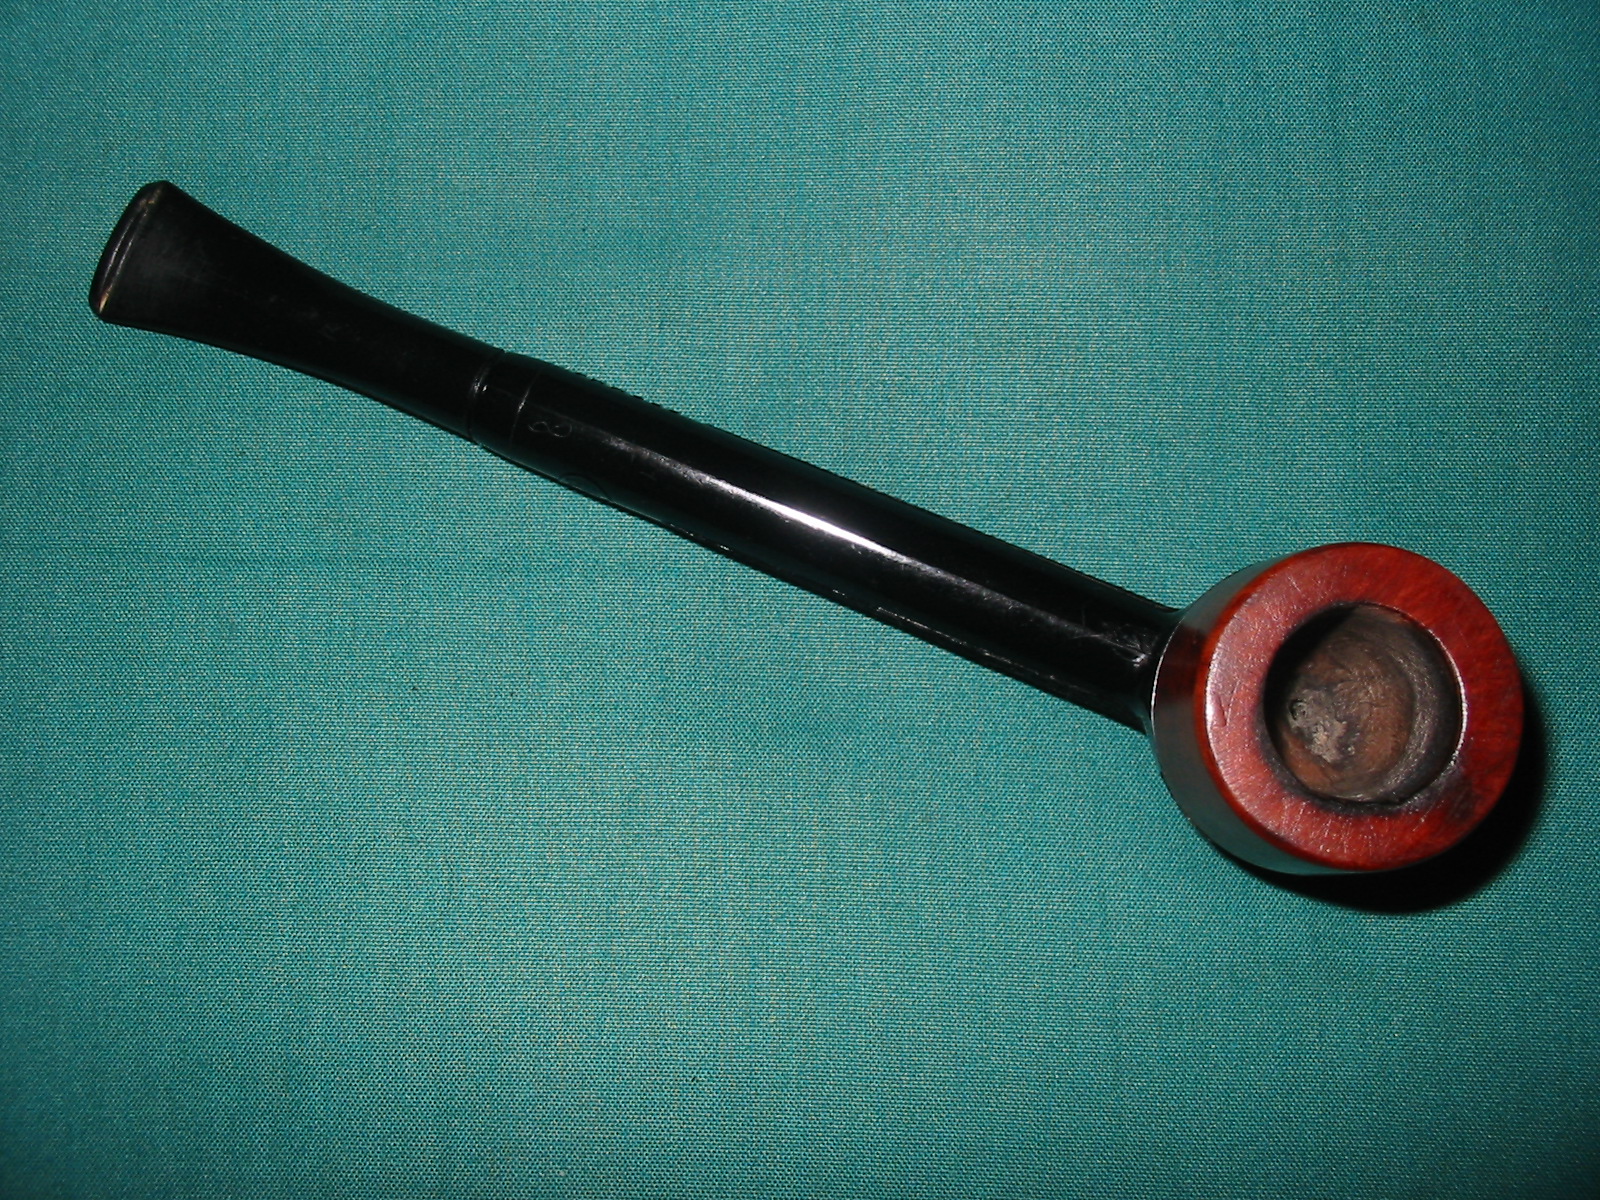
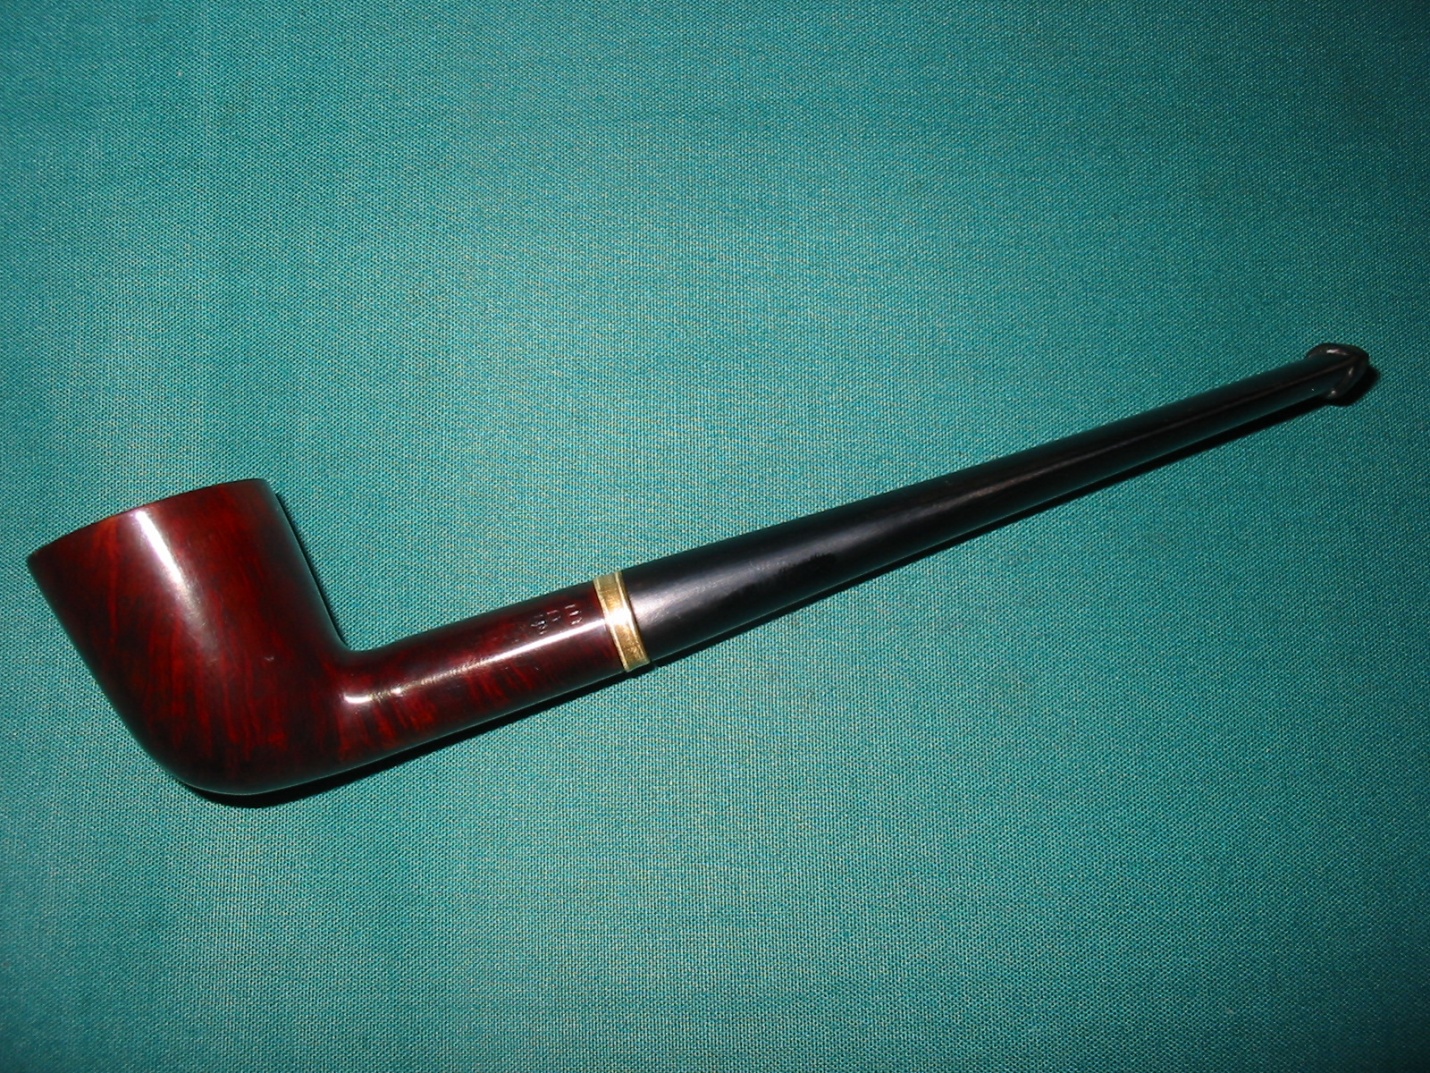
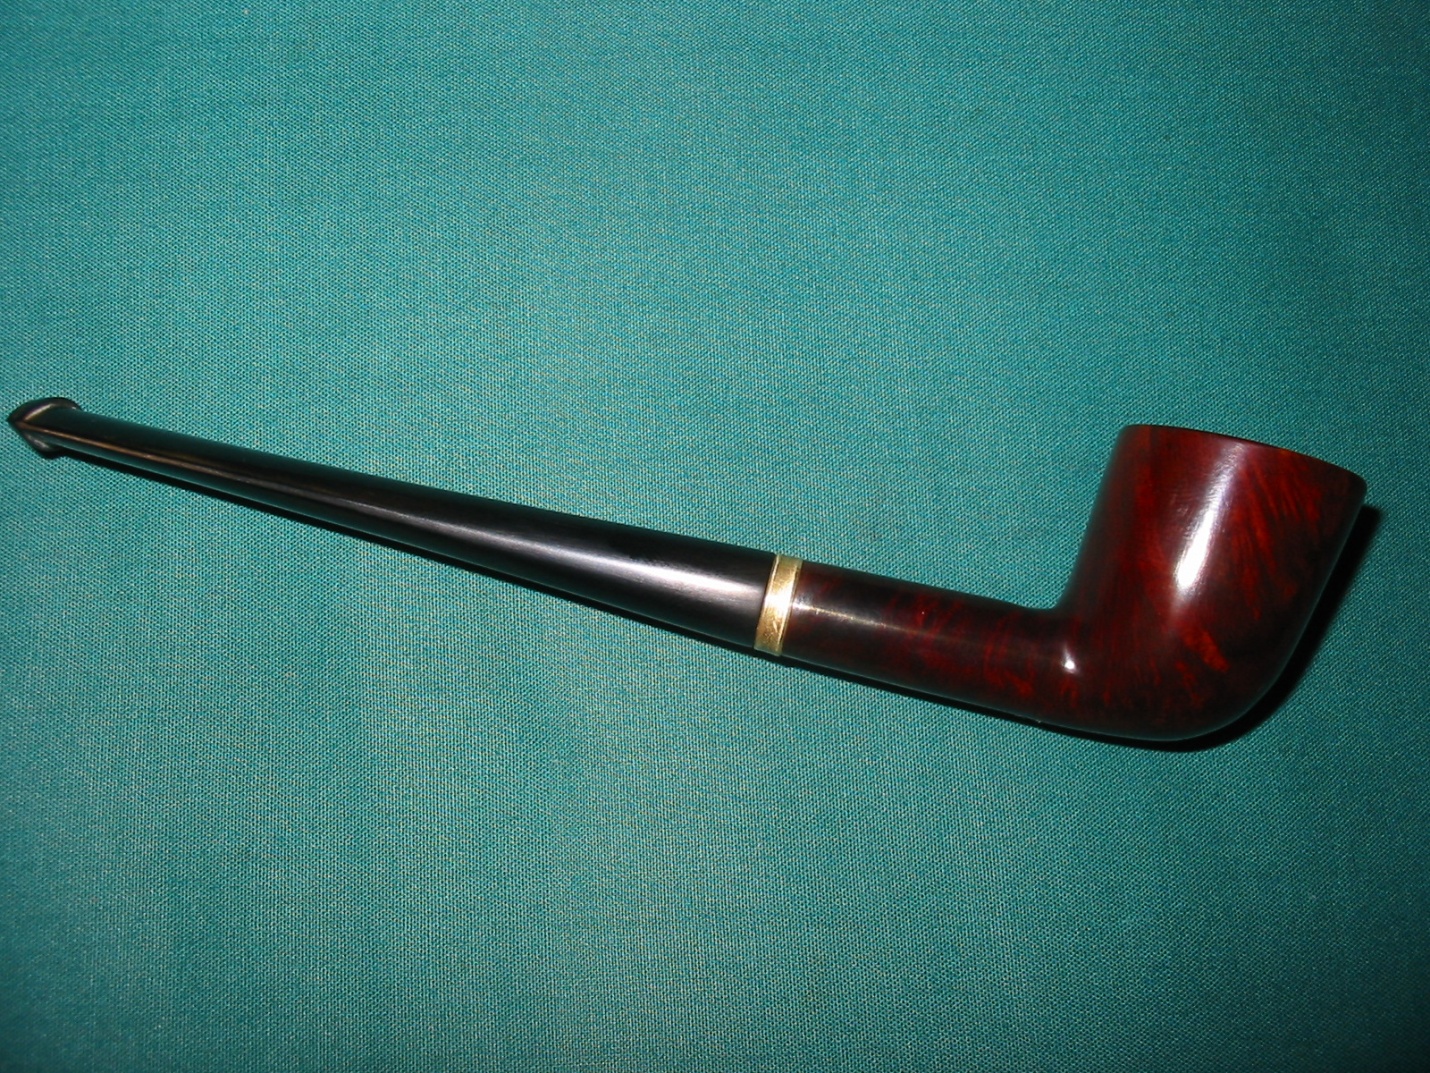
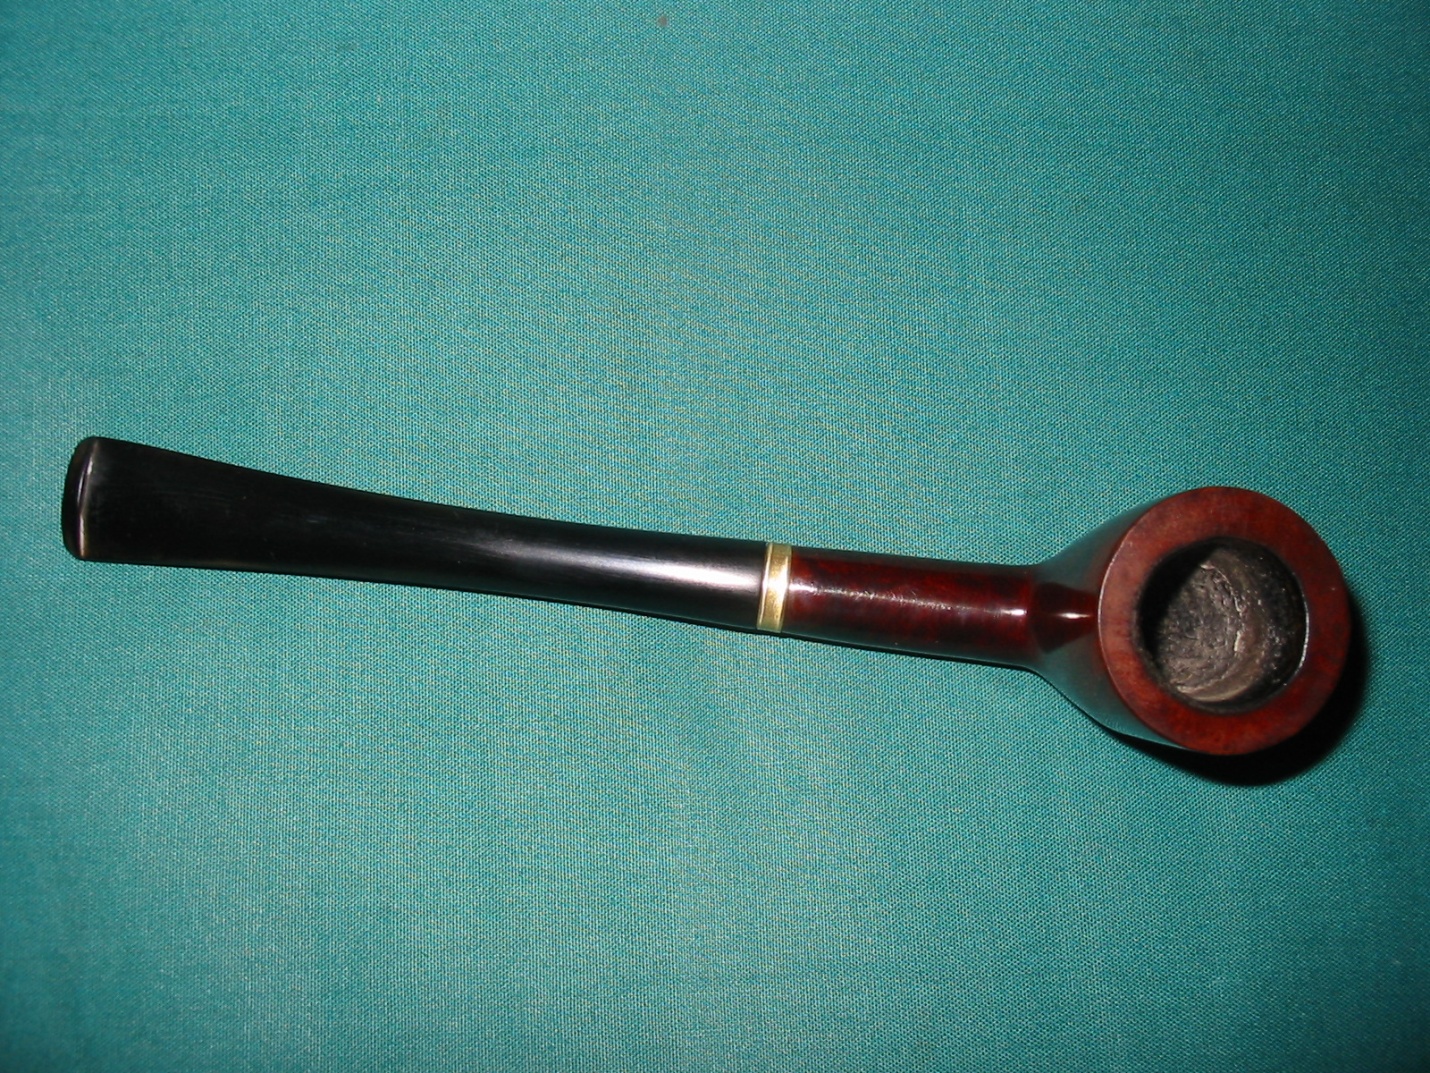
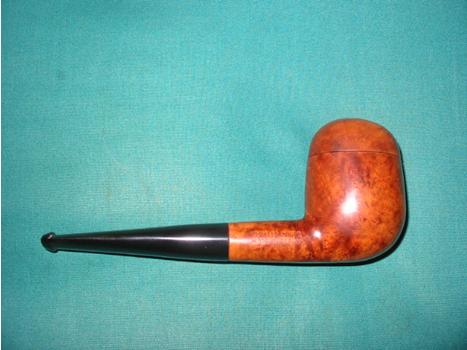
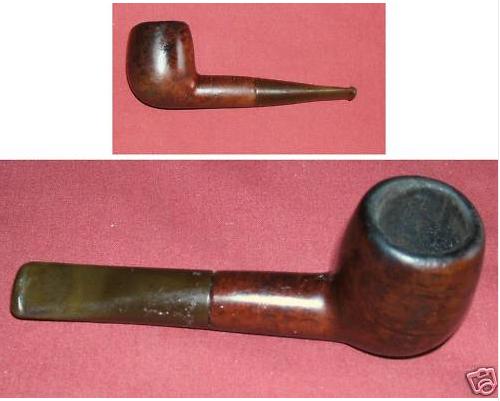
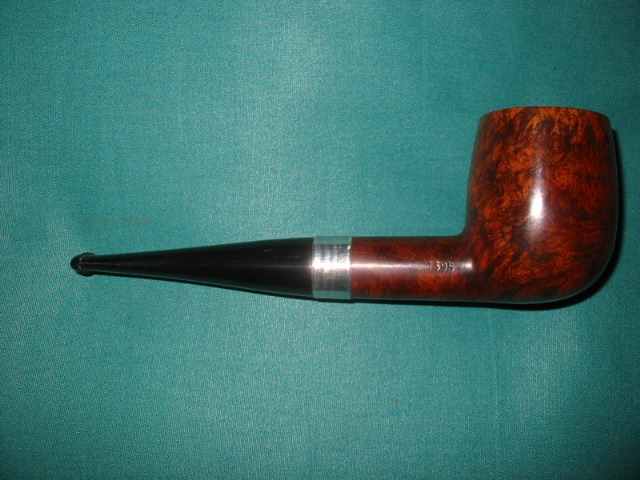
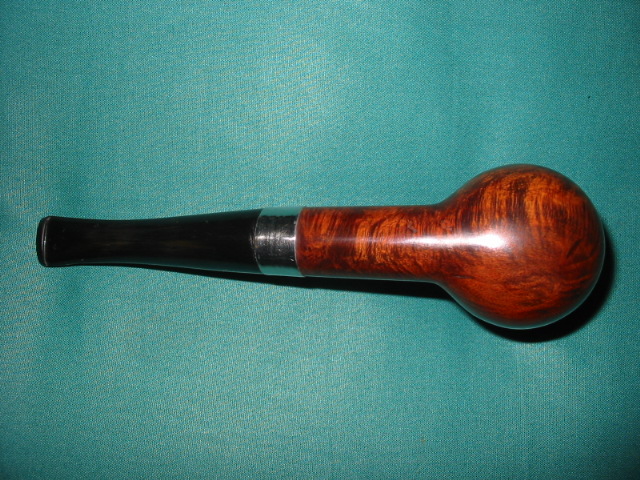
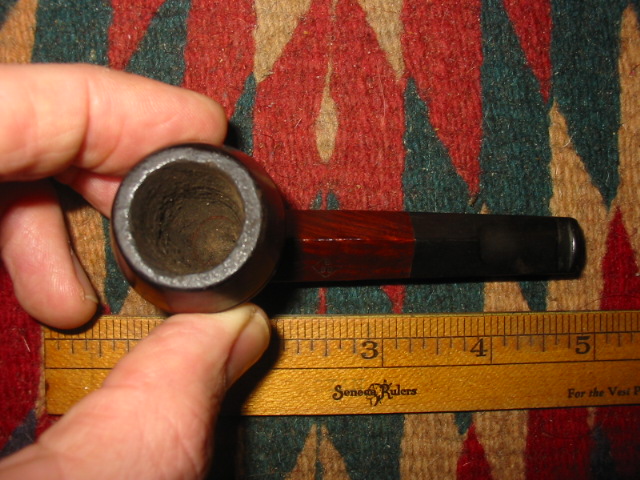
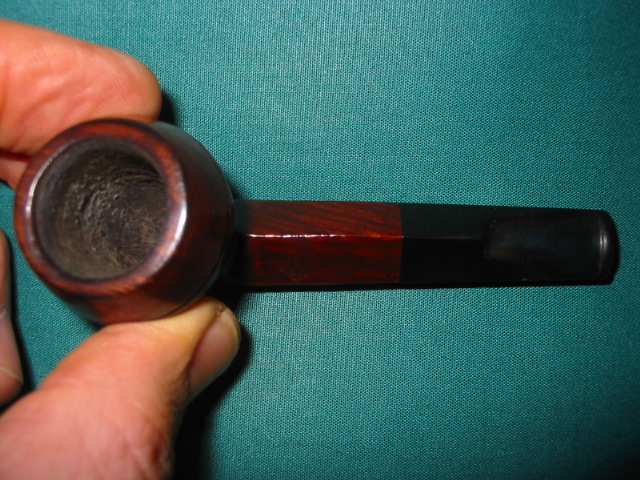
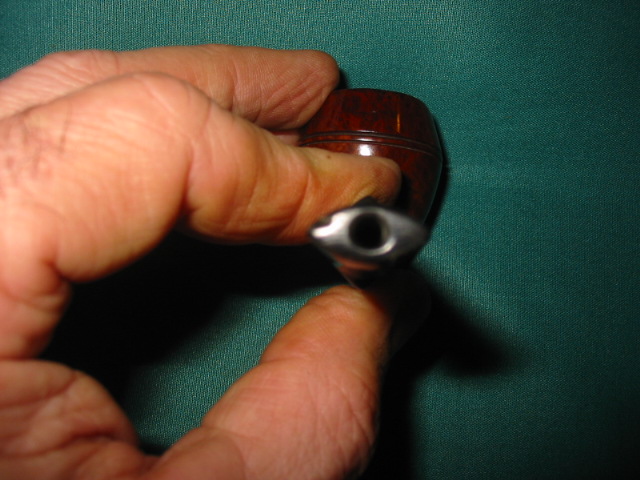
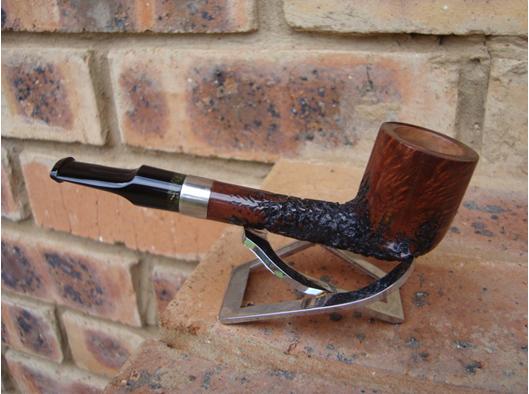
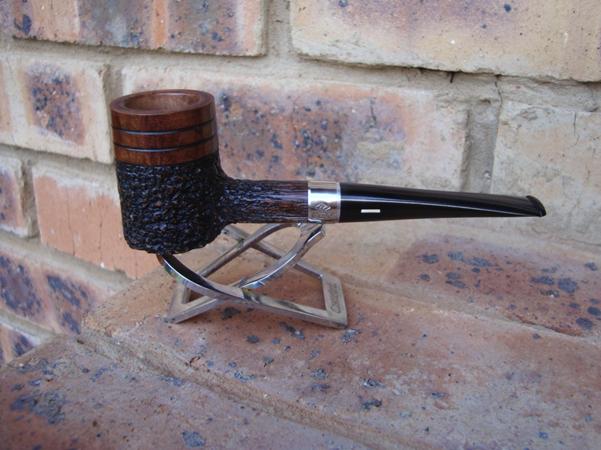
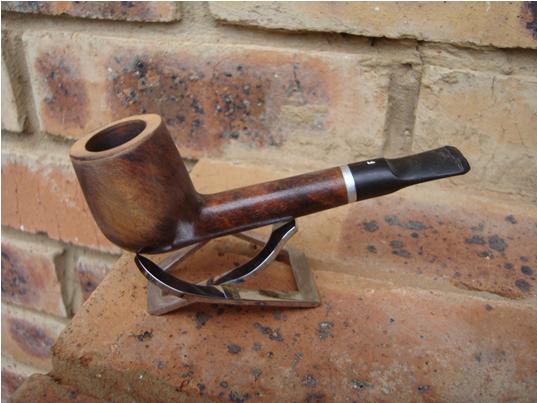
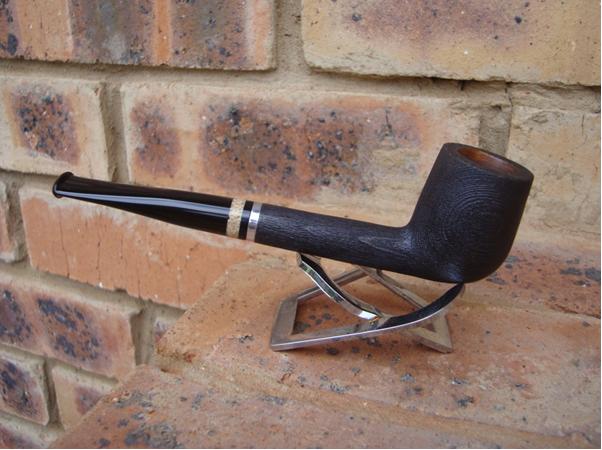
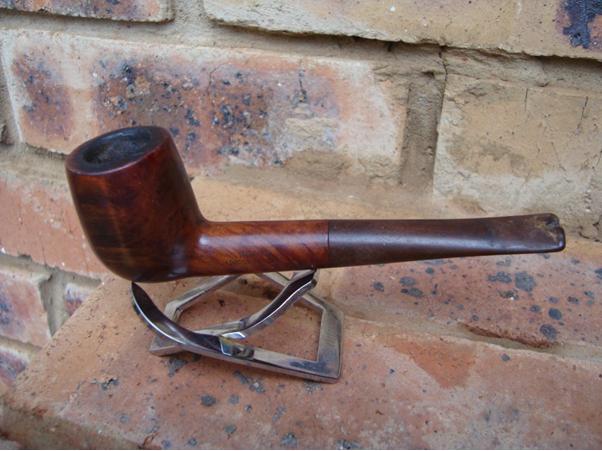
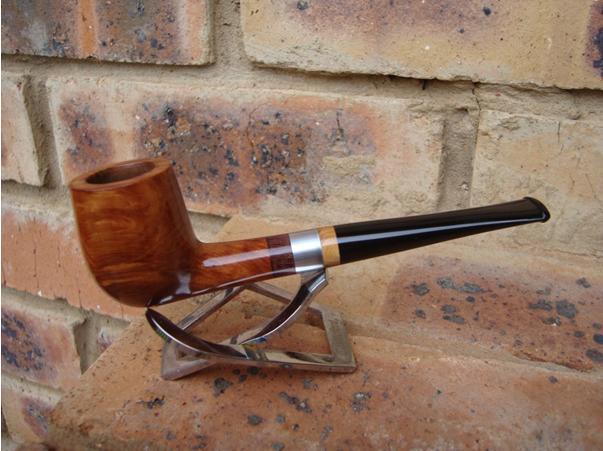
The stem took quite a bit of work to sand it smooth. I cleaned it up twice. Once when I first got it and then again when I figured out it was a horn stem. It is a big piece of horn and quite pretty in terms of the sheen and depth of colouration in it. I used the method I spelled out in a previous post on polishing horn stems and it is like new. I sanded it with wet dry sandpaper up to 2400 grit and then buffed it with lots of carnauba wax. Later I used the micromesh sanding pads on it and really gave it a depth of shine. The pipe is a great smoking pipe and is definitely a sitting pipe. It is a handful. The first picture shows the finished pipe. I wish I had some before photos but this was found in the days I never thought of doing that. So all I have is finished photos. The next series of photos show the size of the pipe in comparison to a nice little bent billiard that is about a group three sized pipe. The grain is quite nice. Nothing striking in terms of straight grain but there are several spots with nice birds eye and then the rest is swirling grain that almost seems to have movement to it. The stem is multicoloured and has the old orific (round) airhole in the button.