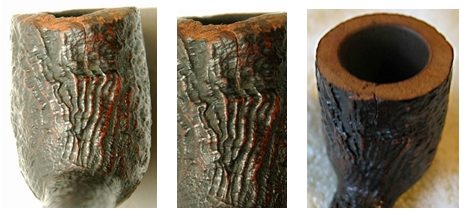
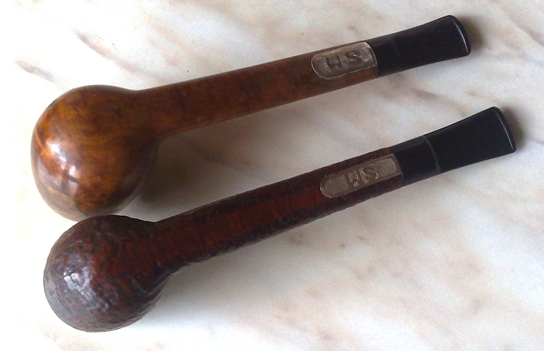
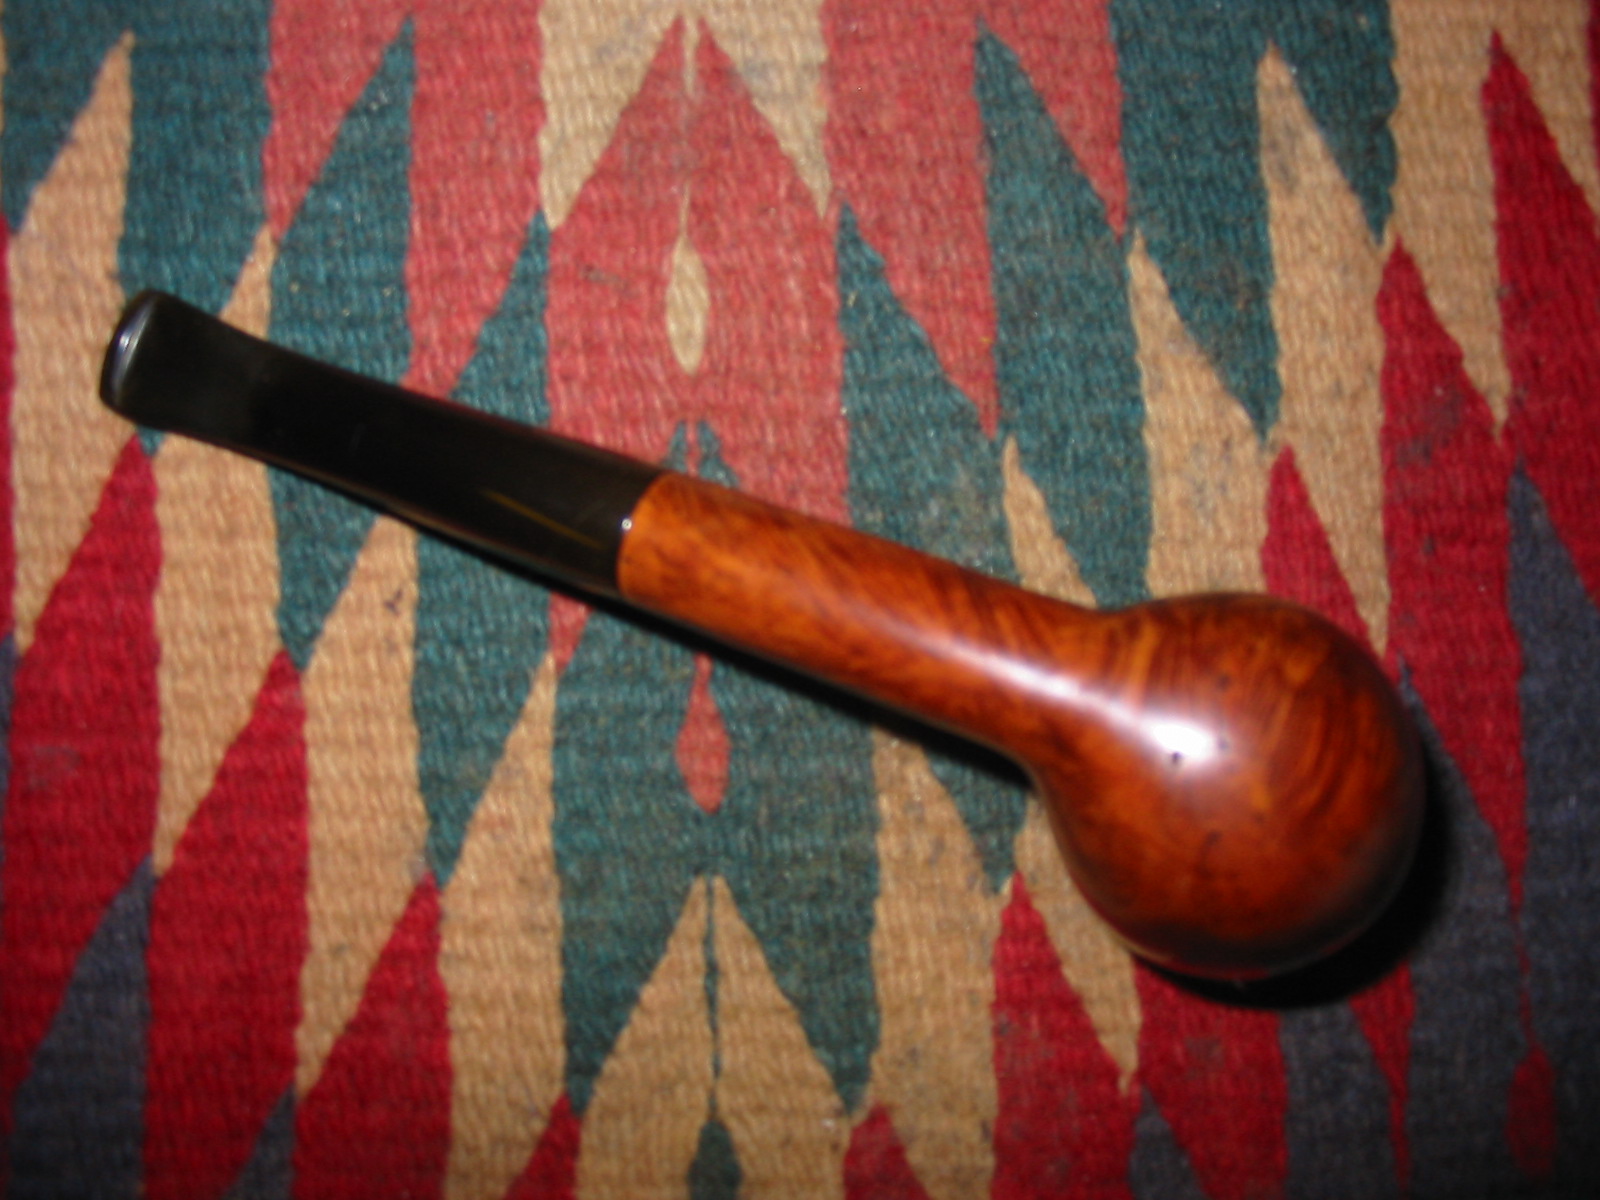
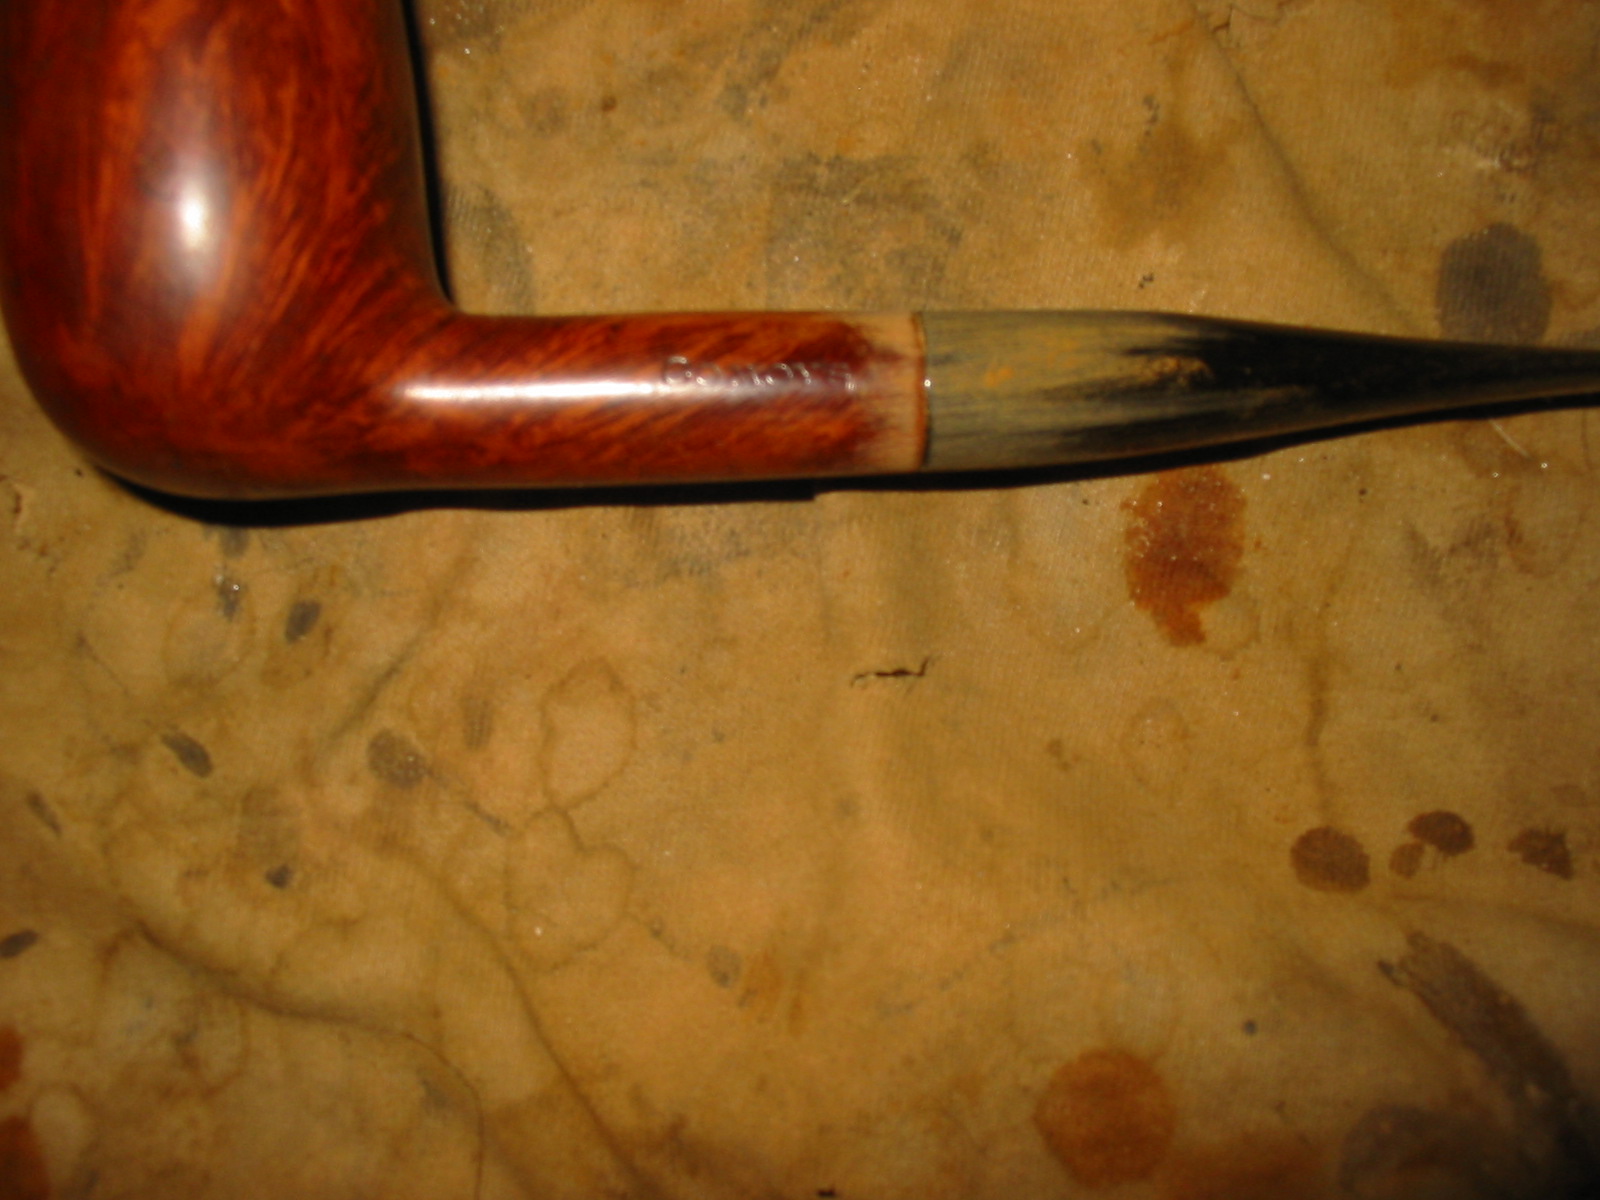
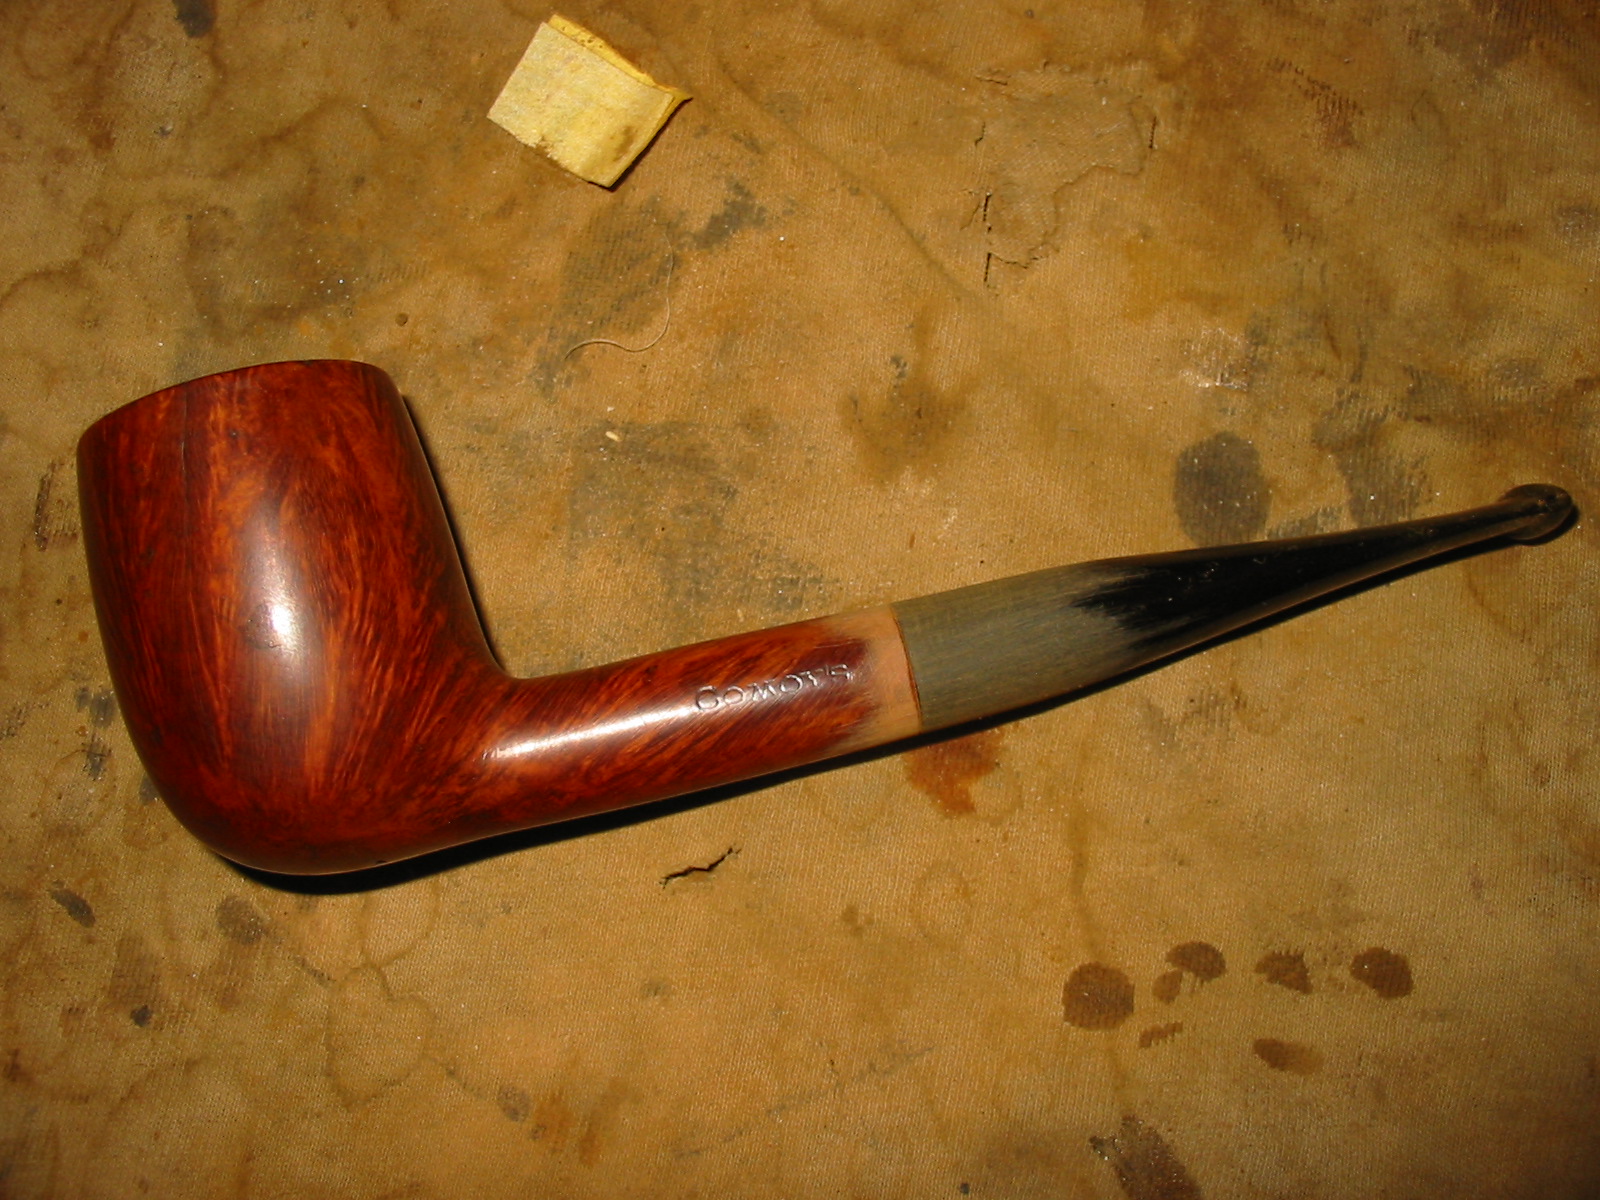
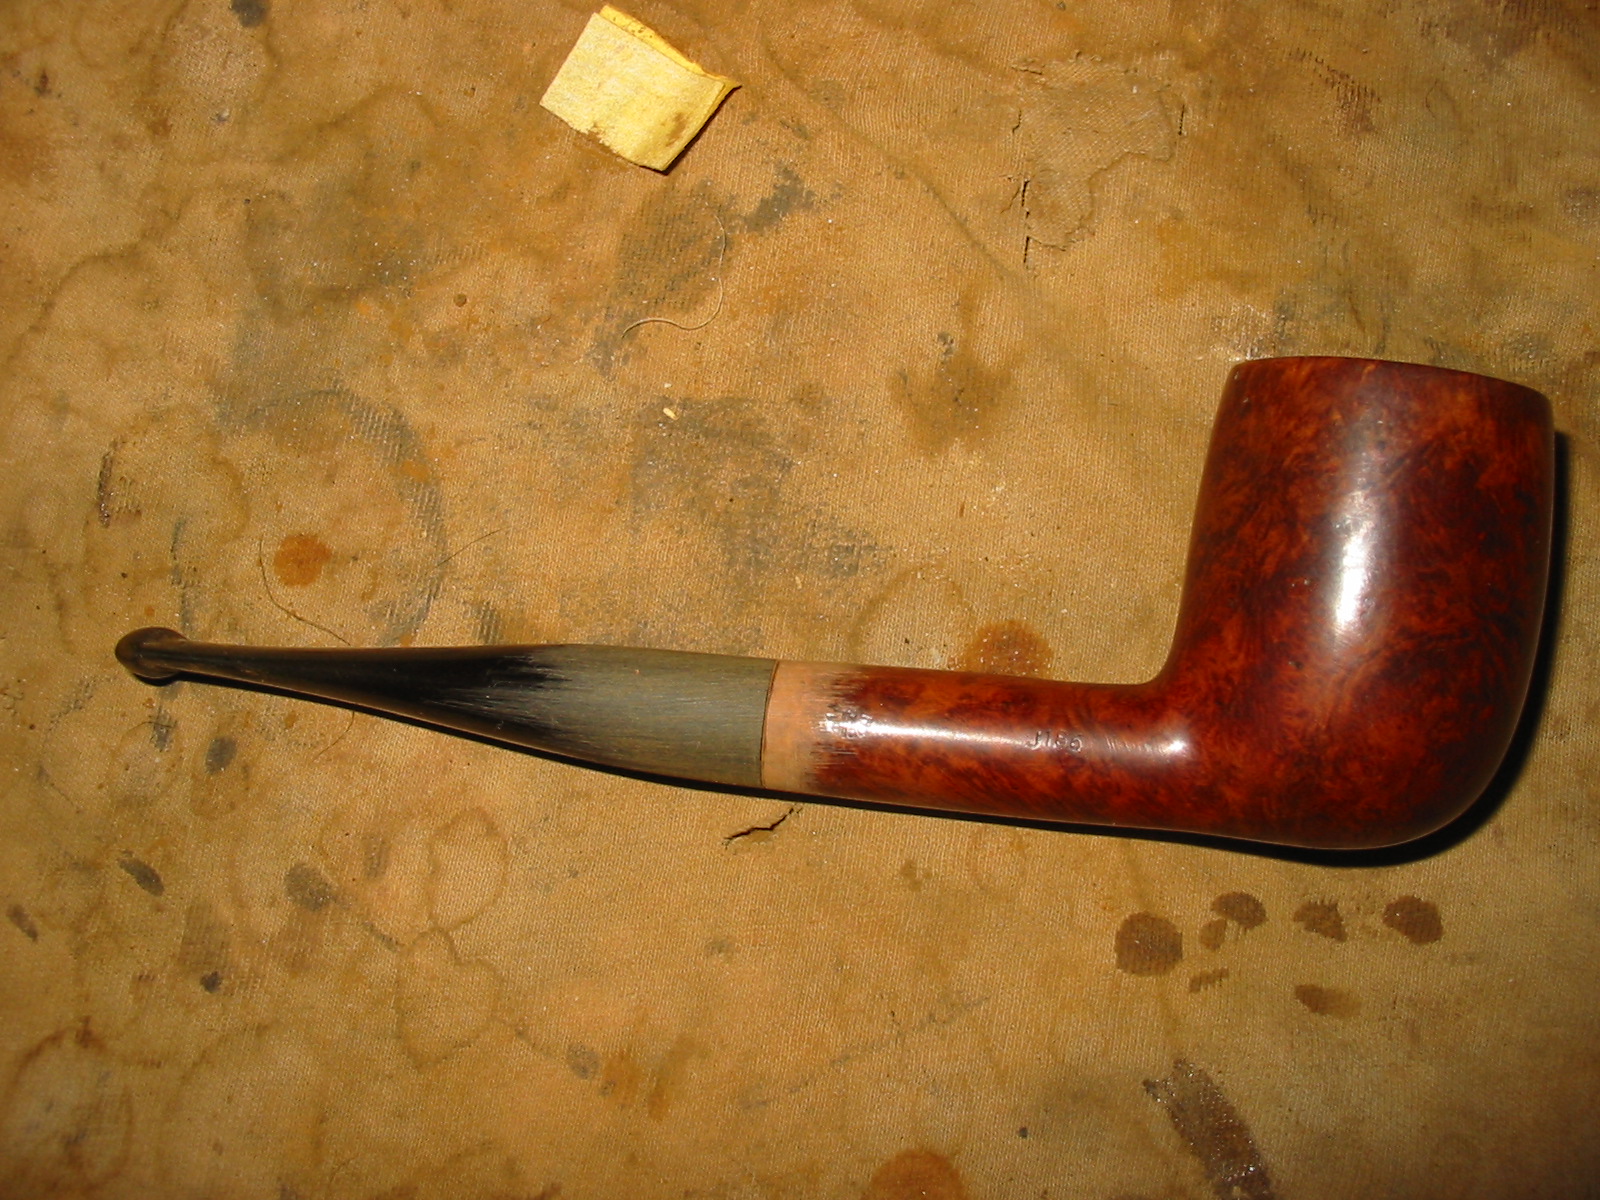
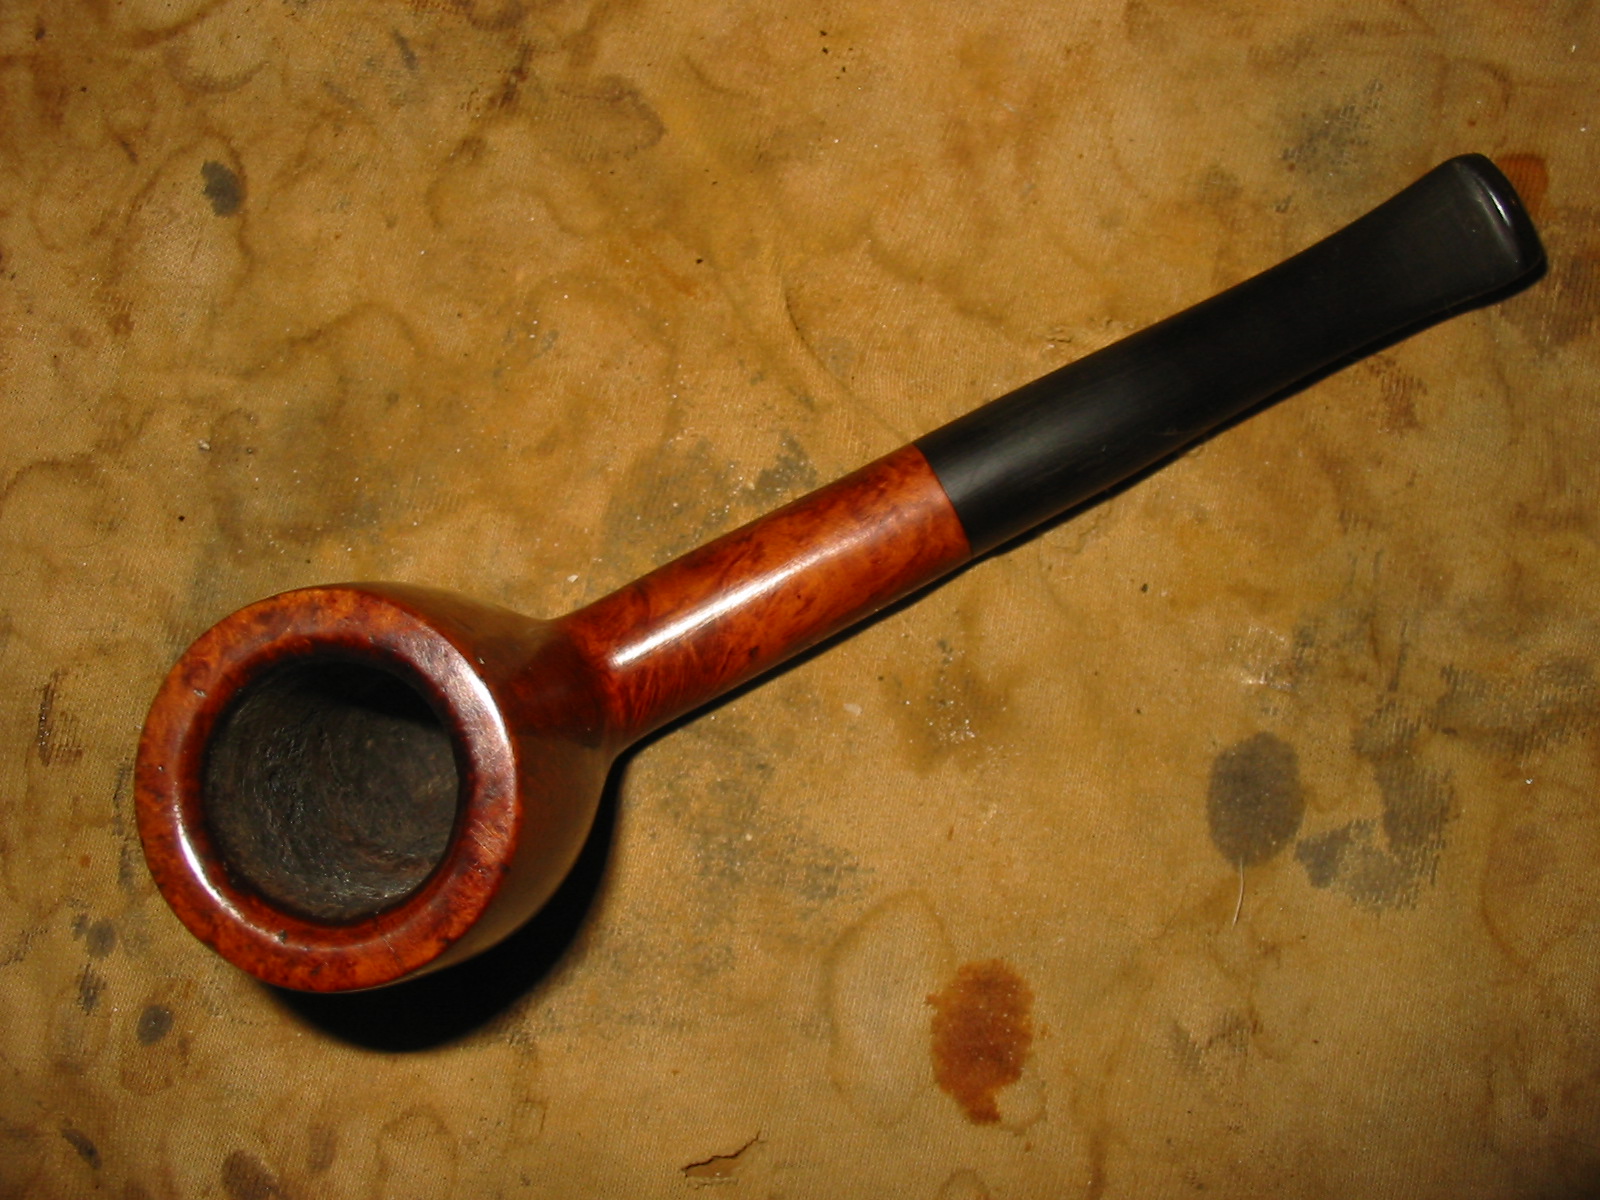
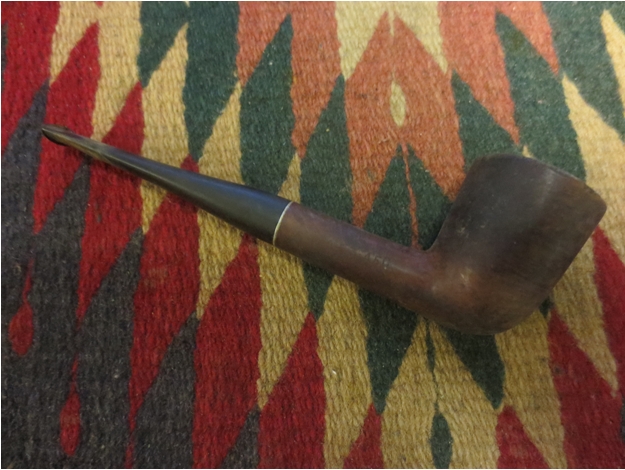
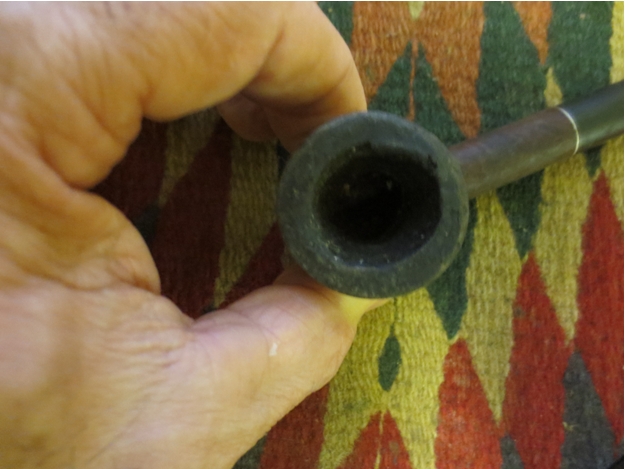
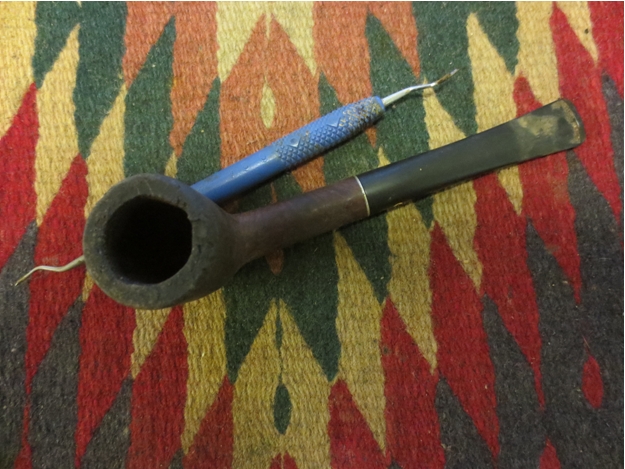
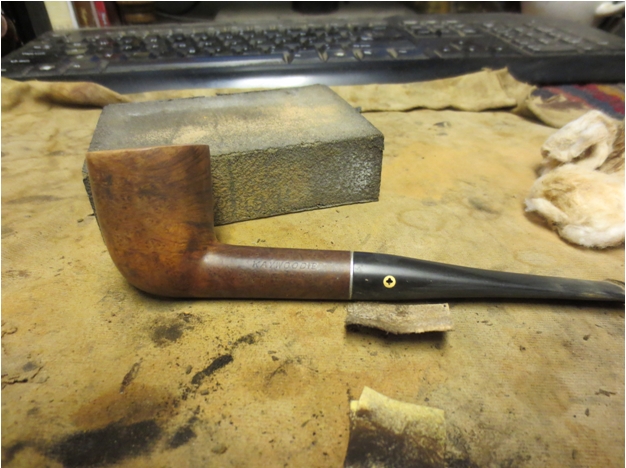
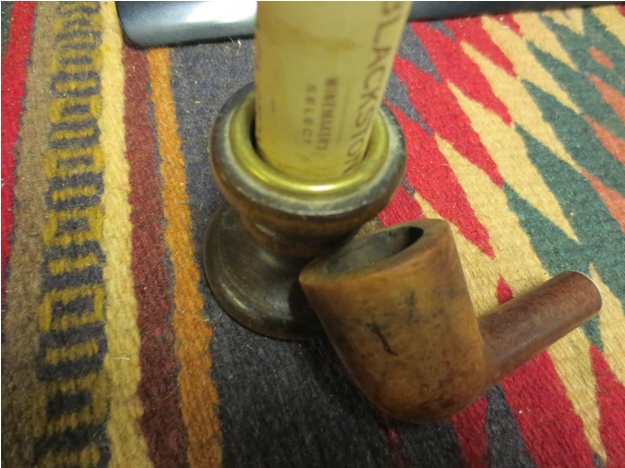
This is the third old-timer I received in my gift box from Jim. It is stamped Kaywoodie over Connoissuer on the left side of the shank and 45C on the right side near the bowl. It was in rough shape. The finish was gone and the bowl was almost black with grit and grime. There were places on the sides and bottom of the bowl that had black spots of a sticky, oily substance. The rim was heavily caked and damaged as well. There were rough outer edges on the rim on the back right side and the front as well. The bowl was badly caked and appeared to be out of round from reaming with a knife. The stem was in pretty decent shape however. There was a buildup of calcium on the end of the stem about ½ inch from the button forward but there was only minimal tooth chatter and no deep bite marks. The stem even fit correctly and was not over turned in the shank.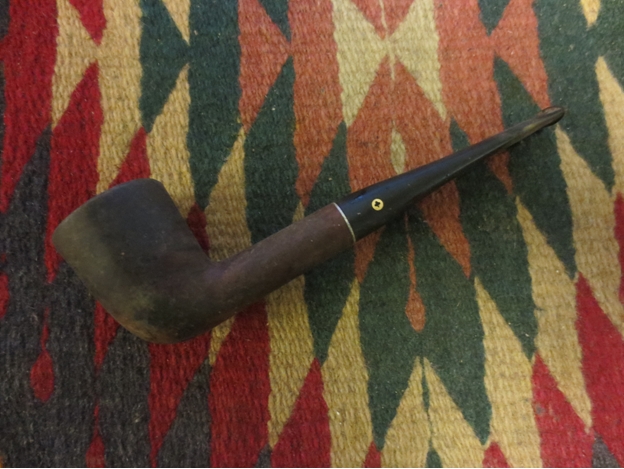
 I looked up an old Kaywoodie shape chart to make sure the shape number 45C was indeed a Dublin, in fact a Large Dublin. I found it in the second column, third entry down that column in the chart below. I think that the name is quite relative as the size is not that large and would easily be a group 3 sized bowl in Dunhill terms. I also found that the Connoisseur line was the top of the line (at least in this chart of pipes). Read the notes on the bottom of the page, the last line that shows a price of $27.50 – the highest priced KW on this chart.
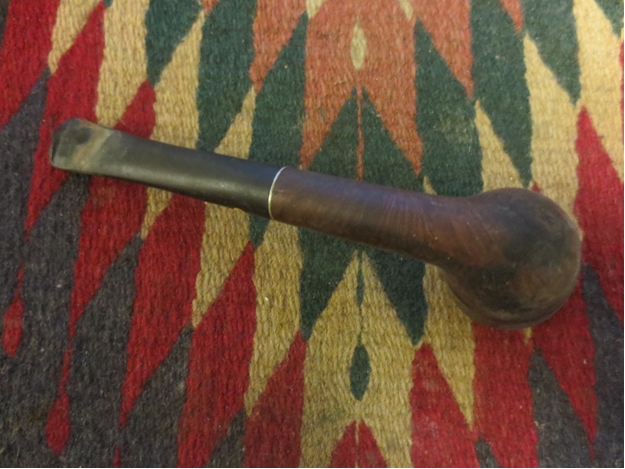
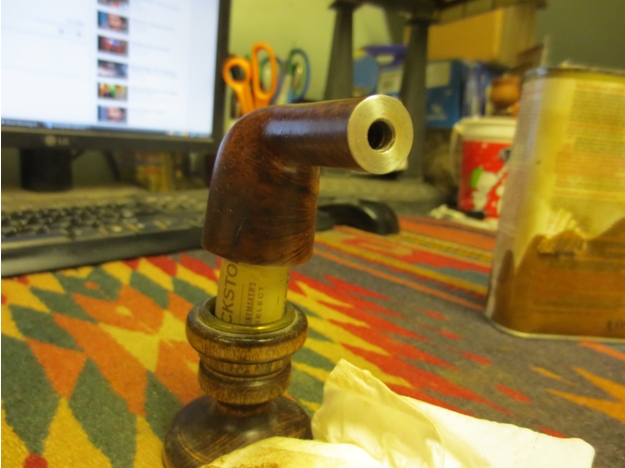
 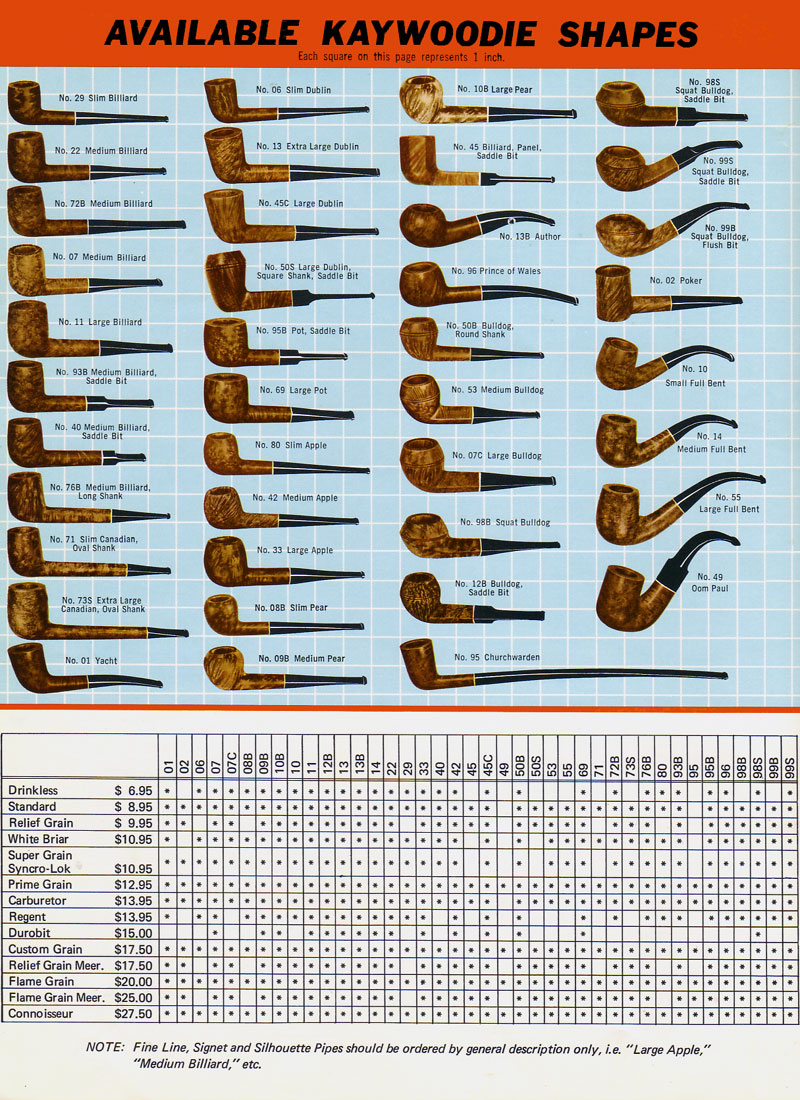 When I removed the stem the stinger was black with buildup but was not damaged. It only had two holes in it, a flattened head rather than a ball and a space on the top of the stinger where the air went through. This was obviously a pre-Drinkless stinger.
 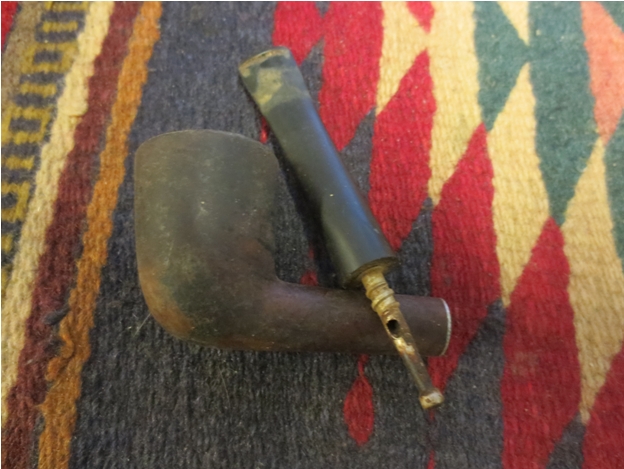 I reamed the bowl with a PipNet pipe reamer and used a dental pick to clean out some of the scale around the edges of the airway.
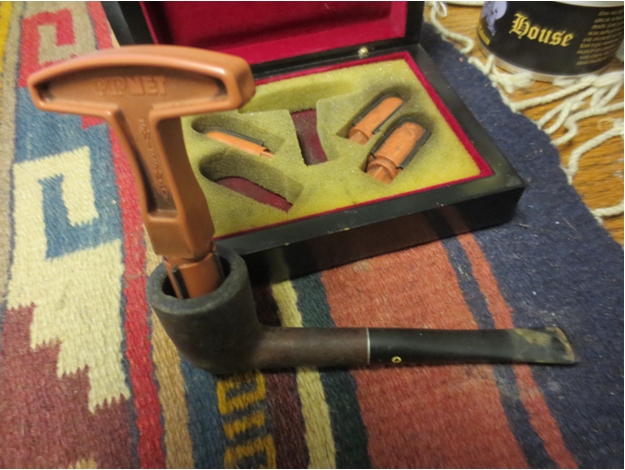
 I started with the smallest reaming head and worked up to one approximately the size of the bowl. I wanted to try to minimize the rim damage and bring the bowl back to as close to round as possible with the reamer.
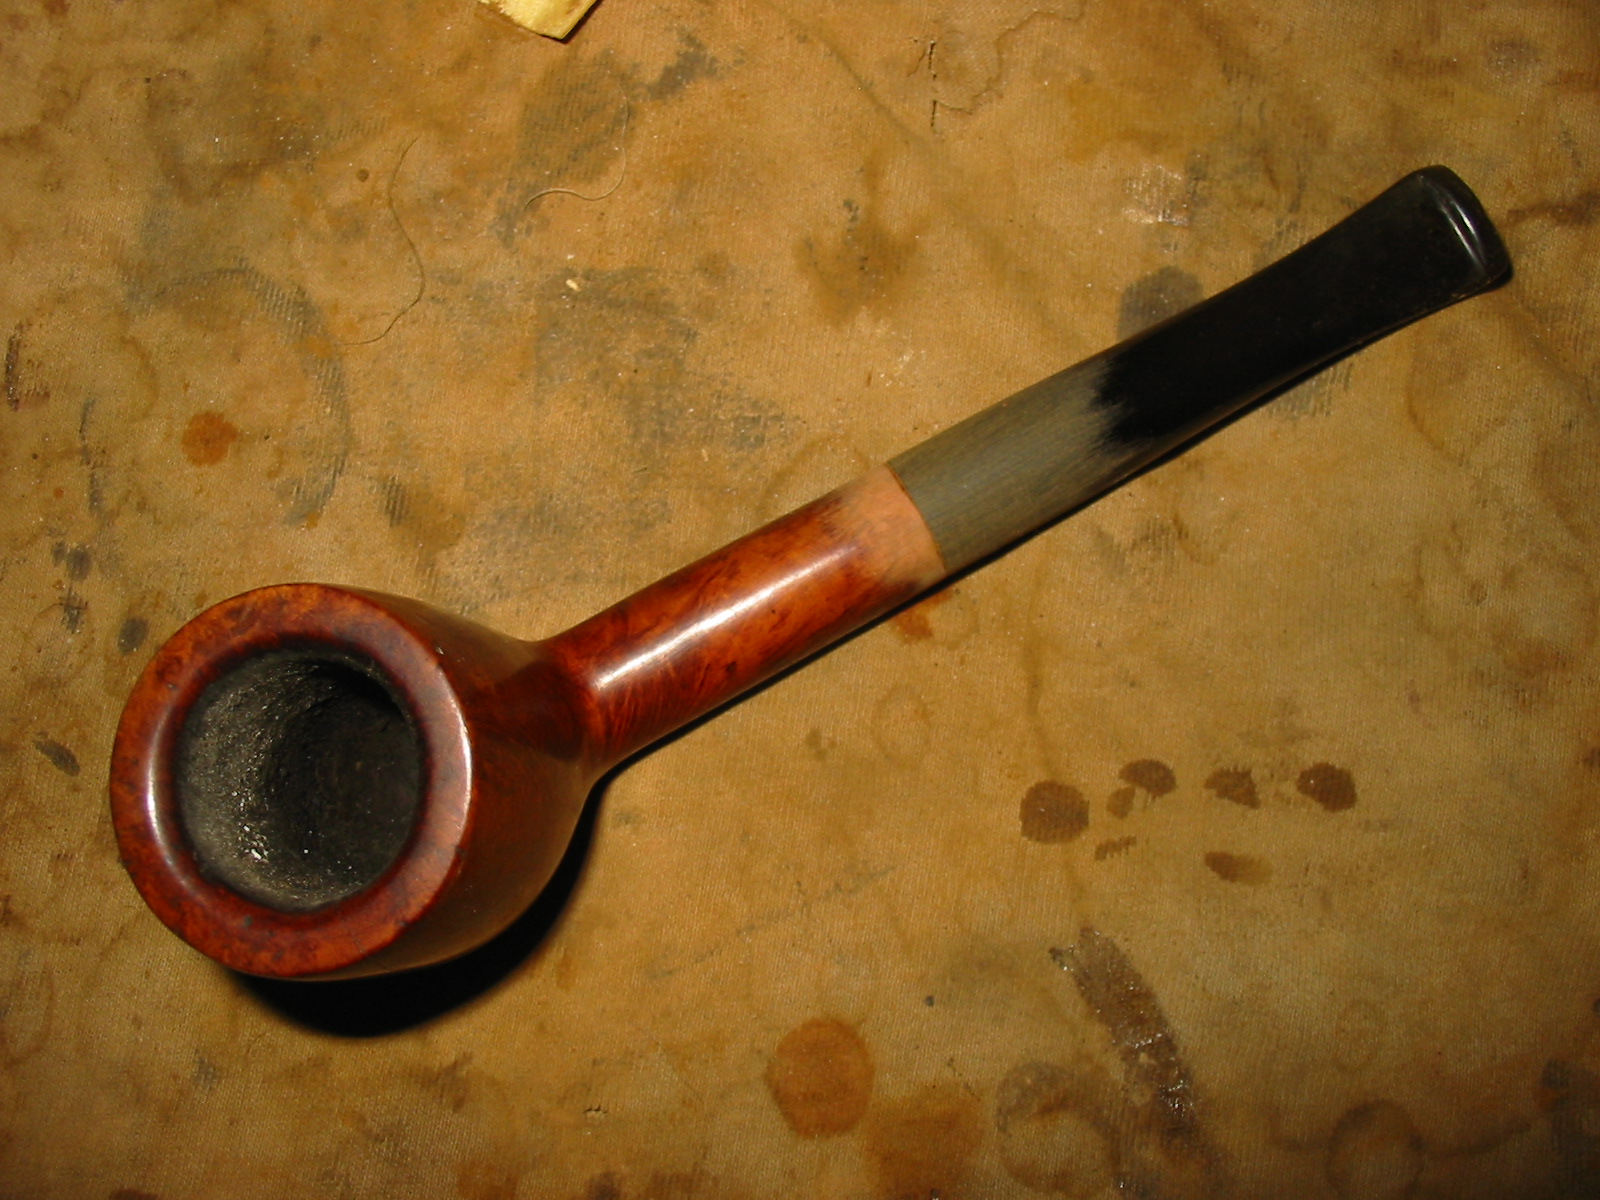
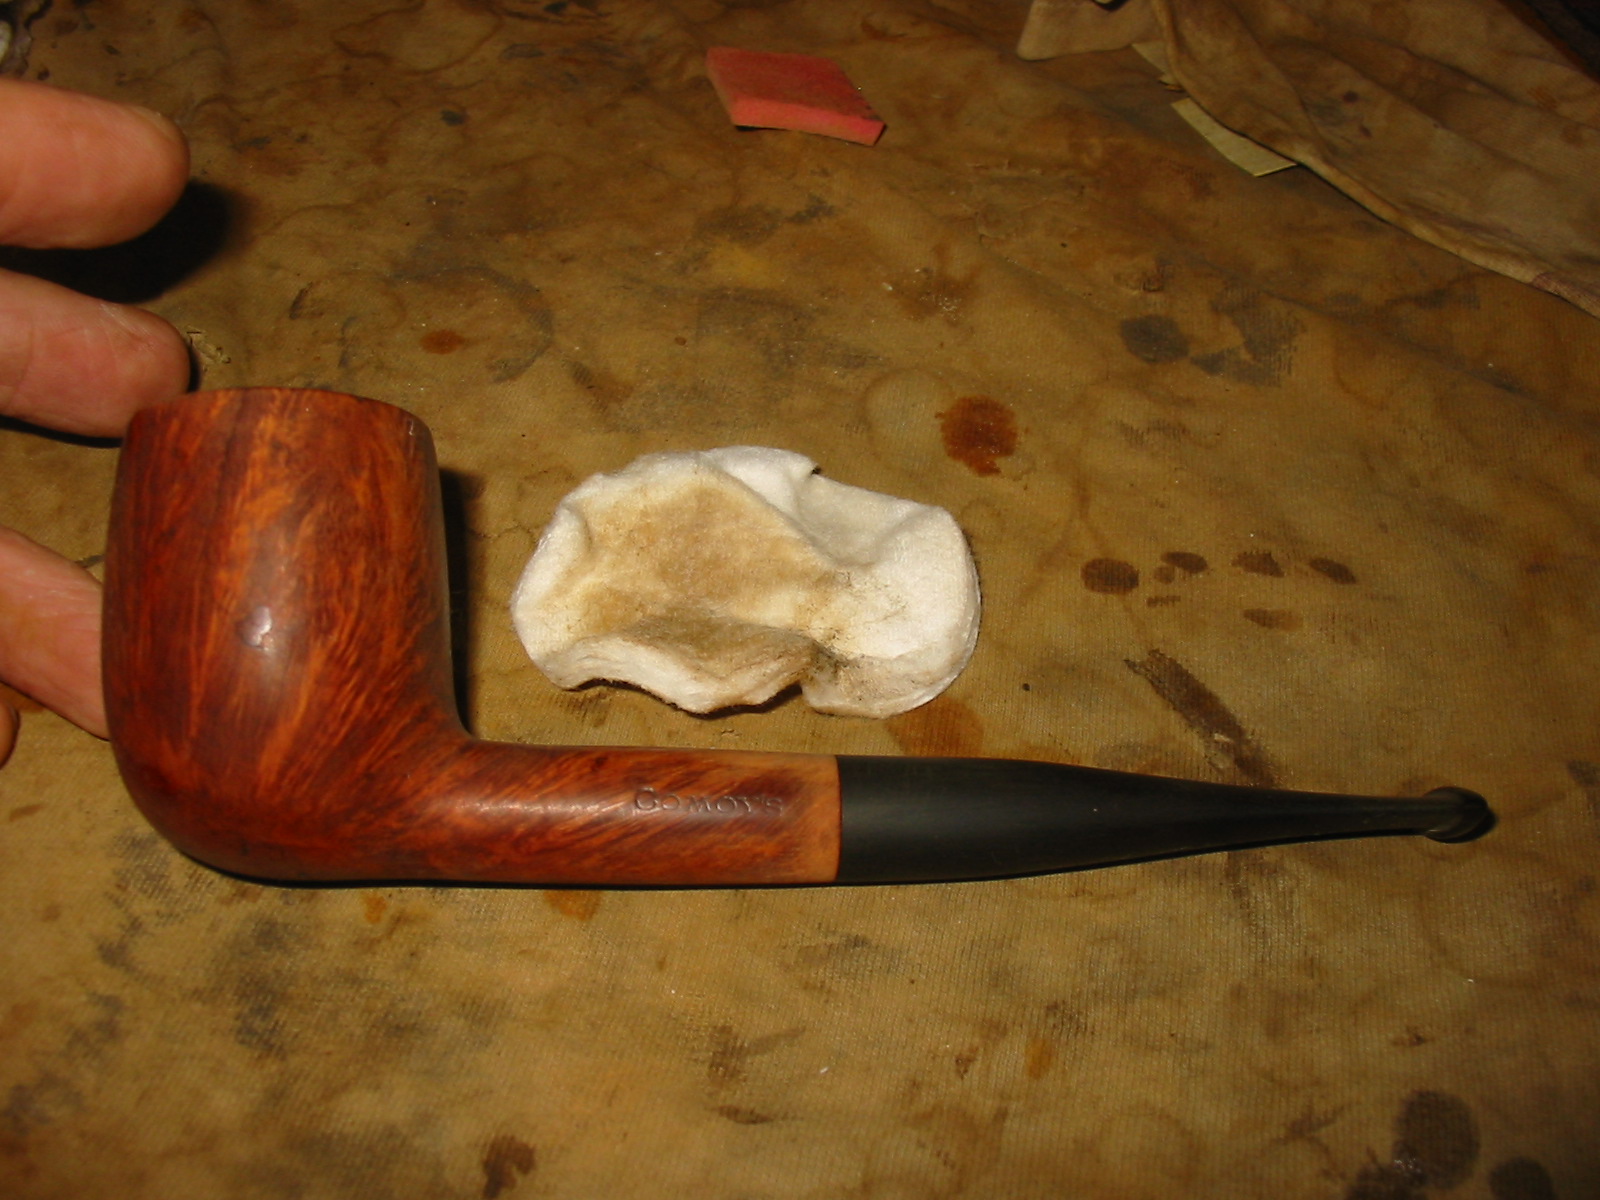
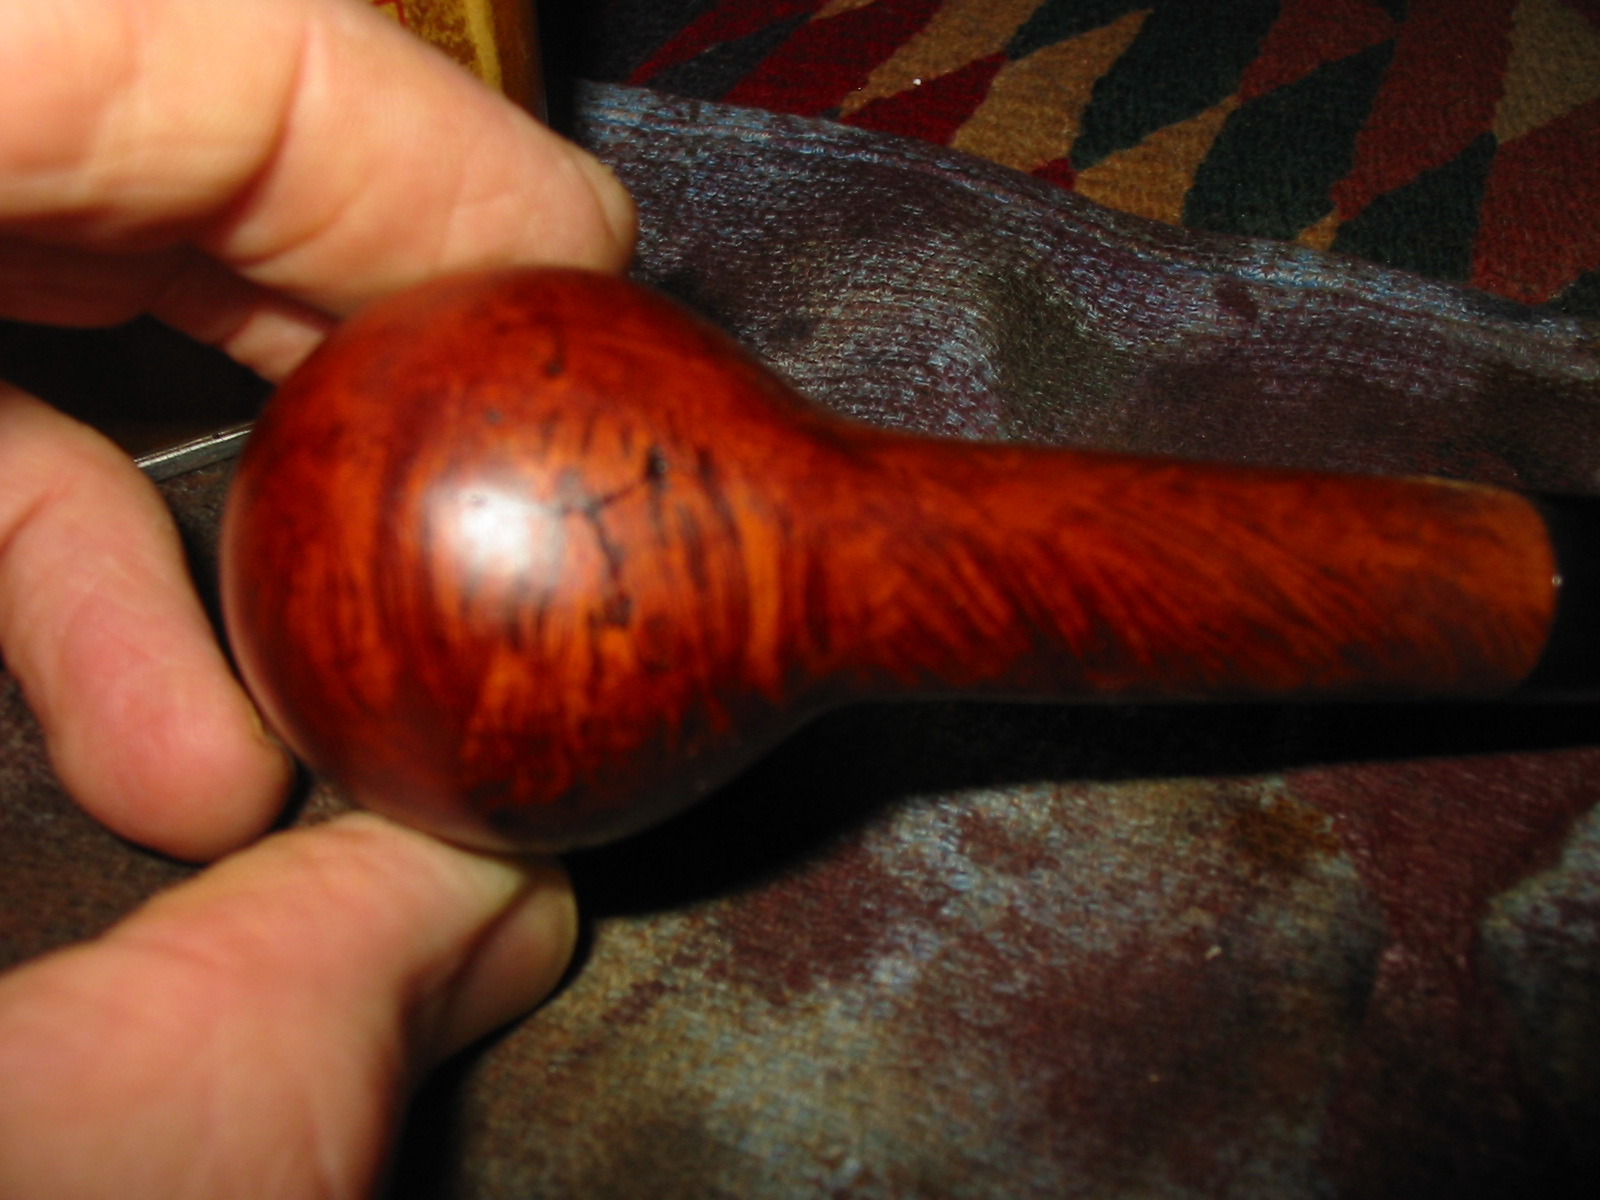
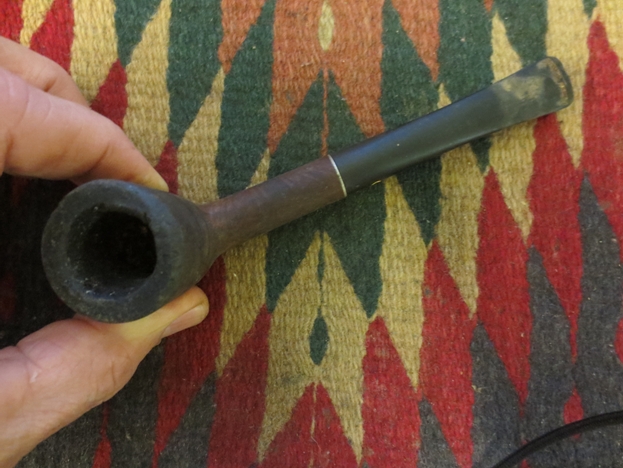
 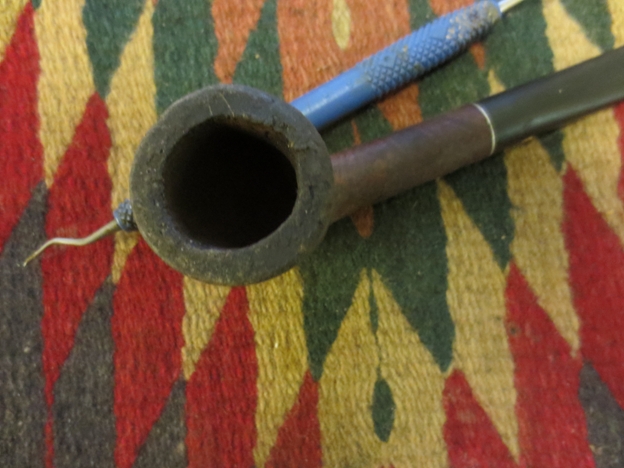 The amount of damage to the edges of the outer rim and the broken spots on the inner rim required that I top the bowl. I set up a topping board and 220 grit sandpaper and sanded the top of the bowl. I press the bowl into the sandpaper, taking care to keep the rim flat against the board so as not to slant the top of the bowl. I worked it until the top was clean and the outer edge was sharp once again. The second photo shows the topped rim and the damage down to the roundness of the bowl inner edge. It was going to take some work to work this back to round as much as possible.
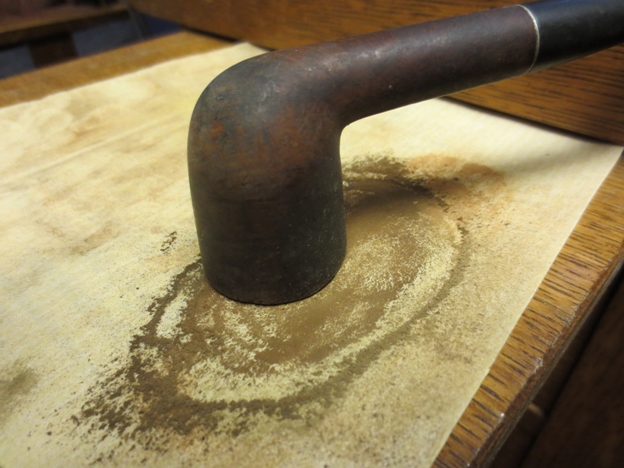
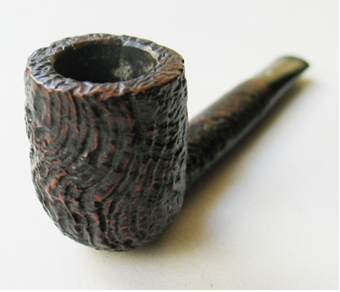
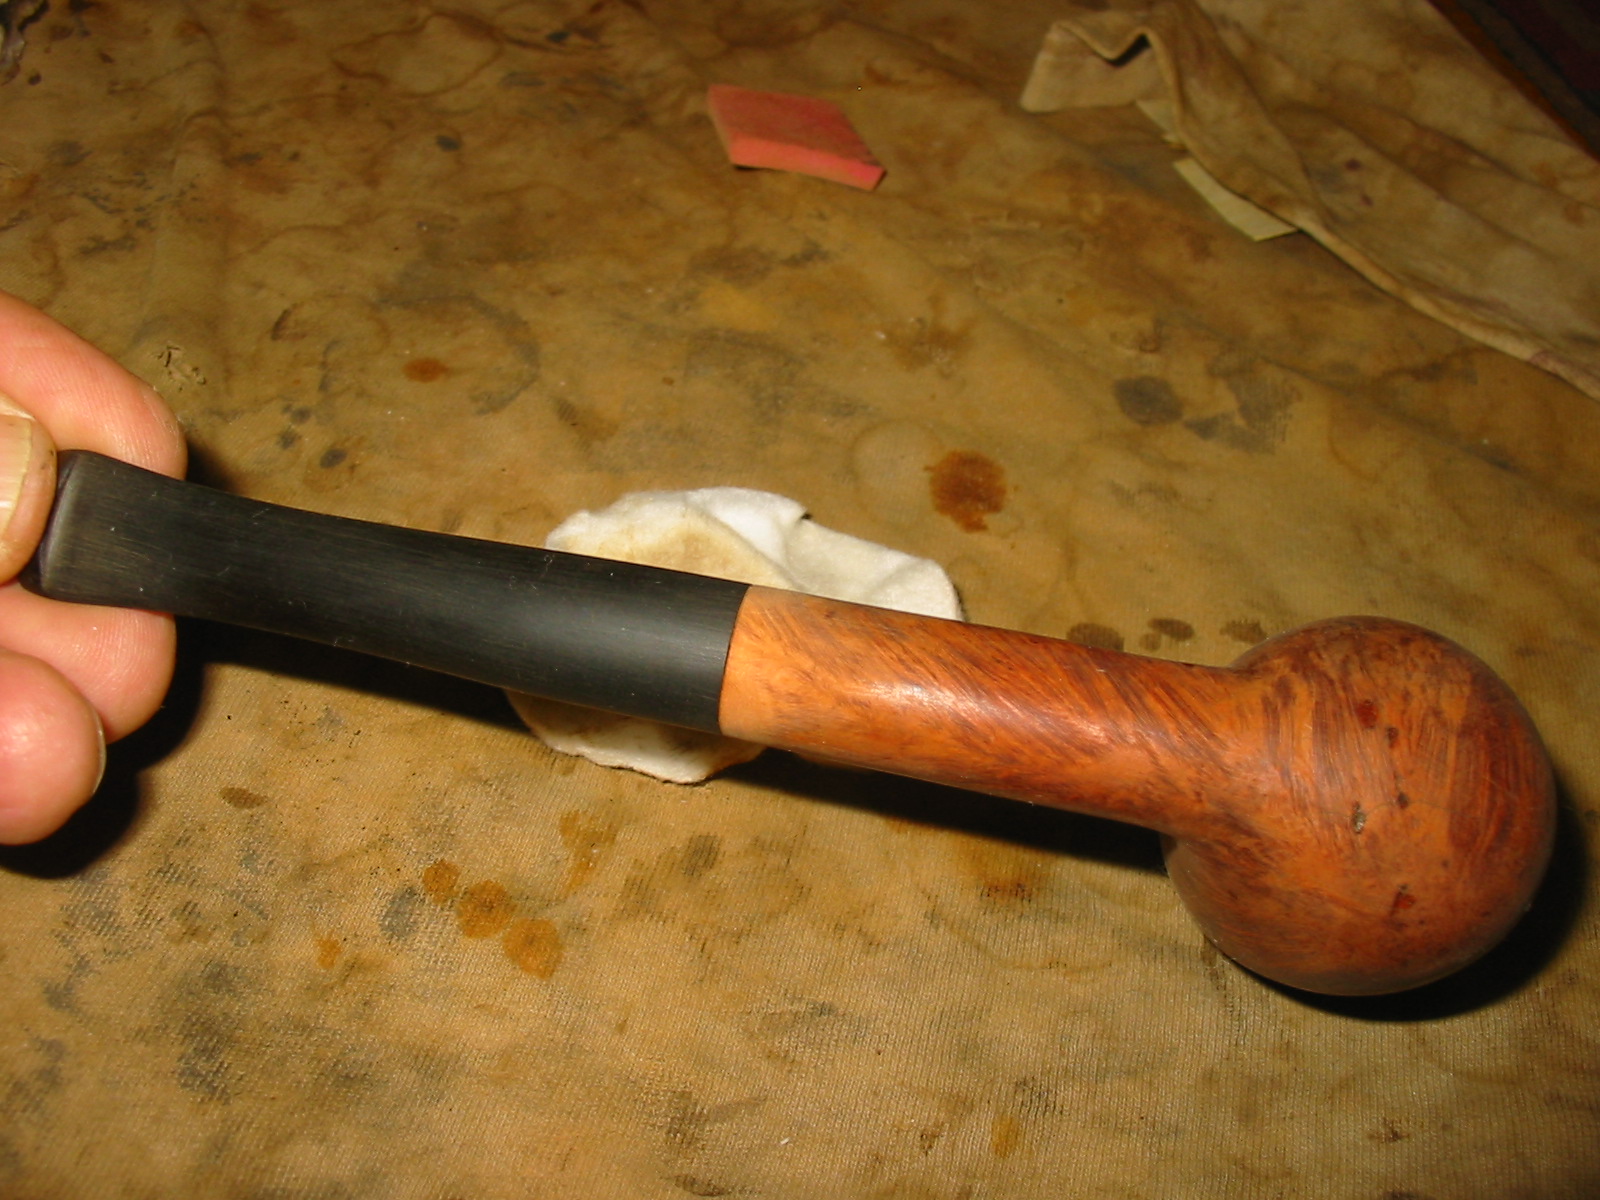
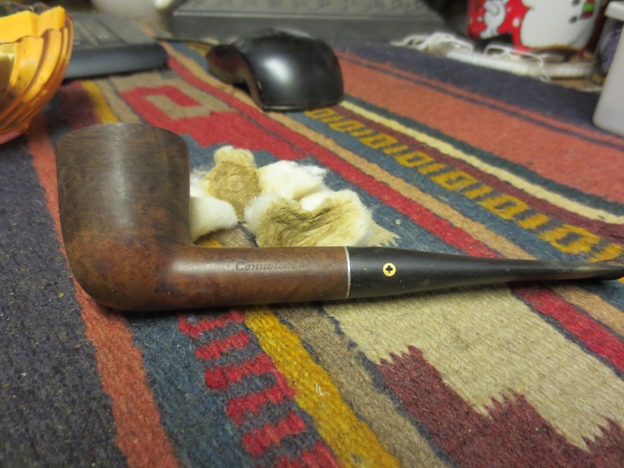
 I sanded the inner edge with a folded piece of 220 grit sandpaper to even it out and give it more of a round shape once again. I wiped the bowl down with acetone on cotton balls to remove the grime on the finish. I decided against using the oil soap this time around as the finish was basically gone any way so the acetone would make short work of removing the finish. I scrubbed it longer and harder than I expected to remove the grime. The next series of photos show the bowl after scrubbing. There was some nice grain under the blackness.
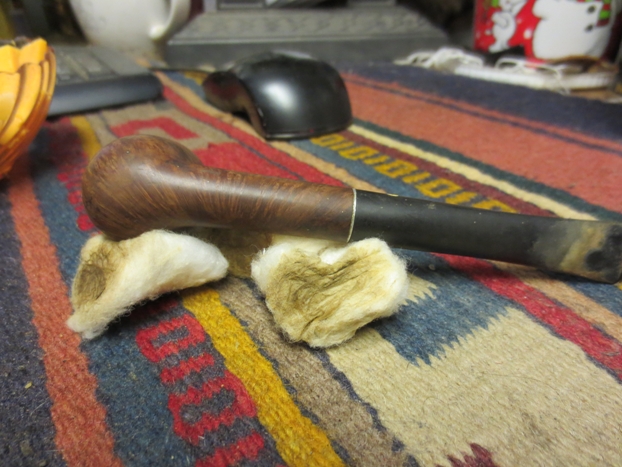
 I sanded the bowl and the stem with 220 grit sandpaper and also with a medium and fine grit sanding sponge and fine grit sanding block to further clean things up on the surface of the bowl and stem.
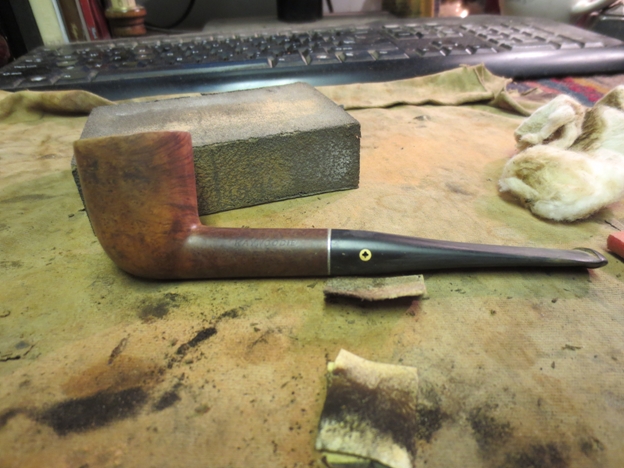
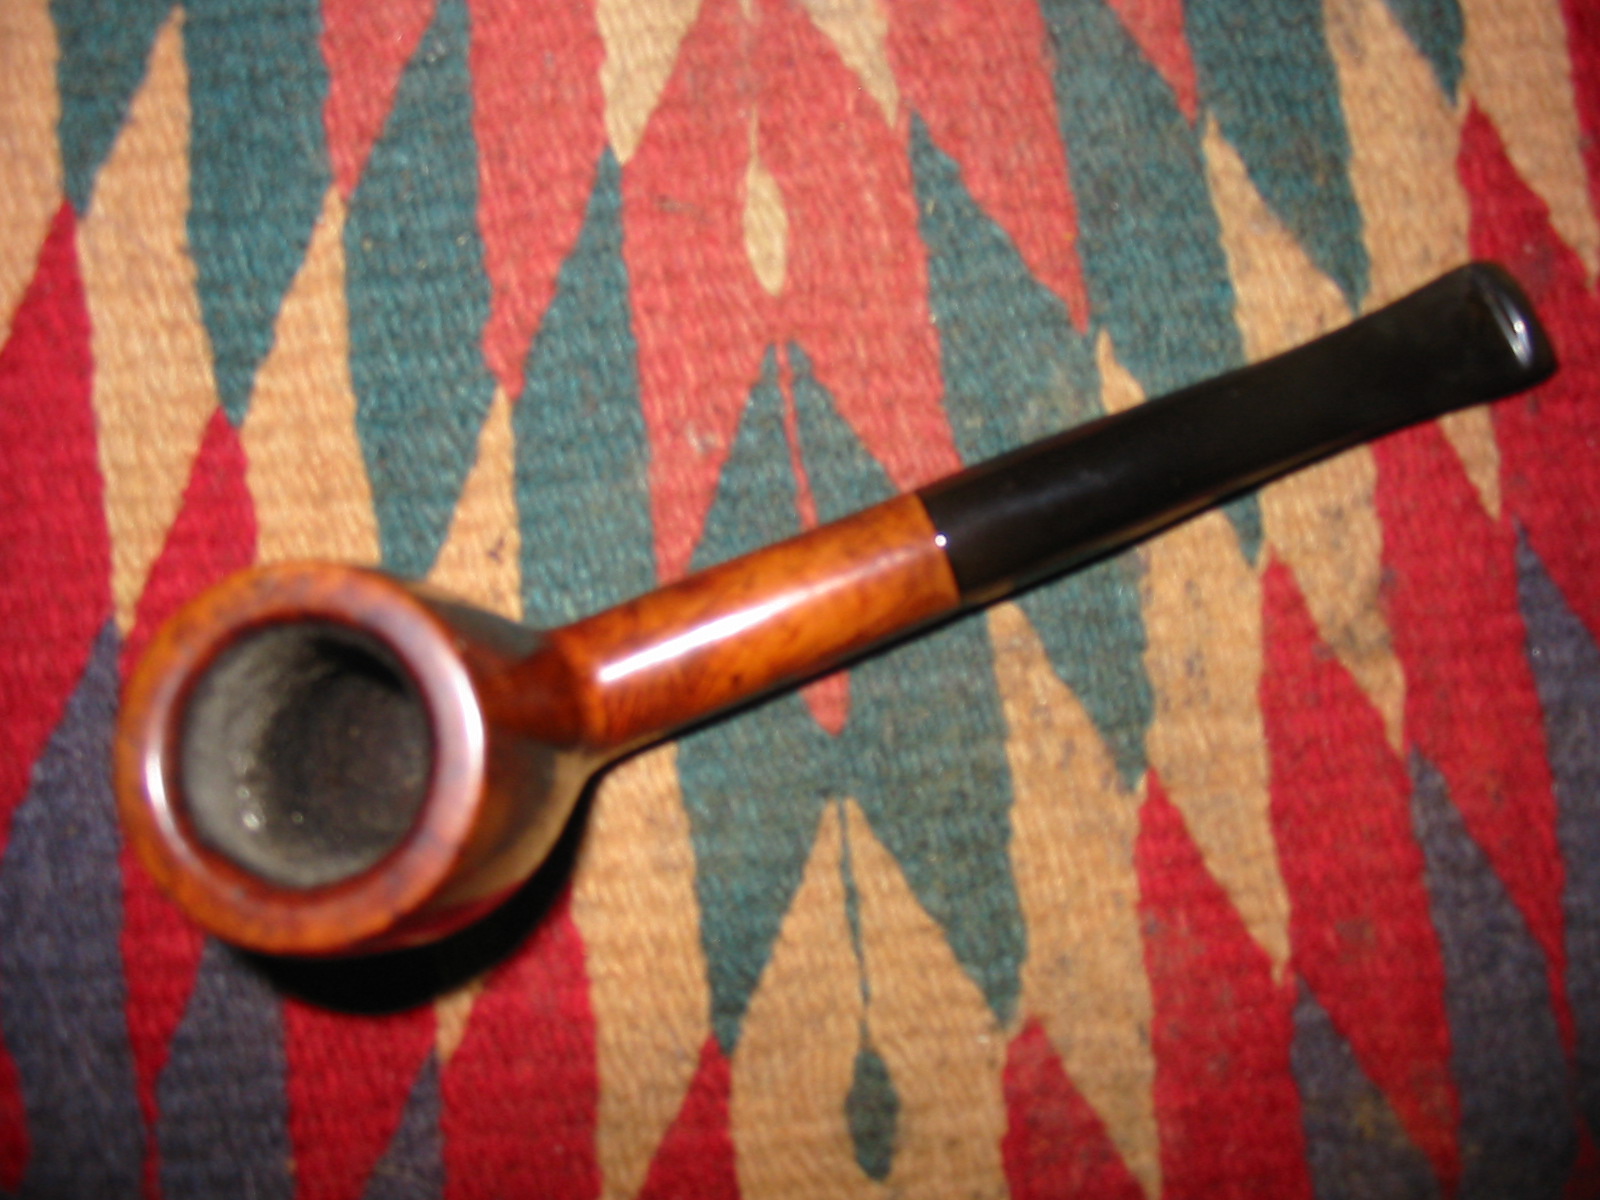
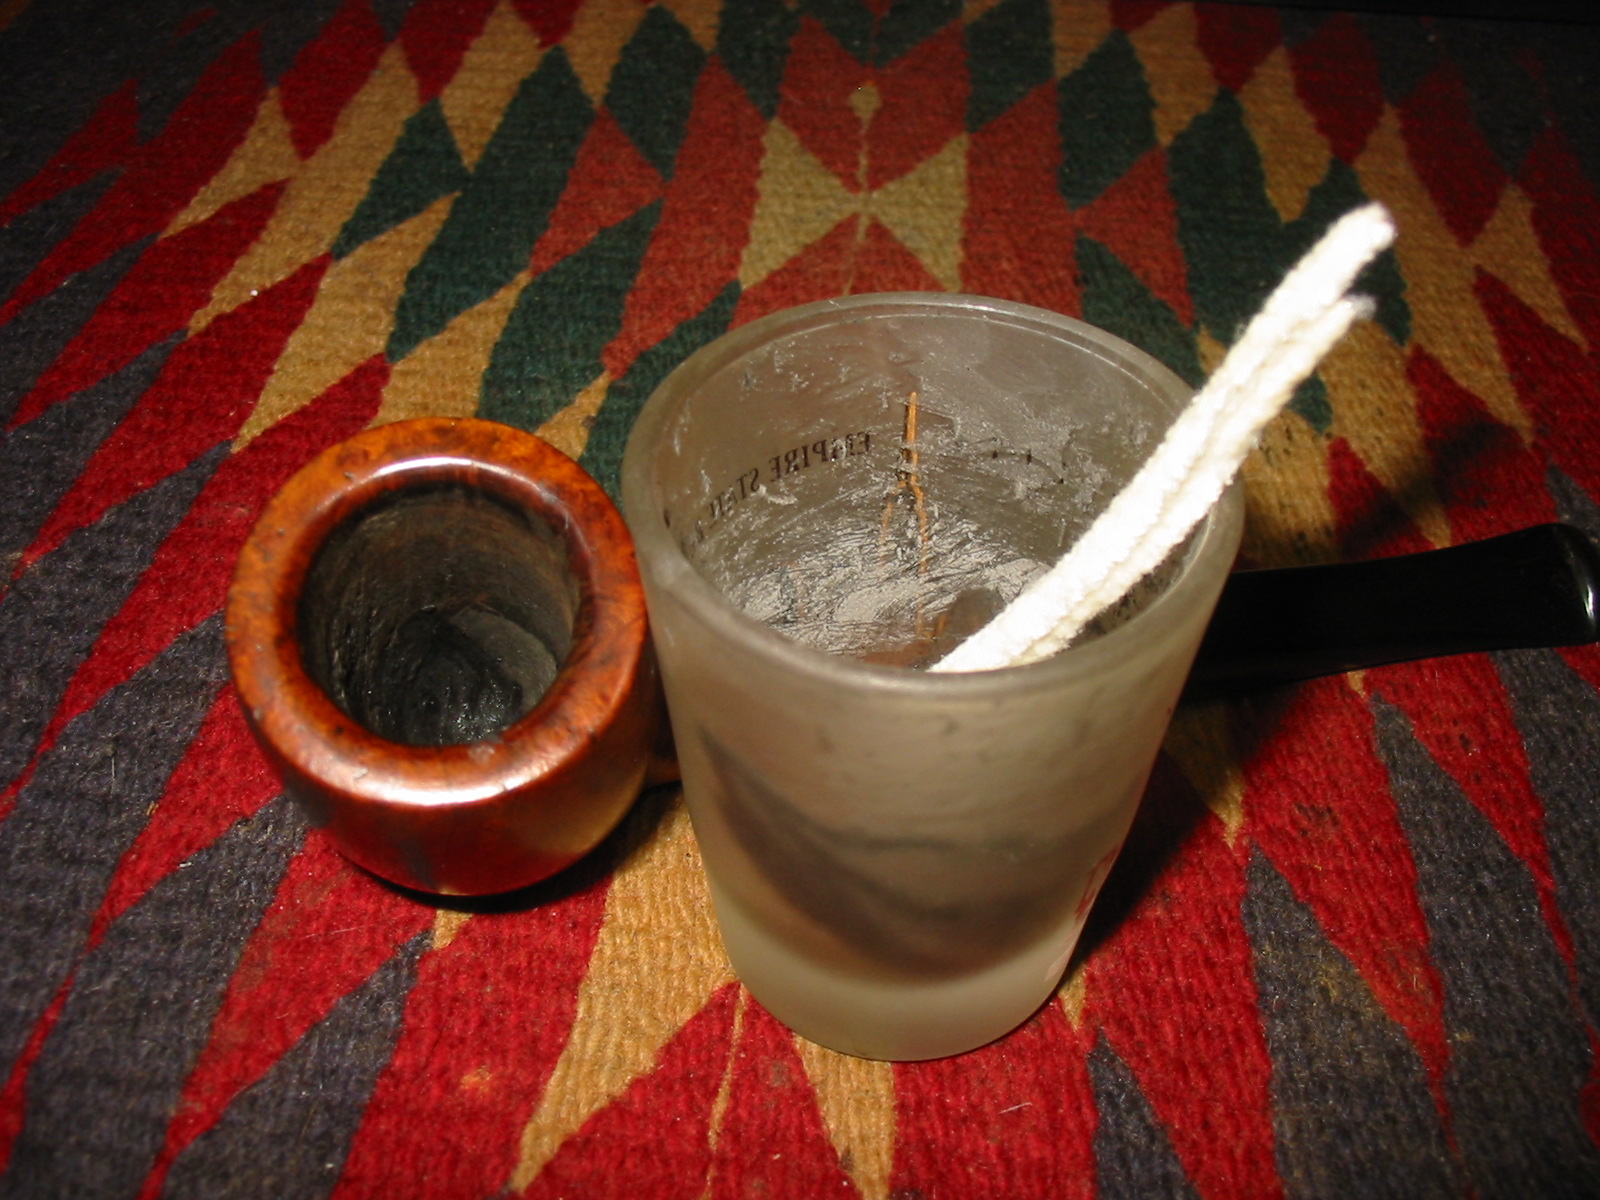
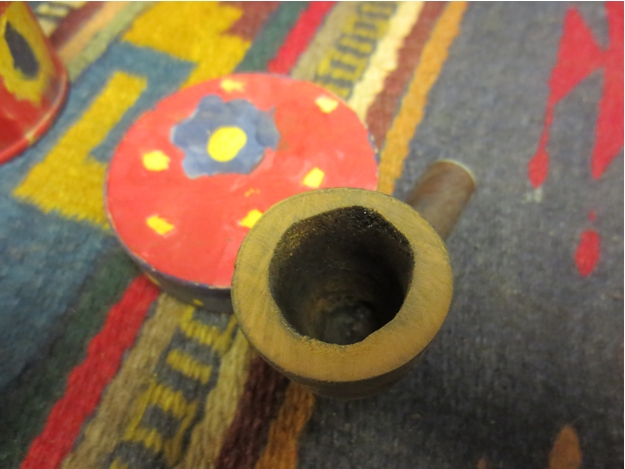
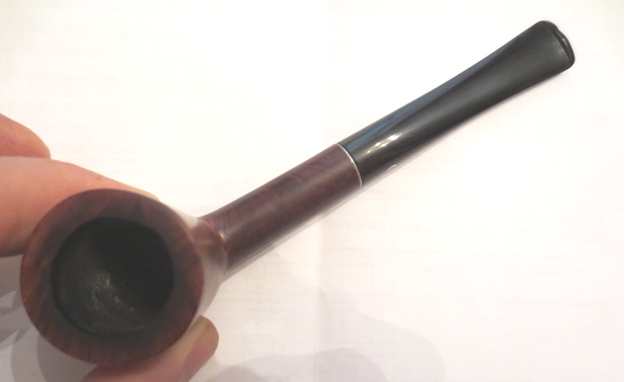
 The photo below shows the bowl after the work on the inner edge of the rim. It certainly has come a long way from the beat up inner edge pictured above.
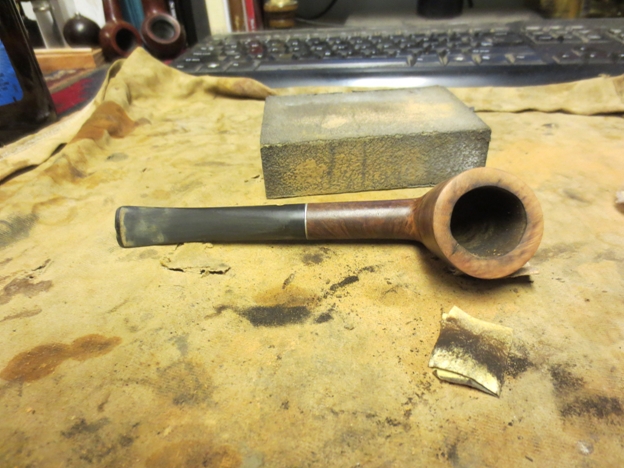
 I dropped the bowl into the alcohol bath to soak out some more of the grime from the briar. I turned my attention to the stem. I cleaned up the stinger with alcohol, pipe cleaners and cotton balls until the aluminum shined once again. I continued to sand the stem with the medium and fine grit sanding sponges to remove the surface scratching. I cleaned out the area around the slot with a dental pick and finally after many pipe cleaners was satisfied with the cleanness of the internals of the stem.
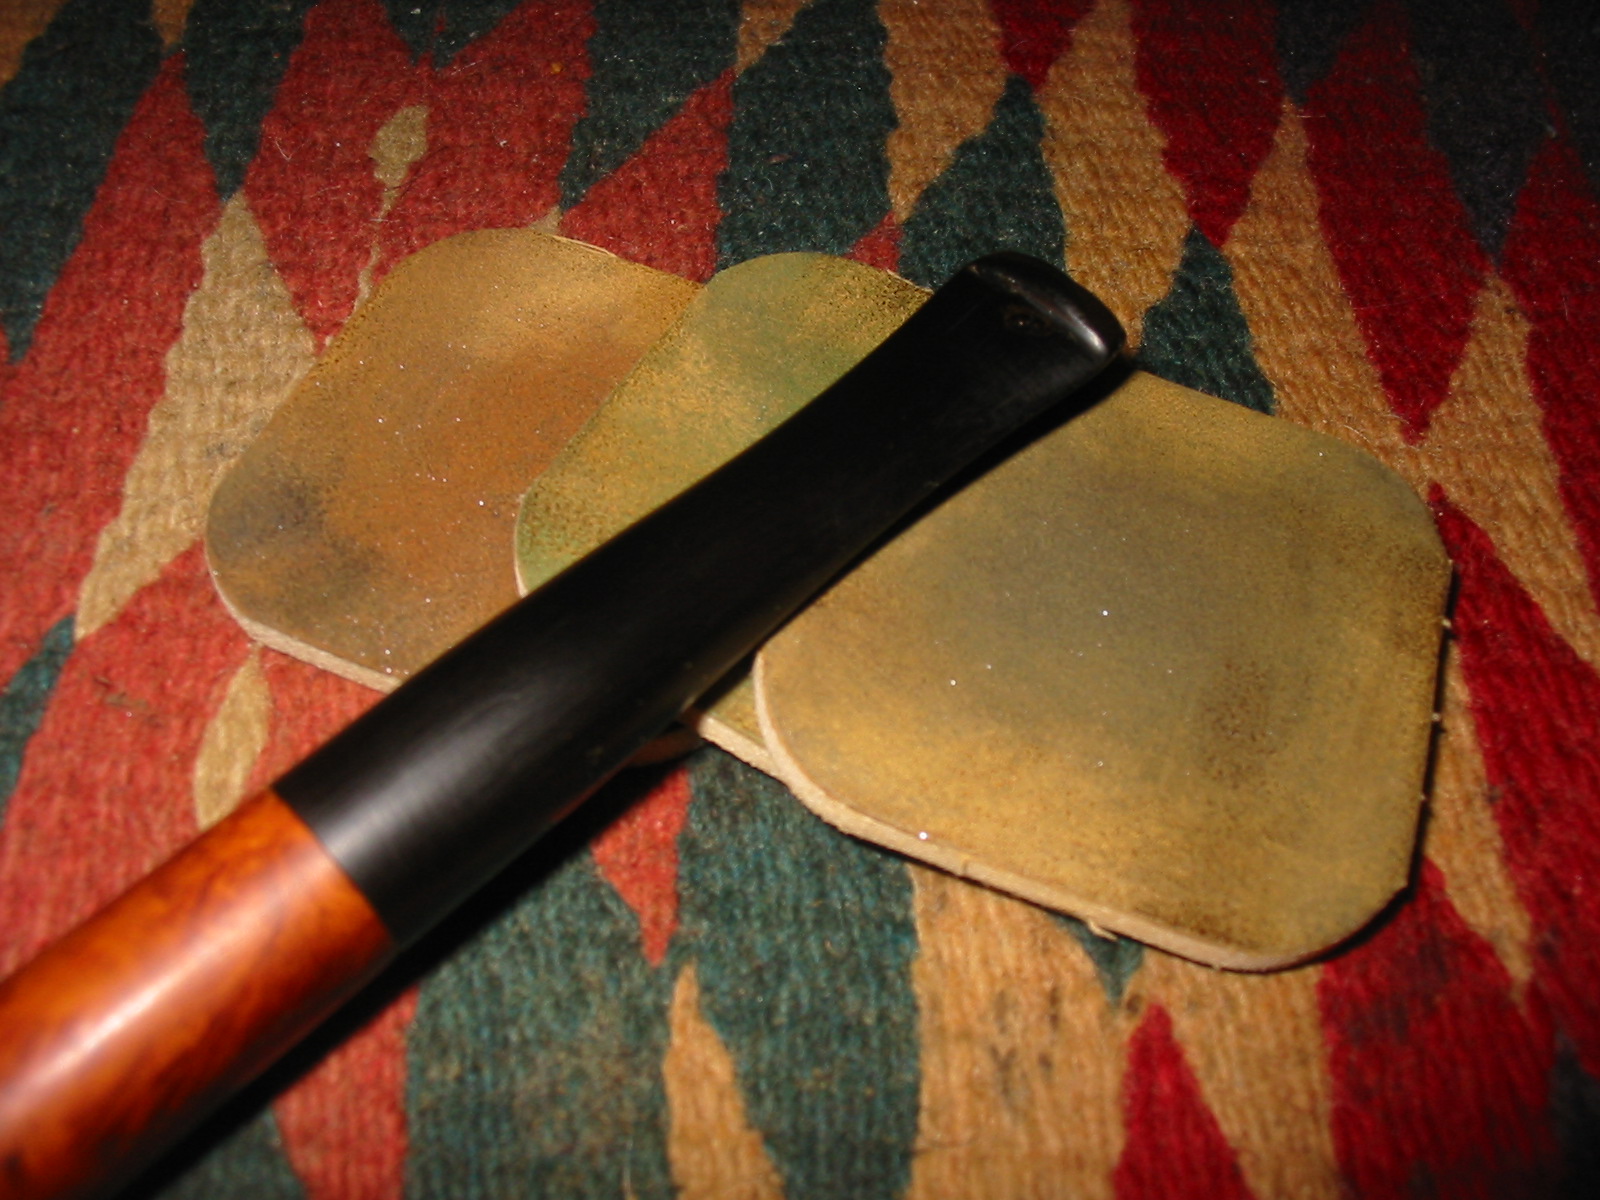
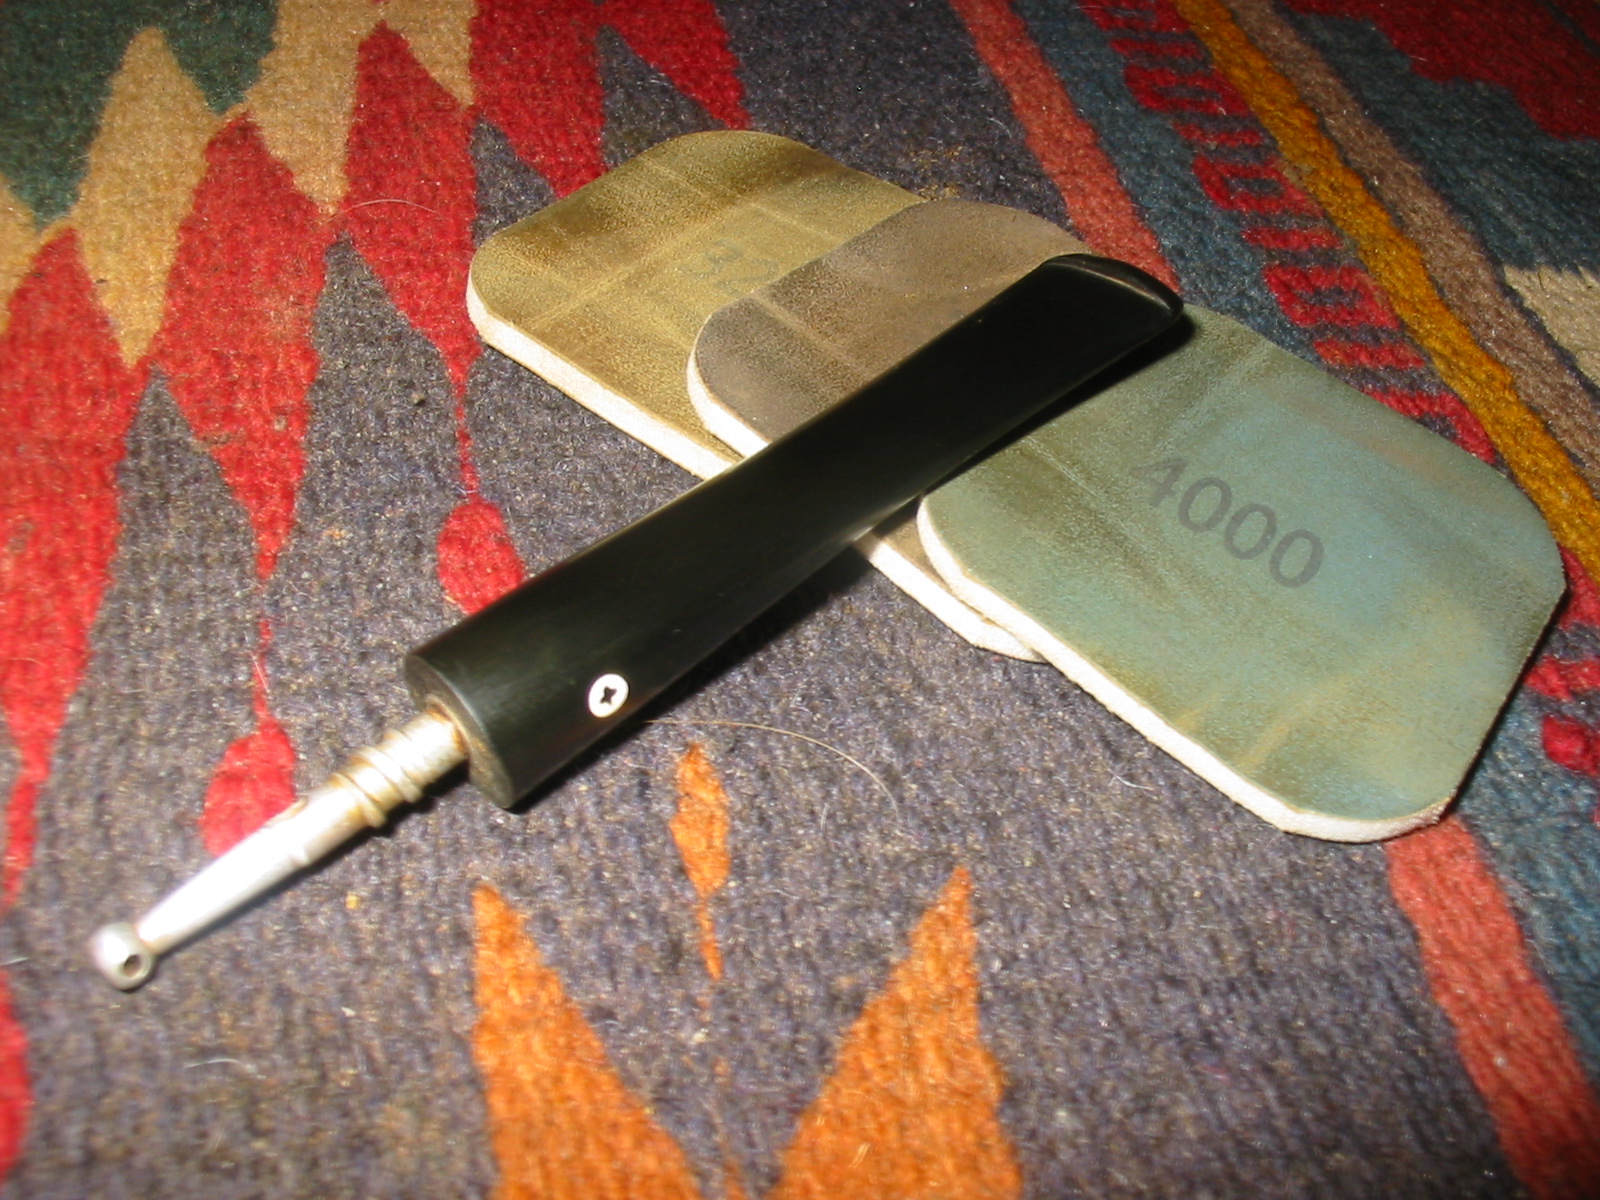
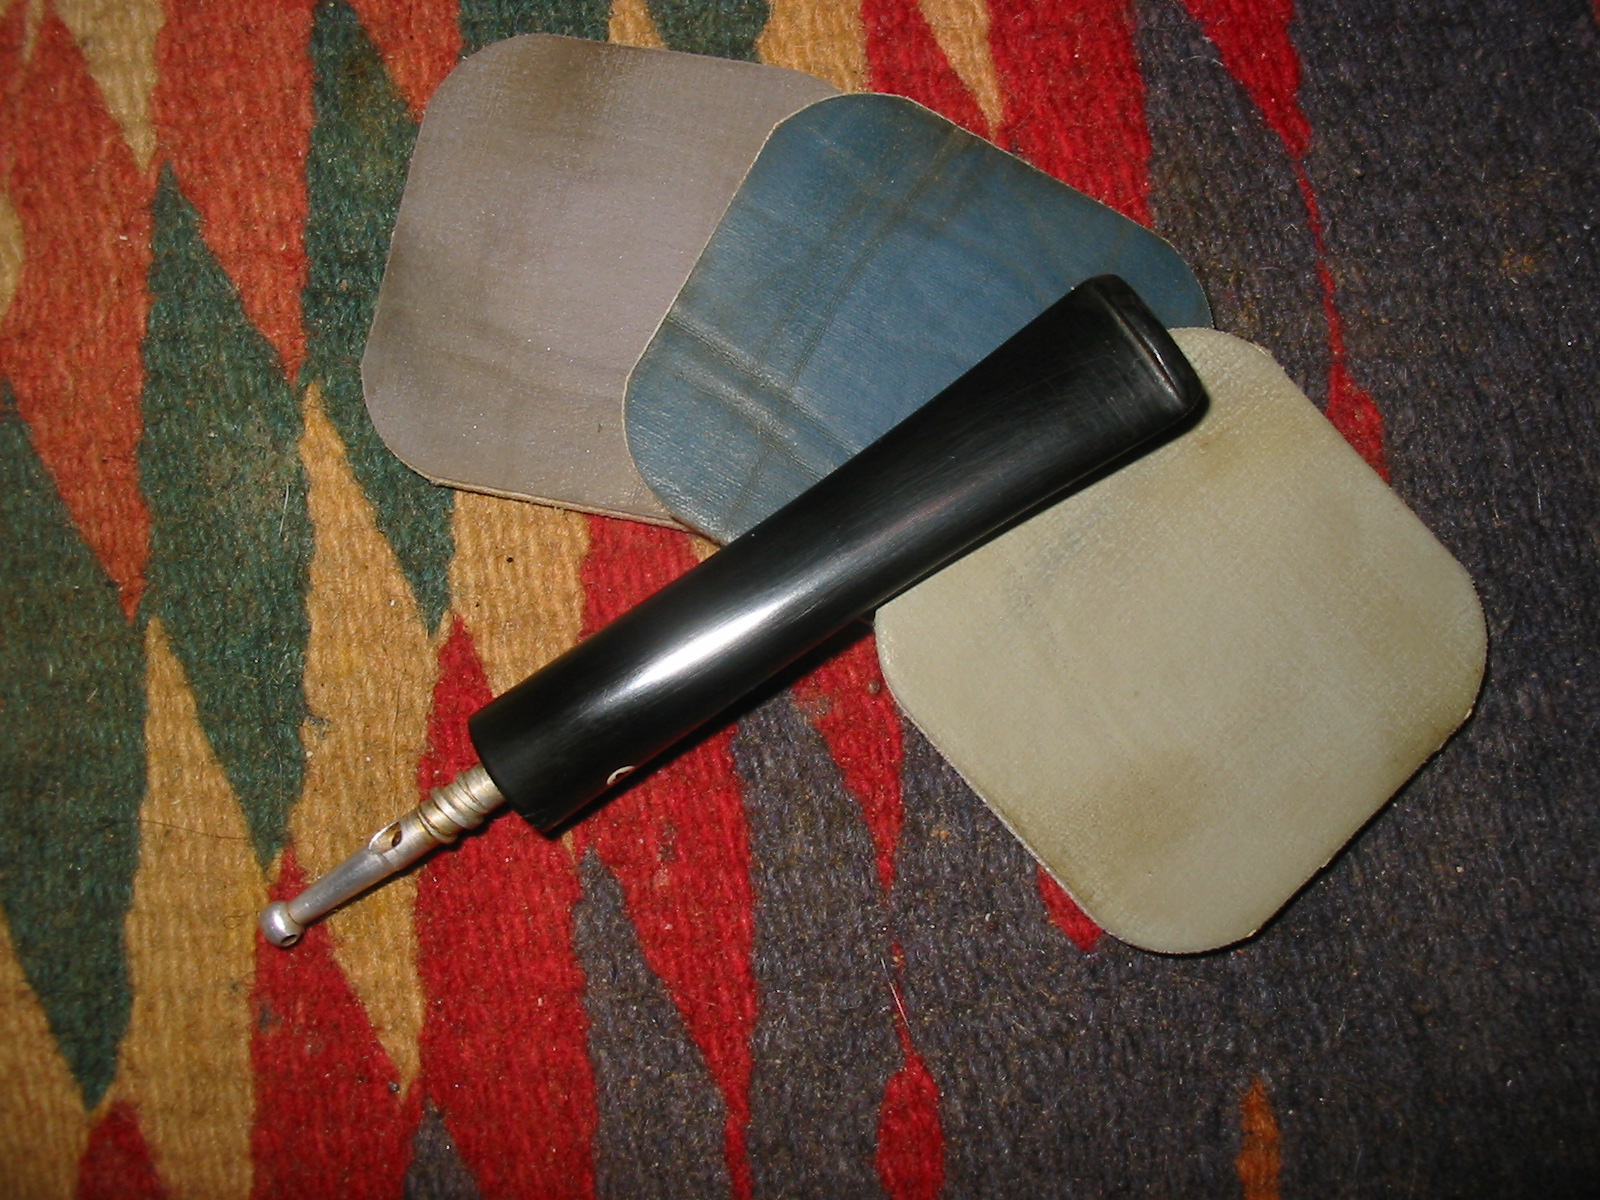
 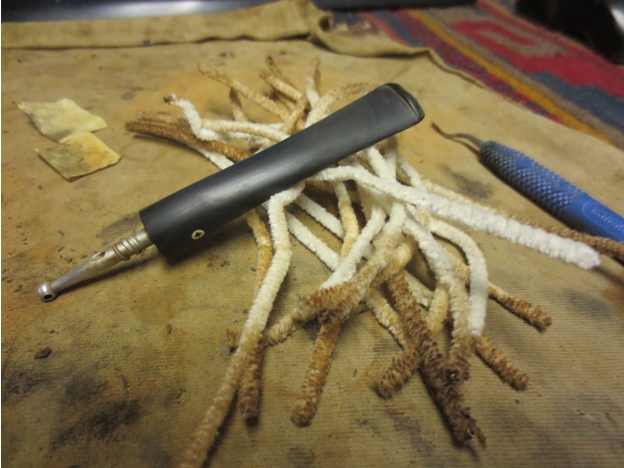 I sanded the stems with micromesh sanding pads – wet sanding with 1500-2400 grit pads and dry sanding with 3200-12,000 grit pads. I rubbed the stems down with Obsidian Oil between each set of three pads. I buffed the stem with White Diamond and polished it with a coat of carnauba wax to raise a shine.
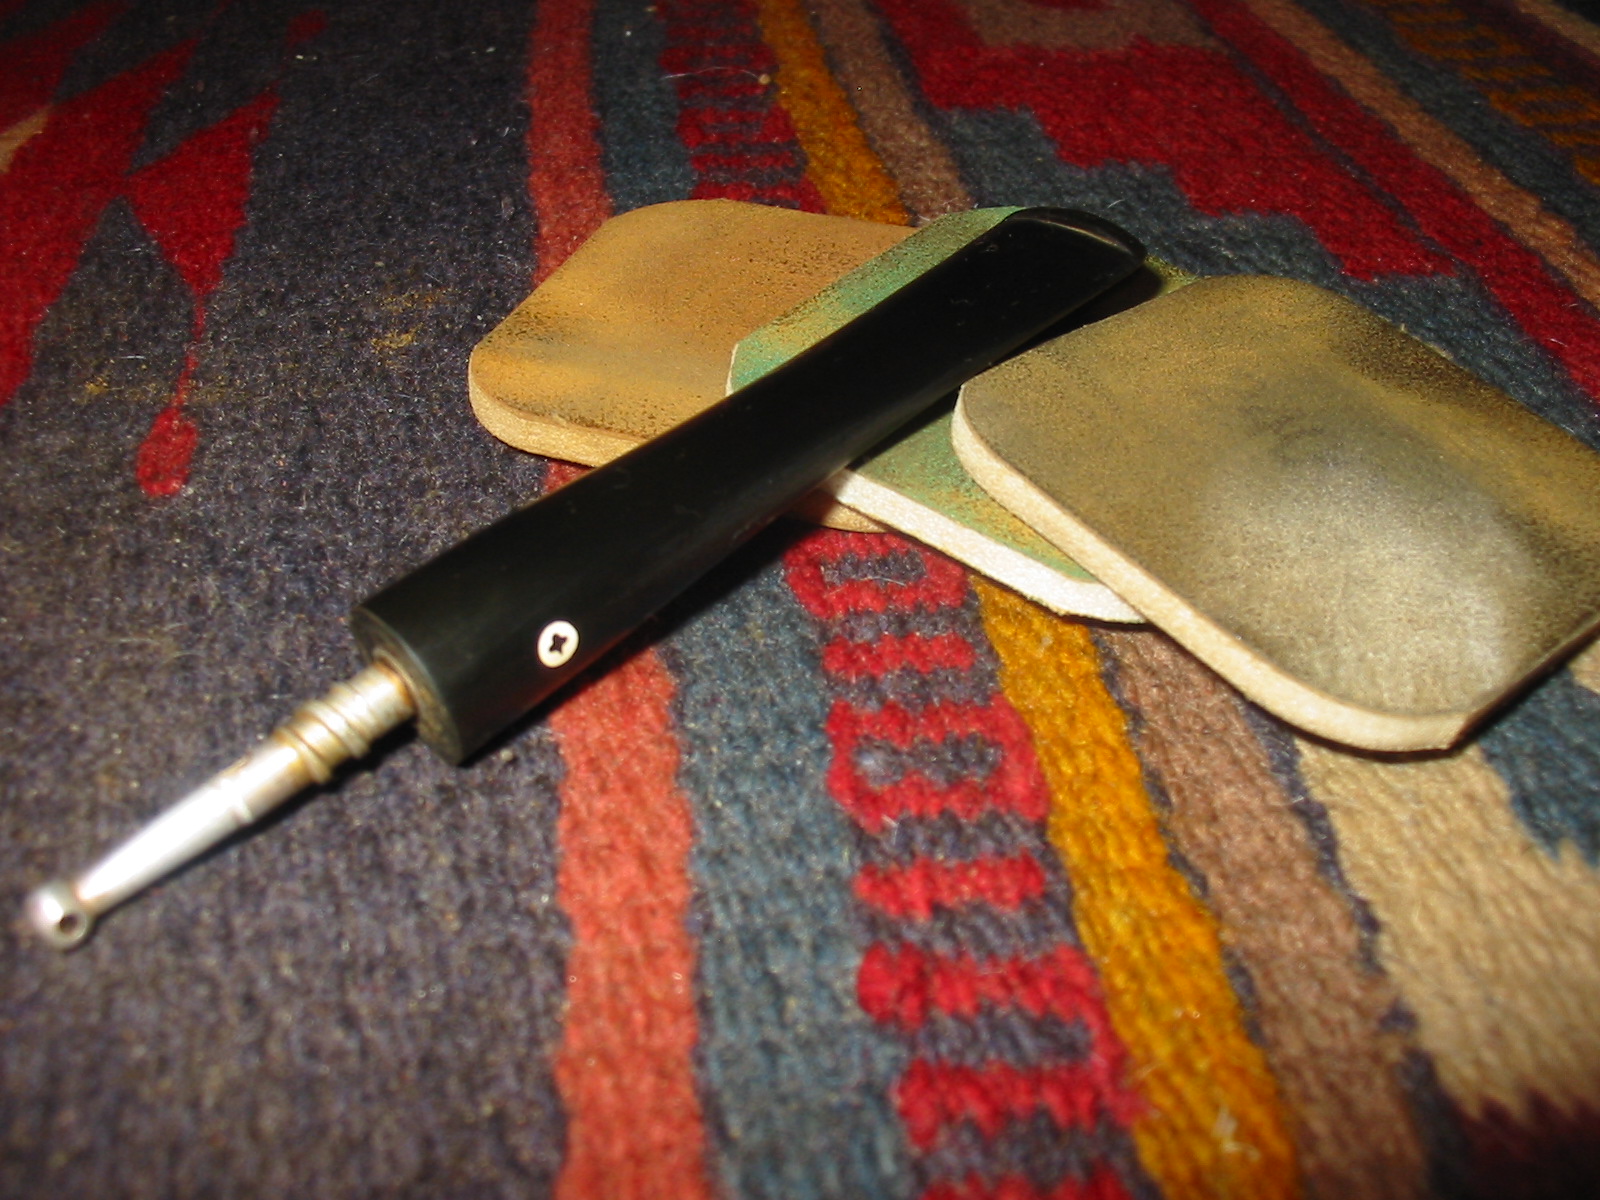
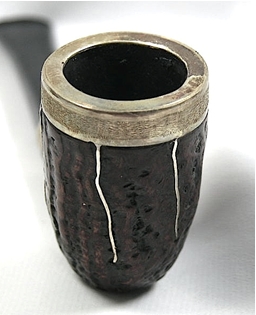
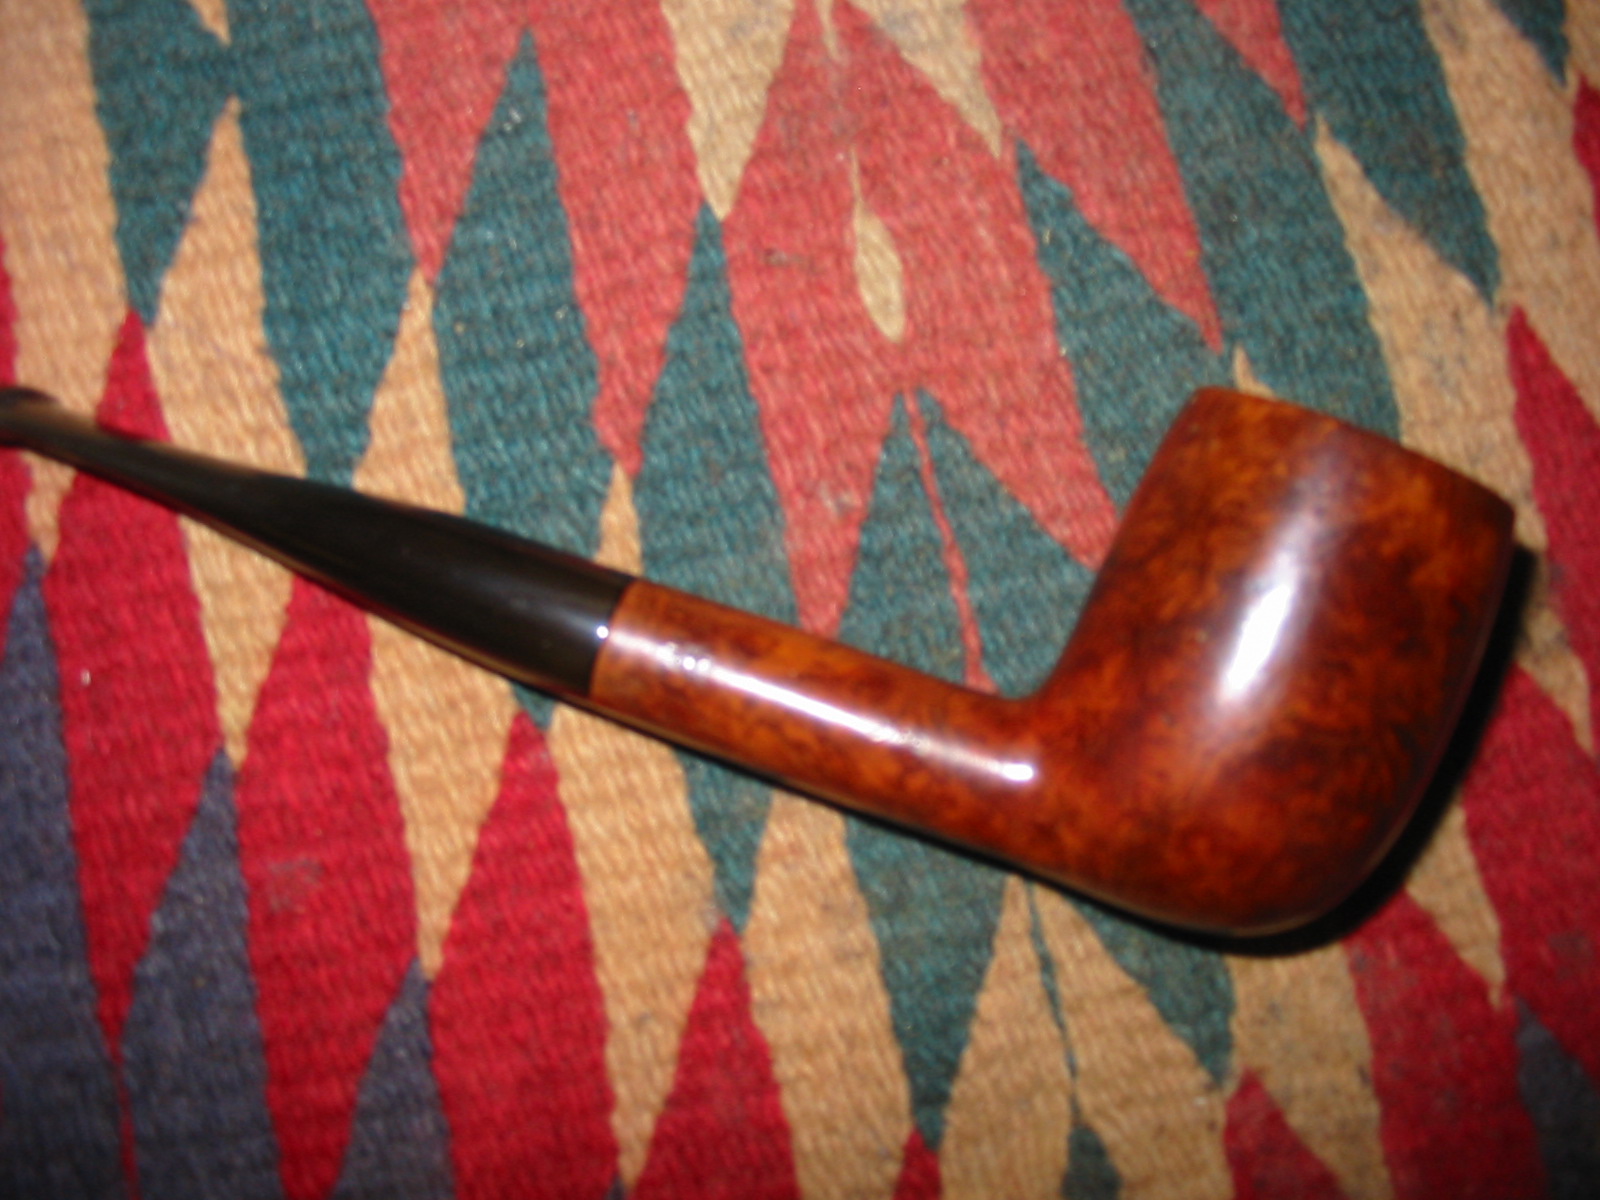
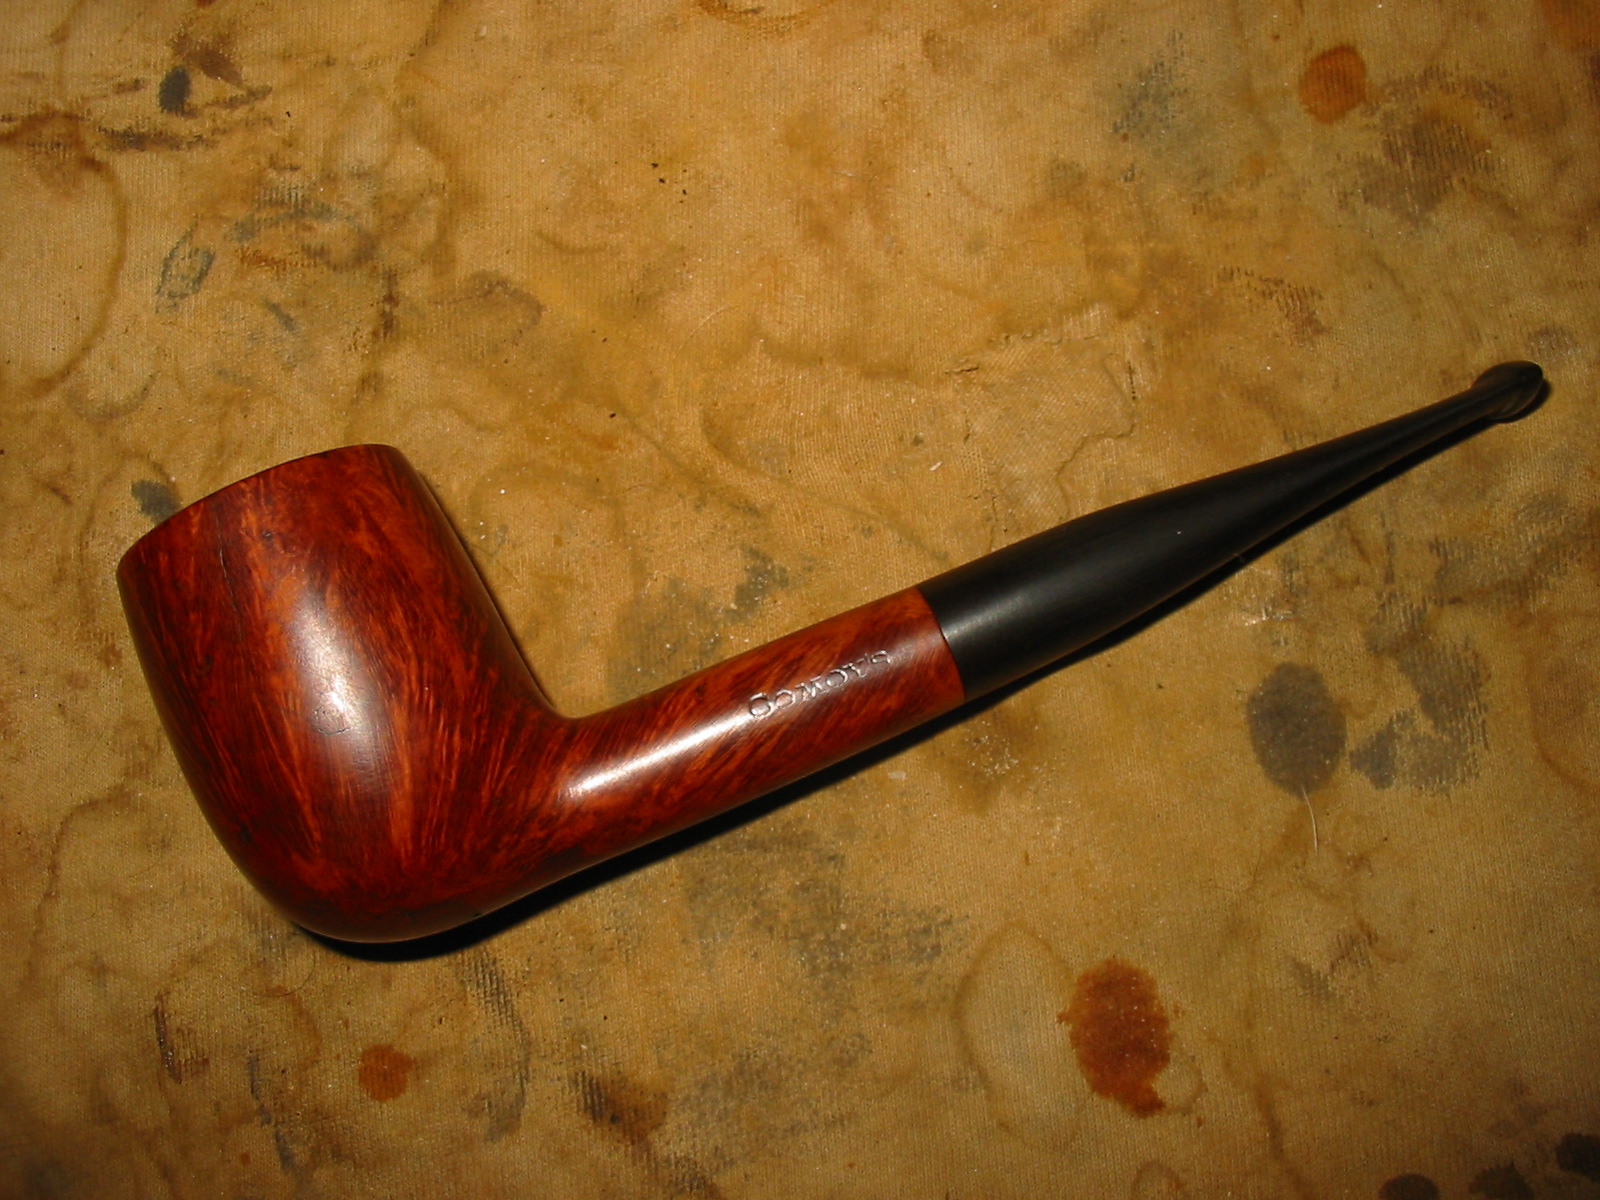
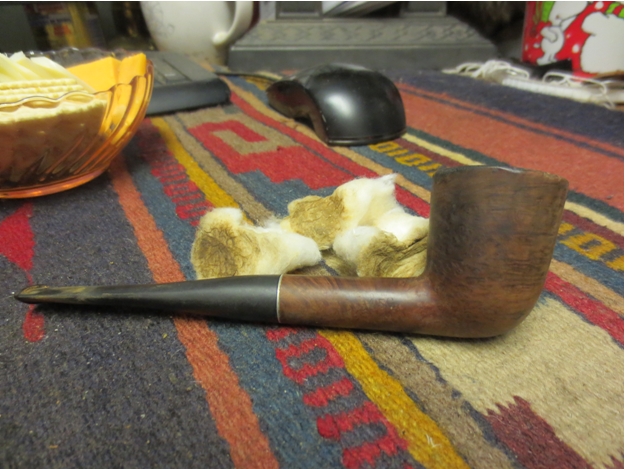
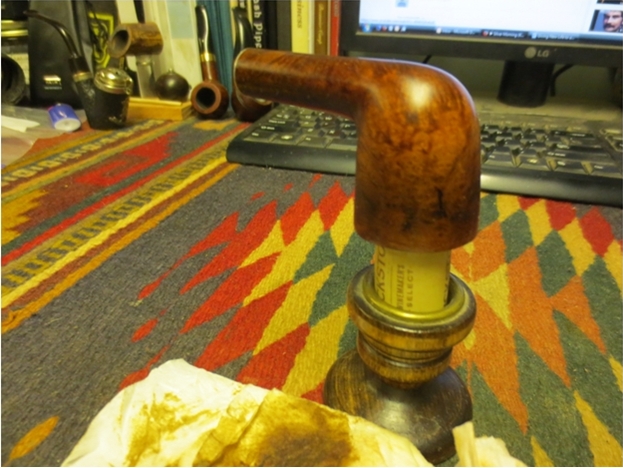
 I took the bowl out of the alcohol bath and dried it off with a cotton cloth. I sanded it lightly with a fine grit sanding sponge to remove the last of the grit and grime softened by the bath. The bowl is shown in the photo below. It is cleaned and ready for staining.
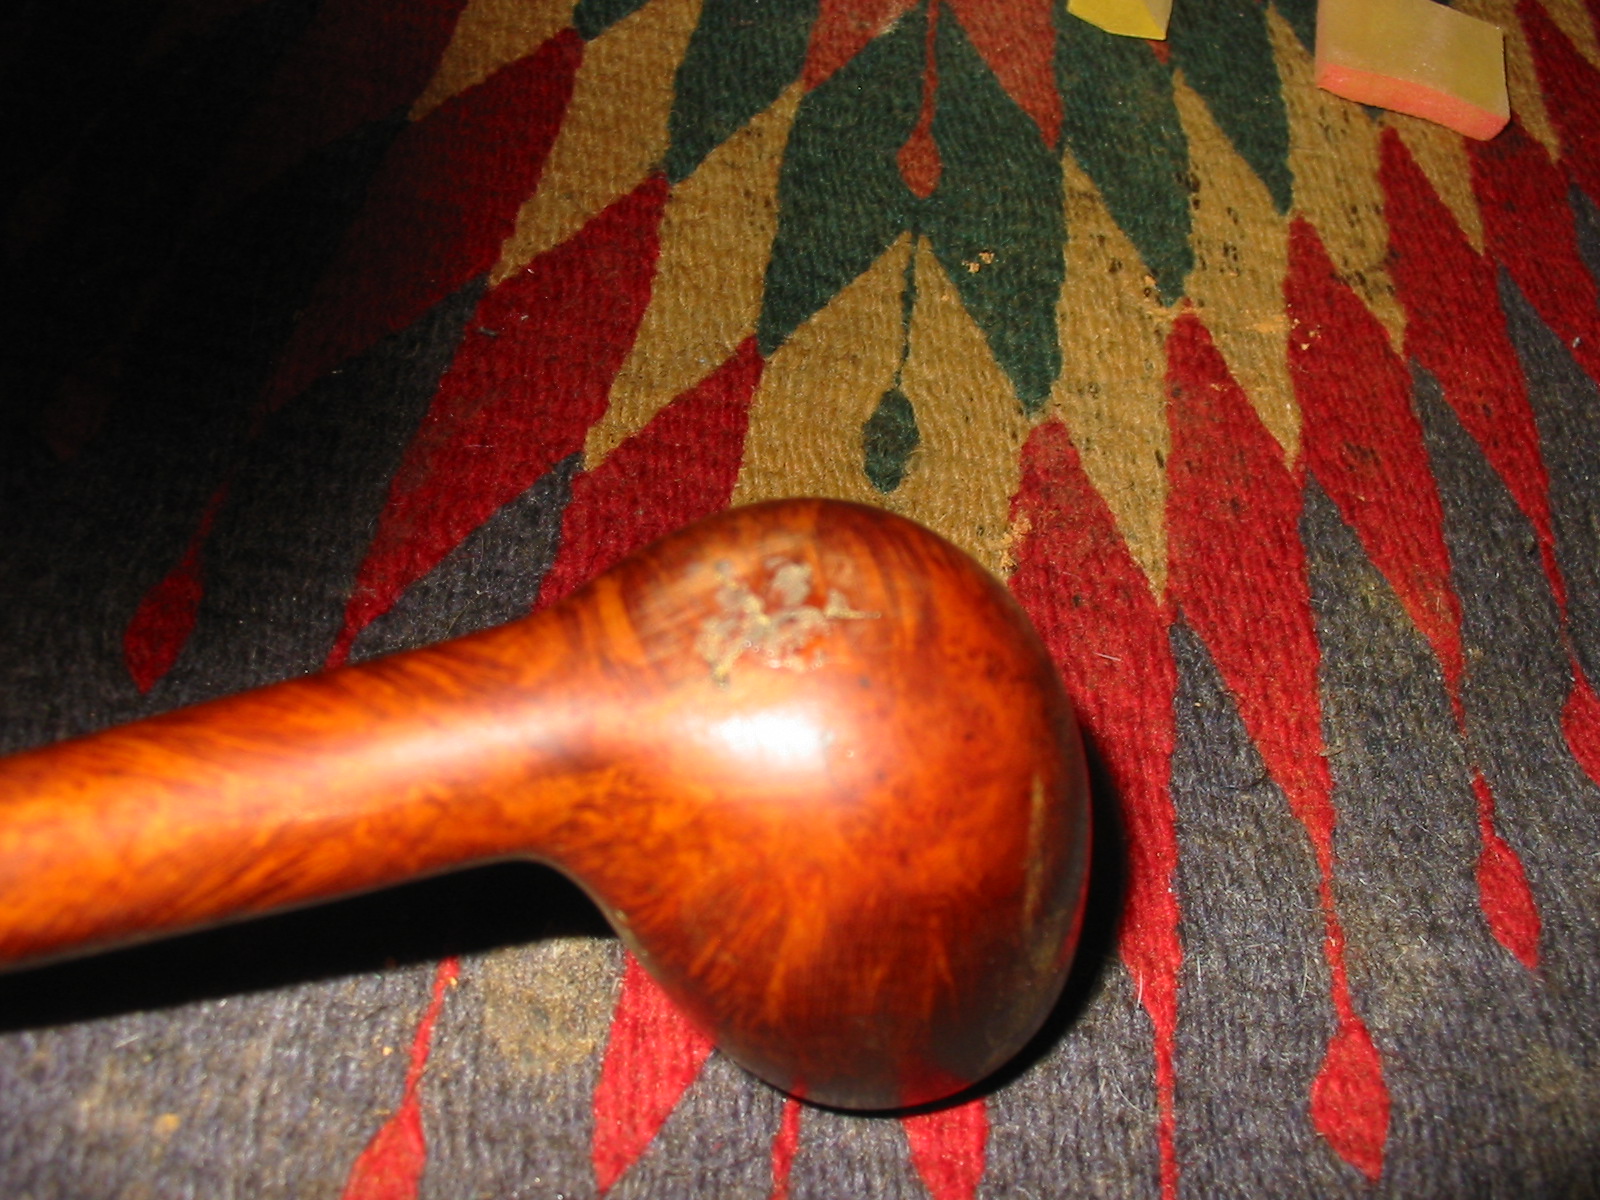
 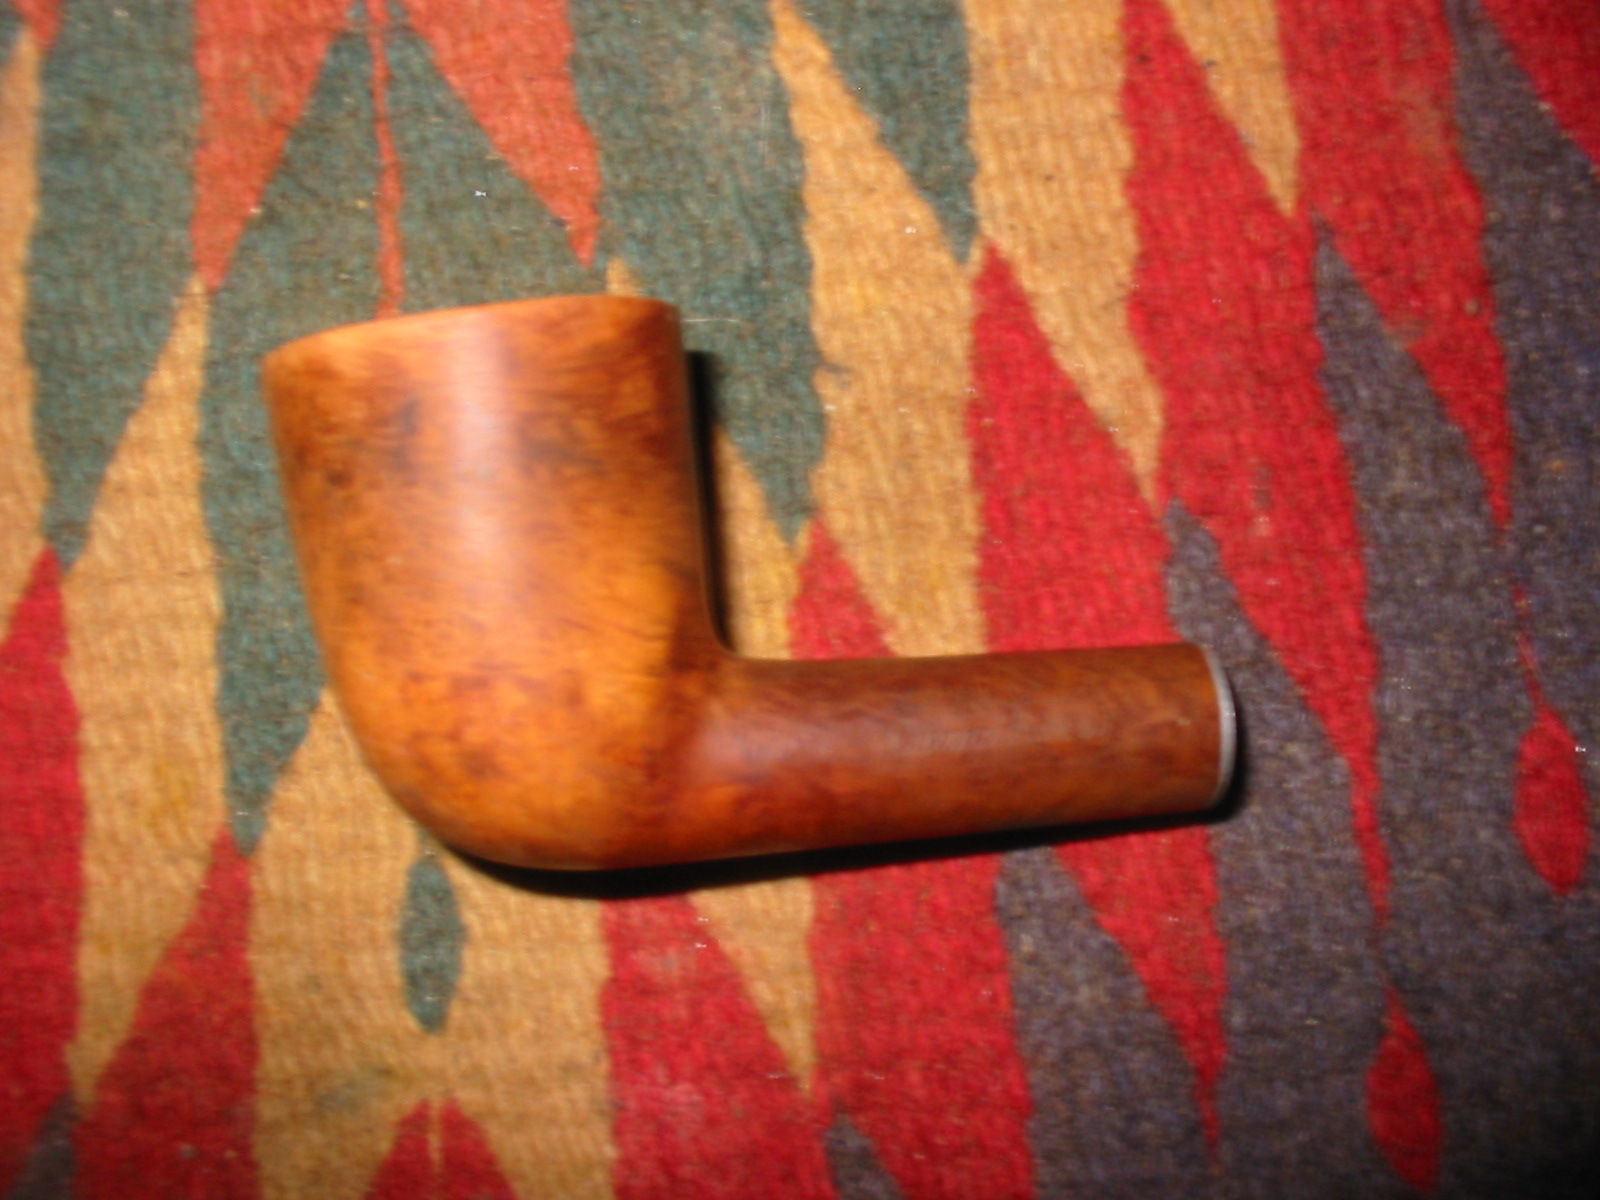 There were two areas that were dark on the bowl – the left side midbowl toward the front and the right side midbowl toward the back. I cleaned and stained the bowl with some Danish Oil and walnut stain and in the dark spots two small minor cracks showed up. At this point the cracks are not visible in the inside walls of the bowl. They may well be there and not seen in the darkening of the interior walls. Once the oil dried I exposed the two cracks with a dental pick to make them accessible. I then used superglue and briar dust to repair the cracks. I overfilled them with the glue and briar dust to ensure that the repair is solid and would have no pits in the surface once I sanded them. I sanded the repairs with a well used piece of 220 grit sandpaper and followed that with a fine grit sanding sponge and 1500-2400 micromesh sanding pads.
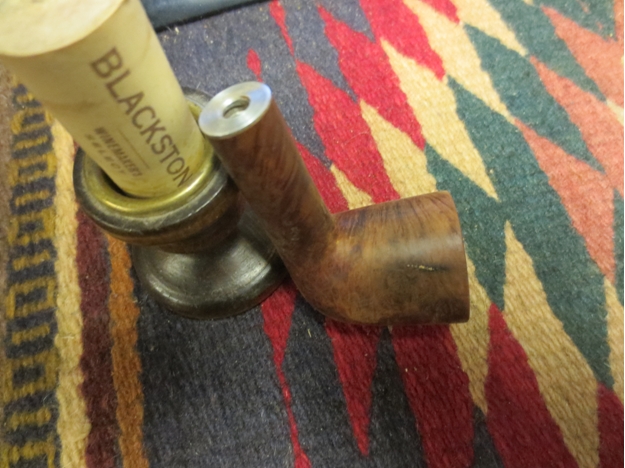
 I wiped the sanded bowl down and then gave it a coat of Danish Oil with Walnut stain to touch up the repairs and the entire bowl.
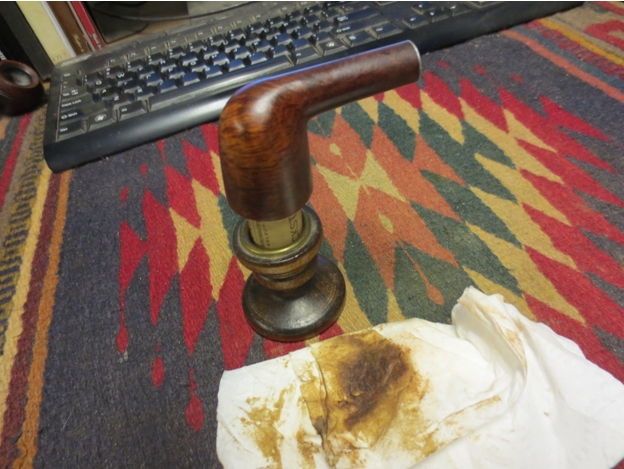
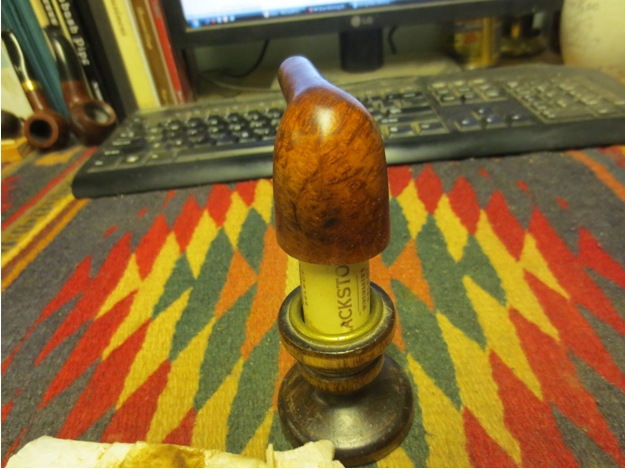
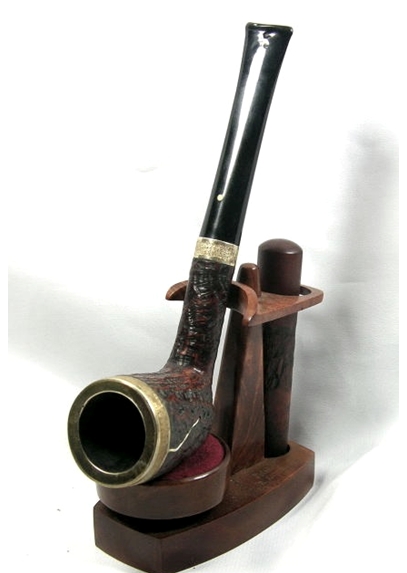
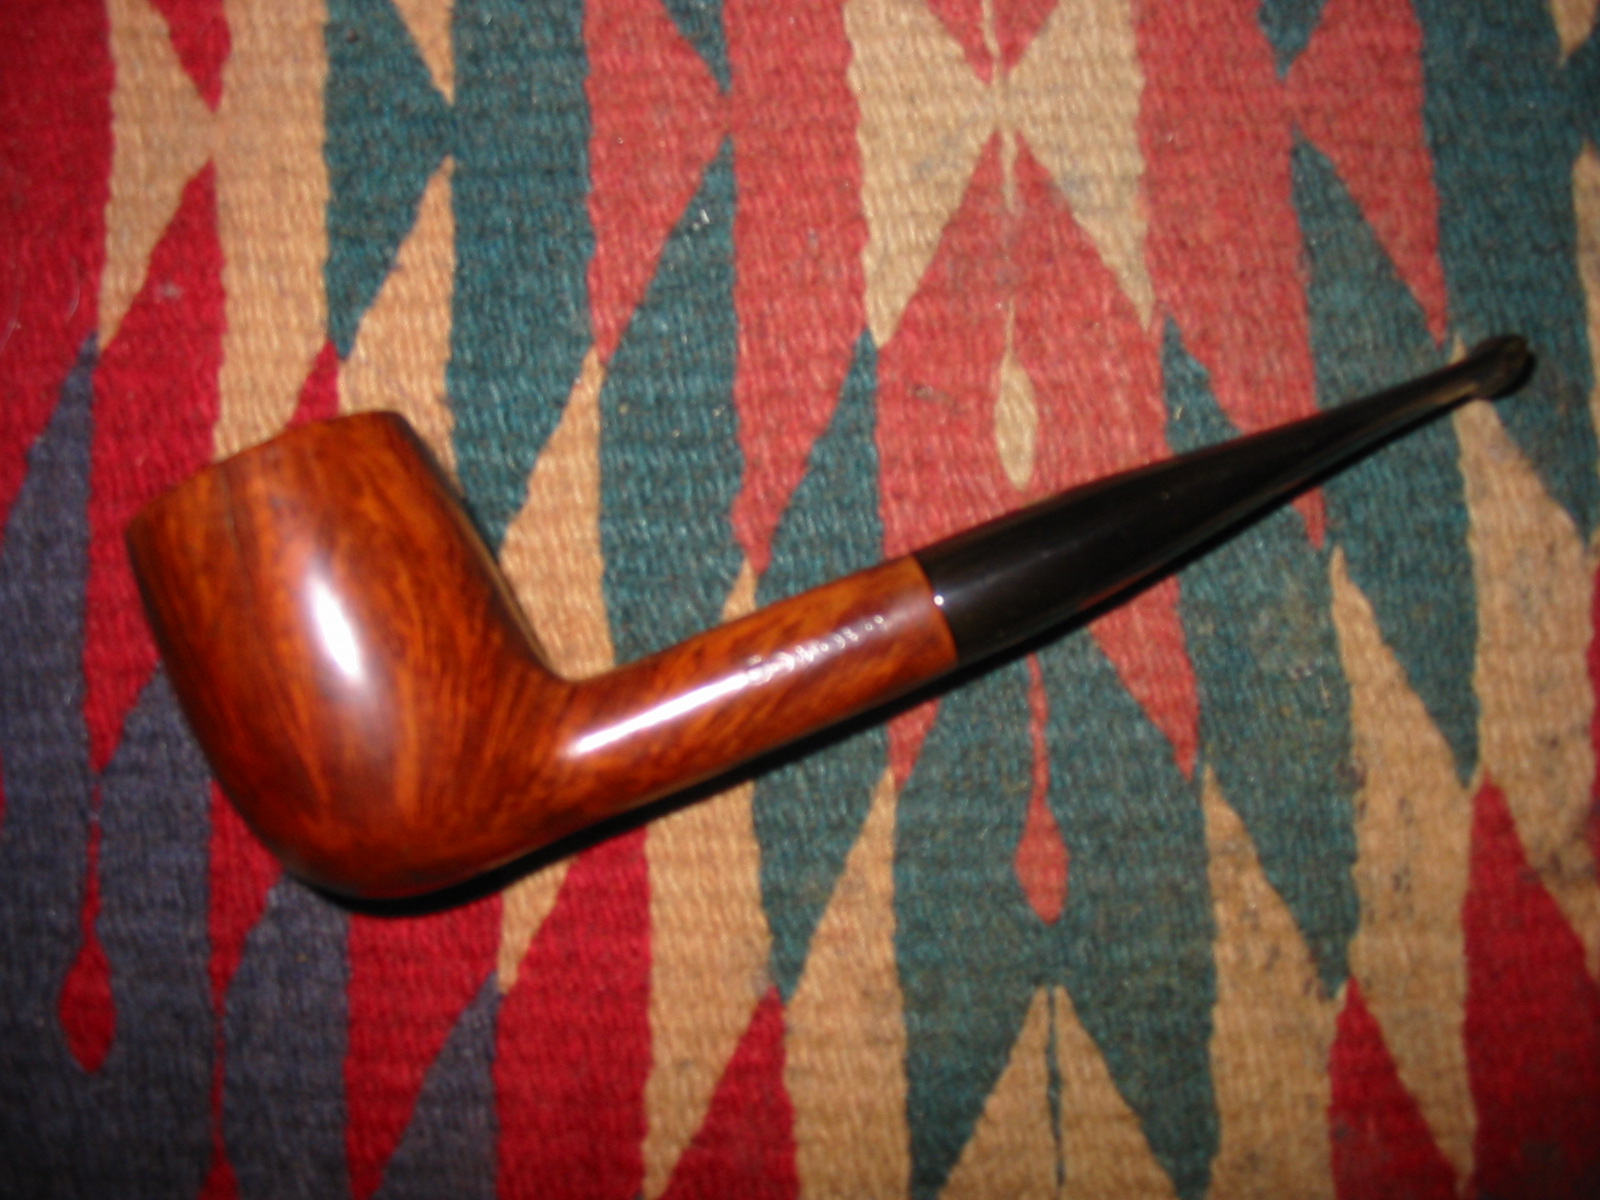
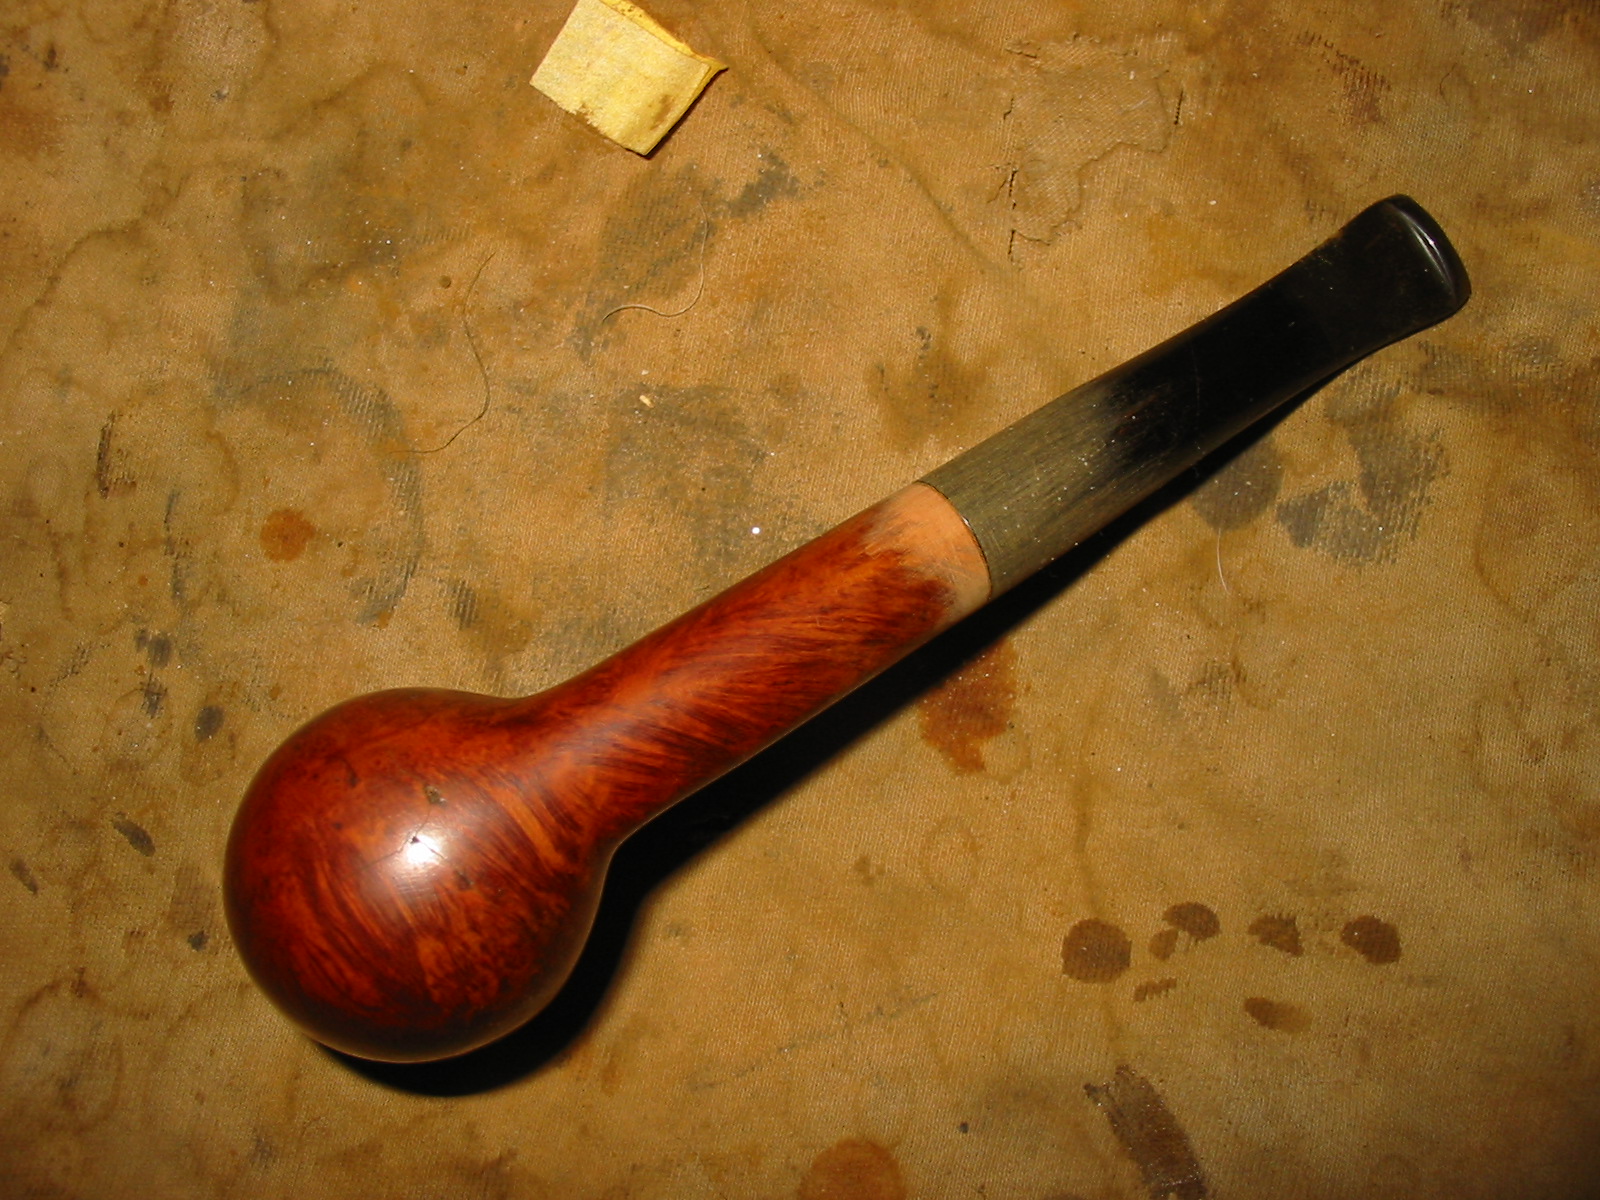
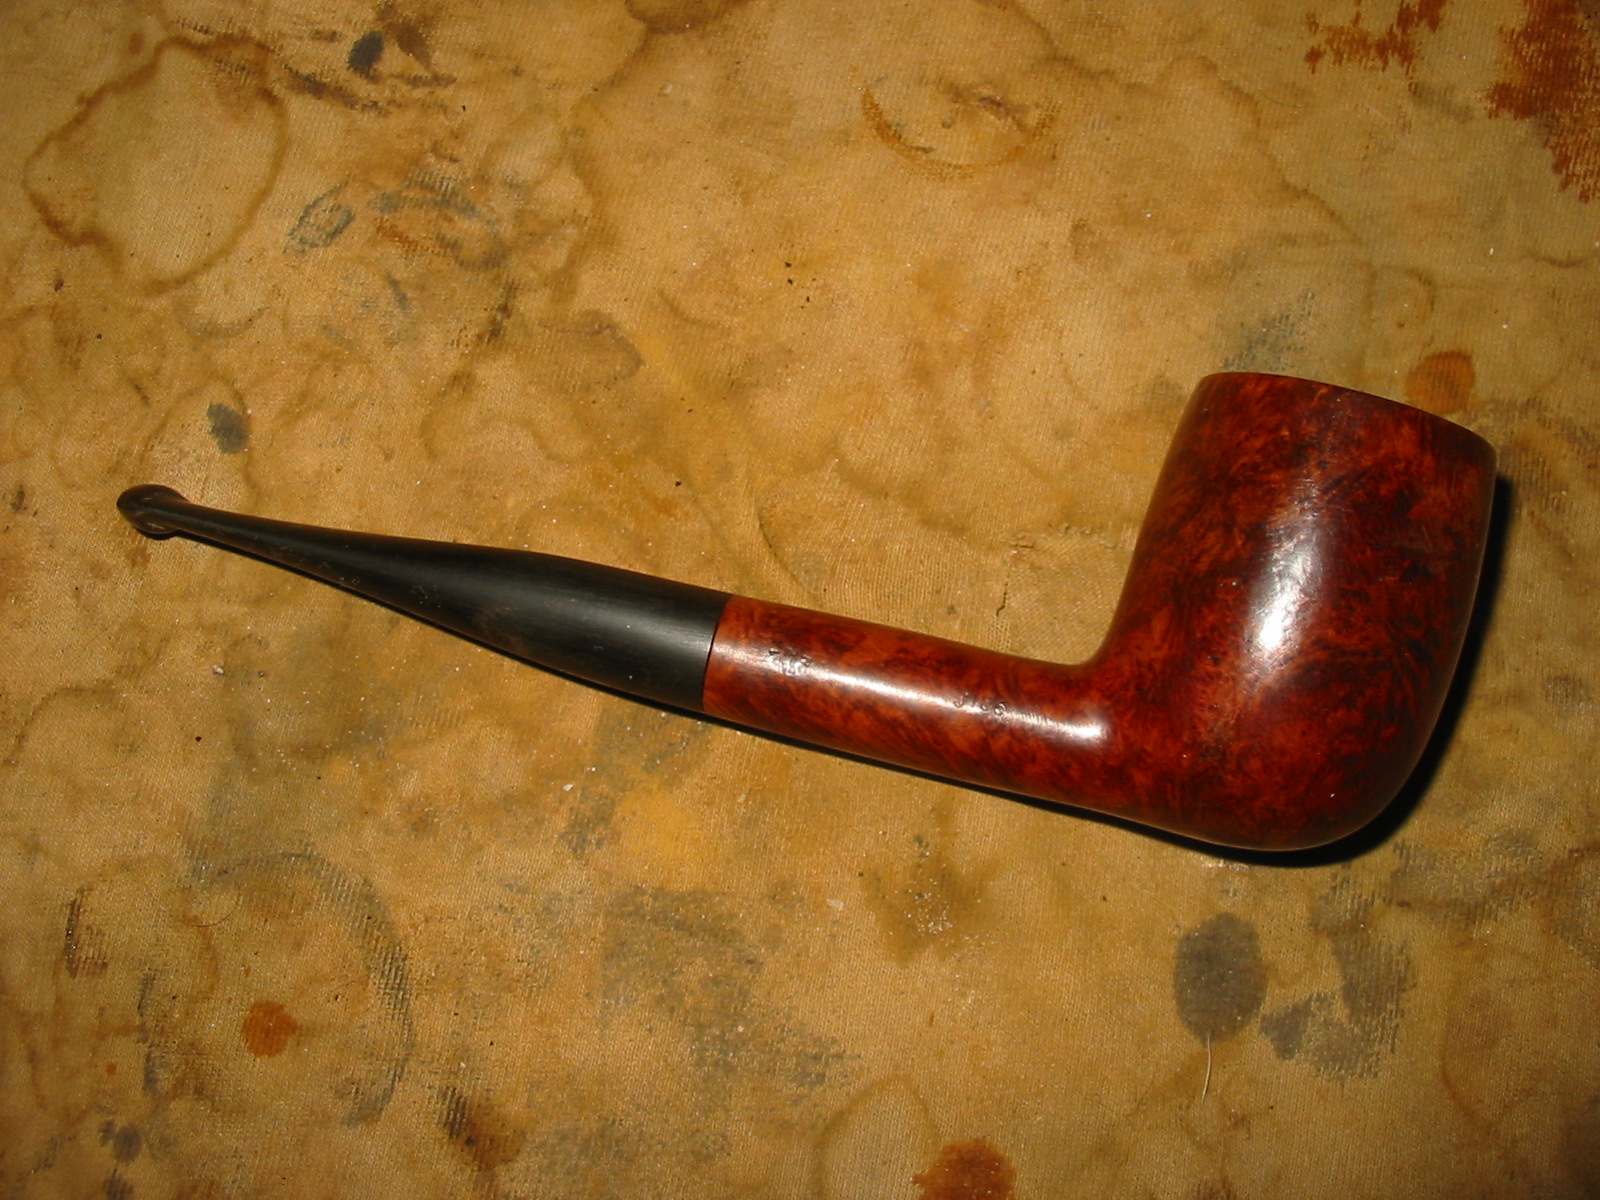
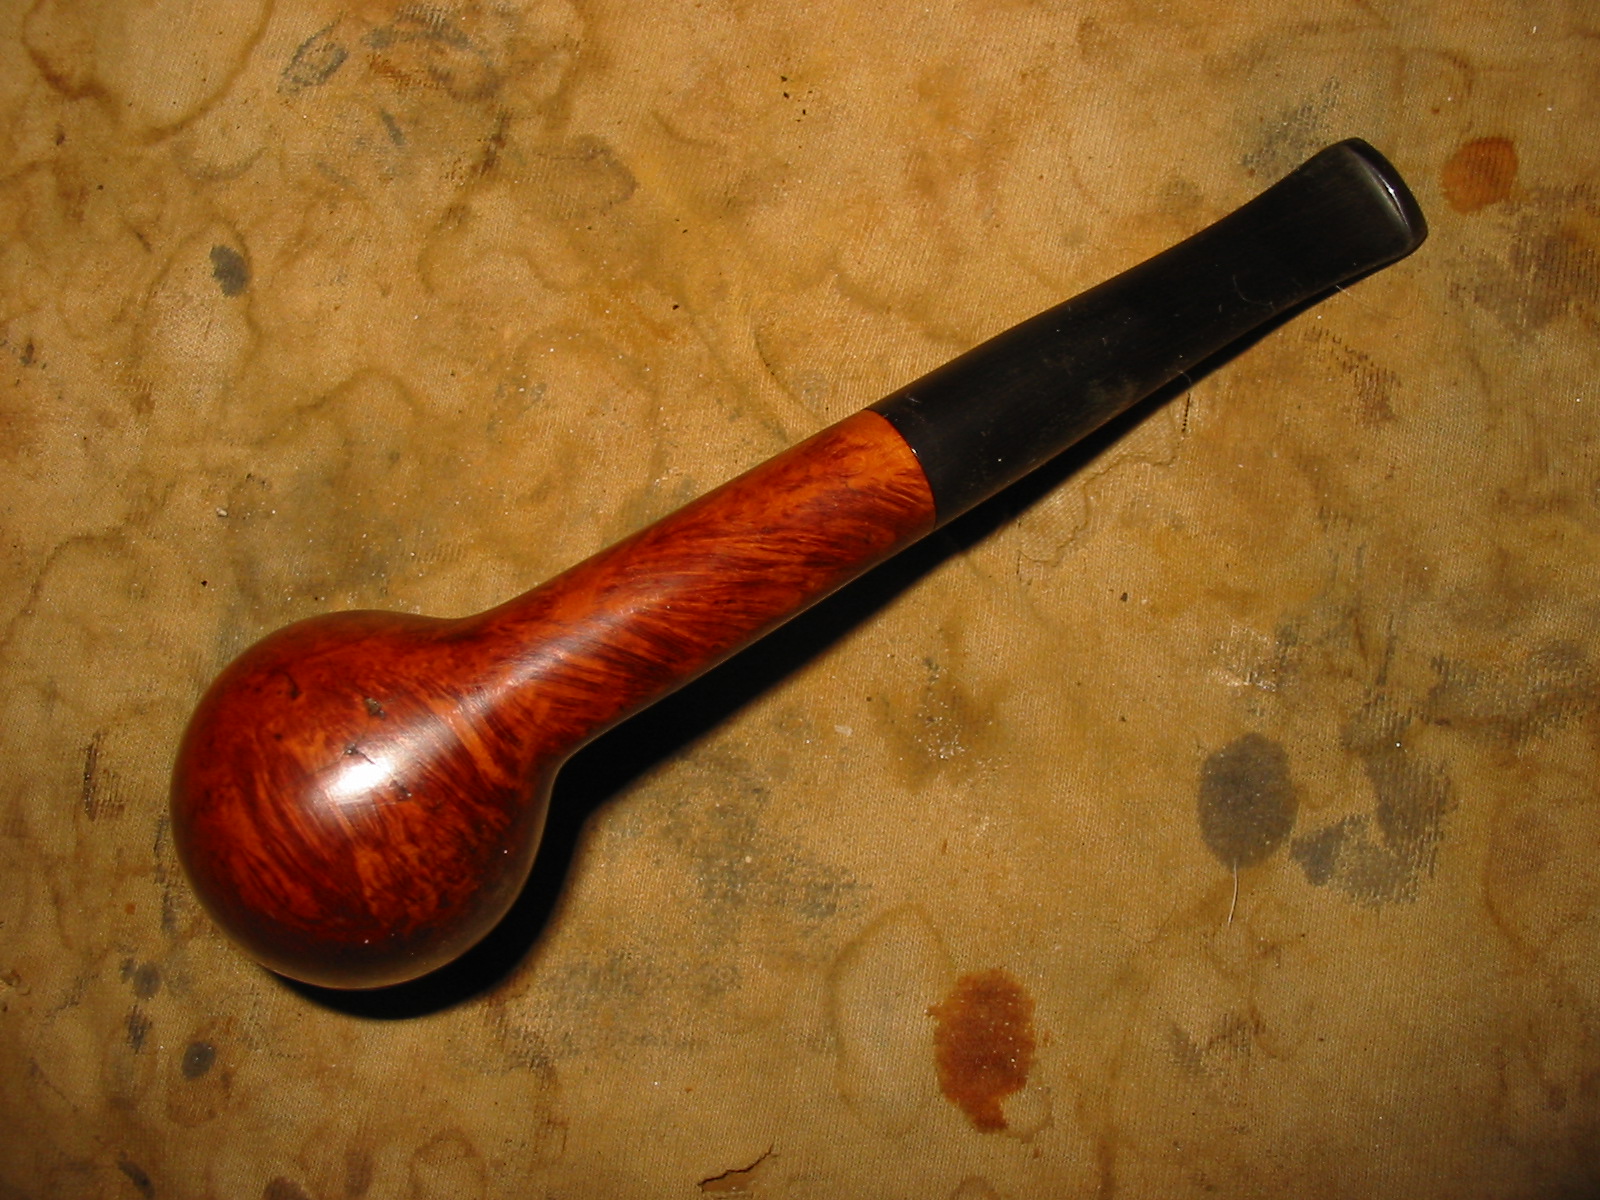
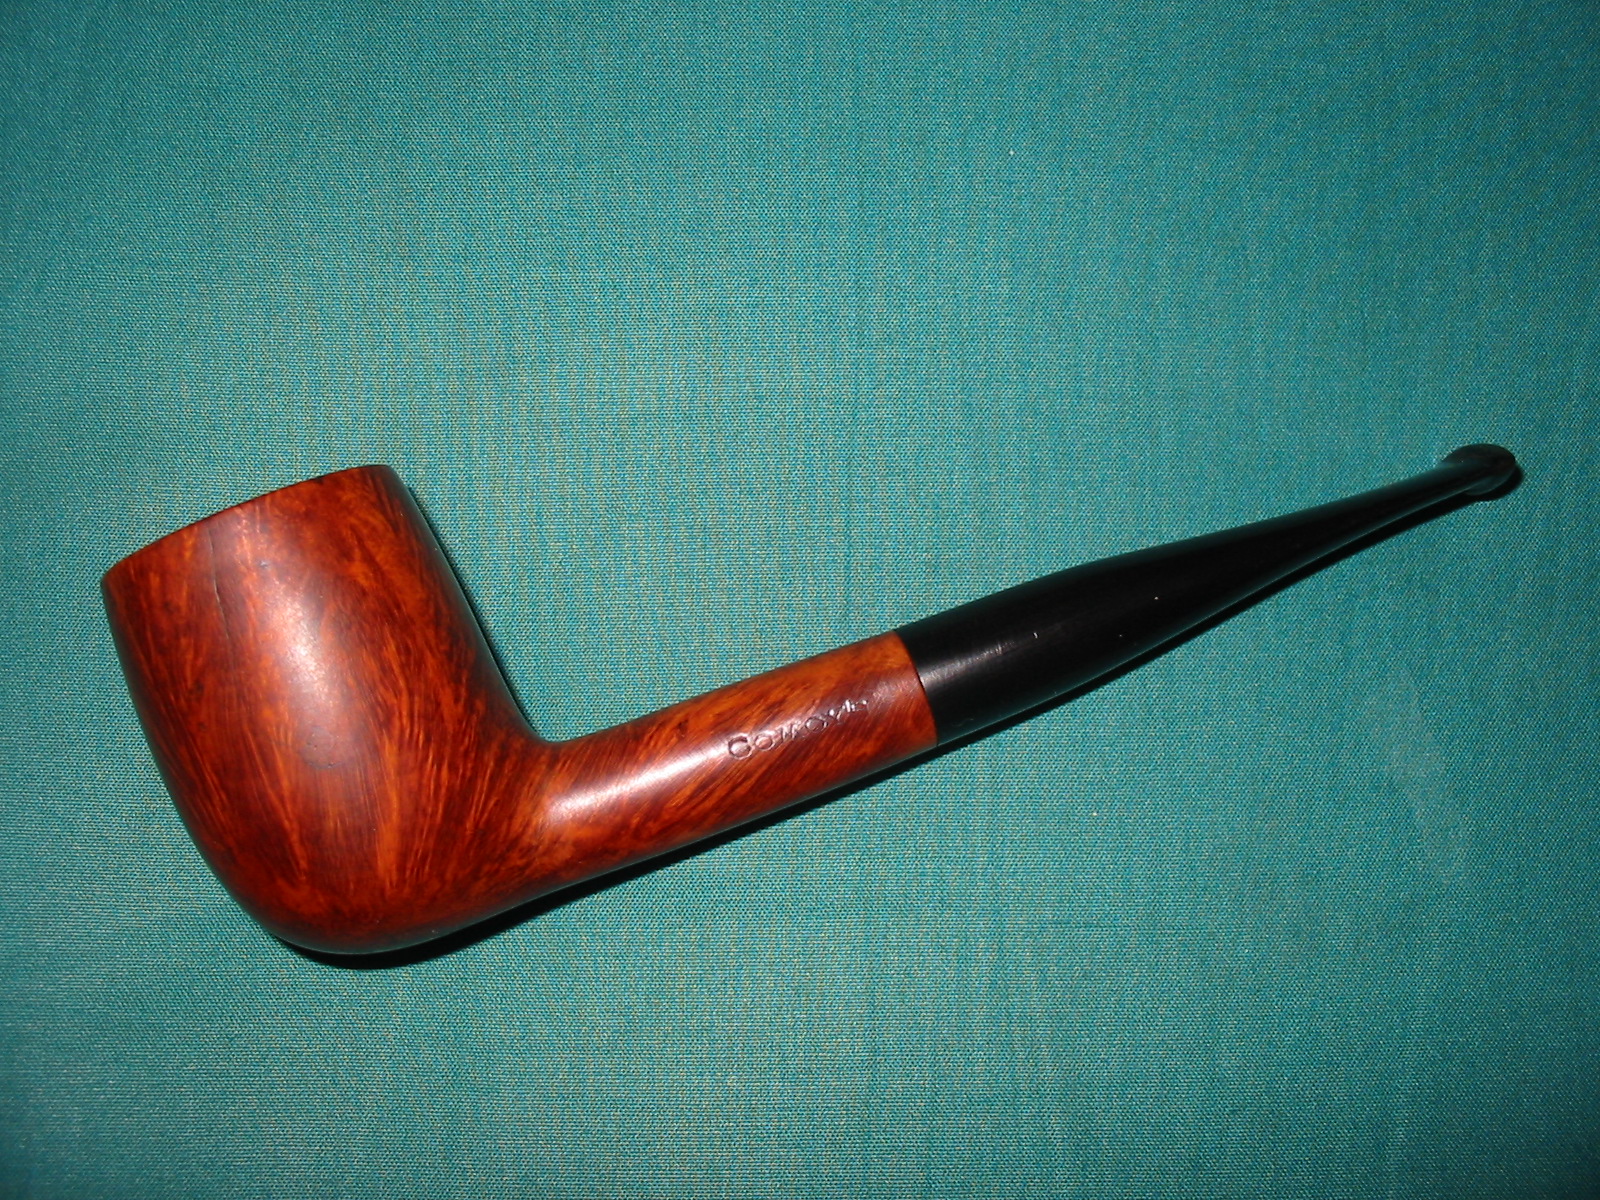
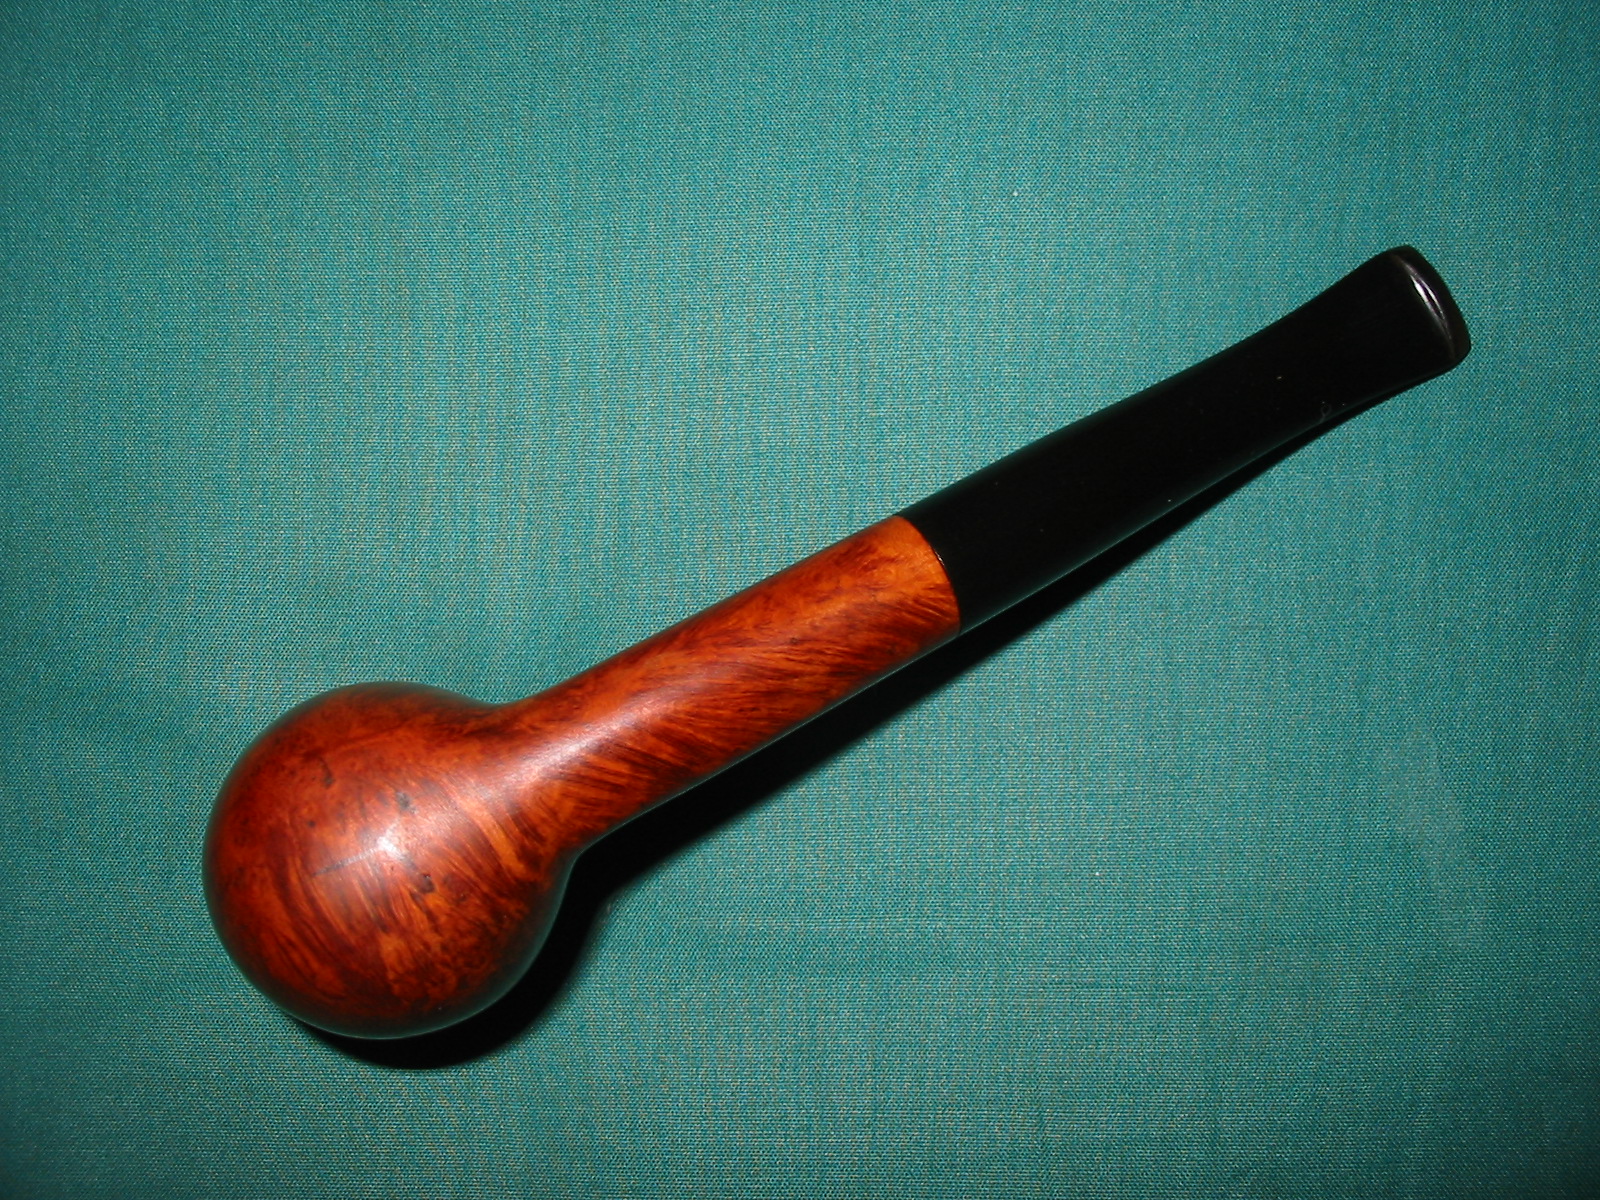
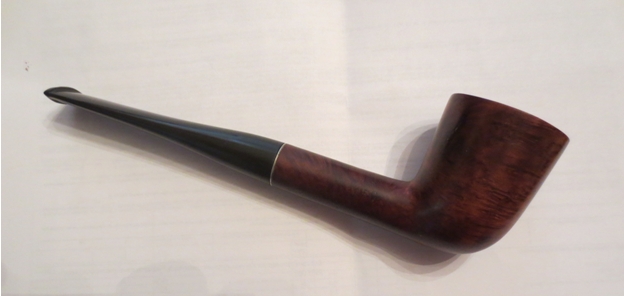
When the pipe was dry I buffed it with White Diamond and polished the bowl and stem. I gave it multiple coats of carnauba wax to protect and give it a shine. I buffed it with a soft flannel buff. The pipe is finished. It has come a long way from the pipe that I started with when I took it from the box. The repairs, though visible look pretty good. I expect them to hold for a long time and provide a quality smoke in an old Kaywoodie for whoever ends up with this old pipe. It is cleaned and ready for the next pipeman. 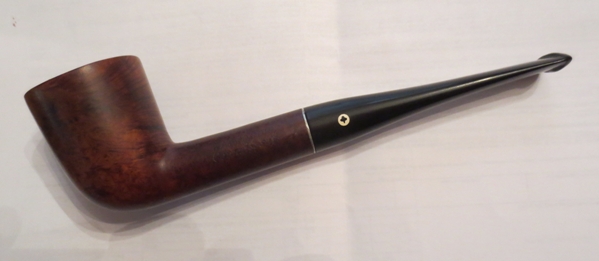
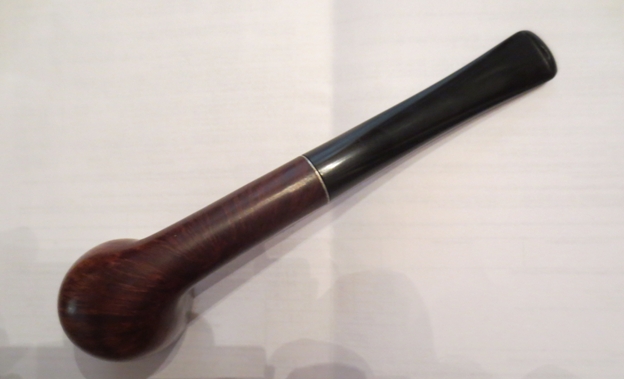
Giving New Life to a Kaywoodie Connoissuer Dublin Shape 45C
4 Replies